- CCT Public Page
- [CCT Members Area]
Gallery

|

|

|
|
|
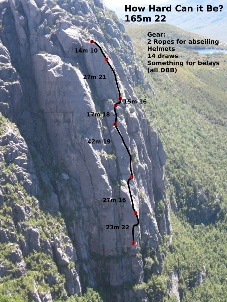
How Hard Can It Be? Topo
|
|||
|
|

|
|
|
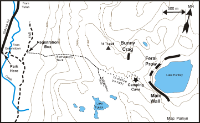
Tyndals Map
|
Big City Life Topo
|
Huntley Main Face topo
|
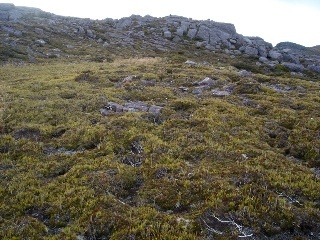
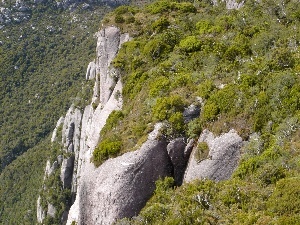
Turn off point from the bushwalkers track
|
|

|

|
|
|
Cloudstreet rap point
|
Alex McConnell dreaming of a tropical holiday on the second attempt of 'The Healer'
|
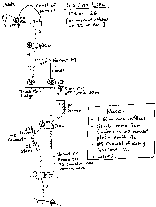
Mt Tyndall topo
|
Overview
Content Tools

|
http://www.thesarvo.com is licensed under a
Creative Commons Attribution-Share Alike 2.5 Australia License.
For more details see http://www.thesarvo.com/confluence/display/thesarvo/Copyright |