
Little Bluestone Bay
 5-30 mins
 Morning sun
 White granite, 10-25m
Introduction
This section covers the climbs that are accessed by the Little Bluestone Bay track. This area offers some superb routes in a beautiful location.
Access
From the Whitewater Wall campsite, walk south for 10 minutes down the rough 4WD track to Little Bluestone Bay. From here follow a rough track south around the coastline, slightly inland. Drop down to your buttress of choice.
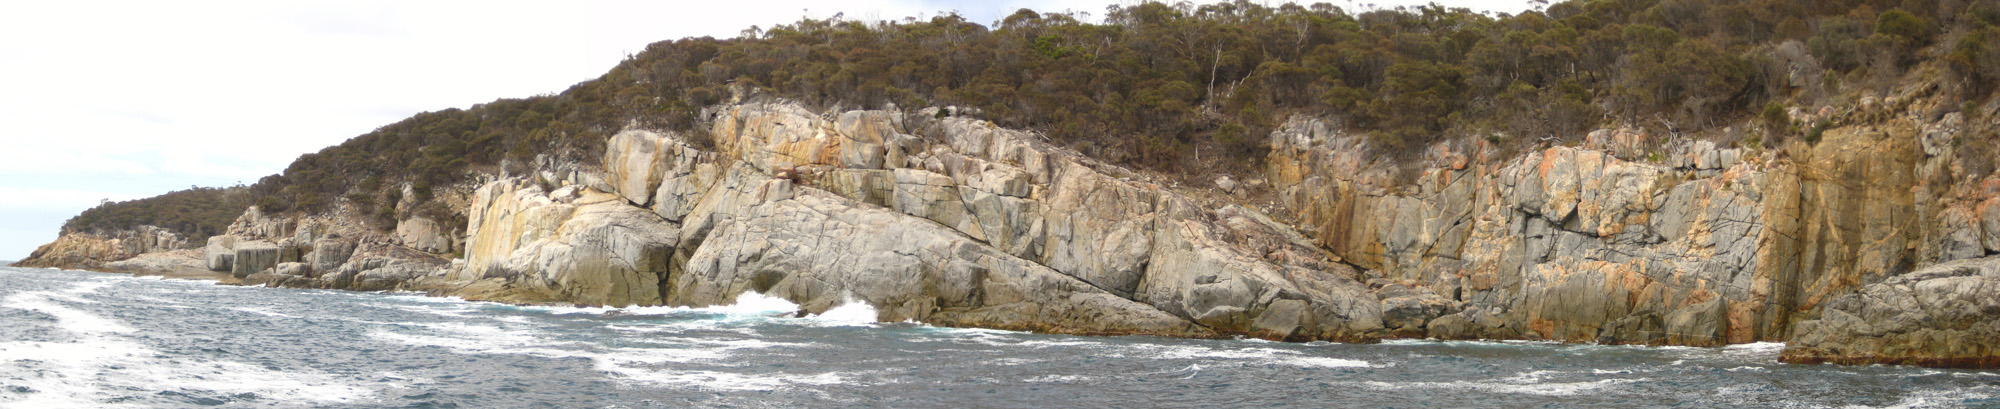
Lego Area
This is the southernmost developed cliff in the area. From the end of the road to Little Bluestone Bay, head uphill to the R (inland), then L to cross a creek bed above First Ramp. From here move southwards towards the coast, walk past Alchemy Wall and Rubik's Cube to the gully leading down to the sea. A prominent buttress lies just north of this gully. It is also possible to get to this area by following an old 4WD track down to the coast from the Cape Tourville Rd, about 100m past the turn off to Bluestone Bay.
50m left of Lego Buttress proper:The easy slab and continuation groove about 50m left of Lego Buttress.
J. Holland, M. Hynes, Sep 2001.
Obvious crack starting from wall parallel to ramp.
P.Darby, Apr 1988.
Full name: Where's My Mum, Where's My Dad, Where's My Lunch, Where's My Doll, Where's My Fucking Lego. Climb discontinuous cracks up the front of the buttress, passing several horizontal breaks with a tricky mantel. Crosses King Constipator and is probably superseded by it.
Nic Deka, Apr 1988.
Start at the hanging arête below the u-bolts on the right of the main butress. The crux is past the final overhang at the end of pitch 1. If you're a bit on the short side these few moves may be a fair bit harder than 24 and hard to aid. Thankfully the first ascentionist has provided ring bolts, so you can either lower-off or, more preferably, belay there then traverse right and ascend the pinnacle from behind, allowing the completion of the worthwhile 2nd pitch. 1. 24. Up the arête past several cams and bolts to a ledge, continue up the slab past another bolt to another ledge. Clip another bolt and climb the overhanging flake to gain yet another ledge and a well-needed break before tackling the final overhang. Belay on top of the pinnacle at the bolt. You'll need cams from 1-4 if you don't want to get too scared. 2. 21. Step across the void to gain the main part of the cliff and continue up the funky corner past 2 bolts.
Nick Hancock & Andrew Bissett (alt), Aug 2001.
Andrew [Squib] Cubbon & Toby ??????? Feb 2018
Rubik's Cube
The so-called Rubik's Cube is the small series of cliffs that form vague cube like shapes, east of Tetragamatron. It is best to get a line on this when first walking down to Little Bluestone Bay. Access is best facilitated by scrambling down on the seaward side (SE).
The Orange Face: this is the left-most face and runs parallel to the ocean.
Start as for Interval but step left after 3m and climb hand-crack. Step left again at ledge and up incipient cracks to top. A fine climb to the end.
N.Deka, D.Stephenson, Mar 1989.
Start 4m left of corner up hand-crack to top.
D.Batten, D.Bruce, Mar 1989.
The Yellow Face: the next face right, perpendicular to the ocean.
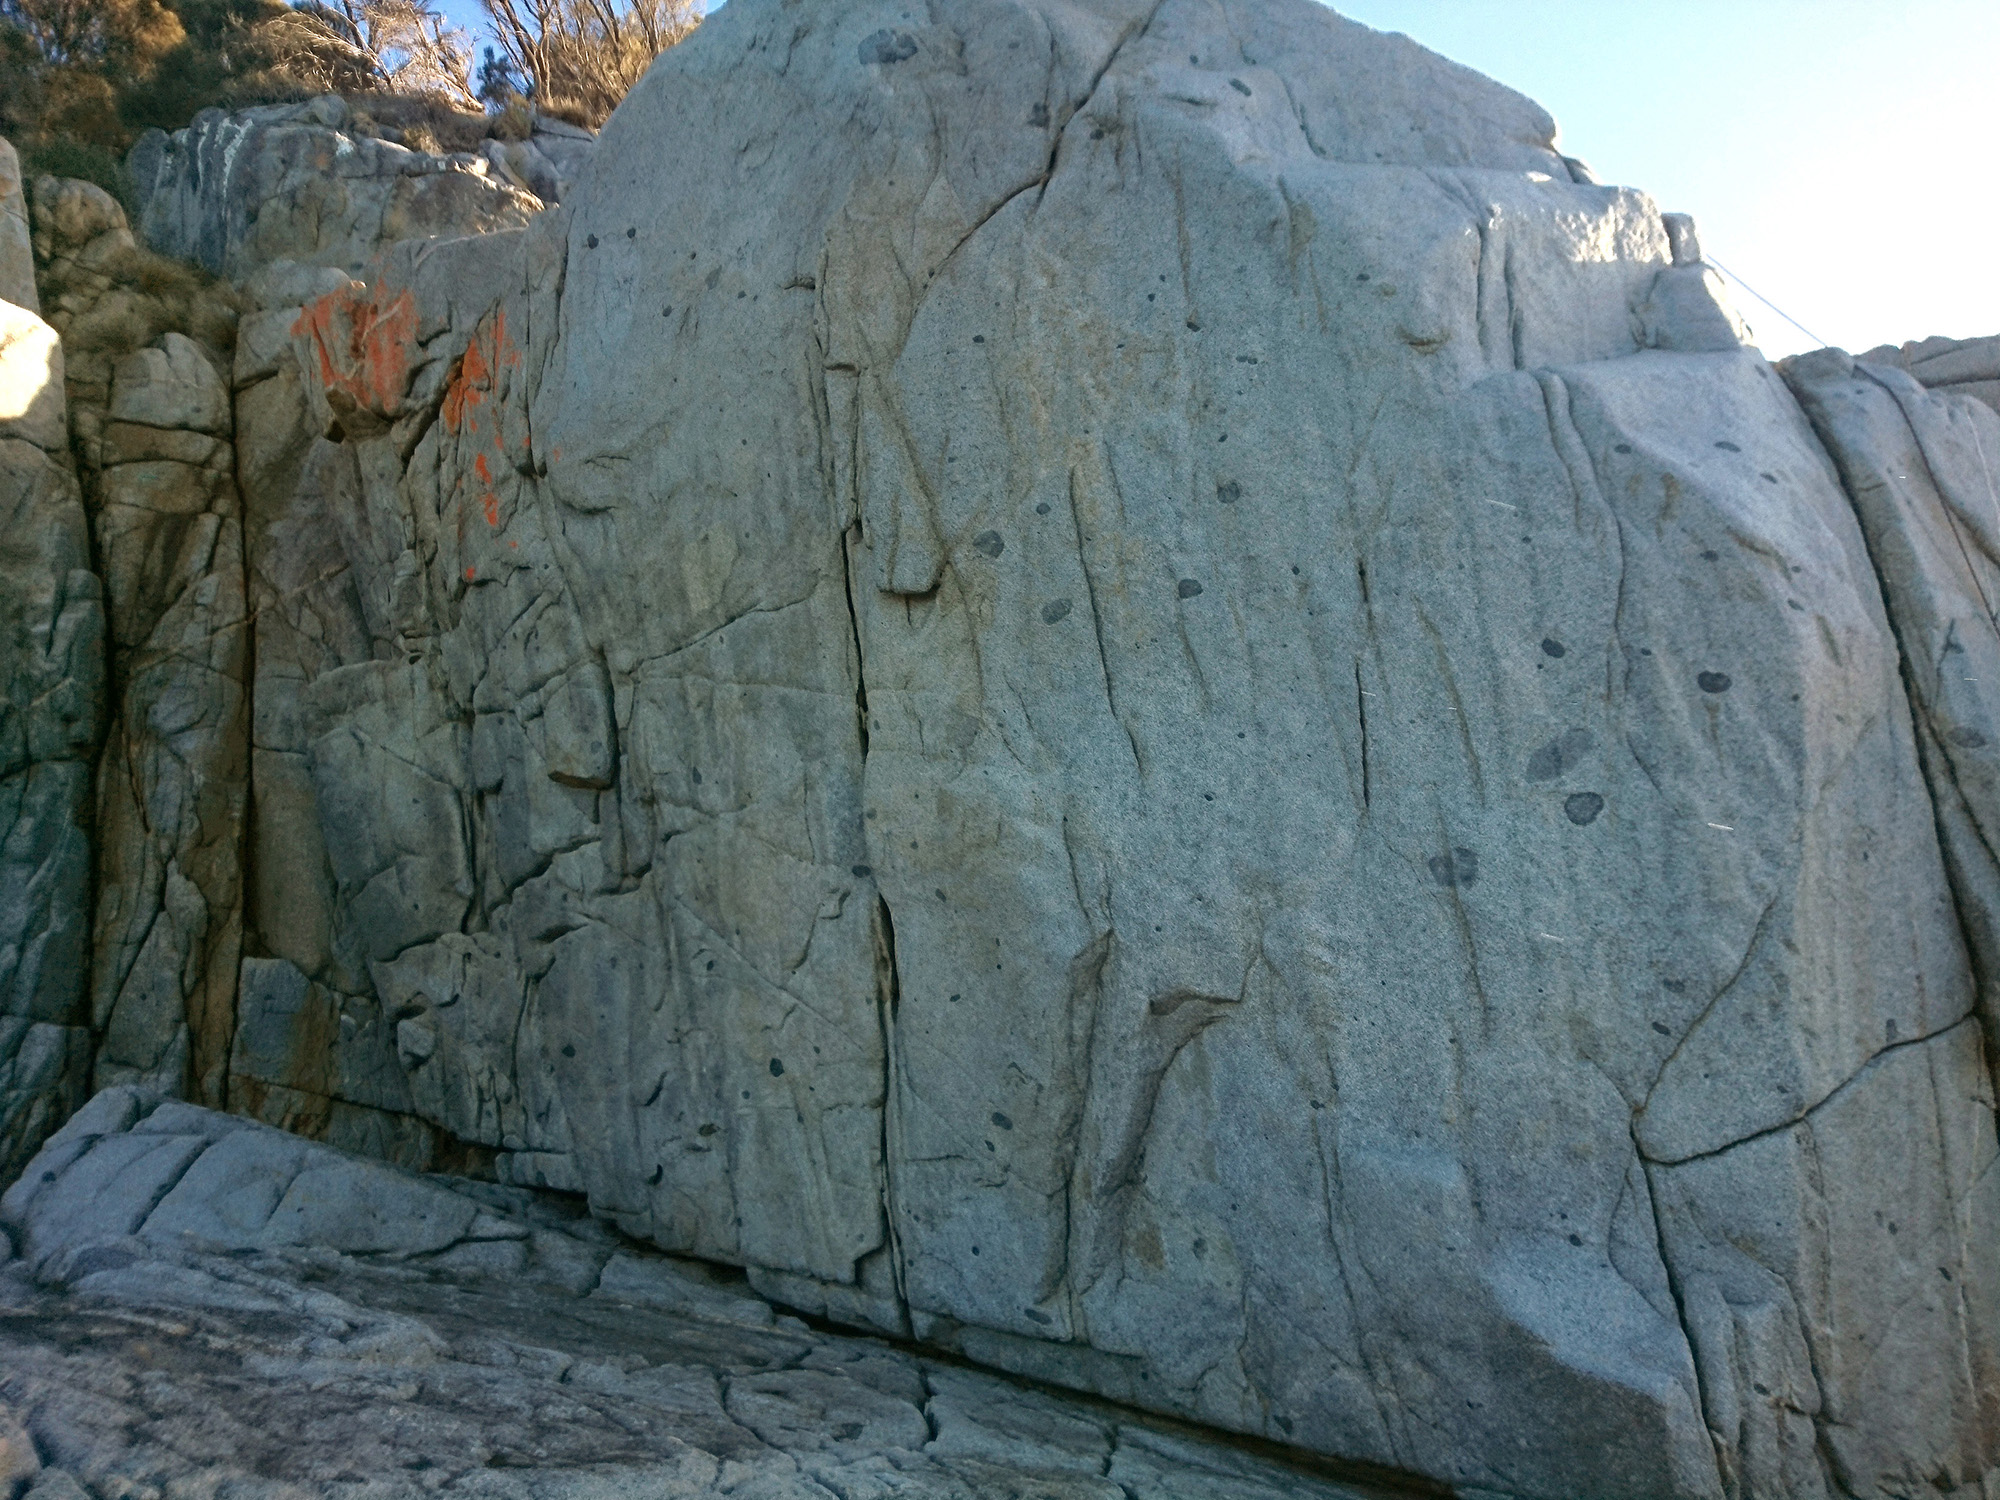
Rubiks Cuvbe
Yellow Face
Far left hand side of the face. Up steep wall and crack to top with awkward finish.
J.Pinkard, B. Baxter, Mar 1989.
The crack line right of The Horror. Adequately protected by wires and a 1 friend near the top. Move left to the frail looking jug just before the top.
R. Parkyn, S. Edwards, Mar 1996.
Steep, flared crack with layaways on both faces. Absolutely no gear.
J.Pinkard, B.Baxter, Mar 1989.
The Green Face: next right
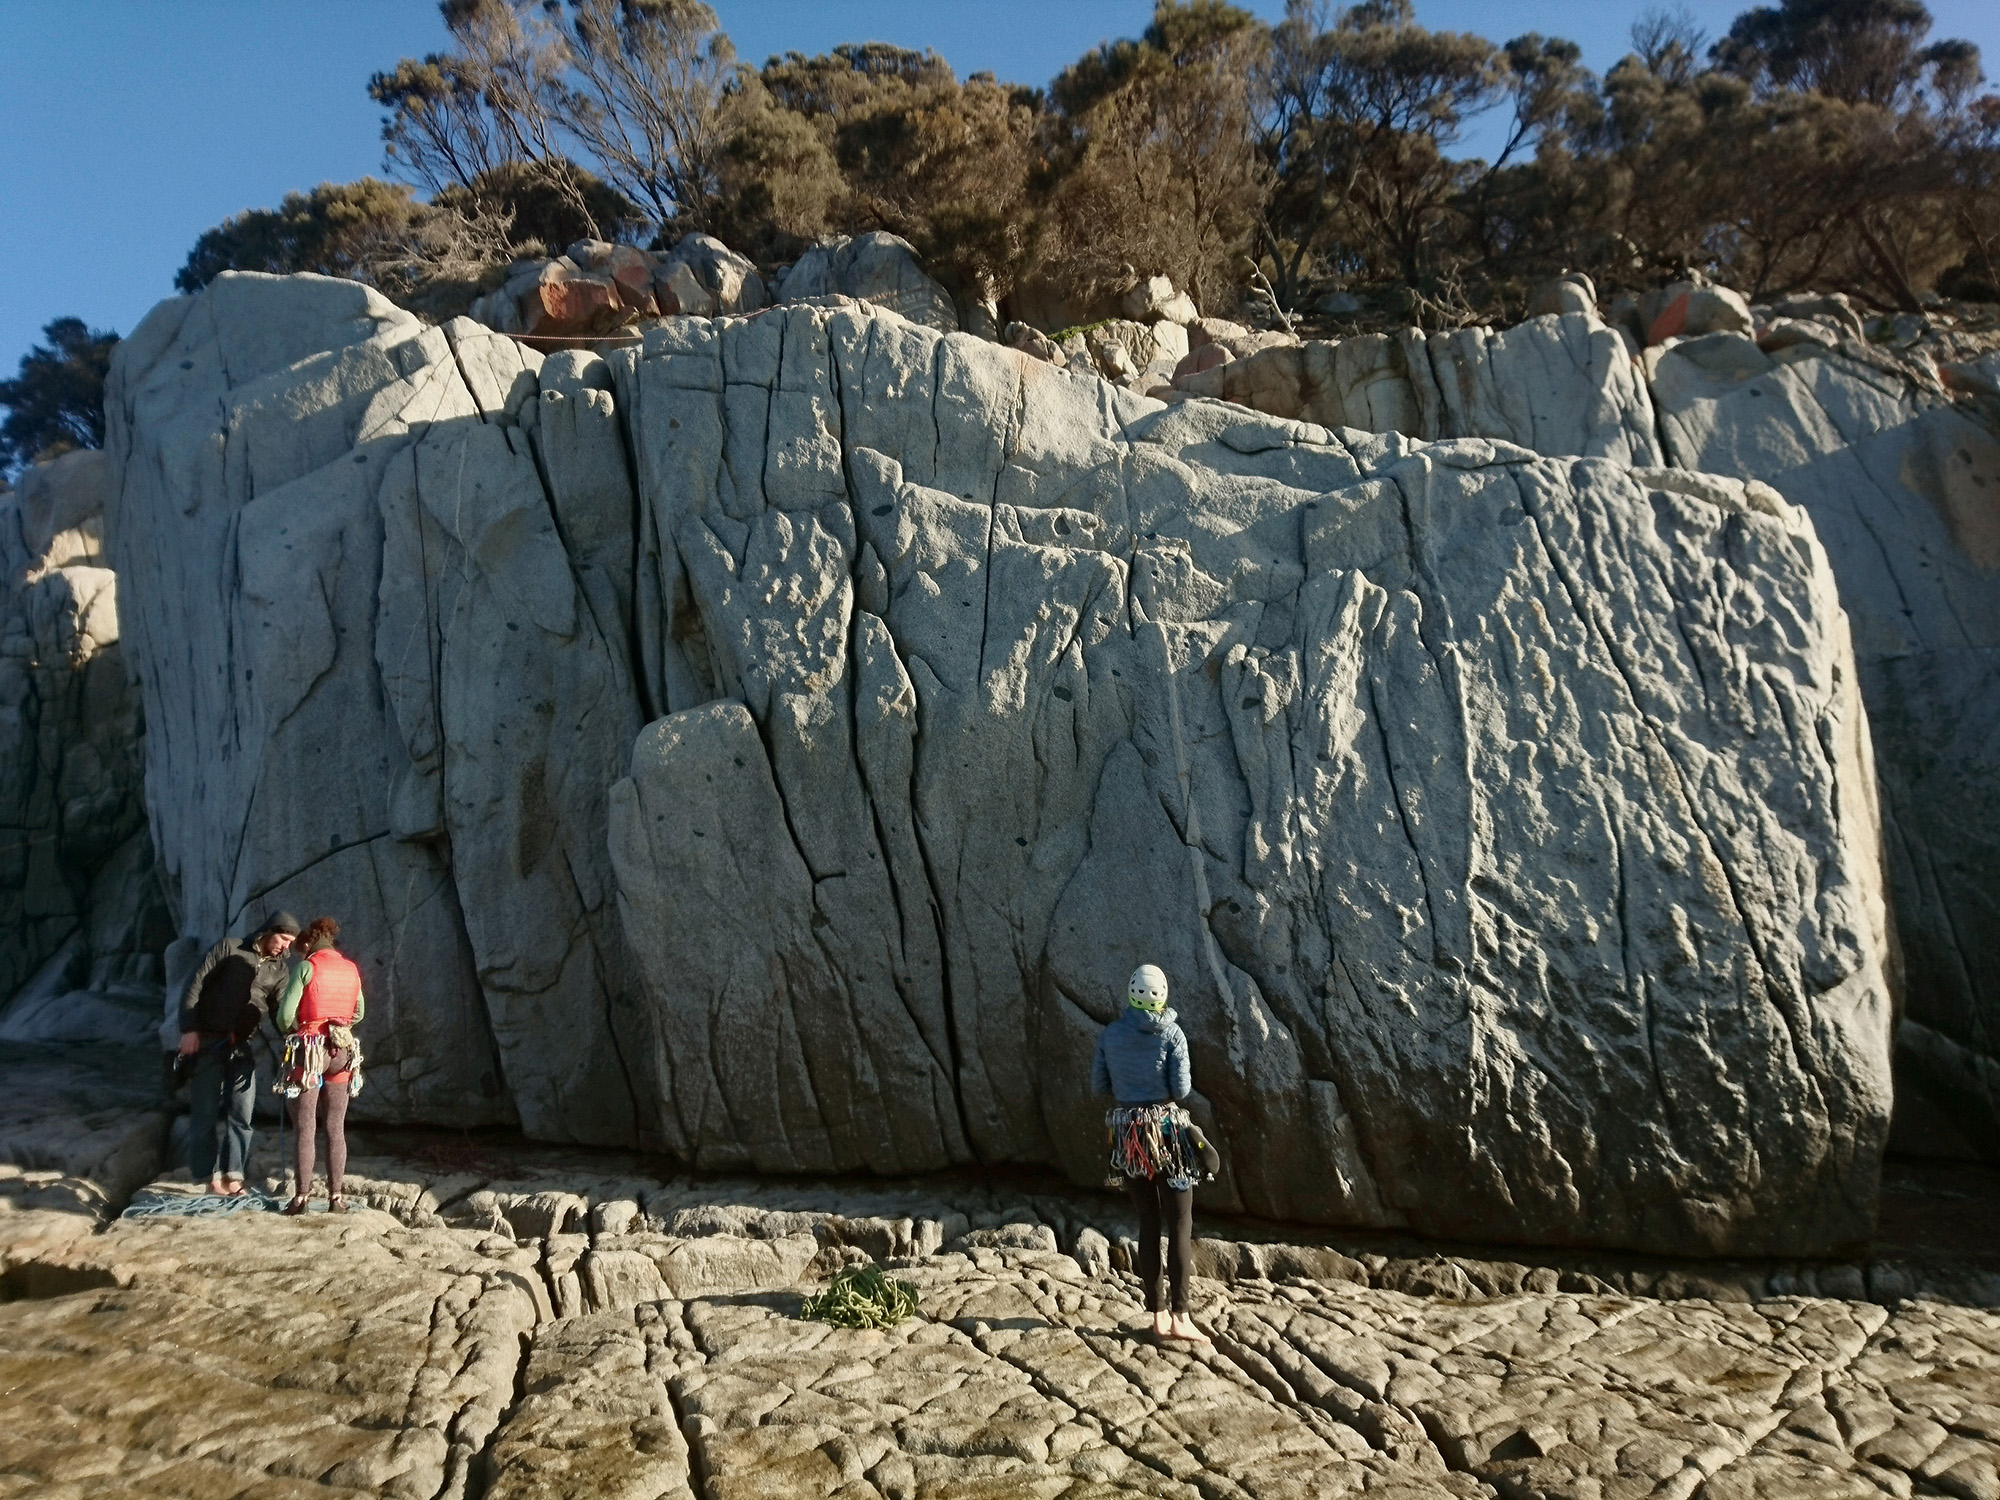
Rubiks Cube
Main Face
Up steep hand crack starting in the corner.
J.Pinkard, B.Baxter, Mar 1989.
A fun climb. The corner crack which is both varied and well protected.
D.Bruce, Mar 1989.
J.Pinkard, Mar 1989.
Start 3m left of Spirit of Place. Up crack and layaway, surprisingly to right, otherwise you'll end up on the other climb.
N.Deka, D.Bruce, D.Batten, Mar 1989.
Nice moves to flake, plug gear, top out.
C Lang, M Rosevear, A Nicholson, Apr 2026
Ascent of left trending diagonal confronted by thin balancy moves.
J.Pinkard, B.Baxter, Mar 1989.
The arête immediately right of Spirit of Place. Up into undercling and continue to thin crack (good wires here). Continue straight up the arête or dyno right to good holds and the top.
N. Selby, Apr 2001.
Glorified boulder problem up crack, out under roof and bridge to finish.
N. Deka, D.Stephenson, Mar 1989.
The Black Face: the next face right
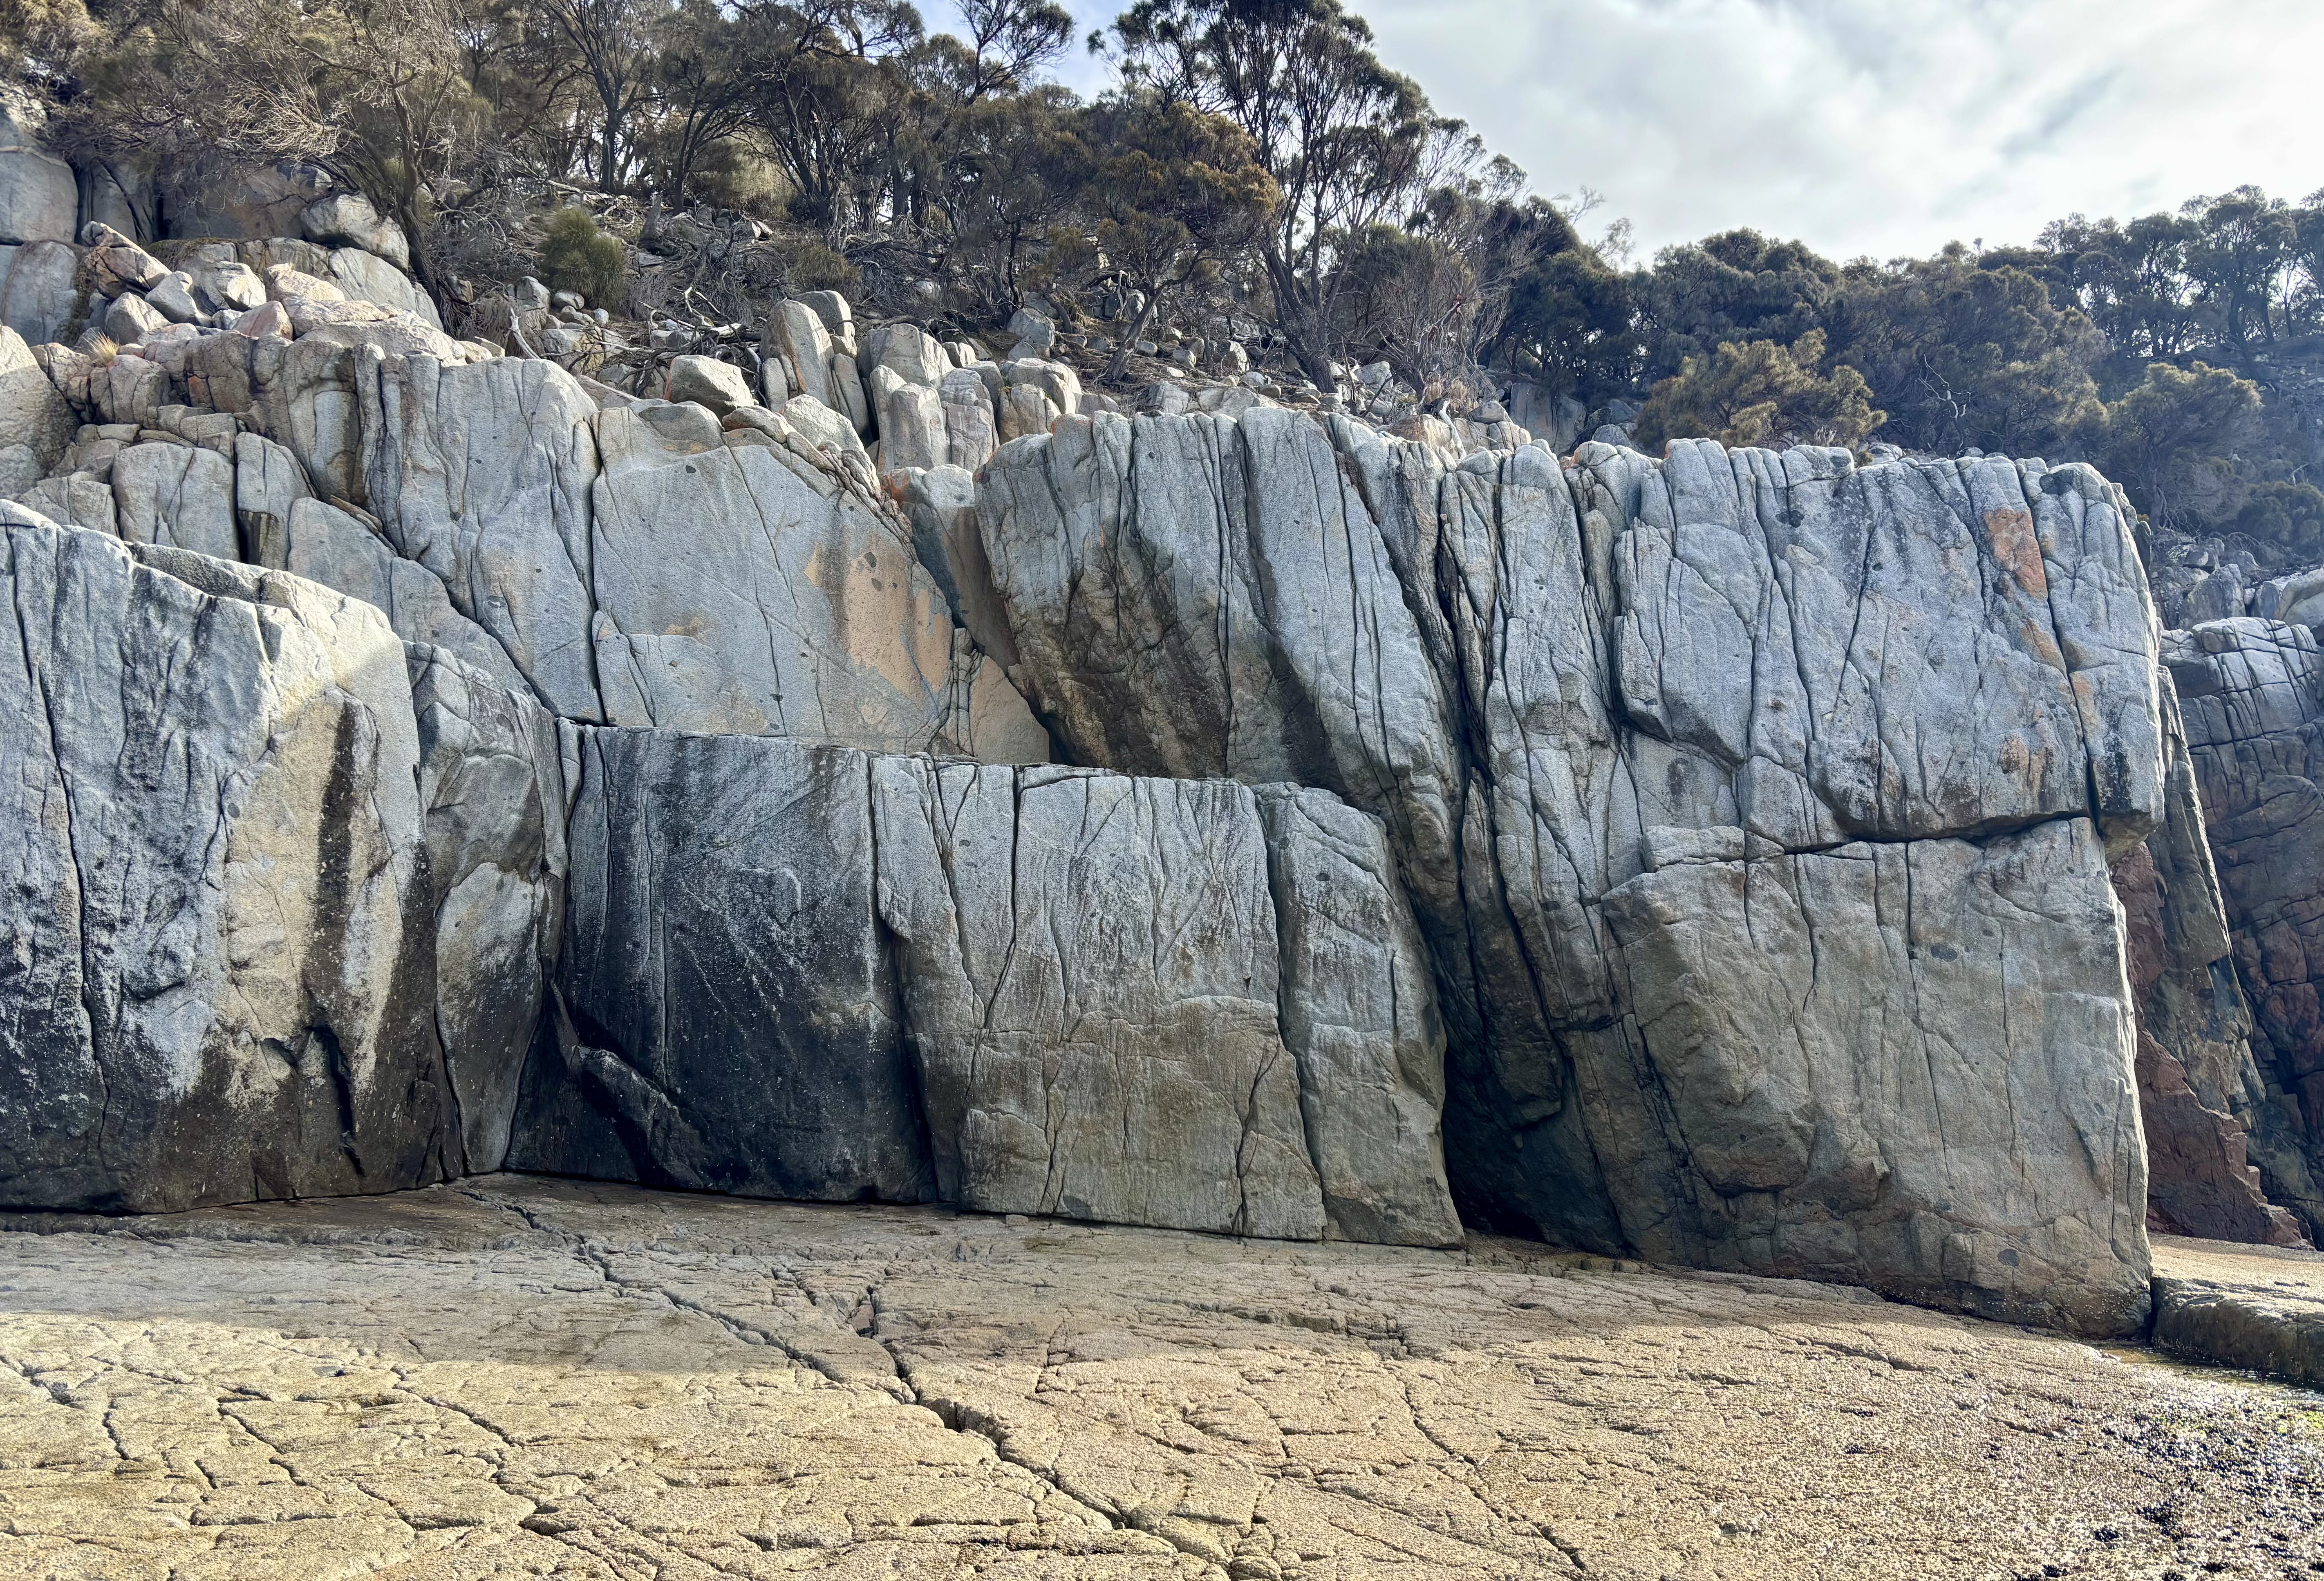
Rubiks Cube
Corner on extreme left of Black face. Bridge up blind corner to ledge. Up handcrack above. Bad protection.
D.Stephenson, N.Deka, D.Batten, Mar 1989.
Easy face.
J.Pinkard, Mar 1989.
Obvious arête about 5m left of Rhomboid.
N. Deka, Mar 1989.
The arête immediately left of the overhang. Pleasant climbing up hand cracks.
D.Stephenson, N.Deka, Mar 1989.
Climb the steep wall just right of the crack.
D.Stephenson, J.Otlowski, 1989.
Climb the overhanging crack.
Nick Deka, Neale Smith, 1989.
About 4m left of the arête, with a bouldery start.
N.Deka, D.Bruce, D.Batten, Mar 1989.
Up right arête. Take crack to top.
N.Deka, D.Bruce, D.Batten, Mar 1989.
Low-Flyer Wall: The steep wall that faces the the track where it meets Bluestone Bay, with two bolted routes.
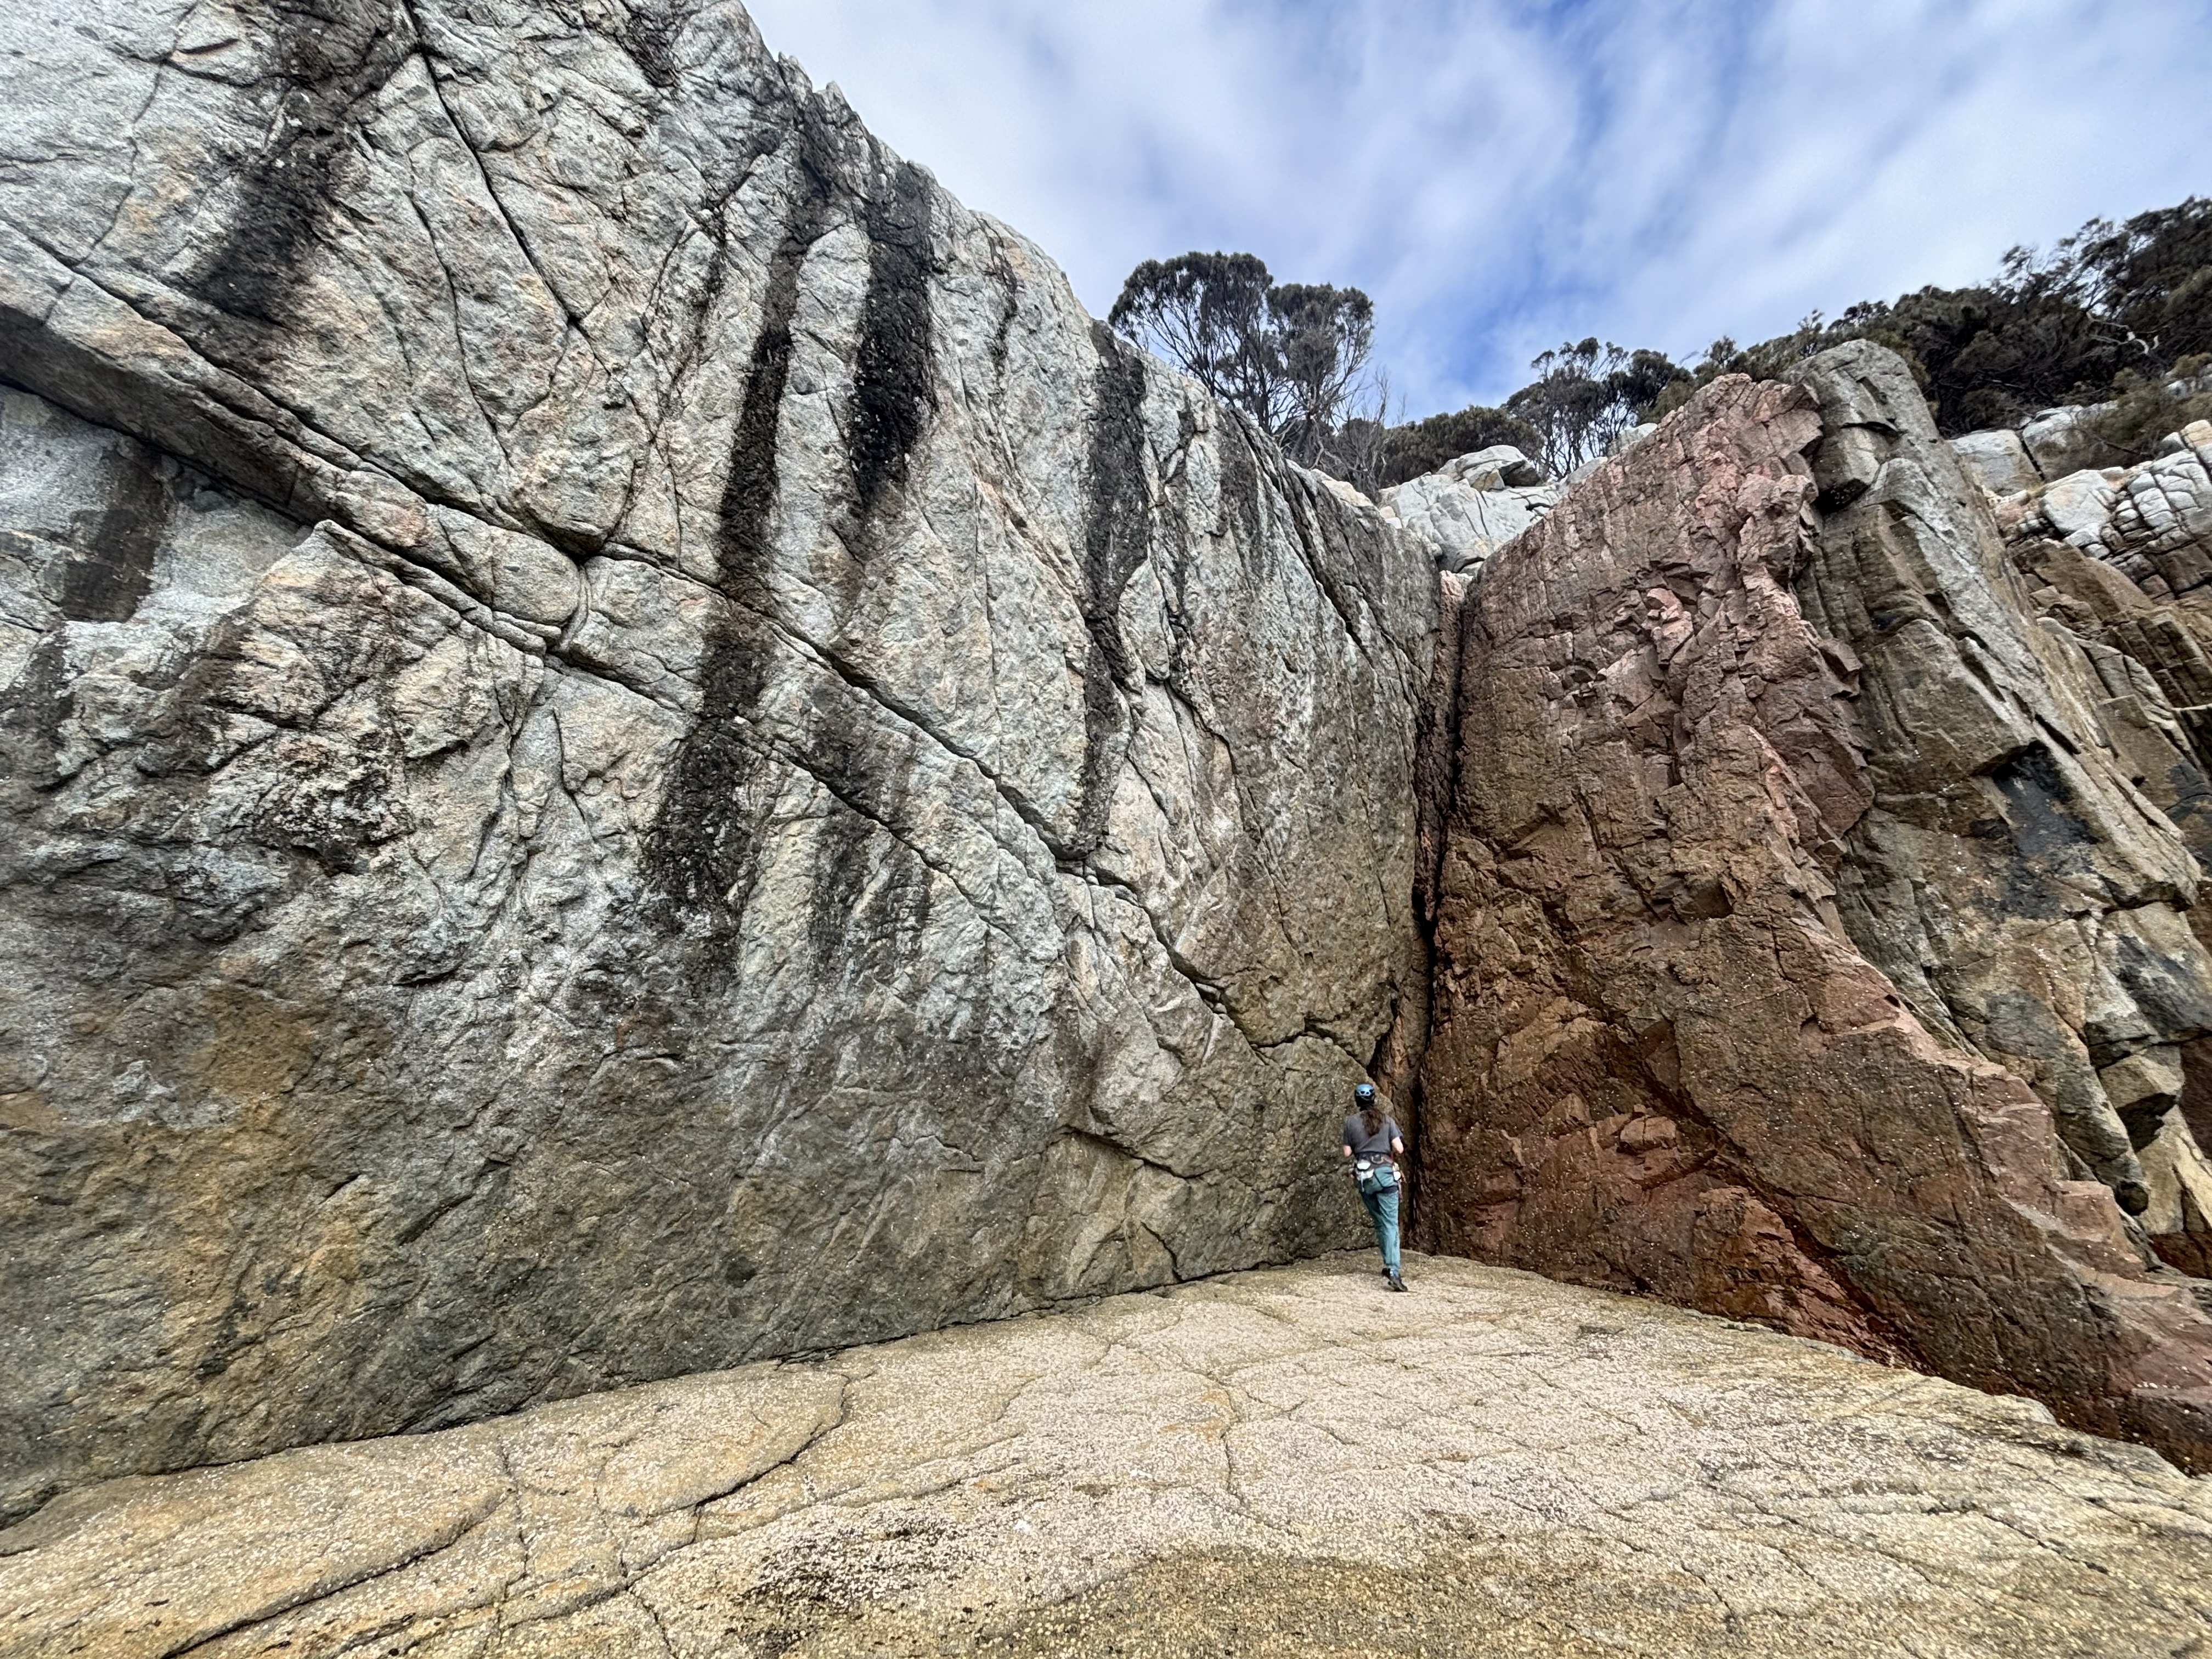
Low Flyer Wall / The Red Face
Project. Left line of bolts. S. Young
Right line of bolts. Steep face climbing to lower-off.
S.Young 2006
The Red Face: Again the next face right.
The easy corner where the Red face meets the overhanging Blue face.
Roxanne Wells, Mar 1989.
Just right of the centre of the face. A good route with RP protection.
D.Bruce, D.Batten, R.Wells, Mar 1989.
The far right arête, follow the join between the aplite and the granite. Excellent crack climbing, great gear.
N.Deka, D.Stephenson, Mar 1989.
Ferret Face: The compact grey buttress on the ramp above the far RH end of Rubik's Cube.
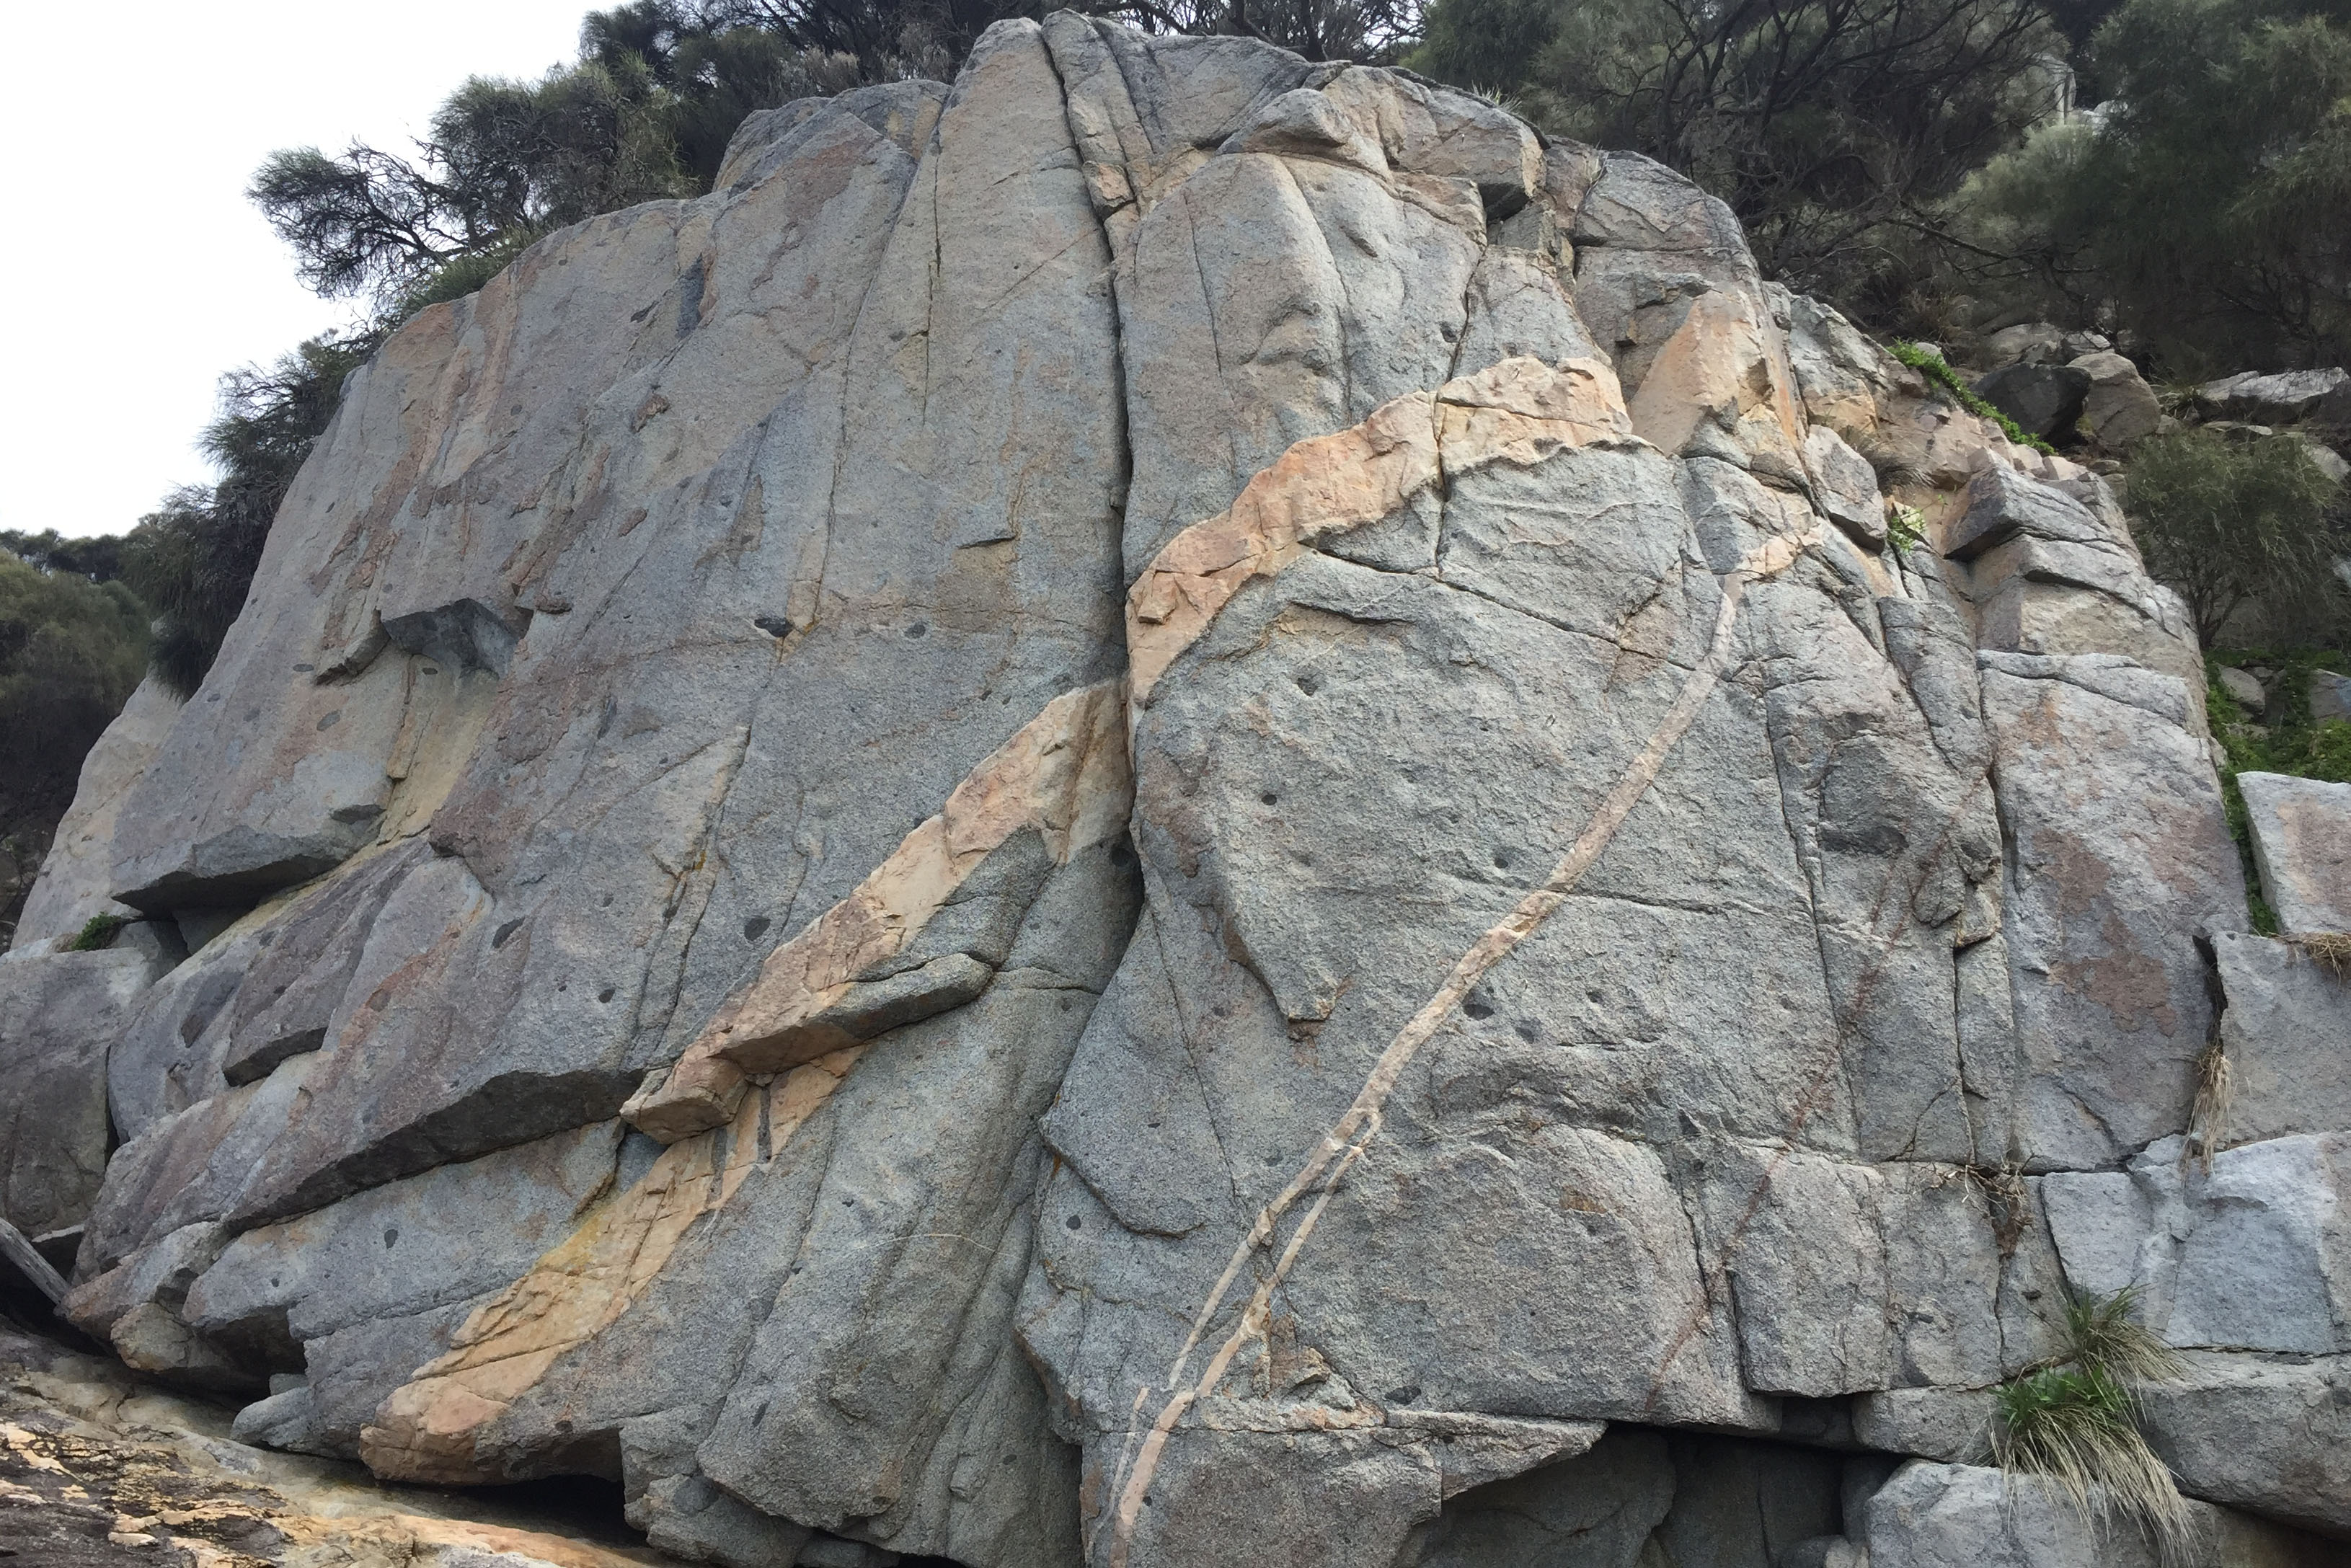
The short fist crack.
P. Eberhard, B. Eberhard, Jul 2020
The L curving hand crack up the middle of the buttress. Gritty.
R Eberhard, P Eberhard, Jul 2020
Climb slab past 3 bolts to DBB
Simon Young, Anna Johnstone 2007
Tetragrammaton Buttress
A large white piece of rock with some yellow stains on it. The cliff is located between Rubiks Cube and Alchemy Wall. It is hidden behind Alchemy Wall when viewed from Little Bluestone Bay. The best option is to rap in from some trees (50m), but access is possible down the gully on the Rubiks Cube side of the cliff. To use this access head down to just above Rubiks Cube and work around to Tetragrammaton. The approach scramble is about grade 9 (best to rope-up). It's possible to take the gully direct, but it's very loose and dangerous. There is a DBB on a prominent ledge half-way up.
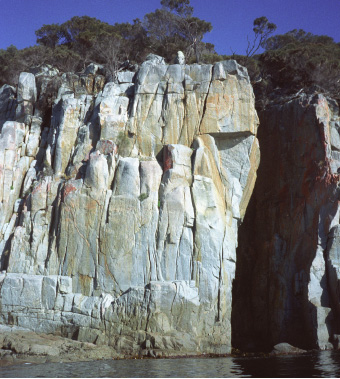
Tetragrammaton
To the left of the gully that splits the face. The collection of finger and layback cracks left of the large chimney, climb these and when they run out step right into the chimney and onto the top. Good climbing on excellent rock for the first half of the route.
D. Gardner, T. Meldrum, T. McKenny, J. McKenny, Jan 1994.
To the right of the gully that splits the face, on the left side of the wall. This route wonders up the wall to the right of the gully, but left of the difficult looking face to the ledge. Finish up pitch 2 of The Boy who Cried Wolf.
E.Lees, N.Smith, 1982.
J. Fantini, N. Smith, Nov 1981.
The crack right of the above, starting at a pillar of rock. Quite hard. Second pitch as above.
J. Fantini, N. Smith, Nov 1981.
A second pitch to Little Red Hen. The terrace half way up Tetragamatron Buttress is at two levels, the left being 1.5m lower than the right half. The line starts at the step between the two. At the top traverse right past a small tree, then up.
Pete Steane, Adrian Herrington, 1996.
J.Fantini, N.Smith, N.Deka, Nov 1981.
J. Fisher, B. Chilvers, Feb 1994.
G. Phillips and S.Young 2007.
Andrew [Squib] Cubbon & Lizzy Oh, July 2017
From a small stance near the water climb out to reach the belay of Exocet and fodiator.
note: The route is mostly bolted but A #1 camalot and a couple of medium sized wires are necessary to protect the middle of the route. The single bolt belay can also be backed up with a 0.5 camalot if needed.
Garry Phillips and Alex Lewis way back in 2008 i think
This route is on the south facing wall of the zawn just north of Tetragamatron Buttress, visible from the top of this buttress. Descent is by abseil. The line on the left of the wall, sustained and a little loose.
R.McMahon, J.Fisher, B.Chilvers, Apr 1994.
Alchemy Wall
"The best face in the whole Bluestone area. The cliff that can turn cottage cheese into gold."
The compact wall visible from across Little Bluestone Bay. A distinct right leaning crack can be seen on the wall's left hand end (Hermes Trismegistus). To get there head up and right from the road end at Little Bluestone Bay. Follow and faint pad and the cliff tops around towards the cliff. Go through a dry creek bed looking gully and continue for a few hundred meters. Alchemy Wall is marked by a cairn. The approach takes around 10 minutes. Abseil (recommended) or down-climb (slippery grade 6) down at the northern end.
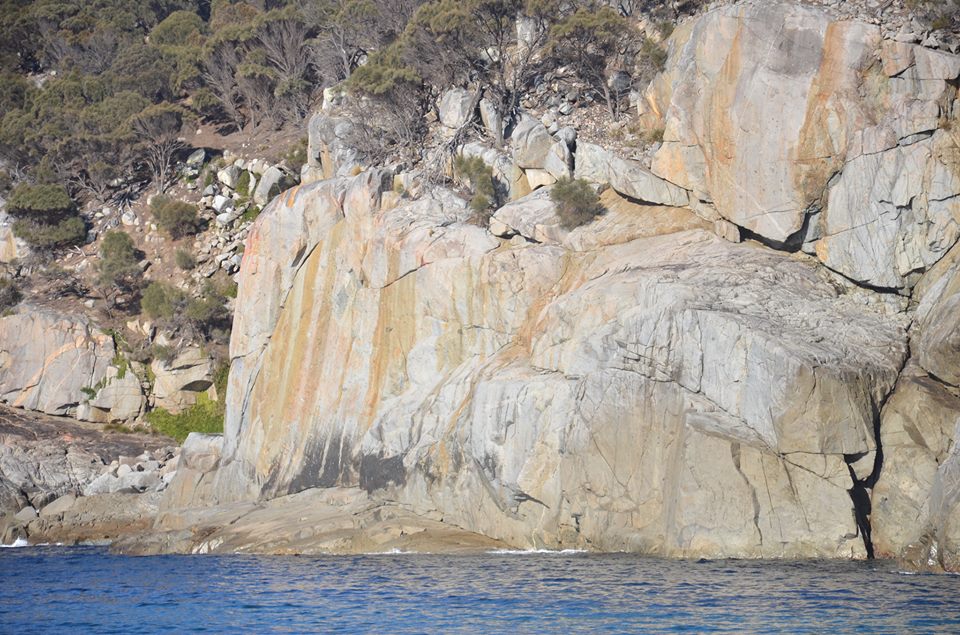
Alchemy Wall
- 13.Easy Solo12
- ★34.NameMe20
- ★★★50.Immaculate Misconception25
- ★★51.Hermes Trismegistus21
- ★52.Hermes Playmate22
- ★★53.Hermes Direct Finish23
- ★★54.I'm a Little Raver21
- ★55.Captivating Passions25
- ★★56.Ockham's Razor27
- ★★57.Walking the Plank Direct Finish22
- ★★★58.Walking the Plank19
- ★★★59.Blue-eyed Blonde19
- ★★★60.Alchemy21
- 61.Fools Gold15
- ★62.Exquisite Tenderness28
- ★63.L'Obsession22
- 64.Silver and Gold16
- 65.Haliaeetus Leucogaster17
The off-width corner left of Evelyn's Climb. A bit of a struggle, with the hard part of the off-width avoided by moving into crack at right near the top.
John Fantini, Neale Smith, Nov 1981.
Test our your thin-hands technique! - add a grade if you have big mitts. The striking overhanging splitter crack on the face left of Coolibah Crack. Up the tight hand crack to a stance. Then follow the easier climbing above, finishing up the short squeeze chimney.
Evelyn Lees, N.Smith, B.Maddison, P.Cullen, Jan 1982.
Climb up Coolibah Crack for 5 metres then follow the thin left trending diagonal crack out left to easier ground. Up the face.
Doug McConnell & Nick Hancock. 2002
The climb is located round left of the Alchemy Face and is a sharp, arching crack up the face with an orange hue. Awkward moves up initial flaring groove shoots you onto the delightful leftward leaning finger-crack up the steep face. A #4 is handy for the start.
John Fantini, Robert McMahon, Oct 1981.
The arête right of Coolibah Crack provides excellent climbing. The protection is good, comprising wires and bolts. Follow the arête to the overlap, turn this direct or slightly easier just R of the bolt, and head up the right side of the arête to the top.
Nick Hancock, Andrew Bissett, Aug 2001.
The diagonal crack on the left of the seaward face, providing steep and sustained jamming for its length. Finish-up the technical groove off the sloping ledge above (crux). Be careful of your cams walking into the back of the crack - hexes are useful.
John Fantini, Robert McMahon, Oct 1981.
Start up Hermes Trismegistus. Climb the cracks for 7m then left onto the face and directly up to some obvious underclings below the bulge. Move left a touch then climb the thin technical seam via a ledge to the top.
Simon Carter, Roxanne Wells, Feb 1995.
Climb Hermes to two-thirds height then head direct up the blocky corner (crux) and thin strenuous layback crack above.
Alex Lewis Aug 2013
Start as for captivating passions in nice crack system (actually a little spicy) but just before the bolts and diabolical crux of CP traverse left and finish up Hermes. It climbs the best parts of both routes! Classic.
Simon Bischoff and Daniel Hazell June 2020
Right of Hermes Trismegistus is a discontinuous line leading up to two u-bolts. Try to climb past these to the top.
Grant Rowbottom, 1999.
Pure slab in the middle of alchemy wall. 6 U-bolts + 1 or 2 small cams to climb to first bolt. Crux begins at fourth bolt with flake. Thin moves up to flaring crack (can use wires to protect) and straight up to ledge. Place # 3 Camalot in break, climb the final bulge to the top.
Simon Bischoff, August 2013
Climb Walking the Plank, but rather than stepping right into BEB head left past 1 bolt runner and up to lay back off width to finish. Take a #4 friend for the top.
Garry Phillips & Jake Bresnehan Sep 2007.
The equally gorgeous crack system left of Blue-eyed Blonde. The cracks run out on the upper face, forcing an exciting rightwards traverse into Blue-eyed Blonde.
Neale Smith, Nick Deka, Oct 1981.
Gorgeous. Follow the thoughtful crack system to the steepening, then up this (crux) to a small ledge and the top. Excellent protection.
Neale Smith, Nick Deka, Oct 1981.
Very classy climbing up the far right crack system. Delicate moves between the cracks lead to a crux passing a good hold at half height. Finish up the finger/hand crack above.
John Fantini, Neale Smith, Nick Deka, Nov 1981.
Alchemy Ramp
The next climbs are located on the ramp above Alchemy Wall.
A nice little corner on the left end of the tier above Alchemy Face. Awkward moves to gain ledge on arête.
Nick Deka, Neale Smith, Oct 1981.
The thin bolted face right of Fools Gold.
Grant Rowbottom, 1999.
To the right of Exquisite Tenderness. 5 bolts.
Norm Selby 7 Jun 2003.
About 10 metres to the right of Exquisite Tenderness is a steep arête. Start about 2 metres further right of this underneath some large undercling flakes. Up the wall to the flakes and traverse leftwards around them to the arête. Up the arête and blocks above to the top.
J.Nermut, J.Anderson & E.Bradley Jan 2001.
Start a metre or two further right than Silver and Gold and climb the thin broken crack and the blocks above to the top.
J.Nermut, J.Anderson & E.Bradley Jan 2001.
Second Ramp
As you walk to Alchemy Wall from Little Bluestone Bay you cross a small, dry creek bed shortly after you turn south (5 minutes after leaving the road end). This creek drains over the First Ramp. If you drop down to the cliffs about 50 to 100m south of this creek, you emerge near the top of the second ramp.
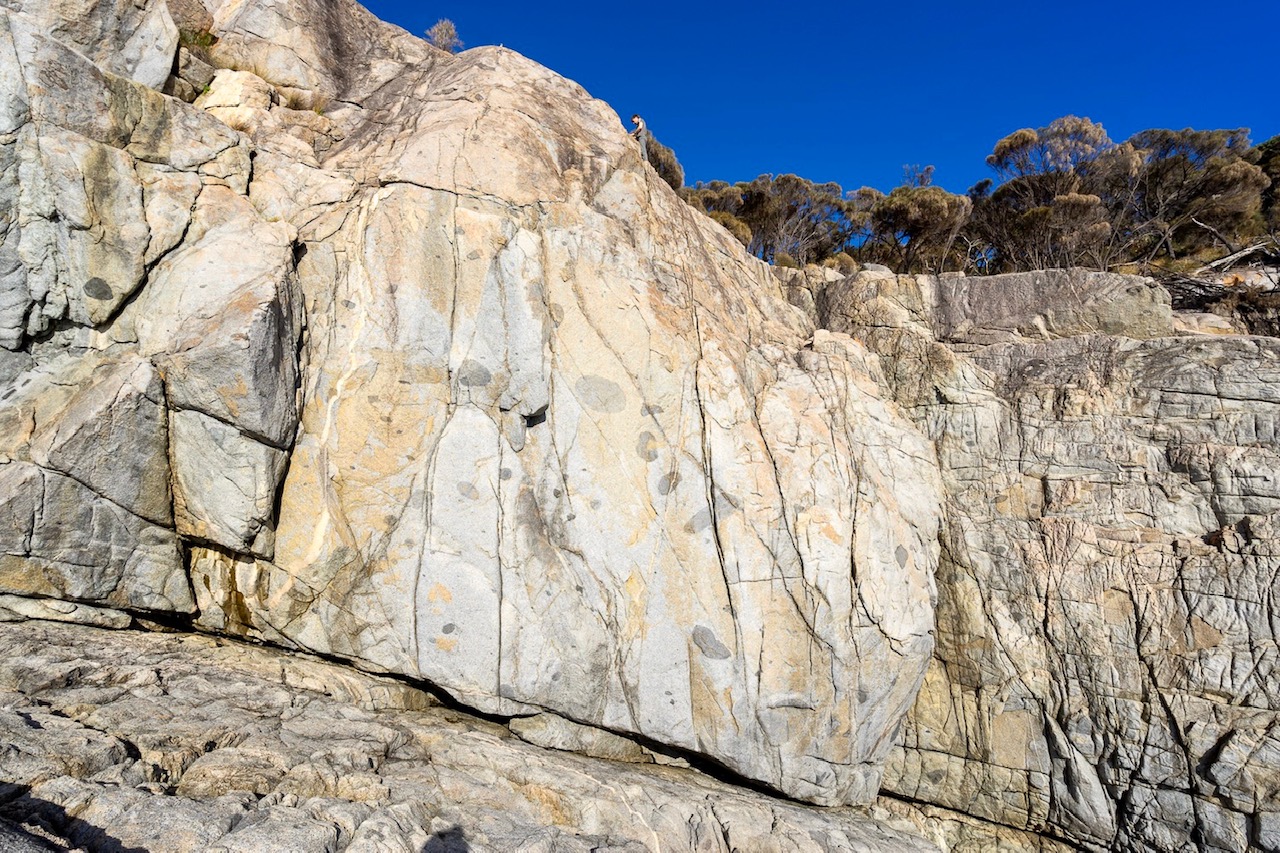
Second Ramp
On small pinnacle at left end of crag, climb open groove on north side to roof and bolt. Hard moves to BB on top.
Nick Hancock & Norm Selby Mar 2003.
Start at a small downward pointing flake left of Double Deka. Climb the initial overhang then continue up the lower angled rock to the top.
Kim Robinson, Aug 1997.
About 2m left of Firewalker. Crux is laybacking down low, finishing up same slab as Firewalker.
Nick Deka solo.
The short corner at the left end of the short steep face which turns into a slab at 4 - 5m. Up the corner to finish up the slab.
Neale Smith (solo), Oct 1981.
The next line downhill and 3m right. Follow the appealing finger crack with a long reach out right to gain ledge. Finish up the thoughtful easy slab above.
John Fantini, Robert McMahon, Oct 1981.
Next line right. A graceful corner finishing up slab. Bridging moves with tricky protection.
Nick Deka, Neale Smith, Oct 1981.
The obvious line right of Steel Springs. A boulder problem start leads to tricky flared jams. Finish up the easy slab above.
John Fantini, Robert McMahon, Oct 1981.
On the short overhanging face just right of Curious Fanatic. Dynamic bouldery start, easy to top.
Robert McMahon, Mar 1989.
The obvious rightmost corner about 20m left of the sea.
Neale Smith (solo), Oct 1981.
The rock wall right of this corner is short and easy. Go for your life.
A white wall down the Second Ramp. The line goes up the left of the face just right of the corner. Good holds - steep start and easy later.
Neale Smith, Robert McMahon, Oct 1981.
Further right, up the centre of the face. Same as above.
Neale Smith, Robert McMahon, Oct 1981.
Scramble to sea level below Second Ramp. Follow a traverse line easily south. Step around arête and climb as you please up the broad open slab. Finish up corner and blocks to trees.
Tim Whelan, Oli Crawford, May 2021.
First Ramp
As you walk to Alchemy Wall from Little Bluestone Bay you cross a tiny creek shortly after you turn south. This creek drains over the First Ramp. If you drop down to the cliffs about 50 to 100m south of this creek, you emerge near the left end of the First Ramp.
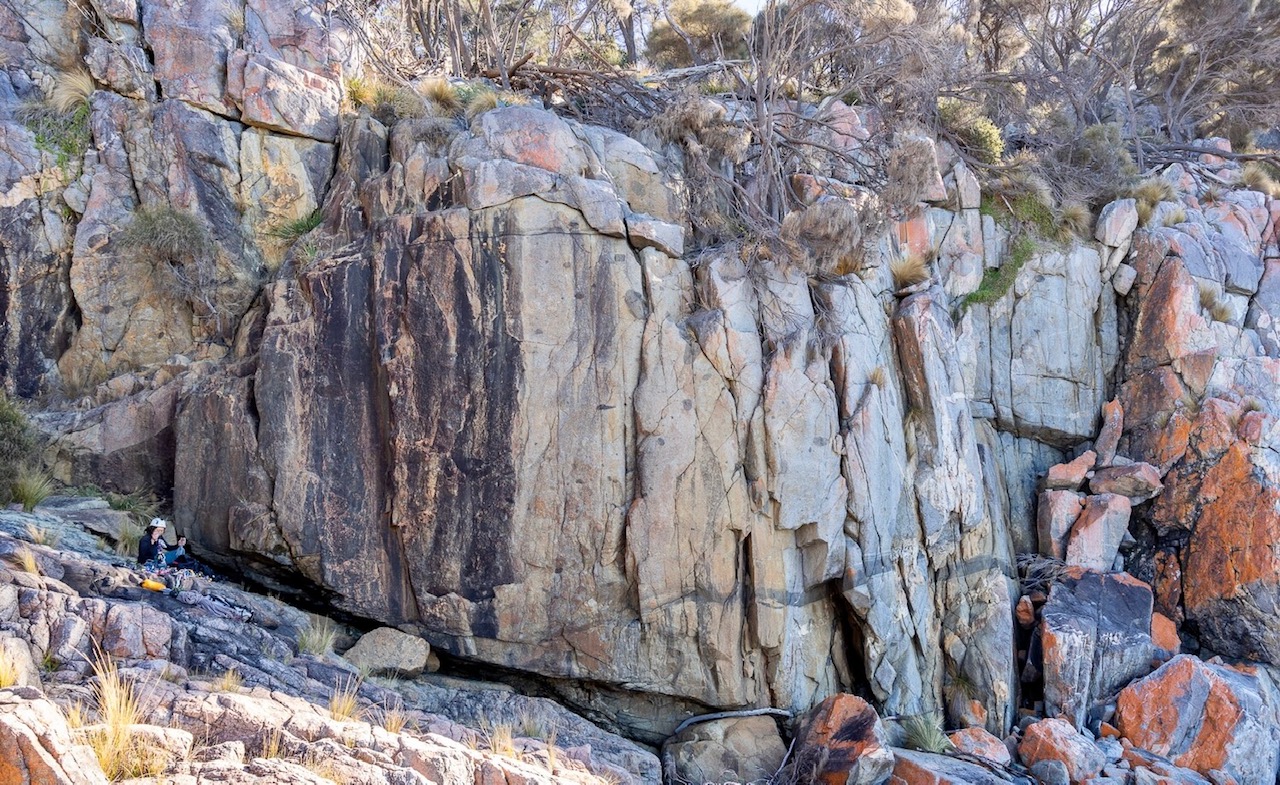
Top of First Ramp
The first corner on the small black face. Crux move of thin bridging about a body length off the ground. Straight forward and pleasant bridging all the way with decent protection.
Neale Smith, 1981.
The finely detailed black stained face just right of Bearded Clam Corner. Sustained, and has poor RP protection.
R.McMahon, R.Wells, 1989.
Further down the ramp are several lines on a steep face. The first is a black corner and the second is this corner. Quite technical and steep face climbing.
N.Smith, R.McMahon, Oct 1981.
Just left of the main buttress. The route takes a direct line up through the overhanging bulge. Strenuous but not sustained.
N.Smith, R.McMahon, Oct 1981.
The open book corner to the right of Velchanos. Up that (too easy), pull through overhang (too hard) and up crack above (too loose).
D.Gardner, A.Holden, Jul 1990.
The high large block with a crusty orange face. Through roof onto steep face. Poor protection.
Marc Tierney, Micheal Fox, Andrew Brooks, Mar 1989.
On the first major buttress you come to is a diagonal line starting lower left on the main buttress passing through roof near the top (crux) followed by good but easy corner to finish.
Robert McMahon, Neale Smith, Oct 1981.
On the right on this face. Very balancey, committing moves rounding rooves, move leftwards to gain jams. Easy to top.
Robert McMahon, John Fantini, Oct 1981.
To the right (north) of First Ramp is a striking block with an overhanging base. Follow the crack up the seaward face.
Kim Robinson, Aug 1997.
Travel Land - Upper Tier
The first sizable piece of rock north of Little Bluestone Bay. To get there head down the track to Little Bluestone Bay and turn left at the end and walk 50m. Easily approached from above or below. You'll be able to recoginise it by the shiny new bolts Norm has placed.
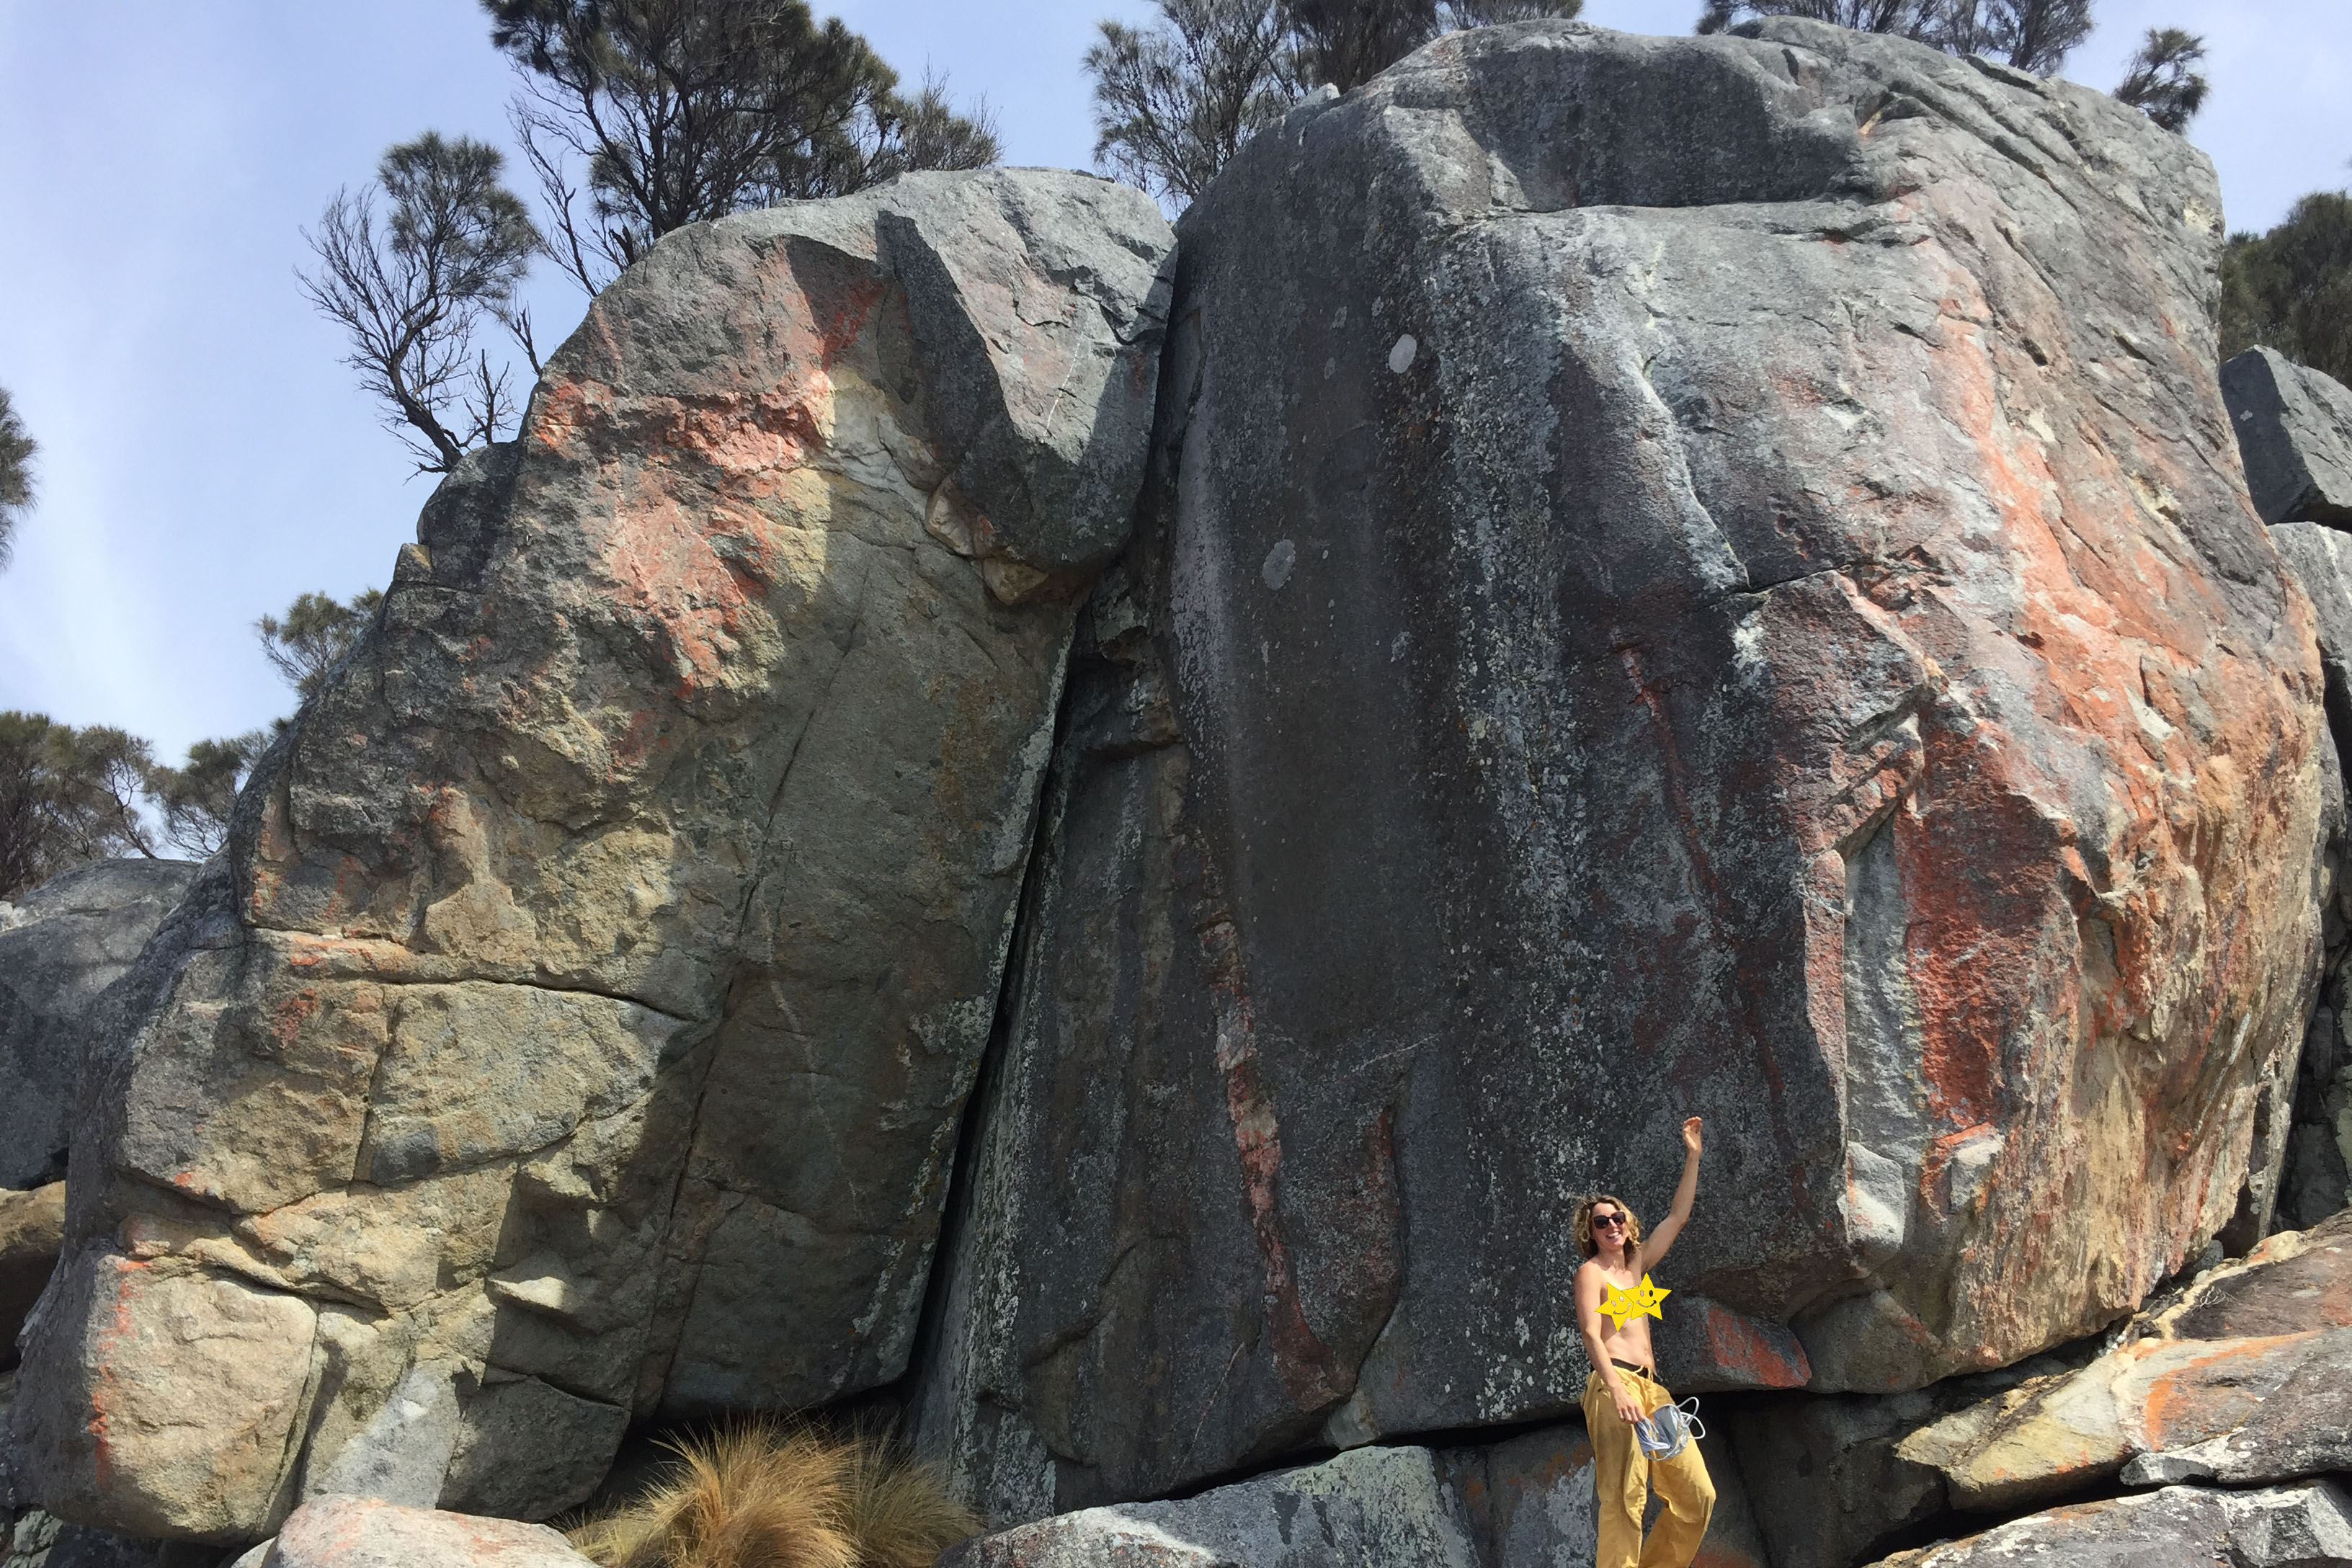
Travel Land
The overhanging arête left of Hugs n Kisses. Best to stick clip the second bolt or climb on double ropes.
G Phillips, May 2003.
Off-width.
Jay Audenart, 1998.
Start as for Tribute then swing left and follow bolts up the face.
G Phillips, Feb 2003.
Start in corner up slab face with 5 U bolts.
Norm Selby 12 Oct 2002
Start just right, stick clip first bolt and up steep face, 5 U bolts.
Norm Selby, 25 Aug 2002
Start 2m to the right, stick clip the first bolt and go up the arête past 4 U bolts.
Norm Selby, 12 Oct 2002
Off-width. Good fun.
Norm Selby, Cristy Walker, Eloise Bradley, Al Williams 2002
Travel Land - Lower Tier
The following routes are straight under Travel Land, at two rap bolts on a point.
Follow the dyke, past 3 u-bolts.
Norm Selby, Dec 2002.
The arête with 2 u-bolts plus gear.
Norm Selby, Dec 2002.
Right hand face and crack, gear to 1 u-bolt.
Norm Selby, Dec 2002.
The blunt arête 50 m right of Travel Land. Fridge lifting past 4 bolts to a DBB.
Nick Hancock, Duncan Shepherd, Kelly-Ann Schilke & Duncan MacGregor Dec 2008.
Sentry Box
From the end of the track at White Stack, the Sentry Box is easily seen about 200m south. It is the big square block with the orange white face. The upper half of Sentry Box takes the crack which splits this face. It can either be approached from White Stack, or northwards around the coast from Little Bluestone, past Travel Land.
Powerful side-pulling up the double-edged arête starting about 5 m left of The Sentinel via 4 bolts to a single bolt lower-off.
Nick Hancock Nov 2004.
Start as for Sentry Box. Climb the Sentry Box, continuing straight up the left side of the arête (crux), where Sentry Box escapes right (small RP's) - Lower off anchors (unknown origin, now above route)
Dave Gray, Carol Hurst, Nov 1997.
On the left hand arête at the base of the buttress. Up slightly left of the arête with some awkward balance moves to gain a shallow corner to get under the block. Traverse right to gain the crack and straight up, first on fingerlocks and then good jams.
F.Moon, W.Moon, 1980.
A lower level double arête with 3 u-bolts (starting to look a bit worse for wear). Looking at the Sentry box crack walk directly behind you and go 5m you will reach the top of the climb.
Norm Selby 28 Dec 2003.
There is possibly a climb just south of White Stack. You may find it with this description.
Directly below the most southerly campsite, the first obvious line visible to the south of the Easter Island lookout. A brilliant route with a great hand-crack at two thirds height.
P.Hairsine, S.Hairsine, Jan 1988.