
Lassies Wall and Harlequin
 5 min
 Morning sun
 Perfect white granite, 10-25m
Lassie's Wall
A justifiably popular crag providing pleasant leading and top-roping on excellent rock. By and large these are Lassman's original descriptions, but other popular routes have been included.
Every part of this wall has been climbed on, so please don't write-up new descriptions / routes, even if you're sure you've created a new overnight sensation.
There are two north leading descent ramps below and slightly to the south of the main Whitewater Wall camp site. To get to Lassies Wall follow the old road along the cliff top southish until you see a no vehicles past this point sign. You should pick up a good track, through the she-oaks to the steps down to the cliff. On the left is Ocean Boulevard, on the right, below the ramp at the bottom of the steps is Lassie's Wall - descend the ramp until it is possible to gain the ledge system below the wall.
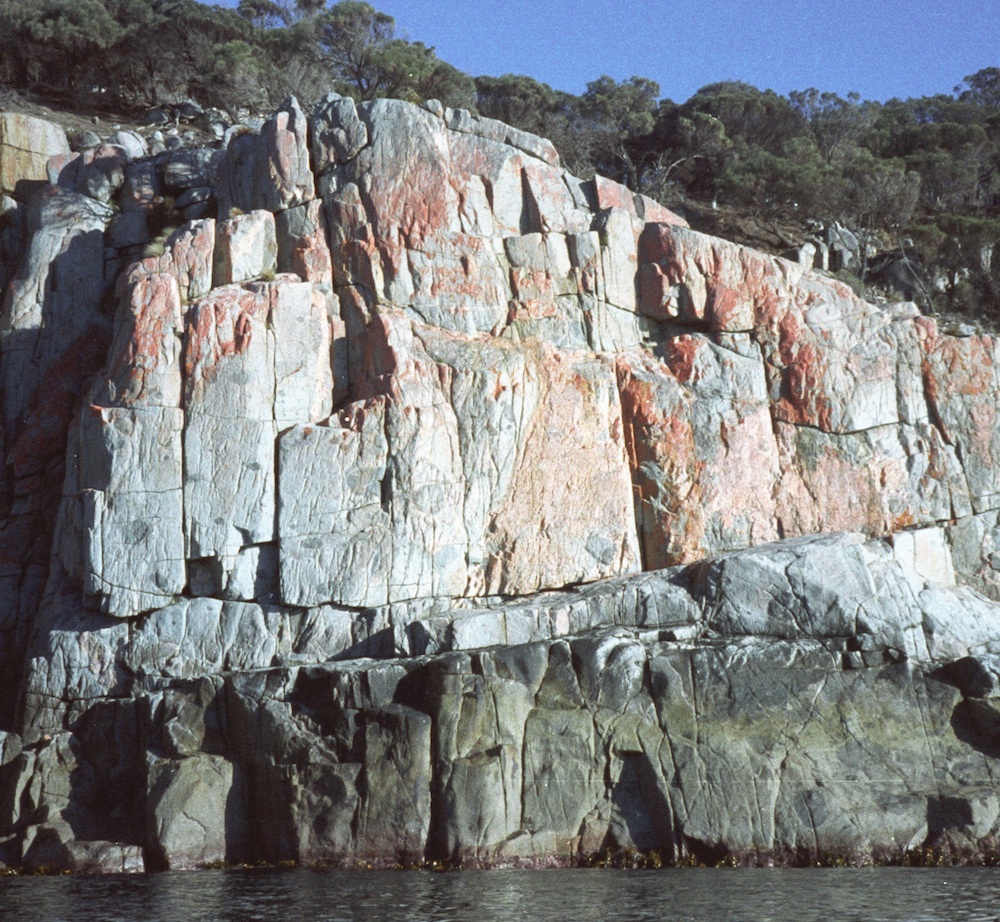
Lassies Wall
Simon Young, Jed Parkes 10-03-2012
On the LH end of Lassie's Wall, around the corner from the main face, a dyke crack system gives good climbing. You can escape hard moves at the top by climbing into the gully.
Garn Cooper, Pete Steane, Dec 1982.
The superb jam crack on the far left of the wall. Up the wall to pull into the cave, through bulge and then jam up the line to a broad ledge. Either belay here and easily walk around the back to the short gully exit (shown on topo), or finish up the chimney to block belay.
R.Lassman, N.Booth, Dec 1974.
Start 4m R of Cordon Bleu. Jam and bridge through small roof, then straight up to belay. Exit as for Cordon Bleu.
R.Lassman, N.Booth, Jan 1975.
Start 10m R of Antagonist. Climb the wall for 7m then climb the crack for 7m then chimney the remainder.
R.Lassman, N.Booth, Dec 1974.
Climb the crack line about 2m R of Pandora and just L of start of Rose Ramble, finishing either a)up the chimney (11), or b) up the thin crack line on wall to the R of chimney, exiting via the short off width at the top (17). A bit thin on protection and take a big cam for the top!
Not known
Start 4m R of Pandora, on the L fringe of the pink rock. Climb the R tending grove on the L fringe on the pink rock, continue directly when this runs out.
Not known
A good first lead for those new to the art of beard-stroking. Start 7m R of Rose Ramble. Up orange-coloured chimney to ledge, then follow the twin cracks to top (either trending left or going direct).
R.Lassman, N.Booth, K.McConnell, Jan 1975.
Climb the yellow face 2m R of Artemus to the foot of a thin crack. Above climb the prominent corner in the upper part of the cliff.
Not known
A good line 10m R of Artemus. Straight forward wall climbing for 18m then finish just R of thin section at top.
R.Lassman, N.Booth, K.McConnell, Jan 1975.
Under a prominent undercling in overlap 4 m R of Ballyhoo. Up to the undercling then onto the wall above.
Not known
Start 6m R of Lassie Come Home. Up the L facing corner with surprising difficulty.
Not known
Ocean Boulevard
This is the convoluted area including the wall above the descent ramp to Lassie's Wall and extending around to the start of Deepwater Zawn. For the most part the routes are best approached by following the ramp down to Lassie's Wall.
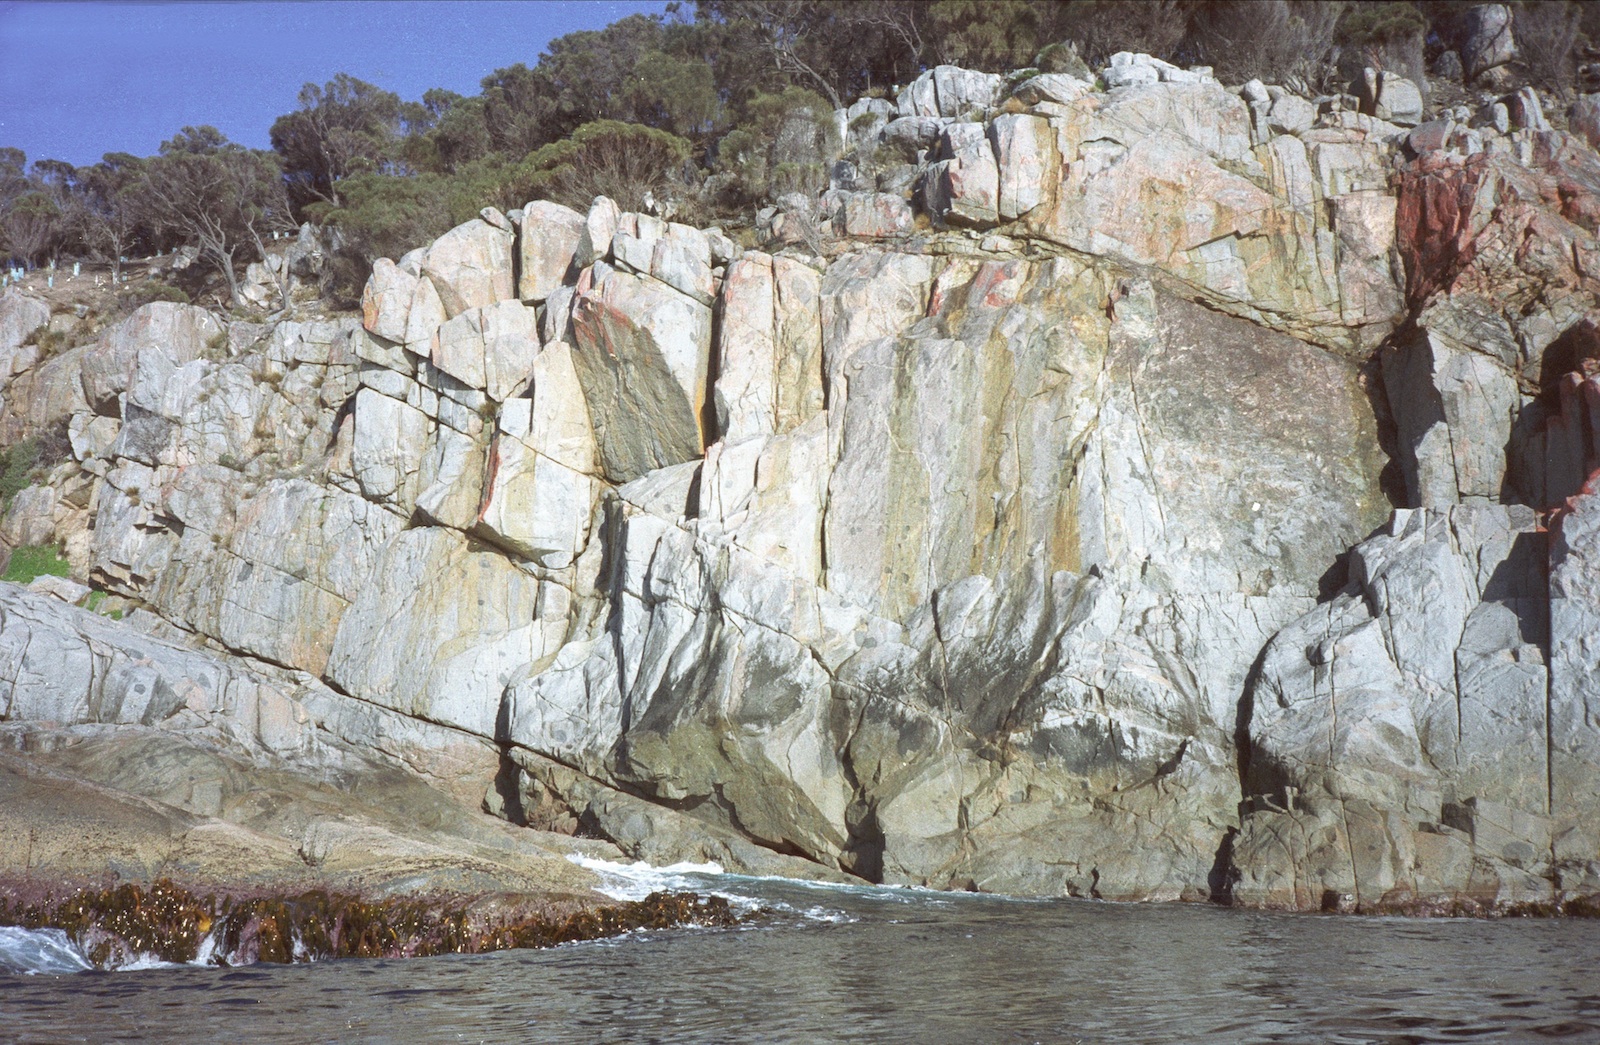
Ocean Boulevard
Follow the wide ramp leading down to Lassie's Wall. On the left on the first cliff of a reasonable size, is an overhang. Pull and chin up just right of this to gain the short wall above. Up wall to the jam crack, move right and up (the obvious direct finish went at 21 to Smith and McMahon, 1989).
C.Rathbone, M.Stewart, B.Burton, May 1980.
Fun varied style climbing (mixed Trad). Start at crack corner, at ledge move left onto face (U bolt) to diagonal rail. Either blast up past second bolt or use crack to right. Stemming finish in open book-corner. Final roof can be climbed to the right at similar grade (long slings) but avoid large under-cling above anchor as not solid.
T. Meech, 2022
Start at the base of the giant staircase about 20m from Possible. Climbing the crack to the first "step" in the staircase and the head directly. Pass to the right-hand side of a hanging shield near the second "step". Go past twin parallel sloping cracks heading for a v-grove between two small roofs. Climb through the groove and up the nose of a hanging flake to finish. May share some or all of the holds of Robdec... I was trying to climb this line (robdec) but what i did was not really what Robdec is described as.
Rob Hardy and Mel June 2017
Start 25m right of Possible. Up the middle of a buttress, through blocks near the top, to finish up corner, exposed, very good (dotted line possibly Robdec? but unconfirmed - however is not a gr14).
Rob de Cesare, Doug Fife, Jun 1980.
The overhanging corner to the right of Robdec (looks extreme). Climb the left hand face of the corner.
Doug Fife, Rob de Cesare, Jun 1980.
A traverse which starts near the bottom of the ramp which leads down above Square Zawn and finish as for Beowulf.
Robert McMahon, Nick Deka, Neale Smith, Mick Ling, 1981.
Climb the left hand of two likely lines at the base of the ramp to a ledge at 10m. Continue up face above.
Robert McMahon, Nick Deka, Neale Smith, Mick Ling, 1981.
The climb takes a thin blind crack up the slab a couple of metres to the right of Dumper and continues up a shallow corner above.
Nick Deka, Robert McMahon, Neale Smith, 1981.
The very thin, bolted face 3m left of Ballet.
John Fisher, Apr 1994.
L/H variant of Ballet. This variation finishes up a final hand crack section, about 6 metres left of Ballet final head-wall - Other variations also exist mid-route. At an obvious 'undercling' after finger crack ends you can either move right towards blunt arete, or left to gain a jug, or the ledge above. On low tide/swell makes very nice long route from waters edge.
T. Meech, 2020 (LH finish hand crack)
A fine crack face line on the blank looking wall above the ramp leading down to Lassie's Wall. Traverse right from the ramp near sea level or abseil from above. Start off sloping ledge a few meteres right of Gubernaculum. Despite appearing thin the gear is, for the most part, good.
D.Fife, L.Minami, Apr 1983.
The next four climbs are probably best accessed at low tide or by abseil.
Just right of the 'arête' several metres right of Ballet at the left hand edge of the slab wall before Square Zawn. Climb just right of the arête to the wall and straight up.
Nick Deka, F.Moon, 1981.
Excellent, well-protected climbing in a great position. A rarity for the grade in Tasmania. Up the obvious crack on the slab and the wall above, wherever you please.
B.Kennedy, D.Hain, Feb 1975.
Climb the corner at the right hand side of the slab.
Robert McMahon, Neale Smith, 1981.
In part a thin crack to the right of the slab.
Nick Deka, Neale Smith, 1981.
Deepwater Zawn
Otherwise known as Square Zawn. The area below the Harlequin Buttress descent ramp. All routes reached by abseil. The routes can be seen from various places along the descent ramp to Harlequin. It's best to work out your rap point from here.
WARNING: There have now been at least two massive rock falls in this area and a number of climbs have either lost their top pitches or have hanging boulders threatening would-be climbers below. Rocks at the top of Sweet Revenge, to the L of the Harlequin chains, have fallen and the area there is still clearly unstable. The possibility of hidden route damage and/or further catastrophic rock fall is very real. In particular, the following climbs below the ramp should be treated with extreme caution due to possibly unstable rock:
- Splash in the Pan
- Dreaming of Creaming, Screaming White Horses
- Pincer Martin
- Spackbinder
- Fruit Cake
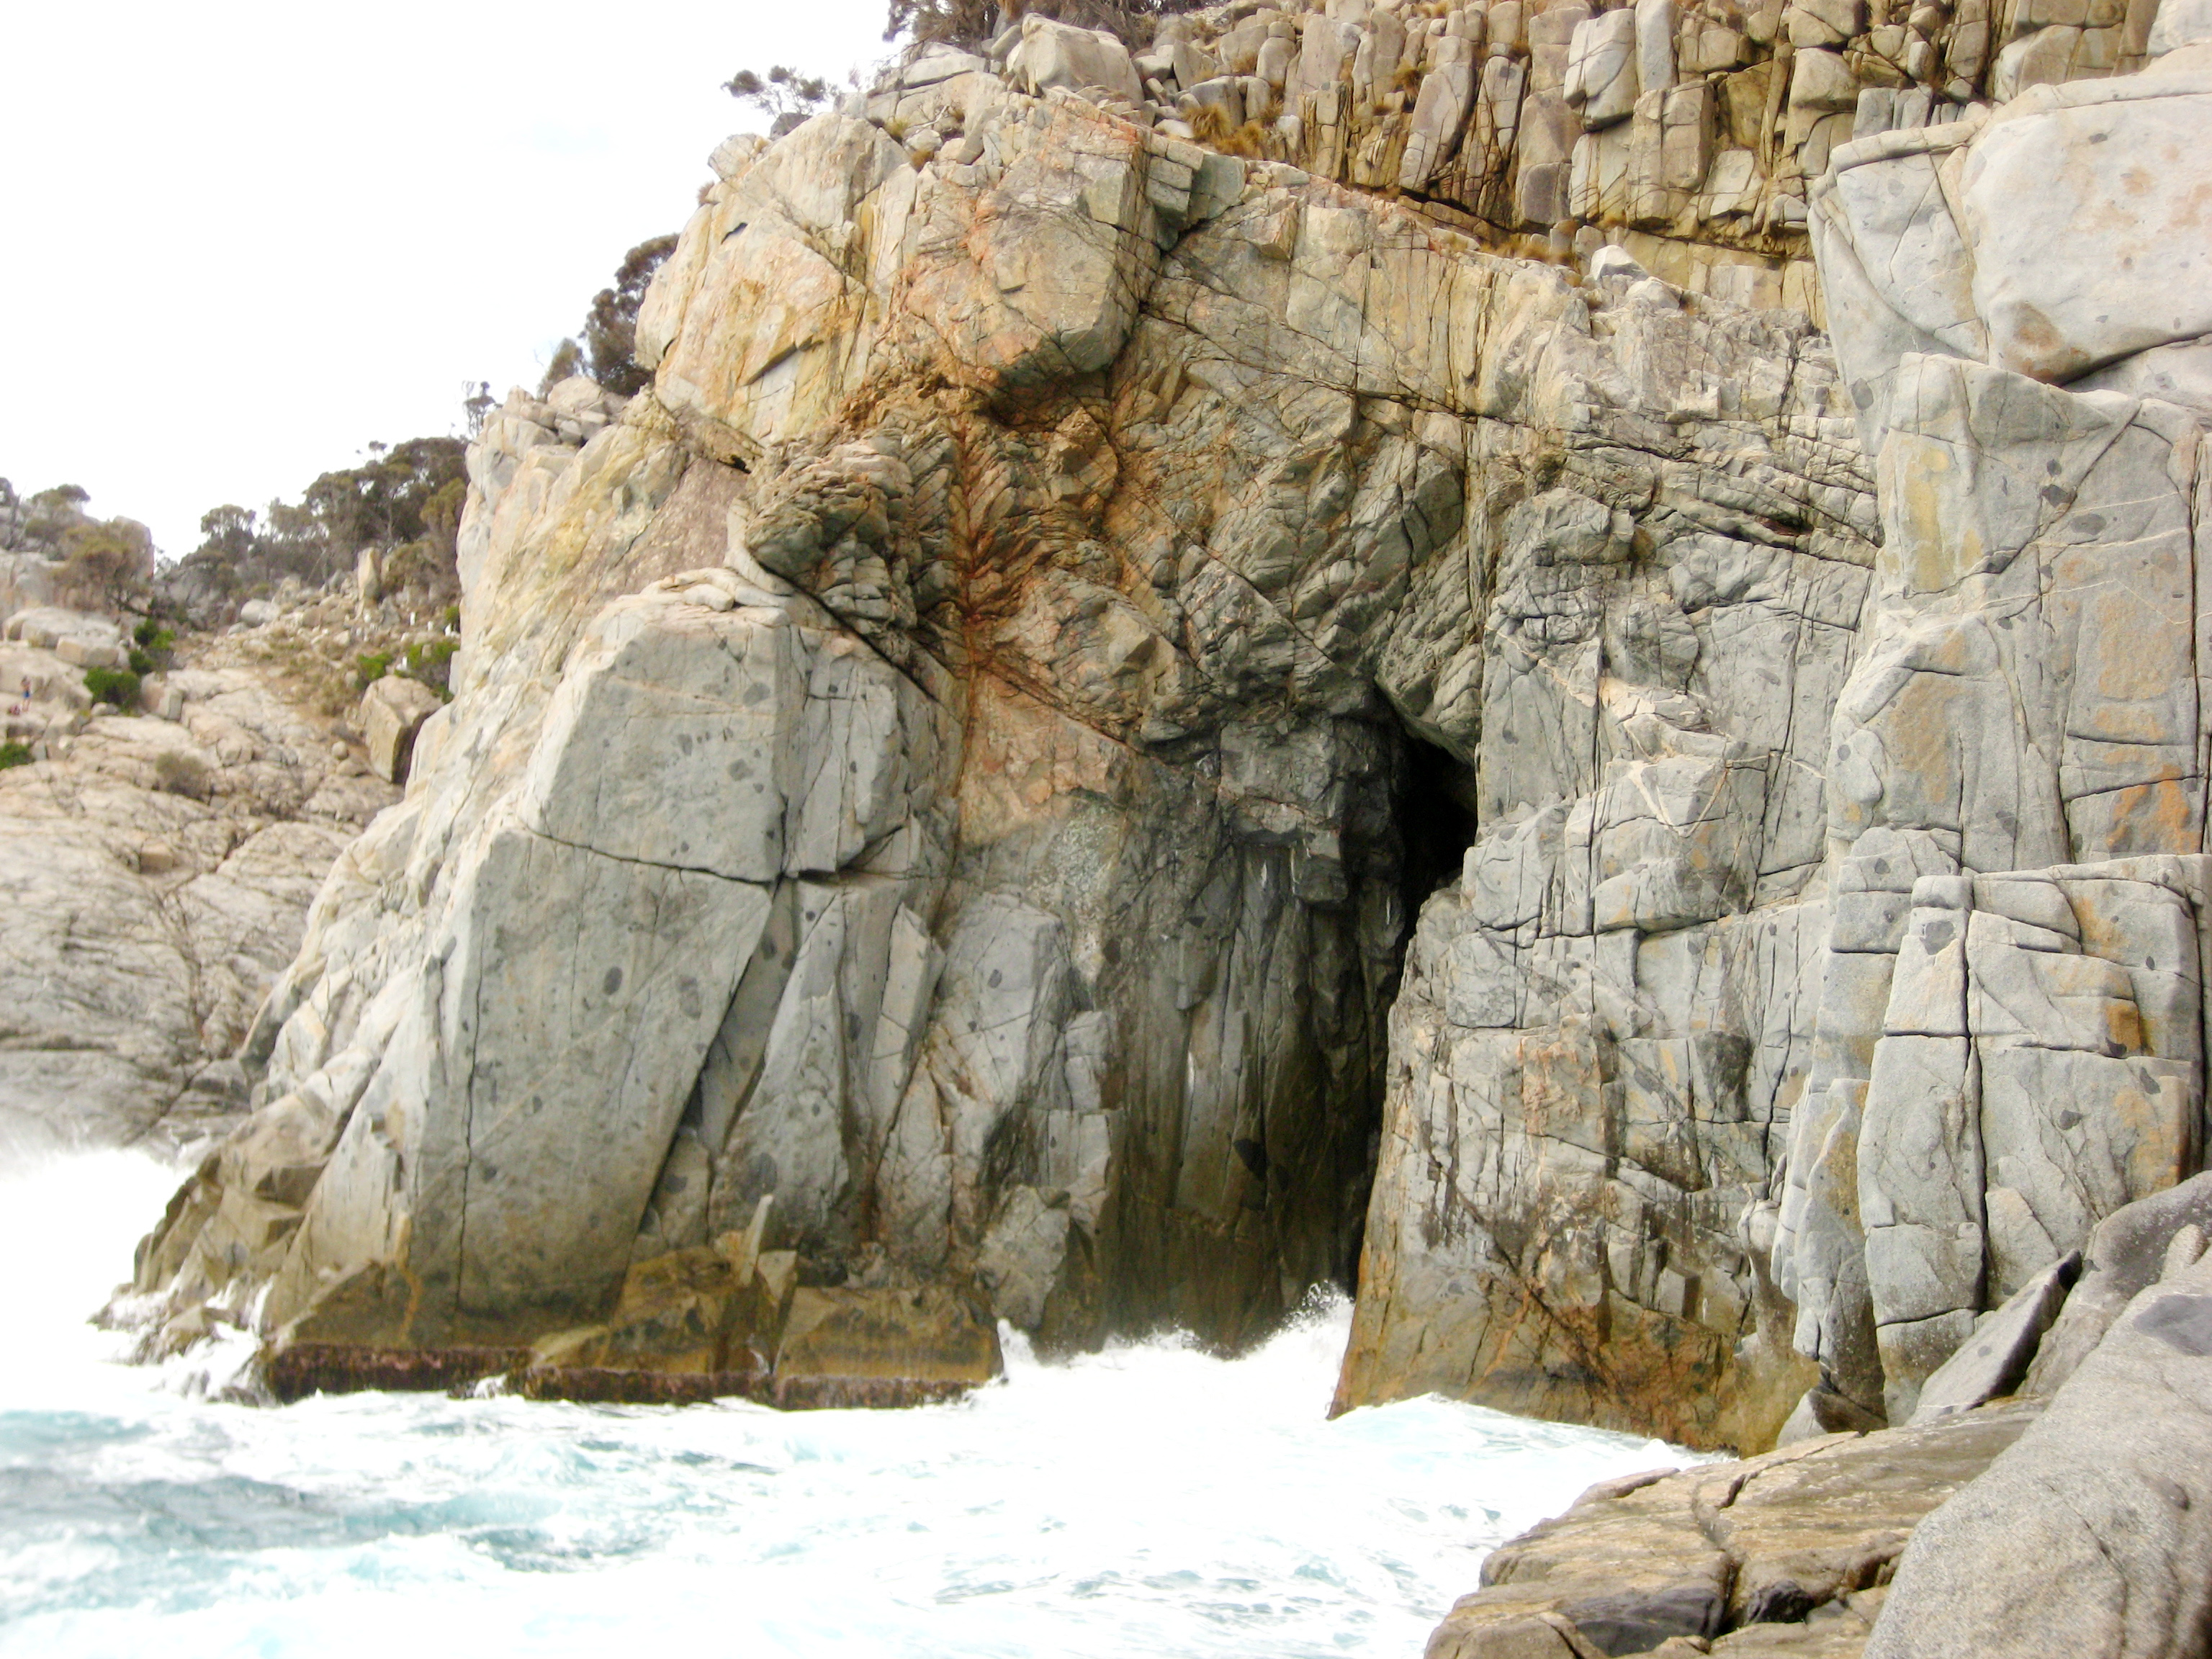
Deepwater Zawn
Located on the extreme left of the southern wall this climb is a straight crack that starts at sealevel (there is no ledge). Climb the crack until it peters out at two-thirds height and step left onto the arete.
Simon Parsons, 1982.
B.Maddison, R.McMahon, 1979.
Start up Aspro Pink but head left into Deep water. Fist jam around the corner and traverse the obvious crack that splits the buttress, grab a few limpets for later on the traverse and Continue as for Sink or Swim.
Simon Bischoff November 2018
Start up the shallow crack around the arete right of the Deep Water chimmney. Follow this to mantle onto the spike/ledge on the arete (crux), then follow the crack just left of the arete. Trend right once you touch into Deep Water. Best climbing past the tower to belay from the top.
Chris Lang, Madi Rosevear, Oct 2020
Takes the line between Deep Water and the gully on the right. Once on top of the tower don't belay, continue to top via stepping easily over the steep gully and up wall above.
B.Cameron, Robert McMahon, Neale Smith, 1982.
Include spare underwear in your rack. Highly exposed climbing that looks unlikely at the grade. On the right hand side of the ledge at the base of the southern wall, climb up the blocky then slabby corner and through a pink wall above. Start trending right above this, keeping above the overhangs and cave. Step around an arete and finish up the short corner.
Ben Maddison, Robert McMahon, 1979.
Rap in as for Beowulf, swing right around the corner and belay on small triangular shaped ledge. Great climbing up crack system to meet creeping death under the roof. Traverse left under the roof on lay backs. Get a knee bar in the roof and look down at your belayer dodging the waves. Finnish directly up the face.
Note: A big chunk of rock fell of just above the roof on this route. Need to confirm if this route still goes / new grade ?
Simon Bischoff and Dean Rollins, 2012.
Shares belay and first half of the route with Creeping Death Direct. After traversing L on laybacks, traverse back R and climb through second rooflette, finish up on easier terrain. Steeper than it looks! Double ropes are ideal.
Simon Bischoff and Dean Rollins, May 2013
Takes a line out through the cave under Beowolf. Abseil down to the ledge leading into the left of the cave, follow the ledge into the cave and set up a belay in the back left hand corner. Step bravely across the chasm and into the horizontal line. A weird down and up traverse follows this line out of the cave. Continue following the line upwards past strenuos lay backs to gain the jugs at the roof. Climb onto the small ledge and continue directly to the top, crossing Beowolf. The climbing and gear are excellent, and the exposure on a dark, windy day exhilerating.
Marc Tierney, Andrew Bissett, Chris Welsch, 1998.
Fun exposed climbing with good gear. Climbs the face opposite Beowulf, and shares the same exit. Abseil From Beowulf exit down to a small ledge just above the water. Climb up to main ledge staying L of the arête . Climb the arête until it steepens then climb L onto the face with jugs. Finnish up Beowulf.
S. Bischoff, T. O'Sullivan, April 2012
Abseil 20m into small zawn at bottom of access ramp to the right of enourmous boulder. Traverse left around the back of the zawn until jug wall is reached. Climb up to ramp.
D.Hain, B.Kennedy, Jan 1975.
Abseil just left of the arête, 5m L of Dream of Creaming, Screaming White Horses. Through roof then climb the cracked system on the right arête of the back wall of the Zawn.
David Gray, Carol Hurst, February 1998.
A good DWS with a reasonably safe fall into the water if one finds themselves losing contact with the rock. Up DOCSWH for a few metres until level with a horizontal break on the left that heads out to the arete. Follow break on good jams to arete, then make a few punchy moves up onto the face with good holds. Continue easily to the top.
Simon Bischoff March 2023
Takes the dark overhanging corner which separates the inland and northern walls of Deepwater Zawn. Bridge with difficulty up the corner to a step left and then straight up.
Neale Smith, Nick Deka, Mick Ling, 1983.
The left leaning diagonal crack on the northern wall of the zawn. Up the crack to an awkward step to finish.
Ben Maddison, Robert McMahon, 1979.
Strenuous. The straight, thin crack just right of Pincer Martin which finishes to the left of the big block.
Ben Maddison, Robert McMahon, 1979.
The climb takes the line directly underneath the big jumping block. Direct Finish: When the bottom of the block is reached, tunnel and grovel through the horizontal off-width to emerge on the other side.
Jim Duff, Robert McMahon, 1980.
Climbs the proud arete on the ocean side of the jumping block. Start on ledge and traverse left on good holds under the small roof. move up on jugs through corner, continue until a slab and traverse left to mantle onto ramp and top out using excellent holds. Access to ledge either by rapping or a scramble traverse in the gully on the ocean side.
Pat Munnings, 2022
Harlequin Buttress
The northern of the two descent ramps. Harlequin Buttress is reached by following the old road track south along the top of the cliff for approximately 150m past where the road first meets the cliff top above Whitewater Wall. A rough track and some steps can then be followed down and north down along a ramp to the bottom of the buttress. Harlequin Buttress provides some of the steepest and best climbing on the coastal cliffs. The climbs are described from left to right (the order in which they are encountered).
Descent from many of the climbs has been made very easy by the installation of a rap station at the top of Harlequin and another at the top of the first pitch of Beaman's Route. A single 50 m rope can be used to rap to the block at the base of Beaman's Route, with a single 60 m rope to the base of Harlequin (following the Harlequin line).
WARNING: There have been massive rock falls in this area and a number of climbs have either lost their top pitches or have hanging boulders threatening would-be climbers below. The rocks at the top of Sweet Revenge, to the L of the Harlequin chains, have gone and the area there is still clearly unstable. The area from Crayfish Crack to Beaman's Route Direct should be treated with extreme caution as the possibility of hidden route damage and/or further catastrophic rock fall is very real. In particular note that the top pitch has gone from Sweet Revenge, Beaman's Route and BR Direct, and The Only Fruit is no more - you can clip all the bolts while standing at the bottom now.
There is a wall above the descent ramp to Harlequin Buttress with some short problems on it.
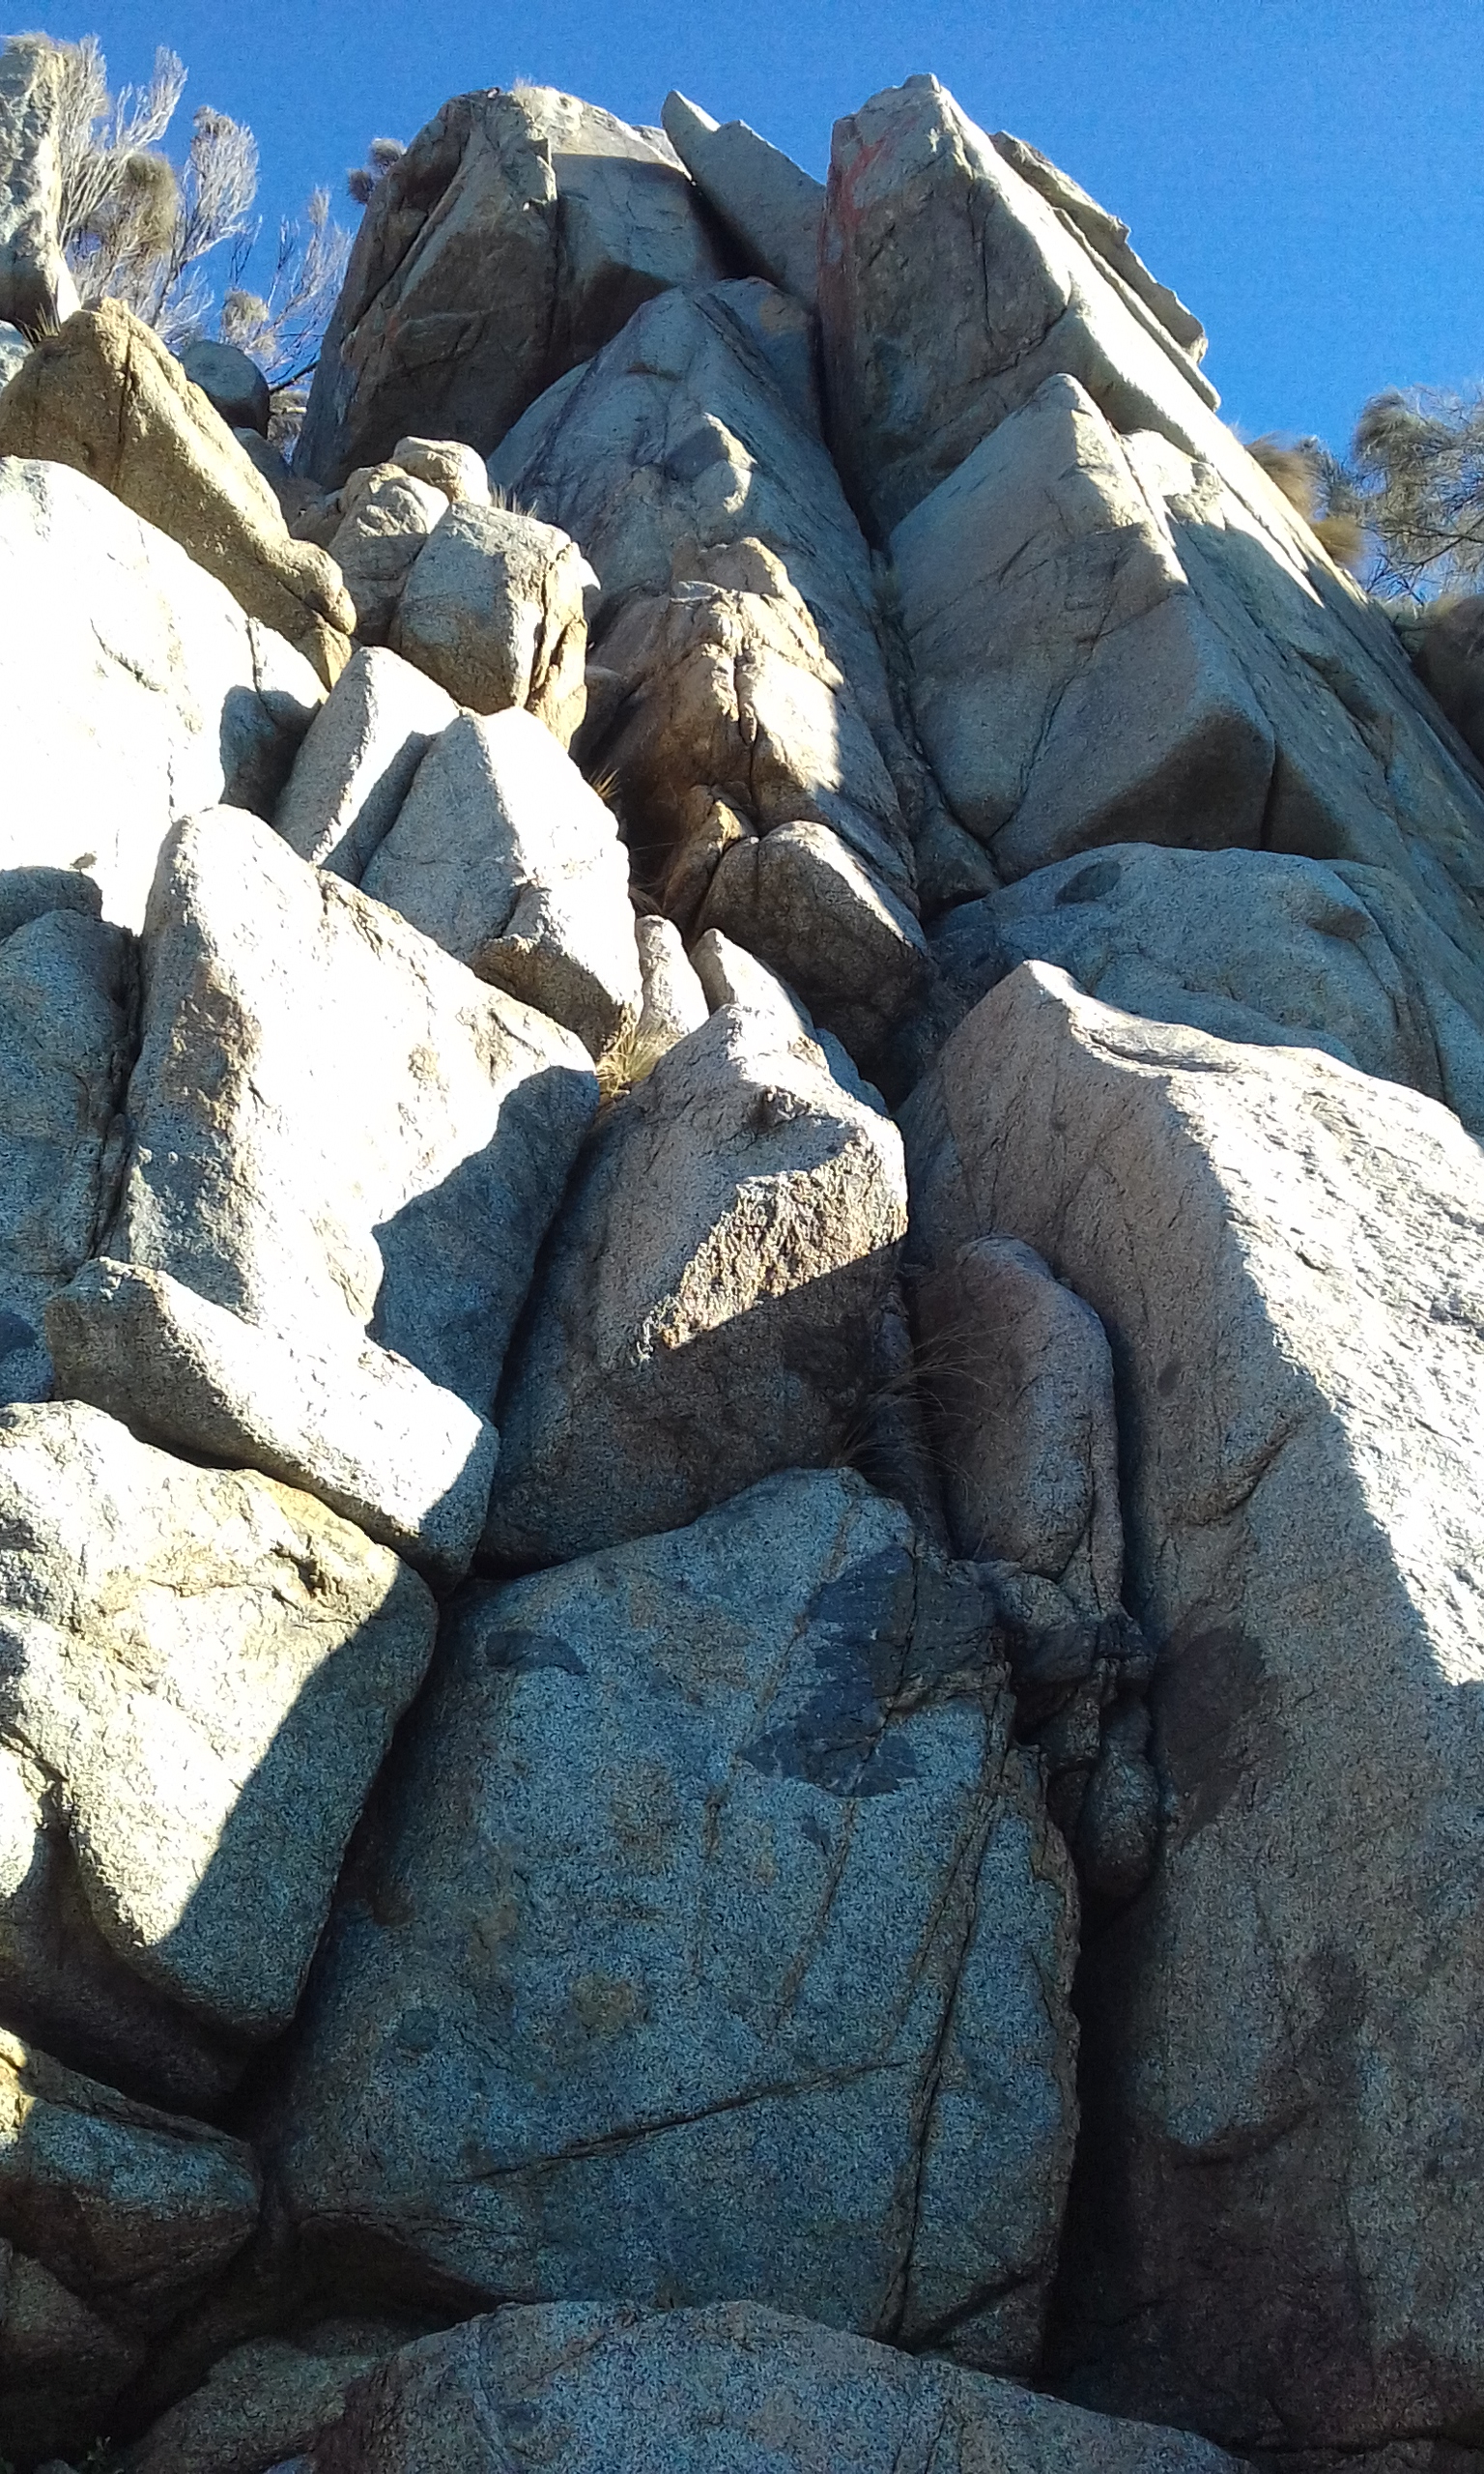
Located on the ramp to Harlequin Buttress. Climb the corner with a surprisingly awkward move at half height. A large cam may inspire confidence. This leads to nice hand-jams and then an exciting exit to the right of a leaning (and, it turns out, completely detached) flake.
Rob Hardy and Mel June 2017
At the left hand edge of the overhangs below a short corner. Surmount the roof on insecure holds before a dyno to a flake in the corner, straight up.
D.Stephenson, N.Deka, 1989.
Start halfway through the overhangs on the ramp leading to Harlequin about 5m right of Lunge or Plunge. Continue up right to a nice crack in the middle of a 4m wide slab.
J.Anderson, J.Nermut, 1997.
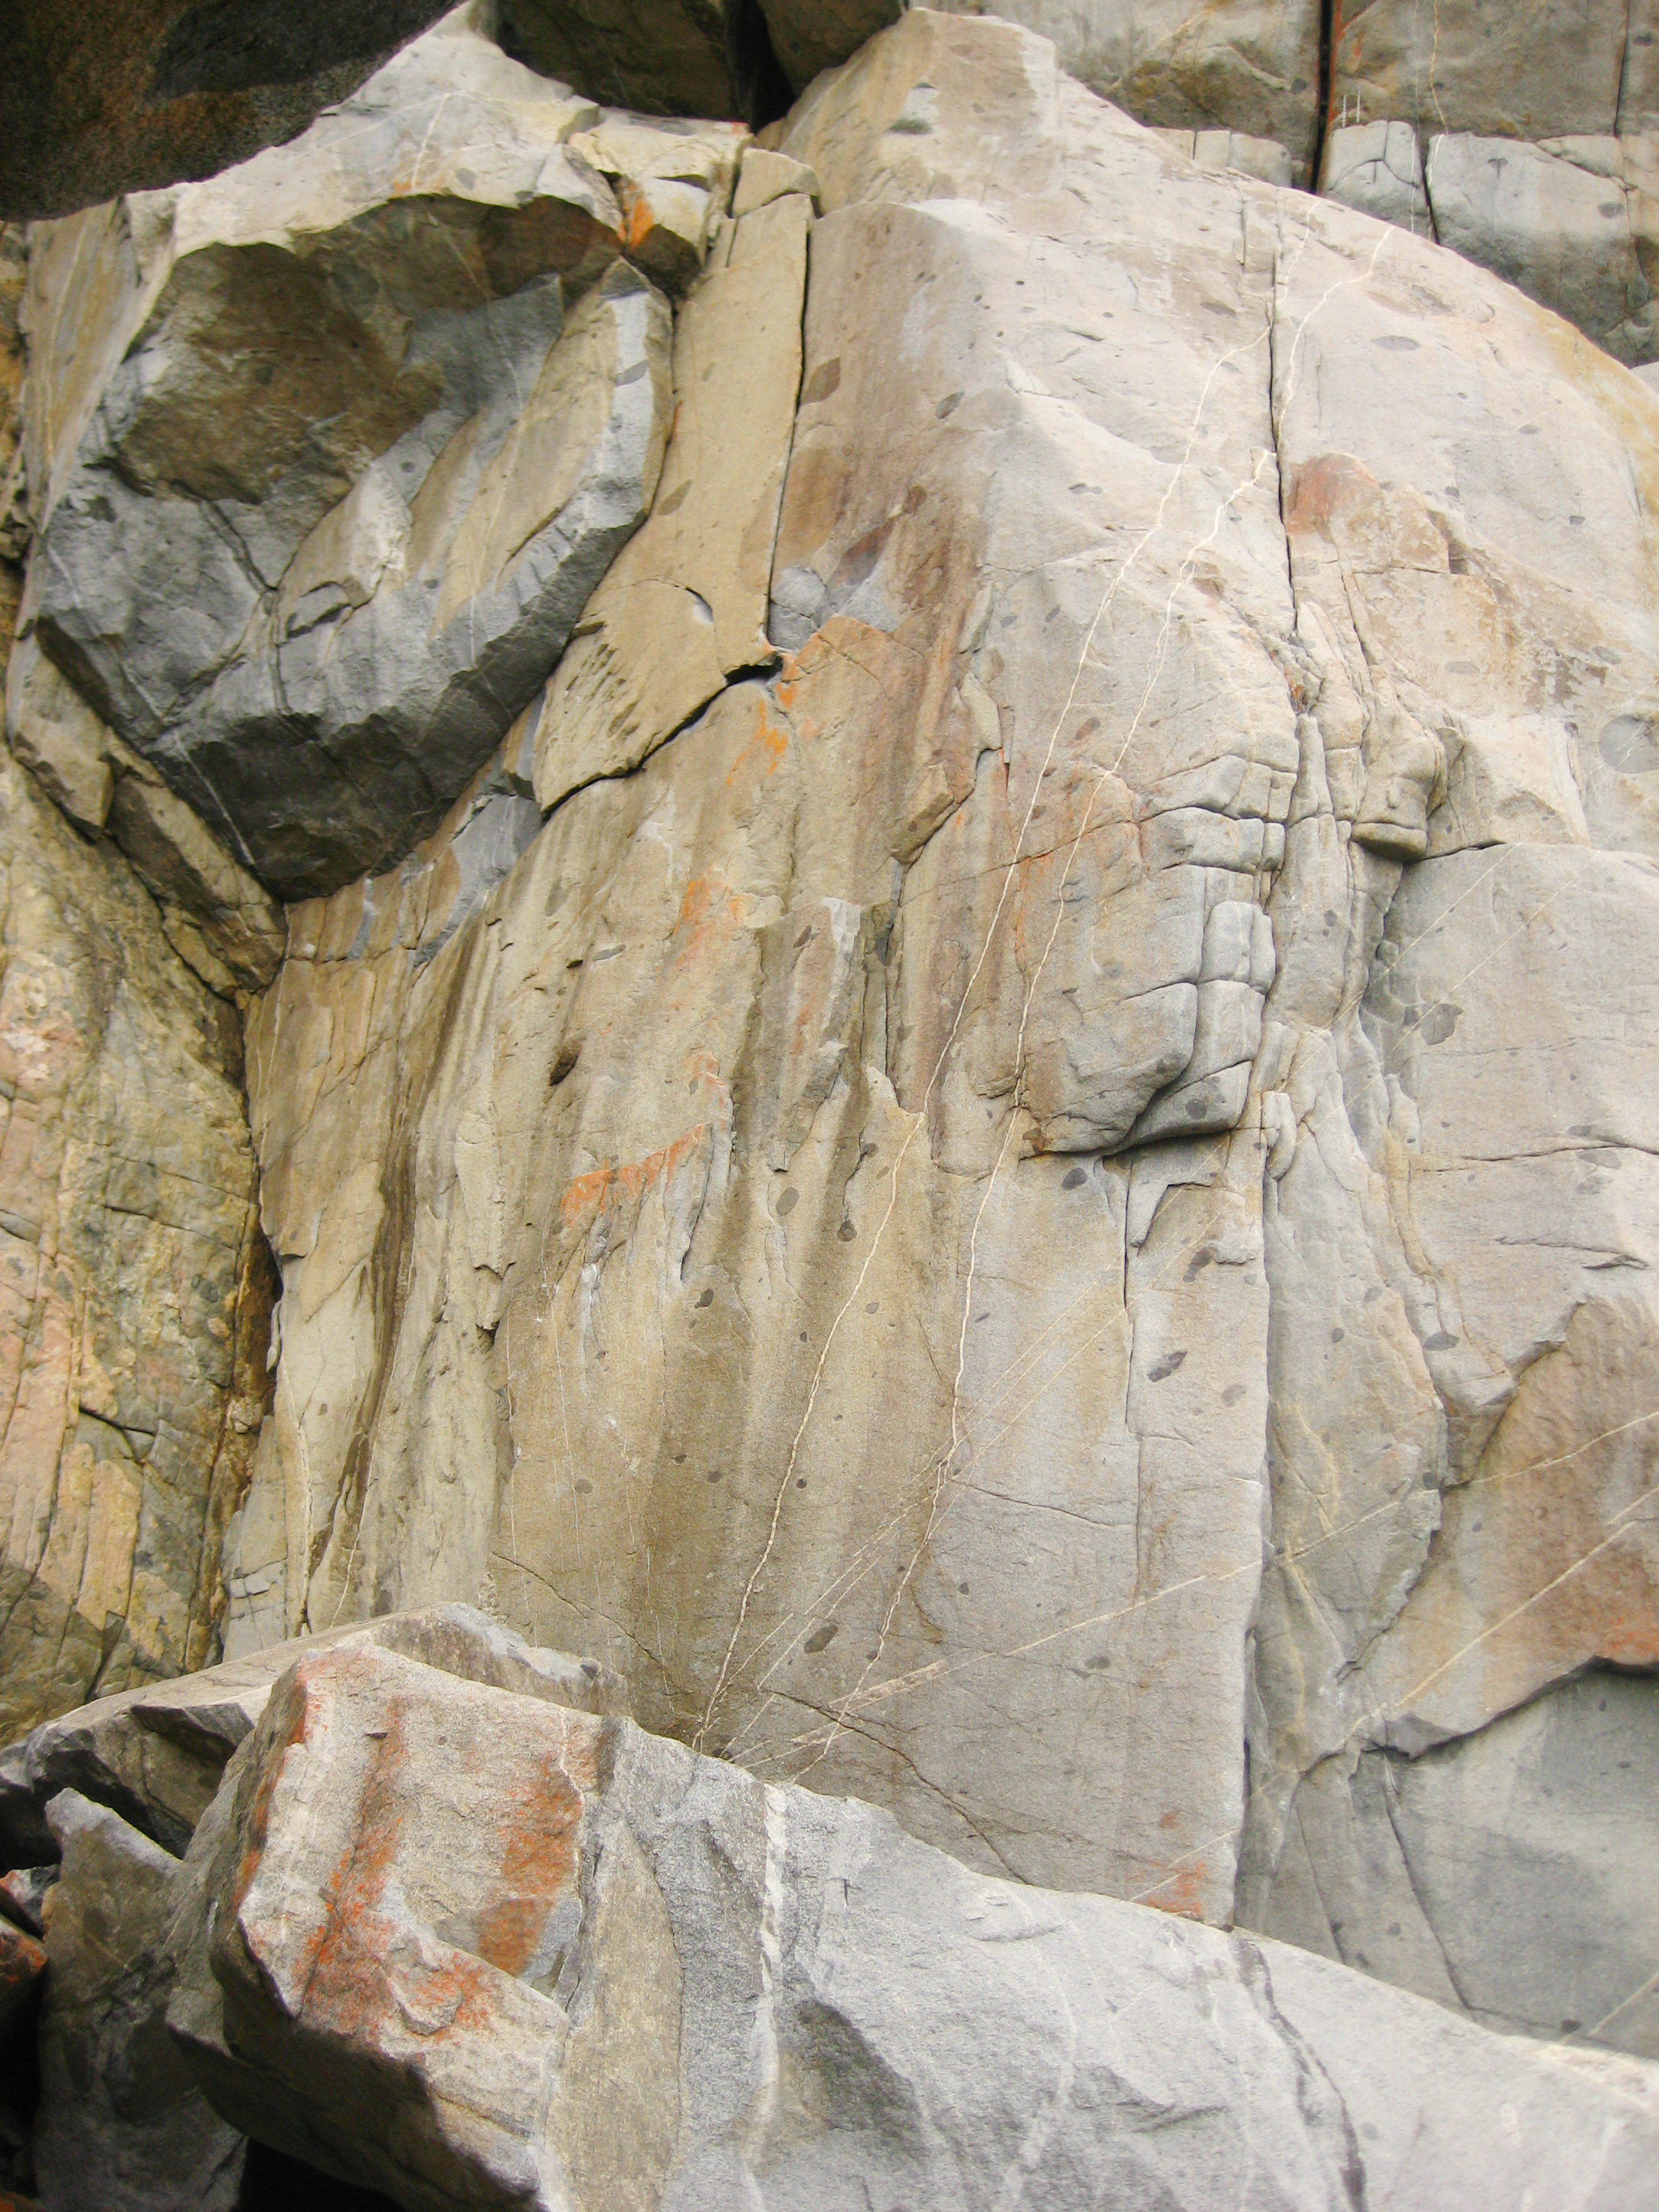
Beaman's Wall
At the bottom of the Harlequin ramp an easy broken wall meets a steeper wall with a roof at about 15m. An obvious corner line divides these. Climb 12m to the first roof then traverse easily to the bottom of the next corner. Continue up the crack to the next roof then traverse left to finish up steep nose.
G.Kowalik, G.Holloway, Feb 1976.
Climb the slab to reach first bolt. Crank into line, follow bolts R to finish at Beamans anchors. Classic!
Simon Young, Jan 2011
Neale Smith, Ben Maddison, Jan 1982
T.Beaman, B.Kennedy, Jan 1977.
Begin 3m left of old direct, below the original starting ledge.
Climb left-facing corner for 5m. Move right to gain face, then ledge. Continue up to flake and orignal route. Currently best done with double ropes (right rope on original direct bolt) until a new bolt gets added.
H Jackson Feb 2017
Phil Bigg
Now that 'Beaman's Route Direct' is no longer a free climb 'Breakout' is the best way to climb the ovious crack on this wall.
This climb originally started up Harlequin, before traversing left after 10m to finish up Beaman's Route. The addition of a bolt now facilitates a direct start from the block left of Harlequin.
Layback the Harlequin arete until it is possible to traverse left into 'Beaman's Route' up this aiming for the base of the flake, up the widening crack to lower-off.
Simon Parsons, Doug Fife, 1982.
Start up Breakout and continue straight up to the Harlequin belay (staying left of Harlequin) past a few bolts, not a very fun lead. This used to be a top rope problem.
The gritty crack 10m L of the Harlequin abseil chains that was revealed after the large rockfall that saw the demise of The Only Fruit. Up easy corner then follow hand/fist crack to the top of the cliff.
Oct 2012.
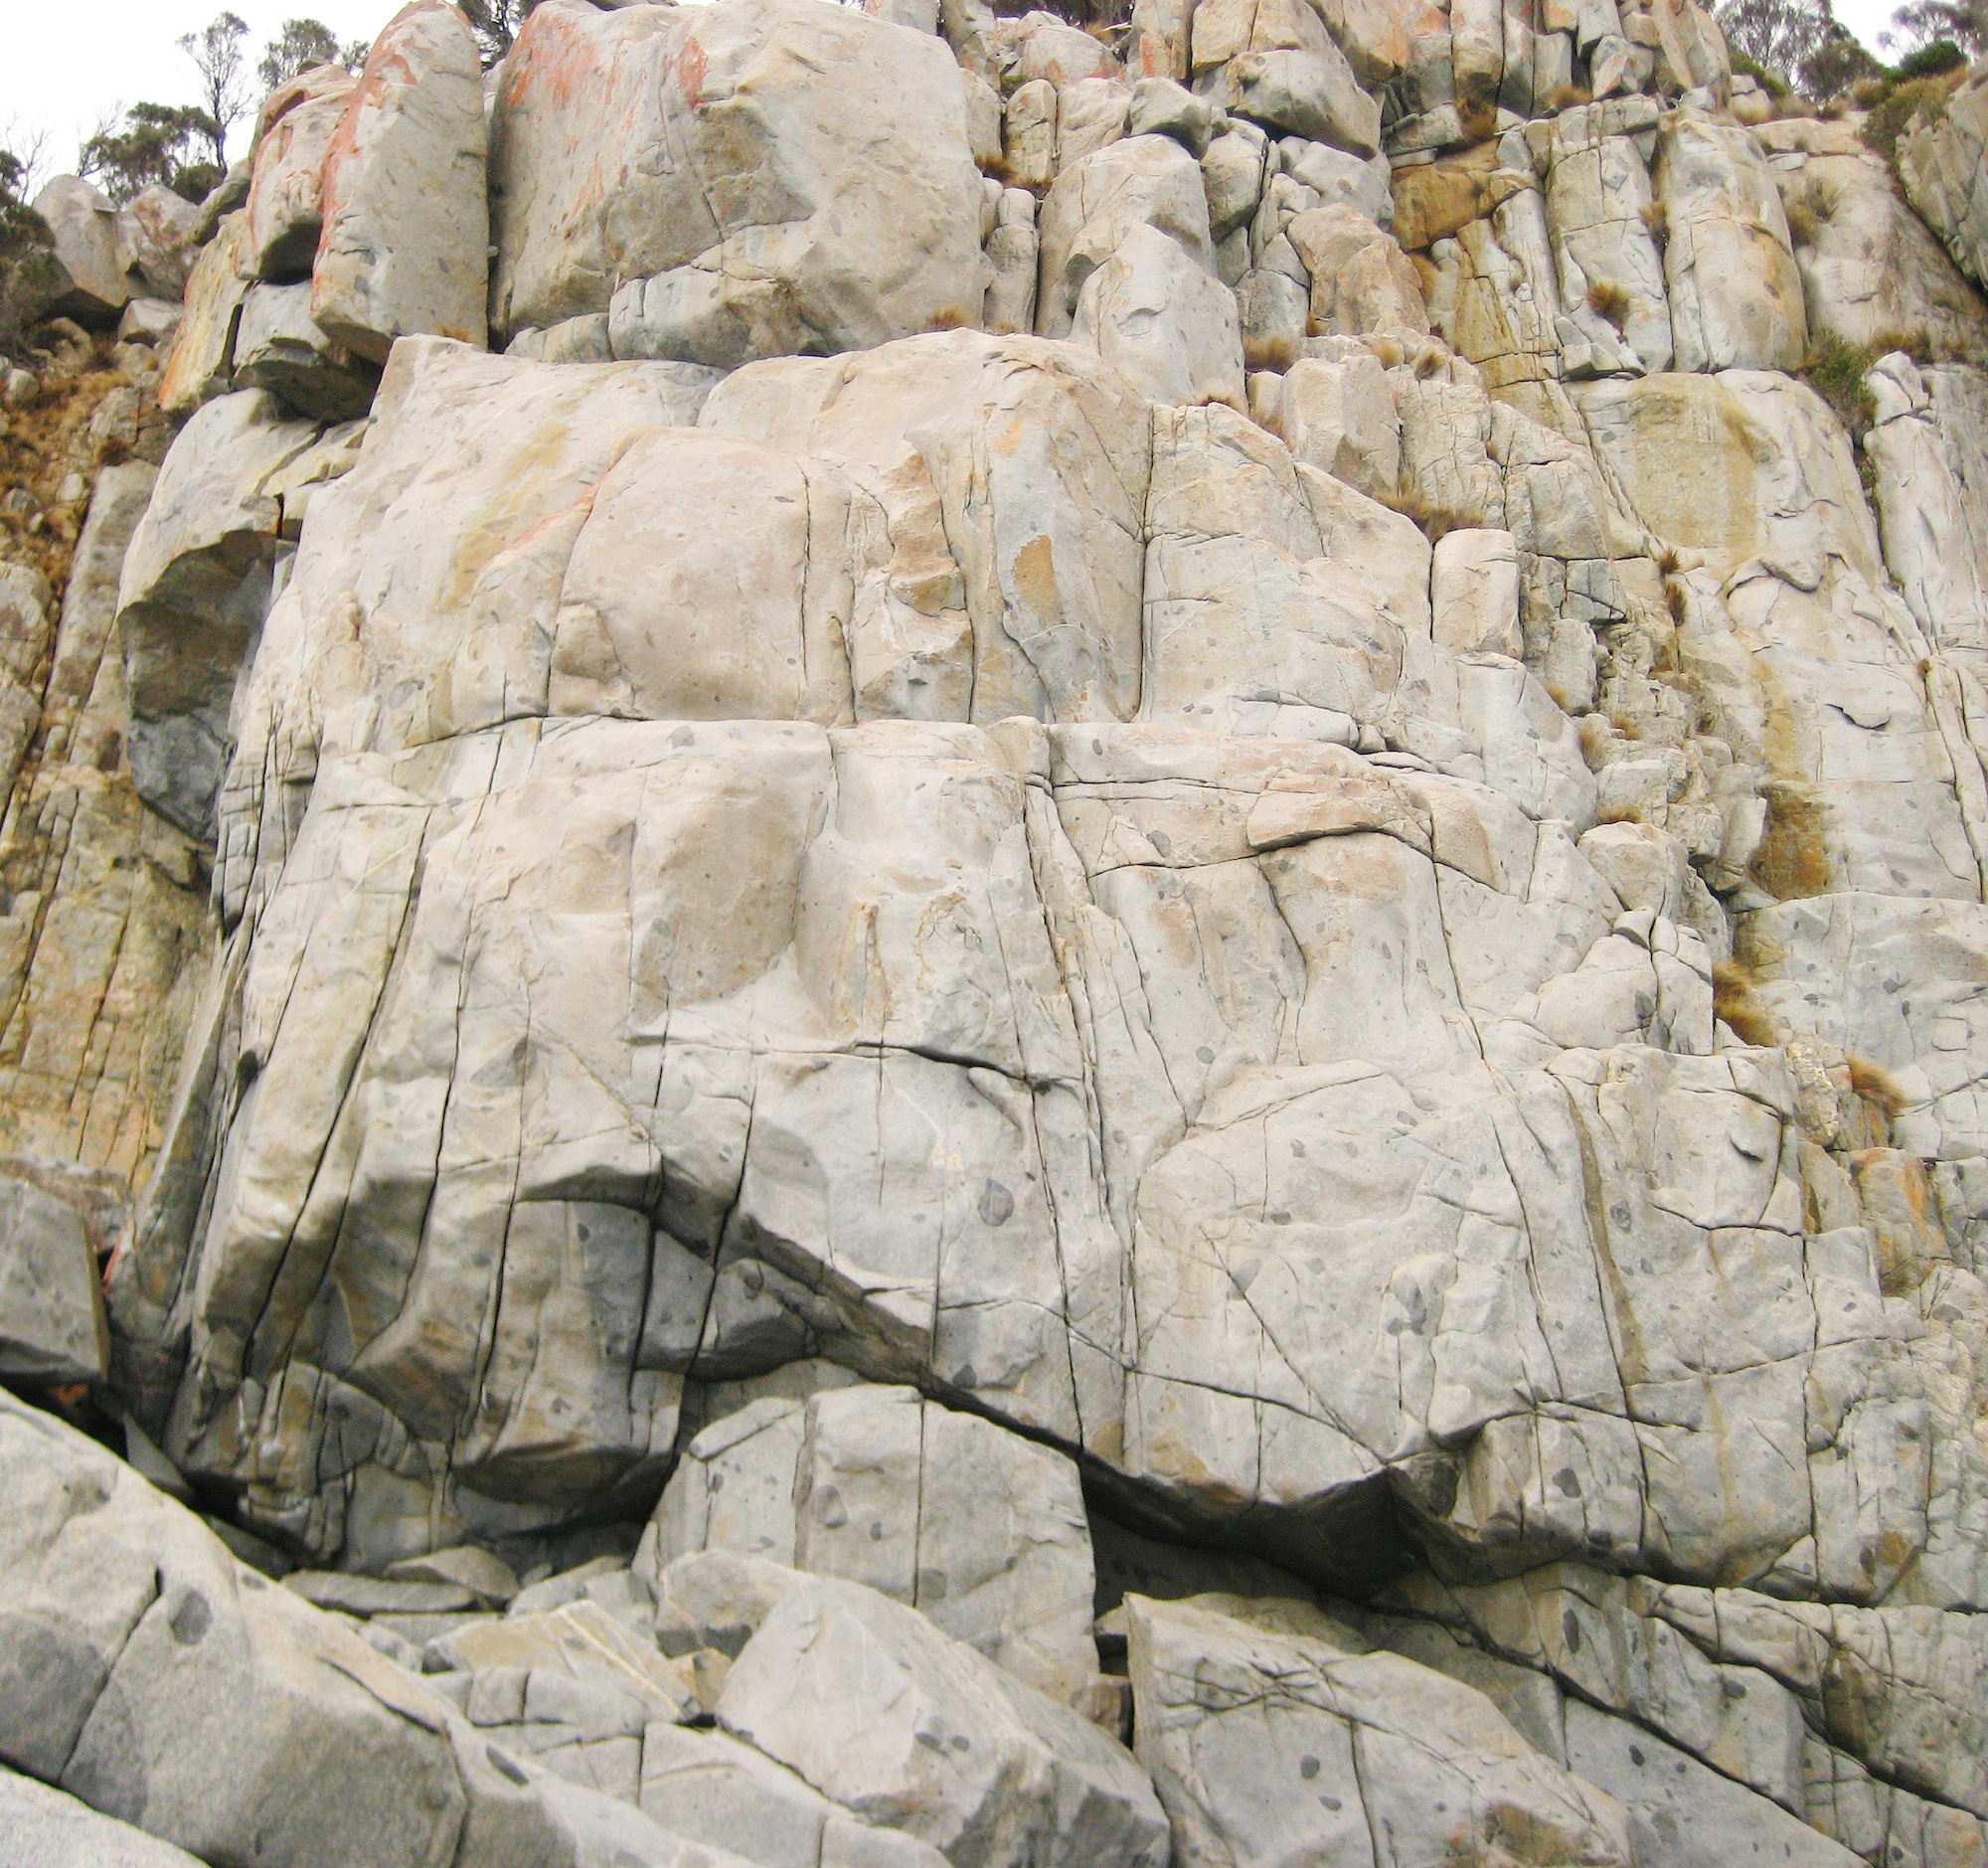
Harlequin Buttress
An absolute classic. Start 30m right of Crayfish Crack at the RH end of the wall up a v-corner. Climb the tricky crack through the groove, then blast straight up the steep headwall. Continue up the thin crack until it fuses, then finish up the character-building slab (a well-placed RP is handy) to DBB.
D.Hain, S.Anderson, B.Kennedy, Jan 1975.
Climb Harlequin for 4m, undercling out right, then climb thin wall above. Protection is adequate, but must be placed blindly on the traverse. RP's protect the climbing above.
Kim Carrigan, Simon Parsons, 1982.
A classic test-piece that most consider a grade harder. On the overhung buttress immediately right of Harlequin, jam the 45 degree overhanging crack, pull the lip (crux), and then layback the very technical groove above to a lower-off. The gear above the roof is small and fiddly, but adequate. Take RPs and micro-cams.
R.Staszewski, Phil Bigg, Dec 1980.
Start up Heat of the Night but break right before the lip and do strenuousness moves to gain the right trending crack. Follow this to the ledge. Good fun!
Simon Bischoff June 2017
The line through the roof right of Heat of the Night with a u-bolt. A hard start gives way to an entertaining middle and a hard finish.
Bob Carr, 1989.
Start on a boulder in the cave and traverse 7m through a roof to reach the lip at a climbable point. Strenuous moves through the lip lead back right to a difficult shallow bridging groove.
R.Staszewski, P.Bigg, Dec 1980.
Right of Granite Planet are two parallel cracks leading over the roof. Follow the left hand crack over the roof to a difficult move gaining the face above and RP protection. Continue up the arete left of the open corner of Hot Spot, to cracks above leading up left to the Harlequin belay.
Nick Hancock, Oct 2000.
Take the right hand crack over the roof to a crux gaining the sloping ledge below the open groove of Hot Spot. Follow the right arete with sparse protection and cracks above trending leftwards to the Harlequin belay.
Nick Hancock, Dave Gray, Jun 2000.
B. Kennedy, D. Hain, Jan 1975.
Start just left of Al's Jump at the bottomless short corner. Up this to eventually join Ice Nine.
Kim Robinson, Al Williams, 1999.
Just right of the start to Ice Nine is a bit of gap with a jug at the other side. Jump for this, then mantle up. Follow your nose to the top of the crag.
Al Williams, 2000.
B.Kennedy, D.Hain, Jan 1975.
Chris Baxter, M.Martin, 1983.