
Adamsfield
 5 min
 Mixed Sun and Shade
 Conglomerate
Acknowledgement
Thanks to Garry Phillips and Roger Parkyn for the original information.
Introduction
Adamsfield bouldering has, until recently been considered an adjunct to the sport climbing, with most previously described problems on the main sports boulders. However there are a huge number of boulders of all sizes in the area.
The boulders tend to be clean if in the open, and when the easterlies are pouring rain on Hobart the area can be bright and sunny.
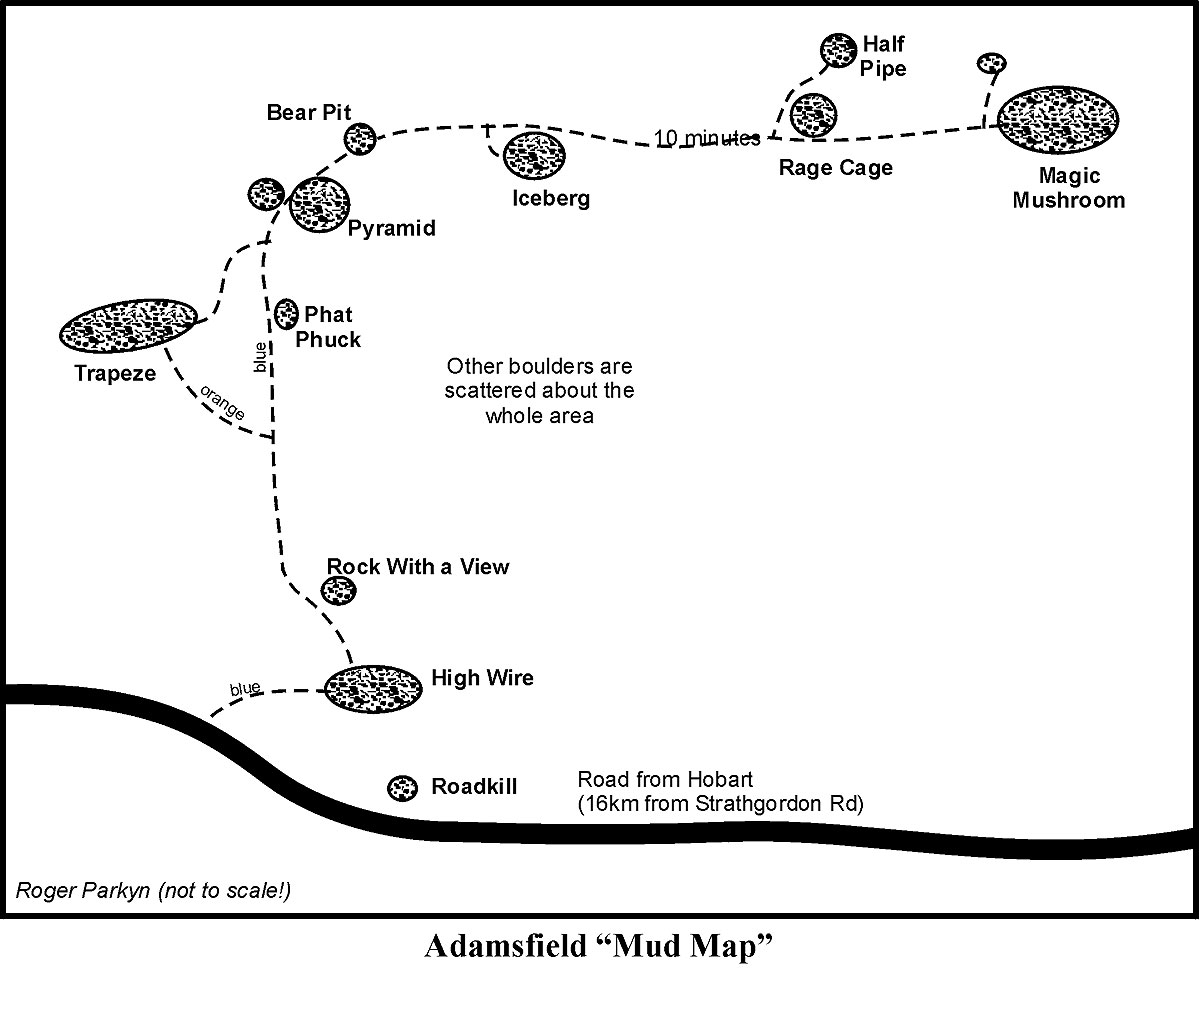
Adamsfield has such a large number of boulders the initial rediscovery started with Strike a Blow boulder because it was easy to find, sunny with a view. If you don't want to spend five minutes walking there after the drive there are at least three boulders with problems immediately below the carpark, with multiple boulders within 50 m of the road from the 14km marker to past the carpark. If you are feeling a little more energetic look at the aerial photo and pick a boulder.
The conglomerate takes a bit of mental resetting after dolerite or Tasmanian sandstone, particularly using holds that look like a loose collection of pebbles.
In the resetting process you will inevitably ping holds, if you are putting up an FA it is worthwhile checking the top holds/jugs and giving them a good kick to ensure only the true and just remain.
Access
The Adamsfield boulders are situated at the northern end of the Ragged Range on the Clear Hill road about 35 km past Maydena. The simplest method for finding the area is to enter the gps points in google maps and follow the directions.
Otherwise drive to Maydena then continue into the National Park along the Gordon River road. About 5 km past the Scotts Peak turnoff (Frodshams Pass) the road heads downhill to the sign posted Clear Hill Road intersection. Turn onto Clear Hill Rd and follow this road for 16km (the road has markers indicating distance from the Gordon Rd).
Near the carpark the road goes around the Road Kill boulder (easy to miss if you are driving) the carpark is about 150m past the boulder with tape markers indicating the beginning of the track to the gobsmacking High Wire boulder.
The drive takes a bit over 2 hours.
The road is surprisingly busy so ensure you park off the road.
Camping
There looks to be plenty of camping in the area with a site further up the road, see the Adamsfield Climbing guide for details.
GPS
The High Wire
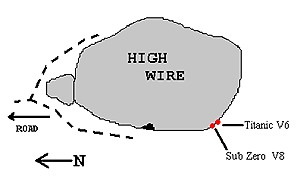
Starts 6m to the right of the climbing route Magic Potion and traverses to the start of Magic Potion
An easier variant on Sub Zero. Pull on Sub Zero and then crank straight up. Two moves to the pocket in the middle of the wall.
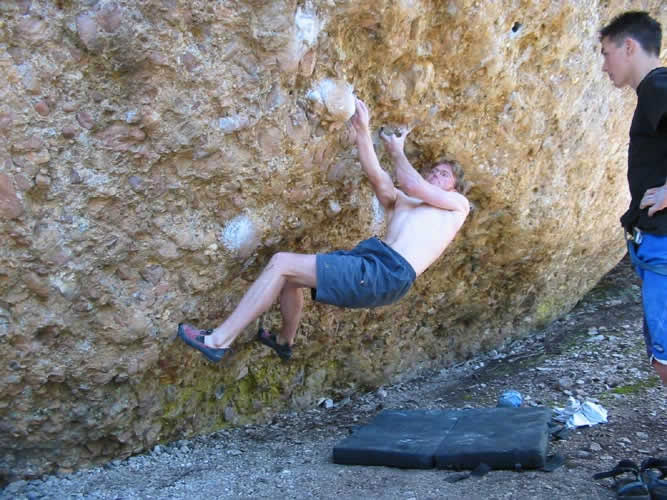
Campbell Godfrey on Sub Zero V8
Strike a Blow boulder
From the High Wire boulder follow the blue tape track uphill past Rock with a View until you are near two spikes on the right and a boulder to the left. Head left follow the nascient path downhill to the boulder.
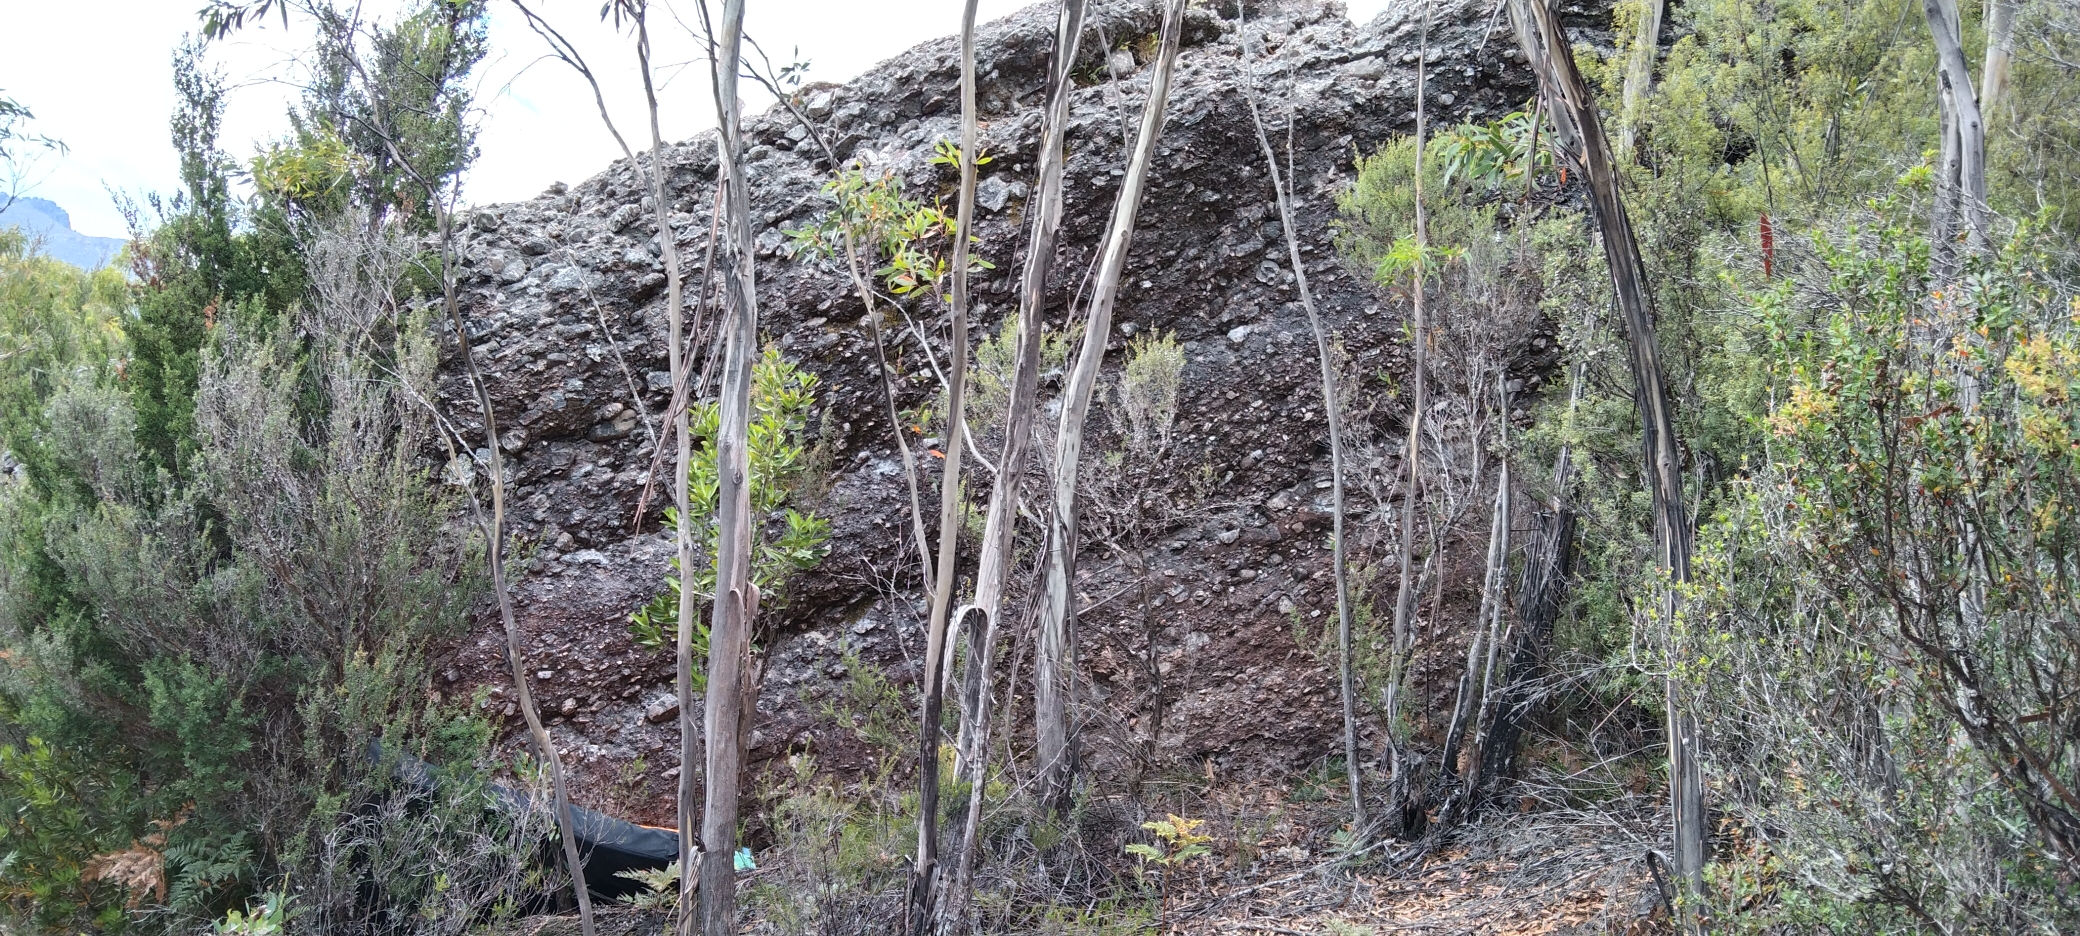
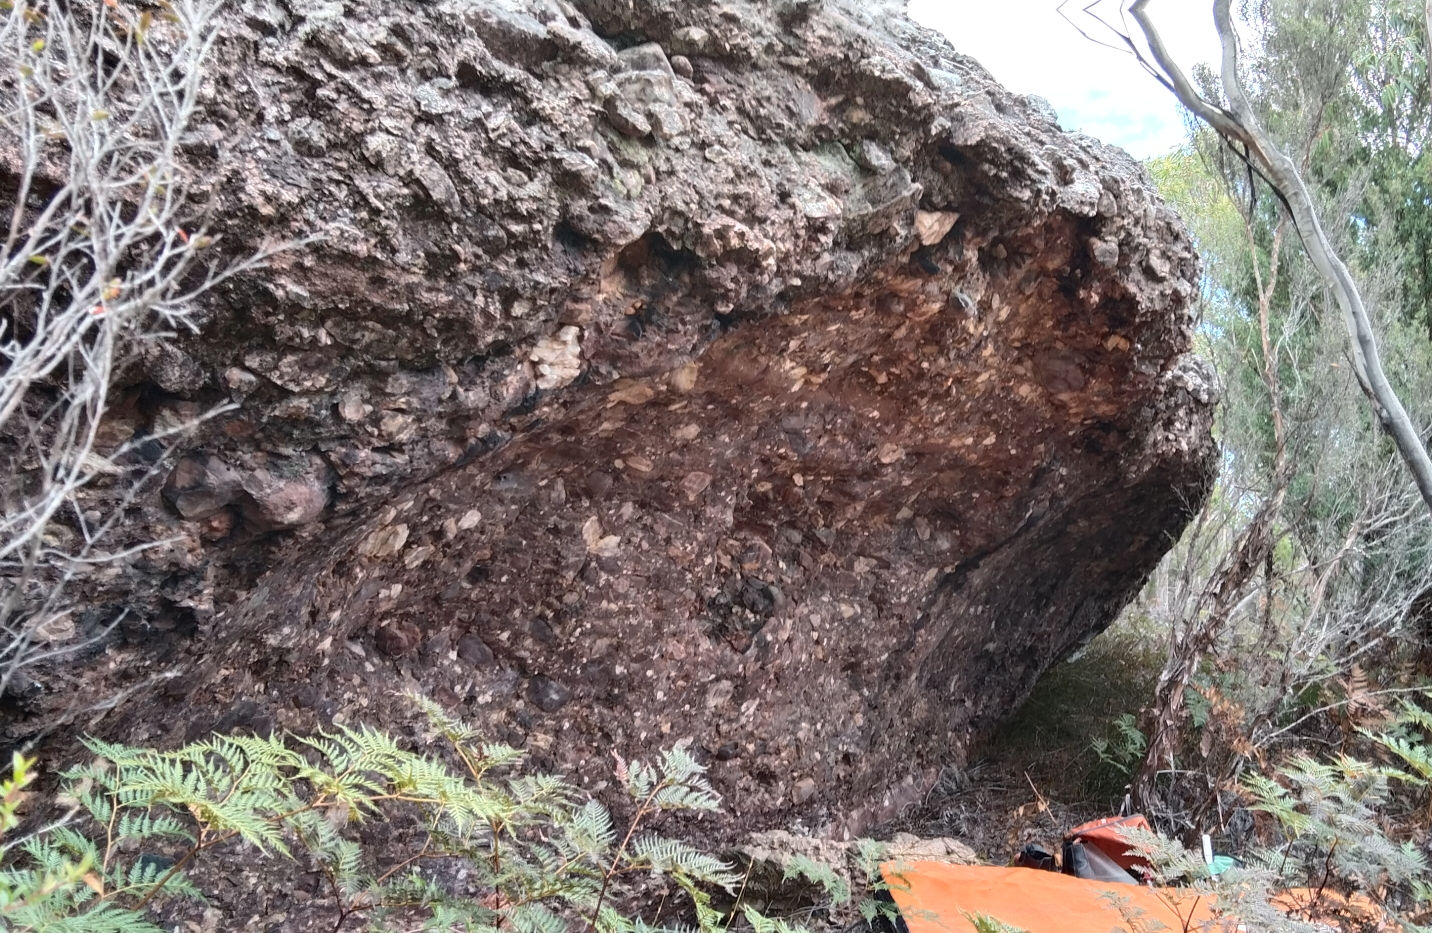
Start on the big layaway.
Office Bloc
From the Clock On problem head East for 20m. The Office Bloc has a long overhanging face.
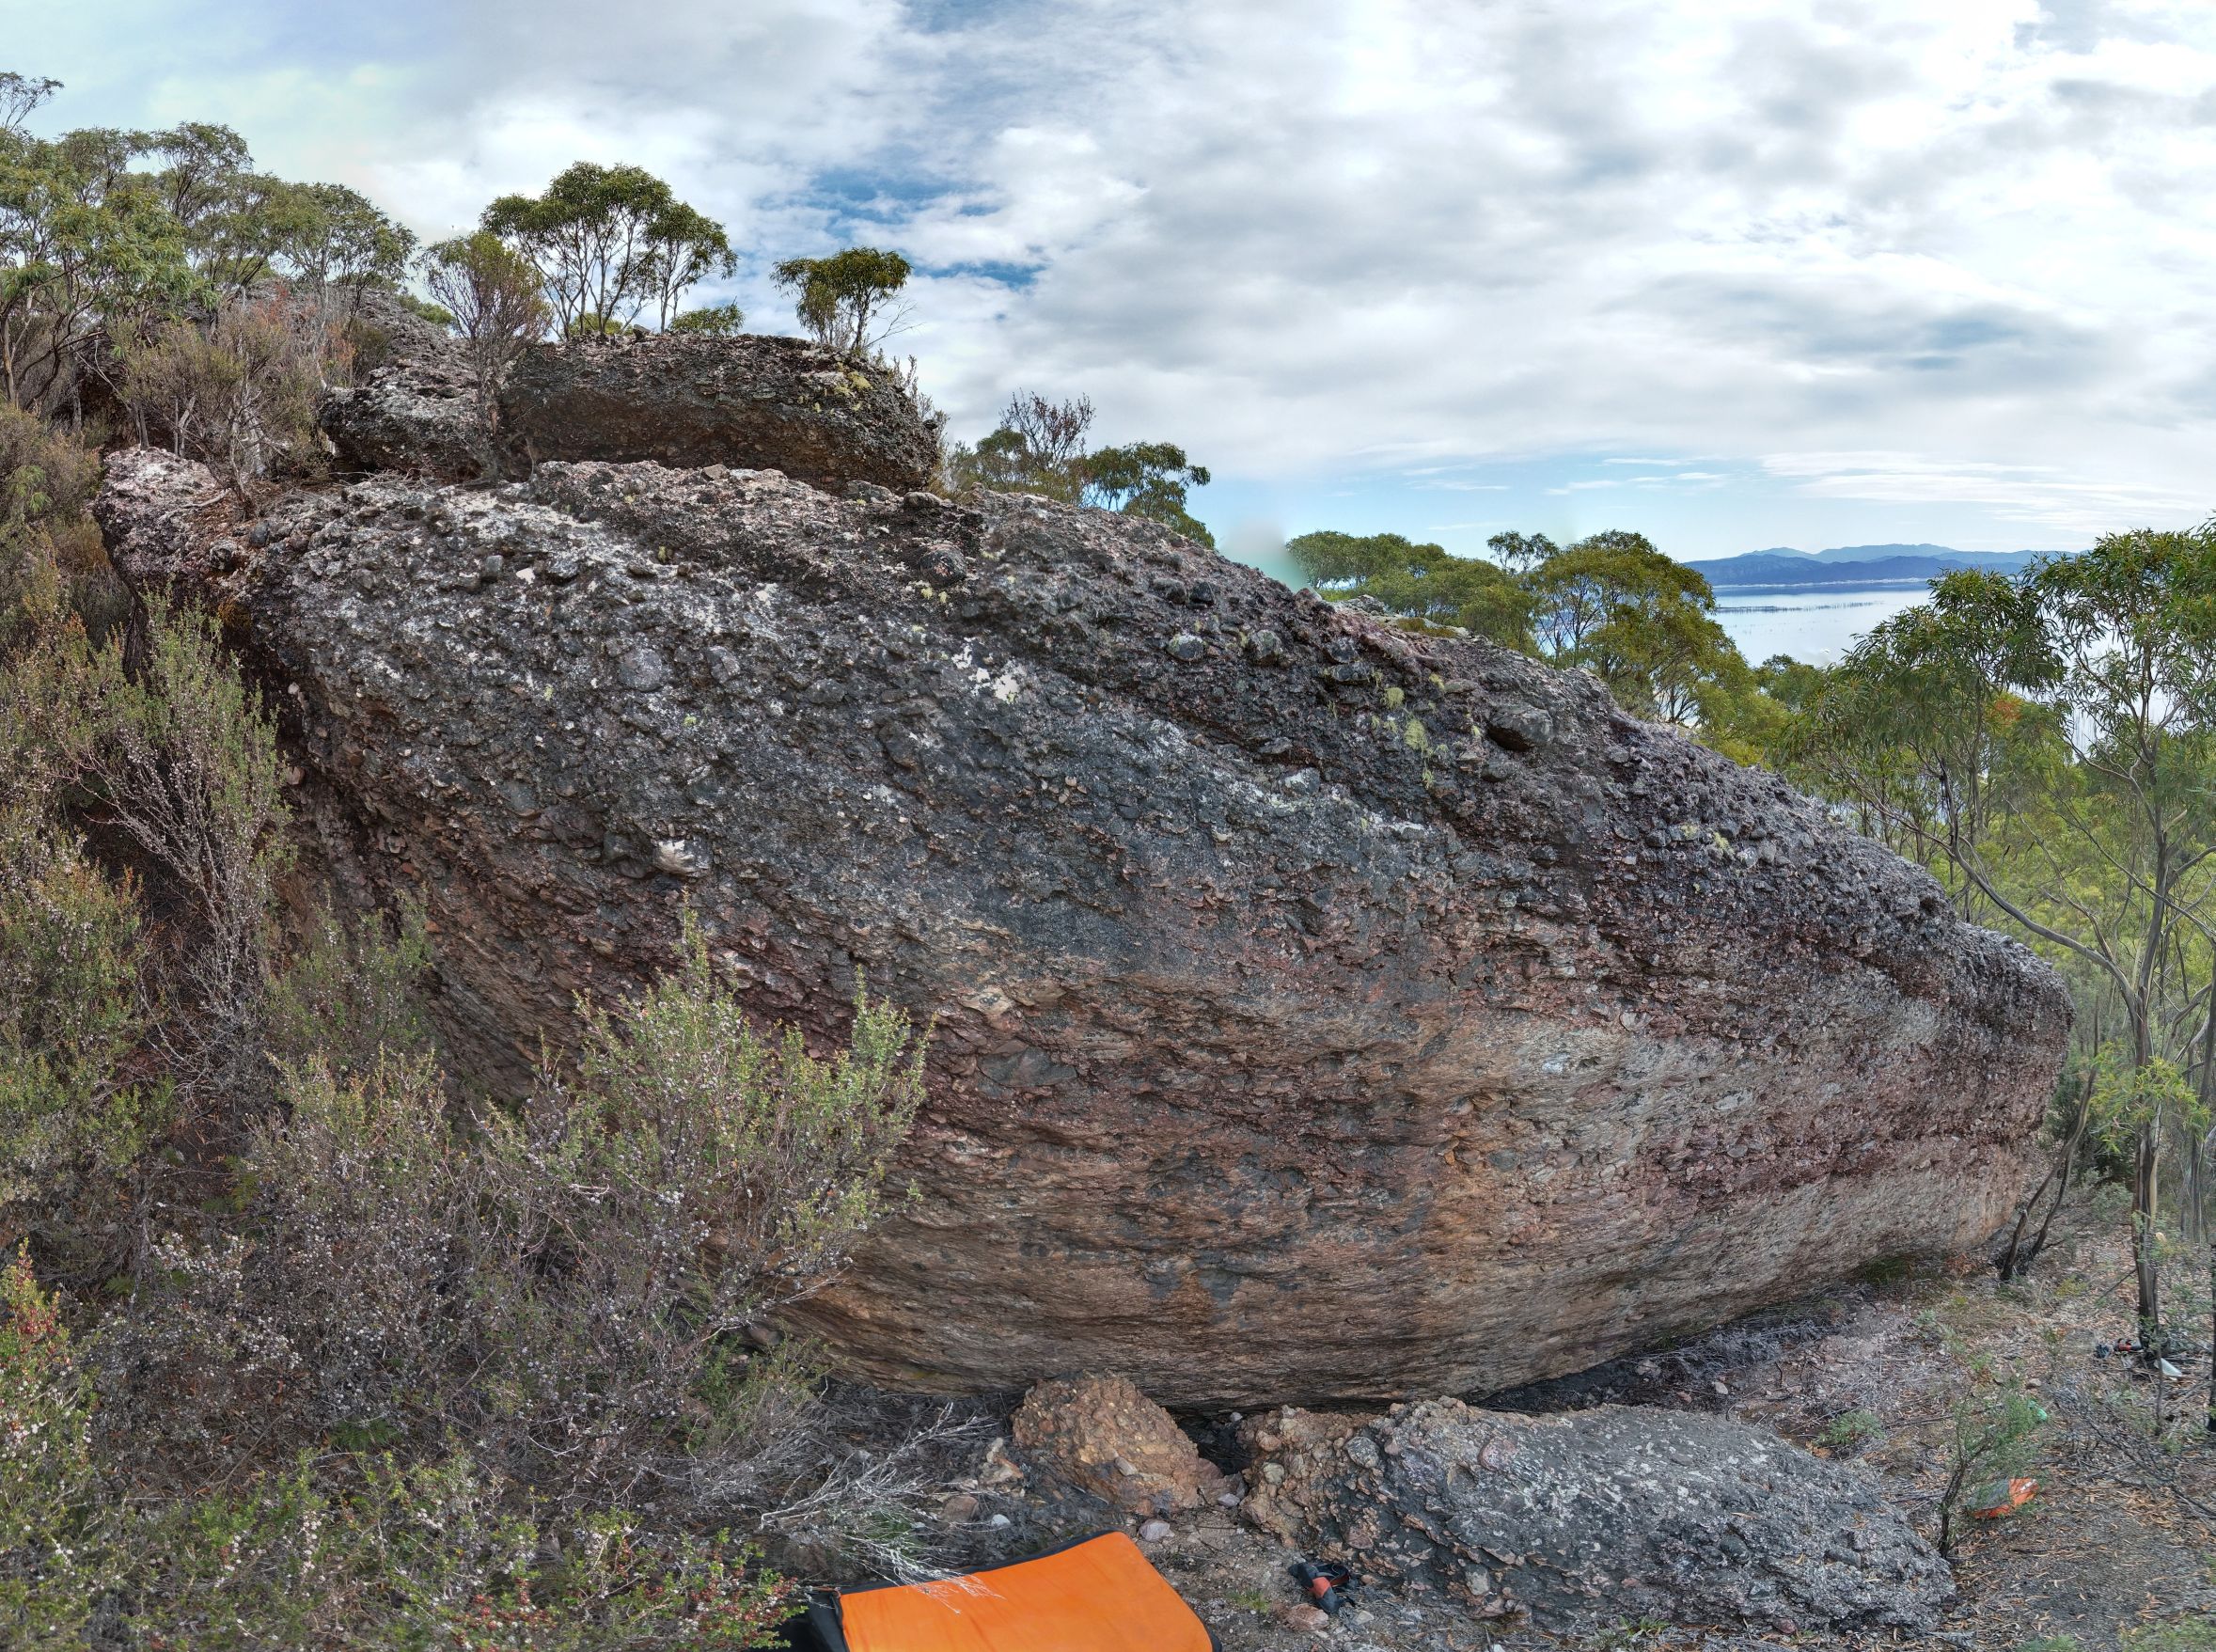
Start on the rail, to the left of the two trees.
Start 2m left of JADO on a slotted jug.
Dyno off the mat to a sidepull. The top is V1.
Pyramid Rock
To the right of the route County Toad (20) there are a few boulder problems. Grades range from V1 to V5.
Traverse from the arete to the block on the right of the cave.
The Chasm's left wall has been traversed.
The Bear Pit
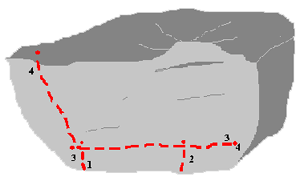
Starts low and finishes on the finish hold of the Mighty Mouse Traverse
Starts on a big hueco in the middle of the cave and cranks out to a jug in the middle of the traverse.
This is the easy traverse from right to left along the bottom of the boulder.Start where the initials are printed on the rock.
Do the Mighty Mouse traverse then finish up Morjabia.
Other variations:
The traverse from left to right
The traverse there and back
Around the boulder at the back of the cave.
Magic Mushroom
A long traverse along the west face, starts below Meltdown and finish on the arete near Snake Charmer