
Fatman Area
 1-15 min
 All day sun
 Short vertical dolerite buttresses. Mostly trad routes, but some bolts.
Crag Steward
Rock climbers please contact the Cliff Steward (eskriver@climbersclubtas.org.au) if you have any queries or concerns regarding social or environmental impacts of rock climbing at this crag. Do not email regarding general travel, seasonal advice, or lost property - this is not the Steward’s role. If you have important safety information to communicate (e.g. risks due to recent and large rock falls) please also consider updates on thesarvo forum, facebook group and/or online guidebooks as appropriate. Please copy in cct@climbersclubtas.org.au if you feel you have a high level concern which may imminently impact the crag or climbing community.
Non-climbers, other users, land managers: please also contact cct@climbersclubtas.org.au if you have important climbing related queries at this location.
Fatman Buttress - Upper Tier
There is a DBB at the top of Fatman Pinnacle. Abseil from here takes you to the base of Thin Fiend, then continue to abseil past this to the base of Crucifix's DBB
Access- see map
Climb the off-width behind the pillar of Thin Fiend on the downstream side.
McMahon, Smith 1972.
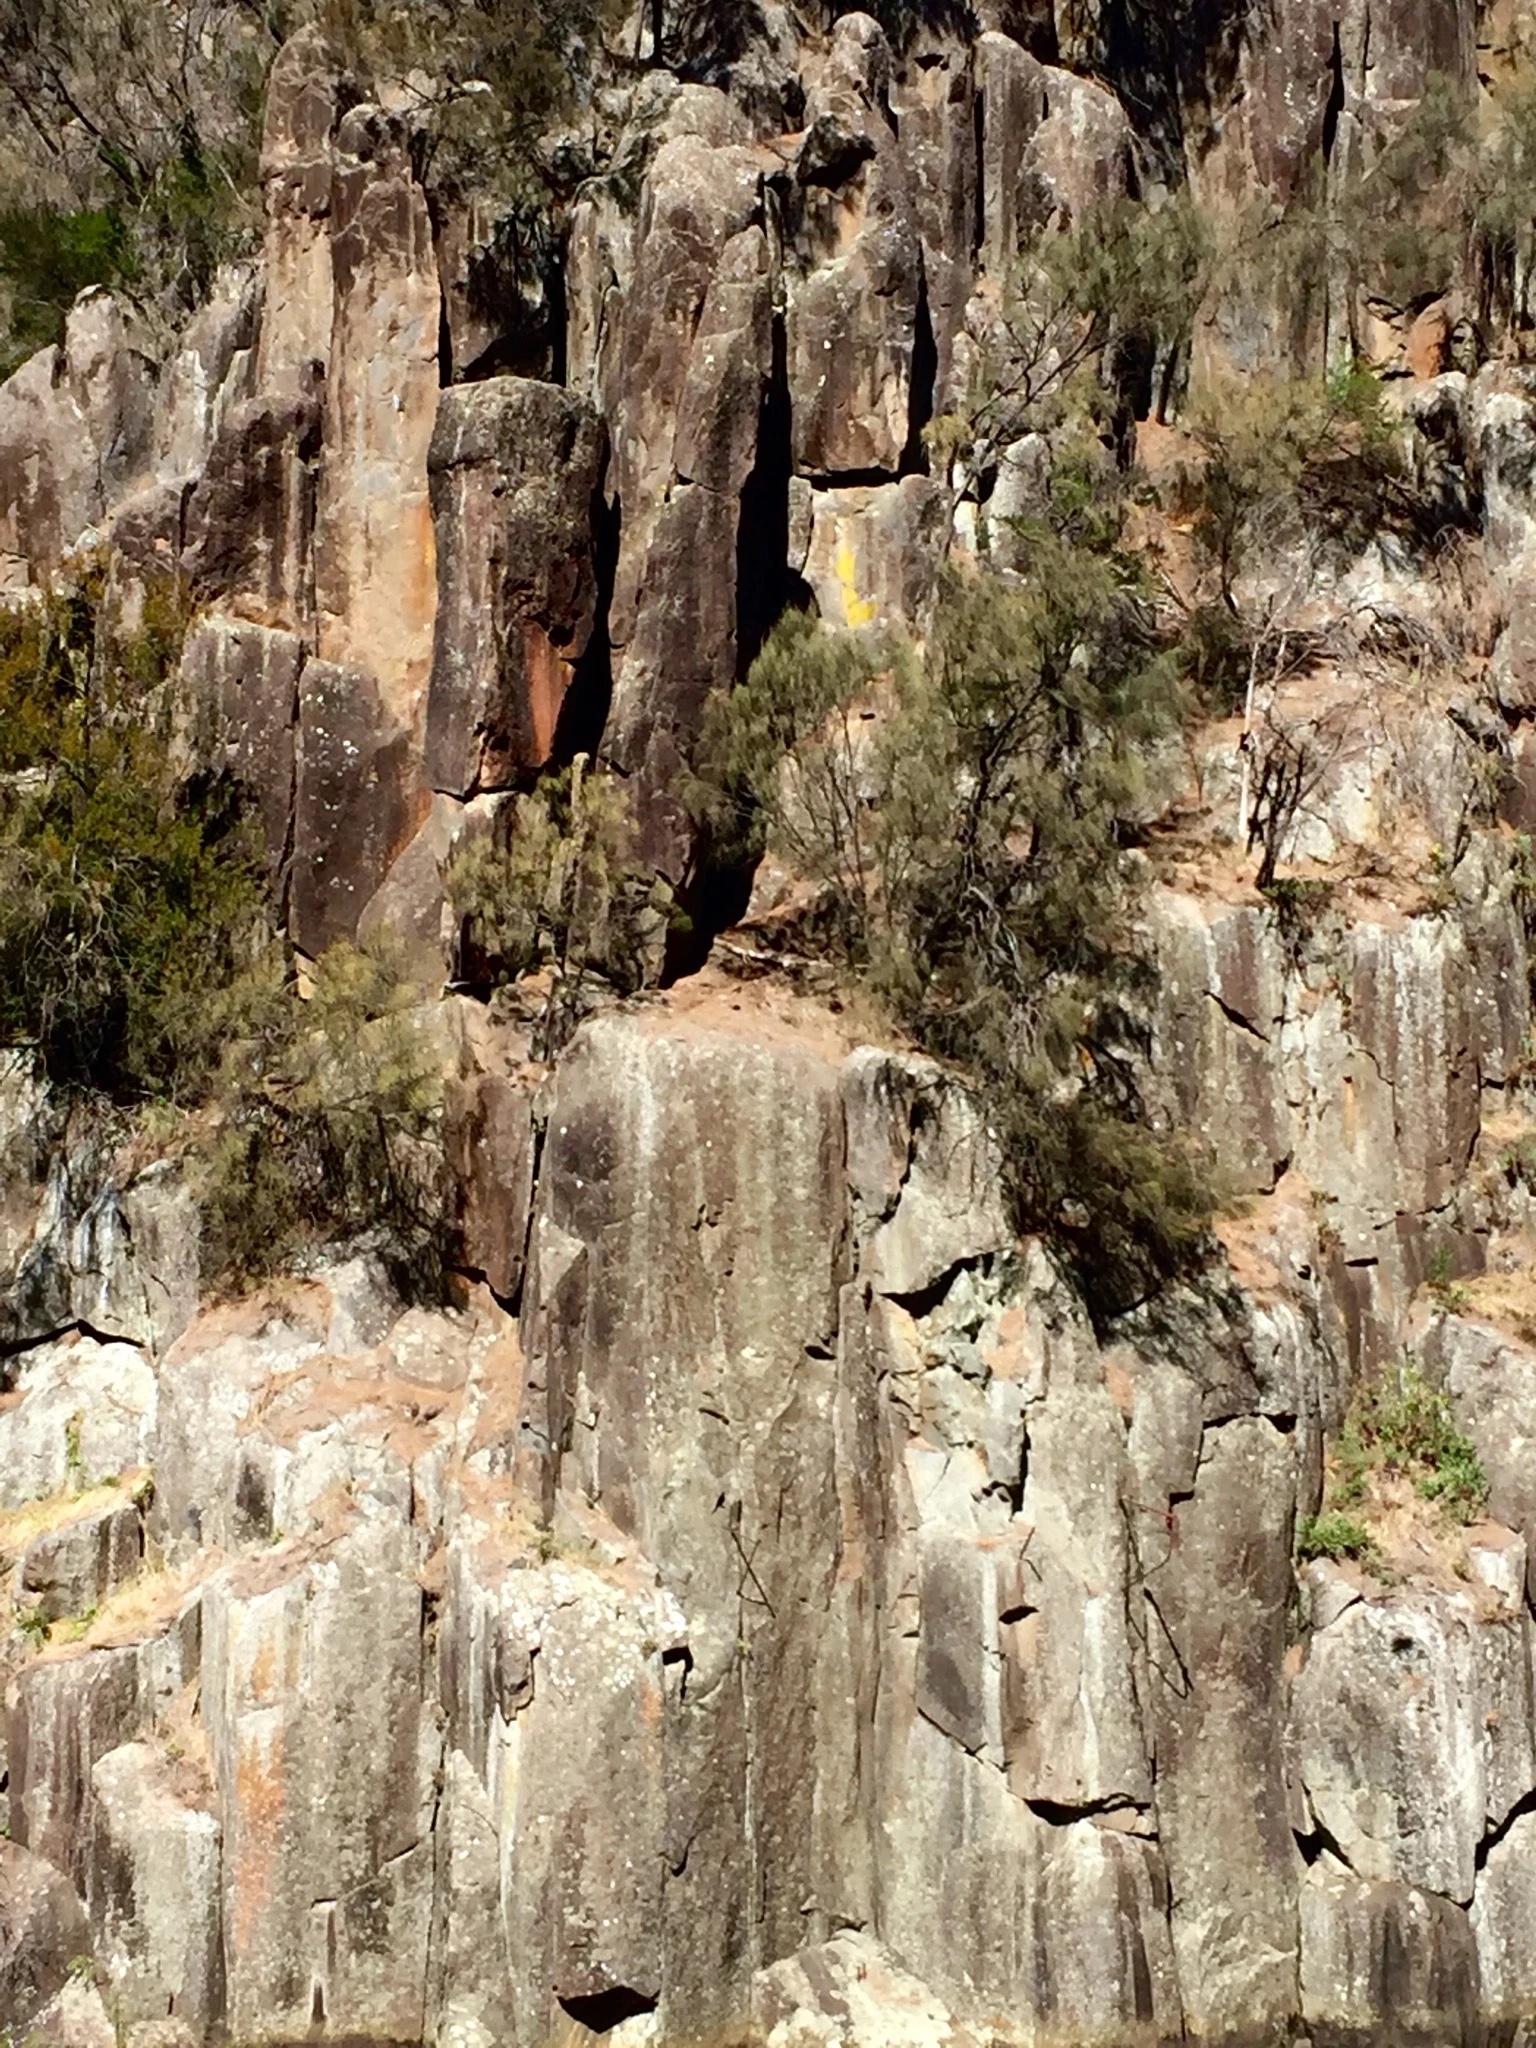
Topo: theCrag contributors, CC BY-NC-SA 3.0, theCrag
Line of 4 U-bolts up the isolated downstream pinnacle.
Ng, 1991.
The chimney behind the isolated Fatman Pinnacle 5m upstream from the Thin Friend pillar.
McMahon, McHugh, 1972.
Abseil down to the face of the Fatman Pinnacle where there is a DBB. Climb up past 3FH and friend placements in the horizontal breaks. DBB on top of the pinnacle
Ng, 1991.
On the opposite side of Skinny Girl climb the easy face.
McMahon, McHugh, 1972.
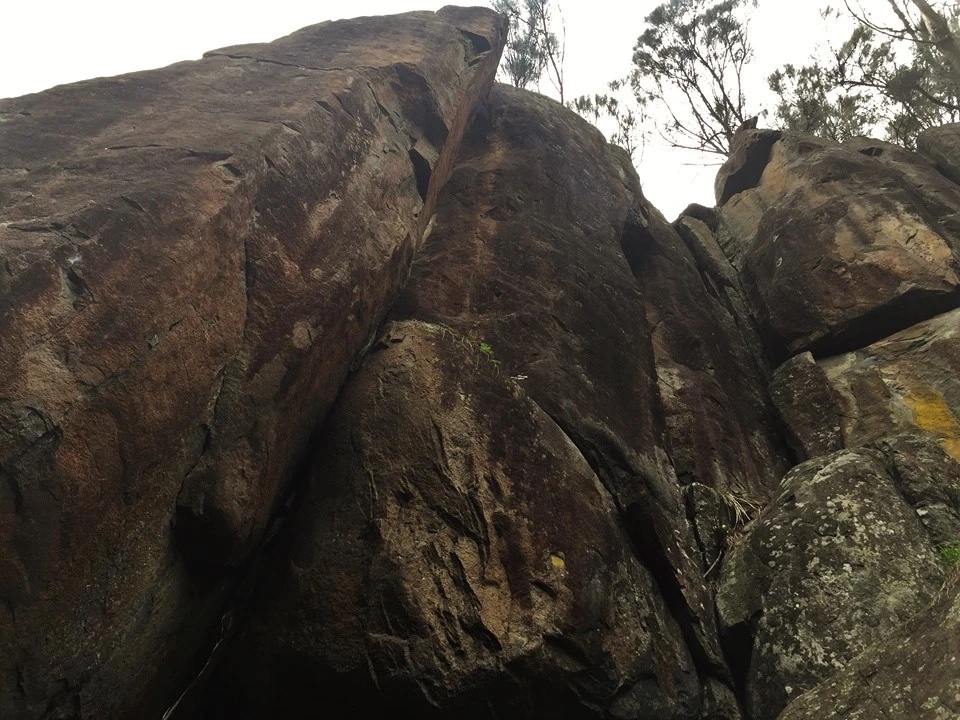
Topo: theCrag contributors, CC BY-NC-SA 3.0, theCrag
Hard start then easily up on the left of the line of carrots.
Smart and McMahon.
The bolts are the result of an Ng project which was to go on the right but is too contrived to bother with.
Up through bulge and hand crack to the split between the pillar and the buttress proper.
Smith, McMahon.
Our local version of “The Squeeze Test.” The smaller wiggle hole which separates the two main areas of the crag.
From: theCrag
The off-width through the small roof 10m uphill and right of Skinny Girl.
Narkowicz, McMahon.
The corner 3m up hill from Acoustics & Meat.
Mohler, Madden, 1981.
Curving line R of GOWTN corner. Stick clip first bolt (or place some small cams in the horizontal break), into cruxy moves laying/compressing off L arete to get established on face. Continue slightly R up slab to finish. Avoid cranking outwards on vertical pillar at base of route as it does seem to wobble. DBB
N. Morgan, S. Postle, 2022.
RH variant start for Little Boy. Up double aretes, linking in with previous climb at its 3rd bolt (avoid bridging off RH blocks for the full value). Straight up slab to finish. Take some large cams for the start. DBB
S. Postle, N. Morgan, 2022.
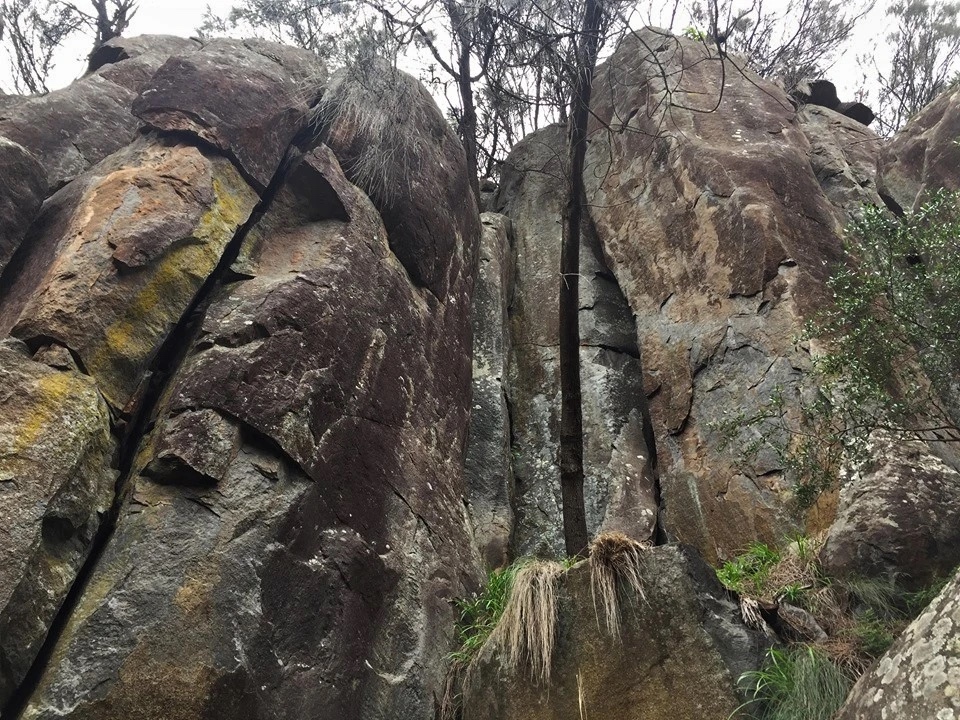
Topo: theCrag contributors, CC BY-NC-SA 3.0, theCrag
Off-width climbing saved by chock-stones.
Smith, McMahon, 1981.
The thin corner 3m right of Pot Belly.
McMahon, Madden, 1981.
The arête/pillar with 3 eye-bolts. DBB.
Fox, Munro, Kearnes, 1996.
The chimney at the back of When the Fat Lady Sings.
Madden, Mohler, 1981.
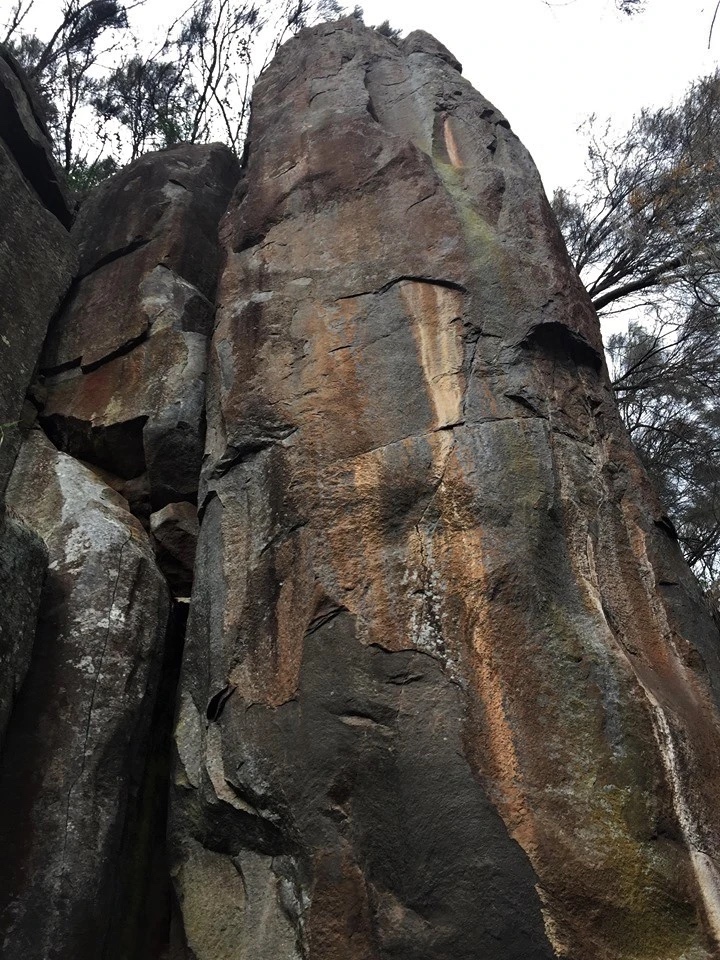
Topo: theCrag contributors, CC BY-NC-SA 3.0, theCrag
Second last corner of the buttress 10m uphill from When the Fat Lady Sings.
McMahon, Smith, 1981.
The last corner.
McMahon, Smith, 1981.
The 2 carrots 3m left of You're Fat! Starting at the same level step left on to arete. Originally conceived with a direct independent start but still waiting.
Ng, 1991.
Climb the face with 2 bolts on the end of the buttress.
DeCesare, Fox, 1996.
Fatman Buttress - Lower Tier
Access by abseiling from the tree below Skinny Girl.
Starts somewhere down river of Fatman Buttress and goes for about 100m. "The landing is soft and rarely more than 1m away" to quote someone.
Narkowicz (solo), 1982.
The thin cracks past an eye-bolt to the steel spike then traverse left to the arête and another eye-bolt.
Narkowicz, McMahon, 1982.
Corner and face 3m right of Fear and Frothing.
McMahon, Smart, 1982.
Flaring crack 4m upstream of Cantilever Corner.
McMahon, Narkowicz, 1982.
Uphill and upstream of the last climb is a separate pillar split by a crack.
McMahon, Fantini, 1980.
Wonders of the Flesh Buttress
This buttress is upstream and on the same level as the top of the Fatman Buttress, directly above The Gully.
Hand crack on the left.
McMahon, Smith, 1981.
Left hand line on the right hand side of the buttress.
Parsons et al, 1976.
Corner right of Sapient Sutler to join it at the off-width.
Smith, McMahon, 1981.
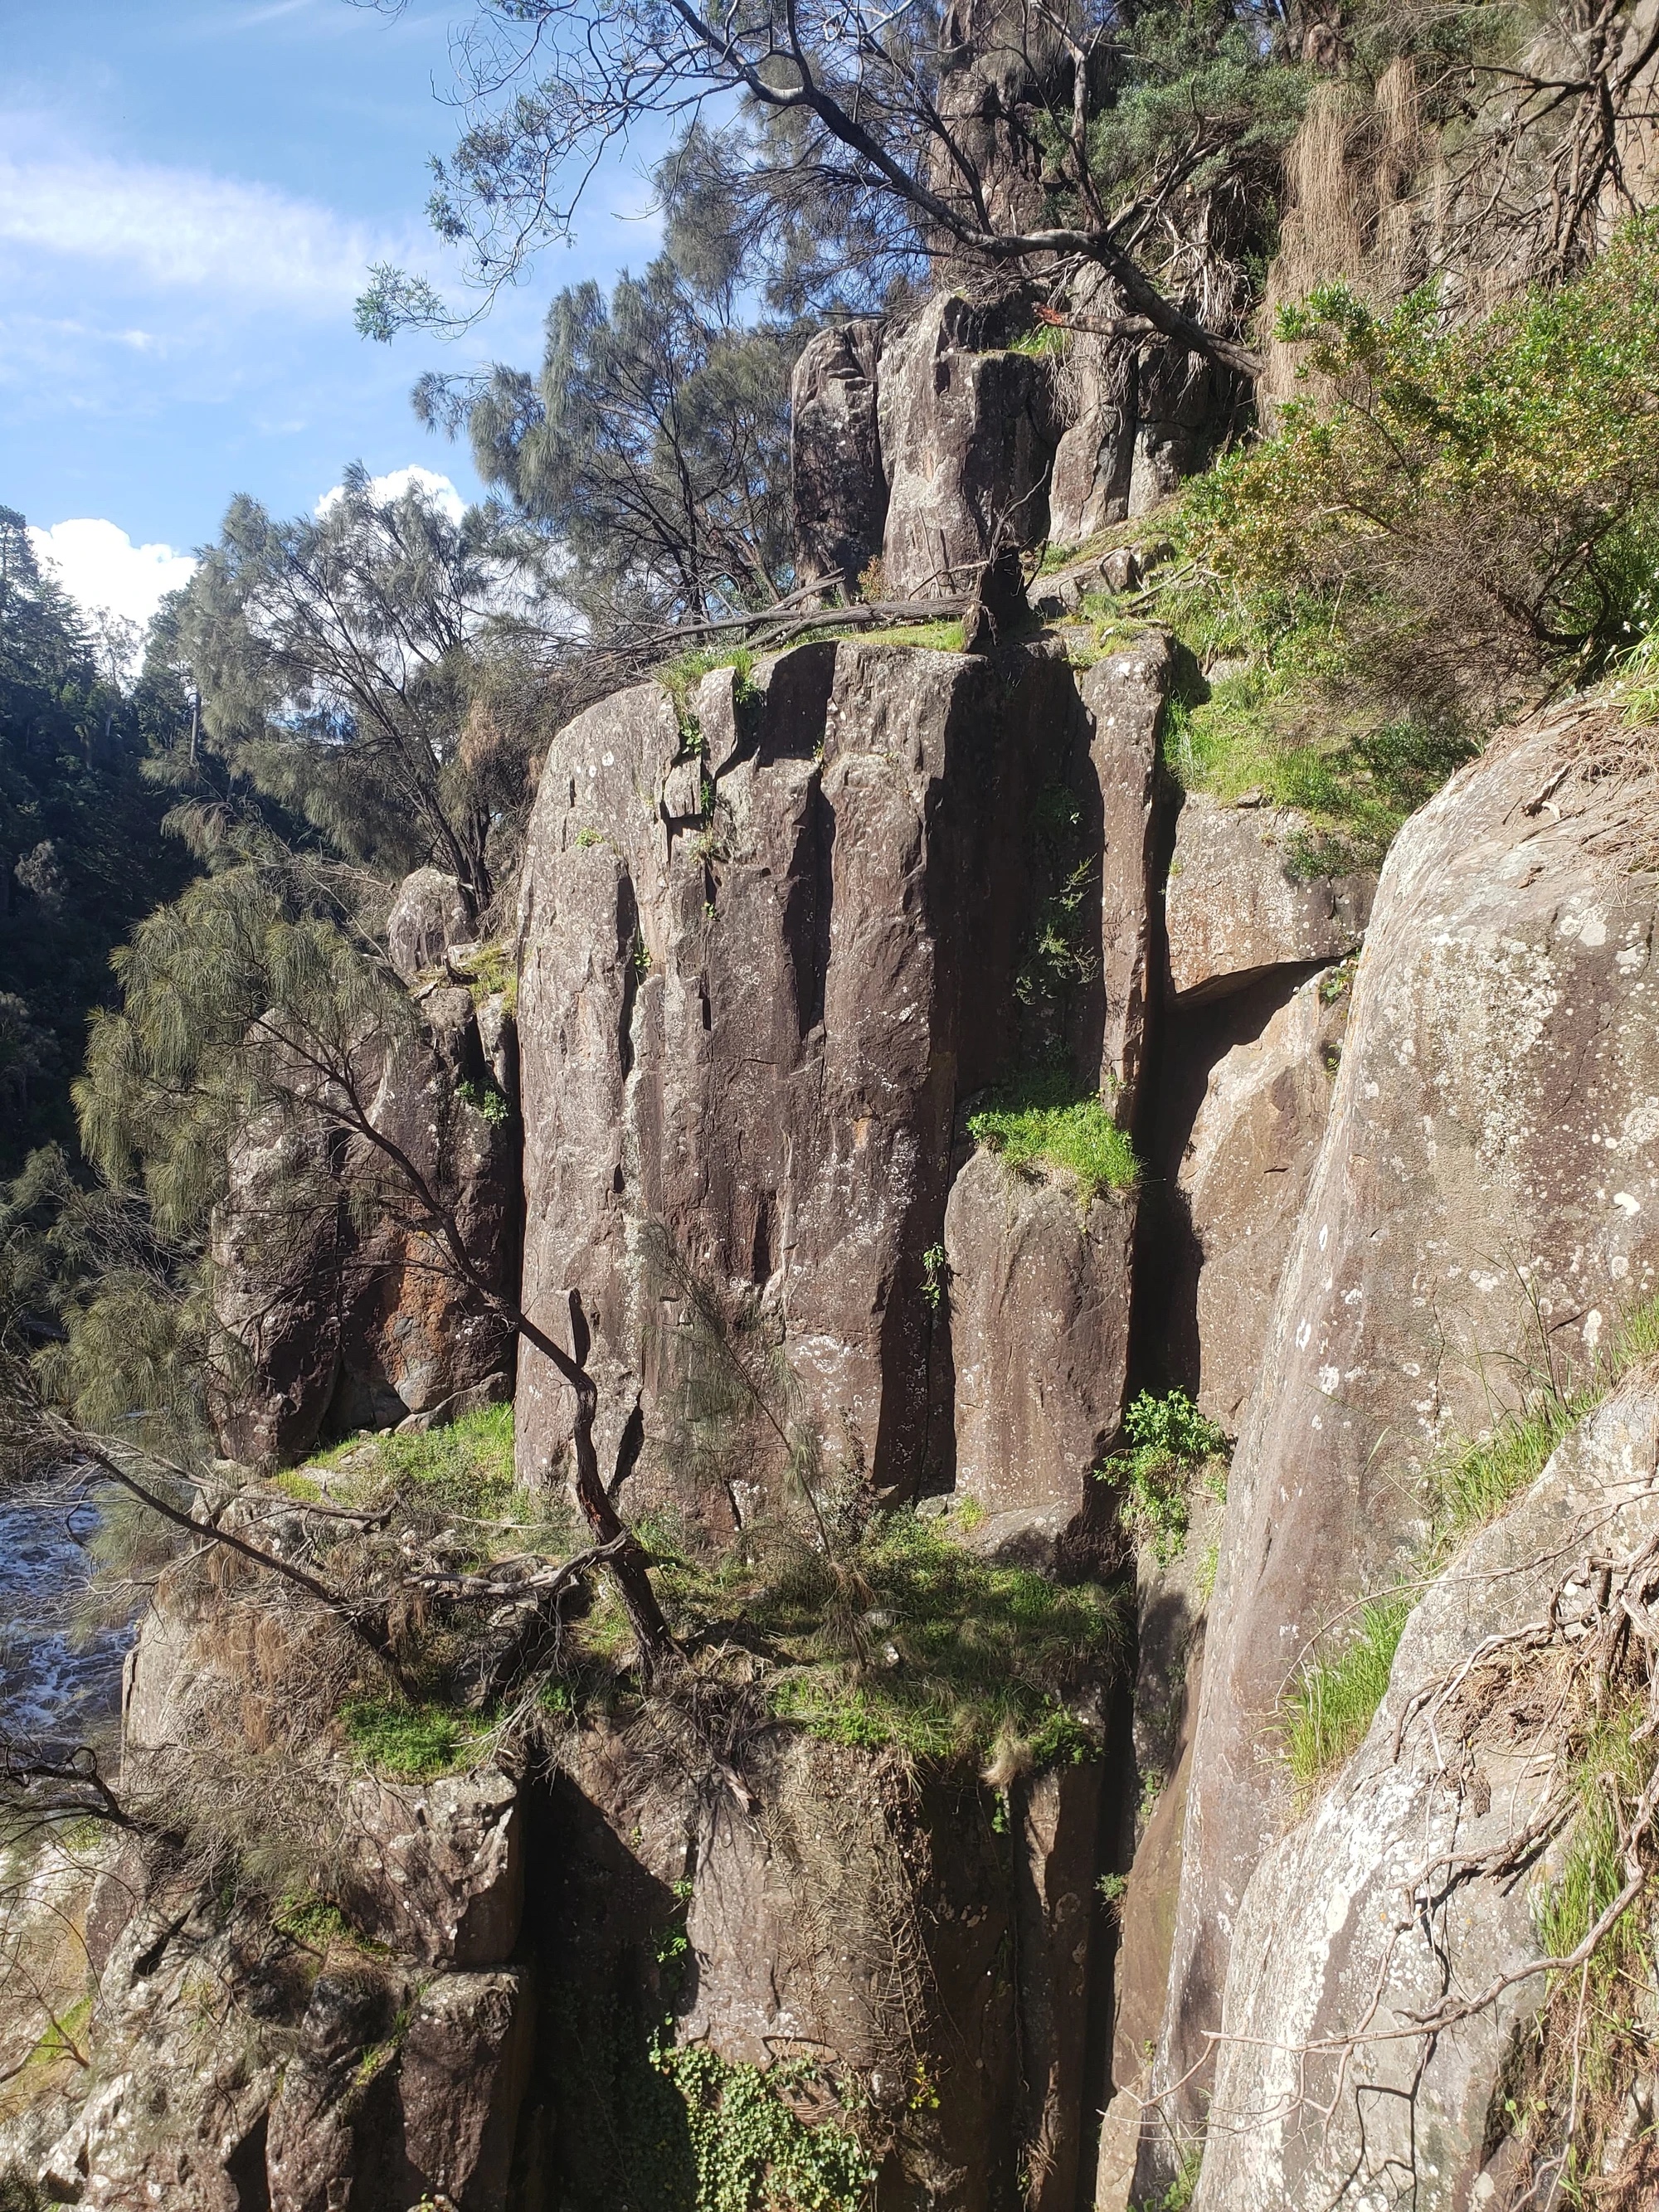
Topo: theCrag contributors, CC BY-NC-SA 3.0, theCrag
A couple of metres left of Noodle Armed Choir Boy. Climb the face, 4 fixed hangers, take a wire for the top moves if you want extra pro. DBB at the top.
Dennis Kearnes, Michael Fox, 3 Nov 2007.
On face that faces upstream overlooking The Gully. Walk downhill and then upstream from You're Fat and abseil to large ledge from DBB on LPFY! Climb face corner past two U-bolts, then natural gear.
Bissett, 1998.
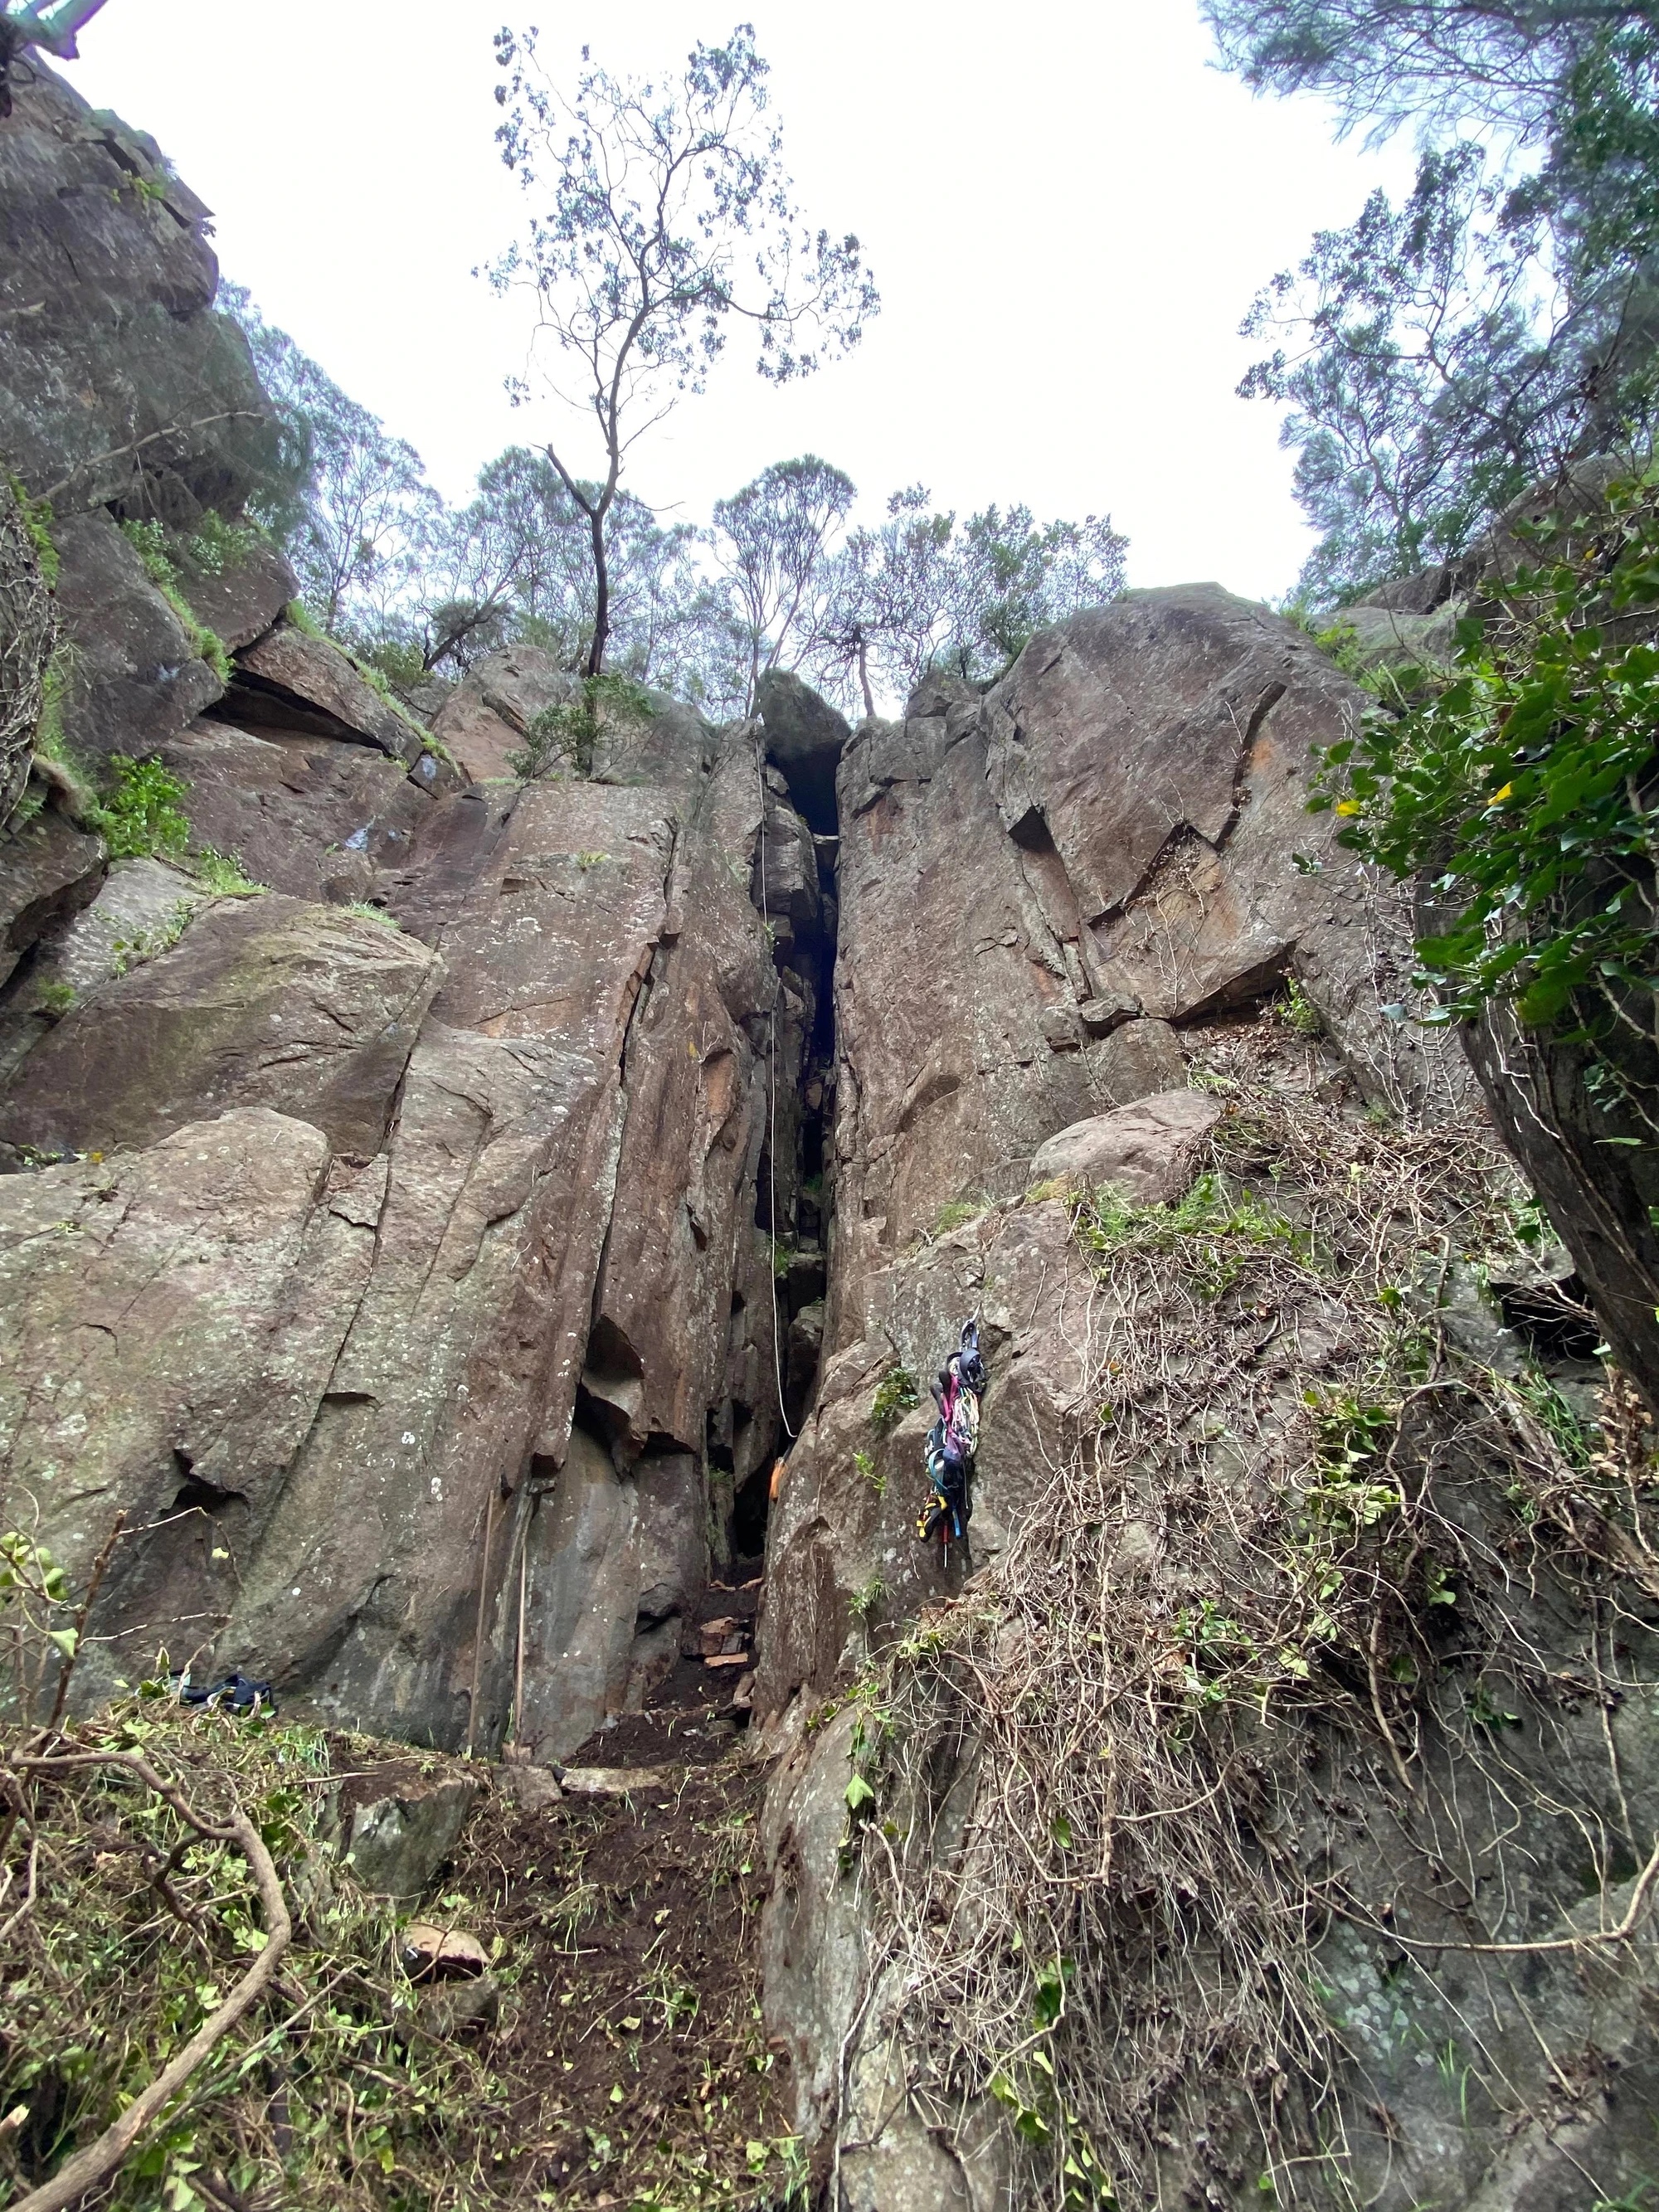
Topo: theCrag contributors, CC BY-NC-SA 3.0, theCrag
The line 4m right of NACB. Climb past two U-bolts (double ropes may be better, but clips are good) into corner, place a cam and go up.
Bissett, 1998
The Gully
Access- requires a 30m abseil from the double bolt belay, next to small tree below the Wonders of the Flesh Buttress.
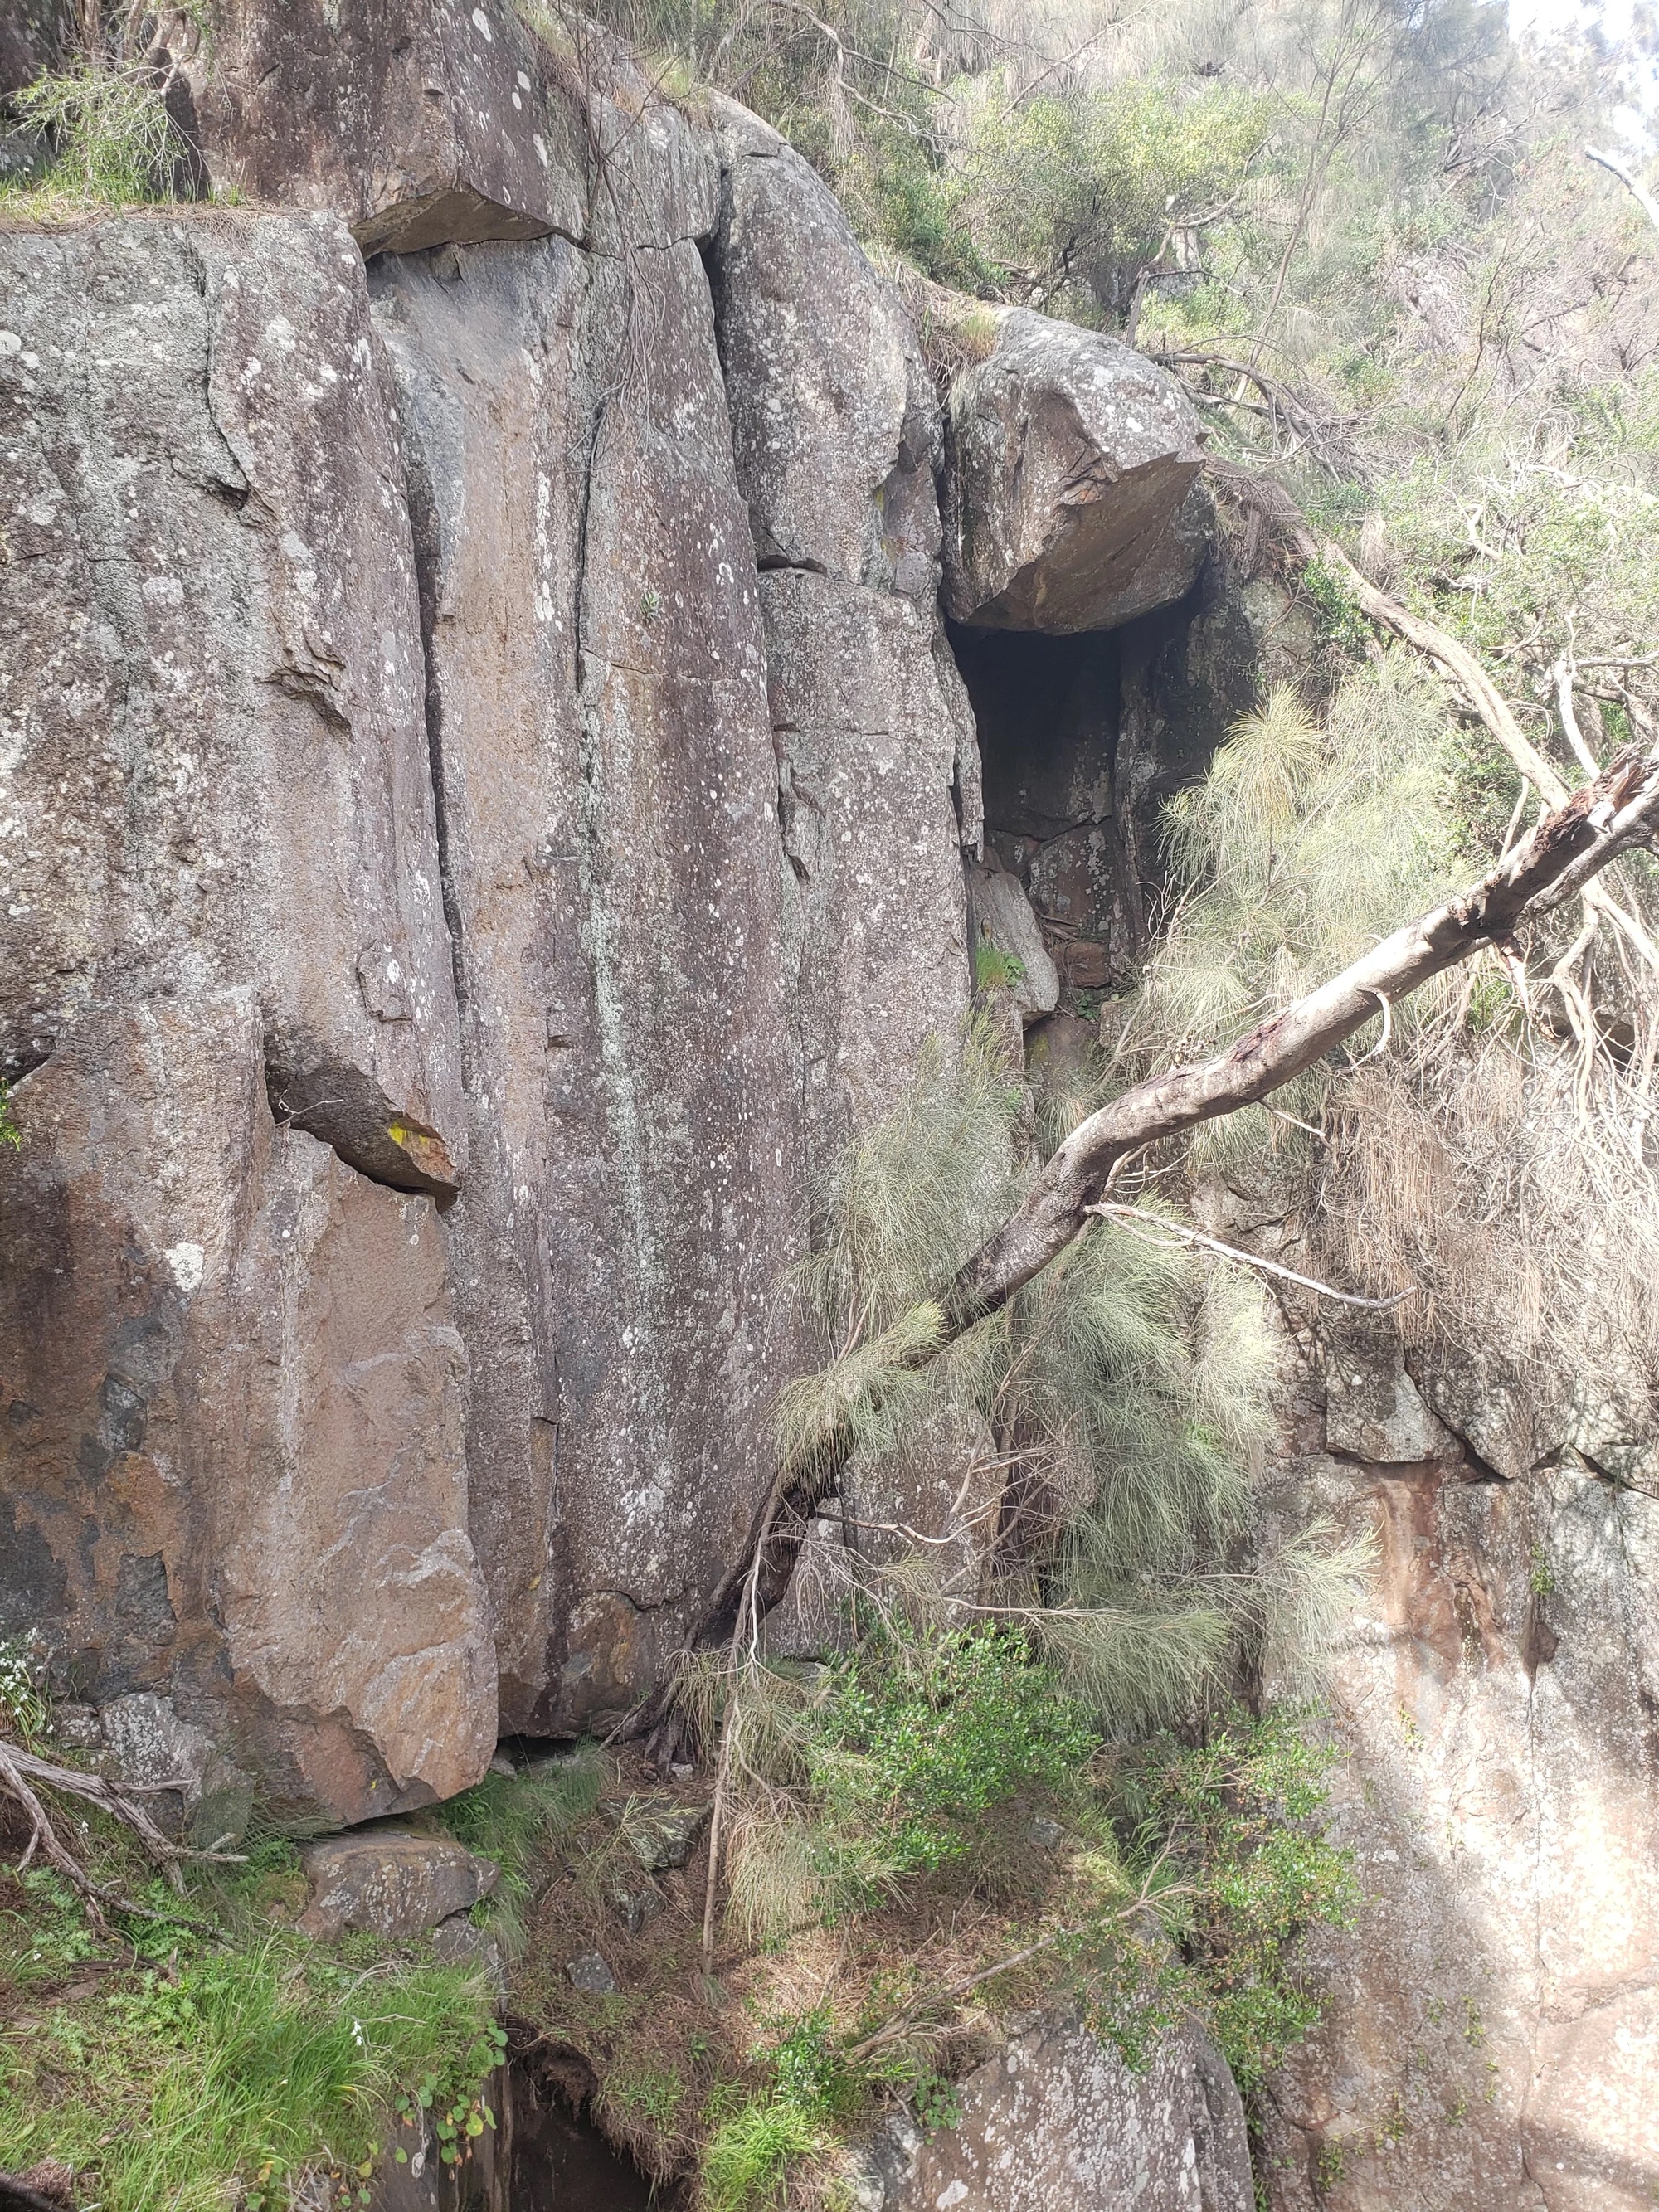
Topo: theCrag contributors, CC BY-NC-SA 3.0, theCrag
Start on the downstream side of the gully. 1) Climb up the thin line to the black face, then continue to a grassy ledge. 2) Climb up the obvious left crack.
Fantini, McMahon, 1981.
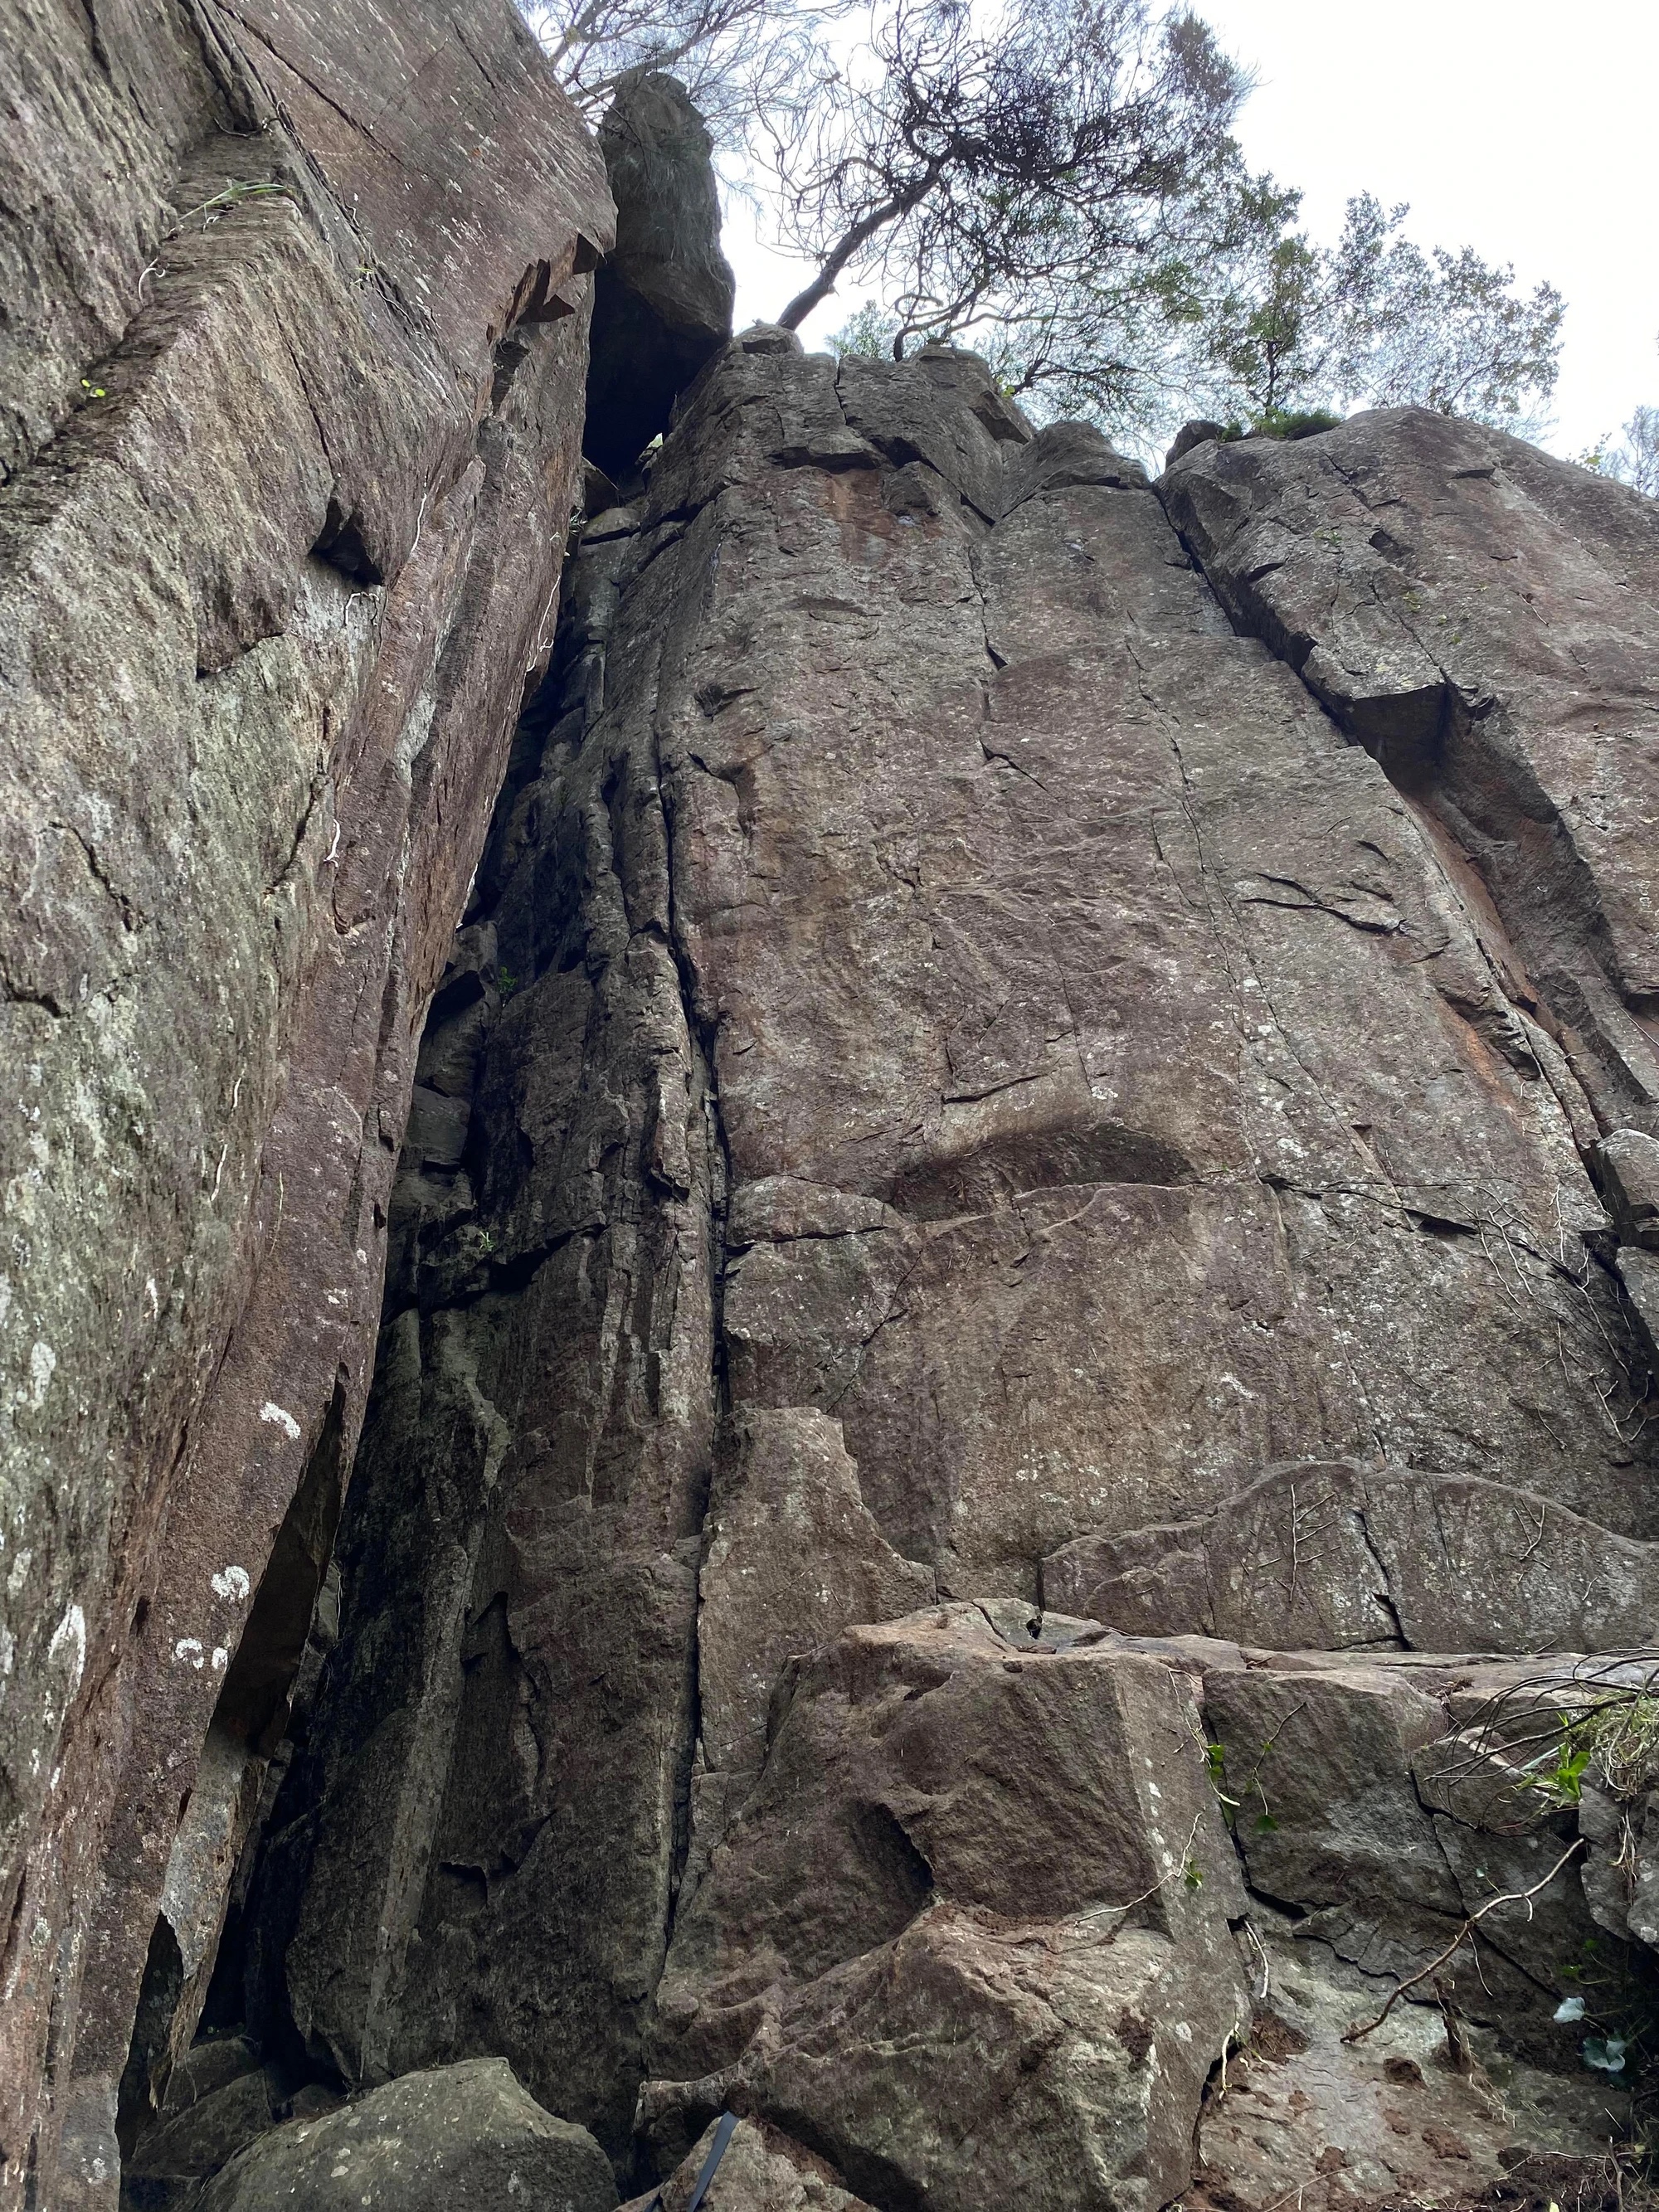
Topo: theCrag contributors, CC BY-NC-SA 3.0, theCrag
The main crackline just left of the gully. Can be split at the grassy ledge. Takes a variety of gear from finger sizes to #4 camalot. Tree belay.
B McMahon & Duhig, 1980 · From: theCrag
From the halfway ledge, climb the far right crack line finishing just left of the big chockstone. Tree belay.
Patrick Munnings & Hannah Rose, 2022 · From: theCrag
The main crack. Can be split at the grassy ledge.
McMahon, Duhig, 1980.
What other description do you need?
Talbot, K.Smith, 1975.
One of the best trad routes on the Sunny Side! The prominent crack splitting the arete on the upstream face of the gully. Trends left into gully and traverses right using jugs through rooflet, finishing up crack to belay ledge. DBB
Hannah Mulligan & Patrick Munnings 2022
If you like your curries spicy and your trad routes the same, this one is for you. Climbs the twin seams left of Bautzen, without using the blocks or crack of Bautzen. The crux is the sparsely protected moves to the first ledge. Continue up seams with better gear and easier moves to finish up V groove. DBB as for Bautzen
Patrick Munnings & Hannah Mulligan 2022
Starting as for Bautzen, step right off block to traverse along the shark tooth flake and up the right arete. DBB
Patrick Munnings & Nick Morgan, 2022 · From: theCrag
On the upstream side of the gully. Up blank corner past bolt, through small roof and up crack.
McMahon, Ling, 1982.
Mars Wall
Access- upstream from the gully. Abseil in from 2 bolts above Almost Mars.
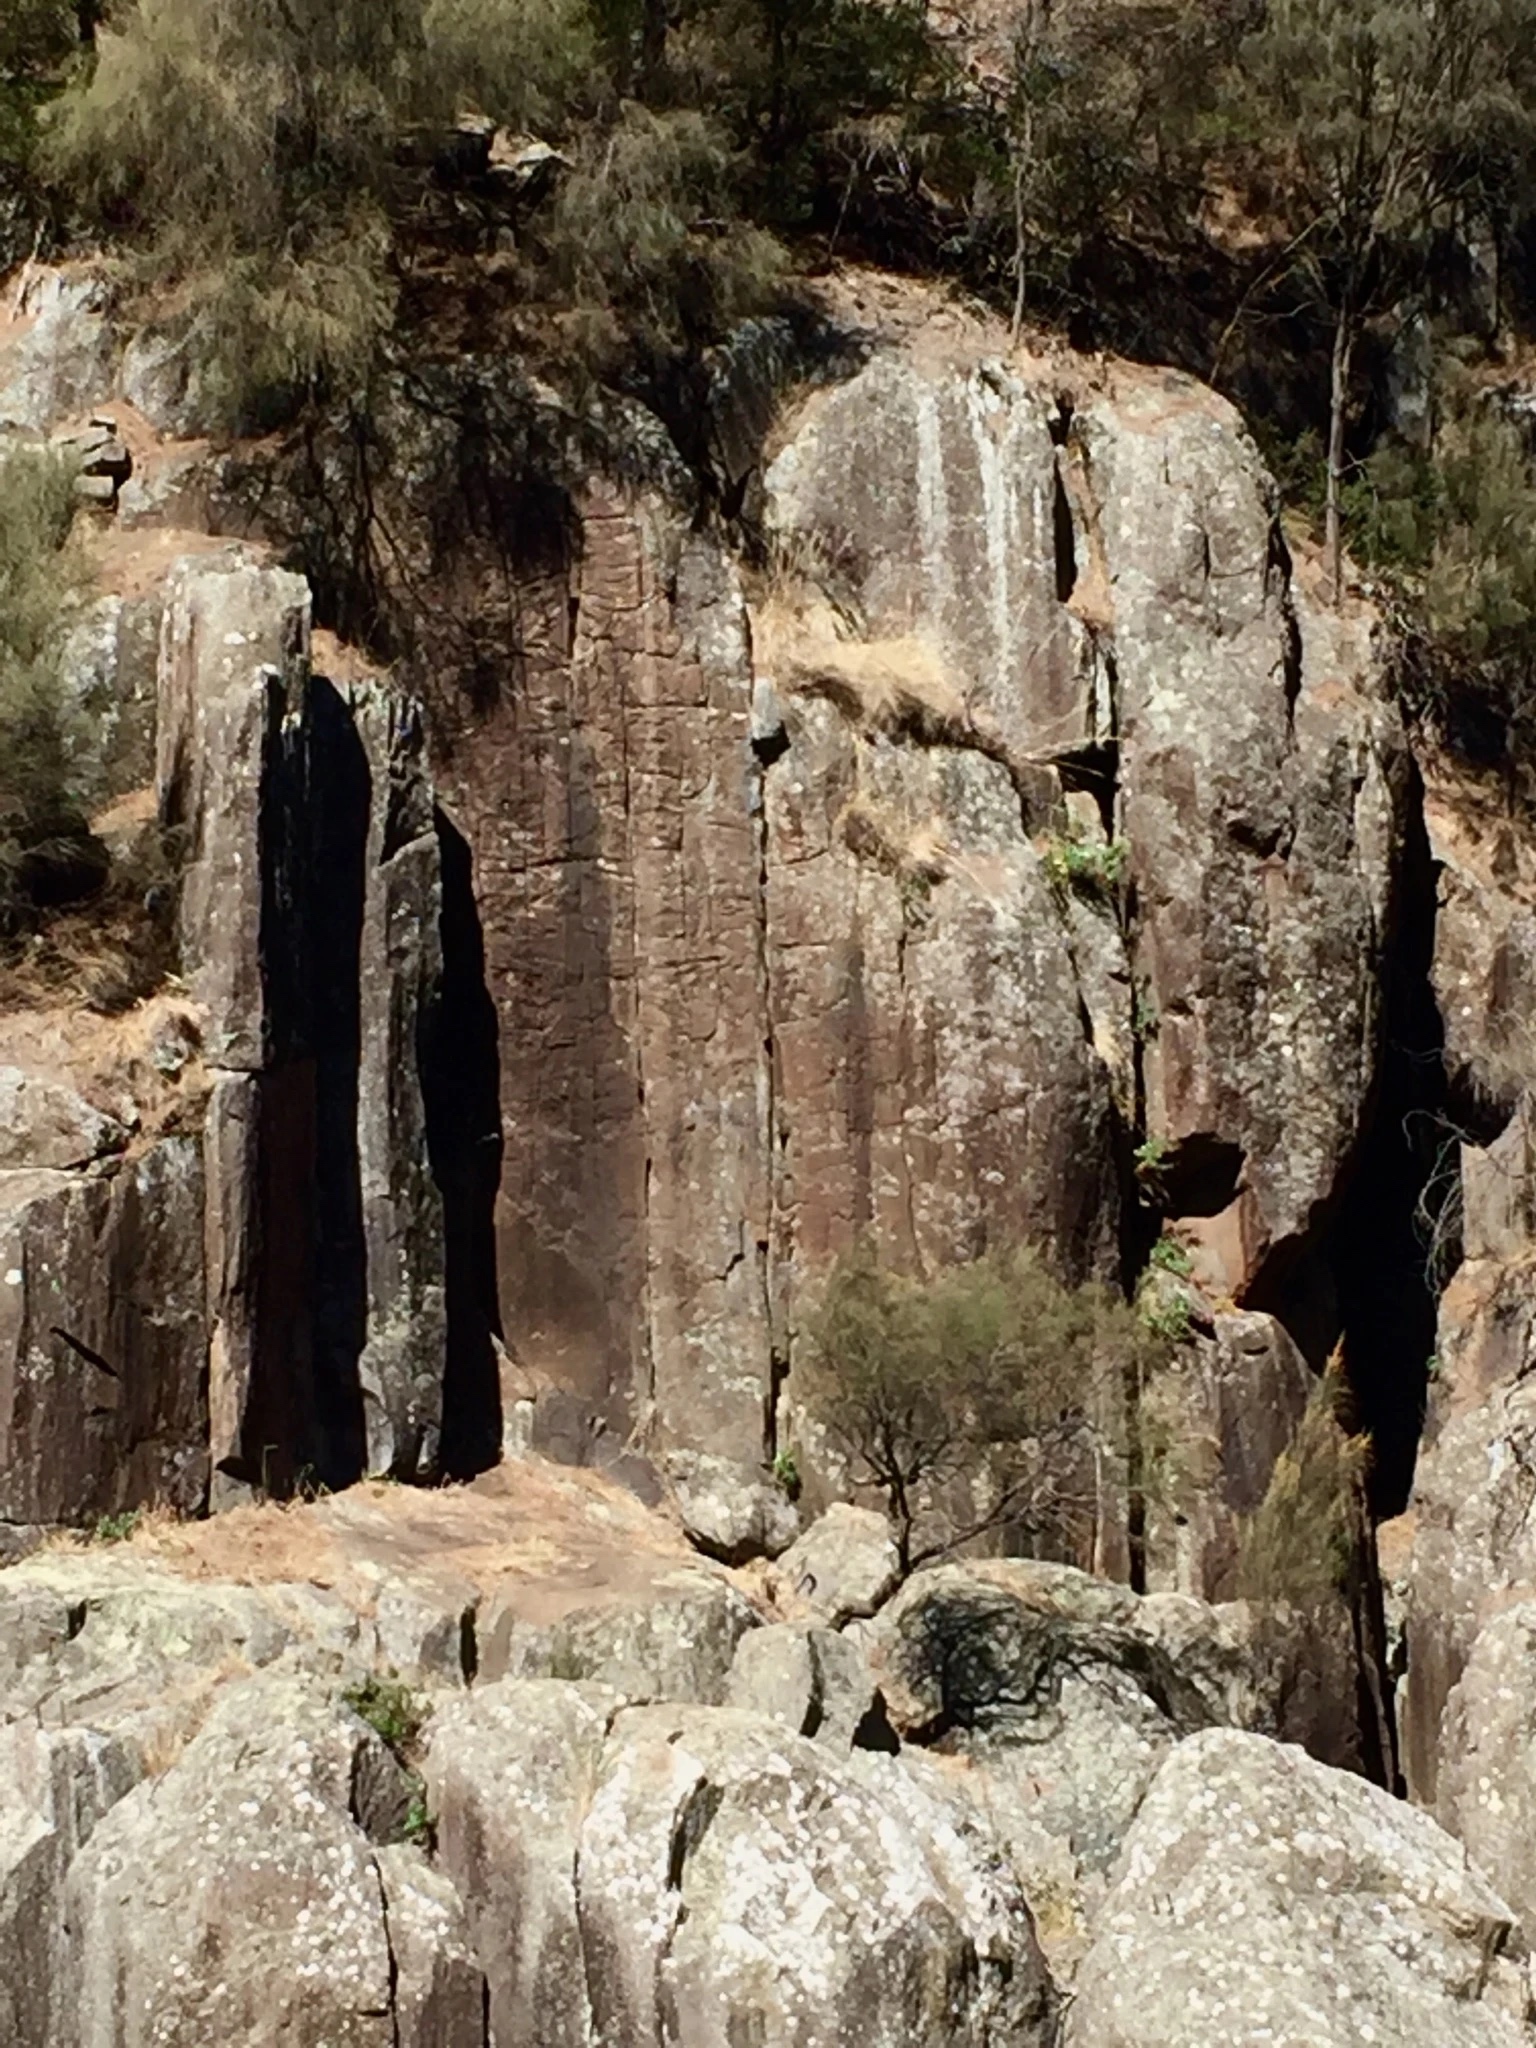
Topo: theCrag contributors, CC BY-NC-SA 3.0, theCrag
The wide corner crack left of Chardonnay Man to the same DBB
Patrick Munnings & Hannah Rose, 2022 · From: theCrag
The arête left of Mars Wall proper. 3 bolts to a DBB.
Bissett, Fox, 1997
Thin crack and face climbing 1m left of Mars.
Smart, McMahon, 1982.
The crack.
Thomas, Smith, McMahon 1981.
In the gully right of Mars Wall is a line of 6 U-bolts. This is it. DBB.
Bissett, 1998.