
Trackside Area
 1-15 min
 All day sun
 Short vertical dolerite buttresses. Mostly trad routes, but some bolts.
Crag Steward
Rock climbers please contact the Cliff Steward (eskriver@climbersclubtas.org.au) if you have any queries or concerns regarding social or environmental impacts of rock climbing at this crag. Do not email regarding general travel, seasonal advice, or lost property - this is not the Steward’s role. If you have important safety information to communicate (e.g. risks due to recent and large rock falls) please also consider updates on thesarvo forum, facebook group and/or online guidebooks as appropriate. Please copy in cct@climbersclubtas.org.au if you feel you have a high level concern which may imminently impact the crag or climbing community.
Non-climbers, other users, land managers: please also contact cct@climbersclubtas.org.au if you have important climbing related queries at this location.
Seif Buttress
Access- see map. The first major (8m) pinnacle that you come to on the uphill side of the zig-zag track. Beware the large flake on the right has been known to move. DBB on top.
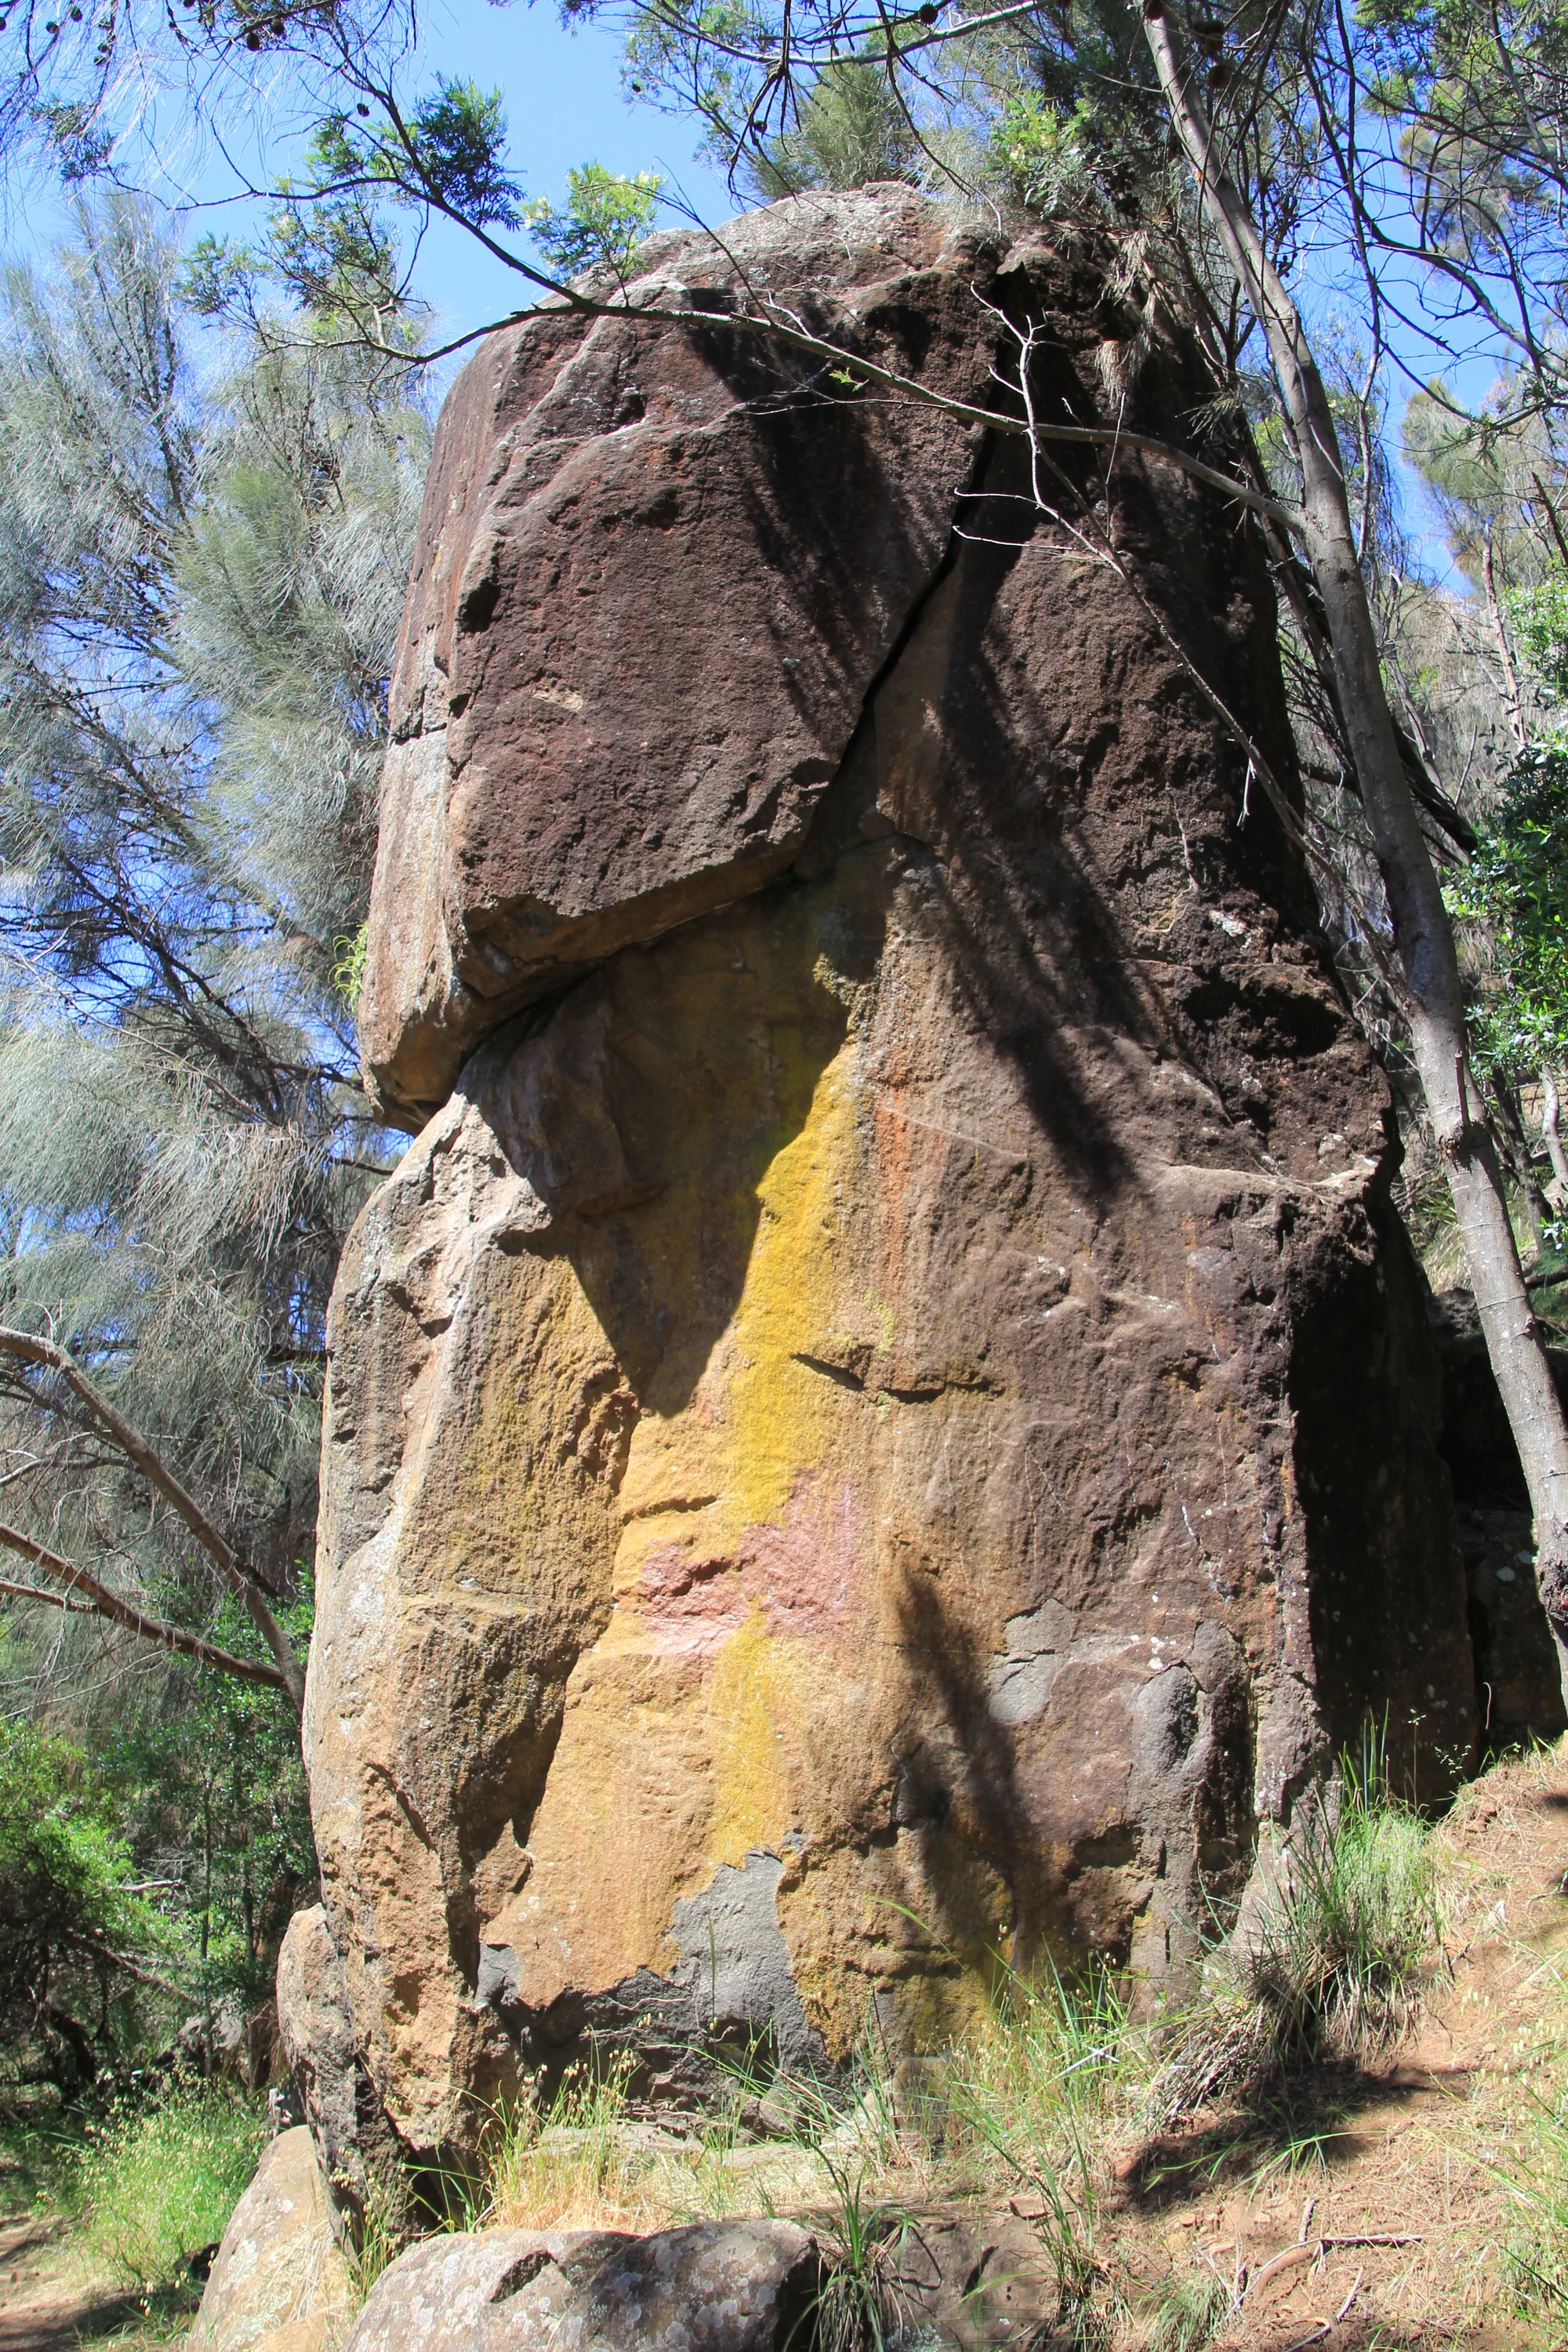
Topo: theCrag contributors, CC BY-NC-SA 3.0, theCrag
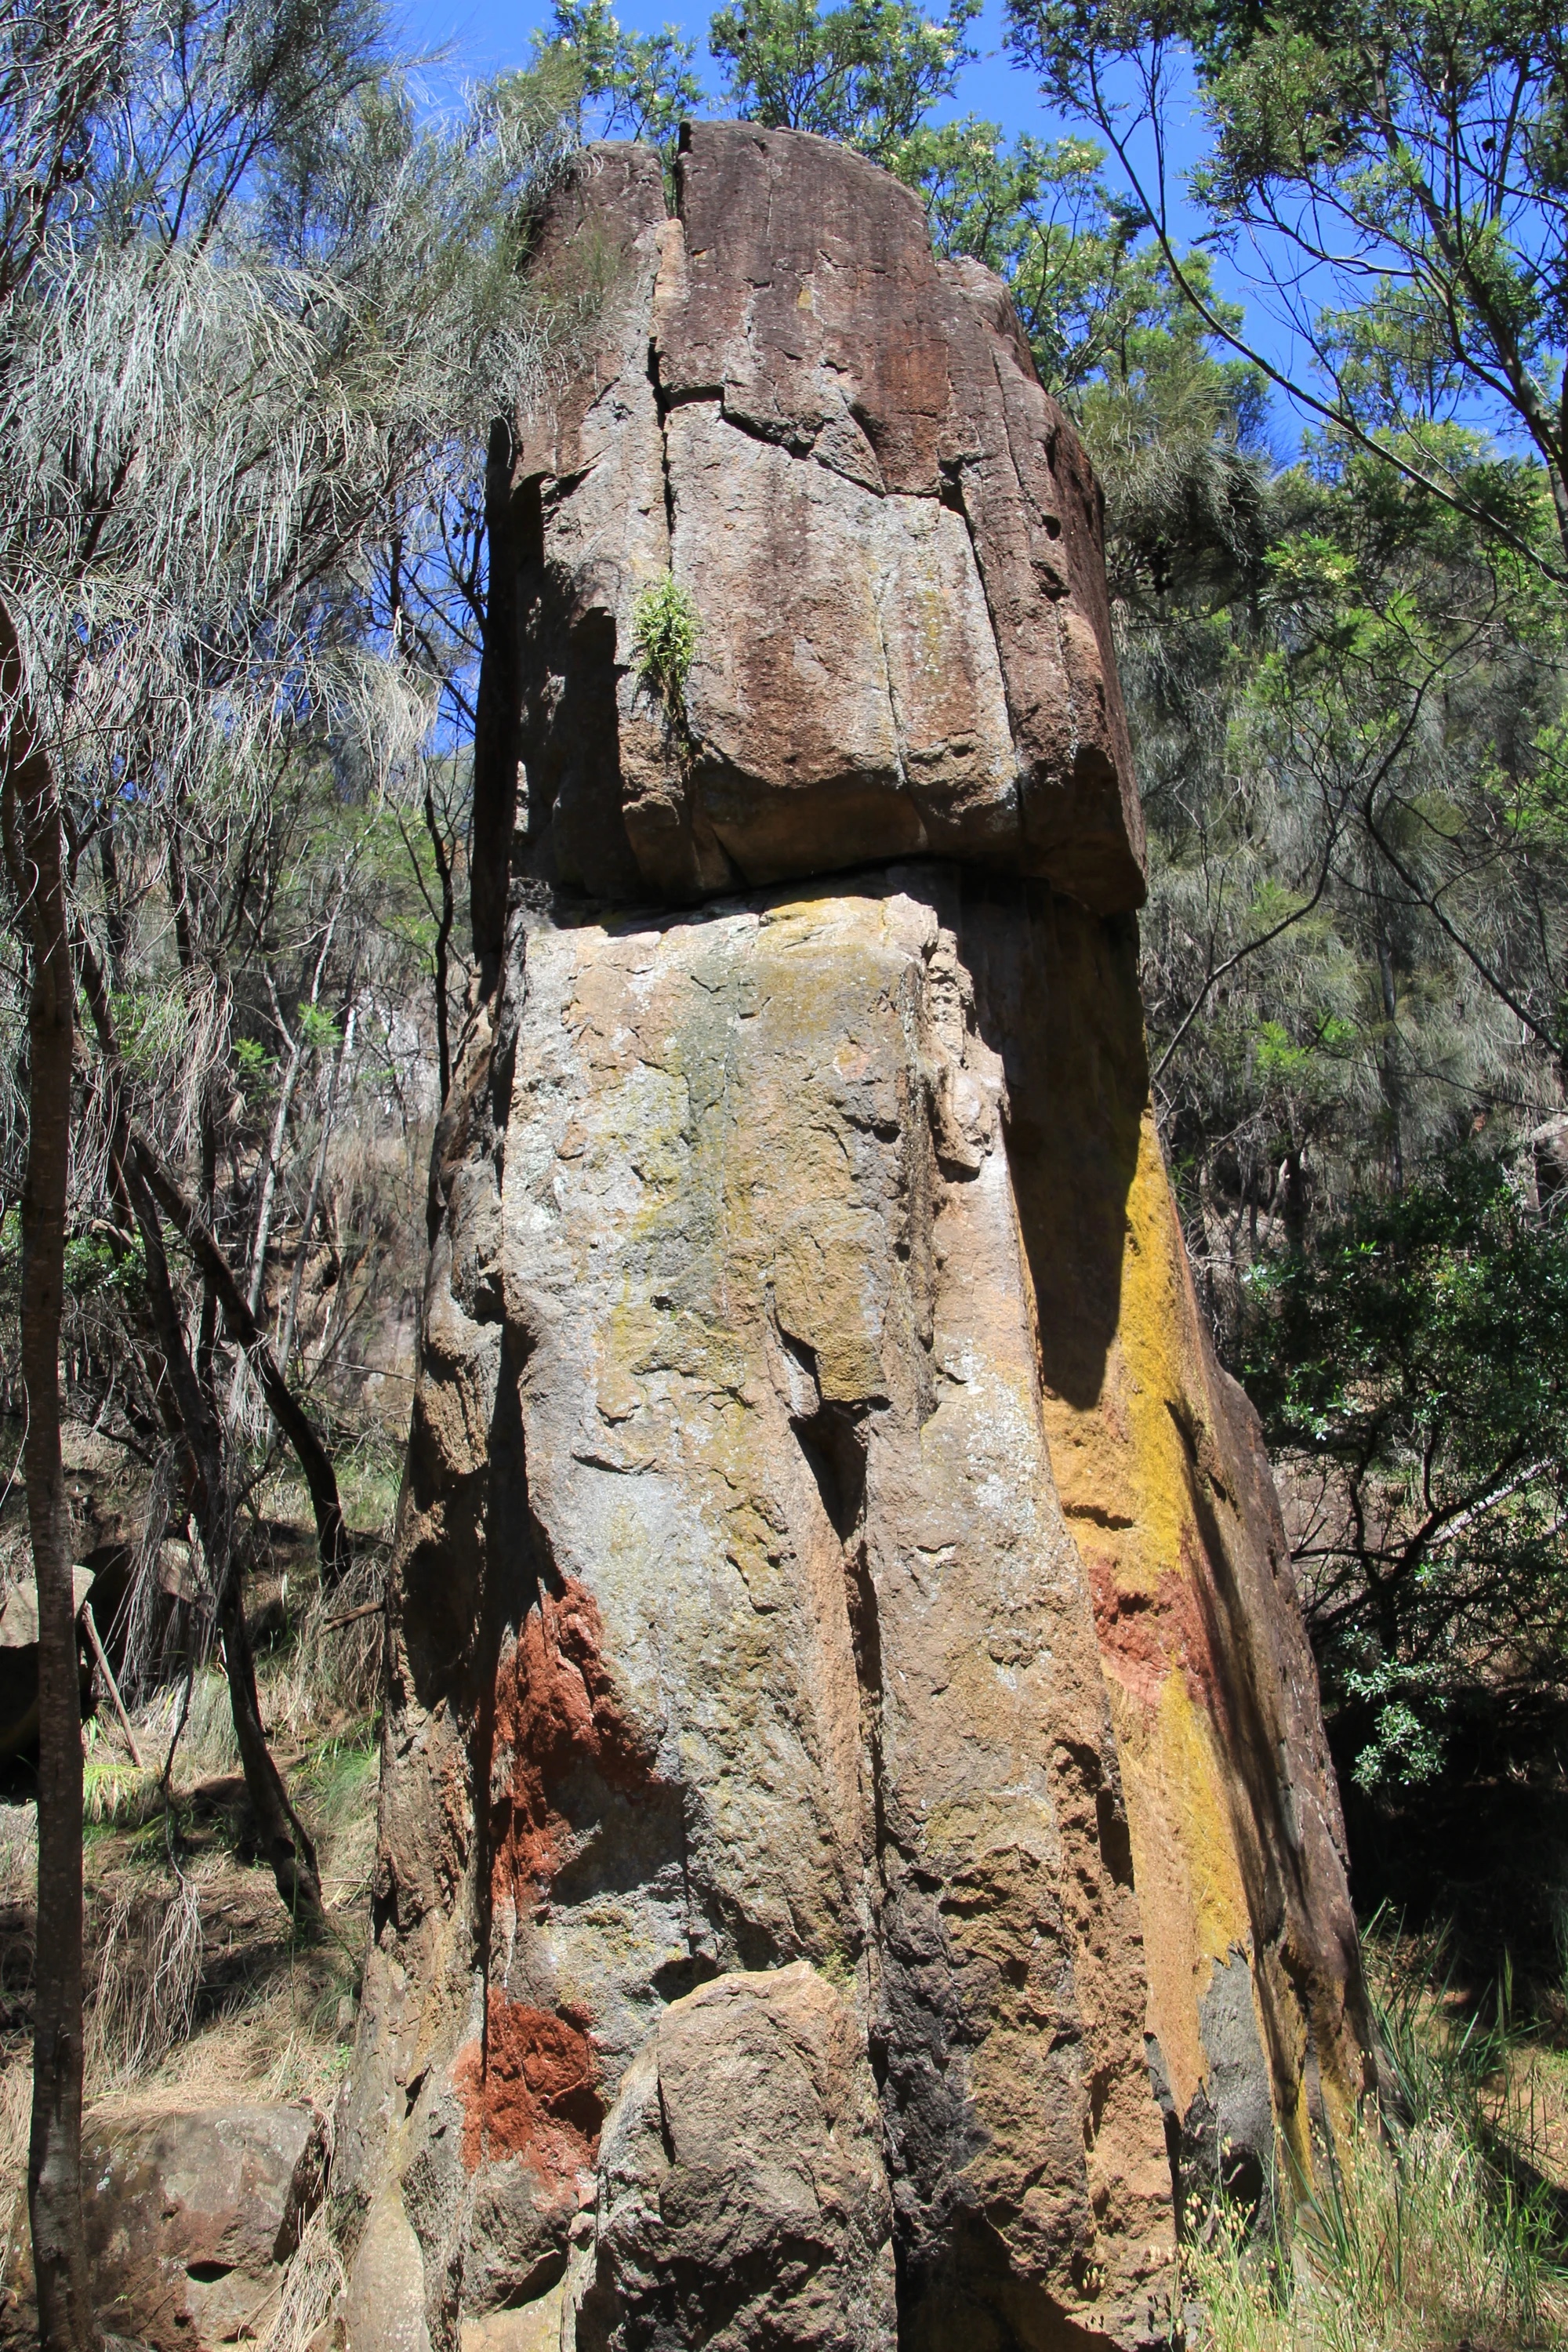
Topo: theCrag contributors, CC BY-NC-SA 3.0, theCrag
Up the face on the front of the pinnacle to the horizontal break and then left to the crack.
Thomas, McMahon, Ling, 1980.
Start in yellow open book corner, up to horizontal break and then up arête.
Parsons (solo), 1982.
From back right-hand edge of pinnacle traverse left to hand crack and up. Various combinations of these have been done including a traverse around the whole pinnacle at the level of the horizontal break (about 22).
McMahon, McHugh, 1972.
Trackside Buttress
Access- see map. The largest piece of climbable rock right beside the track. The first ascentionists are long forgotten but it still makes an excellent place to start climbing with a lot of the routes off the vertical. Bolt belays on top.
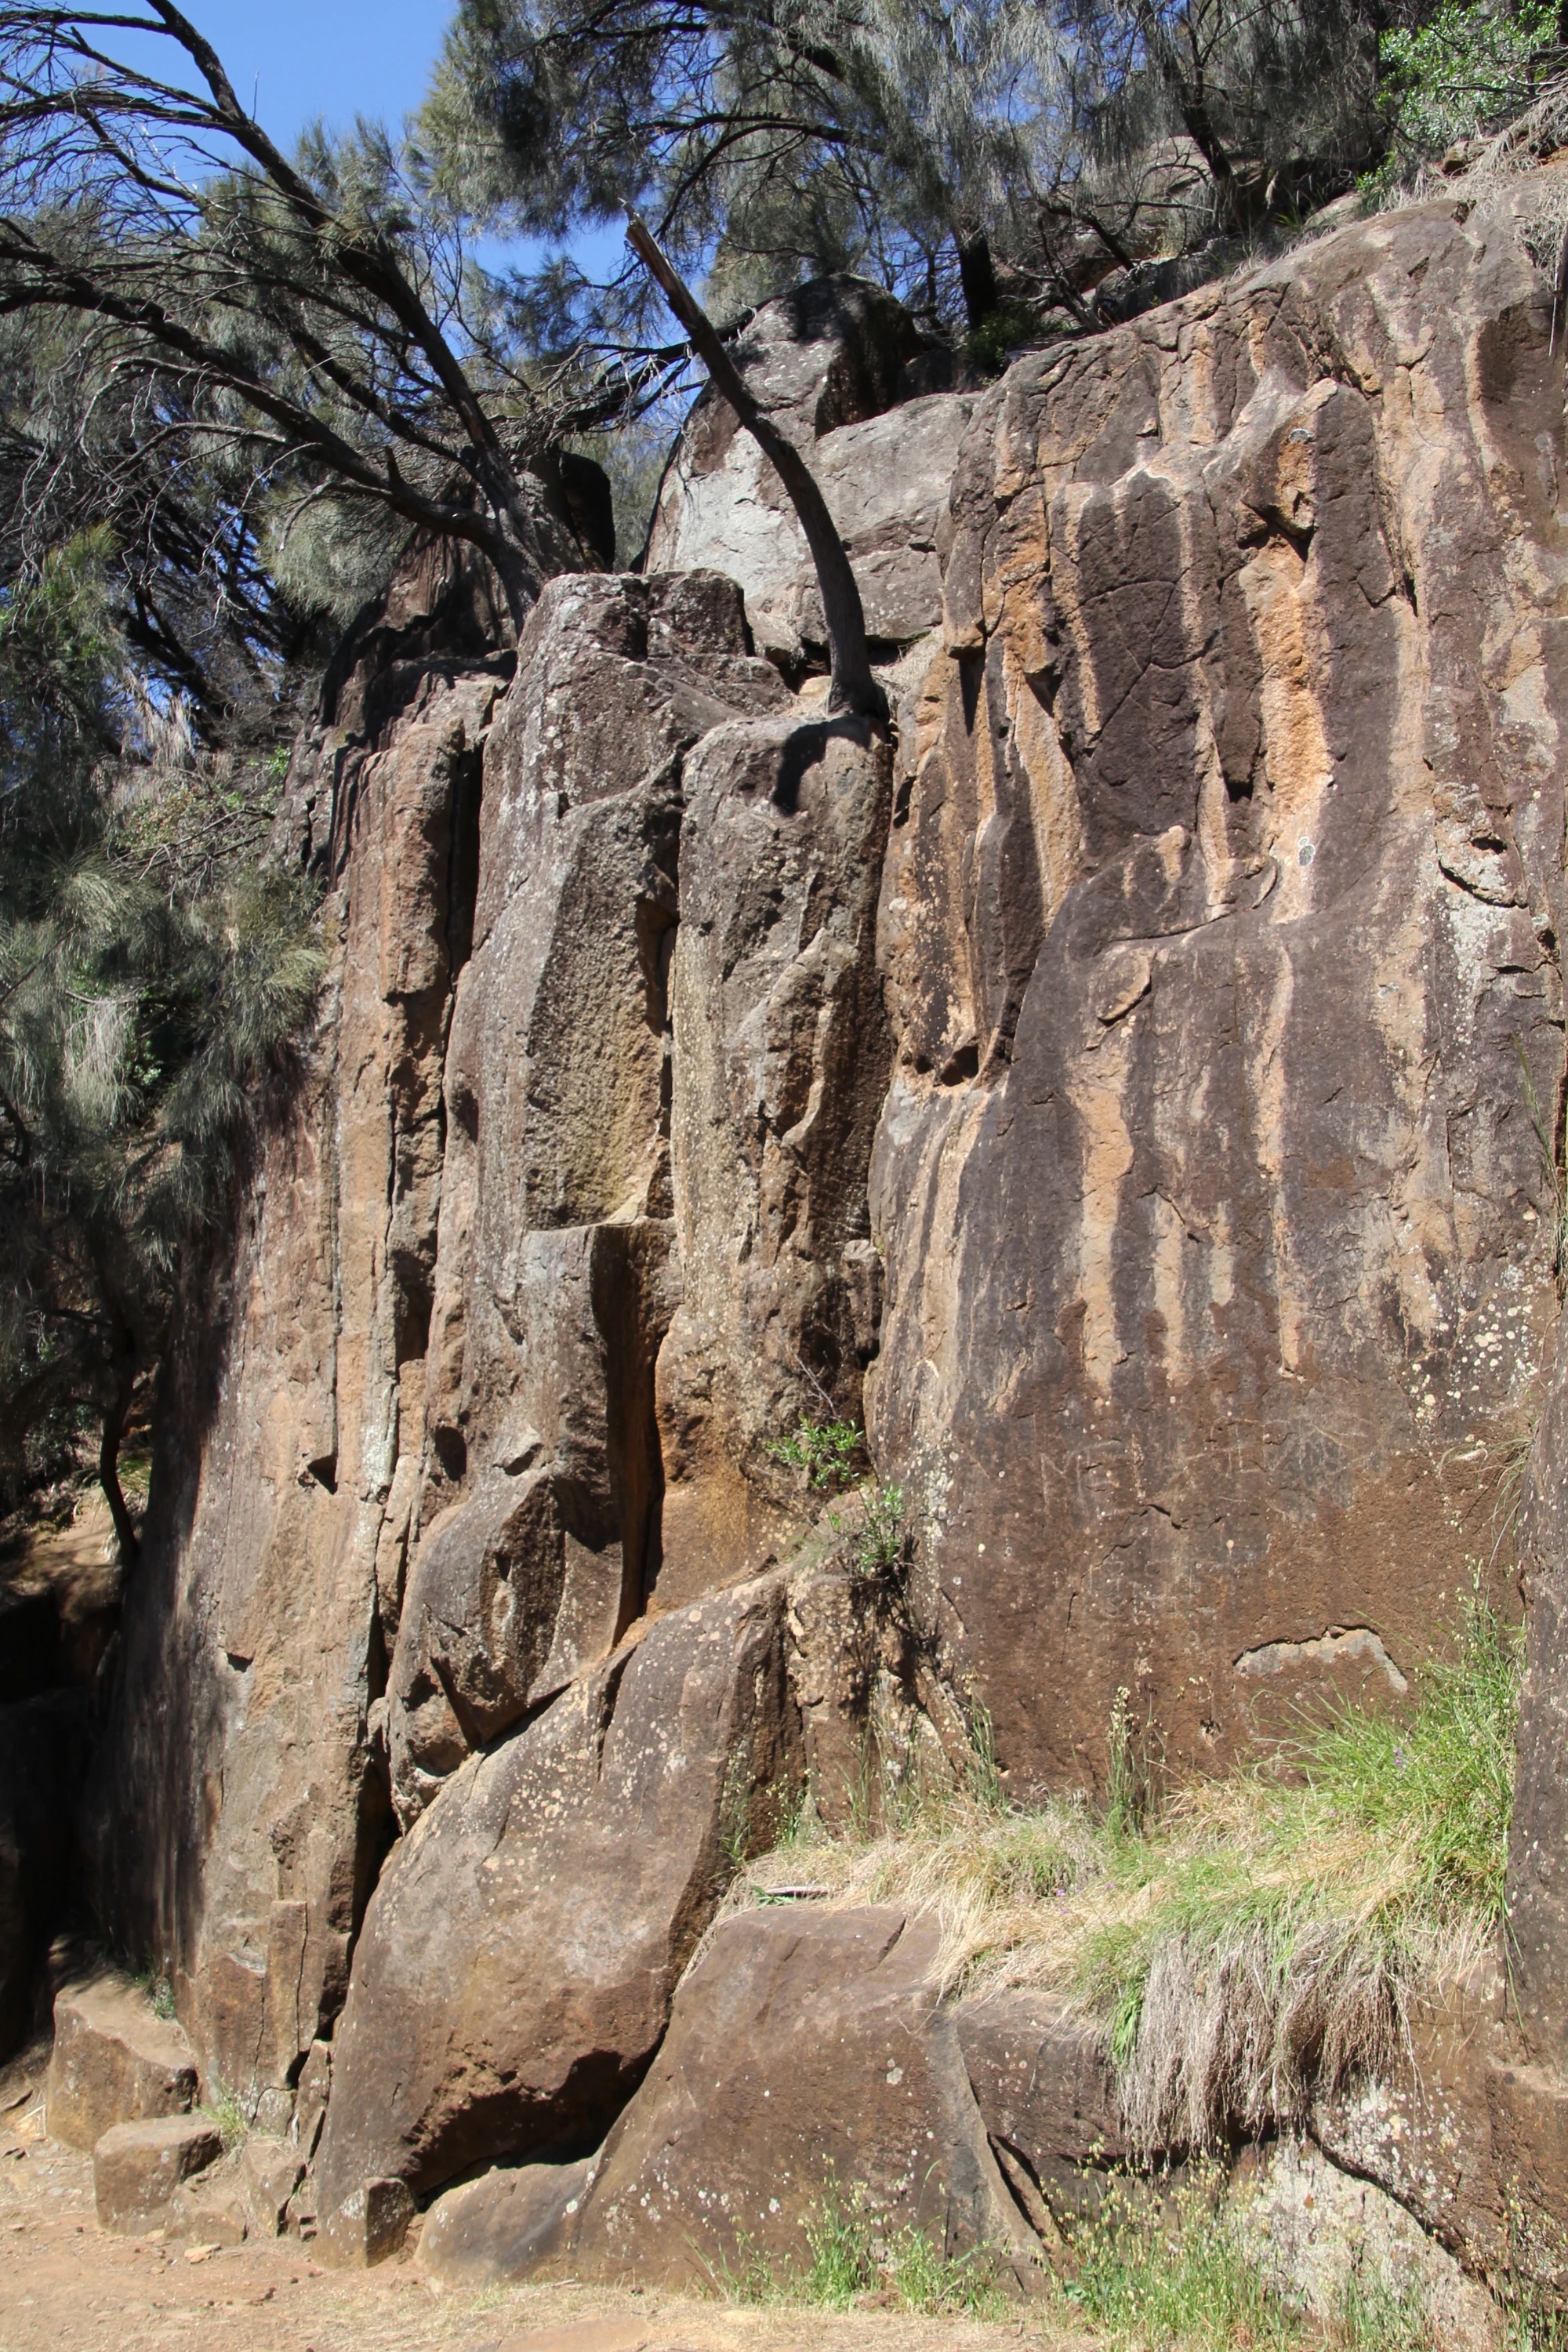
Topo: theCrag contributors, CC BY-NC-SA 3.0, theCrag
The face to the left of Tree Route, must've been climbed a million times, pretty fun! About 14ish maybe.
From: theCrag
The hand-sized crack on the left-hand end. A great start to your jamming career.
Corner to 2m right of the Tree Route.
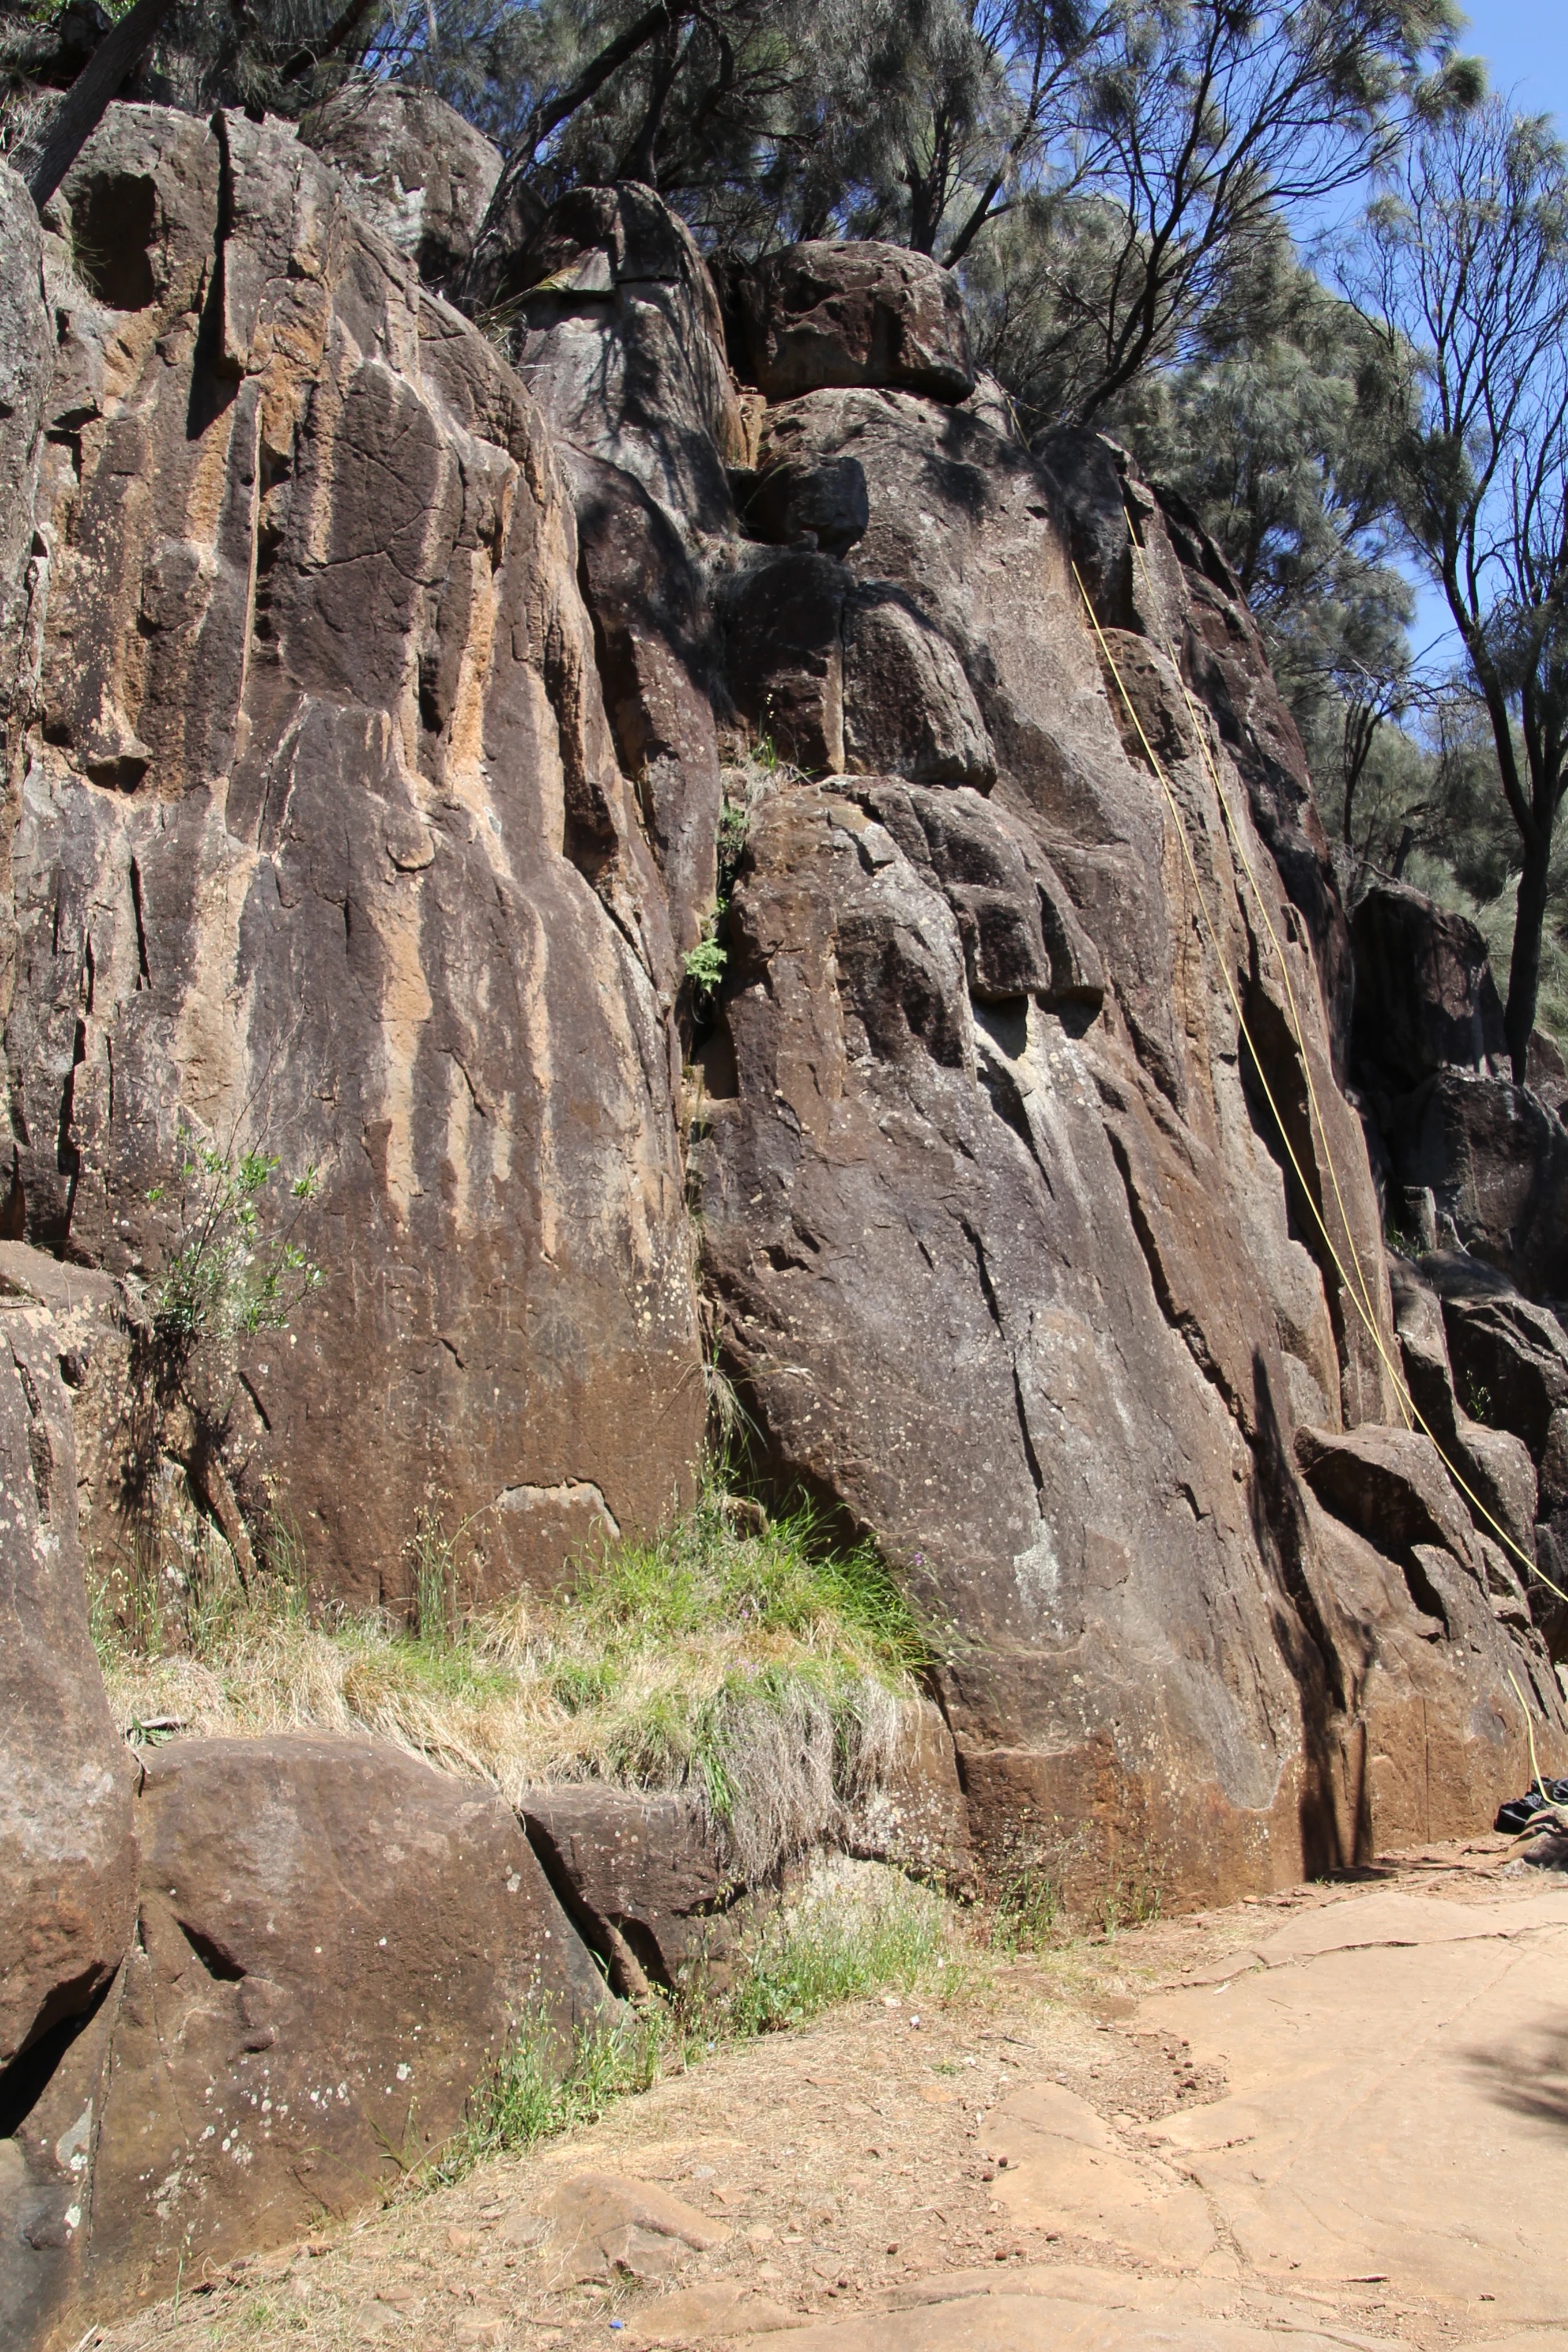
Topo: theCrag contributors, CC BY-NC-SA 3.0, theCrag
The left trending line of underclings.
What else
The crack 3m right of Centre Corner.
The next arete right of Fern Crack.
Boulder problem start in the shallow corner near the end of the buttress.
Lots of boulder problems and traverses also exist in this area.
Uphill Buttress
Access- scramble up from the downstream end of Track Side Buttress. The climbs start around the corner on the downstream side and are 6-8m high.
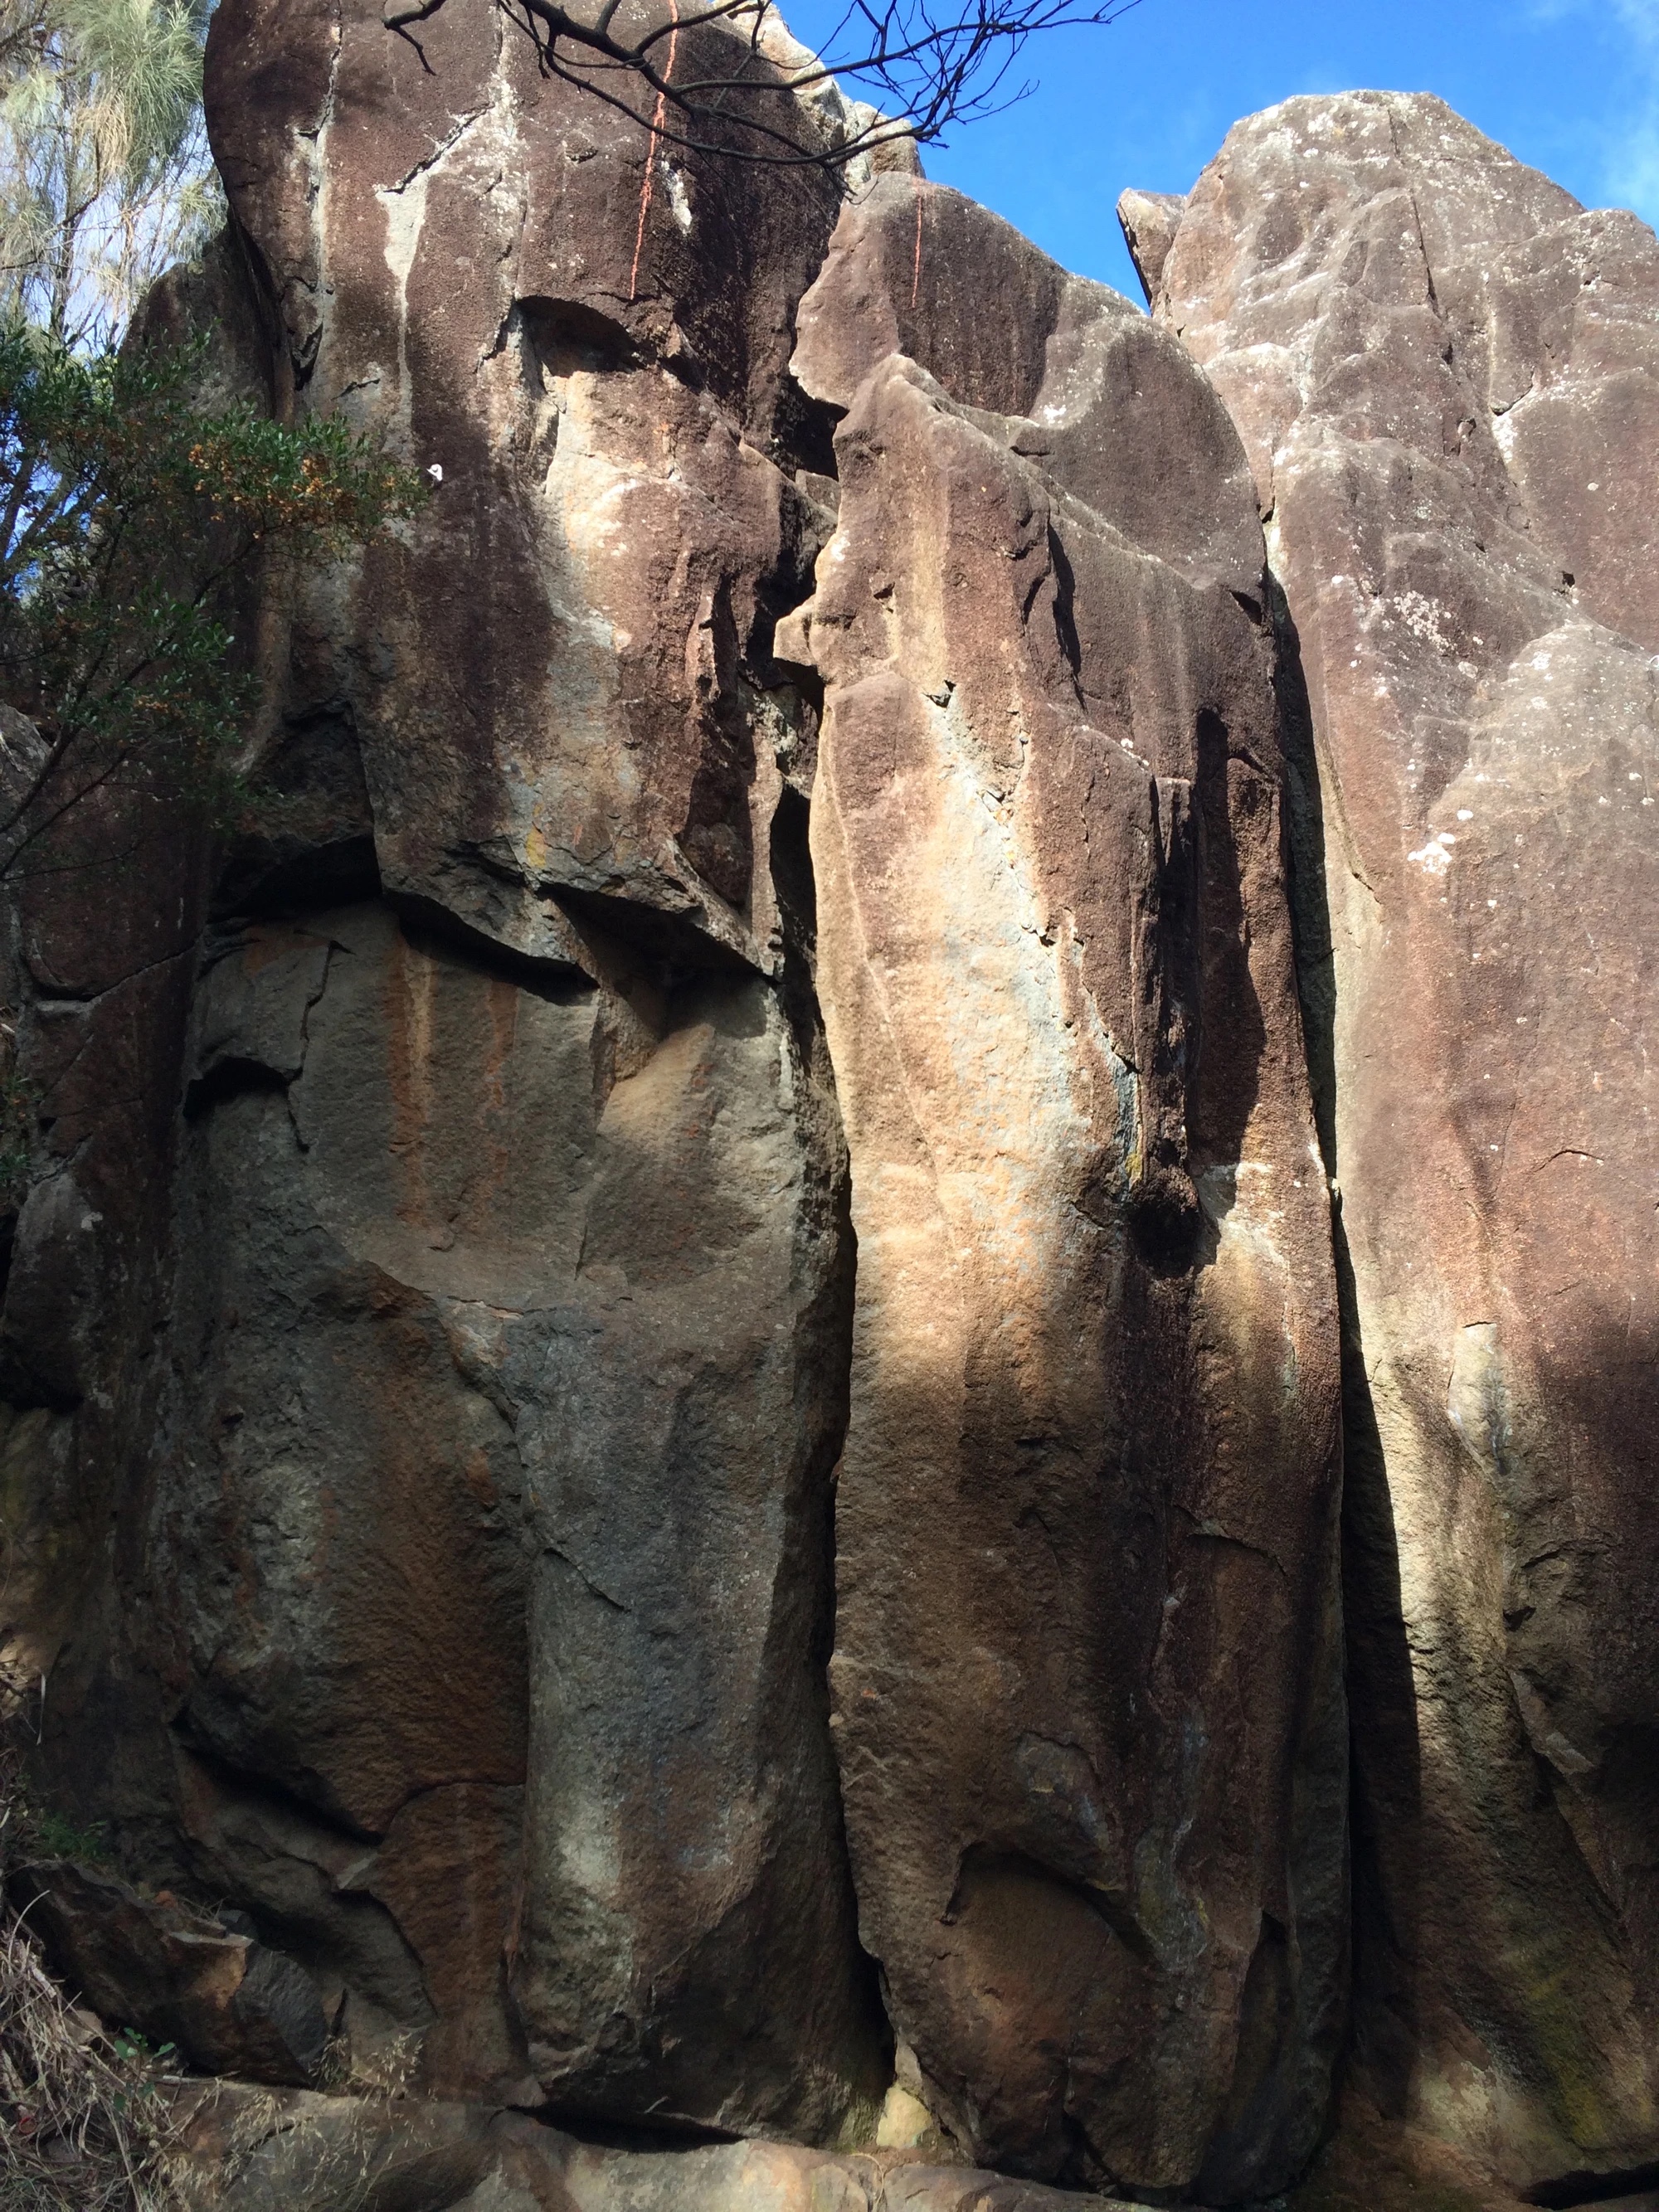
Topo: theCrag contributors, CC BY-NC-SA 3.0, theCrag
The off-width.
McMahon, McHugh, 1972.
Bulging hand crack to off-width.
Parsons, Grant, Moore, 1978.
Up face with single bolt.
Ng, 1990.
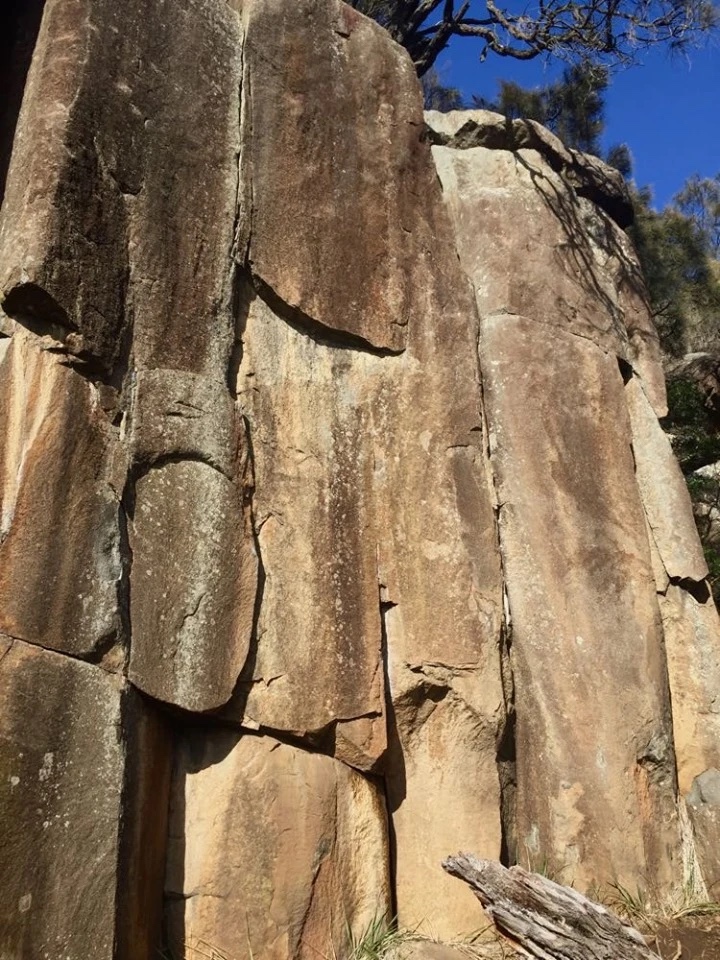
Topo: theCrag contributors, CC BY-NC-SA 3.0, theCrag
The off-width to chimney on the front of the buttress.
McMahon, McHugh, 1972.
Face climbing to a thin crack 3m right of Serafino. DBB.
Parsons, Carrigan, 1982.
Boulder problem start to gain access to the finger crack. DBB.
Thomas, McMahon, Ling, 1980.
The crack on the right hand side of the buttress.
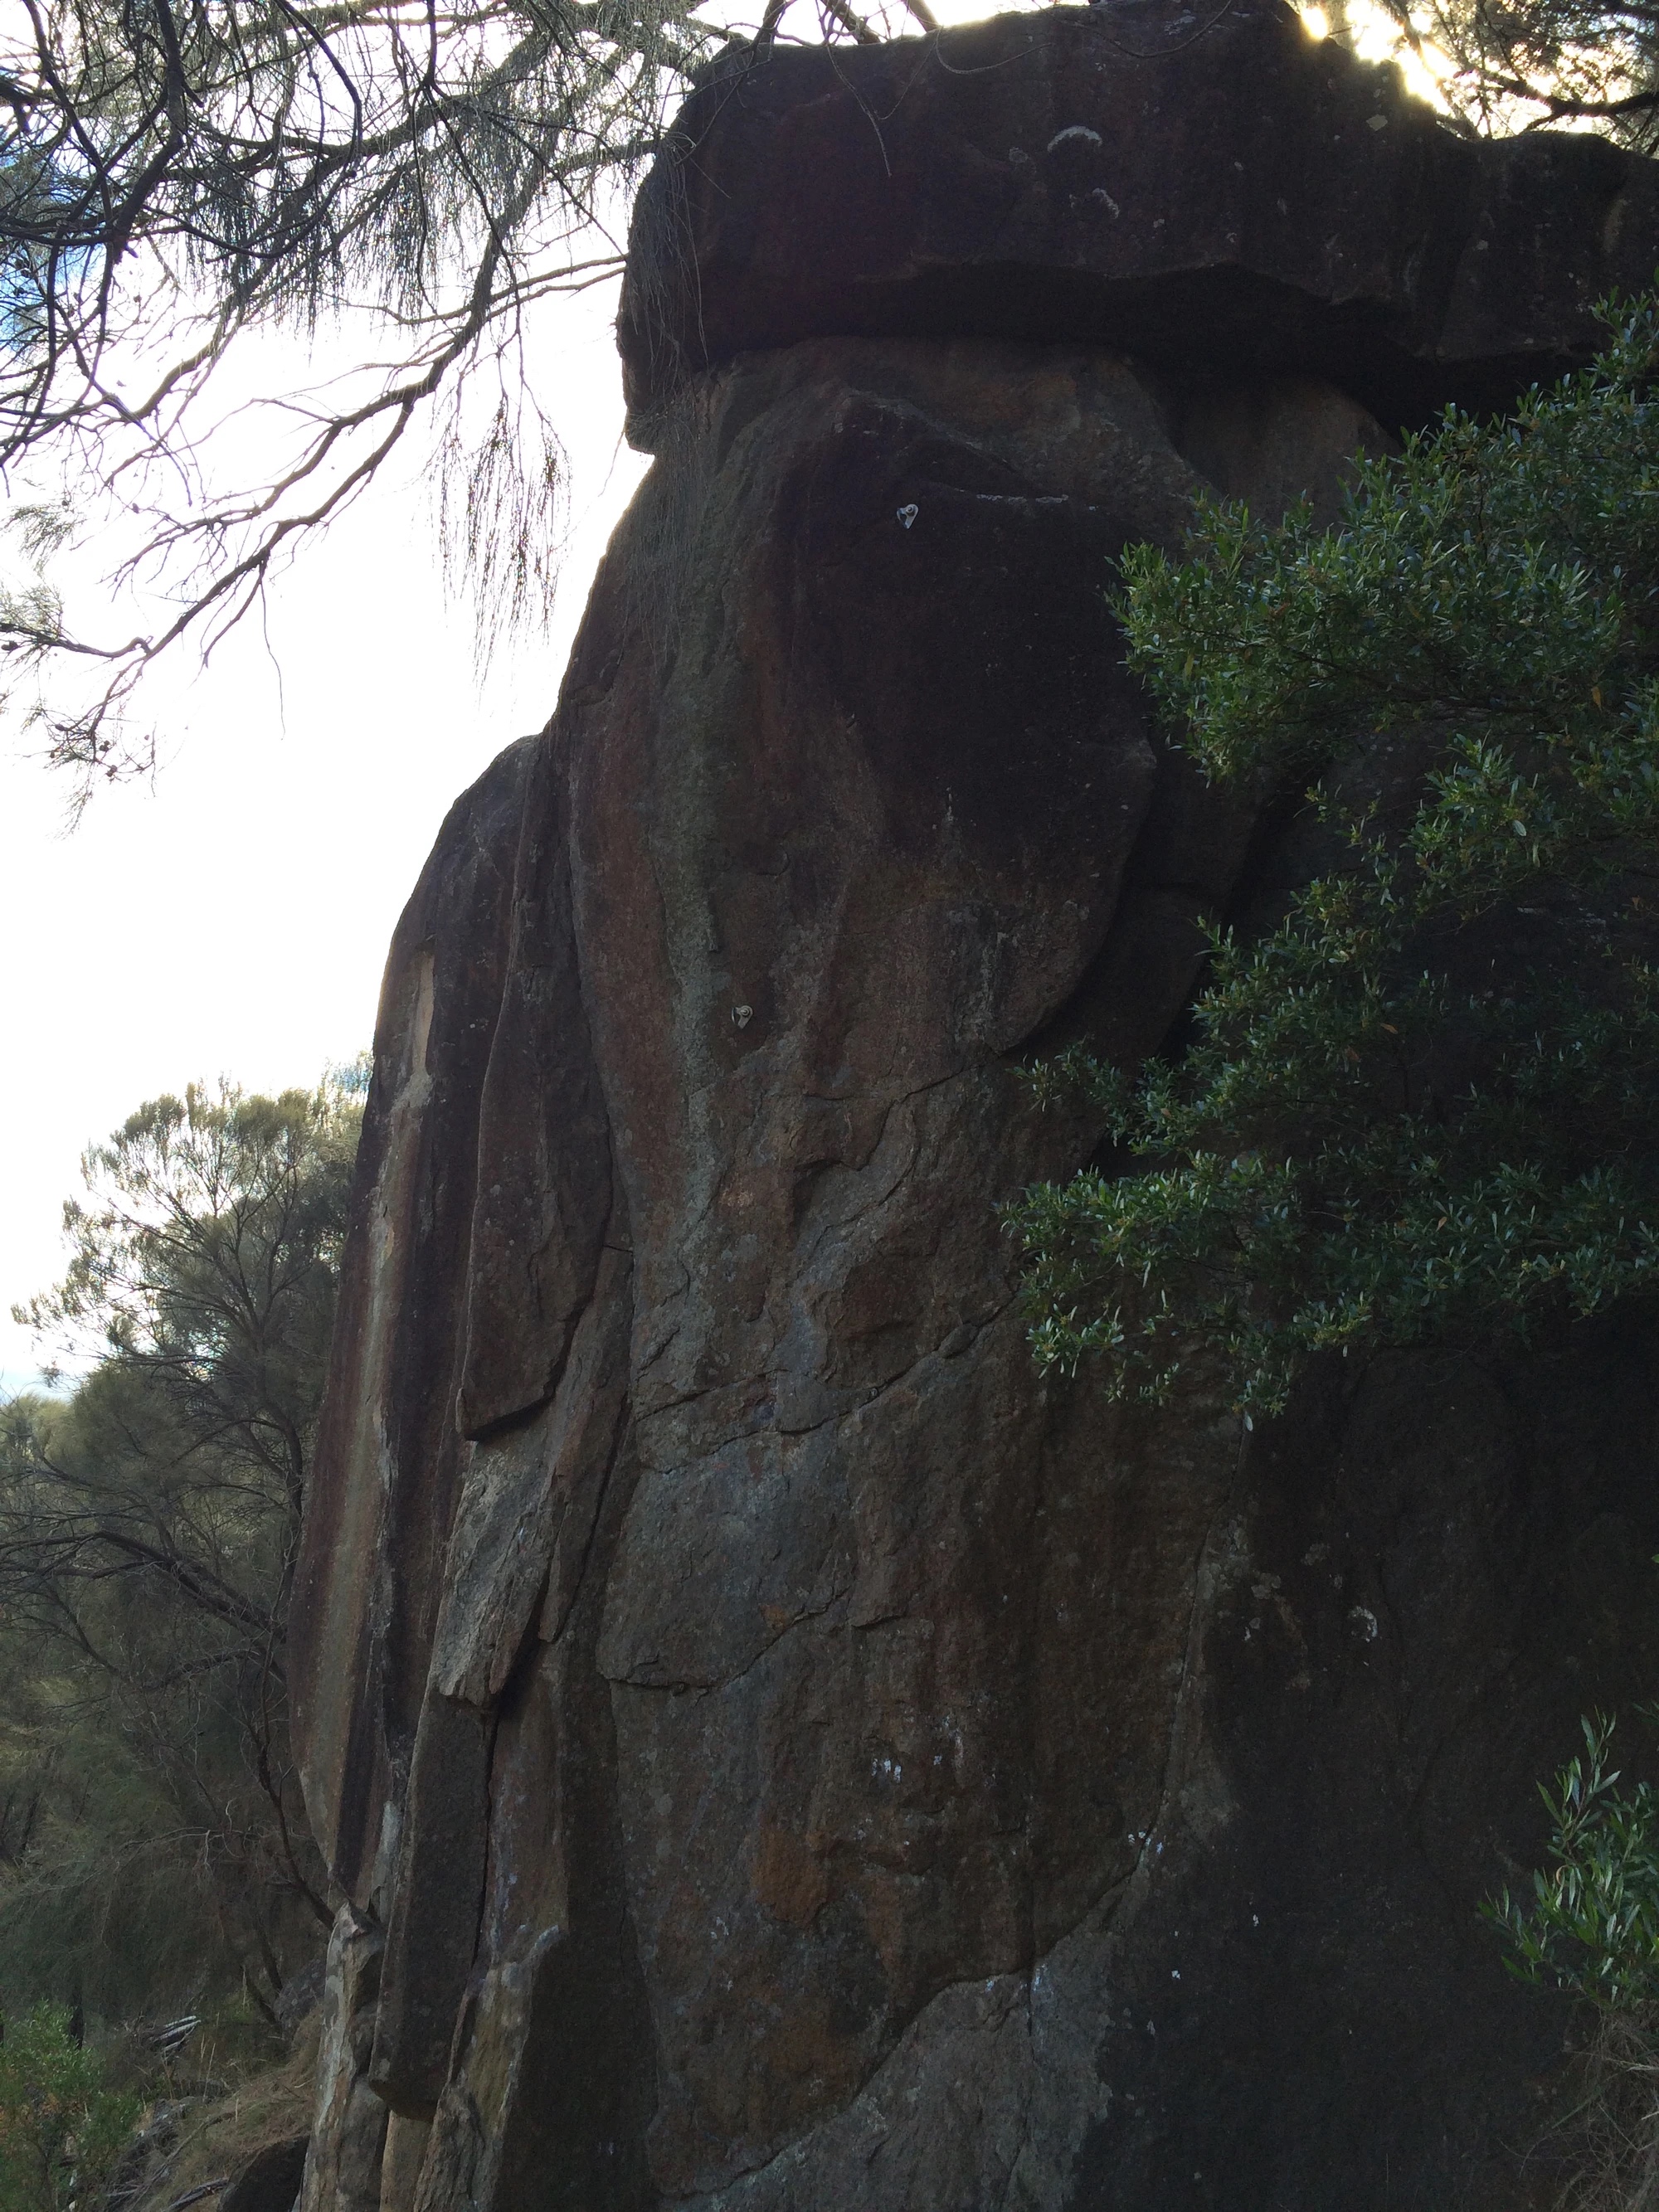
Topo: theCrag contributors, CC BY-NC-SA 3.0, theCrag
On the face uphill and to the right of Speransky with 2 FH.
Dennis Kearnes, Kate Tasker 4 Nov 2009.
Offal Buttress
Access- see map. Basically down hill from Trackside. Beware of the fervid abseilers. DBB on top.
On the left hand end off the cliff 6m from Pelvic Thrust is a flaring corner. Up this to thin seam which widens to a hand crack.
McMahon, Smith, 1981.
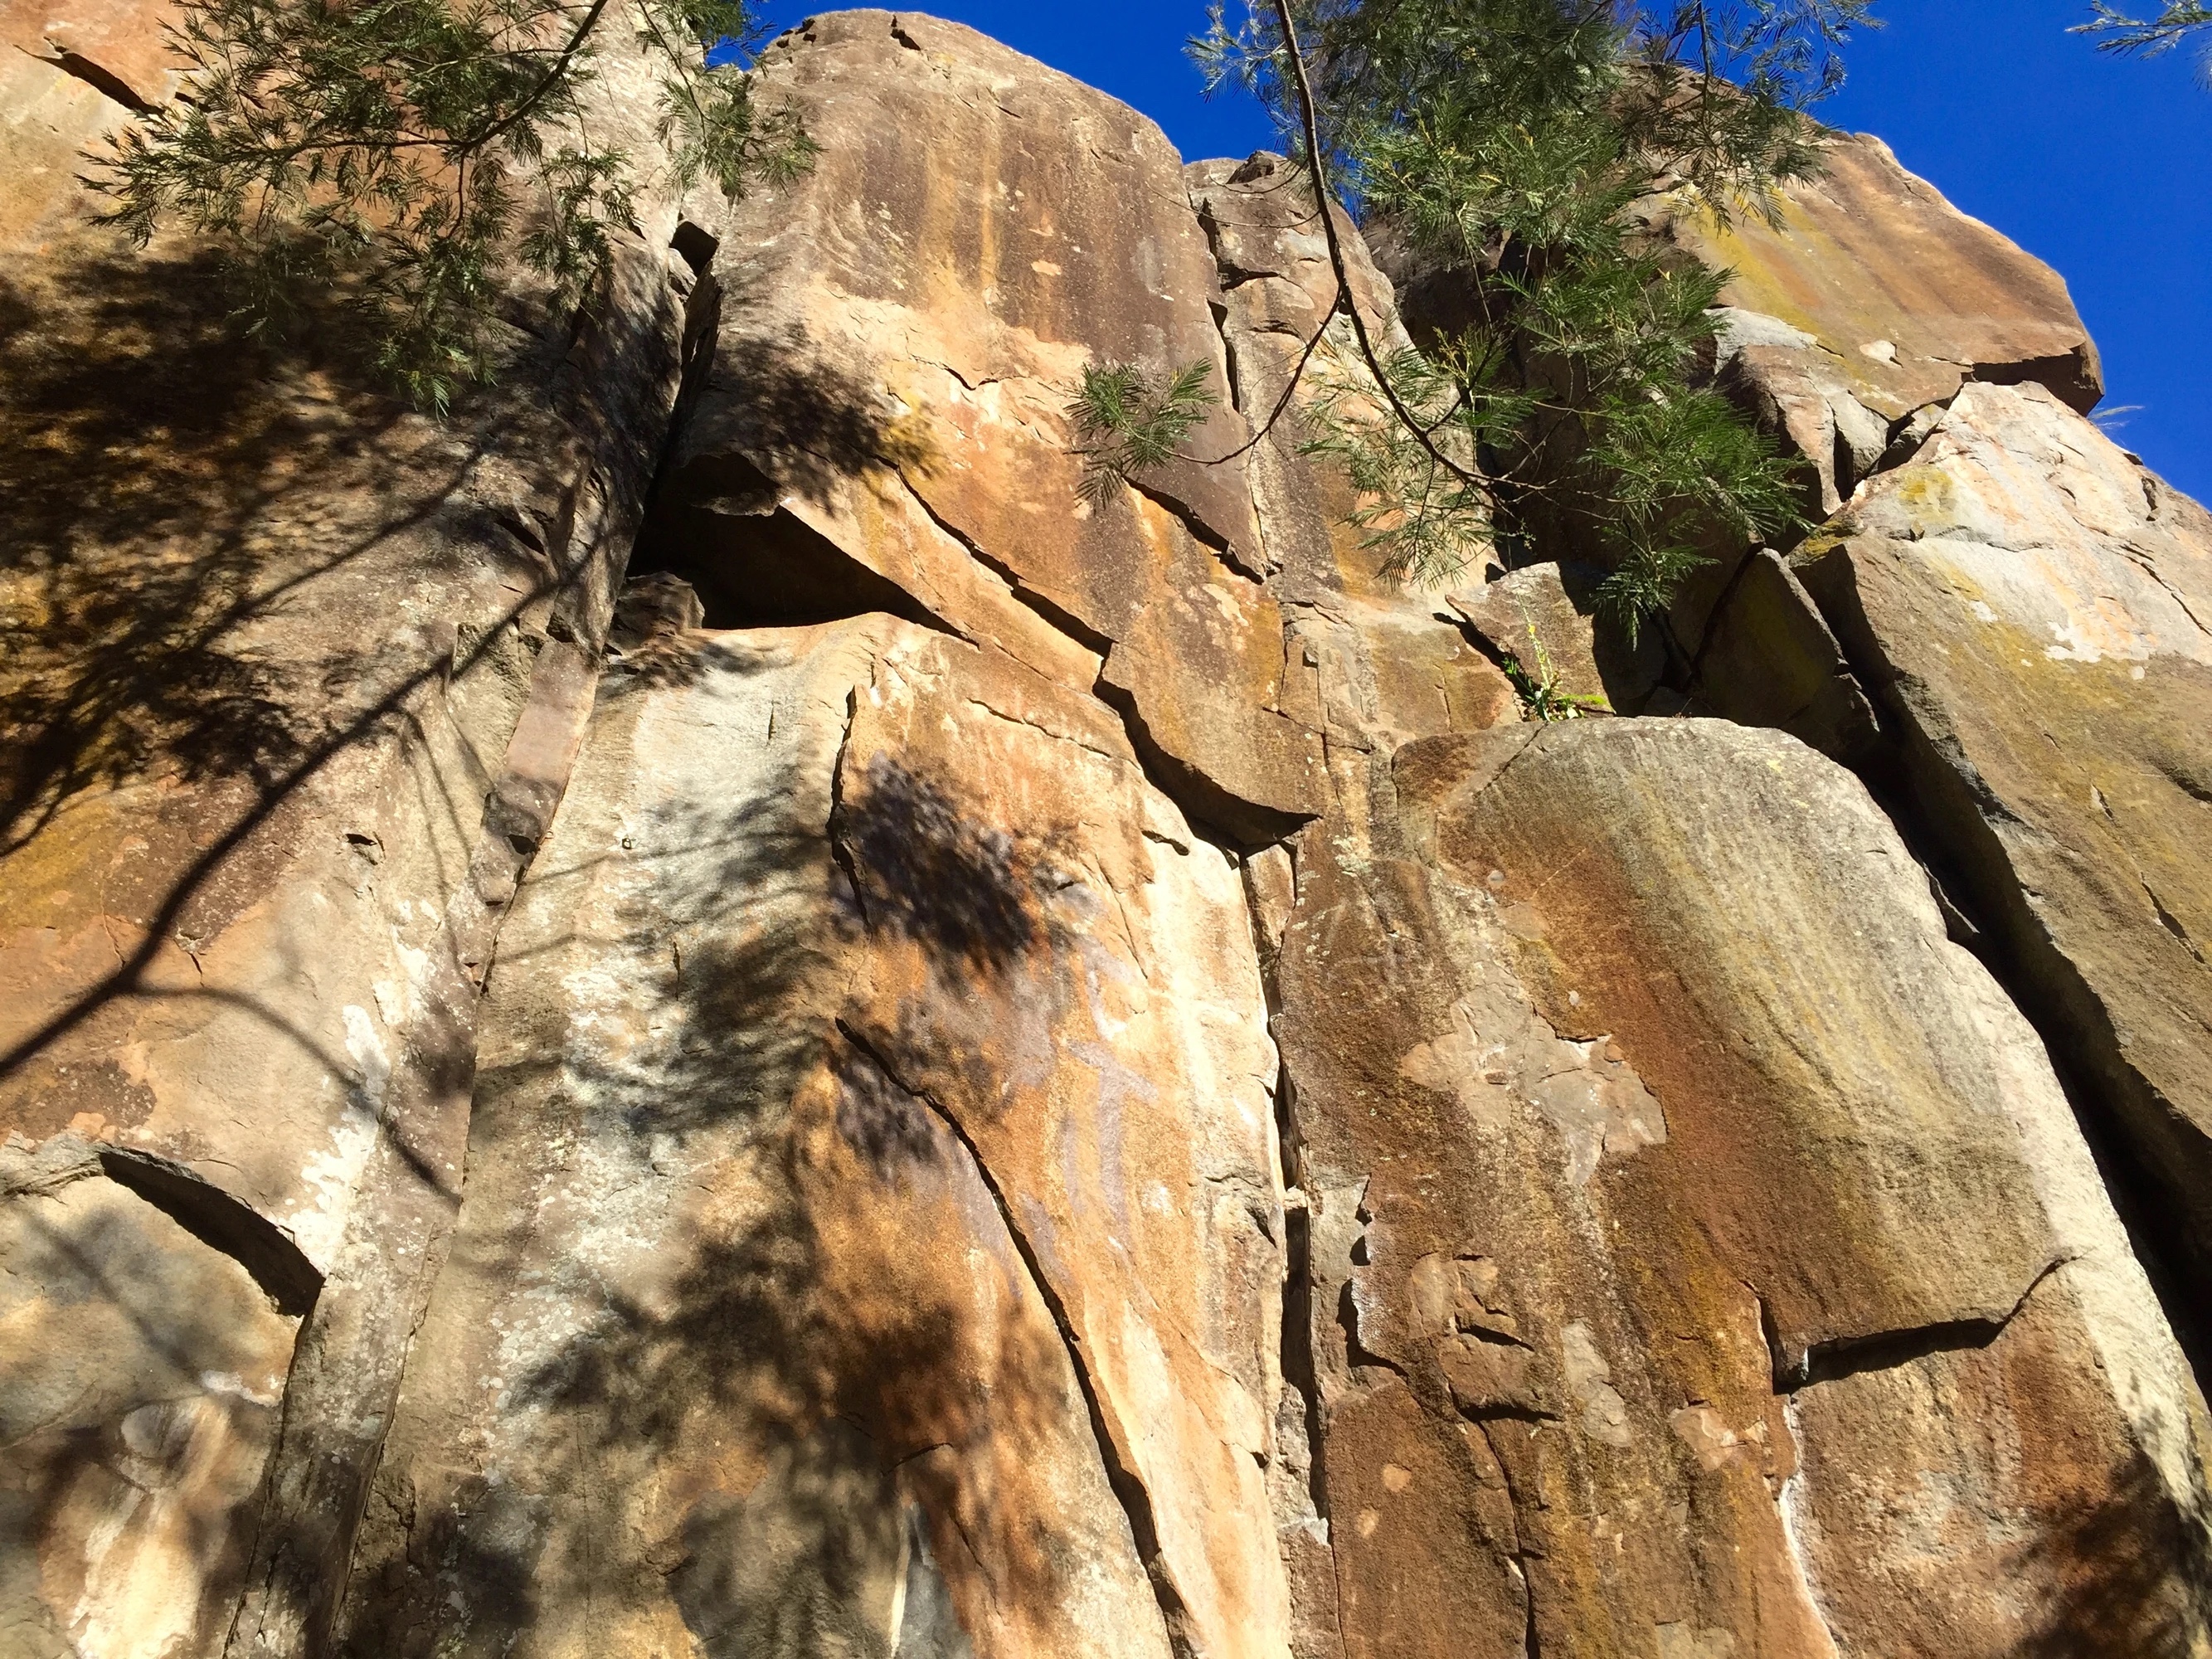
Topo: theCrag contributors, CC BY-NC-SA 3.0, theCrag
Thin crack to FH and small roof and then out left to final crack.
Fantini, McMahon, 1981.
Start 4m right of Pelvic Thrust and climb the face/crack to a ledge. Step left to the hand/finger crack.
Fantini, Smith, 1981.
The blood spilling off-width.
McHugh, McMahon, 1972.
Start in the corner 5m right of Offal. Climb the corner to stand on the pillar and clip the first bolt. Climb the face before traversing left to the arete. 4 bolts and DBB.
Fox and others 200?
Start up Offal and then at the ledge go out the right diagonal crack.
Parsons, 1982.
Start from the ledge on Blue No More across Pelvic Thrust and Free Passage then finishing up Offal Diagonal. Initially climbed with a piton knocked in with a blockbuster.
Narkowicz, McMahon, 1985.
The chimney around the corner formed by the back of the Pelvic Thrust block.
McMahon (solo), 1972.
The next chimney.
McMahon, Madden, Smith, 1981.
Thin face climbing with very little gear. Next to the descent track 5m uphill from Morte D'Arthur.
Narkowicz, Focken, 1985.
Below Offal Buttress there is a series of small faces with potential for some new (but "diminutive") routes.
Lower Offal Buttress
The thin crack splitting the buttress. Very obvious when walking along the shady side track. The original name and first ascent details seem to have been lost in the mists of time. The crack takes good gear, or could reasonably be protected with a couple of boulder pads to cover up the talus.
From: theCrag
Shimmy Sheister Buttress
Access- see map. Just upstream and downhill from Trackside. Easy to get to by abseiling from the eye-bolts.
The thin crack on the left.
McMahon, solo, 1976.
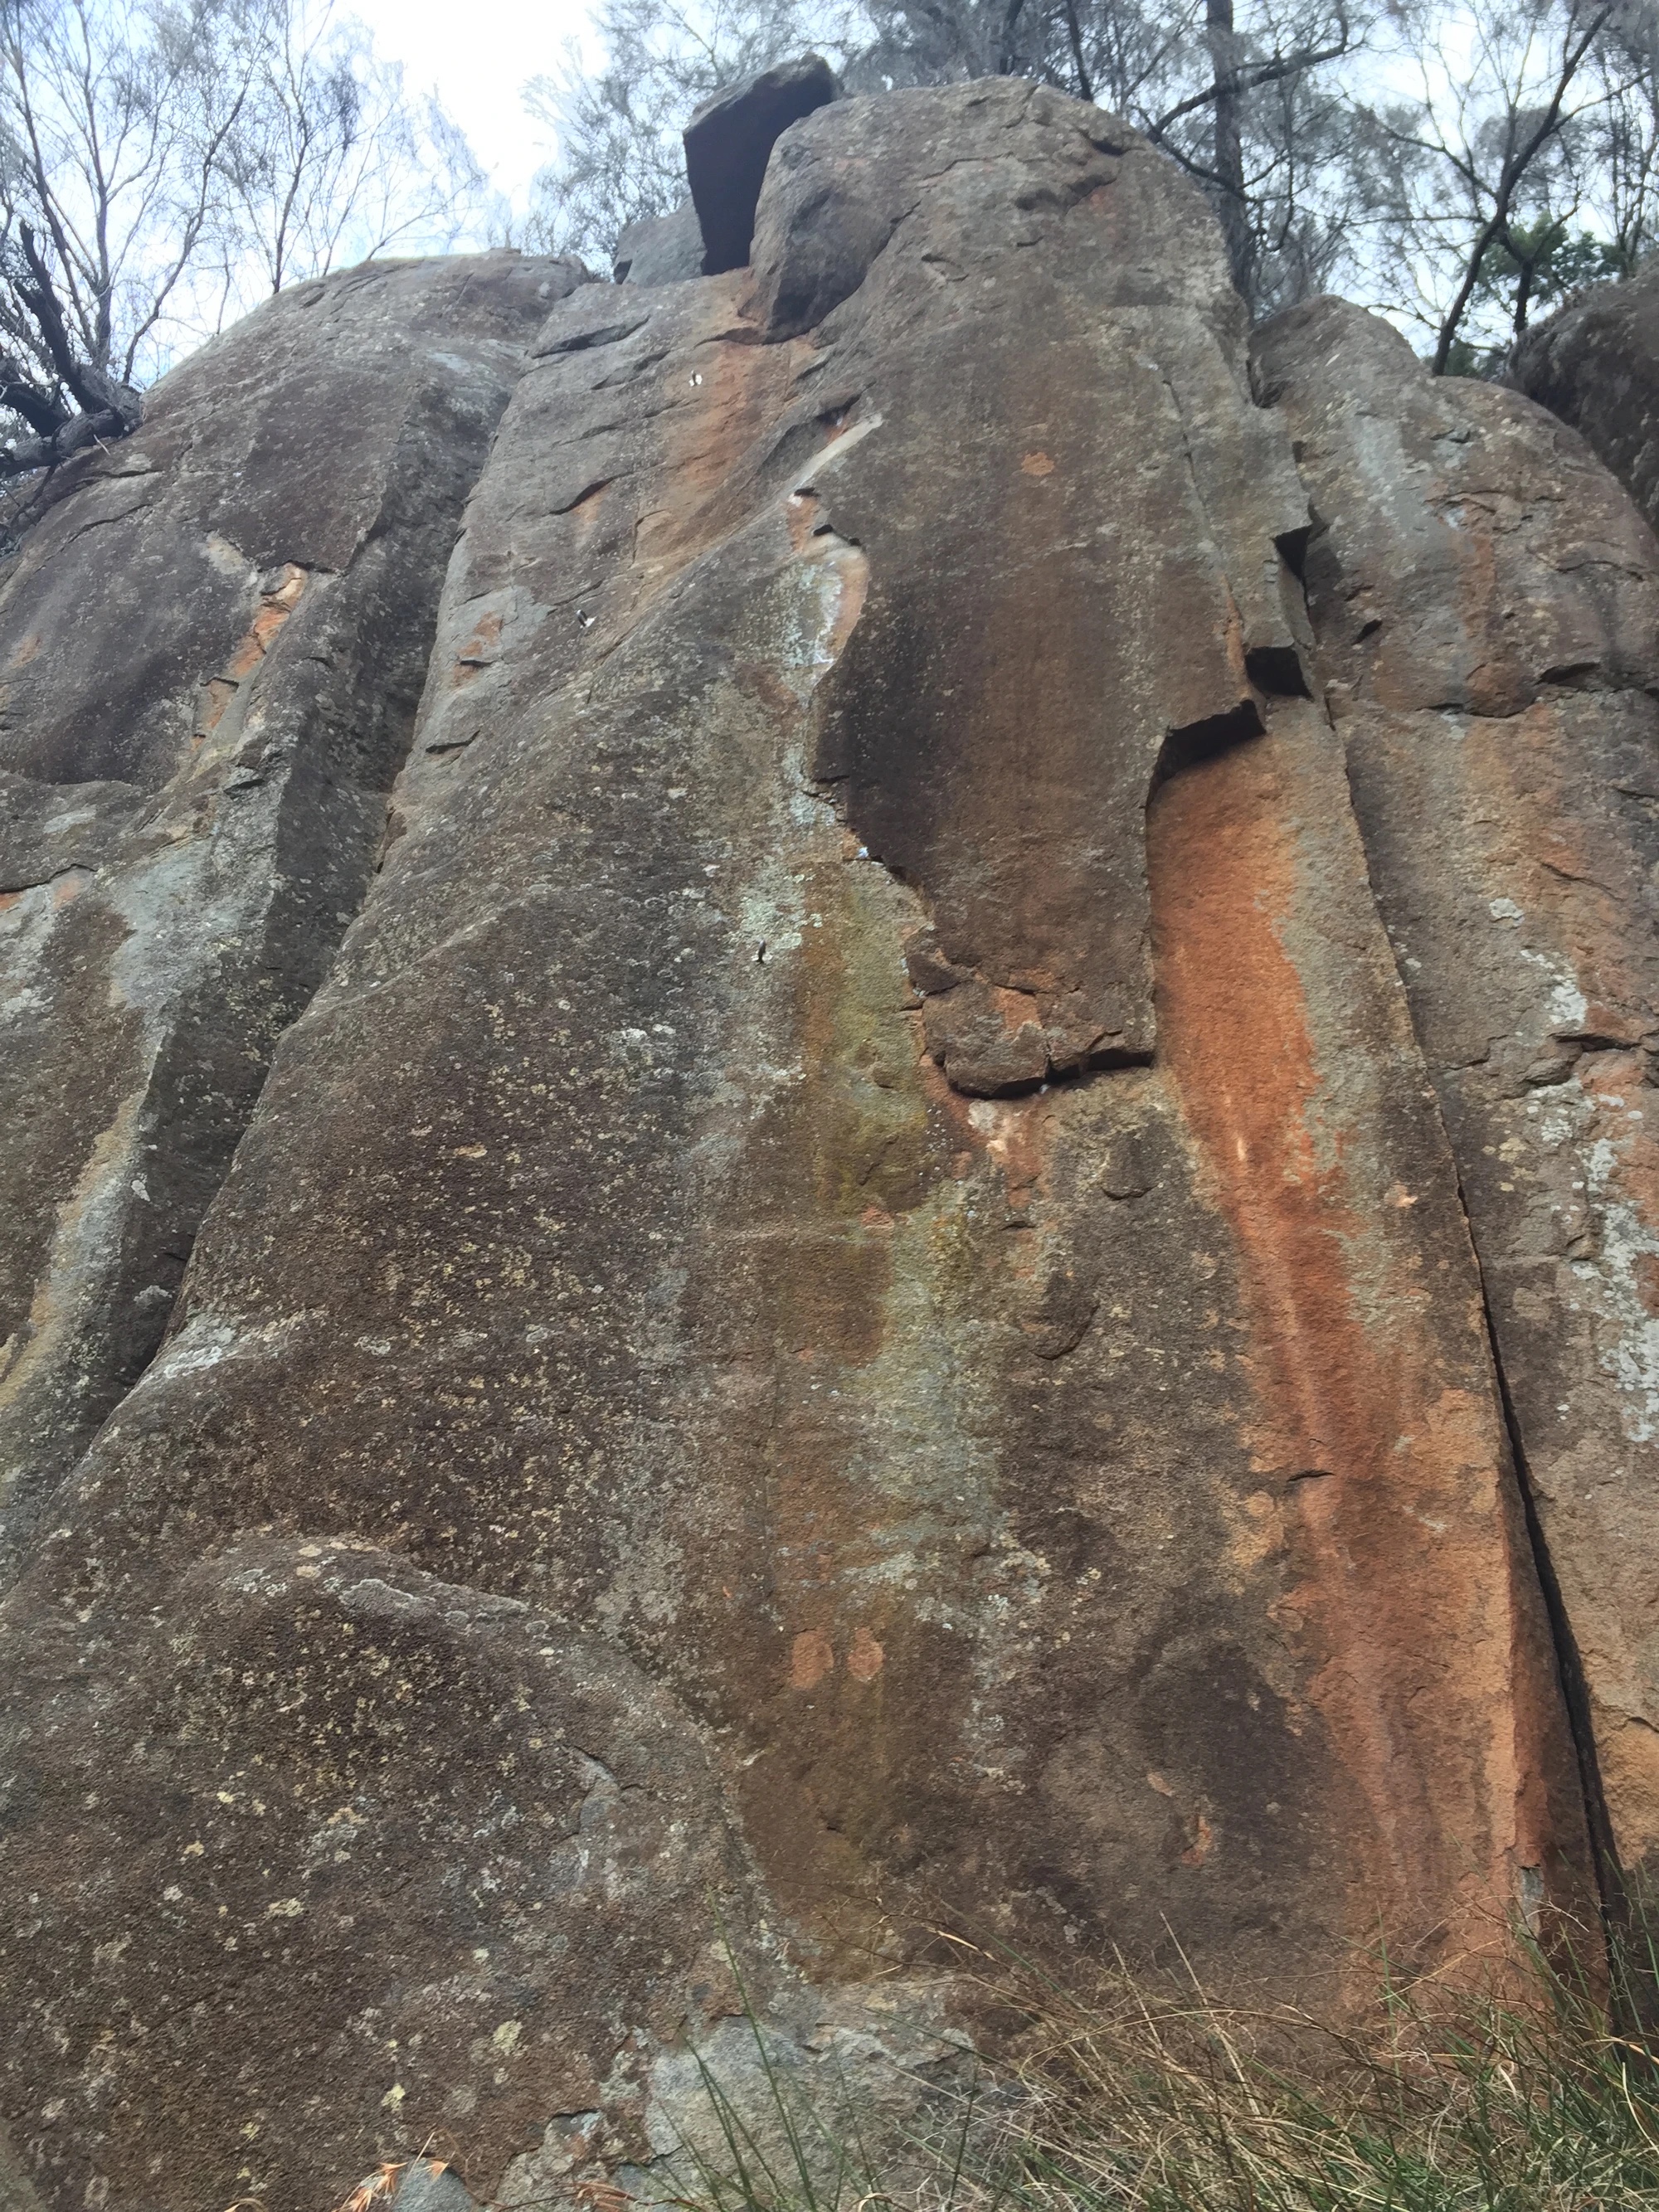
Topo: theCrag contributors, CC BY-NC-SA 3.0, theCrag
Flaring groove and crack.
Parsons, Best, 1976.
And we still are. 3 eye-bolts.
Fisher, Selby, 1996.
Finger crack on the right.
Thomas, 1980.
Nighthawks Buttress
Access- scramble downhill and upstream from Shimmy Sheister buttress or go uphill and downstream from the top of the Mick Loves Anne face. All roads lead to Rome.
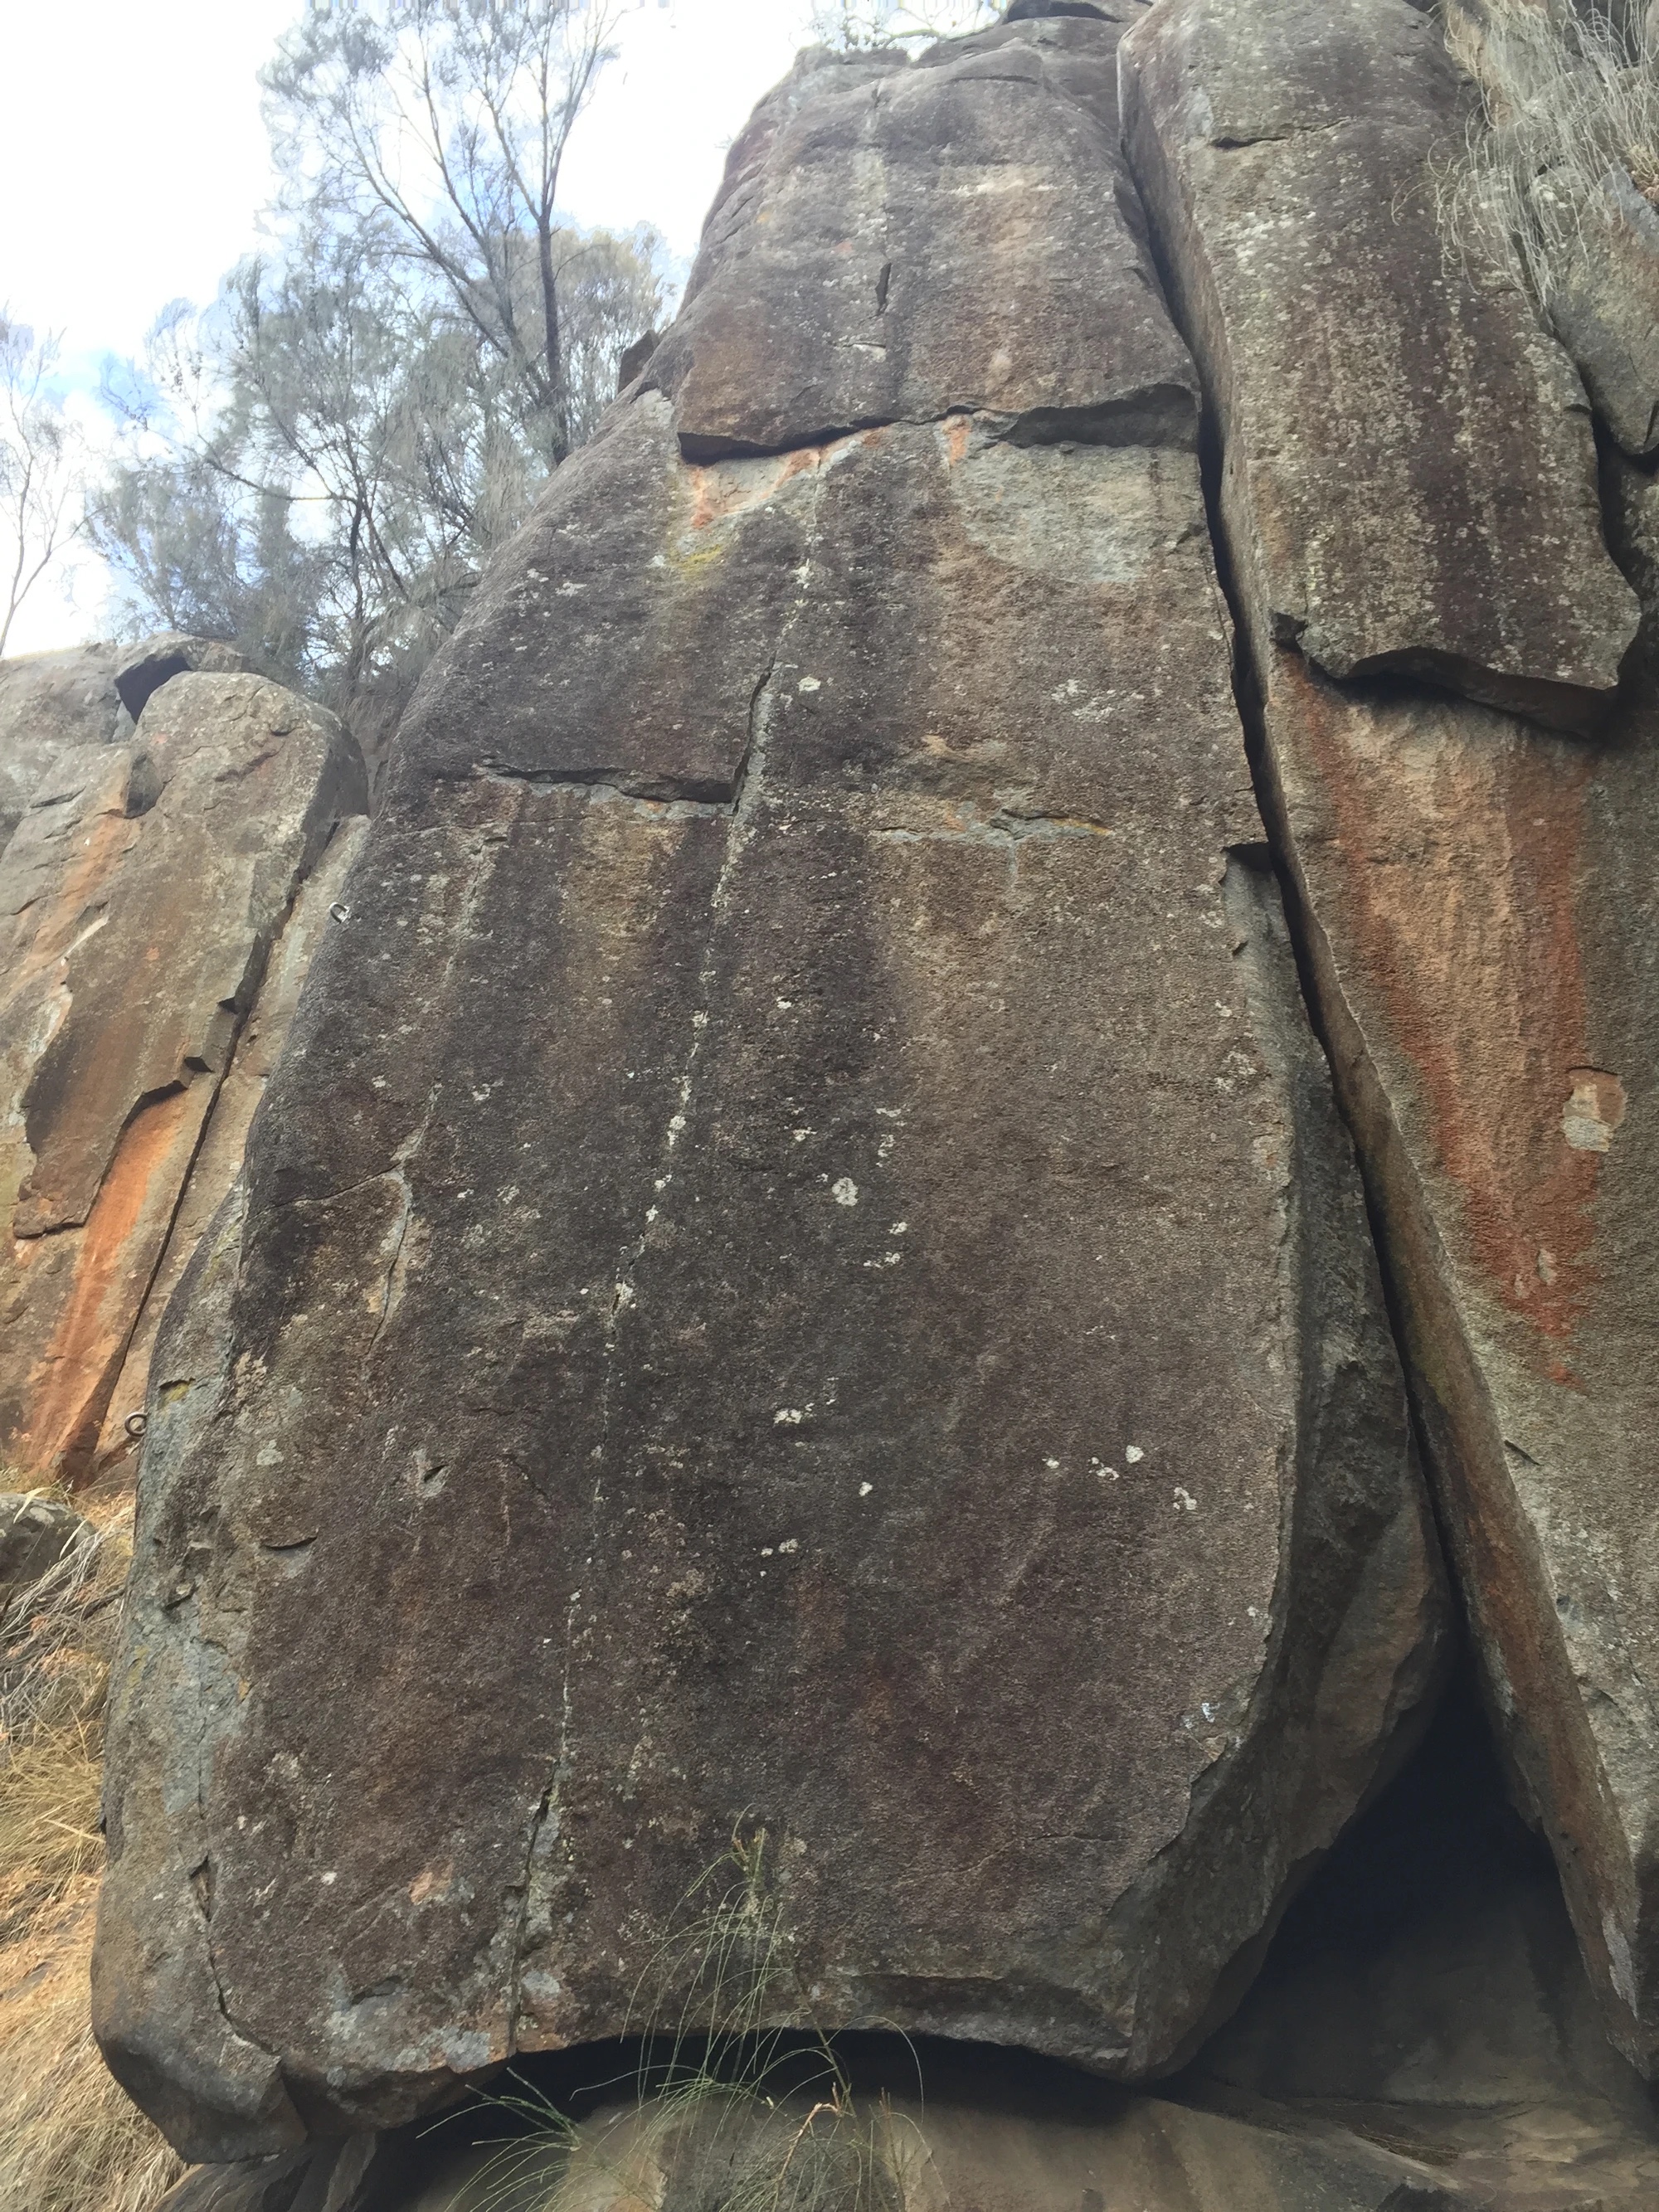
Topo: theCrag contributors, CC BY-NC-SA 3.0, theCrag
Another excellent job of undergrading by John who initially gave it 24. Line of 4 eye-bolts. DBB.
Fisher, 1996.
Jamming up hand and fist crack on the front of the buttress. For the aficionados of the jam.
Thomas, McMahon, 1980
Trench Foot Face
Access- Just downhill and slightly upstream from Nighthawks is a separate face
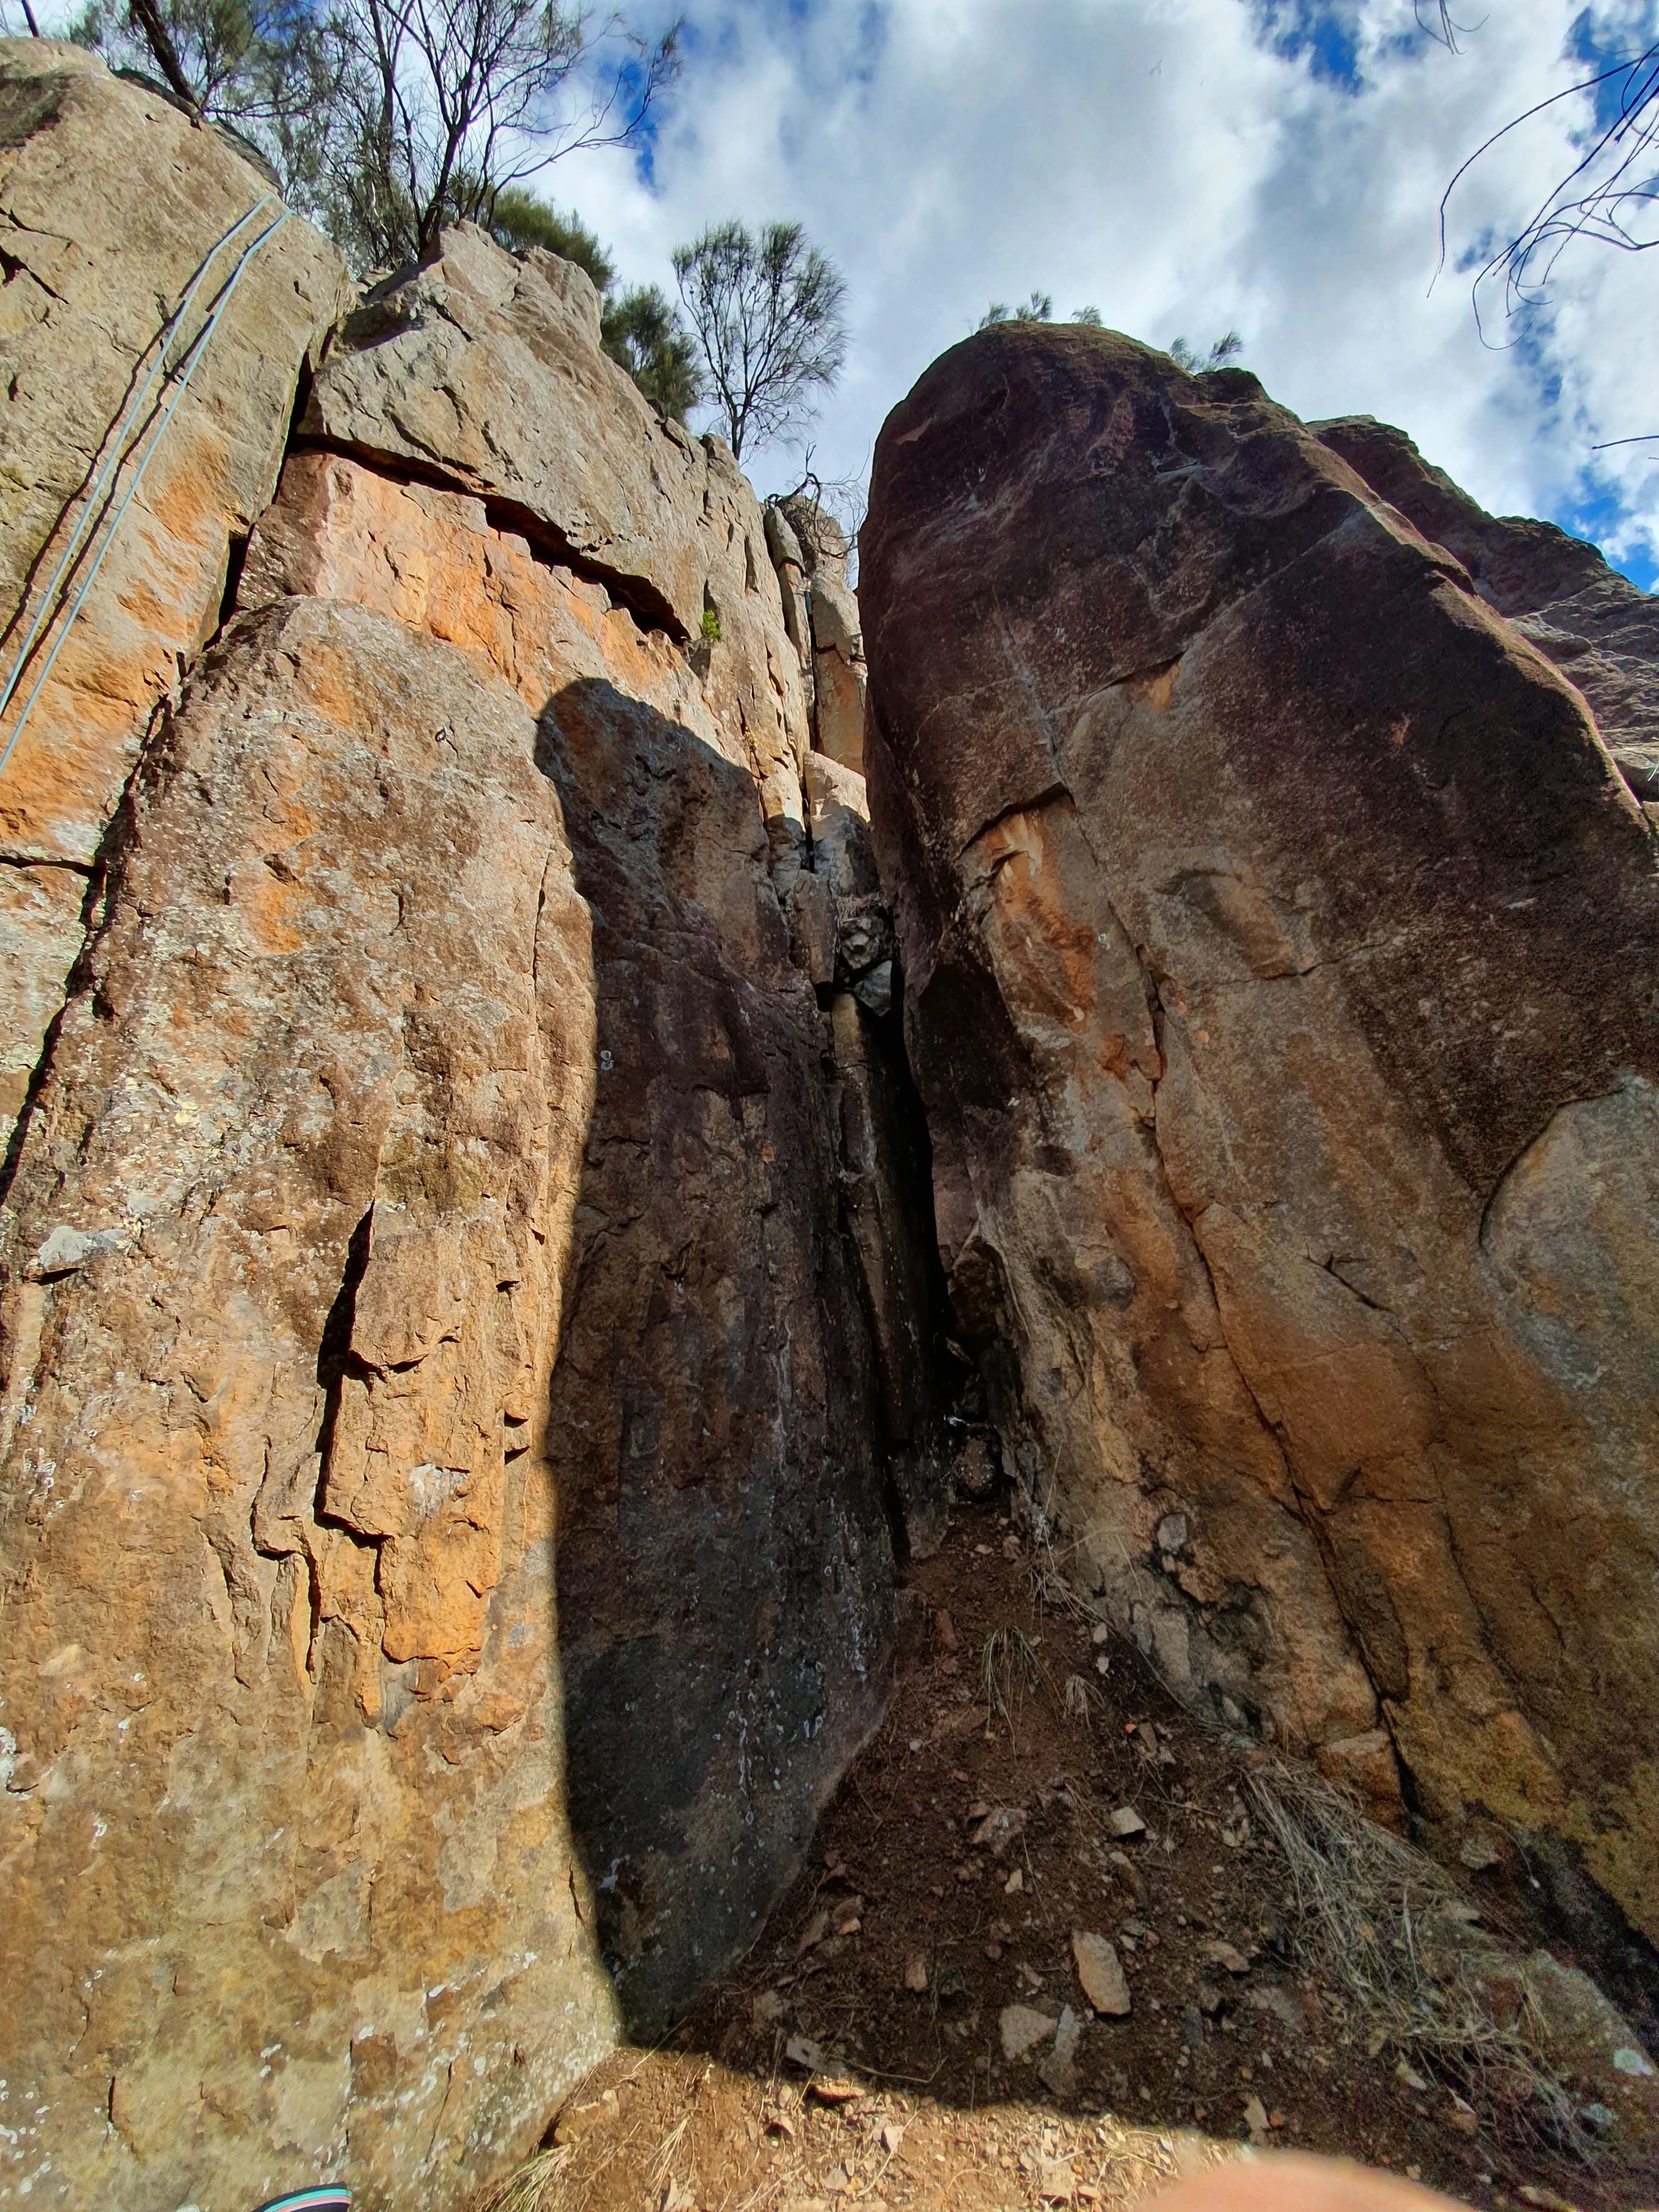
Topo: theCrag contributors, CC BY-NC-SA 3.0, theCrag
Lay away up thin crack to gain hand crack.
Parsons, Schmidt, 1976.
The face with 5 U-bolts just right of Trench Foot. A hard start but maintains the interest for the whole distance. DBB
Fox, Webb, Kearnes, 2019
On the seperate pillar just right of The Inspector is a face with 3 U-bolts. DBB
Fox, Lethborg 2019
The crack facing the river on the pillar of The Constable.
Smith (solo), 1981.
5m around the corner from A Man's Drink is a line of thin flakes leading up to a hand crack.
Smith, 1981.
Mickey Loves Anne Face
Access- From half-way down the descent track on the upstream side of Offal buttress walk upstream for 50m to a small clump of she-oaks. Abseil from the DBB behind these to the base of the cliff, approximately 12m, which is recognisable by the painted pierced heart. Alternatively scramble upstream 50m from the base of Offal. Multiple bolt belays on top.
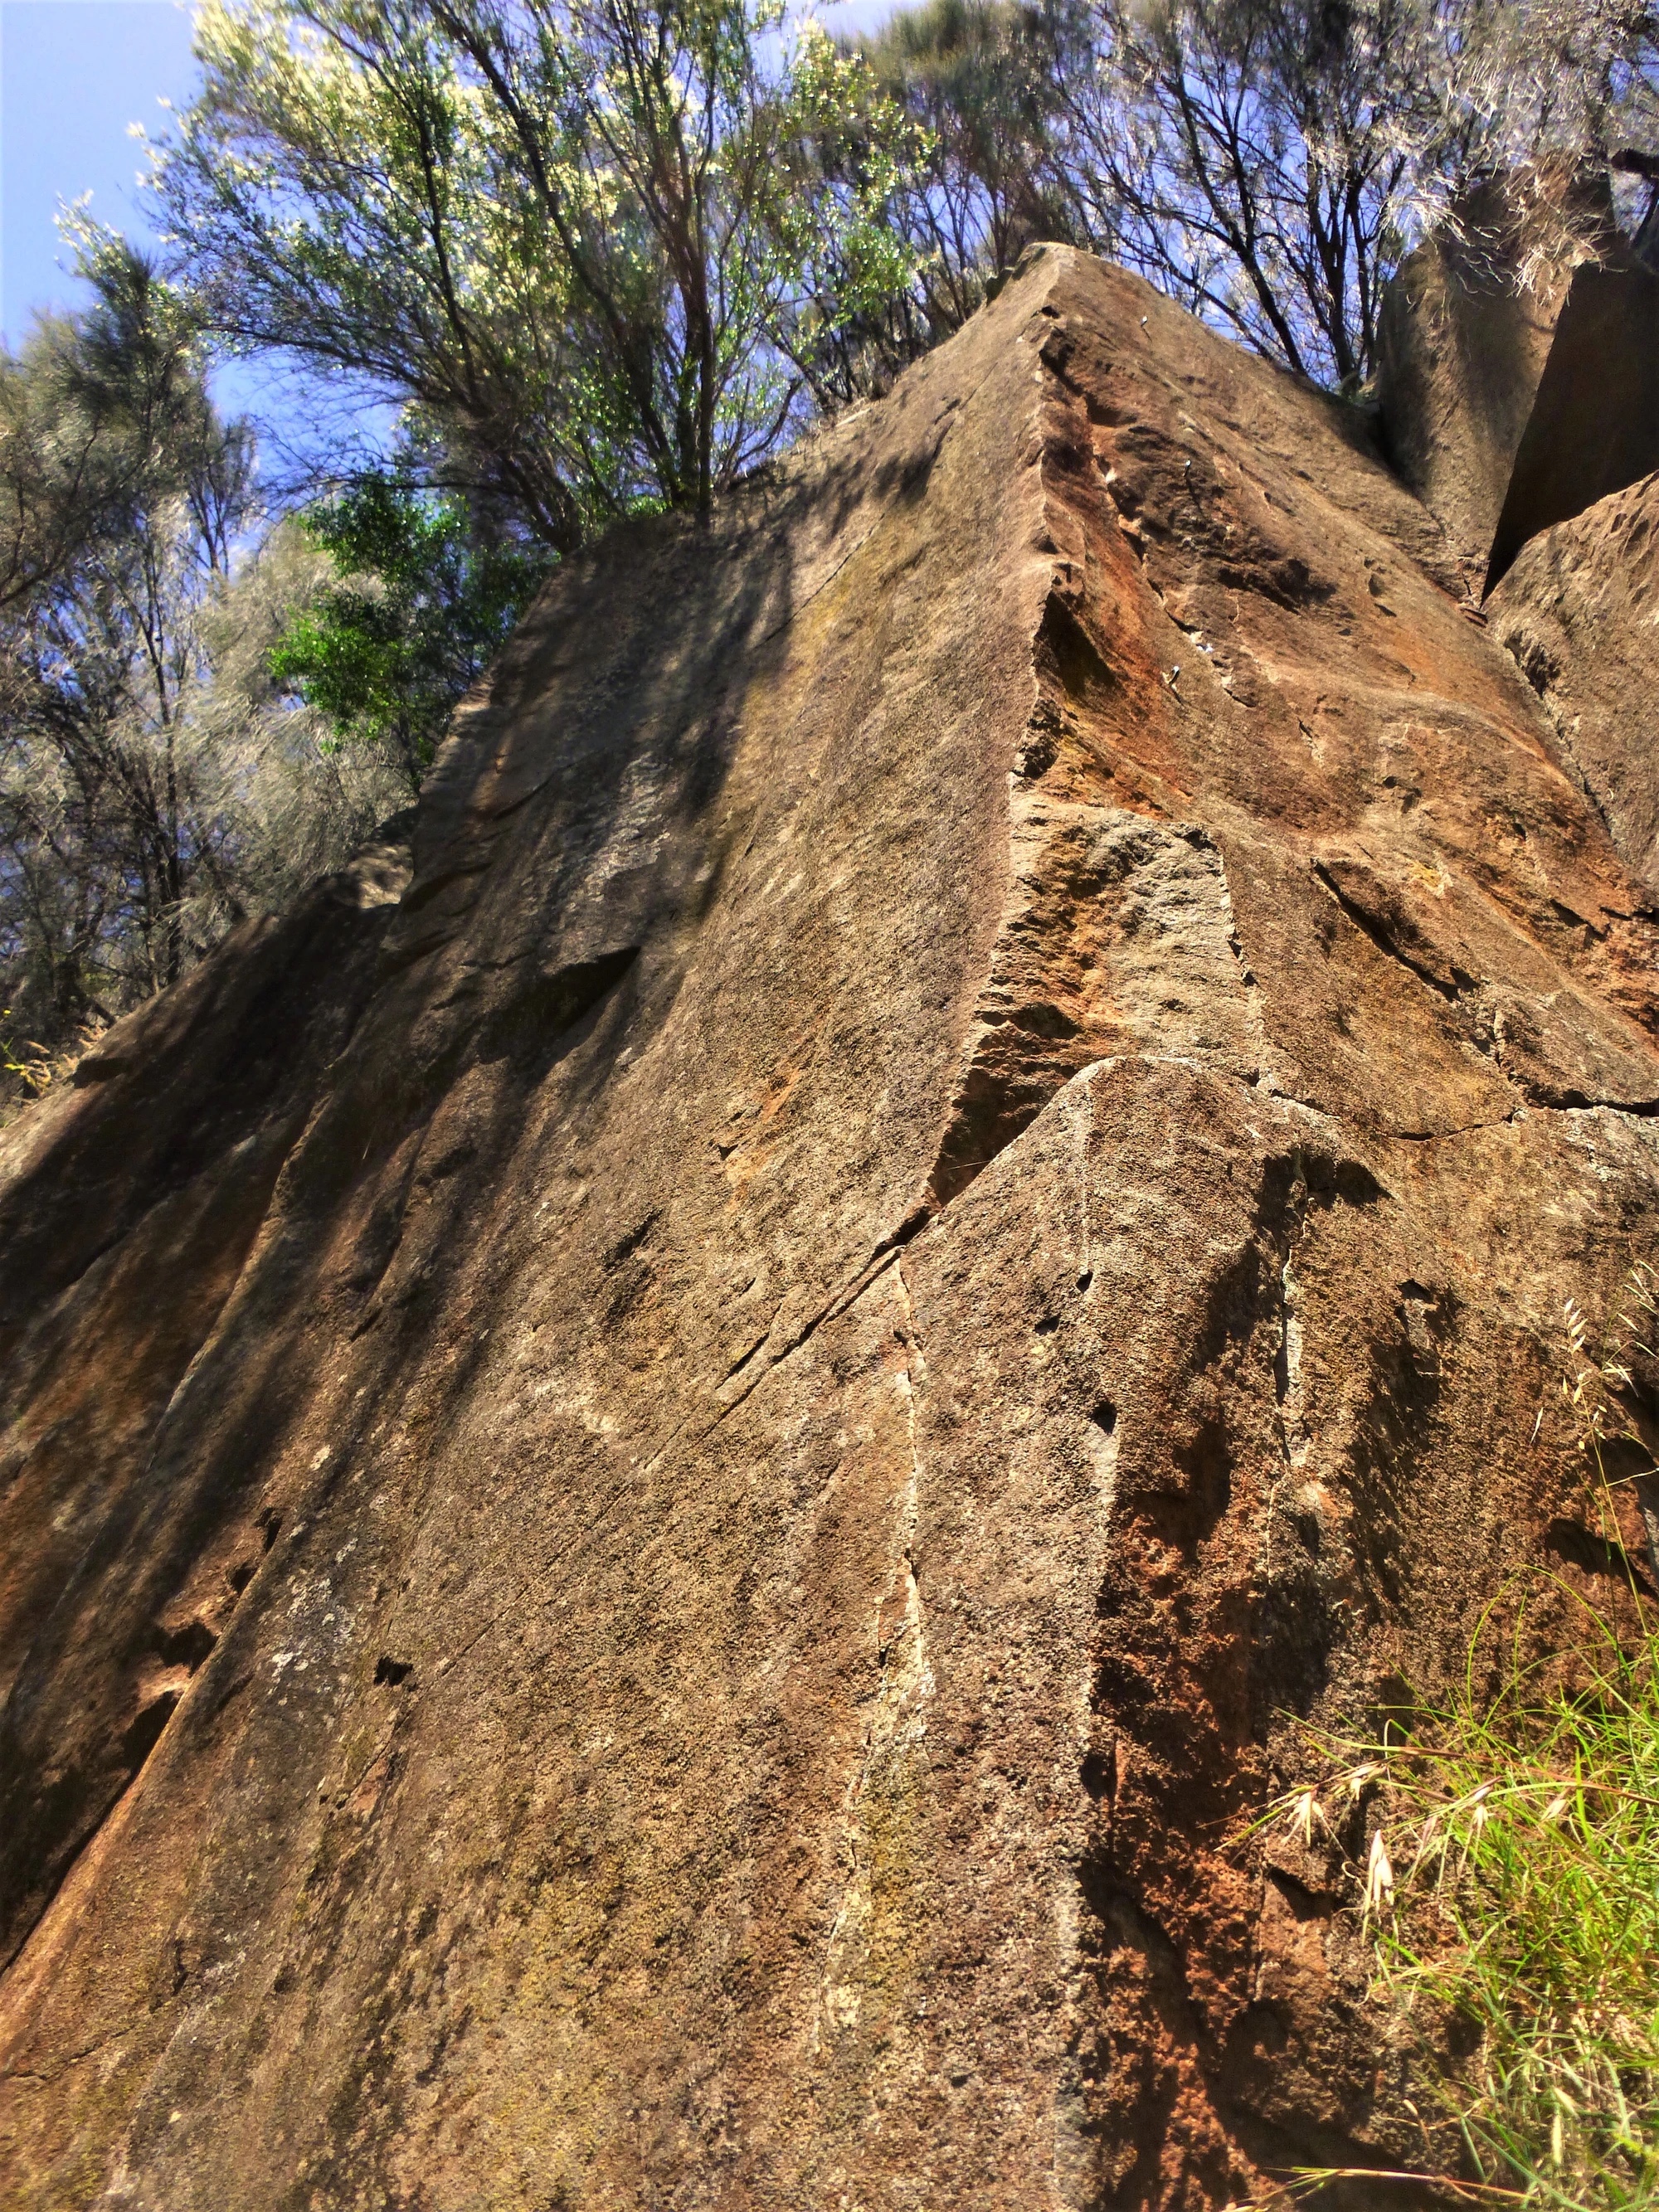
Topo: theCrag contributors, CC BY-NC-SA 3.0, theCrag
The left hand-crack 3m from Choking the Chicken.
Parsons, Shields, 1975.
Or 24 for the vertically challenged. The arete with 3 eye-bolts. DBB
Fisher, Fox, 1995.
Corner and thin crack 2m right of Choking The Chicken.
Ellenburger, K.Smith, 1975. Fantini, Smith, McMahon, 1981.
Up crack, bulges and blocks.
Smith, McMahon, 1981.
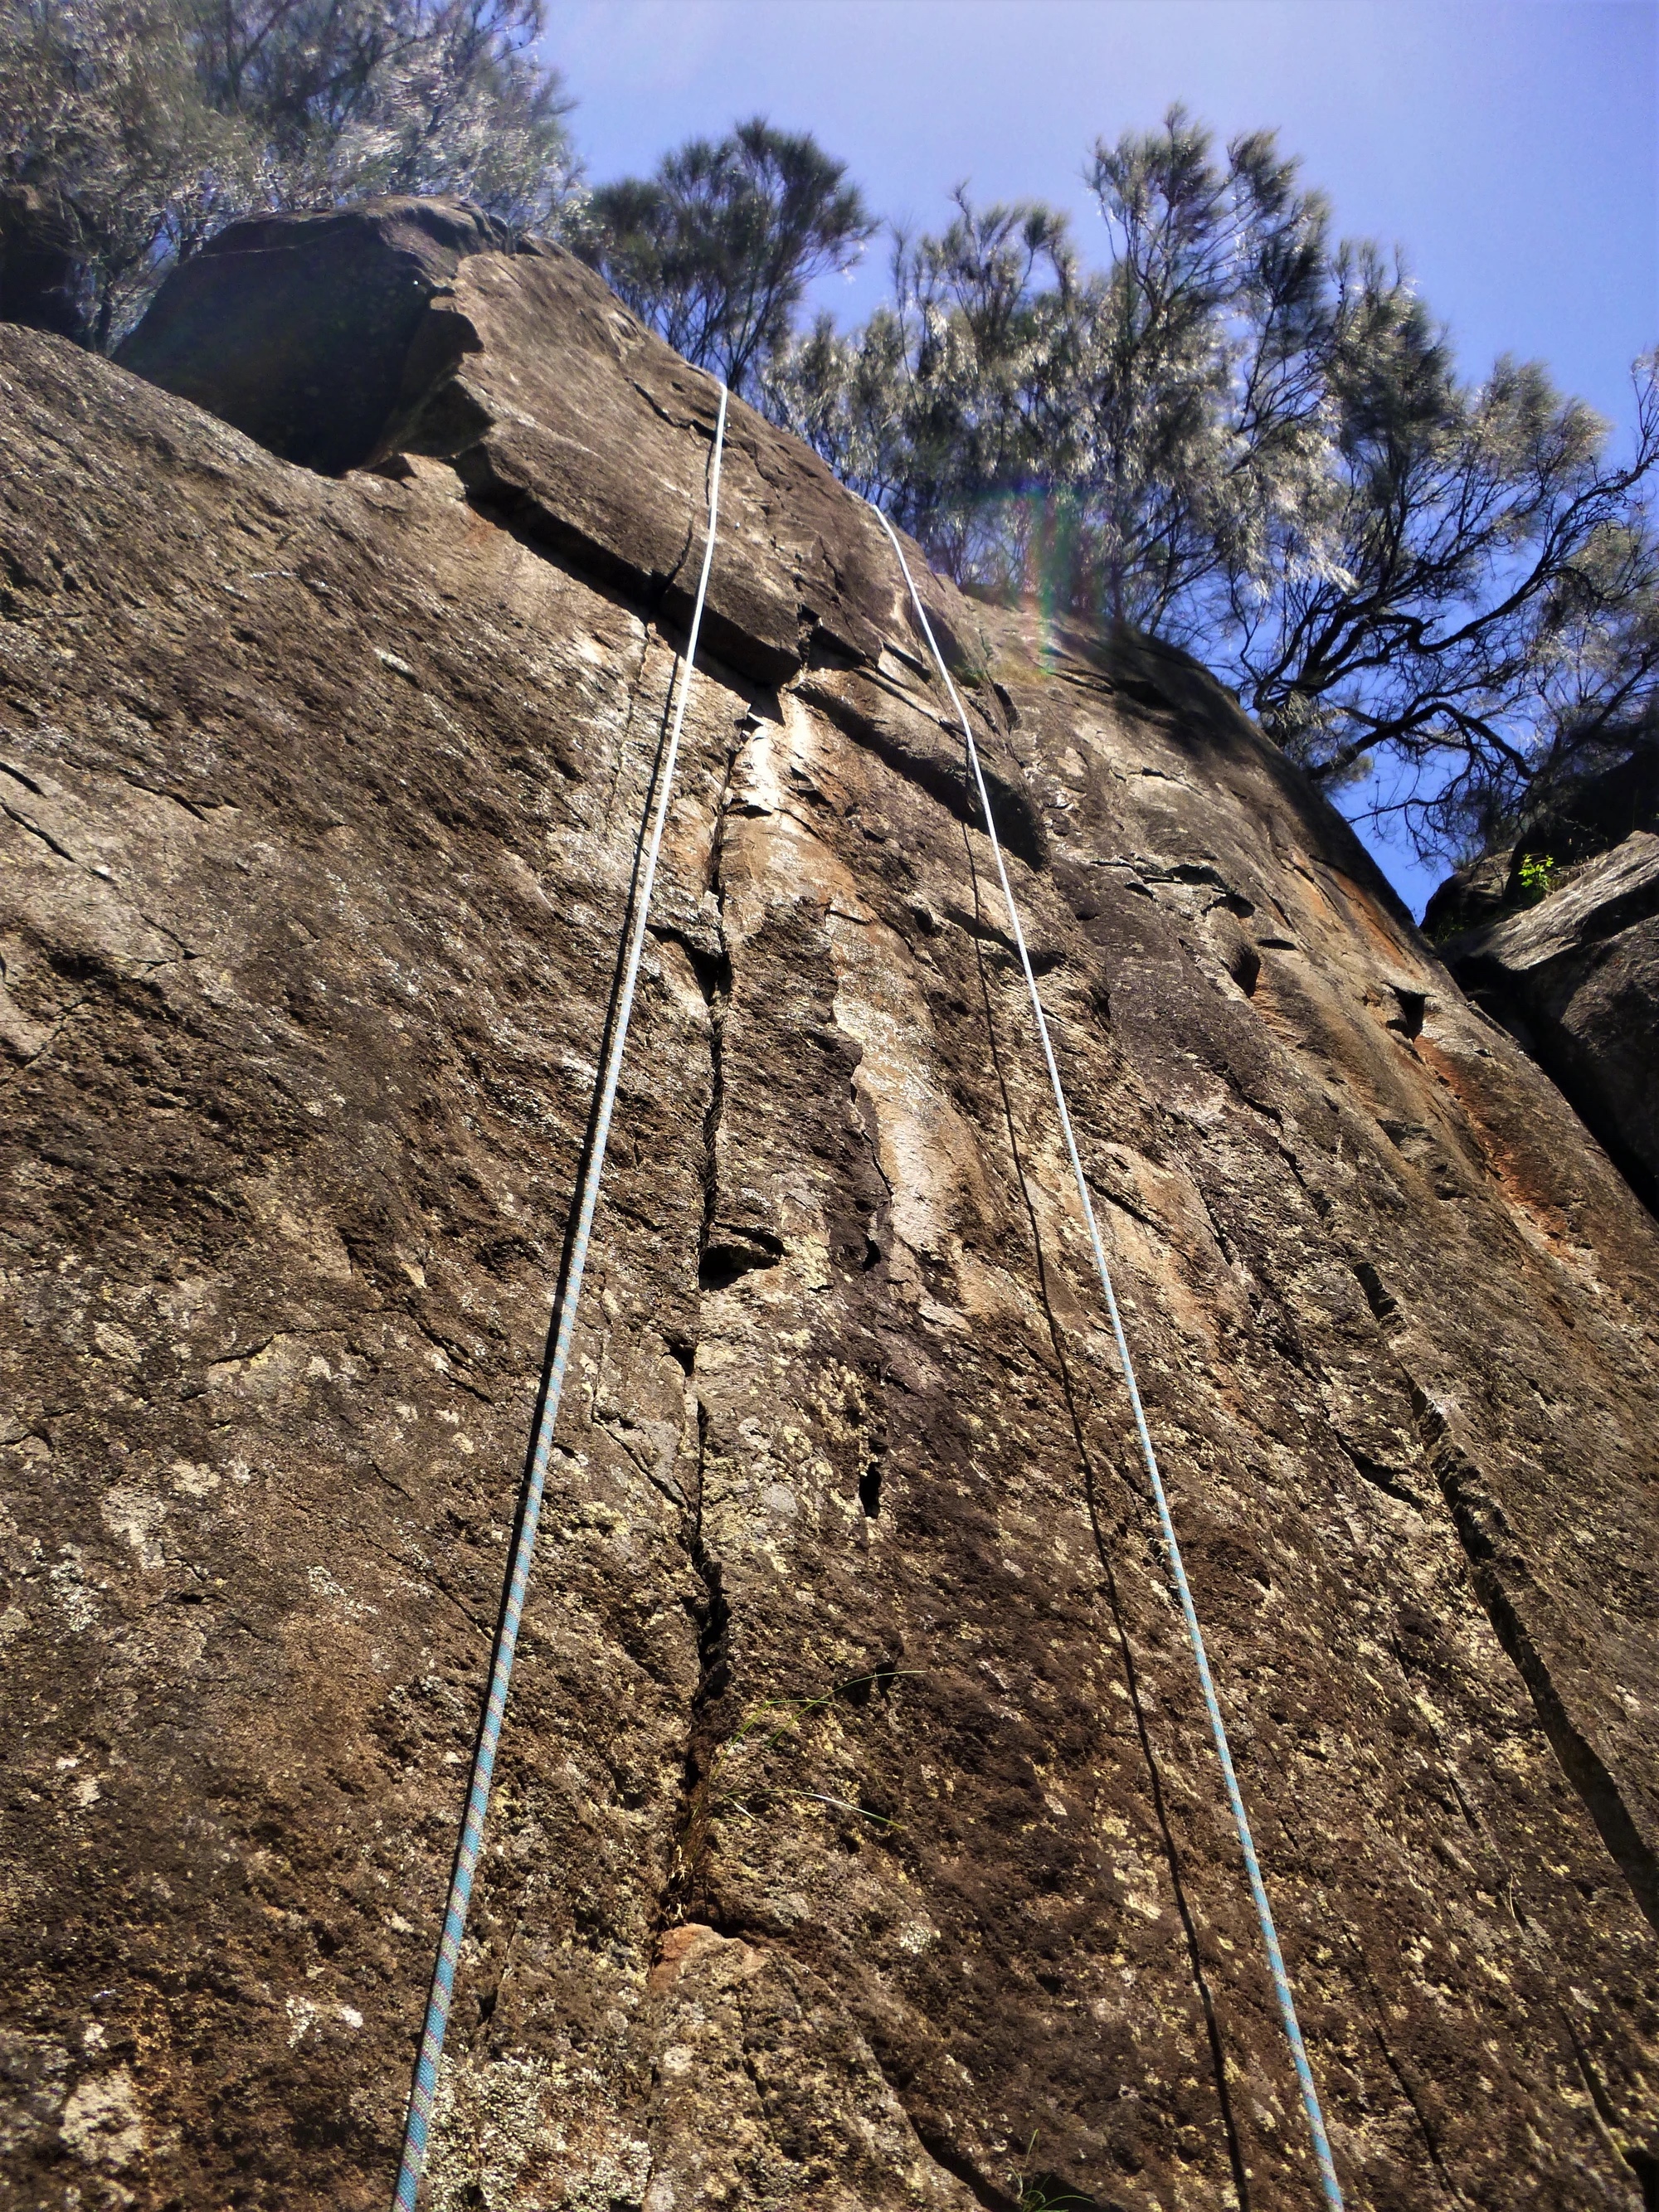
Topo: theCrag contributors, CC BY-NC-SA 3.0, theCrag
Up face to eye-bolt and rusty old piton then to crack above.
Fife, Narkowicz, 1982.
The crack 3m left of Dead Zone up to a hollow block then 2 eye-bolts on the face above.
Narkowicz, 1982.
Thin crack starting from sloping ledge. The big jug finish and associated large block at the top of dead zone no longer exist. Be aware the finishing moves pulling over the top may now be significantly harder.
Fantini, Smith,1981.
Saturday Night Buttress
Access- see map. Abseil in, bolt belays on top.
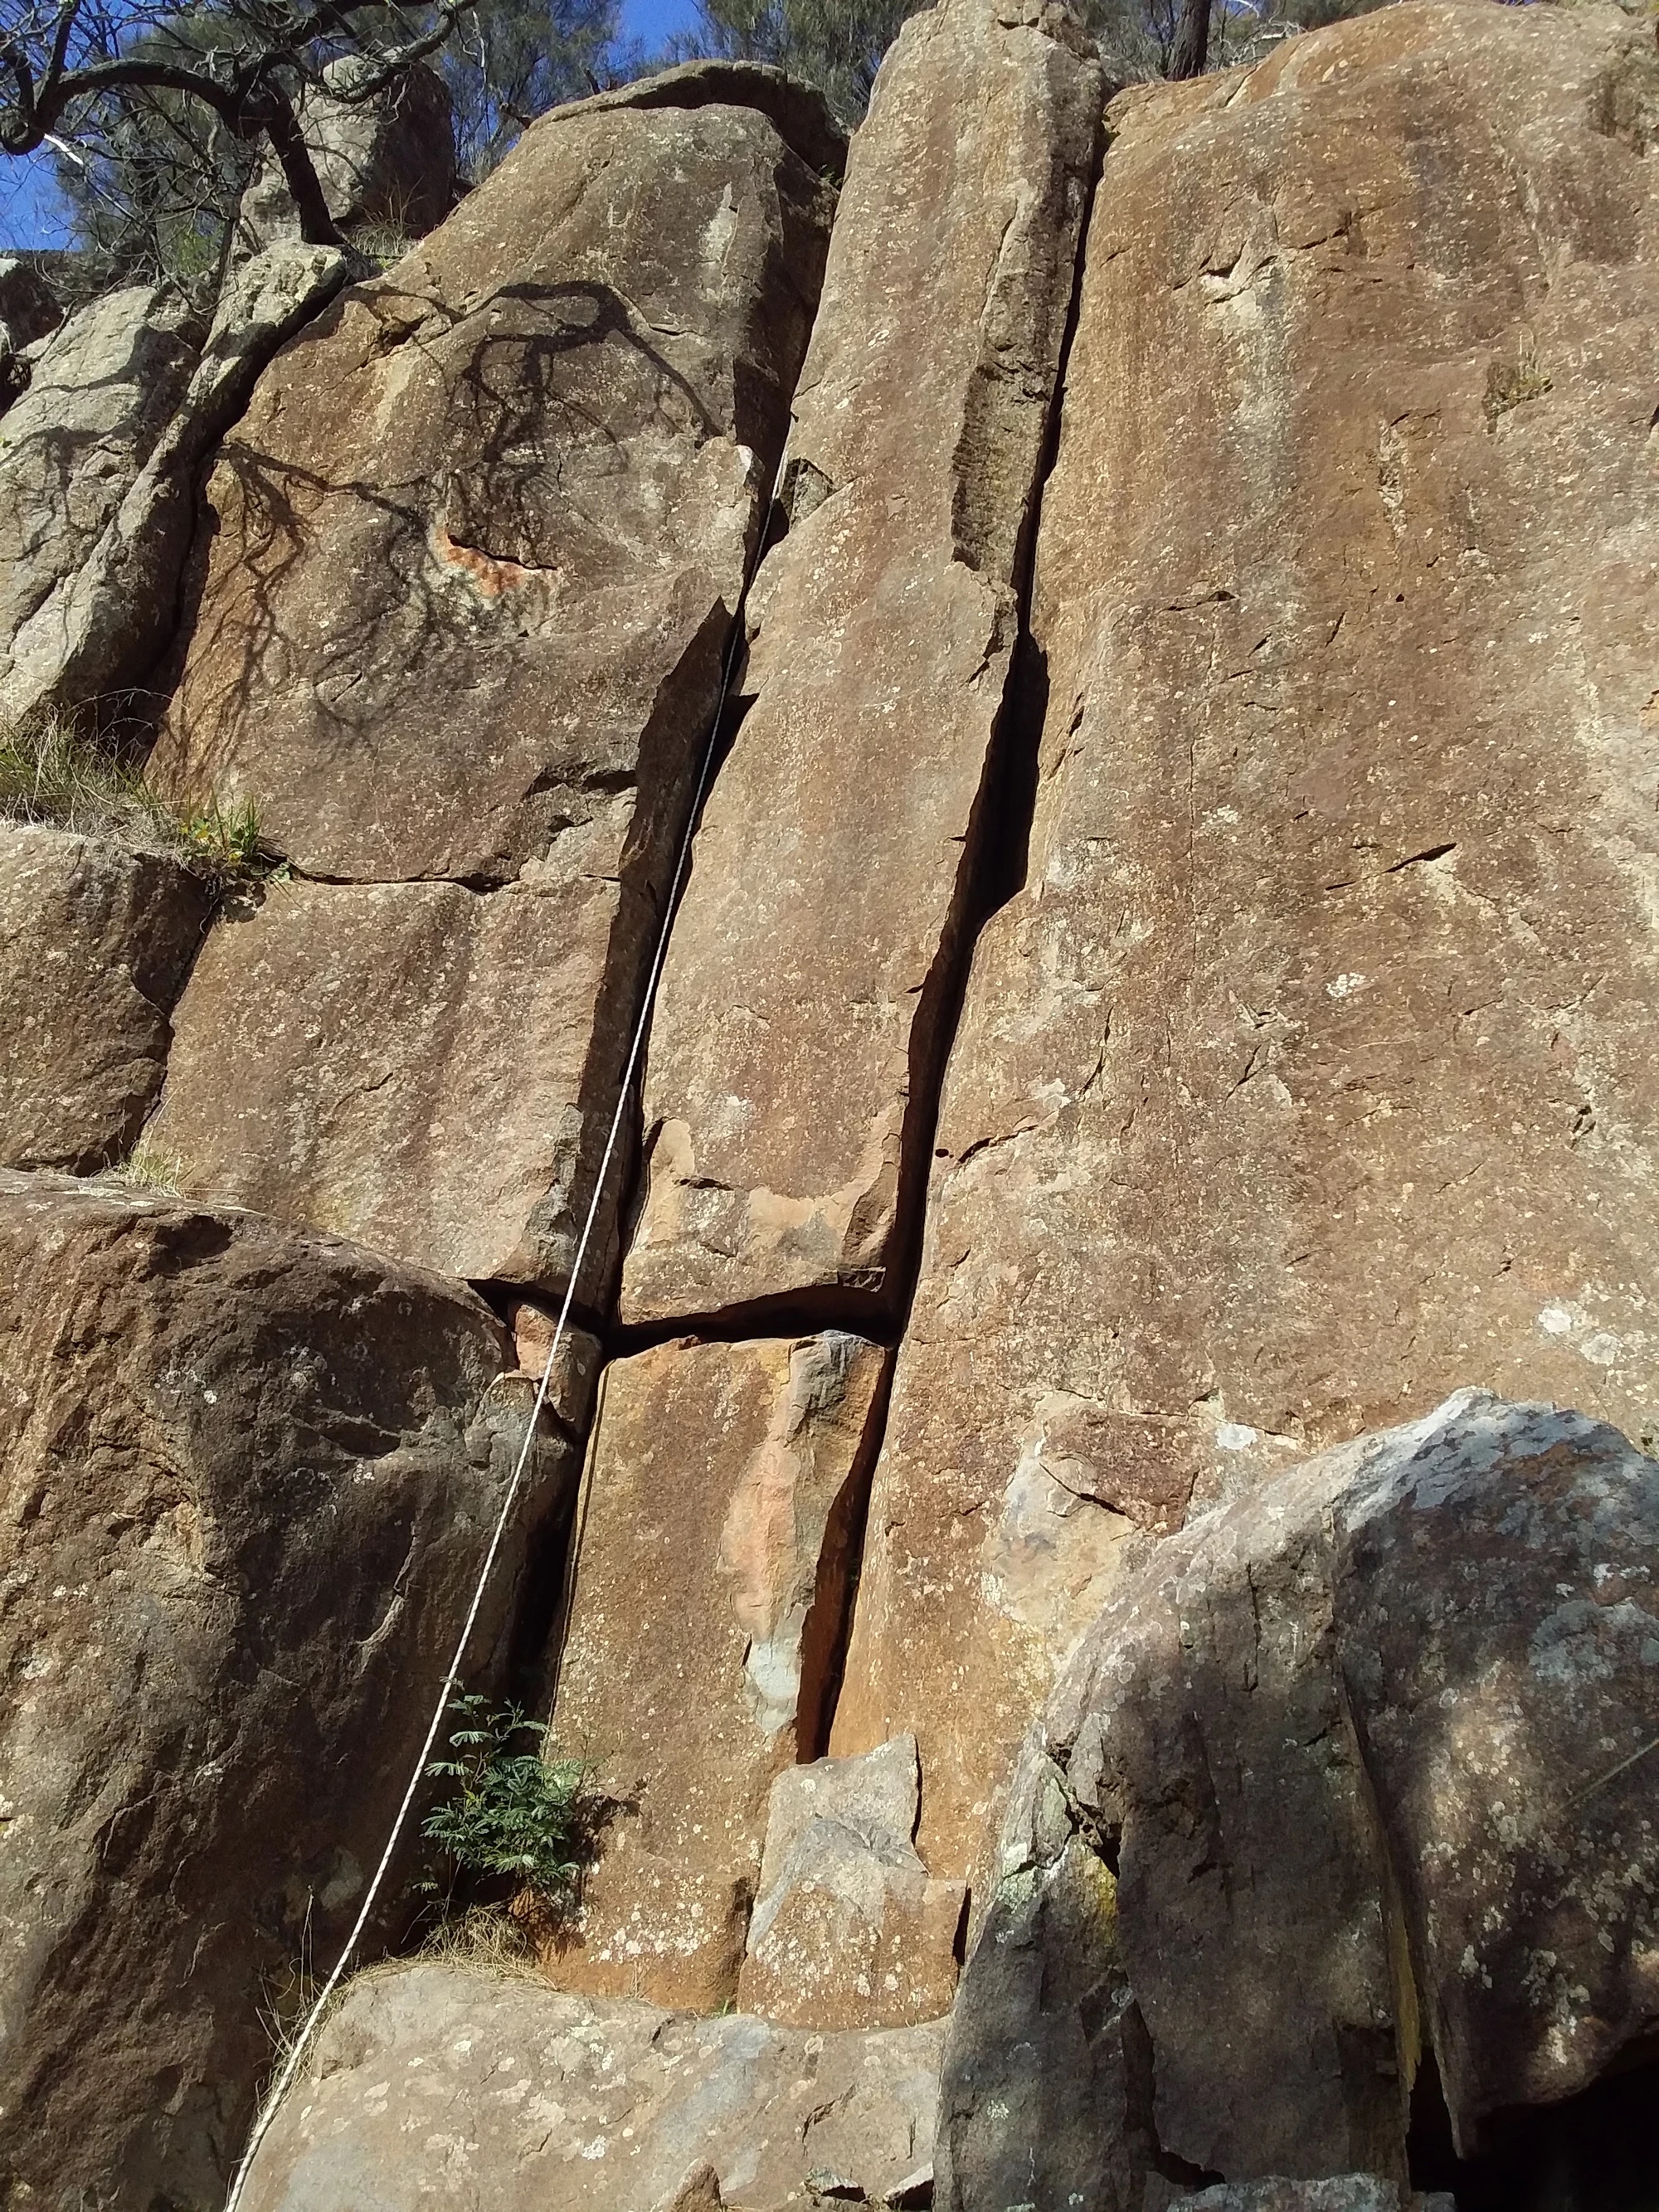
Topo: theCrag contributors, CC BY-NC-SA 3.0, theCrag
The main hand crack on the left.
McMahon, Thomas, 1980.
2m right of Change My Tune.
Ellenburger, K.Smith, 1975.
The face 2m right of Stopping On The Red. No gear worth stopping for.
Thomas (solo), 1981.
The broken crack line 4m upstream of Stopping On The Red.
McMahon, Thomas,1980.
Top rope route. Juggy face between Cue Ball Head and Burgundy Sky. Some hollow sounding flakes at 2/3rds height.
From: theCrag
The face right of Cue Ball Head is another top rope route at about 17.
The next corner.
McMahon, Thomas, 1980.
The last climb before the off-width corner. Up corner to block at the top. Harder than it looks.
Thomas, Keenan, McMahon, 1981.
Foam Pinnacle
Access- Walk 30m up the ramp from Deadzone on the Mickey Loves Anne face. It's most use is for finding the access to Riverside Buttress
The crack.
McMahon (solo), 1980.