
Citadels & Hidden Towers
Introduction
A more remote scattering of craglets at the southern end of the property. Expect vaguer access tracks, and less trafficked routes - however still hosting a number of classics in an isolated setting
Approach: Updated March '24. DO NOT cross the paddocks, as stated in any old guidebook! Instead, from the new carpark - continue straight past the old quarry junction. Continue along the rough vehicle track until there is signposted junction veering R to Cave Rock/The Citadels etc. Tapes mark the route which generally travels above the fenceline around to the signposted turn-off to Cave Rock, then further along to The Citadels + Hidden Tower turn off marker. From here - L uphill Leads to The Citadels (C1 - C5 L to R)· From: theCrag
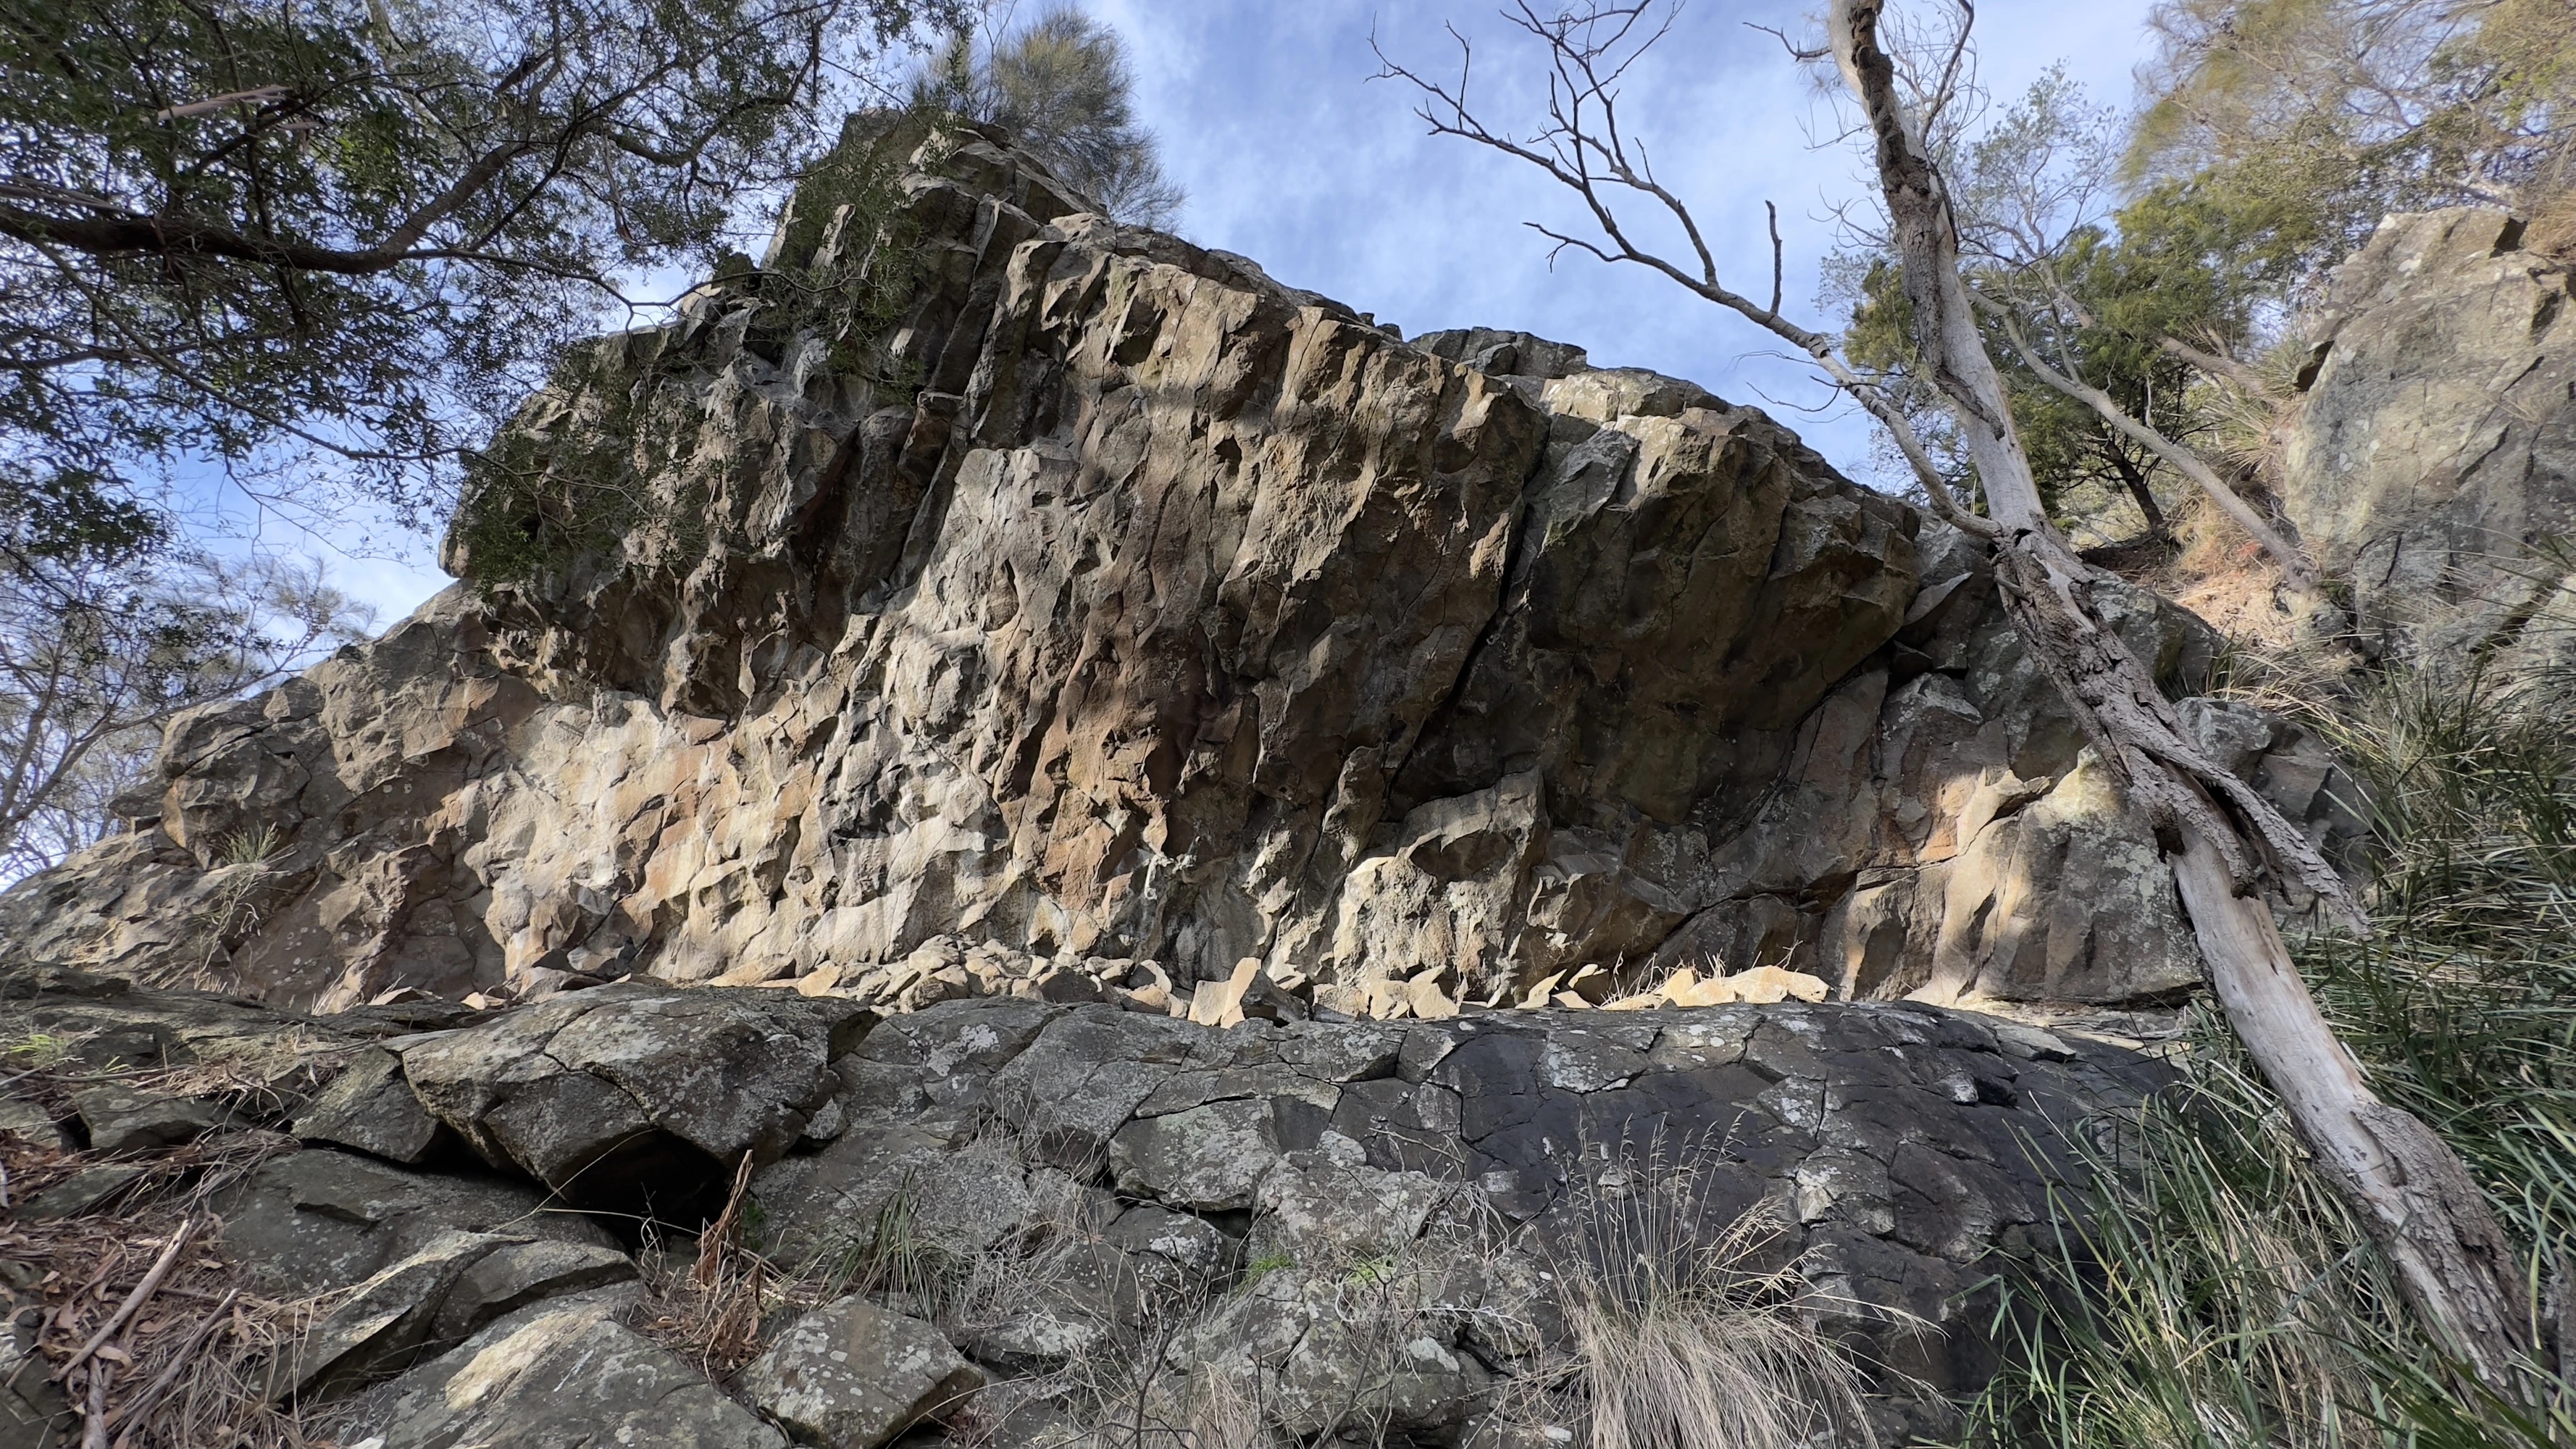
Topo: theCrag contributors, CC BY-NC-SA 3.0, theCrag
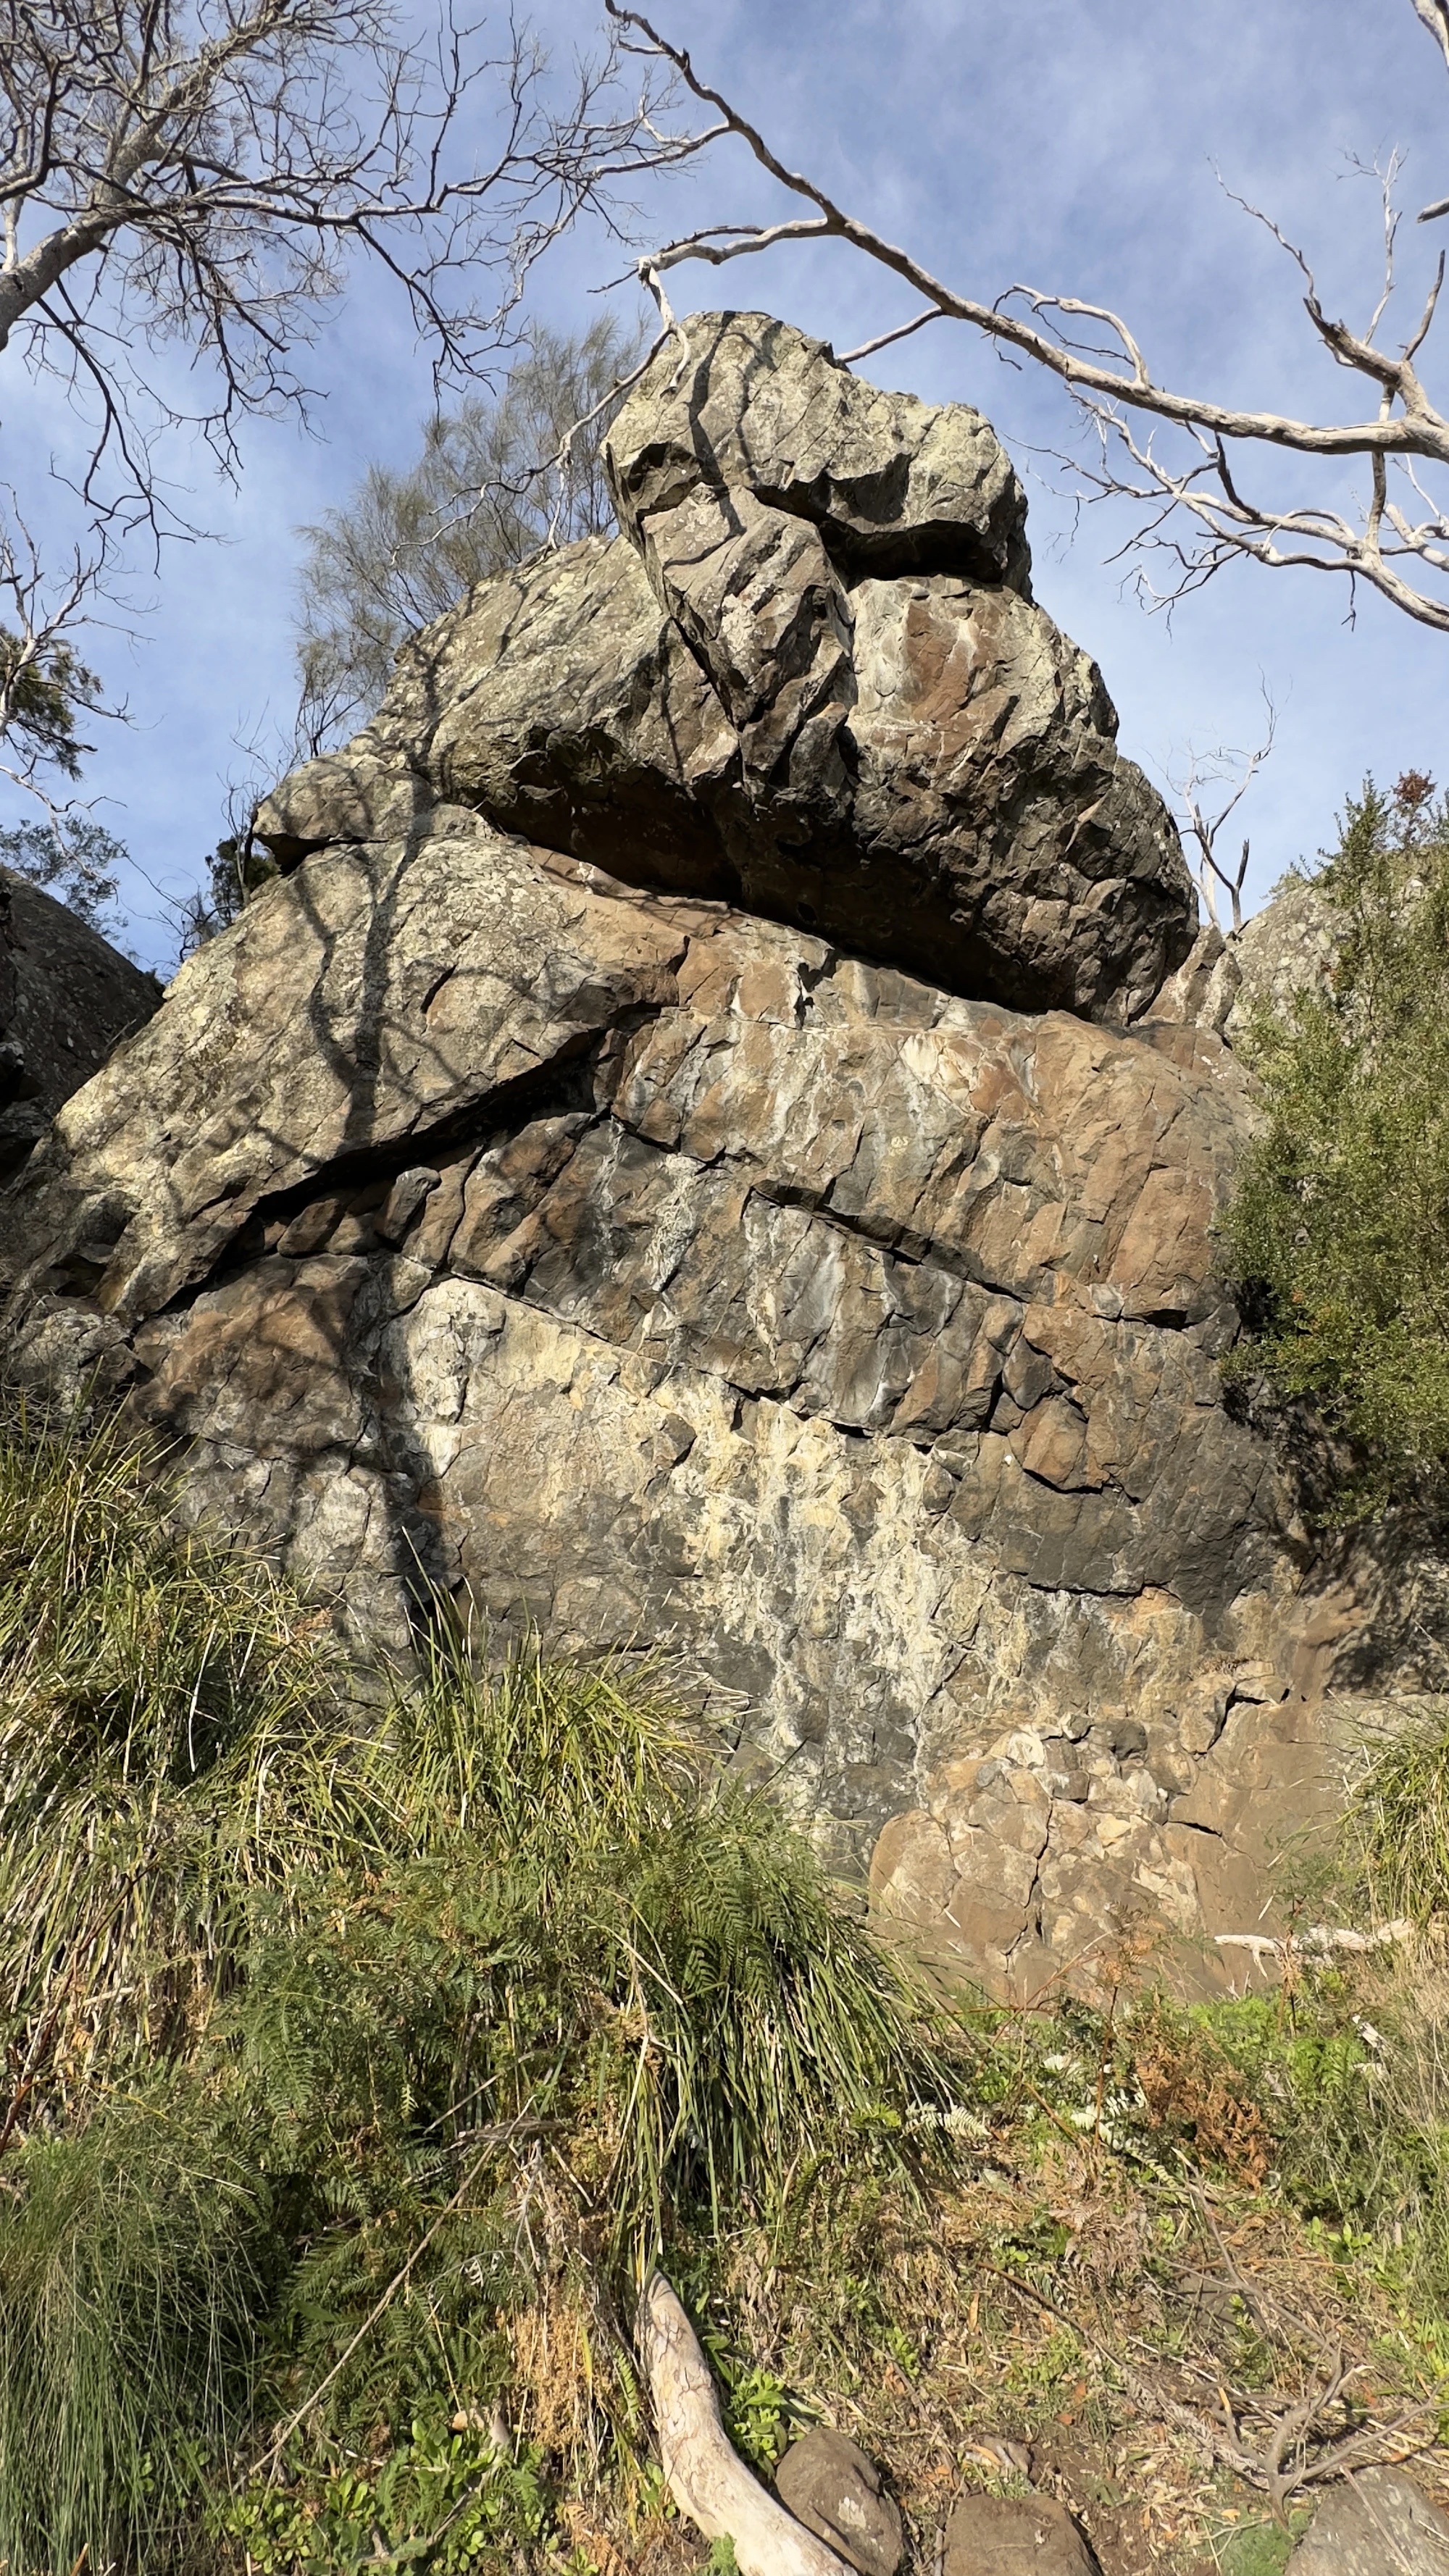
Topo: theCrag contributors, CC BY-NC-SA 3.0, theCrag
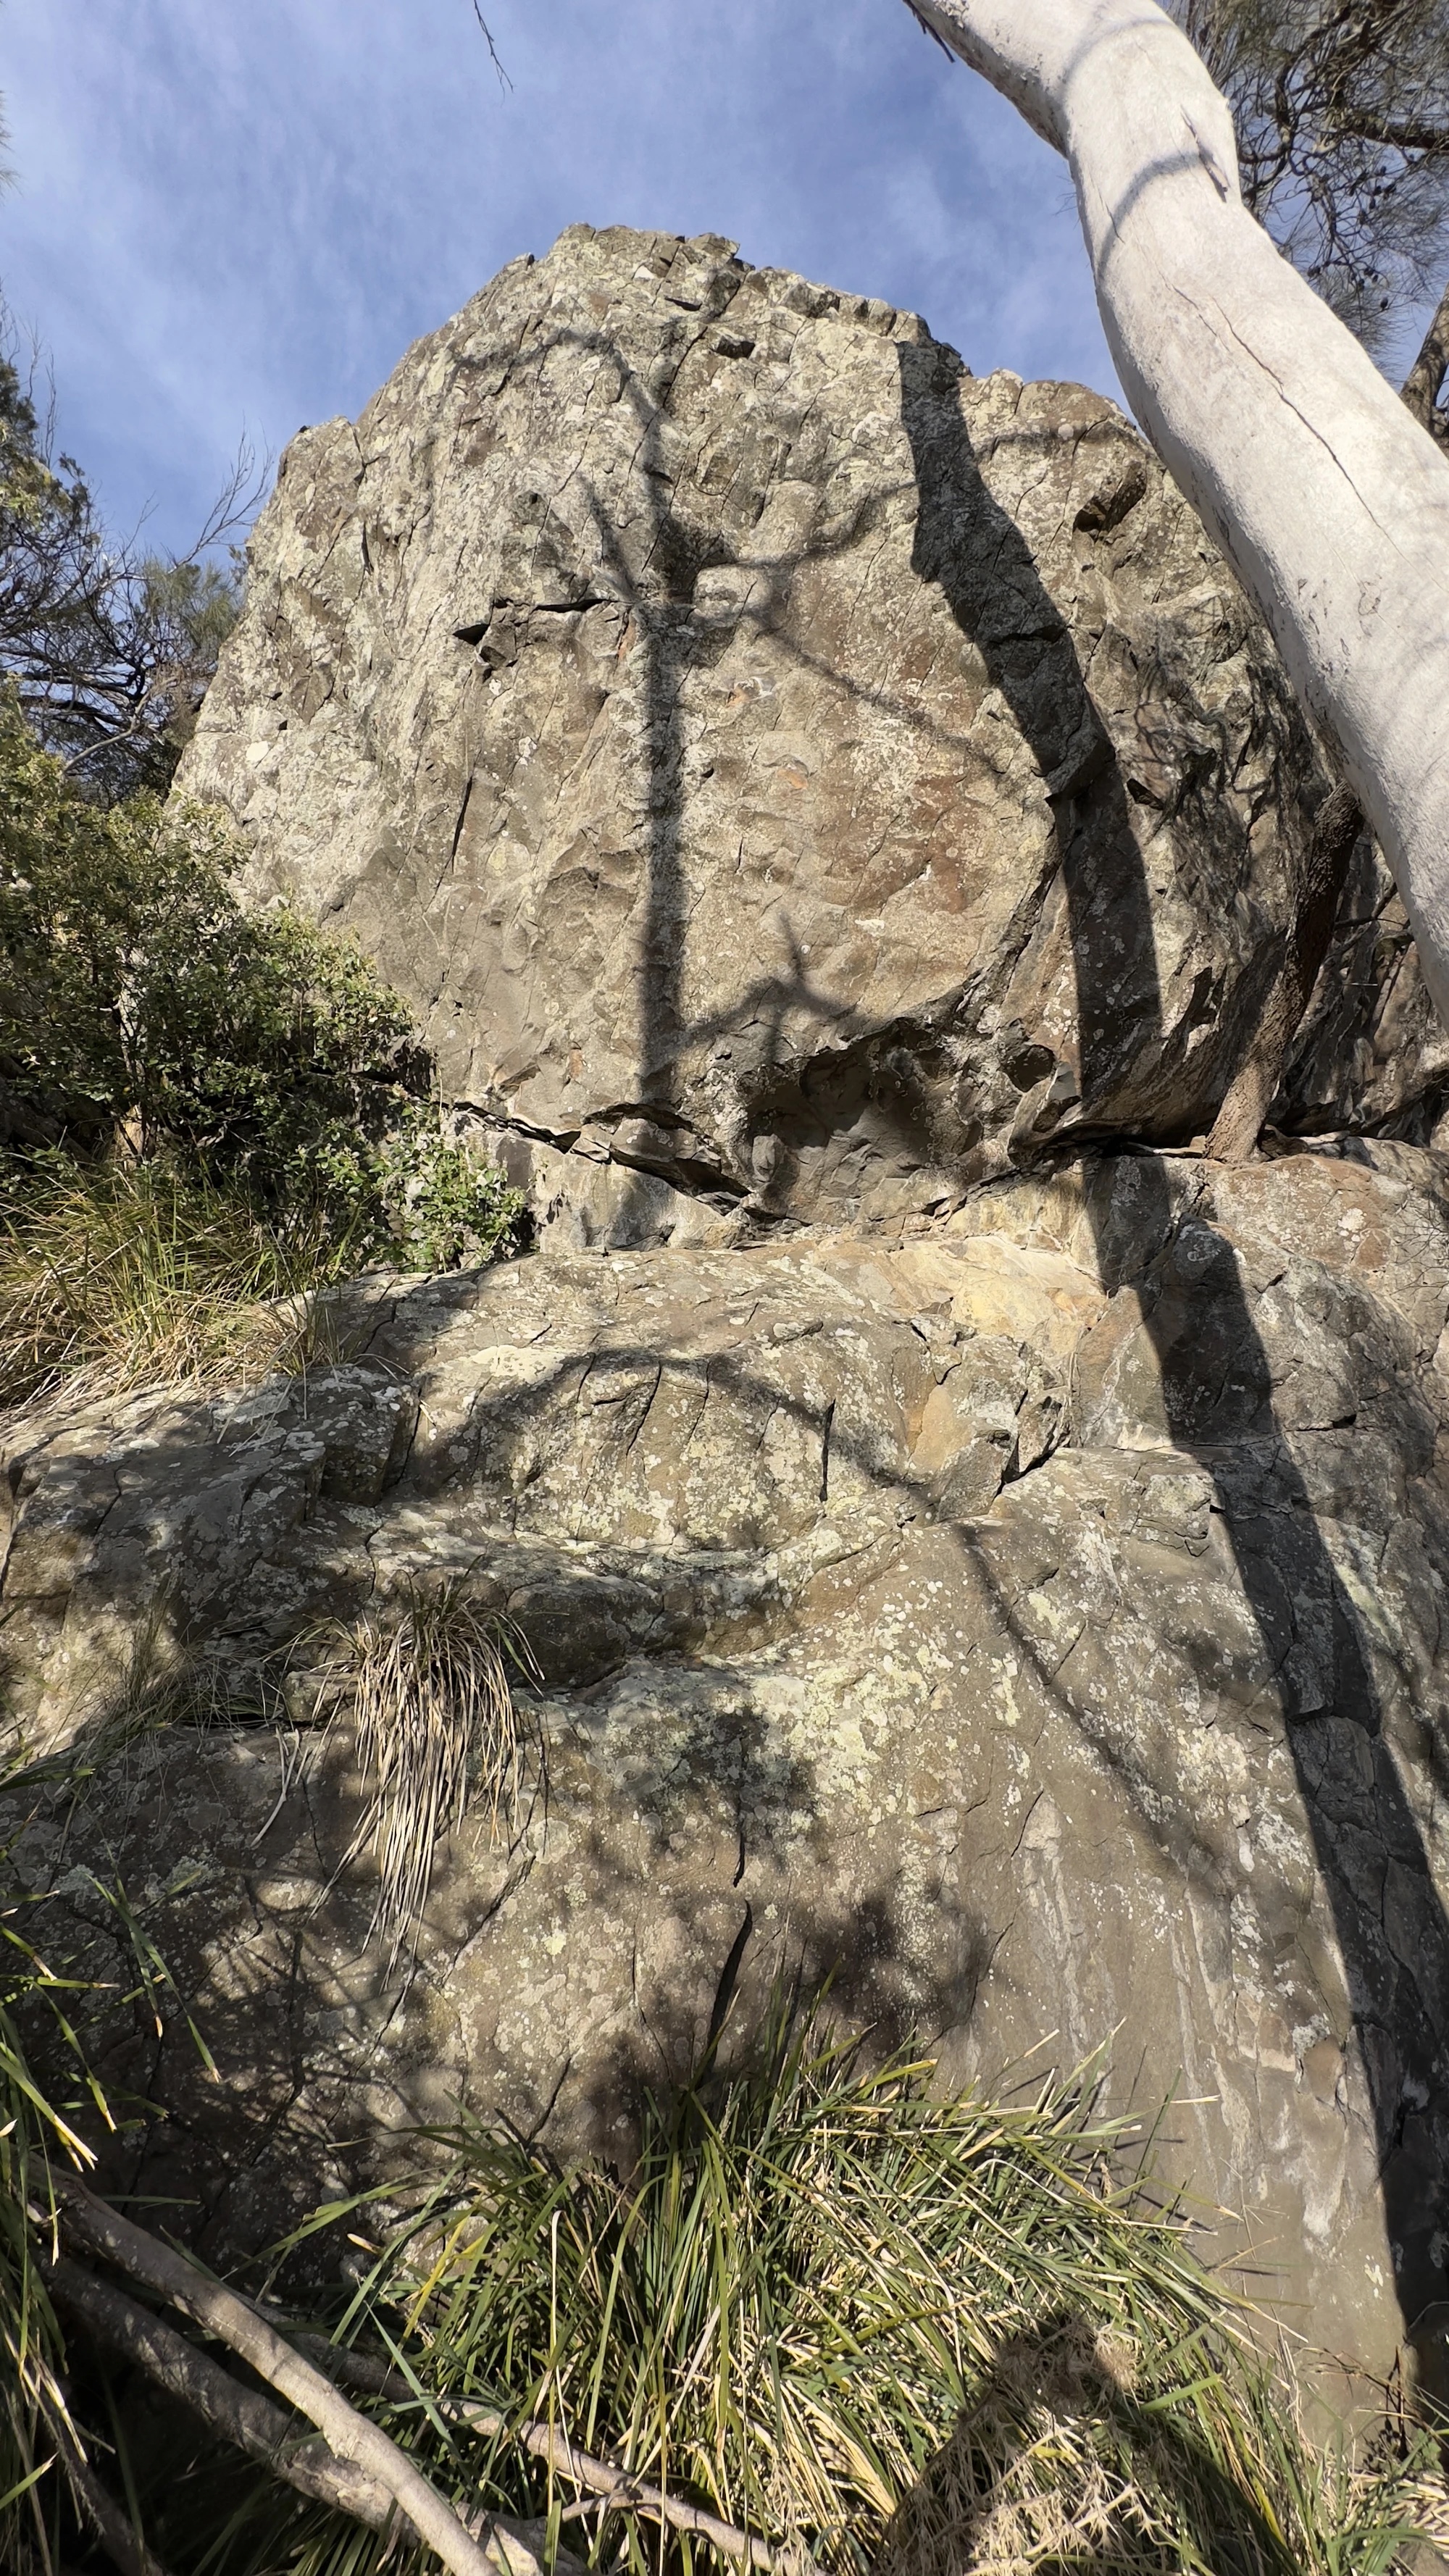
Topo: theCrag contributors, CC BY-NC-SA 3.0, theCrag
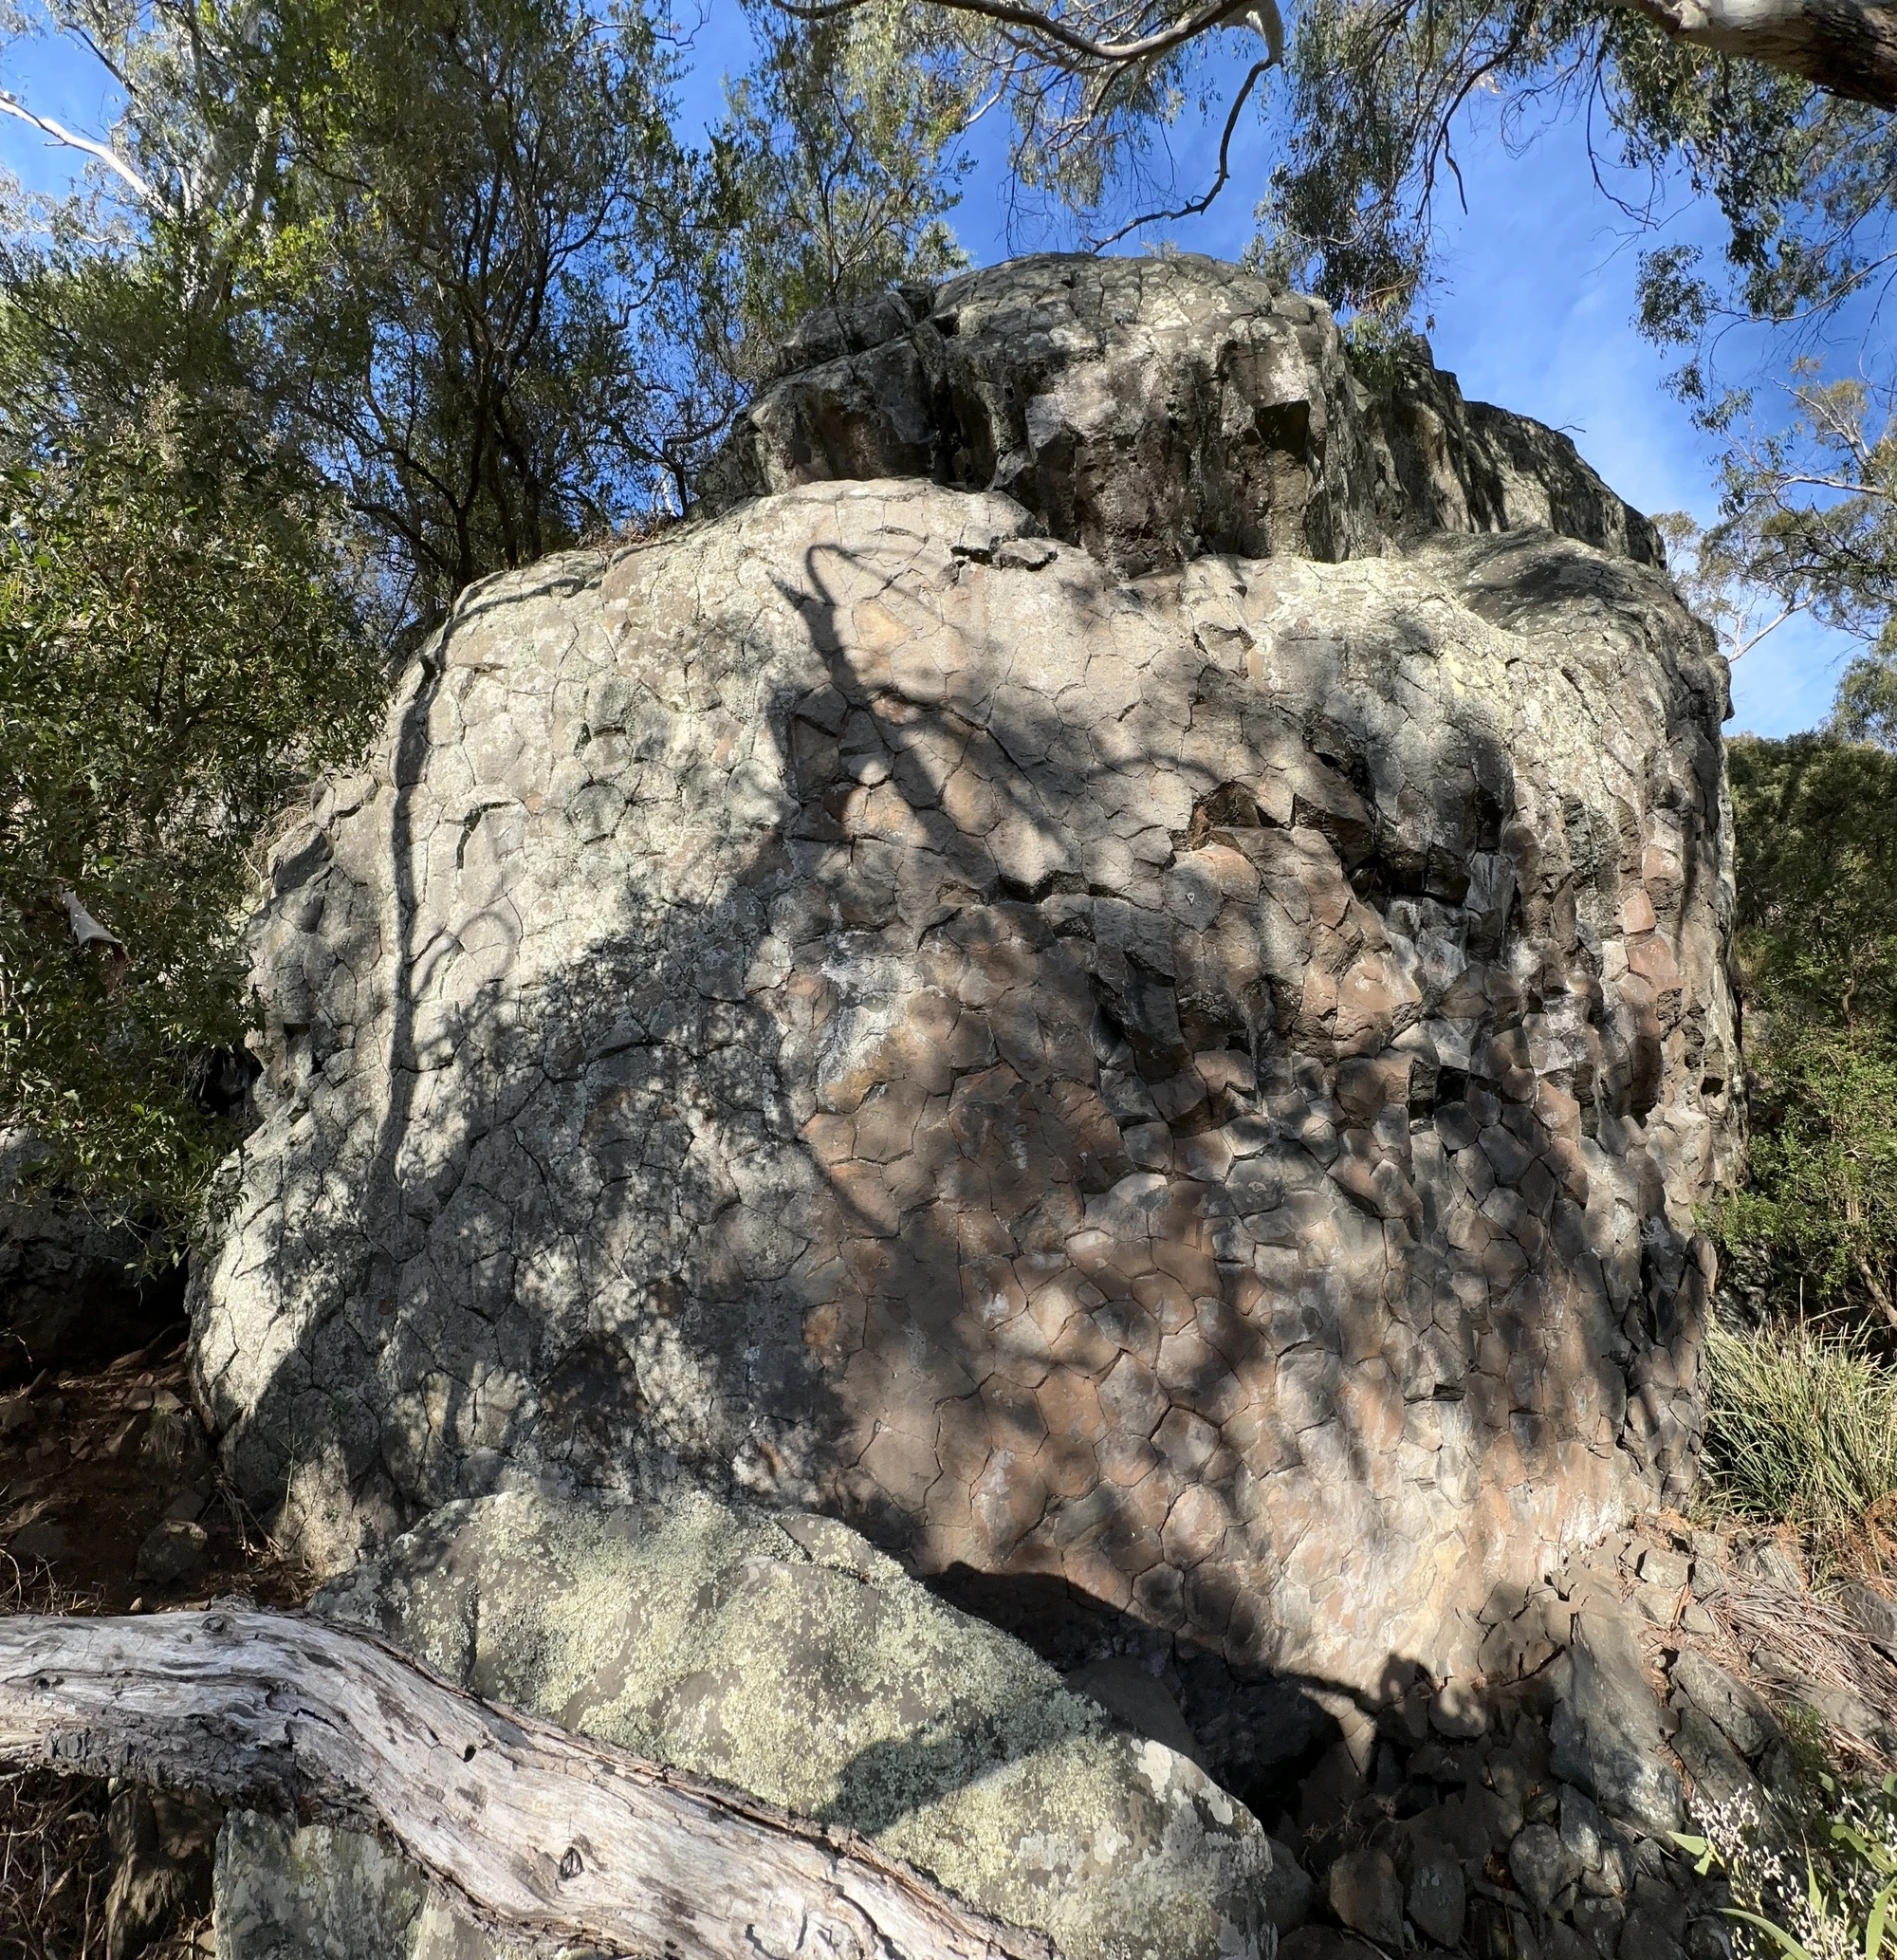
Topo: theCrag contributors, CC BY-NC-SA 3.0, theCrag
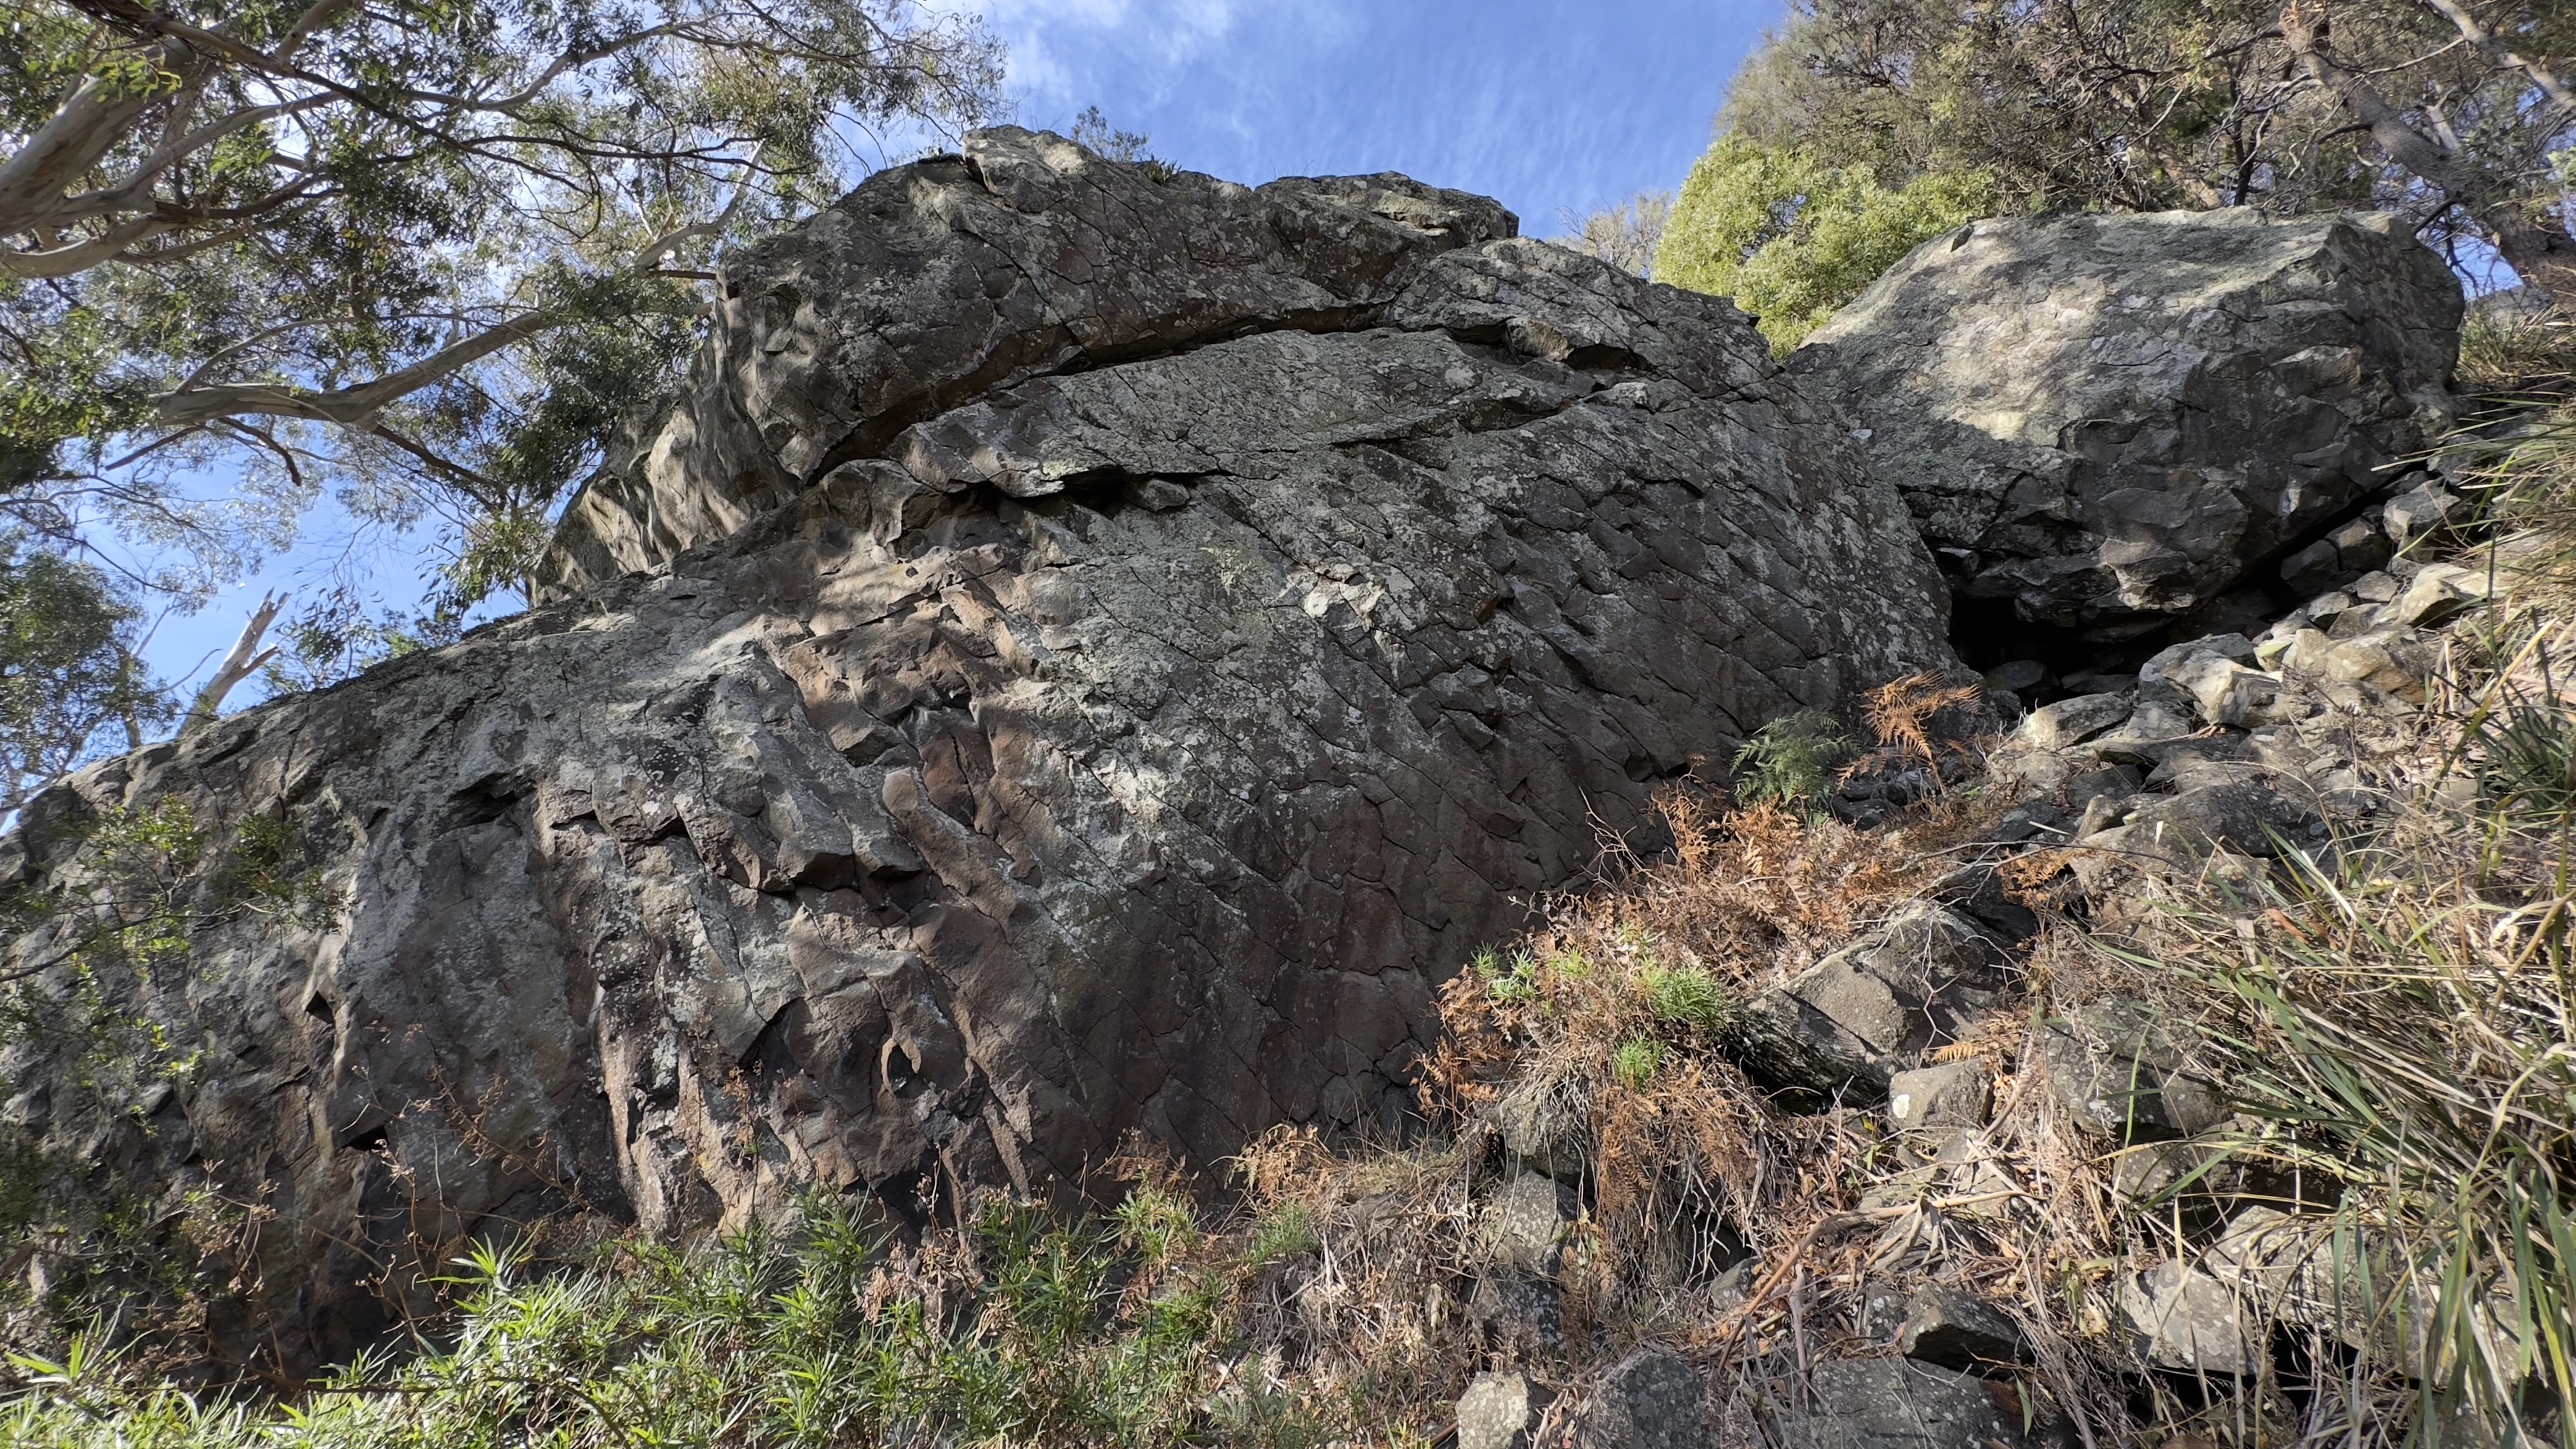
Topo: theCrag contributors, CC BY-NC-SA 3.0, theCrag
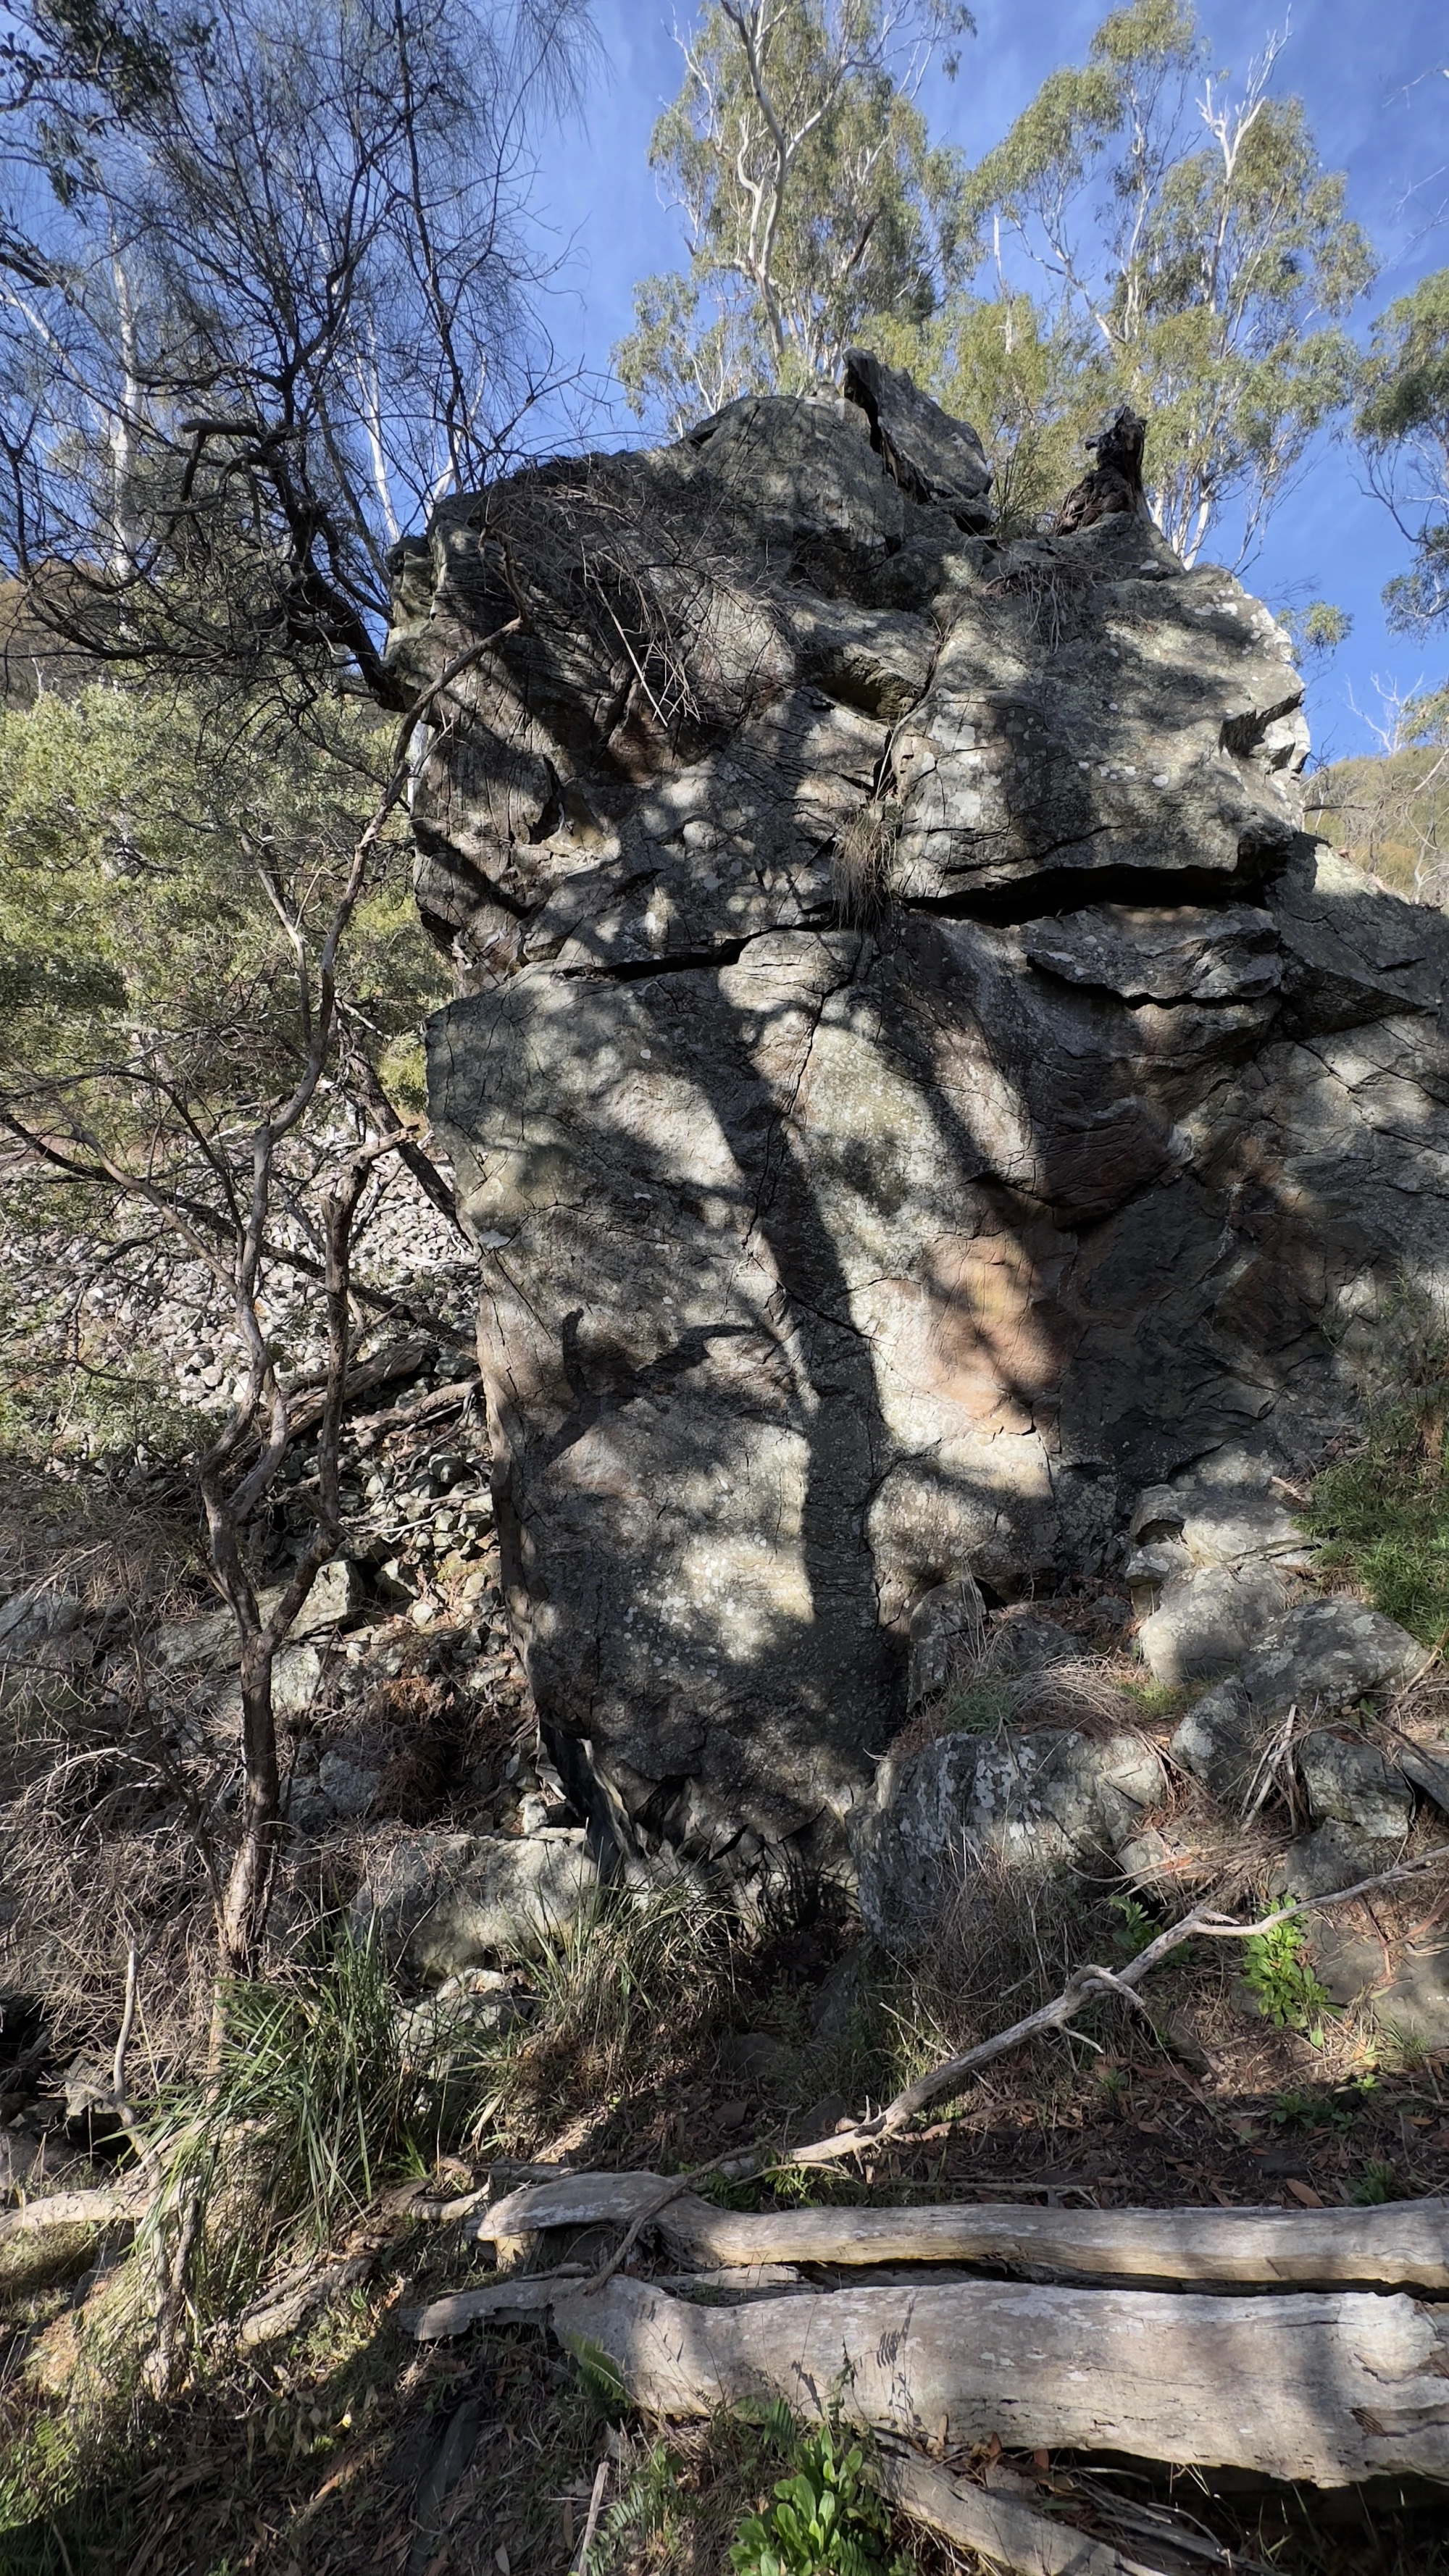
Topo: theCrag contributors, CC BY-NC-SA 3.0, theCrag
The Citadels
Scattered craglets along the hillside extending south from Cave Rock. Best access is to continue past the turn off to Cave Rock, hugging the fence line until you reach a signposted junction nearby the south-eastern corner post. From here follow tapes up hill to the cliffs. Continue R along the base of each craglet to reach the next.· From: theCrag
C1
Up middle of steep wall, veering R at top to DBB. Second to clean, or use the ring on 2nd bolt to rethread. Rebolted '25
From: theCrag
C2
A good landmark for the other craglets, with its distinctive profile. The taped access track leads to its base.· From: theCrag
C3
C4
C5
An outlier from C1 - C4. Located across the scree at the extreme R of the crag - lower down than C4. Potentially easier to reach via the tracks to Hidden Towers RHS, and walking to the top of this buttress (passing a cave on a separate boulder) to locate the bolted arete.· From: theCrag
Hidden Towers
A more remote spot (15 min walk) with a handful of quality climbs.
Hidden Towers largely consists of two main faces, the left and the right crag. The left hand crag features older established routes, whereas the right is a new crag with further route potential.
Approach: For access - continue along the fence line passing the signposted turn off to 'The Citadels'. Shortly after, you should pick up tapes that lead you down and across a grassy ditch with a large fallen tree - before a signpost directs you left steeply uphill through a blackwood-lined gully. Turn R at the top of the gully to reach the base of the LHS cliff. Continue contouring the hillside slightly further to reach the RHS - which is also accessible directly above the main boulder-field.· From: theCrag
Hidden Towers saw its initial development in late 1999, largely by Mark Rewi
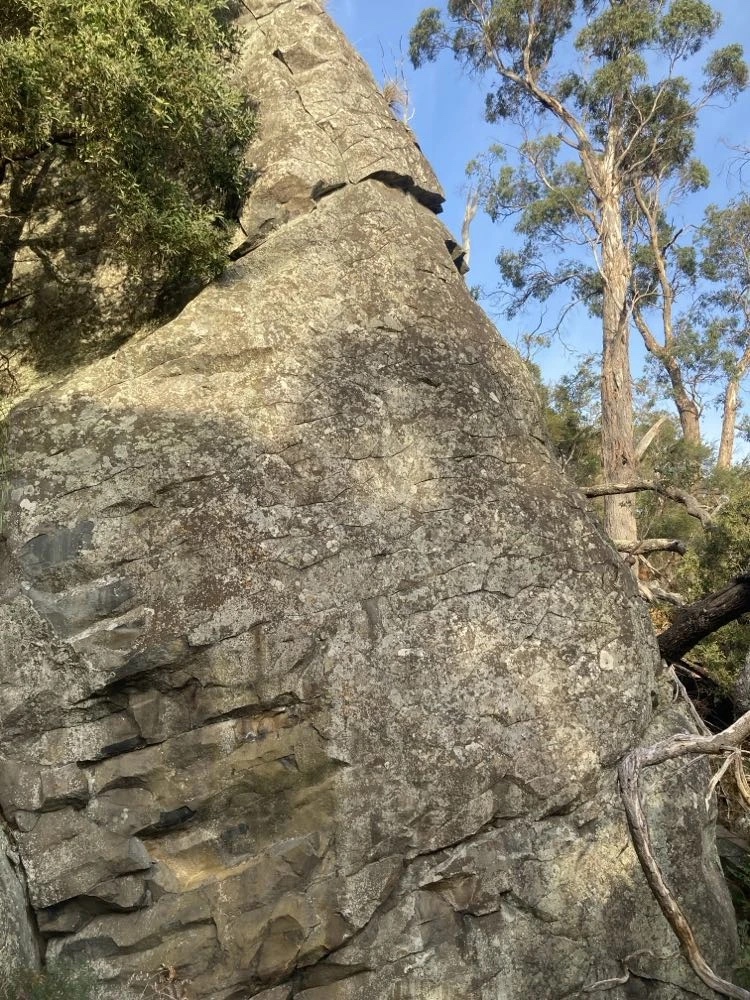
Topo: theCrag contributors, CC BY-NC-SA 3.0, theCrag
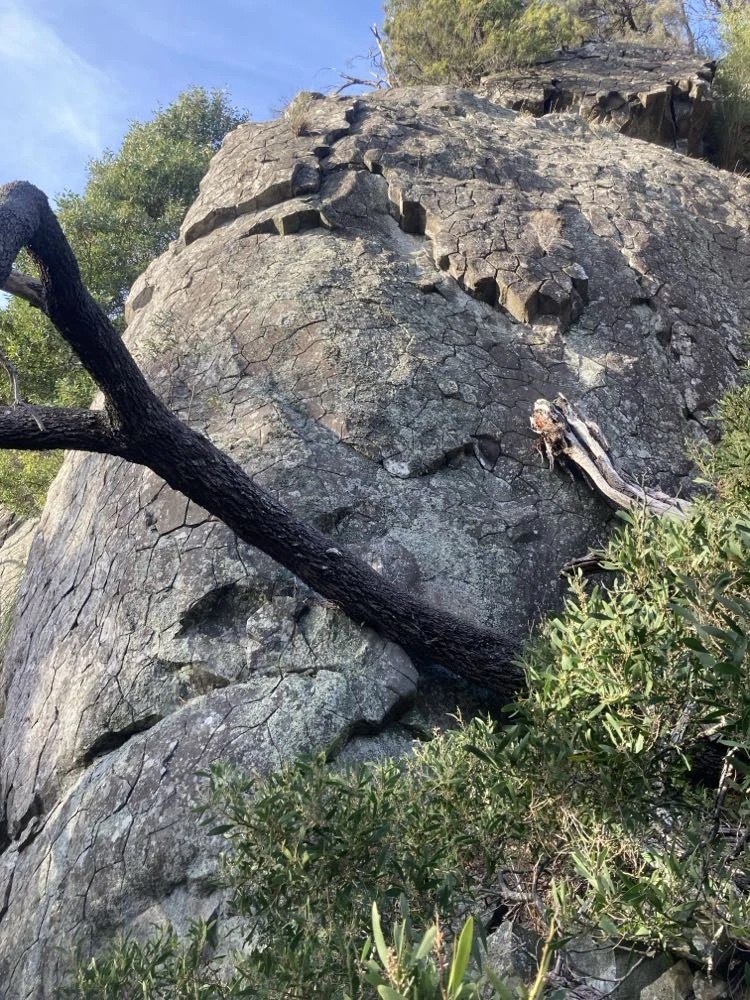
Topo: theCrag contributors, CC BY-NC-SA 3.0, theCrag
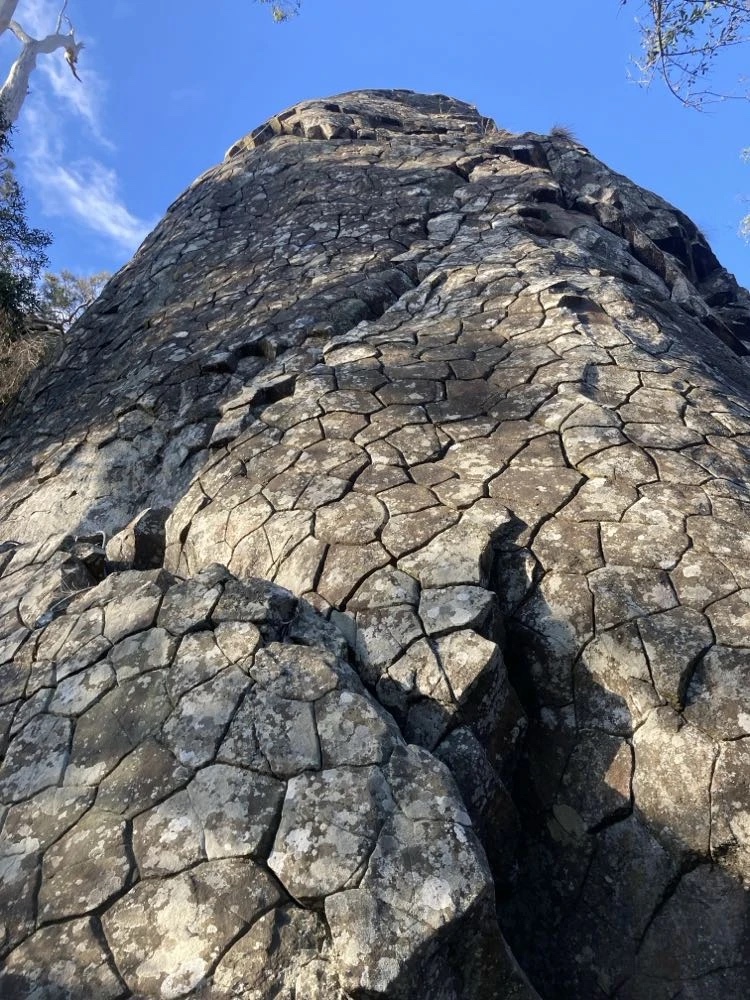
Topo: theCrag contributors, CC BY-NC-SA 3.0, theCrag
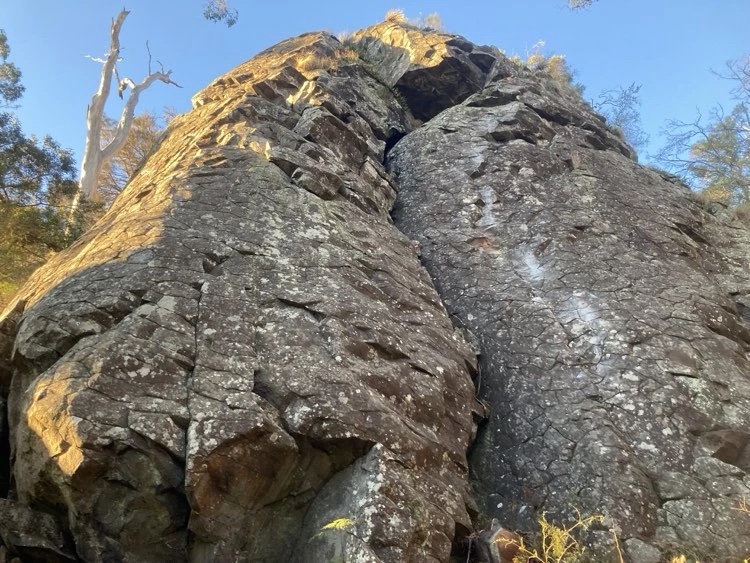
Topo: theCrag contributors, CC BY-NC-SA 3.0, theCrag
LHS
A Hillwood classic. An alternative start (19) on the L, joins SSF at its 3rd bolt.
M. Rewi · From: theCrag
R around corner from SSF. Tricky start passing a fixed hanger, then x3 u-bolts to DBB
From: theCrag
R again from previous route. Short wall with x4 slightly rusted fixed hangers. Bring a couple of long draws if planning on setting up a TR
From: theCrag
Climbs the boulder perched on the slab opposite SSF. Can apparently clip the single bolt from the notch to the R. Single bolt belay on top.
From: theCrag
RHS
On next cliff R. Up LHS of front prow following white streak to ledge. Turn rooflet + slab to DBB
Nick, Frenchie & Deano, Jun 2024 · From: theCrag
RH line on front prow. Tricky start exiting undercut groove, to meandering slabbing. A long draw or two could be useful. DBB
Nick & Gerry, Jun 2024 · From: theCrag
On the black SW facing wall. Follow seam + shallow groove up slabs, before traversing R through steeper ground to DBB.
Nick & Connor, Jul 2024 · From: theCrag
Start just right of Holy Wars + take direct line up slab, through an awkward bulge to 2nd last bolt on Holy Wars. Finish up to same anchors. DBB
Edi Albert & Deb Albert, Sep 2024 · From: theCrag
Furthest route R. Follow line of U-bolts up slab, before a steepening finale
Nick & Will G, Jul 2024 · From: theCrag
Frog Pond Face
Frog Pond Face is the buttress situated at the pond towards the south-western end of the property and is visible from the car park as well as the road.
Approach: Approach to the Frog Pond Face is as for Hidden Towers until the last sign post in the gully. From here, simply head further down the gully until you reach the pond. Up and over the buttress is at times easier than around the base of the clif.· From: theCrag
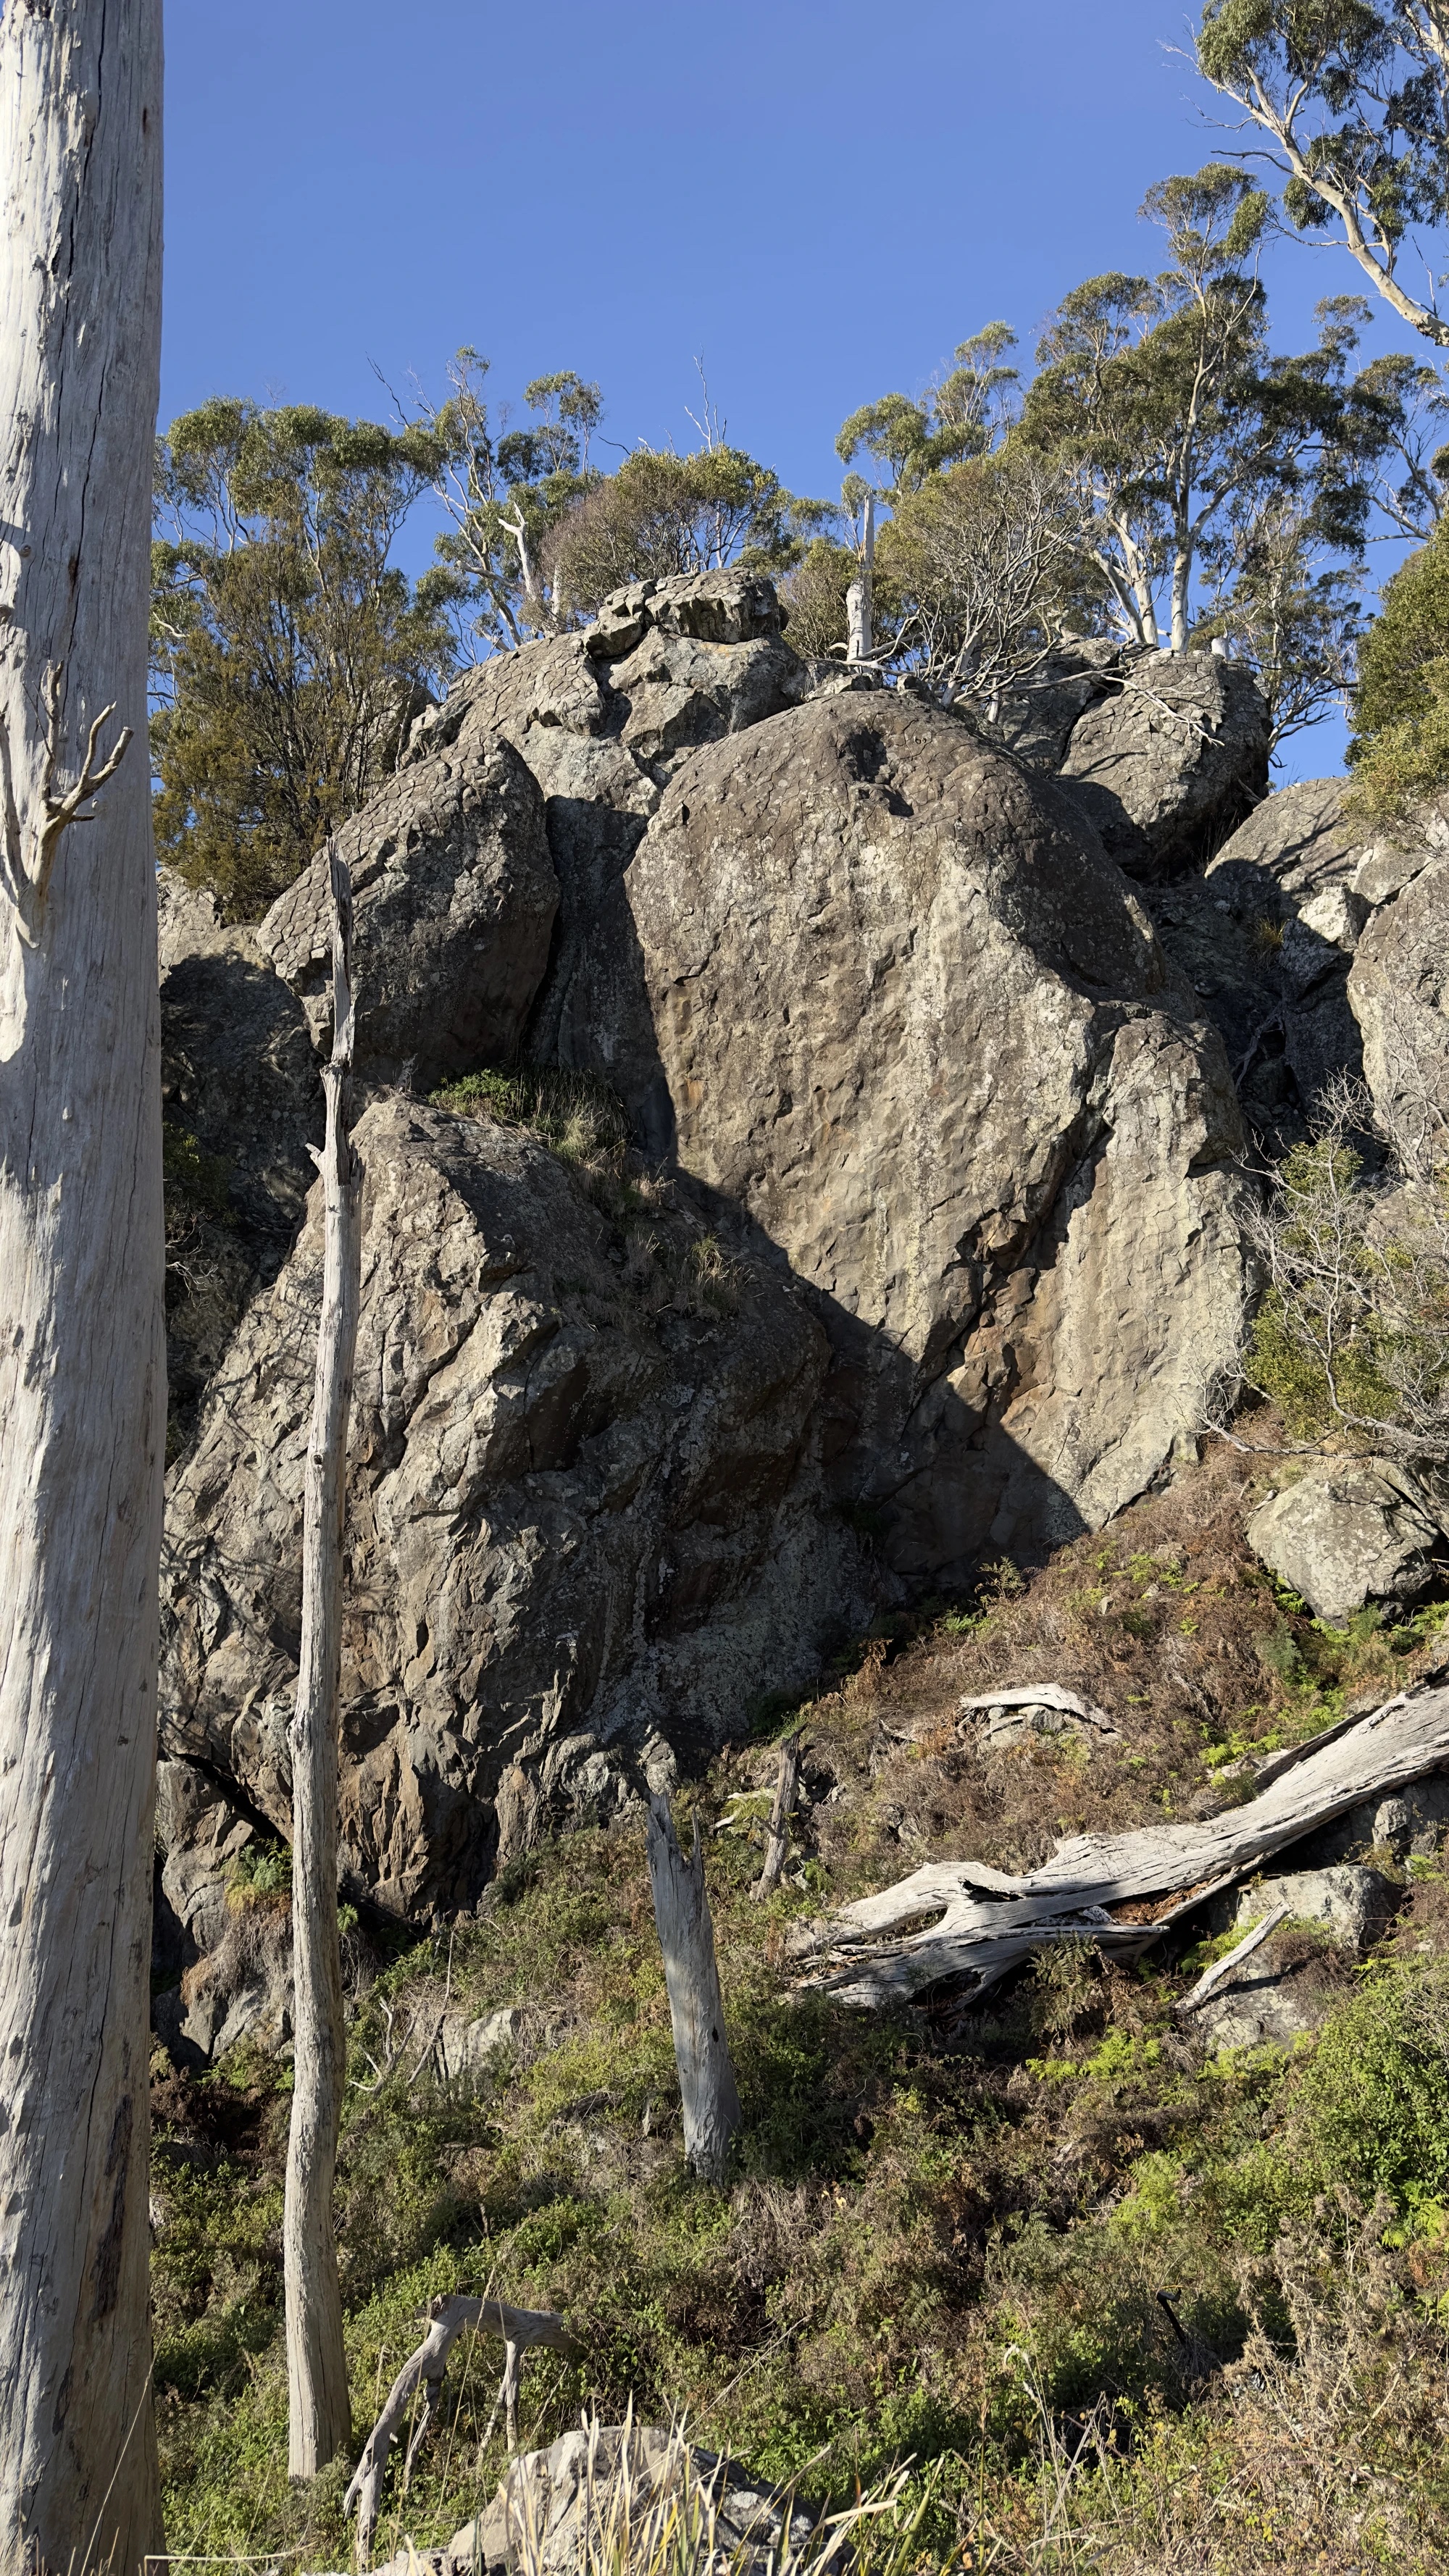
Topo: theCrag contributors, CC BY-NC-SA 3.0, theCrag