
Duck Reach
 5-20 mins
 Afternoon sun
 Vertical dolerite buttresses, up to 25m high
Access
To get to Duck Reach get hold of a tourist map and follow it along Corin Street to the old Duck Reach power station. Walk down to the river and upstream to the buttresses.
Crag Steward
Rock climbers please contact the Cliff Steward (eskriver@climbersclubtas.org.au) if you have any queries or concerns regarding social or environmental impacts of rock climbing at this crag. Do not email regarding general travel, seasonal advice, or lost property - this is not the Steward’s role. If you have important safety information to communicate (e.g. risks due to recent and large rock falls) please also consider updates on thesarvo forum, facebook group and/or online guidebooks as appropriate. Please copy in cct@climbersclubtas.org.au if you feel you have a high level concern which may imminently impact the crag or climbing community.
Non-climbers, other users, land managers: please also contact cct@climbersclubtas.org.au if you have important climbing related queries at this location.
Duck Reach
Sewerage Buttress
Access - The first buttress that you come to 50m 3 levels each about 10m high.
The thin crack on the bottom level on the right.
McMahon, Johnson, 1995.
The next two climbs are on the middle level.
On the downstream side is a small roof with a single eye-bolt beneath it. Up this to the crack above.
McMahon, Johnson, 1995.
The slightly off-width corner 5m right of Sinistra.
Johnson, McMahon, 1995.
The third tier has another two climbs on it.
The left hand crack and corner.
Selby, McMahon, 1995.
Two bolts up the right hand face to the thin crack. The huge block on the top at the left is loose so watch out!
McMahon, Johnson, 1995.
The off-width/chimney 3m right of Libido.
McMahon (solo), 198?.
Bouzareah Buttress
Access - best reached by following the footpad found at the upstream end of the car park down and across gully.
The arete with 2 eye-bolts.
Johnson, McMahon, 1995.
The thin crack round the corner from Break On Through. Up to horizontal break then up the left trending diagonal to join the previous climb.
McMahon, Johnson, 1995.
Skidrow Buttress
Access - walk 100m up from the bridge to the first major buttress.
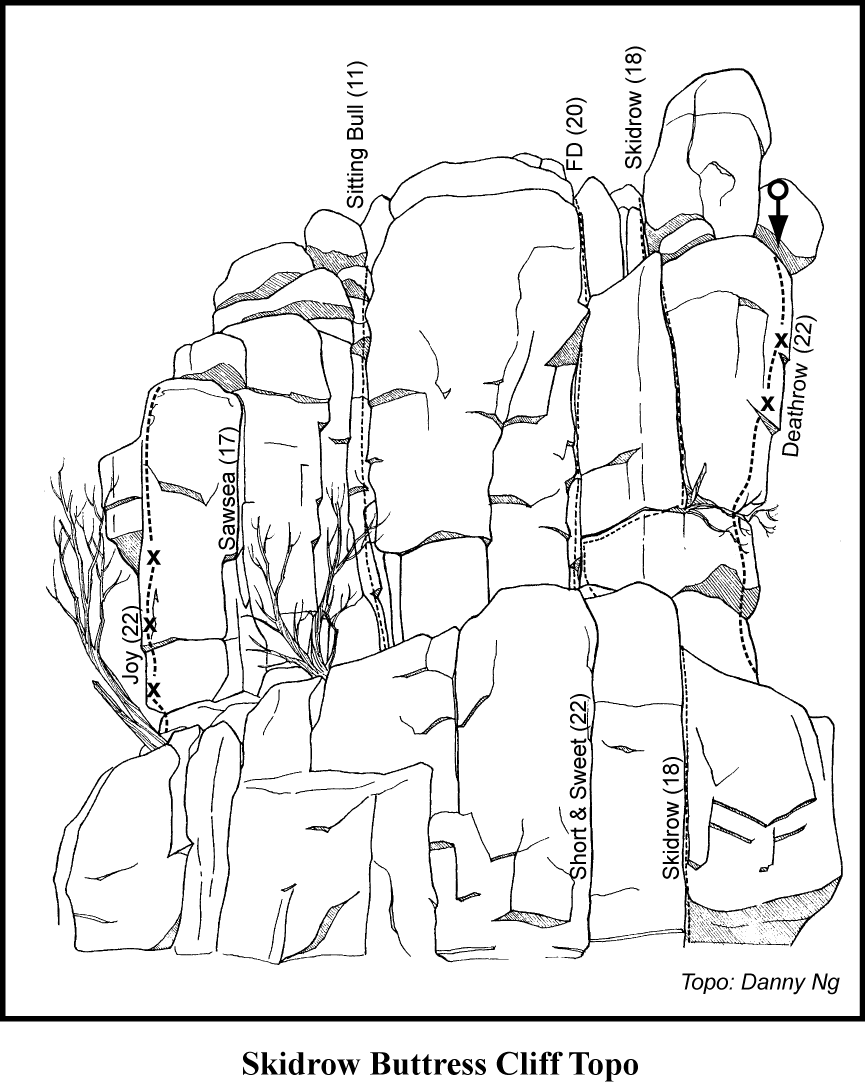
The left hand arete with 4 or 5 eye-bolts.
Fisher, Johnson, 1996.
Chimney R of Powerhouse.
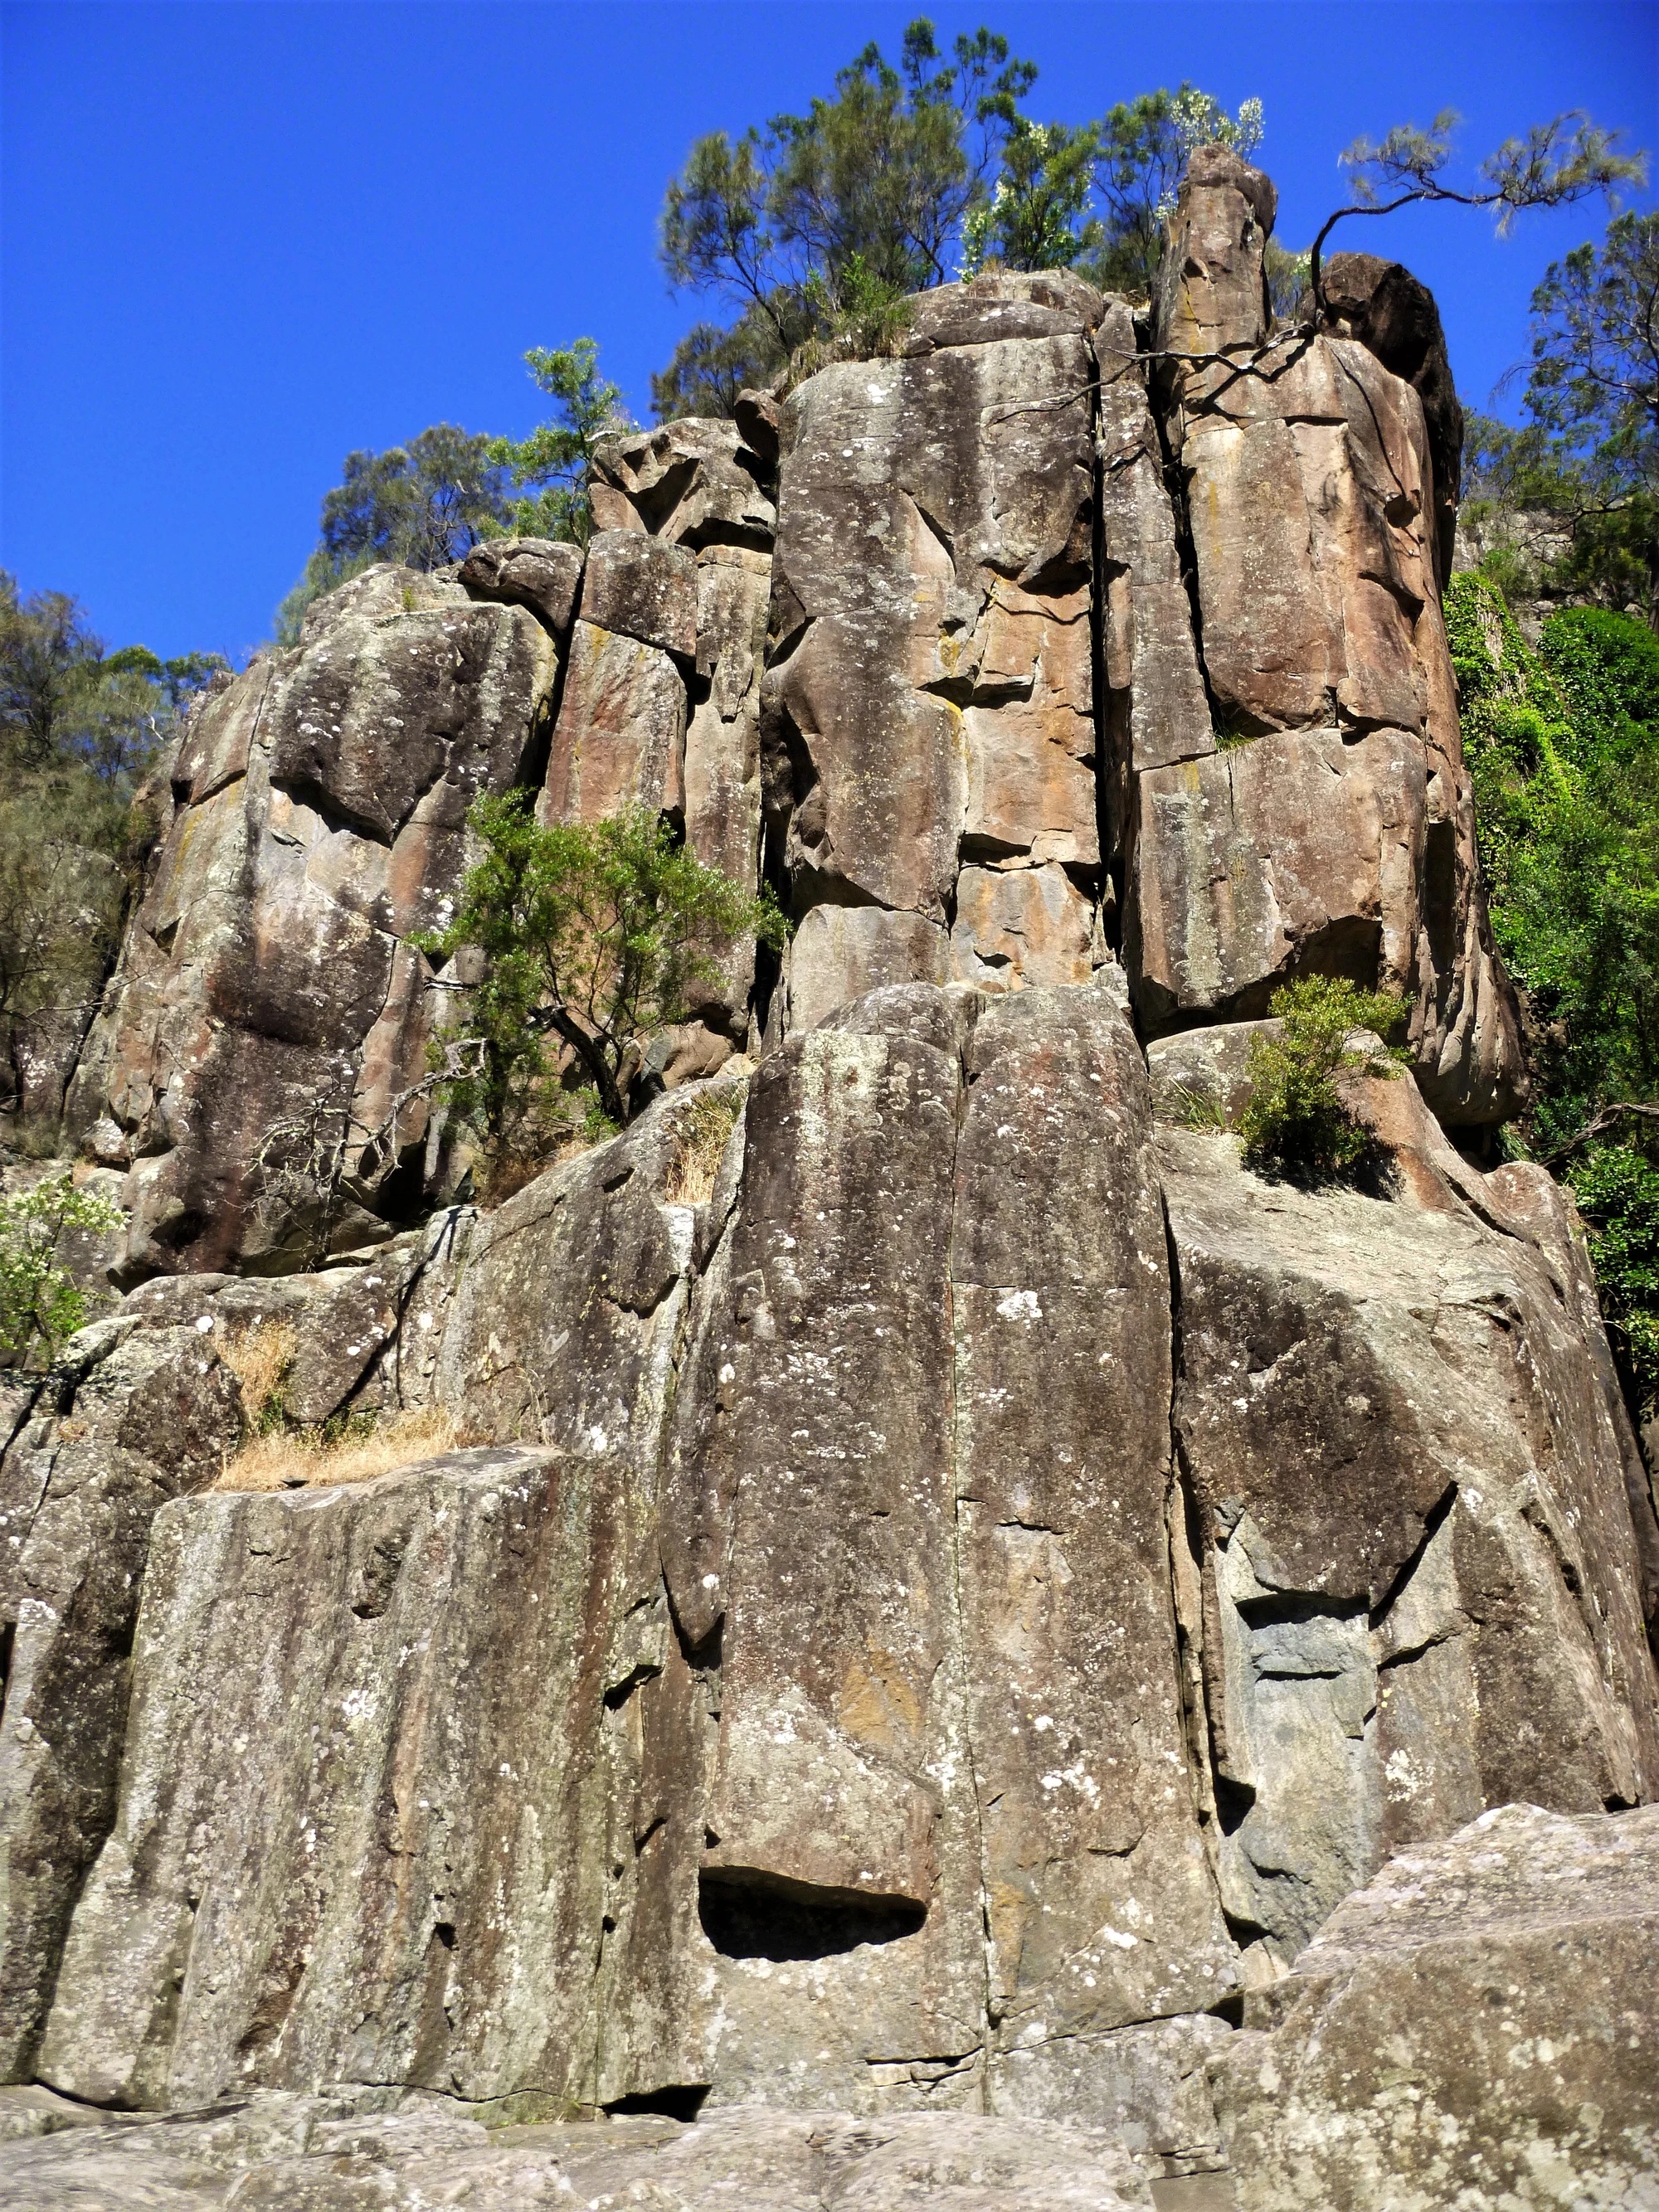
Topo: theCrag contributors, CC BY-NC-SA 3.0, theCrag
3 eye-bolts to the crack.
Fisher, Johnson, 1996.
Start R of Joy of Specs at block. Climb crack, then left to join Joy.
Narkowicz 1985.
Offwidth.
McMahon, Schmidt, 1973.
Offwidth just left of sitting bull. Sharing the same finish.
From: theCrag
Bridge to hand crack.
McMahon, Schmidt, 1973.
The blunt arete. Thuggish moves at the bottom with an insecure rock-over at the top
Oliver, Johnston, 2011
The thin seam with 3U bolts. Goes very pleasantly at 22 pulling on the final draw (originally had a bolted on artificial hold here). Alternately goes all free in the thin seam at 27.
FA: Fox, FFA: Johnston
The off-width crack.
McMahon, Wells, 1989
The next two climbs start on the lower tier.
Thin crack splitting the face with a rusty old piton buried deep in the crack at about 2/3 height.
The crack on the right of Short and Sweet which makes a nice route by continuing up to the main wall and then traversing right 3m on the horizontal break to join the widening crack past the blackberry.
Robert McMahon
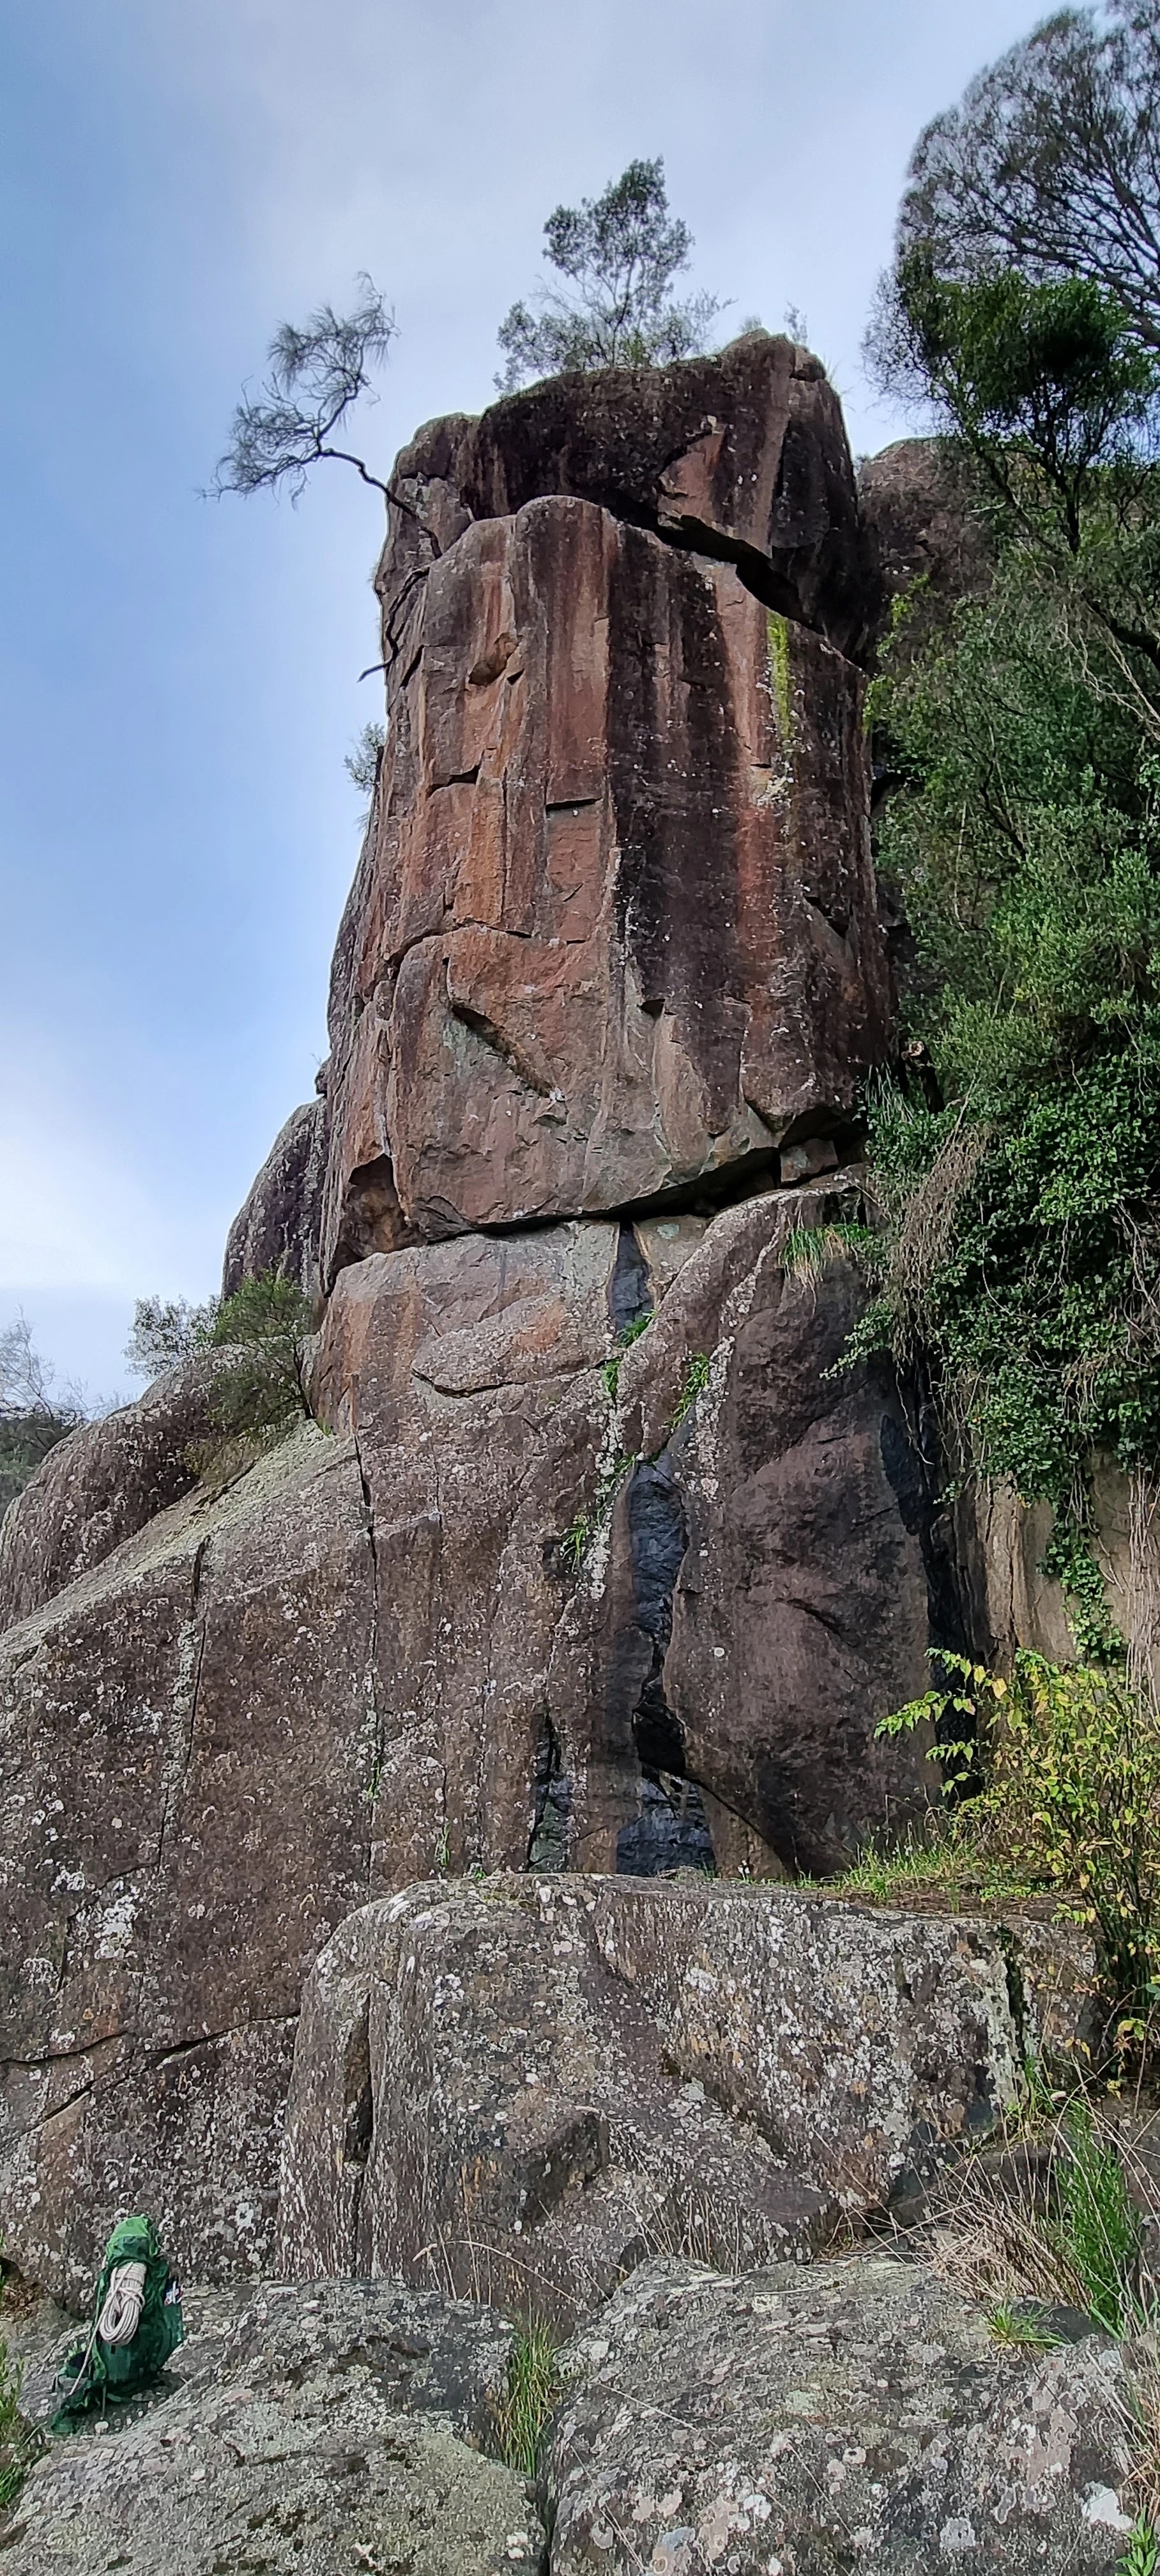
Topo: theCrag contributors, CC BY-NC-SA 3.0, theCrag
Starting around the corner from these routes on a small platform go up the thin twin cracks to the slab and then up to the peapod. Up the crack system above this to 2 eye-bolts and then up to DBB. A commiting direct finish can be done at 24.
Parsons, 1980's.
A bolted variant to the classic Deathrow (22) on Skidrow buttress. Same start on natural gear, then up the overhanging face via a 3 bolt boulder problem, then finish up the last 2 bolts of Deathrow taking in the crux of that route as well.
G. Narkowicz, Oct. 2012.
The left trending diagonal link up. Start as for The Green Mile and link into the top of Deathrow.
From: theCrag
The arête 5m R of Death Row. 5 bolts of thin face climbing to a crux dyno to the sloping ledge.
G. Narkowcz, Oct 2012
John of Gaunt Buttress
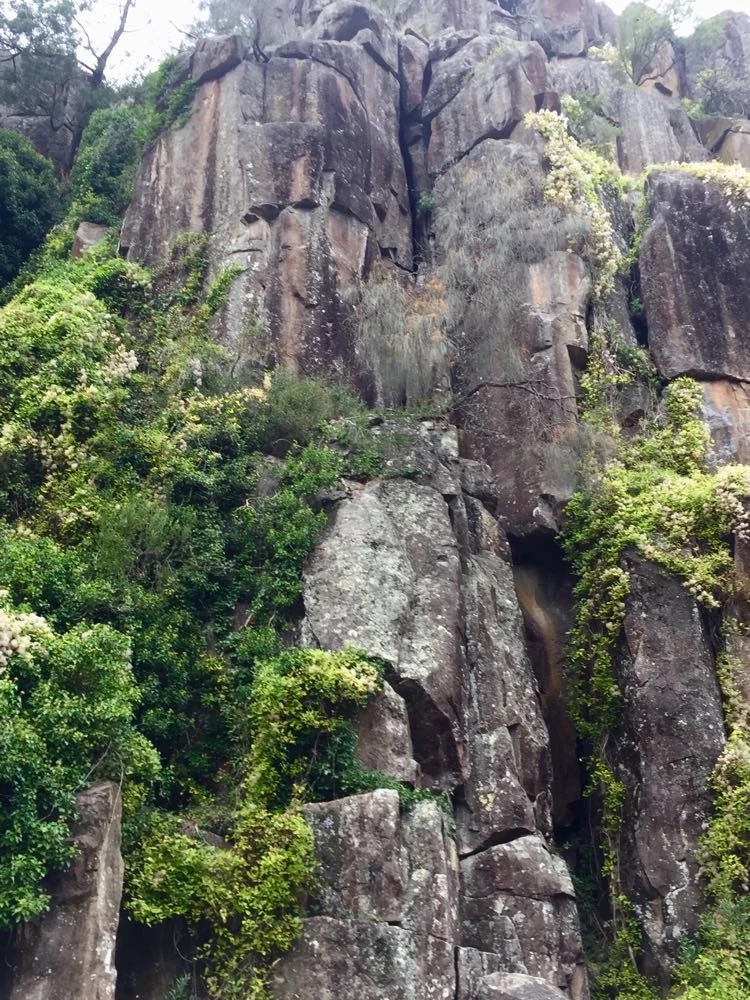
Topo: theCrag contributors, CC BY-NC-SA 3.0, theCrag
Upstream 40m from the last buttress is a hand crack that goes up to the next tier.The next climbs are on this tier.
McMahon 1973.
The obvious hand crack on the left.
About 7m Left of Dagenham are two climbs with a U-bolt in them. This is the left most. Up past bolts, then tricky mantle to gain flake. Head left around the flake on gear. DBB.
Bissett, Tierney, 1997.
The climb right of TGH. You can stick clip the bolt, although the first ascensionist didn't. Up to flake, then on to top. DBB.
Tierney, Bisset, 1997.
Thin crack and face climb 2m left of the off-width crack which runs the whole height of the cliff.
McMahon 1996.
The big wide corner.
McMahon 1973.
The next section of cliff is broken in to four distinct levels. There are many natural lines on this area a lot of which have been climbed, once. Feel free to repeat them but take your secateurs and shovel.
Traffic Fine Buttress
The next buttress upstream with well travelled and more continuous climbs. There is a DBB belay at the top of the next 3 routes.
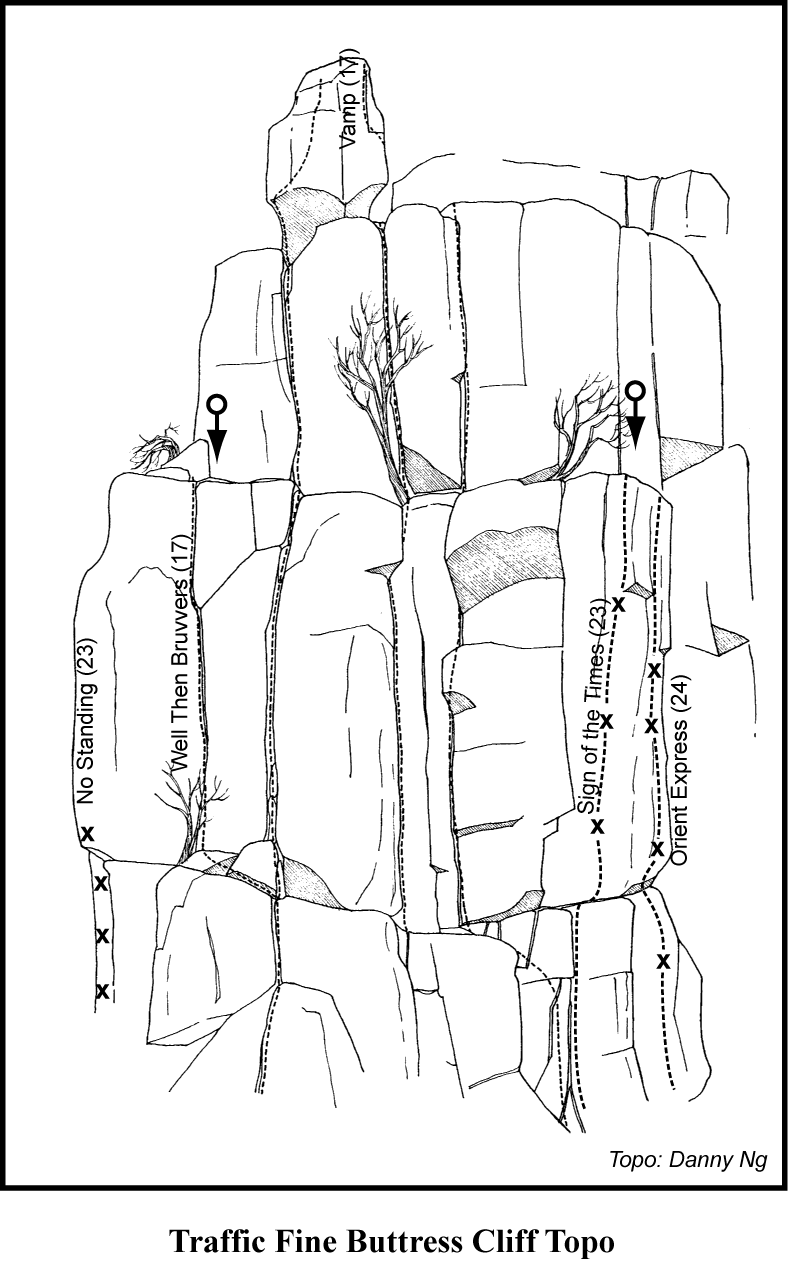
At the far left of the buttress. Awkward start, climb up and bridge on small foot hold up until block. Crux move pulling though the block, continue in the crack above.
M.Koch, P.Koch: 2014
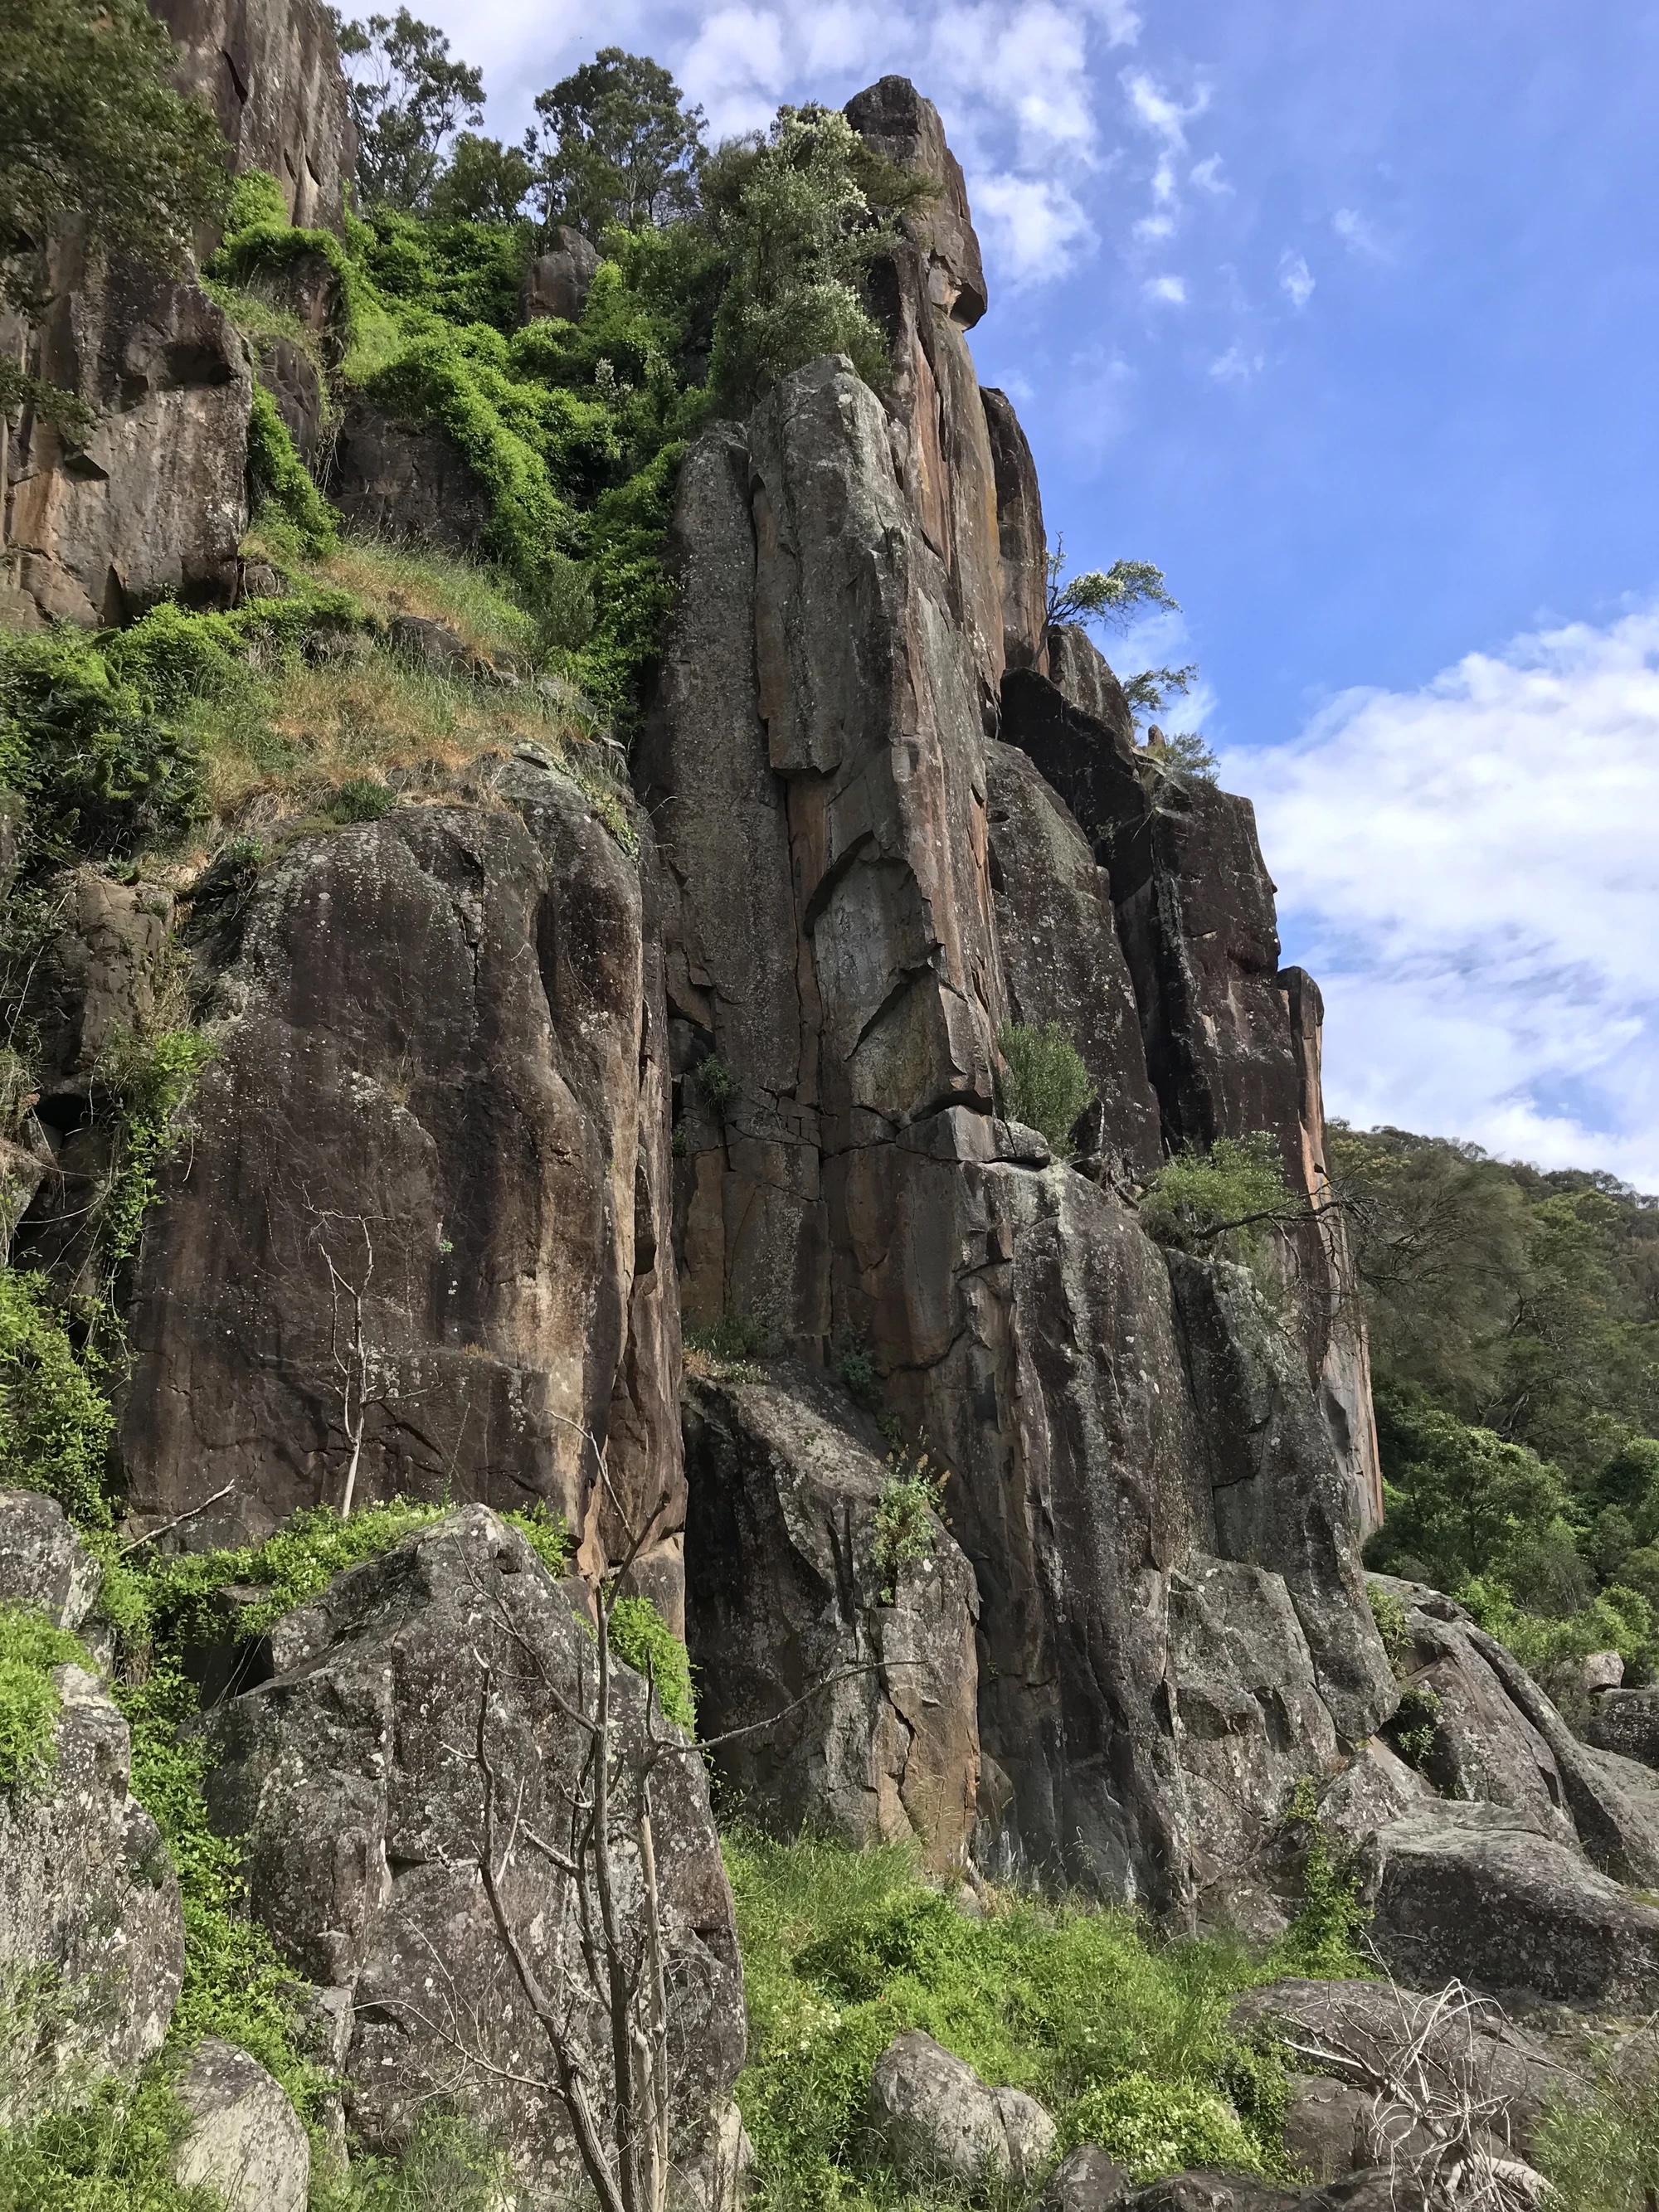
Topo: theCrag contributors, CC BY-NC-SA 3.0, theCrag
Bridge up the chimney formed by this buttress and the bottom tier of the last one and then step right on to the large block. Climb the finger crack to the overlap and then continue up the hand crack above. DBB.
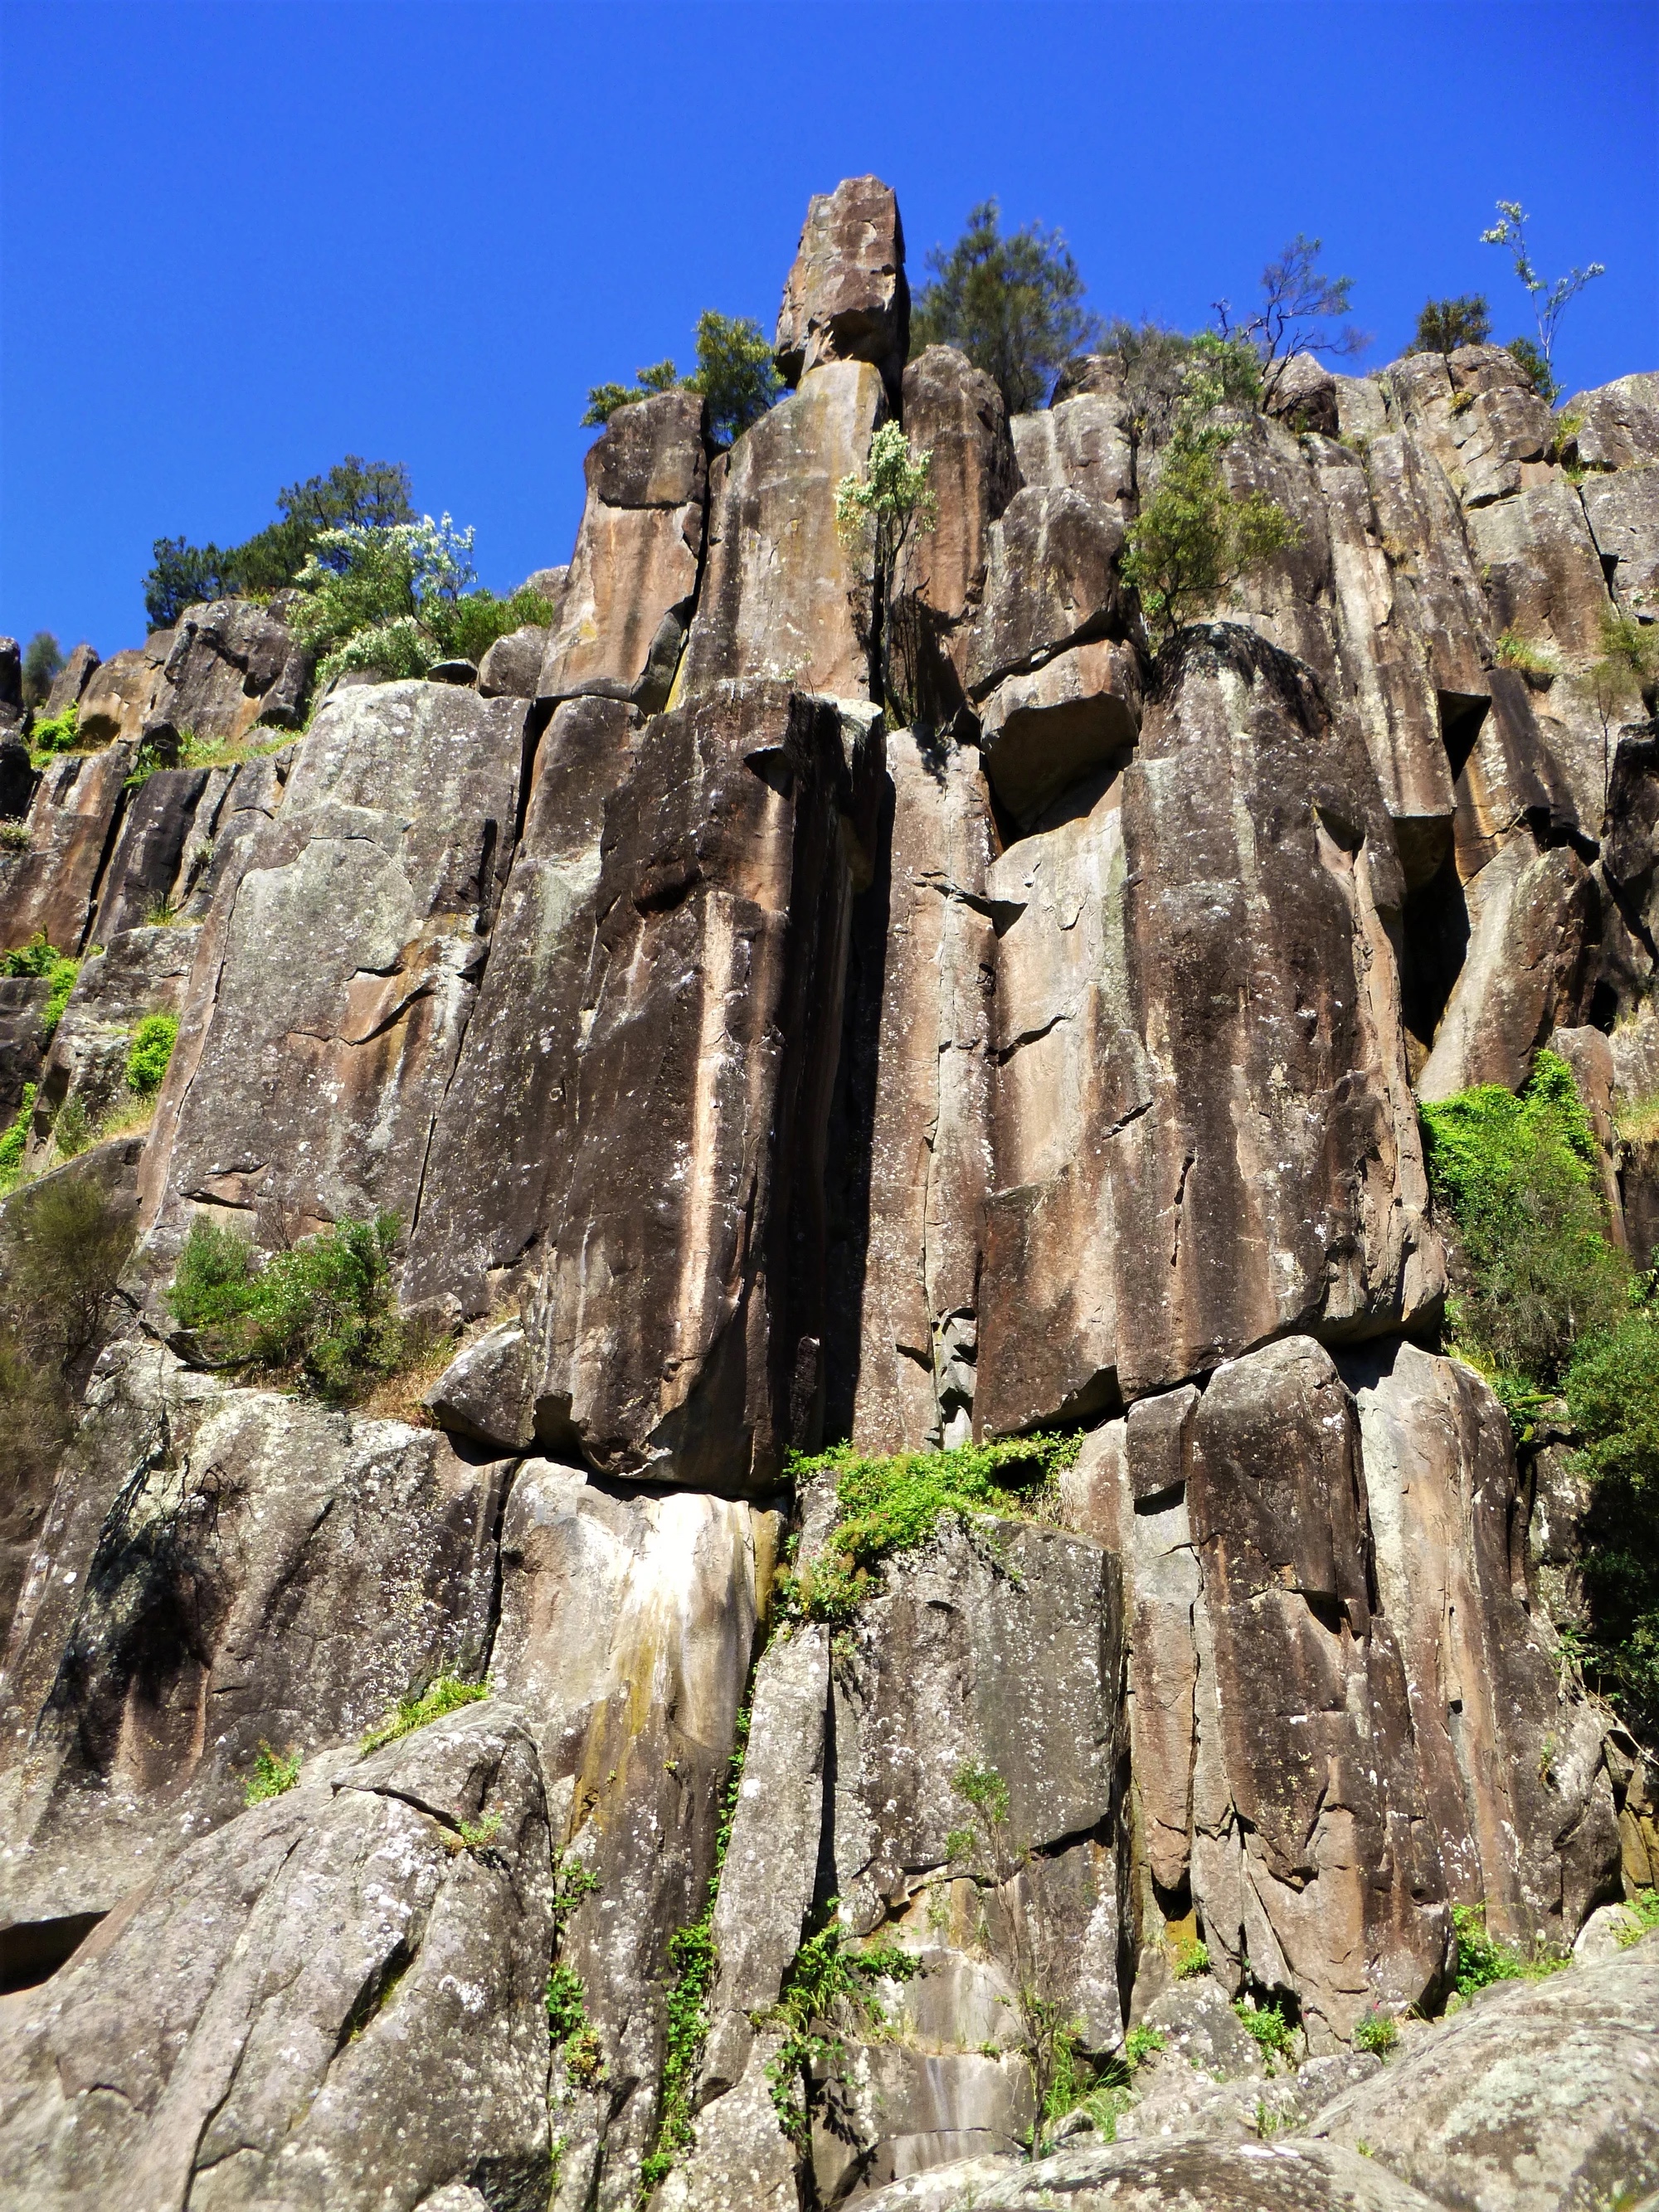
Topo: theCrag contributors, CC BY-NC-SA 3.0, theCrag
Various extensions have been added to this climb. As it now stands it starts beneath the eye-bolt and avoiding the large block on the left continues up past three carrots to the arete and thin crack. One of the best climbs at the grade.
Ng and Vincent, 1990.
Start the climb 20m right of No Standing climb to the terrace at one-quarter height and then take the left hand jam crack to the top. DBB.
Newell 1972.
Chimney / crack, right up to the top of the summit boulder.
Joe Friend 1975.
Climb the blunt arete left of Vamp past 4 FH to a DBB. Some flexibility in the grade, with the crux getting into a position to make the second clip. More like 27 if this's pre-clipped but excellent either way.
Fisher, 2001.
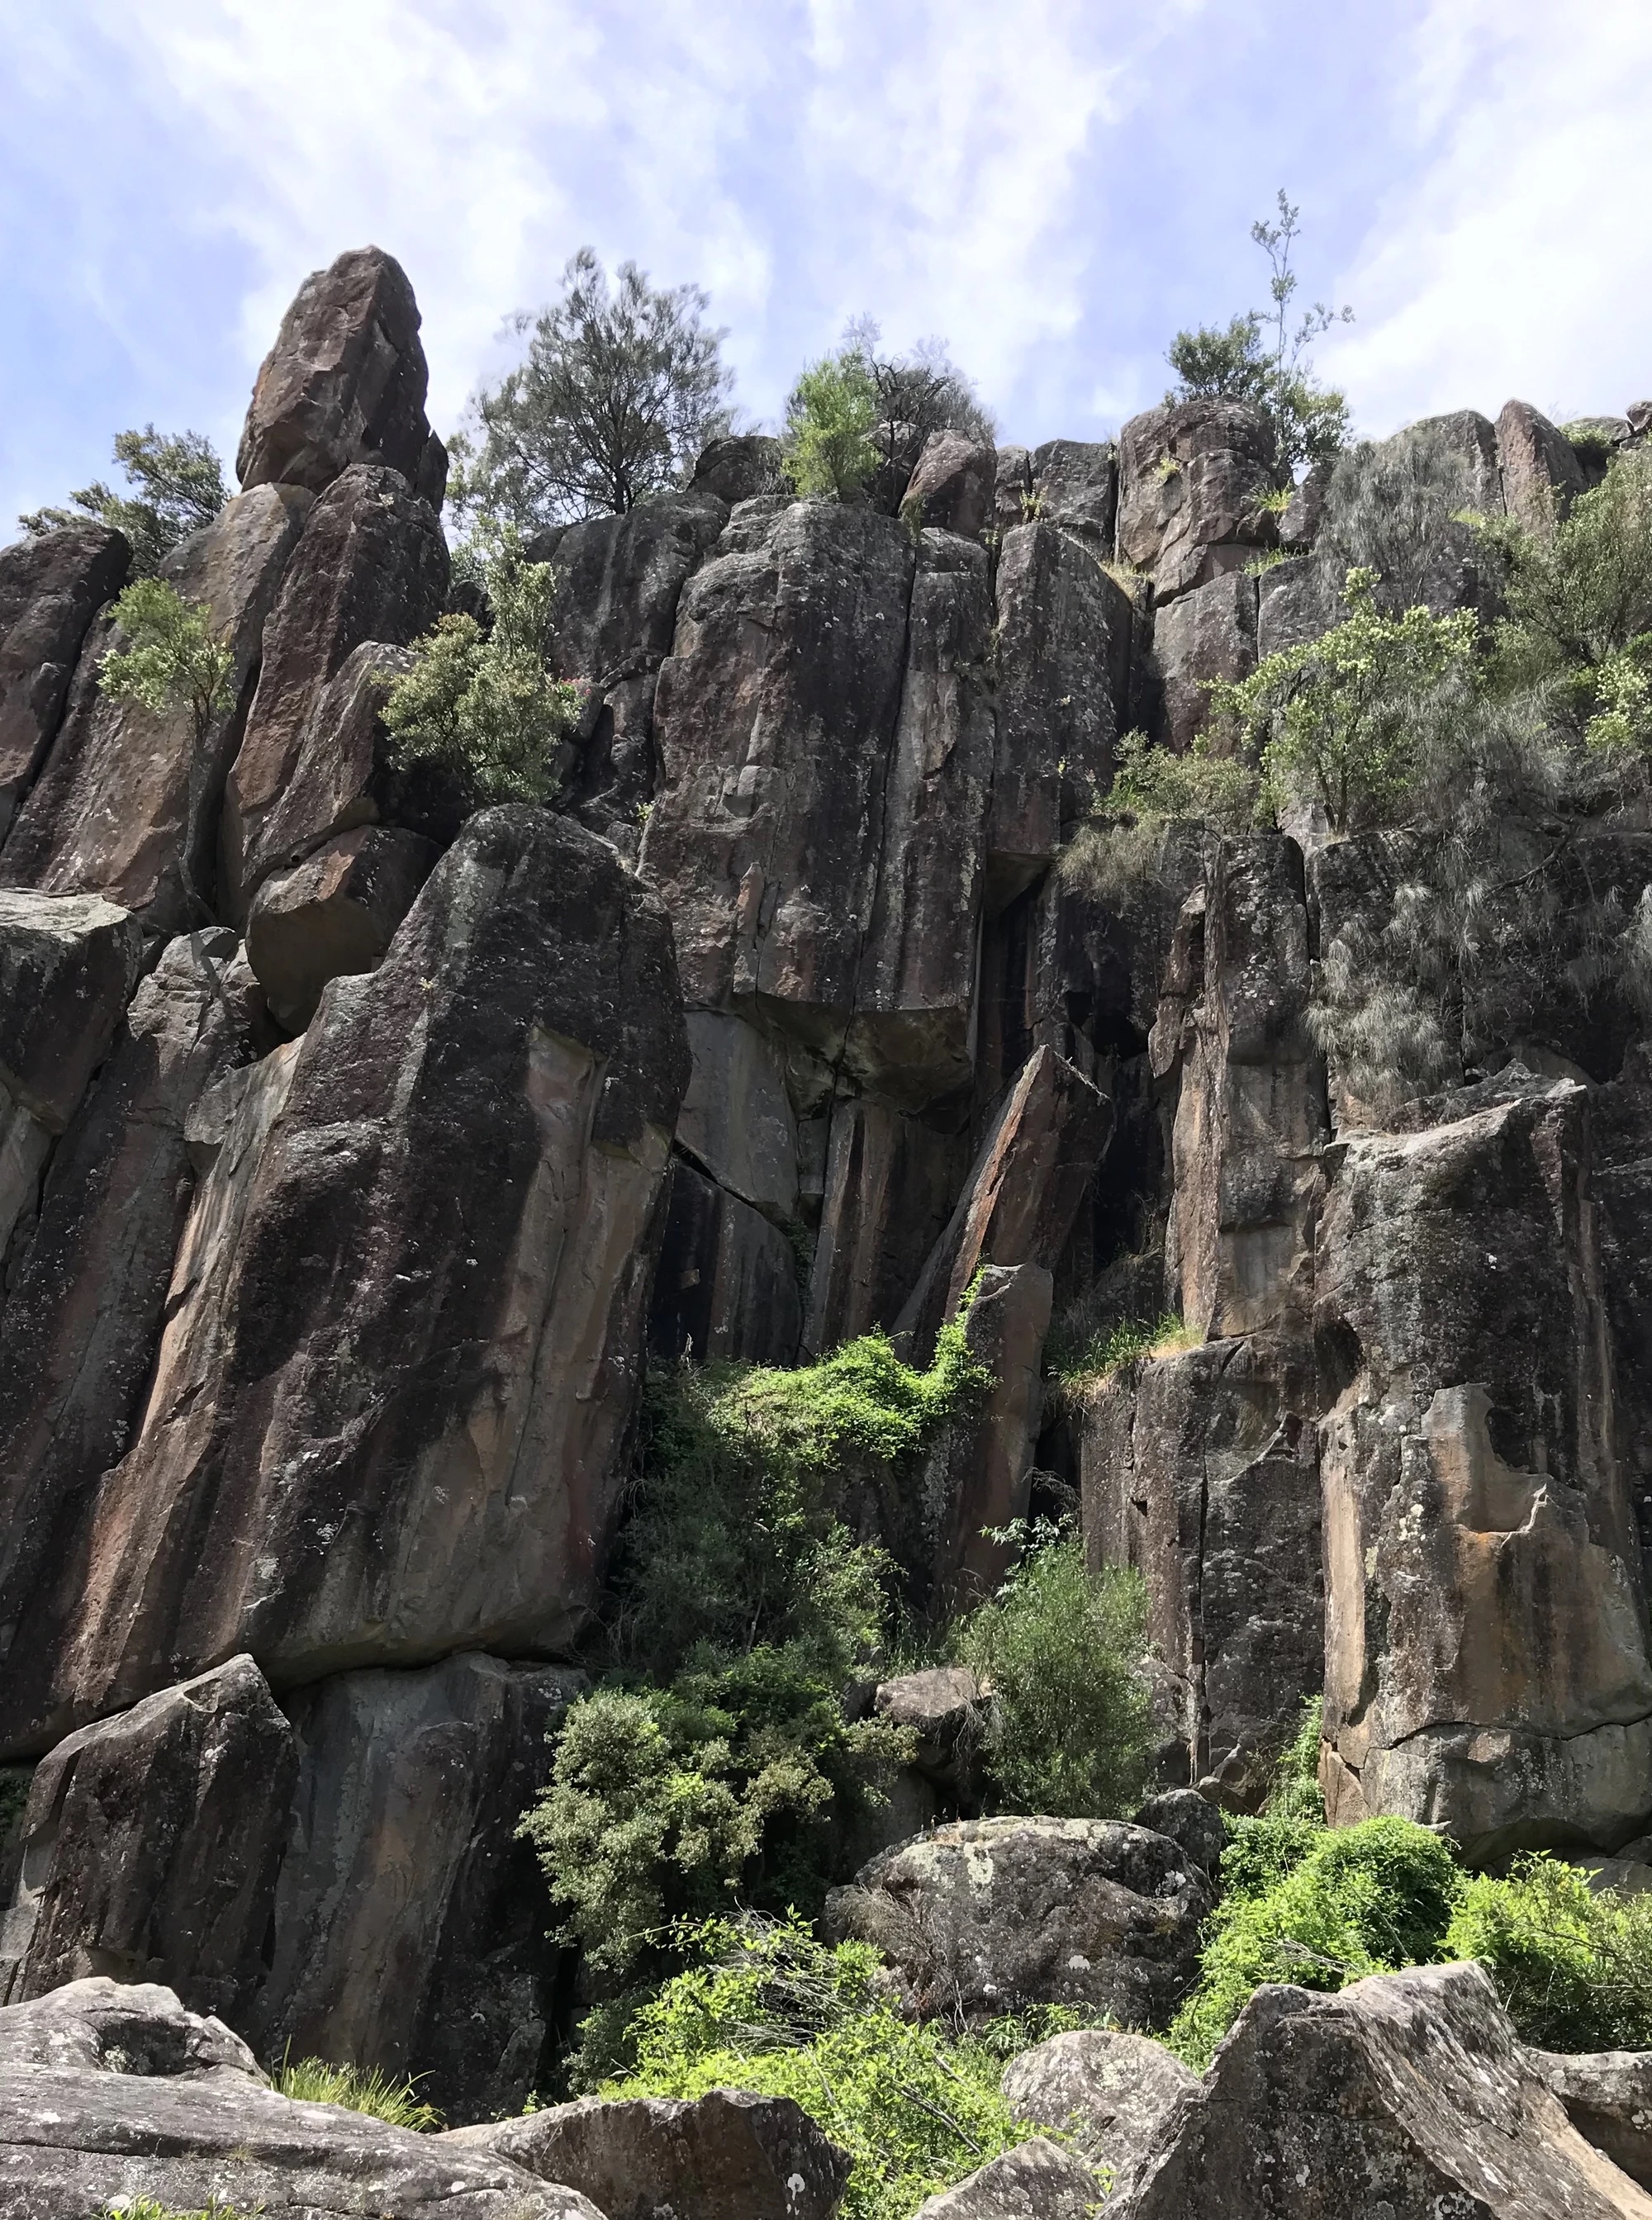
Topo: theCrag contributors, CC BY-NC-SA 3.0, theCrag
Starts 20m up stream and around the corner from Free Parking. Climb the off hand width crack and corner to the tree. DBB. Then continue up the fist crack and then on to the pillar on top of the cliff.
Bob McMahon, 1973
The next 2 climbs finish at the same DBB.
5m right of Vamp is a black face with 3 carrot bolts.
Danny Ng, 1989.
A long abandoned Danny Ng project - recently revived after a scrub, and the addition of a couple of extra bolts and an anchor (located at the beginning of the blankness)…PS there’s no glory jug!!
Climb the detached pillar (stick clip recommended), and onto the face via x2 U’s and x2 carrots. DBB. The originally conceived finish can still be attempted (take a blue walnut, or a .4 camalot) to the SOTT anchor, and is an open project. Go for your life…
From: theCrag
On the blunt arete just right of SOTT is an unfinished climb with 2 carrots in it.
The climb with 4 carrots (which are difficult to clip if you don't have the right genetic predisposition) and a 2 or 2 1/2 friend.
Danny Ng, 1989.
The crack directly through the 2m roof. Yet to see a free ascent.
Reg Marron, 1974 · From: theCrag
The next 2 climbs start by scrambling up 20m upstream of the last climb to the next tier beneath where a "cake slice" of rock has come away.
Climb the crack beneath the roof, yes there is a genuine roof in Launceston, and then take the left hand crack out past the piton to the thin crack and face above.
Parsons, Narkowicz.
The crack going straight through the roof hasn't yet been done yet to my knowledge though it could well have been climbed by a naked Tibetan monk while on an astral journey to Tasmania.
Climb up where the slice of cake was.
Smart, McMahon, 1979.
10m up stream from the last climbs is a large block behind which are two cracks. DBB on top of Fantissimo.
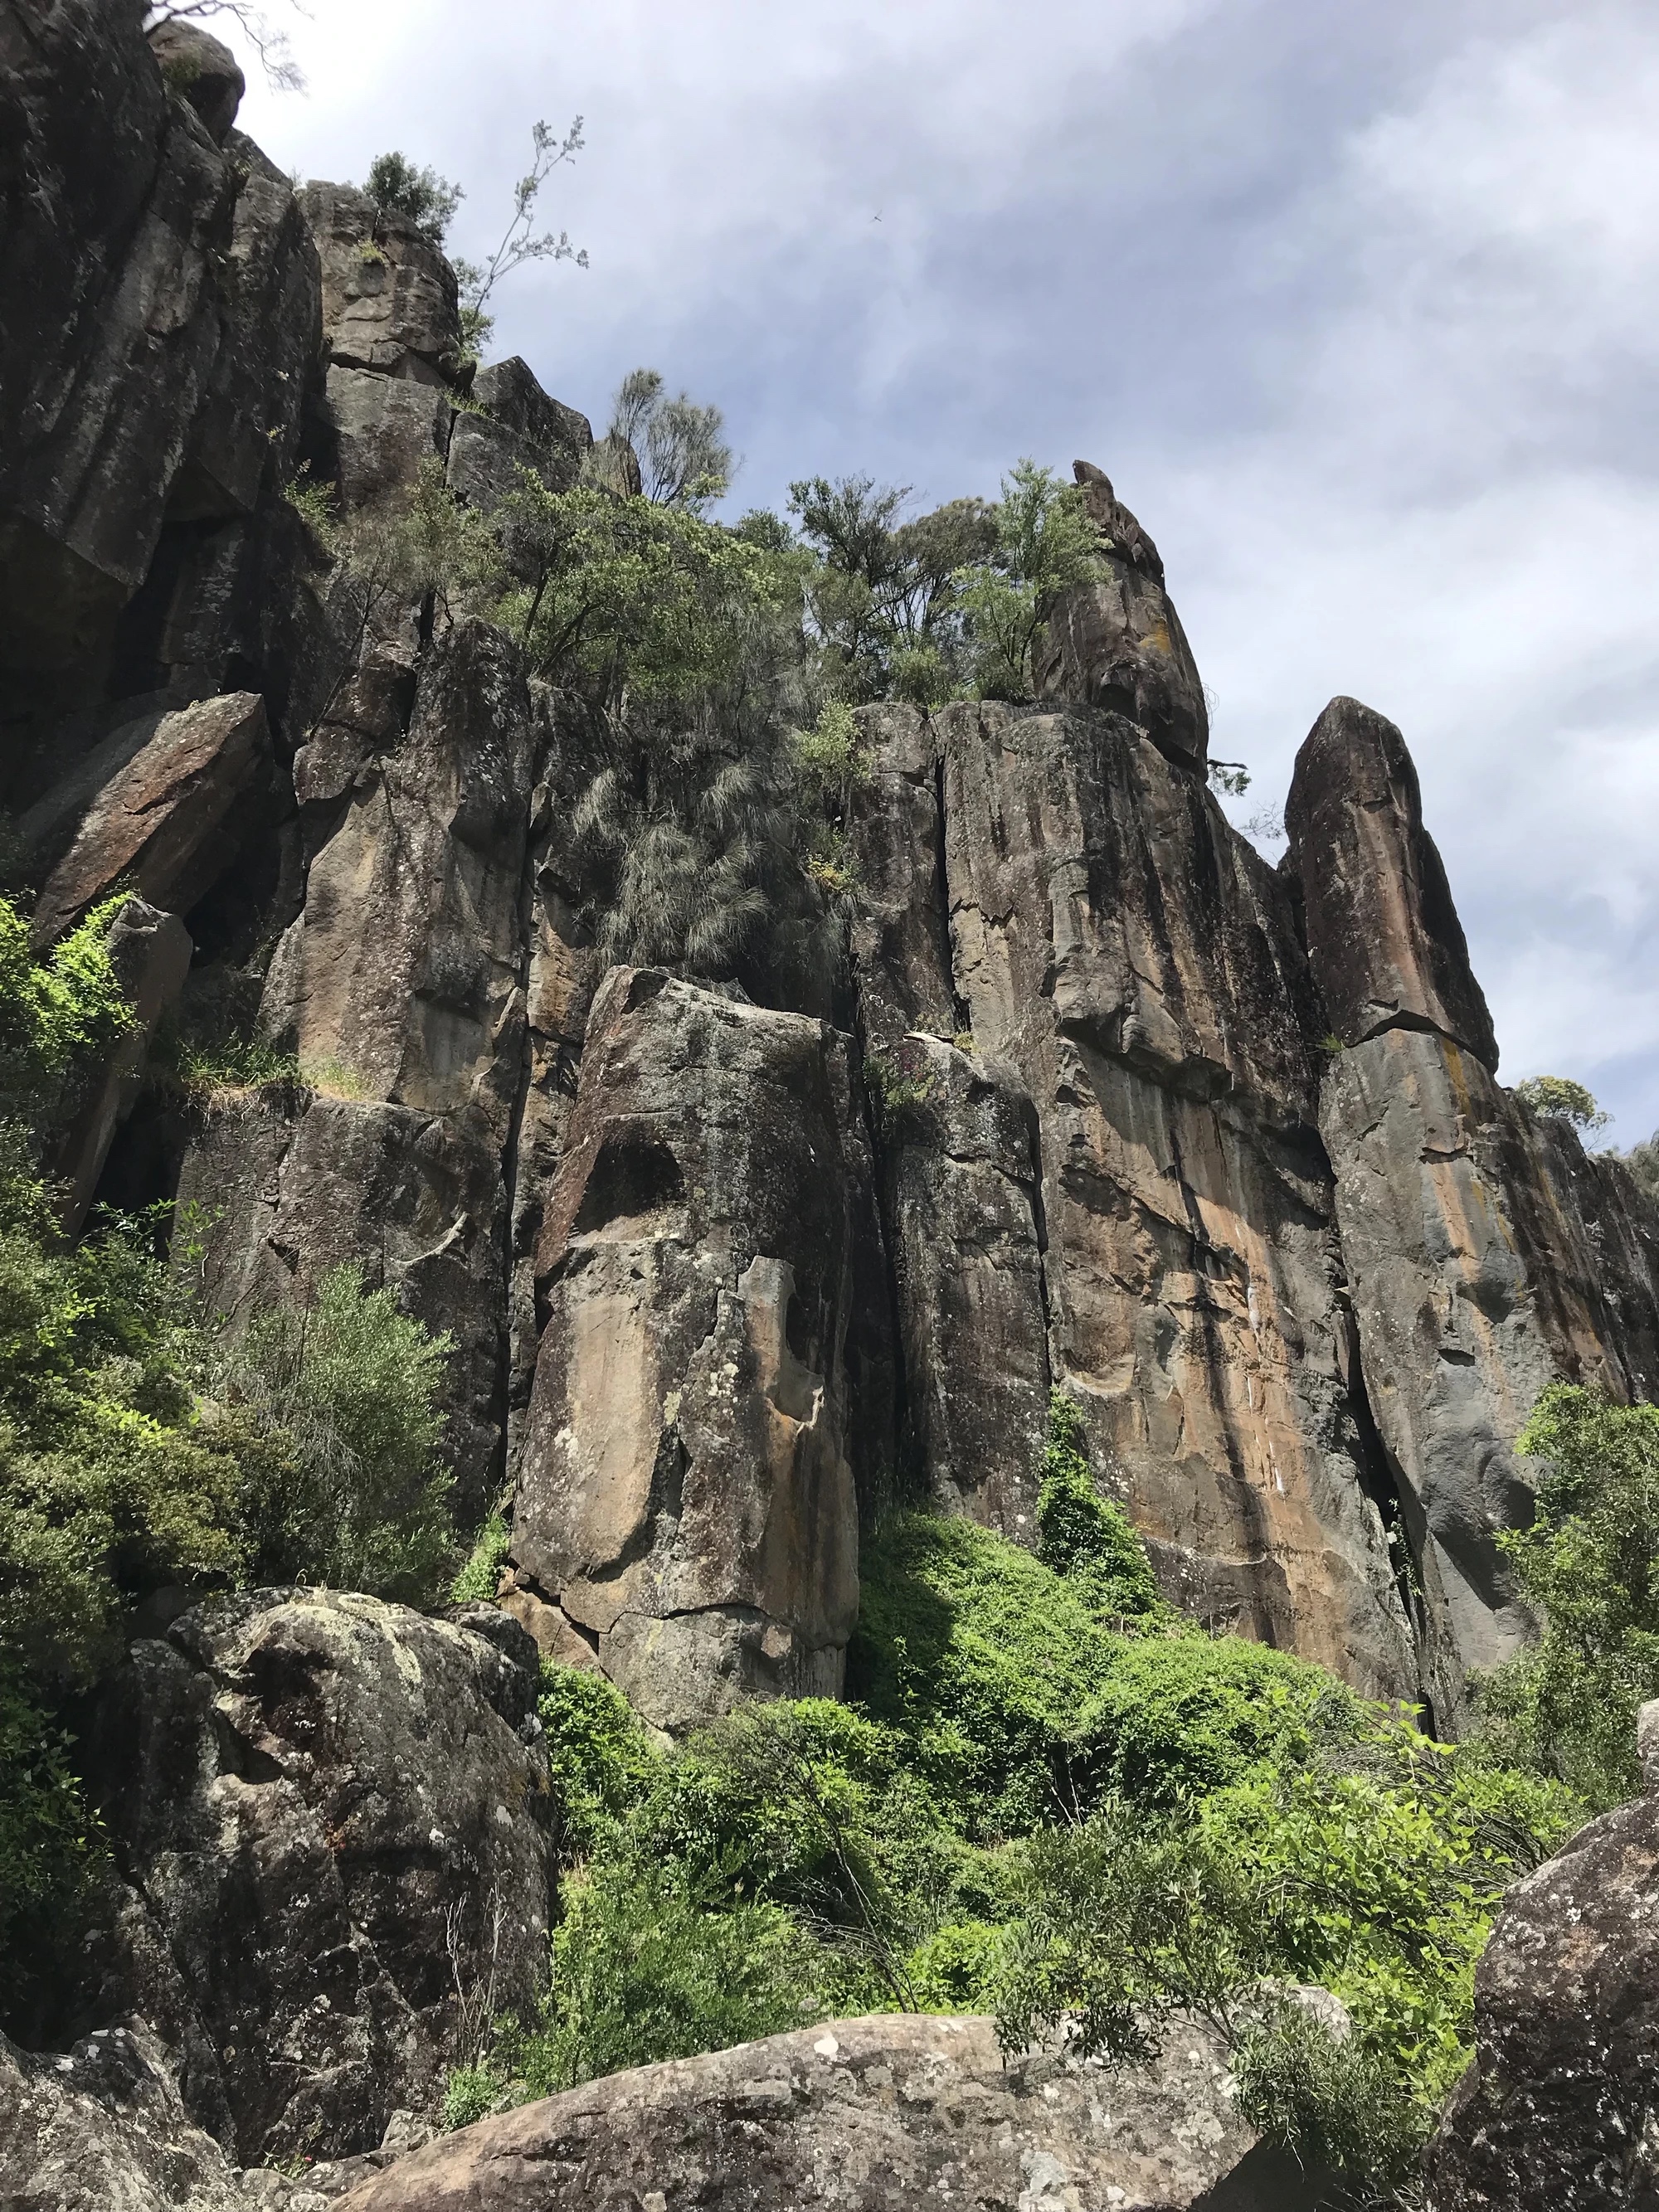
Topo: theCrag contributors, CC BY-NC-SA 3.0, theCrag
The left hand hand-crack.
Fantini 1980.
You guessed it, the right hand crack.
McMahon 1973.
TR problem R of Rags of Comfort + L of the chimney. V2/3 boulder into easier face climbing. The large flake sounds dubious, but hasn’t come off yet. DBB
From: theCrag
Right hand side of detached pillar - #3 cams to start.
Gerry Narkowicz, jemimah narkowicz & andrew martin · From: theCrag
A good practice route for aspiring aid climbers. The original aid version of Seize the Day. Climbs the thin seam directly up the middle of the face on mostly small wires and micro SLCDs. Originally written up as M1 in Bob McMahon's South Esk guide. Probably considerably harder (about C2+) if using clean gear only and ignoring the bolts. Note that nailing on what is now one of the gorge's most classic hard free climbs will probably result in you and your hammer getting evicted from the state and chased back into the 1960's where you belong.
Michael McHugh · From: theCrag
The tiers above the last two climbs may have some worthwhile climbs but I haven't done them.
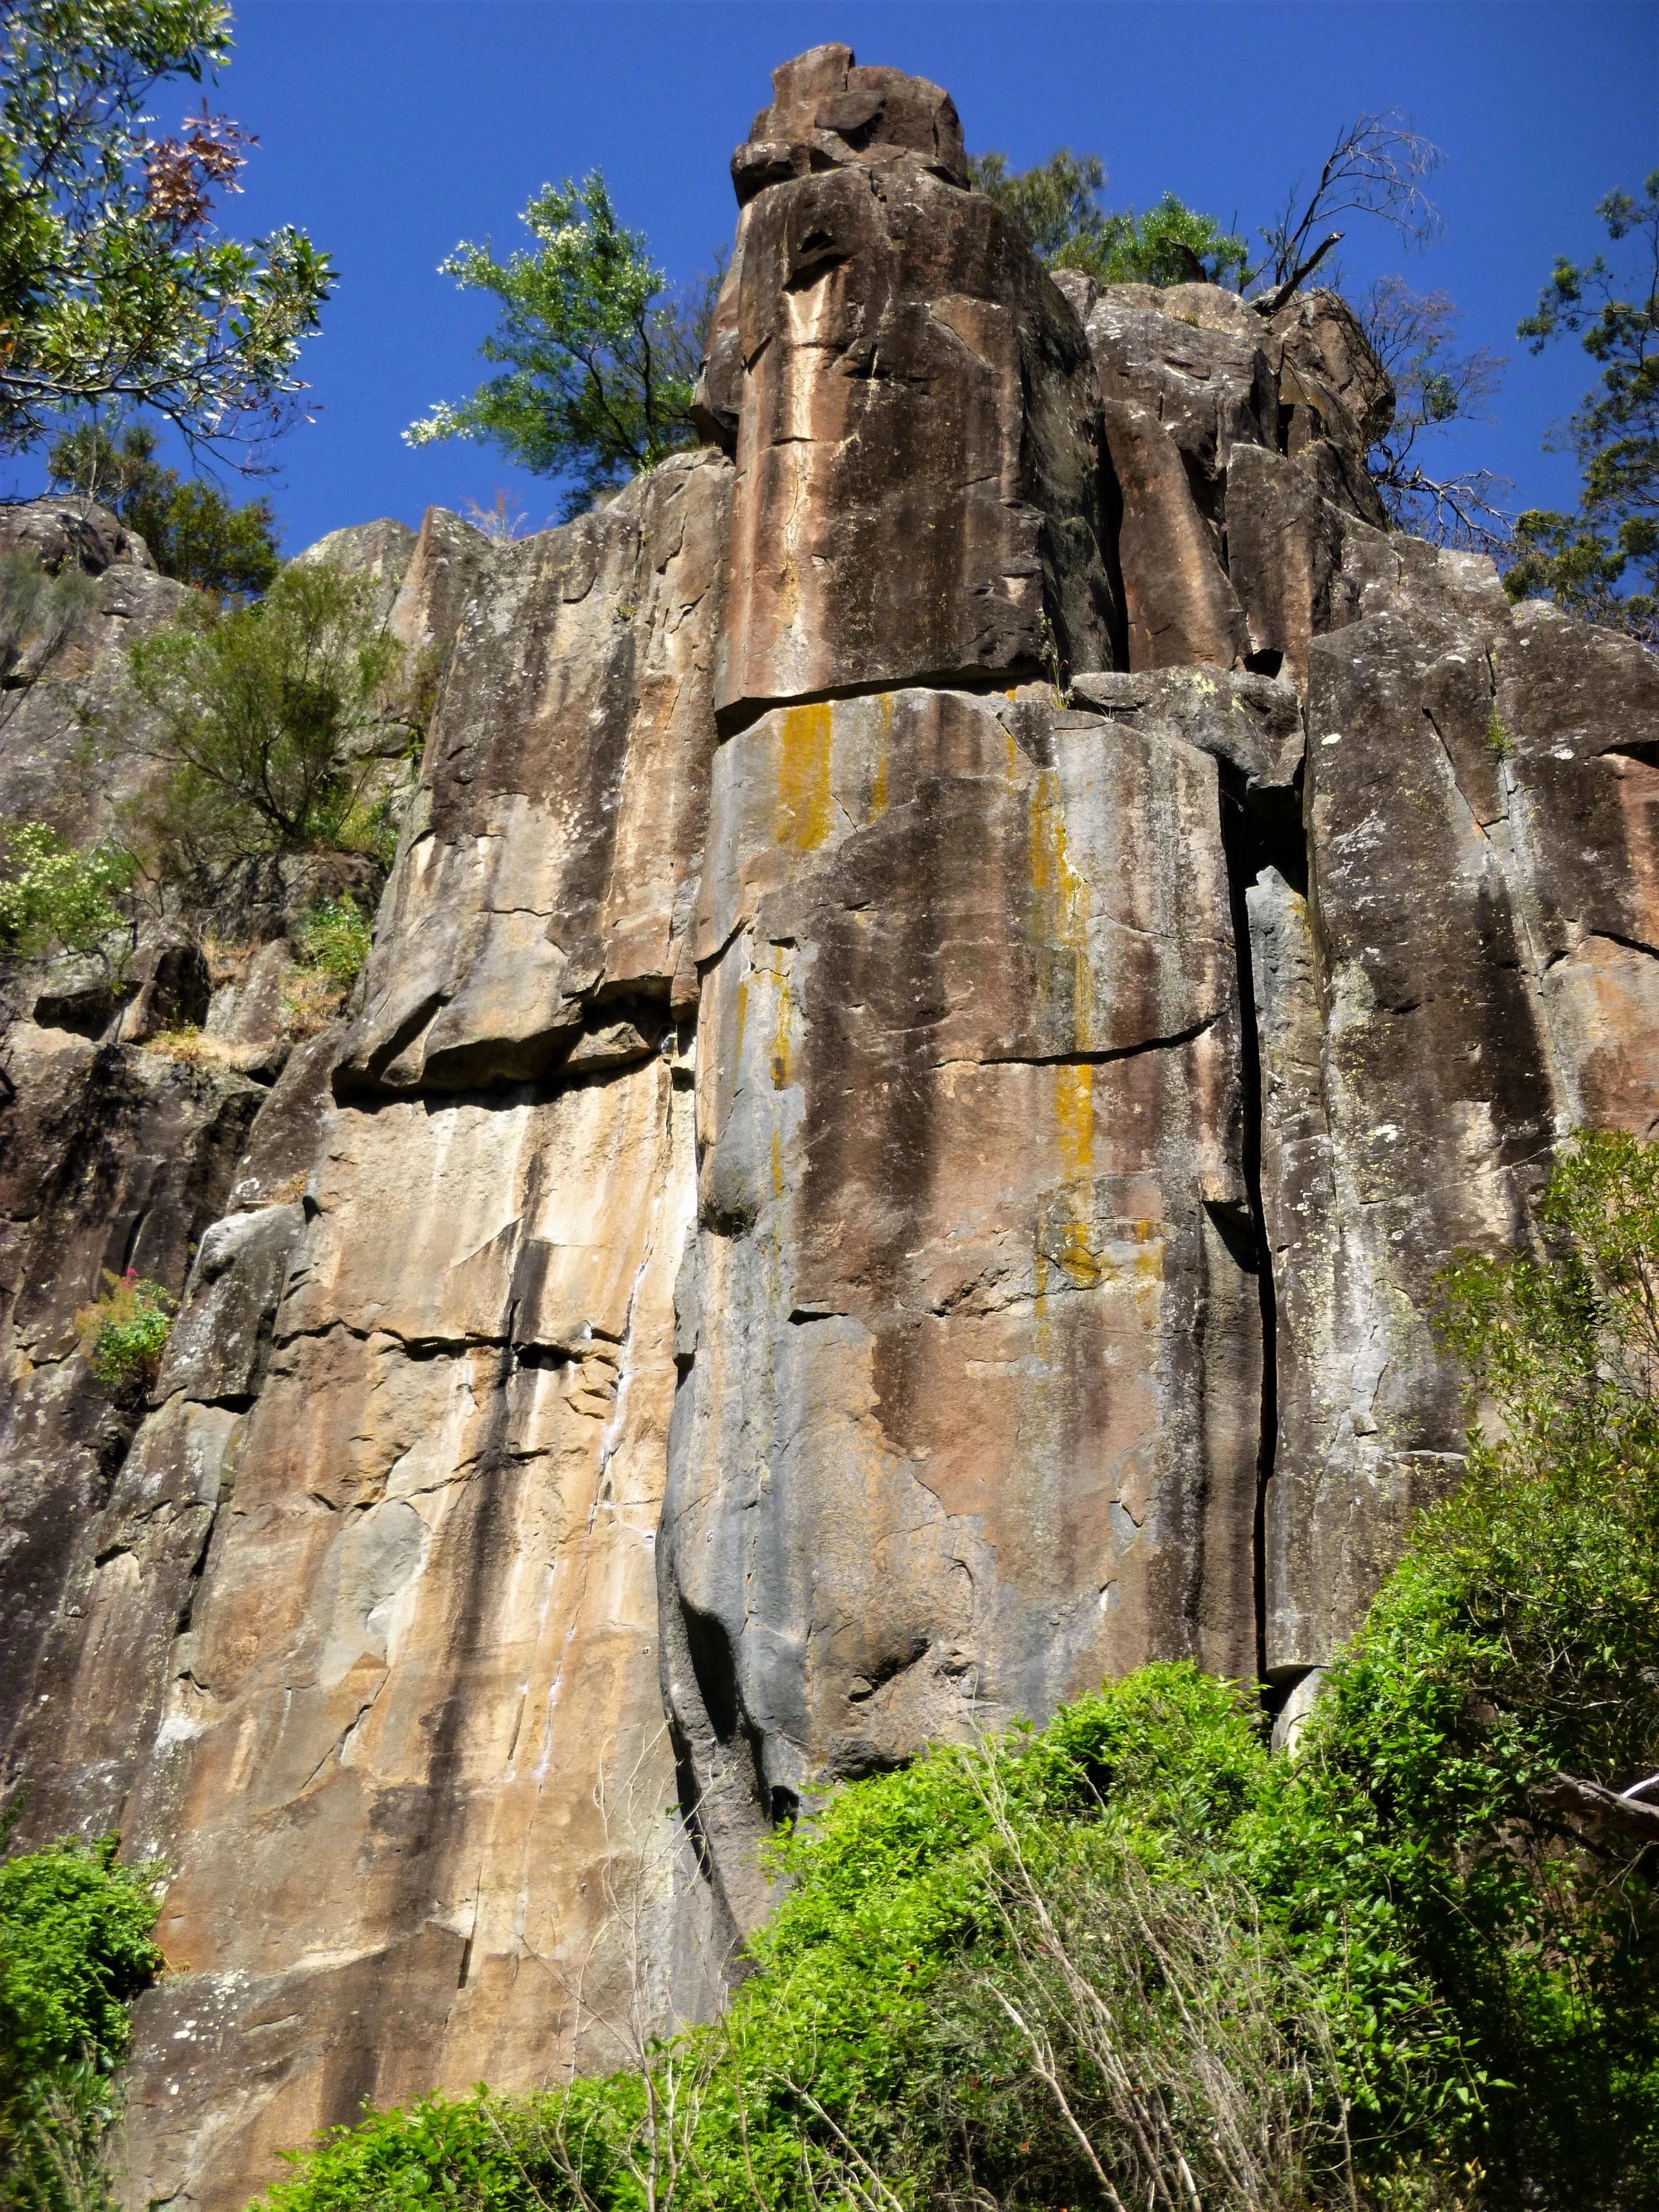
Topo: theCrag contributors, CC BY-NC-SA 3.0, theCrag
A striking line, and a contender for the best route of its style in the gorge. Originally done with 3 bolts (as it stands now it is equipped in the same style as the first ascent), it was the hardest climb in Tasmania at the time of the first ascent. Start by climbing Long Knife and at ~5m place a runner (slinging the massive chockstone with a 240 runner seems to work a treat) start traversing left until the small seam is reached, place small RPs in the thin seam and then climb past a few FHs and good RPs at the lip to double chains at the top. A small cam - red or green C3 - can be nice for the very top.
Parsons, 1980's.
The direct start to Seize the Day past one additional fixed hanger. The grade is unashamedly reach dependent - it will feel much harder if you're not tall. Further, the first bolt was placed to dovetail with what was at the time a fully bolted line above. It's now not clear if this can be led ground-up.
Al Williams
The surprisingly delightful and enjoyable chimney.
Start as for Seize the Day/Long Knife up the chimney but break right at about 8m and climb the bolted blunt arête of the large hanging pillar. The upper half is one of the best positions in the gorge. Currently, the direct start is a 32 or 33 project.
Polinski 2011
The direct start to Road to War up the arete. A great arete climb with three distinct boulder problem cruxes.
I. Lethborg, Apr 2020 · From: theCrag
Line on fixed hangers.
On the front of the block that forms the Long Knife chimney is an off-width. DBB.
Lewis, Closs, 1973.
The next two climbs are 40m past the end of the major buttress and are very short even for the vertically challenged.
Hand crack to off-width.
McMahon, Selby, 1996.
Amen. The thin crack on the right.
Selby, McMahon, 1996.
Vamp Buttress
On the upper tier, downstream of the old car stuck up in the cliff. Rap in from DBB above, using the line as a belay anchor.
Isaac Lethborg · From: theCrag
Back in Black Buttress
100m past the last climbs this small buttress is set back 50m from the river but worth the scramble up to it.
The left most line, a worthwhile descent route.
The corner right of Possum Run with one FH. Looks like a corner but climbs like an off-width. A great climb to put your gym junkie mates on and watch them burn rubber and finger tips.
Narkowicz, 2002.
The thin crack line running up the face 5m right of Possum Run.
McMahon, Selby, 1996.
The thin crack around the corner from Back in Black.
Narkowicz, Ling, Deka, Smith, McMahon.
The dual crack system in the corner.
Selby, Wardlow, Fox, Nichols, 1996.
Nebraska Buttress
The next buttress is another 100m upstream almost opposite Pubic Flash.
Climb up on to ledge and then up crack and slightly overhanging corner.
McMahon 1983.
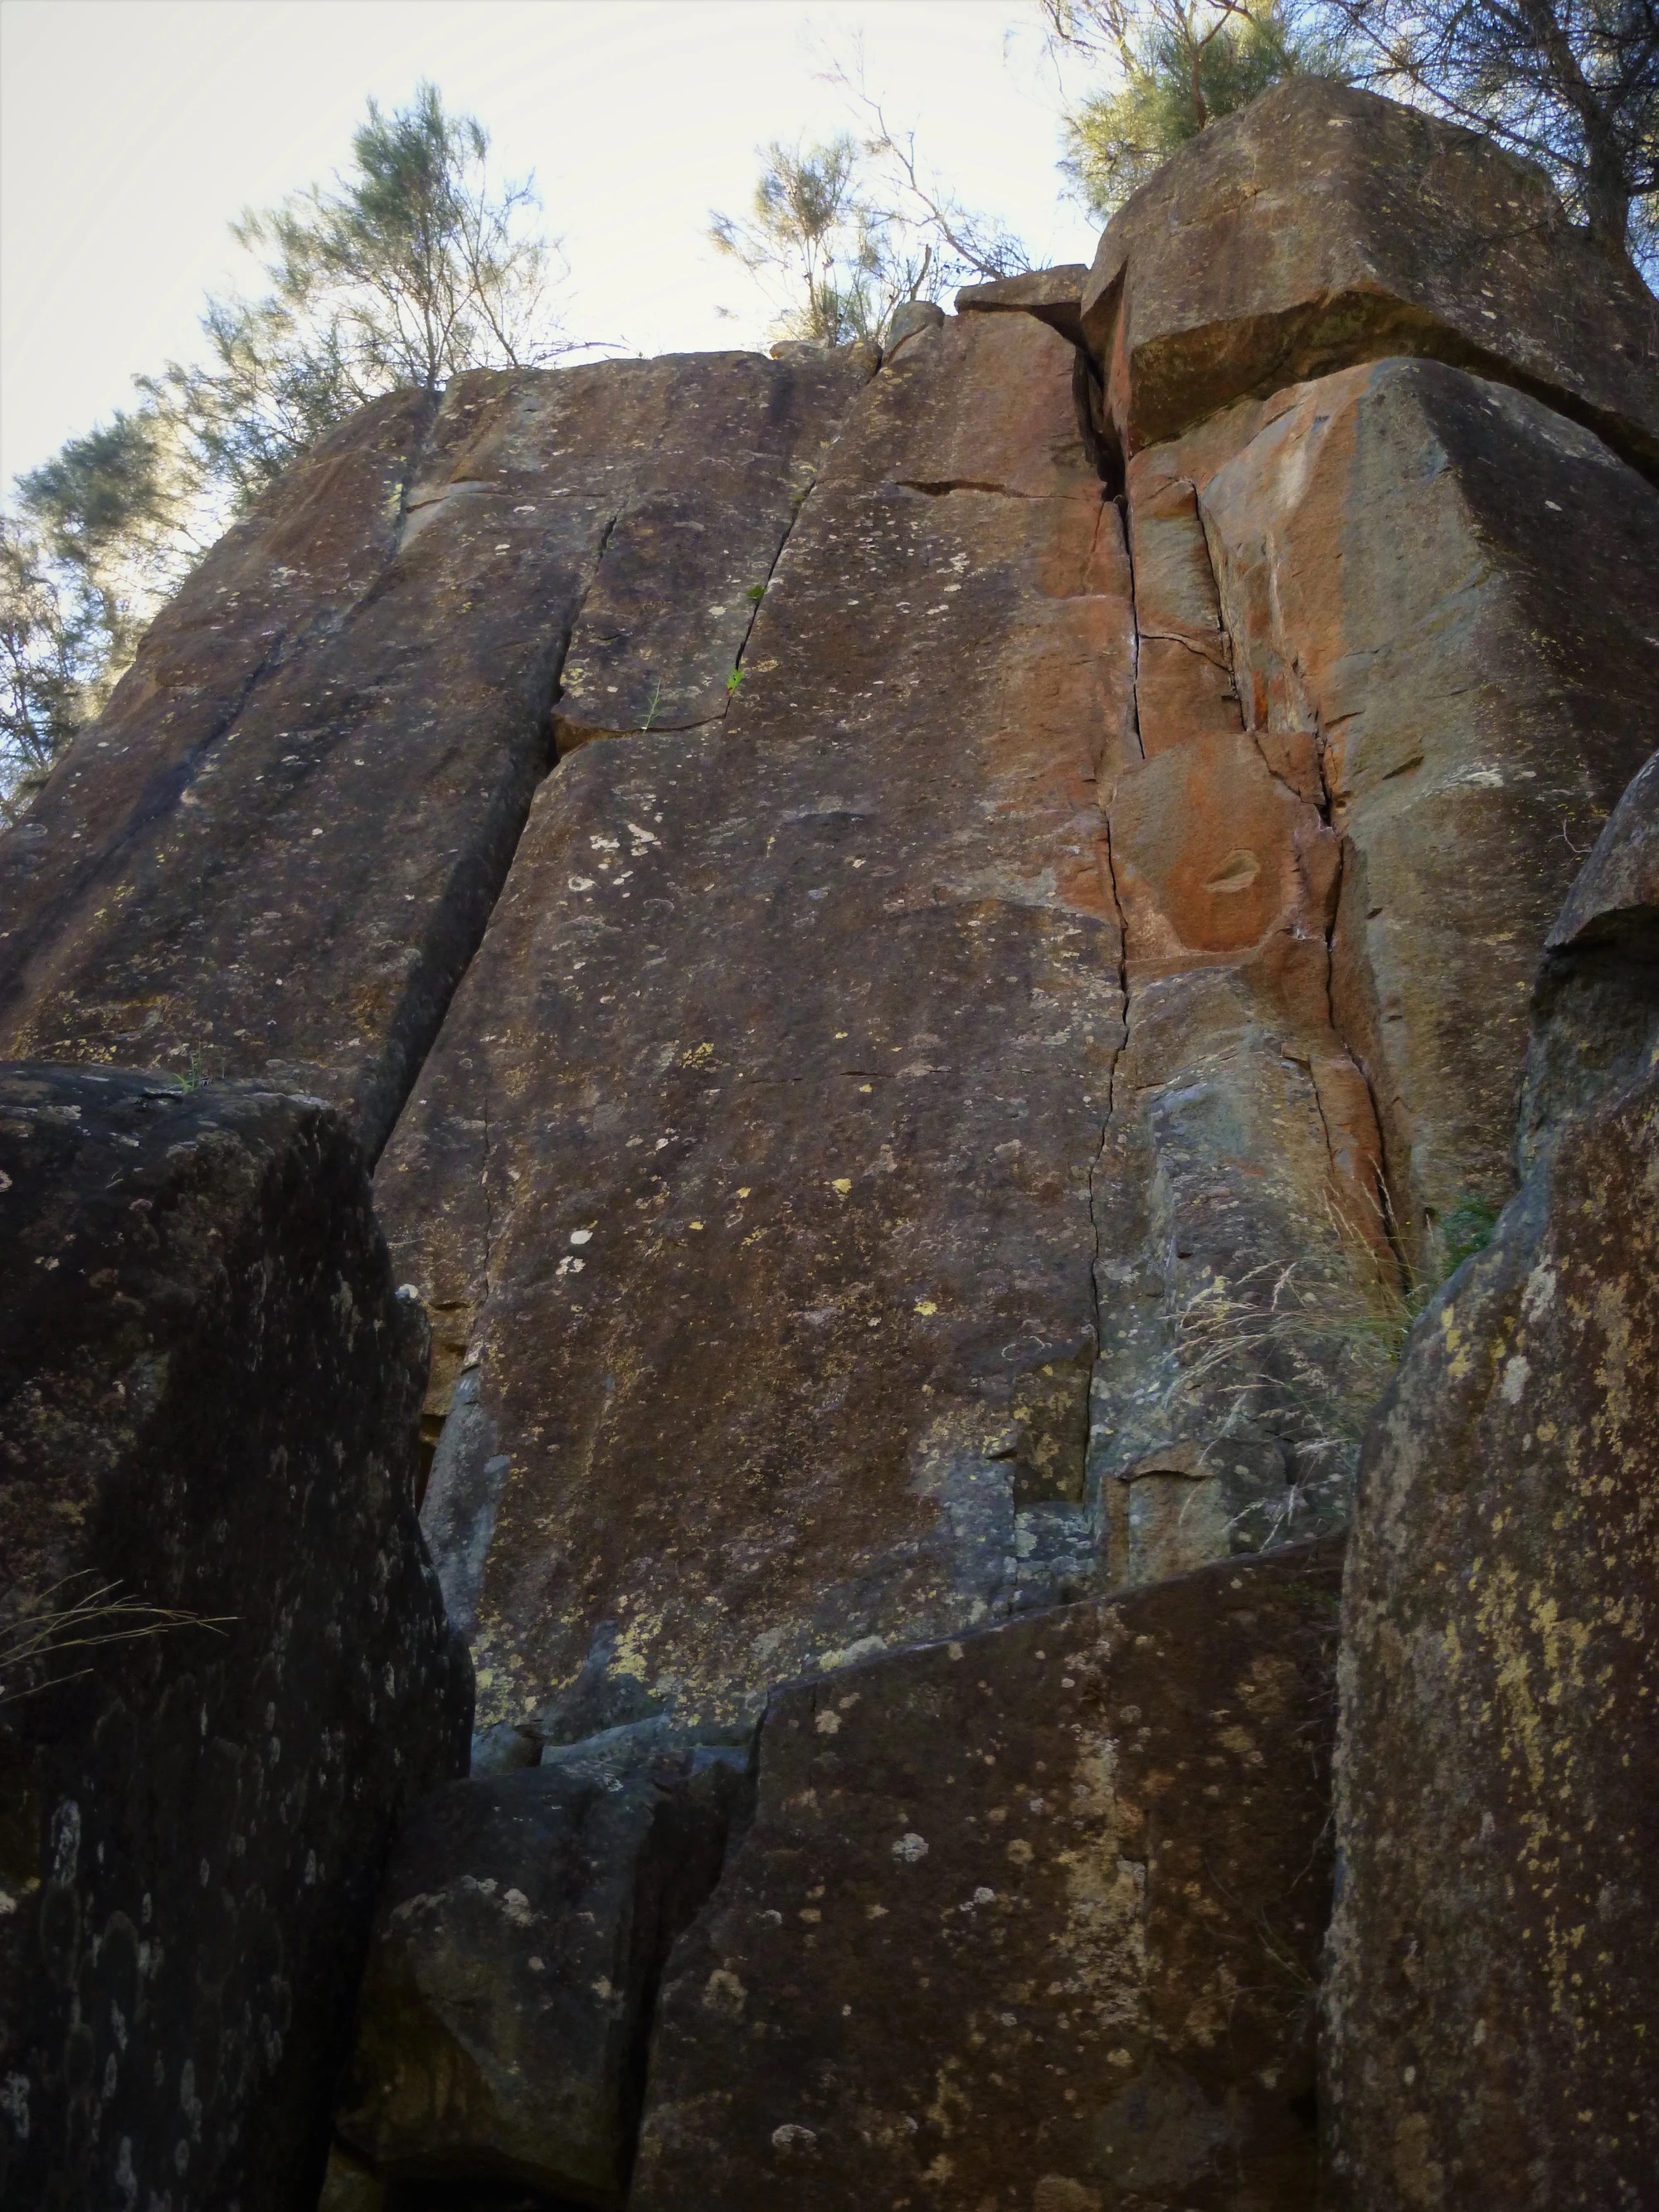
Topo: theCrag contributors, CC BY-NC-SA 3.0, theCrag
Nice hand jamming.
McMahon 1983.
Delicate face climbing up a thin crack line in the corner. Quite excellent.
Neale Smith 1983.
Climb the crack in the corner 15m upstream from the last wall.
Selby, 1996.
5m on from the Proctologist is a thin crack climb this to a ledge and then up corner to exit out left under small roofs.
McMahon 1983.
Arete to R.
Neale Smith 1983.
Corner round from Jonestown Flood.
McMahon 1983.
Fused corner with tree.
McMahon 1983.
Offwidth past roofs.
Neale Smith 1983.
Between here and Ramona buttress is a lot of broken cliff line most of it pawed by Narkowicz, McMahon and the likes. A lot of the obvious natural lines have been done and quite a few of the bolted ones. Some of them are probably worth repeating. Go and get the Narkowicz Guide To The Cosmos to be fully enlightened.
Bolted arete directly underneath furthest upstream powerline.
Narkowicz 2002.
Four Thumbs Faces
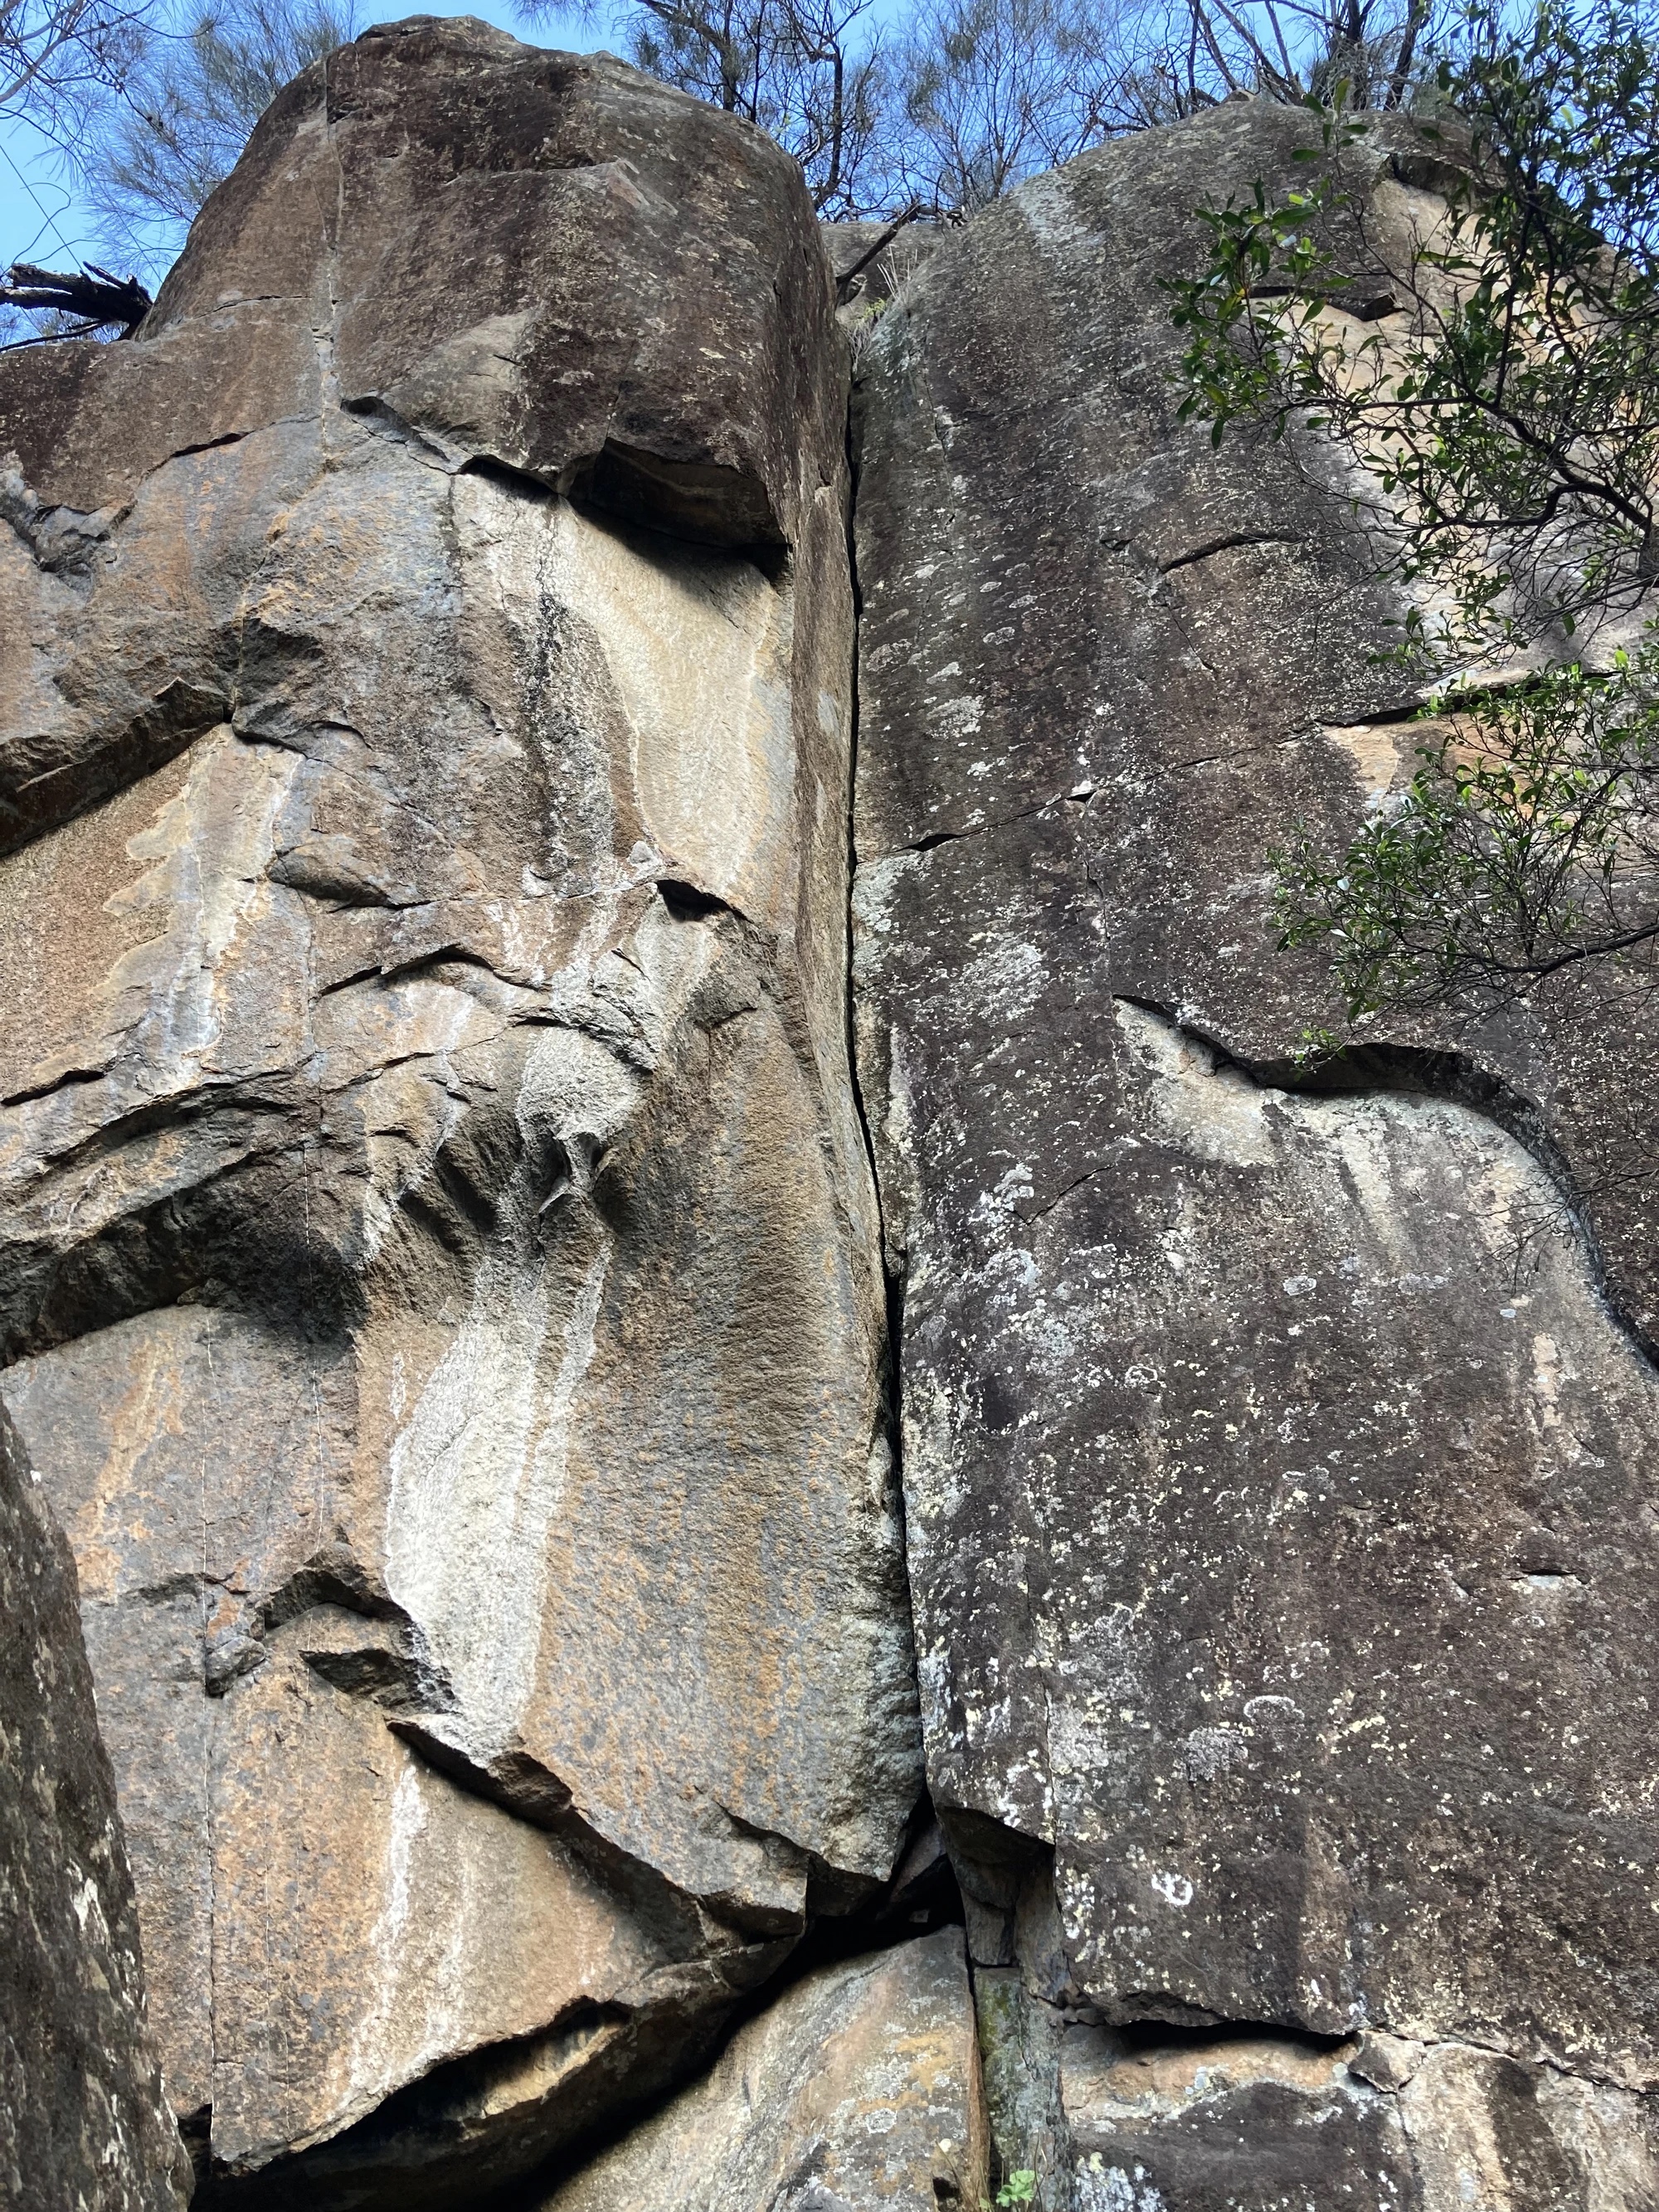
Topo: theCrag contributors, CC BY-NC-SA 3.0, theCrag
On far LHS of top left cliff, with overhanging block up high. Single bolt anchor
From: theCrag
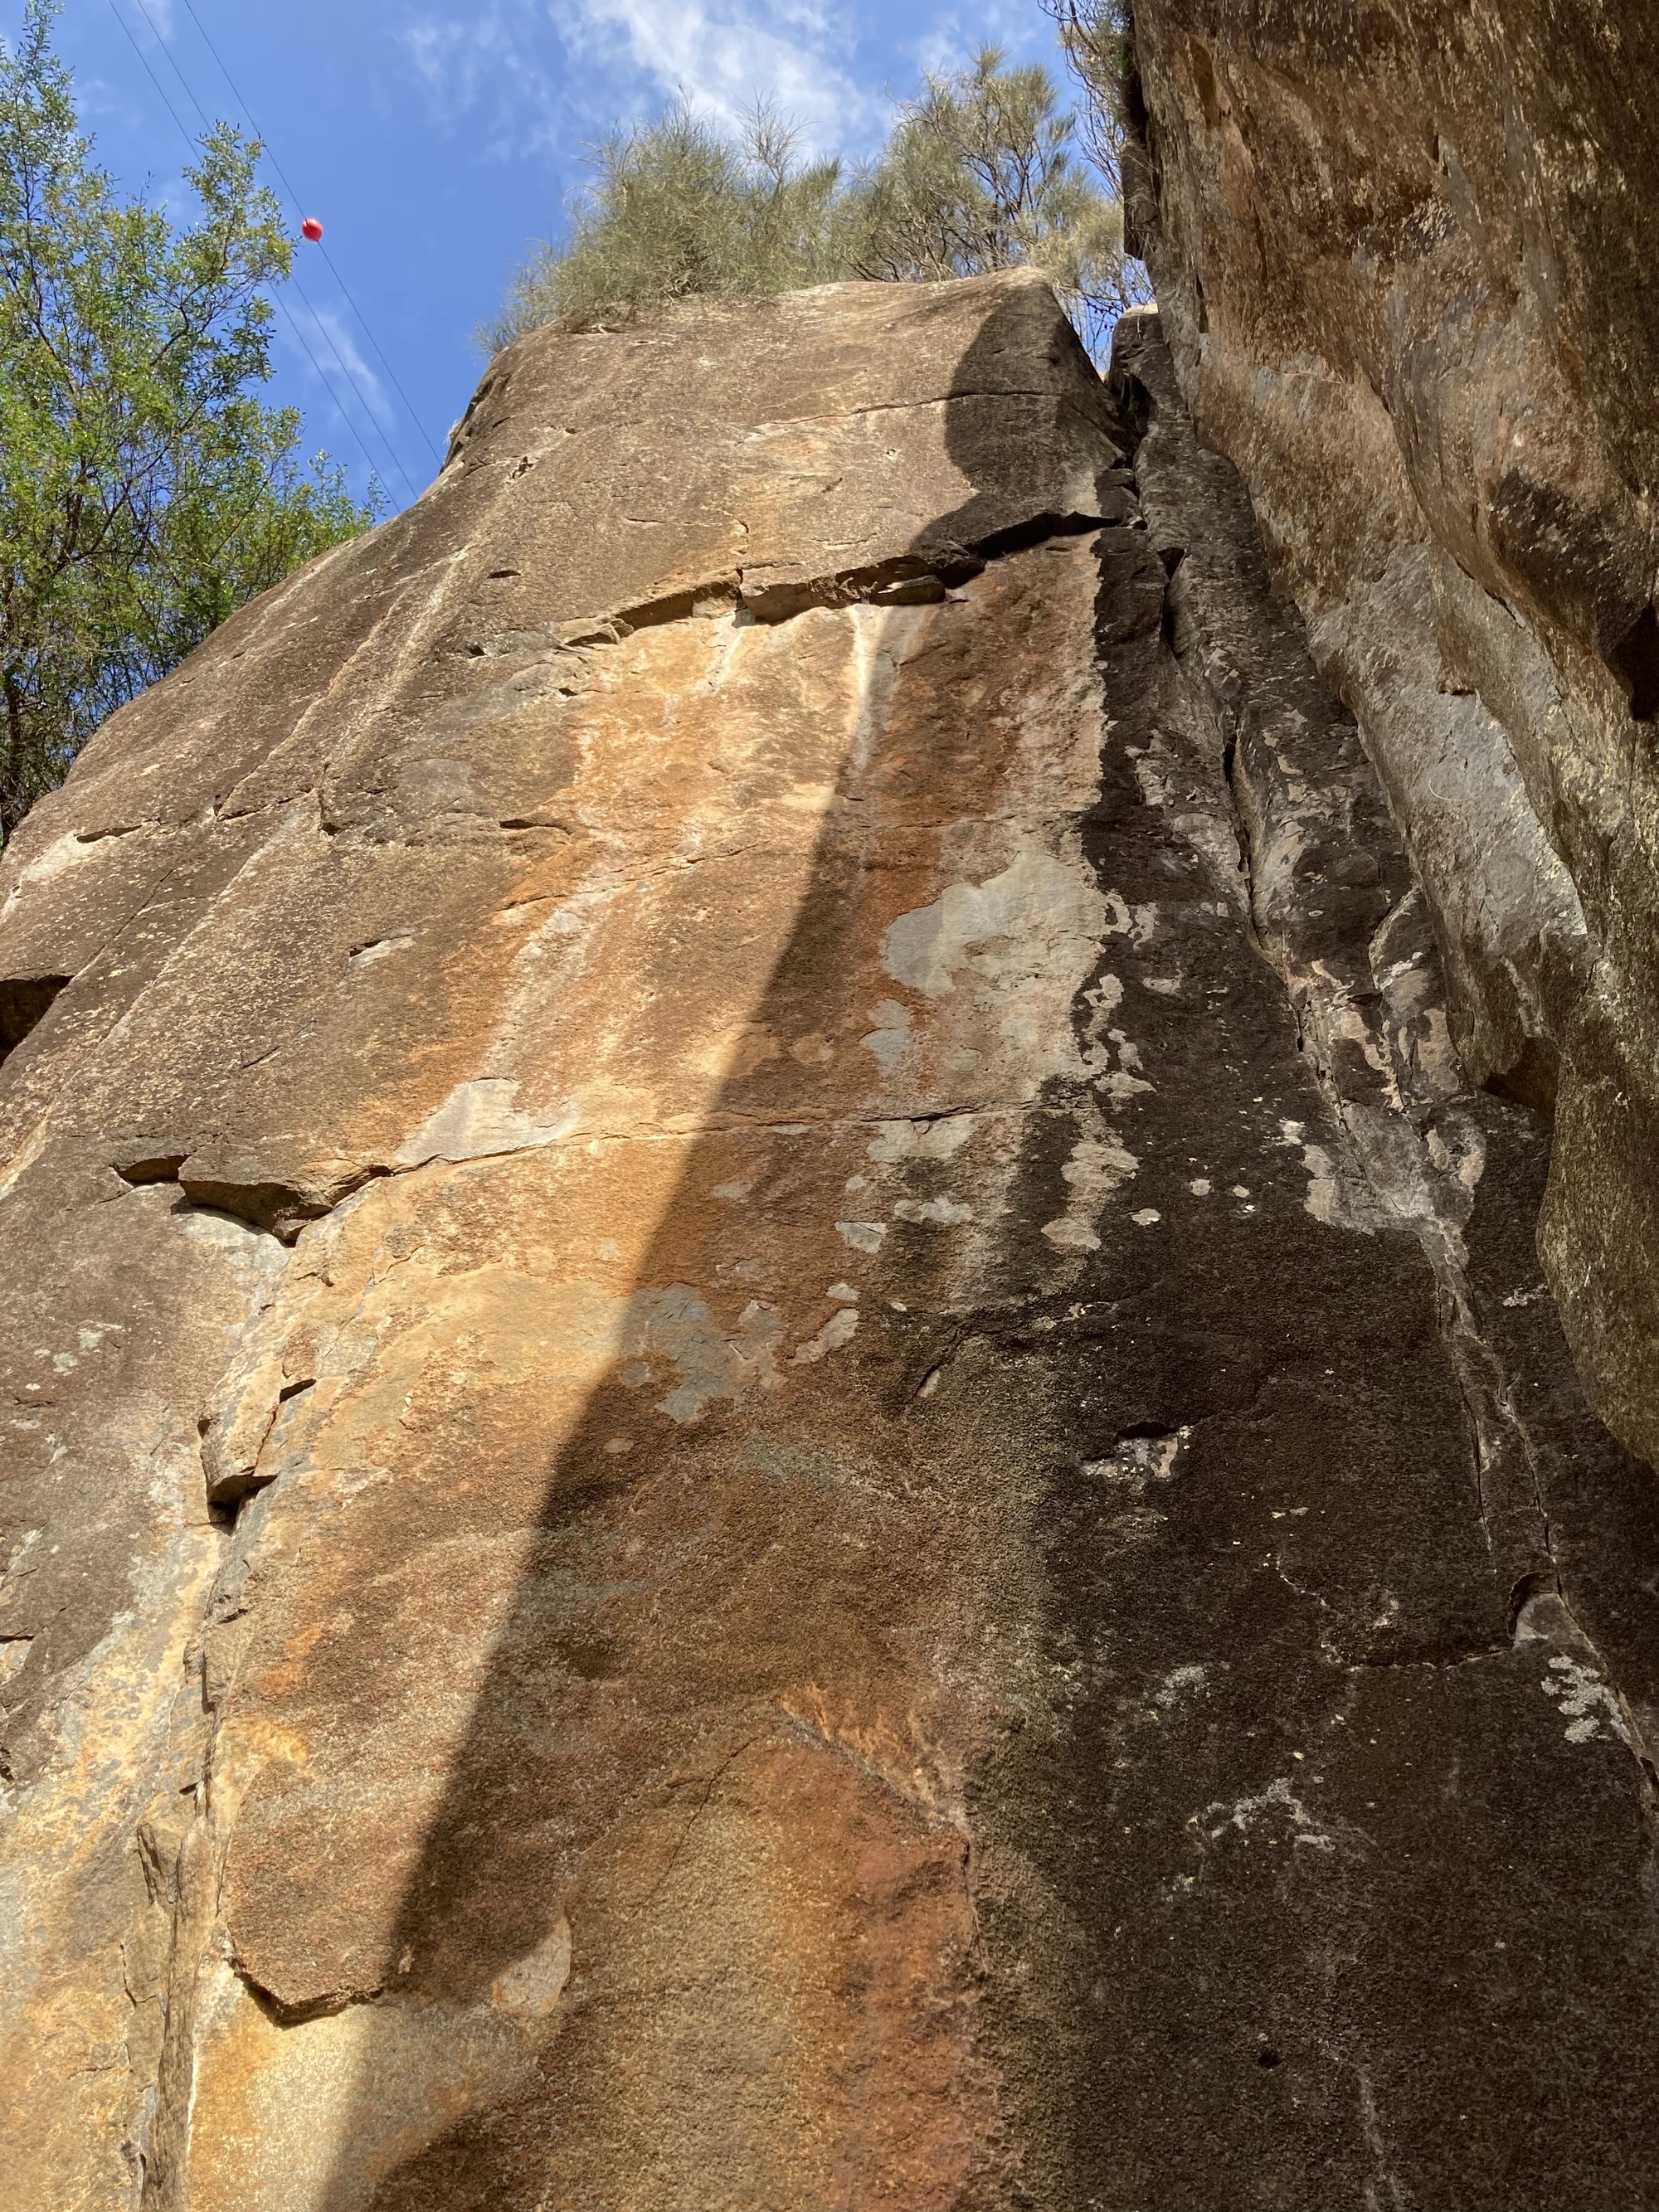
Topo: theCrag contributors, CC BY-NC-SA 3.0, theCrag
Traverse R from previous route to arete and up.
Gerry Narkowicz · From: theCrag
Petrebond Area
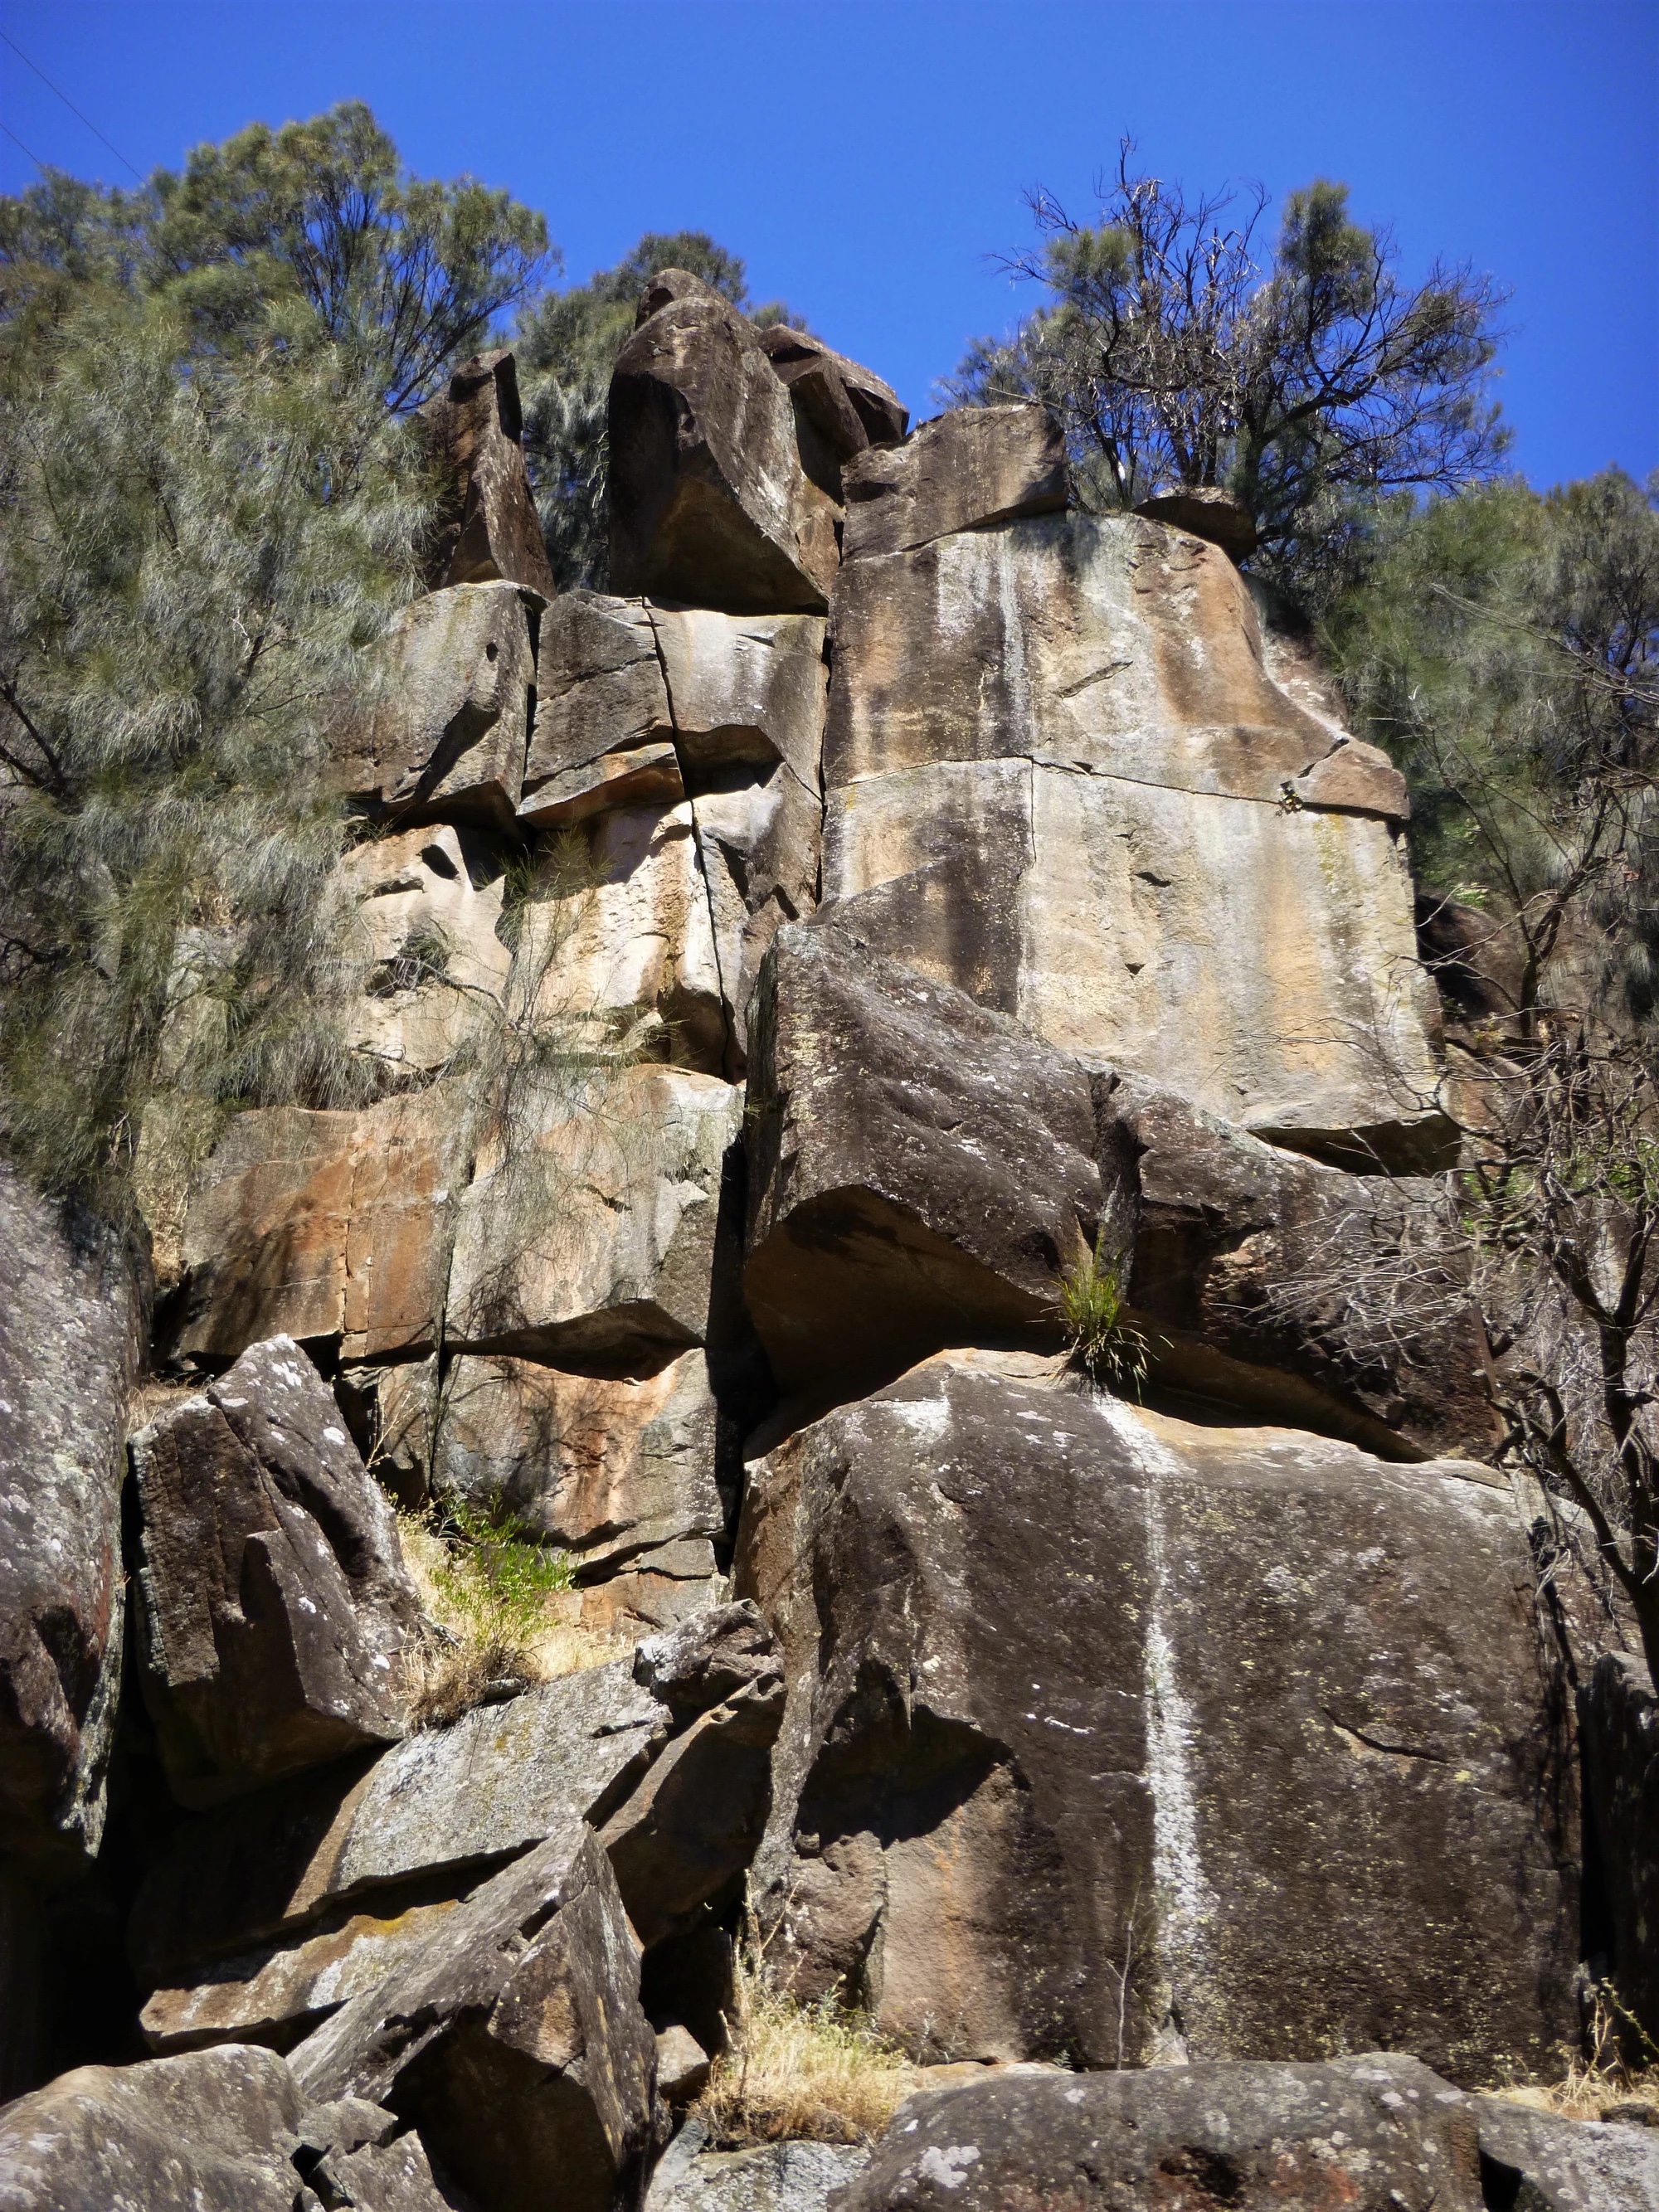
Topo: theCrag contributors, CC BY-NC-SA 3.0, theCrag
Obvious left trending crack line. Rap from sling around chockstones.
N. Deka, M. Ling, R. McMahon & N. Smith, 1979 · From: theCrag
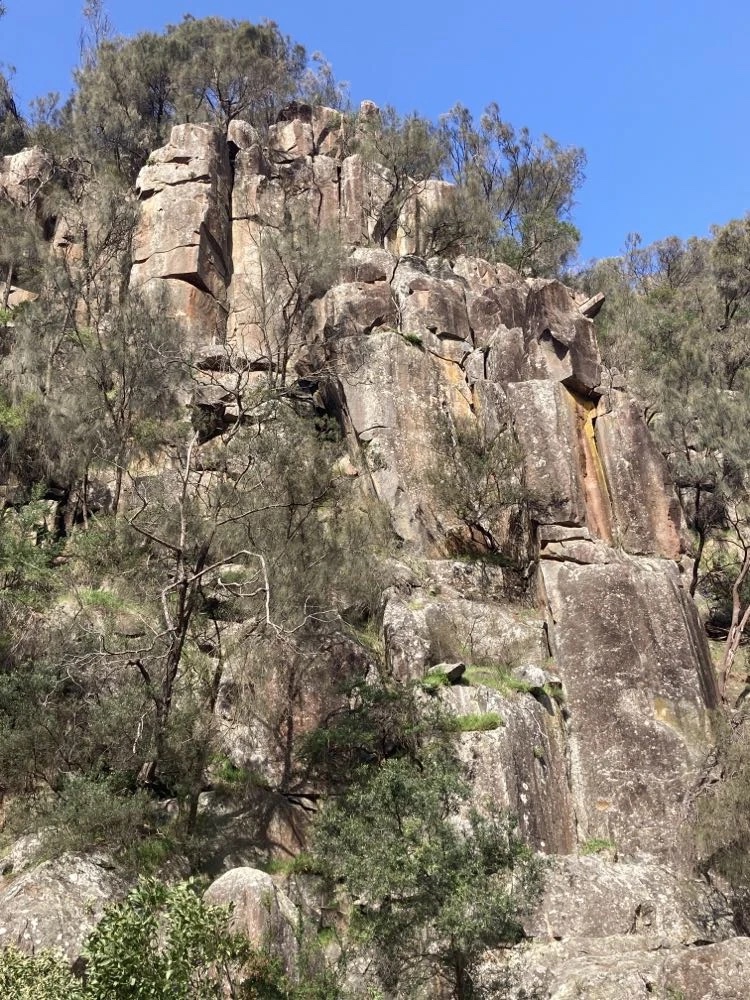
Topo: theCrag contributors, CC BY-NC-SA 3.0, theCrag
Located upstream and uphill from the main Petrebond Crags. Up blocky chimney on R into proud corner.
From: theCrag
Upstream again, near river level. The tall bolted face and arete with a ledge at half height. DBB
From: theCrag
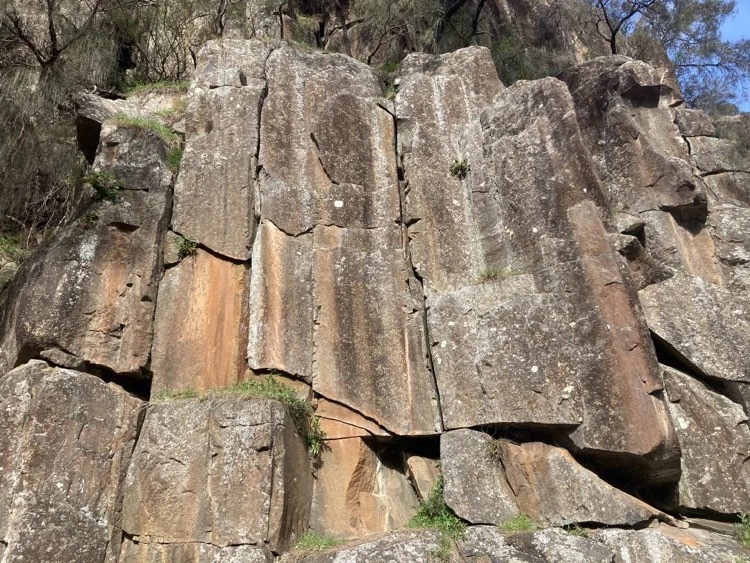
Topo: theCrag contributors, CC BY-NC-SA 3.0, theCrag
The short bolted arete just downstream of Kiwi Fruit Jam Gully. No anchor
From: theCrag
Kiwi Fruit Jam Gully
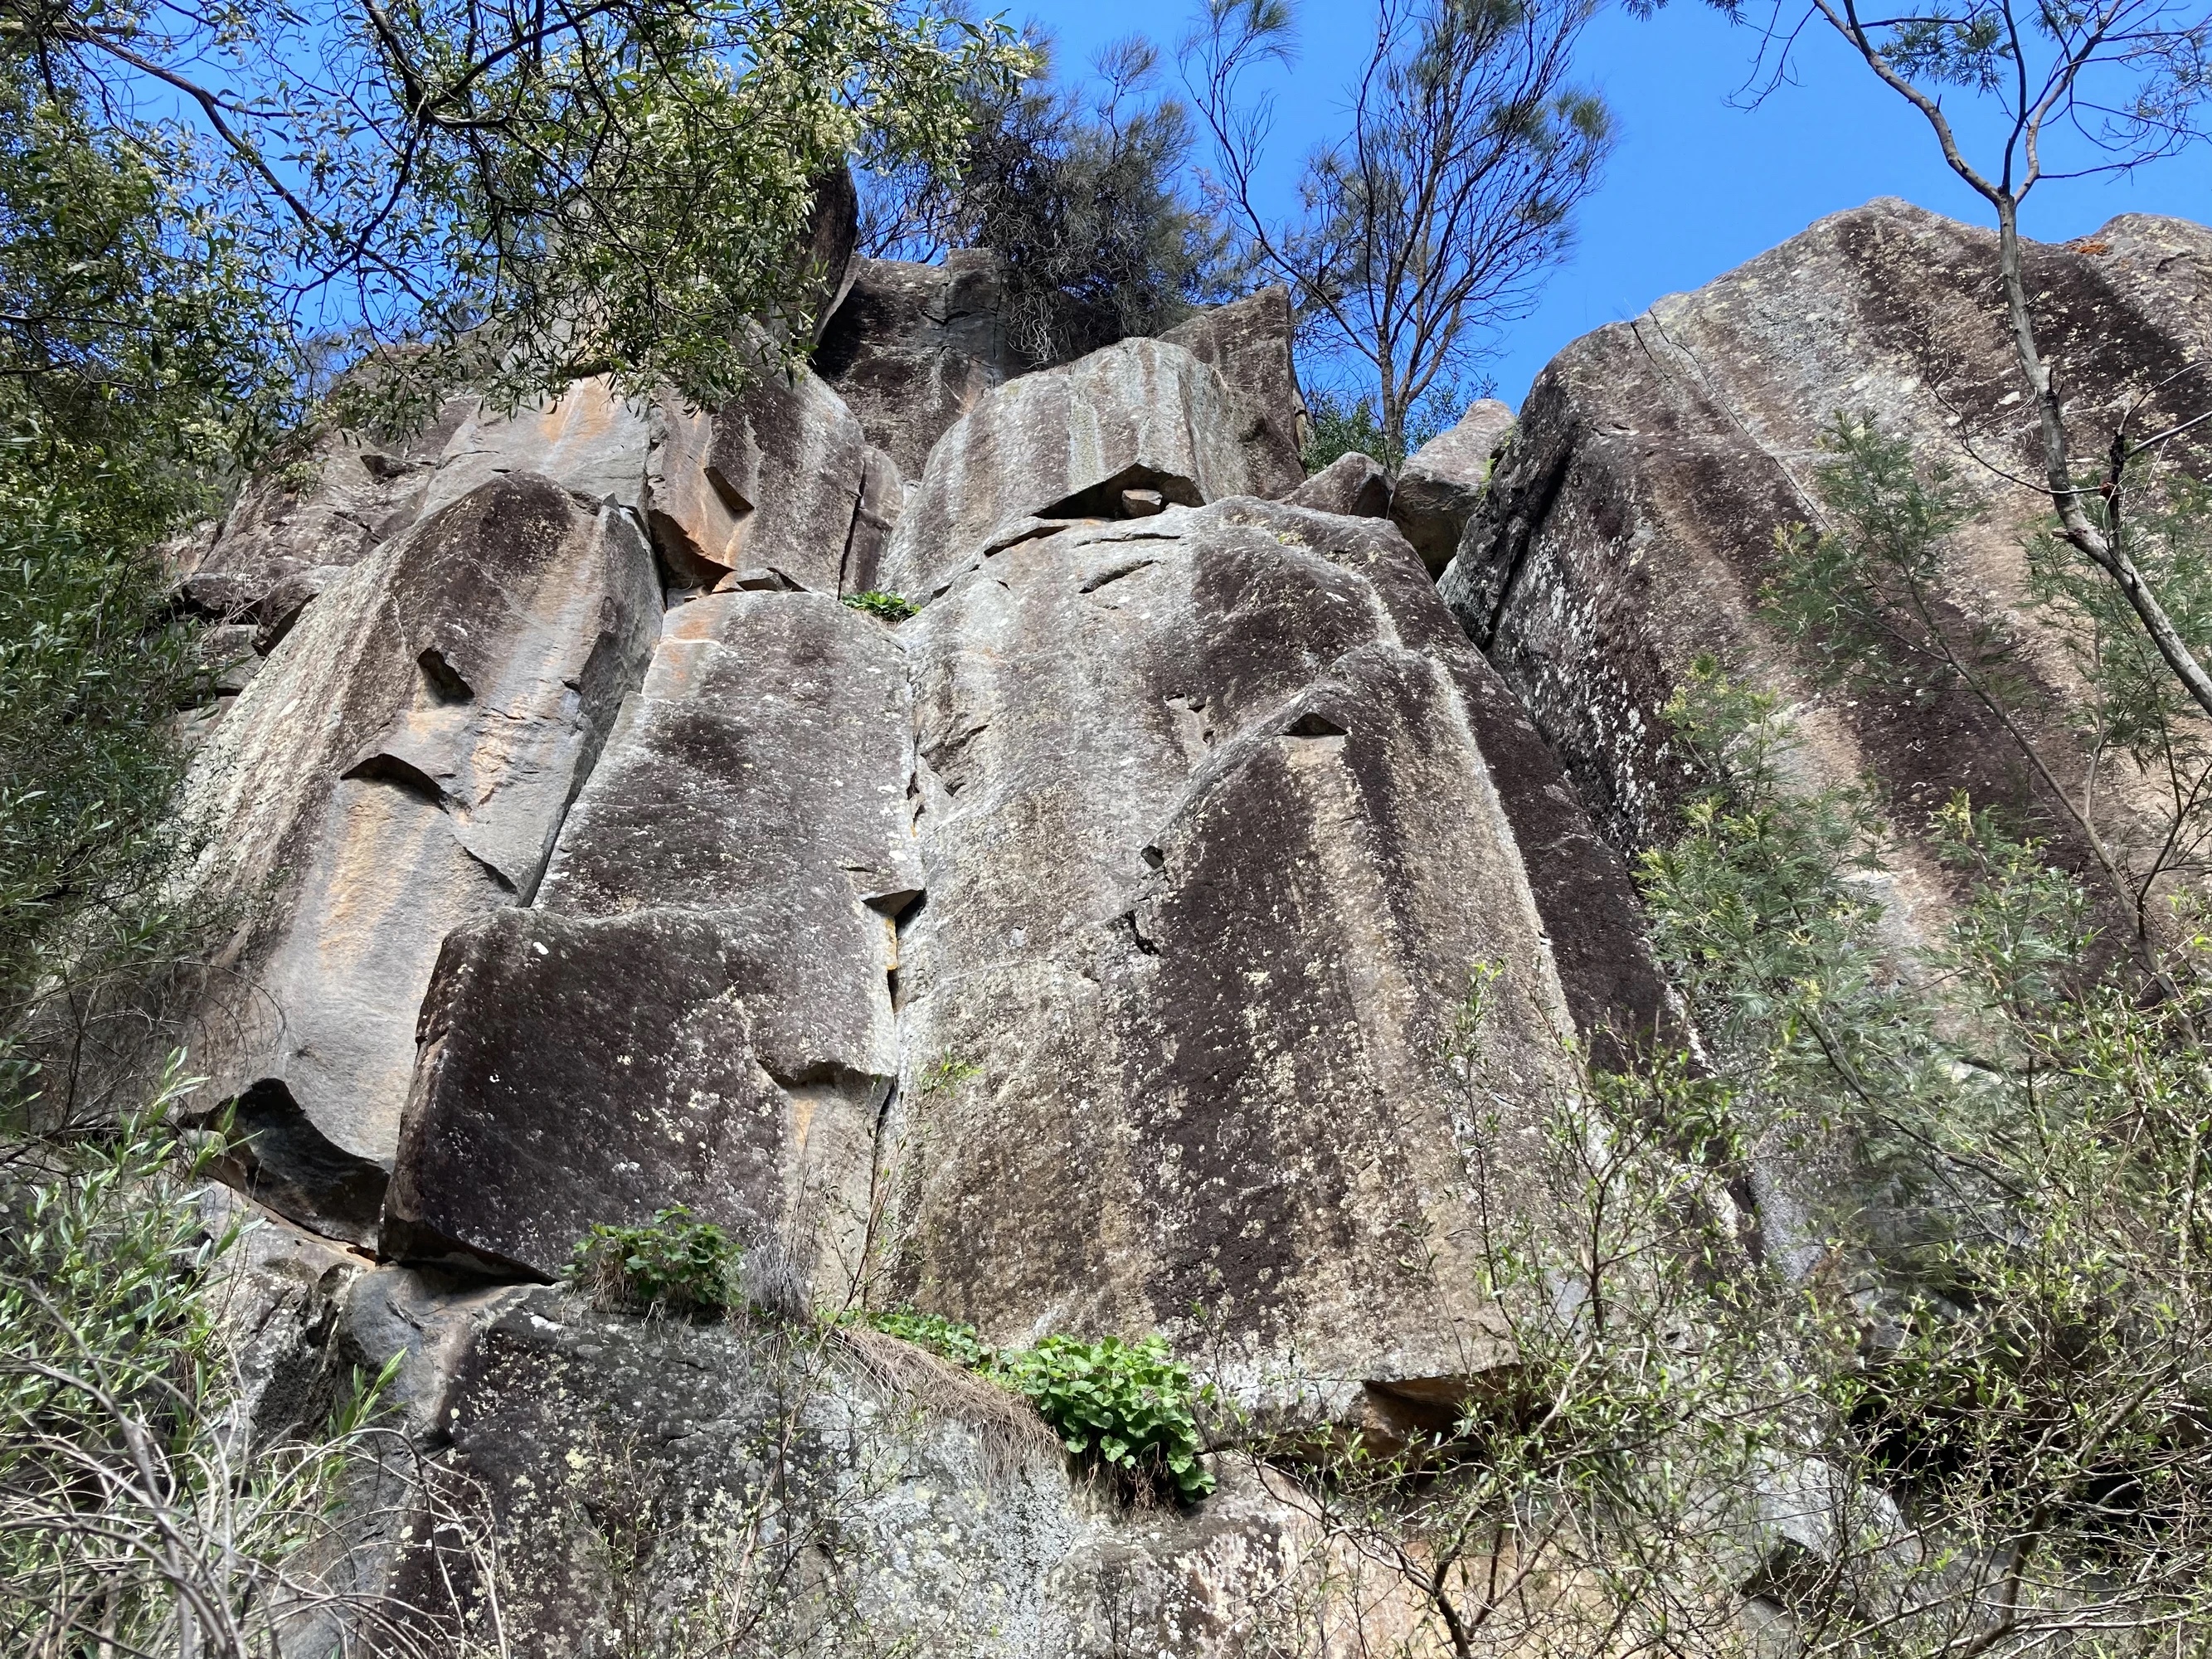
Topo: theCrag contributors, CC BY-NC-SA 3.0, theCrag
On the lower cliffs near river level. The left line of the sharp recessed pillar.
From: theCrag
The jam corner just downhill of the previous two routes. Closest to the river and the first you’ll reach if approaching that way.
From: theCrag
The nice looking widening finger crack. Located 2 minutes up the gully on the upstream wall.
From: theCrag
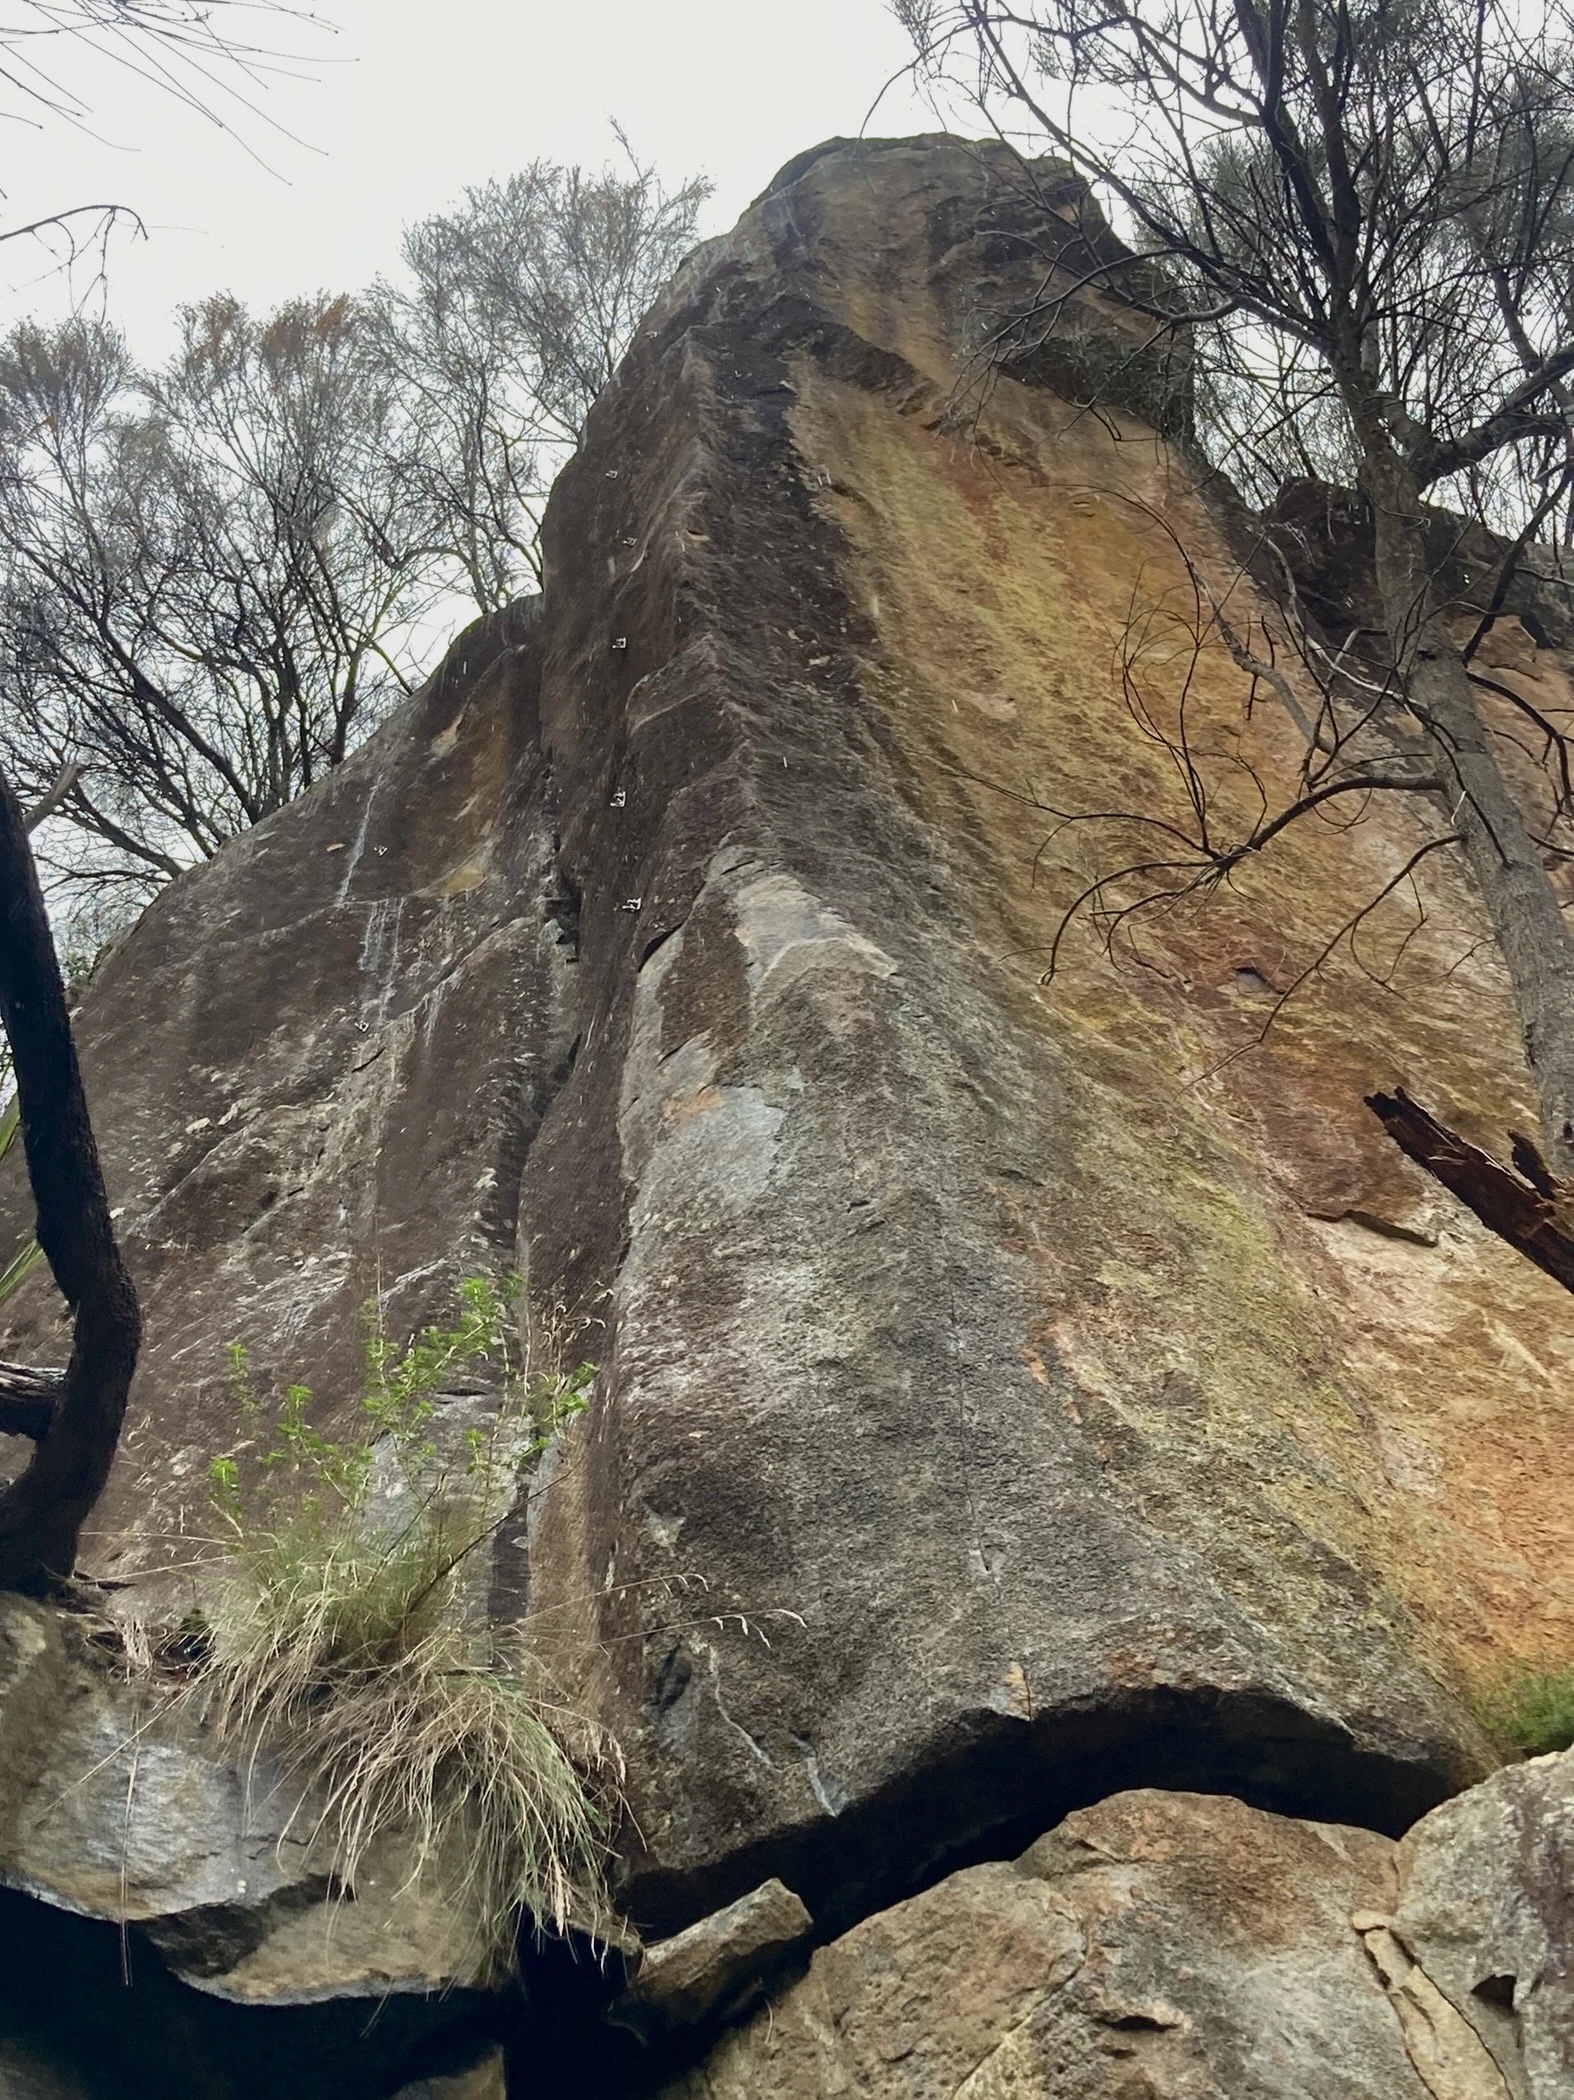
Topo: theCrag contributors, CC BY-NC-SA 3.0, theCrag
Left of HoG. Start in chimney, and left onto bolted face. Tree belay.
From: theCrag
The brilliant double arete on the left end of the yellow face. DBB
Gerry Narkowicz · From: theCrag
Bridge/layaway up the yellow face/arete using the R block. At the horizontal rail (after clipping the 3rd bolt) - step out L and up the main wall. Avoid veering into the grovel chimney higher up for full value. Access via rap or a scramble down upstream terraces. DBB.
Nick Morgan, Oct 2021 · From: theCrag
Pure Health Buttress
Ramona
Access - walk upstream for about 800m from the Duck Reach Cliffs and on the same side. The buttress is visible from Duck Reach suspension bridge as the river bends around to the right.
Fine crack and arete climbing on the small buttress facing the river 50m downstream from The Sting.
Climb the thin twin cracks 4m right of Louis the King for 3m then slightly right before moving back left to the main hand crack.
10m upstream from Mac The Finger is a black corner with a crack on both sides. Climb either or both of these.
McMahon, Ling, Smith, 1980.
The left trending flake/undercling that leads to the straight crack above.
Colyvan, Smith, 1981.
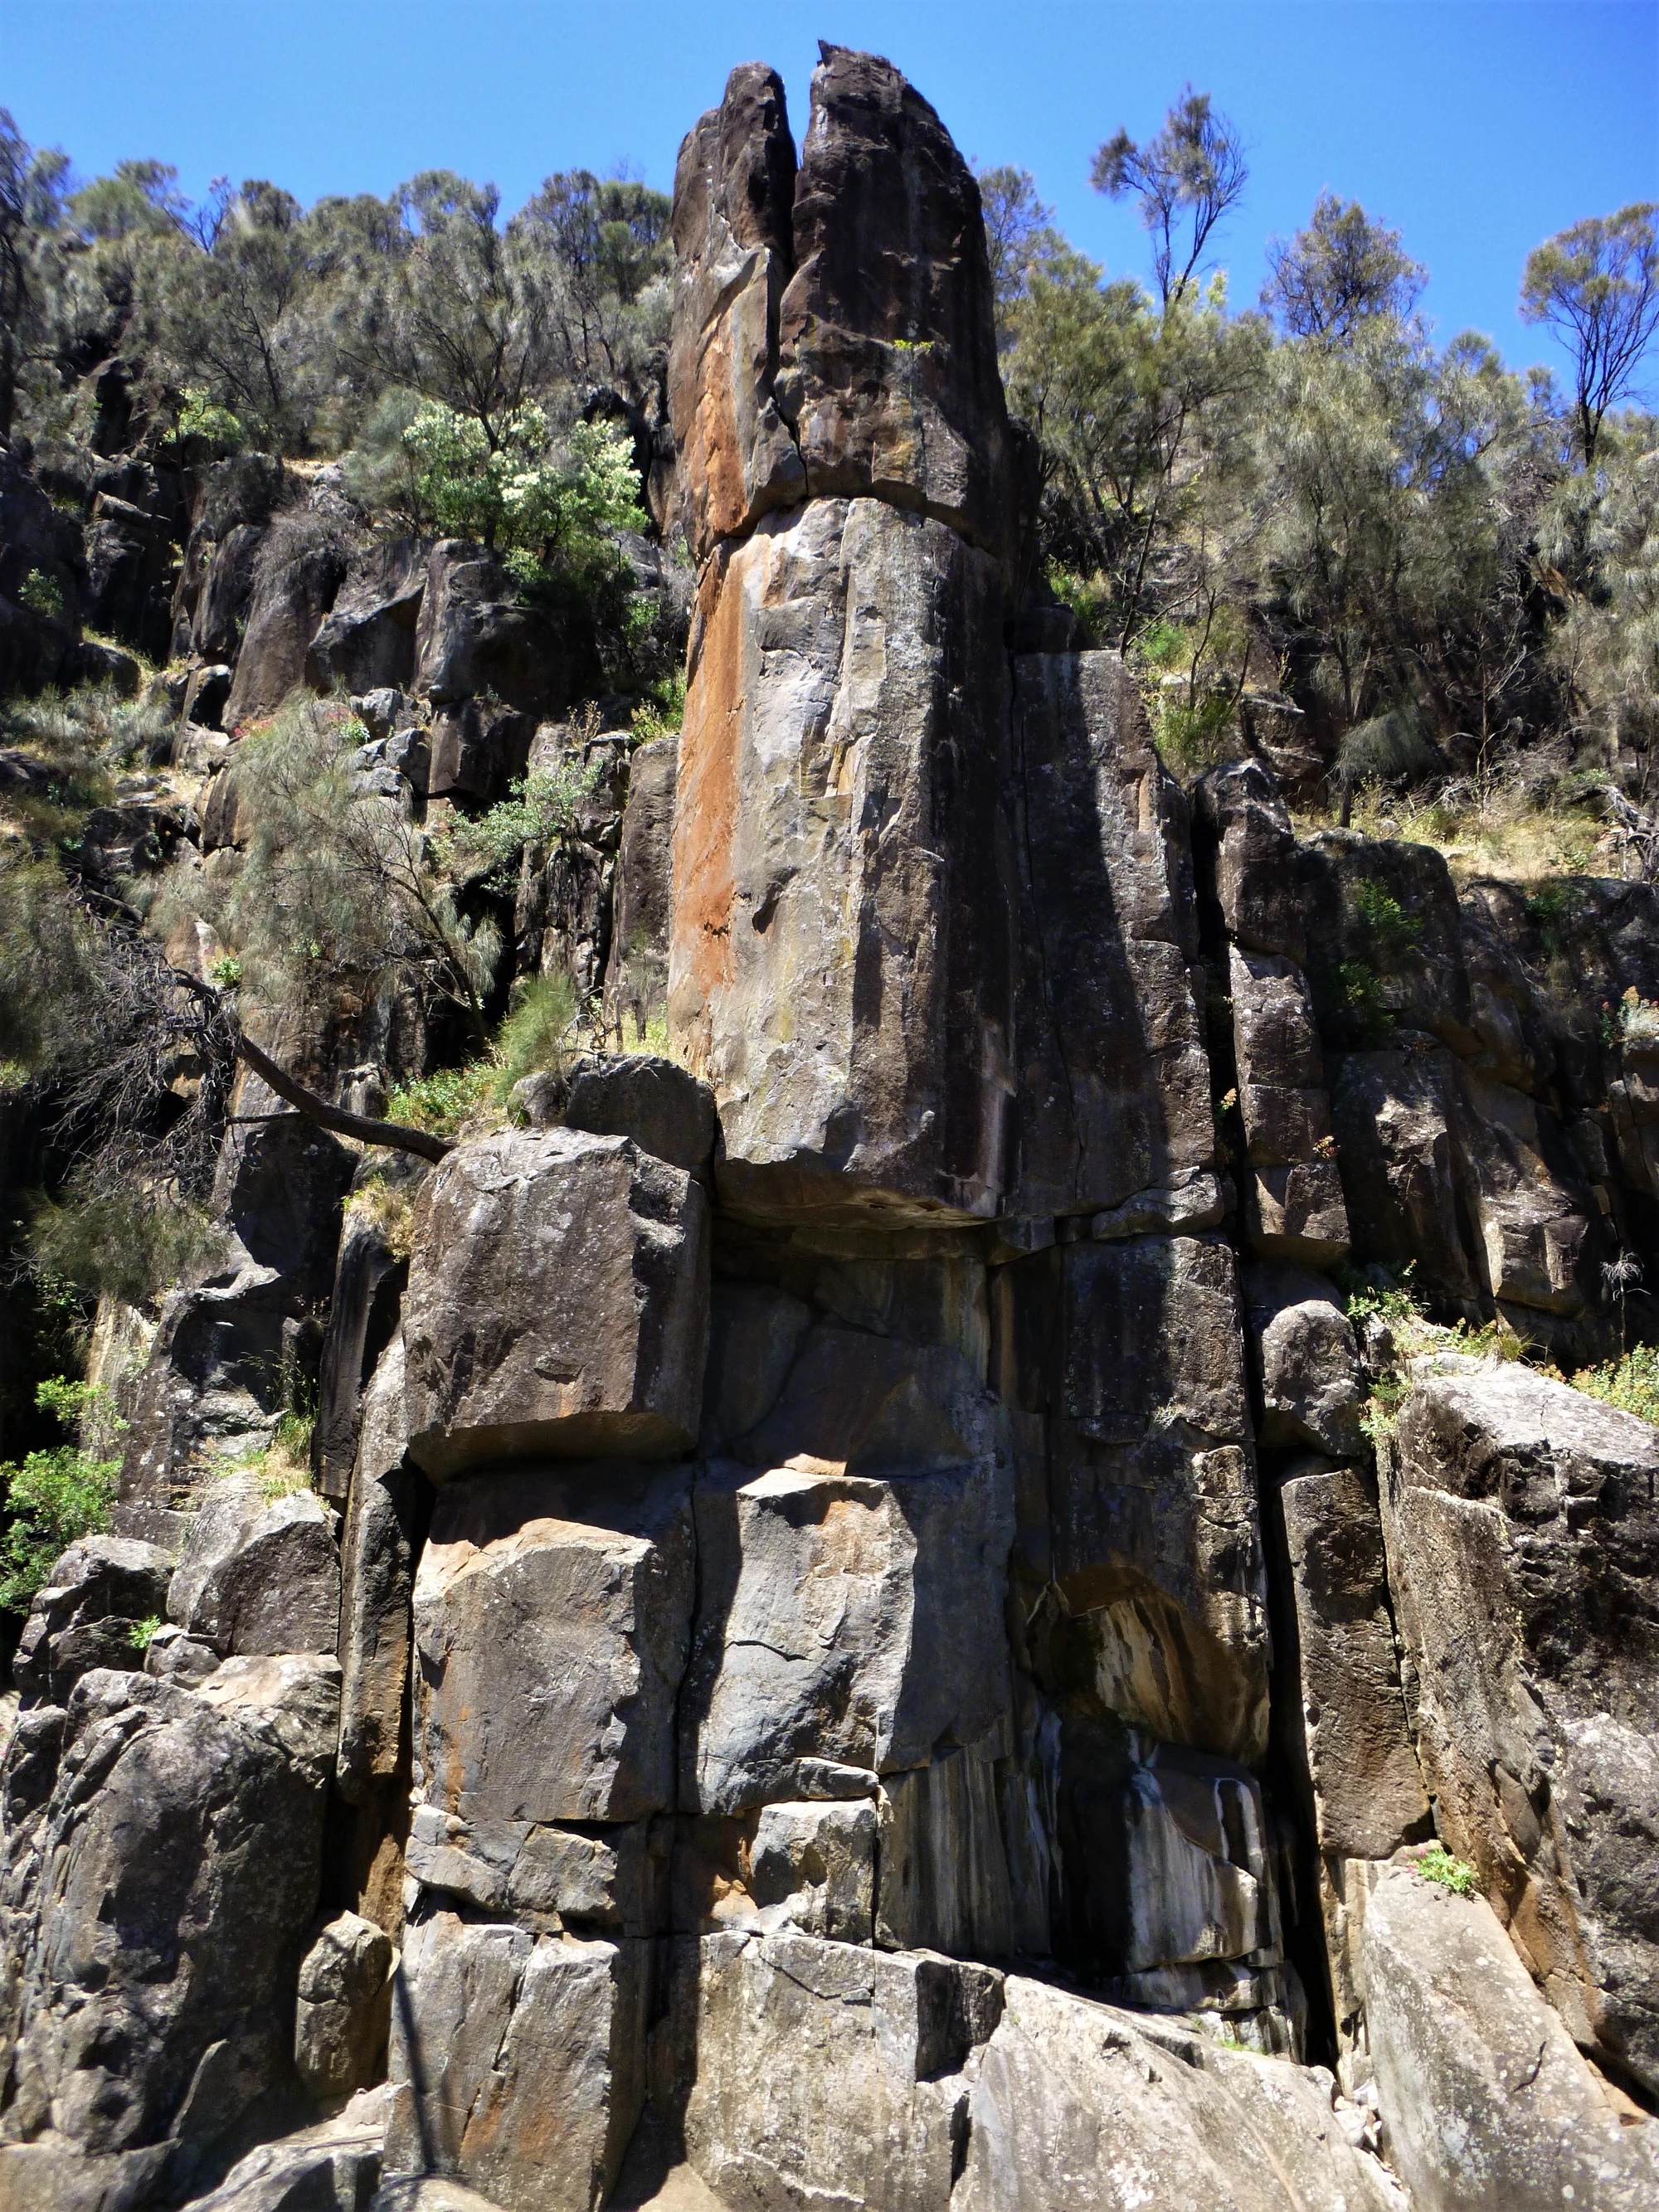
Topo: theCrag contributors, CC BY-NC-SA 3.0, theCrag
An excellent climb and probably Mick Lings most lasting contribution. Across the gully/chimney from the previous climbs is a 25m pillar split by an off-width at the top. Climb from the base of this to the roof and out left to stand on the ledge and clip the fixed hanger. Up a thin crack with good RPs past and then past an eye-bolt to a horizontal break. Briefly up off-width before escaping out left in diagonal jamb crack. DBB.
Mick Ling.
Start up The Sting and clip the first bolt then head right up past 4 carrots. A bit crumbly and contrived. Not one of Danny's best efforts. Same DBB as The Sting.
Danny Ng.
Climb the corner 10m upstream from The Sting and then continue up the hand crack above. DBB.