
Hoo Hoo Hut
 5-20 mins
 Afternoon sun
 Vertical dolerite buttresses, up to 25m high
Access
From Kings Bridge in Launceston follow the signs on Trevallyn Road up to the Trevallyn State Reserve. Once in the reserve take a left on to Duck Reach Rd and follow it to the end. Walk from the hut across the shallow gully and then across the gentle ridge on the other side before dropping down to the river and the two tiered crag. Can be difficult to find.
Crag Steward
Rock climbers please contact the Cliff Steward (eskriver@climbersclubtas.org.au) if you have any queries or concerns regarding social or environmental impacts of rock climbing at this crag. Do not email regarding general travel, seasonal advice, or lost property - this is not the Steward’s role. If you have important safety information to communicate (e.g. risks due to recent and large rock falls) please also consider updates on thesarvo forum, facebook group and/or online guidebooks as appropriate. Please copy in cct@climbersclubtas.org.au if you feel you have a high level concern which may imminently impact the crag or climbing community.
Non-climbers, other users, land managers: please also contact cct@climbersclubtas.org.au if you have important climbing related queries at this location.
Headbanger Buttress
You can get to this buttress by crossing the river and bashing up the hill from the Duck Reach track just past marker 9. Better is to come in from the Hoo Hoo Hut side of the gorge. On the Duck Reach Road to the Hoo Hoo hut, 1.2 km from the cattle grid, is a sign for the Snake Gully track. Park and follow the track downhill past the horse jumps till you get to a junction with a 4wd track. Turn right, which will take you to the Hoo Hoo hut, the Duck Reach Power station and the Rabbit Trap Buttresses. 40m from the junction, at a slight crest, go left and into the bush. You should pick a cairn fairly soon (for some reason Parks has taken to removing all cairns visible from the track). Follow these along the faint ridge and then down the hill for about 150m. You should emerge either at the top of the buttress or at the bottom of it on the upstream end.
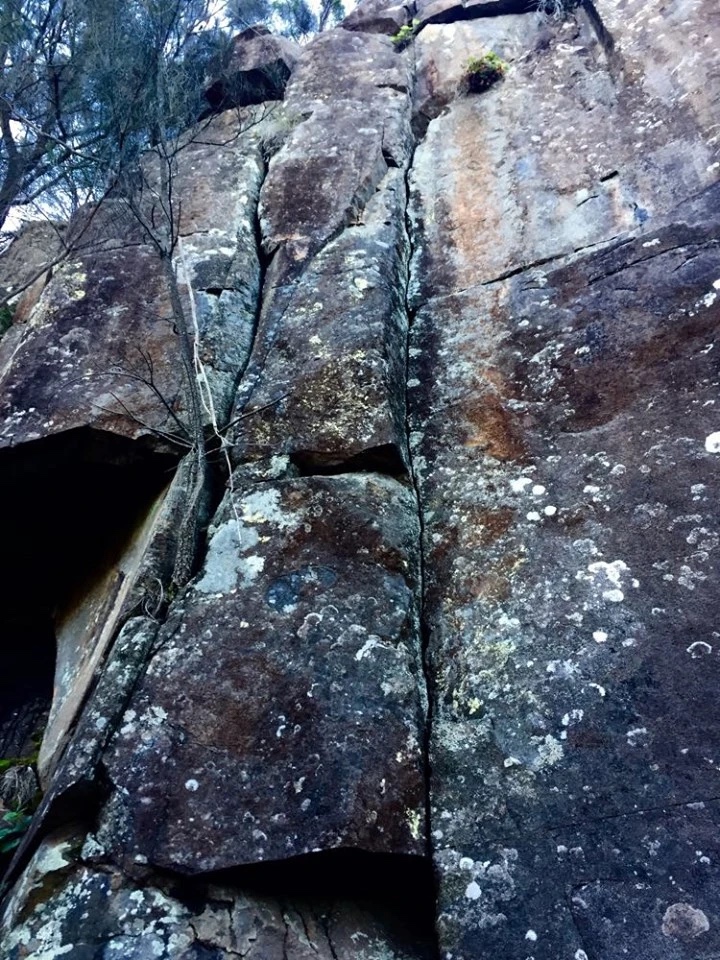
Topo: theCrag contributors, CC BY-NC-SA 3.0, theCrag
The broken hand crack above the cairn on the left of the buttress.
Narkowicz, 1985.
The thin looking corner/crack 1m right of DGTIF. Good climbing.
Narkowicz, 1985.
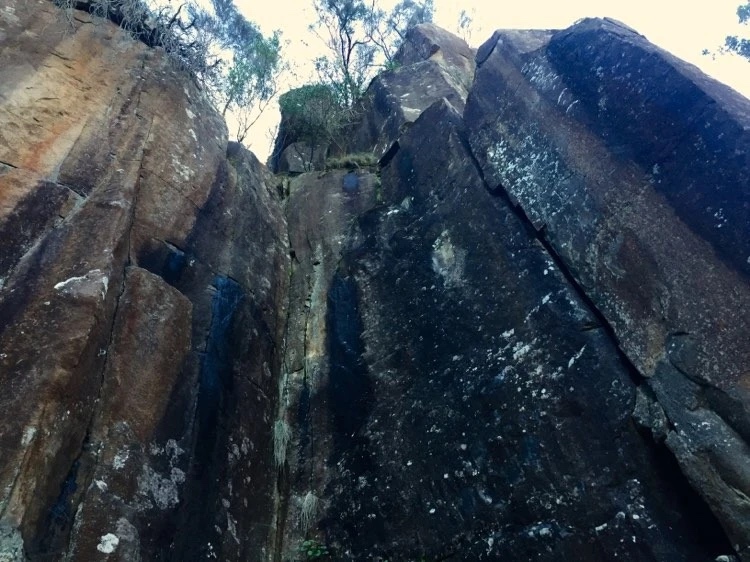
Topo: theCrag contributors, CC BY-NC-SA 3.0, theCrag
The corner right of TMR. Superb bridging with small wires.
Narkowicz, 1985.
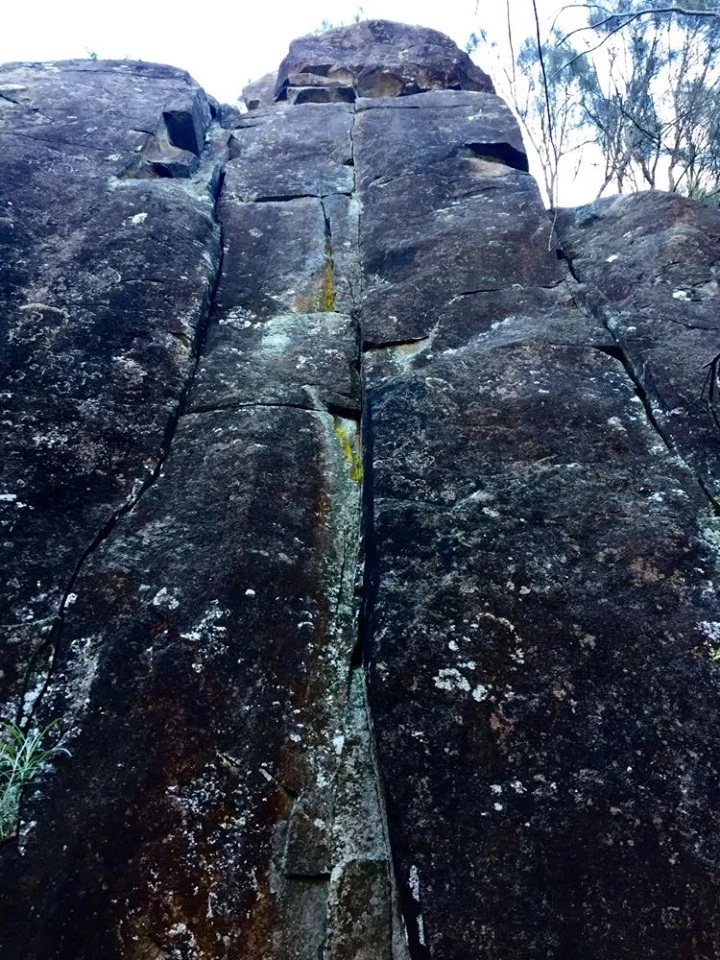
Topo: theCrag contributors, CC BY-NC-SA 3.0, theCrag
The large hand crack on the upstream facing wall right of DY. Climb this to the ledge (grade 16), then finish up Impale me on the Horns of Death.
Narkowicz, 1985.
The great looking twin cracks on the face around the arete and right of Paranoia. Some loose sounding flakes can be disconcerting but worth doing anyway. Up to the ledge, then again on to the top.
Narkowicz, 1985.
The crack right of the above climb. Climb this to the top of the boulder. It's pretty short, but you can then climb into the climb described below.
Narkowicz, 1985.
The crack around the corner and up hill from AOTMA.
Tierney, 1985.
The next line uphill and right of KWP.
Narkowicz, 1985.
Rabbit Trap Area
A great area with morning sun and afternoon shade so good climbing is possible in summer and winter. Access- see map. To get to the Hoo Hoo Hut drive from the Old Kings bridge at the bottom of the Gorge up Trevallyn Rd./Gorge Rd and follow the signs to Trevallyn State Reserve. Once in the reserve take a left across a cattle grid on to Duck Reach Rd and follow it to the end. Park there and then take the walk to the Duck Reach Power Station. Instead of walking down the stairs to the power station continue along the track and down the hill. Cross a dry (generally) rocky creek bed and continue up the hill on the other side. At the crest of the hill turn 90 right and walk about 80m. This should bring you to the top of the Old Timers Buttresses. All up it's about 15 minutes walk.
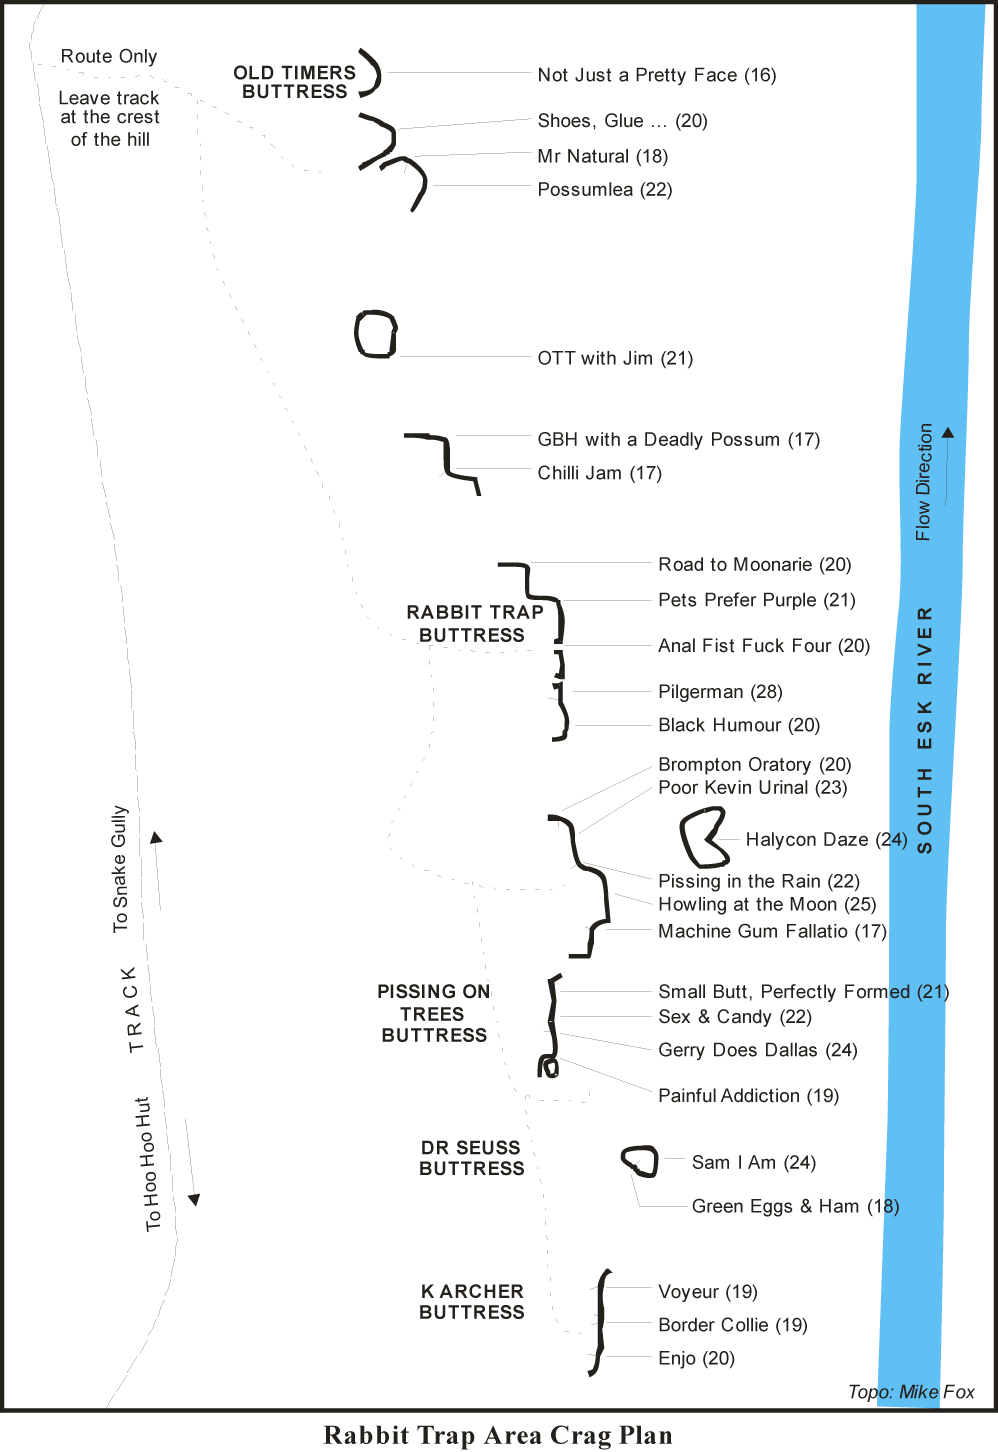
K.Archer Buttress
The left most crack on the K.Archer Buttress.
Fox, Tiz, 2002.
4m right of Enjo.
DeCesare, Kearnes, 2002.
The last obvious crack of the buttress.
Webb and the little girl, 2002.
The Dr Seuss Pinnacle contains the following climbs and has a DBB on top.
The large hand crack on the upstream face of the pinnacle. Climbs better than it looks.
Fox, Tiz, 2002.
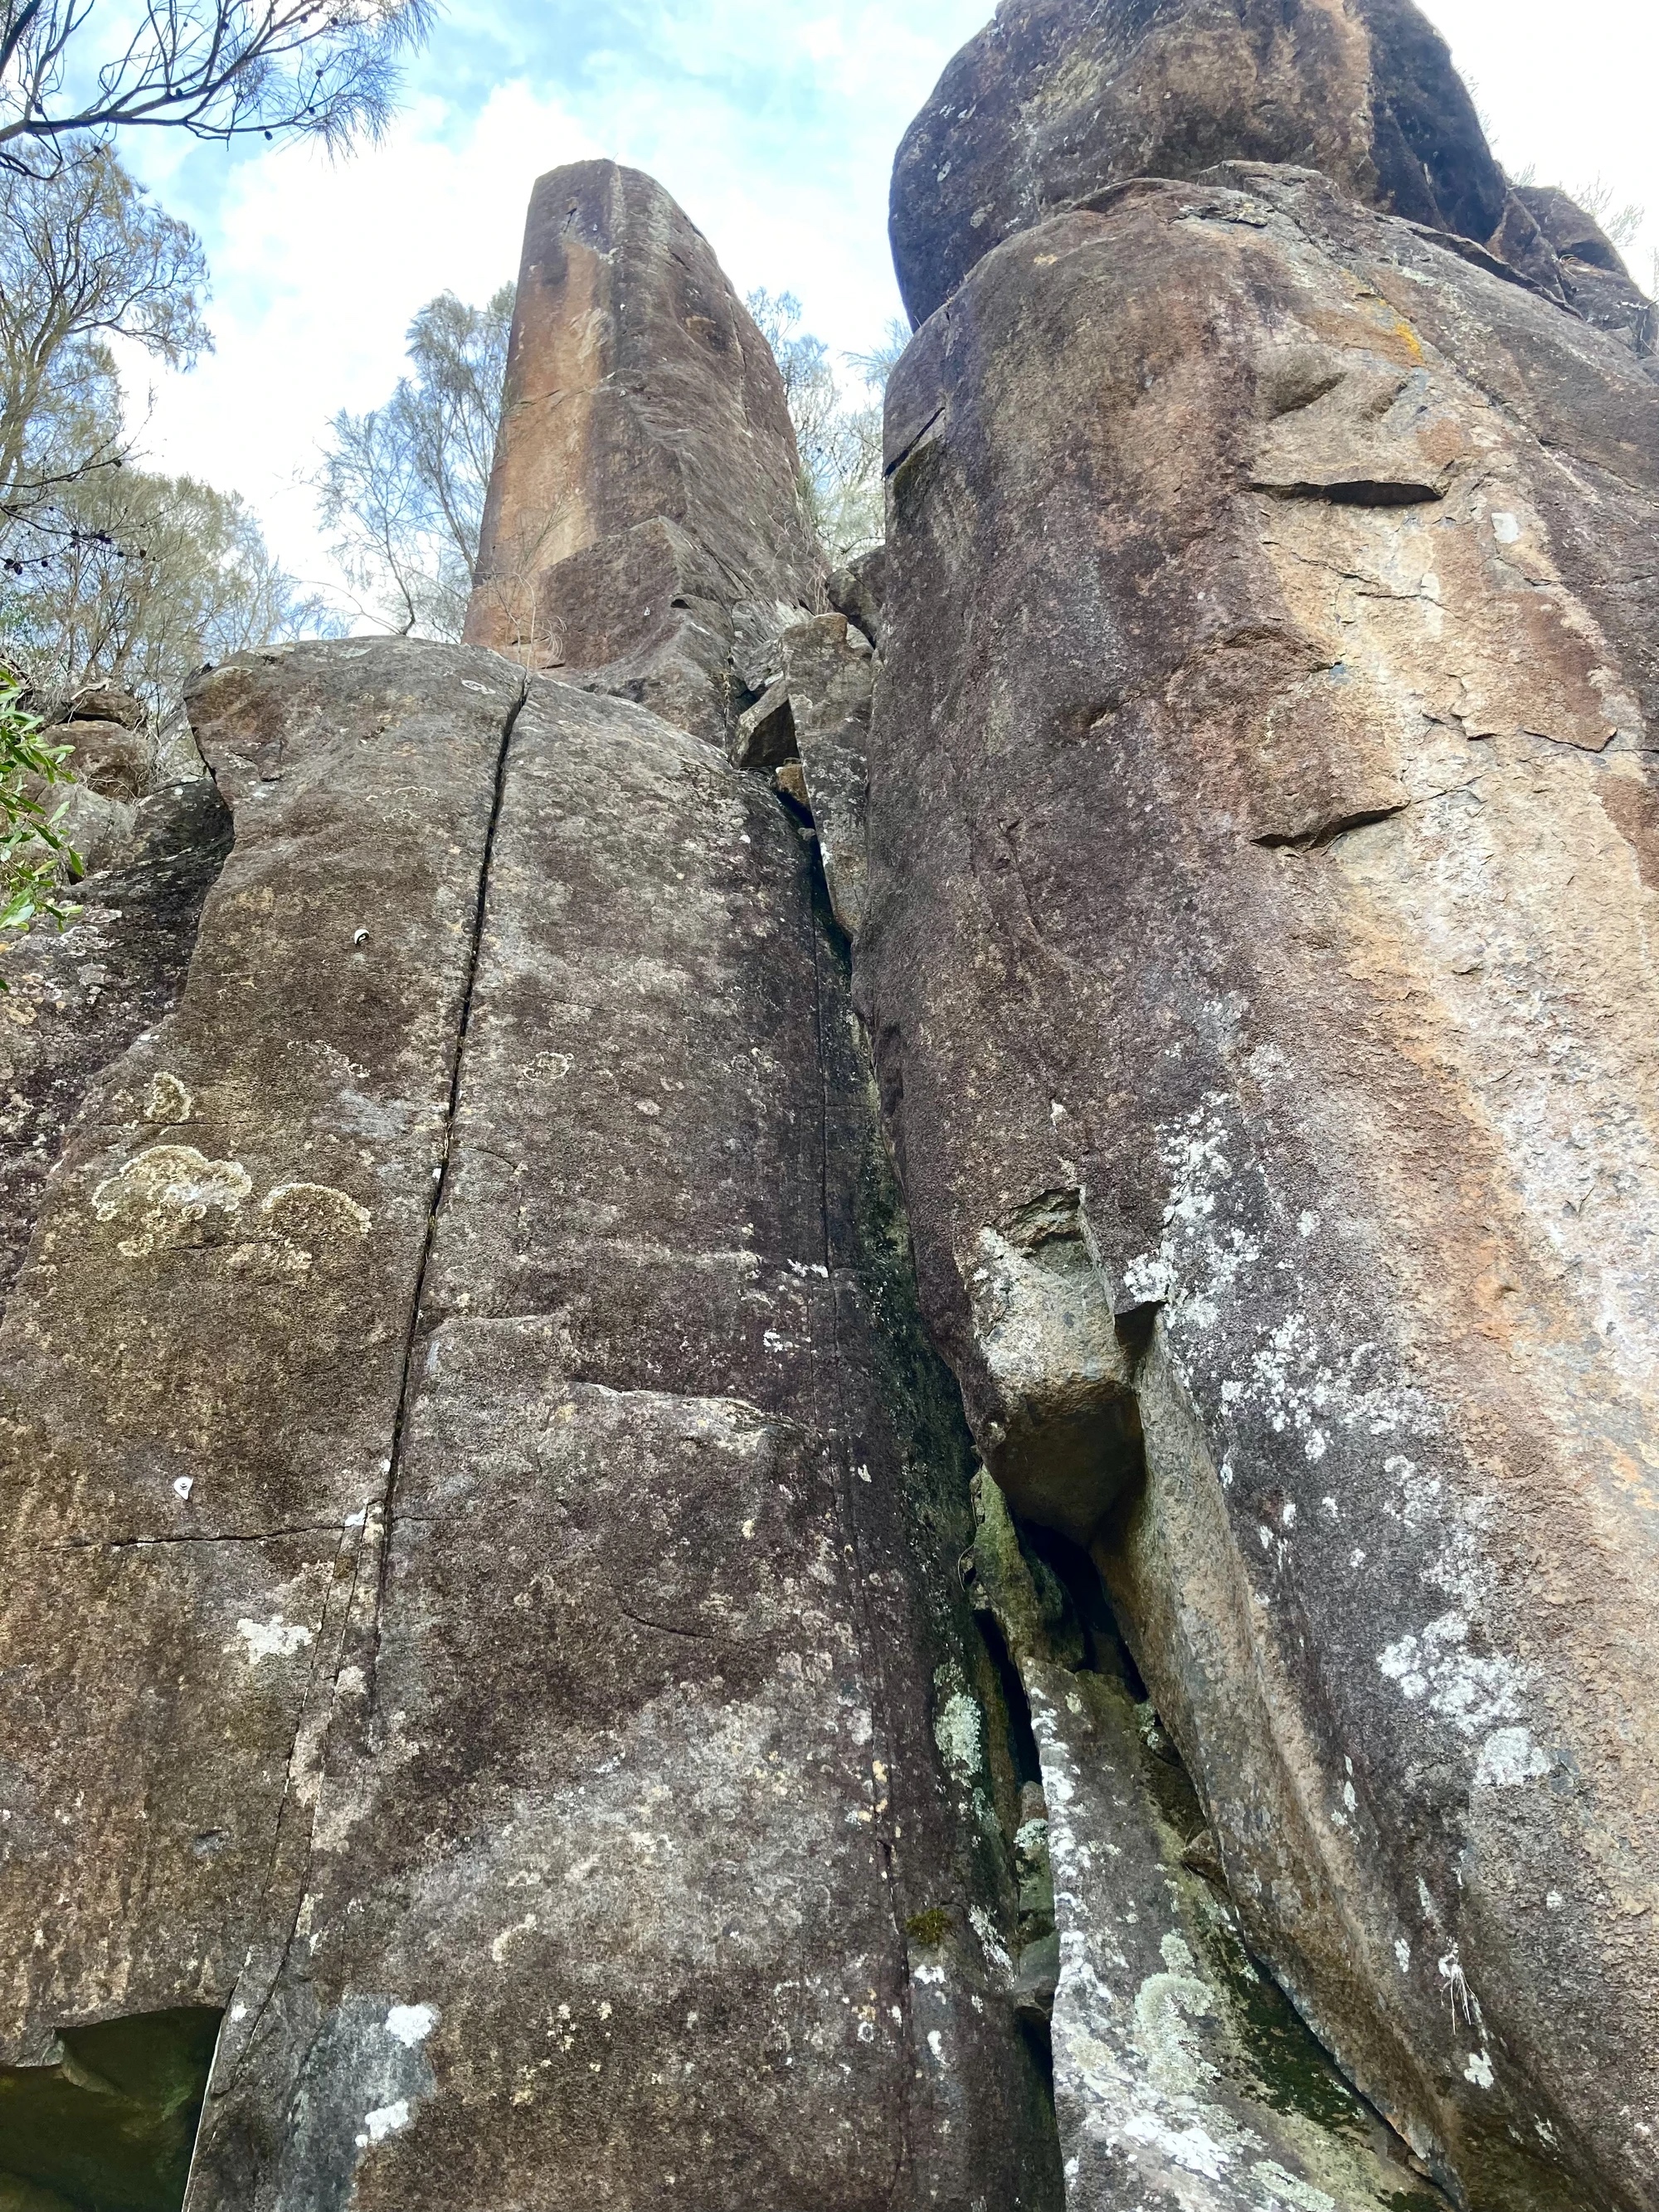
Topo: theCrag contributors, CC BY-NC-SA 3.0, theCrag
Start on the bottom tier and climb up to ledge via 2 FH then fire up the pillar past 3 more FH to DBB.
Fox, Tiz, 2002.
Pissing On Trees
See Map. Either walk in directly from the 4WD track or walk above the cliffs from the Old Timers Buttresses. The first 4 climbs are set on a slightly separate part of the cliff.
Up to ledge then past 2 FH on the left most arête of the buttress.
Tiz, Kearnes, 2001.
Give yourself the full grade if you place gear as you go. The thin crack 3m right of Painful Addiction.
Bissett, Kearnes, 2001.
This time the action goes up past 3 FH. 2m right of Gerry Does Dallas.
Fox, Kearnes, 2001.
Now the truth is out. Boulder up past the single FH 2m right of Sex and Candy to the thin crack above.
Kearnes, Tiz, 2001.
The rest of these climbs are back on the main buttress.
The left most crack of the buttress. Follow your nose to the top.
Kearnes, DeCesare, 2001.
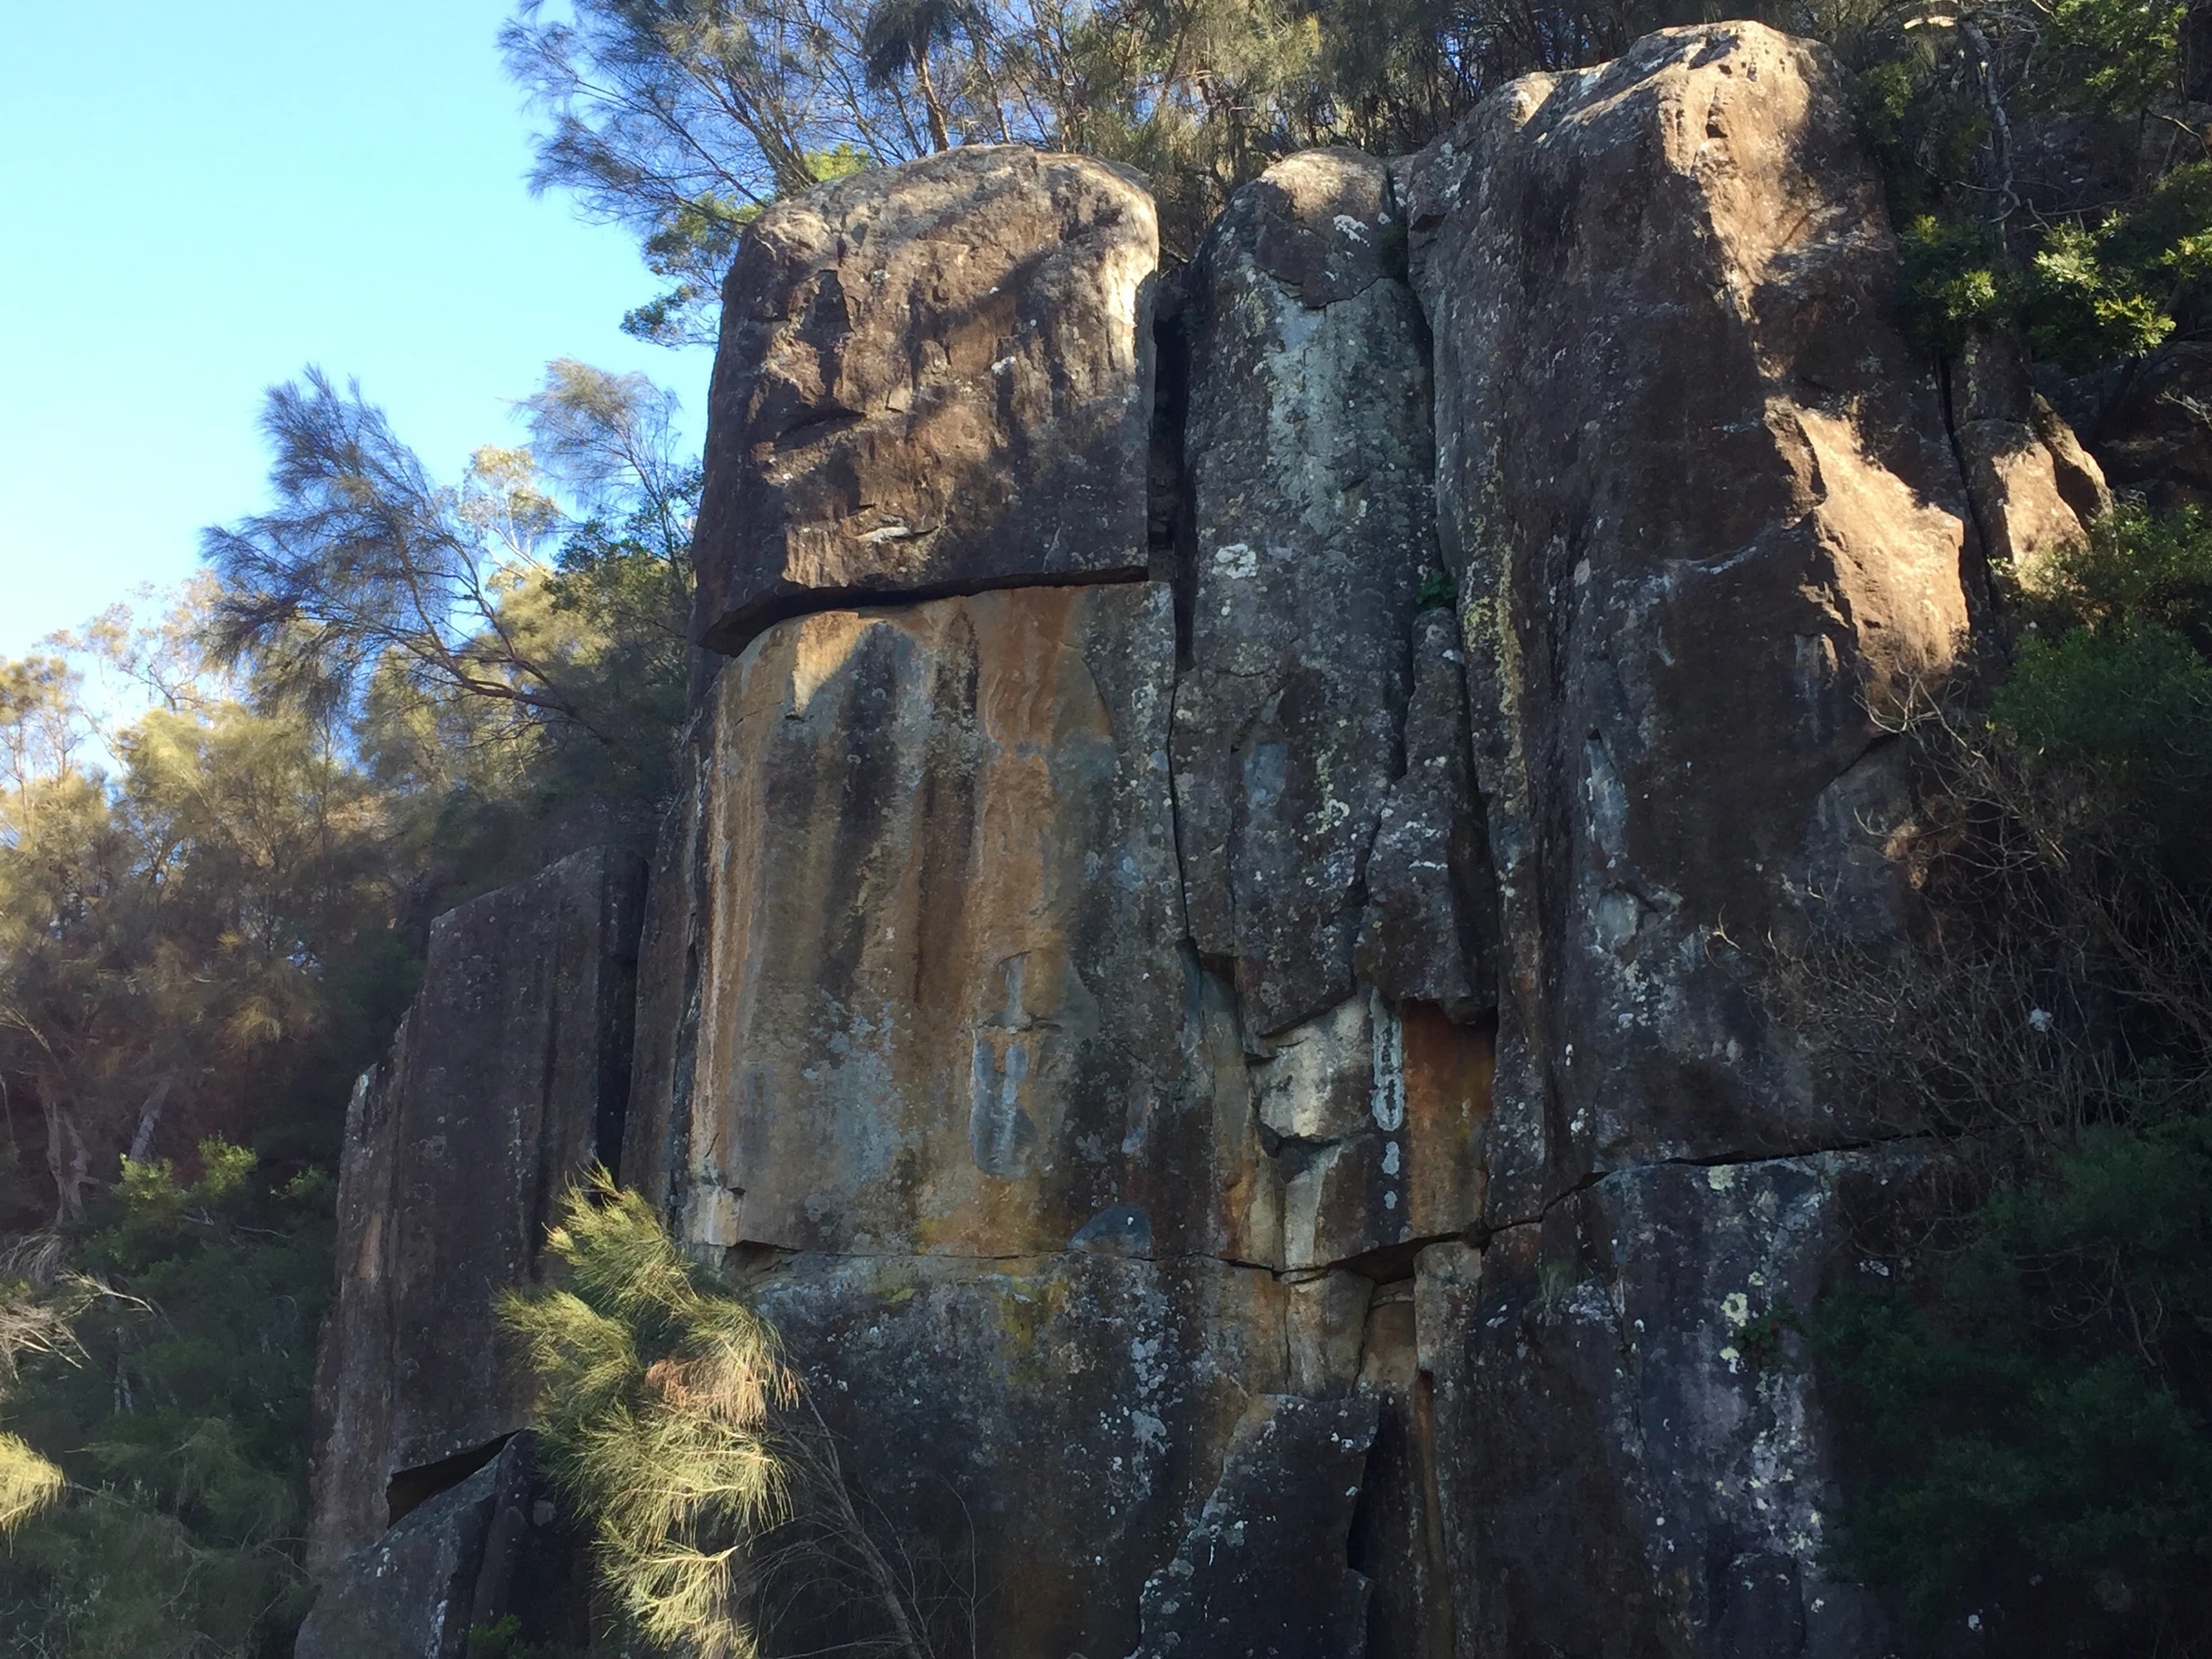
Topo: theCrag contributors, CC BY-NC-SA 3.0, theCrag
Up past 3 FH to the crack. At the top move right past another FH to finish at a DBB. Excellent climbing but the 2nd FH can be hard to clip so it is probably better to stick clip it and not bother with the first one at all.
Fox, Tiz, 2001.
Up easy flake past 3 FH then to crack above with a FH in the off-width at the top. DBB.
Fox, DeCesare, 2001.
The blunt arête 5m right of Pissing in the Rain. Up past 4 bolts and a 1.5 cam in the horizontal break. DBB.
Fox, Bissett, 2001.
On the rightmost end of the cliff. Boulder up to horizontal break. Up thin crack above which gradually widens. Same DBB as PKU.
DeCesare, Haas, 2001.
When you look from the top of the Pissing on Trees Buttress towards the river there is a pillar 30m away and slightly down stream. Either rap from the Pissing in the Rain belay down over the vegetation or scramble down over it to the front of this pinnacle for the next climb.
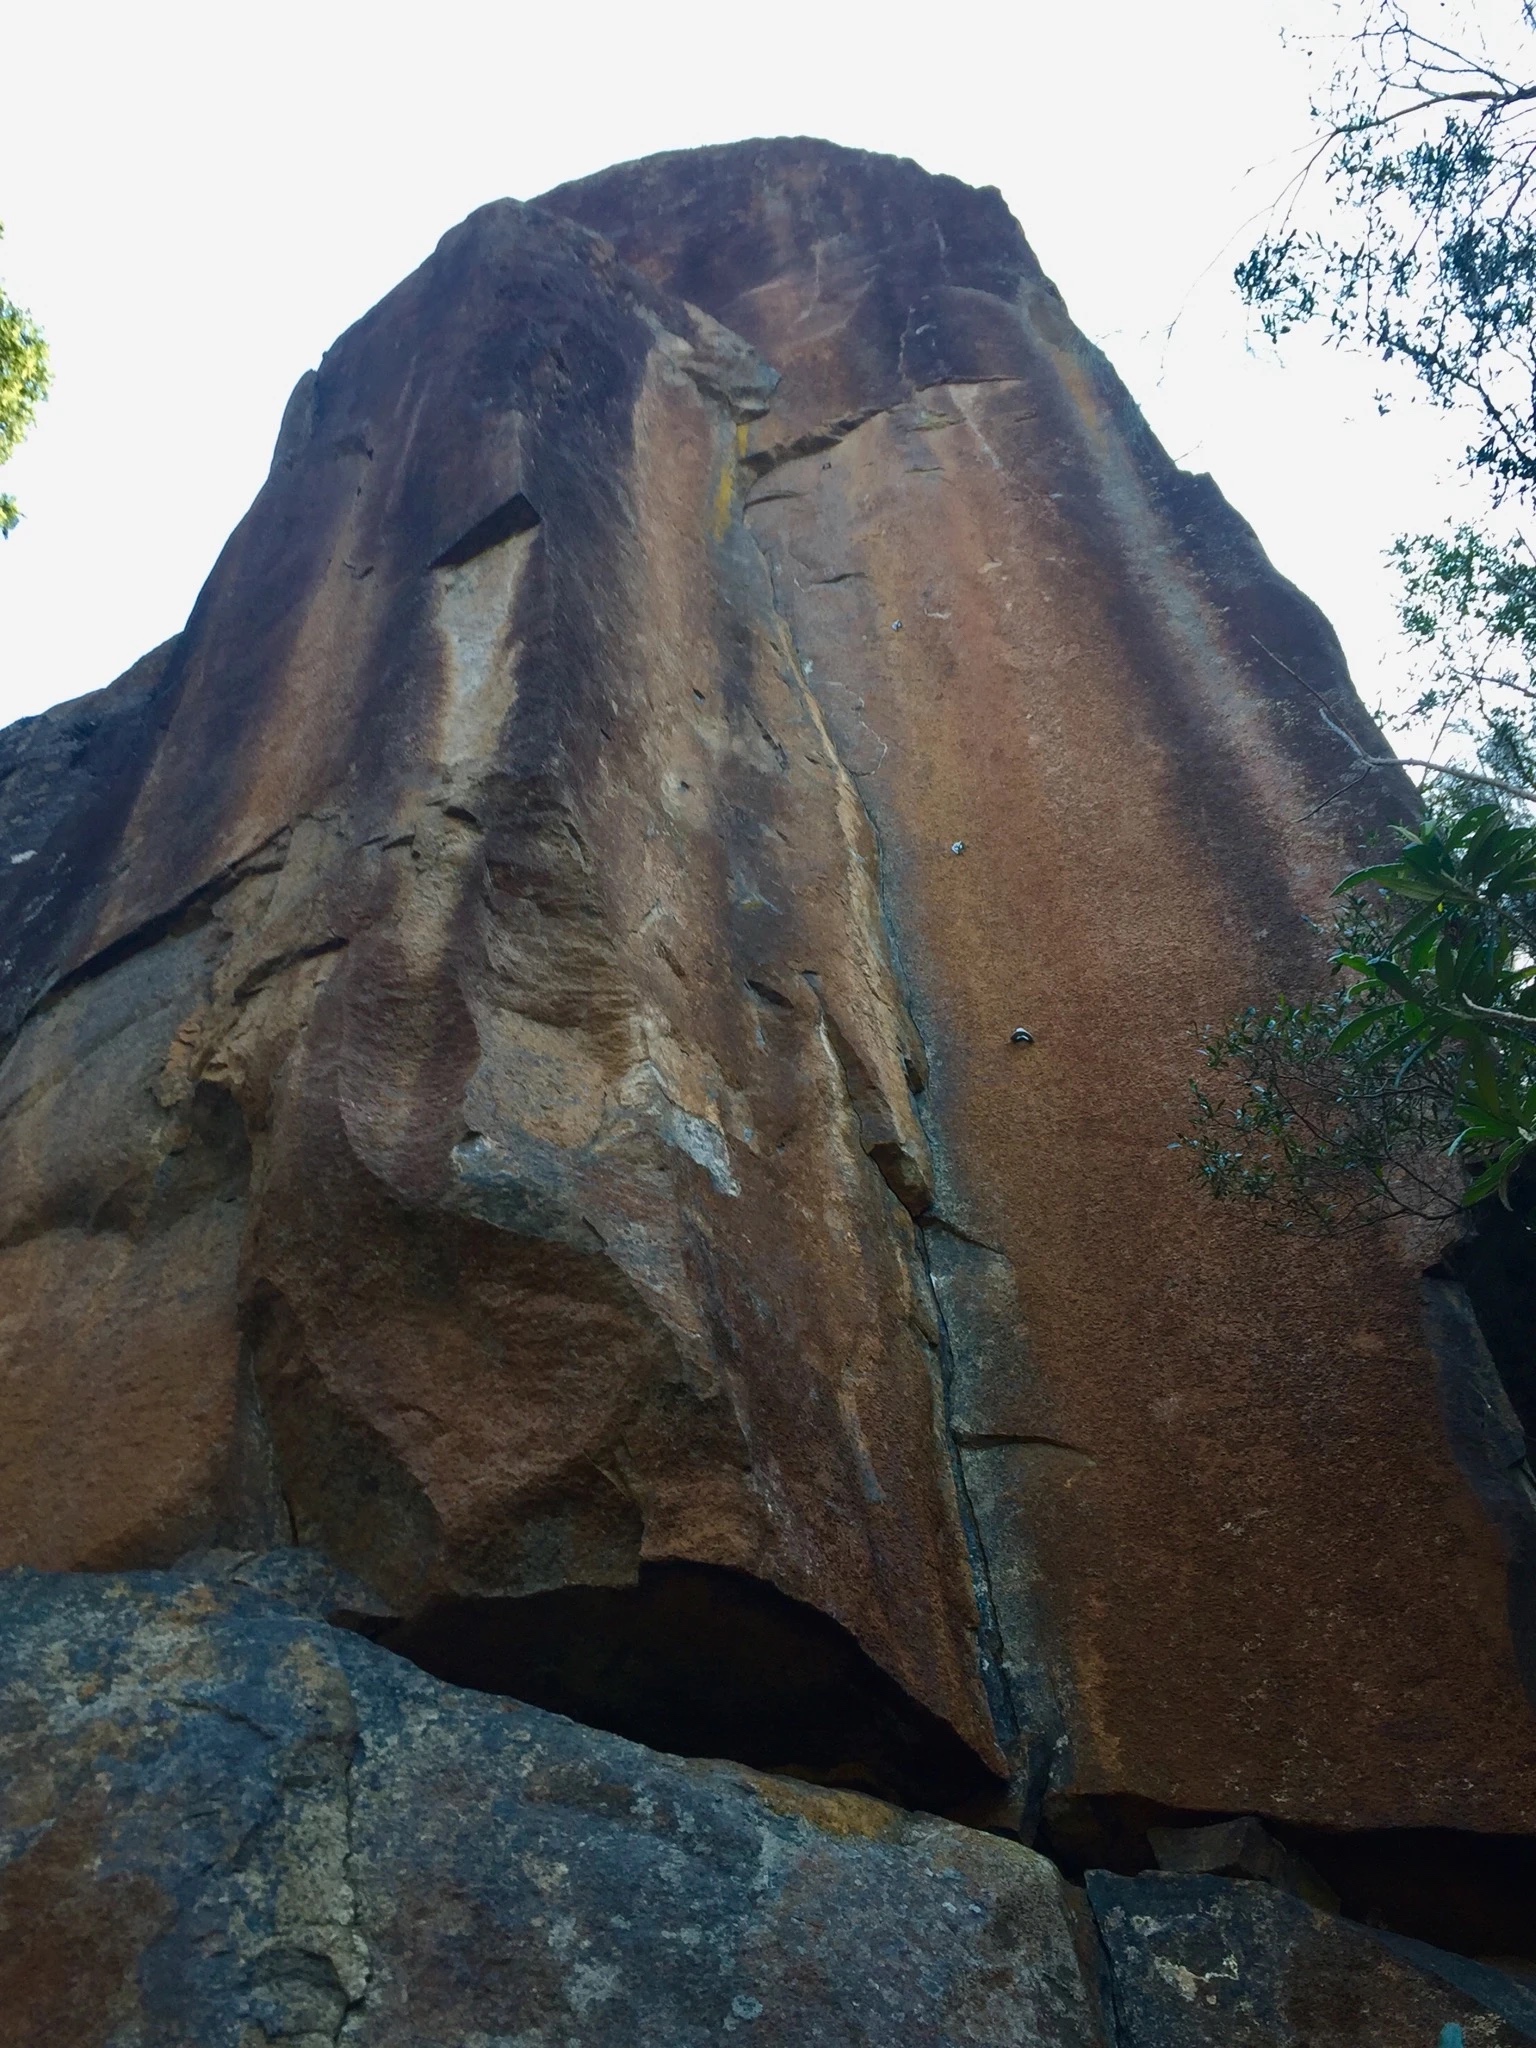
Topo: theCrag contributors, CC BY-NC-SA 3.0, theCrag
The superb orange corner, up past 4FH to a ledge. Step right up past 2 more FH to a DBB.
Fox, Bissett, 2001.
Rabbit Trap Buttress Proper
See map. Named after the old rabbit trap that should still be at the top of the buttress.
Boulder up the left most face of the cliff past a FH then up the crack system above to a DBB. Nice climbing but marred by the fact that it is split into 3 tiers. DBB.
Originally done by Narkowicz with-out the bolt or the belay.
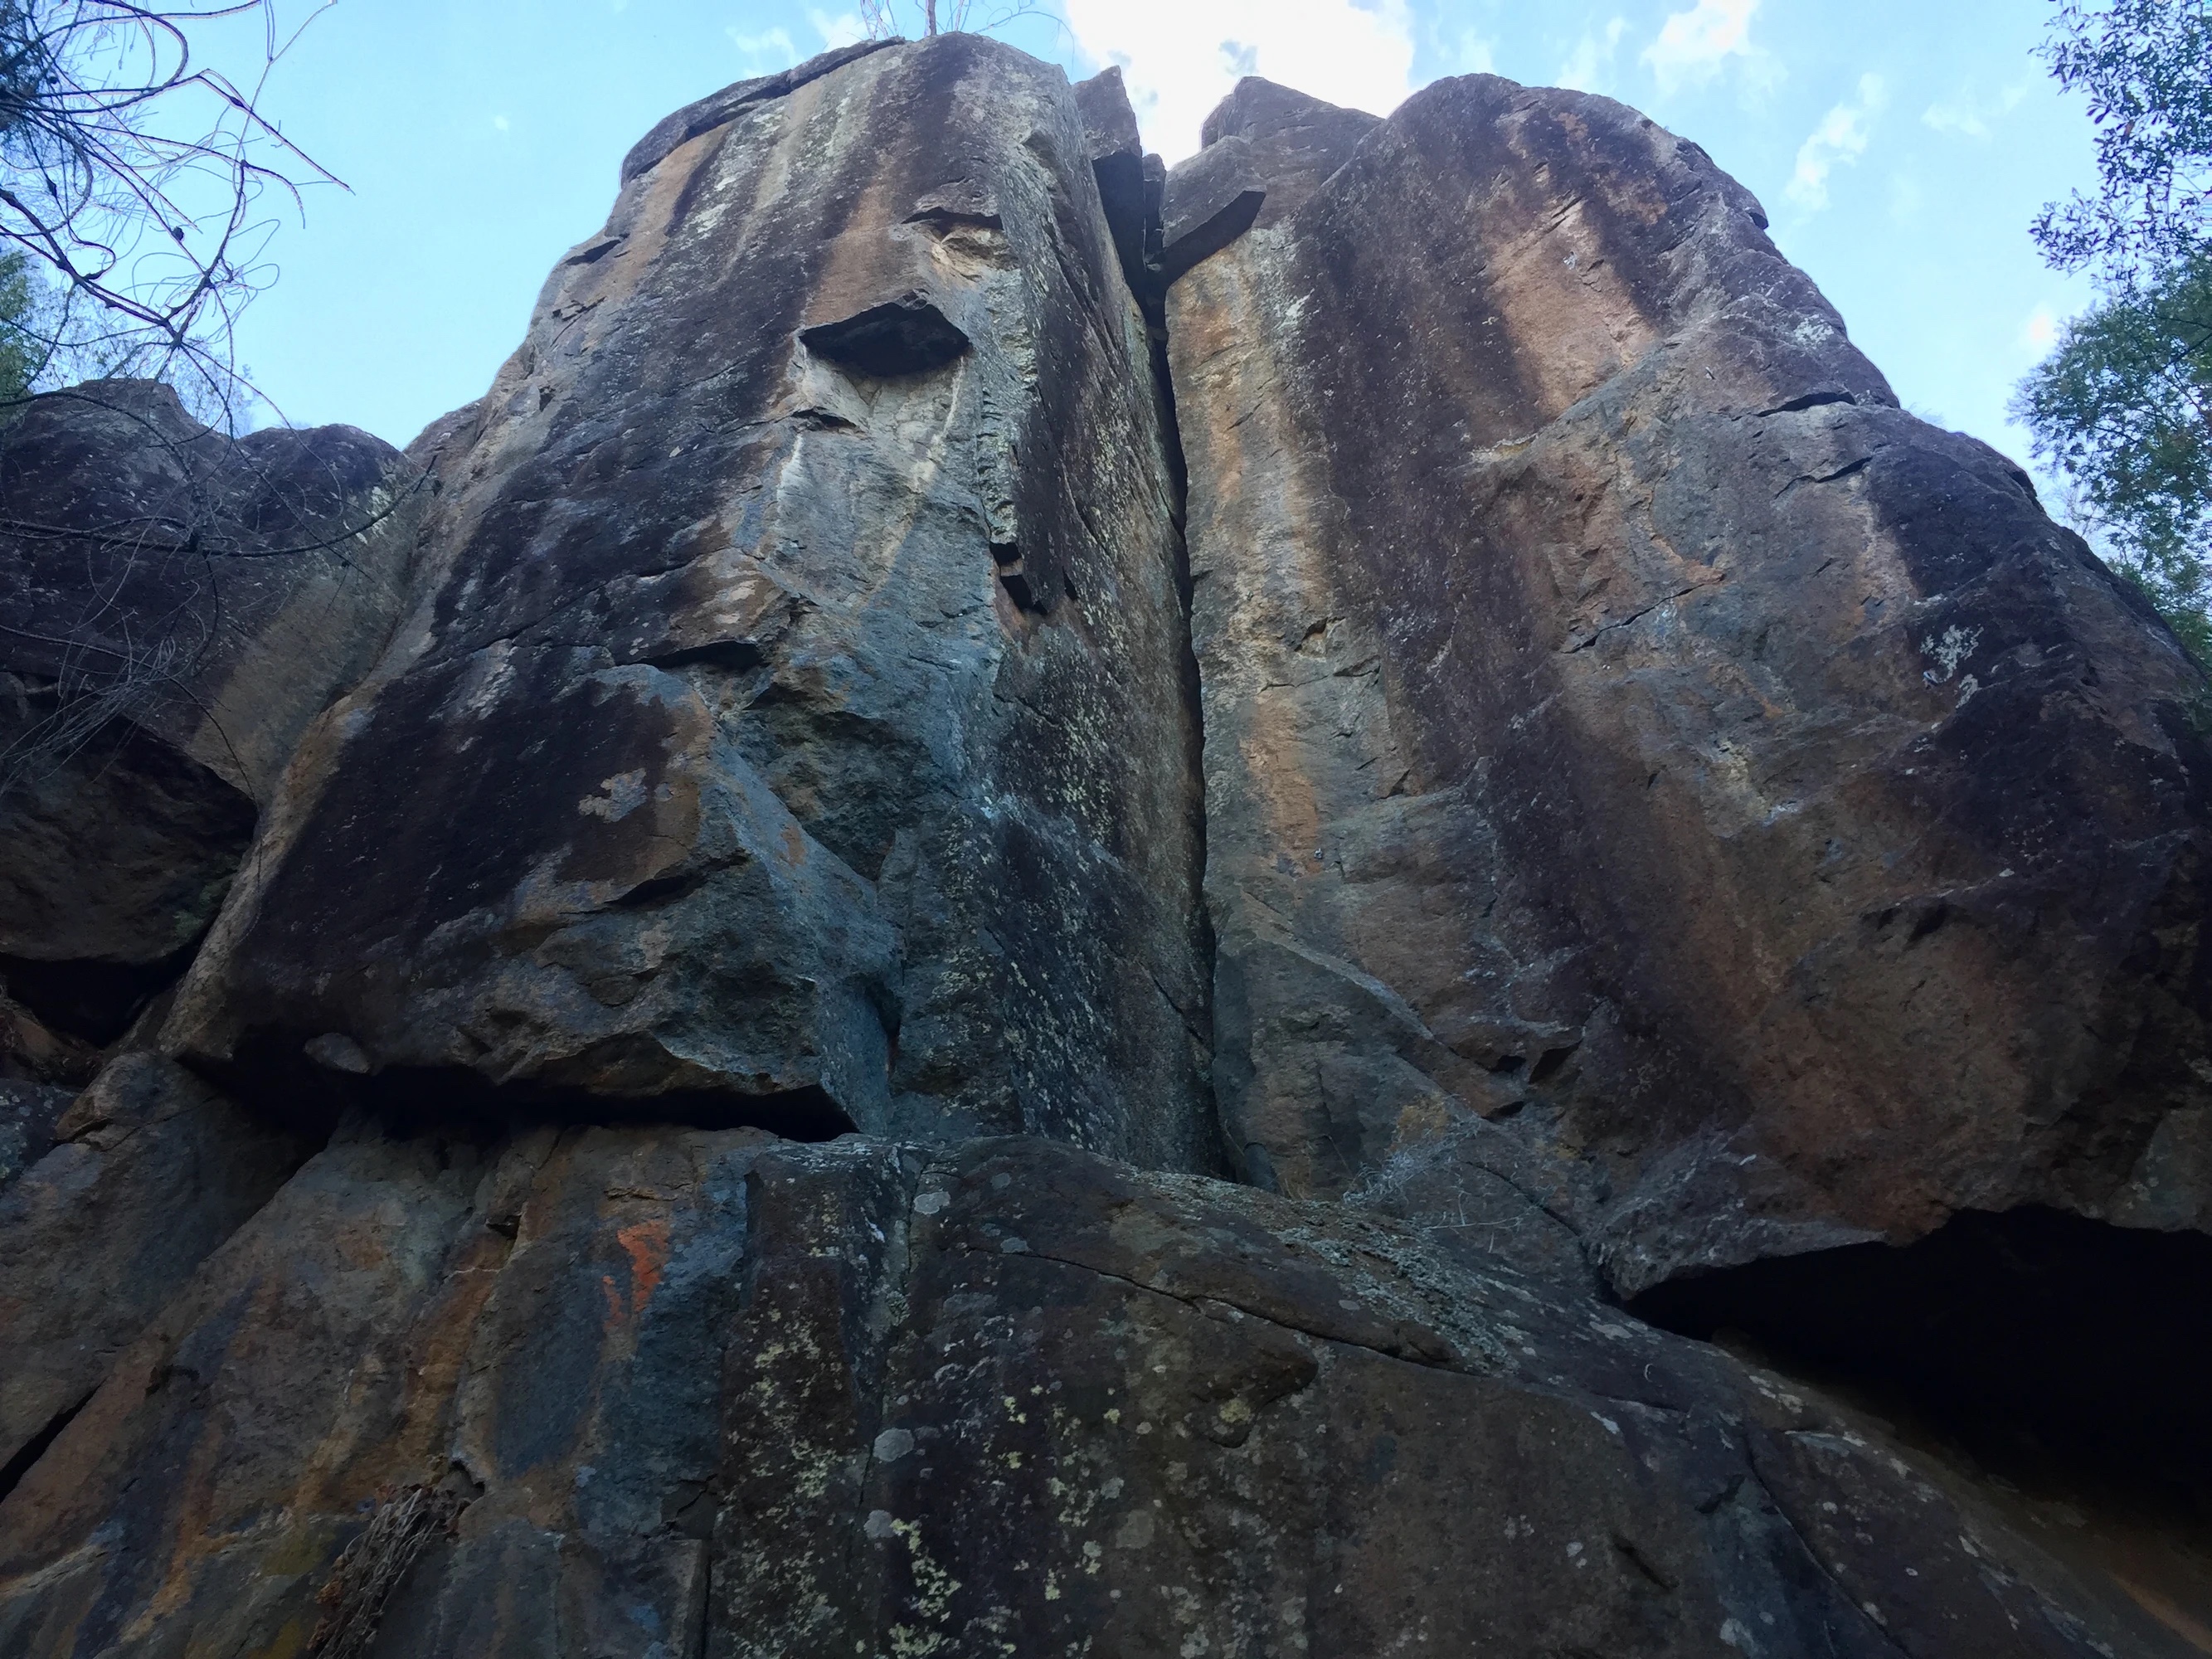
Topo: theCrag contributors, CC BY-NC-SA 3.0, theCrag
Uninspiring looking climbing up the cracks 3m right of Black Humour.
McMahon, Narkowicz, 1982.
Commonly abreviated to AFFF for some reason. How Bob and Gerry missed this on their original sortie to this cliff I don't know so it was named in memory of those times. The awe inspiring off-width with 3 FH. Has a DBB on top but don't pull your rope down from here or it will jam.
Fox, DeCesare, 2001.
One of the best climbs in the gorge. 5 bolts going up the arête 3m right of AFFF to finish at DBB.
DeCesare, Kearnes, 2001.
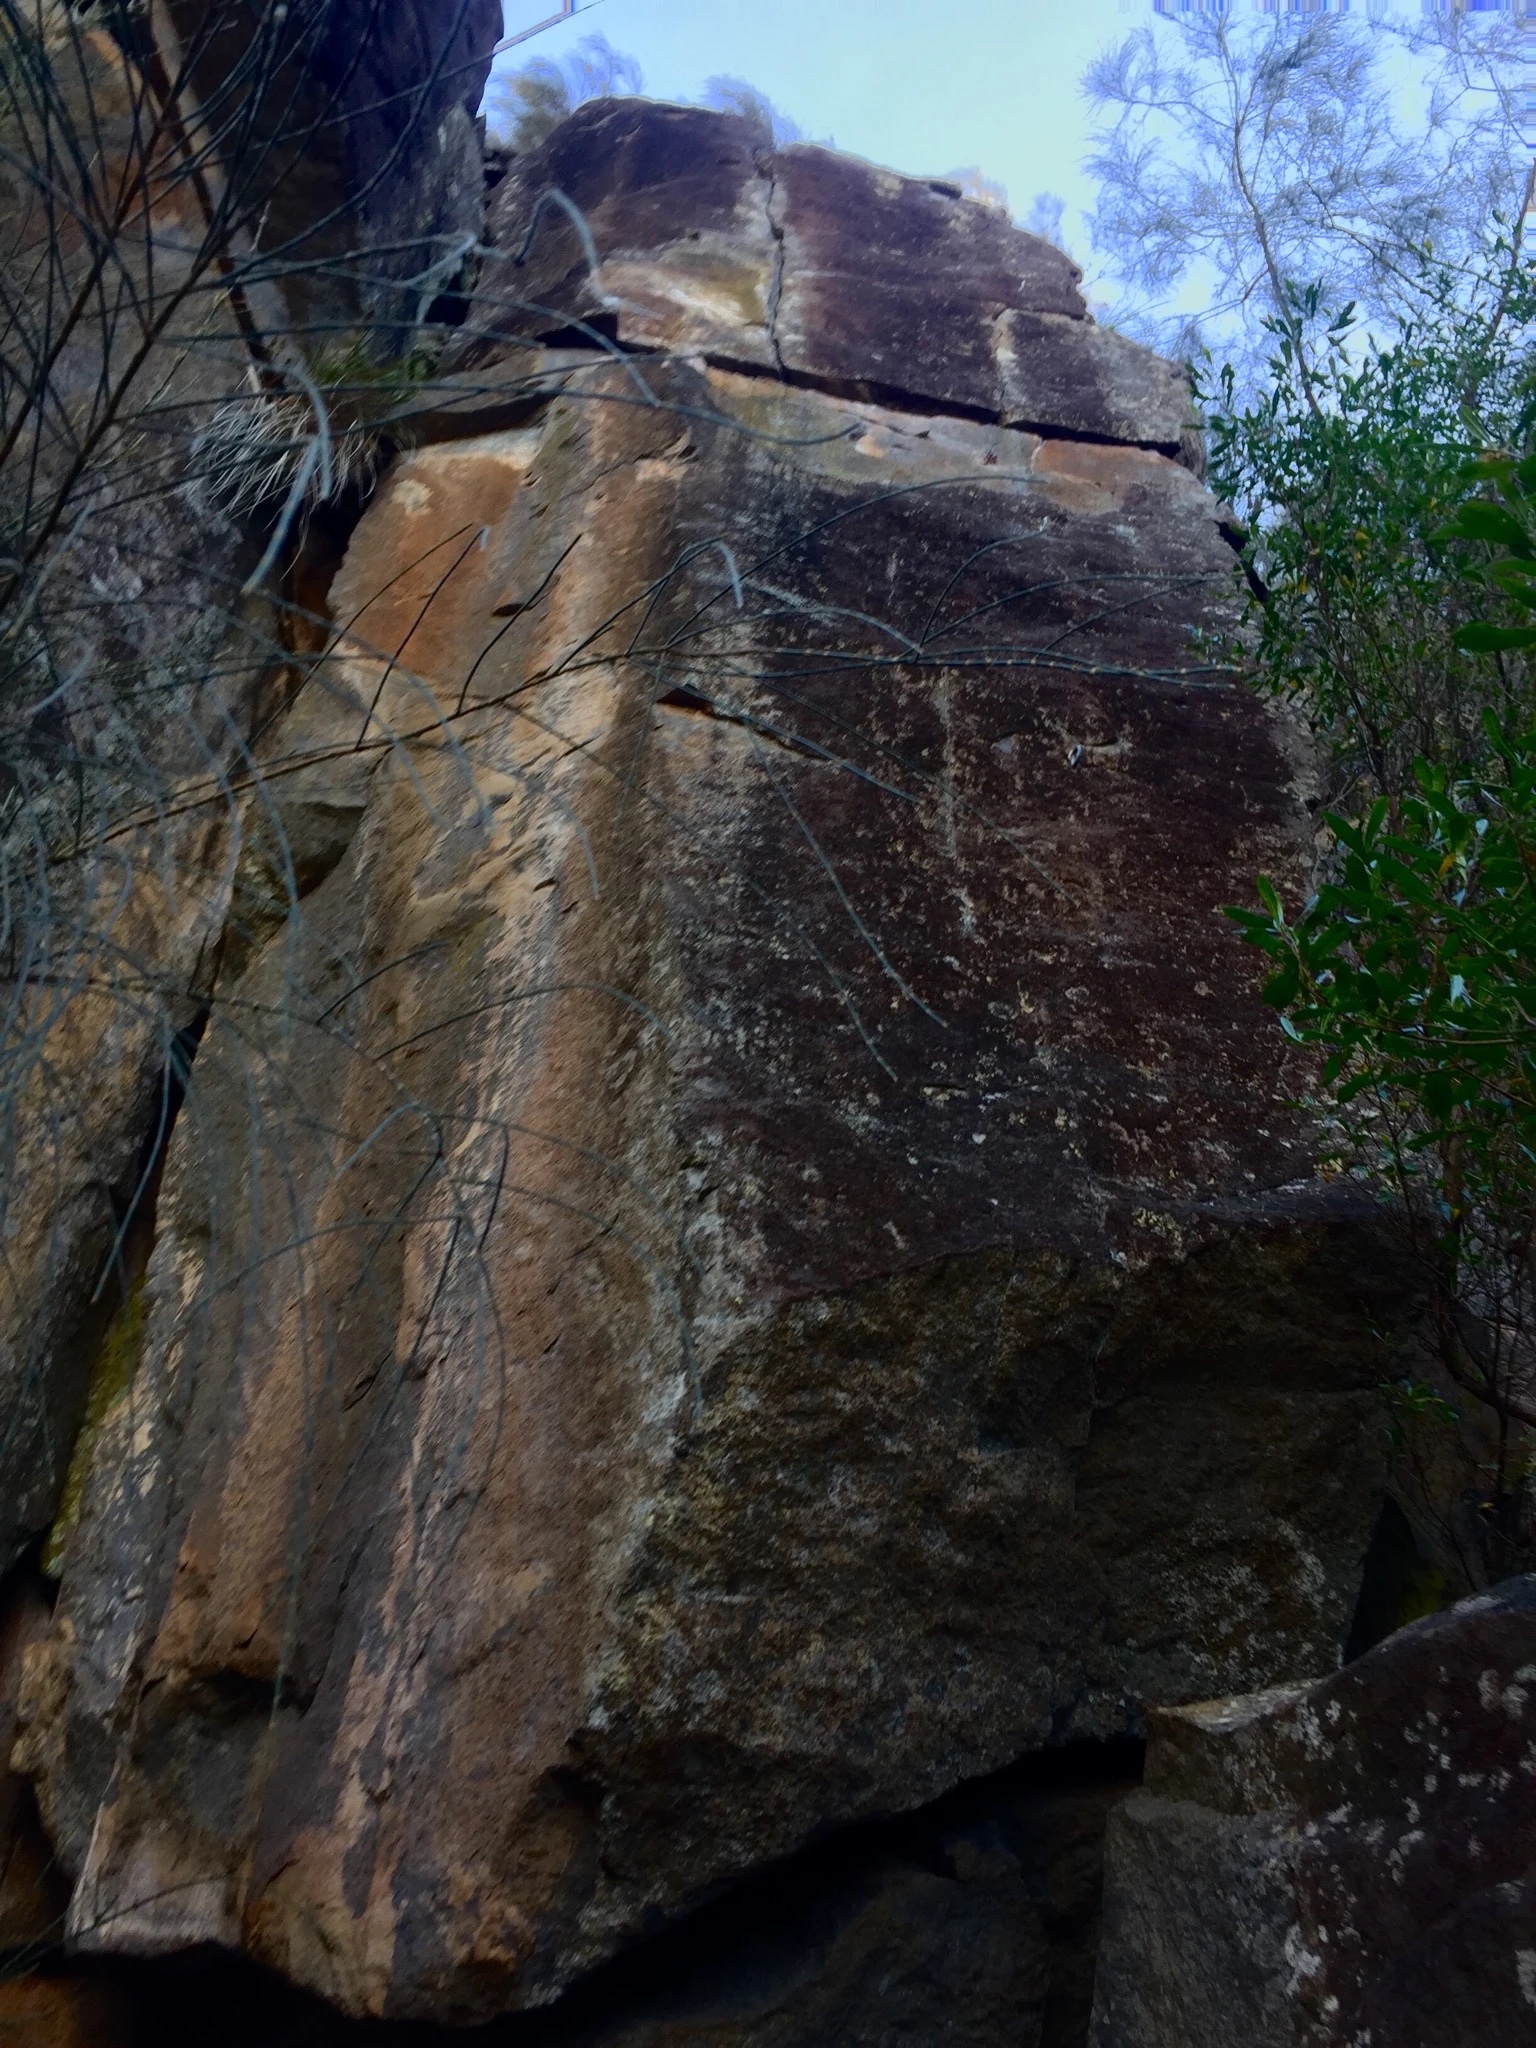
Topo: theCrag contributors, CC BY-NC-SA 3.0, theCrag
8m right of PPP is another arête. Up past 3 bolts and some cams in the horizontal break. DBB.
Kearnes, DeCesare, 2001.
An excellent variant finish to RTM. At the horizontal break move left to finish up the crack.
Tiz, Kearnes, 2001.
Half way between Rabbit Trap Buttress Proper and the Old Timers Buttresses is a small cliff with the next two climbs. Access is by walking along the bottom either from Rabbit Trap or Old Timers.
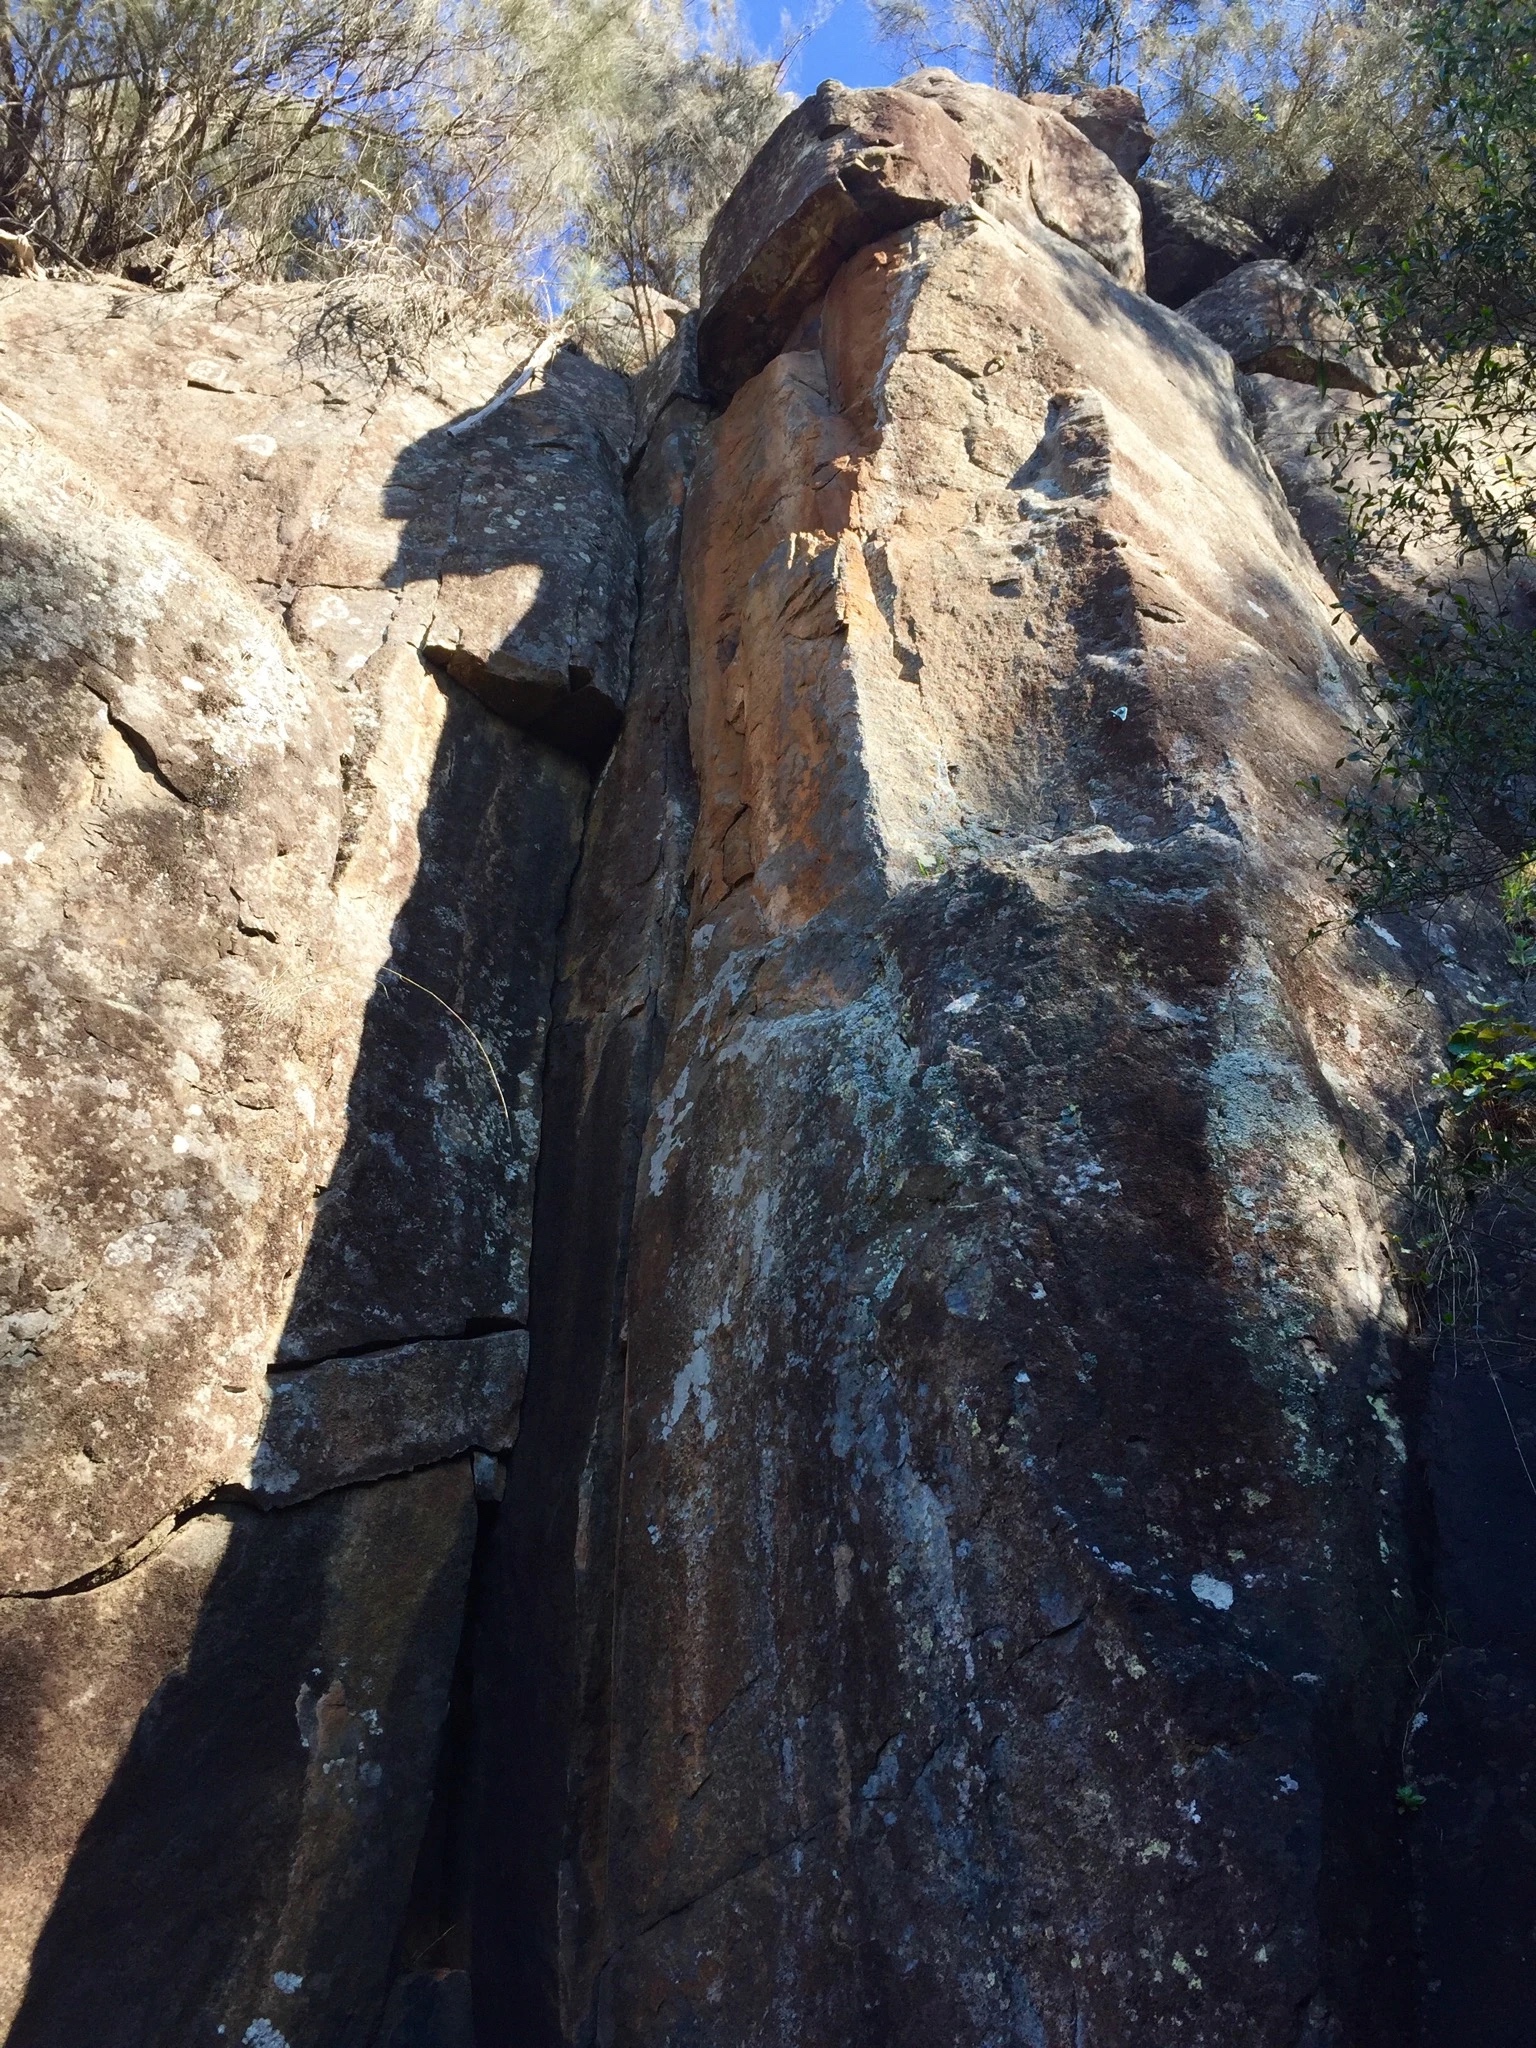
Topo: theCrag contributors, CC BY-NC-SA 3.0, theCrag
Climb the orange corner on (shock, horror) natural gear. Don't worry there is a DBB on top.
Fox, DeCesare, 2001.
Up the face 2m right of Chilli Jam past 2 FH and some cams to a DBB.
Fox, Nichols, 2001.
Old Timers Buttresses
If you take the turn off from the 4wd track on the crest of the hill you should find yourself on top of Possumlea which has a DBB on top of it.
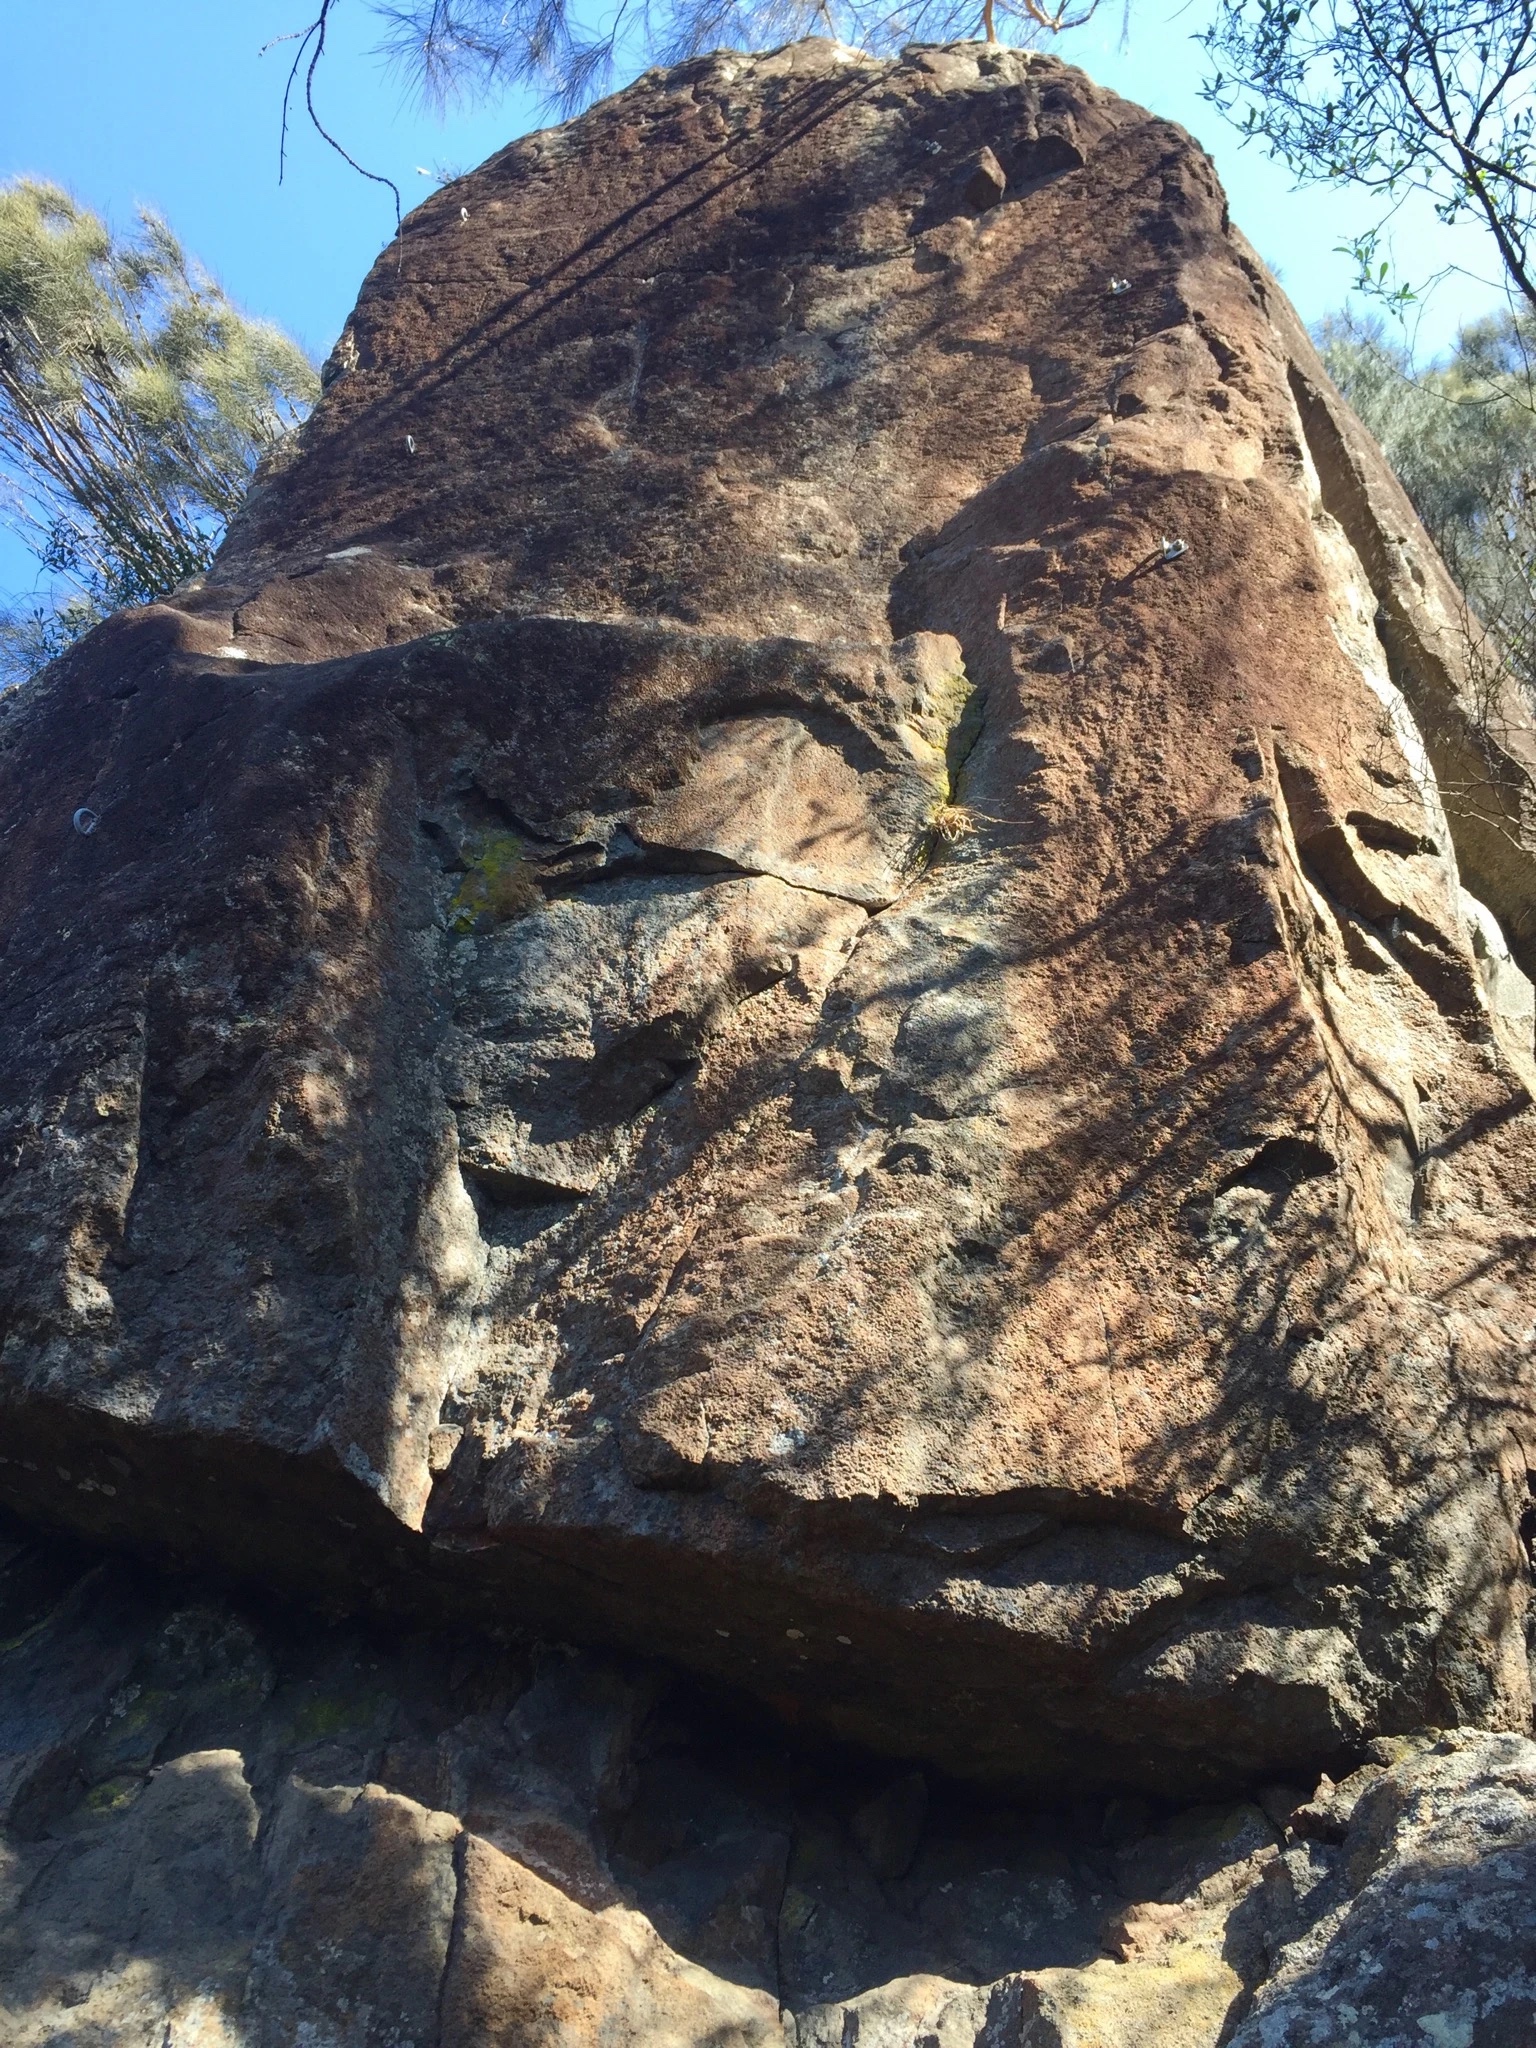
Topo: theCrag contributors, CC BY-NC-SA 3.0, theCrag
Climb the face and arete to the right of Over The top With Jim. 3FH and DBB.
Rob DeCesare, Dennis Kearnes Mar 2008.
20m upstream from Possumlea is a separate pillar. Climb the left arête of this past 3 eye bolts to a DBB.
Fox, Sharman, 2001.
2 bolts up the blunt arête. Stick clip the first. DBB.
Fox, DeCesare, 2001.
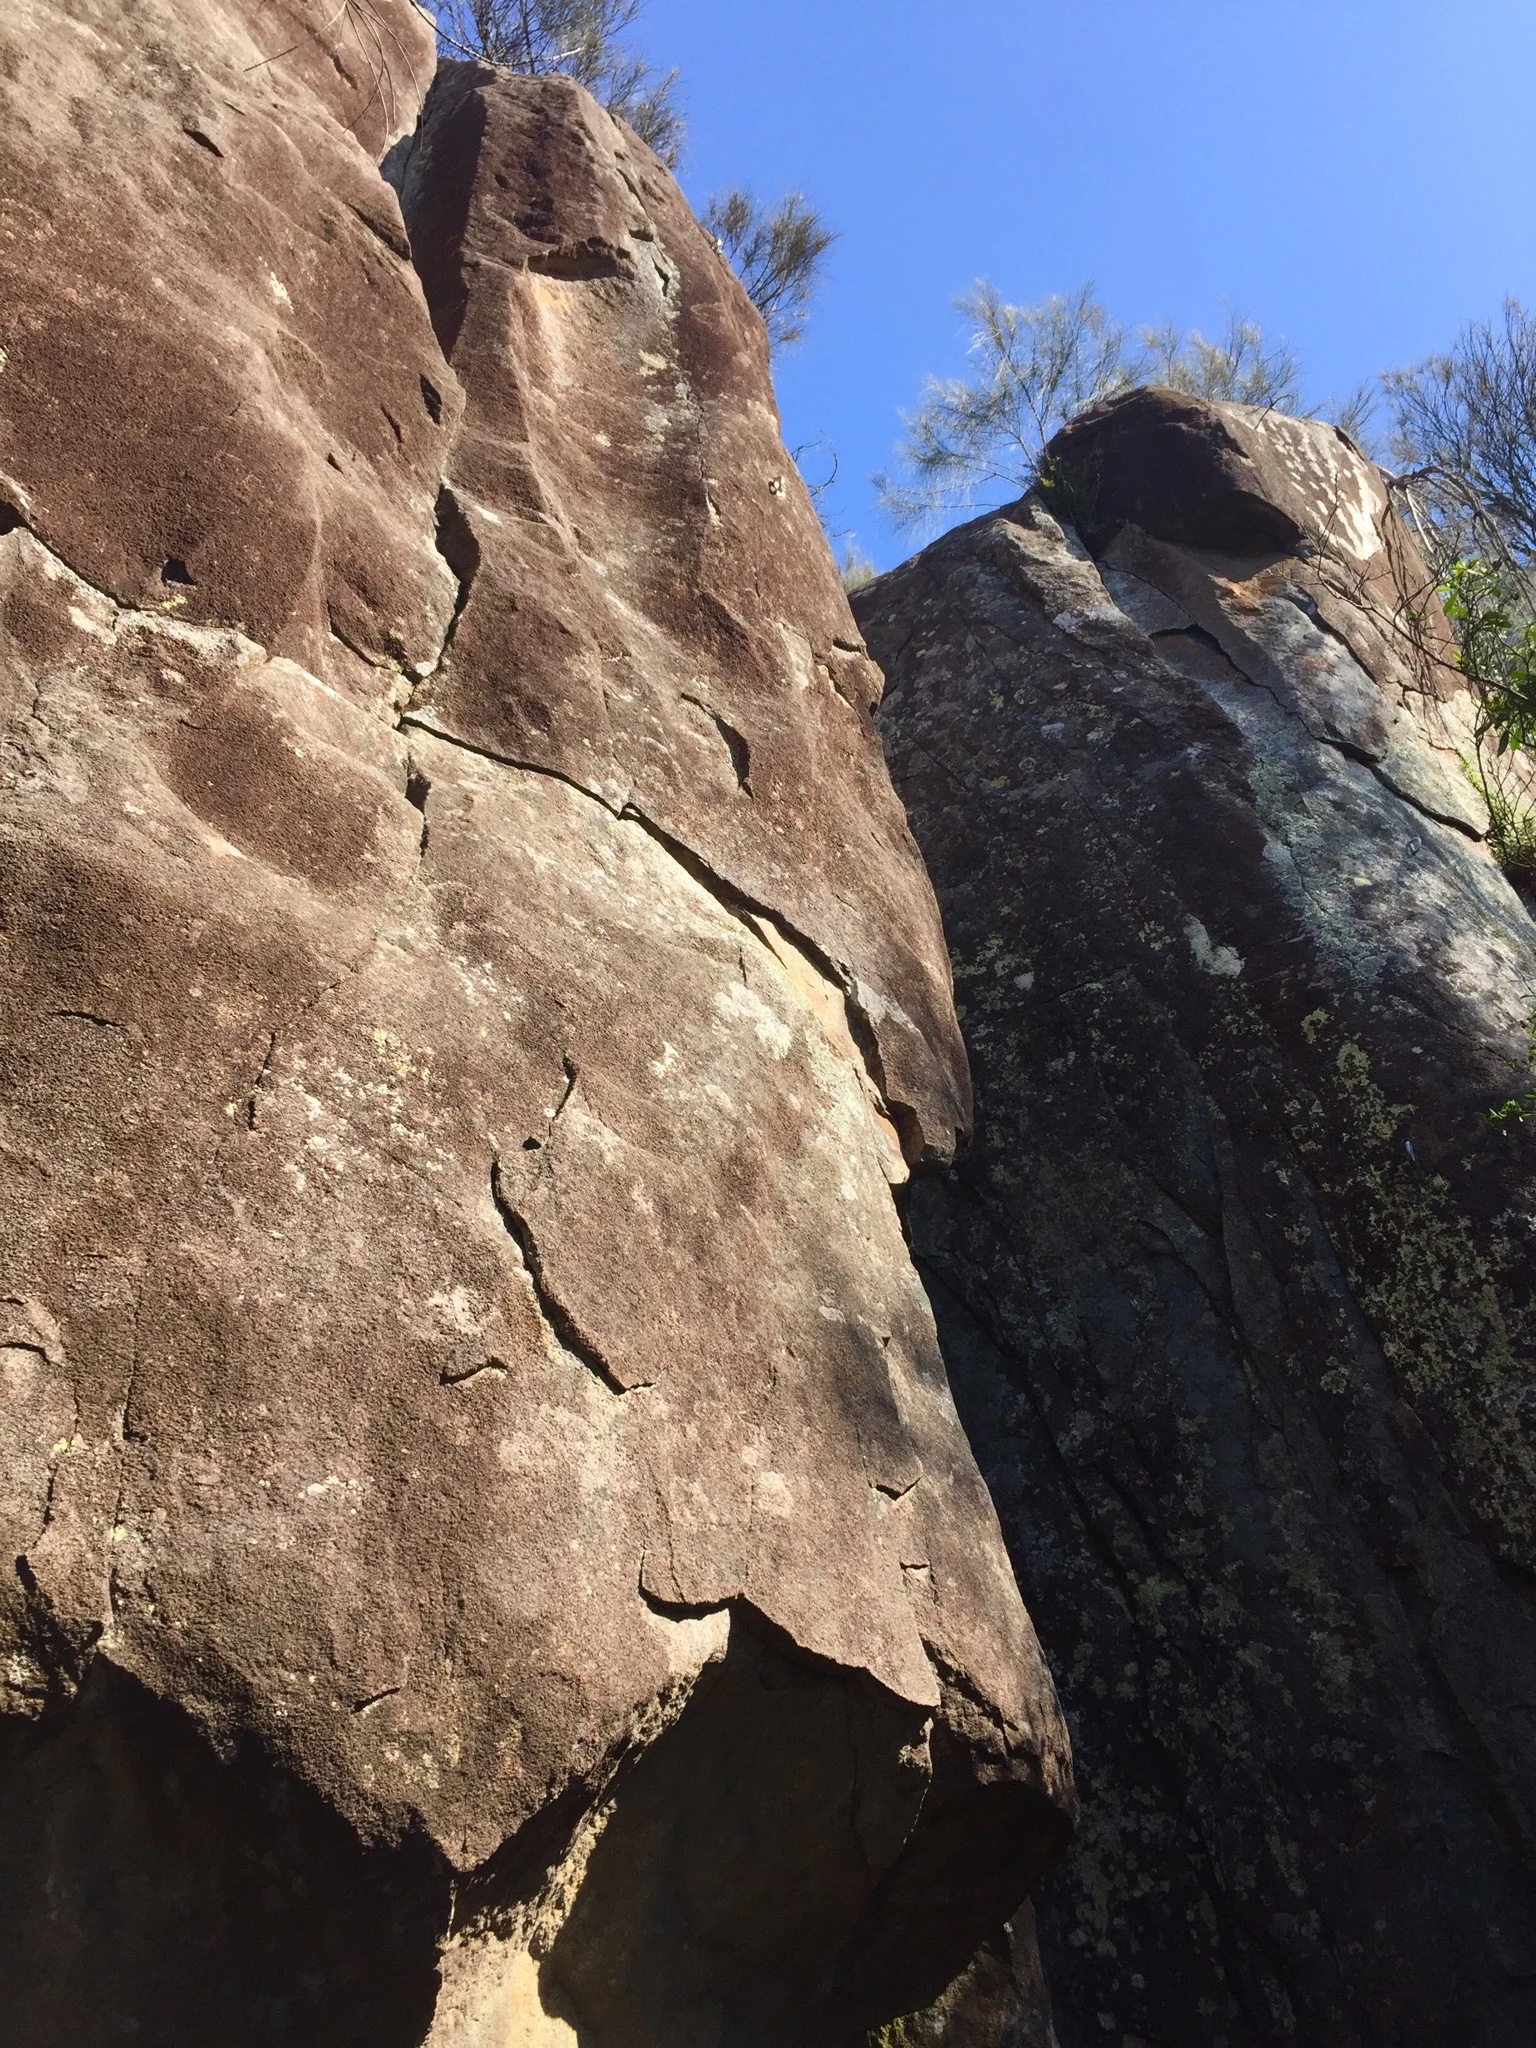
Topo: theCrag contributors, CC BY-NC-SA 3.0, theCrag
Around the corner from Possumlea is another natural gear route. What is the world coming to! However it does have a DBB.
Kearnes, DeCesare, 2001
Start with the first move on Mr Natural then move right and up the blunt arete. 1 wire and 2FH, DBB.
Dennis Kearnes, Rob DeCesare Mar 2008.
The face on the pillar 3m right of Mr Natural. 2 eye bolts and some cams.
Sharman, Fox, 2001.
Ain't that the truth. The slabby face with 2 bolts up the pillar 10m right of SGAANCD. DBB.
Kearnes, DeCesare, Fox, 2001.
Pubic Flash
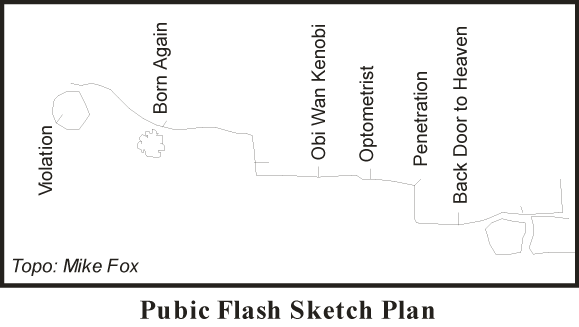
From Hoo Hoo Hut you can go either way along the loop to Deadman's Knob until you come to a rock cairn beside a log on the river side of the track(see map). Either way it is about 800m. Then walk towards the river for about 100m. This will bring you to the top of the cliff. It is also possible to get to the cliff from the Duck Reach power station but the walk up the hill is not recommended. There are some shorter easier climbs on the top section. However all the action starts on the lower cliff. This has some of the hardest climbs in northern Tassie so go and flail yourself. Just beware of the Peregrines around nesting time (Sep-Dec) and that the cliff is south facing so will need a bit of wire brushing after a winter of sloth.
Pubic Flash Pinnacle
On the upstream side of the isolated pillar is a hand crack, climb this to the top.
Maddison, McMahon, 1978.
Climbs Pubic Flash for 10m, then left on blocks.
Reg Marron 1973.
Wide crack and chimney on downstream face of main cliff.
McHugh, McMahon, 1972.
Pubic Flash Wall
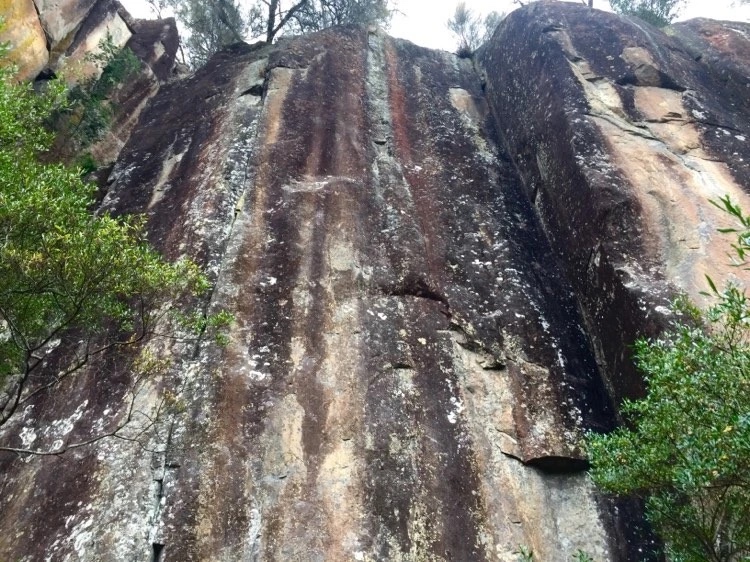
Topo: theCrag contributors, CC BY-NC-SA 3.0, theCrag
The thin crack starting behind a bush 20m upstream from Obi Wan Kenobi.
Narkowicz, 1985.
Prominent thin corner.
Narkowicz 1985.
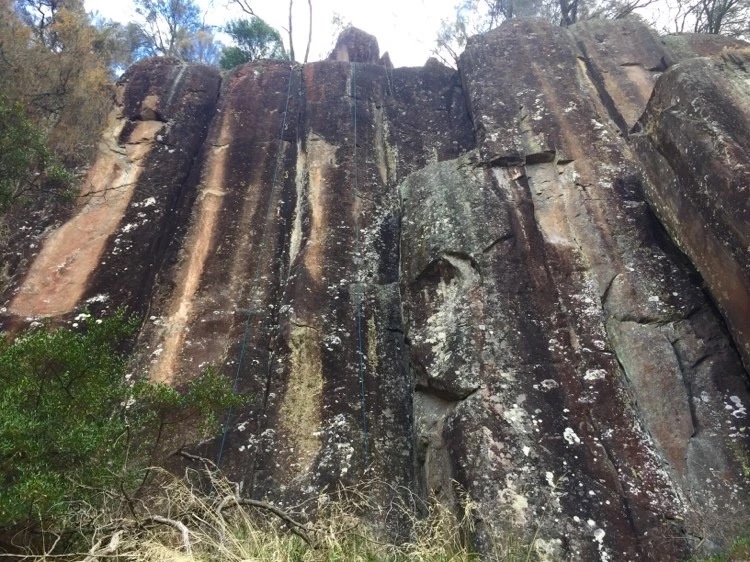
Topo: theCrag contributors, CC BY-NC-SA 3.0, theCrag
2 bolts and 2 fixed hangers. Brilliant laybacking the whole length with the crux coming just before the first bolt. A small cam (green alien) and medium nut are usefull if going ground up.
Ng 1990.
4 carrot bolts. The bolts are quite widley spaced and awkward to clip so check it out before you attempt the onsight (or have someone else check it out if you really want the onsight).
Ng 1990.
5m upstream from Back Door to Heaven is a corner and crack which looks like it will improve dramatically with a clean.
Smart, McMahon, 1982.
2m upstream from the off width chimney/corner is a line of 7 carrots some of which are hard to get hangers over.
Ng 1991.
Willow Jungle Area
Access- see map. Stand in front of the map at the Hoo Hoo Hut and then walk directly south as indicated on the map(actually south-west). With-in 50m 10 minutes all up if you find the right way). The top tier is 40m back from the river and 50m down the river from the bottom tier. The bottom tier is at the end of the HEC water channel nestled against the willows. Alternatively you can walk up from Duck Reach power station, past all the other crags not described here, which takes about 45 minutes. The first 4 climbs are on the bottom tier and have a DBB.
Willow Jungle Main Crag
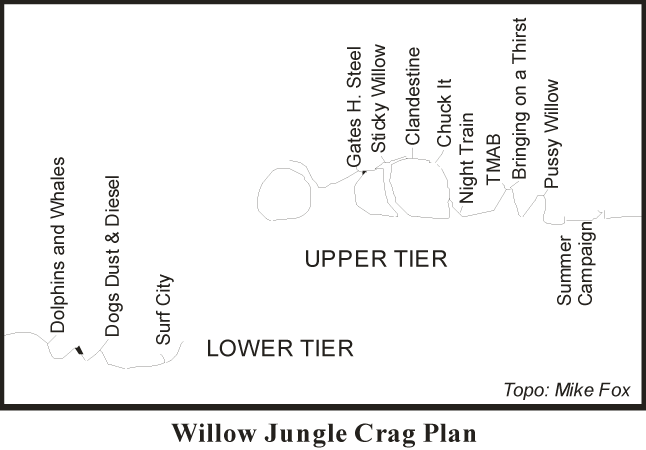
Blocky corner on far L of causeway.
Humzoo 1984.
Tight blank corner on far LHS. Belay on wall of water channel. DBB
From: theCrag
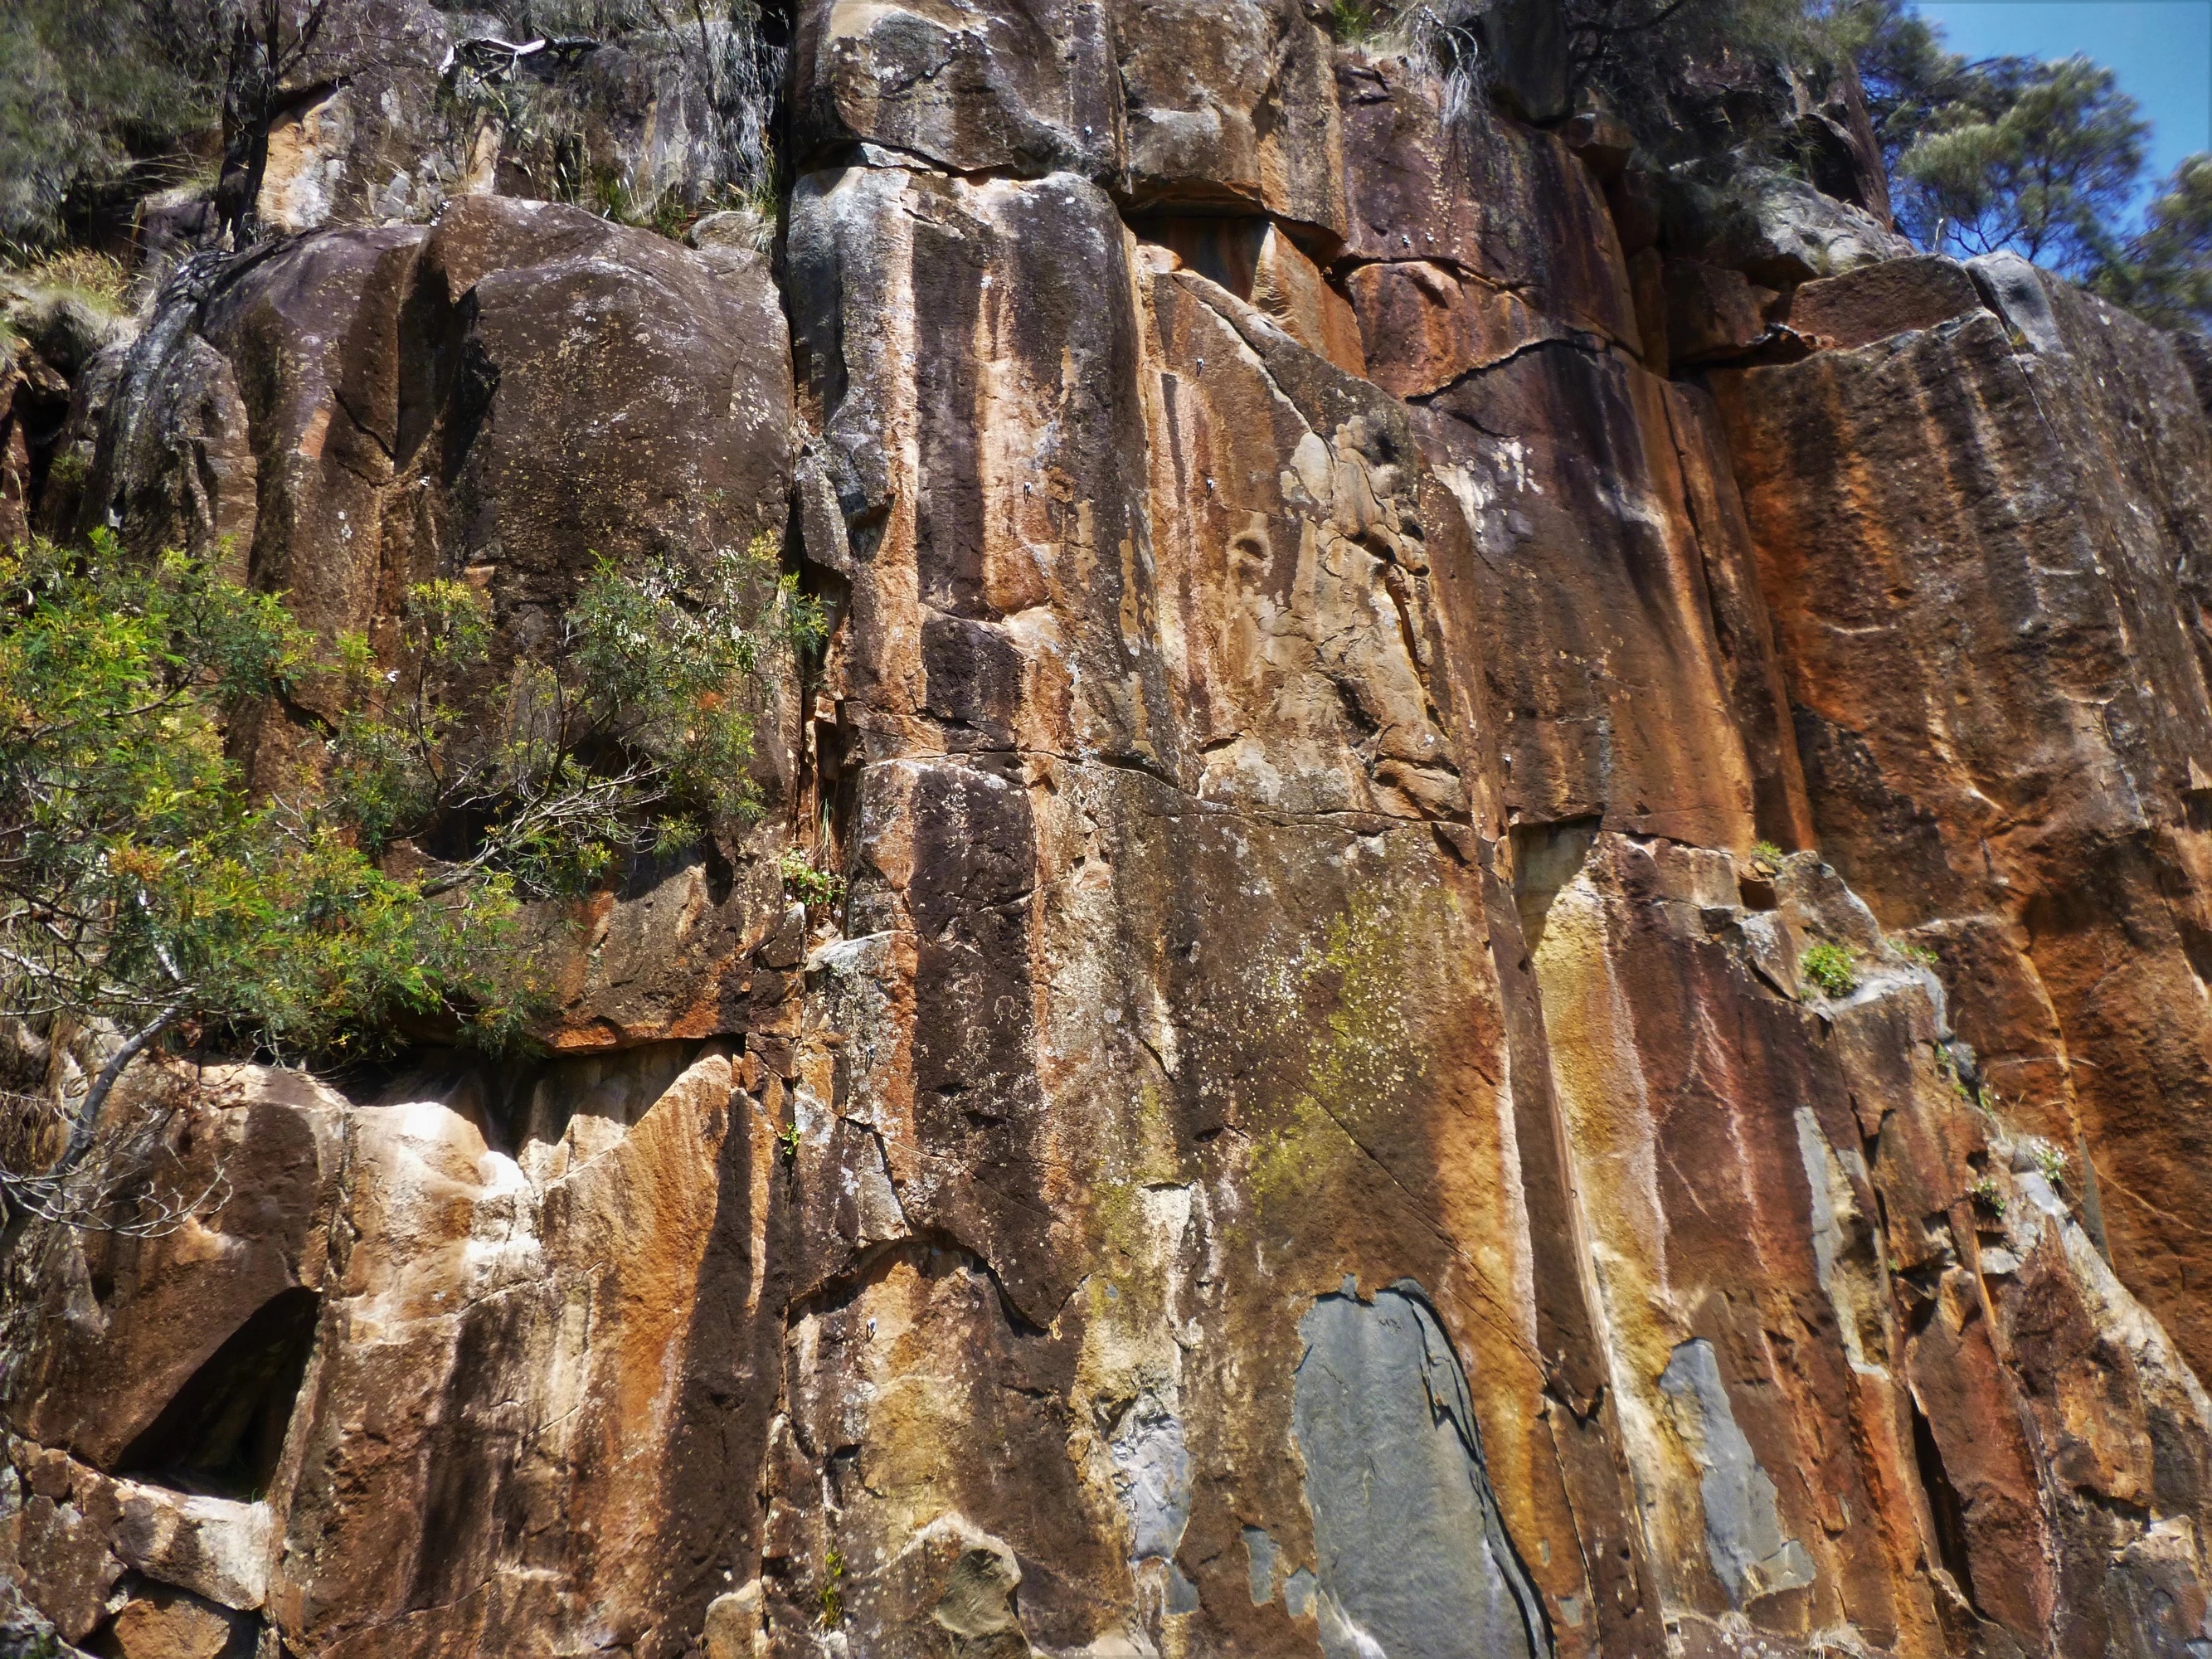
Topo: theCrag contributors, CC BY-NC-SA 3.0, theCrag
Thin face with tree at half height.
Narkowicz 1984.
Zig-zagging line of bolts towards the LHS of main cliff. 5 FH's plus some finger sized cams. DBB
From: theCrag
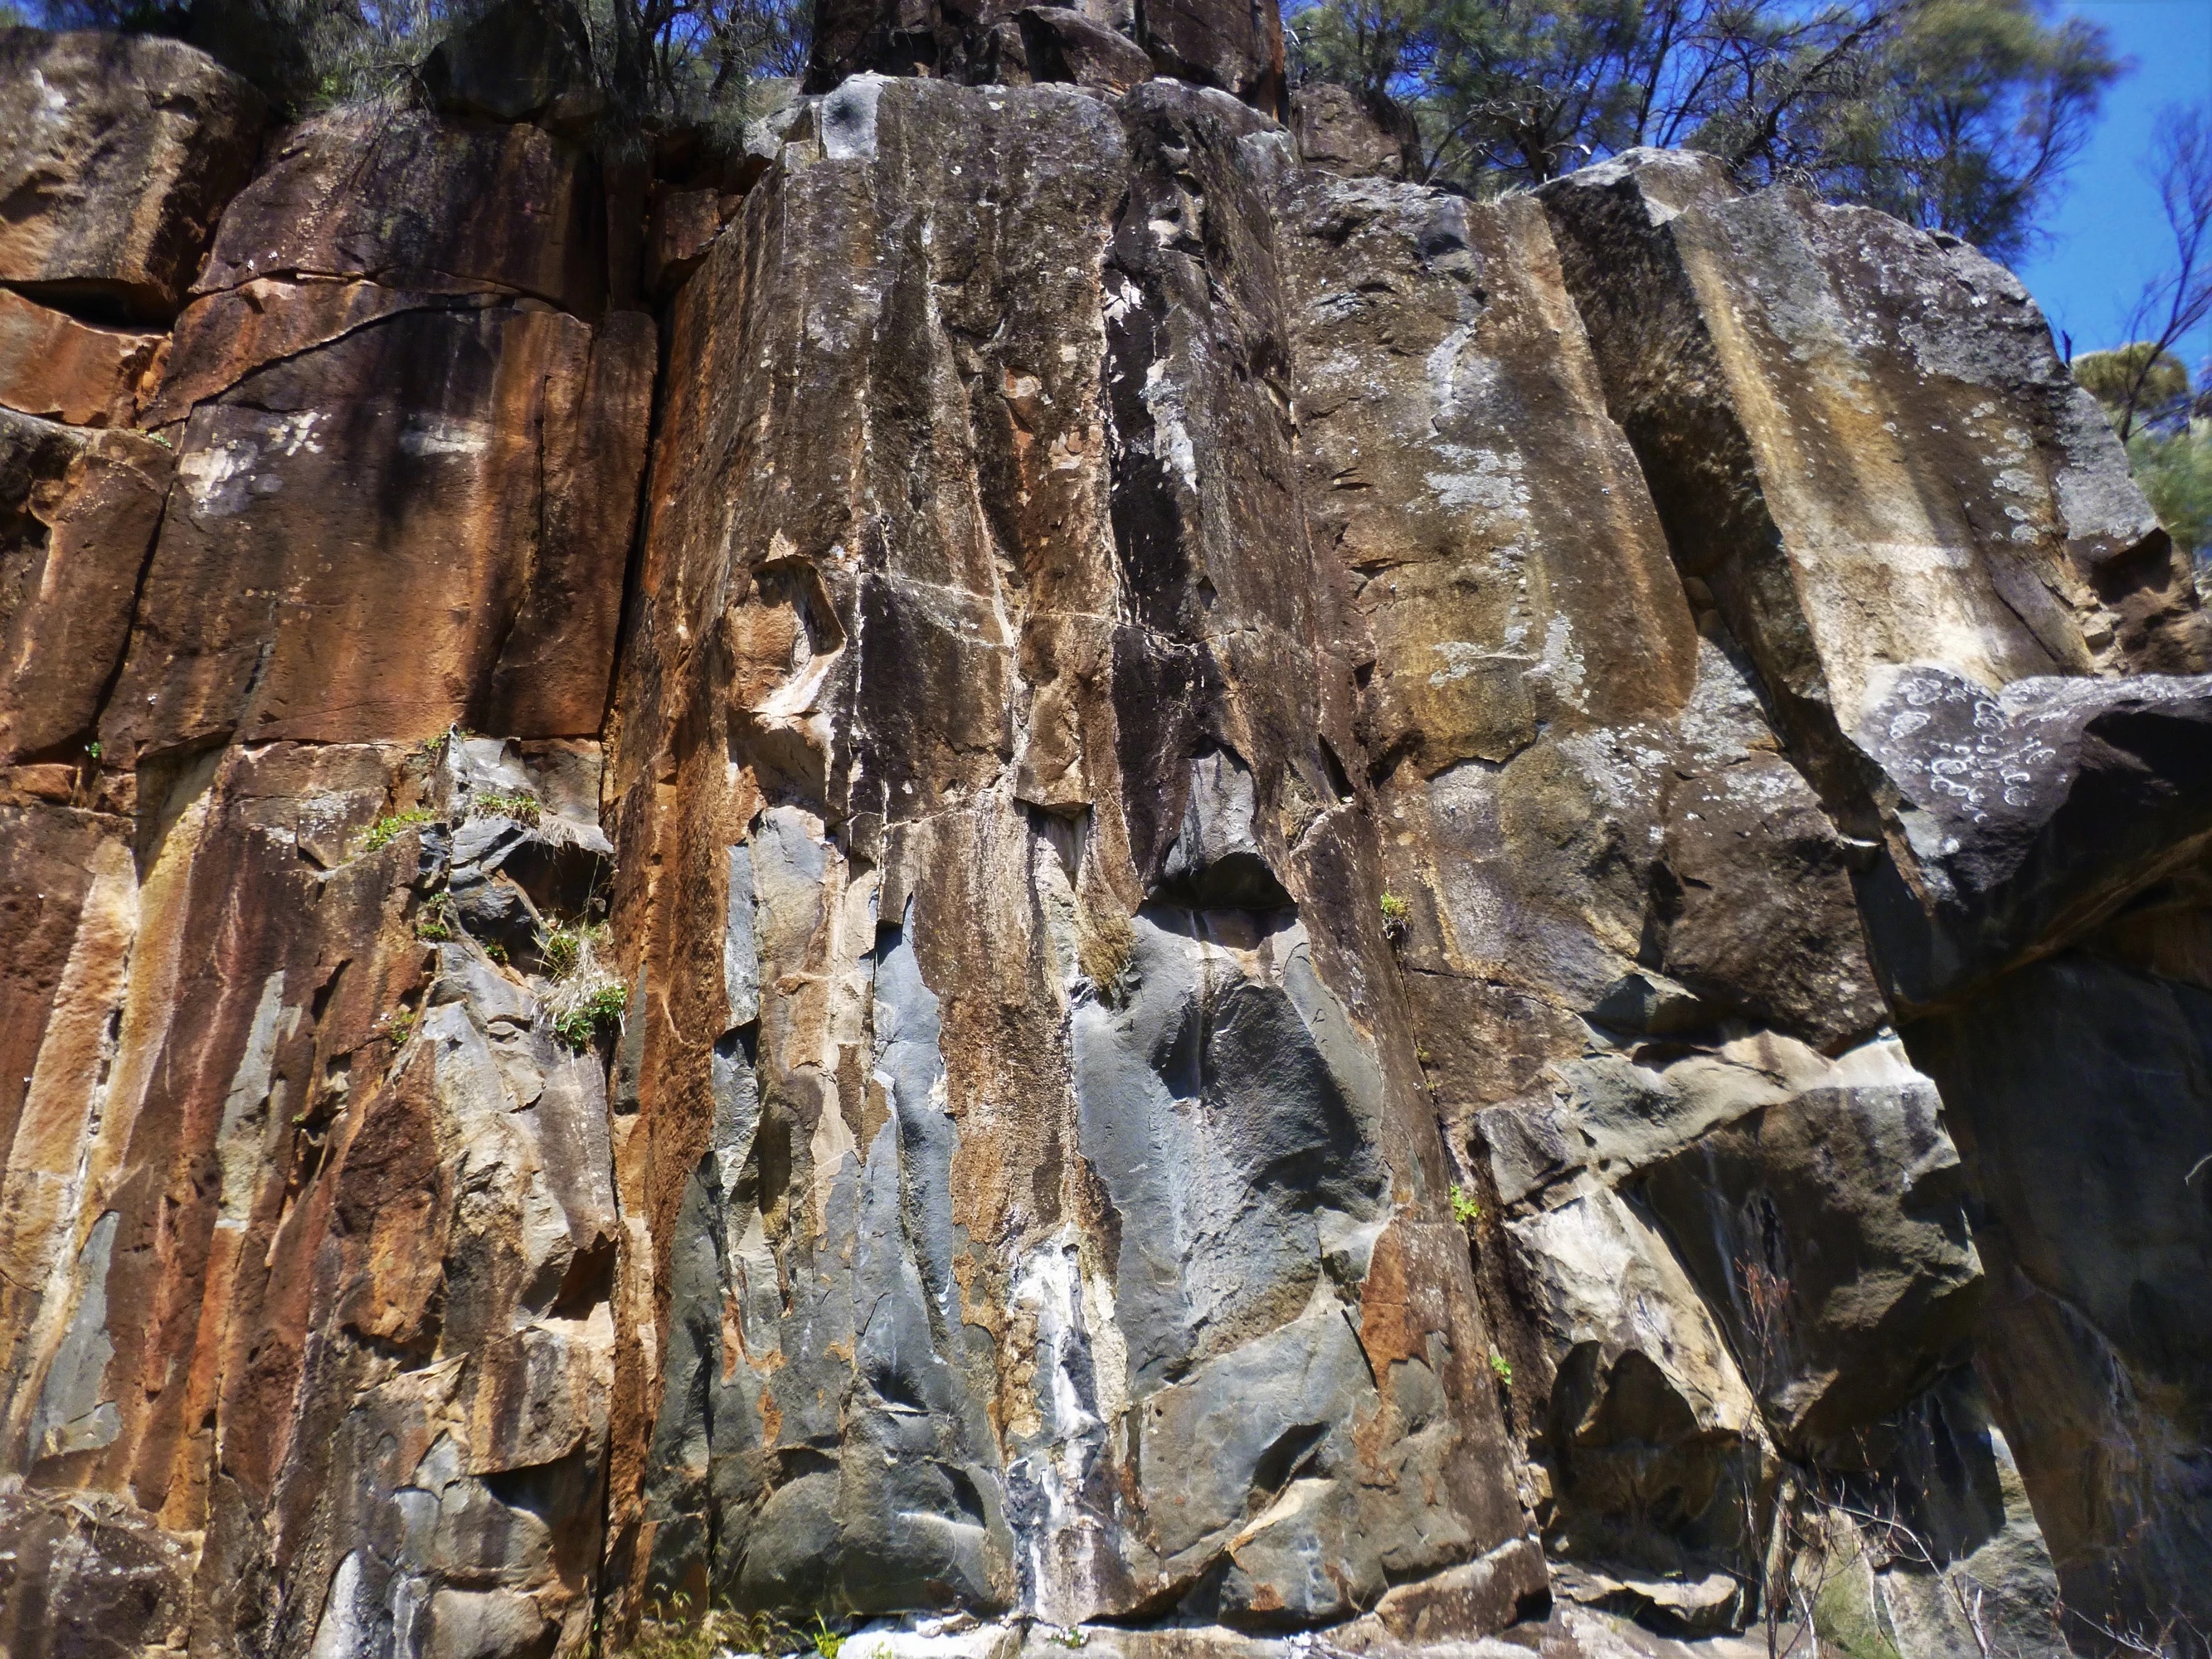
Topo: theCrag contributors, CC BY-NC-SA 3.0, theCrag
Elliot V
The face/corner with 4 carrots. All of which are hard to get hangers over so add a grade if you like hanging around in extremis trying to get bolt plates to fit.
Ng 1990.
The corner with 5 FH. Excellent and unlikely climbing.
Narkowicz 2001.
The corner with 3 FH, 2 of which are beside the old pitons. Needs some wires/small cams between the first and second FH.
Narkowicz, 1982.
Up to the roof and on to the arete past 4 carrots.
Ng 1990.
Crack to right of Surf City.
Narkowicz 1984.
Line up middle of smaller crag 20m right.
Narkowicz 1983.
Right of Shouldering On.
Ling 1983.
Mansion On the Hill
These climbs are on the Mansion On the Hill, which is up to the right of the main Willow Jungle crag.
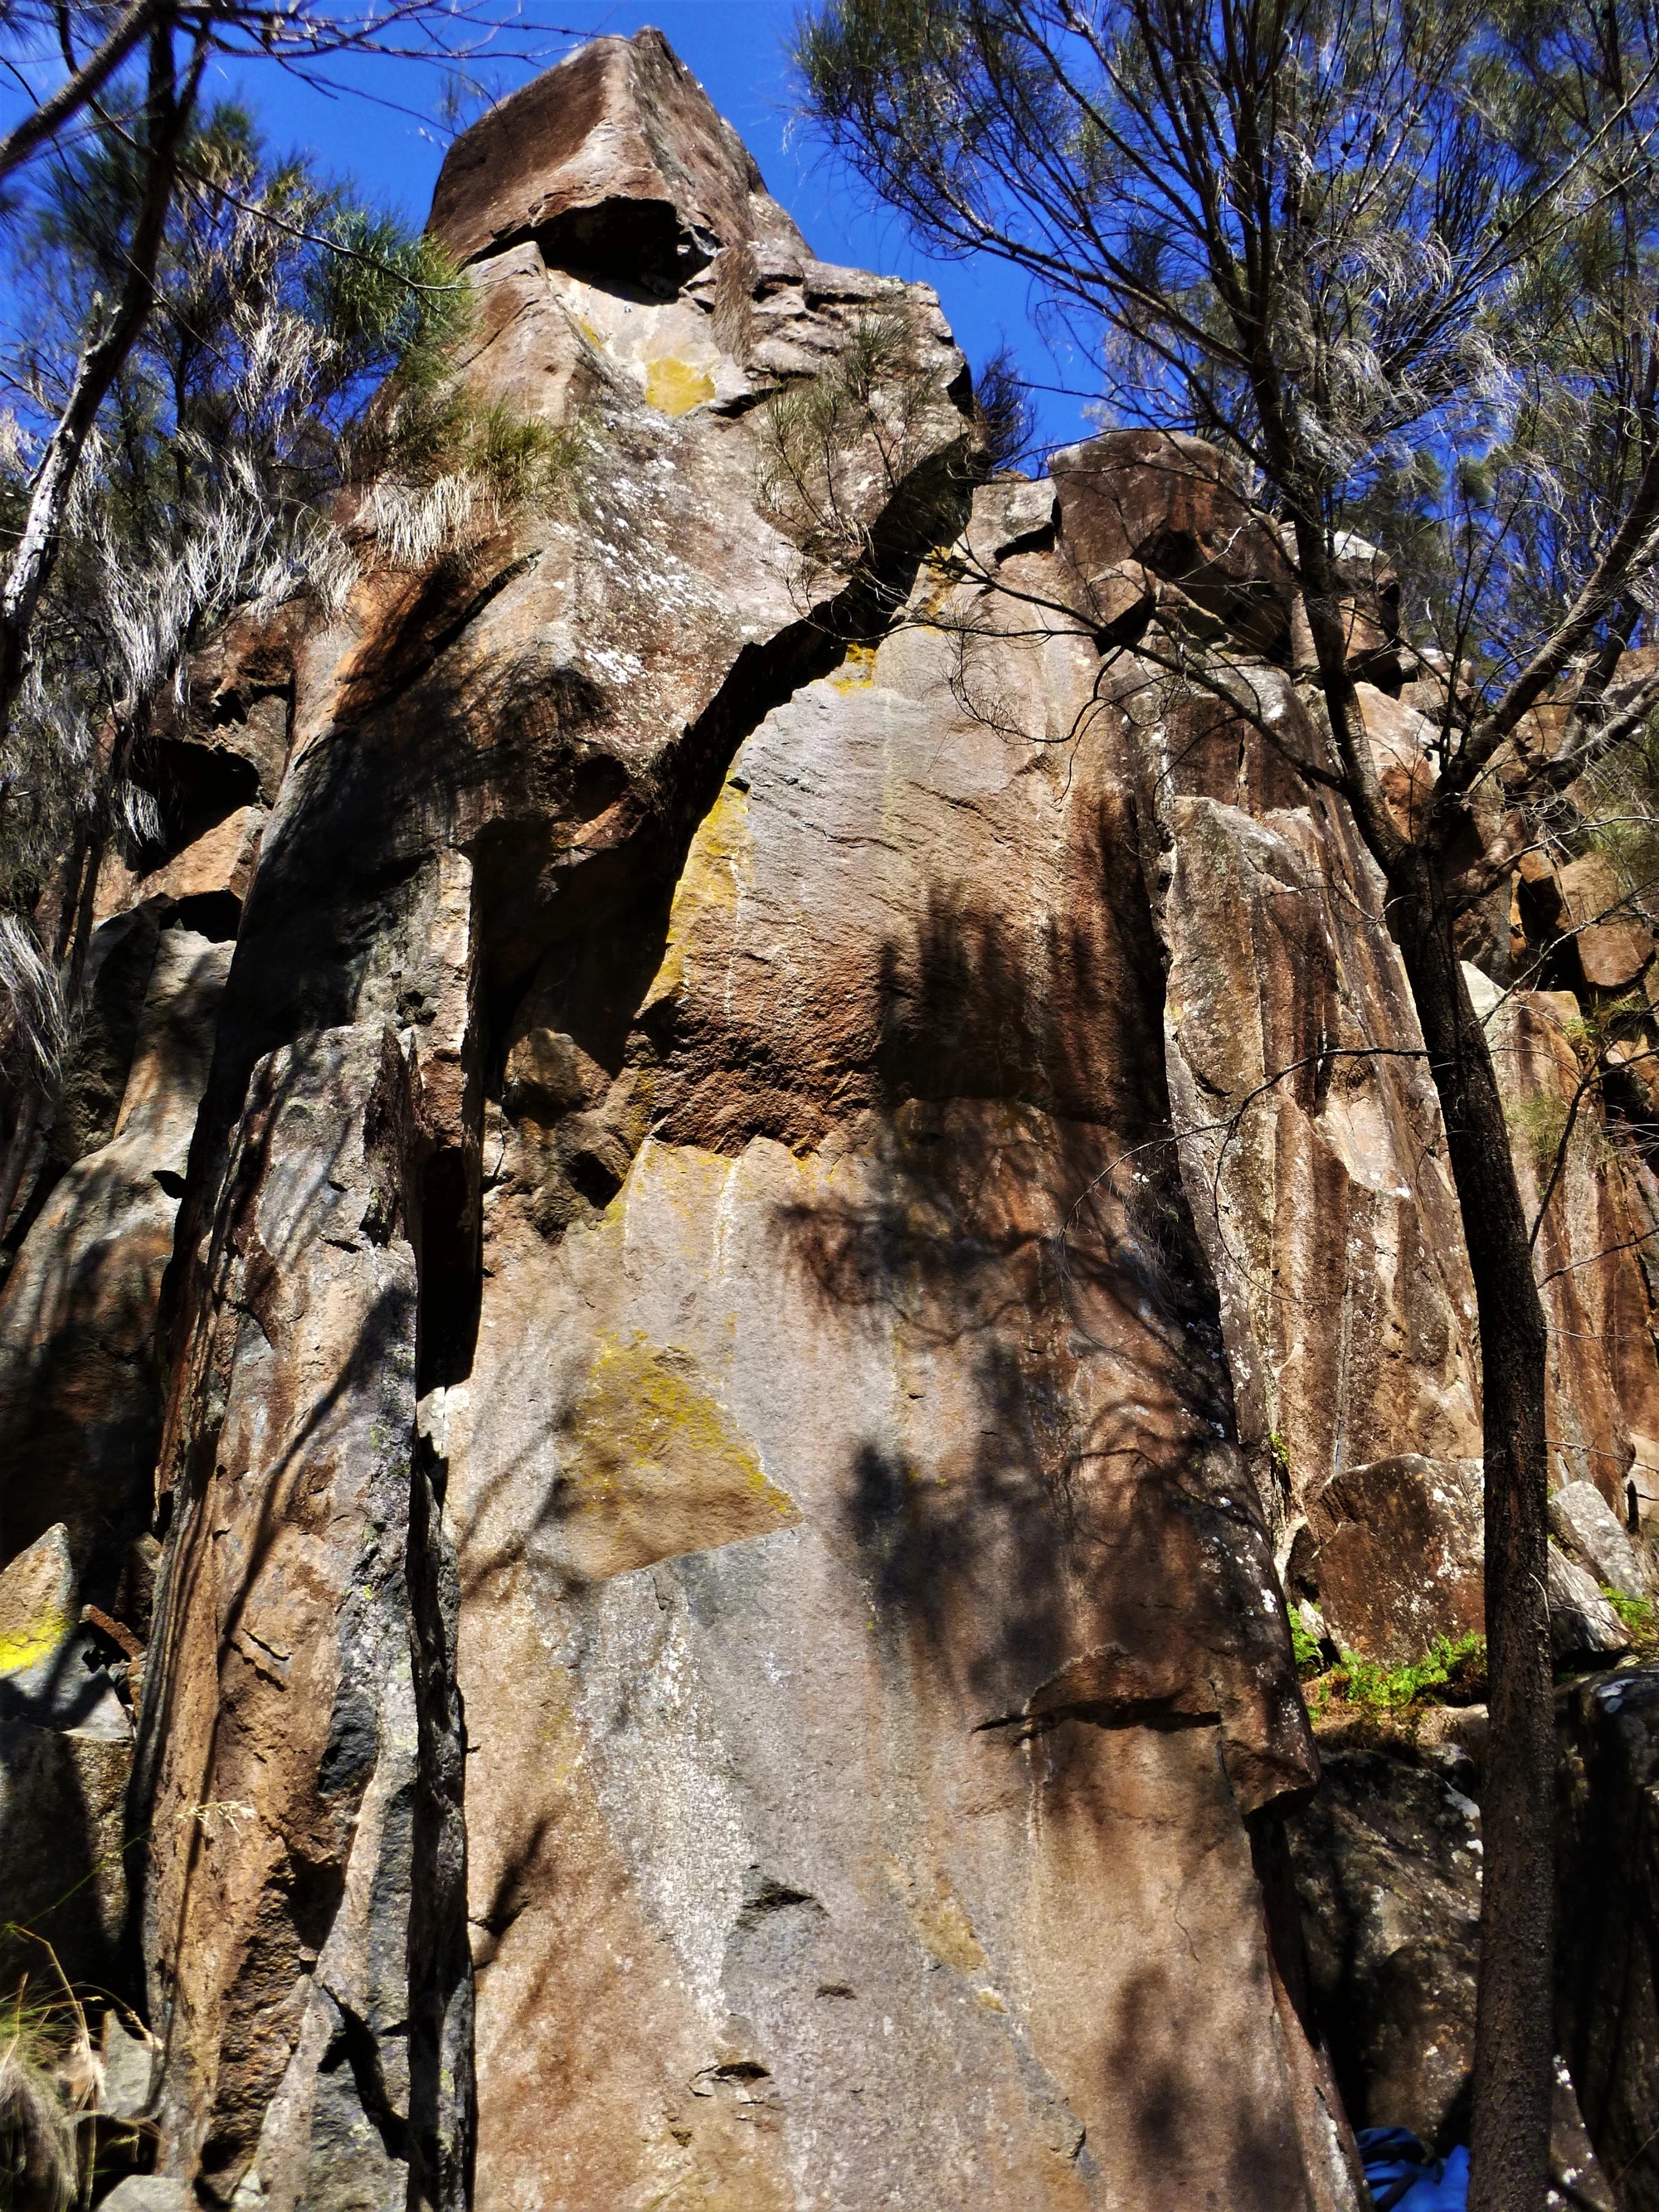
Topo: theCrag contributors, CC BY-NC-SA 3.0, theCrag
On the separate pillar at the far upstream end of the cliff is a bolted face. Hard start then eases up. 4 FH and a DBB.
Narkowicz 2001.
Follow crack out to arete, then up Missing Josiah.
Narkowicz 1983.
Narrowing chimney.
Neale Smith 1983.
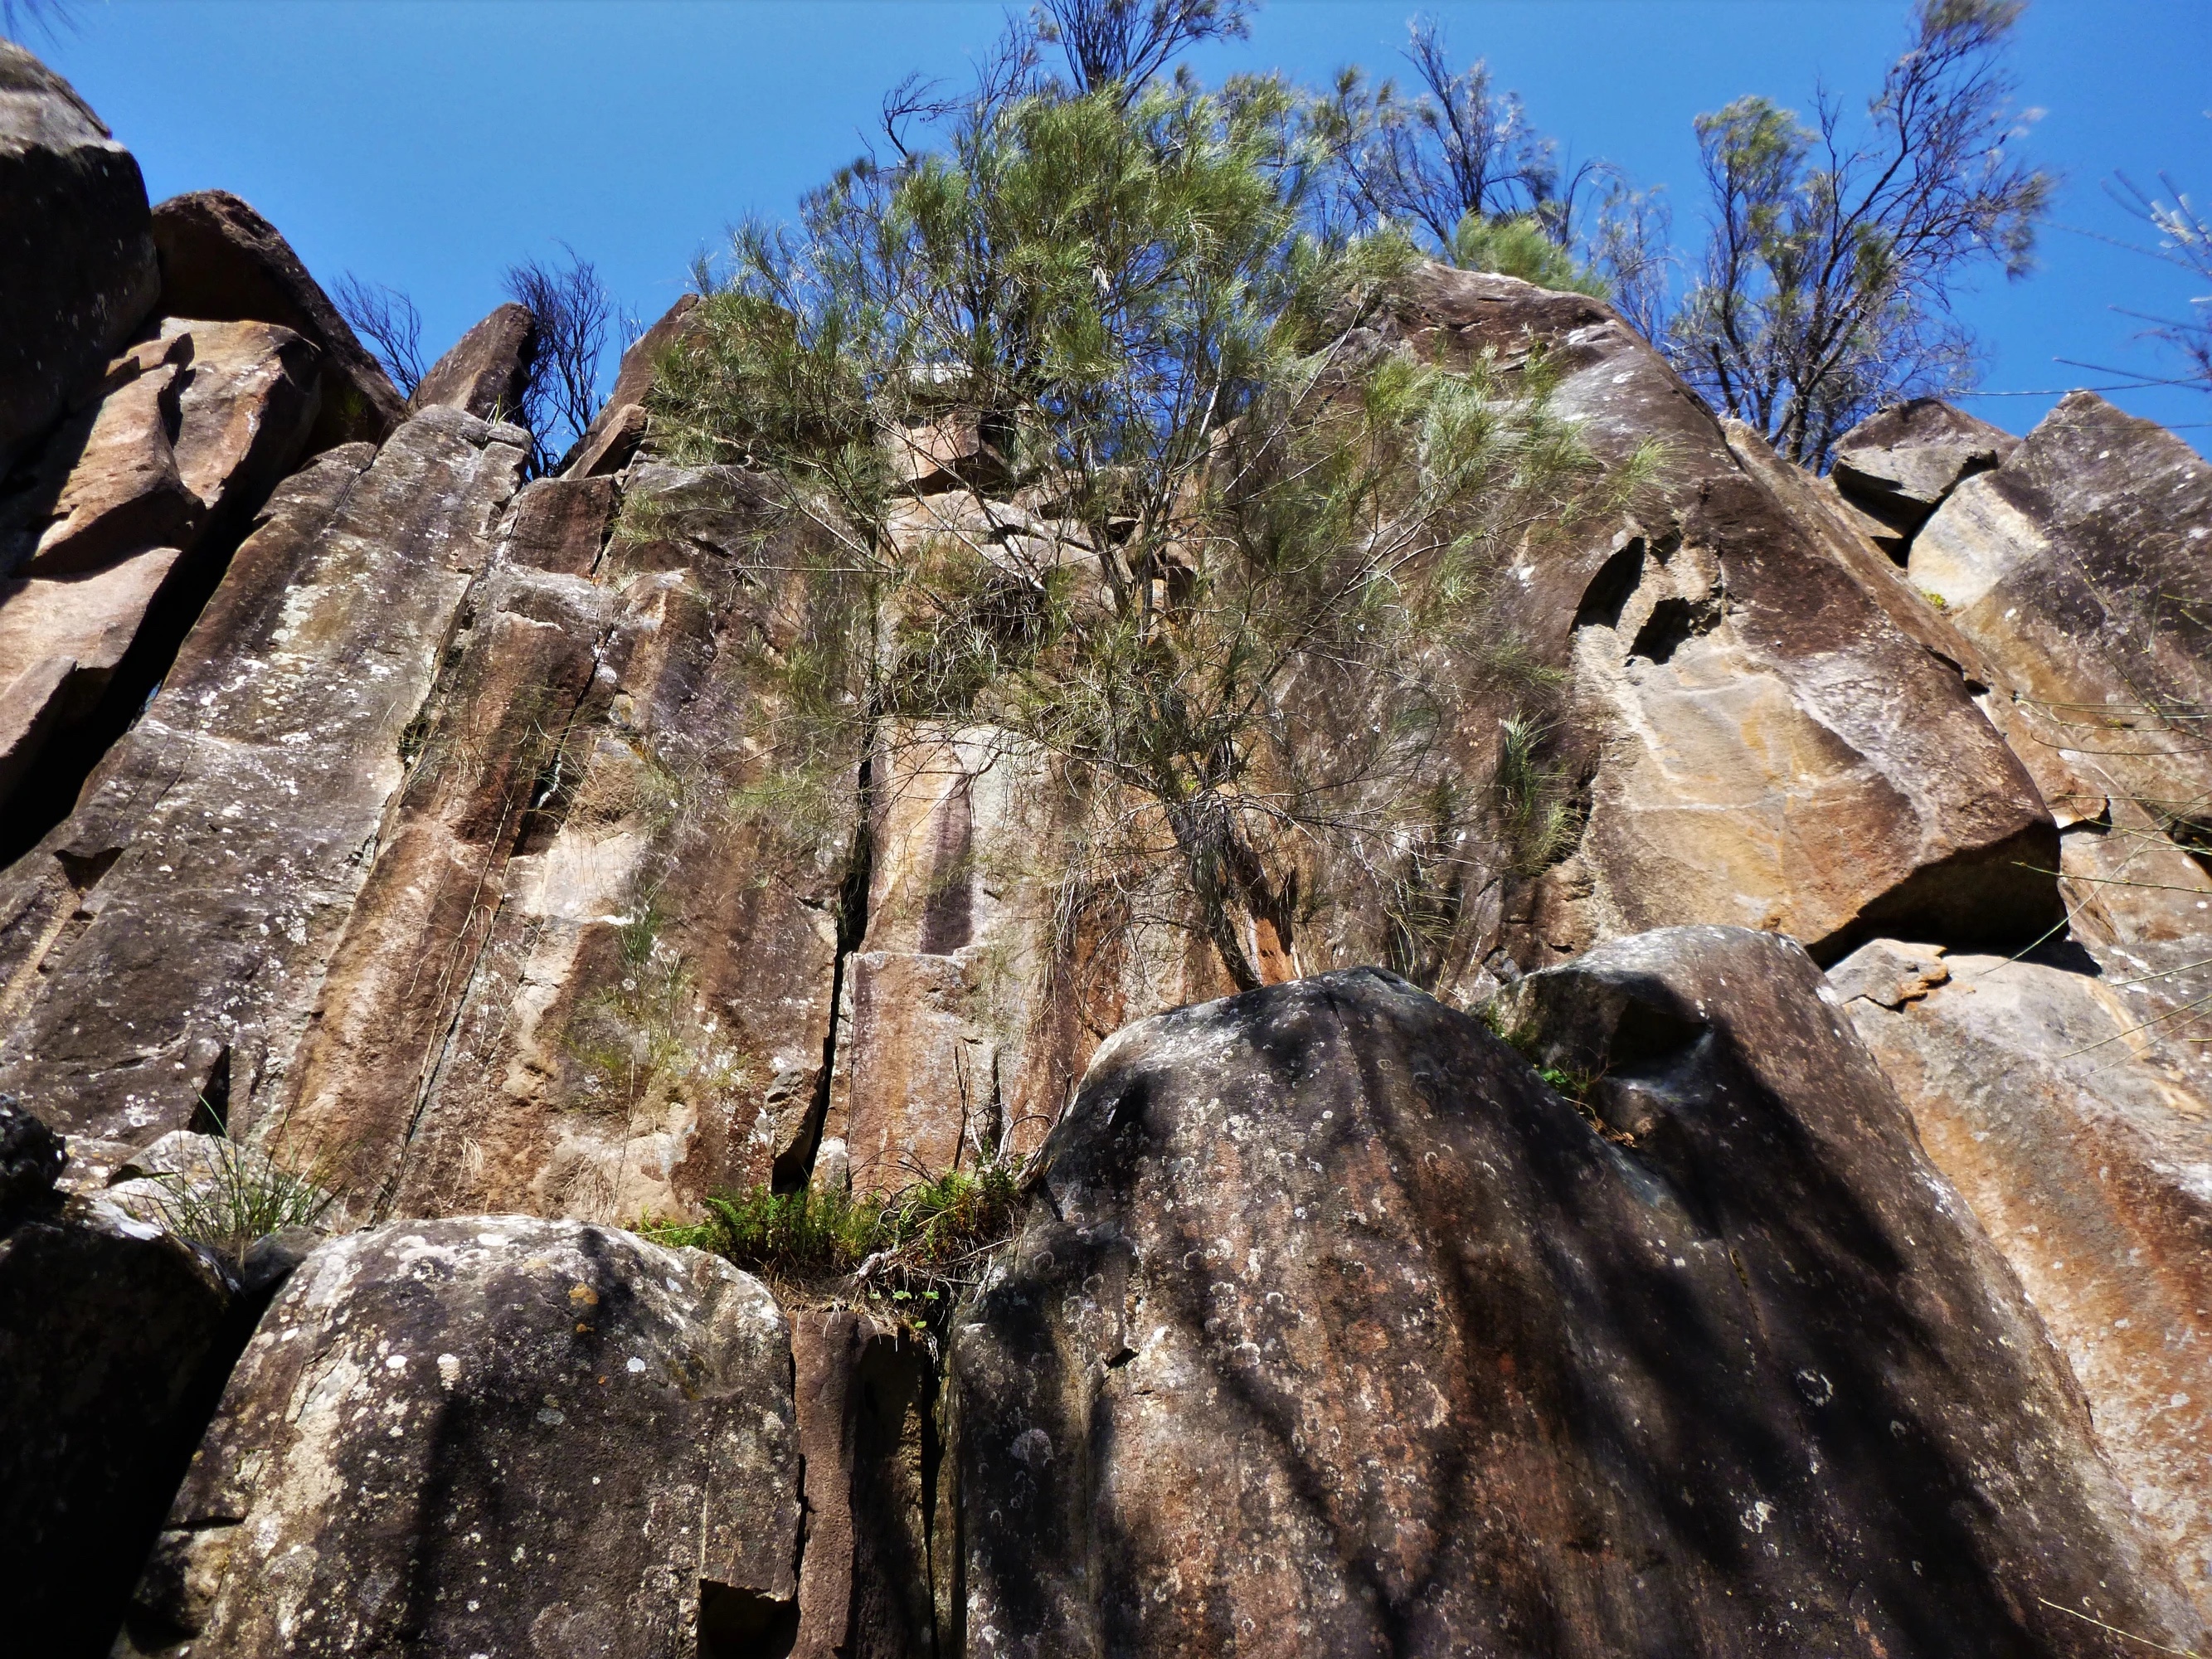
Topo: theCrag contributors, CC BY-NC-SA 3.0, theCrag
The thin crack in the shallow corner.
Neale Smith, 1983.
A bouldery start to gain access to the thin crack.
McOwan, Wells, 1991.
The hand crack 2m left of Chuck It.
McMahon 1983.
The corner.
McMahon 1983.
The bolted face L of Night Train (the arete with carrot bolts by Danny Ng). Gymnastic face moves past 4 bolts to join the same anchors as Night Train.
Gerry Narkowicz 7 Dec 2004.
Start from the ledge 8m left of Those Mornings After Blues climb the blunt arete past 4 carrots. DBB.
Ng 1990's.
The next two climbs start in the same corner and look too close to be independent but are actually quite separate.
The left hand crack from the same start as BOAT.
Starts in the corner and then goes up the right crack.
Narkowicz 1983.
The corner/crack with the chockstones.
Neale Smith 1983.
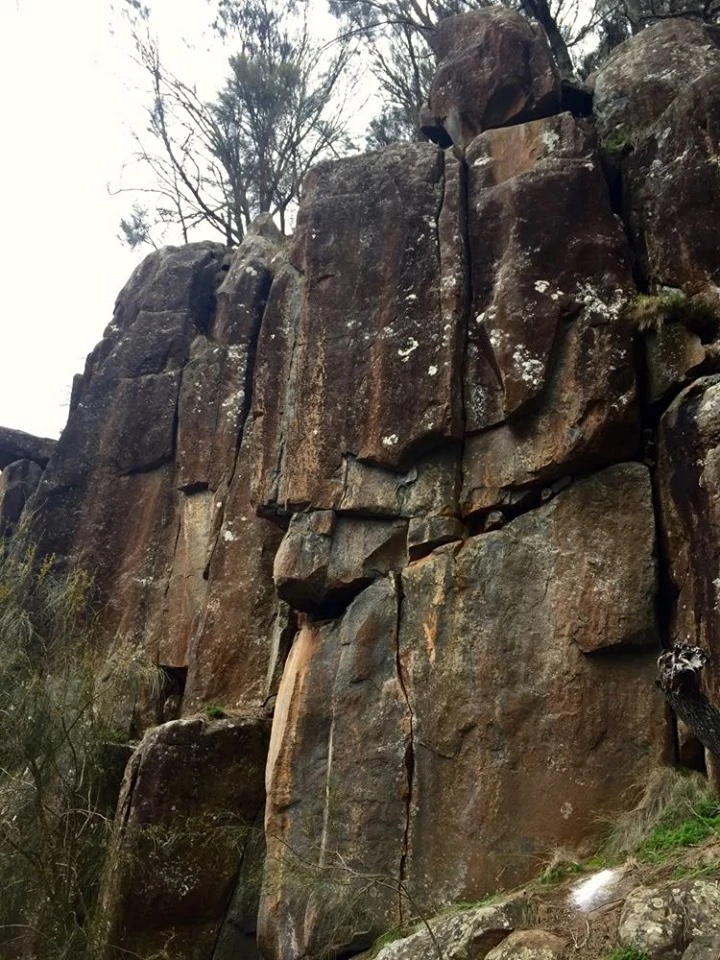
Topo: theCrag contributors, CC BY-NC-SA 3.0, theCrag
Same start as SC before moving left at the undercling to the arête up past 3 FH. DBB.
Narkowicz 2001.
Up thin crack for 3m to horizontal break before moving right to the hand crack.
McMahon 1983.
Fifth Estate
From the arrowhead rock cairn to Willow Jungle continue straight ahead following the other cairns for 50m 4 good looking sports routes and a few natural gear routes that look O.K
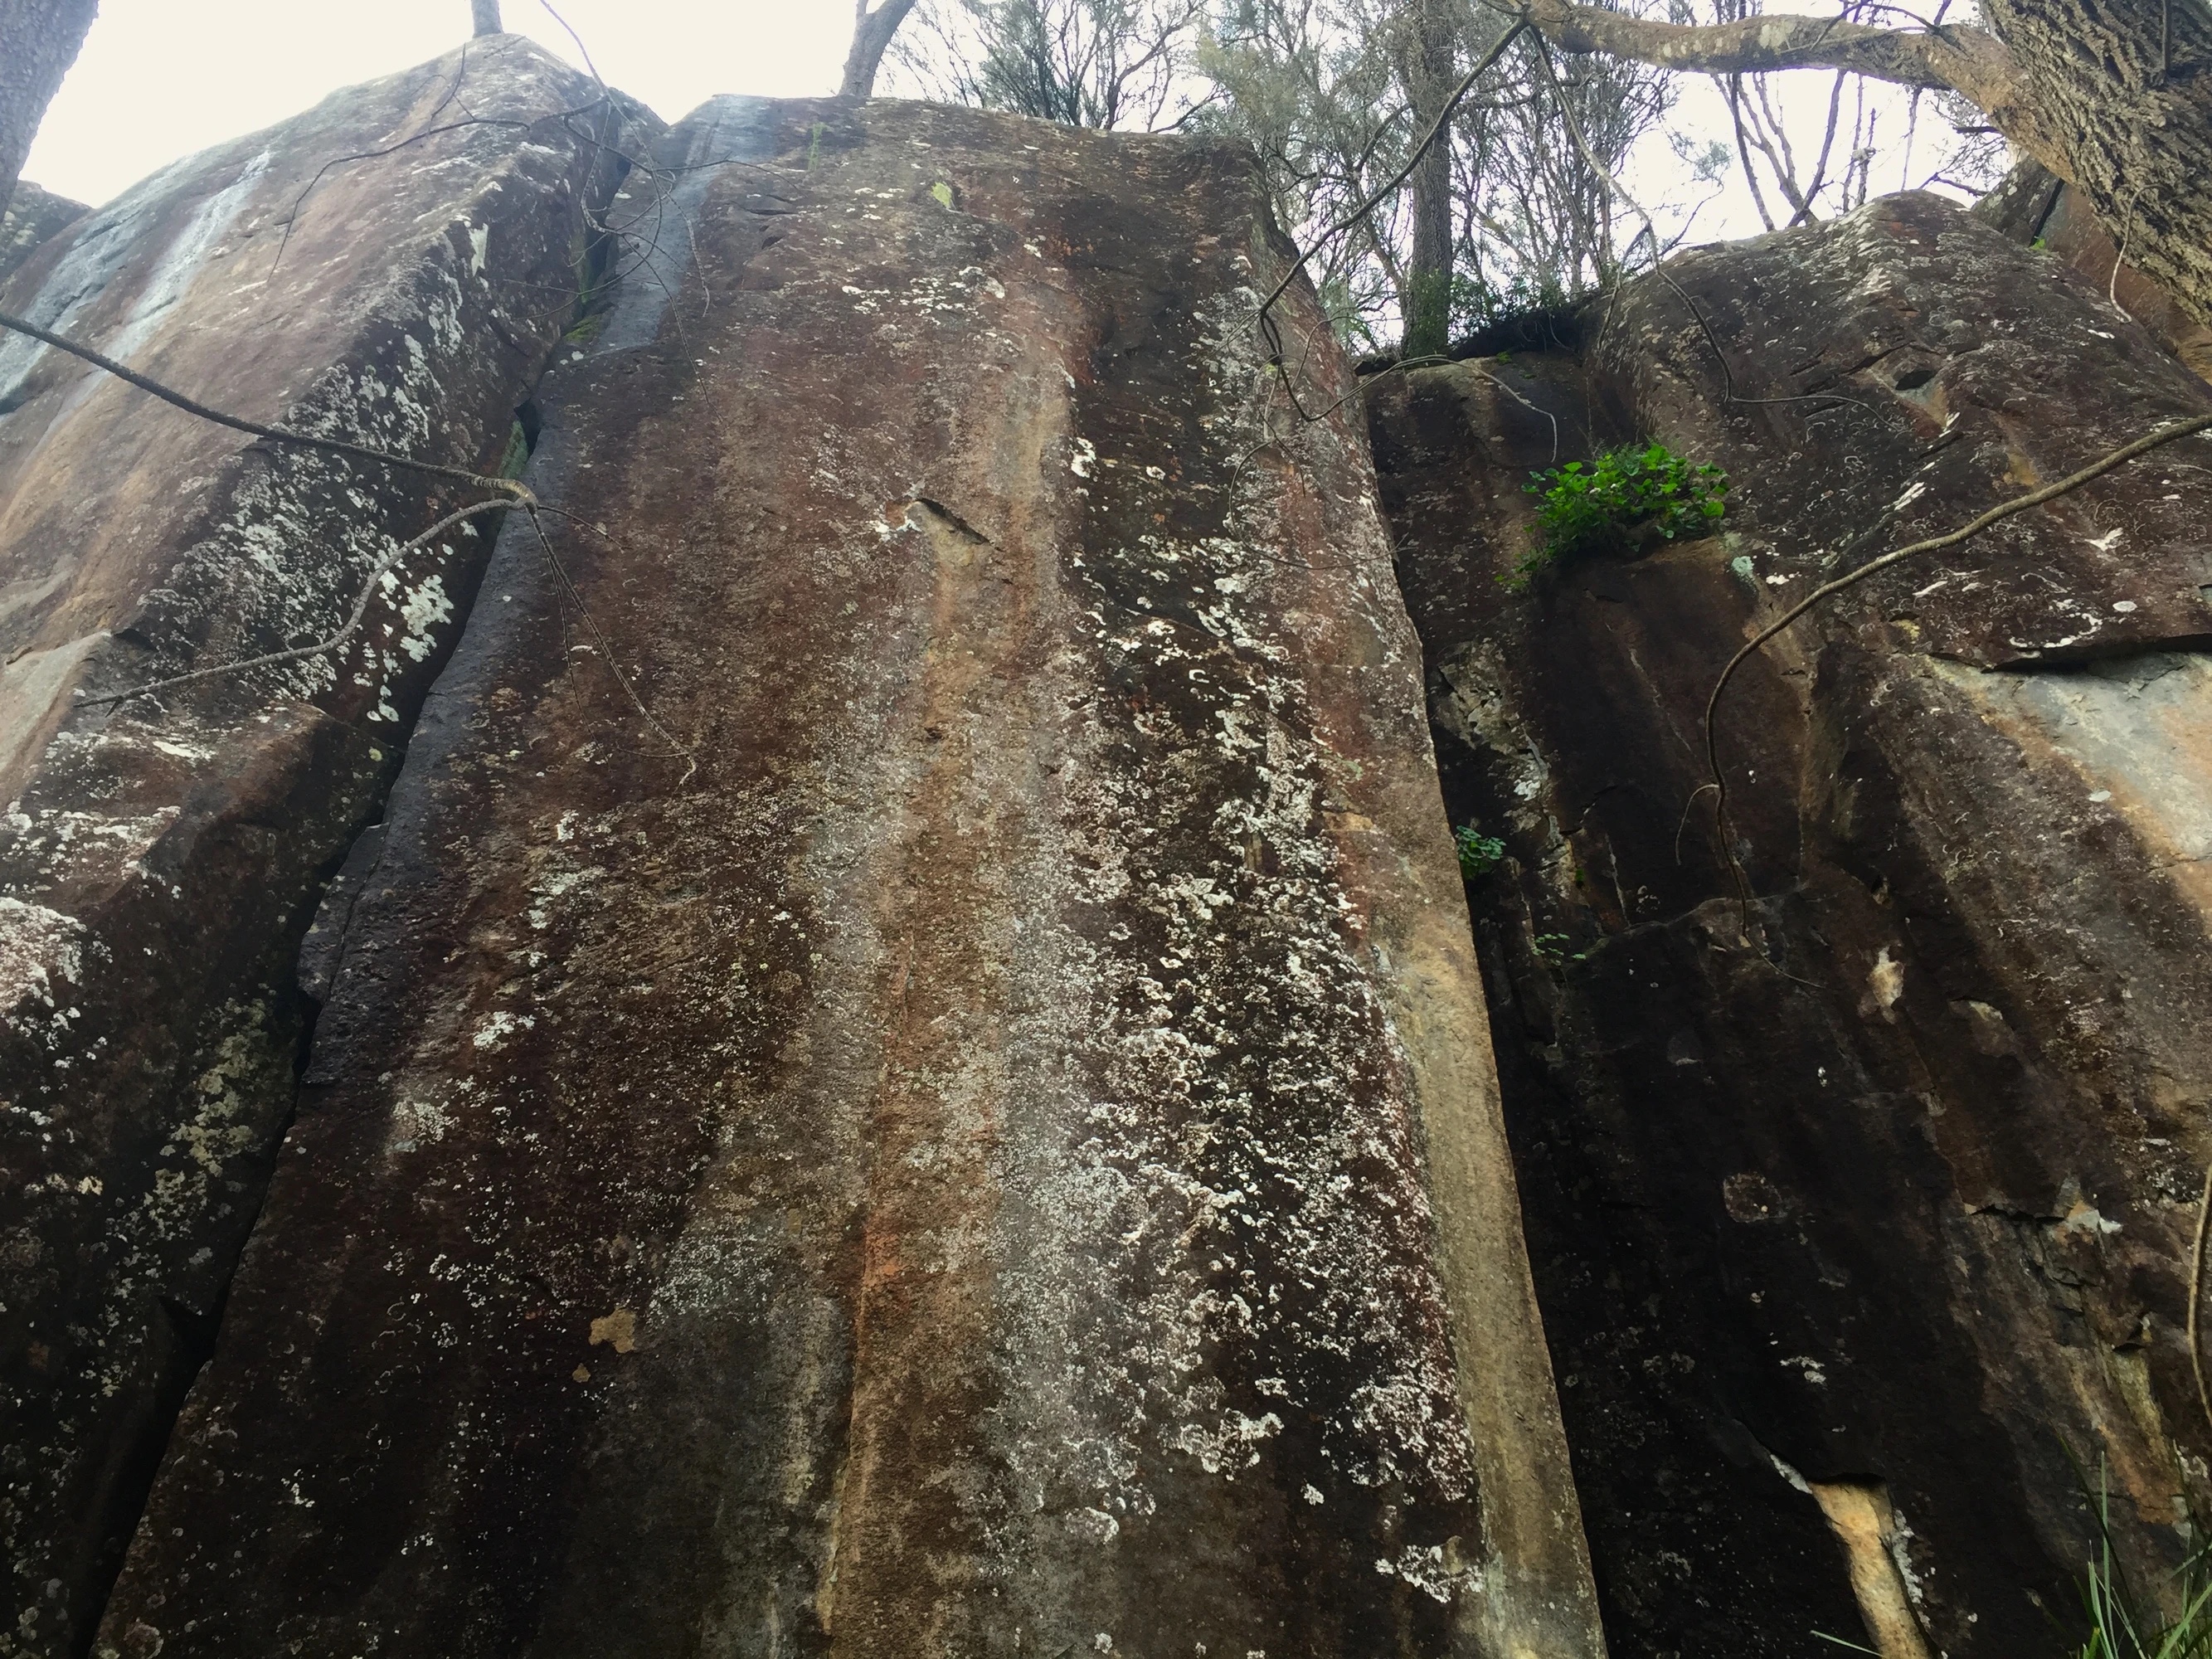
Topo: theCrag contributors, CC BY-NC-SA 3.0, theCrag
The bolted arete and face a few metres right of Fifth Estate. DBB.
From: theCrag
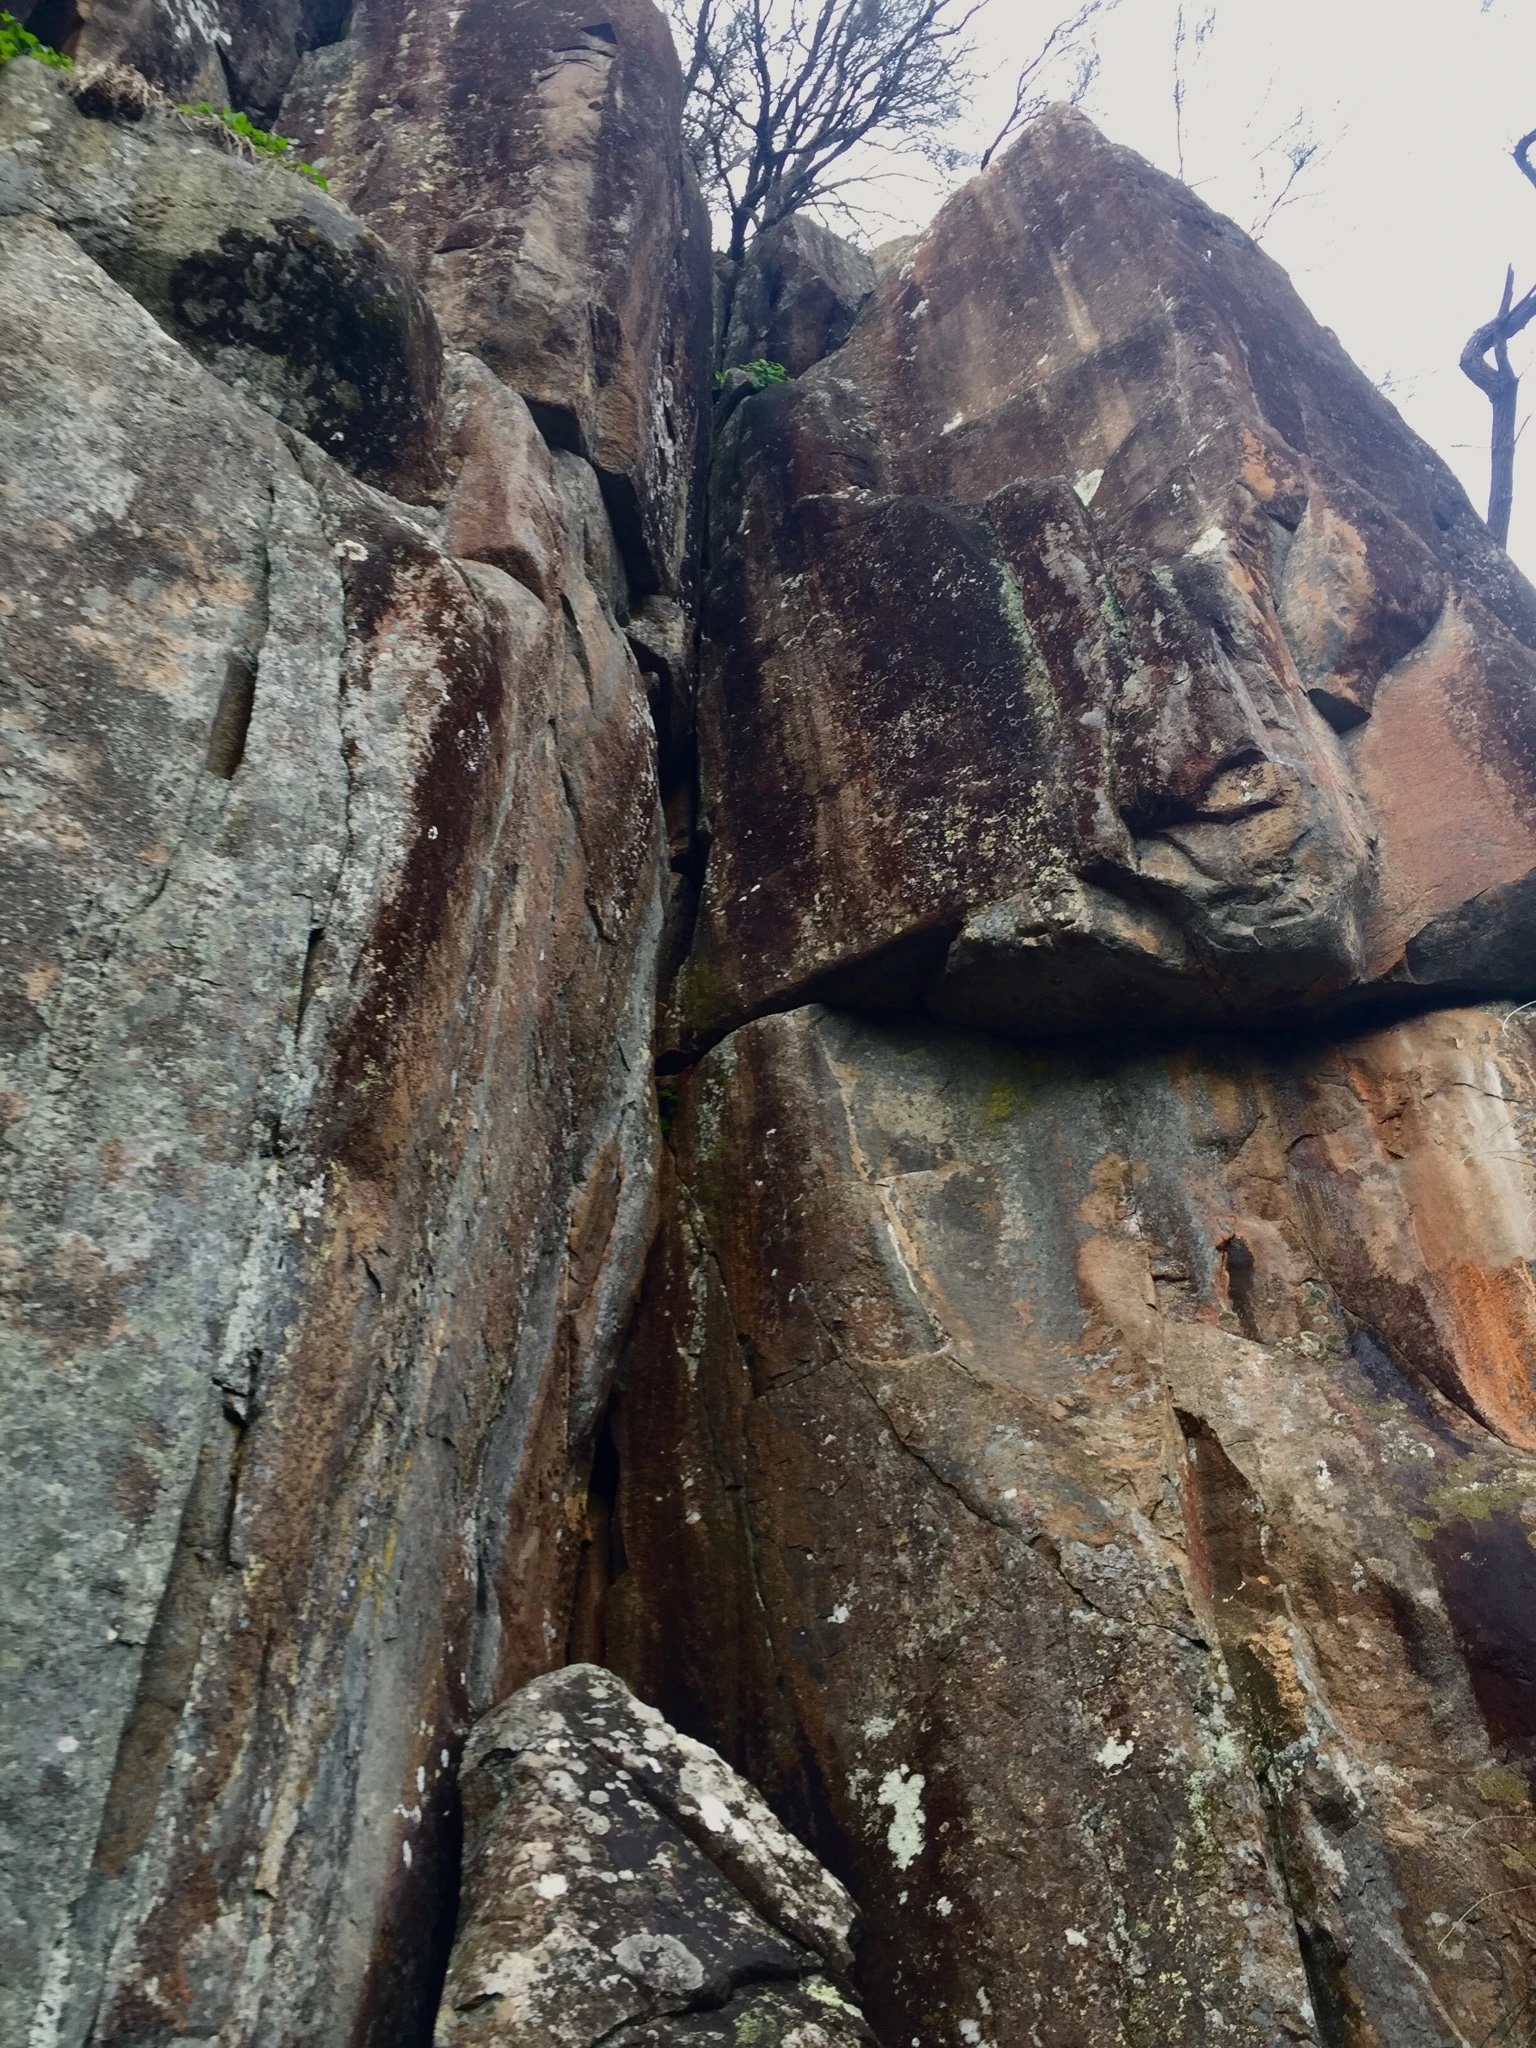
Topo: theCrag contributors, CC BY-NC-SA 3.0, theCrag
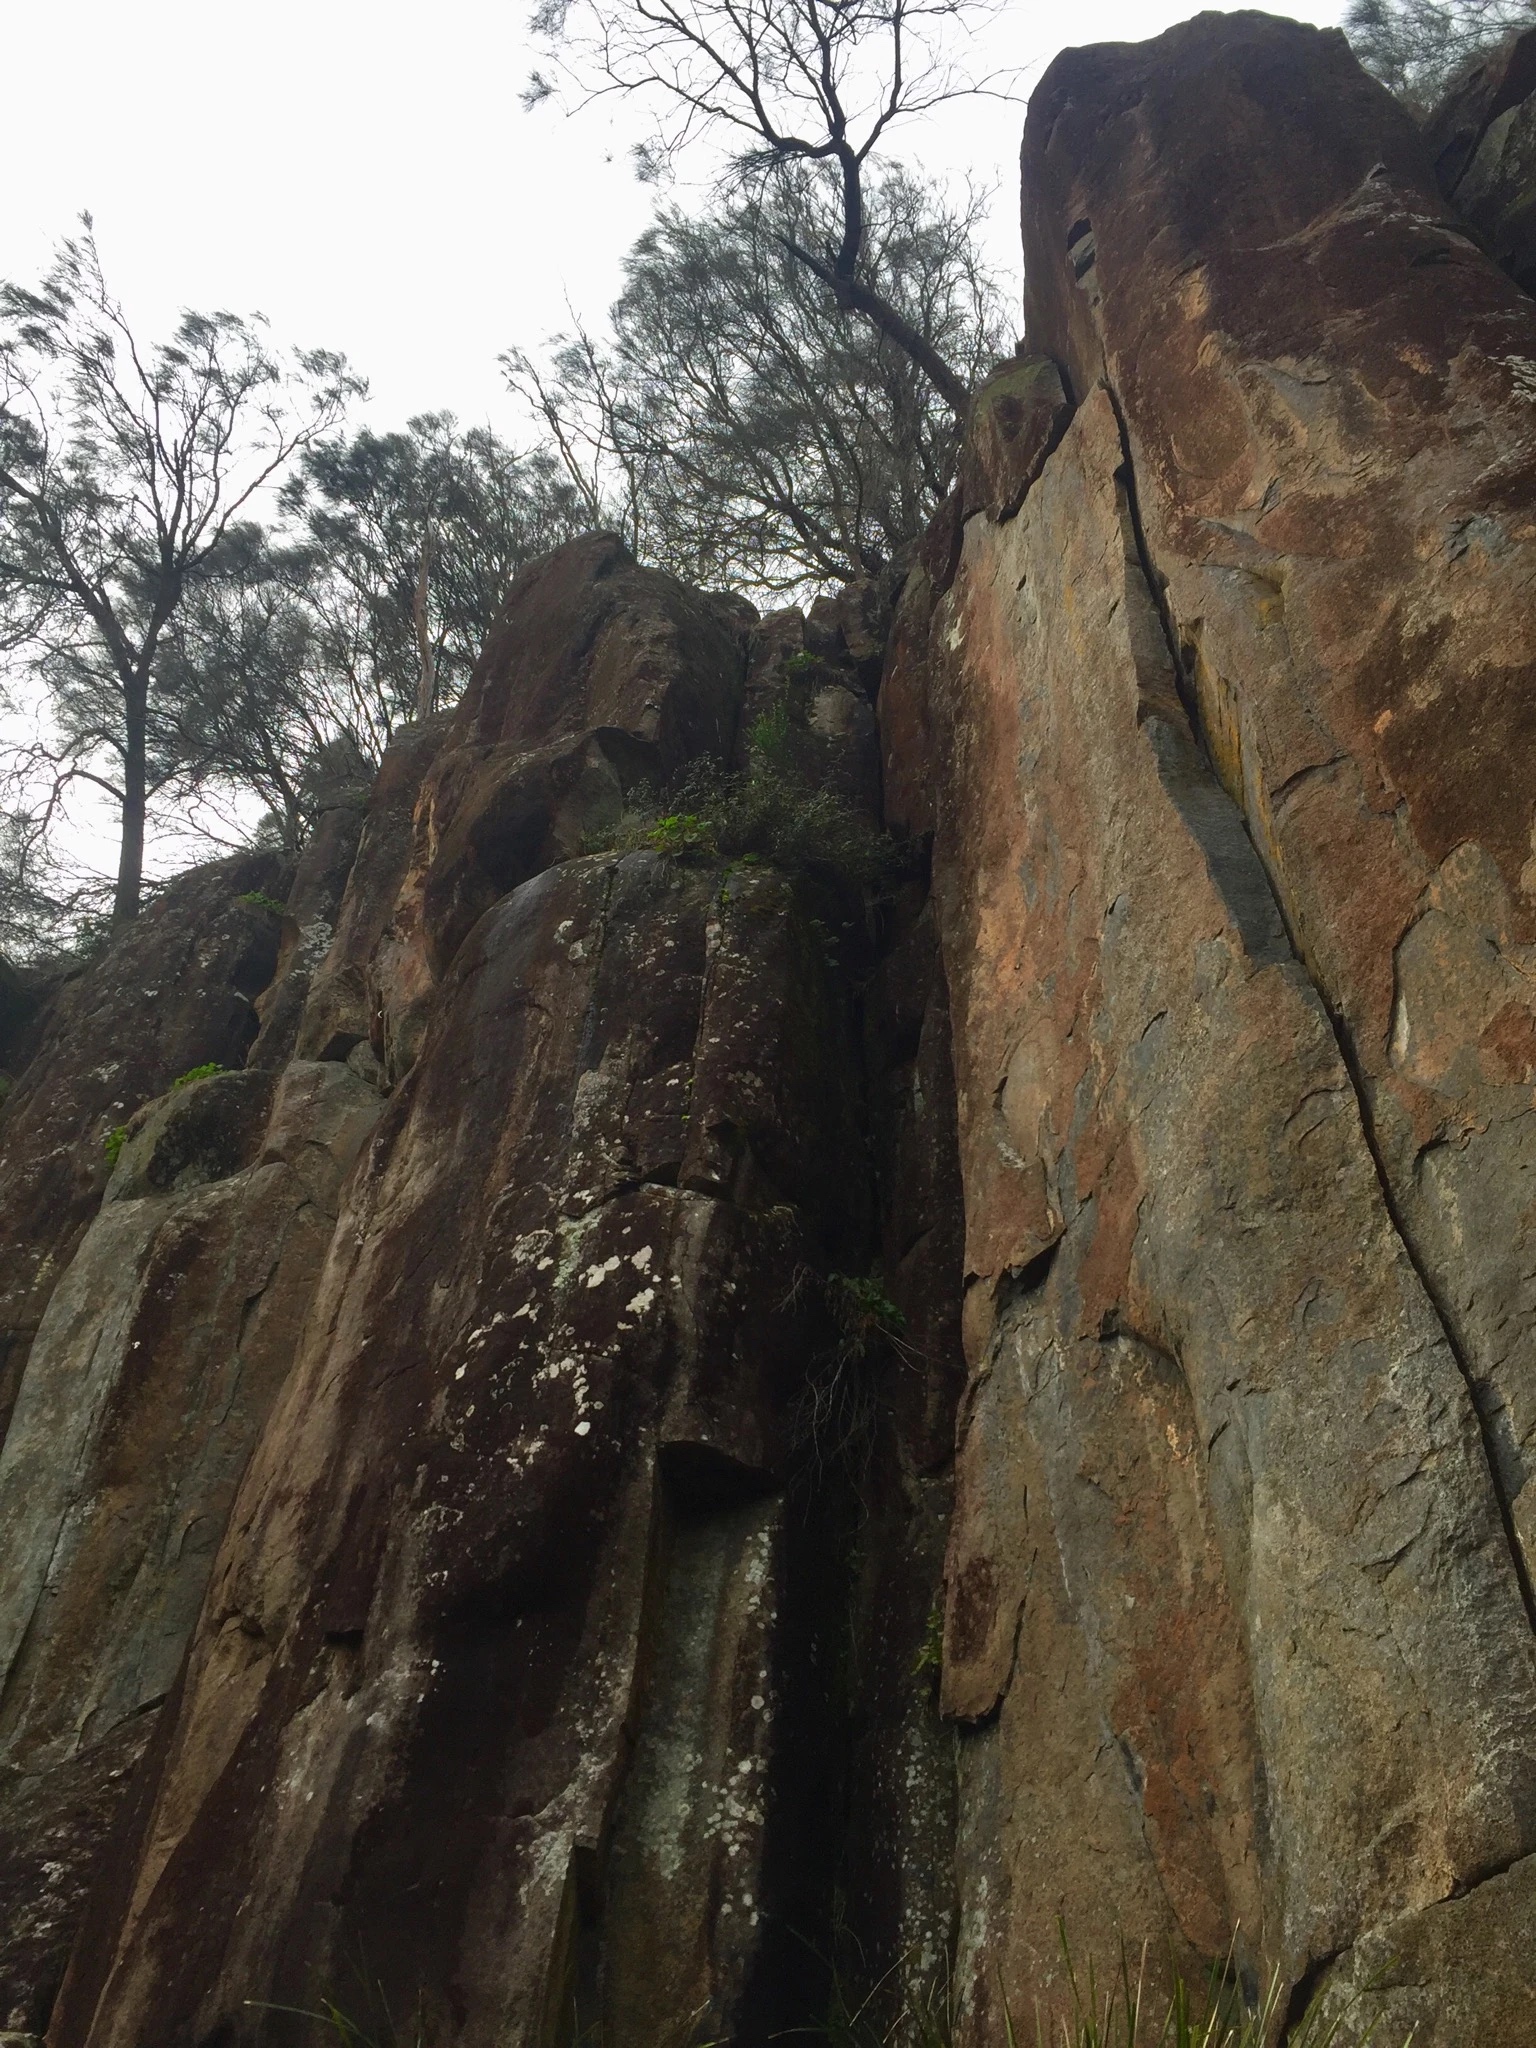
Topo: theCrag contributors, CC BY-NC-SA 3.0, theCrag
Pylon Buttress
Finger crack and hand crack lead to a block and an offwidth
Neale Smith, Gerry Narkowicz & Bob McMahon, 1983 · From: theCrag
Topo: theCrag contributors, CC BY-NC-SA 3.0, theCrag
Thin central line with 2 bolts. Supposedly one of the better lines for the grade in the gorge.
From: theCrag
Far right of upper tier. Bridging between face and pillar and a thin hand crack above the pillar
Bob McMahon, Neale Smith & Lisa Johnson, 1984 · From: theCrag
Down and right of the upper tier is a broken line of cliff. The main line up the broken face
Neale Smith, Bob McMahon & Lisa Johnson, 1984 · From: theCrag
Opportunity Buttress
Right hand arete into face. 5 bolts + a #2 camalot
From: theCrag
Dark Side of Boags
The arete with carrot bolts - on the lower right tier at water level.
From: theCrag
Starting from a ledge on upper right tier. Climb first half of Airfix, then traverse 10m left to arete. Up on carrot bolts.
From: theCrag
On the small cliff 40m right of Airfix - on upper right tier. Pocketed finger crack.
From: theCrag
The Outhouse
Carrot bolts. Up bolted off-width to ledge, and onto the front of the pinnacle. DBB
Gerry Narkowicz · From: theCrag