
Cloudy Bay
 .5-1.25hrs
 Hidden Zawn - AM; Top Cliff Mostly PM
 Dolerite
Acknowledgement
By Ben Maddison
Introduction
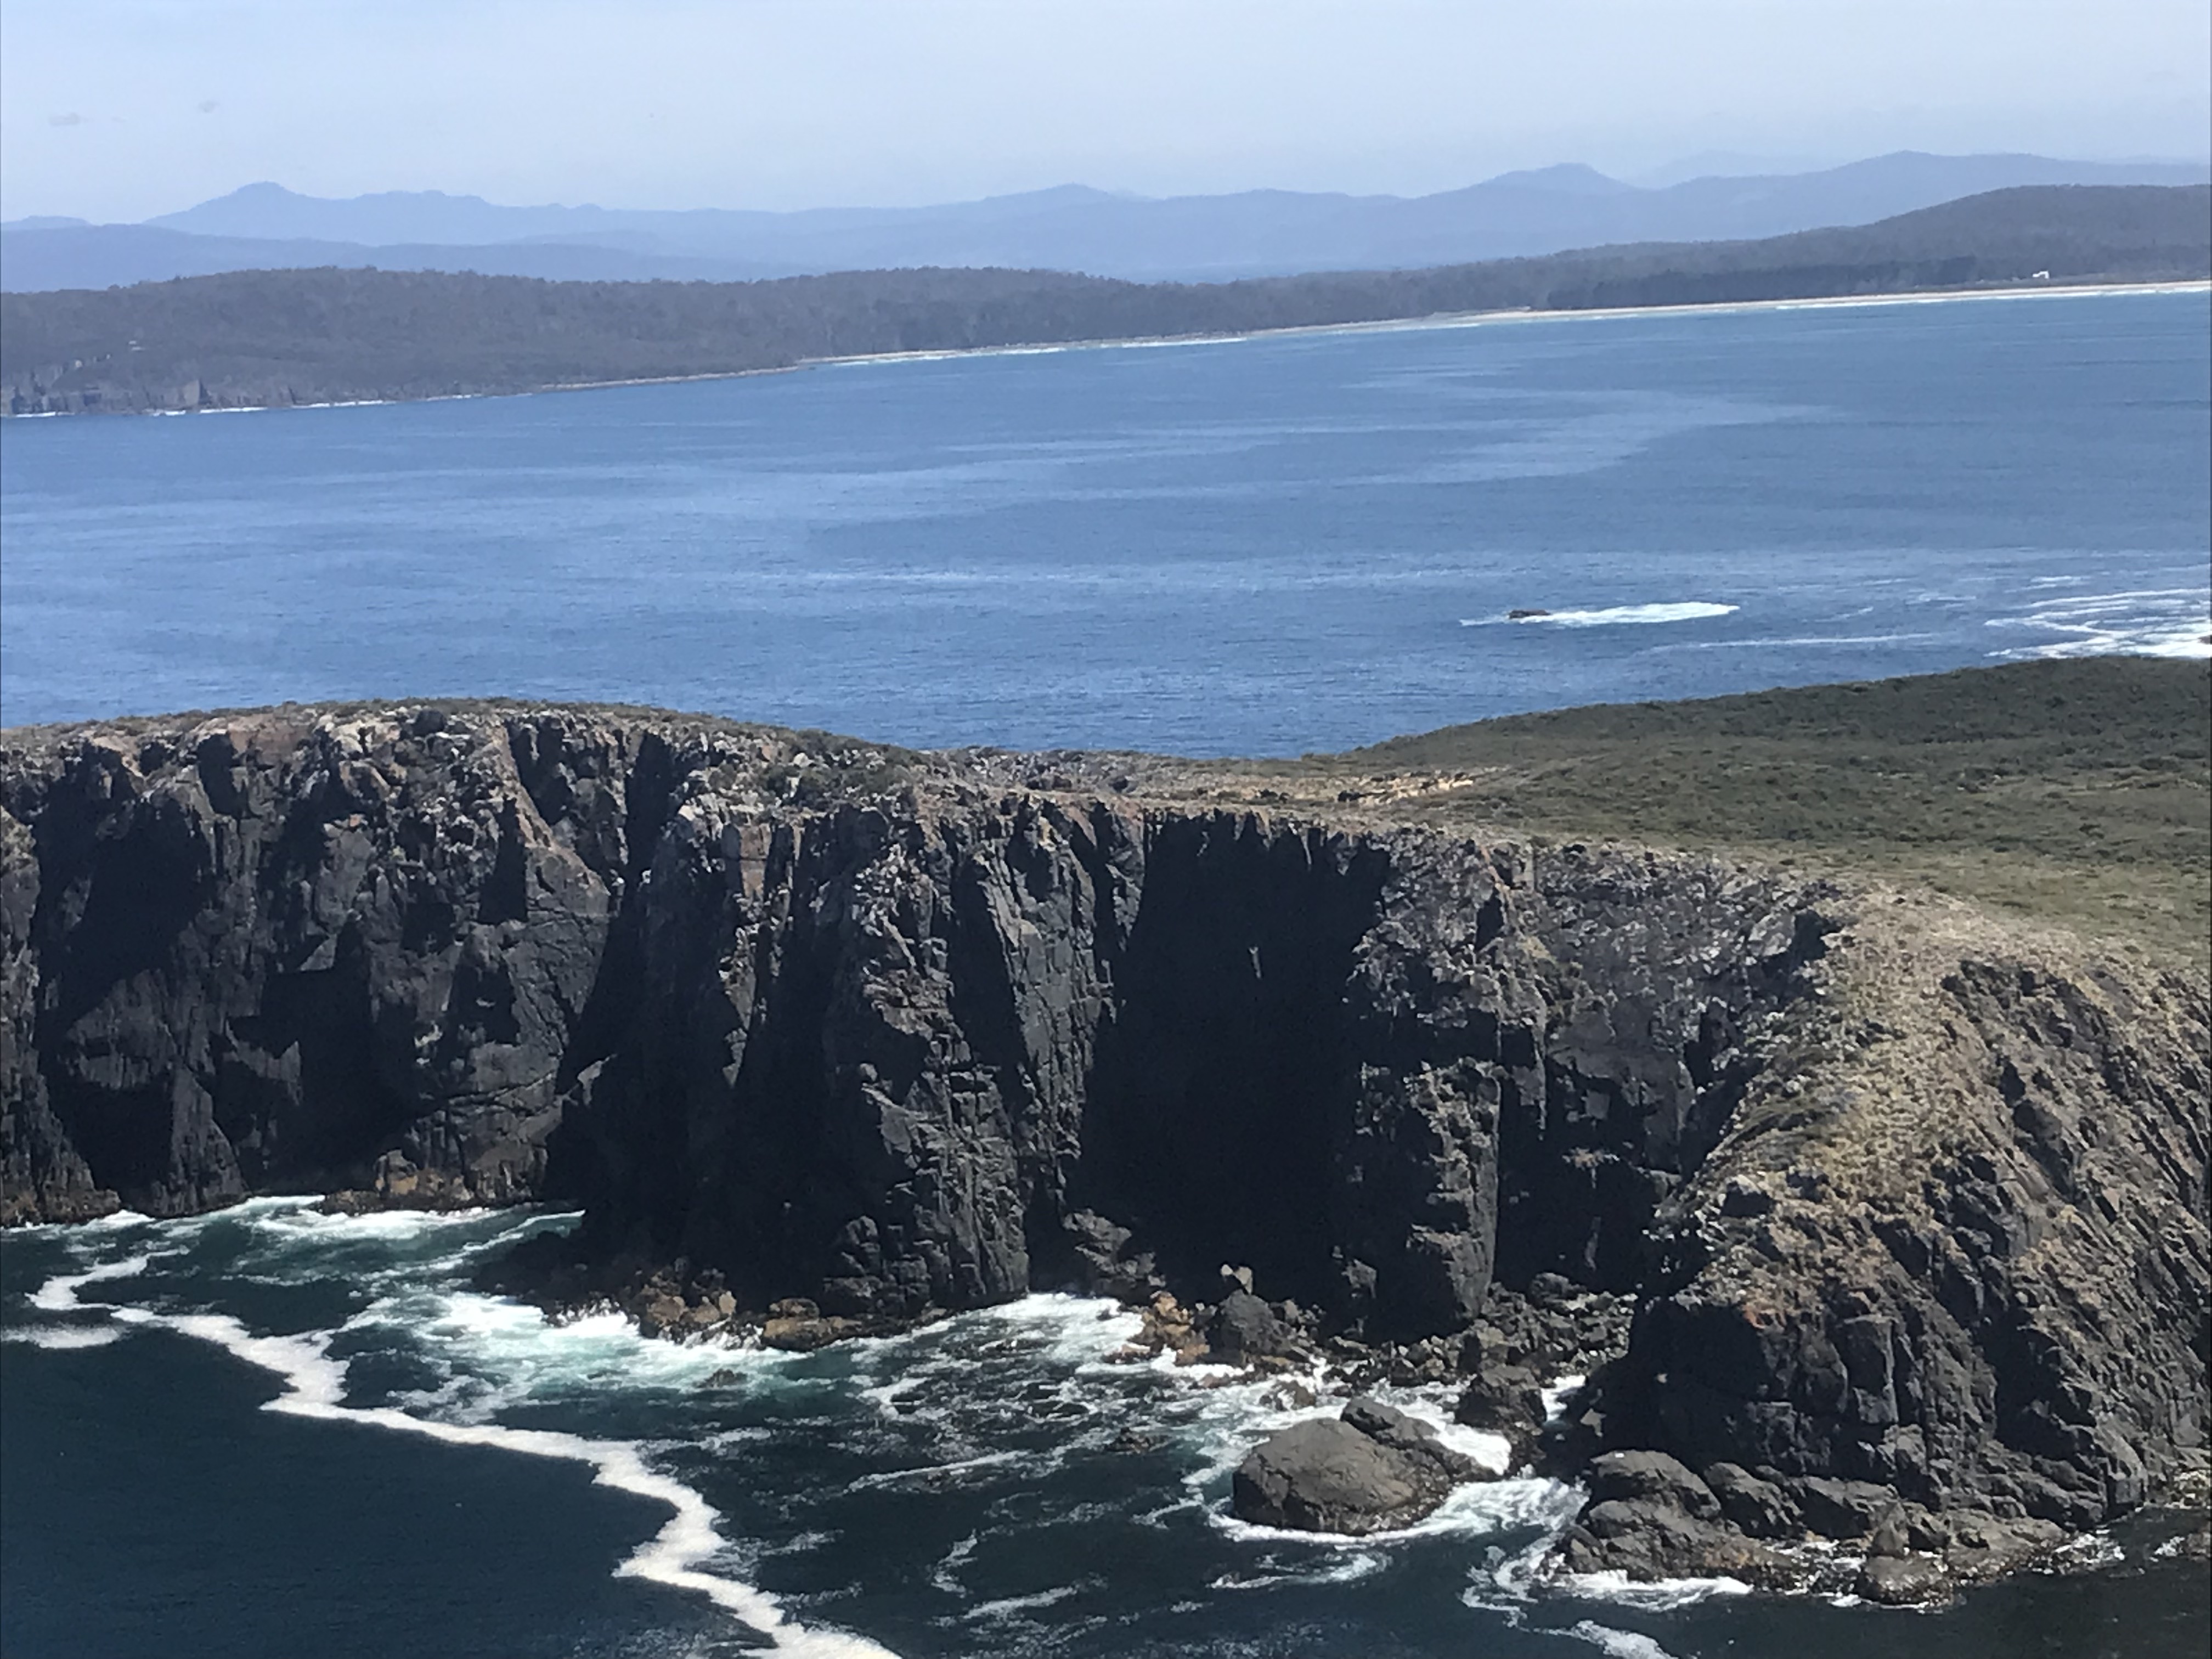
There are three main climbing areas at Cloudy Bay at South Bruny Island. The first described is in and around Hidden Zawn, a parallel sided zawn in a spectacular setting on a small peninsula jutting out into Cloudy Bay. It contains a high proportion of good quality routes on excellent granitic dolerite, including powerful trad lines, bolted steep face routes, and some elegant slabs.This sector also includes Shoreline and Octopus's Garden, which are passed en route to Hidden. The areas are only 20-30 minutes walk from Cloudy Corner campsite. All routes at Hidden and Octopus are accessed by abseil. The cliff is well equipped with fixed belays, abseil points and lower-offs. It is less effected by wind than the Top Ciff, and has both shaded and sunny faces.
The second area is the Jaws Peninsula, the home of World's End, a neat little area coming off a sea platform, with a nice concentration of excellent quality climbs. The area also has 3 impressive zawns - Jaws,Jaws 2 and Jaws 3 - currently under development.
The third area is the Top Cliffs, set high up on slabs looking over the Southern Ocean. On sunny afternoons you can see Pedra Branca and the Eddystone. The rock is generally good, hard, pockety granitic dolerite. The climbing is steep and pumpy at the Aviary, less so on the Southern Ocean Face, although here the routes have a big feel as the Southern Ocean bangs away in the zawn below. Because the crag sits on slabs 80+ metres above the sea, the rock does not suffer from the oceanic glaze that characterises many sea cliffs. It is also unaffected by tides and swell, although southerly and westerly winds can be a problem. The BoM’s MetEye function has a South Bruny station, which gives pretty reliable wind and rain forecasts. The routes are mainly single pitch, and you can get away with a single 60m rope on all sections of the crag. There are quite a few mixed routes that require a rack, but on the Aviary there are plenty of sports routes. Most of the fixed gear and lower-offs/rap stations are glued-in U bolts.
Access
From the ferry, take the B66 to Lunawanna, and turn let onto C629. Follow this to the junction with C644, Cloudy Bay Road, and dive to the beach - the drive to Cloudy Bay takes about 50 minutes from the ferry.
Drive down the concrete ramp and along the beach (4wd not needed – usually very hard sand. I once saw a Barina in there, and the truck that fills the water tank at Cloudy Corner makes regular trips along the beach) to campground at Cloudy Corner. Drive clockwise around the perimeter track to park at start of track to East Cloudy Head, marked by tap next to water tank.
Hidden Zawn
Take the East Cloudy Head track. Follow the main track for 10 minutes, heading up a rise, and steeply down the other side. As it begins to climb again, at the second log erosion control step, take the small but well defined track on the right heading in the direction of a bay. Follow this distinct trail through the brush, until you can actually see the boulders on the beach [about 20 m from the beach]. (Take note of where the track is at this point. It is easy on the return journey to turn up L too soon on a little worn ridge, and get mired in some deep and very thickly scrub-filled gullies.) At this point head R up the tussocky hillside ( or L across the creek up the World's End track, for Shoreline), always keeping to the tussocky and/or worn ground and more or less paralleling the cliff edge. After 10 mins or so, at a cairn, cut R and straight across the hillside, passing a cliff top (Octopus's Garden). Keep heading straight across the bouldery ground in direction of cliff-top boulders ahead of you. Soon you get to the edge of Hidden Zawn, where you can look across and scope out the different areas. Walk around the head of the zawn and across the neck that separates Hidden Zawn from Rumbling Zawn, to the cliff top. Total access time <30minutes.
World's End
Follow the route towards Hidden Zawn. Where the Hidden Zawn track goes right on the shores of Beaufort Bay, hop across the creek to the left, and locate a tagged and cairned track up the hillside above Beaufort Bay. At the crest of the ridge , the track drops through the scrub to a notch at the start of the little peninsula. Follow the track past the notch and onto the peninsula. Walk down past a deep zawn (the area known as Jaws, currently being explored with the first routes being the obvious trad corner Blue Water Classic, gr20, and the crack next right, Sharkbait gr 21). From the slabs above Jaws, go across left to join the track through the scrub, to a handline leading to the ledge at the cliff top (45 mins total).
Top Cliff
Walk up the East Cloudy Head track, past the Hidden Zawn track, up the hill and continuing past the flat area at 35 mins (there is a 4 m diameter patch of flat dolerite left of the track at this point), up the hill and traversing the hillside (spectacular views of the Friars Islands) for a further 15 mins, through a patch of eucalypt forest. The trail to the crag is on the RHS of the main track, 15 meters after the forest ends and the main track heads uphill for the final climb to the top of East Cloudy Head. Follow the trail marked by cairns, slanting down diagonally leftwards towards the ocean until, after about 10-15 mins, you reach two large cairns on a rock slab on the RHS of the track. From here there are two main ways to access the crag.
Access 1: Follow cairns/tapes directly towards sea from these cairns, down beside a slab, to a fixed handline that descends a gully that leads to the bottom of the crag. Follow cliffline rightwards (facing in) from bottom of gully to reach the LHS of the Aviary. If you use Access 1 you only need to bring a 60 m rope.
Access 2: from the cairns keep traversing the hillside on the footpad track for 5 mins, until you see a post, which marks the place where you can drop down to a good terrace and anchors. Fix a rope (i.e. if you choose this access, you will need to bring a rap rope) and abseil down to the Aviary in the region of Birdbrain/Blackbird. Tip: if there is enough spare rope, you can use it to rig a handline from the first bolts of Powerful Owl (5 m right of abseil) and Your Tern (20 m right again).
The cliff top is quite rubbly and unstable, not so much a problem when you are at the top, but very dangerous if there are people below. For this reason all routes have lower-offs/rap stations.
Camping
The campground at Cloudy Corner has water and two toilets. Its a great spot, and usually pretty quiet, and a good place to base yourself for a couple of days trip to Cloudy. Fires are often permitted but you must bring your own wood.
GPS
Shoreline
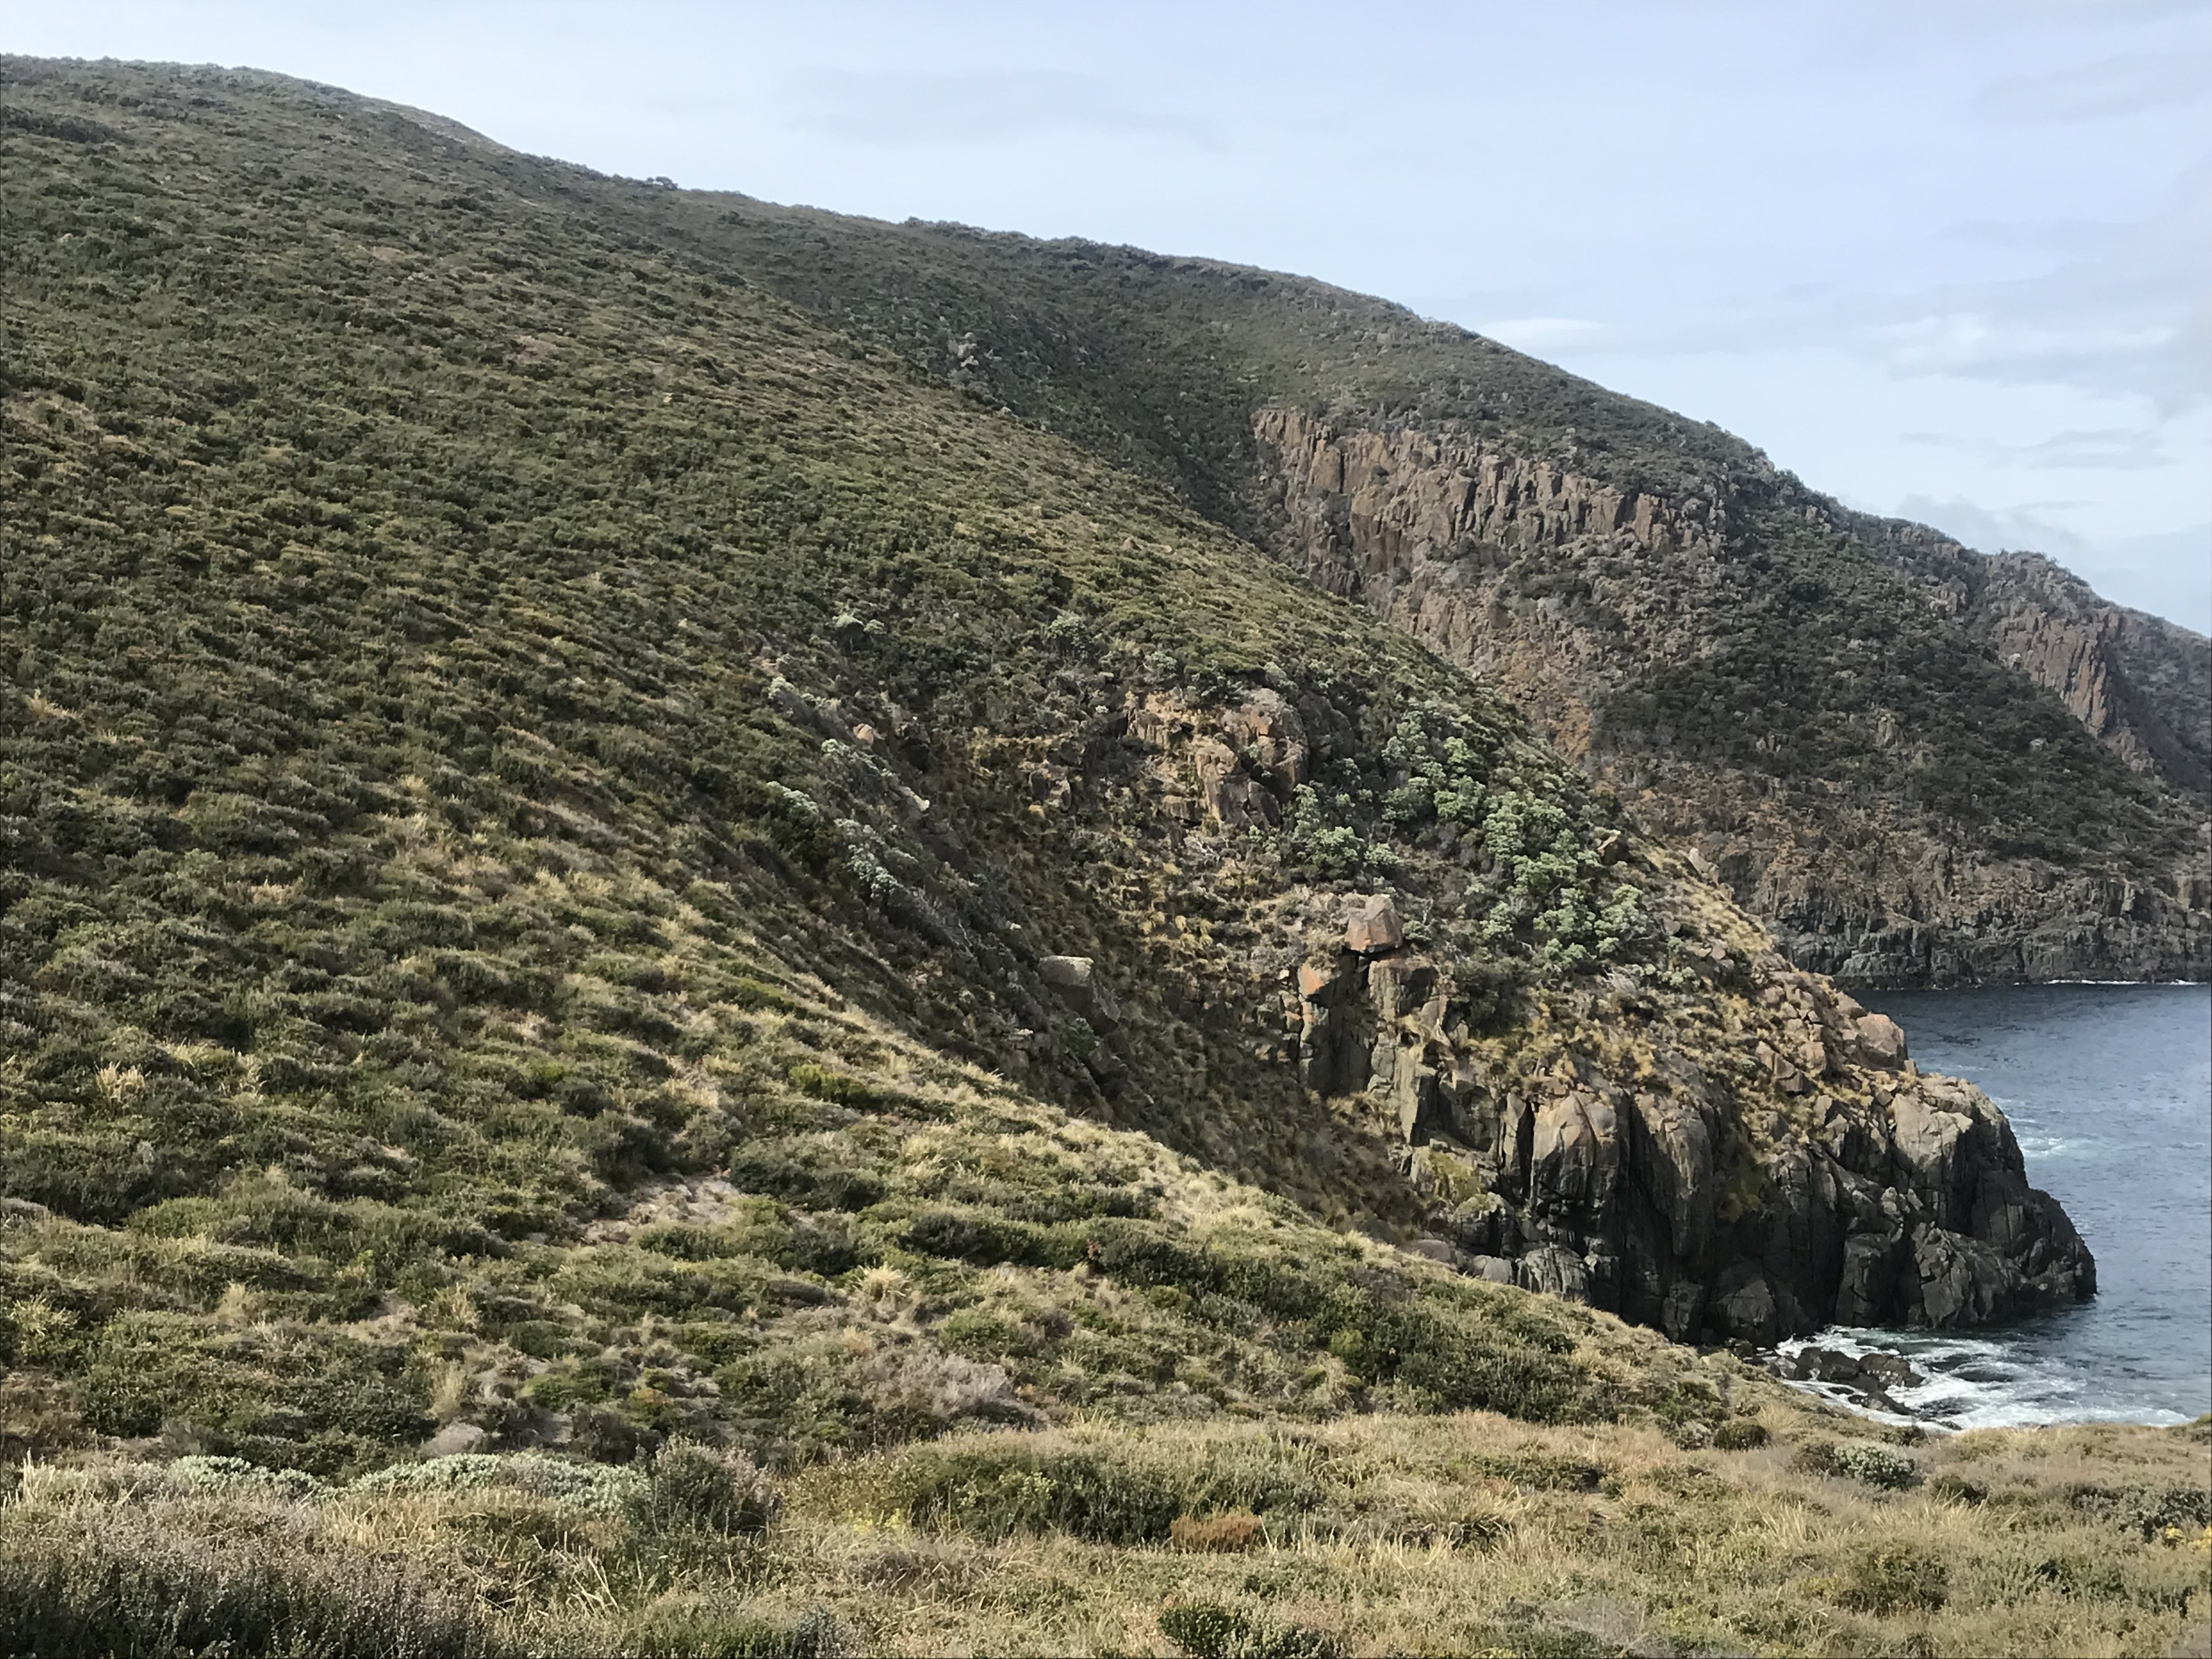
This lovely little area is a series of small buttresses situated on the rock platform/slab on the shores of Beaufort Bay. It dries quickly after rain, gets afternoon sun, is often very sheltered despite its position, and is generally a lovely spot to do a few nice climbs and hang out with the ocean.
Access: Start up the track from Beaufort Bay to World’s End. After about 100 m up hill from the creek, cut R at a couple of orange tags, and follow the trail across the hillside until it drops down to a pinnacle with a cairn on top. Follow the handline down, and then scramble down to the rock platform.
Routes are described L to R.
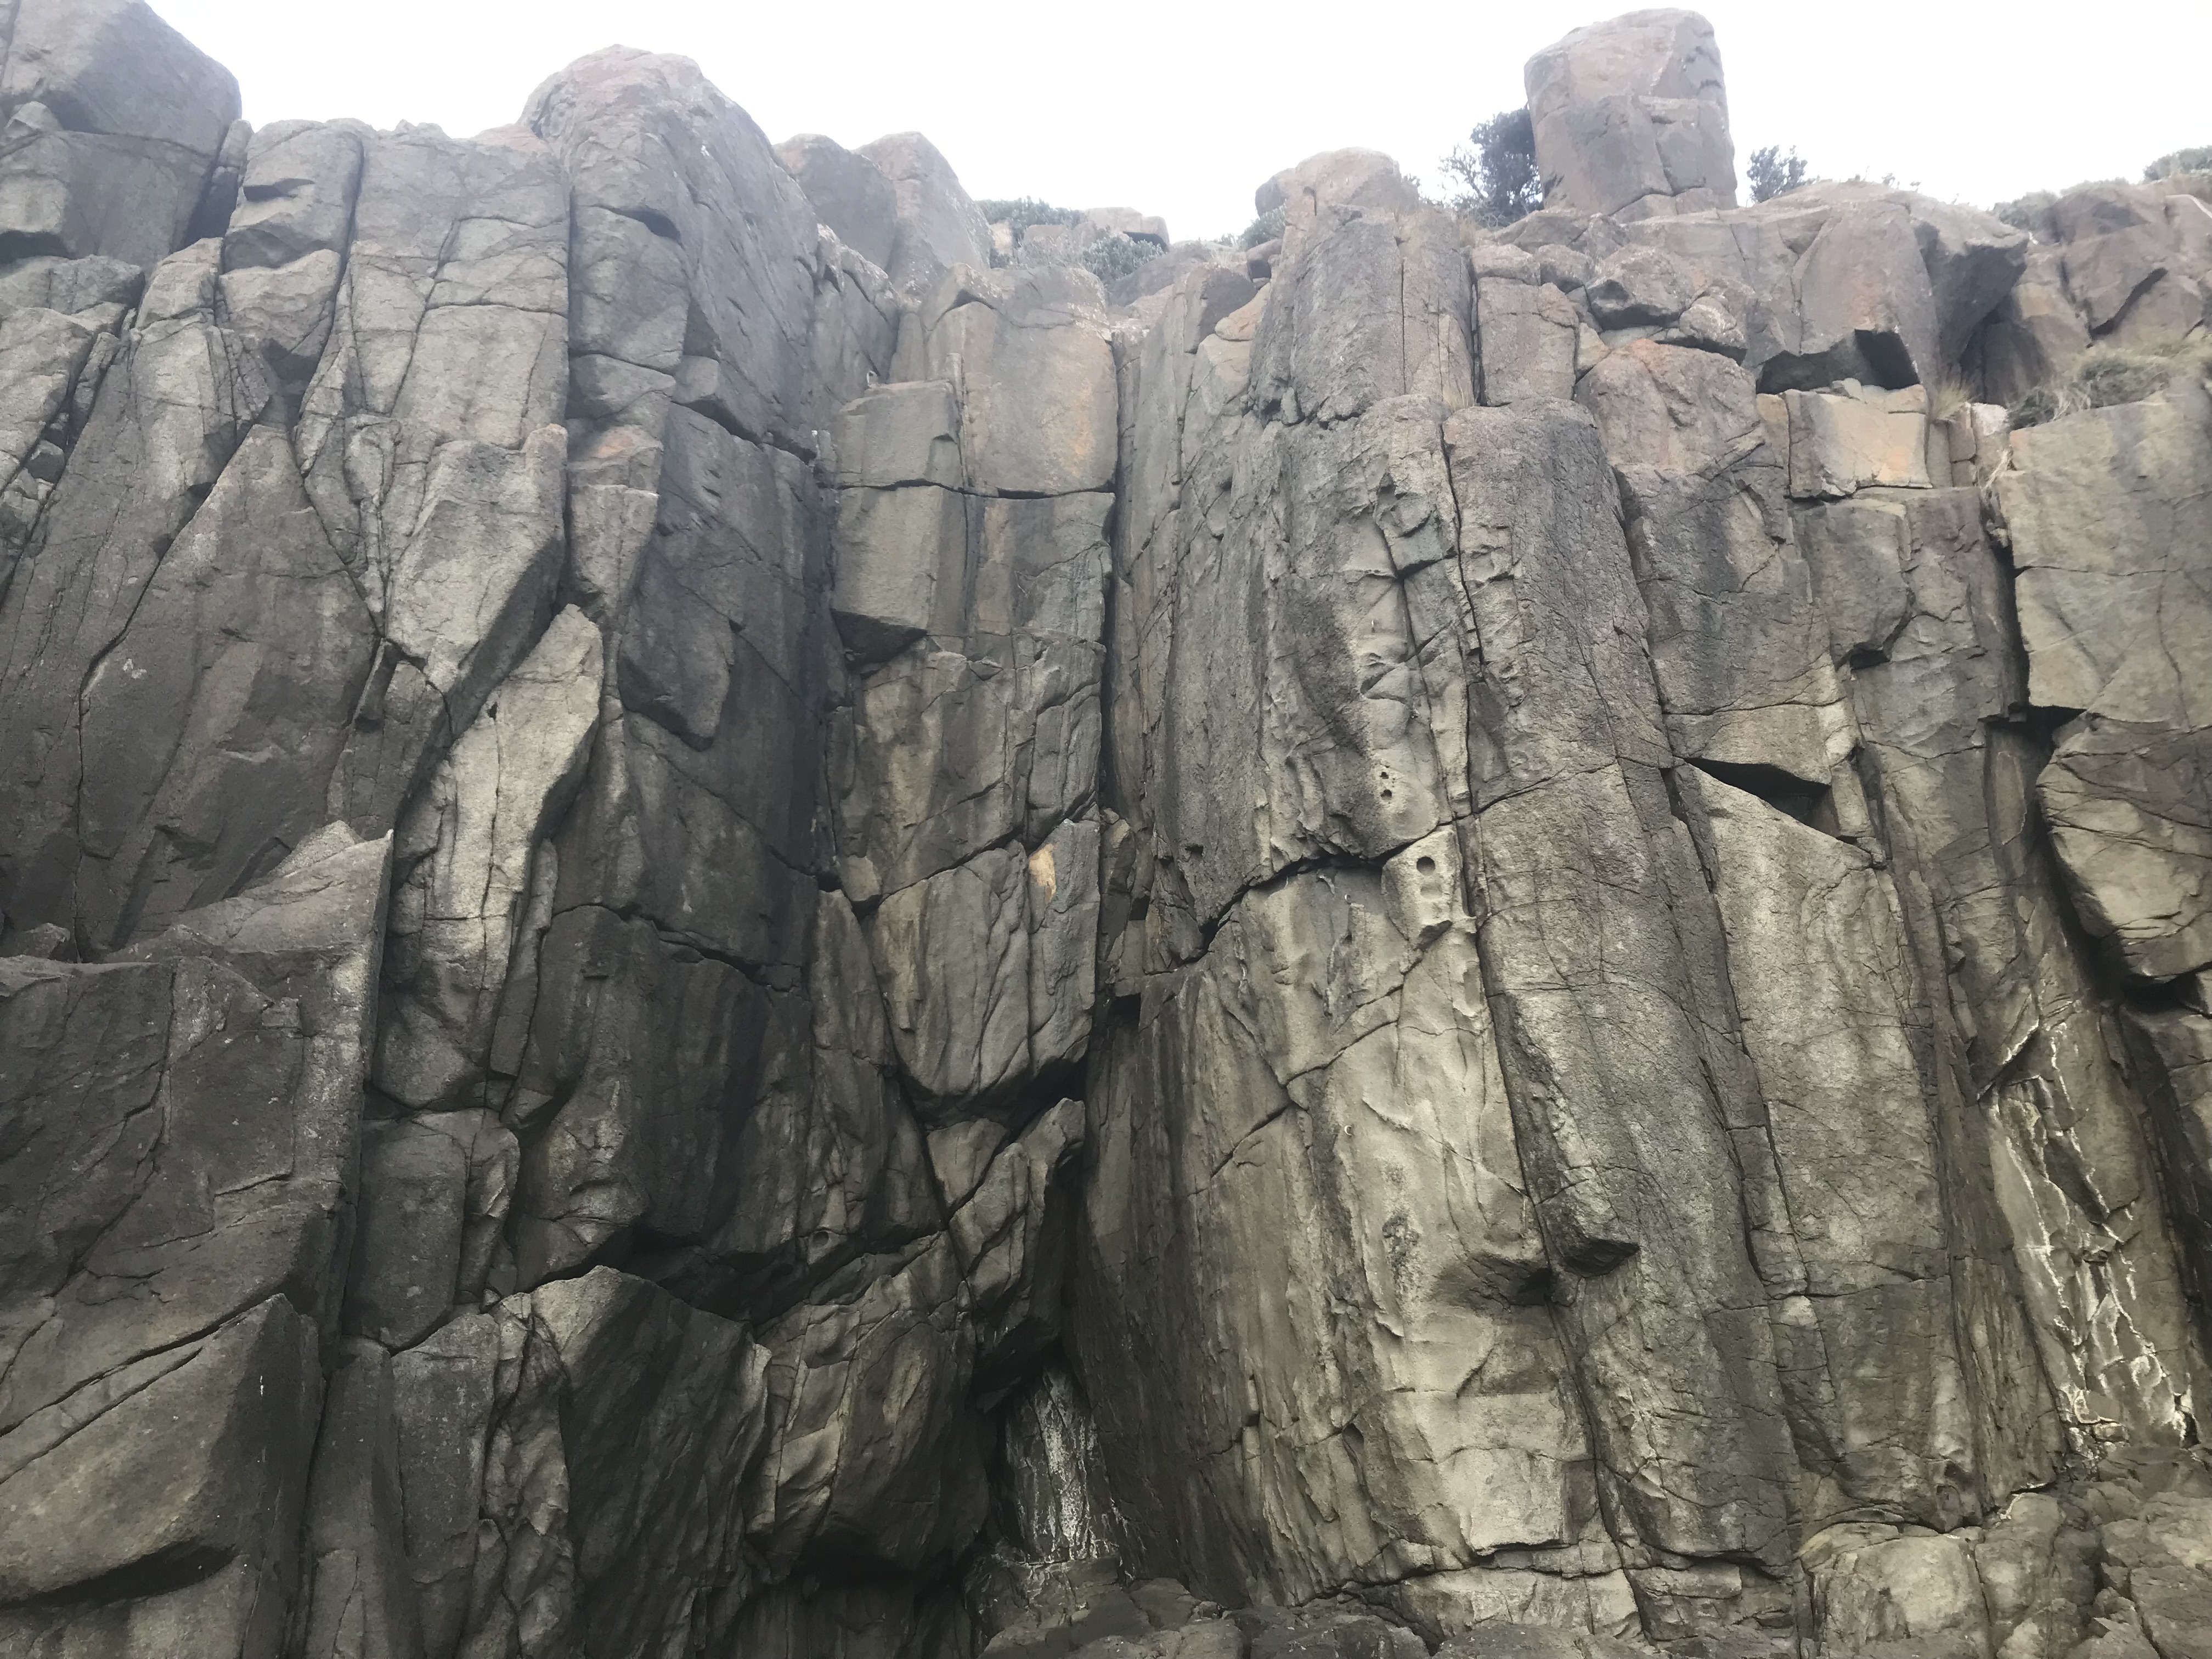
A good trad route. Start at the gulch behind Canute. Step across the gulch and up to ledge. Follow crack up the point of the buttress on good rock. Belay on cams/nuts
Descent: rejoin the scramble down.
Gerry Narkowicz, Ben Maddison, Dan Stavert, September 2022
Line L of C-biscuit.Really nice climbing with good pro.
Neale Smith September 2023
The corner crack L of Canute. Really nice climbing with great pro.
Ben Maddison September 2023
Nice climbing up a blunt arete on pretty big holds to lower-off
Ben Maddison, Neale Smith & Dave Stephenson, September 2022
The corner R of Canute. Quite nice, finish L, direct or R
Ben Maddison March 2023
The nice little trad corner L of Sea Smoke to DBB bolt. Scramble off
Neale Smith September 2022
The arete R of Right On. Good climbing to DBB. Scramble off.
Ben Maddison, Neale Smith & Dave Stephenson, September 2022
The next cluster of routes are 15m R. of the descent
A good corner, albeit short. Bolt belay on ledge at top. Scramble off
Neale Smith September 2022
Climb the groove via the tasty bolted arete to lower-off
Ben Maddison September 2022
Good climbing up the steep hand crack immediately R of DLS. Use DLS lower-off
Ben Maddison September 2022
From the last cluster of climbs, go R about 20m, and up the slab.
Delicate start past 2 B to ledge, then up front of square-cut buttress (2B). Step L and climb the short finger crack (cams), and a bolt to the lower-off. A good climb.
Ben Maddison & Neale Smith October 2022
The corner R of Bivalent gives surprisingly nice climbing. Take some handsized gear for low down, and some med size wires for a crack hidden in the R wall of the summit chimbley.
Neale Smith & Ben Maddison, October 2022
The obvious nice but short trad corner L of Loveable Rogue.
Daniel Stavert & Ben Maddison, November 2022
Start 3m. L of Dud Route, underneath prominent crack and flake system. Hand and finger crack climbing.
Climb the crack to the bulge, difficult moves into and up the hanging groove to lower-off. Great gear up to 2.5 cam,incl. several finger sized cams.
Ben Maddison September 2023
Next routes are 15m up the slab to the R
Didn’t get hard enough. Up to a ledge below an arete. Make a couple of moves up, then step L to climb the slabby face with the great assistance of the wide crack behind you. To lower-off
Ben Maddison, October 2022
An excellent mixed outing. Up the face and diagonal seam past 3B, to a trad finish up the diagonal hand crack, leading to steep finger crack to lower-off .
Ben Maddison, October 2022
The last climb of the area, on the buttress 10m up and R of 3 Chords. Fun climbing up the stone ‘volumes’ to lower-off.
Ben Maddison, October 2022
Hidden Zawn Area
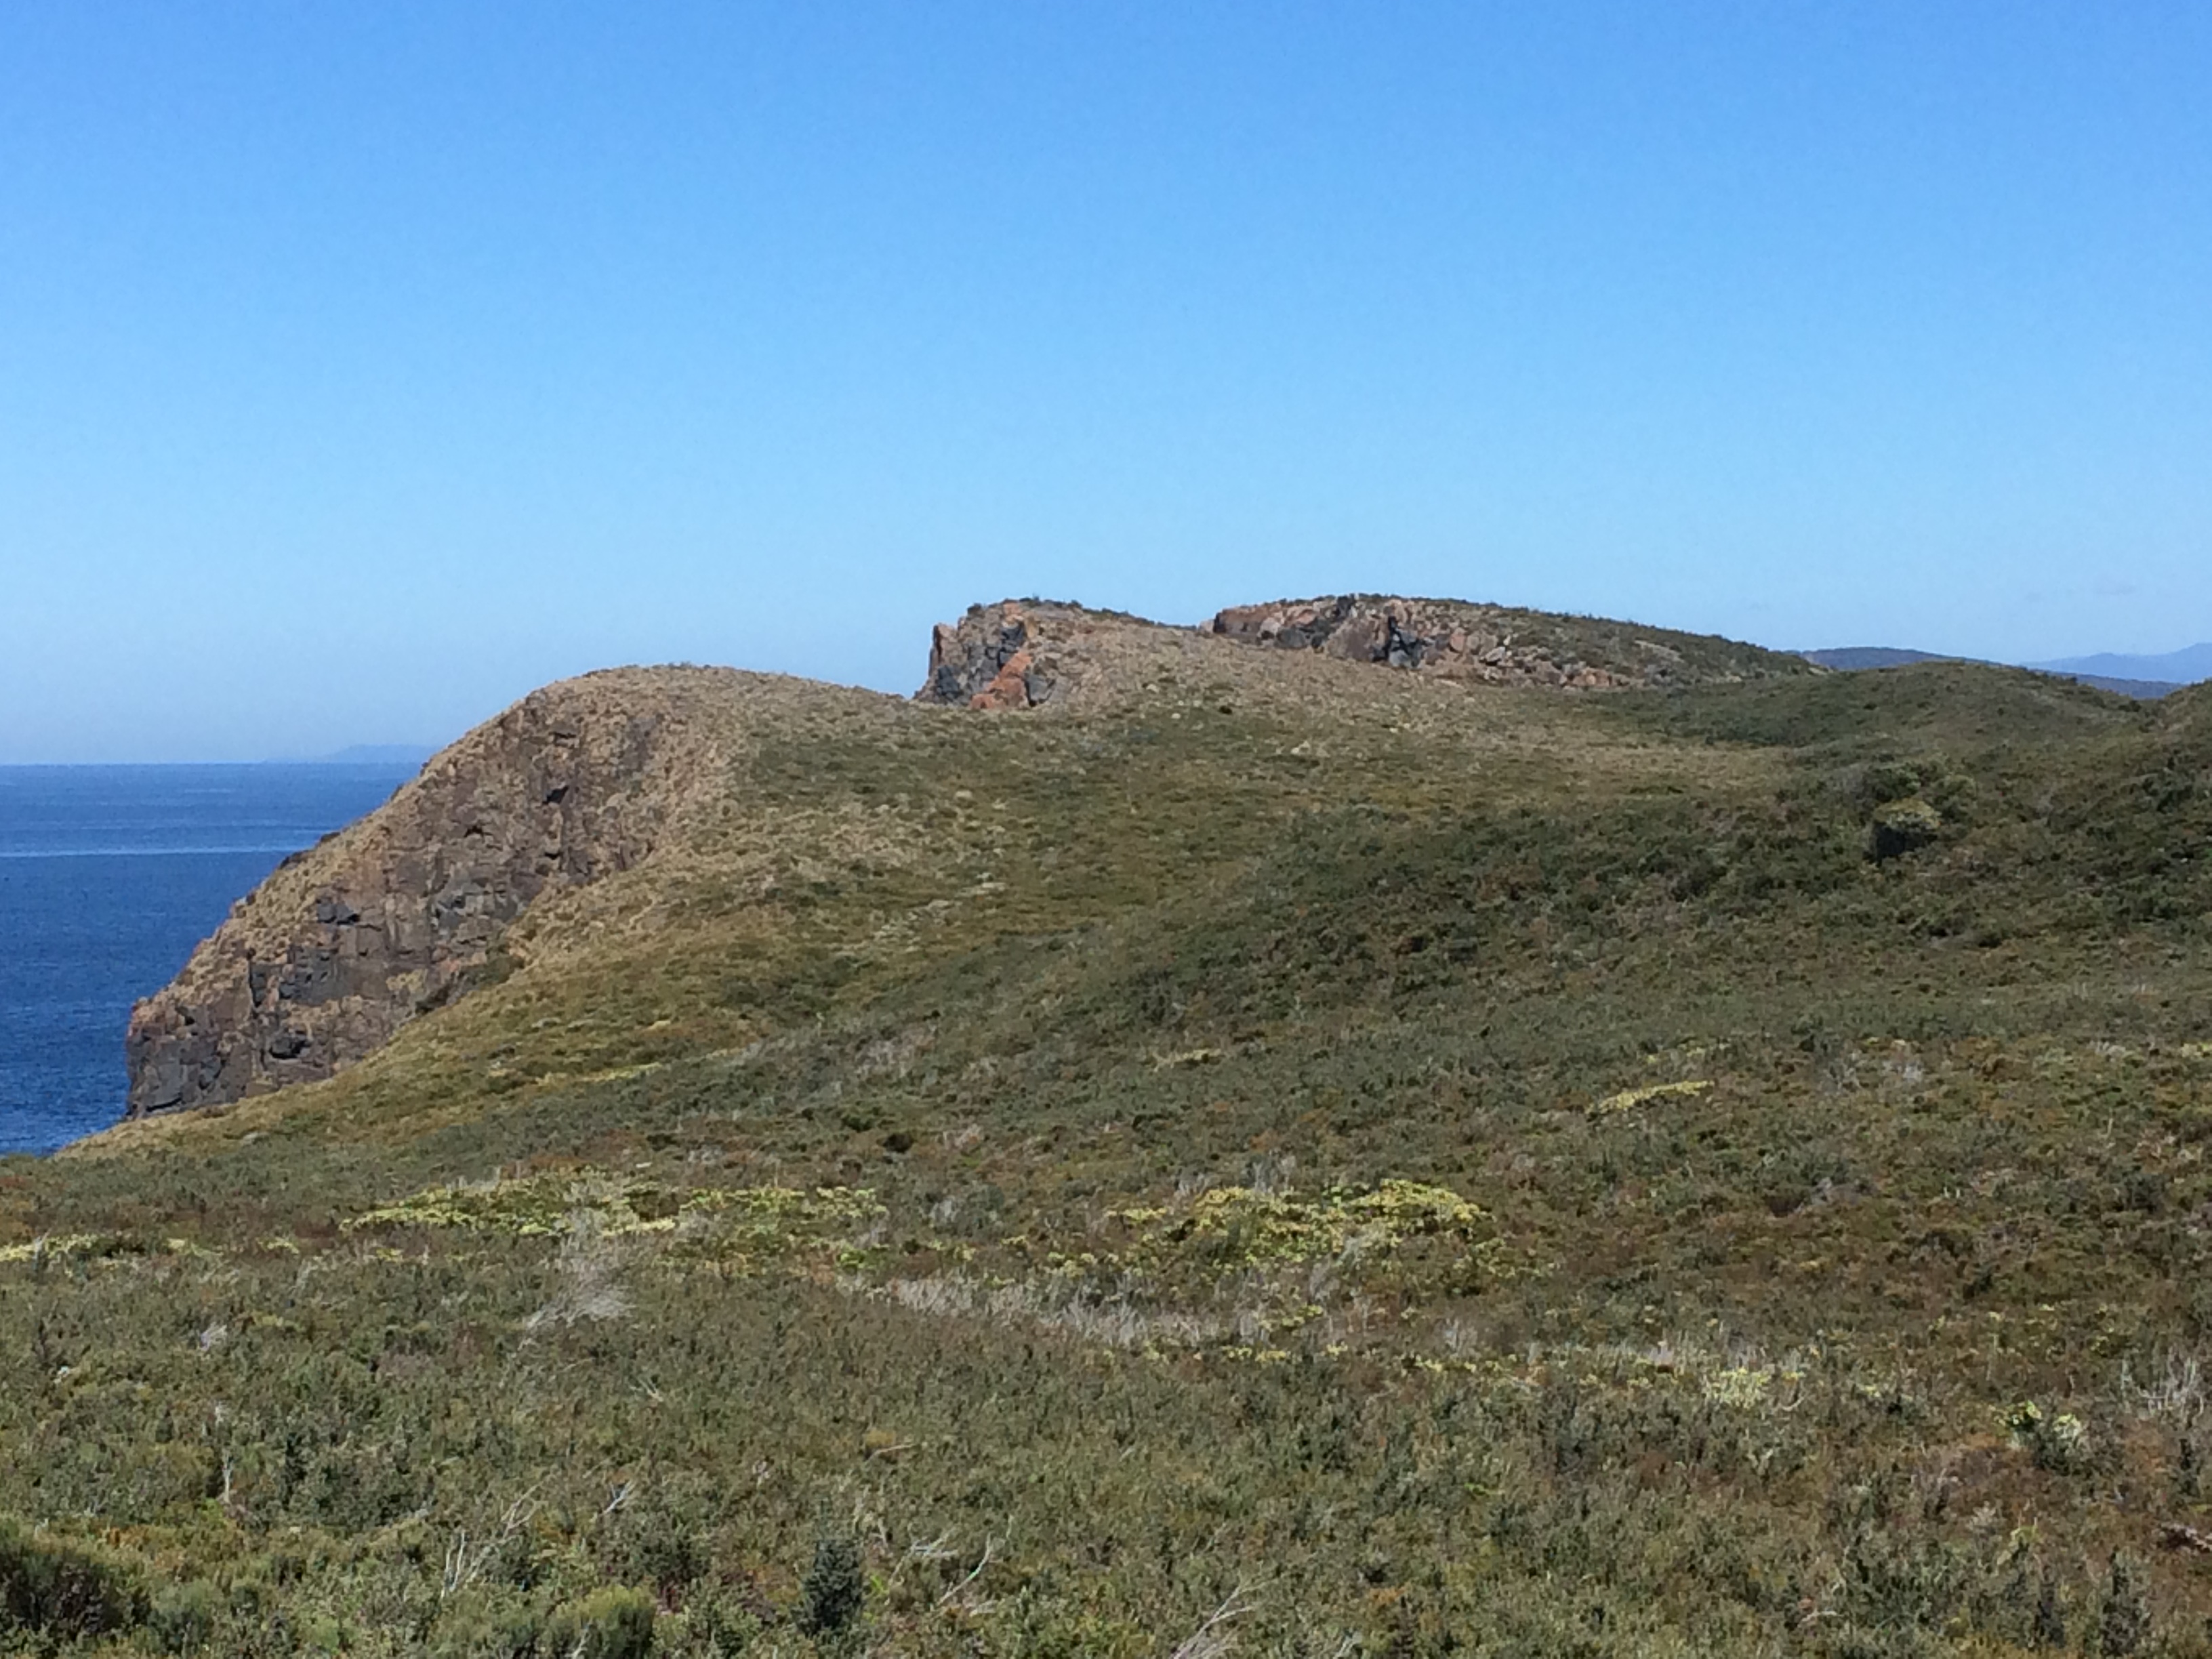
Octopus's Garden
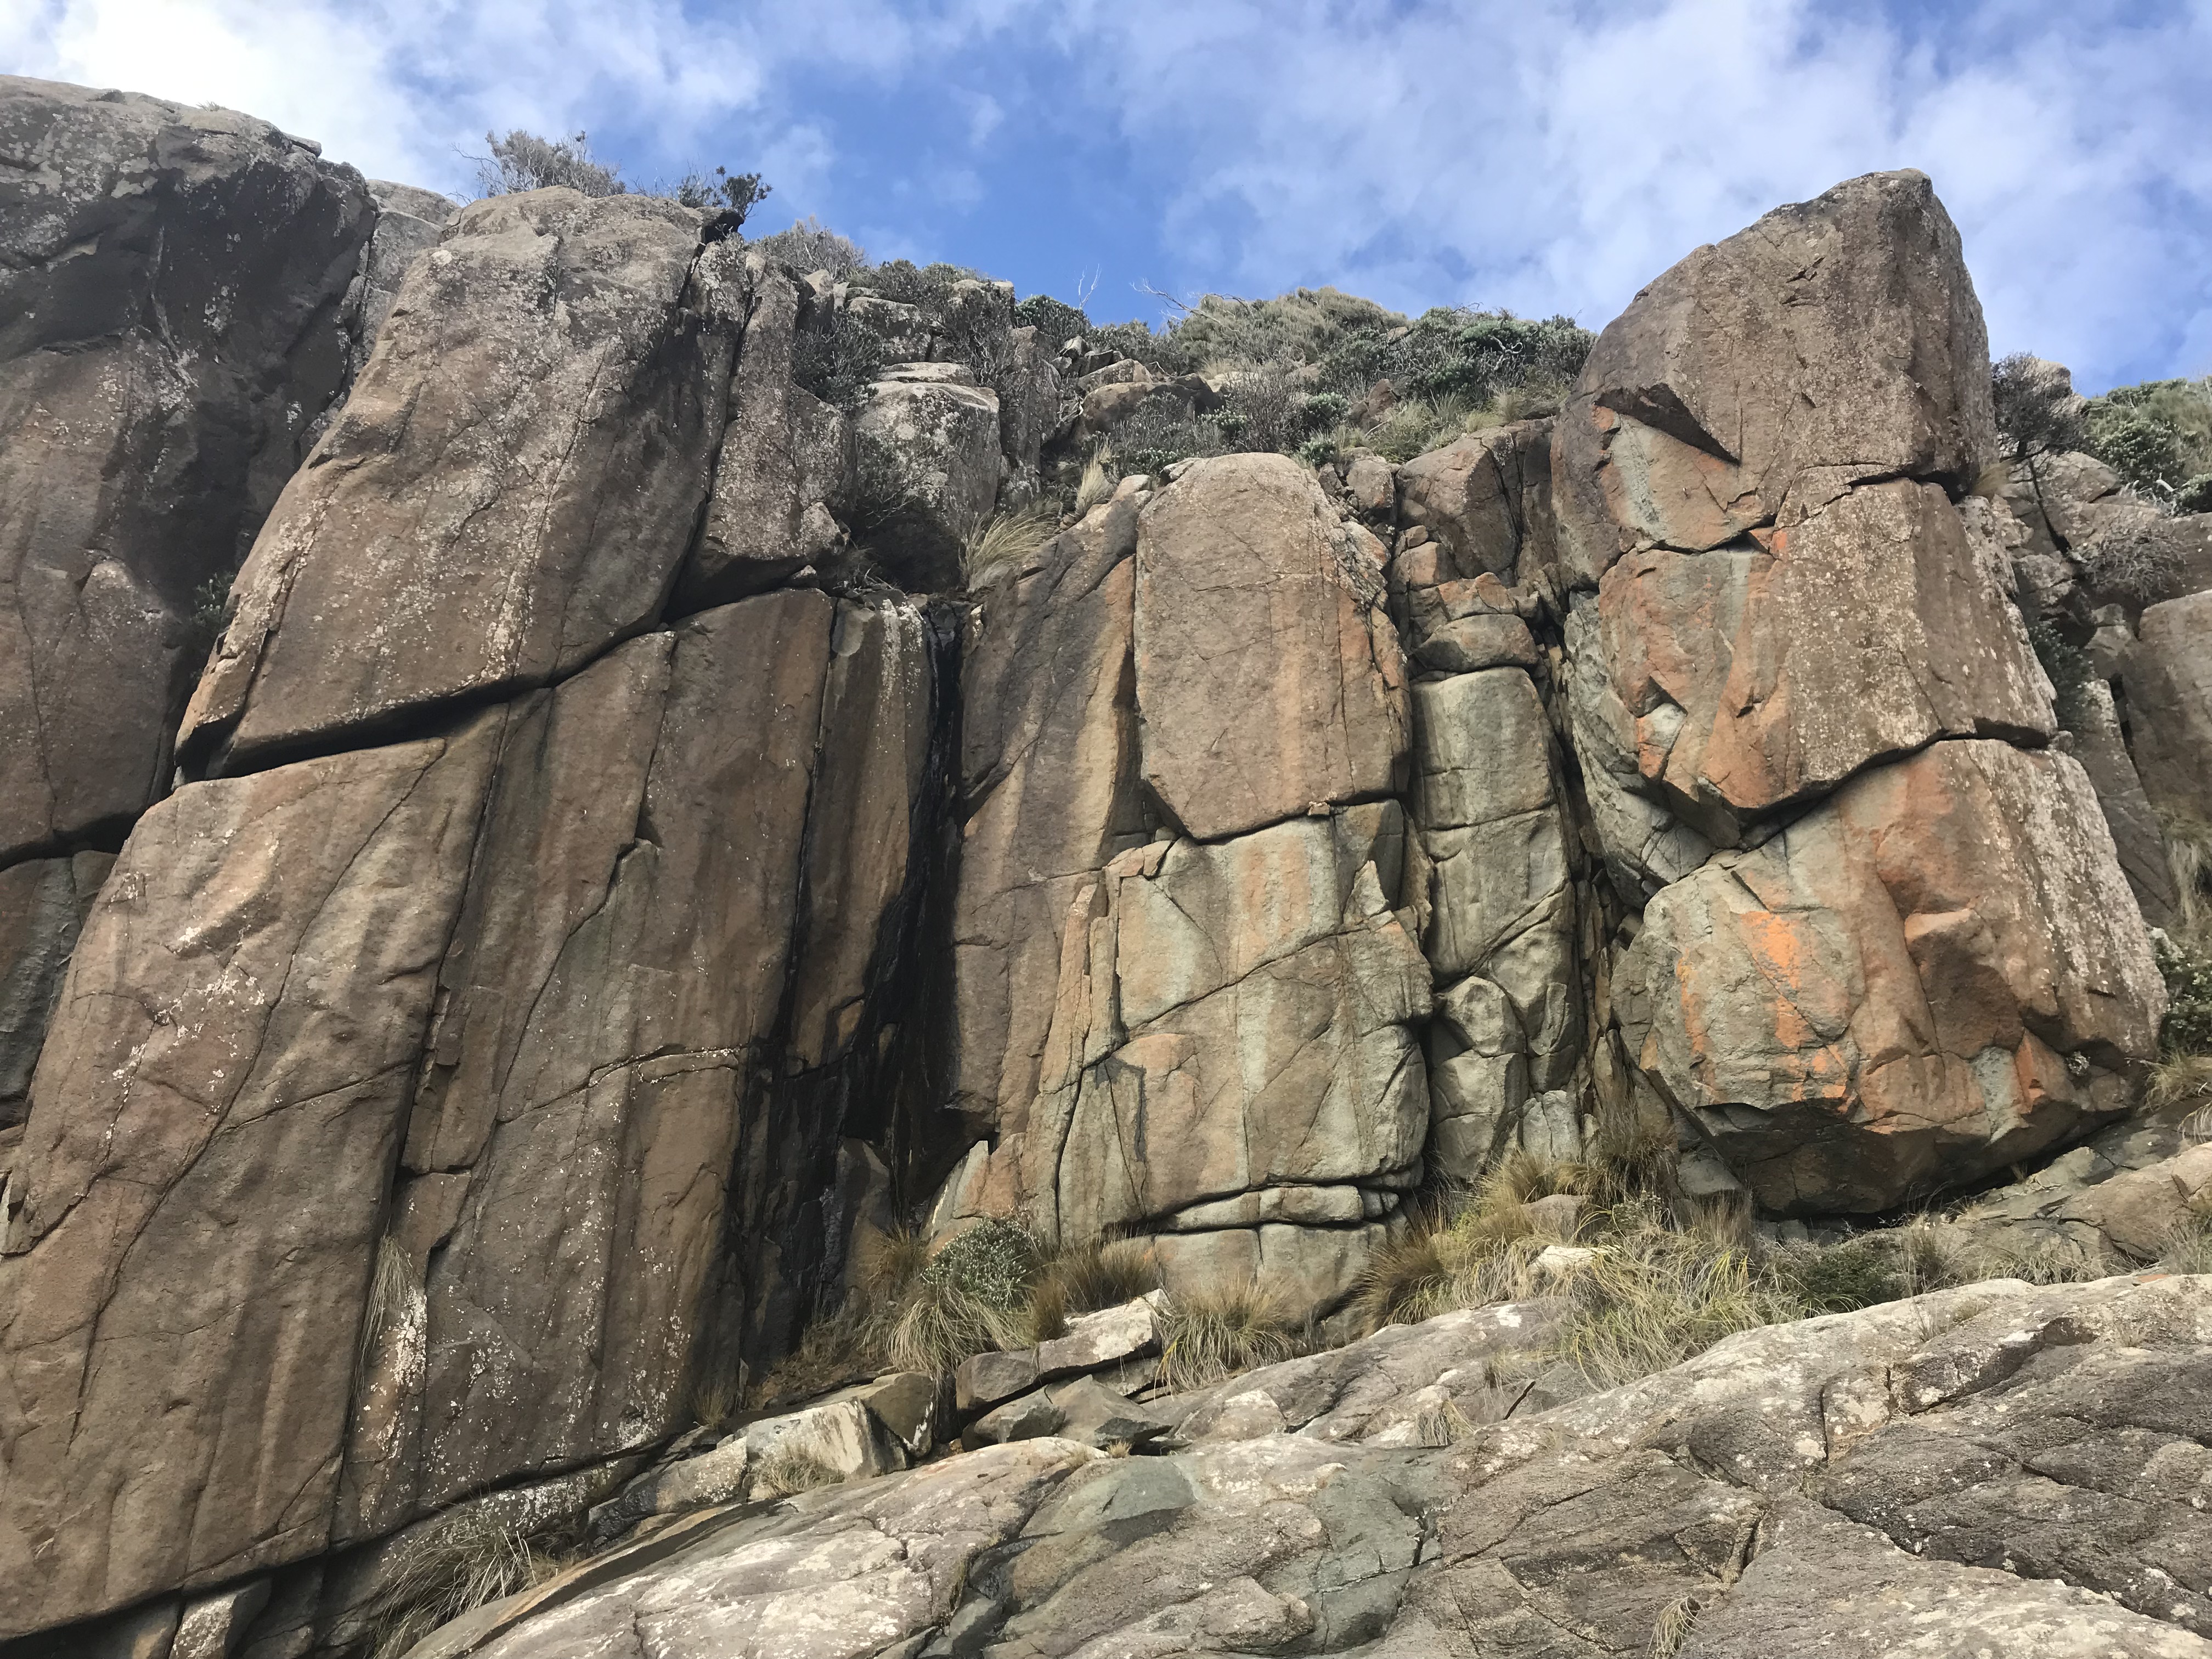
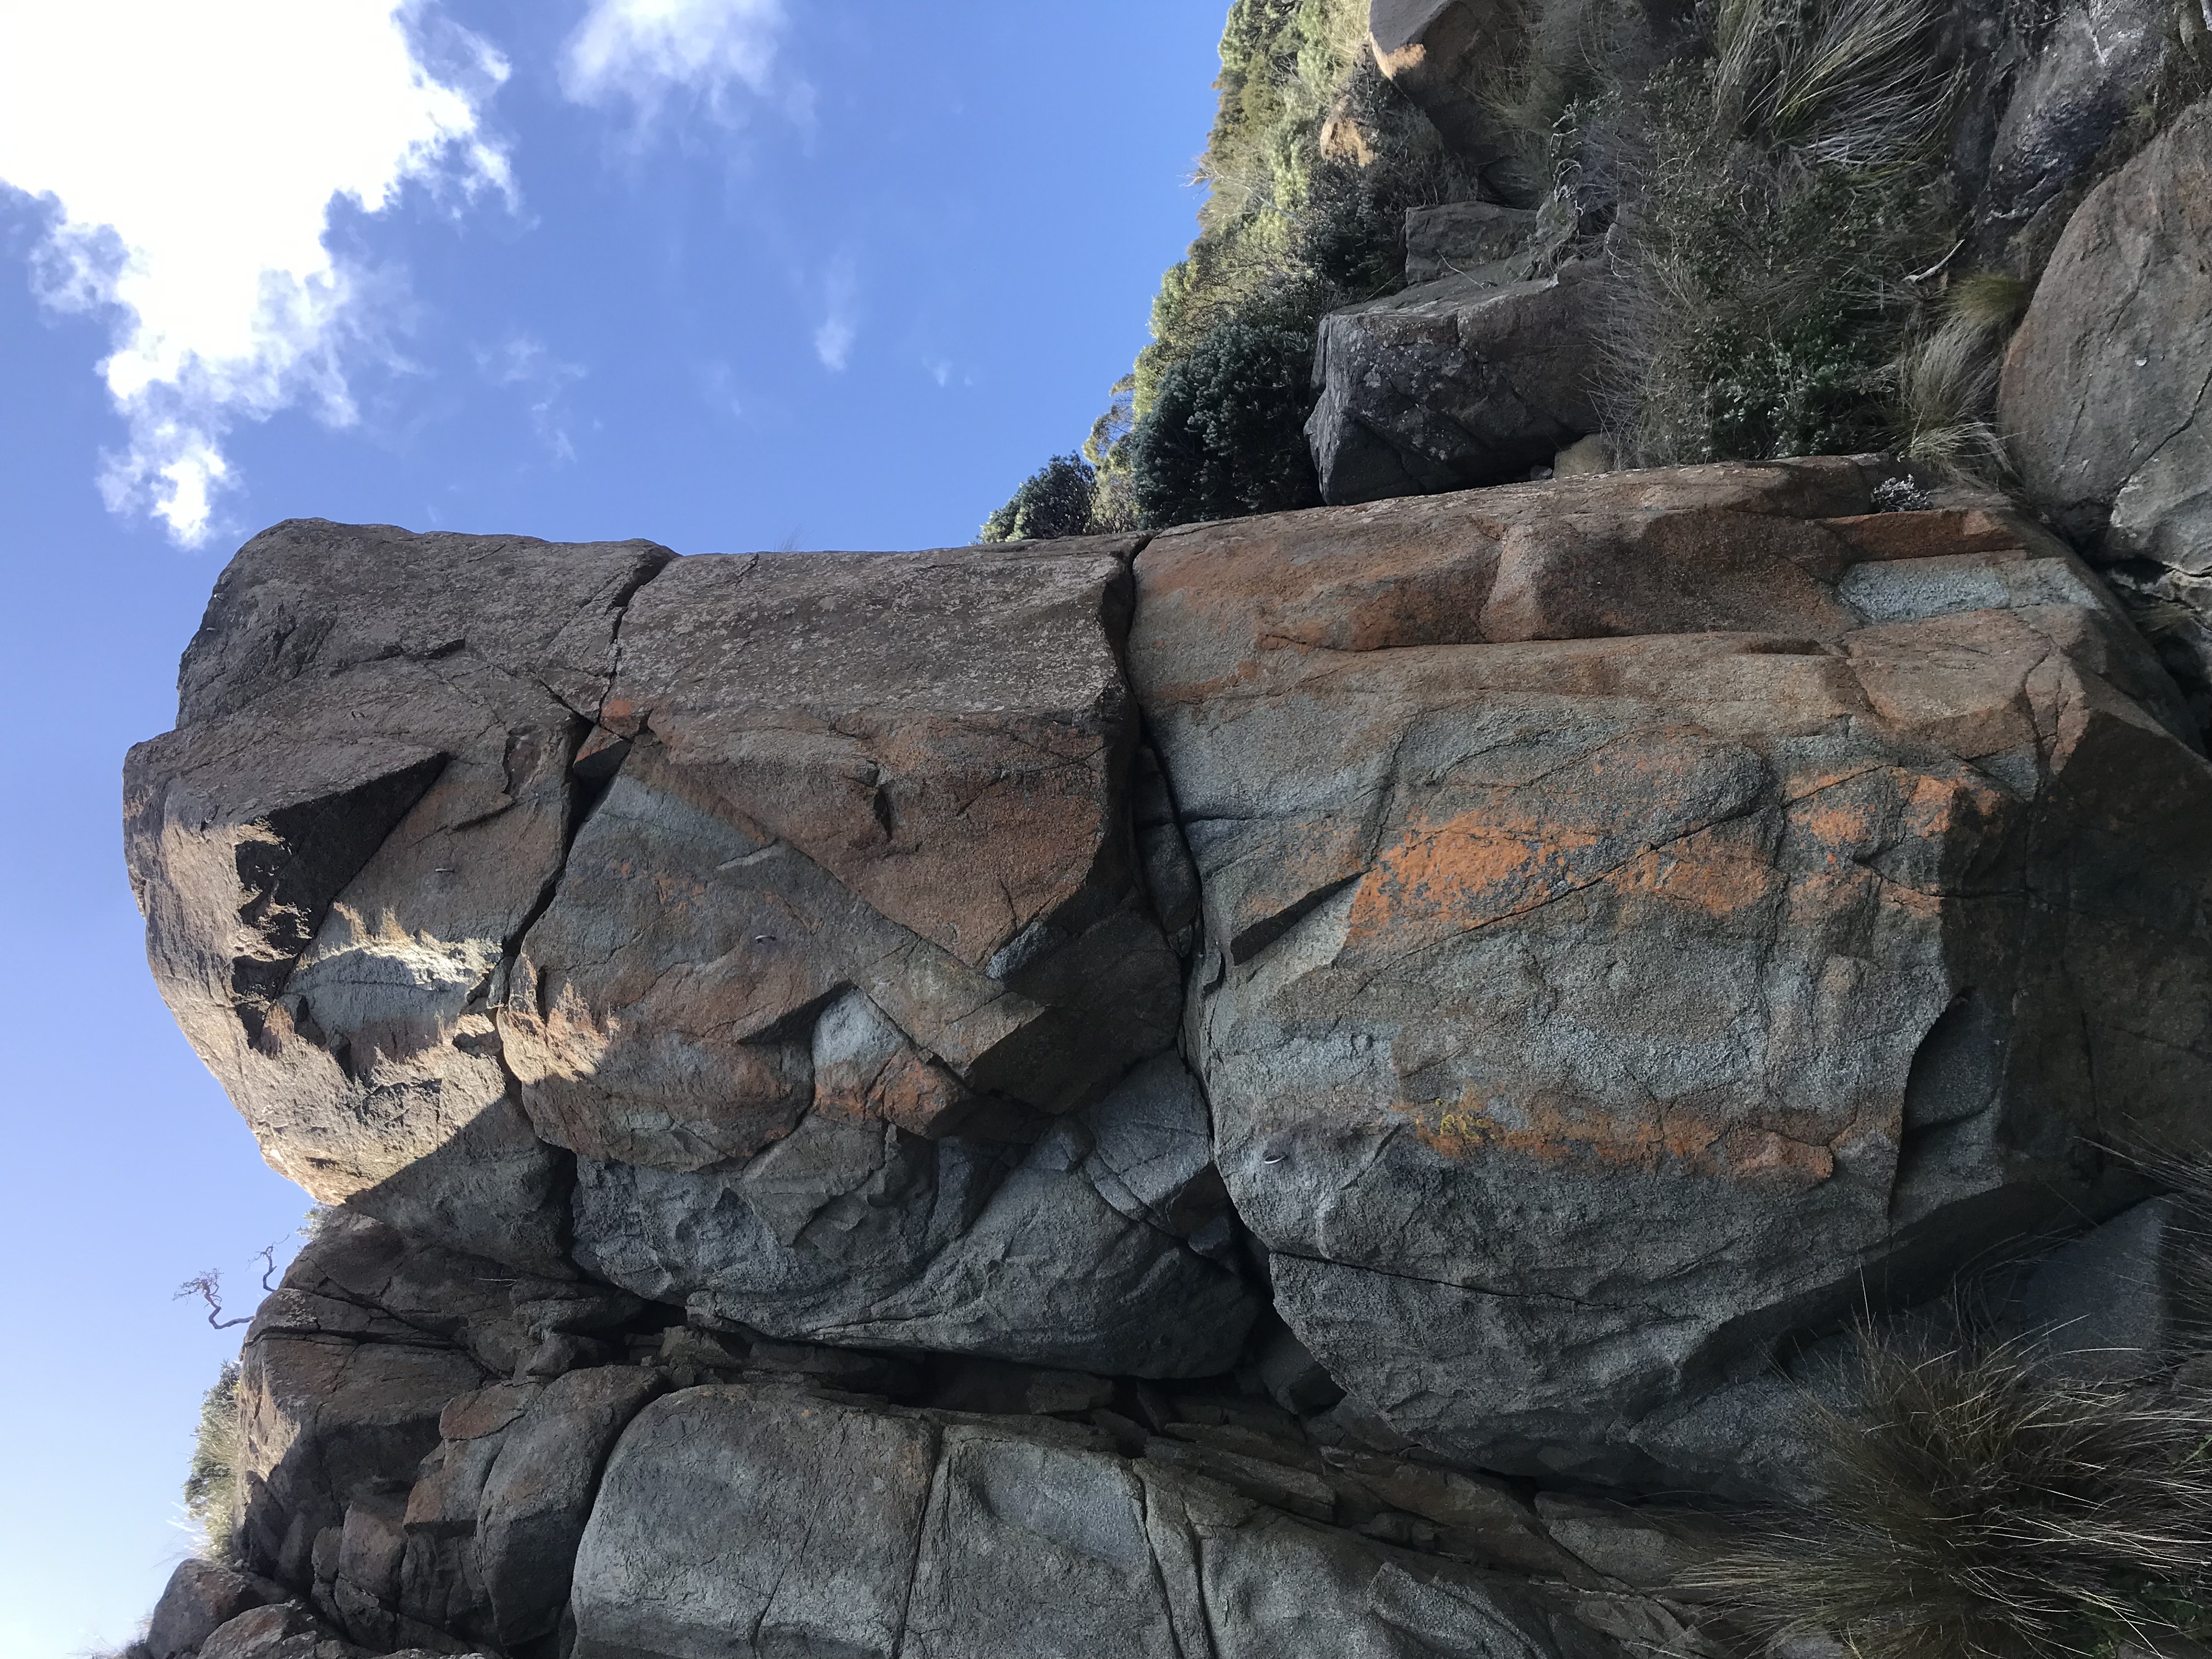
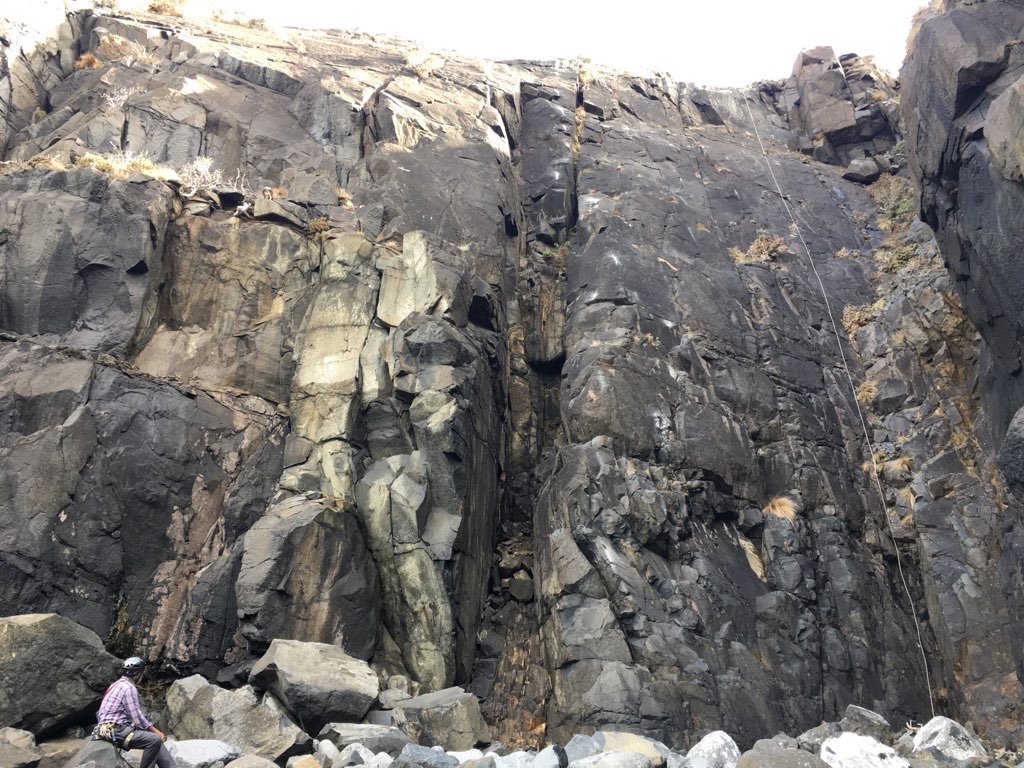
Octopus's Garden is the area that starts with the big black slab that you see as you breast the hill from Beaufort Bay on the way into Hidden Zawn. There are climbs along this cliffline between here and Hidden Zawn. The first cluster of climbs are on and around the black slab. Access to these routes is by rap to boulder beach below black slab, or to belays on ledges for Little Dog and Play the Game.
Heading along the clifftop from Little Dog, you come to another section with 3 routes - Too Late To Stop Now, Kettle of Fish, and further on towards the headland of the dawn, the excellent Skullduggery.
Ben Maddison & Neale Smith March 2022
Bob Bull & Ben Maddison March 2022
Bob Bull, Neale Smith & Ben Maddison March 2022
Bob Bull, Ingrid Crossland & Ben MaddisonFeb 2018
Bob Bull, Neale Smith, Ben Maddison October 2022
Bob Bull and Ben Maddison September 2022
Leaning black groove finishing just underneath arete of Kettle of Fish. 8 bolt to lower-off
Ben proj
Ben Maddison/Bob Bull/Neale Smith Nov 2023
Rumbling Zawn
Rumbling Zawn is the subsidiary zawn that almost intersects with the head of Hidden Zawn (and is to the north of it). Unmissable, the zawn that appears on the R as as you walk along the path to access HZ itself.
Ben Maddison, Dave Stephenson & Neale Smith December 2018
Ben Maddison & Nick Hancock November 2018
Blue Water Wall
To access this nice little area on the bay side, walk along the stony crest above the north side of Rumbling Zawn. Before the crest ends drop away diagonally R towards the water for a few minutes, heading for a gnarled old dead banksia. Scramble down a break that gives access to a ledge and abseil boulders (i.e. where you have to rig up an anchor with trad gear - cordelette helps - so that you can abseil in).
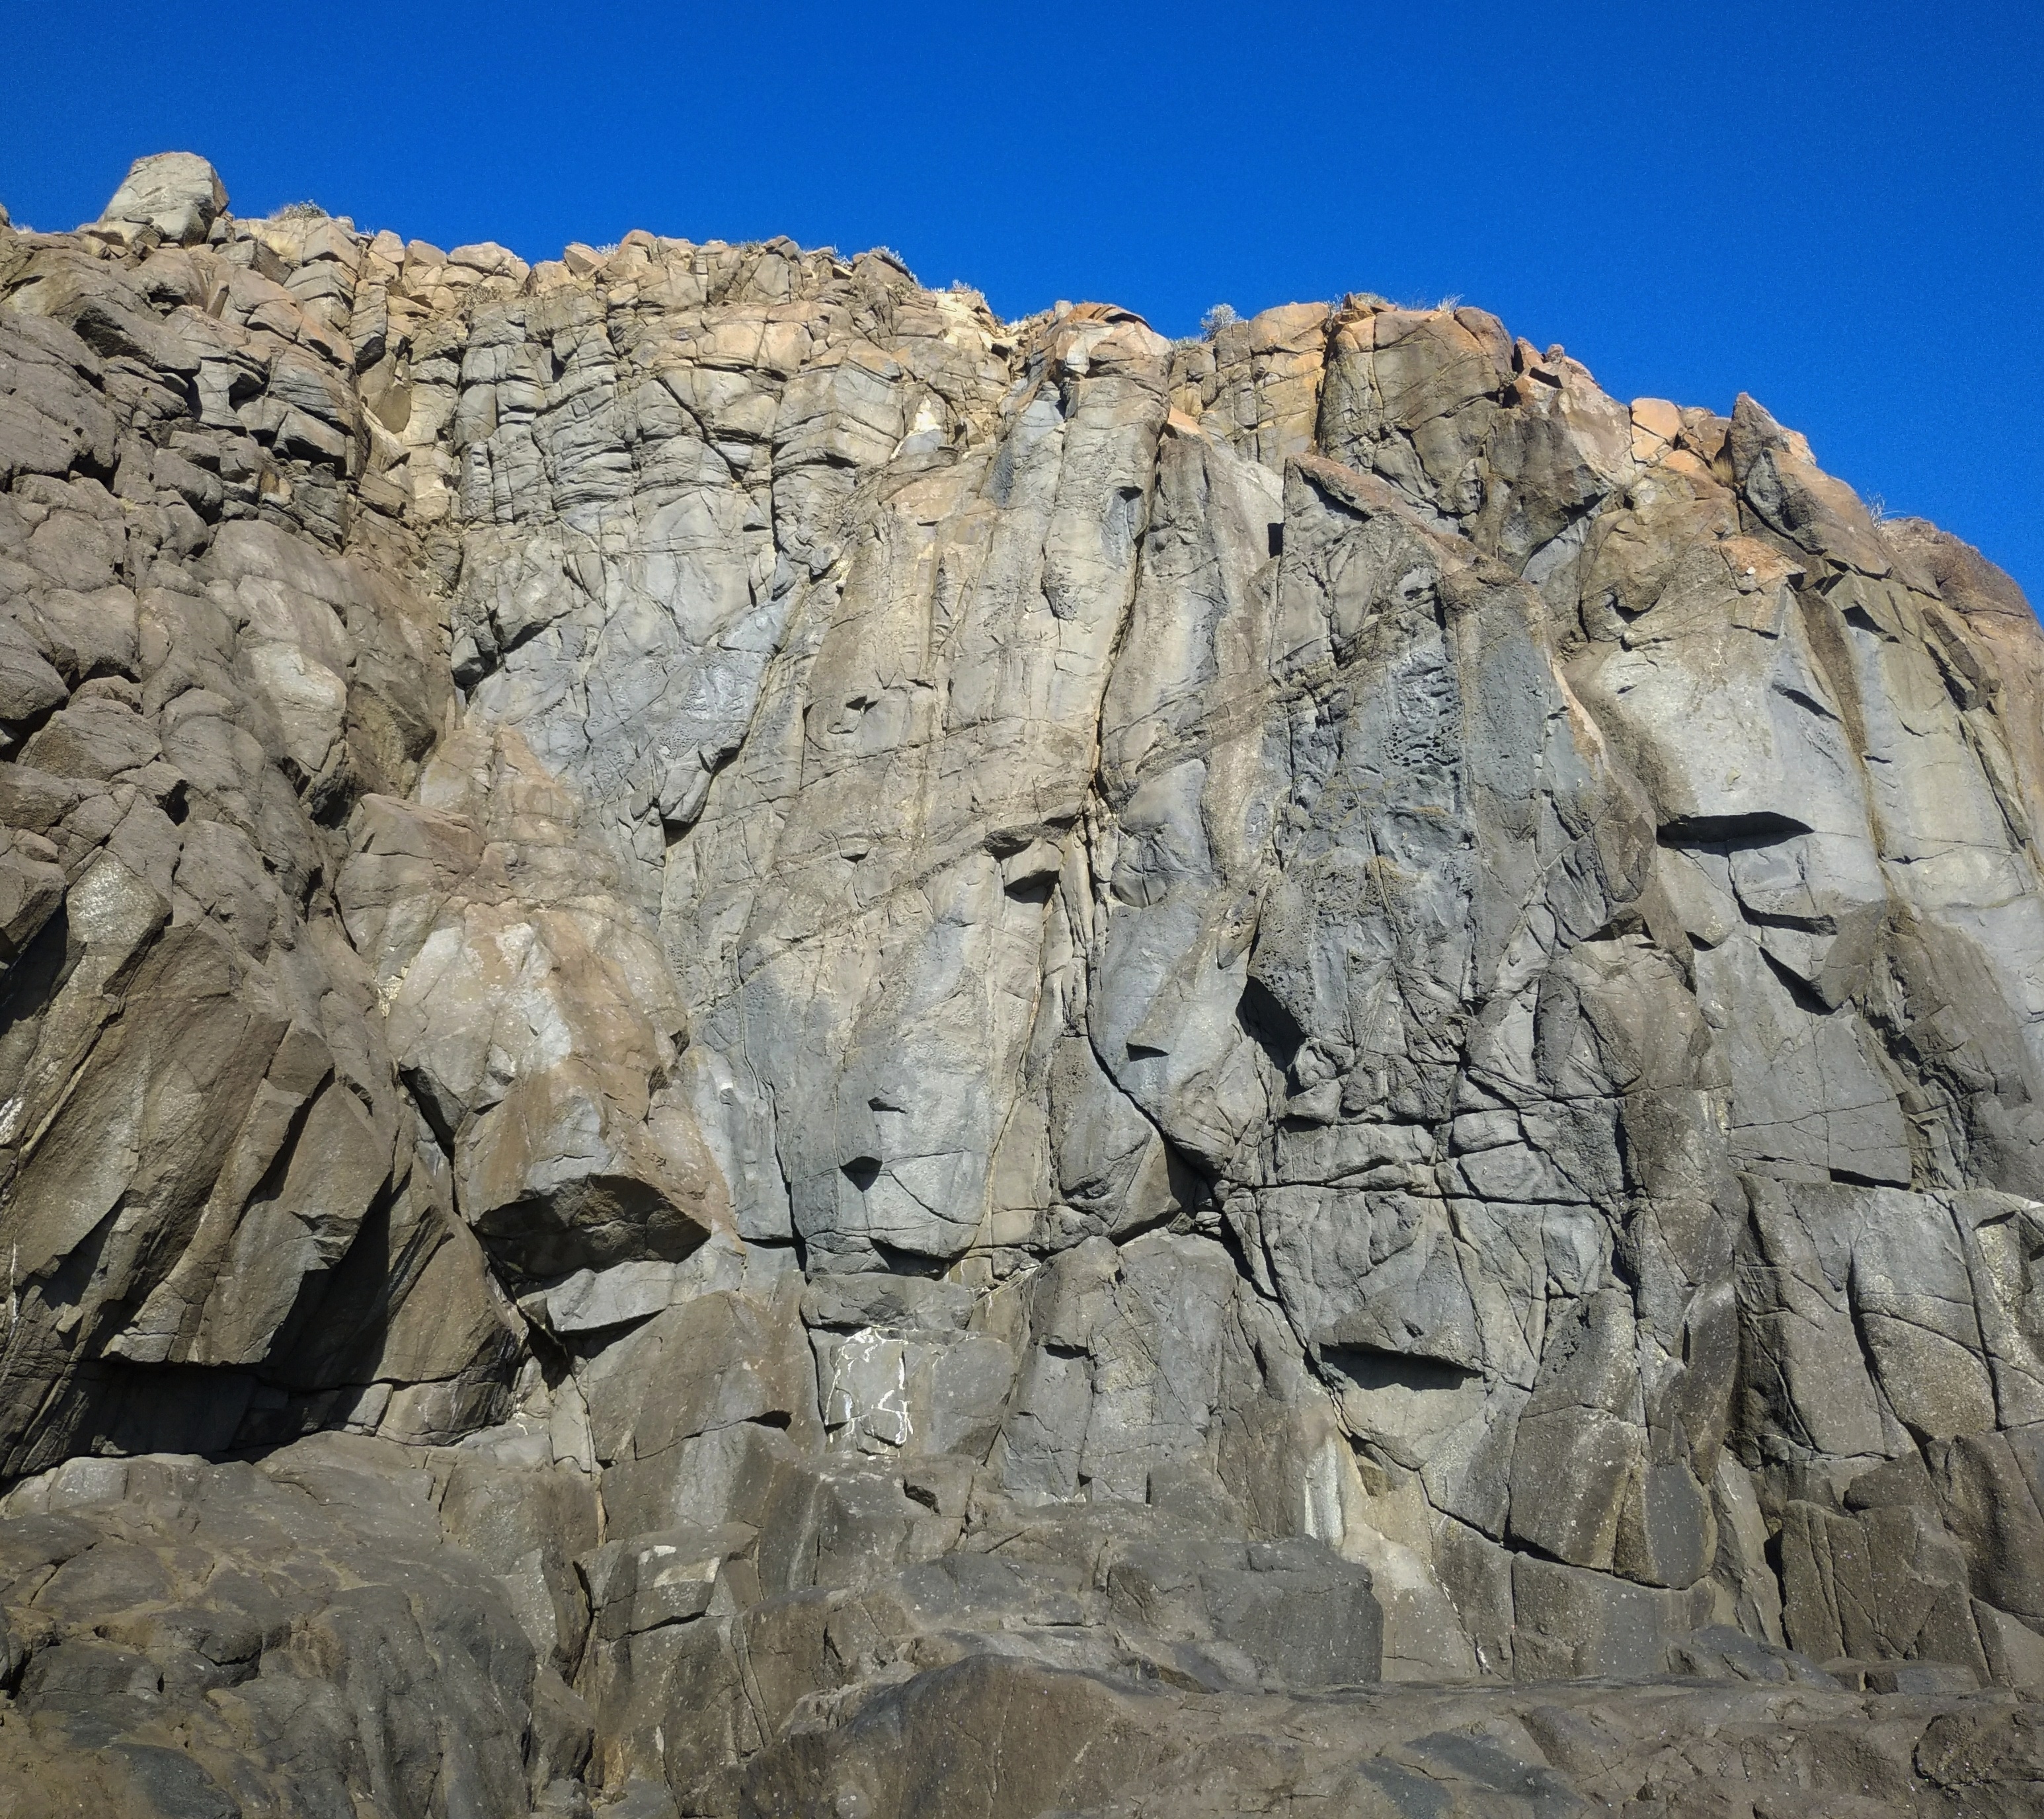
Blue Water Wall
Ingrid Crossland & Ben Maddison December 2017
Ben Maddison & Ingrid Crossland December 2017
Ben Maddison, Neale Smith, Ingrid Crossland & Dave Stephenson December 2017.
Face route on various edges between the two main clack lines at the crag. Finish through top twin cracks and rappel from "Dream of White Hawsers" DBB
Patrick Munnings & Oscar Purtell, September 2020
Ben Maddison & Ingrid Crossland December 2017
Trad face line just left of bolts belonging to "Lat it Be". Excellent and varied climbing including pockets, edges, heel hooks and cracks. Gear is good in the top two-thirds of the route. Natural belay on top of route.
Patrick Munnings & Nick Hanson, September 2020
The bolted wall route. Fun climbing face climbing to lower of on top slab. 8B
Louise Shepherd, Ingrid Crossland, Anna Brooks, Feb 2018
The funky bolted arete, R of Lat
Louise Shepherd, Anna Brooks, Ingrid Crossland Feb 2018
Around arete, to the right of my brilliant career. Start up chimney then negotiating squeeze bulge, and perfect hands and fist crack on good rock. Top of or tranverse to DBB of my brilliant career.
fraser labine romain & alex lawson, Sep 2020
Continue left(facing out) from bluewater wall, run across wavy, slimy shelf to access corner crack. Start up very slimy layback then up through good crack and corner and top out belay of huge boulder 10-15m back from cliff. Lots of choss removed but be cautious. Good protection.
fraser labine romain & alex lawson, Sep 2020
Hidden Zawn
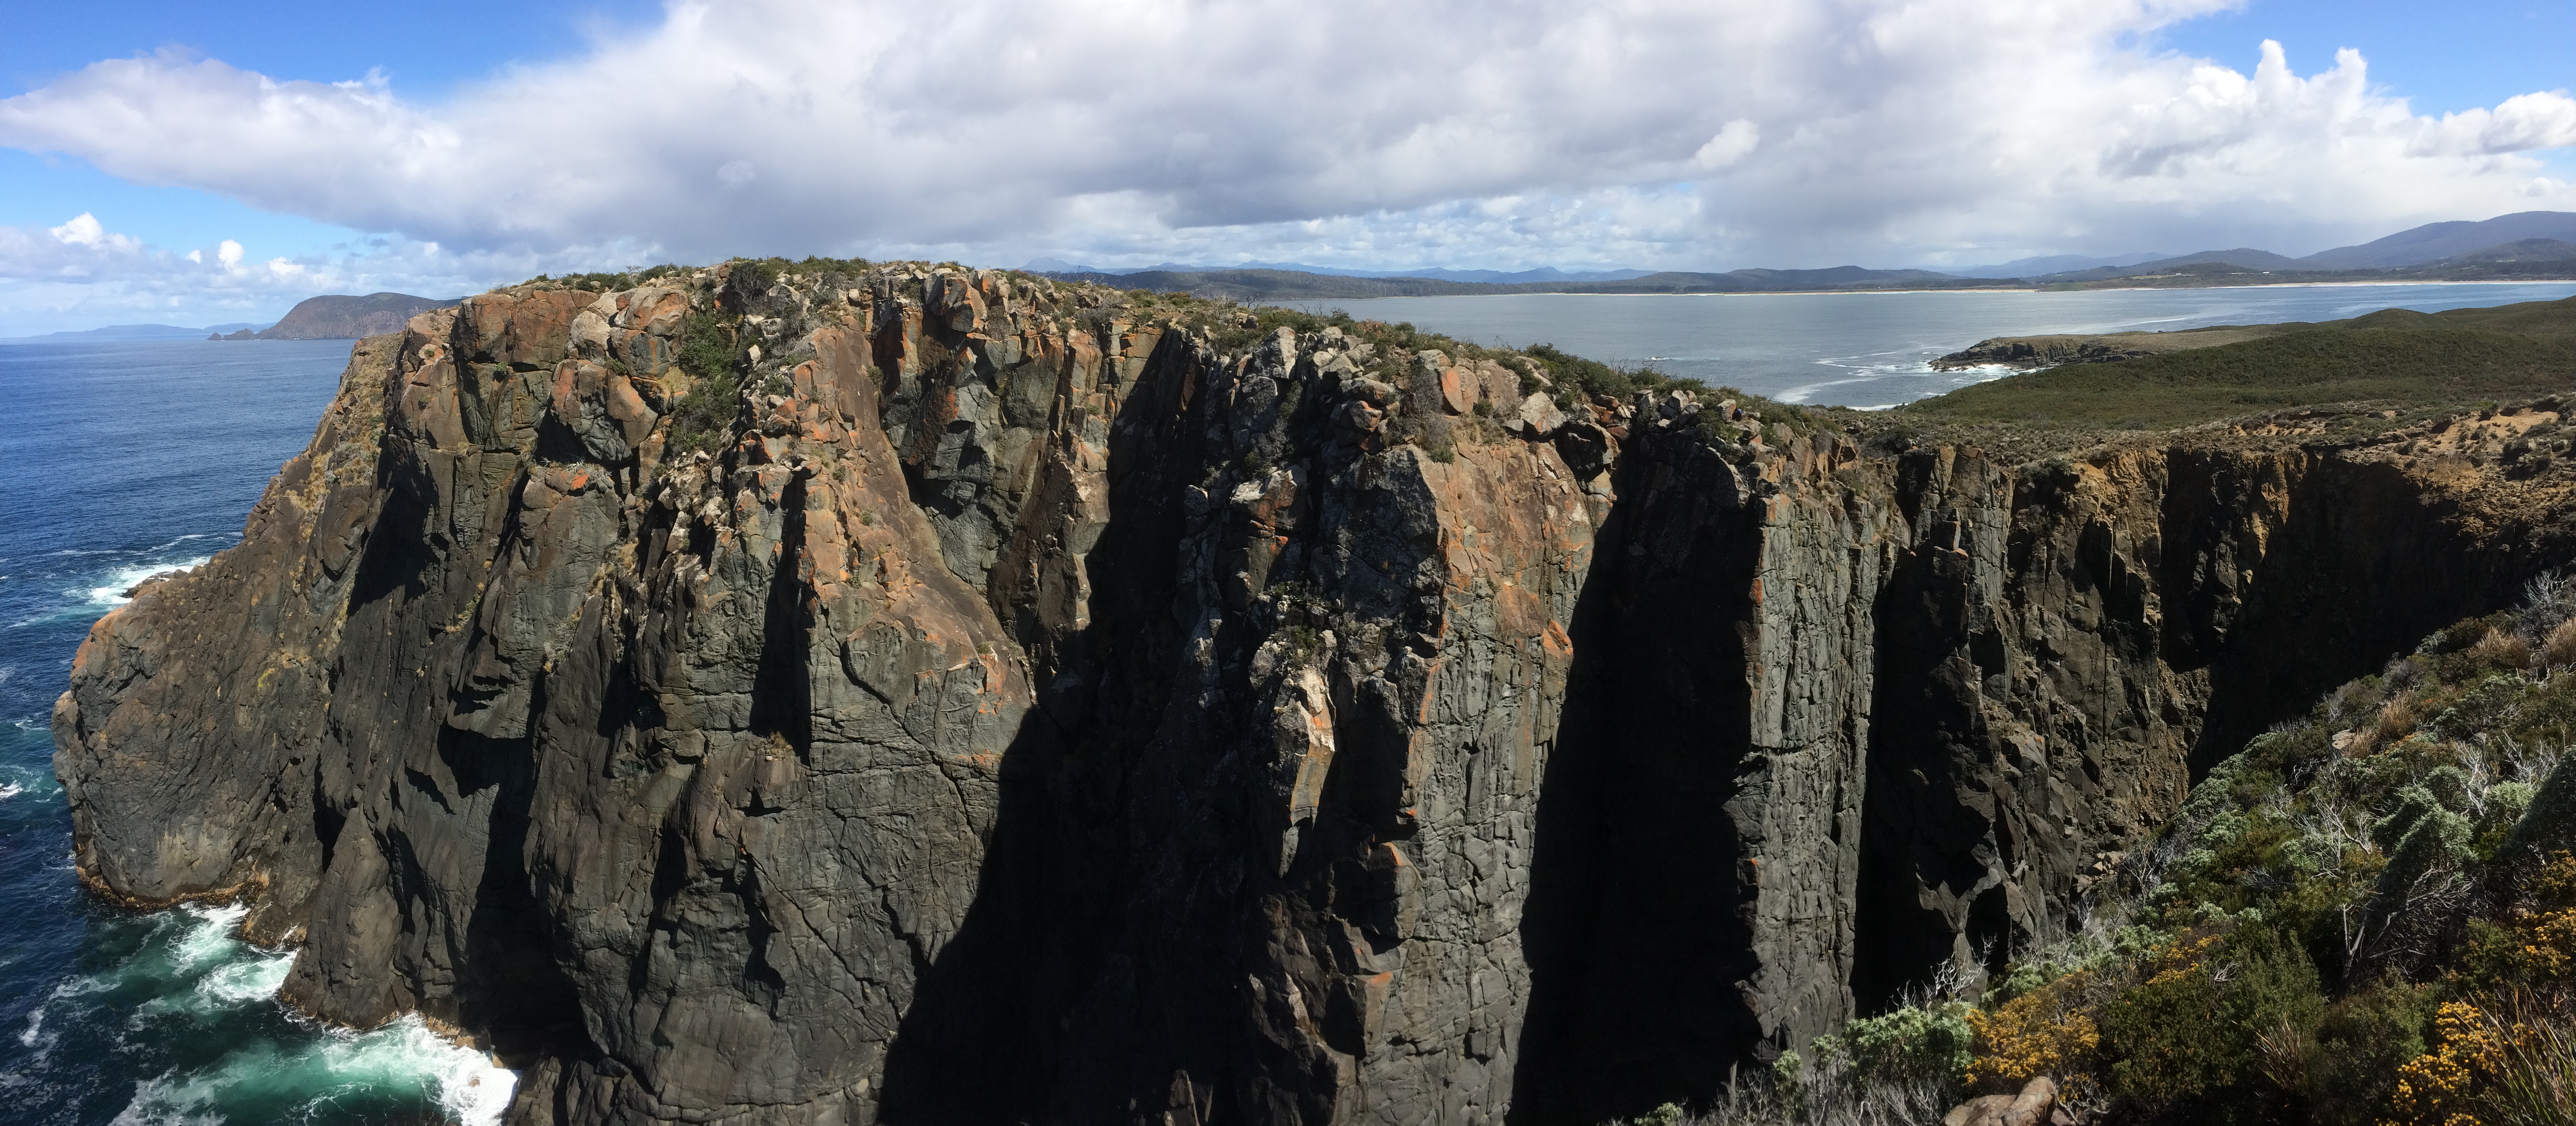
Seaward Slabs
On the most seaward end of the zawn is a set of slabs capped by a steep headwall in the centre, riven by the leftwards diagonal line of The Slash, with the elegant slab route on the right - The Noise of Time. The climbing offers a number of bolted slab routes, with trad pitches on a couple of routes, in a brilliant open position looking across Beaufort Bay.
Access:
For climbs from C'est la Vee to Zydeco, rappel 45m from U bolt anchors at top of When I'm 64.
For climbs from Noise of Time to Blue Bayou, rappel from U bolt anchors sitting at the edge of a flat slab on the edge of the cliff above Noise of Time finish. Walk along the cliff top to where it levels out past the Ramps access bolts. The objective is to rappel 50m to the substantial ledge with DBB that is the second belay of the Noise of Time. From here you can either continue rapping to the starting belays of Noise of Time and Tome & Tide, or access the four other routes that depart leftwards from this ledge.
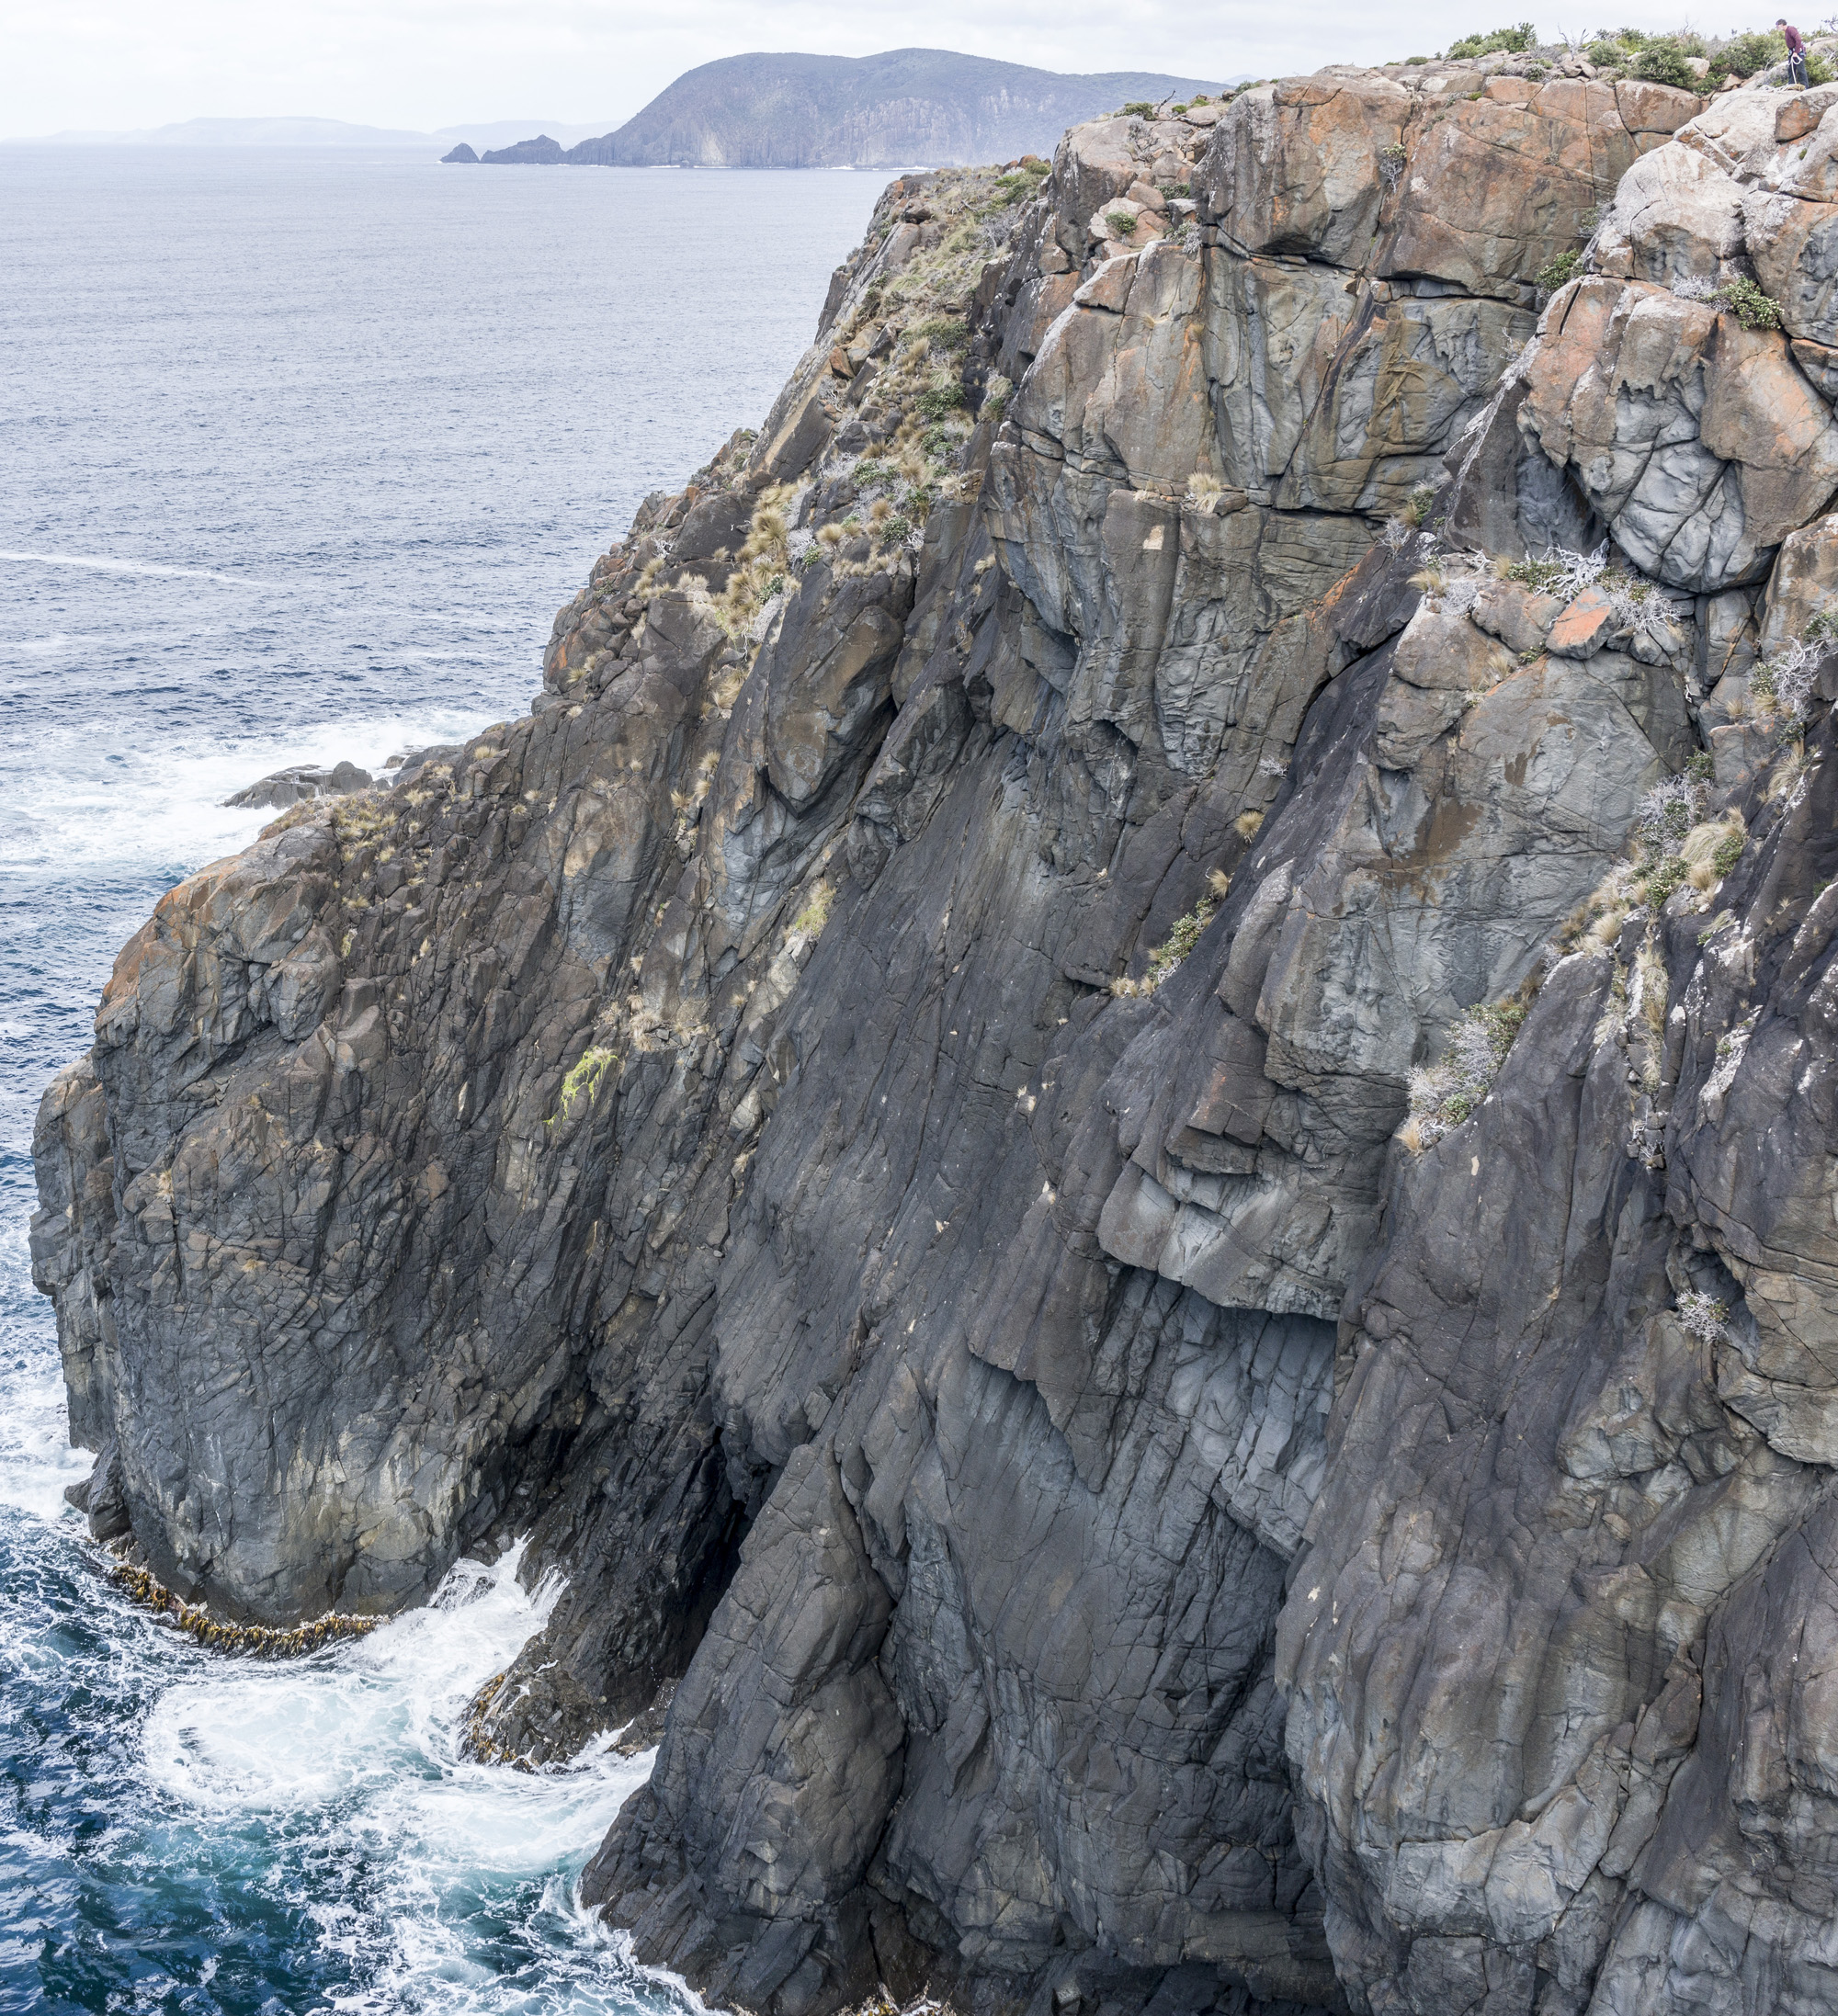
Seaward Slabs
Access: Rap 40m to DBB.
Climb groove through inverted V to slabby finish. Great moves.
Ben Maddison and Dave Stephenson, March 2019
Ben Maddison P1 and Dave Stephenson P2, 8 April 2019
Dave Stephenson (P1), Neale Smith (P2), Ben Maddison. April 2019
Dave Stephenson (P1), Ben Maddison (P2), Neale Smith. April 2019
Ben Maddison & Dave Stephenson. January 2019
Dave Stephenson (P1) and Ben Maddison (P2) January 2019
Ben Maddison, Neale Smith & Dave Stephenson, December 2018.
access: rap 15m from anchors 4m from Mayday rap anchors, landing you on ledge next to Timelaps P2.
1.Up beautifiul bolted runnels and flaring features to horizontal. Travers L 4m ( hand size cam, and up nice hand crack to top. The real Knuckledraggers' Arete goes R at break and up finger shredding bouldery arete.
Ben Maddison & Bob Bull, May 2025
Ben Maddison & Bob Bull May 1 2025
Ben Maddison & Bob Bull 2017
Ben Maddison & Ingrid Crossland April 2017
Ben Maddison & Bob Bull February 2022
The Ramp
The wall above the ramp that forms the main access to Beaufort Wall. Access: Rap 25m from rap station as for Beaufort Wall. Belay off rings at base of routes.
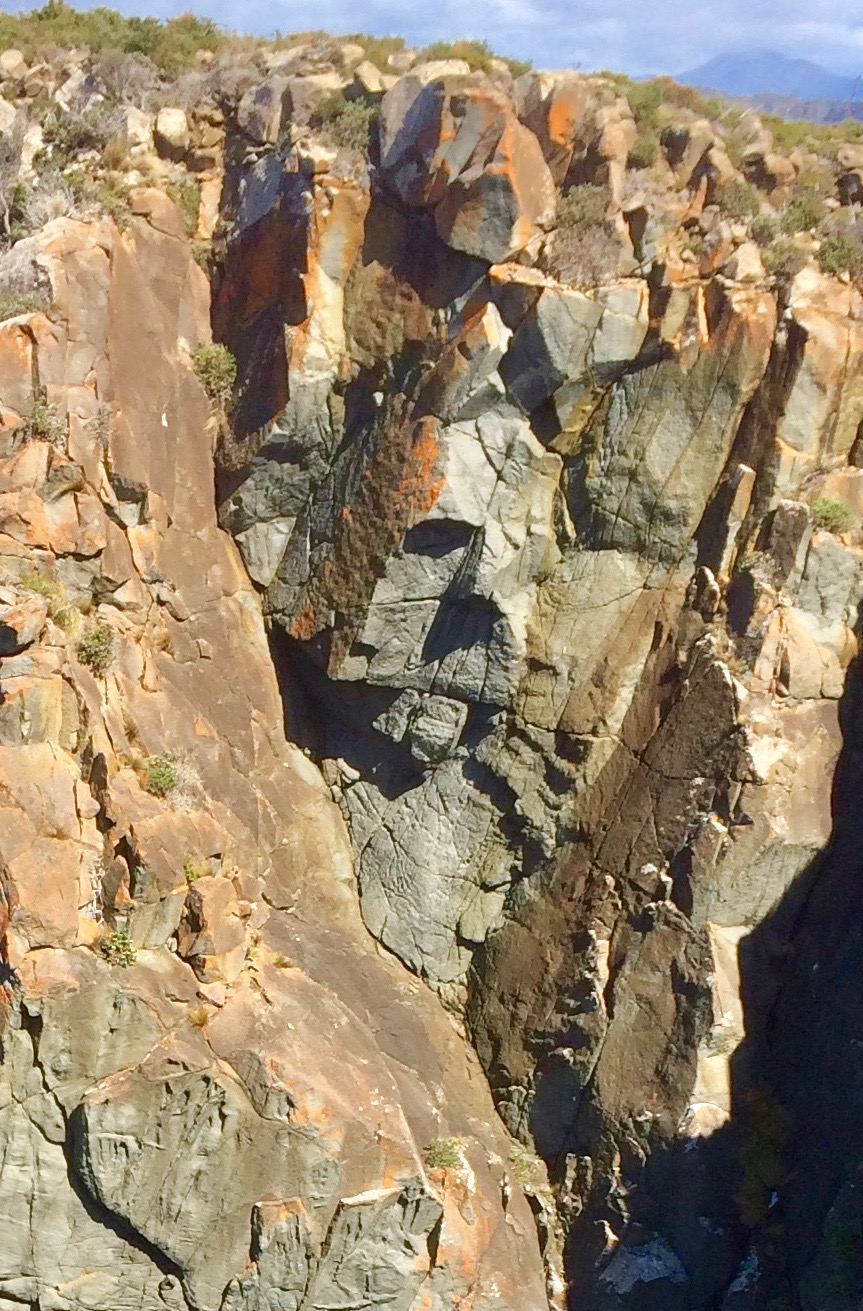
Interesting climbing with a short lived crux. Start as for Lady Barrister, and move L over bulge and up finger flake; traverse 2 m R at top of flake, to hand crack to top.
Ben Maddison & Neale Smith November 2018
A lovely route. Start at the double bolt belay on the slab. A few medium cams lead to the final 4 bolts
Ben Maddison & Neale Smith November 2018
A fun trad route. Access and start as for TC.
Up the steep cracks, stepping R at steepening, then back left into line. Finish steeply up flake.
Ben Maddison & Ingrid Crossland January 2018
Ben Maddison, Ingrid Crossland & Greg Mortimer January 2018
The bolted groove R of HSIMP. Nice open groove climbing with the crux at final corner.
Ben Maddison, Greg Mortimer & Ingrid Crossland January 2018
Ben Maddison, Dave Stephenson & Neale Smith, December 2018.
Beaufort Wall
A wall of beautiful dark compact stone. A handful of truly excellent routes. Access: Locate DBB at top of the prominent steep slab that runs underneath the Ramps area. Rap 60m, keeping to RHS of ramp, to large platform.
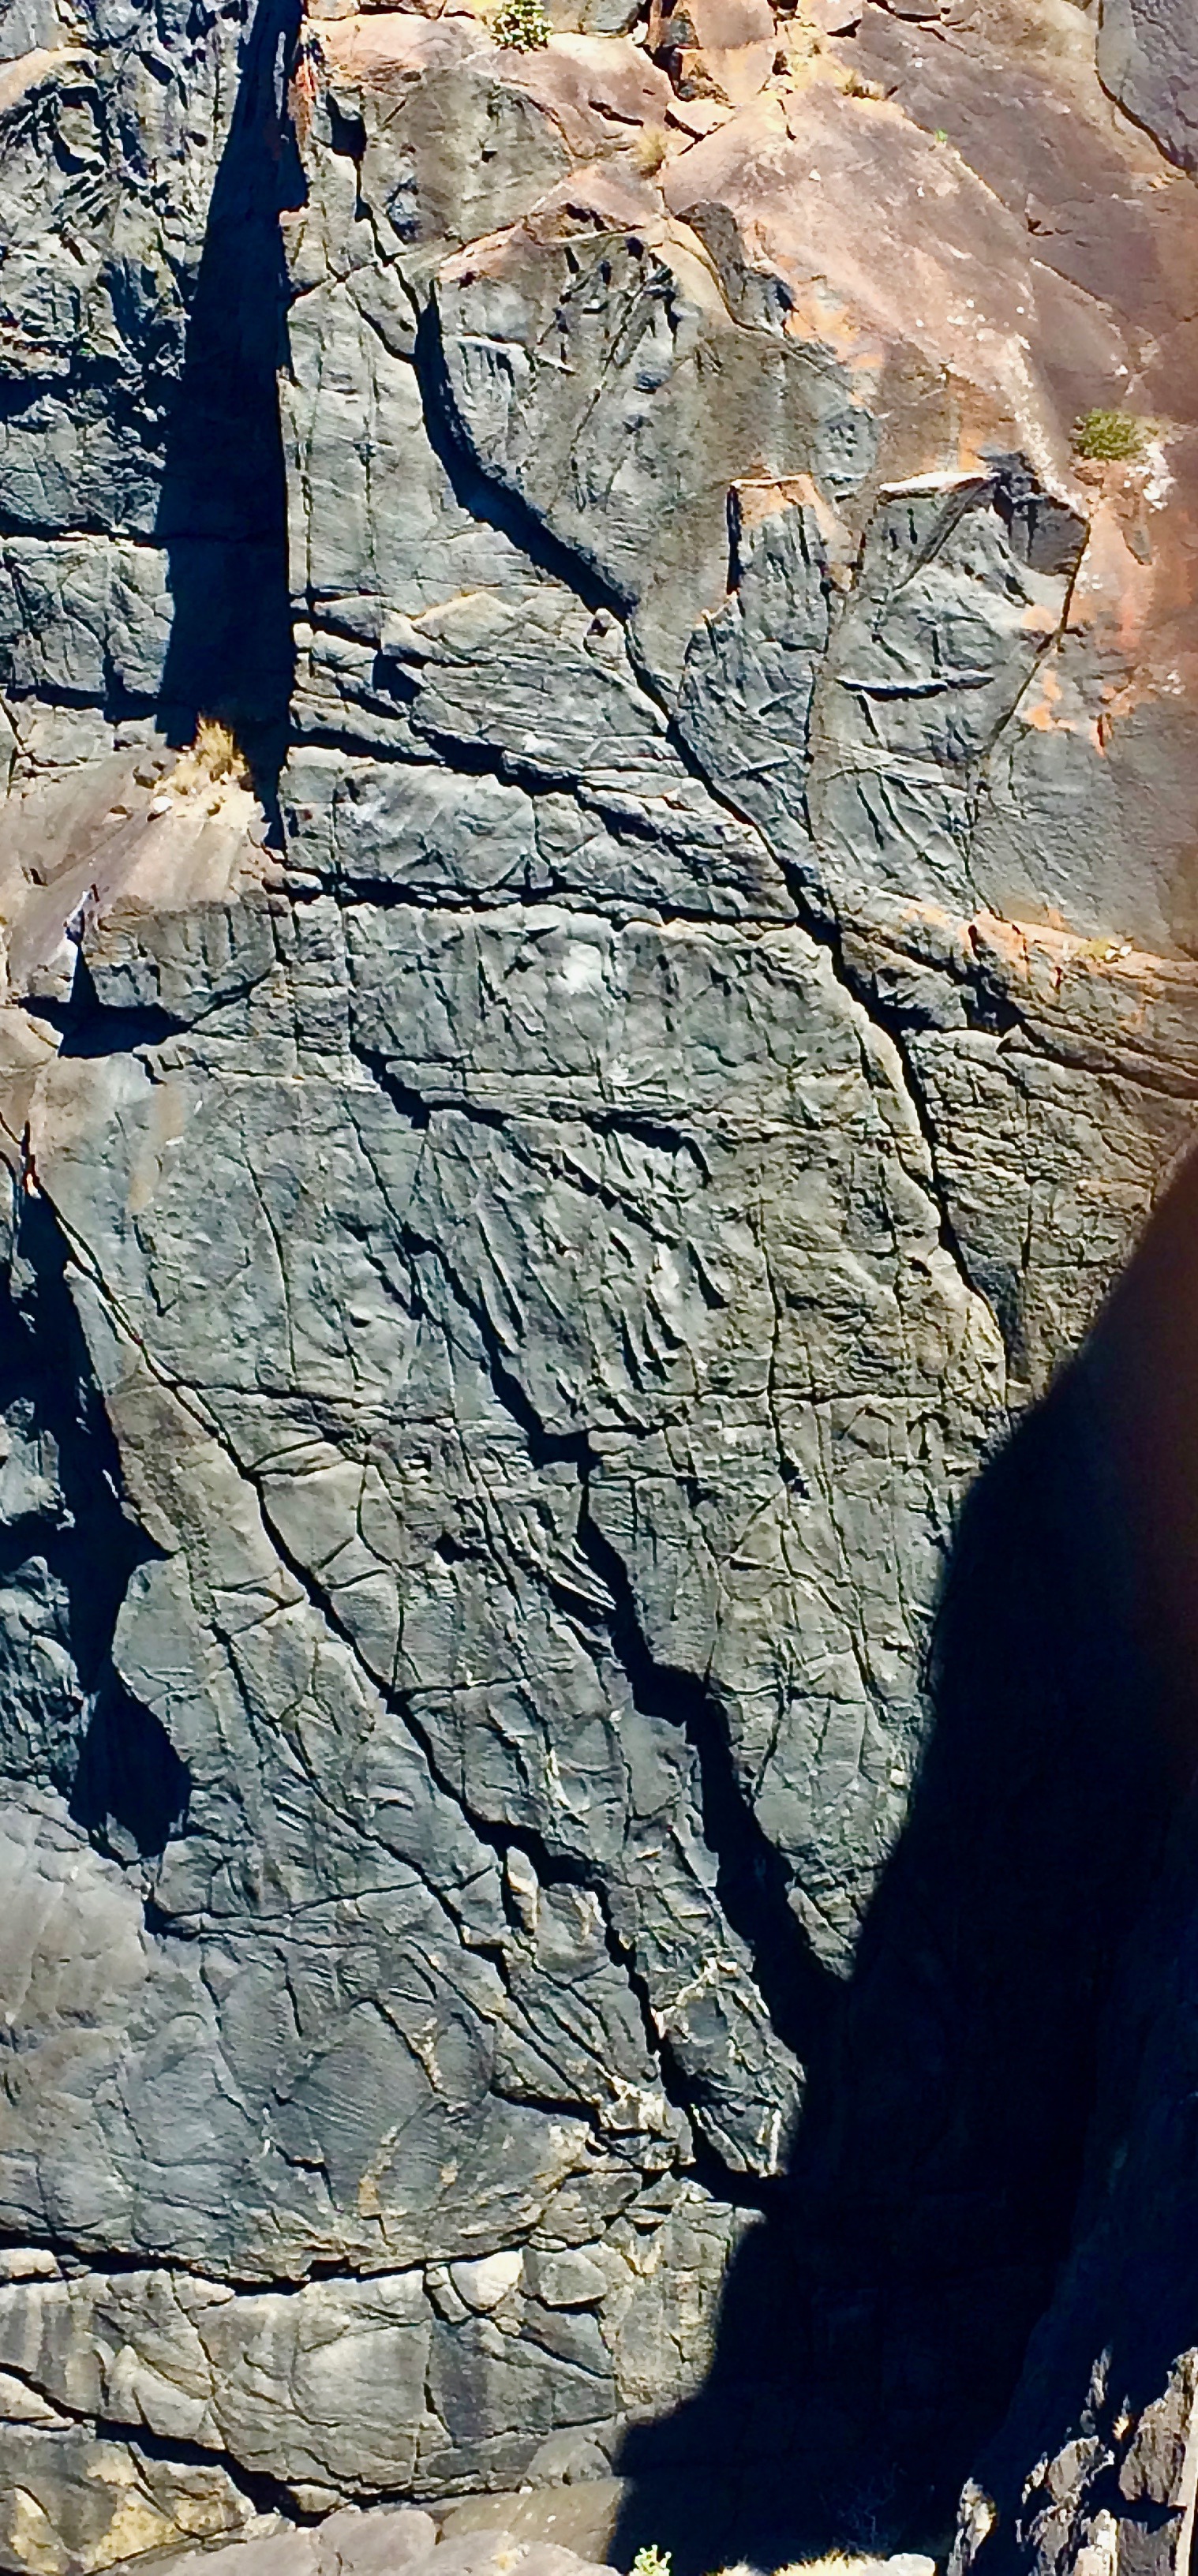
Ben Maddison & Neale Smith October 2017
A very nice flowing piece of climbing. A good, sporty alternative finish to Force 10 or The Null Hypothesis.
Start just L of the corner above the Force 10 belay, pitch 1. L and up through bulge on great holds, to a steep finish. Either lower off, or move up past lower off to thread belay on ledge. Exit 15m R up easy ground to top.
Ben Maddison & Ingrid Crossland December 2017
Ben Maddison & Ben Griggs January 2018
The bolted line on the right side of the wall. Excellent rock, great climbing. Take a couple of longer draws.
Pull the hard start, then up the left-trending line, steady but pumpy face climbing using fins, vertical rails and layaways. Traverse 3 m L at top to belay on The Bittersweet stance. Lower off, or exit up Bittersweet p.2 (19, 12m).
Ben Maddison & Ingrid Crossland, November 2017
Mælstrom Wall
A beautiful wall with an adventurous feel, the first area climbed on at Hidden Zawn. The main pitches of White Noise, Maelstrom and Green Dream all start from above a little overlap that protects these routes from spray in high seas. The top of Maelstrom Wall is best identified by locating the two rap stations that lead down the wall. One is located on the seaward side of a large boulder. This gives access to White Noise, Maelstrom and the Green Dream. The other is on a slab a few metres left (looking out). This gives access to the Green Dream, Blue Devil, Coconut Corner and Finnegan’s Wake.
To access White Noise, position the rope down to the R (looking out) of the banksia. Abseil down the slabby wall that forms the climbers left side of the arête that White Noise goes up on its right. After 8 m you come to the DBB at the top of P 1. You can leave a rack here – a few med wires if you are going to finish up P2 of White Noise; a full rack if you want to rap from here to do Mælstrom. (You can also get to Green Dream from this point too.) Continue abseiling on L side of arête, to double bolt belay on ledge at 30m.
To access Mælstrom and Green Dream from the top, position rope to L (looking out) of banksia. 30m to semi-hanging belays on double rings at foot ledges at start of both routes.
To access Blue Devil, Coconut Corn and Finnegan's Wake, rap to ledge at foot of Coconut Corner.
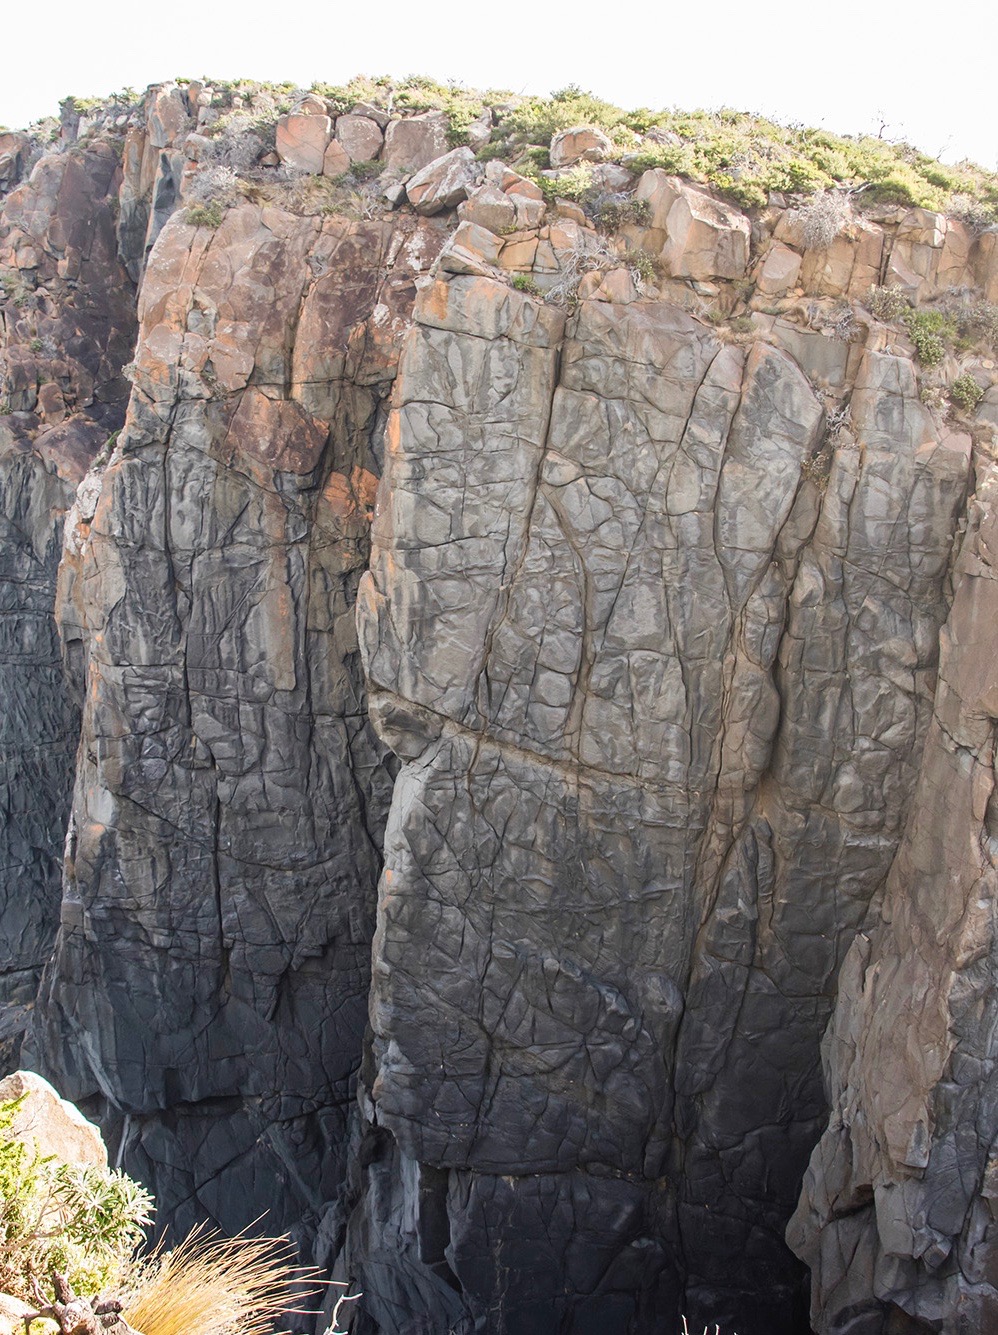
Ben Maddison & Gerry Narkowicz, December 2024
Ben Maddison /Ingrid Crossland October 2017
Ben Maddison, Tony McKenny, April 2017
Face R of Mælstrom. Access: 25m rap from anchors in slab above Blue Devil, to semi-hanging DBB. Also can be accessed from rings at top of M or WN, p.1.
1 A technical start leads to more moderate but surprisingly pumpy climbing. Exit with a frustrating pull onto slab and DBB. Brilliant. 12 B Either lower or rap from here to another route, or move left to White Noise pitch 2 to top out, unless you have left a fixed rope.
Ben Maddison & Brian Burfitt July 2017
Ben Maddison & Ingrid Crossland October 2017
Ben Maddison & Ingrid Crossland October 2017
Ben Maddison & Neale Smith October 2017
Elephanthide Wall
A wall of crinkled and heavily featured rock, right of Maelstrom Wall. Rap from DBB (there are a few rap anchor options- the set 15cm back from the cliff edge allow single rope abseils of 30m, but the set among the bushes requires a 70m rope).
Access: Rap 45m from station above Elephanthide Wall, to DBB at stance below roof.
Excellent climbing up cracks, ears, and breaks, with crux at half height.
Ben Maddison & Nick Hancock January 2018
Lower start below and to the left of Trunk Music - rap 45m from top anchor to DBB at small stance on arete. Adds 8m of more technical climbing up a seam to join Trunk Music - stellar option when dry.
David Stephenson and Ben Maddison, Feb 2022
Access: Rap 40m from top anchor to DBB at small stance to right.
Great climbing up cracks, ears, and rails.
David Stephenson and Neale Smith, March 2019
Access: Rap 25m to belay on ledge system next to crack.
A good trad route in an exciting position. Take a full rack.
Climb the main crack to R of belay, step L after 3m to face cracks,finishing up juggy breaks.
Ben Maddison & Ingrid Crossland December 2017
Bull Pinnacle
Ben Maddison & Daniel Stavert May 2021
Ben Maddison & Bob Bull, June 2021
Zawn Wall
Zawn Wall is the vertical featured wall, directly across the Zawn from Maelstrom Wall.
Access: from a DBB just below the top of the point, abseil 15m down clifftop bushes and boulders. It is safest to bring the whole party down this section, to the DBB at the top of the climb you are going to do. Then rap another 25-45m to the DBB at the base of your chosen route.
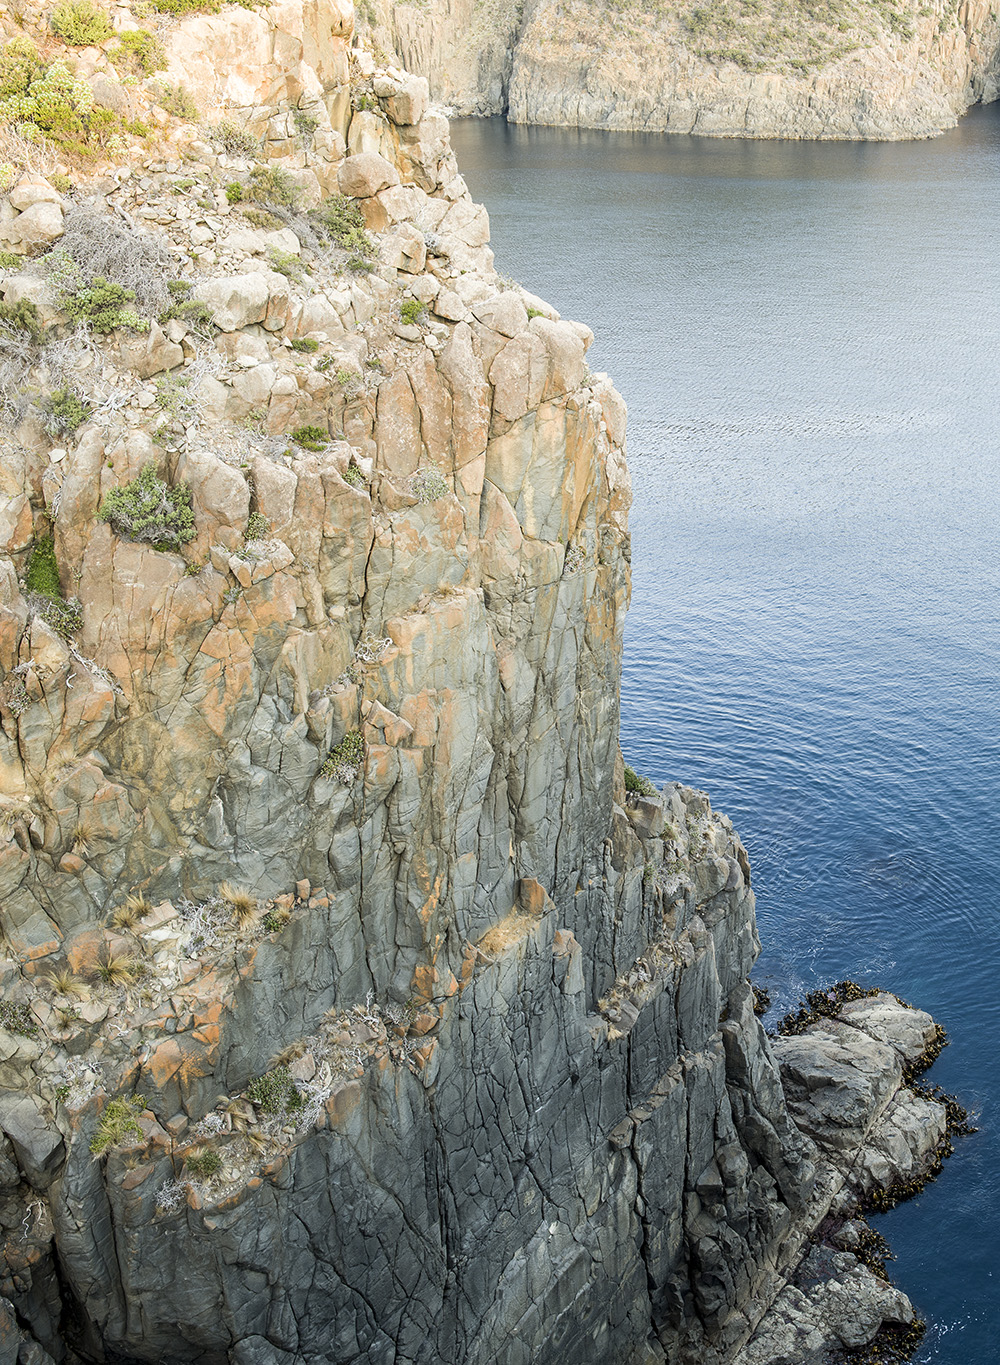
The crack line L of Zawn Wall. Originally climbed in two pitches to share the love but best done in one. Rap straight down the cliff from the top anchor and set up a natural anchor in line with the start of Zawn wall. Climb the first crack system via some interesting and fun moves to a ledge, then take the corner and left hand crack with some cool stemming before pulling up right of the boulder and climbing nicely to the top to a natural anchor
Grechy & Sam Beaver January 2021
Ben Maddison, Neale Smith, Dave Stephenson. April 2019
David Stephenson and Ben Maddison, February 2021.
1. Good climbing up the bolted line on the arete. Sustained and exciting possie.
Ben Maddison. April 2020
World's End
This aptly-named crag offers a great day out with moderate sport climbs on fantastic rock, in an extraordinary location. Situated on a separate peninsula, it is the neat little cliff on the waterline that you can see looking back from the Aviary, about one-hours walk from the carpark. The cliff is shaded, and can be affected by swell, so choose a period of relatively calm seas and a warm day. Be aware of the sea conditions before you rap in, rather than rapping in and finding it a bit too rough, and then bagging out the crag on (anti)social media sites because of your own lack of situational awareness.
ACCESS
Follow directions to Hidden Zawn. Where the route to Hidden Zawn turns right at Beaufort Bay, hop over the creek to the left, and pick up an orange-tagged trail heading up the hillside. The pad is faint, but as it goes over the headland and down the hill to the narrow notch which joins the peninsula, it becomes a well-defined track. GPS the Notch: -43.479845, 147.245689
Continue up the other side of the notch by scrambling up the boulders on the ridge to then pick up another track. Follow the track to the open slabs above a deep zawn (the area known as Jaws). Head left down the slabs past Jaws, and back into the scrub following the track down steeply for a couple of minutes to a hand-line (this is about 45 minutes from Beaufort Bay). From here you have two options:
a) Amble down rightwards for Blancmange or Three Amigos, or
b) Make your way straight down the steep hillside using the handline to the substantial platform at the top of the main cliff (and rap station).
GPS approximate World’s End: -43.482138, 147.242602
World's End - Main Cliff
Access:
Make your way down the steep hillside using the handline to the substantial platform at the top of the cliff. 20 m abseil from rap station on RHS (looking out) to sea platform. It is possible to scramble out with care on the RHS (looking at cliff). Routes described from L to R.
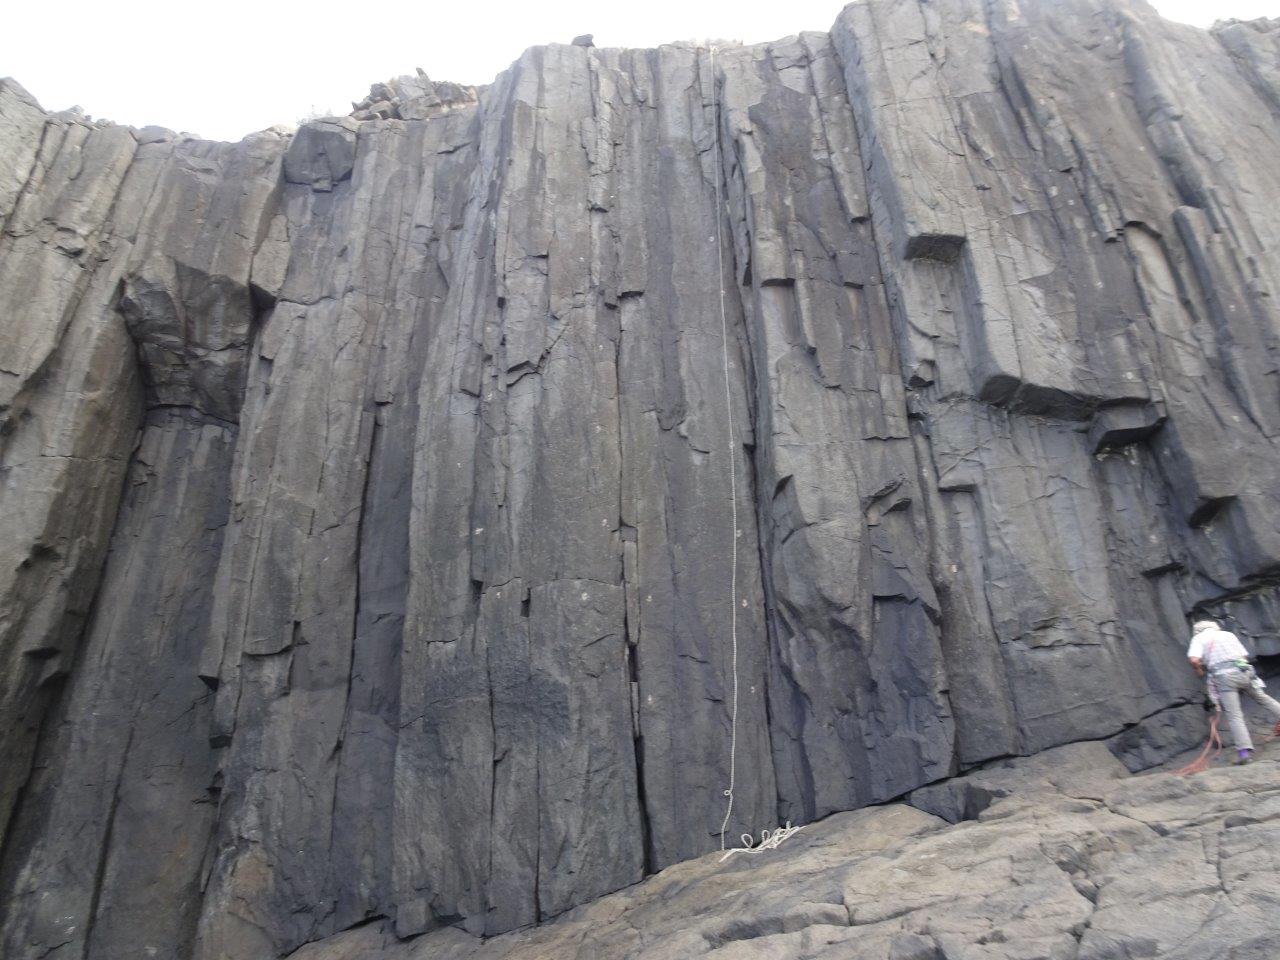
Almost good as the Bruny brewed beer of the same name.
Climbs the black corner 2m L of Mind and Body
Ben Maddison & Gerry Narko Jan 2021
Mind and Body 20m 23 ***
A classic. Start as for Heart and Soul, step L and up sustained shallow grooves and arête.
The Direct Start 24 up the funky shallow layback groove is well worth a go if dry (requires 2 x 0.3 camalots)
Ben Maddison & Toby Story September 2020, Direct Start on gear H Jackson and S. Joseph 2022
A real beauty. Classy face climbing starting at the crack 2m L of Pirate Life.
Ben Maddison, February 2020
The funky bolted stemming groove that you rap down.
Ben Maddison, February 2020
Sustained excellence up the groove near the central arête. Some cruxy moves around the rooflet lead to a tricky section at the top.
Andrew Martin, January 2020.
Looks improbable for the grade. A reachy move getting over the small roof at the bottom, followed by lovely, technical face climbing. Named after Gerry’s encounter with a quoll the night before.
Gerry Narkowicz, January 2020.
Tricky starting moves lead to exhilarating climbing on big holds and a puzzling finish.
.
FA: Ben Maddison, January 2020.
World's End - Three Amigos Area
The trio of cracks across and left from the main cliff area. Access involves using the handline to traverse across the cliff top and down to the top of the buttress. Here, build a trad anchor and rap into the ledge from which the three prominent crack lines start. Trad belay on ledge, using wires and small-med cams.
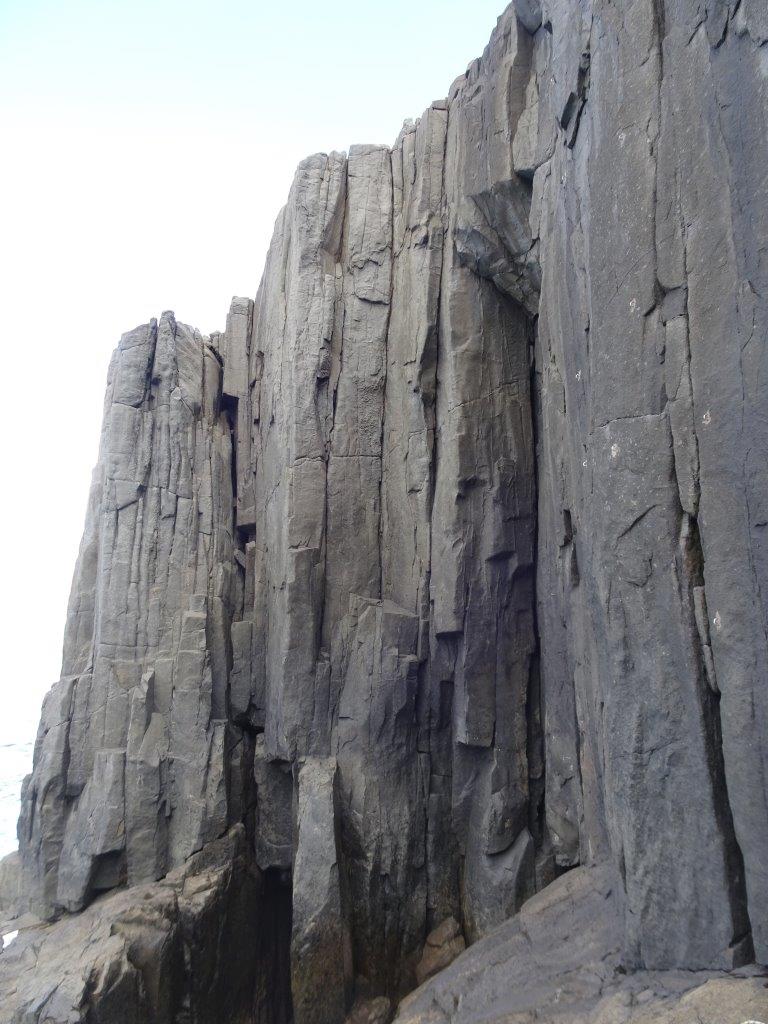
A Few Good Blokes at the End of the World 20m 21 *
That’s us. Stout jamming up the LH crack.
Gerry Narkowicz, Neale Smith and Ben Maddison, February 2020.
An excellent climb. Good rock, good gear, sustained. Take double large to medium cams, and a selection of finger and small finger sizes. Medium wires.
Climb the corner, crux at half height.
Ben Maddison & Daniel Stavert, Jan 2022
The right hand of the 3 Amigos. Reserved for Neale Smith
project
World's End - Blancmange Bluff
Blancmange Bluff is the short, neat wall adjacent to the Three Amigos area. It faces out to sea and looks onto the gigantic blancmange of rock and seaweed being swept over by the ocean. The rock quality here is excellent, and carries some nice trad and bolted routes. The routes are described from L to R. Access is by abseil from boulders and gear anchors.
The next crack. Also very nice trad climbing
Ben Maddison & Gerry Narkowicz July 2021
Blancmange Brigade 15m 17 *
The delightful trad crack and groove R of WA(P)A.
Gerry Narkowicz, Ben Maddison and Andrew Martin, January 2020
the beautiful bolted face L of We Are Giants and Blancmange Brigade. Staer from belay at foot of WAG
Gerry Narkowicz October 2021
Rap the line to belay ledge. Climb the crack with good trad gear
Gerry Narkowicz & Ben Maddison July 2021
Climb the intriguing crack R of We Are Giants. Start from DBB at foot of WAG
Ben Maddison Jan 2022
Jaws Complex
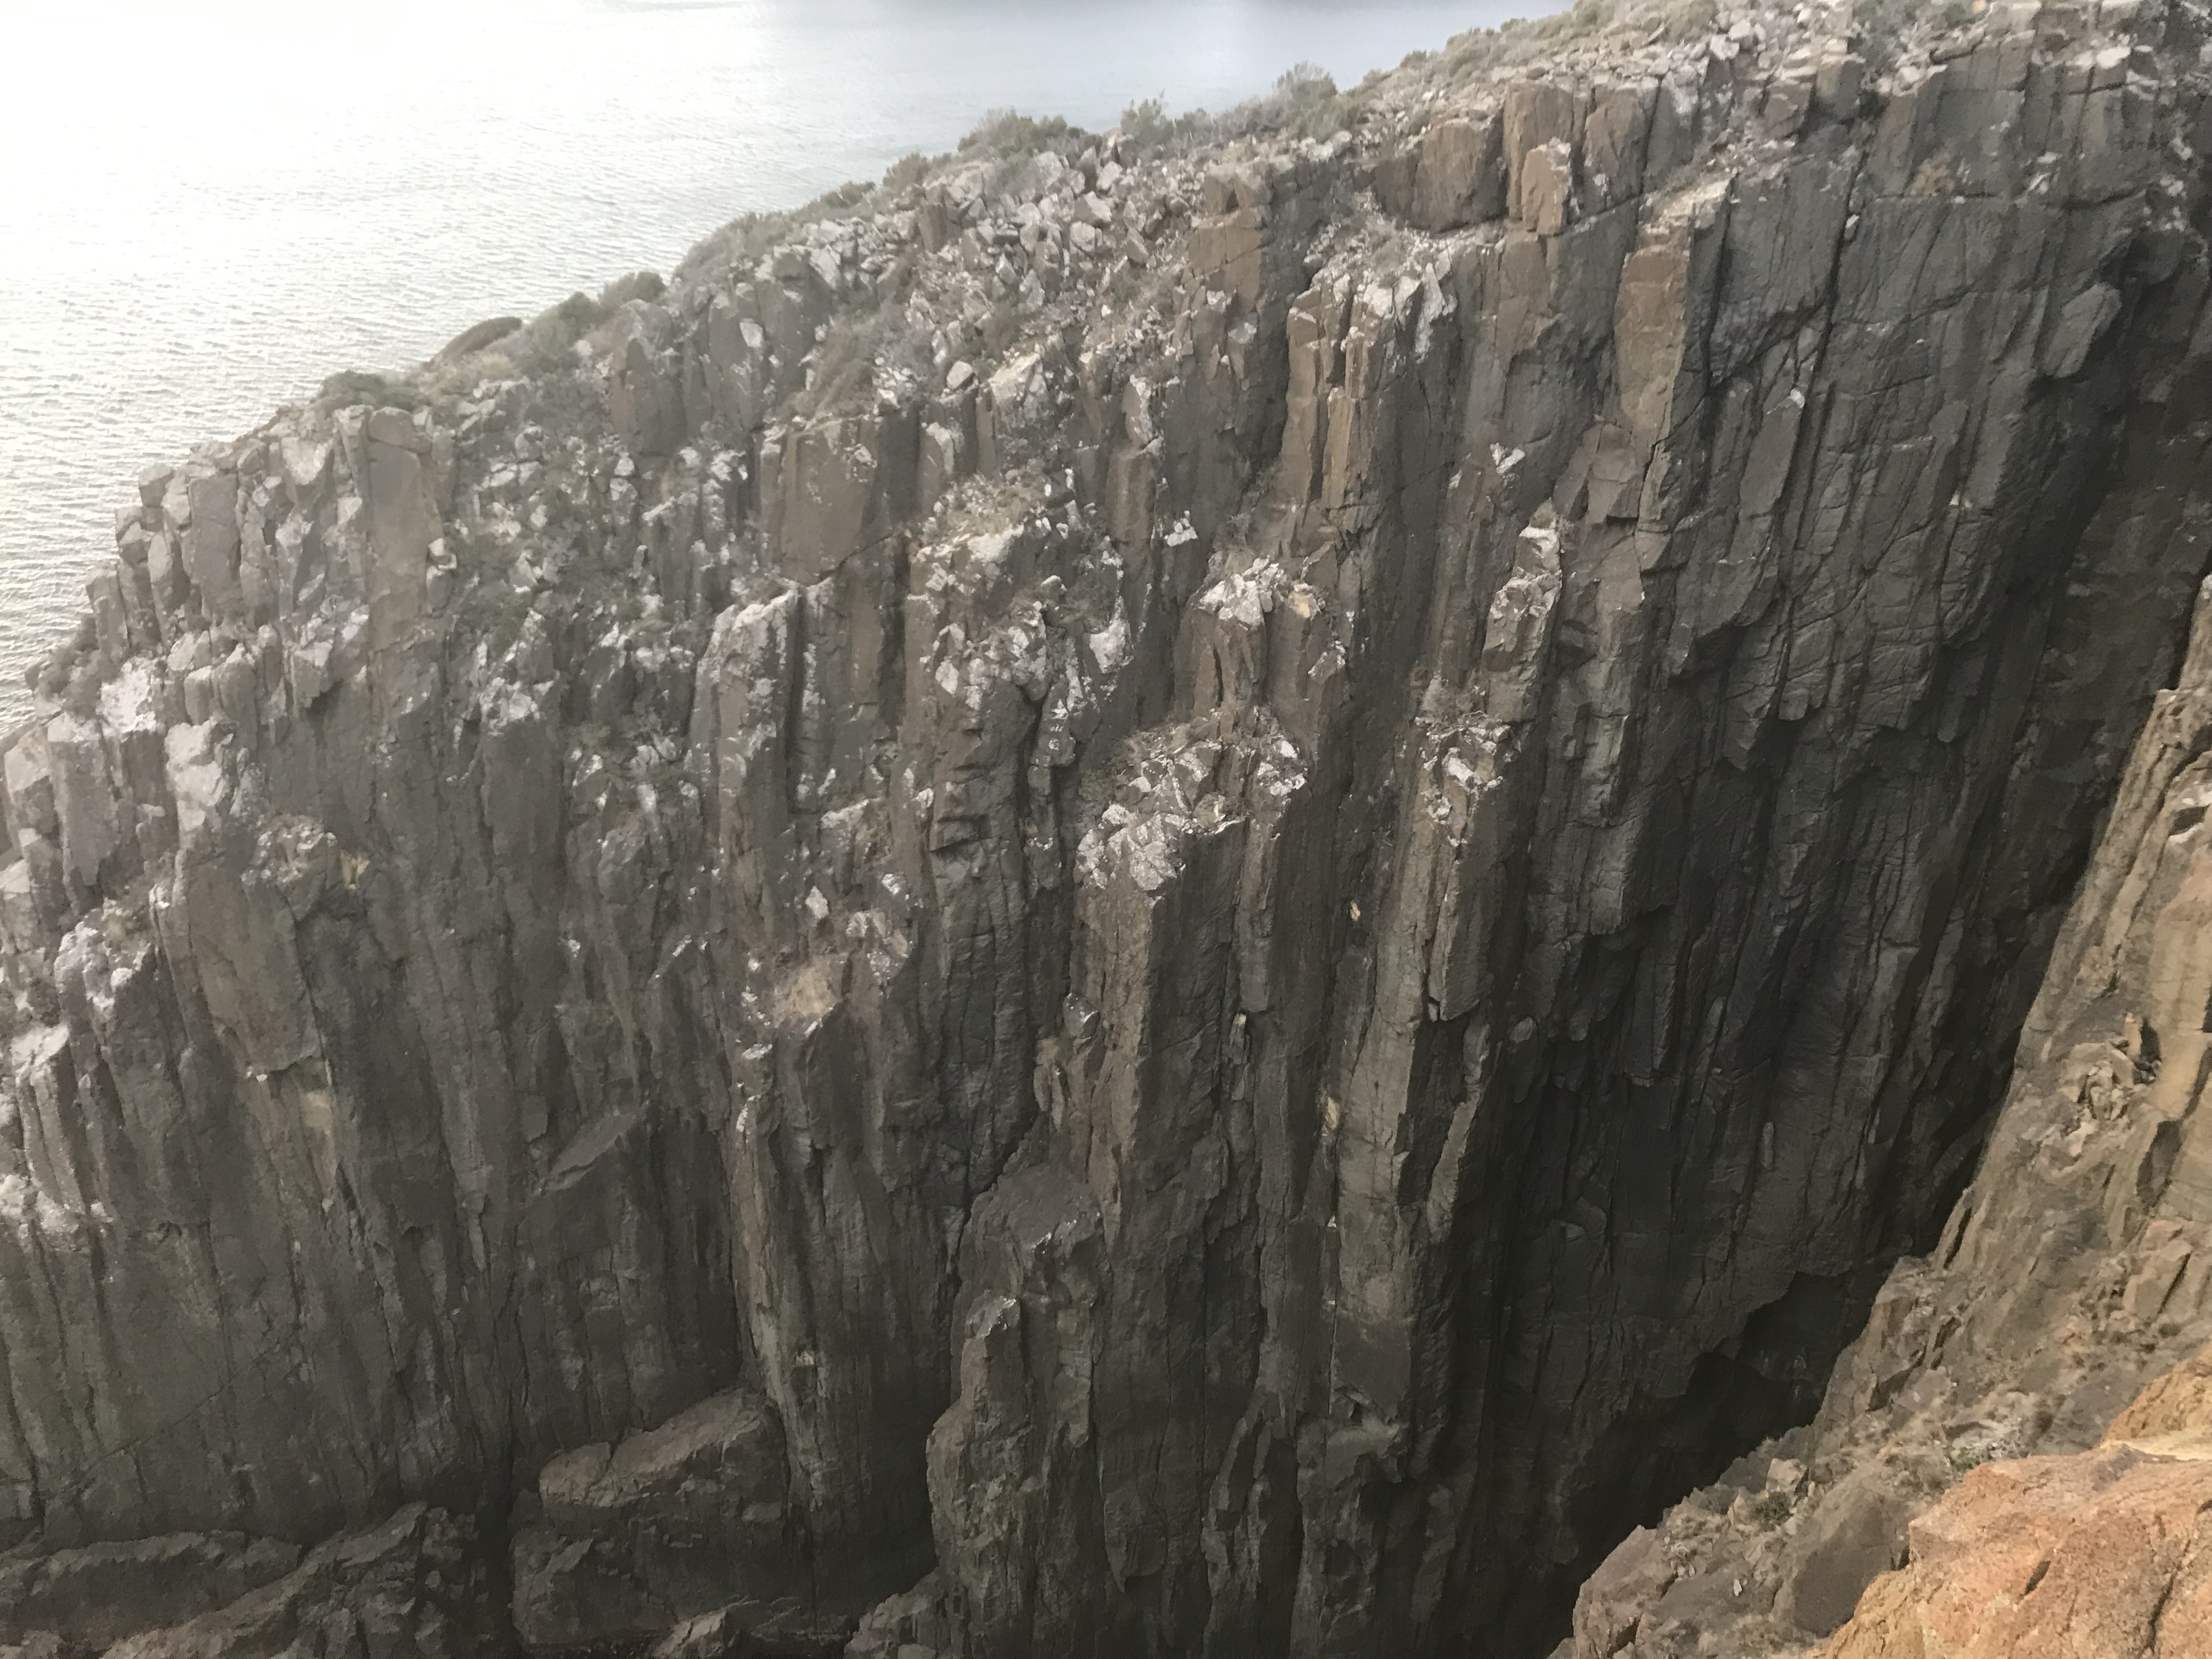
Great stemming up the steep groove.
Access:
Ben Maddison May 2023
Excellent face leading to a steep arete finish.
Ben Maddison 2022
A first section of great crack climbing (excellent gear - hand &finger size) leads to an intriguing final bolted arete.
Ben Maddison 2022
A very good climb starting from a prominent sloping ledge.
Bob Bull 2021
Route L of Stitched Up. From the ledge, step L and up overlap to climb blunt arete.
Ben Maddison 2021
Just below ledge, follow bolts L across grey face , to gain corner.
Ben Maddison 2021
Access: Rap direct to small ledge with DBB.
Climb line from ledge and turn roof, then up face to top out.
Ben Maddison 2021
A good little pitch at the back of the zawn. Rap in from bolts above climb
Ben Maddison & Dan Stavert 2021
Cloudy Bay Top Cliff
see access notes in Intro.
The Aviary
Is an amphitheatre set above the slabs that roll 100+ metres into Cloudy Bay. Facing west and north, it is a sun trap, can be nice on a winters afternoon, and is quite sheltered from all but westerly and southerly winds. If its windy the routes on the left hand end are often sheltered. The Aviary has a heap of good quality routes, characterised by good rock, and quite unique climbing featuring steep flake and pocket sequences, punctuated with fingery crux sections. Most routes here are bolt equipped, although some classics such as Blackbird and Spirit Rising require gear. Routes are described left to right, and spread across the amphitheatre from the very recognisable Cloacca Crack on the left hand side, to Footnote, on the lower right hand end.
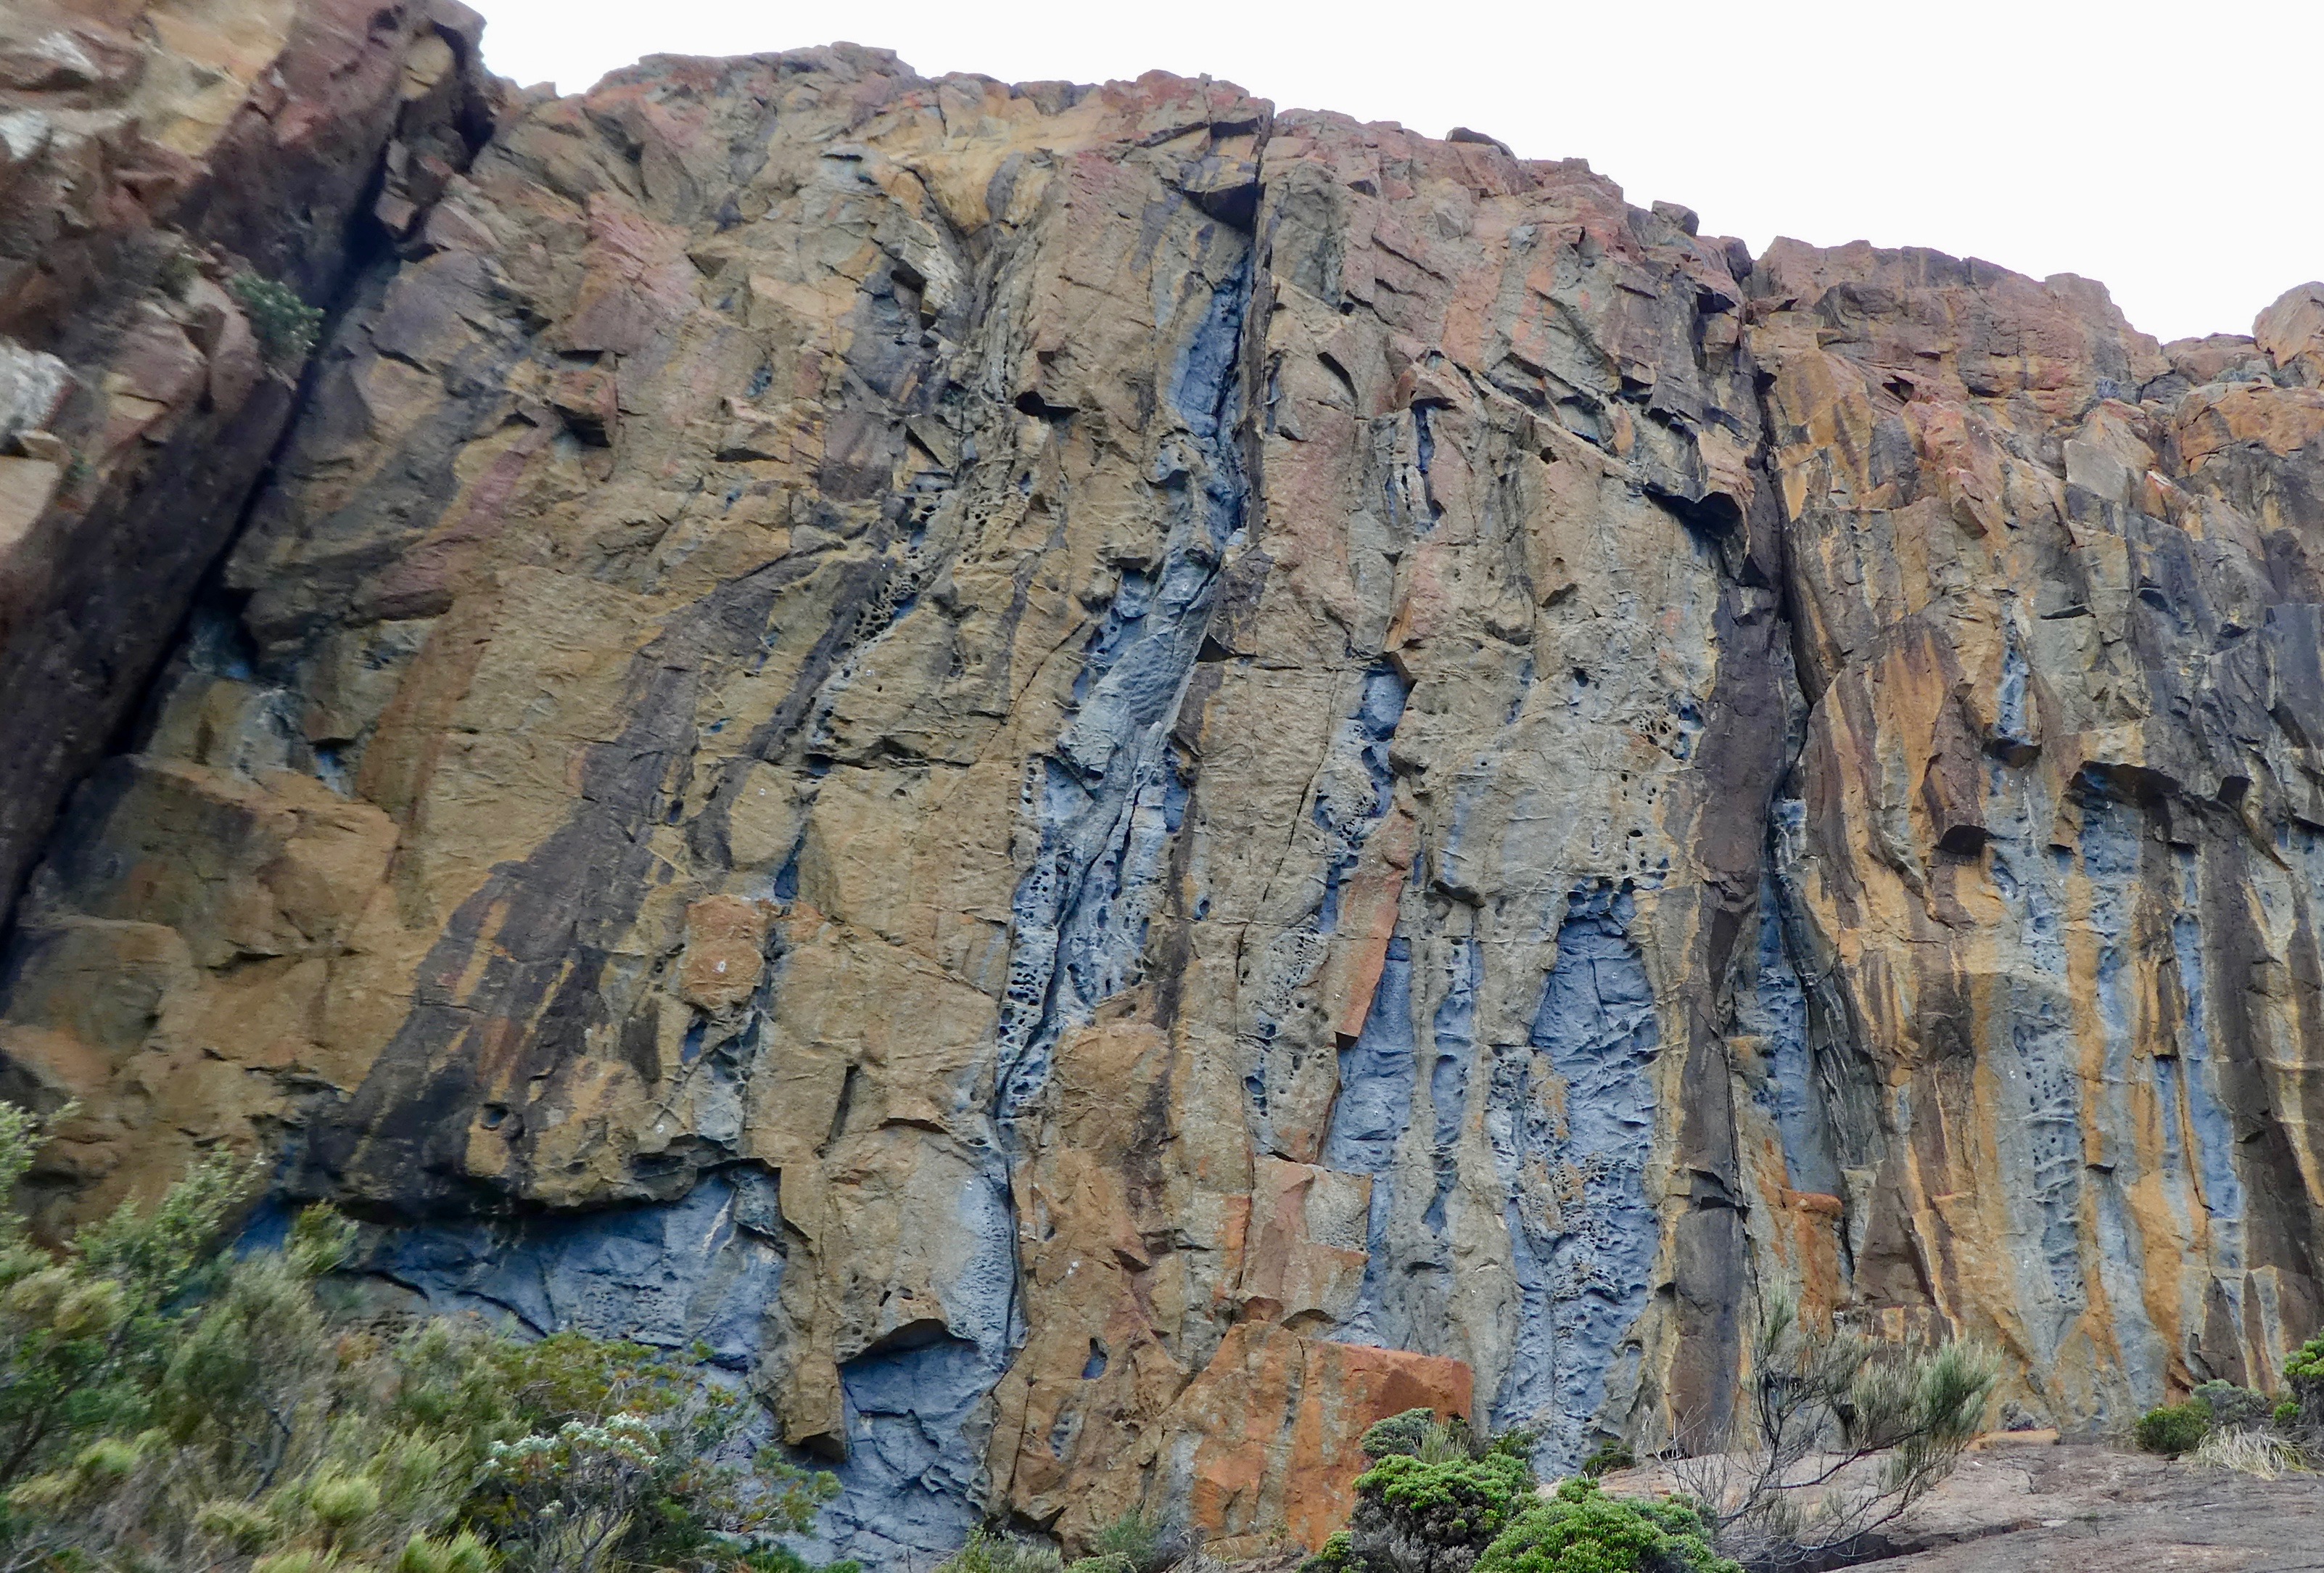
The black and evil corner at the left end of the Aviary. The name says it all.
G. Mortimer & P. Mills March 2016
Start: 3m R of CC. Steep start through overlap then up groove to tricky finish. 10 B and DBB
B. Maddison & B. Bull September 2016
Start: 2 m R of Birdbrain. Tricky start moves past two bolts, into cracks and flake (6/7 Rock), cruxy moves past two more bolts lead into corner (medium cams) and final rooflet (finger-size cam at lip) to DBB.
B. Maddison & I. Crossland February 2016
2m R of Blackbird. Great route with only 3 cruxes. Steep pockets and flakes past two cruxes and final hard move to DBB on ledge. Ignore the L of the two bolts on the final moves
B. Maddison & I. Crossland, February 2016
Start: 2 m R of Desert Raven.
Enjoyable climbing on flakes and pockets with a fingery technical crux at 2/3 height. Up the pockets to a hard move R and up under roof. Turn roof on the L, and up to a laybacking finish up the black arête. DBB.
Ben Maddison & Ingrid Crossland September 2016
Greg’s Crack
The black crack R of Crow. Awaits first ascent.
Start 2m R of GC.
Up the steep and beautifully-pocketed wall and groove above to DBB.
B. Maddison & I Crossland October 2016
Start 4m R Powerful Owl.
Punchy little groove surmounting rooflet to lower-off.
Ben Maddison November 2020
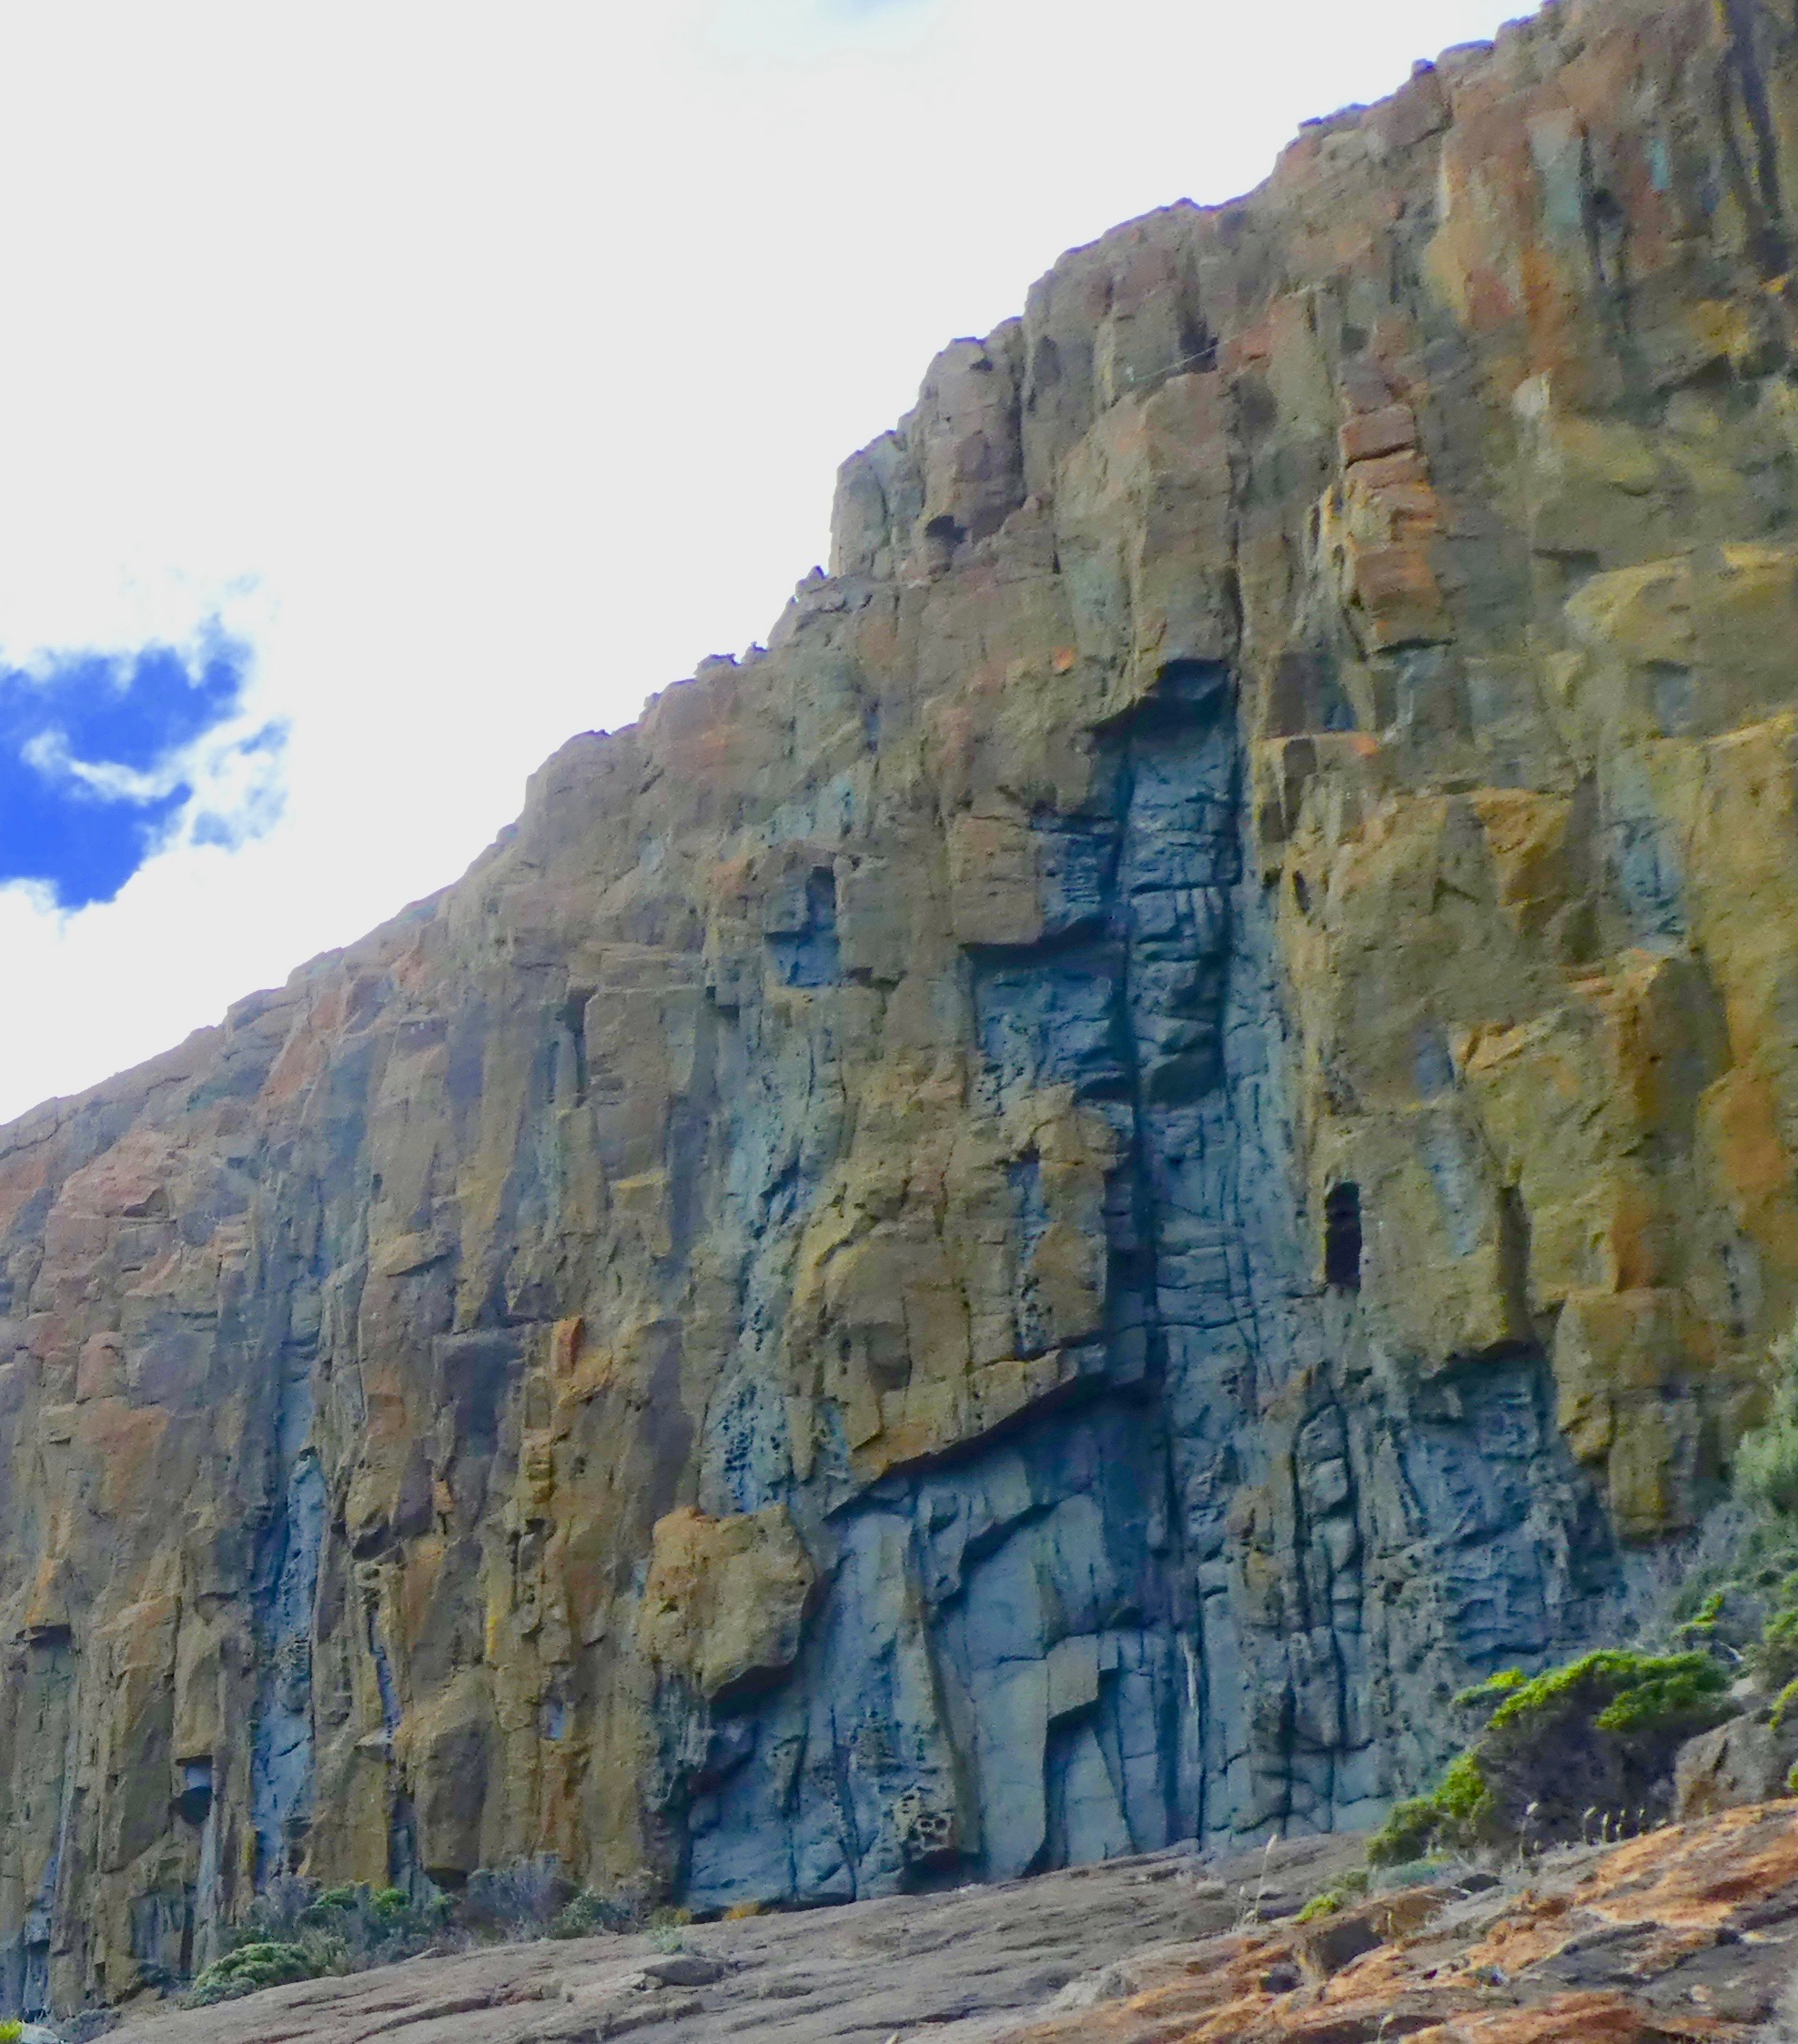
Start. 5 m R of Powerful Owl, at line of bolts with fixed hangers.
Flakes lead up long grey scoop, turning roof on L. DBB belay.
Ben Maddison & Ingrid Crossland March 2016
Start. 2 m R of YT
Good steep face climbing up the arête line. After bolt 7, either step L into groove for a couple of moves then back R on arête or (better) continue straight up arête (22) to DBB.
B. Maddison/Brian Burfitt September 2016
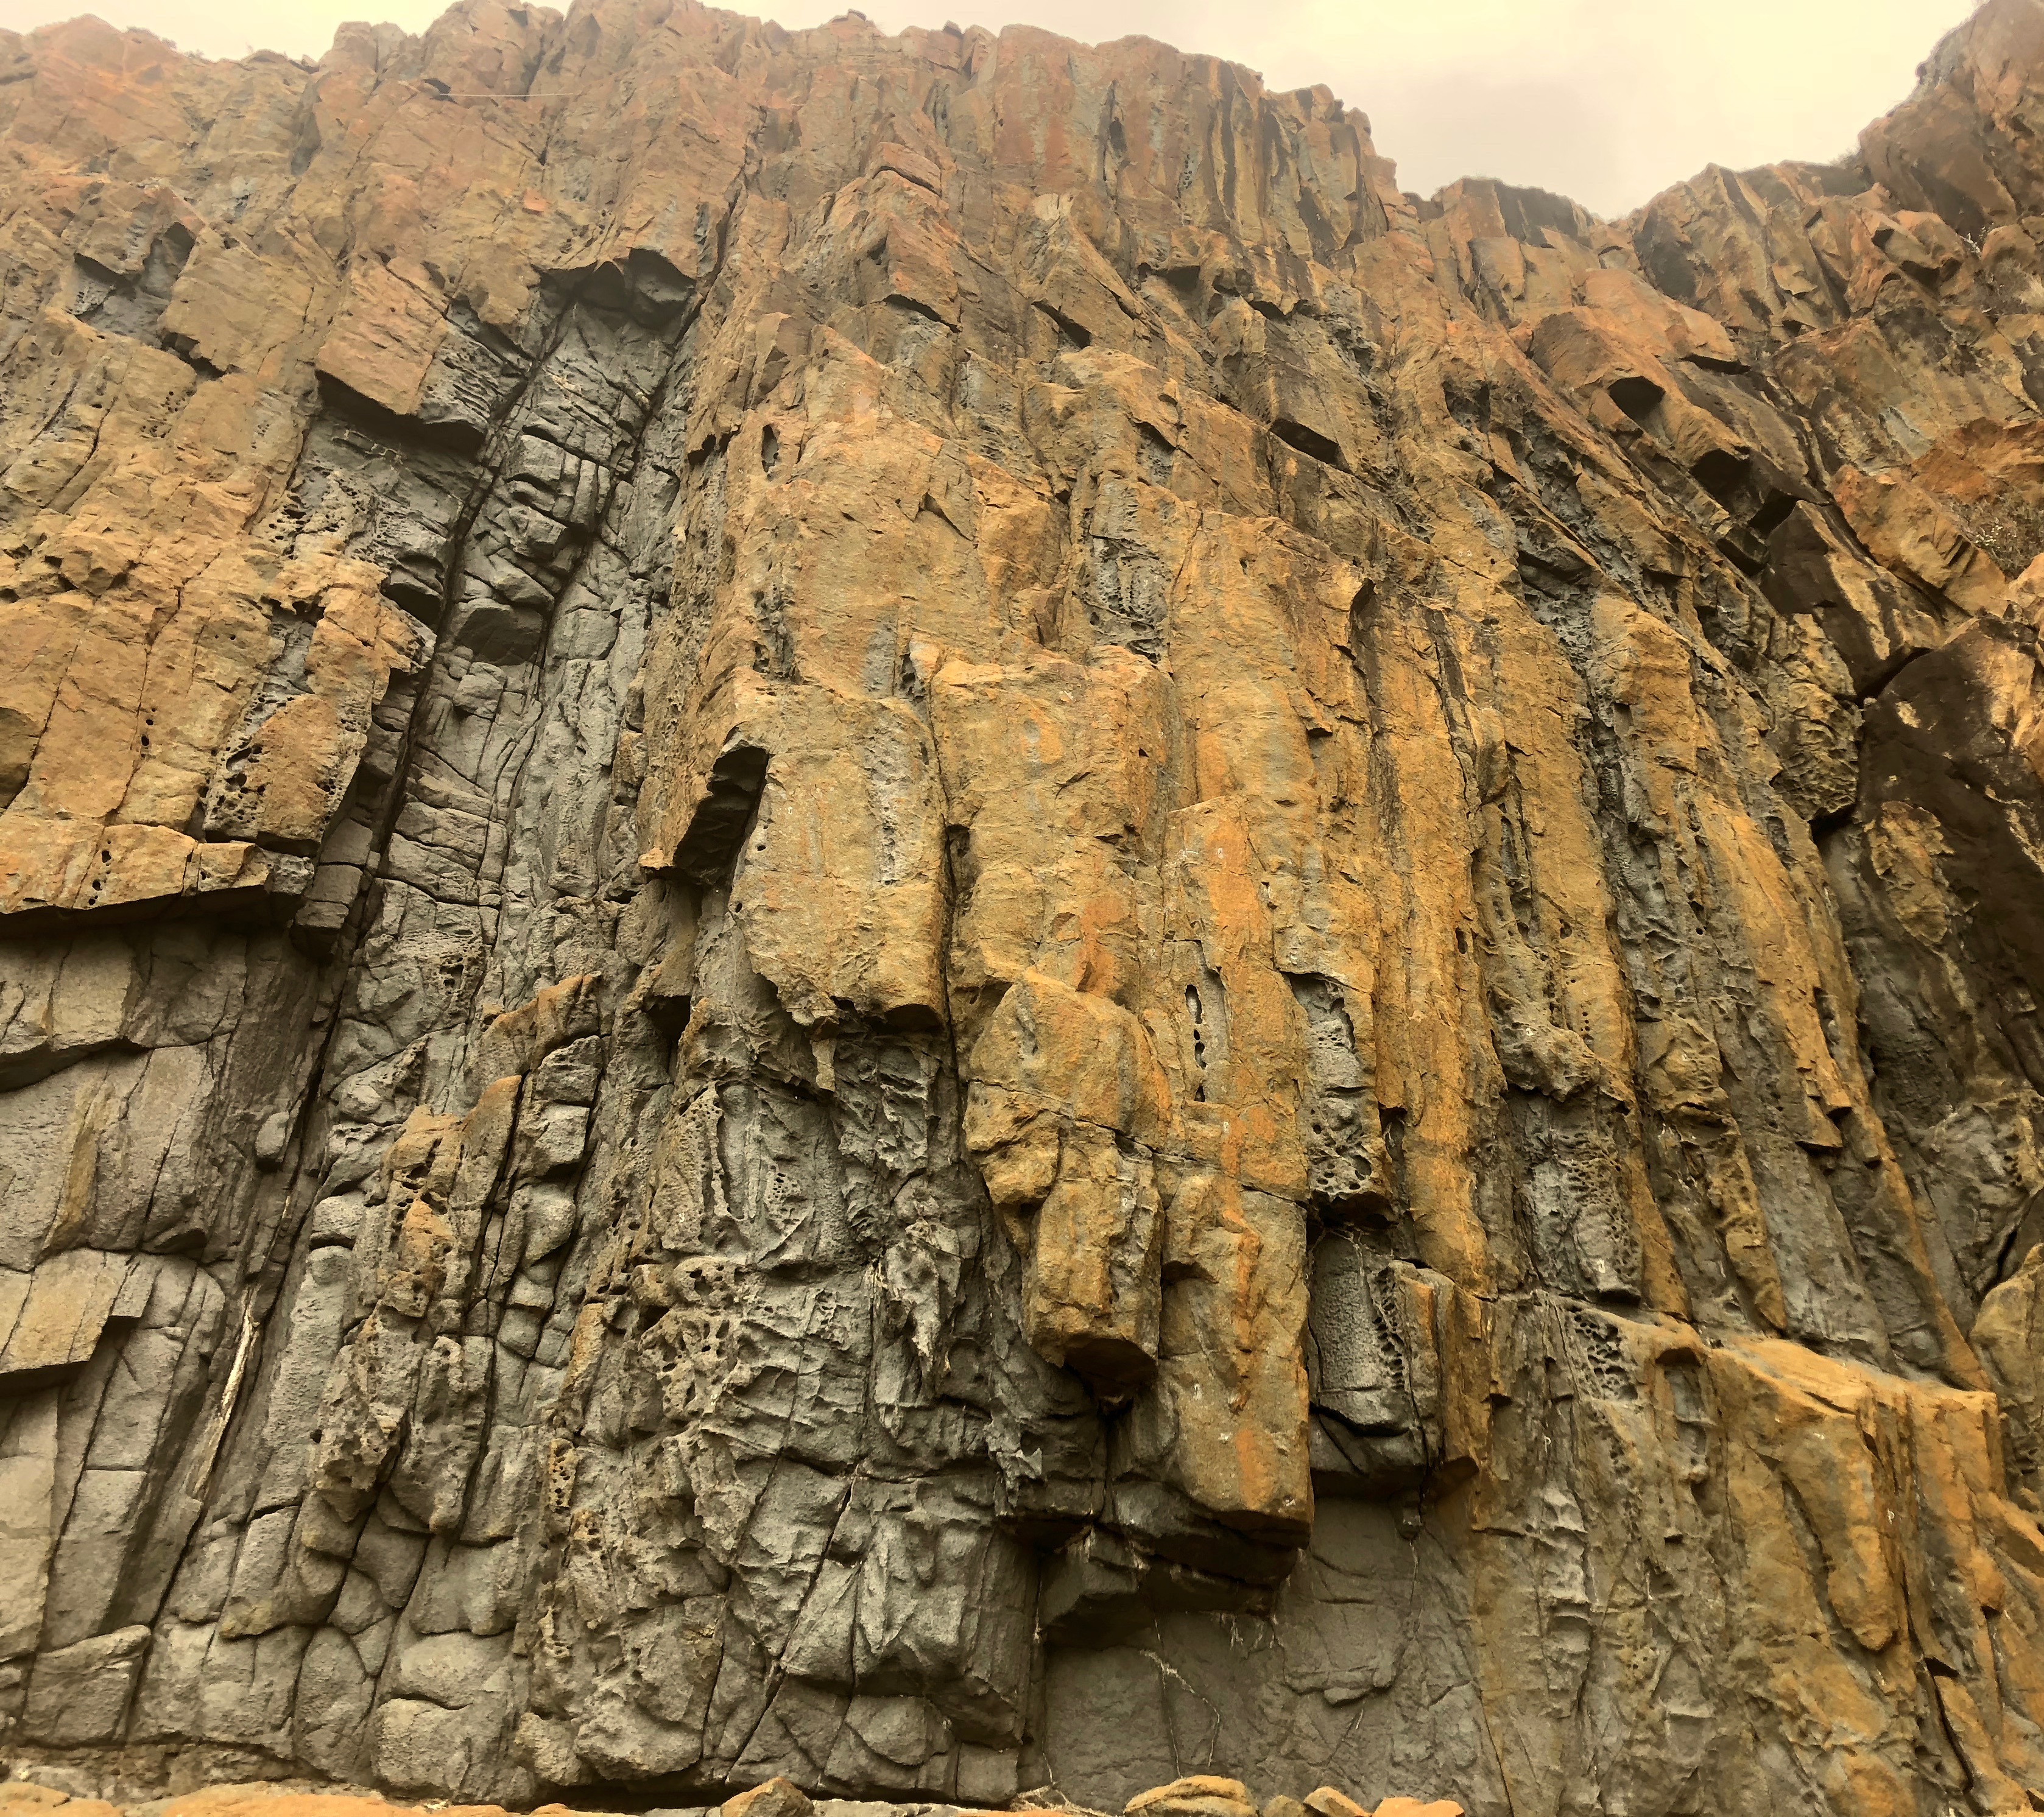
Start: 12 m R of Blood Eagle, at foot of grey corner capped by roof, with crack & flakes on L and R walls. The crack line in L wall of corner. Up steep cracks through bulge with great gear (cams and med wires), turning roof on L, past 4 bolts to DBB.
B. Maddison/I Crossland October 2016
project
Start 2m R of DC. Good moves, great rock and gear, including a #3 cam for pocket at 2/3 height.
Up cracks and flakes on R wall of corner. Where the roof starts to steepen up at 3/4 height, step R onto a foothold to gain sloping ledge and delightful short corner to DBB (of Depth Charge, a few meters left of where this climb finishes).
B. Maddison & I. Crossland March 2016
Funky climbing up pocketed arête 2m R of SR. 7B to lower off.
B. Maddison & B. Bull June 2016
5m R of Cheeky Monkey.
Climb the short corner (the right-hand of the two steep starting options, about 20). Pull left onto the crackline, and a couple of cruxy moves to lower off. The direct start on the left provides an interesting 22 alternative.
Ben Maddison July 2021
8m R of Cheeky Monkey. Great climbing to a fingery technical crux to reach the Mushroom Soup Shop belay/lower off. 8B
Note: This route is very well protected by trad gear and climbs beautifully in this style. Take medium cams for the crack and small/med wires for the top.
Ben Maddison & Gerry Narkowicz November 2018
Ben Maddison & Neale Smith, ( with support from Tom Crossland), August 2018.
Aviary Slabs
The slabs that run down from the Aviary to the sea.
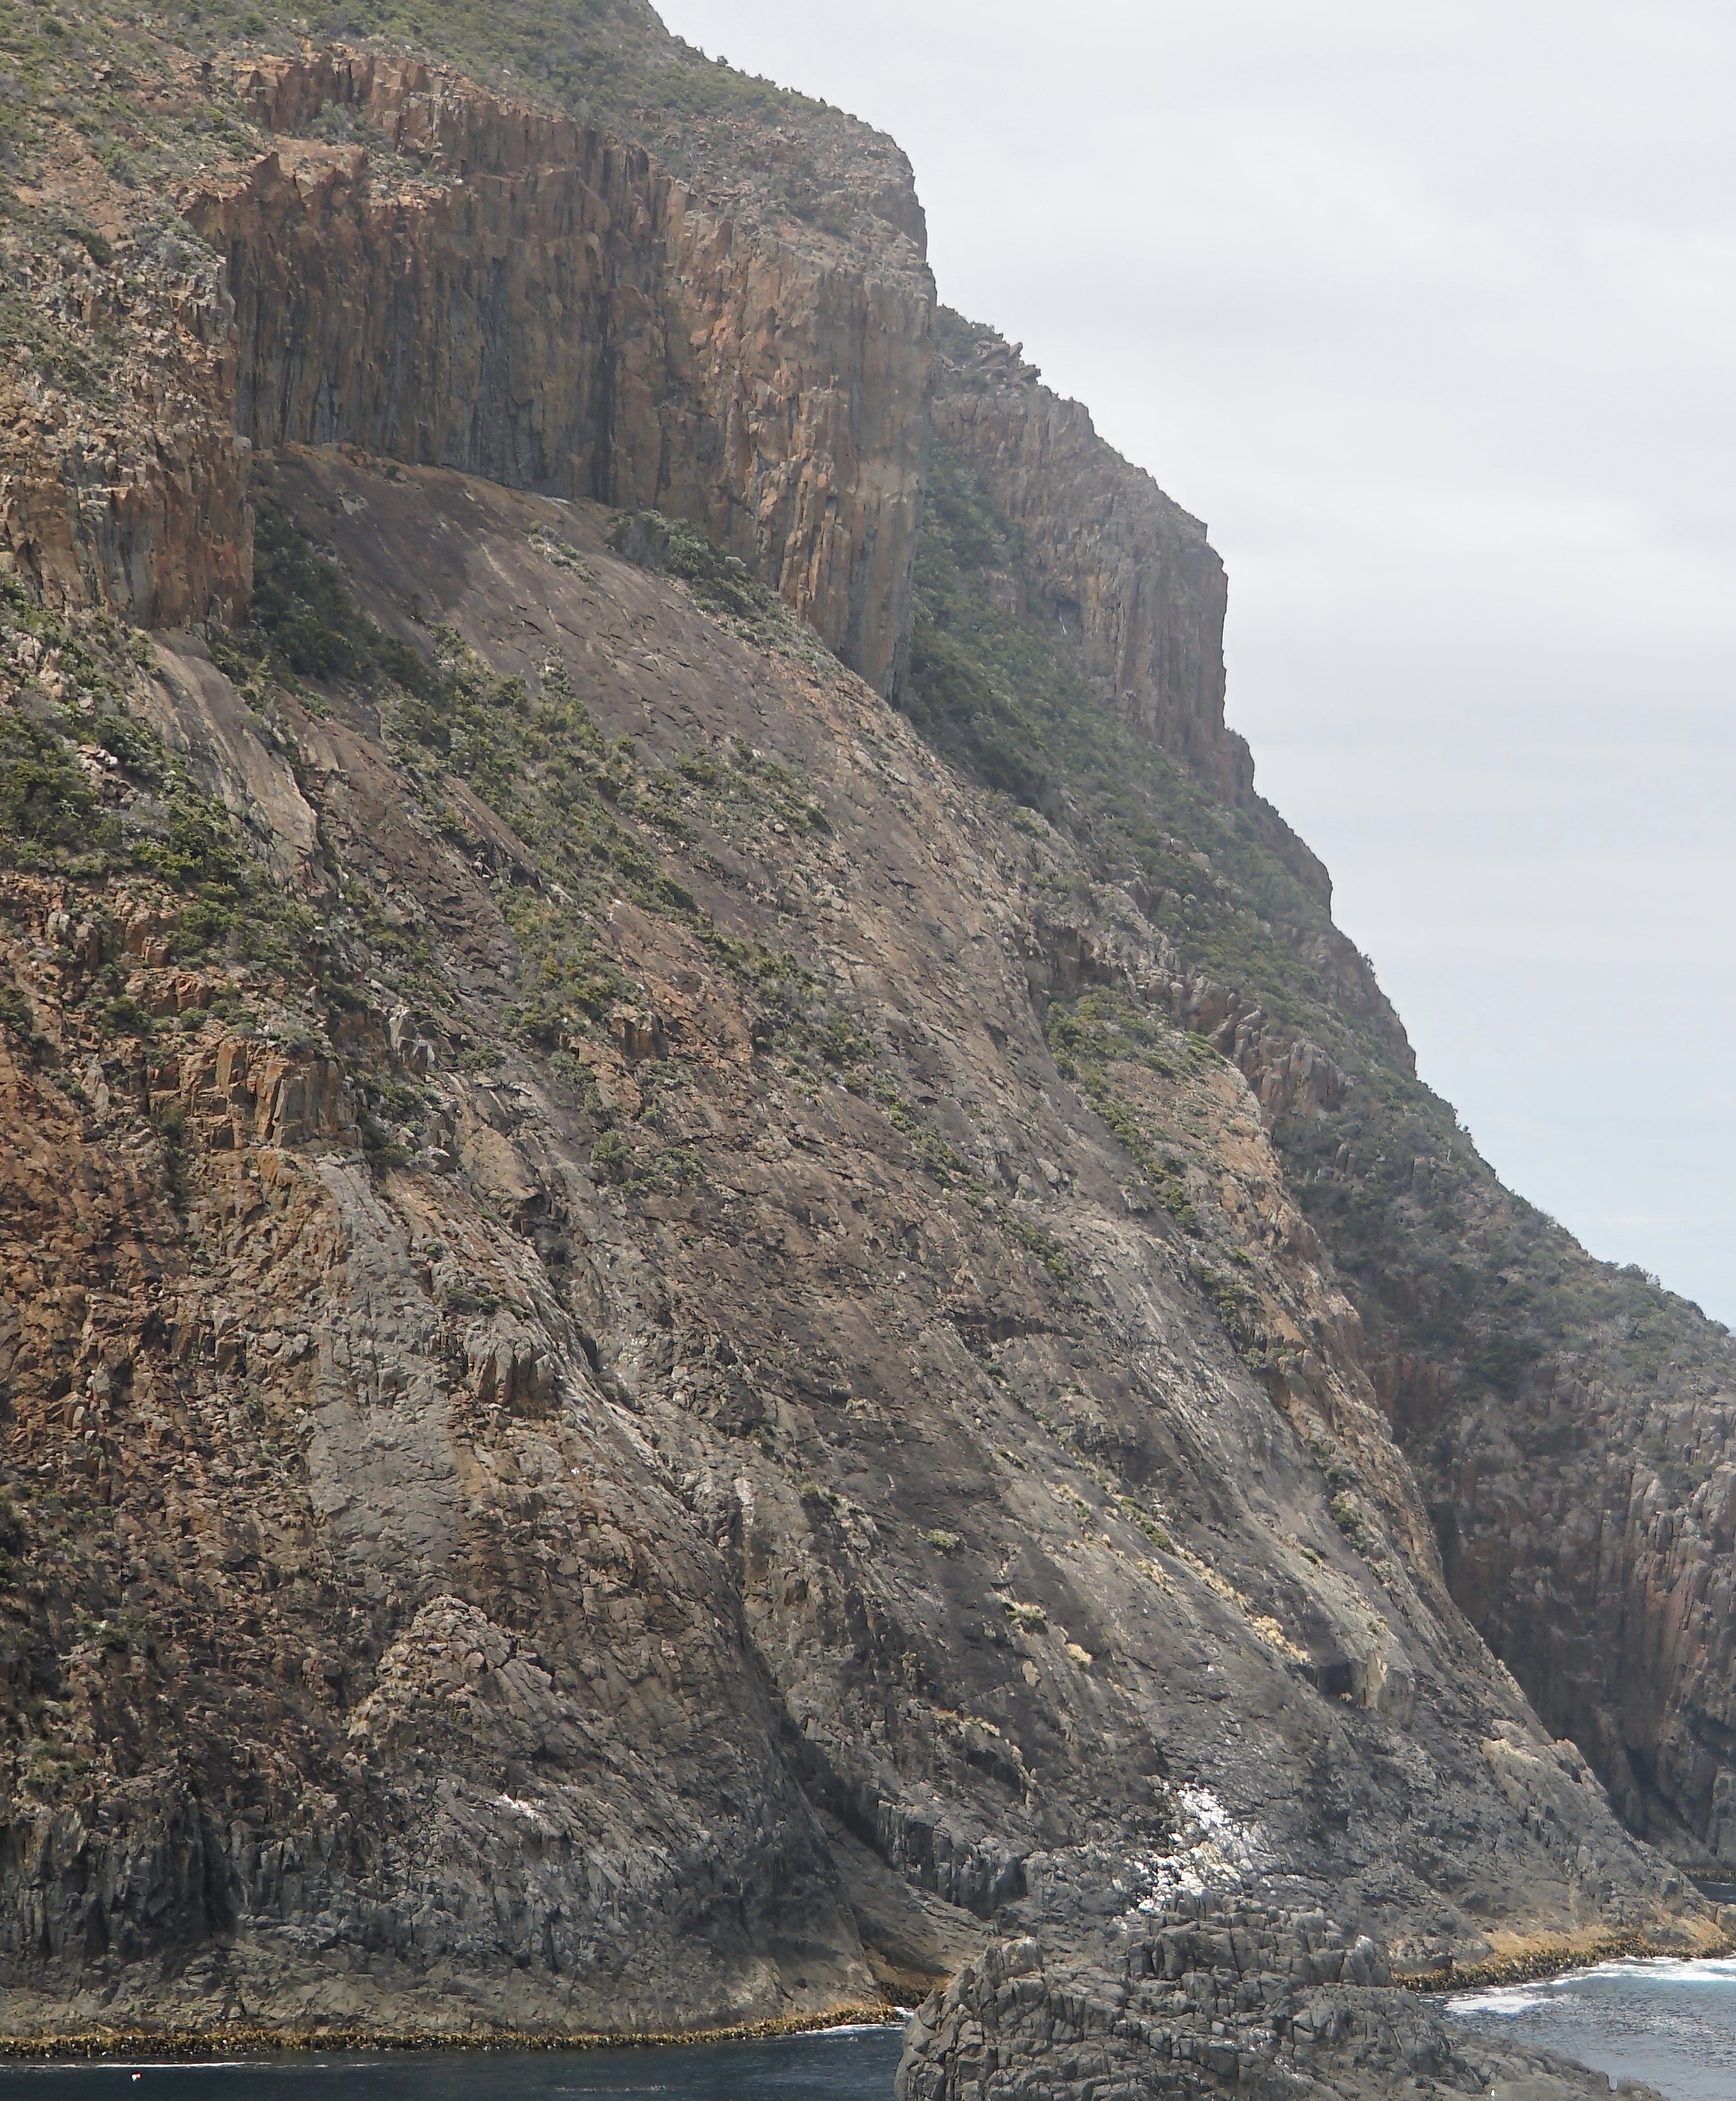
A worthy companion route to the Bruny Slide, taking the line on the left hand side of the Aviary Slabs.
Access:Abseil descent, climb out. From the track that runs between the end of the handline and the Aviary (see access notes for the Aviary), find the fixed line which is tied, at the top end to a good 'ol tree,and at the bottom, to the anchors at the top of the route. Descend this line 25m down the scrubby slope to the anchors. From here make 4 X 25-30m abseils ( if using a 60m rope) to belay on ledge at foot of the climb, about 10m above the sea.
p.1. 25m (14)Follow the bolted line up a steep slab on beautiful rock to DBB.
pp.2-4. 95m (12) Climb the bolted slab on good rock, utilising DBB at various places according to length of rope utilised.
FA Bob Bull, Neale Smith, Ben Maddison January 2022.
Bob Bull & Ben Maddison December 2021
Ben Maddison & Jane Morris, 2024
The Right Wing.
North facing, and less steep than the rest of the Aviary. Some nice groove climbing on good rock.
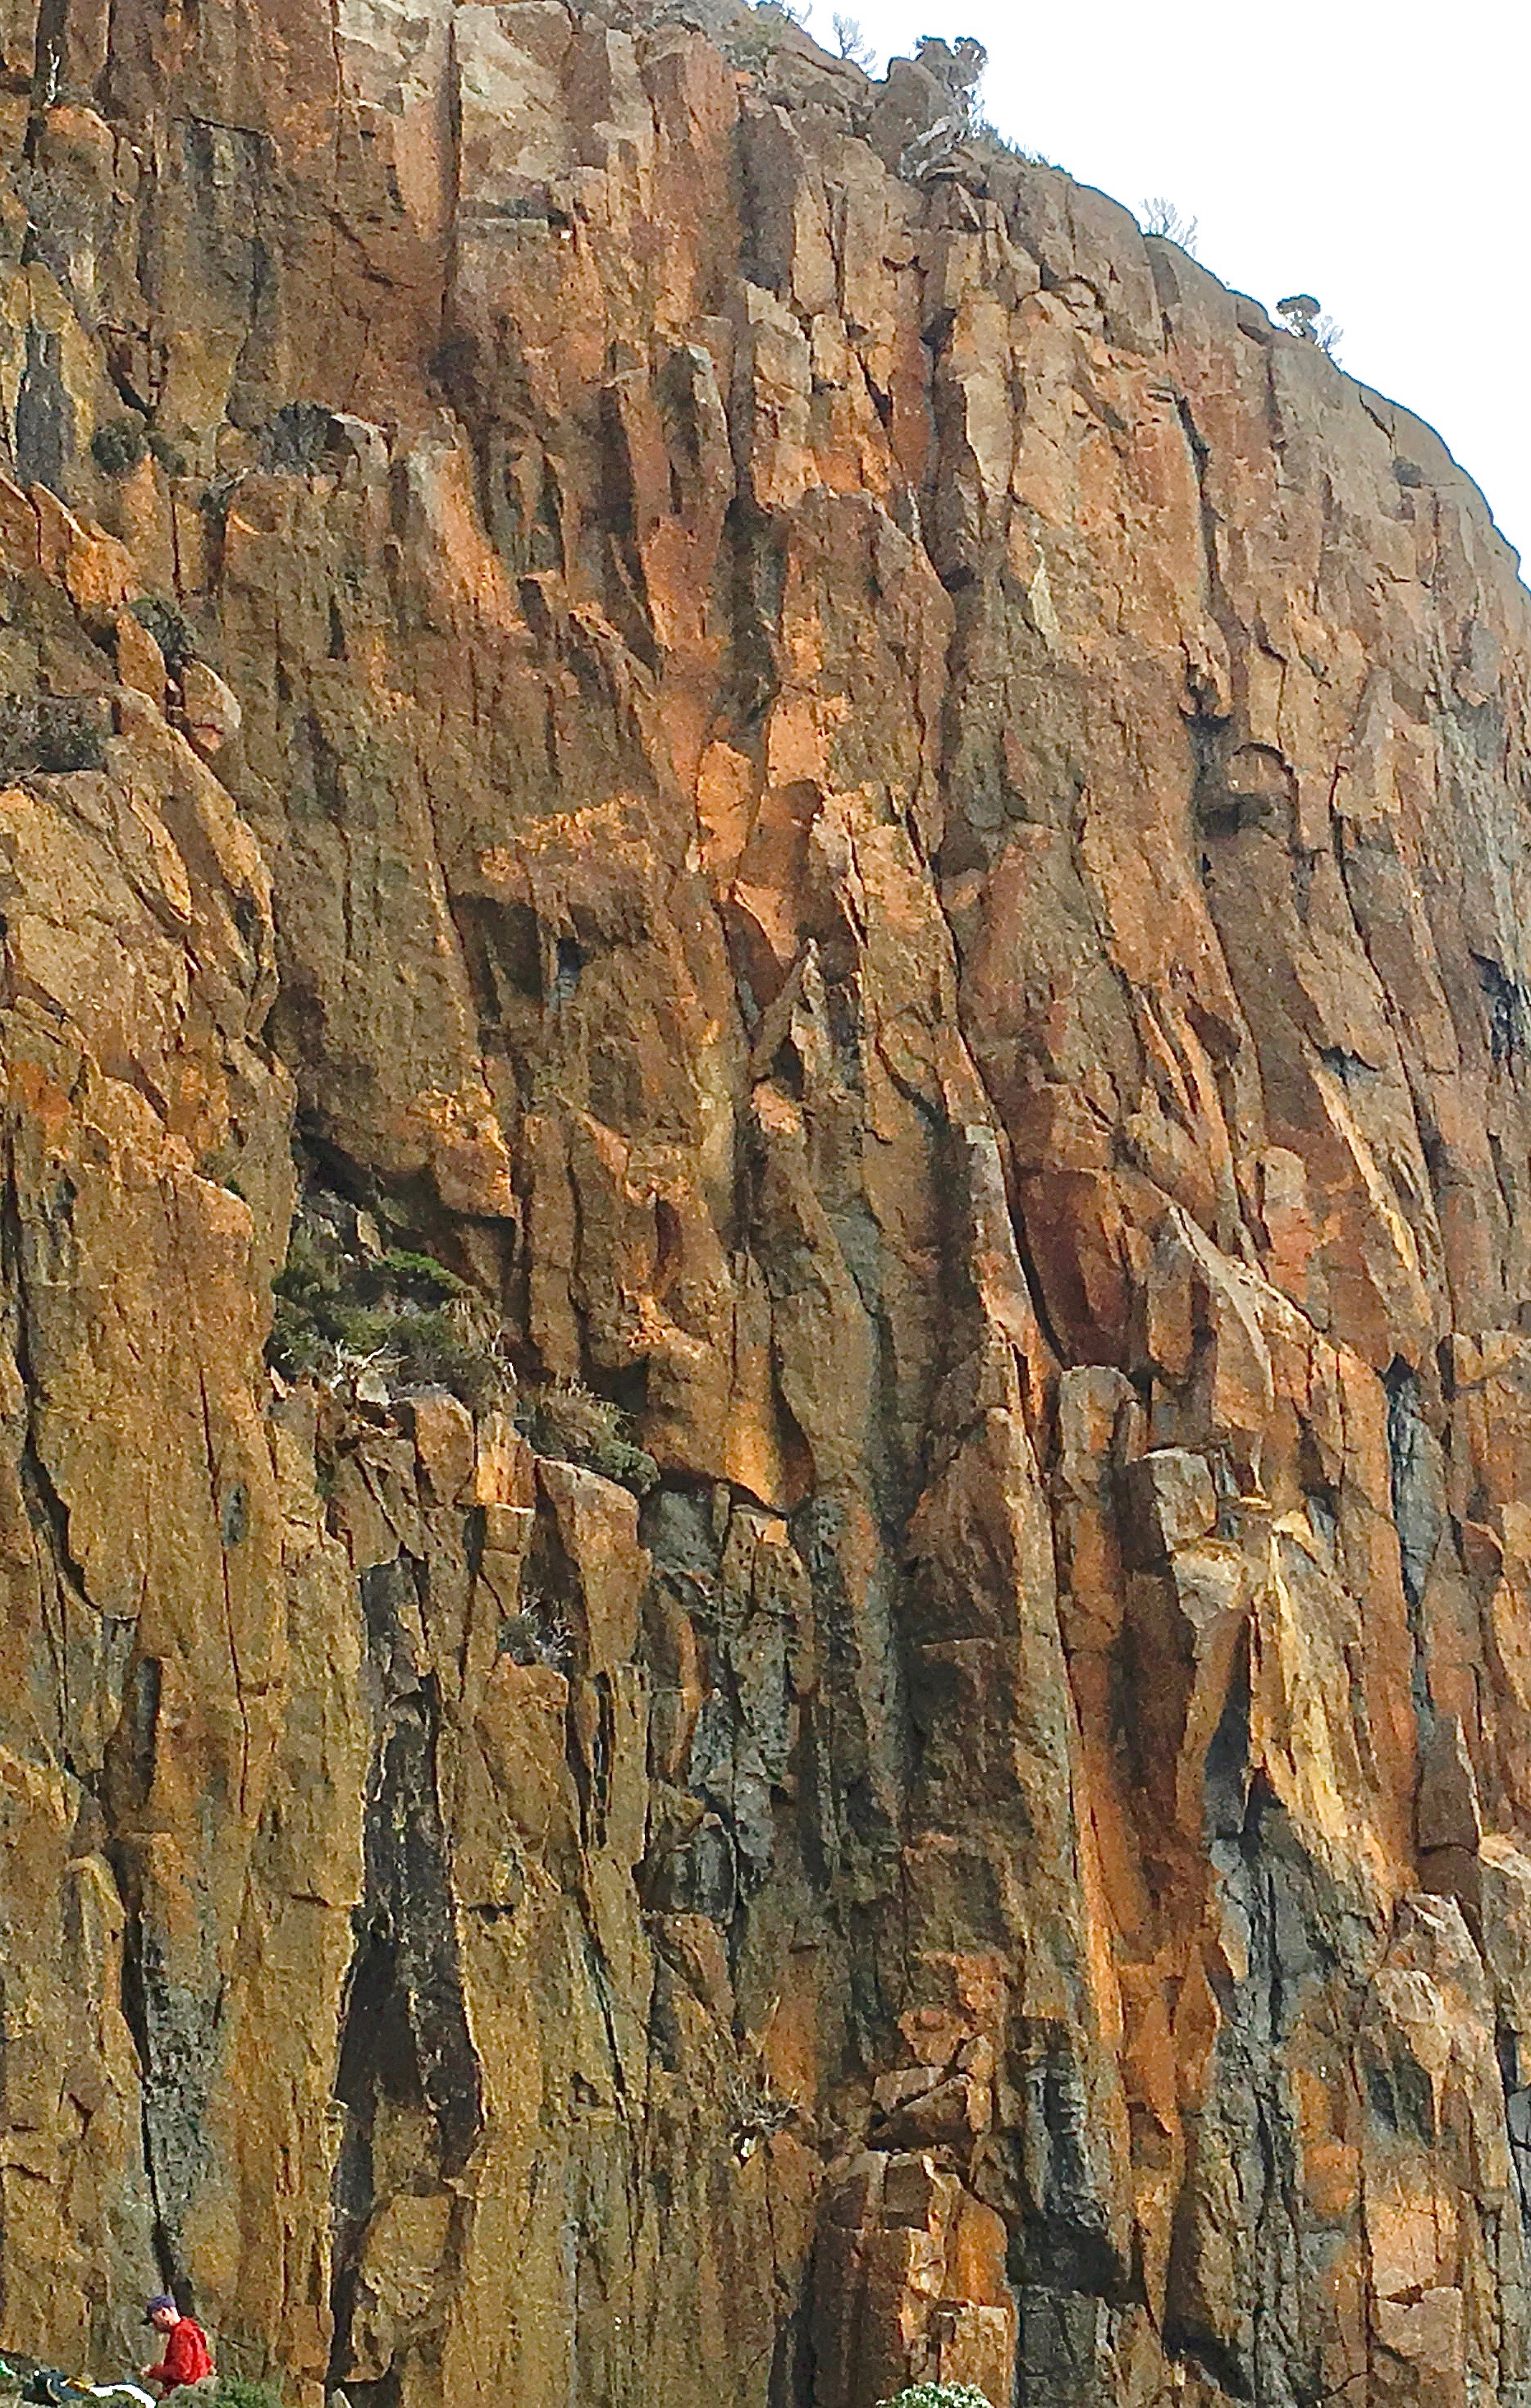
Weakness up centre of black face where cliff turns corner and runs down in the seawards direction to Footnote. 6B to lower off.
B. Maddison & B. Bull June 2016
Nice climbing up the black streak between Wizard and Dyspraxia
Ben Maddison & Gerry Narkowicz October 2018
Start 3m R of Wizard.and 1.5m L of MM. Tricky past 2 bolts, then steady climbing up steep groove line. 11 B to DBB
B.Maddison/I. Crossland October 2016
Start 6 m R of W, beneath shallow corner with crack in R wall. Take med wires and small-med cams. Up corner system, then groove past 2 B to DBB/lower-off.
B. Maddison & O. Delprado July 2016
Start 2m R of MM. Up starting cracks and bulges, into steep, technical groove past 13 bolts to DBB.
B. Maddison & O. Delprado July 2016
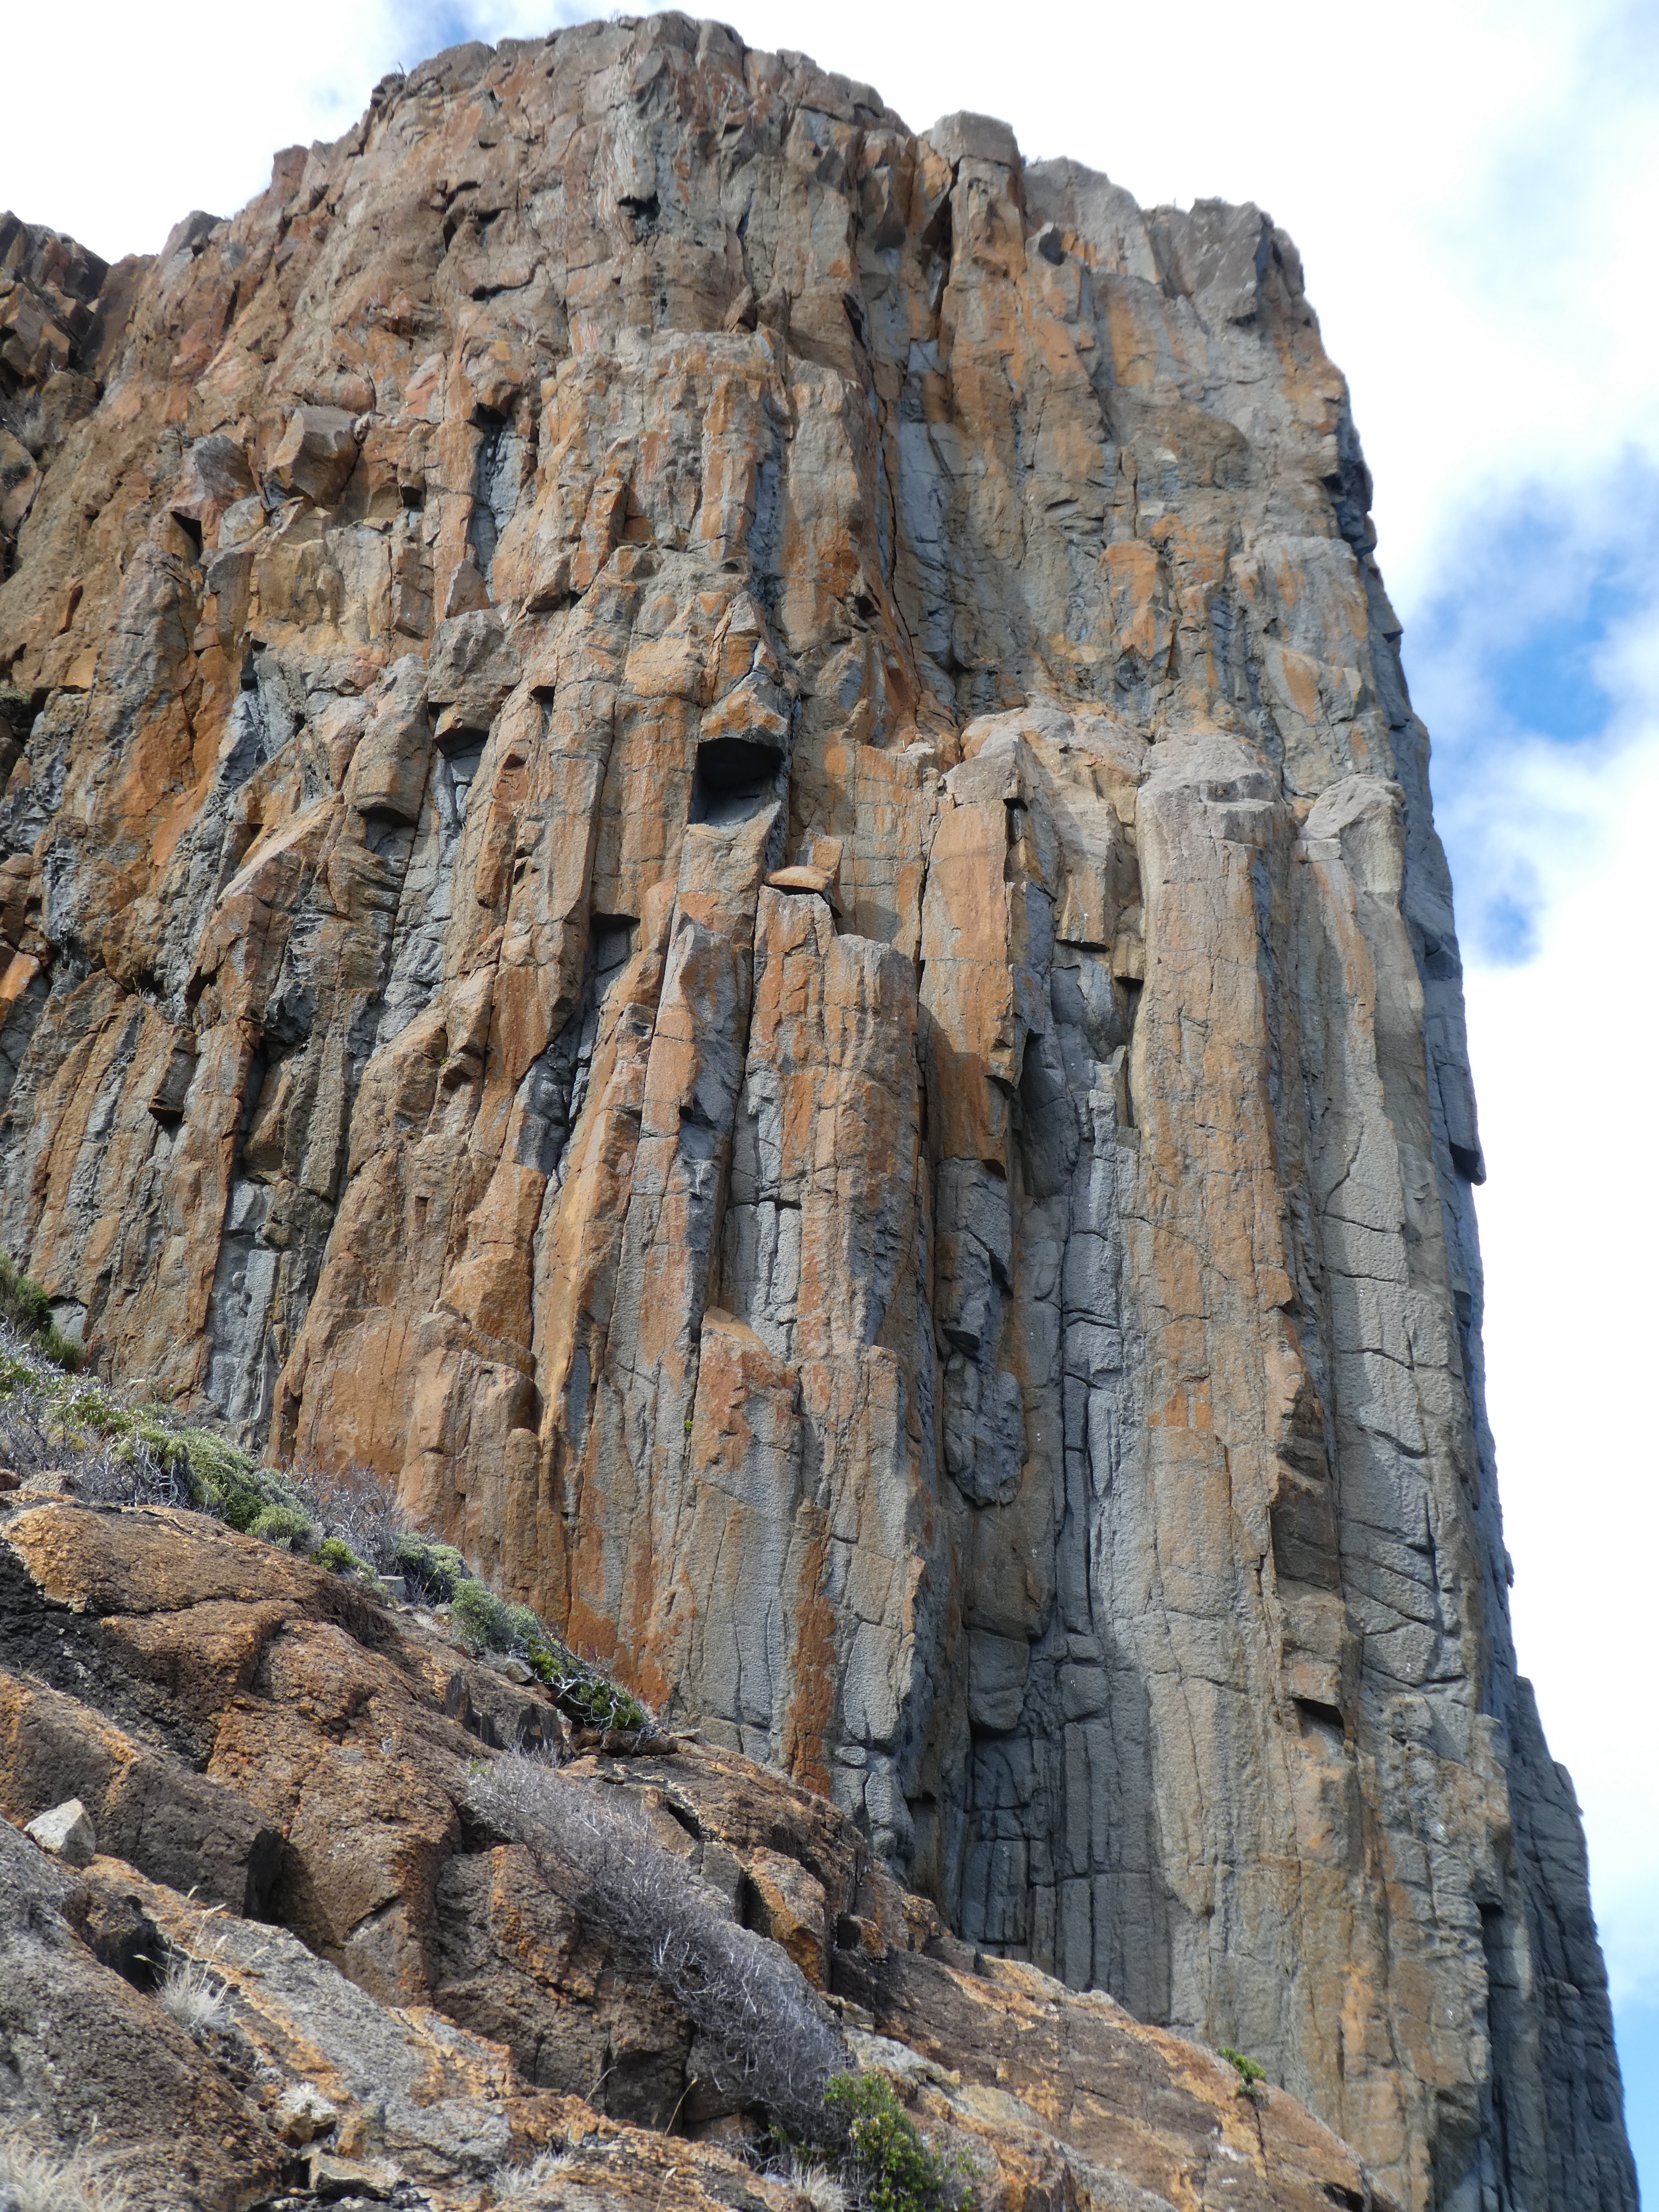
B. Maddison & B. Bull July 2016
Start: Beneath the shallow bolted groove just L of the arête that marks the start of the Southern Ocean Face; and 3M R of Peer Review. Great route.
Contrary face and groove climbing up an elegant open book groove past 10 bolts to DBB.
You can link across to Peer Review Pitch 2 from the top of this route.
B. Maddison May 2016
Southern Ocean Face
This area is steep and exposed, containing many strong natural lines on good rock. Excellent and demanding sport, trad and mixed routes. The inspiring position makes the routes here feel bigger than they actually are.
Access: Follow the bottom of Aviary cliffline across and down slabs. Southern Ocean Face begins at the point where the amphitheatre stops and turns right (facing in) i.e. At Footnote. A fixed handline keeps you safe as you traverse the ledge to access the routes in the centre and right side of the SO Face.
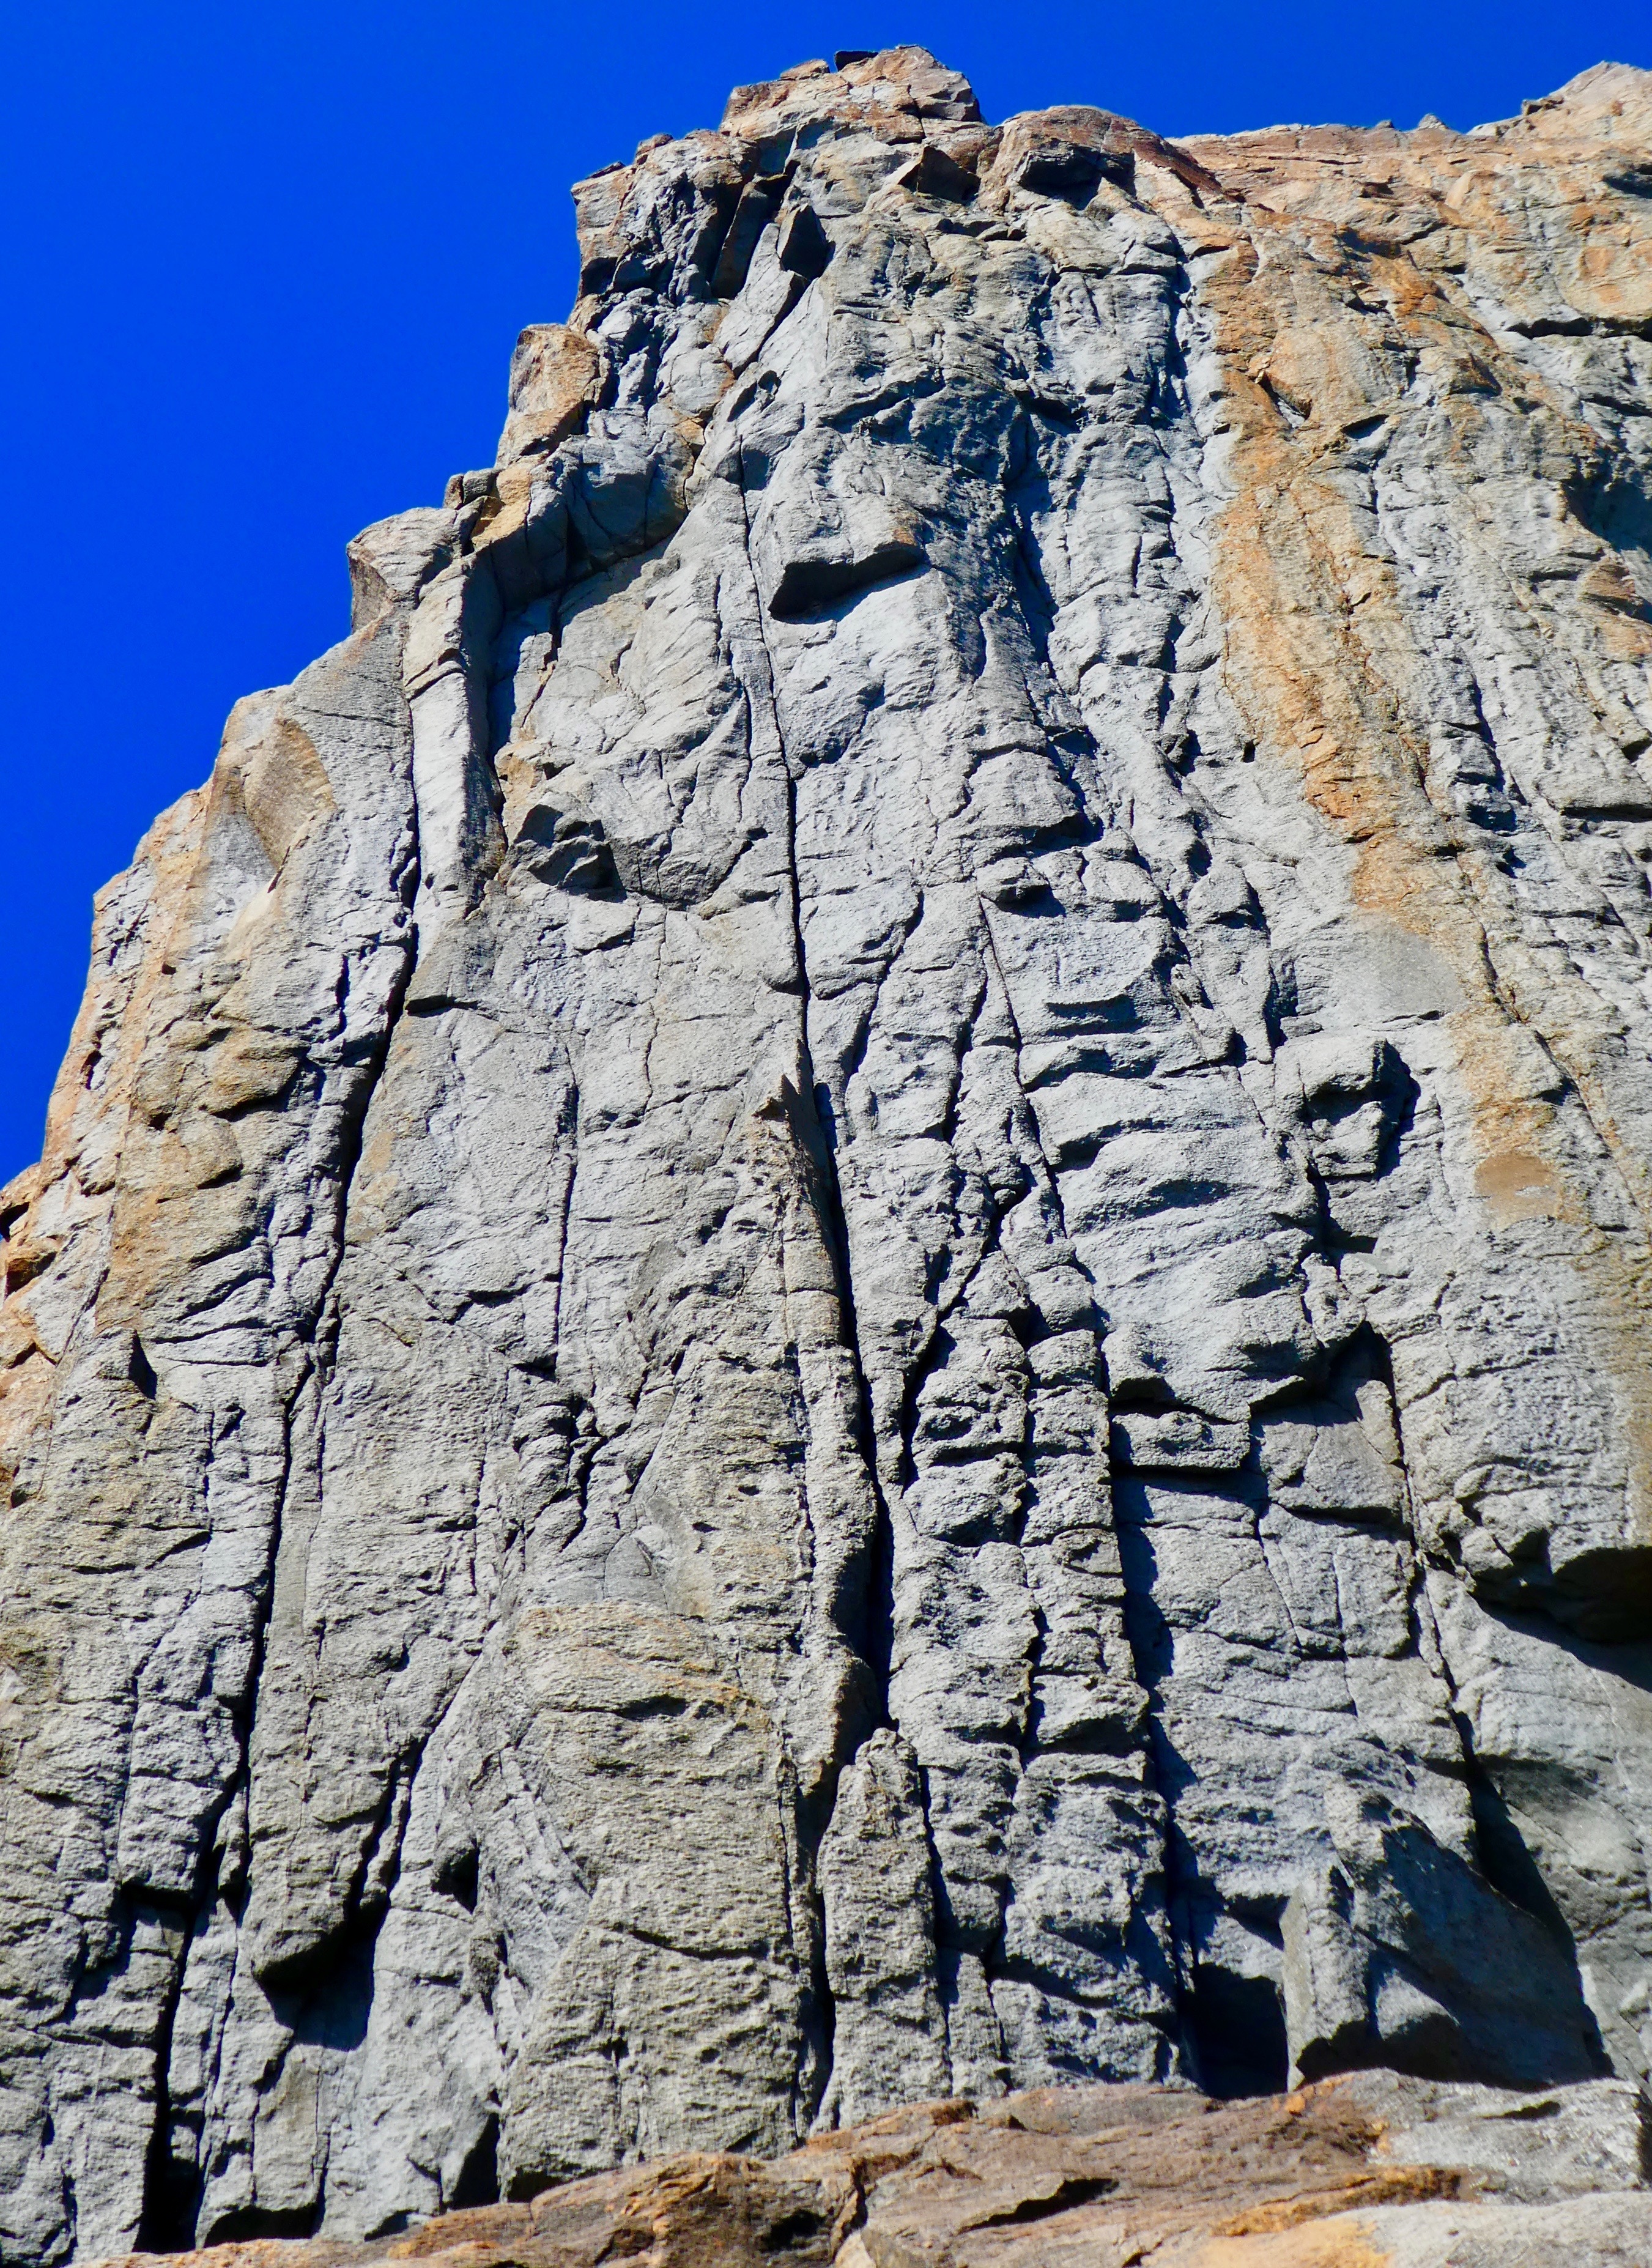
Ben Maddison & Ingrid Crossland, March 2016
The line going up parallel to and R of Ch 4. Stellar!
Start: 2m. 2m R of Ch 4, beside a big detached block, and at a belay bolt.
Up cracks with good gear to a step R at 15 m. Up increasingly steep ground past 12 bolts, to a final hard section to DBB. From here either lower/ rap the route, OR from belay step L and finish up final corner of Ch4, and descend as for that route.
Ben Maddison & Ingrid Crossland January 2017
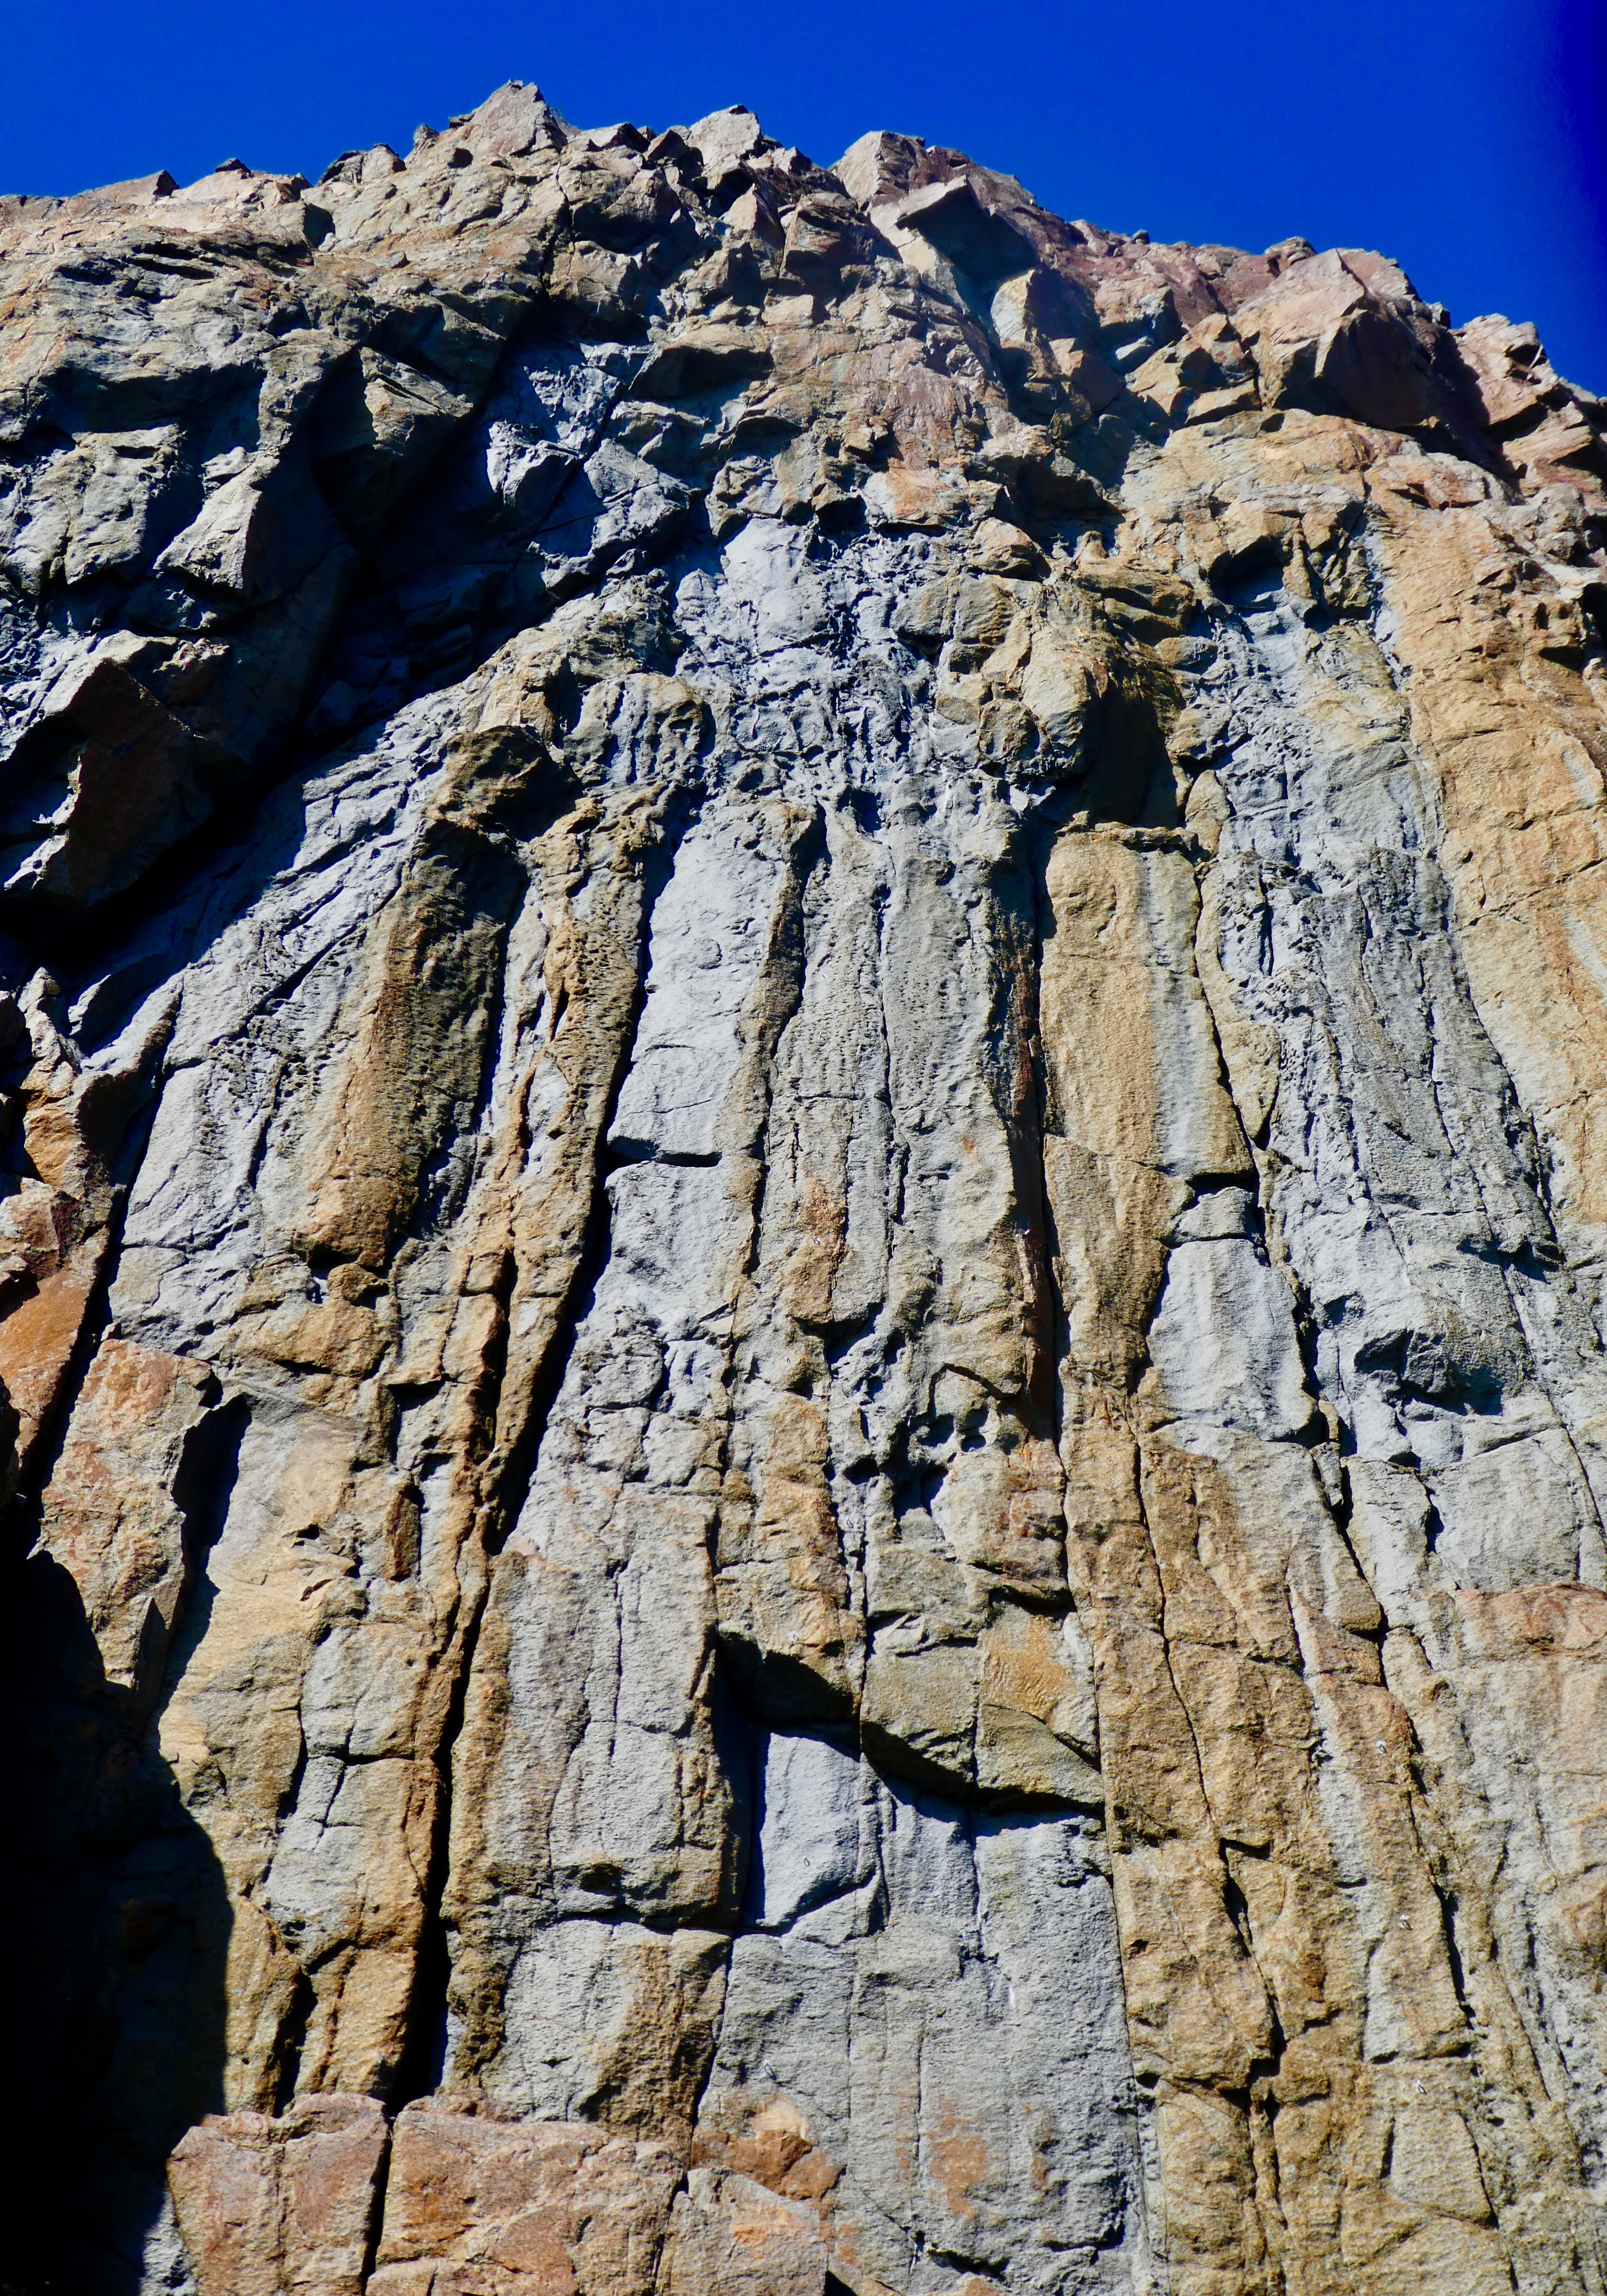
Hueco and flake in centre of face. Start 7 m R of Primavera along ledge, where the ledge kinks up, at U belay bolt and beneath hand crack. Take cams 1-2.5
Up the excellent cracks for 18m and step R and up past bolts to steeper pocket and flake climbing. DBB.
Ben Maddison & Ingrid Crossland October 2016
Very good climbing, but loses a star cos it steps L into One Billion Heart Beats for a couple of moves between bolts 5 & 7
Start: At belay bolt for OBHB. Route is the line of 11 bolts R of OBHB
A couple of hard moves get you up the shallow corner to the little roof. Follow line , stepping L after bolt 5, and back R at bolt 7. Great moves up the vertical rail above, to belay of OBHB.
Ben Maddison & Ingrid Crossland, February 2017
Excellent mixed route
Start: Double rings at end of ledge
Hard up past 4 bolts to trad section. Up steep flakes and pockets (take 2 green, 3 red, 2 blue cams) to steepening cruxy finish with 4 bolts. DBB
Ben Maddison & Ingrid Crossland January 2017
The elegant groove just L of the final arete on the SO Face
Start: 1m L of Too Groovy
Steep through initial roof, then up groove to step L and finish up Jubila
Gerry Narkowicz, April 2023
The Grooves
Drop down off the ledge where the handline ends, and you are at the foot of three amazing grooves of immaculate rock capped by very overhanging exits. This area extends right to the pinnacle beneath the next area to the right, Recessed Wall.
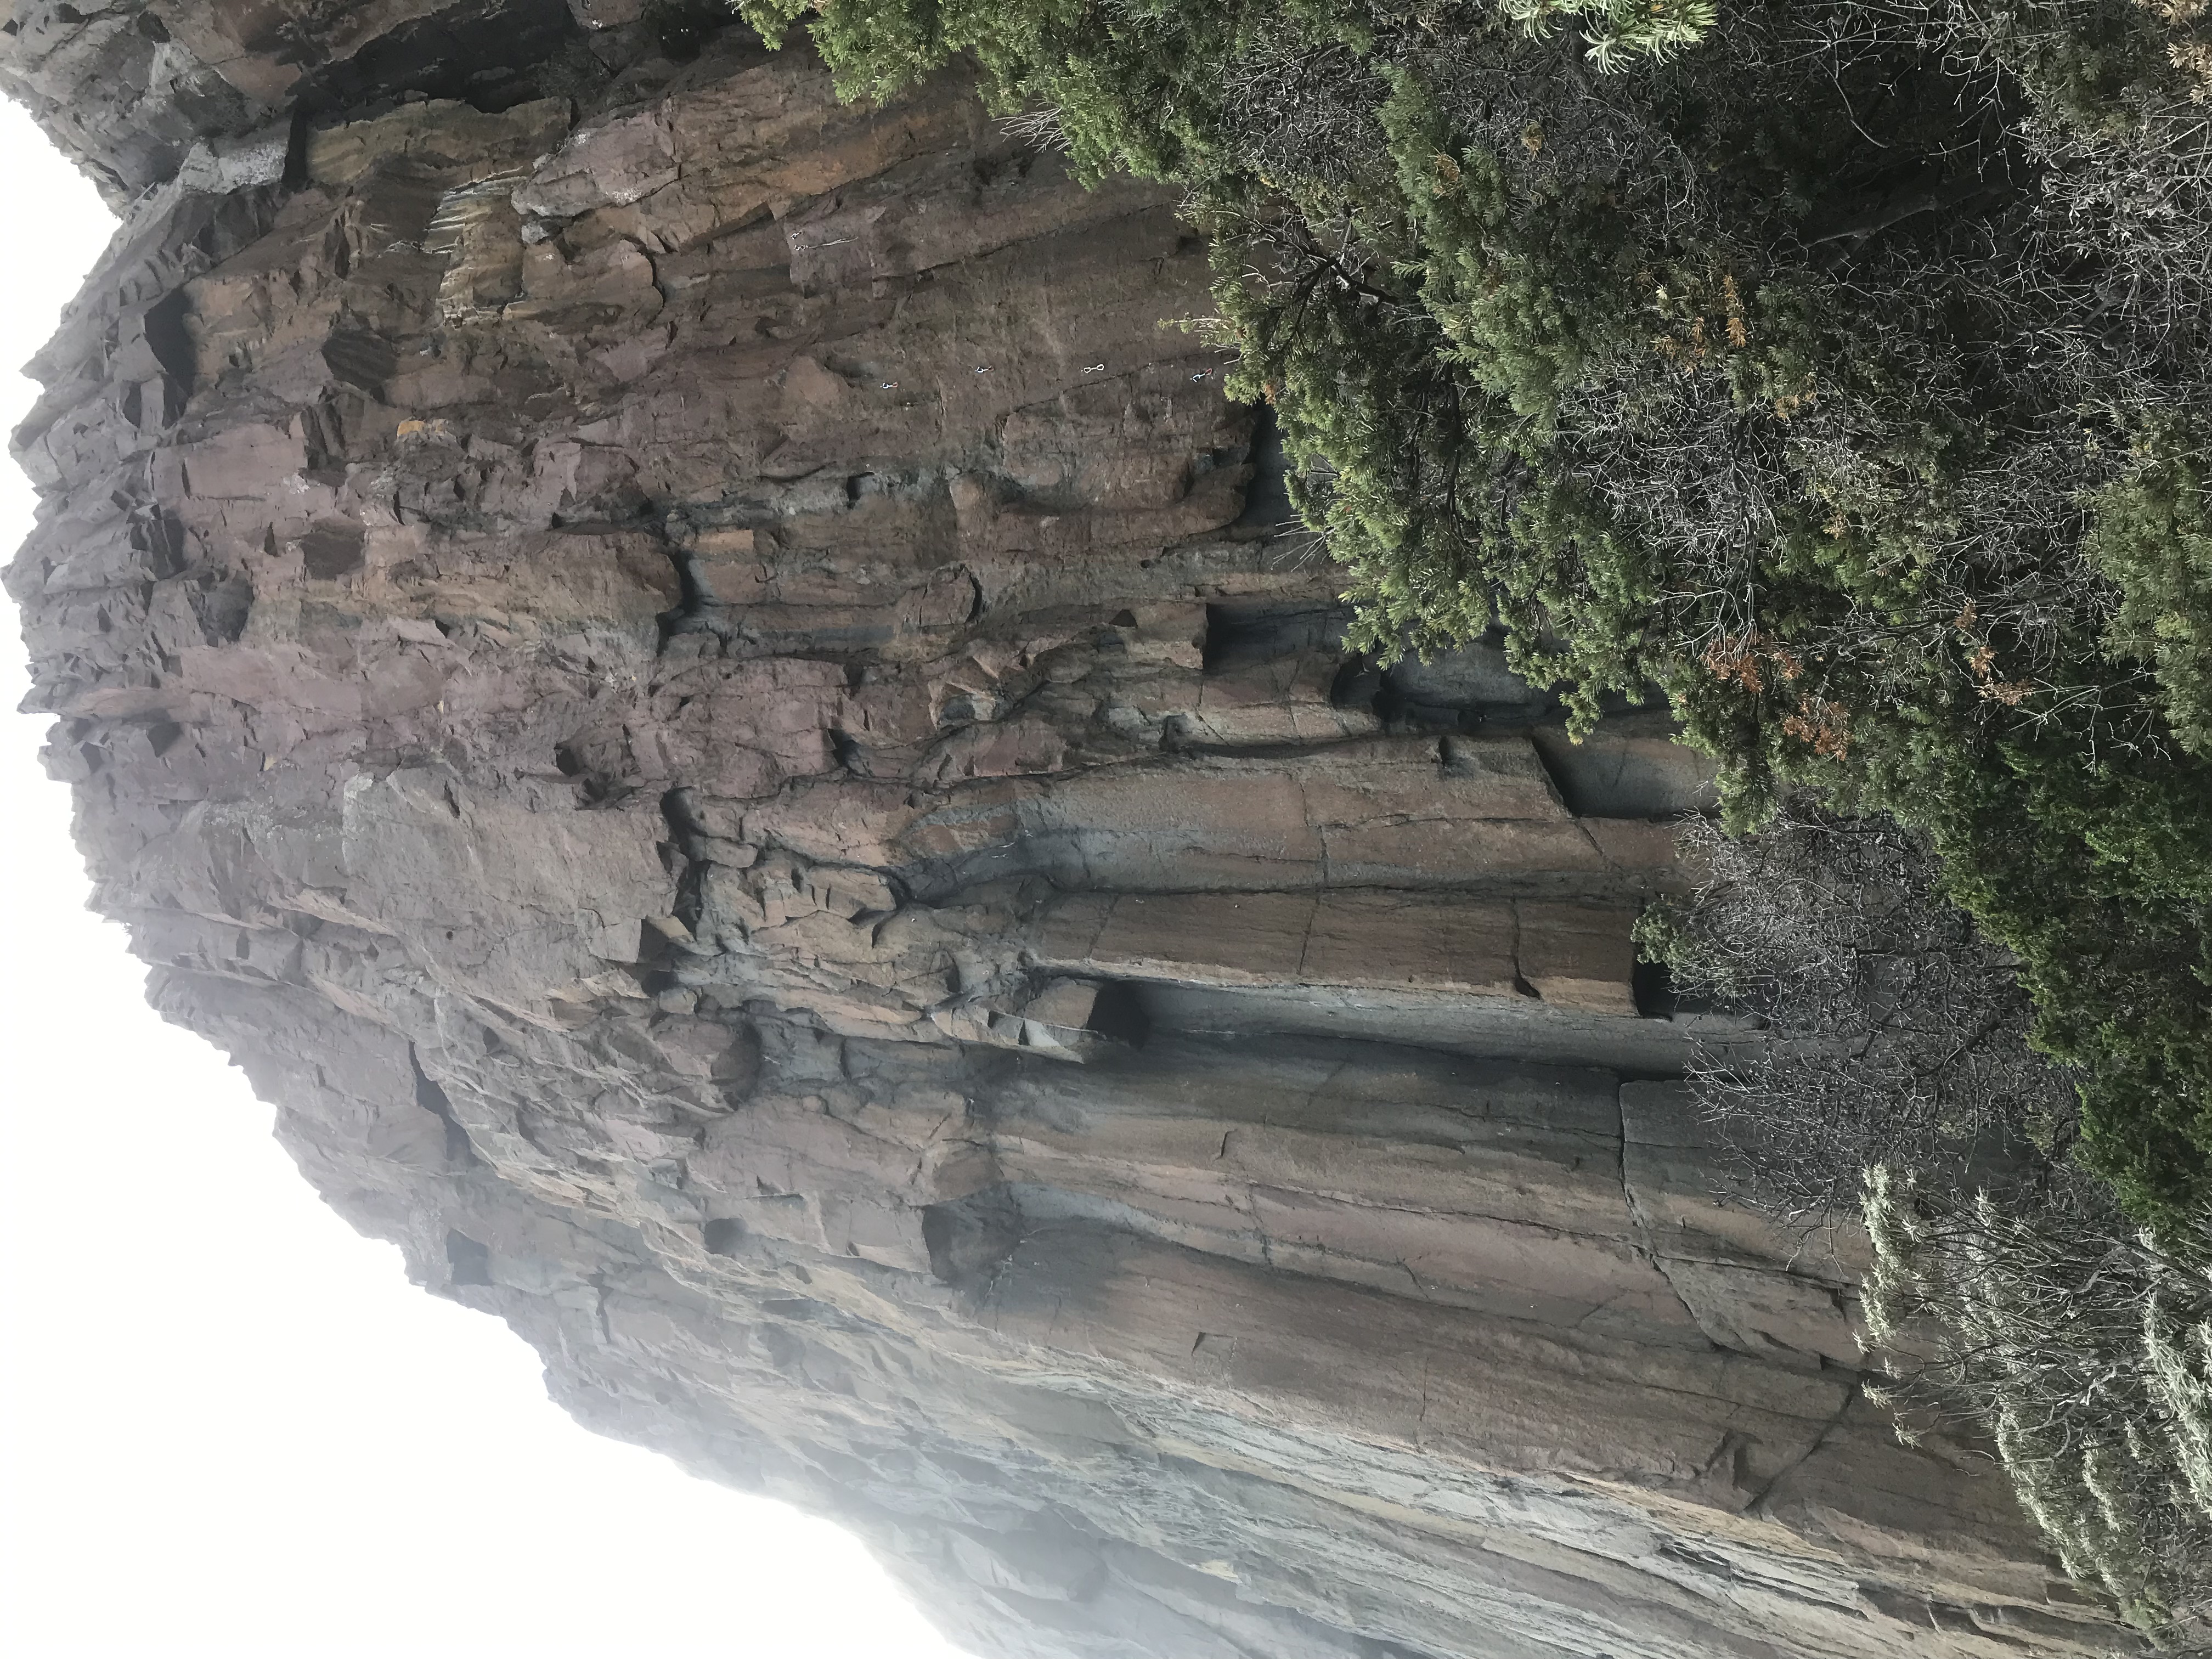
Ben Maddison March 2022
Gerry working on this one
A good little climb. Start 3m R of Ghost
Up the tricky start, through the overlap and up the flake and face to a tricksy step R to anchors.
Ben Maddison & David Stephenson March 2022
The weird groove starting 3m R of Bad Latitude and going to its anchors.
Chris Arvier December 2024
Ben Maddison May 2025
Evolution Sector
Turning into a nice little sector. Follow track uphill from the Grooves. Though shady, it is amazingly sheltered around here. In fact, it can sometimes be more pleasant around here out of the wind than at the more-sunny Aviary.
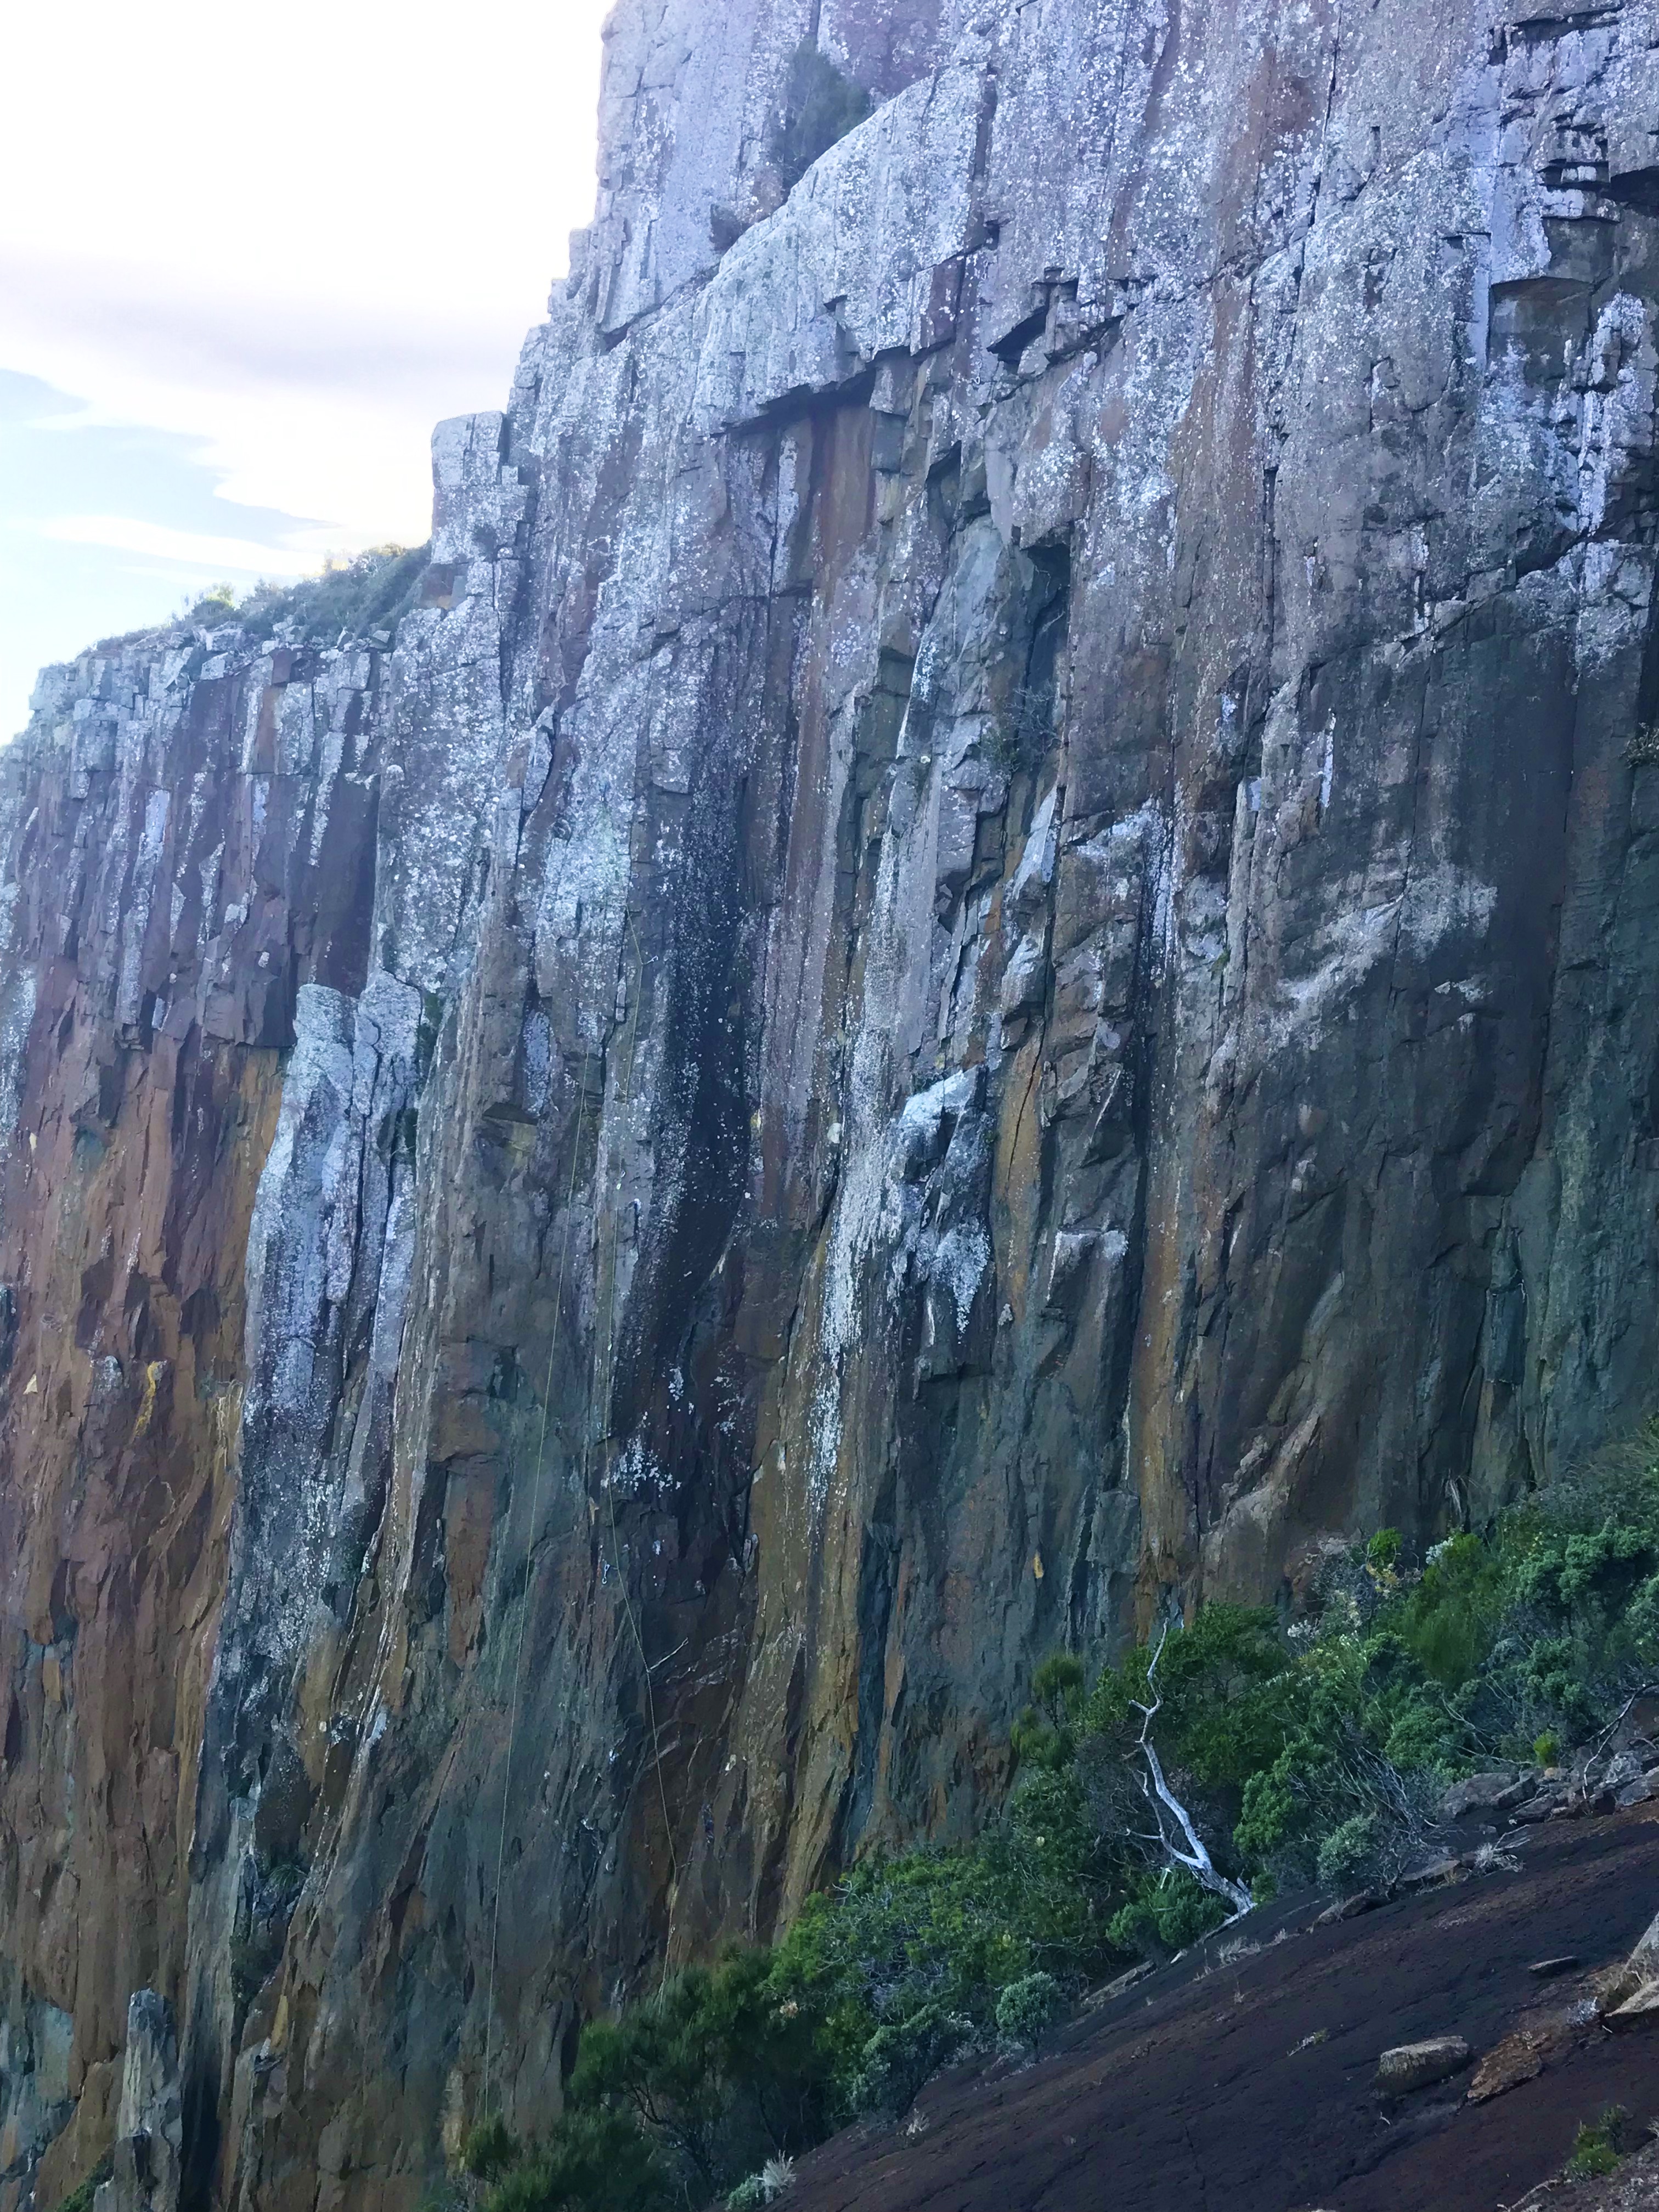
The steep bolted arete L of Apex.
Start: as for Apex.
Up Apex 5m, until a move past a bolt on the L wall of Apex, allows access to arete. Up arete - steep and technical
Ben Maddison April 2023
The groove that splits off L from Apex. CLOSED PROJ thanks.
Up Apex and step L into the groove.
Enigmatic and technical climbing up the bolted groove R of Rapid.
Ben Maddison October 2023
The bolted groove 3 m R of Apex.Engrossing technical climbing.
Ben Maddison, April 2023
Leopard Wall
The spotted wall R and up of Evolution sector
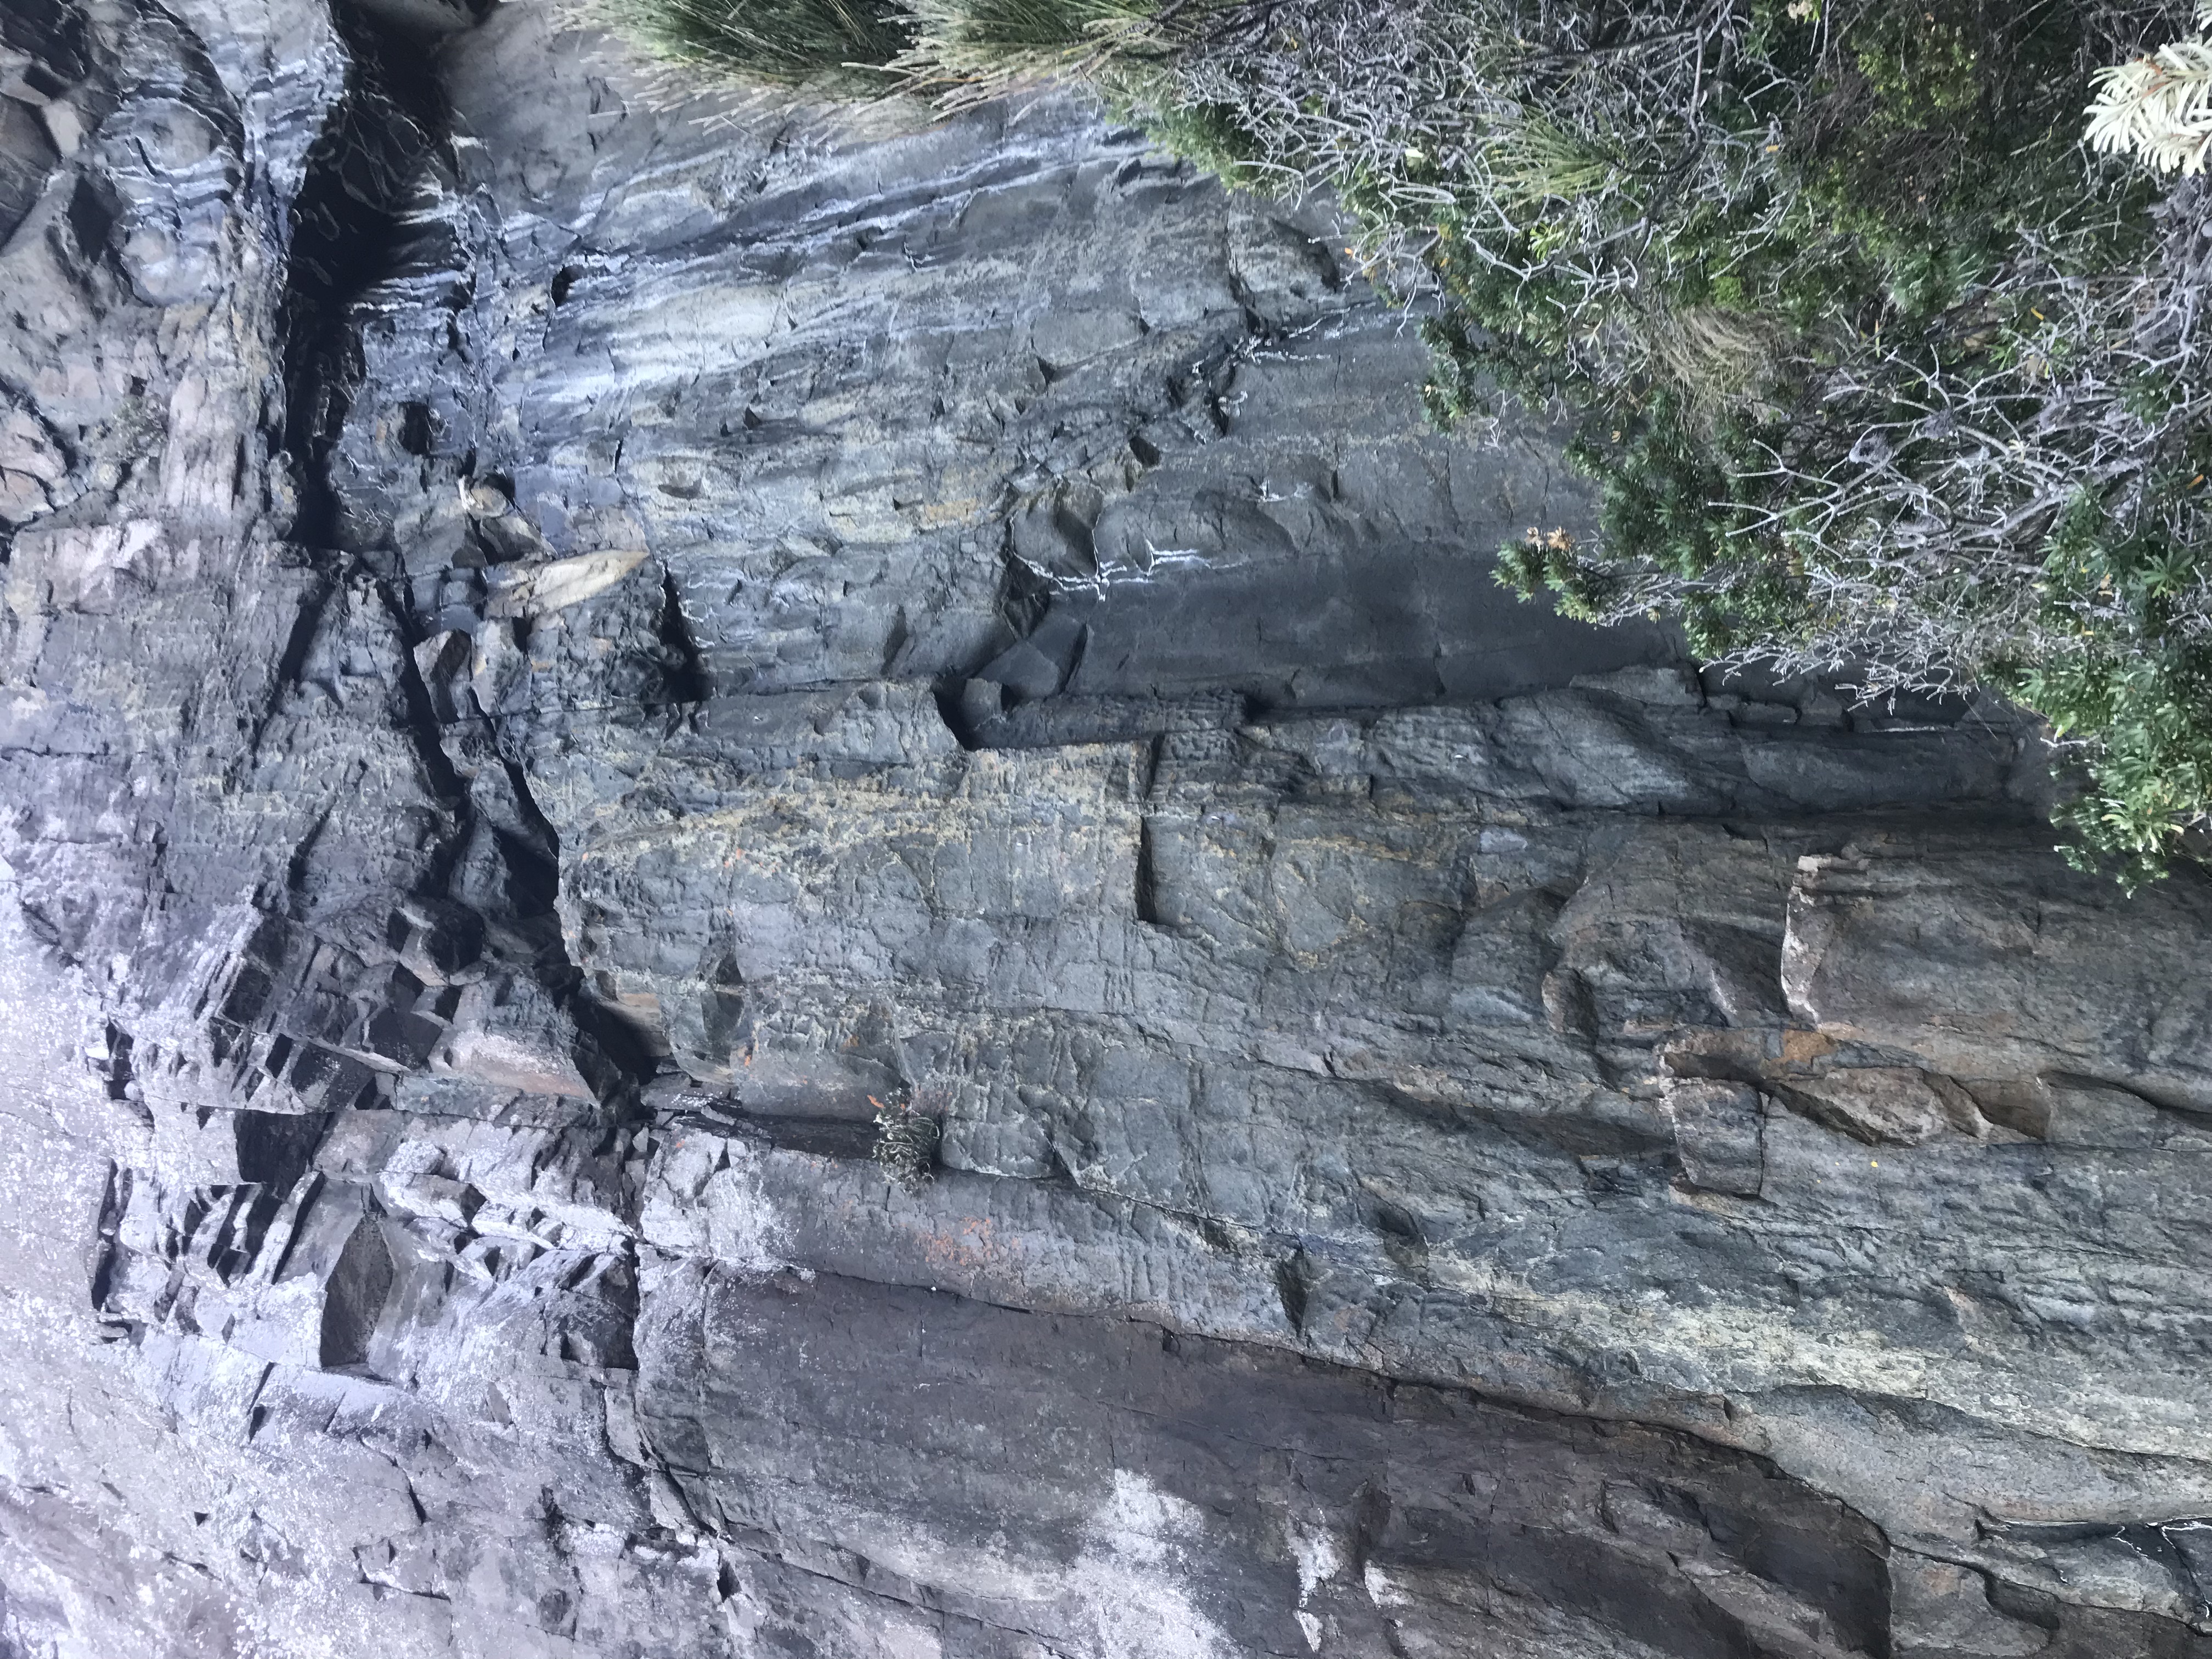
Ben Maddison & Daniel Stavert May 2021
The last climb on the cliff. Start 8m R of Moon River, at the corner where the cliffline turns R.
Climb the easy broken corner past several bolts to a ledge, then make your way up the Pacific coast of South America. You can belay on the ledge, or on the ground, whatever you like really.
Ben Maddison & Jane Morris Feb 2024