
Sphinx Rock
 10 min flat walk from the Springs
 Not much sun
 Sport routes on overhanging sandstone
Introduction
A small sandstone outcrop below the road on the east face of the mountain at an altitude of 700 metres. The sheltered overhanging nature of the rock provides an interesting experience compared with the vertical dolerite of the larger cliffs above. There are some 35 climbs to date, generally short up to 15m. The majority are bolted as natural protection is poor. The most notable feature of the area is the wide roof that caps much of the crag, through which several technically difficult routes up to grade 31 have been pushed. Some of the routes are sheltered from light rain, but the left and right ends of the crag tend to seep after rain. It is possible to climb here year round but it can be pretty grim in winter, and the crag isn't especially sunny.
Access
Access is via the Lenah Valley Track, near the Springs. The quickest way is to park at the junction of the track and the road about 500m up the hill from the Springs on the R. As of 2021 there is only one quite narrow park on the road, and the best parking is to turn left at the Springs and park in the top car park, then walk up the road a couple of hundred metres to the track. If the top car park is full then park at the Springs overflow parking area and follow the track which leaves from just behind the toilet block to join up with the Lenah Valley track. After about 10-15 mins flat walk on the Lenah Valley track you come to the Sphinx Rock Lookout on the R, which is the top of the cliff. Access to the base of the crag is by turning R down the Sawmill Track a few metres further on. A few metres past the steps, the Morning Raid wall comes into view on the R. Descent is either by walking off to the R and back down the track or rapping off where rap stations have been provided. Routes are described L-R, which is the opposite of how they are encountered.
GPS
Sphinx Rock Far Left
The furthest left climbs are on a small white buttress with two bolted lines, found 20-30m left of Get A Grip etc.
The LH line - through the overlap. 3 bolts to DBB.
Jon Nermut, Oct 2013.
The RH line - the nice slightly overhanging face left of the arete. 2 bolts to DBB.
Jon Nermut, Sep 2013.
Start below the arête 4m L of a mossy corner and climb to its R to an old carrot bolt runner near the top.
S. Parsons, P. Bigg, J. Parsons, Aug 1980.
These next climbs are on a small buttress which is the next left of the SSSH cave.
The chimney crack 7m L of White Nile. Straight up the crack.
S. Parsons, P. Bigg, J. Parsons, Aug 1980.
2m L of Gandhi, the LH side of the face. Three BR's with lower-off.
N. Selby, 2000.
The RH side of the face to the L of the grotty cave where SSSH starts. Two BR's with lower-off.
N. Selby, 2000.
The next few climbs are found in a cave with a big fallen block at its base.
The overhanging corner crack on the left of the SSSH cave. Escape L.
S. Parsons, P. Bigg, Aug 1980.
Fun and games left of SSSH. The fun, start on the rock as for SSSH but head left to the pockets. The games begin after the fourth bolt, suck it up and clip the anchors. Please leave the draw for the next ascent.
Dave Humphries Oct 2013
Some people leave off the "Hot" in their description. Located 40m L of Phoenix at the grotty cave. Climb the steep wall, moving R past two bolts to a rap station with a sling on it.
G. Phillips, Apr 1996.
The prow R of Short, Sharp and Shit Hot, using natural gear. Finish as for SSSH.
K. Robinson, 1997.
Short and intense, starts 5m right of SSSH. Bolts through overhang.
G. Phillips, 2004.
Start 10m L of Tutankhamen next to a large gum tree at a face with a couple of stainless carrots in it. Climb the short wall past 2BRs to a large platform (wire and camming placement here). Continue up from the R hand end of the platform past two more BRs to the top.
O. Prall, R. Vincent, Apr 1992.
Main Cliff
From left of Pharos and Phoenix there are a confusing bunch of newish bolts, which are projects.
Climbs the line of U bolts up the face then through the large 7m roof to a DBB 2 meters around the lip of roof. Nice technical face, then a tough 4 move boulder problem getting into the roof jugs then crank through to the DBB. Back jump to clean, don't lower off the bolts over the lip as there is lots of rope drag.
Adam Bogus, 2016.
A 7m excursion across the roof flake immediately L of Tutankhamen. Climb the slanting weakness, 5m L of Tut, up to the first bulge. Over this and R slightly to the roof flake (BR). Traverse the diagonal flake out to the lip. Surmount the lip and continue to the top. Again, needs re-bolting.
P. Bigg, S. Parsons, K. Carrigan, Apr 1982.
Around the corner from Phoenix, 3m L of the crumbly arête formed where the cliff changes direction to face southeast. Move up a shallow corner to an old bolt and traverse diagonally R towards a small ledge on the arête. Climb the arête to the roof, move diagonally R across the roof and round the lip to a small cave. Surmount the final overhang to the top. Could do with some re-bolting.
P. Bigg, Aug 1980.
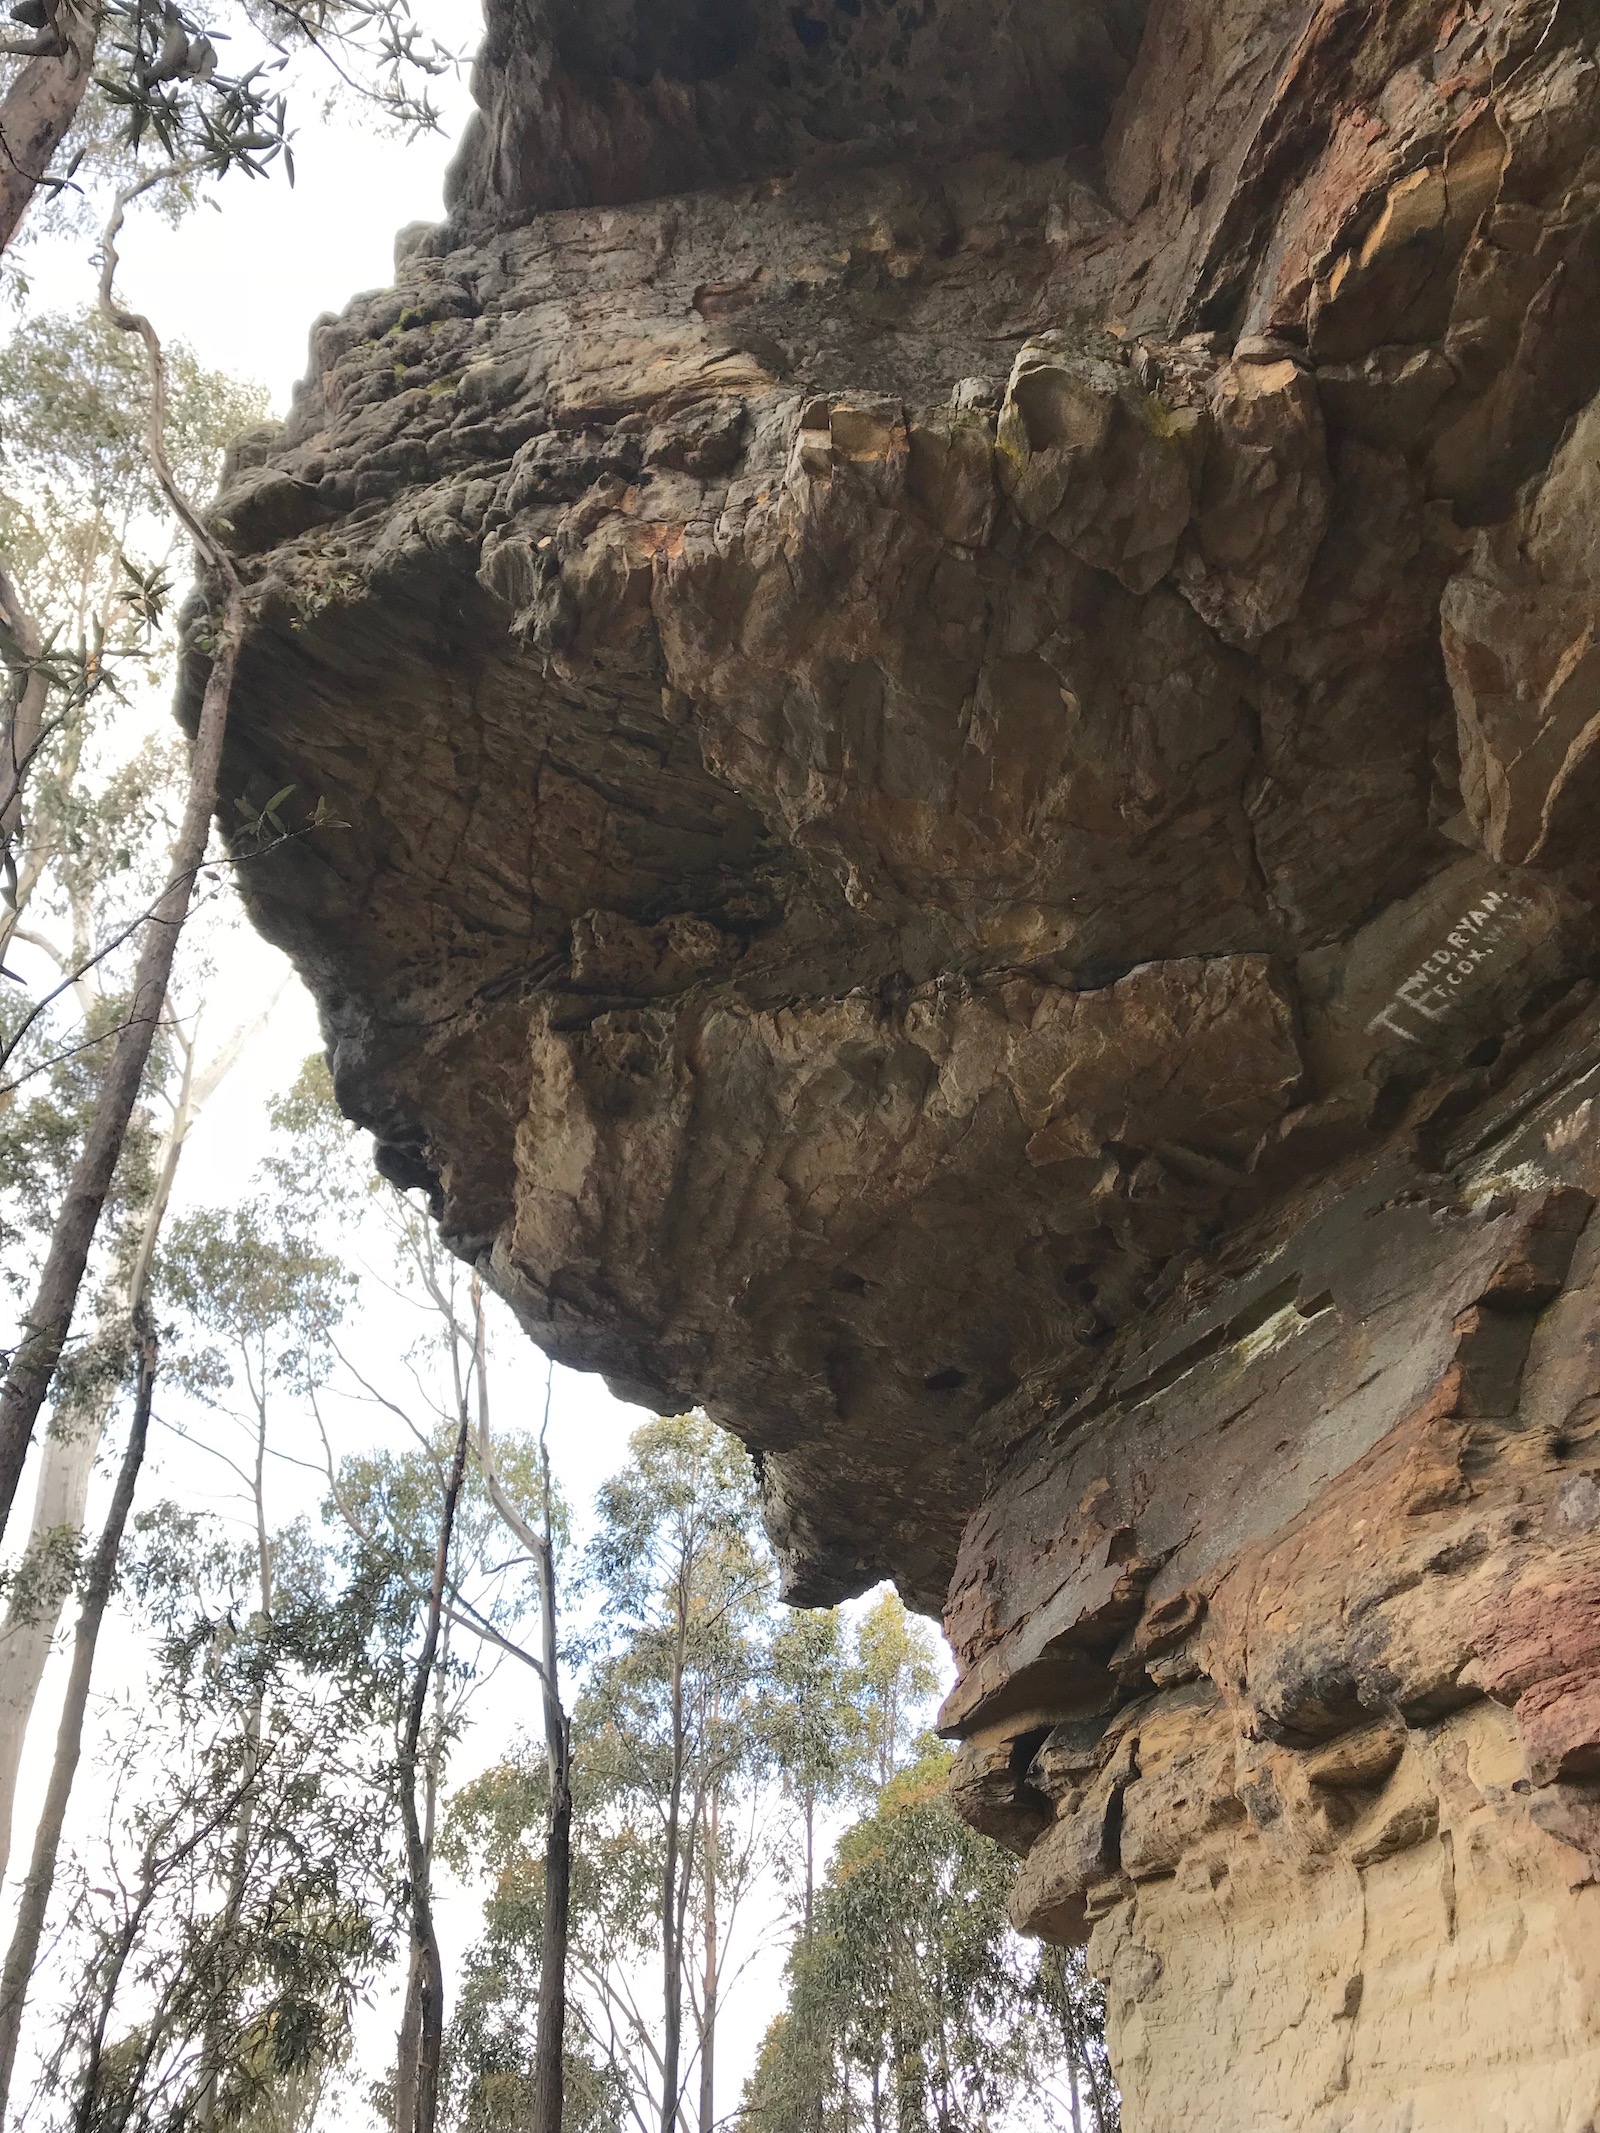
Sphinx Rock - Phoenix
There are a couple of projects through the roof left of Phoenix.
Take the first four bolts of Phoenix, then shoot out climbers left to the project bolt. Needs careful extensions (slinging bolt 4 is a must). Finish there on a rainy day, or pull onto the headwall and head for the anchor.
C. Lang, Oct 2018.
More horizontal than vertical. 3m to the L of Mindbeast, below a shallow cave. Move easily up diagonally L via a virtual staircase to the ceiling. Follow the line of flakes and U-bolts across the roof to the lip (and the crux) and continue to the top.
S. Parsons, P. Bigg, Aug 1979.
Starts as for Phoenix. After the first bolt in the roof, head R along the flake system past two bolts to the lip, continuing up the headwall above to a DBB.
A. Williams, Oct 2004
The difficulties on this are psychological. The impressive hand crack, which splits the main overhang 20m from the RH end. Up the initial slab, then climb the crack through the overhangs.
I. Lewis, P. Reynolds, Feb 1974.
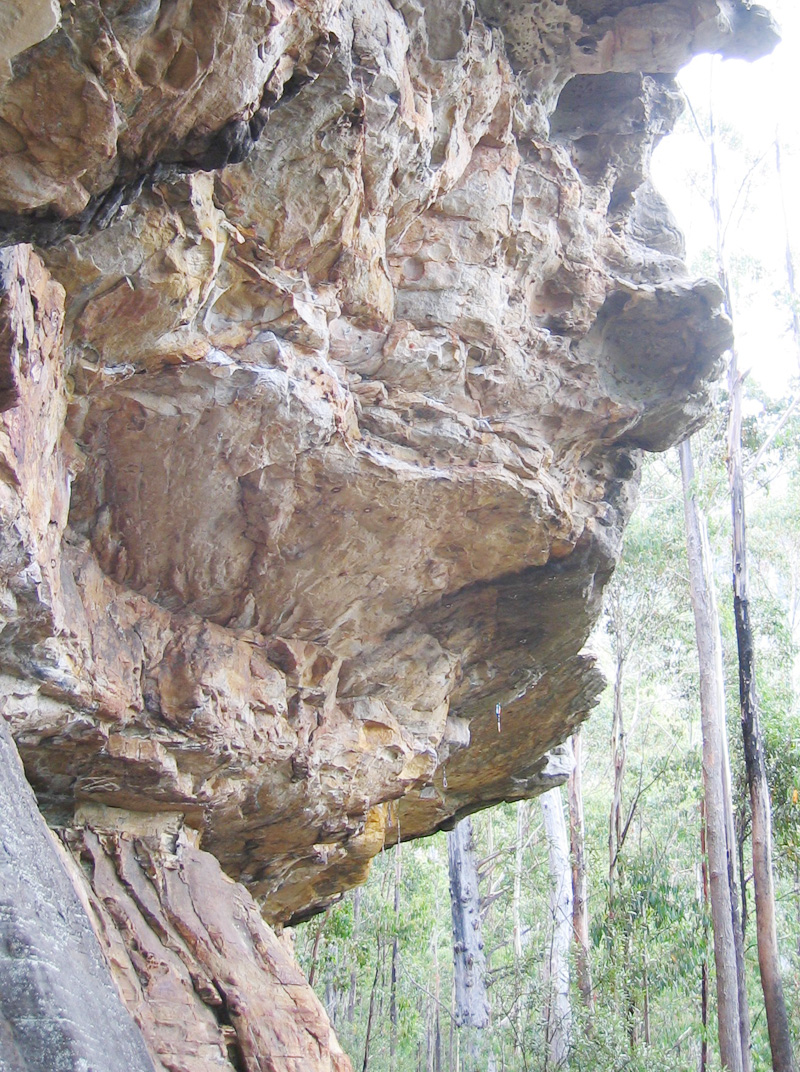
Climb Fear Factory to the third bolt, then head direct.
G. Phillips, Feb 2004.
Start 2m R of Mindbeast. Up to roof then R along lip and up to rap station. Four bolts.
S. Edwards, 1997.
Climb Fear Factory then drop down and continue traversing along lip past another five U-bolts to a rap station.
S. Edwards, 1997.
Left of Ignition Sequence Start there are two projects through the roof.
Start 3m R of Fear Factory and follow the bolts past a hard pull at half height.
C. Veal, Feb 2004.
Start as for Calm Before the Storm but go direct through the roof and to the chains of Ignition Sequence Start.
G. Phillips, Sep 2004.
Located 2m R of Ignition Sequence Start. Scramble up the slab and crank through the bulge and then move R to lower from the chains of Rambo.
G. Phillips, Sep 2004.
Links Space Invader in to Storm Trooper, a very sustained piece of climbing.
J. Bresnehan, Dec 2005
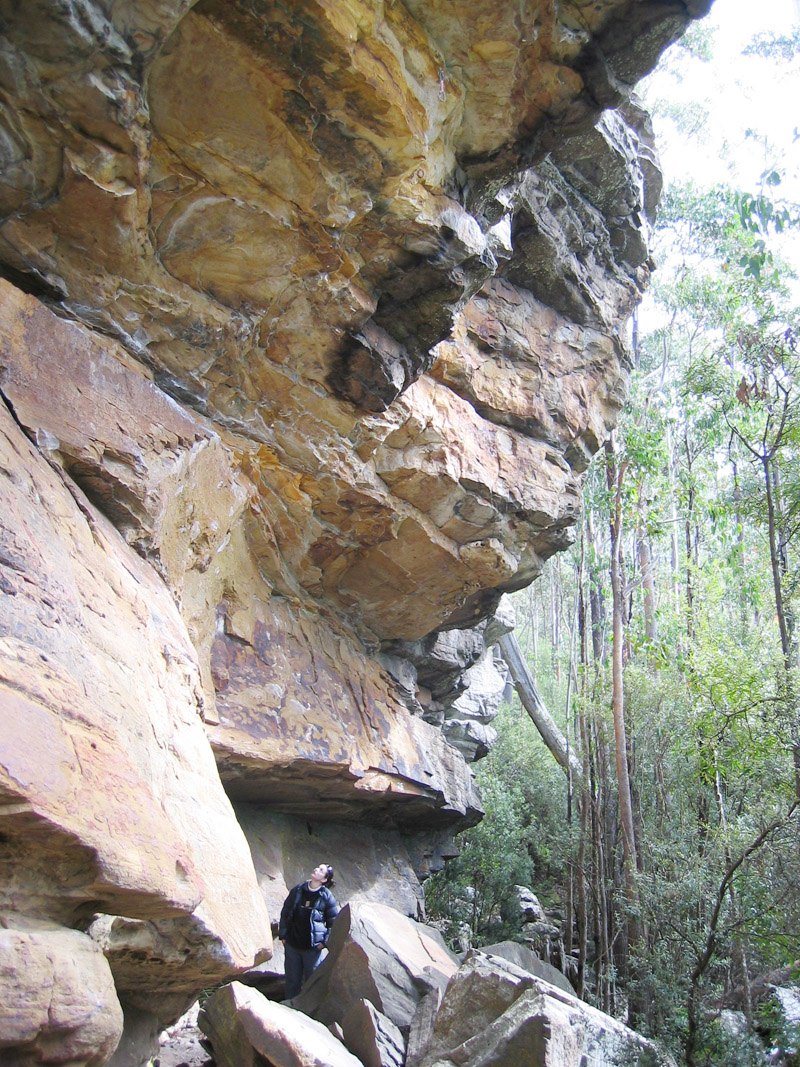
Sphinx Rock
Starts as for Rambo but heads direct.
G. Phillips, Sep 2004.
Uses the same start as Lean Mean Fighting Machine. However from the corner cut back L and finish through the steep roof.
G. Phillips, Jul 2004.
Bolted climb between Rambo and Lean Mean Fighting Machine. Through bulge, into corner, step left to finish up easier moves.
A desperate endeavour 10m R of Fear Factory. Crank through the bulging wall to a rest in the corner. Traverse R along the break and then up via a desperate boulder problem finish.
G. Phillips, Feb 2004.
The direct start to LMFM.
G. Phillips 2005
The hanging face left of Mogul.
Dave Humphries, Mar 2017.
The bottomless crack which forms the RH extremity of the main overhang. Pull up and mantel to the start of the crack. Climb the crack and face above to the top.
I. Lewis, P. Reynolds, Feb 1974.
There is a toprope problem taking the slopey bulge between Mogul and Duckpond at about grade 22 or 23. It would make an OK sport route if you can navigate the ethical dilemma of sharing the start with Duckpond.
Start as for Mogul. Pull up and mantel onto the ledge at 4m, Move a couple of metres R to a crack/groove, and continue up this to the top to a DBB or topout into the bush.
L. Closs, I. Lewis, Jan 1973.
Takes the arete above where the walking track meets the cliff. The first bolt is a high stick clip to protect the bouldery start. Head up the arete then left at the top to the DBB above Duckpond.
Jon Nermut, Dave Humphries, Sep 2013.
The wall L of Morning Raid, 1 U-bolt after some natural gear. Rap station.
S. Parsons, 1985.
On the overhanging north facing wall by the track down to the main cliff. Climb the centre of the wall with 3 U-bolts and a rap station. You may want to stick clip the first bolt. A bit awkward at the top.
S. Parsons, E. Peacock, J. Kennedy, Oct 1985.
Sphinx Rock Right Side
As you come down the steps to the base of Sphinx Rock there is a short cliff around to the L, with four short, bolted lines. As Garry says, maybe these ain't their finest hour!
Left hand line.
Garry Phillps 2008.
Line R of Panadol.
Garry Phillps 2008.
Next line R.
The furthest right line. A sequence of powerful moves past two U-bolts to a DBB. Finish matched on the top of the wall.
Sam Peyr & Will Bartlett, Nov 2009.