
Shady Side
 5-10 min
 Not much sun
 Short vertical dolerite buttresses, with a mixture of trad and bolted climbs
Acknowledgement
by Michael Fox, originally published in Craglets.
Introduction
The popular walk up on the north side of The Gorge hosts a few good climbs for those hot sunny days that abound in Launceston. These climbs are described left to right due to the tyrannical nature of the former chief editor of Craglets, i.e from the restaurant downhill to the bridge even though most of you will be walking the other way. So if you start at the end of these descriptions and read back to here it will make more sense. The distances are measured in leisurely steps. If you are taller or shorter or in a hurry then adjust accordingly.
Access
For access/general details, see the section on the Cataract Gorge - Sunny Side.
Crag Steward
Rock climbers please contact the Cliff Steward (eskriver@climbersclubtas.org.au) if you have any queries or concerns regarding social or environmental impacts of rock climbing at this crag. Do not email regarding general travel, seasonal advice, or lost property - this is not the Steward’s role. If you have important safety information to communicate (e.g. risks due to recent and large rock falls) please also consider updates on thesarvo forum, facebook group and/or online guidebooks as appropriate. Please copy in cct@climbersclubtas.org.au if you feel you have a high level concern which may imminently impact the crag or climbing community.
Non-climbers, other users, land managers: please also contact cct@climbersclubtas.org.au if you have important climbing related queries at this location.
GPS
The Trap Area
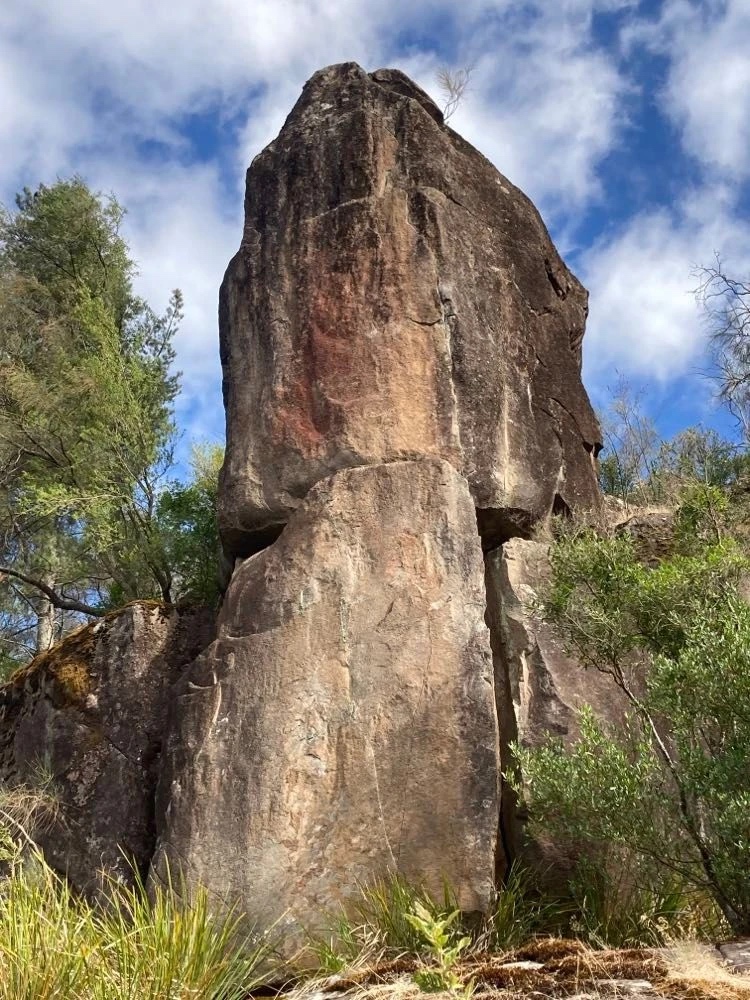
These first two climbs are above the track about 160 steps from the sign that says “Cataract Walk”. Just step off the fence and onto the climb. DBB on top.
Topo: theCrag contributors, CC BY-NC-SA 3.0, theCrag
Upstream pinnacle with horizontal break, above the walkway with a line of U's on the right arete. 23 for climbers 6 foot and up ramps up significantly if shorter
Gerry Narkowicz · From: theCrag
Topo: theCrag contributors, CC BY-NC-SA 3.0, theCrag
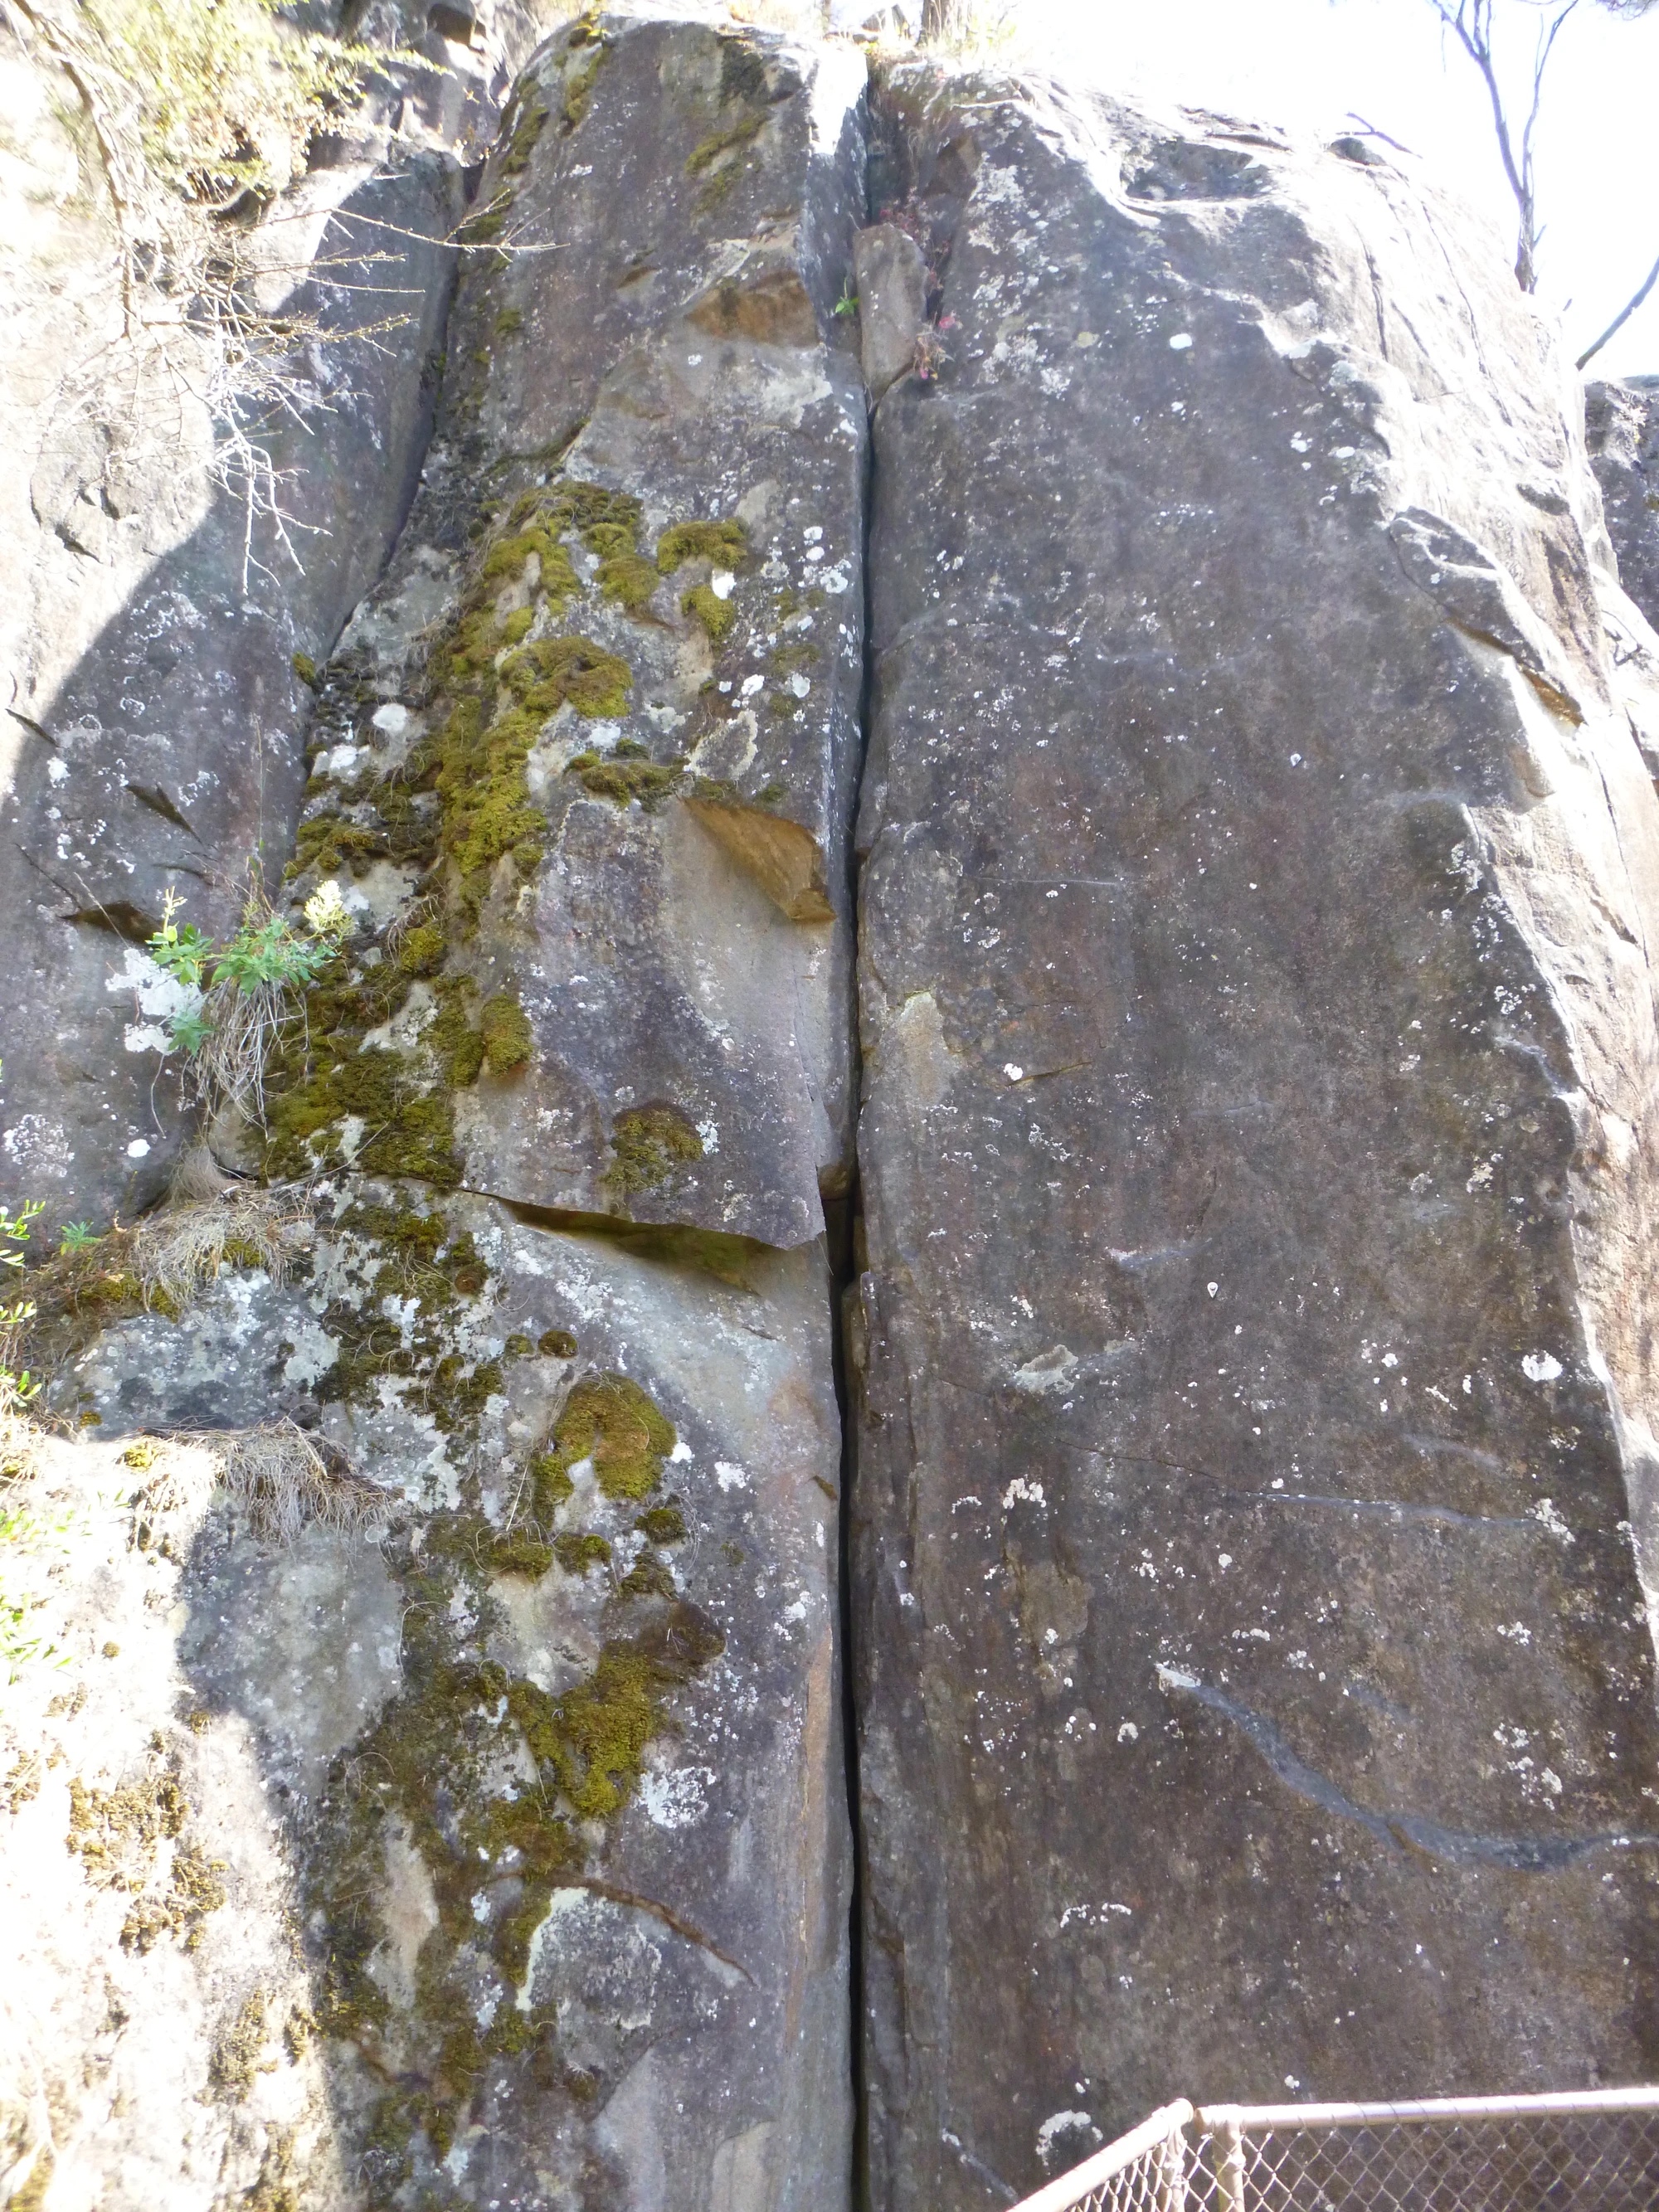
Vegetated easy angled jam crack on LHS
R. McMahon, G. Narkowicz & M. Ling, 1982 · From: theCrag
The jamb crack 2m to the left of The Trap with a block in the crack at the top.
Narkowicz, 1982.
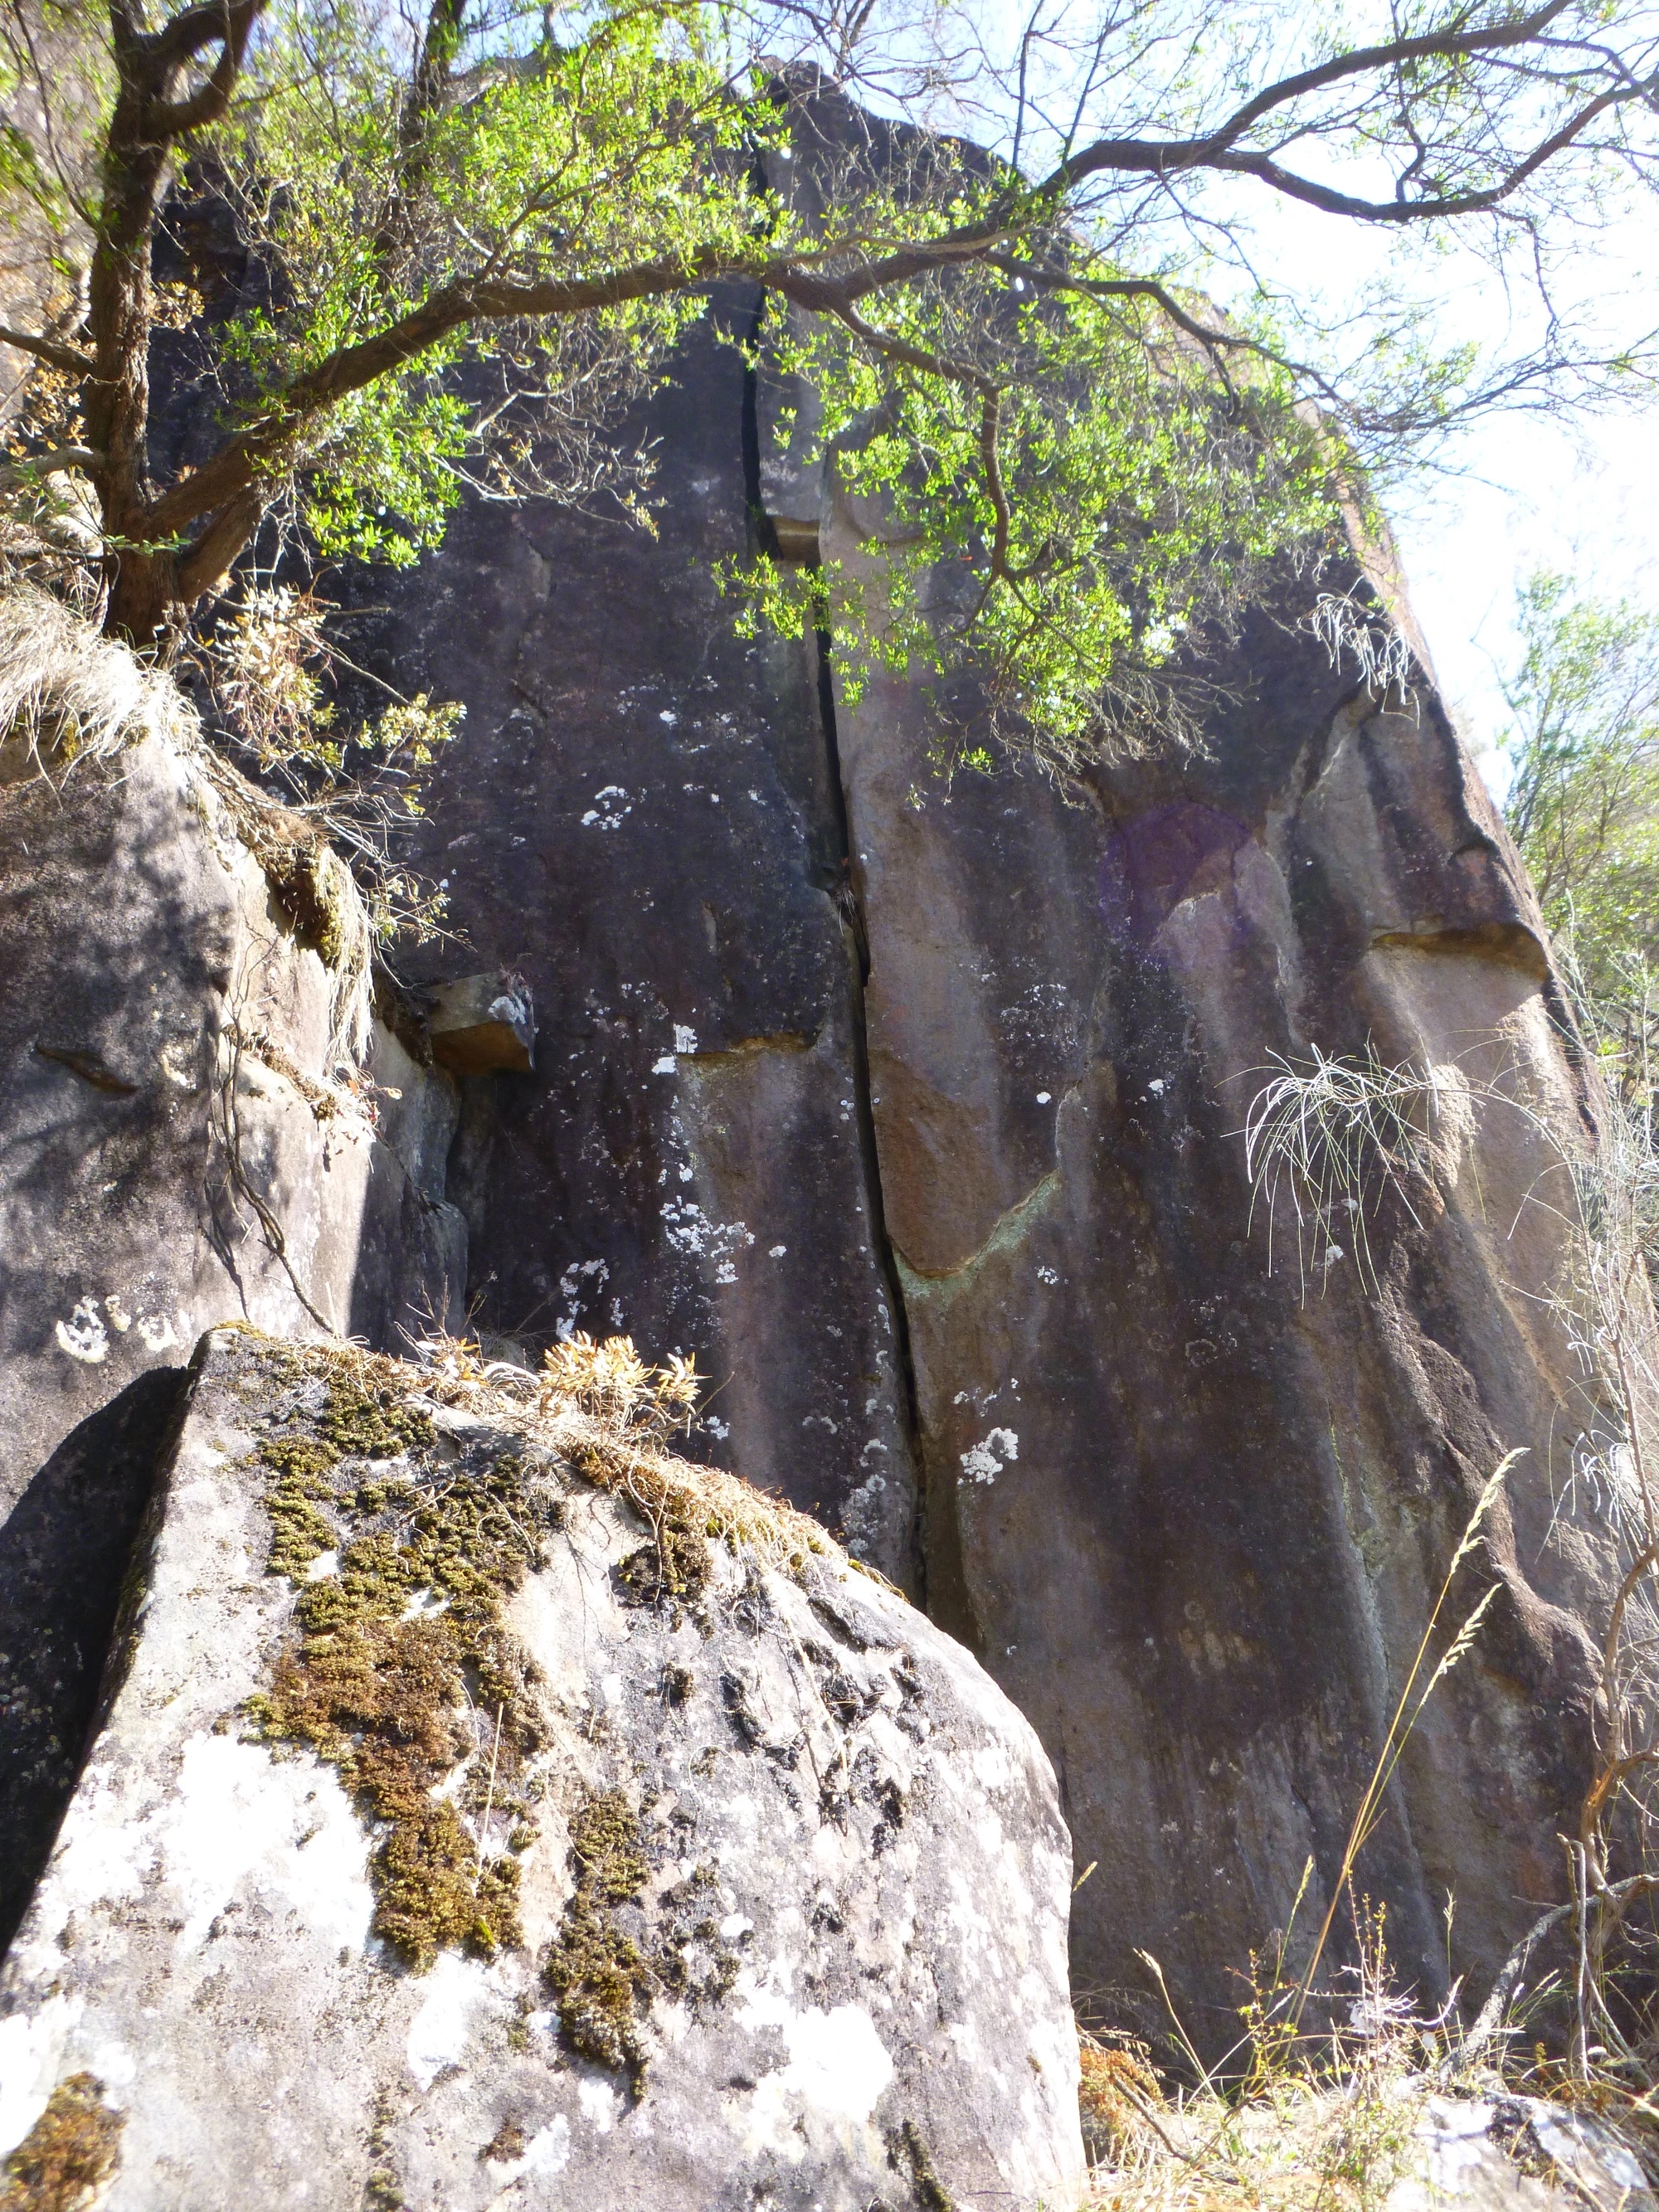
Step off the rails and on to the black face with 4 FH, 70 steps on from the Prince of Darkness abseil point.
Ng, 1991.
Topo: theCrag contributors, CC BY-NC-SA 3.0, theCrag
The offwidth on the right of the buttress.
The shonky looking bolts right of this climb are not a climb, they have been placed by the council to monitor rock movement. They should NOT be clipped for climbing purposes.
Prince of Darkness Area
70 steps downstream from The Trap or 15 steps upstream of the stairs to the lookout is a light pole. Abseil down the sloping ledge beneath this to the platform 15m below
The upstream most of this trilogy of climbs. Climb the features to a hand crack at mid-height then continue on up the arête.
Fox, Tierney, DeCesare, 2001.
The climb ascends the blocky crack in the middle of the buttress to a small roof then up a thin crack to the sloping ledge.
McMahon, Narkowicz 1982.
Up blocky crack as for POD to small roof, traverse left just under roof/bulge to gain next ascendable sectoon, finish at fence/walkway.
FA solo,1994.
CW
Start 2m right of POD and head up the ramp to the off-width which can be climbed with-out having to resort to any off-width techniques and then up the top face.
Fox, Luna, DeCesare, 2001
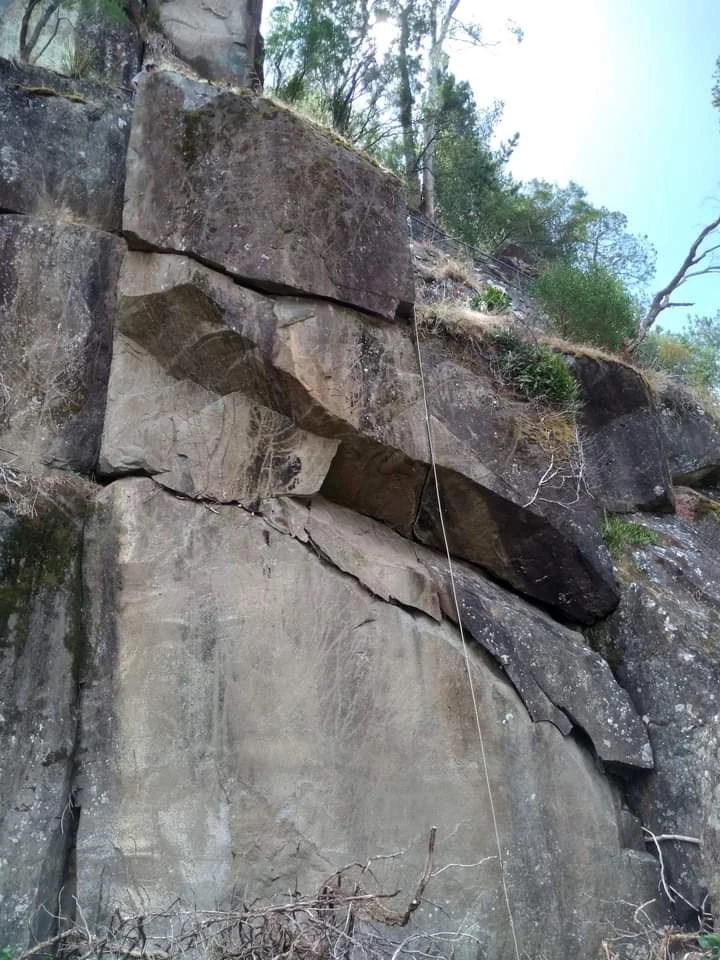
The best pure bridging corner in the lower gorge. 30m downstream of POD climbs an easy corner to a large belay ledge. Technical stemming protected by good RPs to a DBB.
From: theCrag
Topo: theCrag contributors, CC BY-NC-SA 3.0, theCrag
A beautiful piece of rock, starts down right in the chimney to thin crack. Pull through roof via spike and begin traversing left via hand crack. DBB high on face around left arete.
From: theCrag
Disgorge Area
From the bottom of the stairs leading up to the look-out you can look downstream and up the hill to see a tall buttress with 2 cracks on it. Scramble up the steep hillside to get to it.
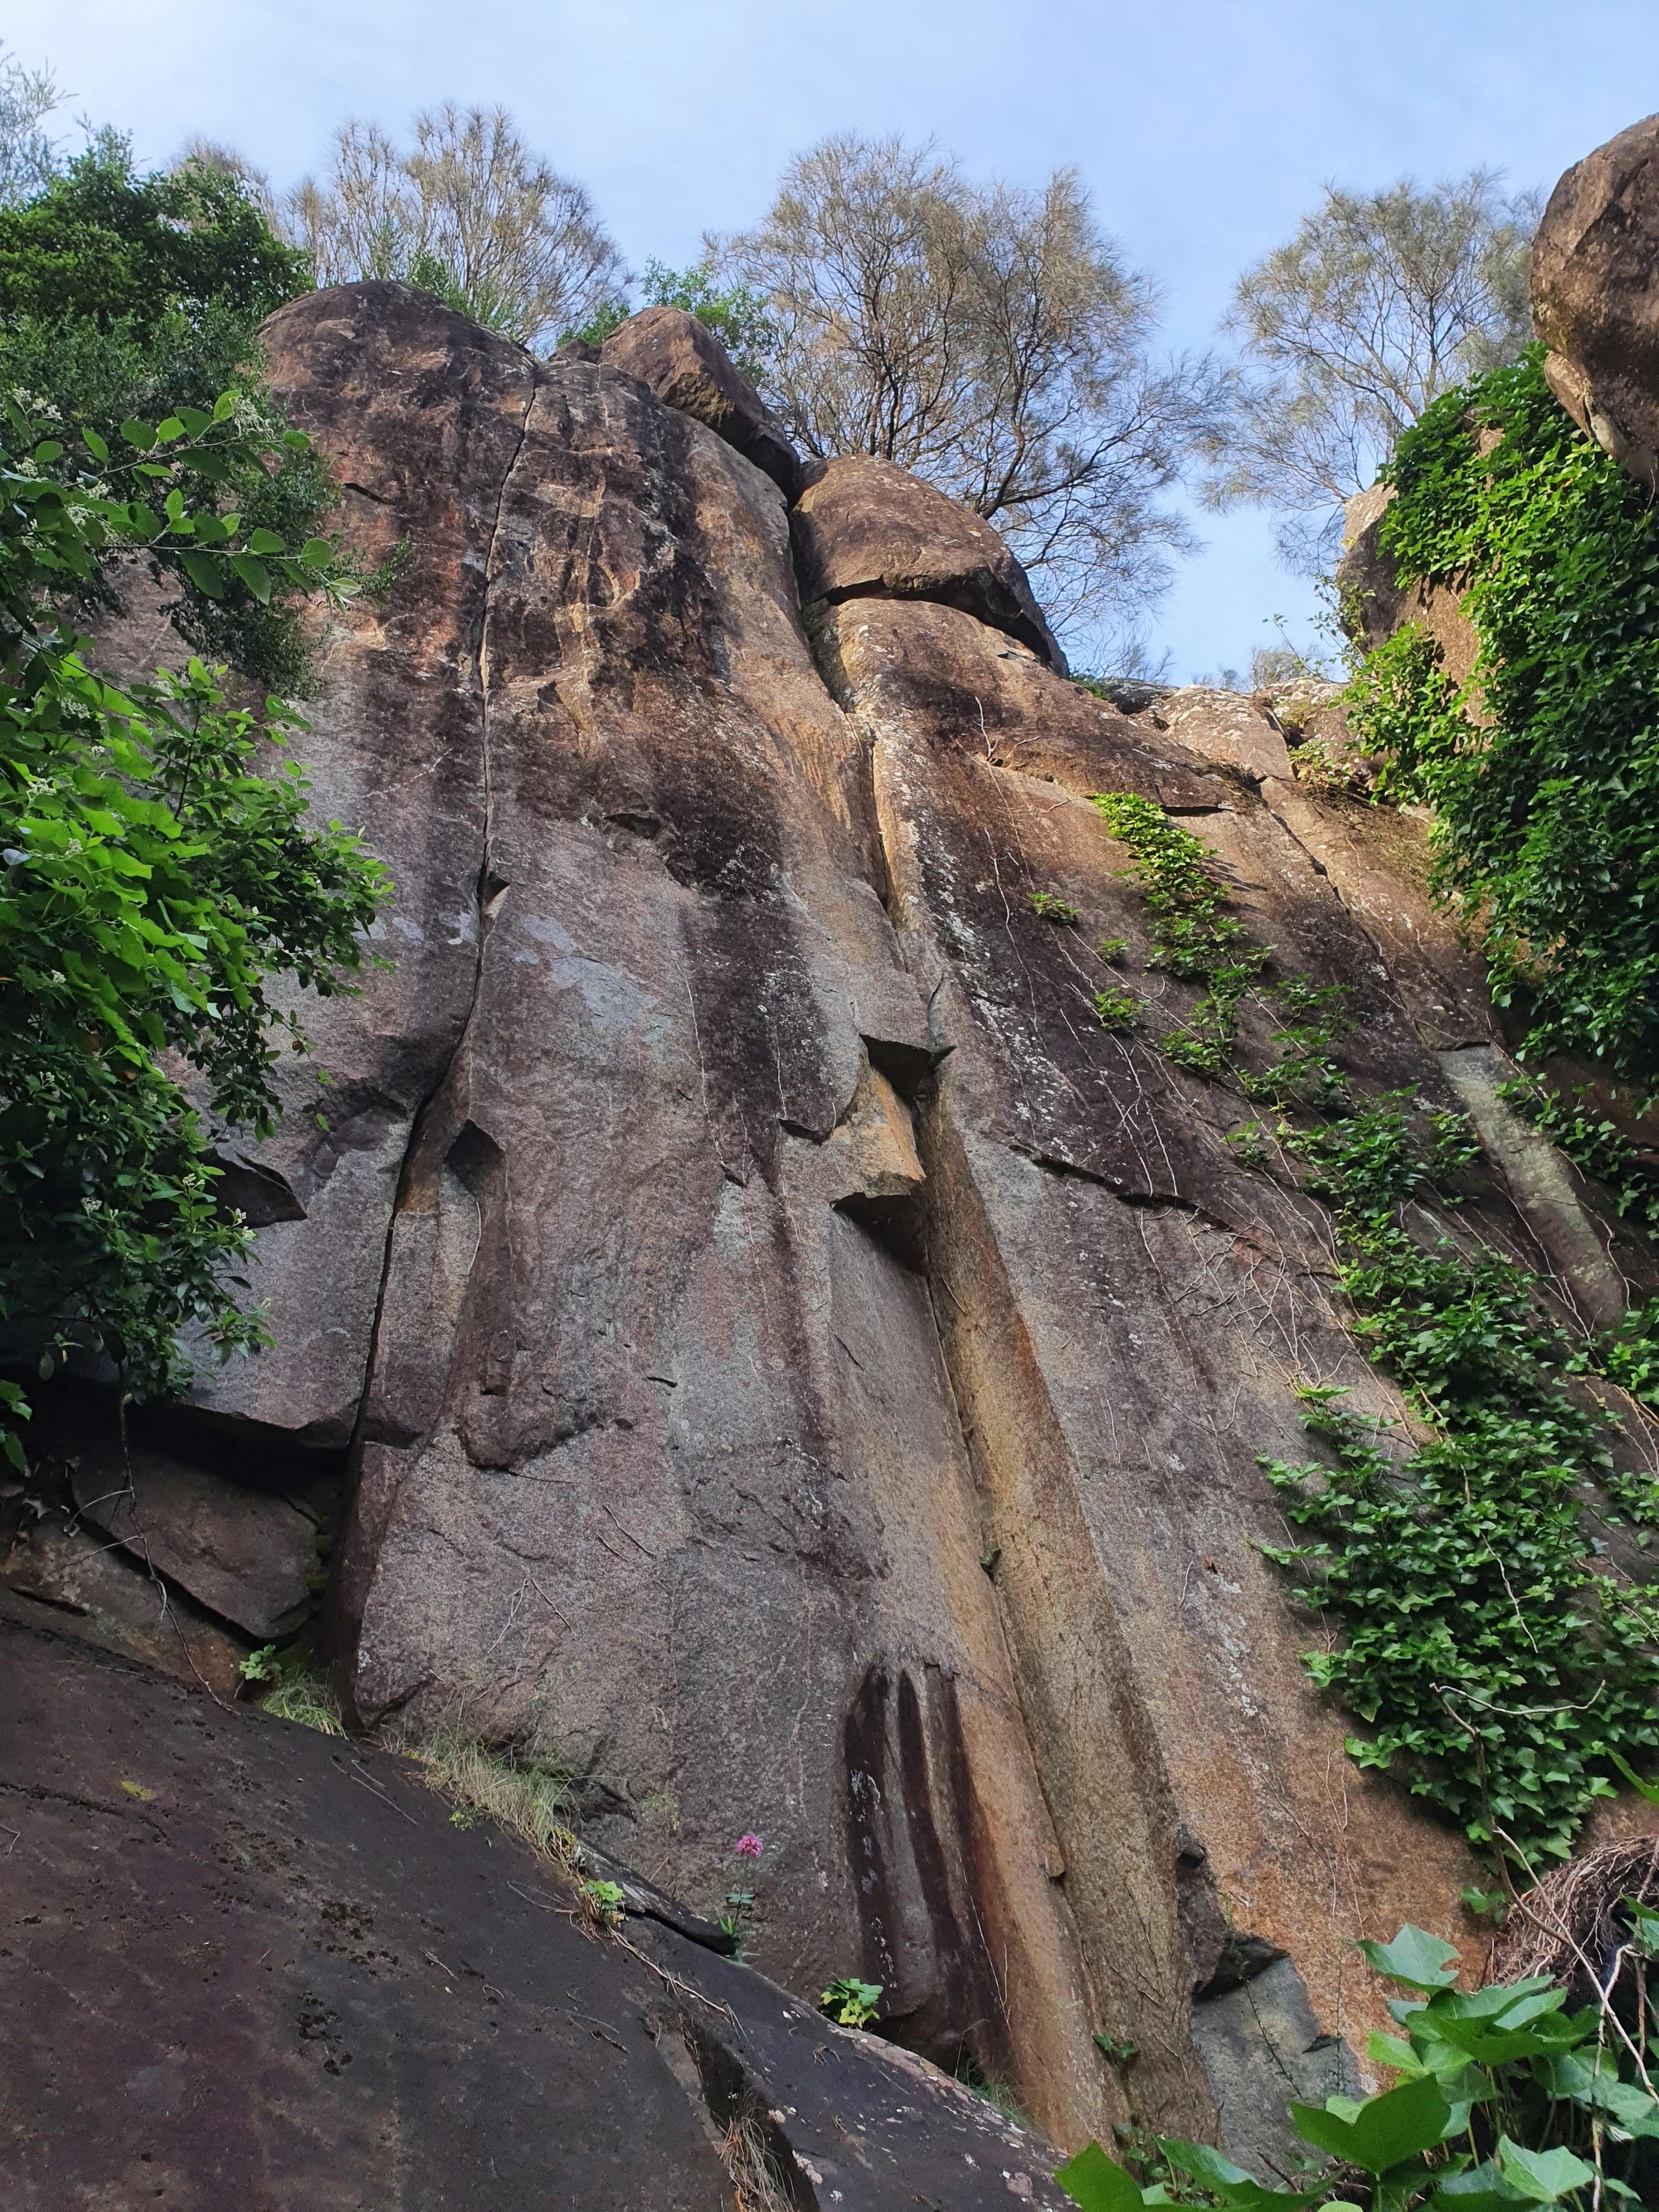
Topo: theCrag contributors, CC BY-NC-SA 3.0, theCrag
Thin face climbing around the left-hand crack.
Chris Shepherd, 1985
The long crack on the right of the main face.
Lamb, Narkowicz, 1982
Hand crack left of chimney groove
Bob McMahon, Paul Brown & John Smart, 1982 · From: theCrag
A short finger crack, not visible from the walkway, on the right of the buttress downhill from the main Disgorge cliff, opening up at the top.
McMahon, Smart 1982.
Anopheles Area
140 steps from the stairs to the lookout are 2 huge pines on the uphill side of the footpath. Coming from Double Dozen Cliff it is also about 140 steps. The next climb is 10m behind pines.
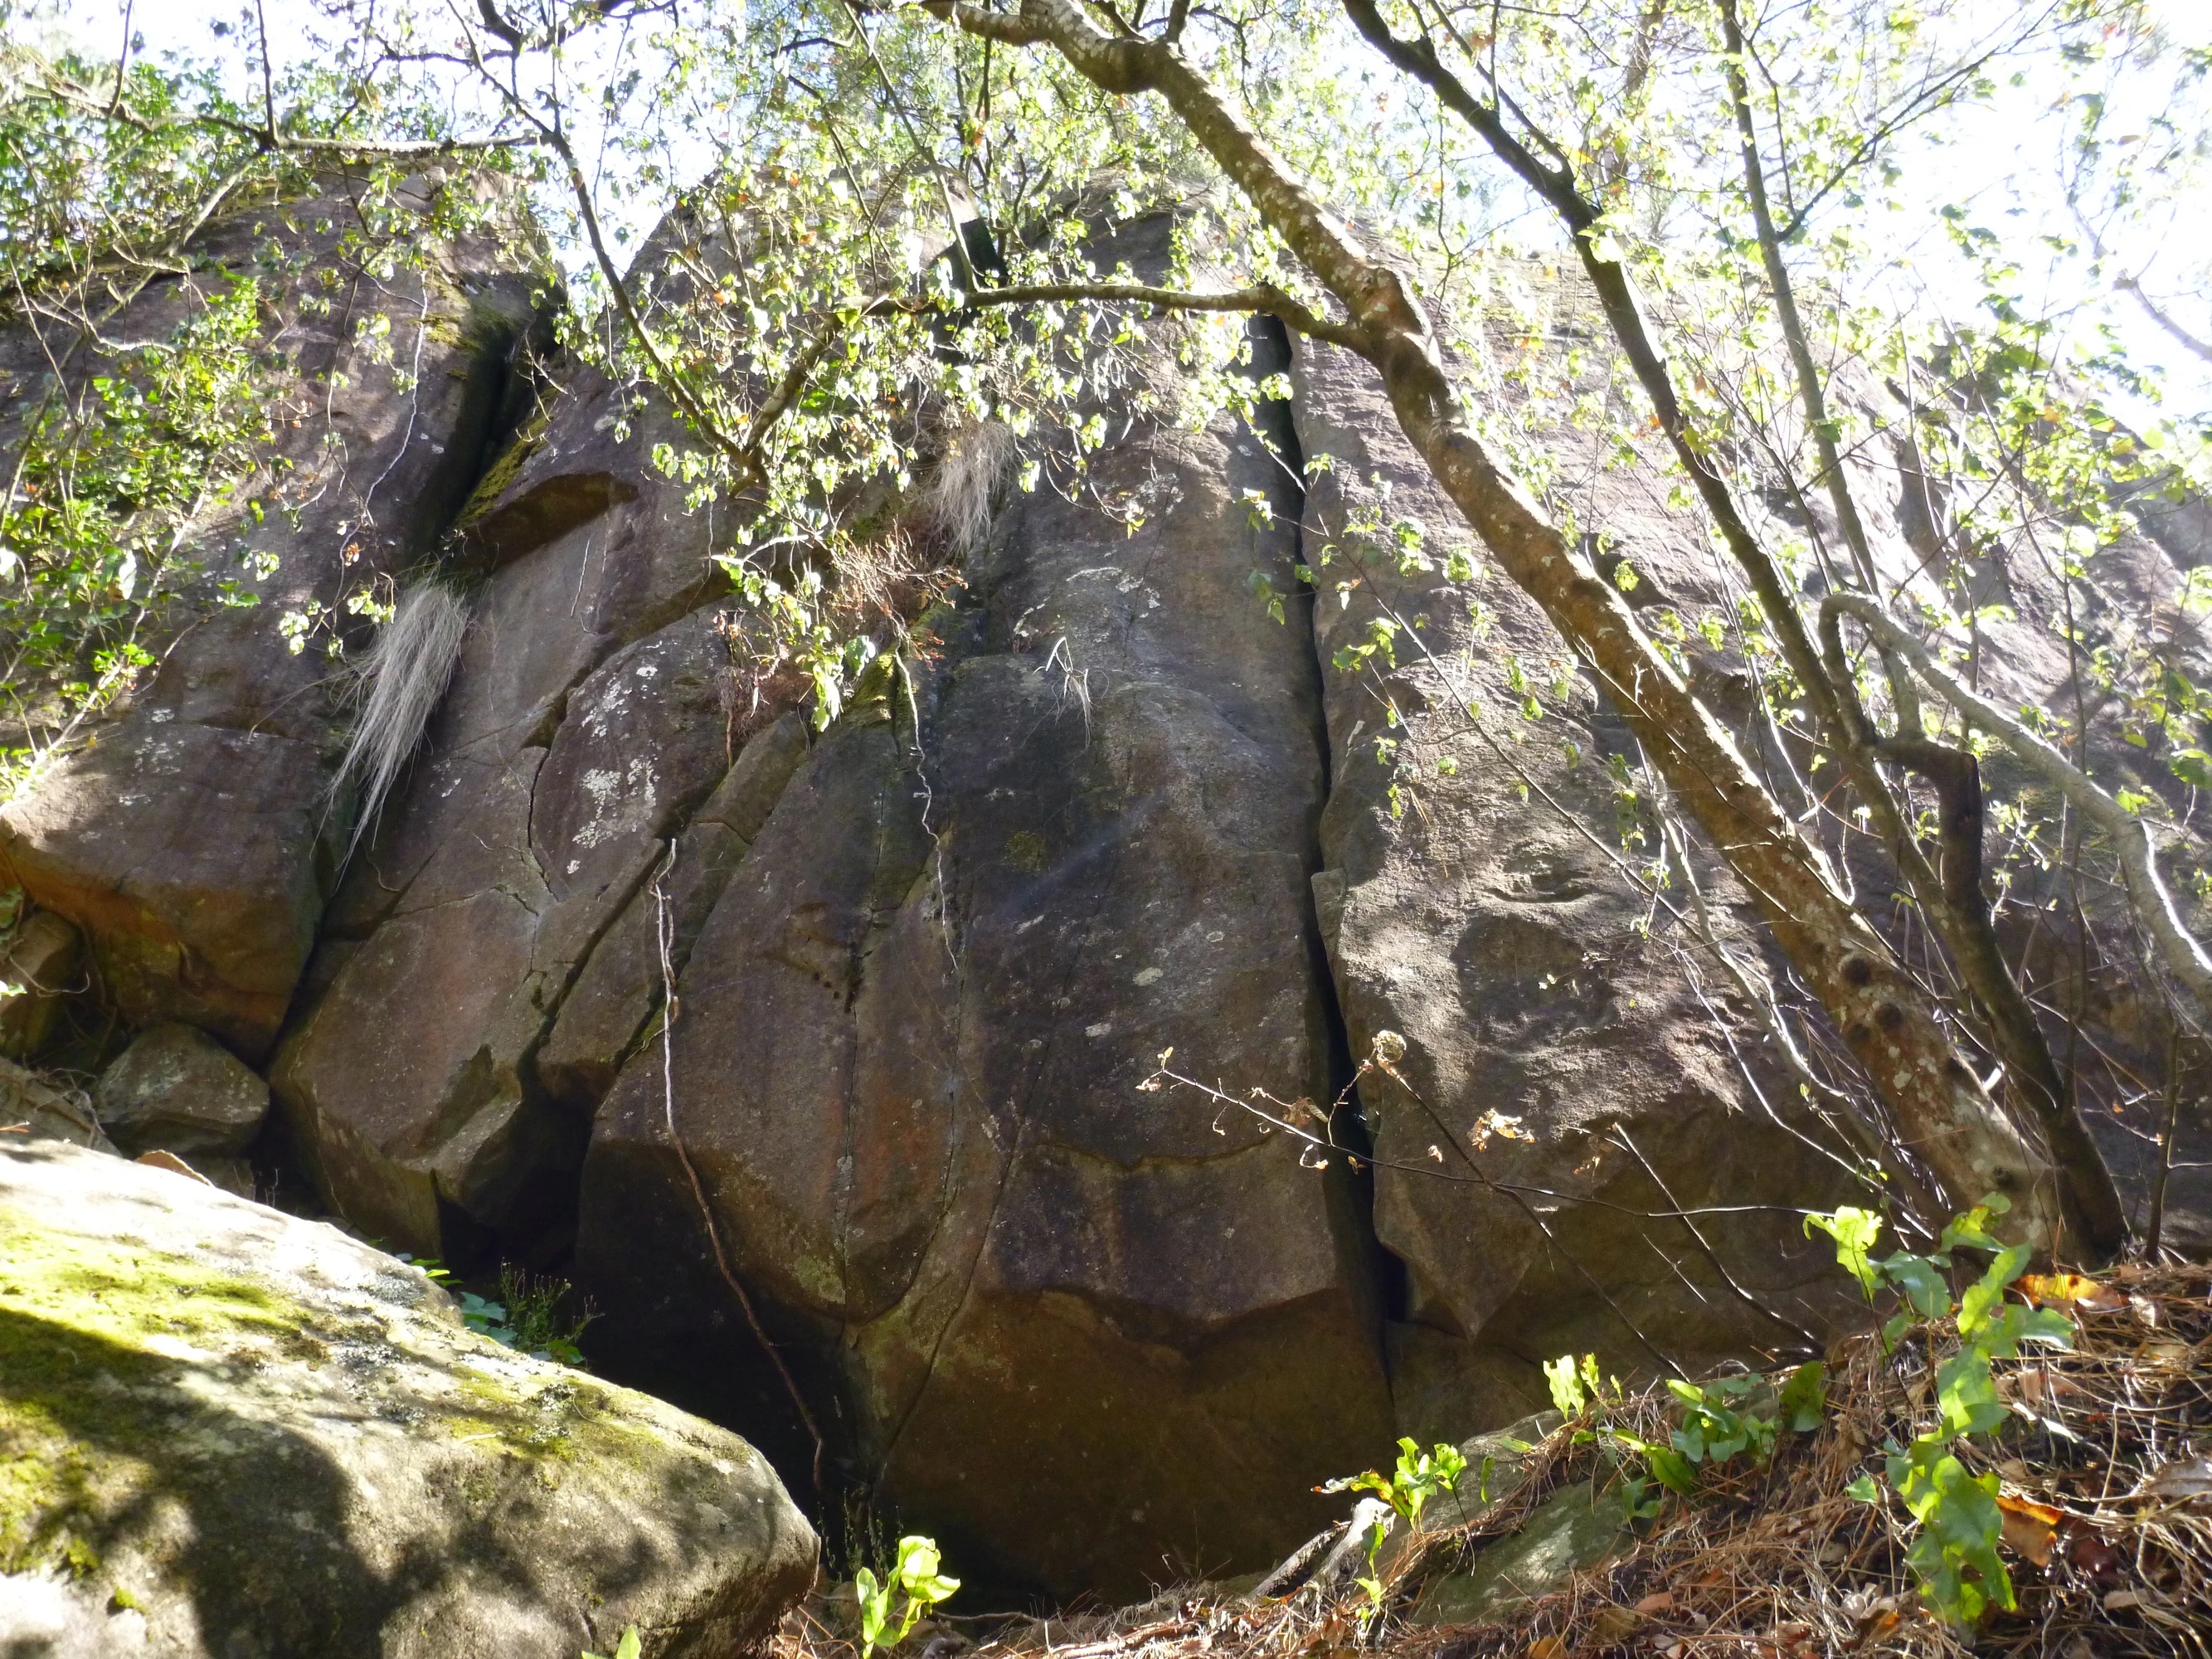
Topo: theCrag contributors, CC BY-NC-SA 3.0, theCrag
Jam crack on left of face.
Fantini, McMahon, 1980.
2 eye-bolts to finger crack and pro. Stick clip the first eye-bolt. Looks like it could do with another dose of agent orange. DBB.
Fox, Tierney, 1996.
Up above this climb is a small buttress with 2 climbs on it. Access via Anopheles or scrambling up on the right.
The hand crack on the left hand side. DBB.
Kearnes, DeCesare, 2001.
The thin crack opening towards the top on the blunt arête 3m right of Ned. DBB.
DeCesare, Kearnes, 2001.
Fat Bottom Area
50 paces down from the lookout the tourist track passes underneath a gently overhanging buttress with a handcrack splitting the lower teir and an offwidth the upper tier.
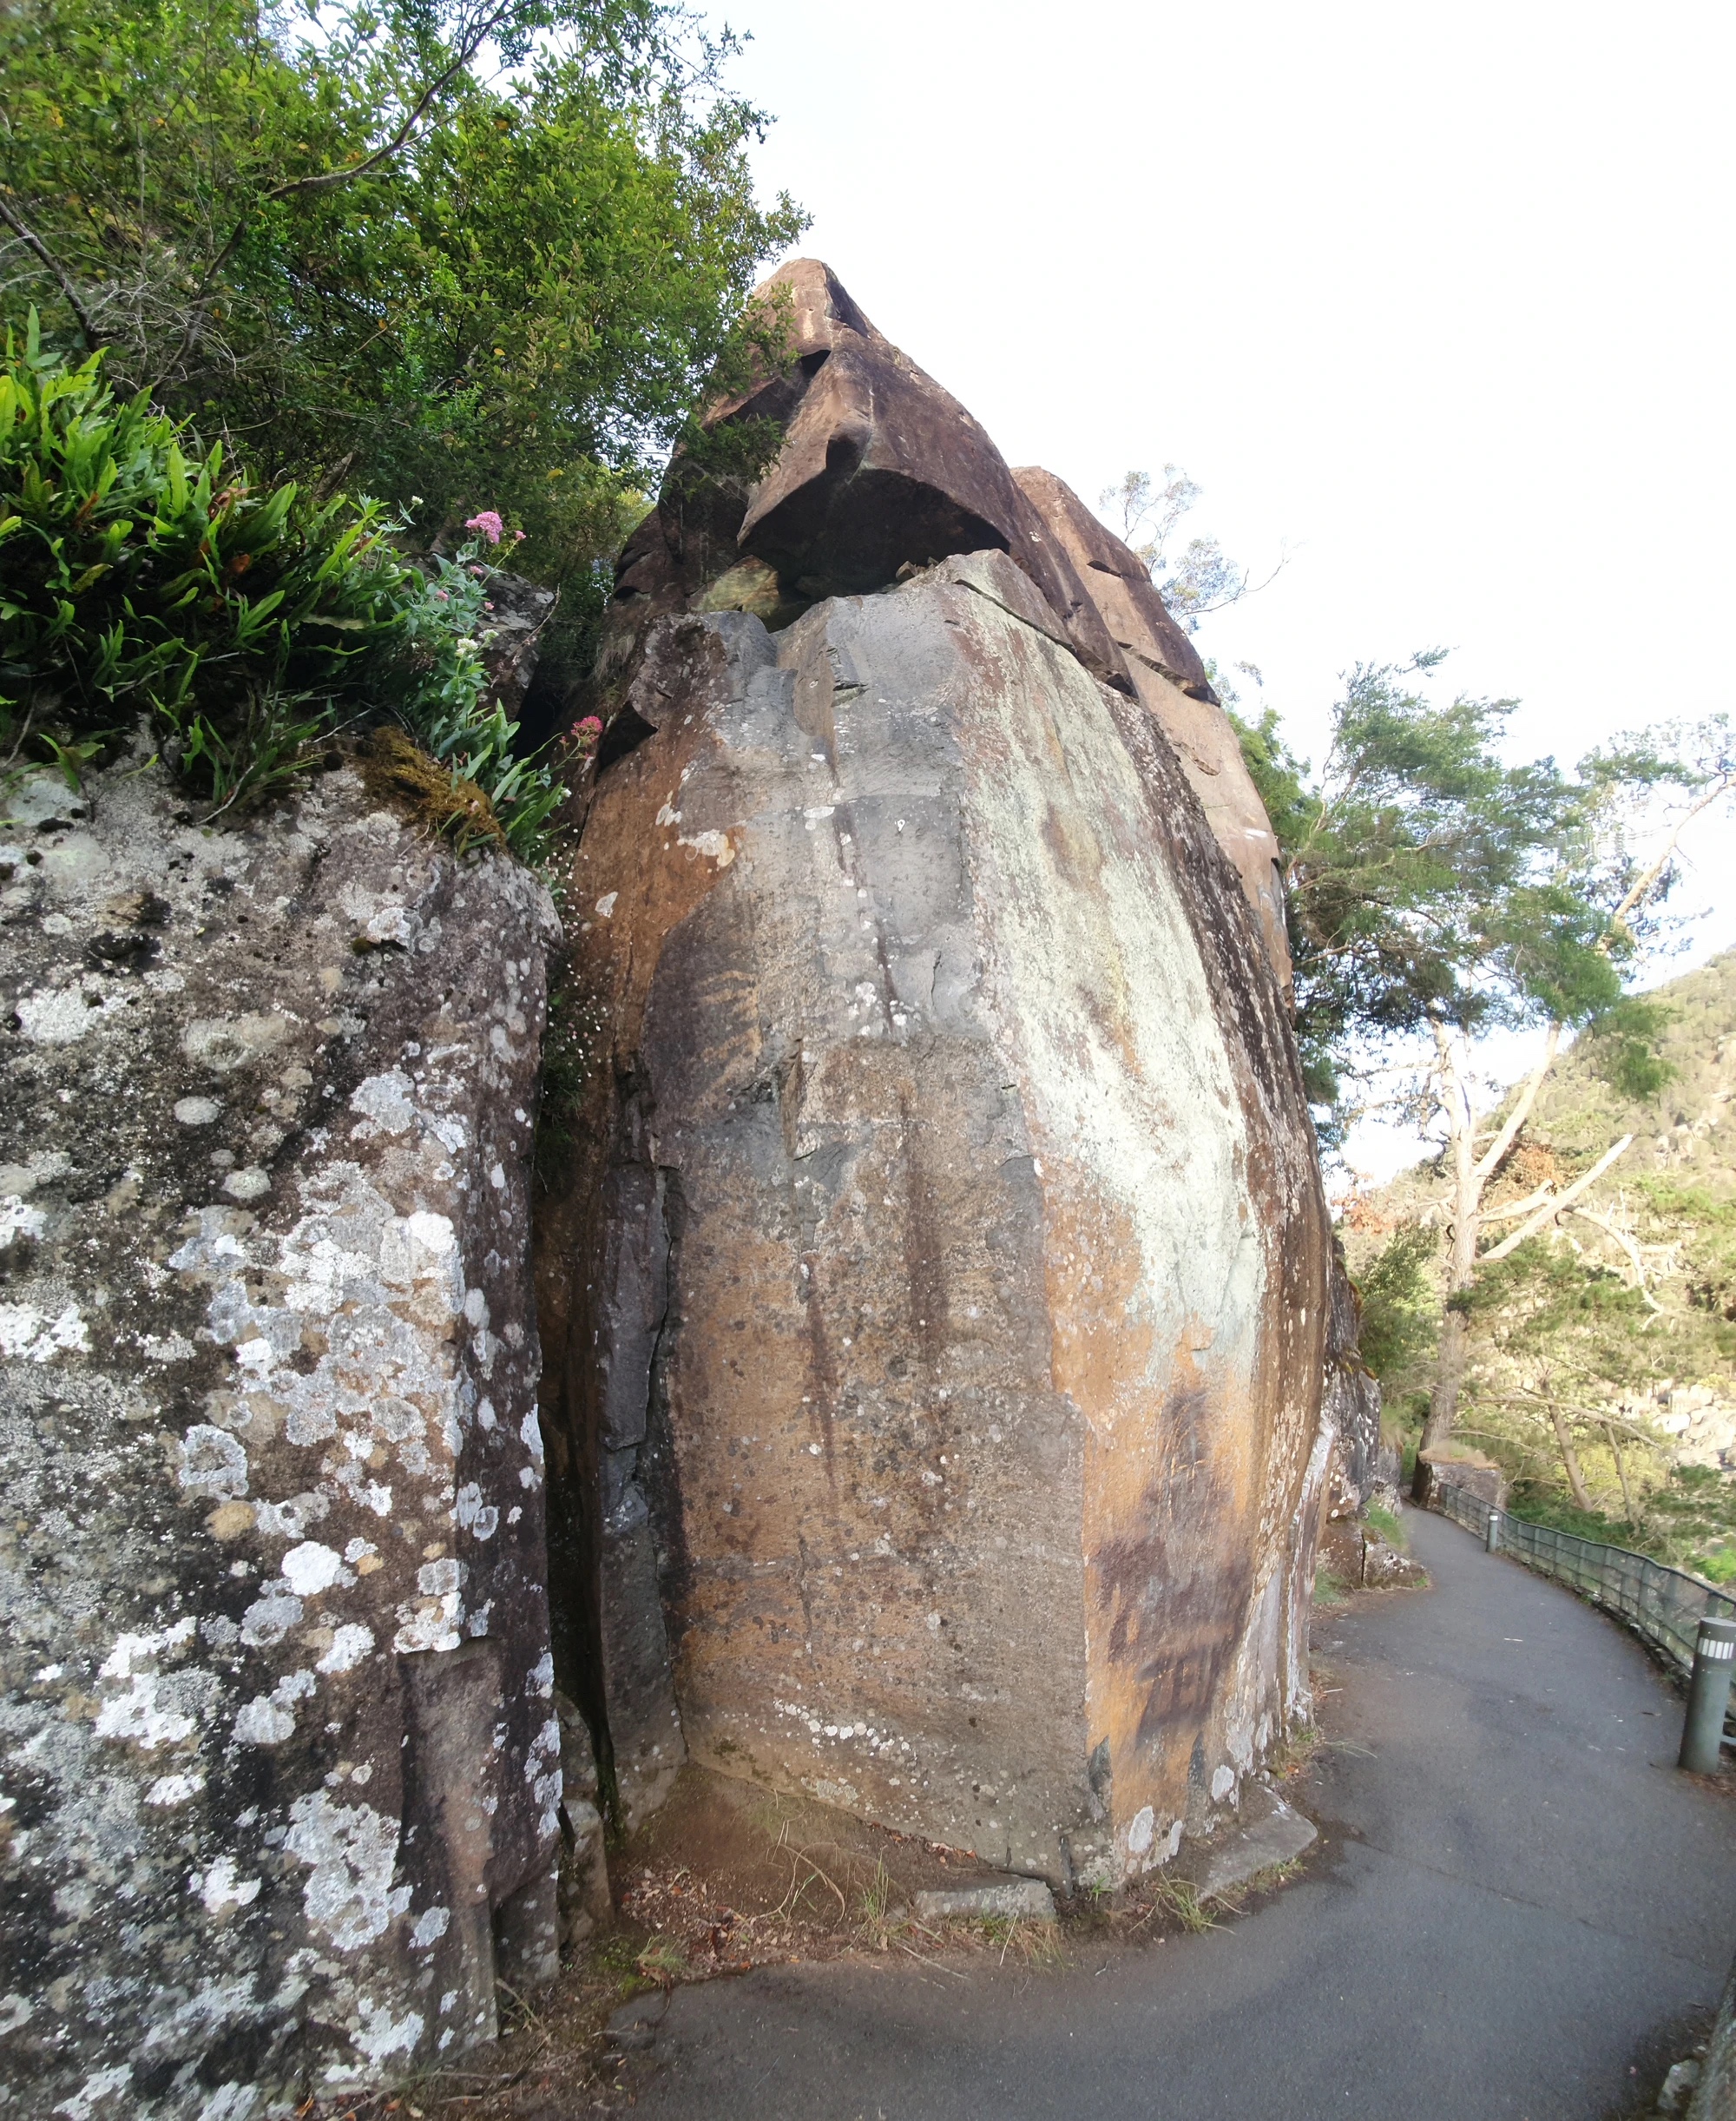
Topo: theCrag contributors, CC BY-NC-SA 3.0, theCrag
Shares the same start chimney and first FH as TBTSFBG. The route only becomes visible when you move left on the first big ledge. Step in from the block at the base and bridge up the semi open book corner. A few delicate face moves on small holds. Shares the same top anchor as TBTSFBG.
I.Ferrier M Johnston Nov 2009.
The arete on the left hand end of the buttress with 5 FH. A good route after the chimney, which is bolted for accessing the climbing above. DBB at top. Re-named as it was named for a slightly offensive song no one now knows.
M Johnston, I Ferrier 2009.
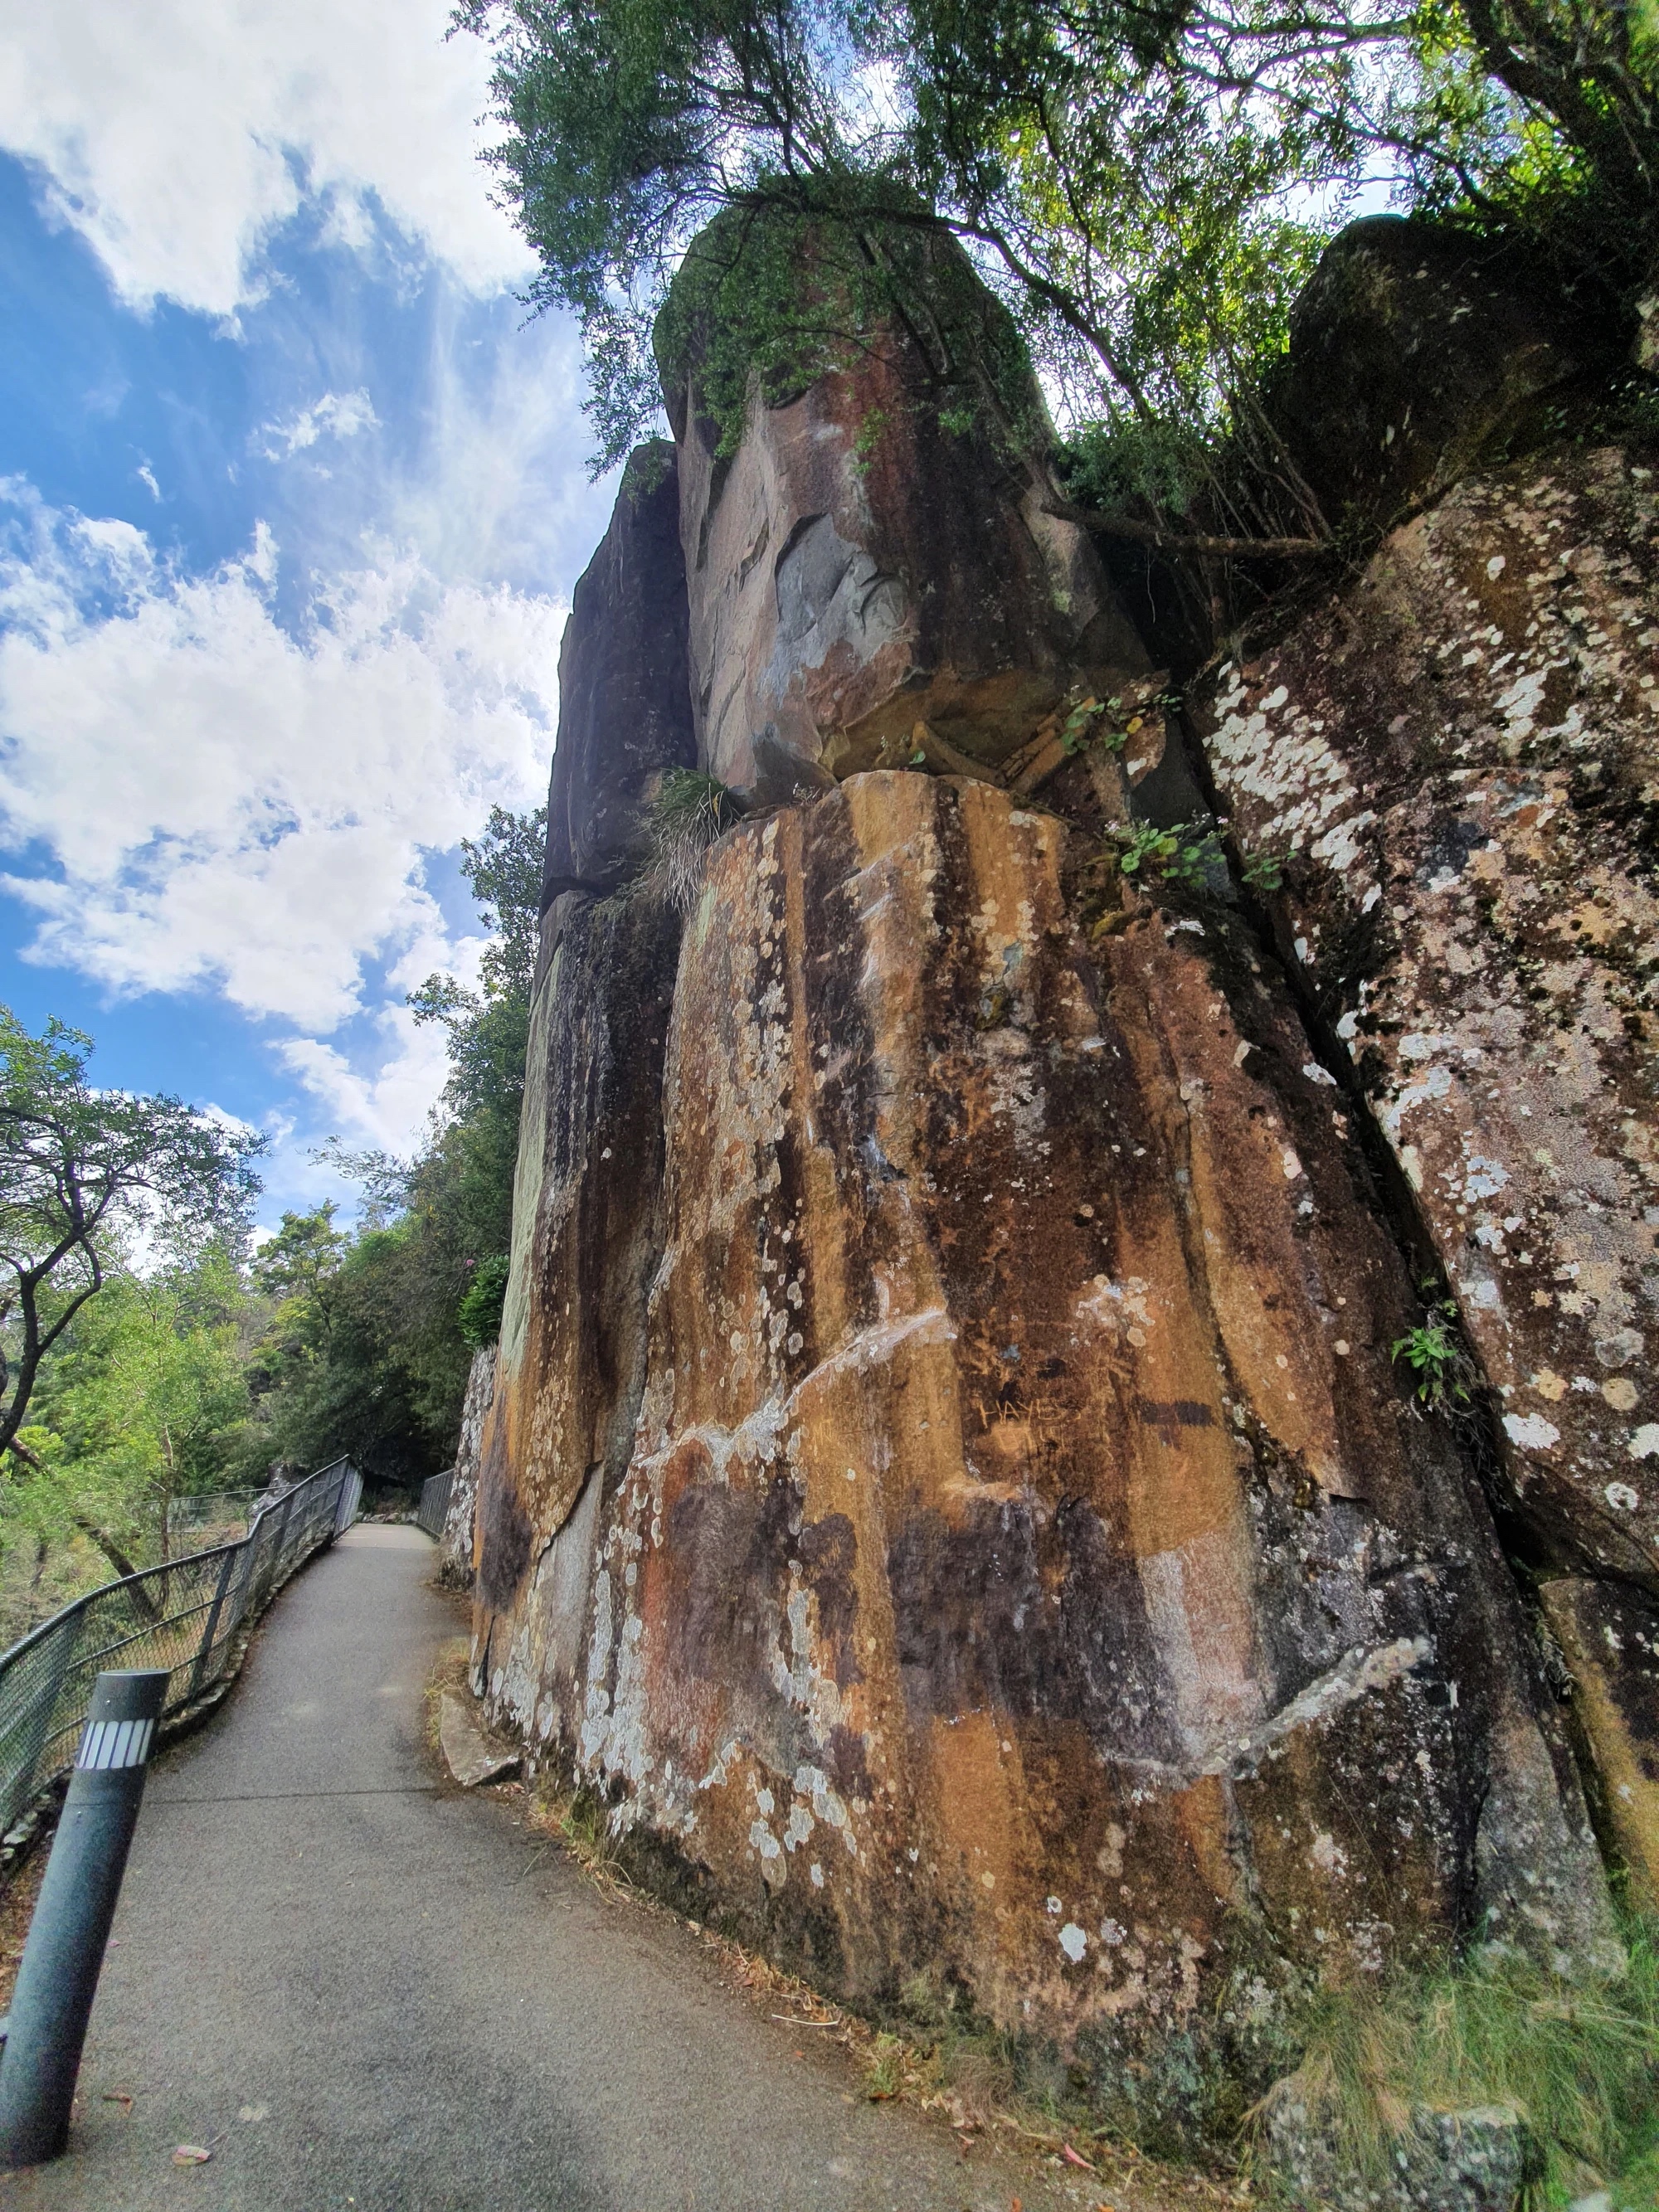
Topo: theCrag contributors, CC BY-NC-SA 3.0, theCrag
The slightly overhanging rounded arete straight off the path on the right hand end of the buttress. A hard start and 2 bolts of somewhat dirty rock leads to a horizontal break. Then sustained, powerful and technical climbing on excellent rock through 3 more bolts to lower offs. One of the better hard lines in the Gorge.
Polinski, 2011
Listen, Silent Area
Two light posts upstream from the double dozen cliff are a set of steps leading to an alcove with two blocks in it enscibed "listen, silent".
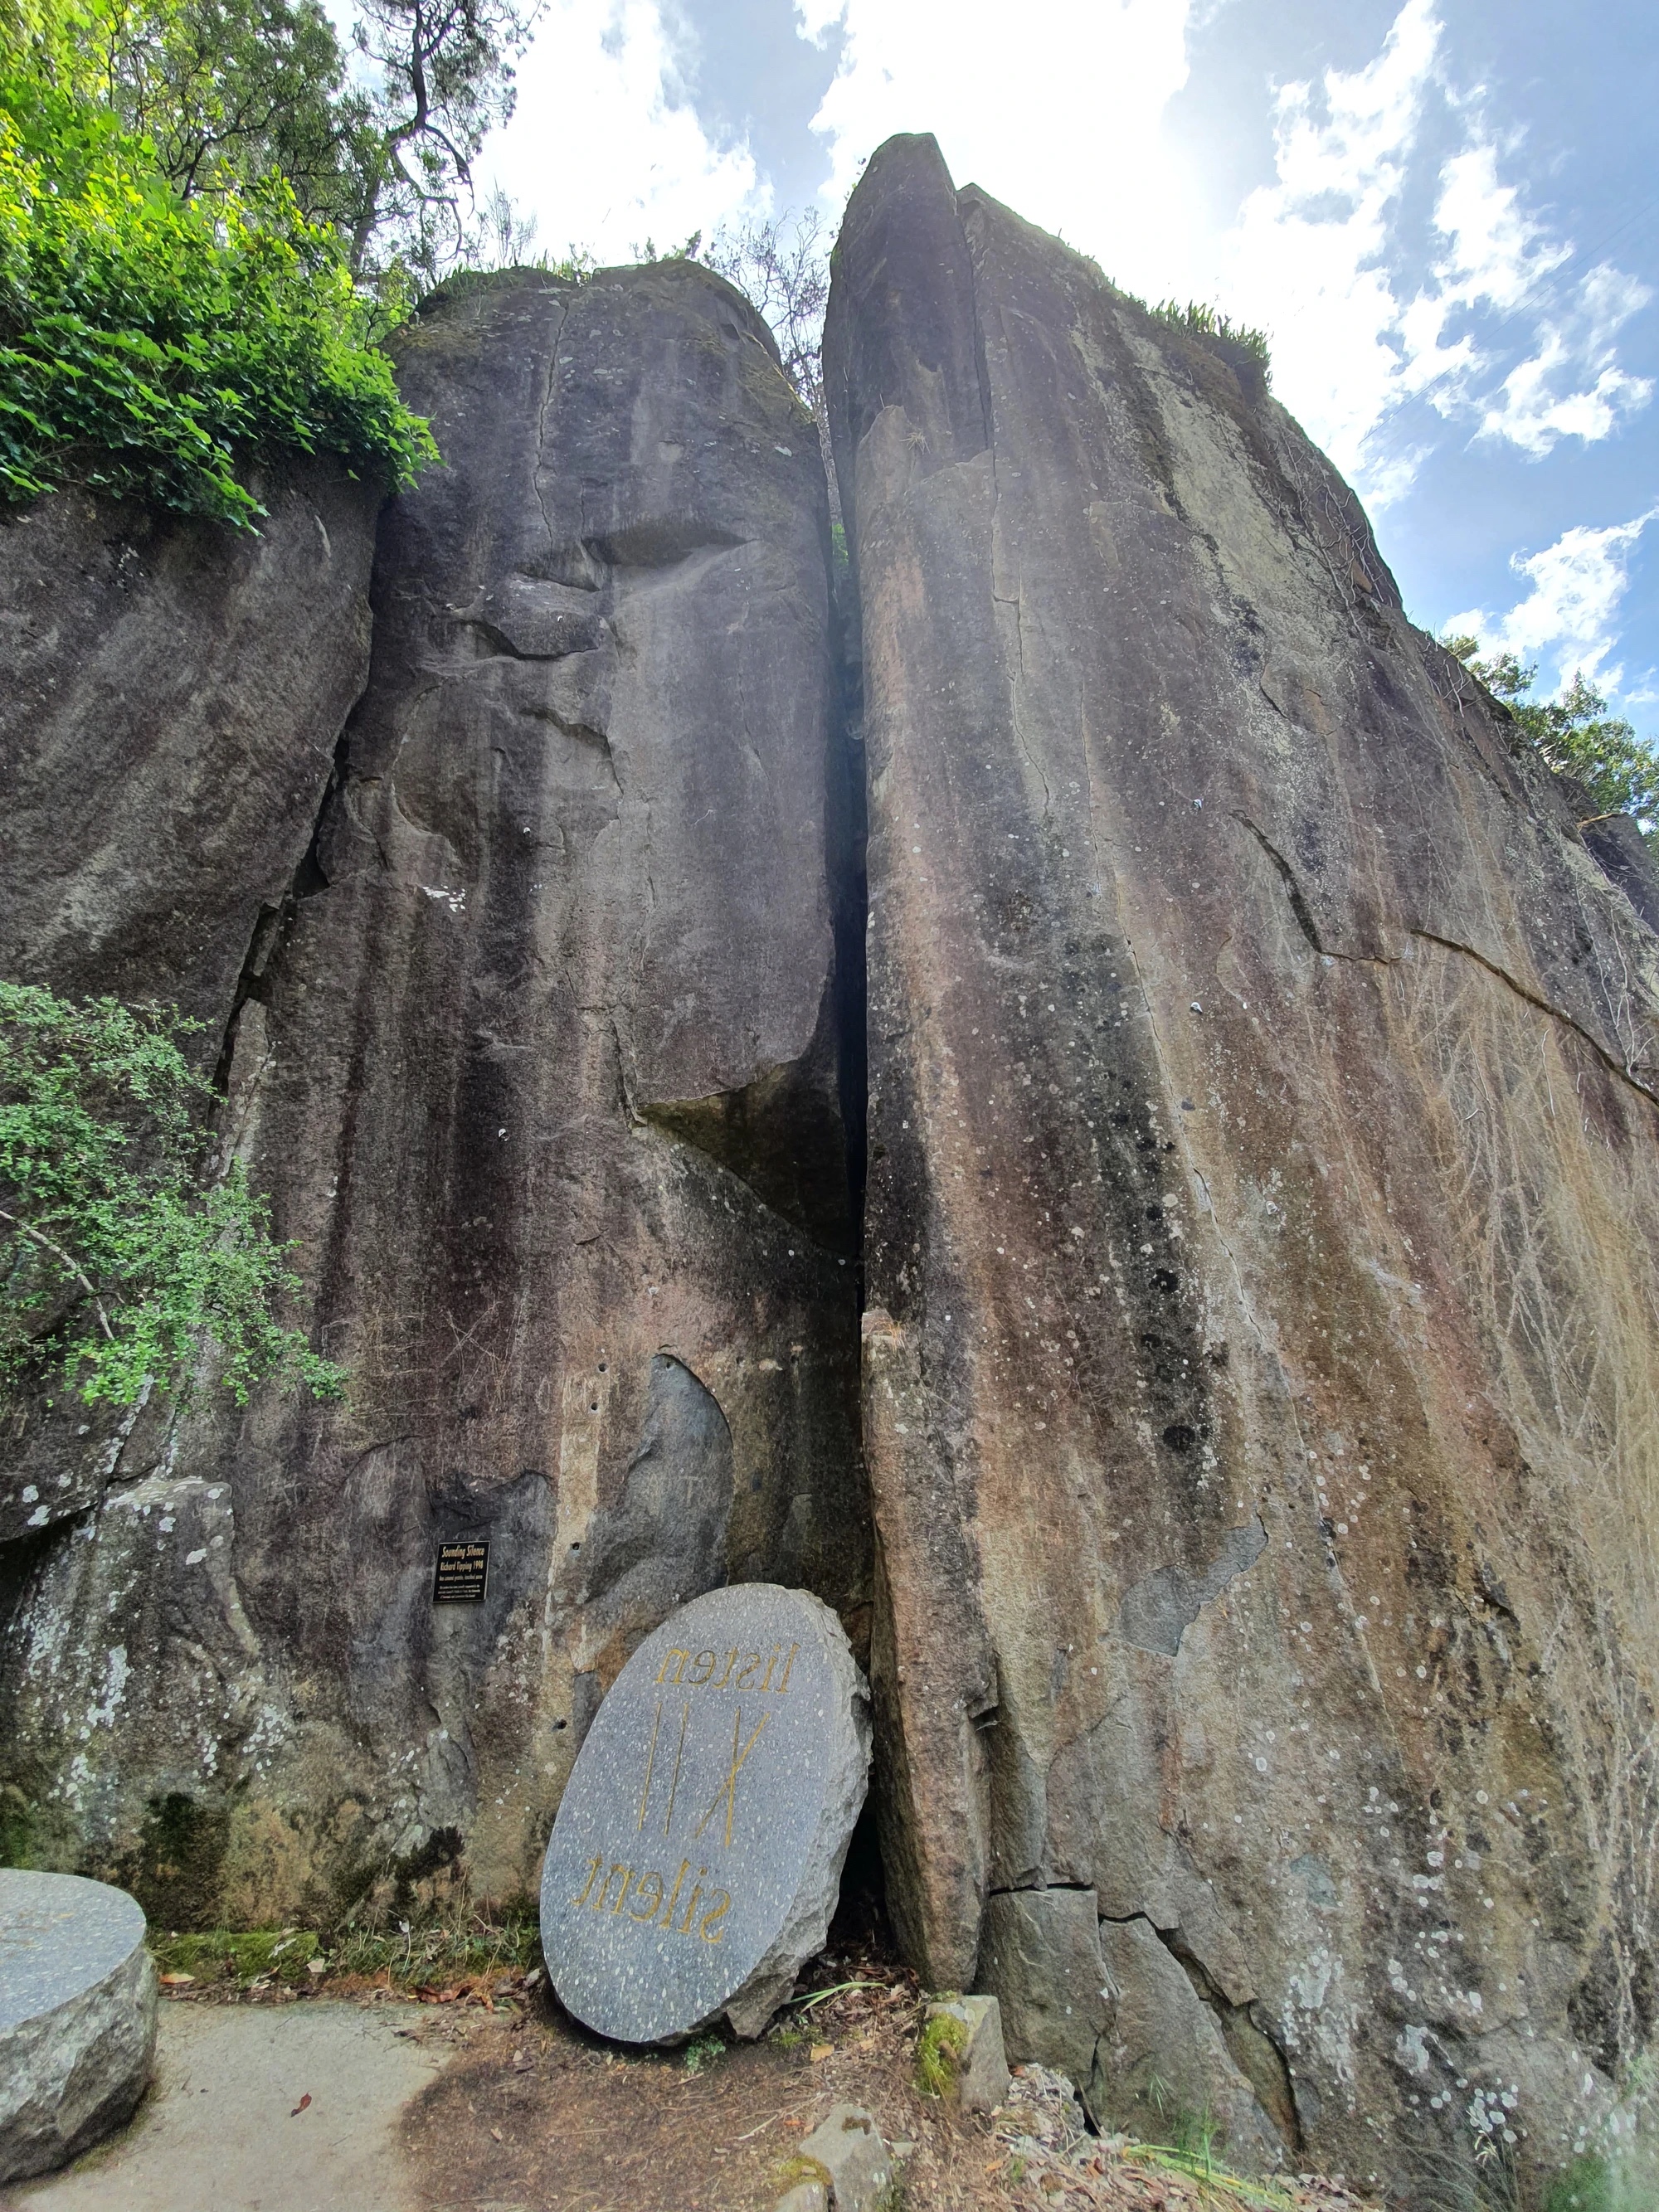
Topo: theCrag contributors, CC BY-NC-SA 3.0, theCrag
The main line up the face of the alcove. Climb past 3 FH to stand on pedestal, place some gear in the crack, from here some holds out left lead the way to the top. DBB on ledge.
A.Geeves, S.Young Nov 2009
Three bolts up a very blank looking rounded arete/face via side pulls lead to an easier crack.
M. Johnston, 2009 · From: theCrag
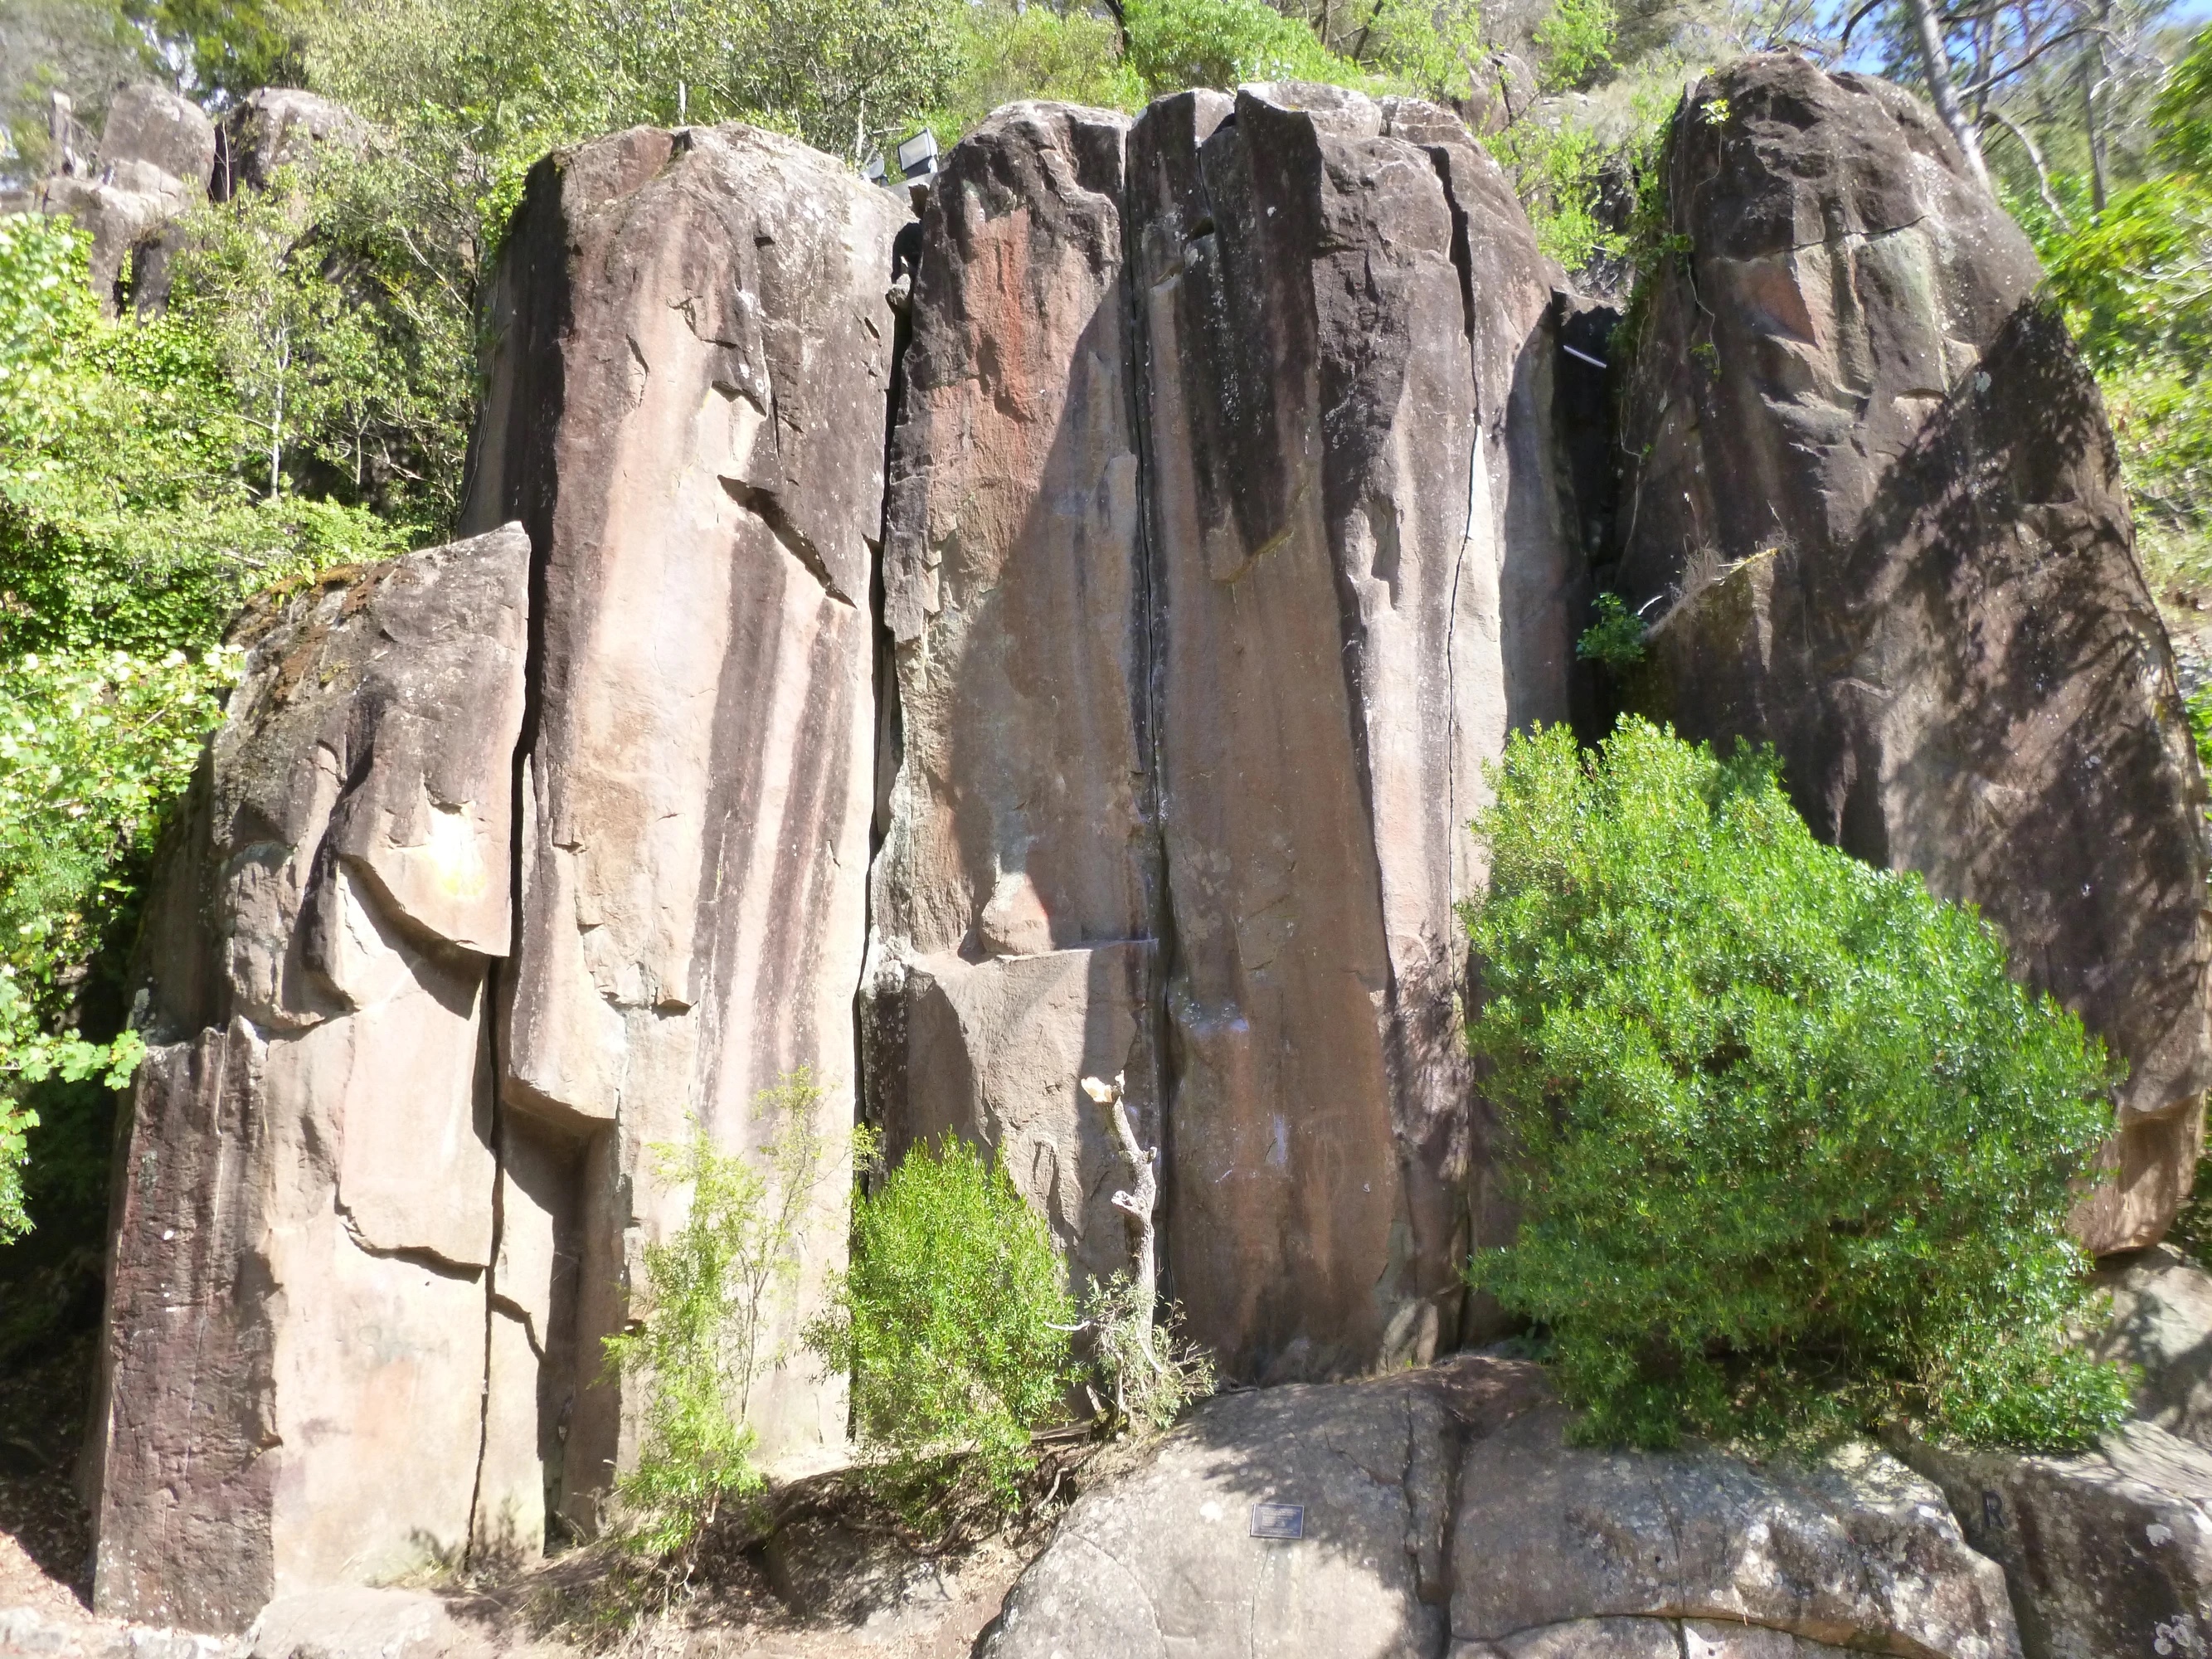
Topo: theCrag contributors, CC BY-NC-SA 3.0, theCrag
Wide crack on far L of main face.
K. Hewitt, R. McMahon & N. Smith, 1980 · From: theCrag
The blunt arete with 3 FH right of the squeeze chimney. For the full grade, make the clips and don't build a stack of cheat stones. By the admission of the FA, kinda contrived, but it's likely 5 min from your house. Take a couple of larger C3's for the crack at the end of the hard climbing and a 0.75 camalot for just before the top. There is an alternative start that utilizes the large hold on the left arete and traverses in which is easier and formerly thought to be 'silly' but is very Beta Park / modern bouldering!
M. Johnston 2009.
Double Dozen Cliff
When you reach a large landing with a big cement rectange in its centre then you’ve found the Double Dozen buttress. On the other side of the river is Gabriel Buttress. When the tide is out you can cross over from here. These are some of the best climbs on this side of the gorge
Offwidth corner on the leftside of the buttress with some loose chockstones
Norm Selby, John Fisher & Bob McMahon, 1997 · From: theCrag
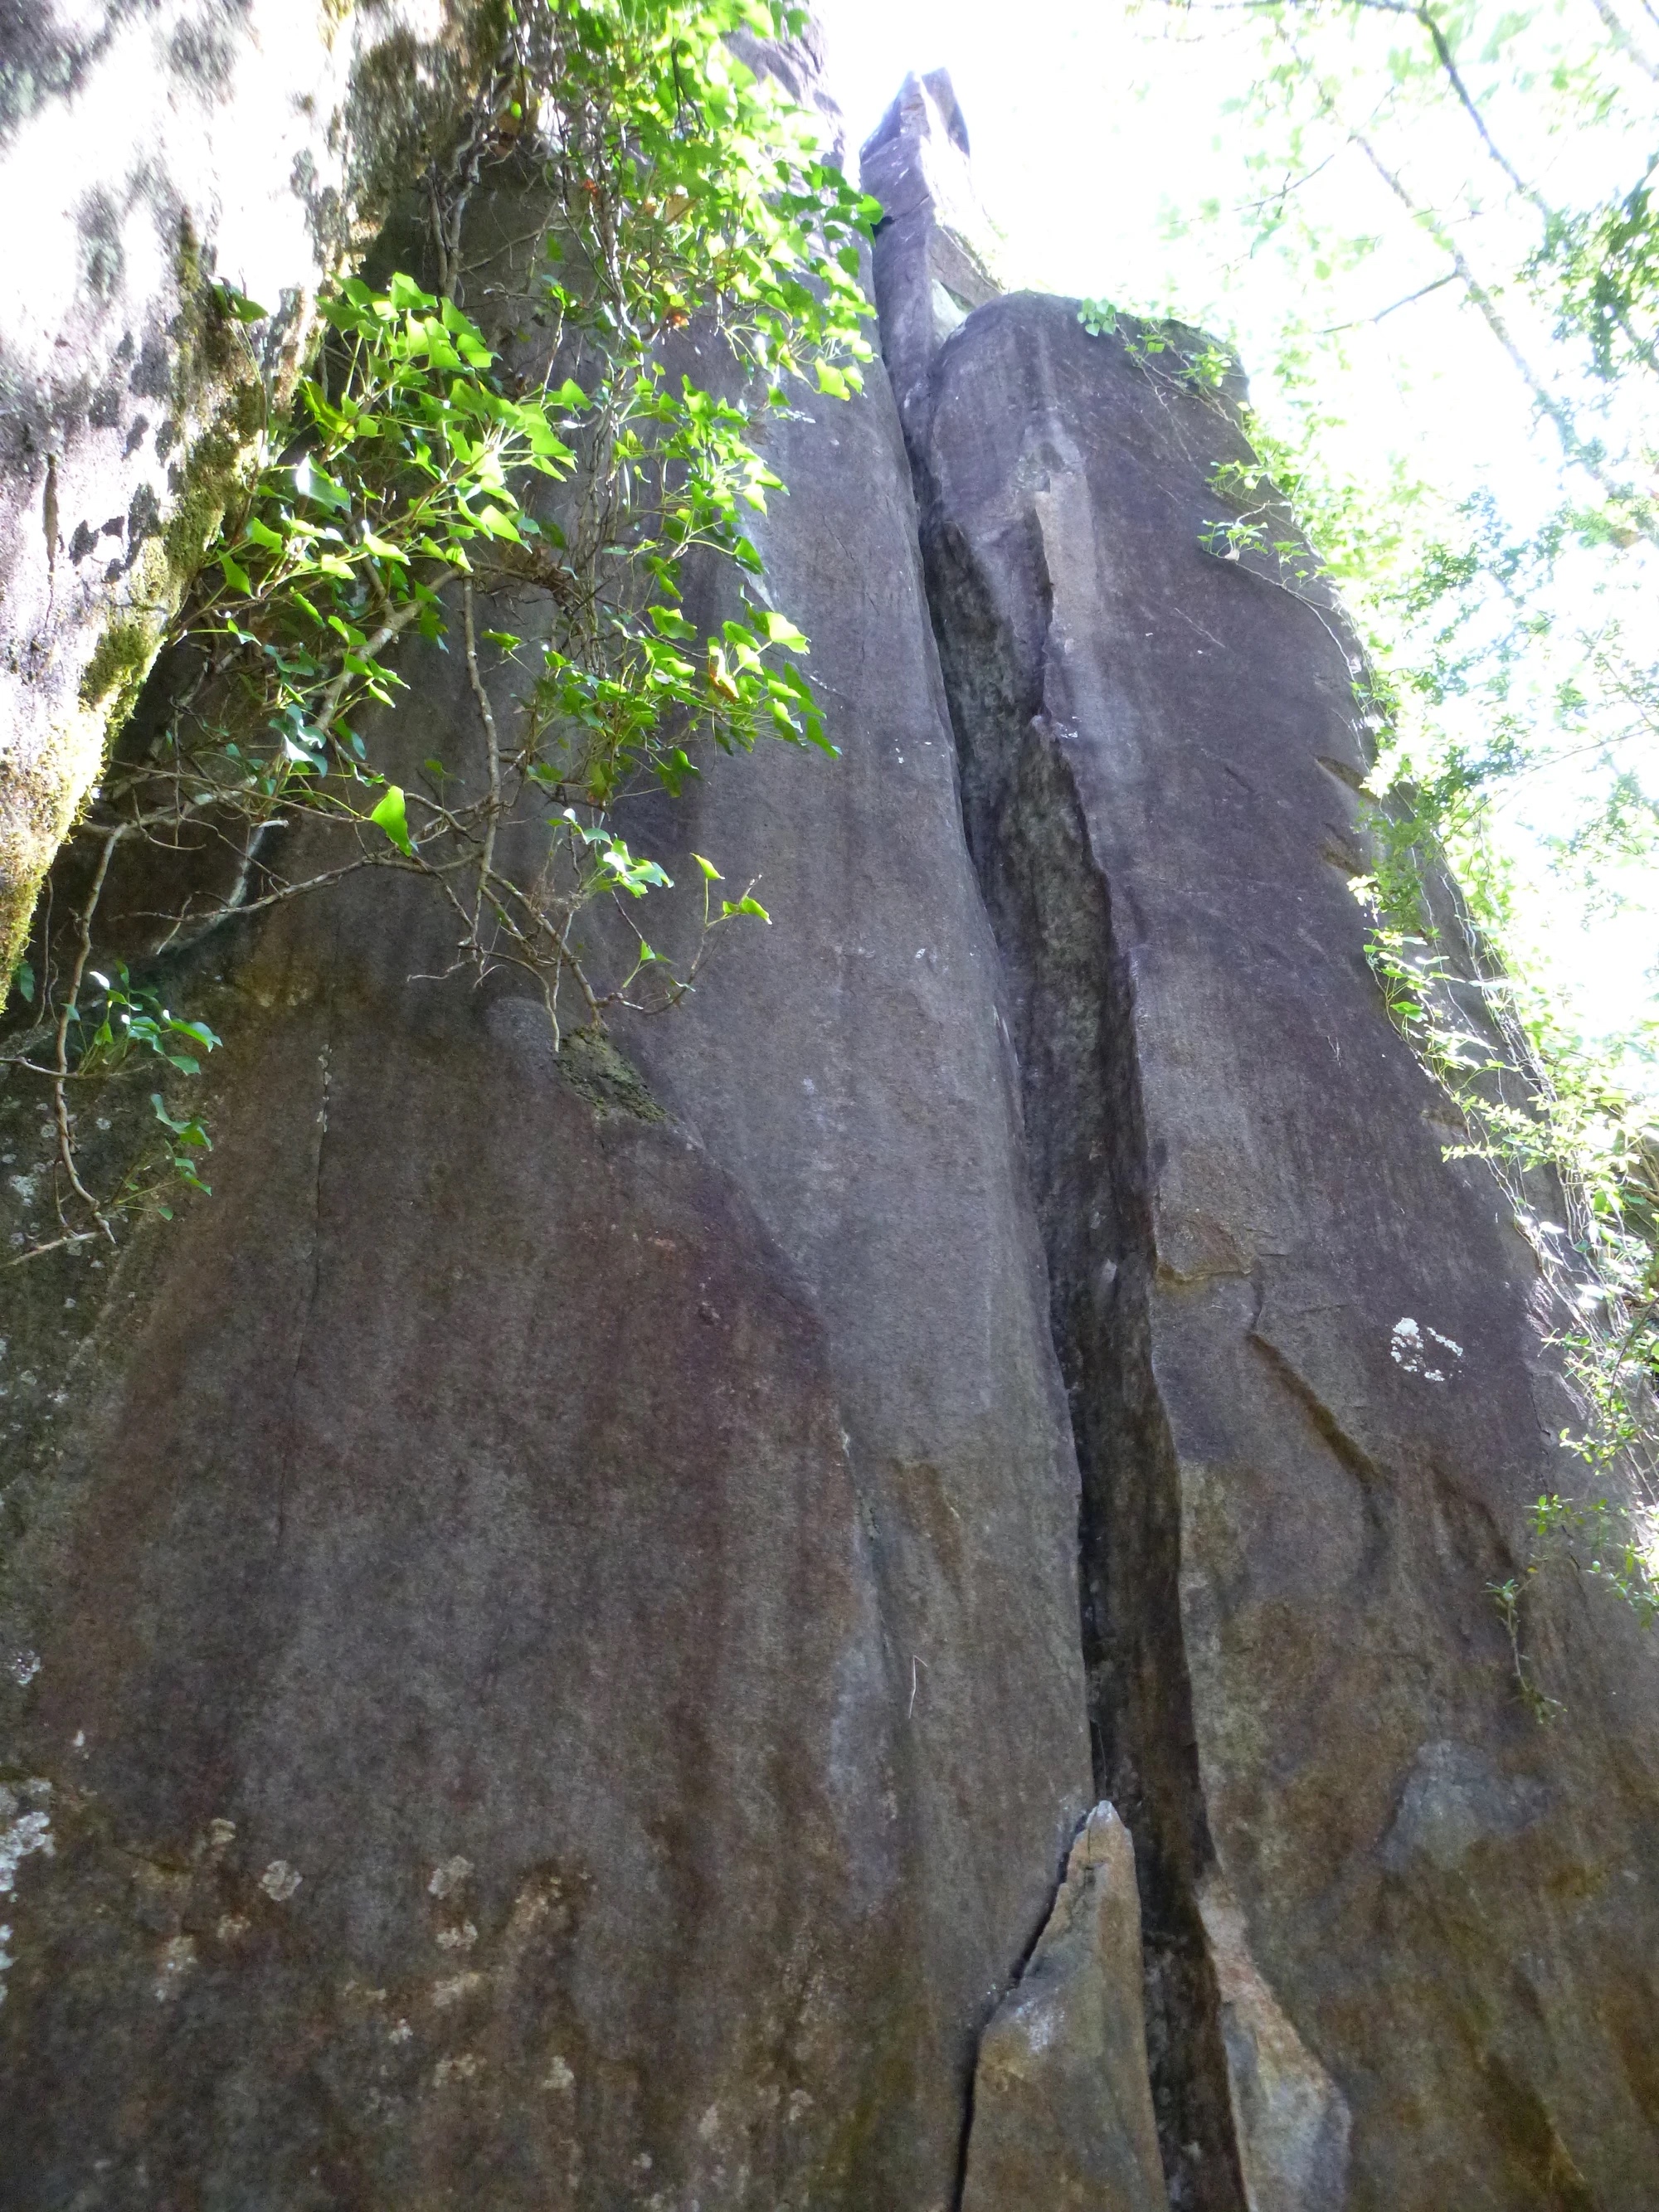
Topo: theCrag contributors, CC BY-NC-SA 3.0, theCrag
About 25 steps upstream from the main Double Dozen Buttress is a hand crack opening up to off hands at the top. DBB.
Smith, Cover, 1980.
The left hand crack and corner.
McMahon, Ian Green, 1973.
Boulder problem start to the steep crack then exit out right of the block at the top. Add a grade for the direct finish. DBB.
Moorehead, 1981.
Climb the start of Double Dozen (Classic 22 trad route) to the ledge up slopy crimps in the corner.
From: theCrag
Up the thin double cracks on the right above the “booga” graffiti. DBB.
Parsons, 1981.
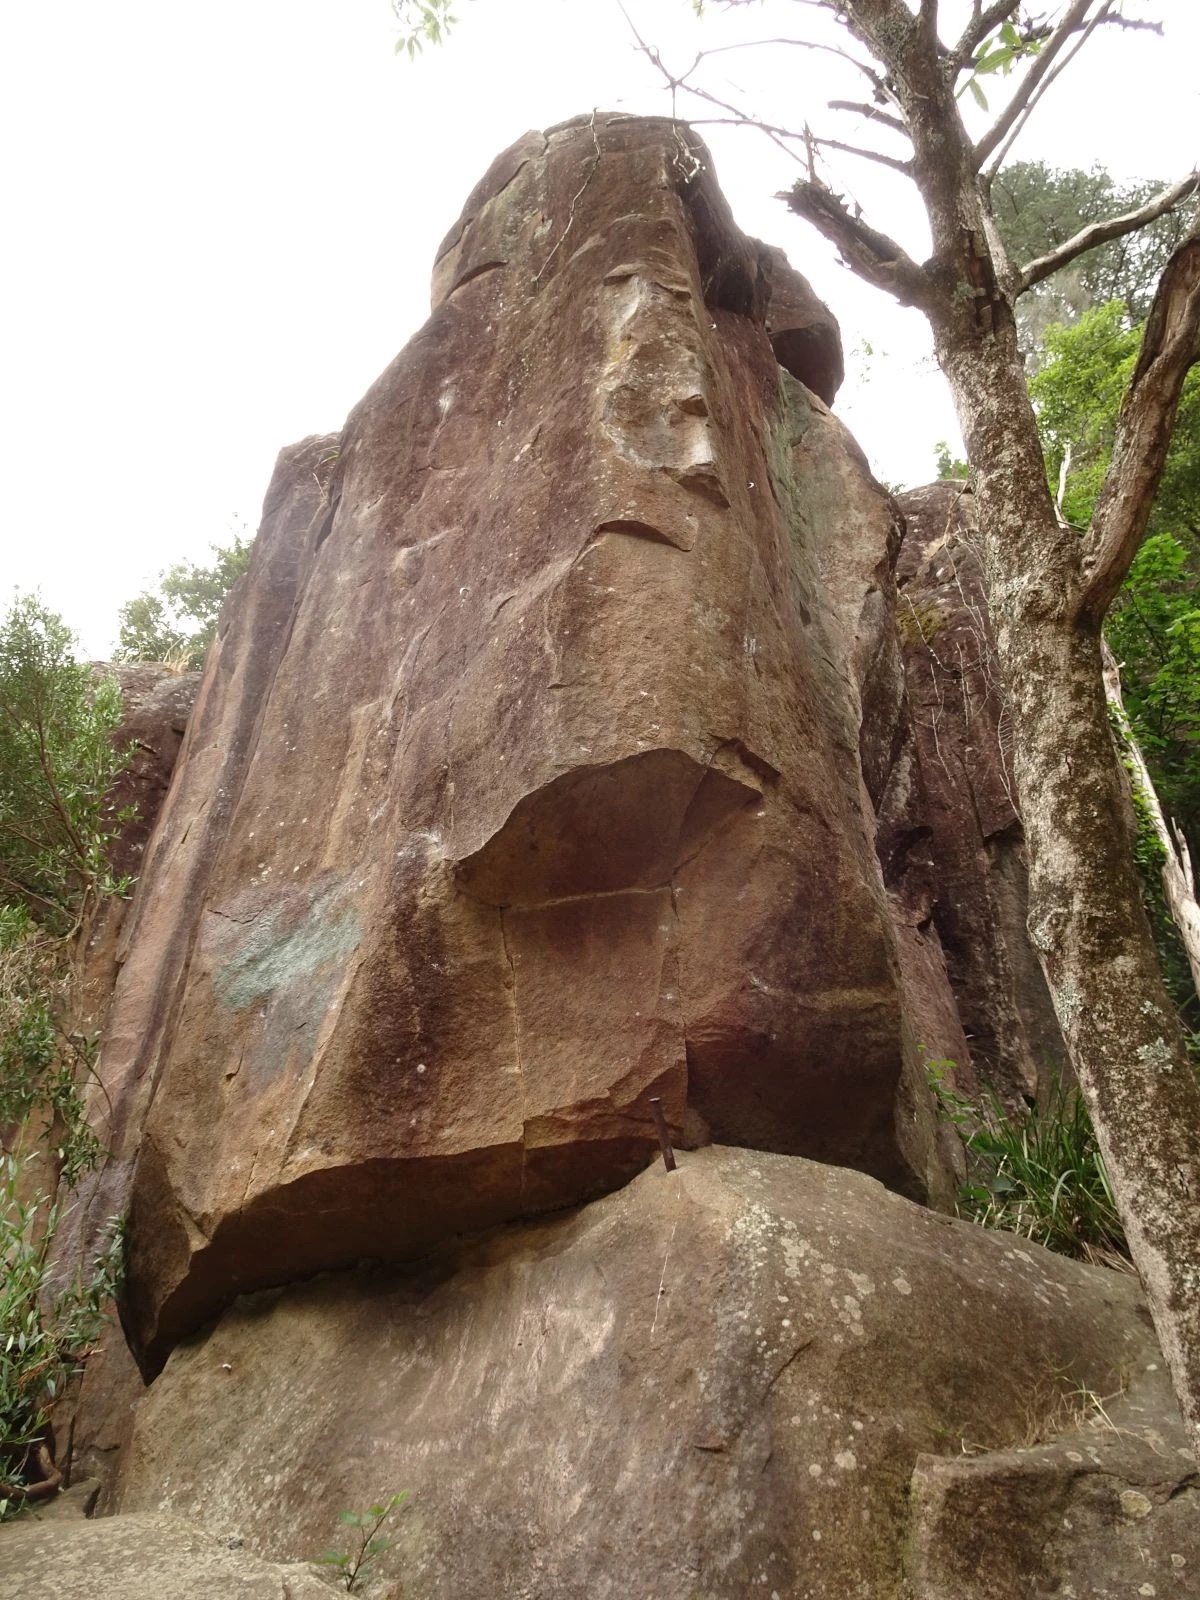
Topo: theCrag contributors, CC BY-NC-SA 3.0, theCrag
The bolted face 5m right of No Right Turn. DBB.
Learmont, 1997.
The line of bolts up the arete right of It’s in the Veins.
DBB Selby, 1998.
Takes the corner and thin crack left of Pipedreams. Thin gear in the crack and bumping an extended #6 up the corner is a good backup. Build a nest before committing to the top crack and blast to glory.
Patrick Munnings & Hannah Rose, Mar 2022 · From: theCrag
Climbs lest side of face to a big ledge and up sharp corner.
Thomas Young, 2022 · From: theCrag
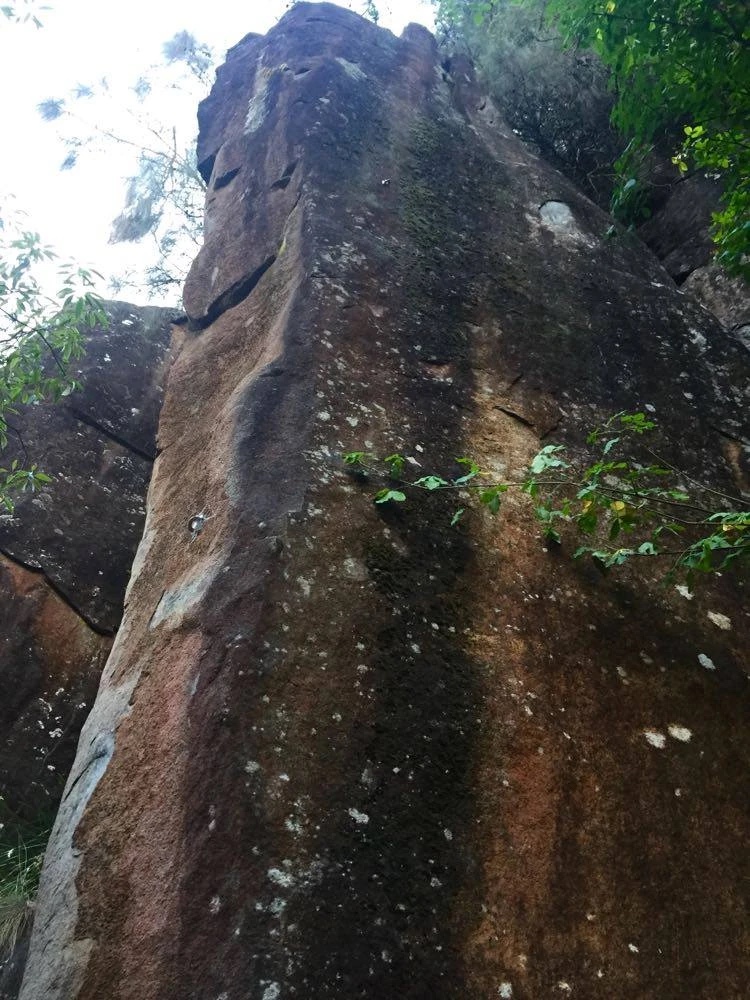
Topo: theCrag contributors, CC BY-NC-SA 3.0, theCrag
Walk up the right side of Double Dozen Buttress and climb up the fixed rope to the old pipes. Follow these pipes to your right. All up it’s 30m from Future World. Up pillar past 3 FH to a DBB.
Fox, Jones, 2001.
Road to Lost City Area
Another 95 steps upstream from the hut with the funny looking concrete tree trunks is a slab that leads up to a 12m high buttress with several climbs on it, known as Mark Moorhead Buttress. It is also 95 steps downstream from the Double Dozen Buttress The first climbs are on the face looking upstream.
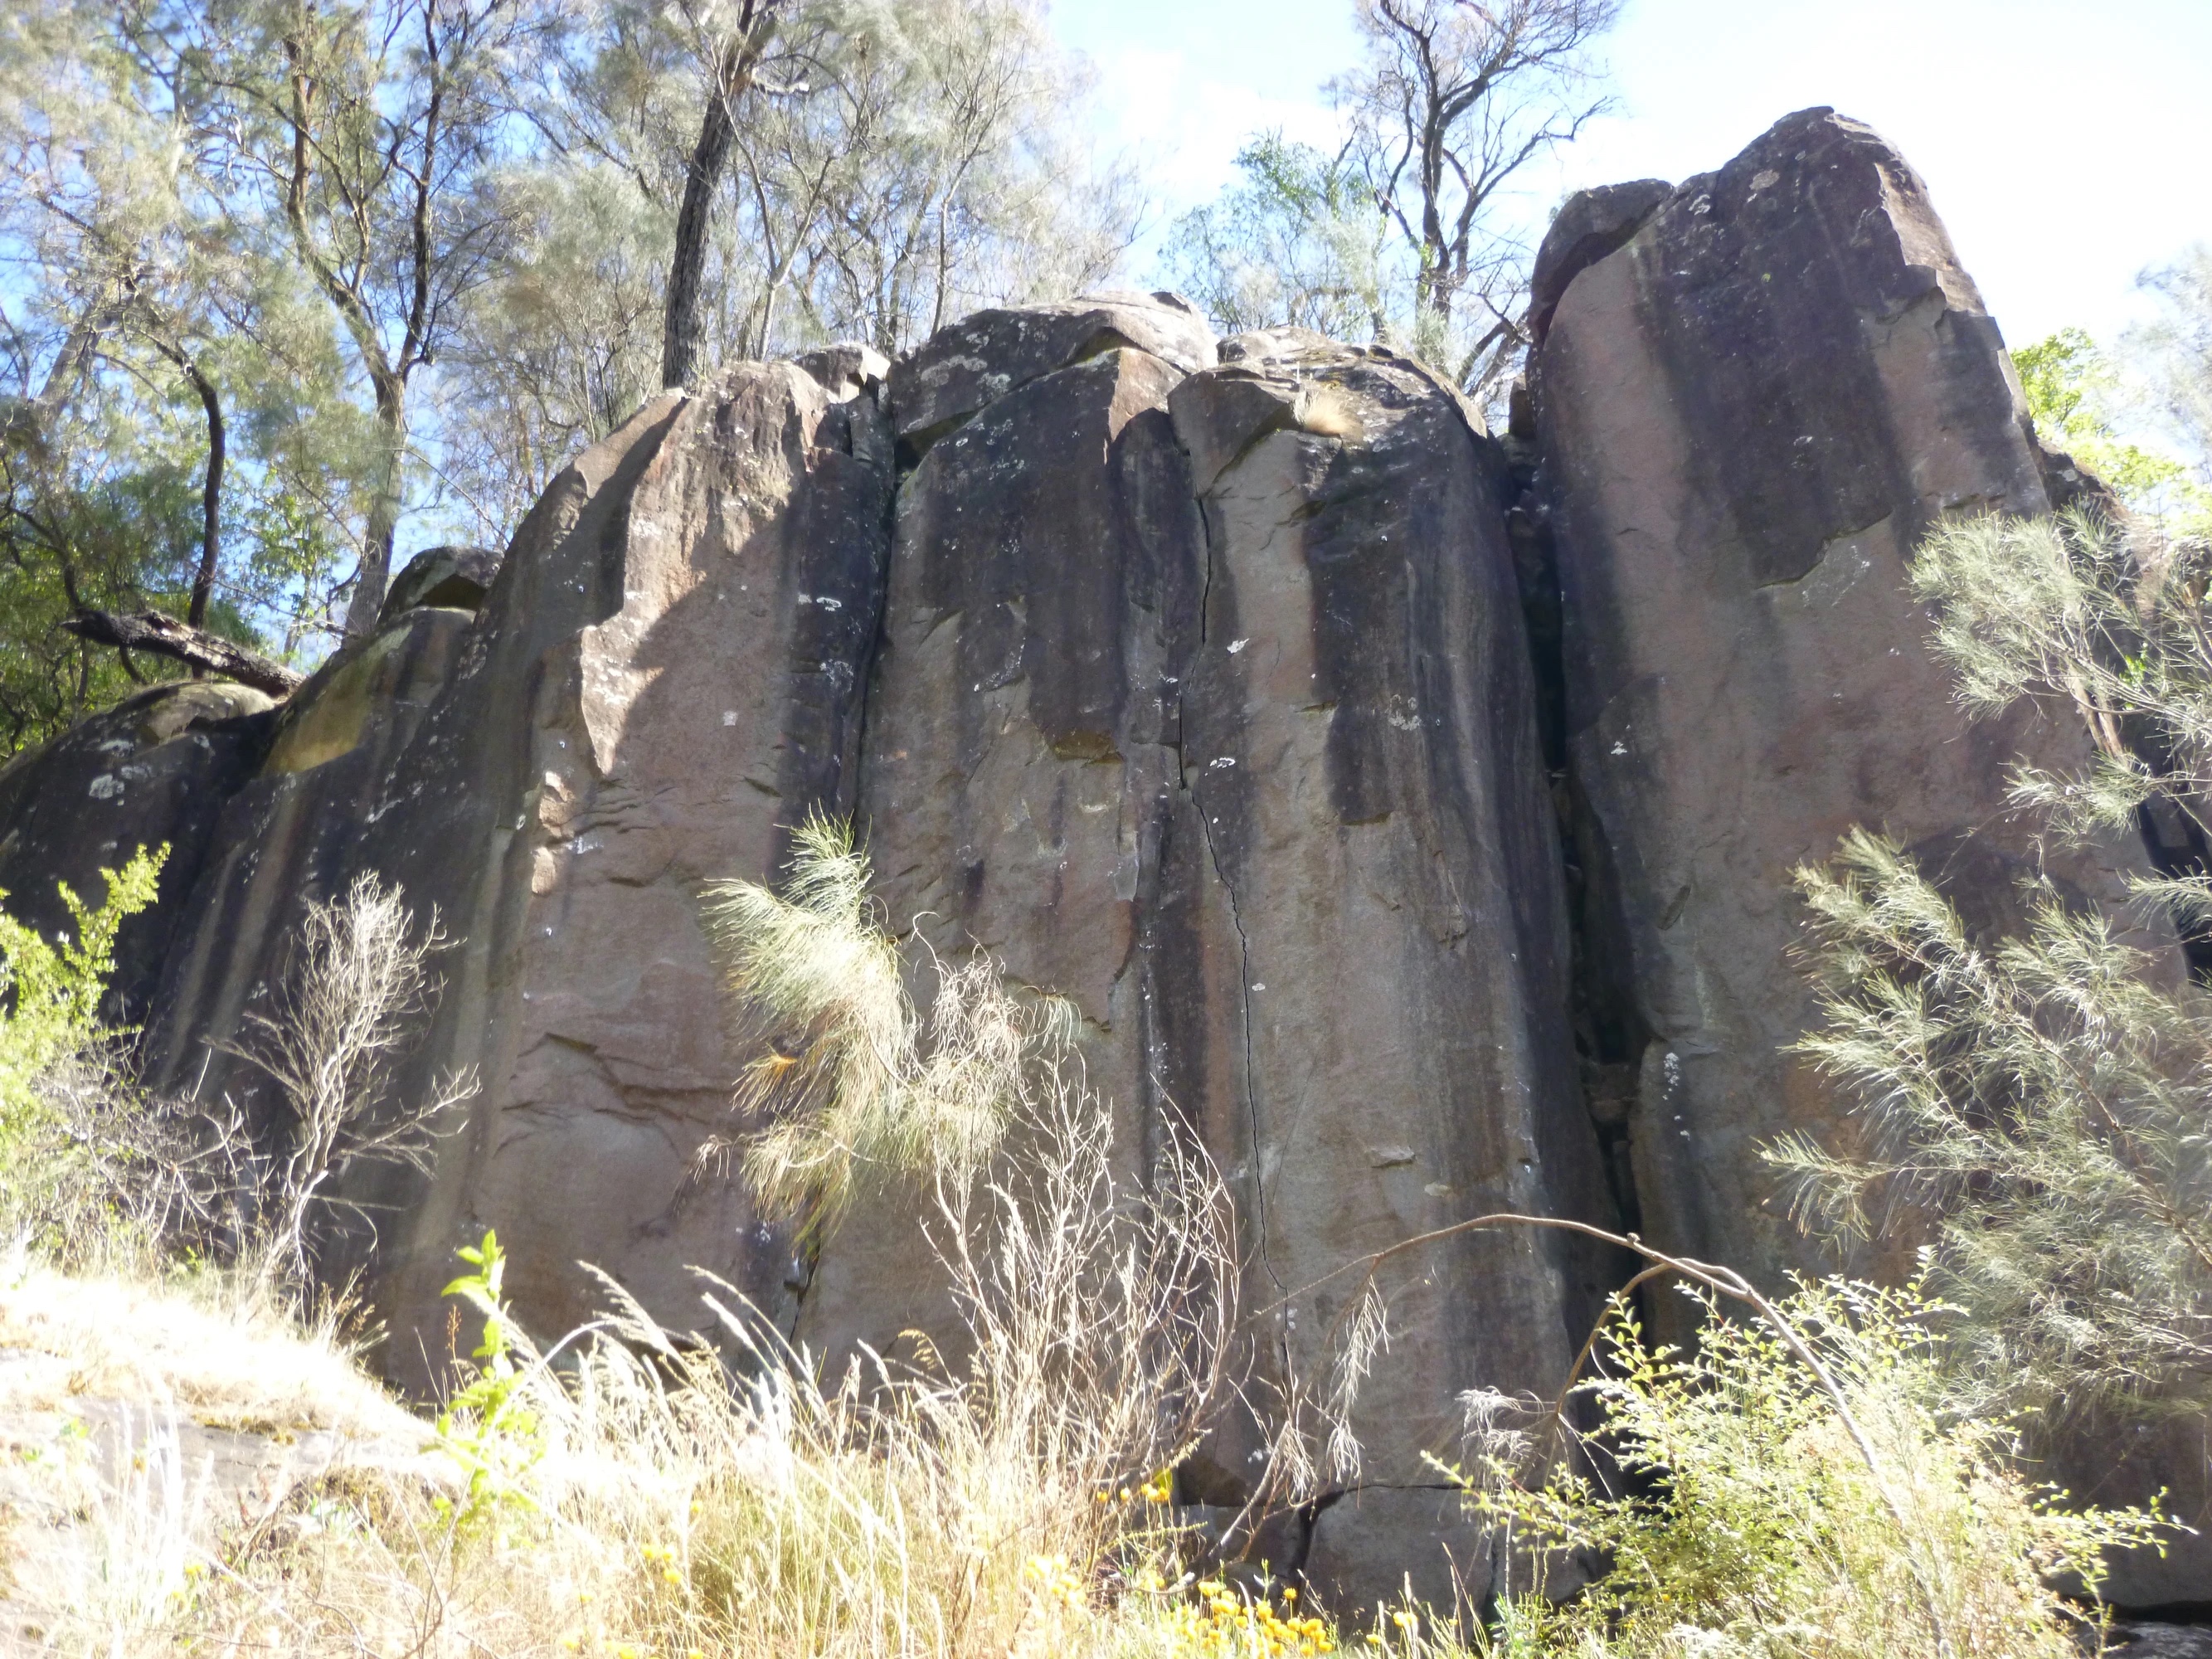
Topo: theCrag contributors, CC BY-NC-SA 3.0, theCrag
The leftmost route on the buttress up a blunt arête past 3 bolts. The crux (a balancy double-clutch move) may feel easy if done perfectly and impossible if not - potential ingredients for frustration. Note: the current anchors are far up and right from the top of the route making cleaning interesting.
Polinski, 2011
Visible from the walk-way it is the left hand crack on the upstream face 4m left of the very thin twin cracks (which are waiting a first ascent). DBB way over the back.
Morehead, Dignan 1982.
The twin cracks. Climbed without stripping the gear between lead attempts. Get your tallest friend along to place a high micro-cam!
M Johnston 2009
The arete with 5 fixed hangers 2m right of the very thin twin cracks. DBB at top. The best climbing at the grade near Launceston.
Either Doug or M Johnston 2008
The bolted wide crack and arete near the right hand end of the buttress. Can be done with varying degrees of directness; climbs particularly well if the large ledge on the right is avoided.
M. Fox, 2003
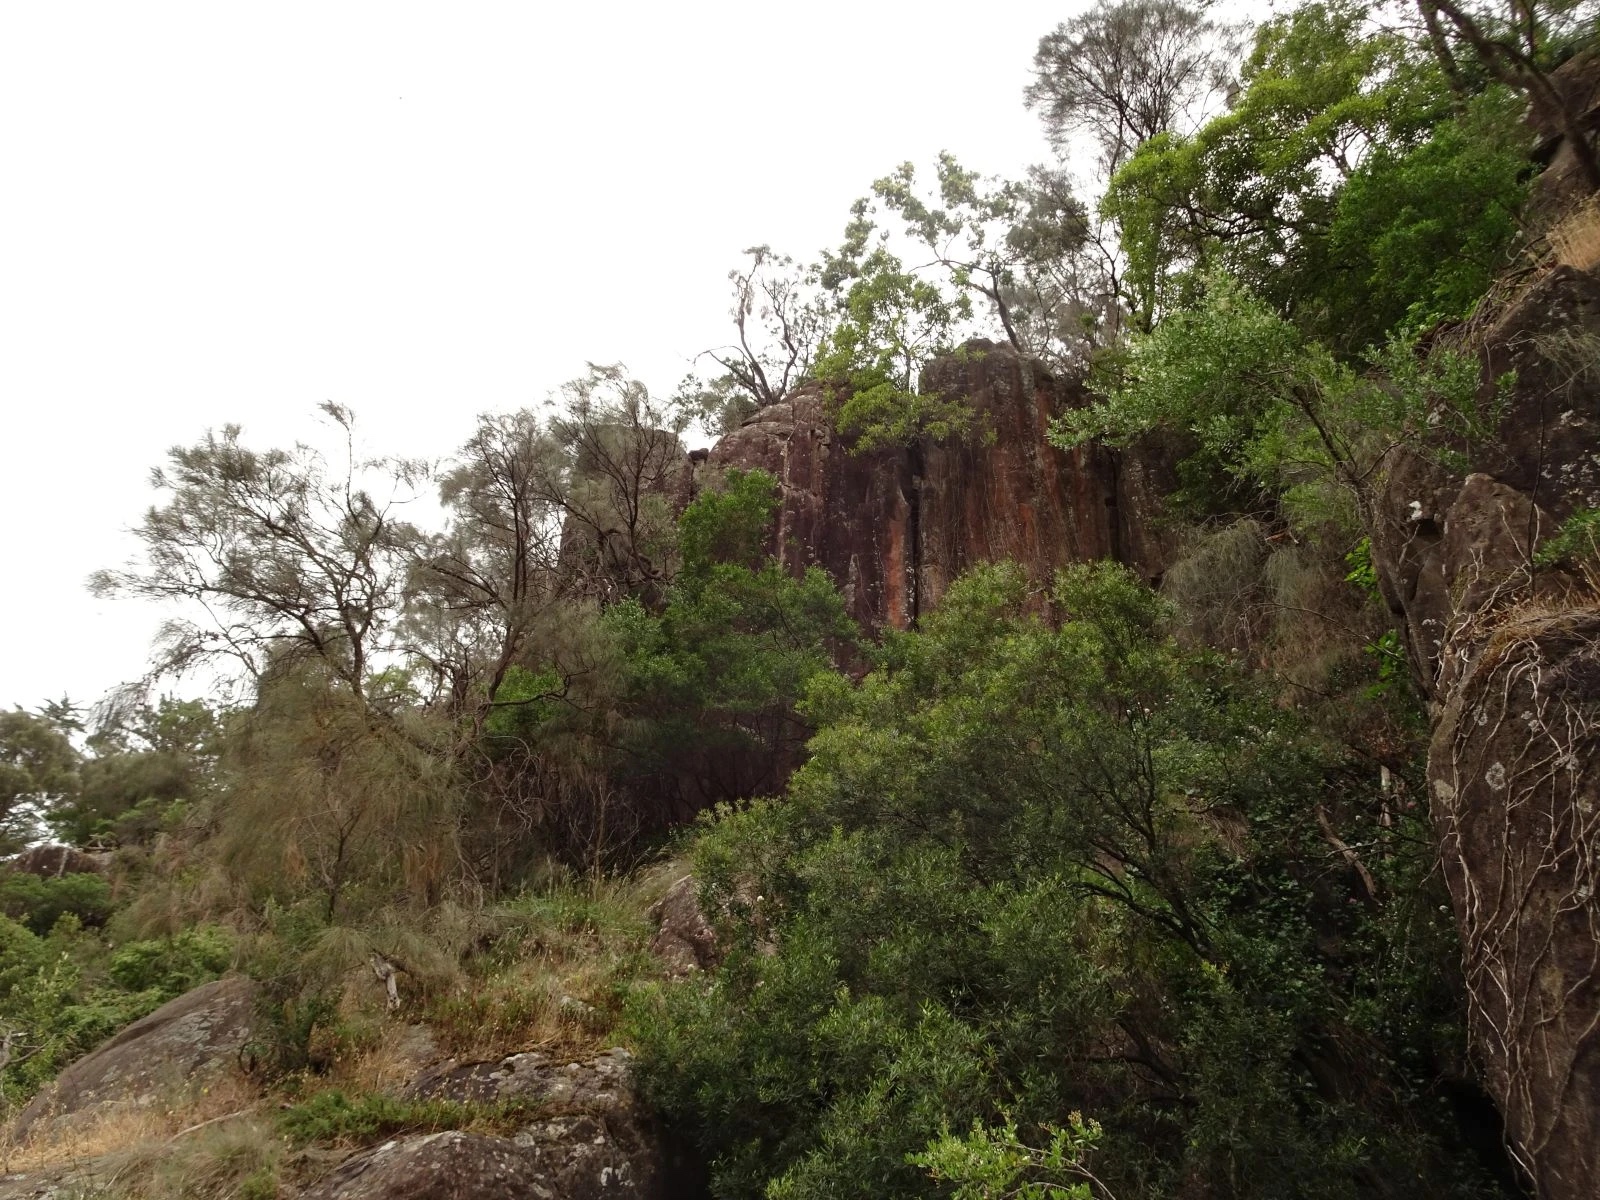
Topo: theCrag contributors, CC BY-NC-SA 3.0, theCrag
Originally called Pipeline, but known by the above name for many years. It is 15m around the corner from Morehead’s Corner and easy to identify now because the council has put cables over a potentially loose boulder at the top. Climb the left hand crack/corner then traverse right onto the black face past 3 carrots and the macrame. DBB. Ng and Vincent 1992. A direct start has been done at the same grade (for tall people) but doesn’t add much to the climb.
Danny Ng, 1991
Crack to the right of Road to the Lost City.
Selby, McMahon, 1997.
Next crack to the right.
McMahon, Selby, 1997.
Across the gully on the upstream side of the Road to the Lost City buttress is a single pillar. Access by scrambling up the gully on the left of Moreheads Corner and then heading left just before where the 2 pipes cross over.
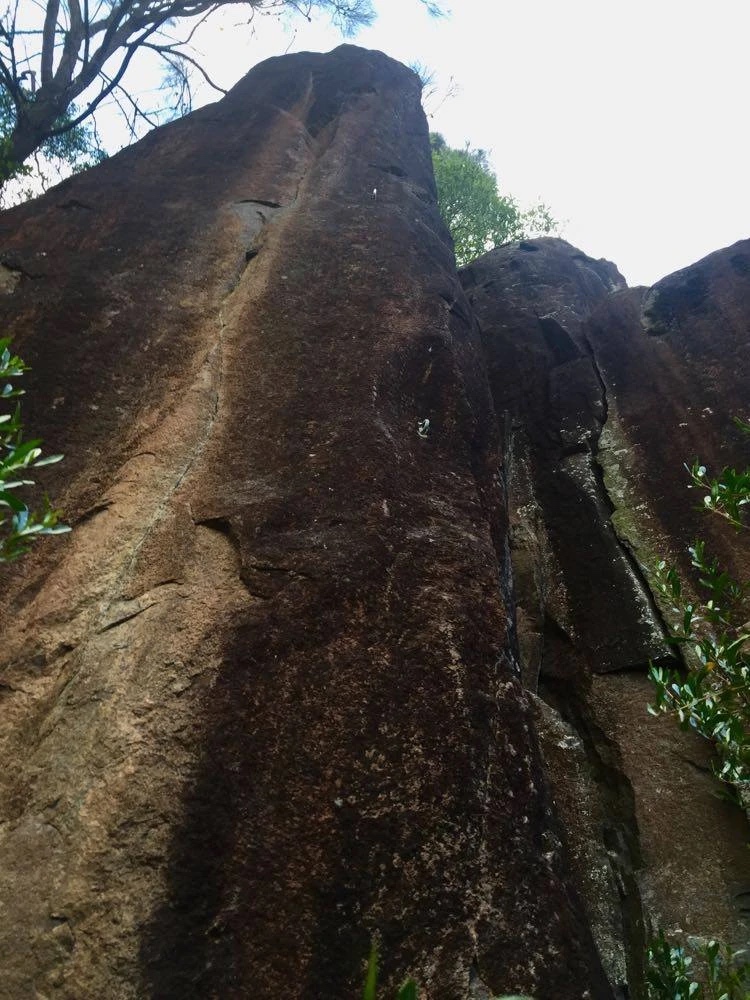
Topo: theCrag contributors, CC BY-NC-SA 3.0, theCrag
The arete with 2 eye-bolts and wires. DBB.
Fox, Tierney, 1996.
The Lost City / Left Kohoutek
Access - either from the top of Road to the Lost City go 50m uphill and slightly downstream or scramble up the gully on the upstream side of Road to the Lost City, go past the crossed over pipes and then go right to walk along the single pipe for 30m. From here the buttress is visible 40m uphill and slightly downstream. Short climbs but worth a visit if you’re in the area.
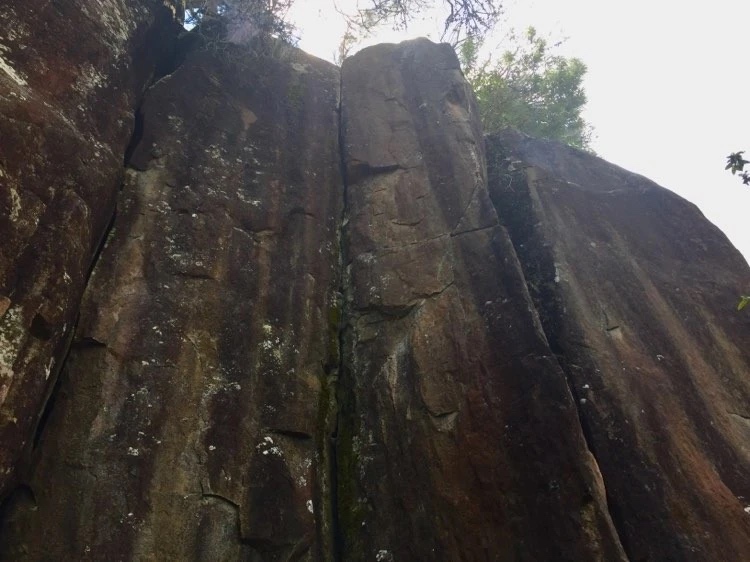
Topo: theCrag contributors, CC BY-NC-SA 3.0, theCrag
The off-width looking crack.
Narkowicz, McMahon, 1982.
The crack 2m downstream of Only the Wheel. DBB.
Narkowicz, McMahon, 1982
3 bolts up the right hand arete.
Ng, Vincent, 1992.
Corner right of arete.
McMahon, Narkowicz, 1982.
Right Kohoutek
Head downstream another 50m from Left Kohoutek staying on the same level and crossing the head of a gully. Alternatively from the hut with the concrete tree trunks head directly up the hill for 60m.
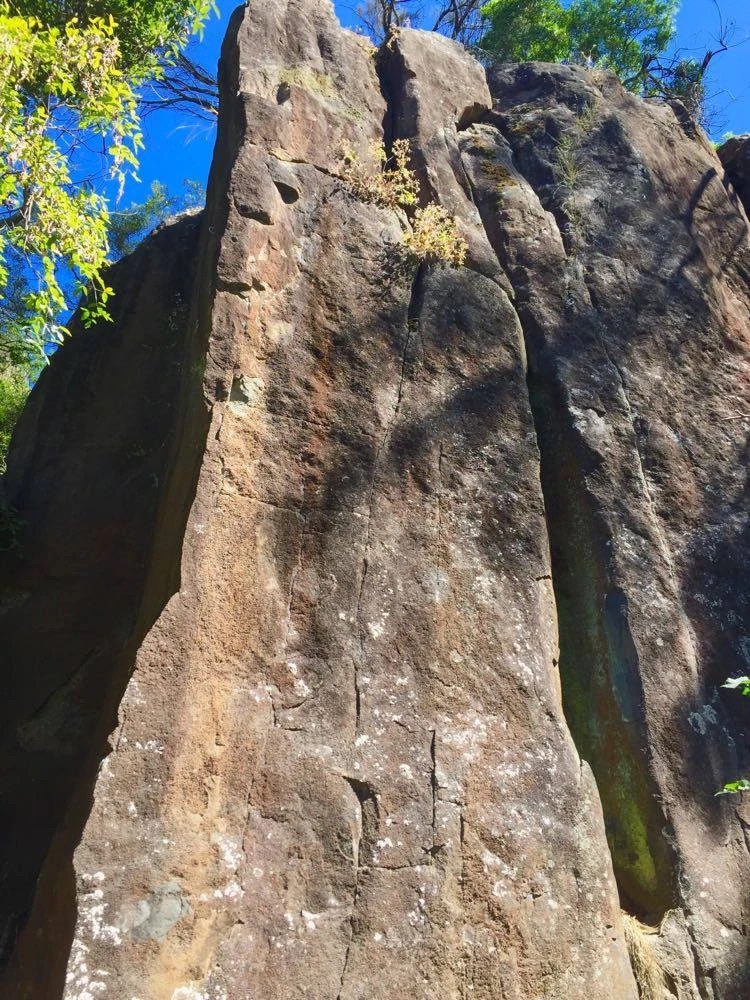
Topo: theCrag contributors, CC BY-NC-SA 3.0, theCrag
Climb the fused corner for 2m before moving out to the left arête for another 2m and then back to the crack. Sounds contrived, but who knows I haven’t done it.
Fisher 1997.
The arete right of In Cahouts with 3 FH and a 1 friend at the top. DBB.
Fox, DeCesare, 2002.
Pleasant crack climbing up the middle of the face.
Selby, McMahon 1997.
Gold 101 Area
Now back on the tourist track 55 steps upstream from the hut with the fake cement tree trunks is the next climb. It is also 40 steps downstream from the ramp leading to Road to the Lost City.
Gerry Narkowicz & Bob McMahon, 1982
Climb up the easy face to a ledge with a DBB. These are actually to facilitate measuring of rock movement and were placed by council. Nice of them hey! Move right around the arete to a black face with a thin crack up it. Climb this then move left at half height to an easier crack to finish at a DBB.
Narkowicz, 1983.
From the picnic shelter walk 40 steps downstream to be level with a small block of rock 10m above the track with an off-width (grade 19 if you have to do it) up the right side.
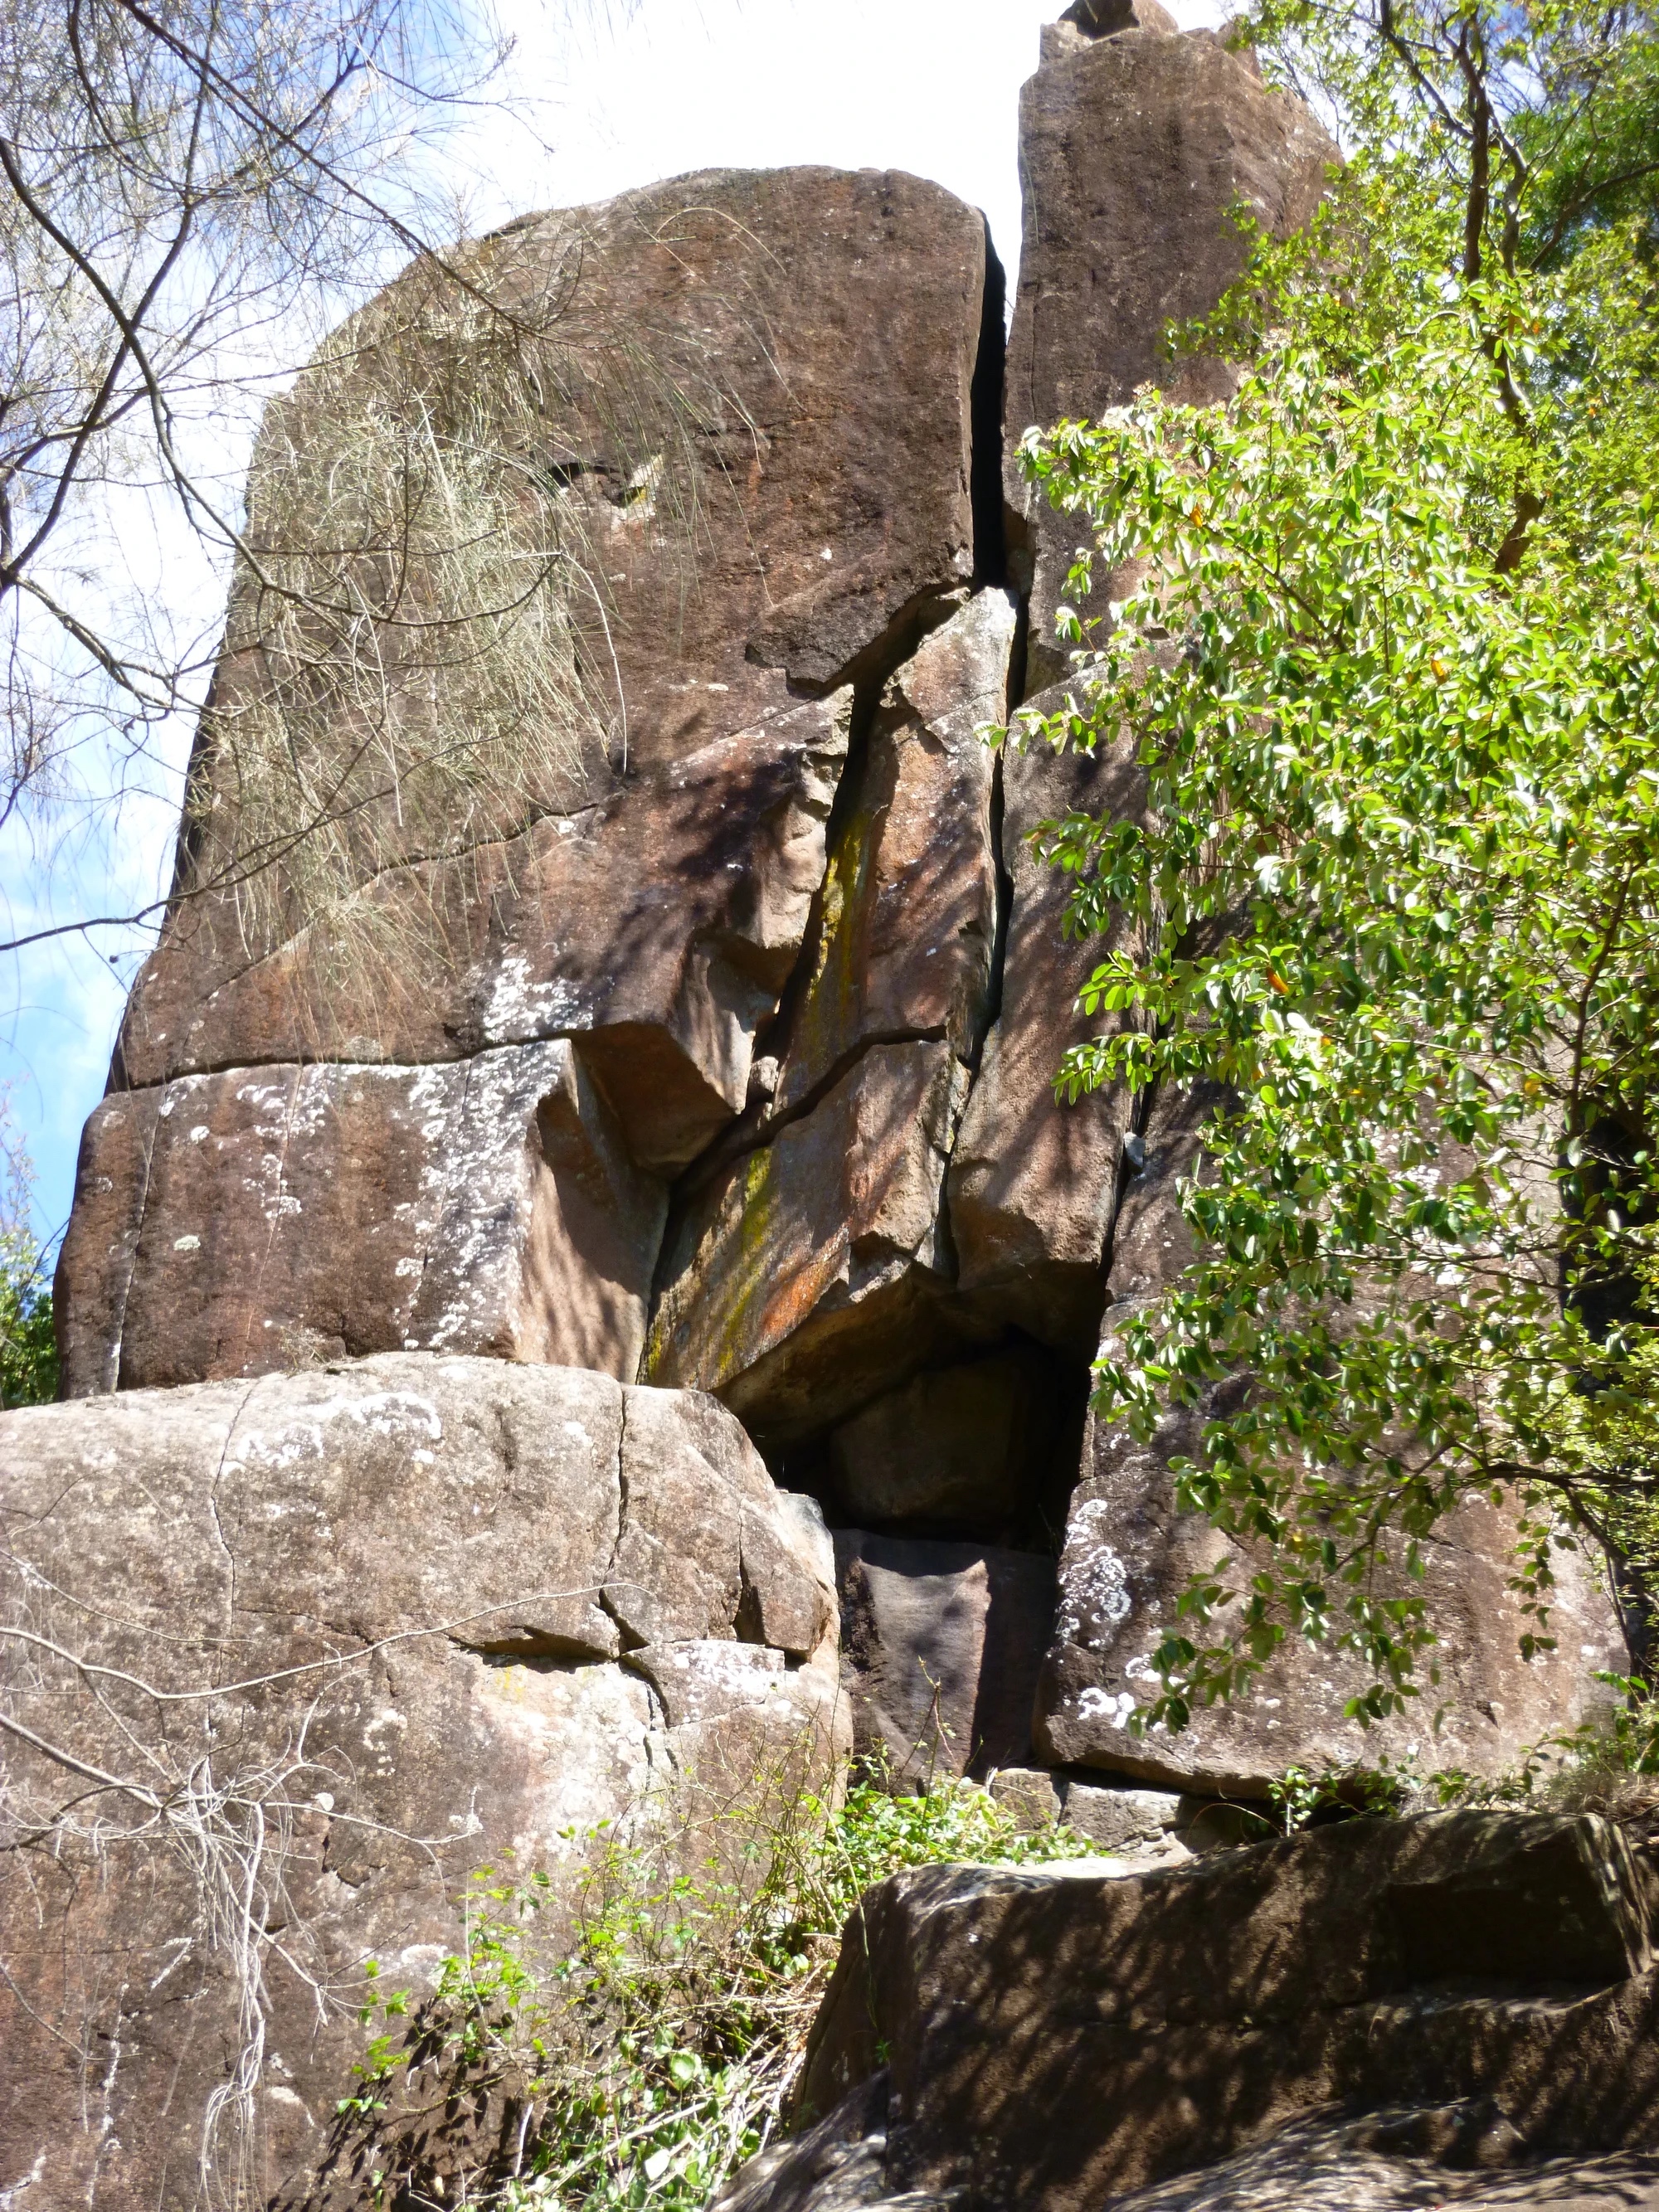
Topo: theCrag contributors, CC BY-NC-SA 3.0, theCrag
A natural pro sports route. This route is yet to see an ascent placing gear on lead. Otherwise it’s something of a hassle since you have to rap down to pre-place gear! Climb the face left of the off-width heading left at the top.
Narkowicz, 1999.
30 steps further downstream is another small pinnacle with an even smaller conifer in front of it. It’s possible to see the shiny hangers of this route from the track in front of Sanctity.
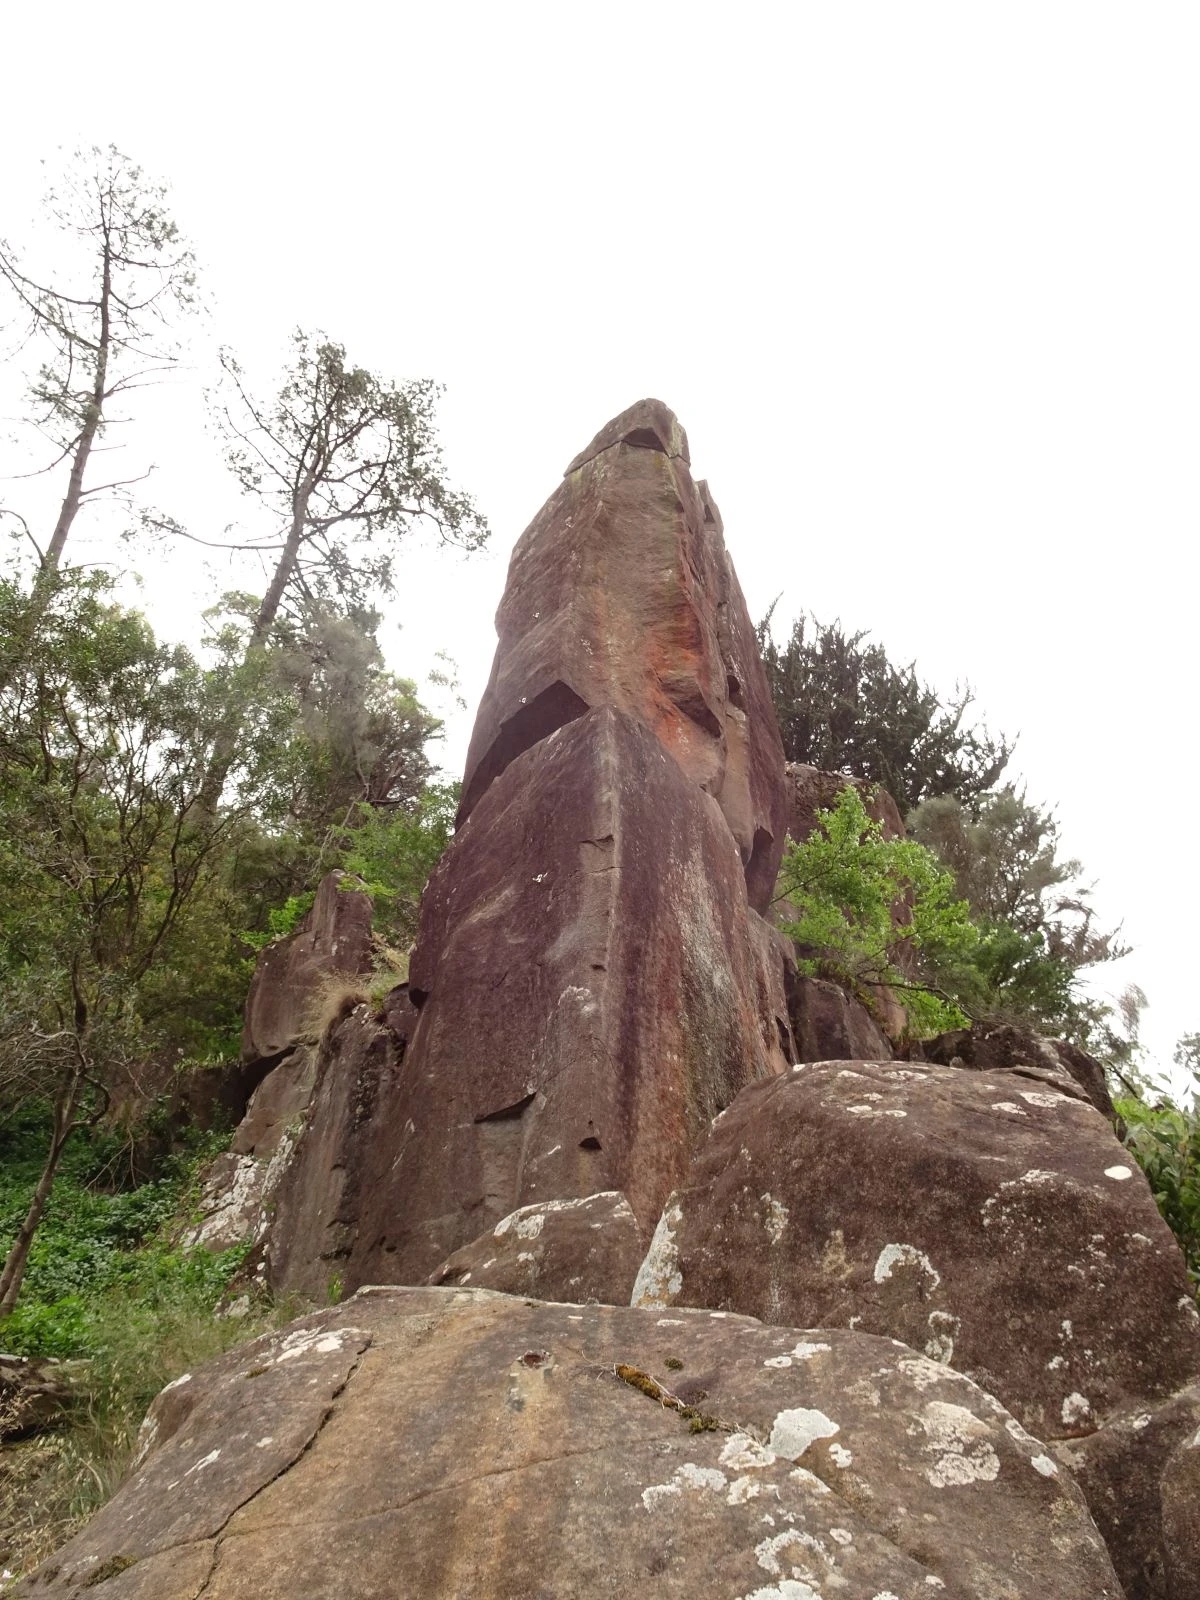
Topo: theCrag contributors, CC BY-NC-SA 3.0, theCrag
Great moves up past 4 FH to a DBB.
Narkowicz, 2001.
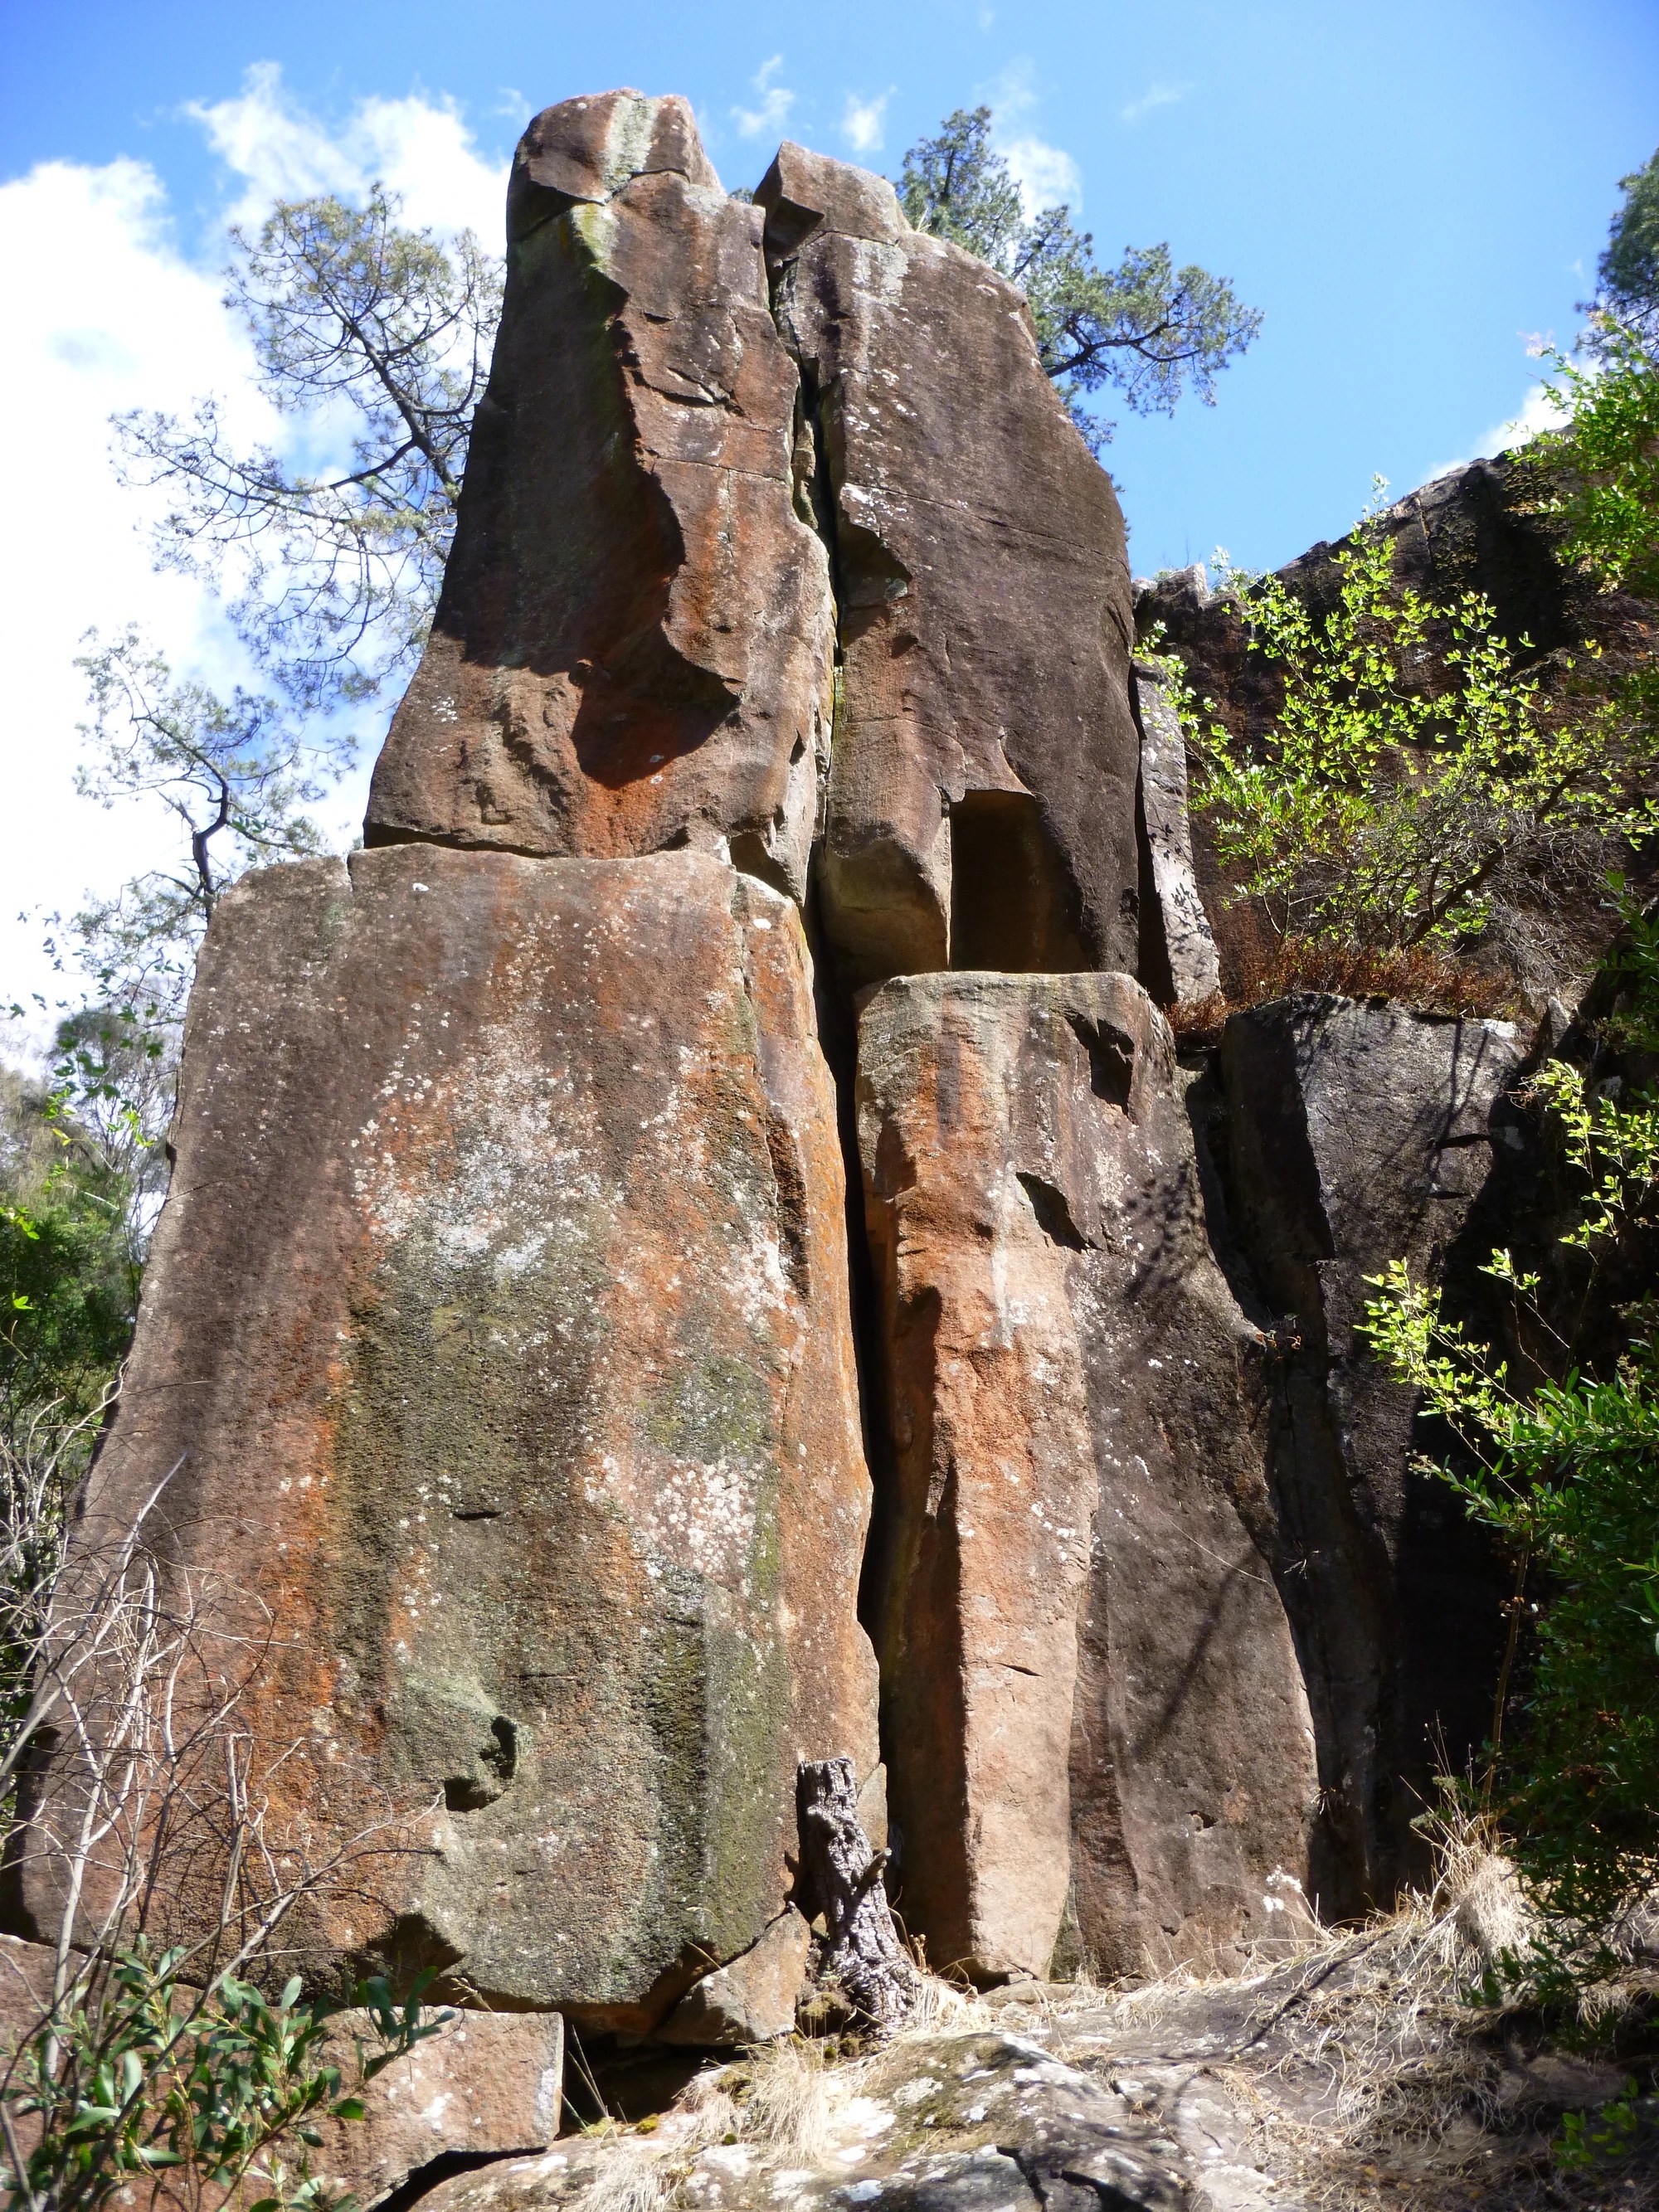
Topo: theCrag contributors, CC BY-NC-SA 3.0, theCrag
On the downstream side of the pinnacle. Scramble up ramp, slightly wide crack with a fused section after the horizontal break. The anchors for history maker can be used for a toprope anchor with a long chord and it is best to rap off those same bolts.
R. McMahon · From: theCrag
New Move Area
If you feel like a bit of a scrub bash you can now head up the footpads 35 steps upstream from the New Move that lead to small buttress above the arêtes. Discovered by Narkowicz just after McMahon published the Cataract guide they destroyed once and for all the notion of a definitive guide book.
The finger crack up the left hand side of the buttress.
Narkowicz, 2000.
The very thin crack left of the chimney.
Narkowicz, 2000.
Up the prow of the buttress.
Narkowicz, 2000.
Right of STG and left of the chimney.
Narkowicz, 2000.
Back down on the tourist track 115 steps on from History Maker you will reach a series of 3 pillars with bolted climbs going up the arêtes of each.
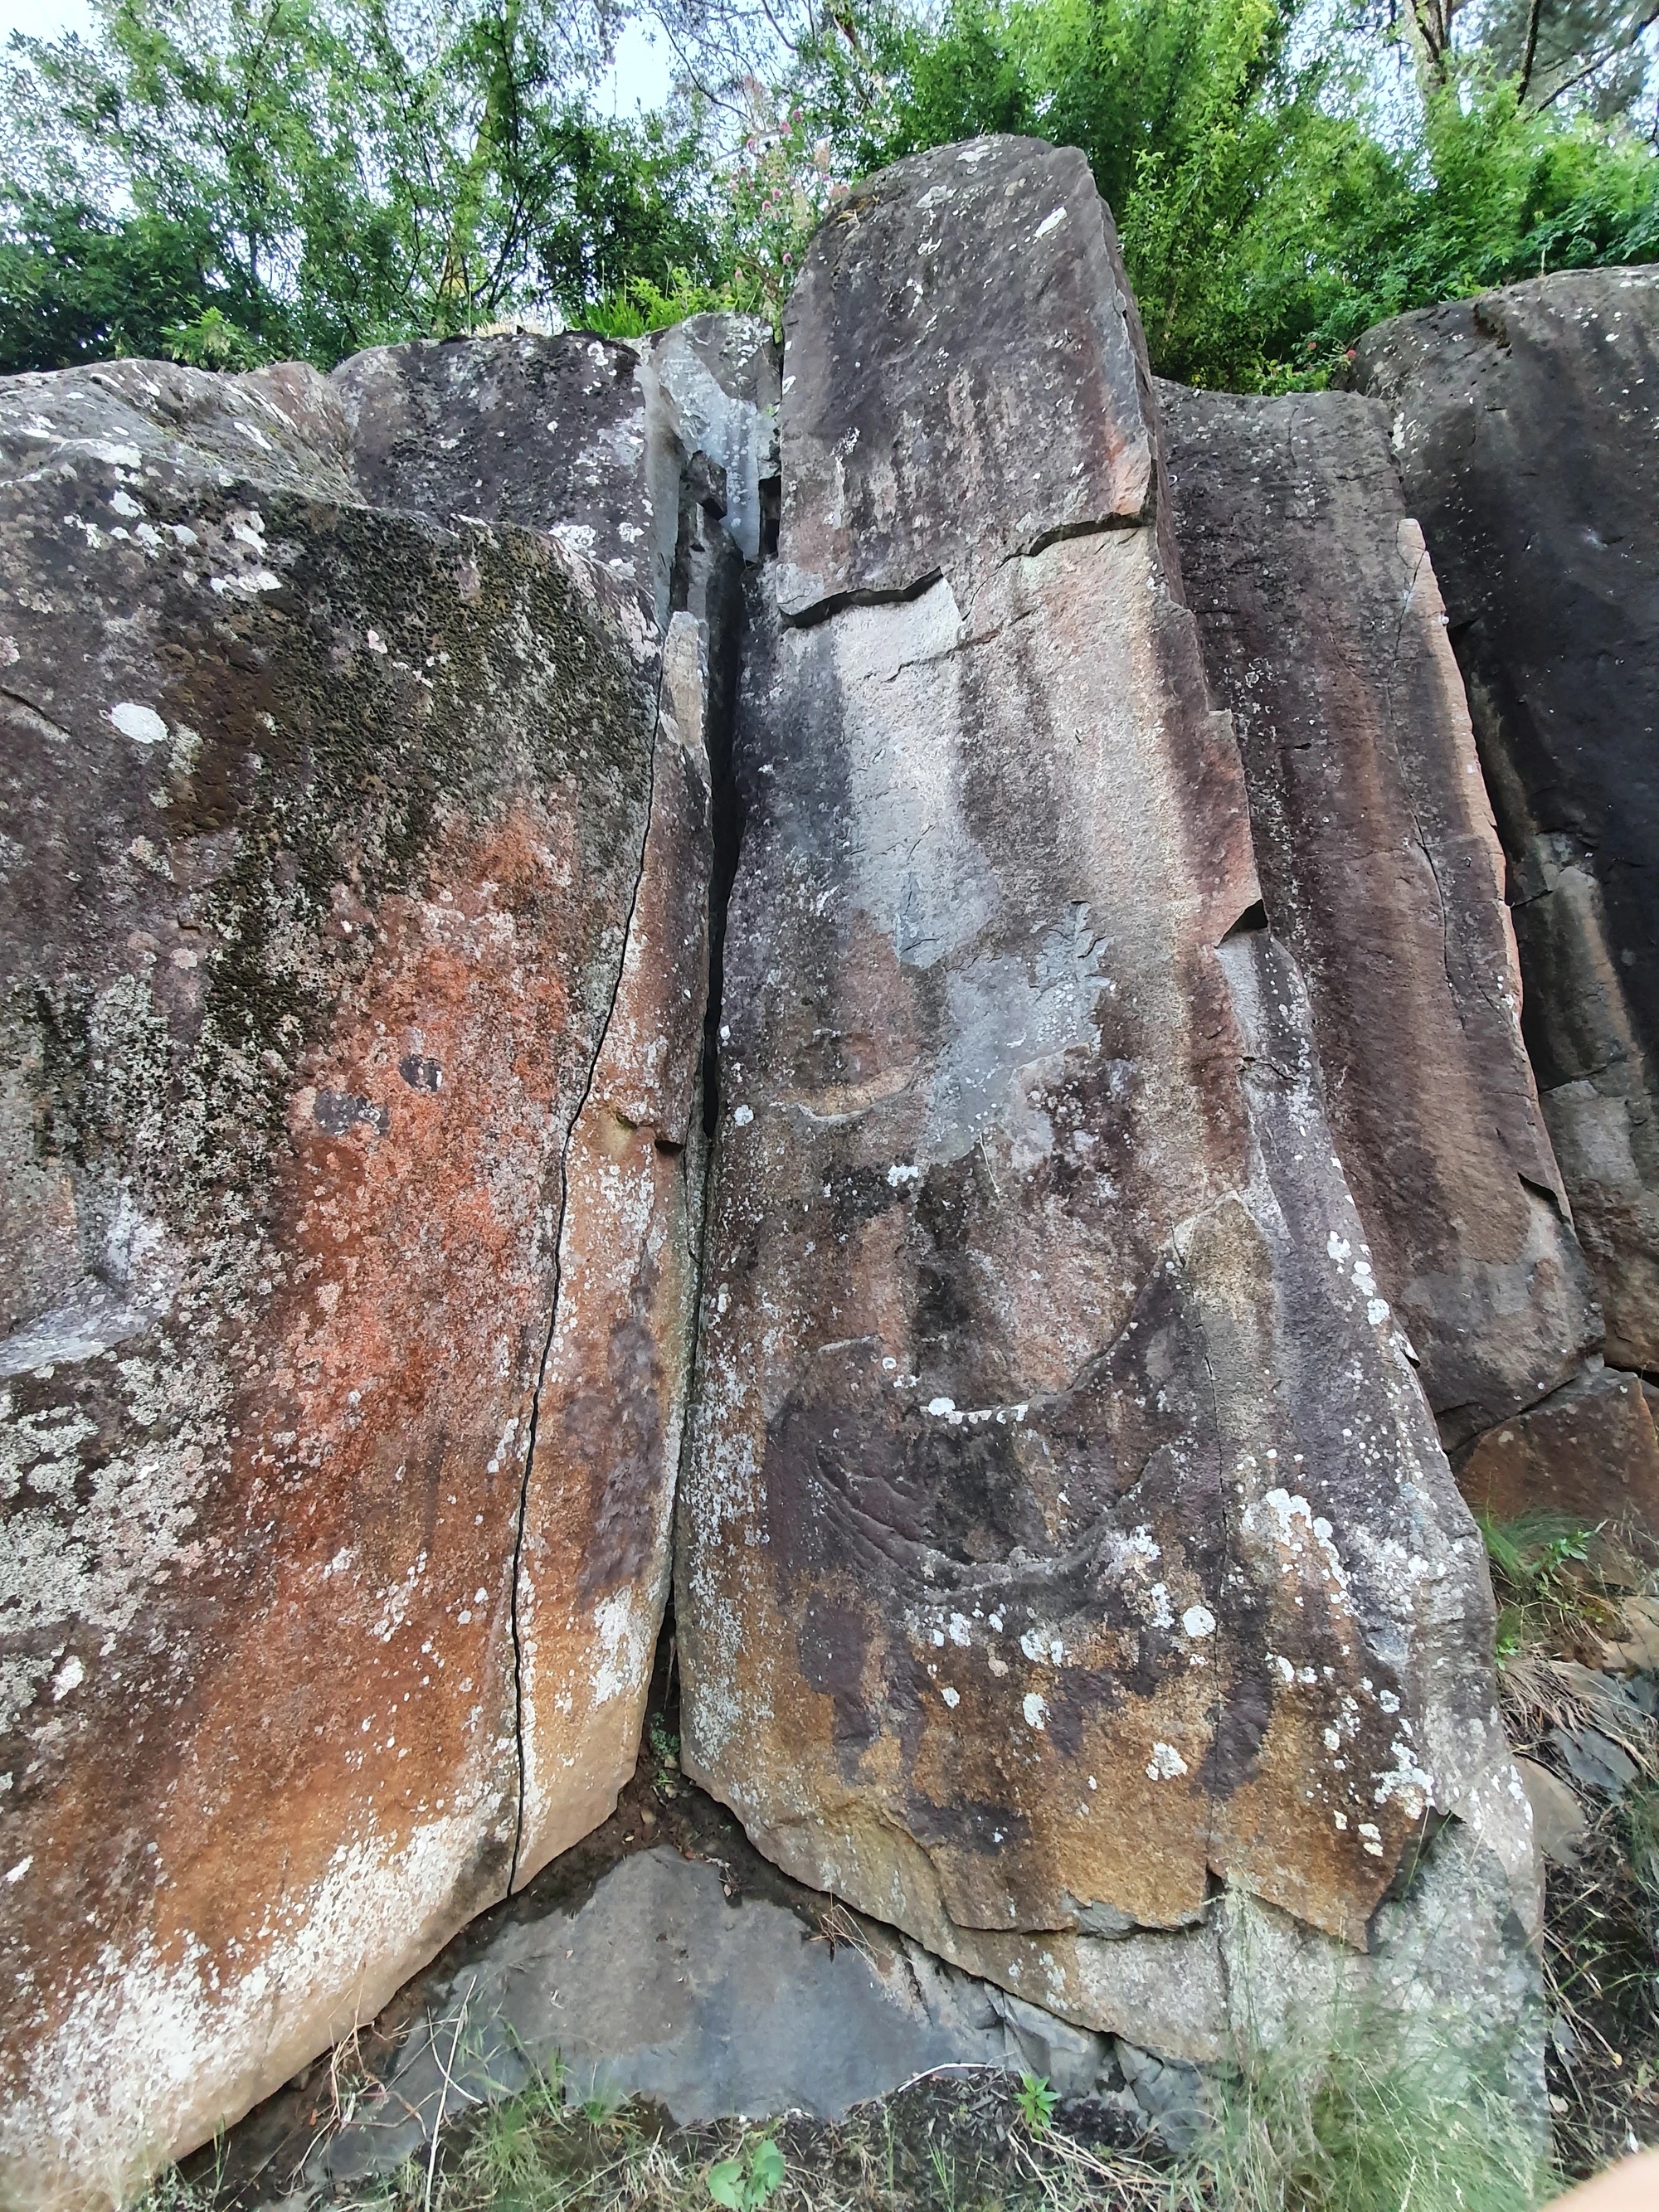
Topo: theCrag contributors, CC BY-NC-SA 3.0, theCrag
The same pillar as The New Move just sticking to the upstream face. Contrived but fun and the tourists won’t know the difference. 2 FH to the same DBB as The New Move.
Fox, Tiz, 2002.
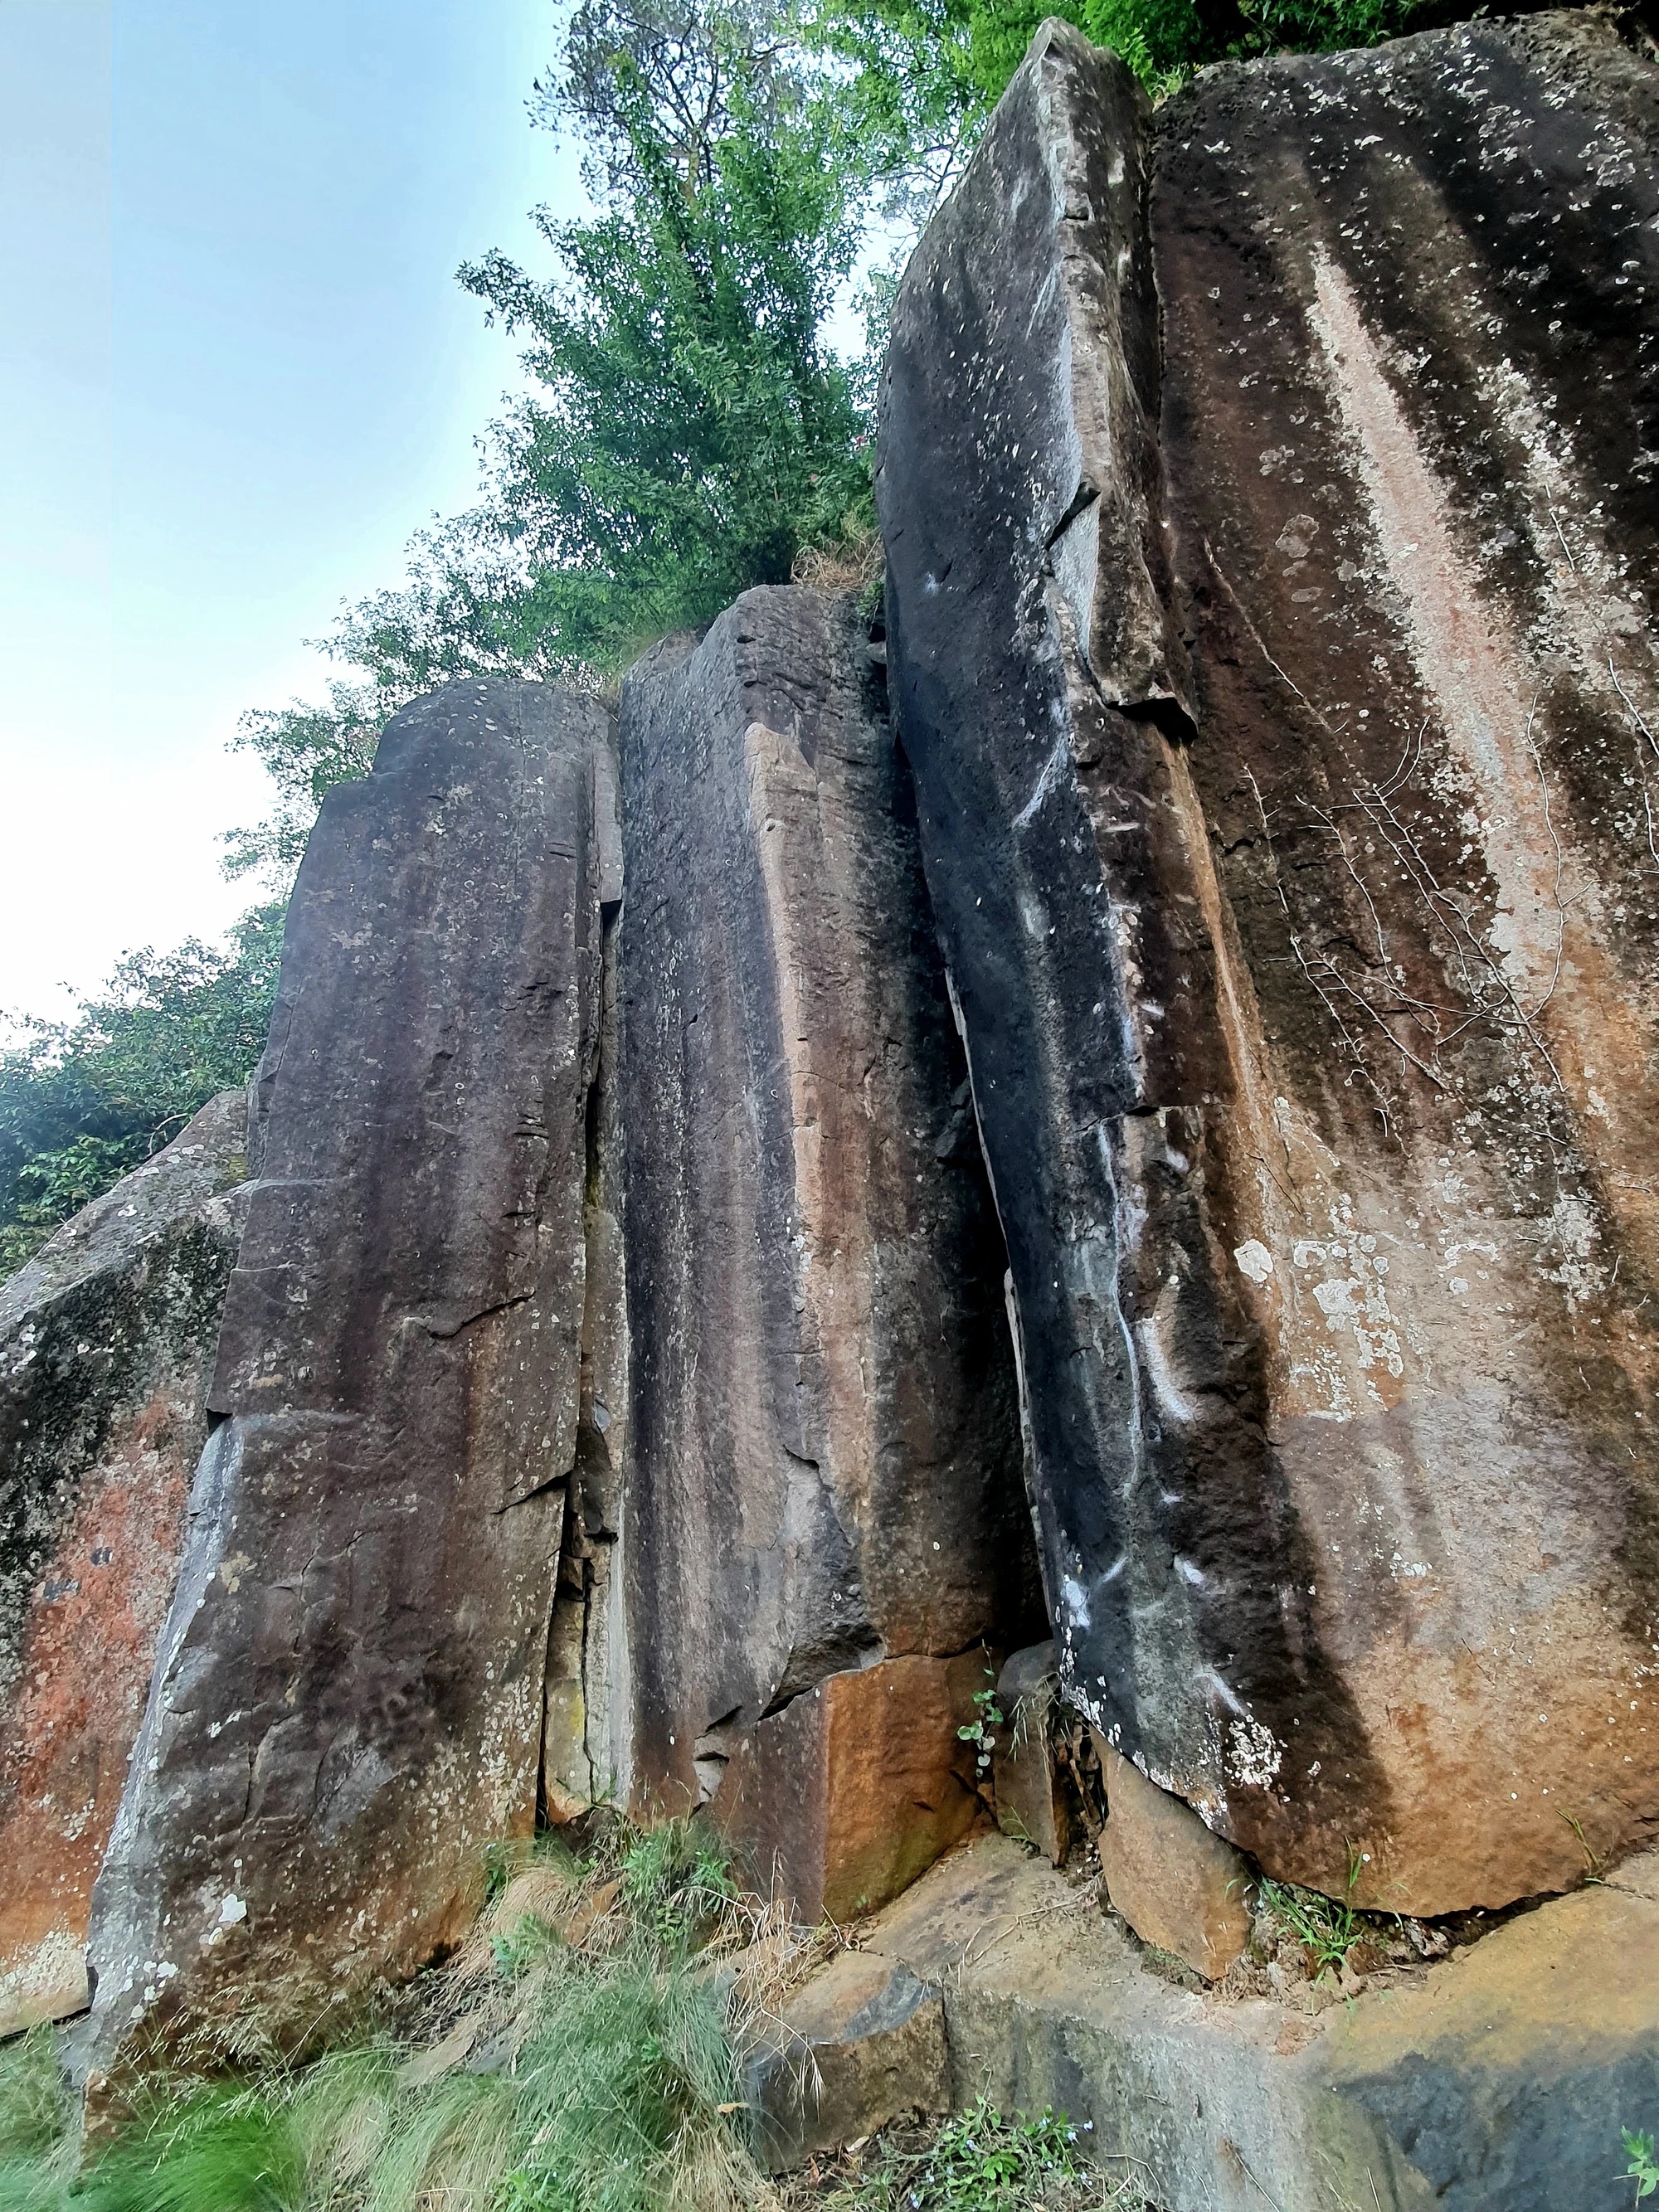
Topo: theCrag contributors, CC BY-NC-SA 3.0, theCrag
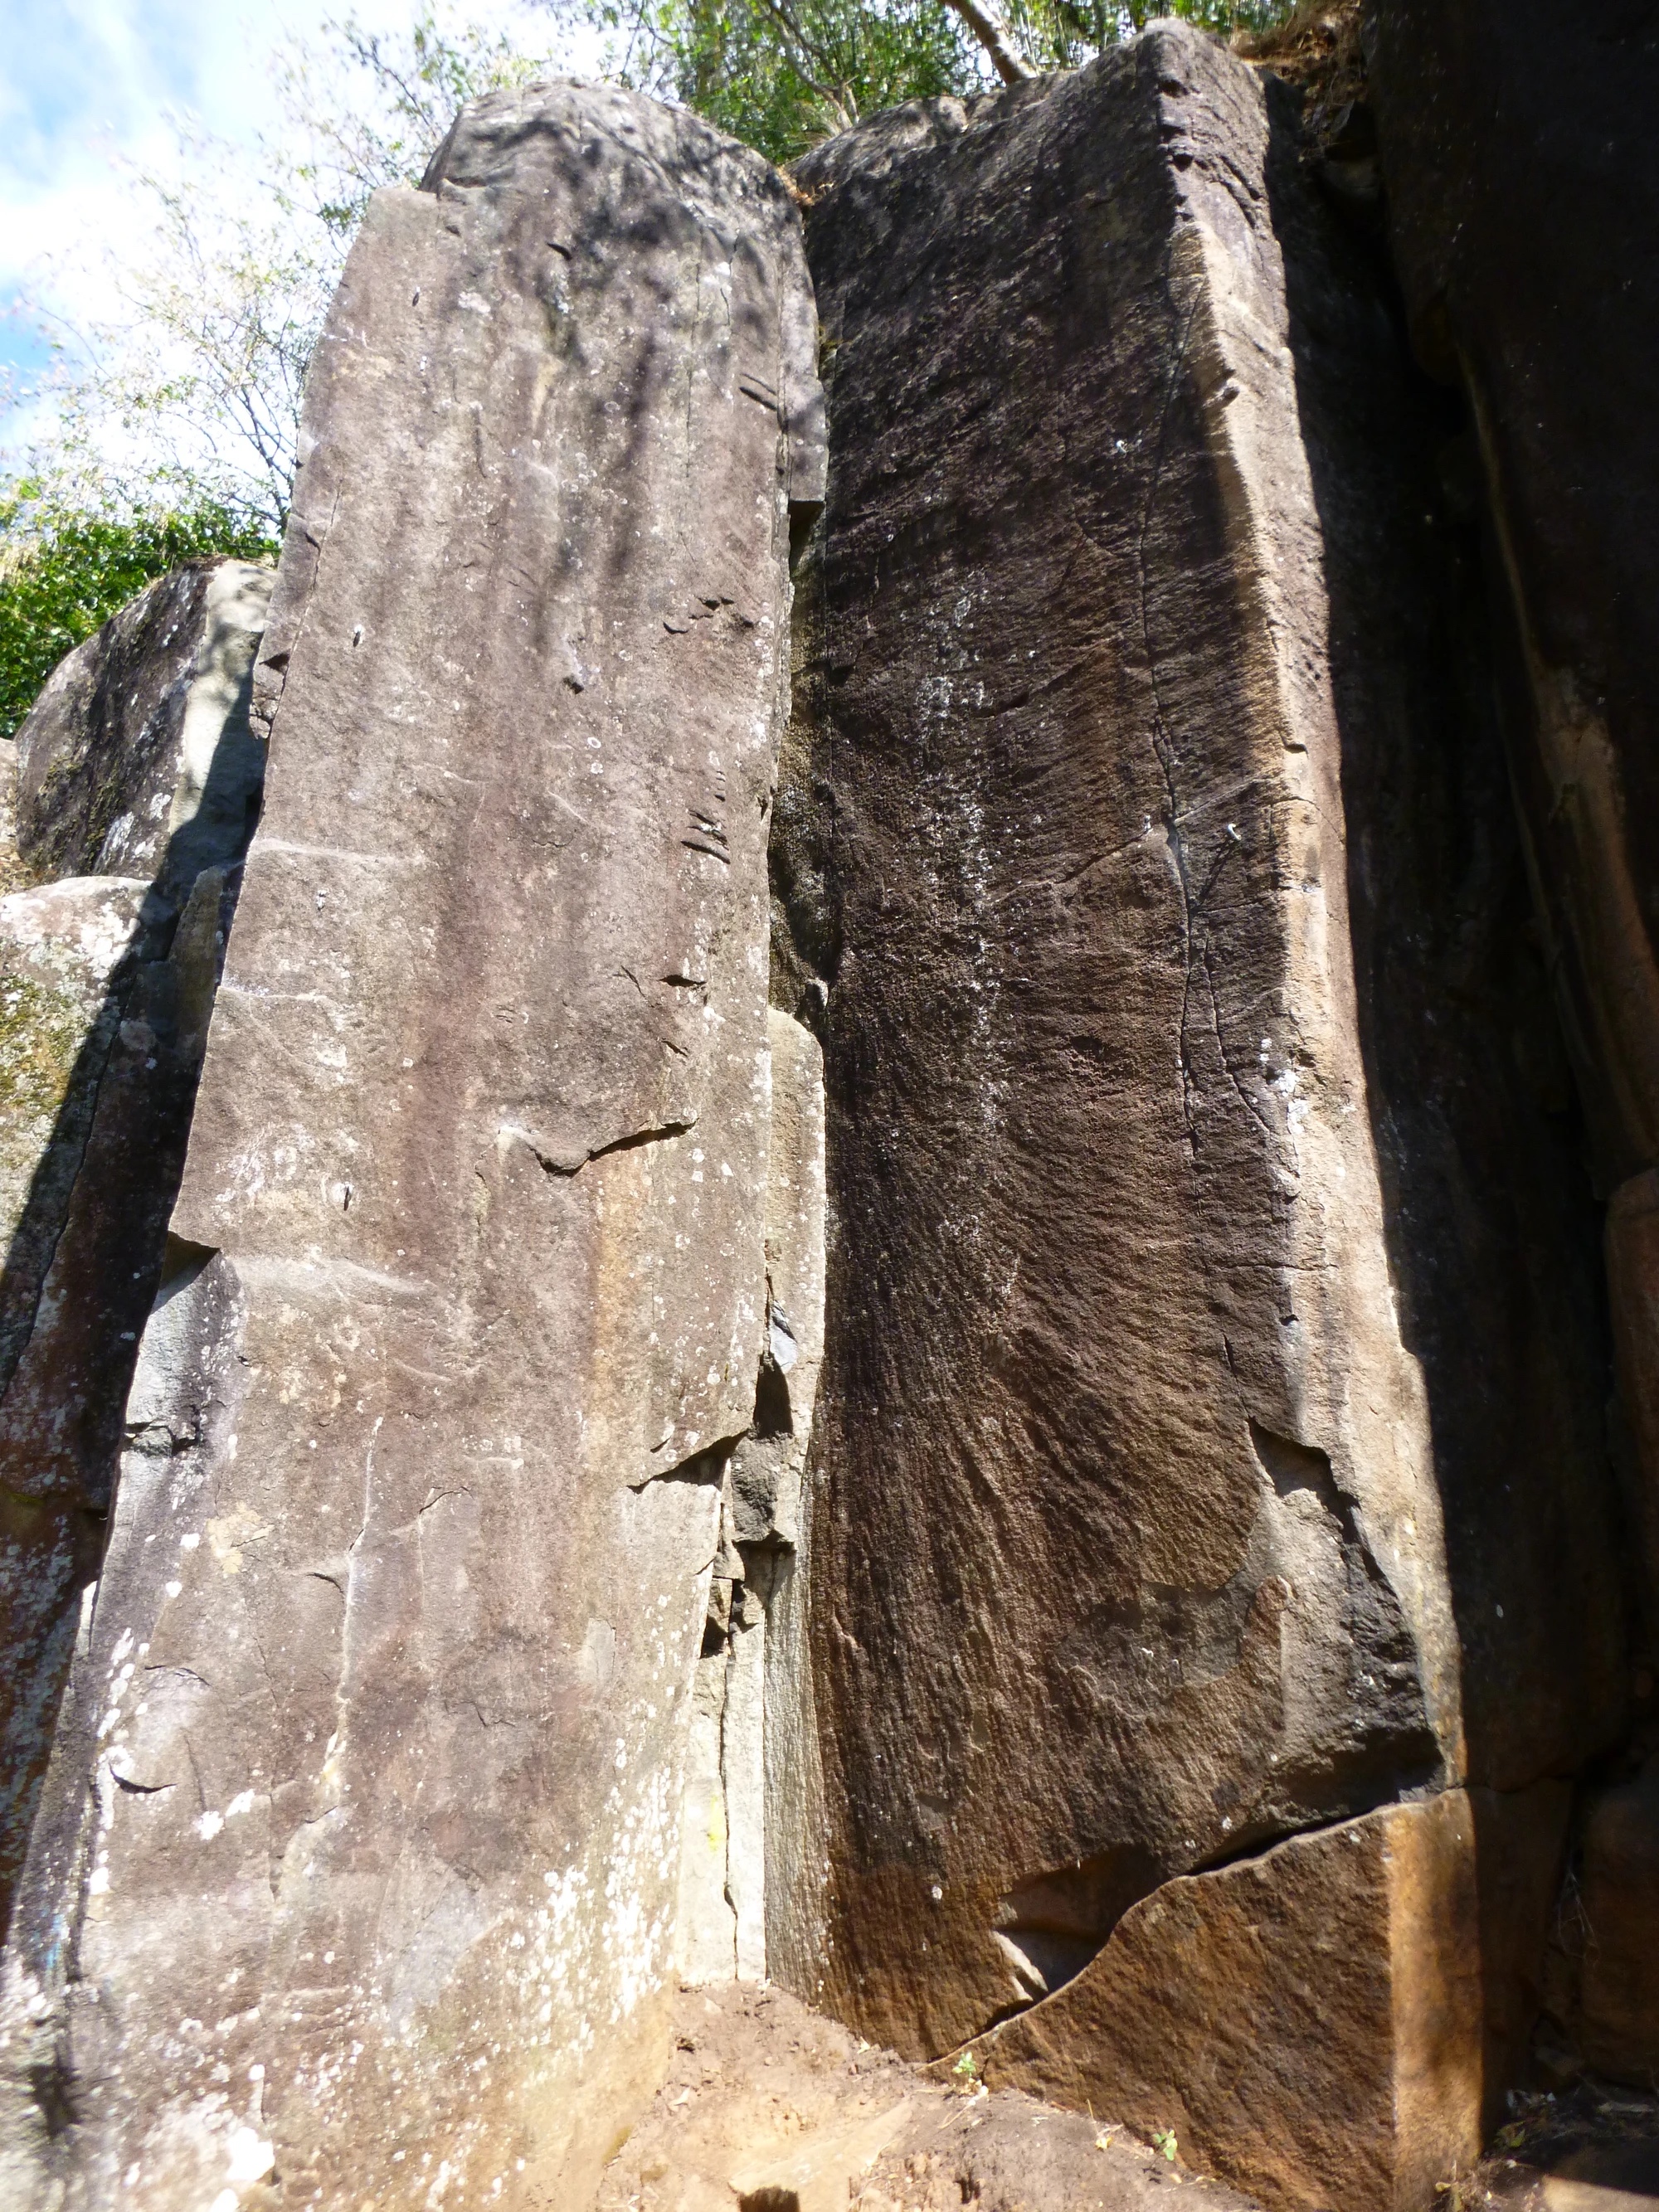
Topo: theCrag contributors, CC BY-NC-SA 3.0, theCrag
Call it what you will just do it! 2 eye-bolts to a DBB.
Narkowicz (solo), back in the Jurassic era.
Corner to the R.
The middle arete. 2 eye-bolts and a DBB.
Fisher, 1996.
The downstream arete. 2 eye-bolts and a DBB.
Chris Shepherd, 1985.
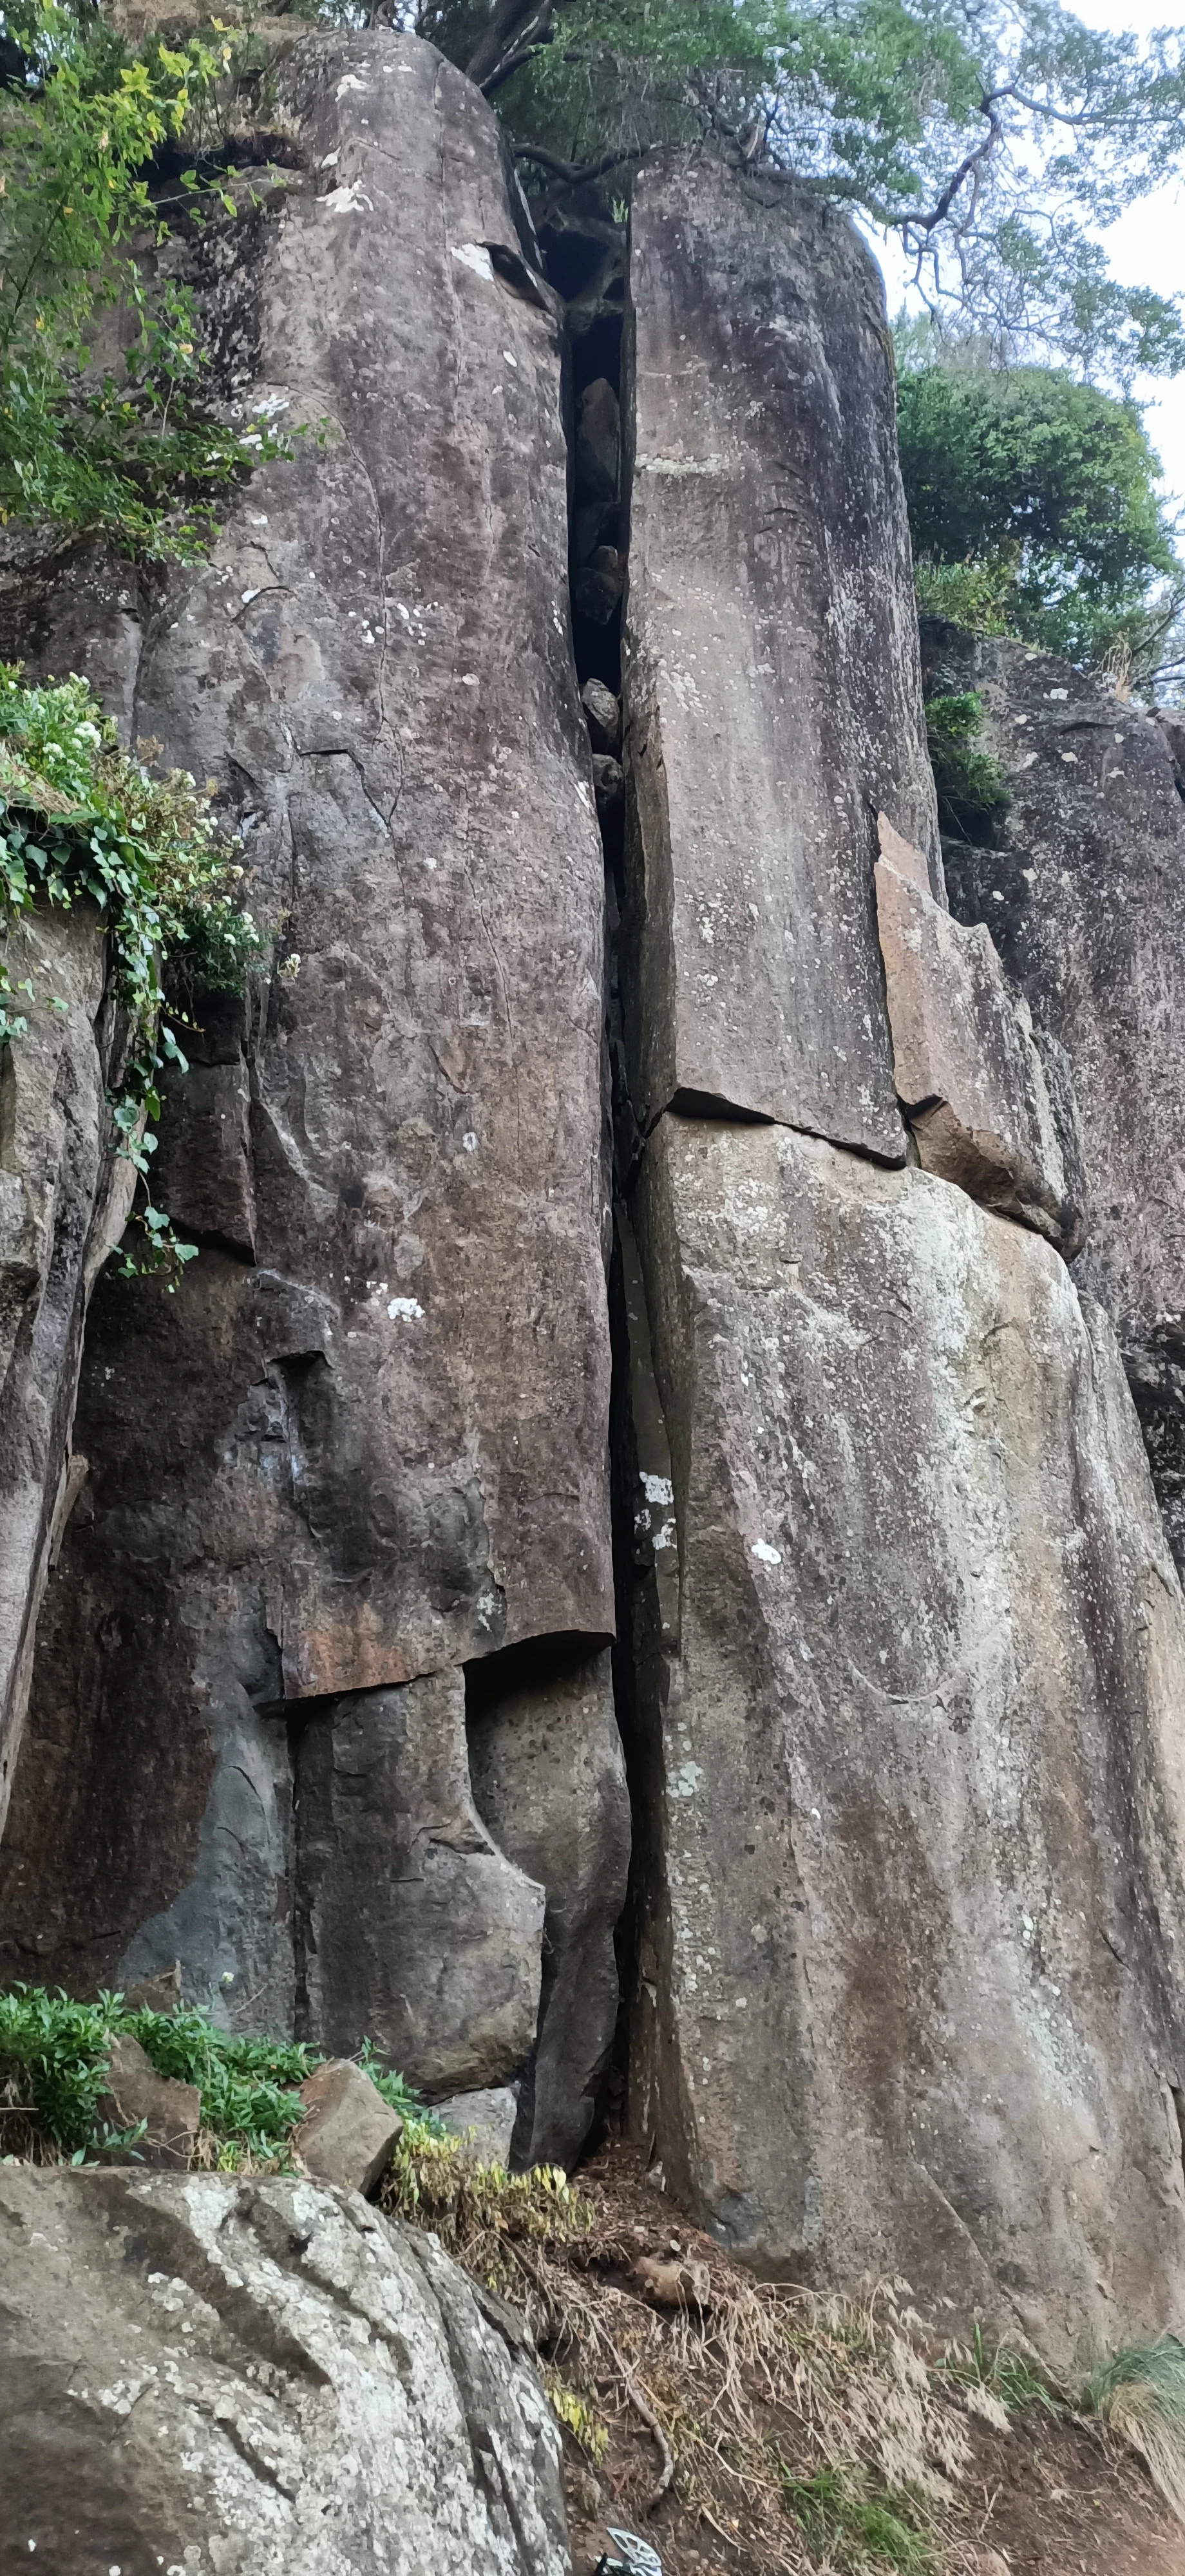
Topo: theCrag contributors, CC BY-NC-SA 3.0, theCrag
Obvious offwidth/squeeze chimney.
Jacob Dean & Patrick Munnings, Mar 2021 · From: theCrag
Heckle Area
15 steps past the last of the arêtes is Ivy Crack
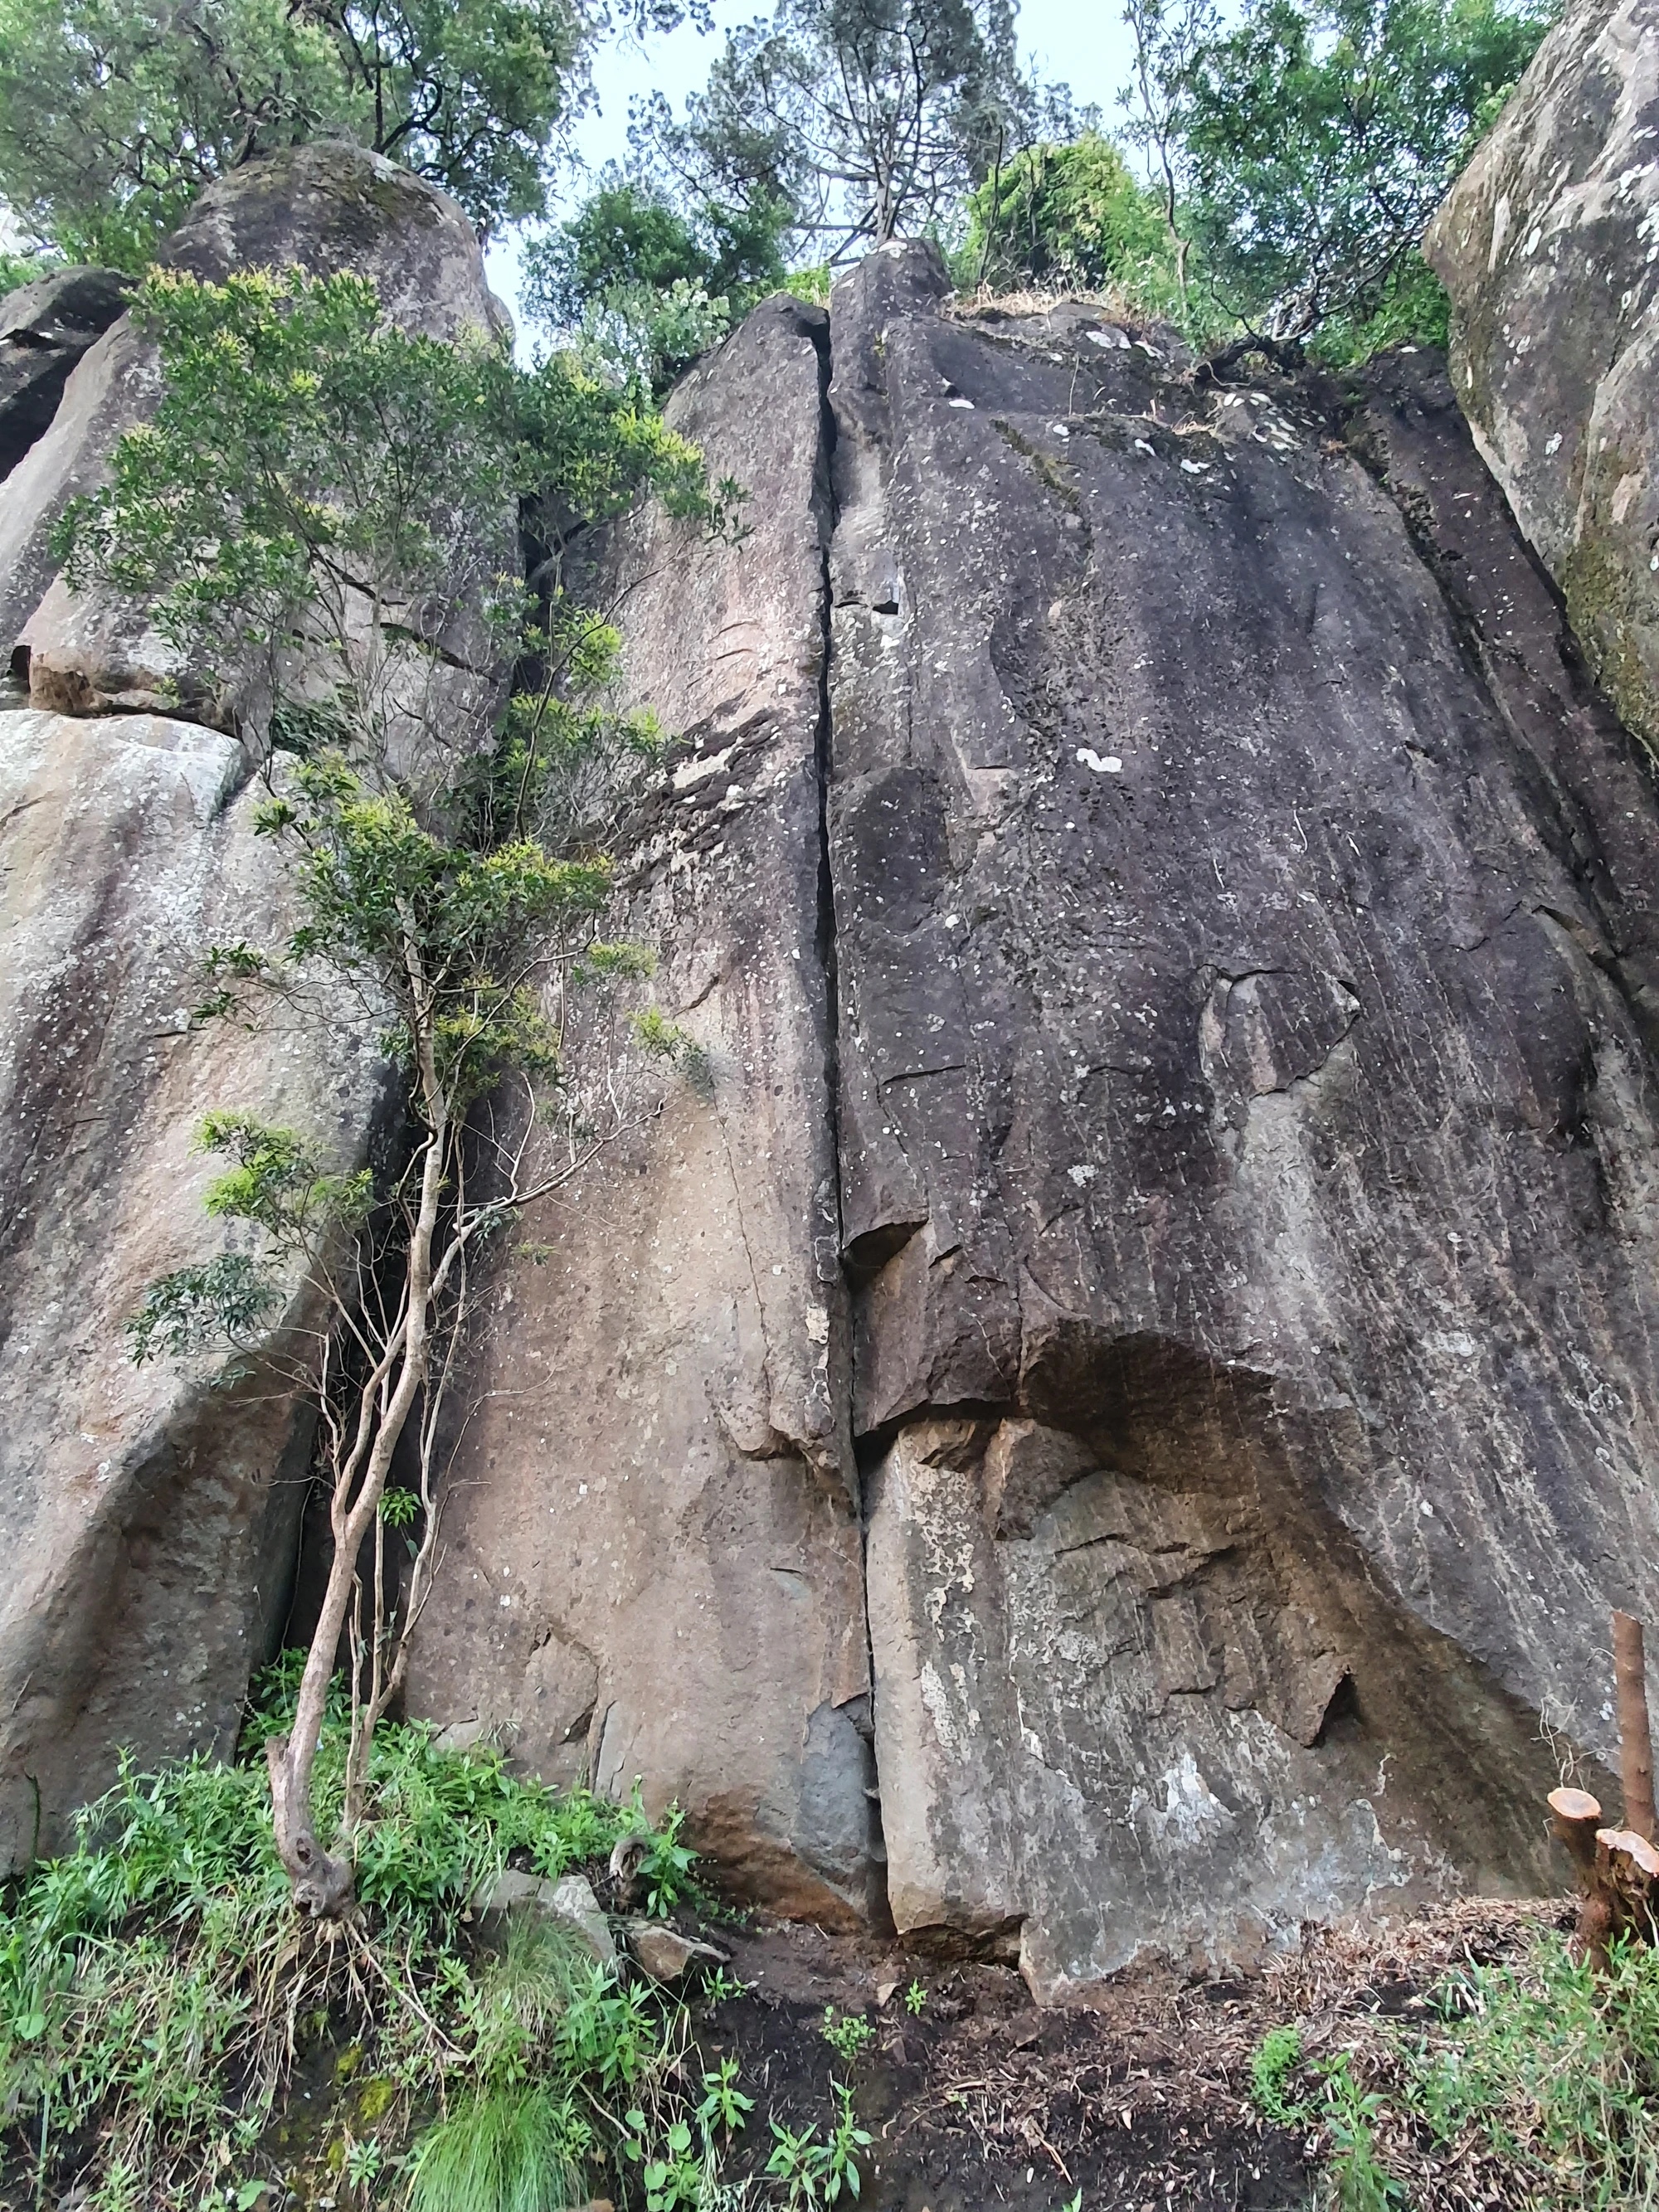
Topo: theCrag contributors, CC BY-NC-SA 3.0, theCrag
A thin crack that opens up to hand crack towards the top. It’s climbability is often threatened by the encroachment of ivy. People have been threatening to clean it out for years. You could be the one.
Fantini, Smith, 1980.
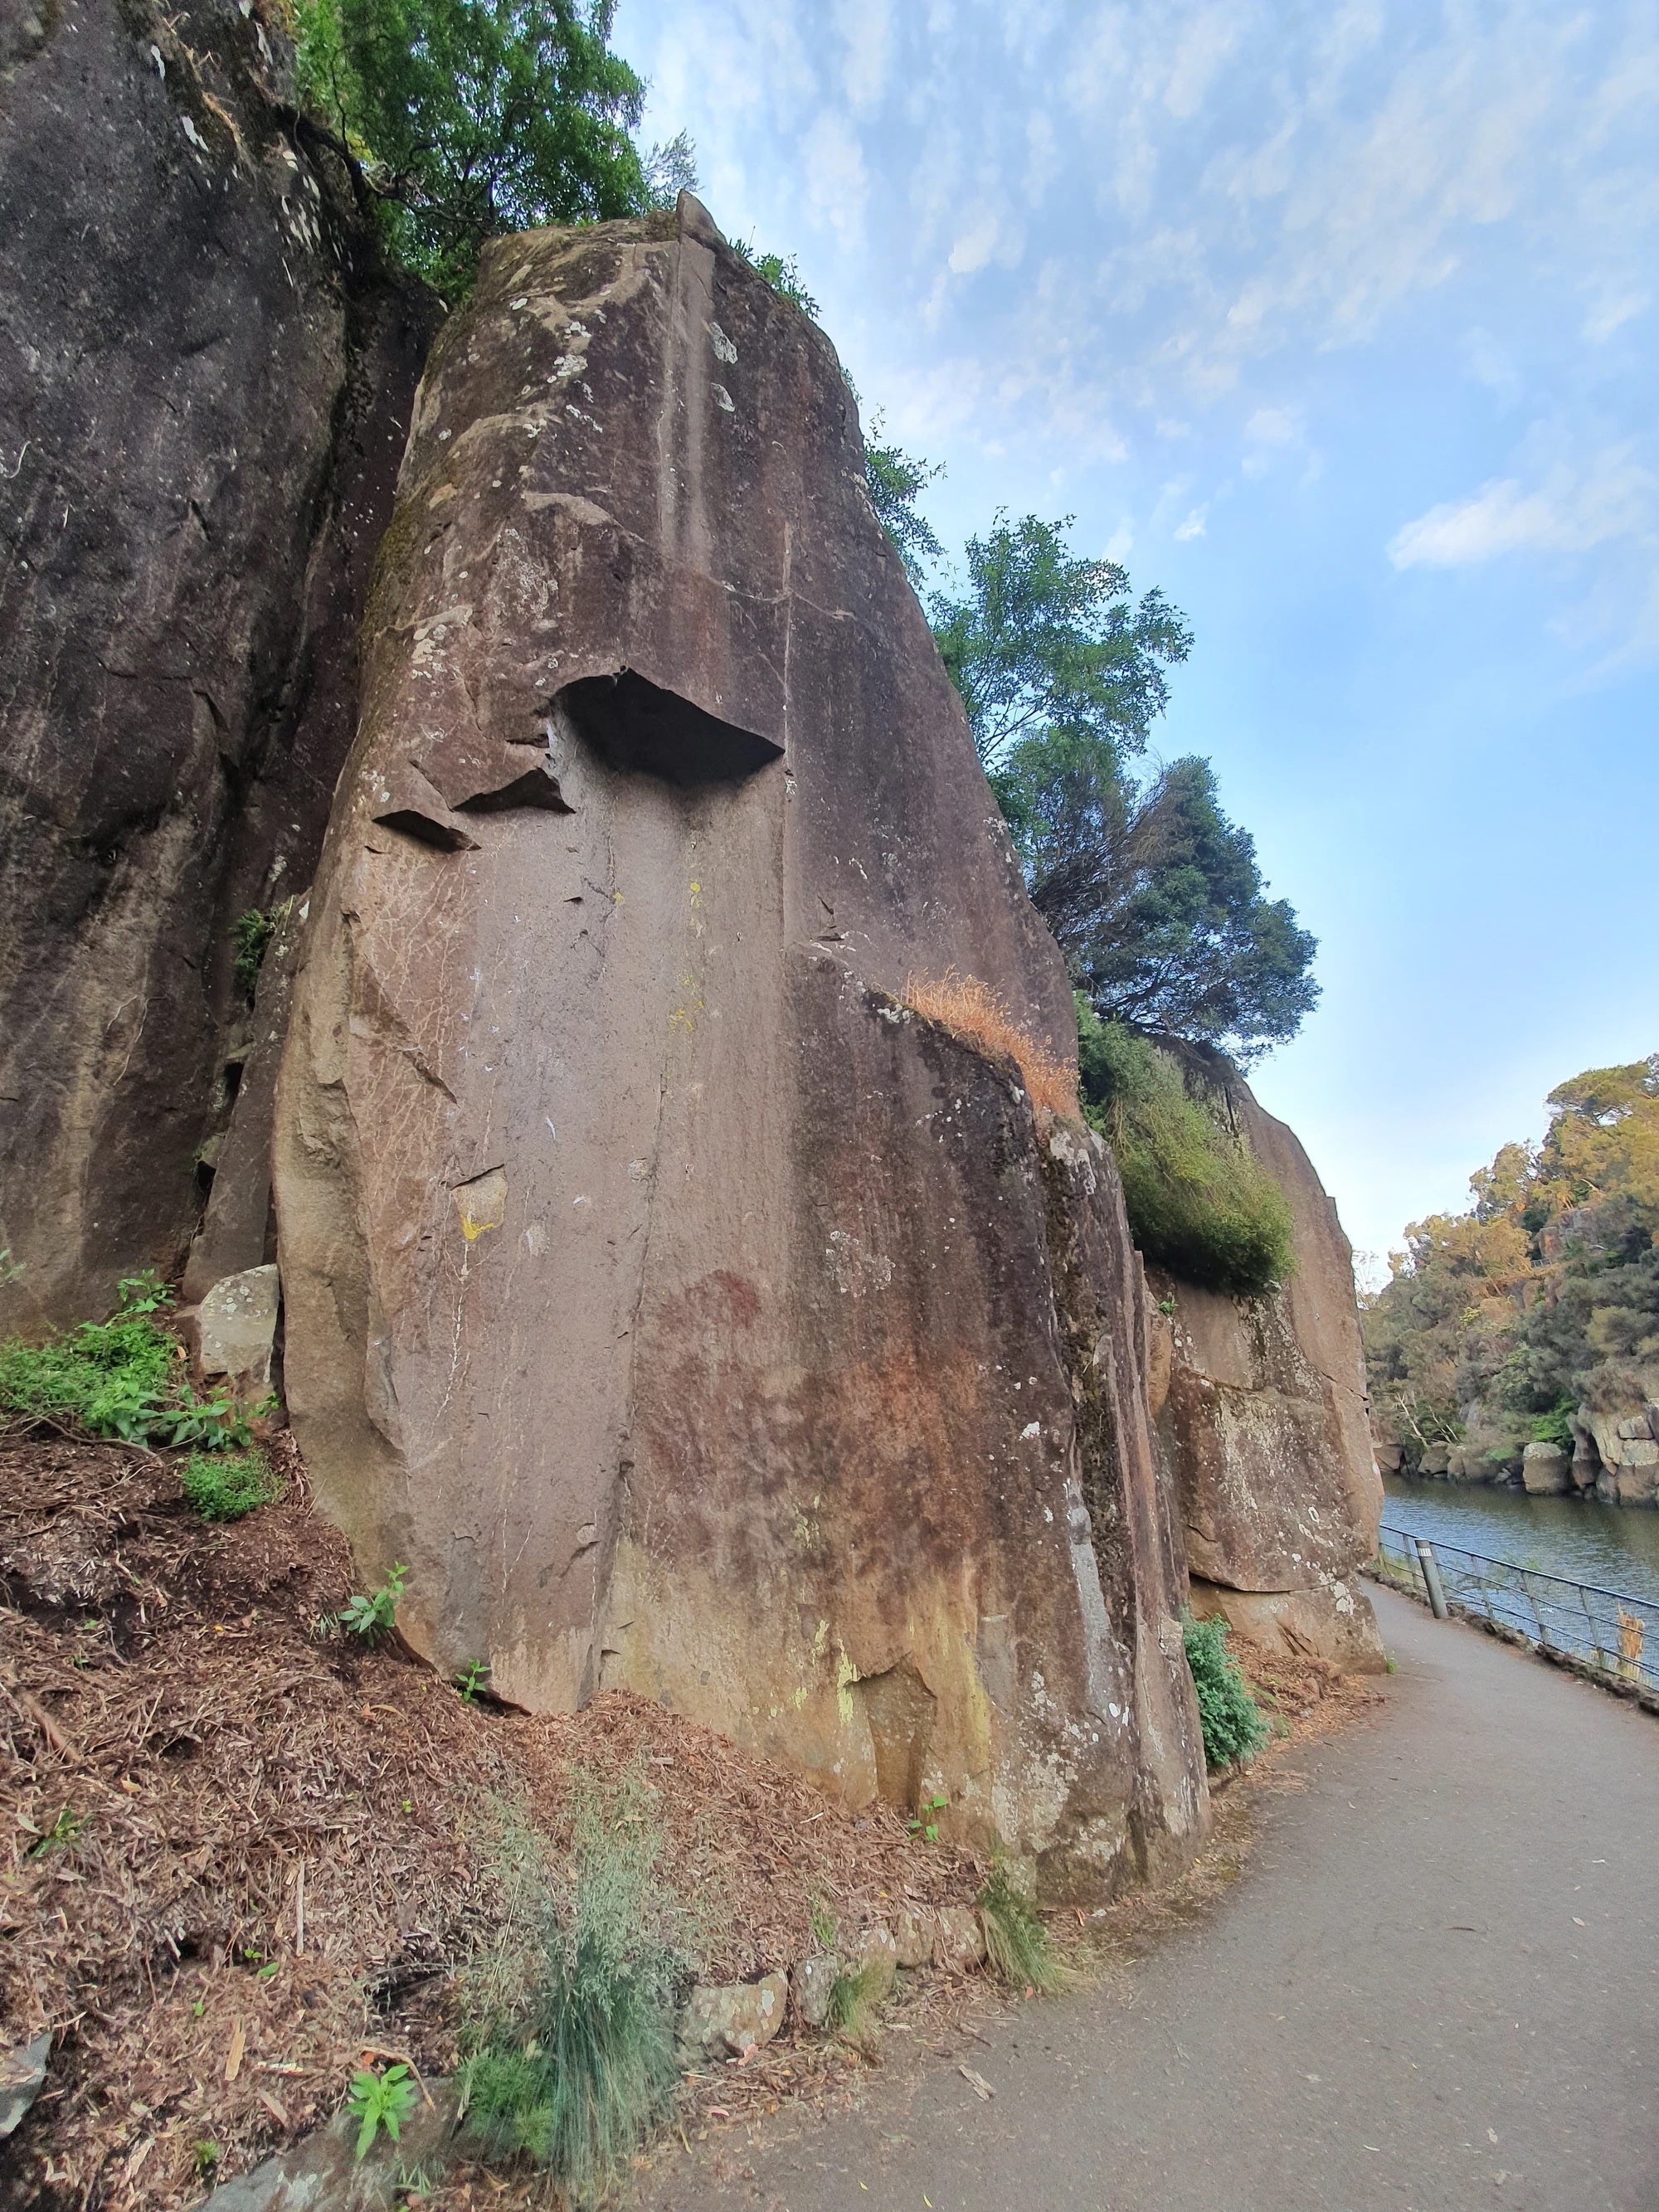
Topo: theCrag contributors, CC BY-NC-SA 3.0, theCrag
The bolted open-book dihedral 10 steps right of Ivy Crack. Climb thin crimps up the dihedral and pull the roof trending left to mantle on a ledge. A long reach up and right guards the anchors. If your too short to reach the hold from the ledge without jumping, this is probably more like 29.
Polinski 2010.
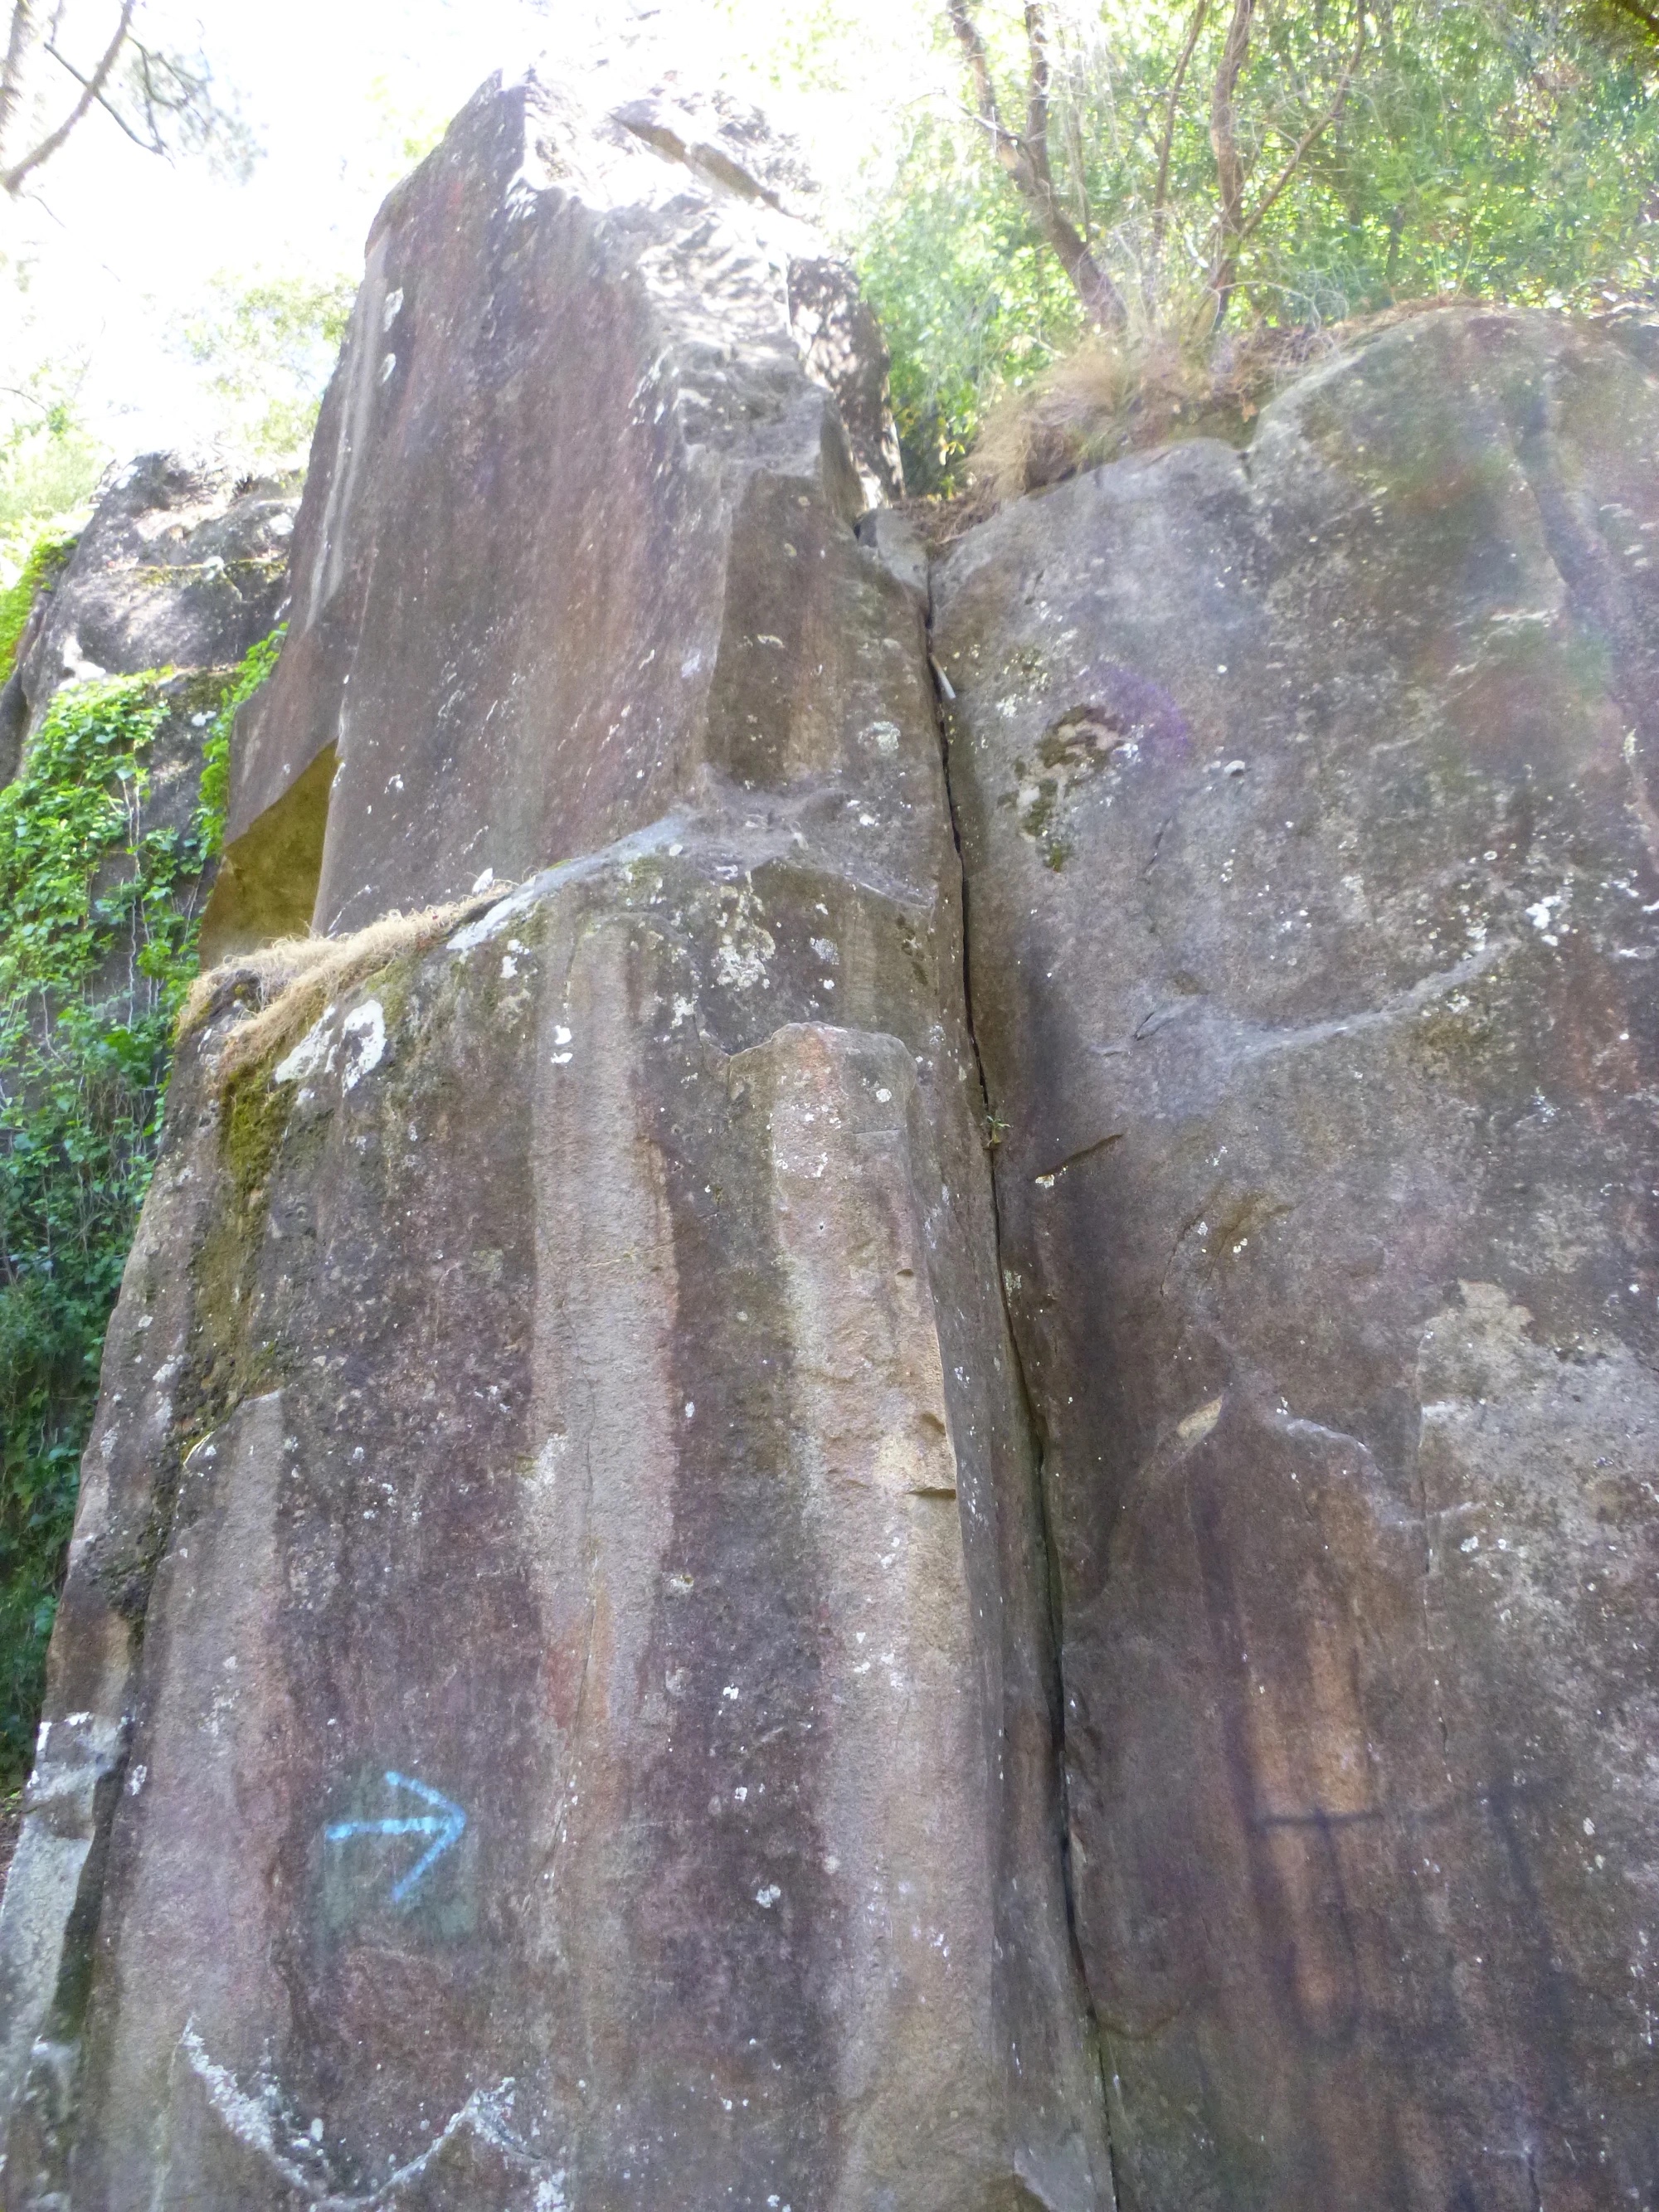
Topo: theCrag contributors, CC BY-NC-SA 3.0, theCrag
Climb the corner or boulder up the arête 10 steps from FTA. Continue up the slab past a tree branch and 3 bolts to a DBB.
Fox and 5 agile men, 2001.
Continue downstream for another 10 steps.
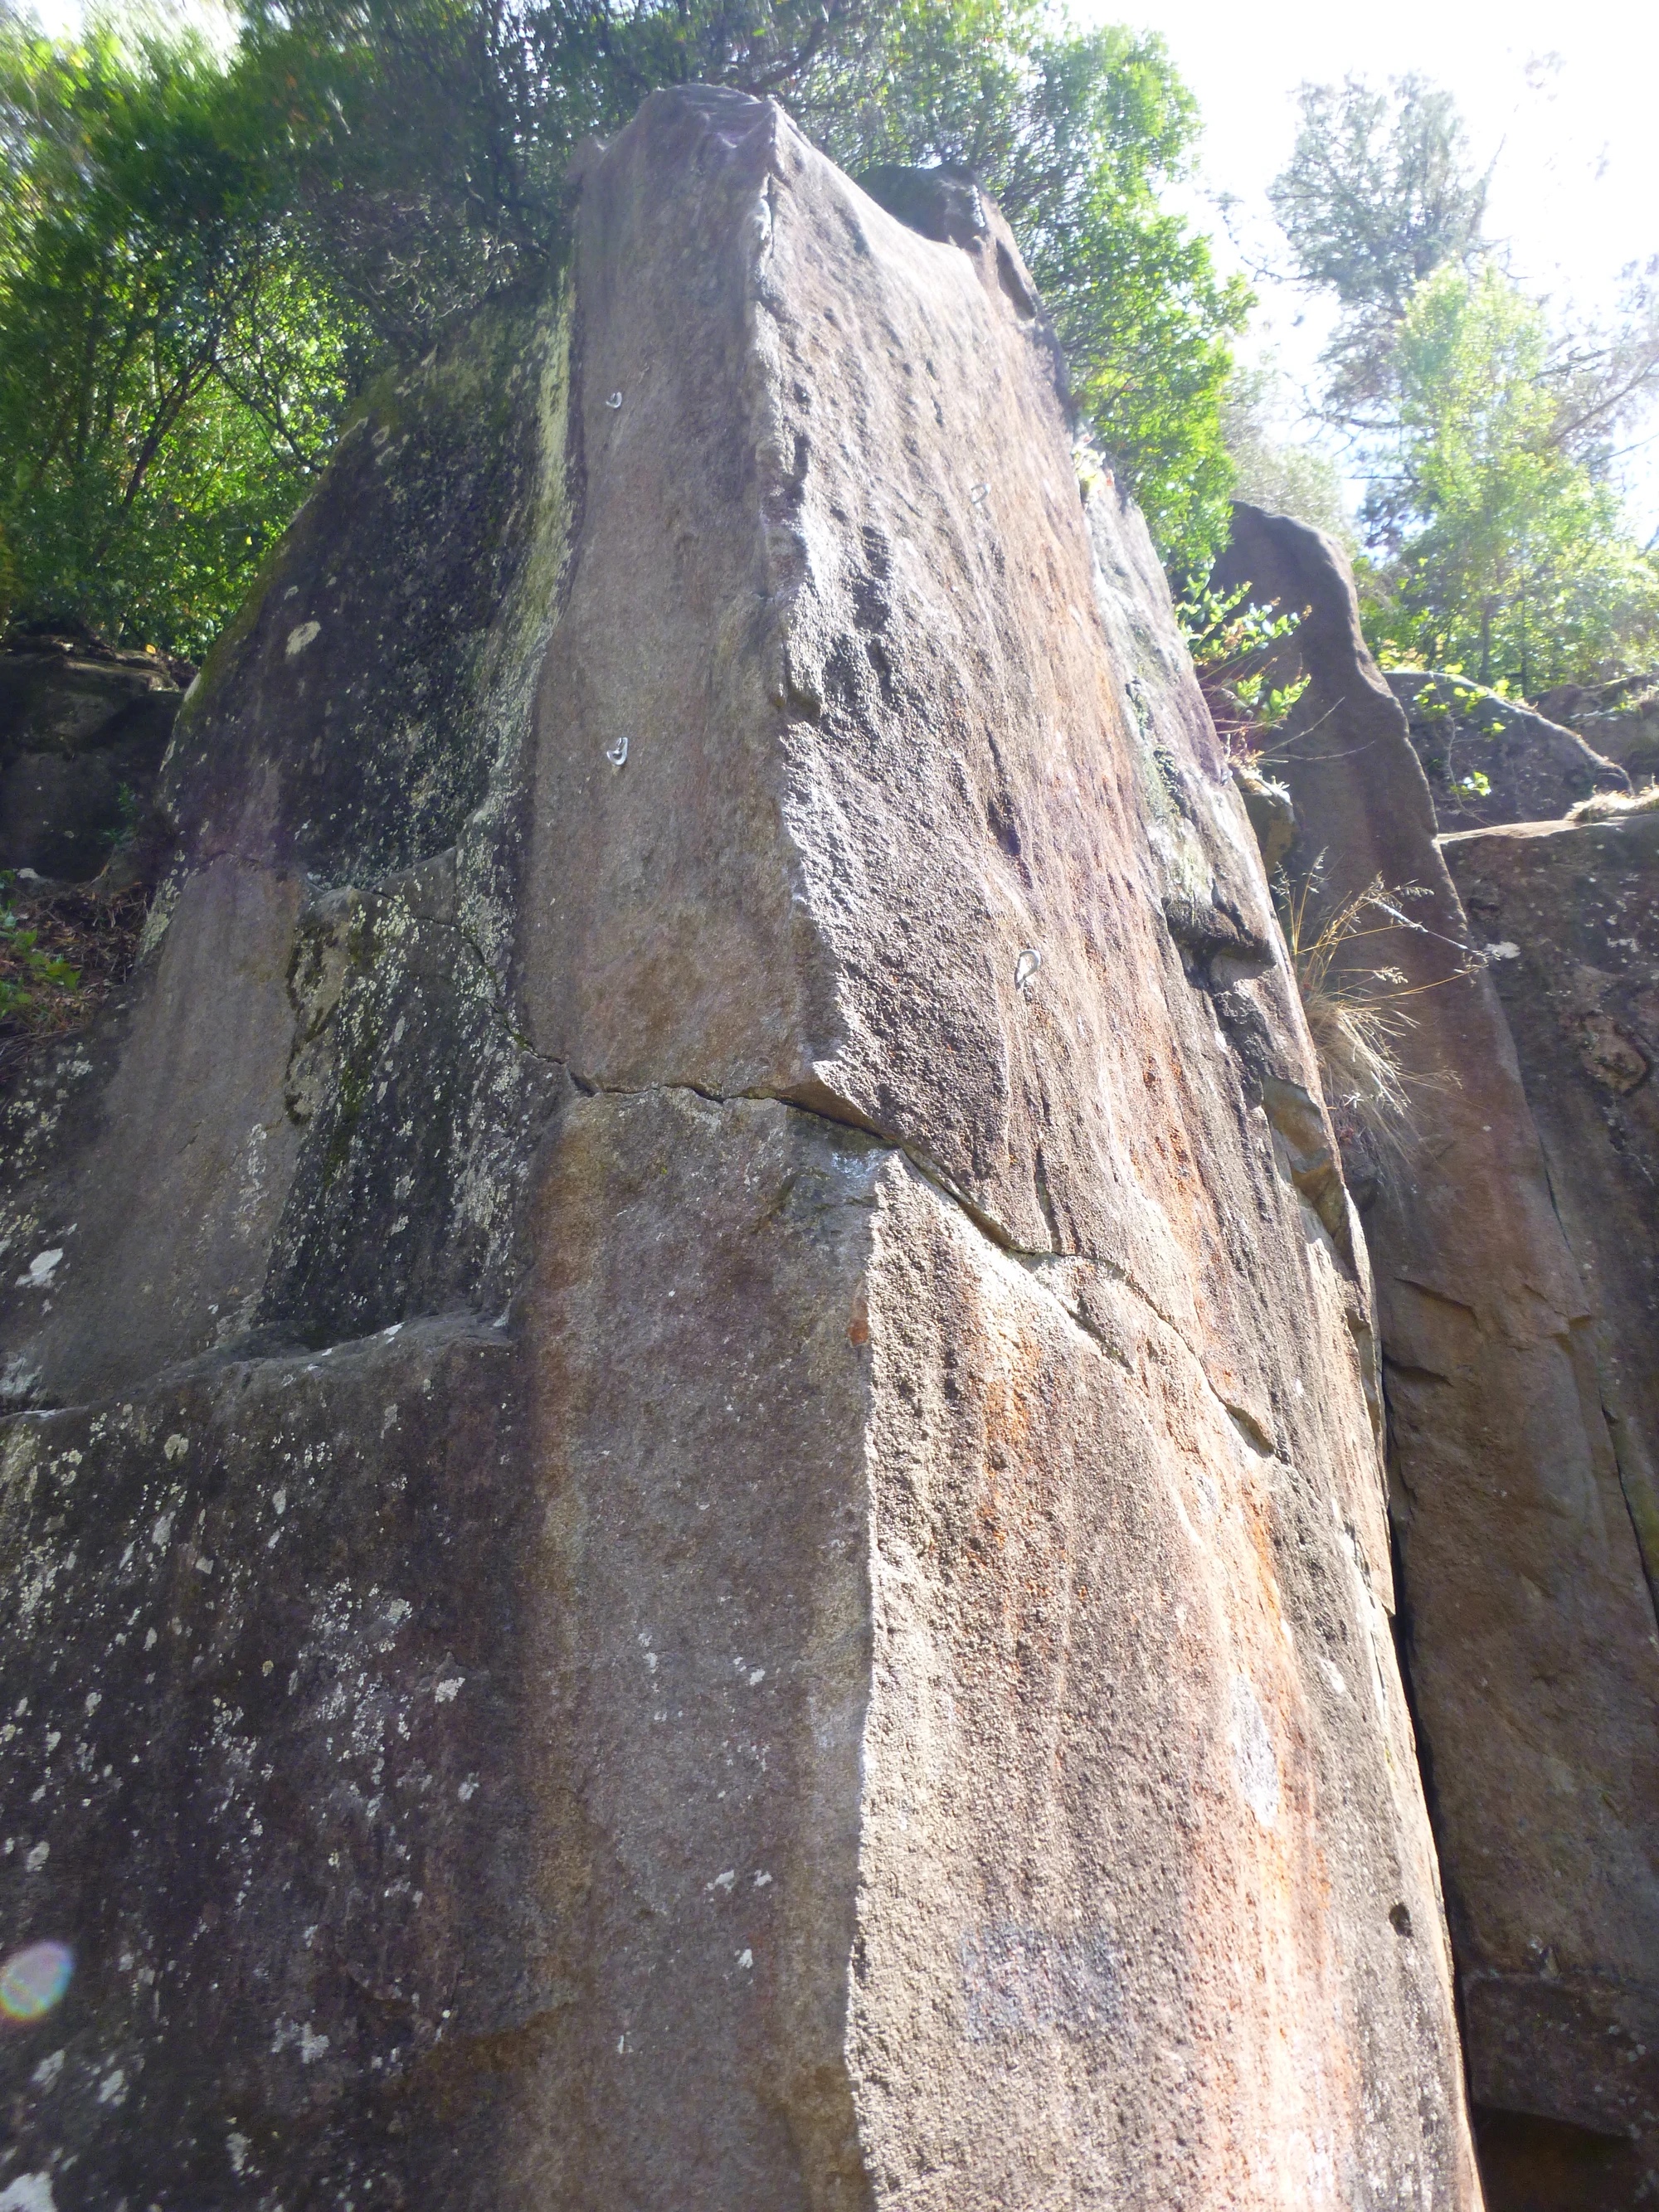
Topo: theCrag contributors, CC BY-NC-SA 3.0, theCrag
Up past 2 FH on the left of the arete. Same DBB as TMMT.
Selby, 1999.
Contrived but worthwhile. Climbs the face and arete around the corner from Fighting the Authorities without useing any holds on the Fighting the Authorities face. the Same DBB as TMMT.
M Johnston, 2009.
Glen Learmont, 1999
Around the arête from FTA or 20 steps upstream from POTR. 2FH. Starts in the corner, under the roof. Up to clip the first bolt, then out left onto the face and up. DBB.
Learmont, 1999.
An old neglected McMahon route that hadn't had been seeing much traffic. Recently revived by the addition of a DBB which makes getting down much easier. Great sustained and tricky finger locking for a few moves up the nice crack. Harder if you avoid bridging across to the hanging arete on the left.
Bob McMahon
More like “path of the idiotic”. When concerns were raised about the poor bolting quality (protruding carrots and lack of lower offs) on this climb the first ascentionist saw fit to hack them off but not replace them with something better. If you really want to solo it (or better yet, if an altruistic individual retro-bolts it) the route starts 15 steps from FTA on an face left of a small roof around the arete from Heckle.
Narkowicz, 1999.
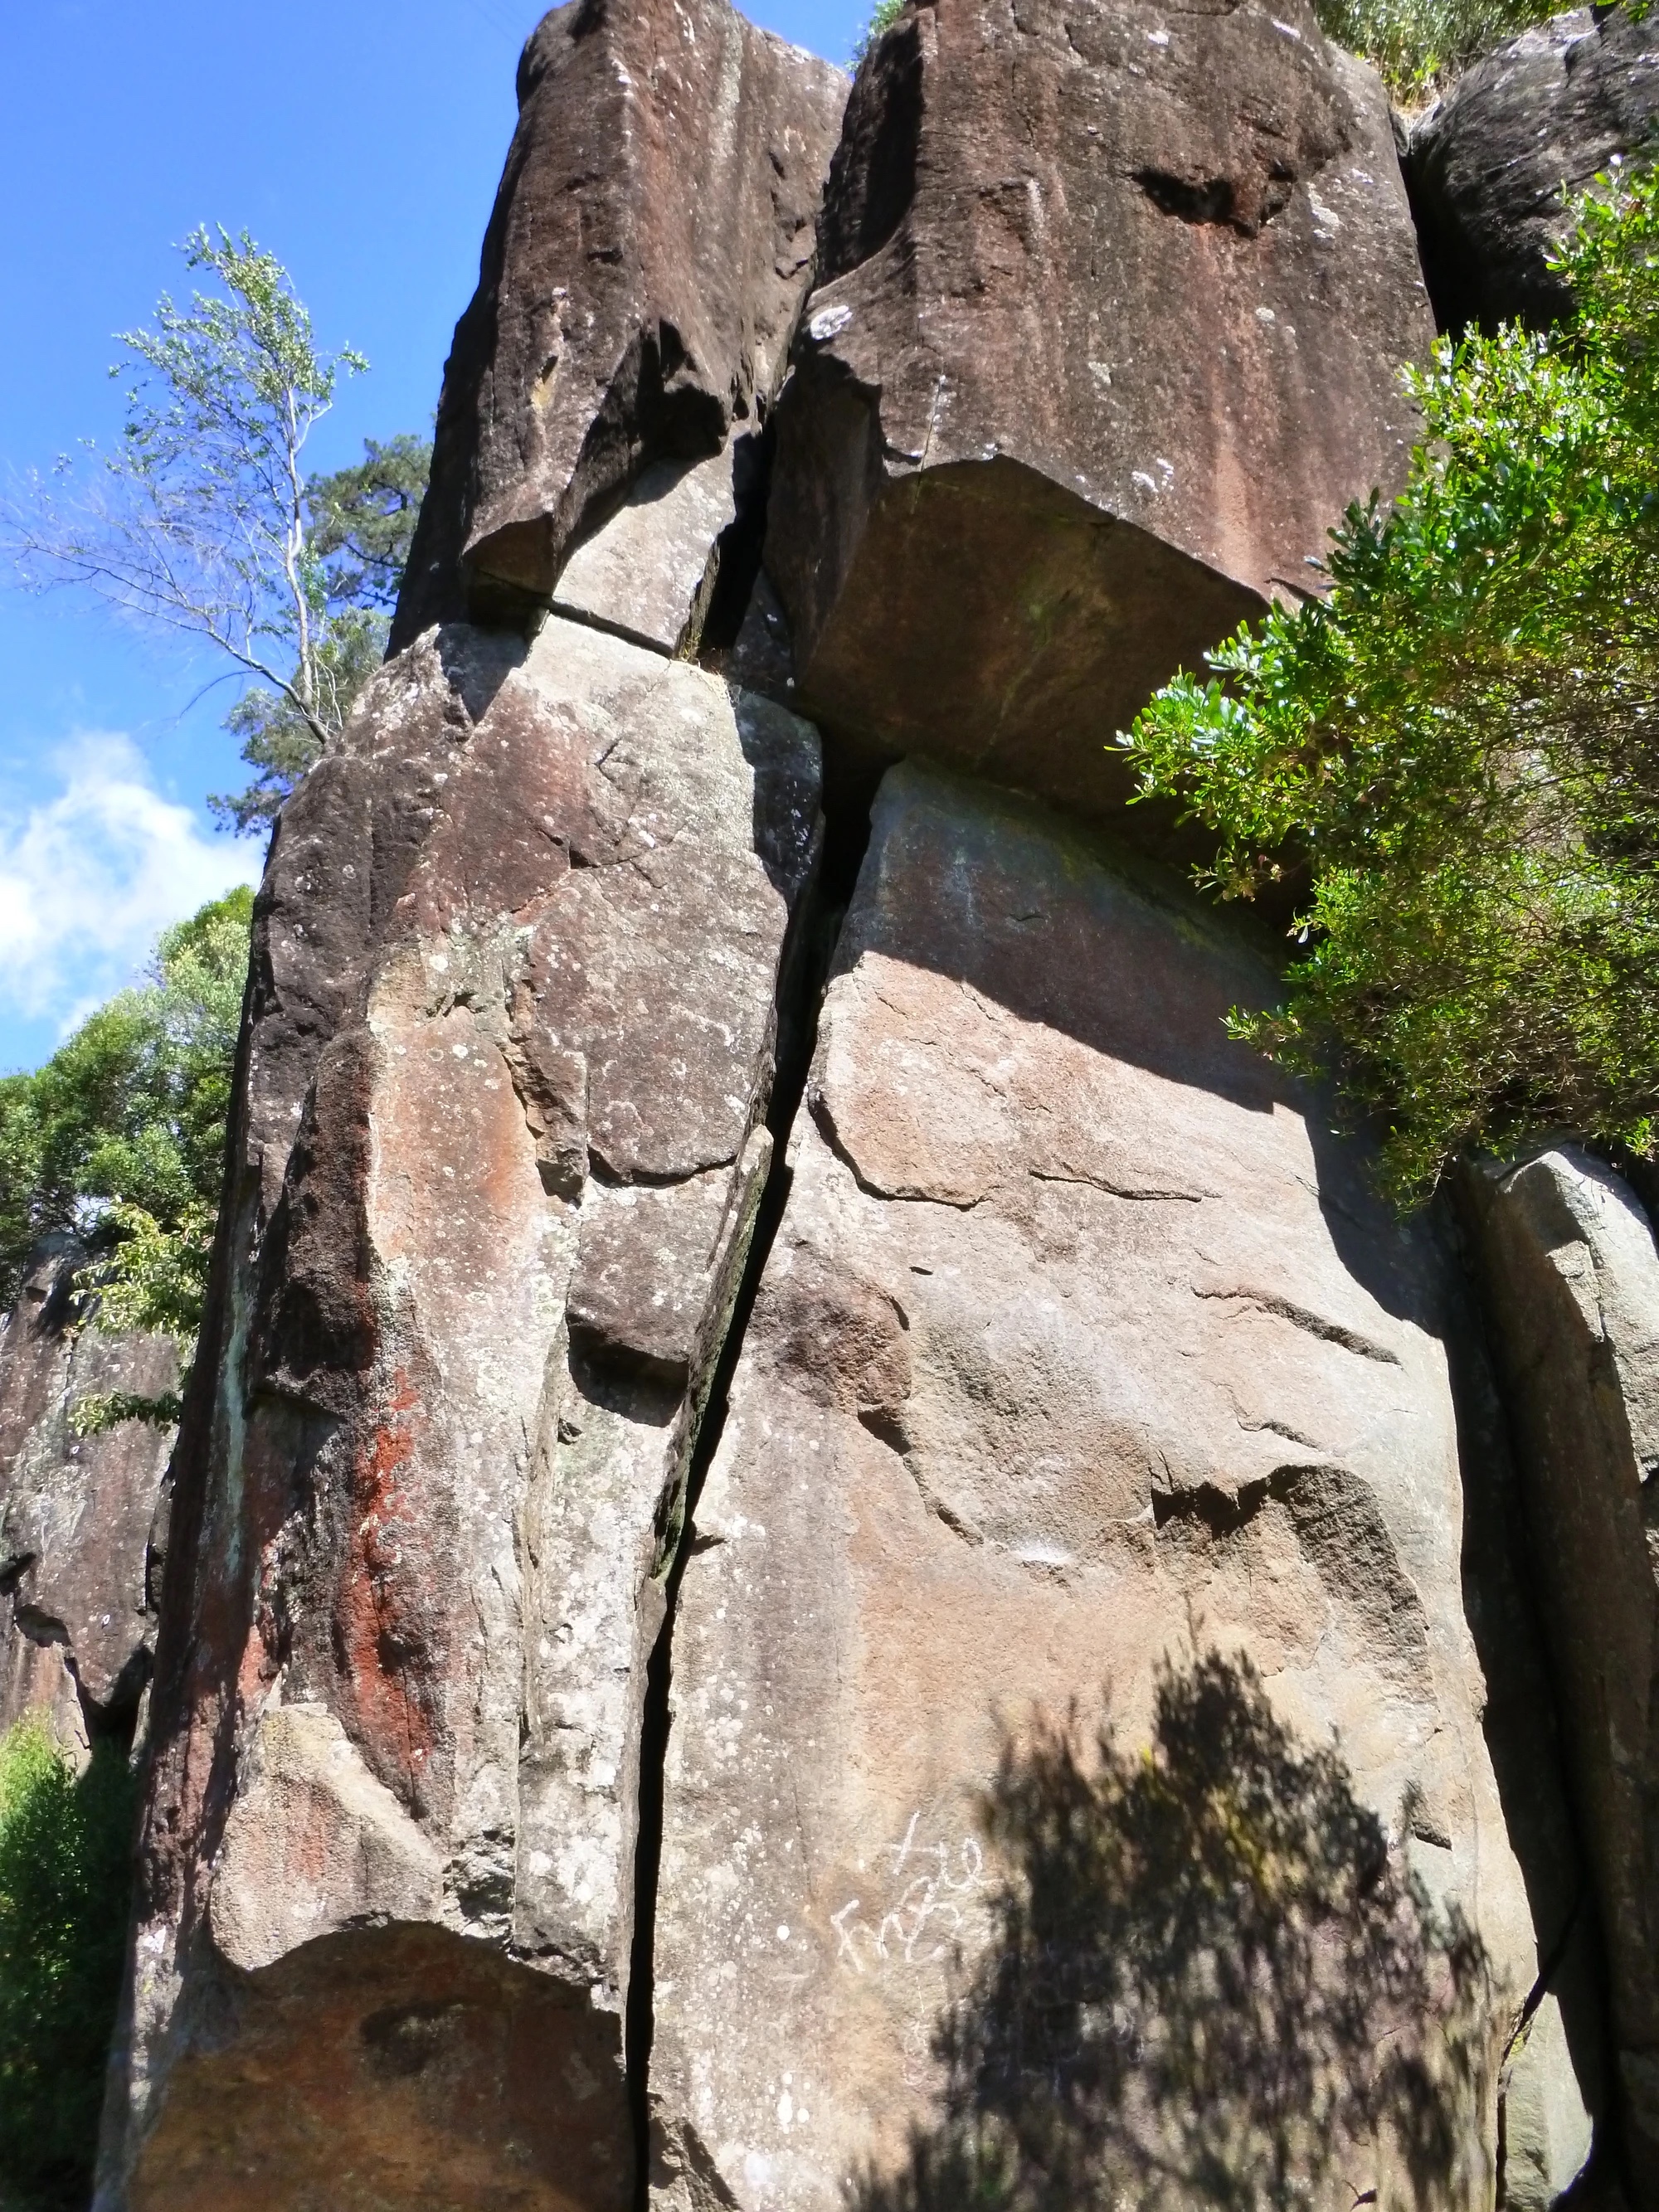
Topo: theCrag contributors, CC BY-NC-SA 3.0, theCrag
The off-width that hits you in the face as you walk from the toll gate. 155 steps from the start of the bottom end of the track. For those interested in history McMahon thinks this may have been the first climb done in the Gorge. DBB.
McMahon and McHugh, 1972.
The corner 3m right of Heckle.
McMahon and a crow-eater, 1973.
Hot Mess Buttress
The high quality compression line straight up the face of the left most pinnacle. 4 U bolts and lower-offs
Patrick Munnings, Feb 2022 · From: theCrag
The hardest open project in the Gorge and possibly the hardest line in the gorge if it goes. Takes the blank left face and sharp arete to DBB
From: theCrag
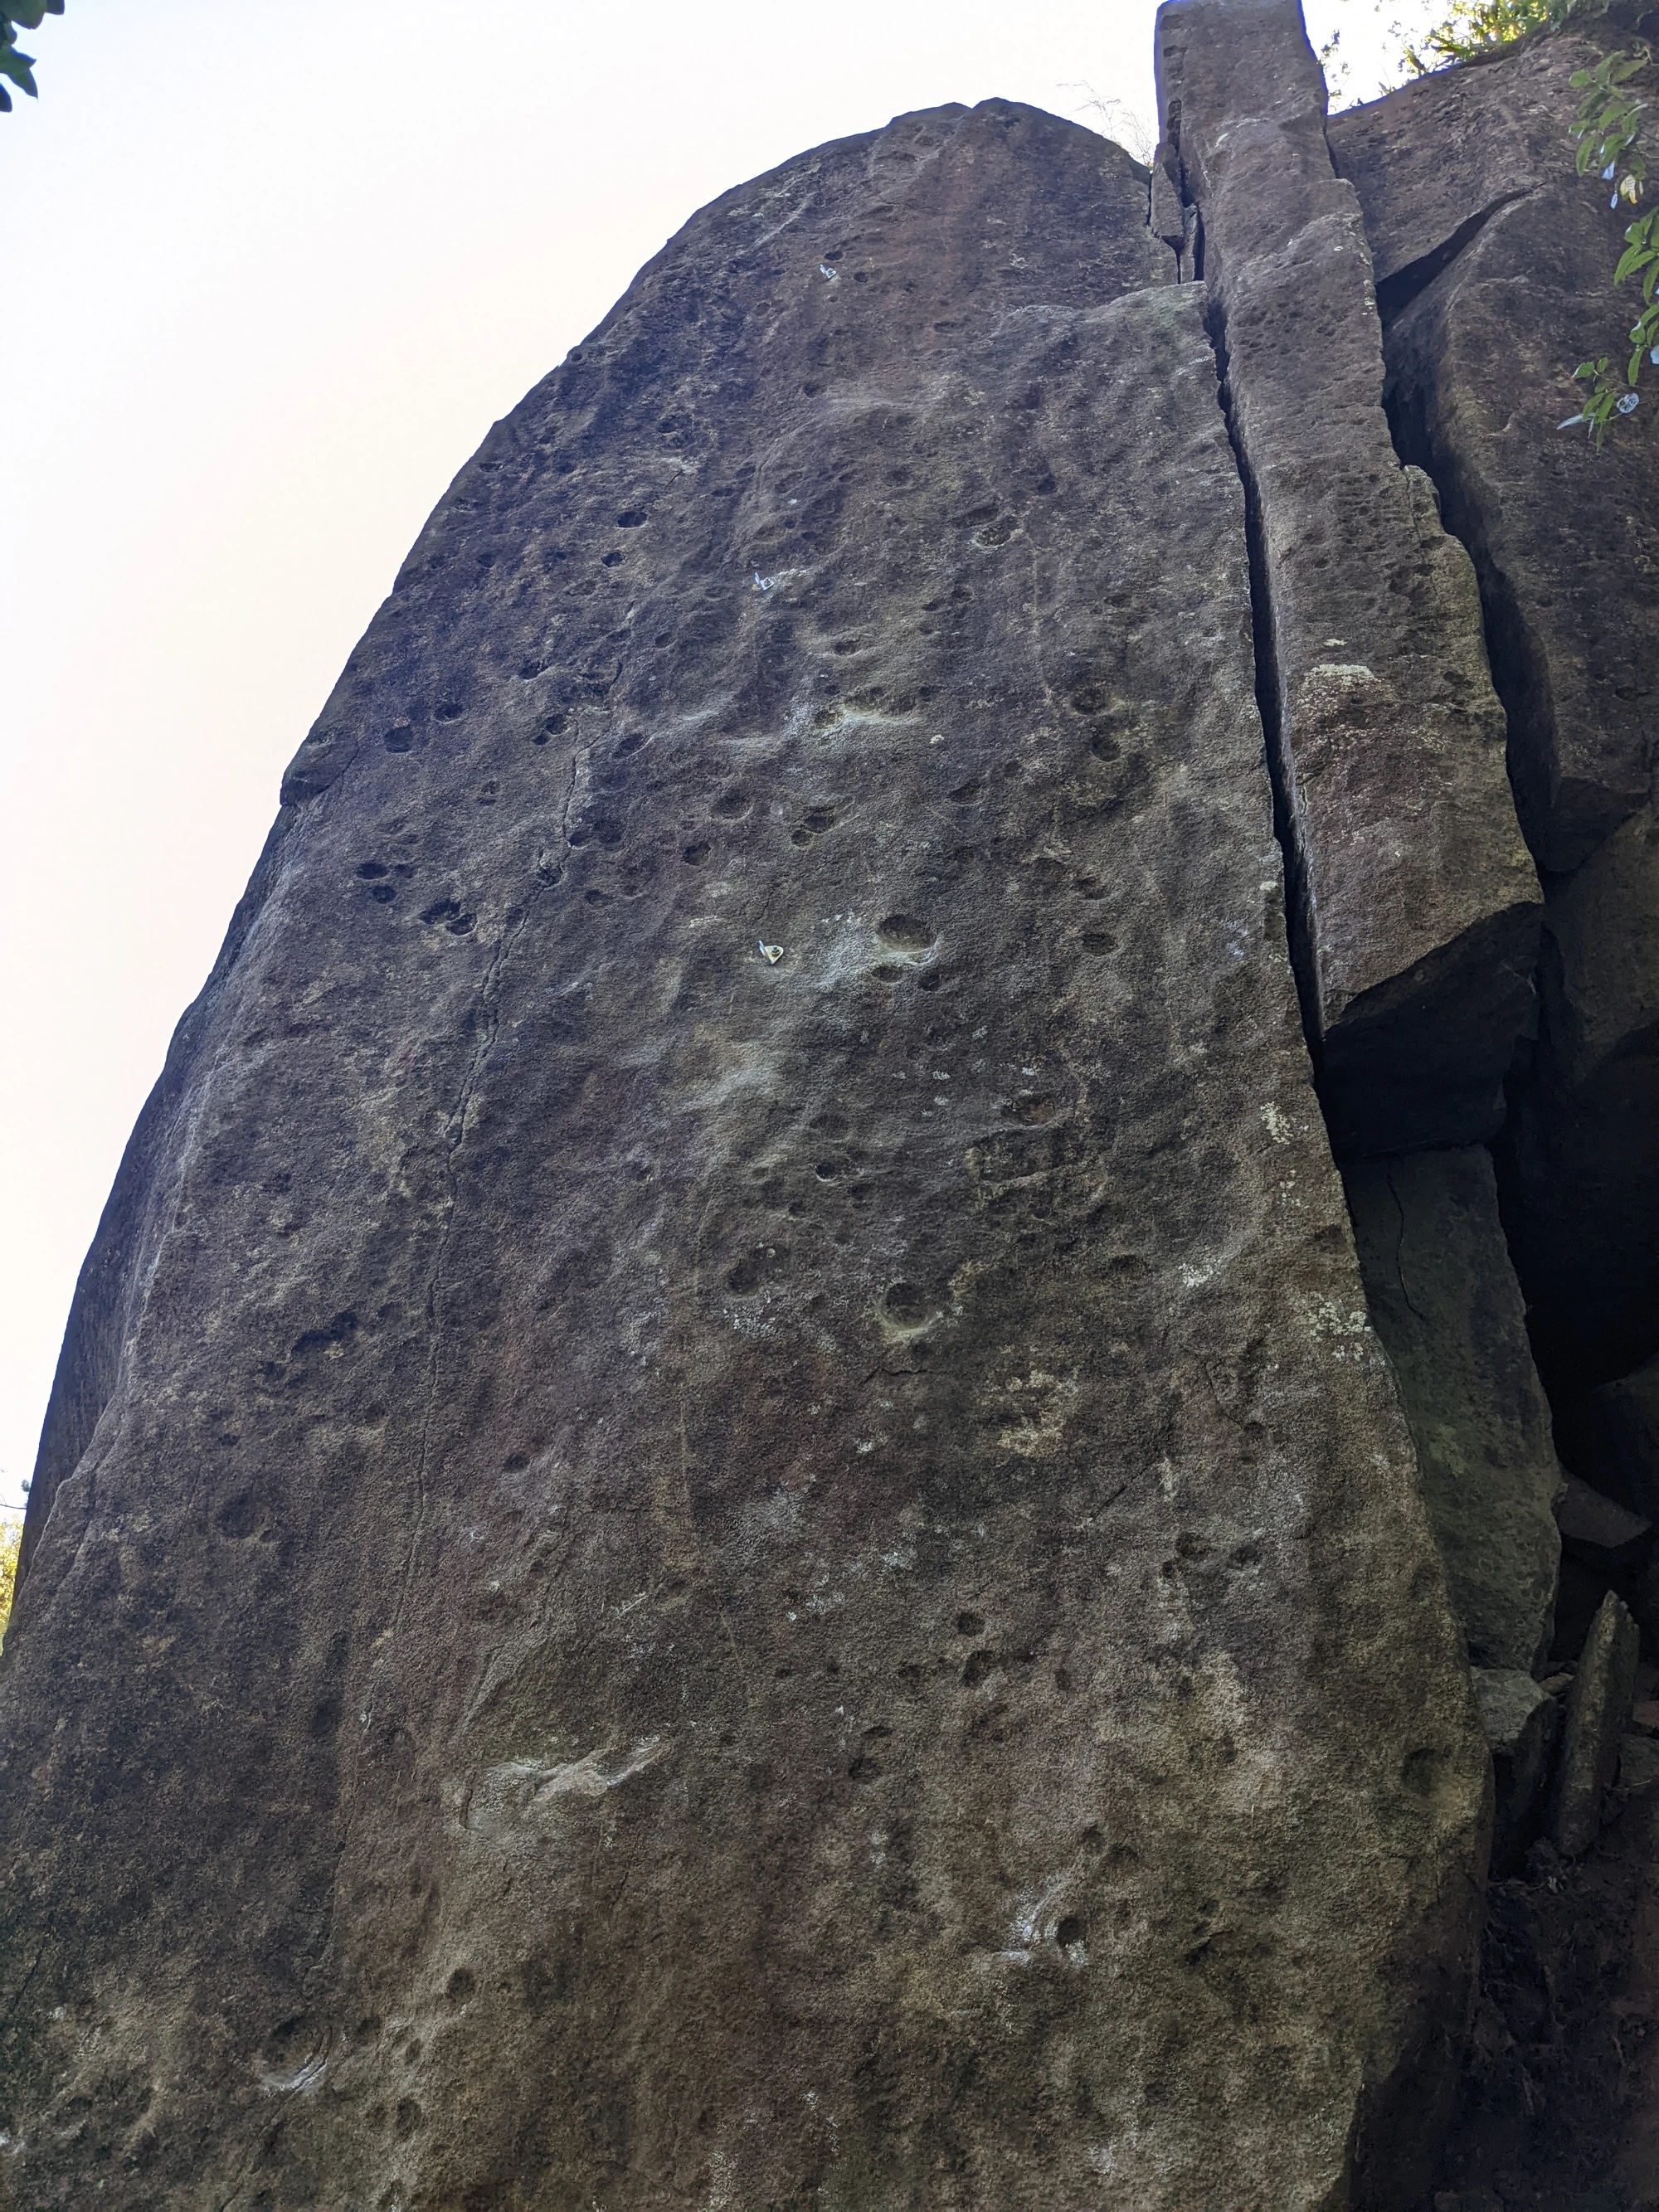
Topo: theCrag contributors, CC BY-NC-SA 3.0, theCrag
Obvious crack RHS of "Hot Pockets" to shared DBB. Avoid large loose block at start.
Kobi Newman, Jan 2022 · From: theCrag
Machu Picchu Area
On the up-river face, an offwidth groove to chimney
Thomas Mohler, Alasdair Handley & Andrew Ogbourne, 1982 · From: theCrag
Rough finger crack with a little roof
Bob McMahon & Gerry Narkowicz, 1982 · From: theCrag
Wandering Face
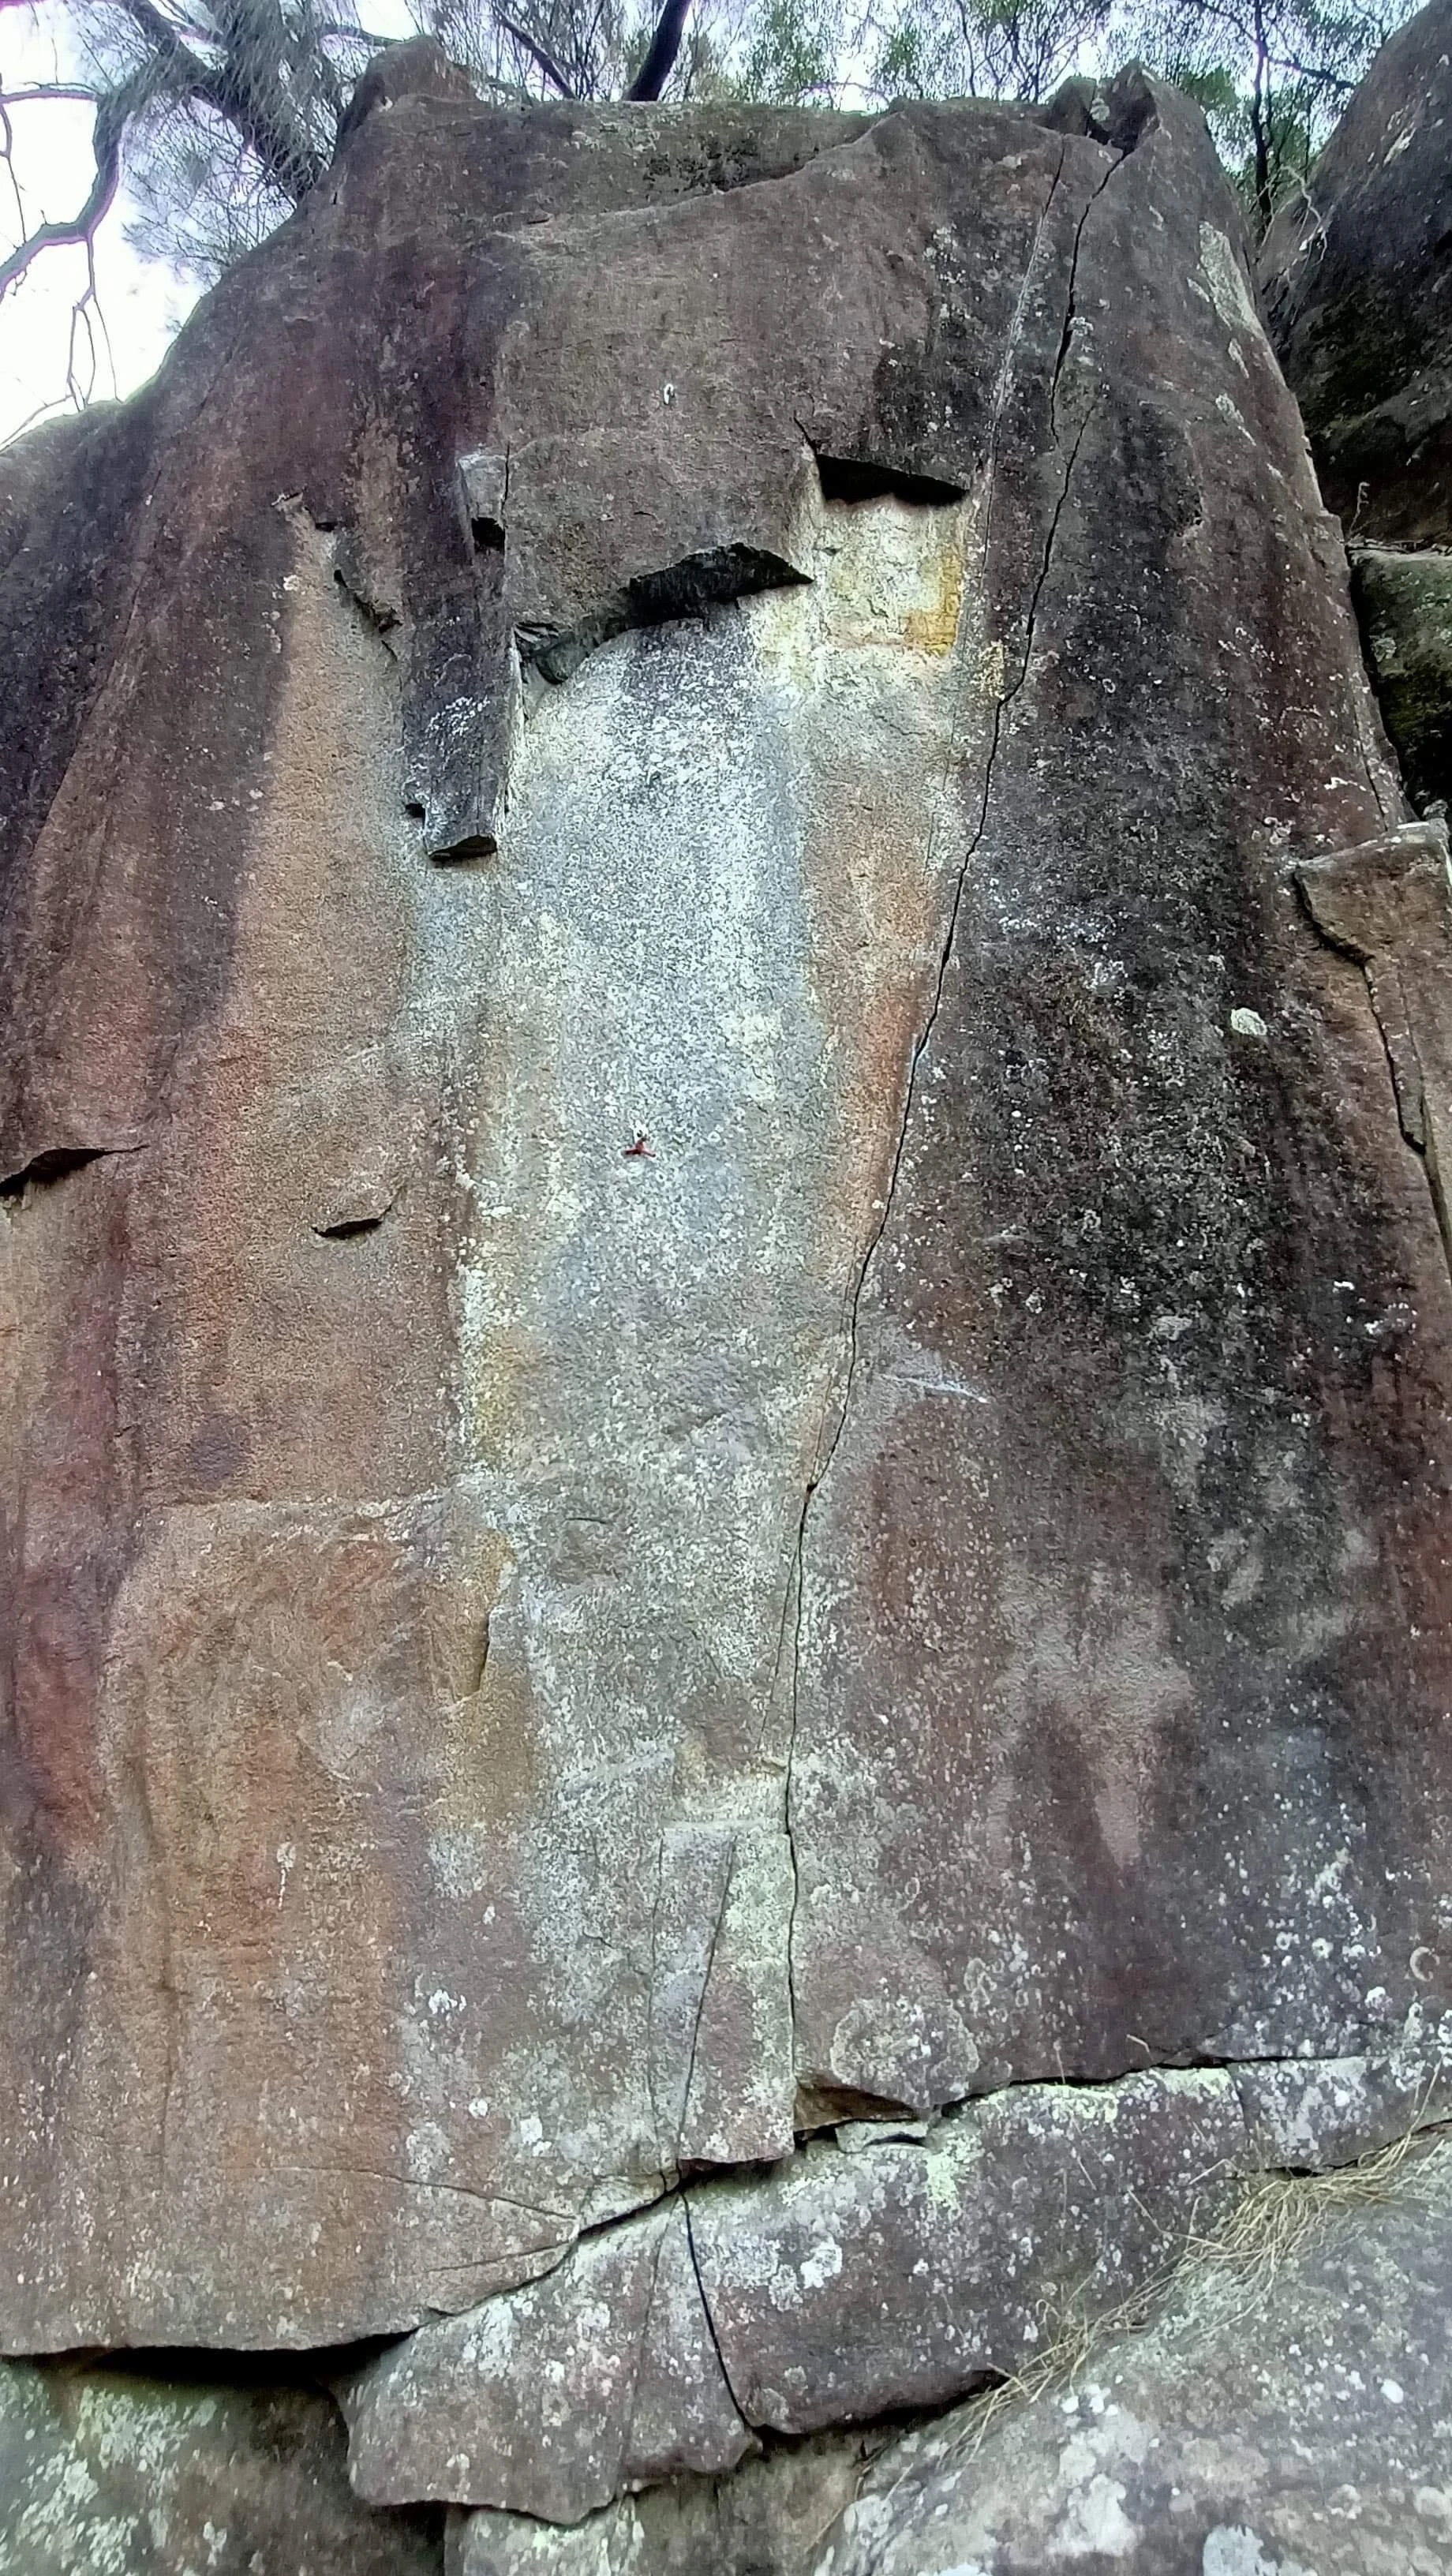
Topo: theCrag contributors, CC BY-NC-SA 3.0, theCrag
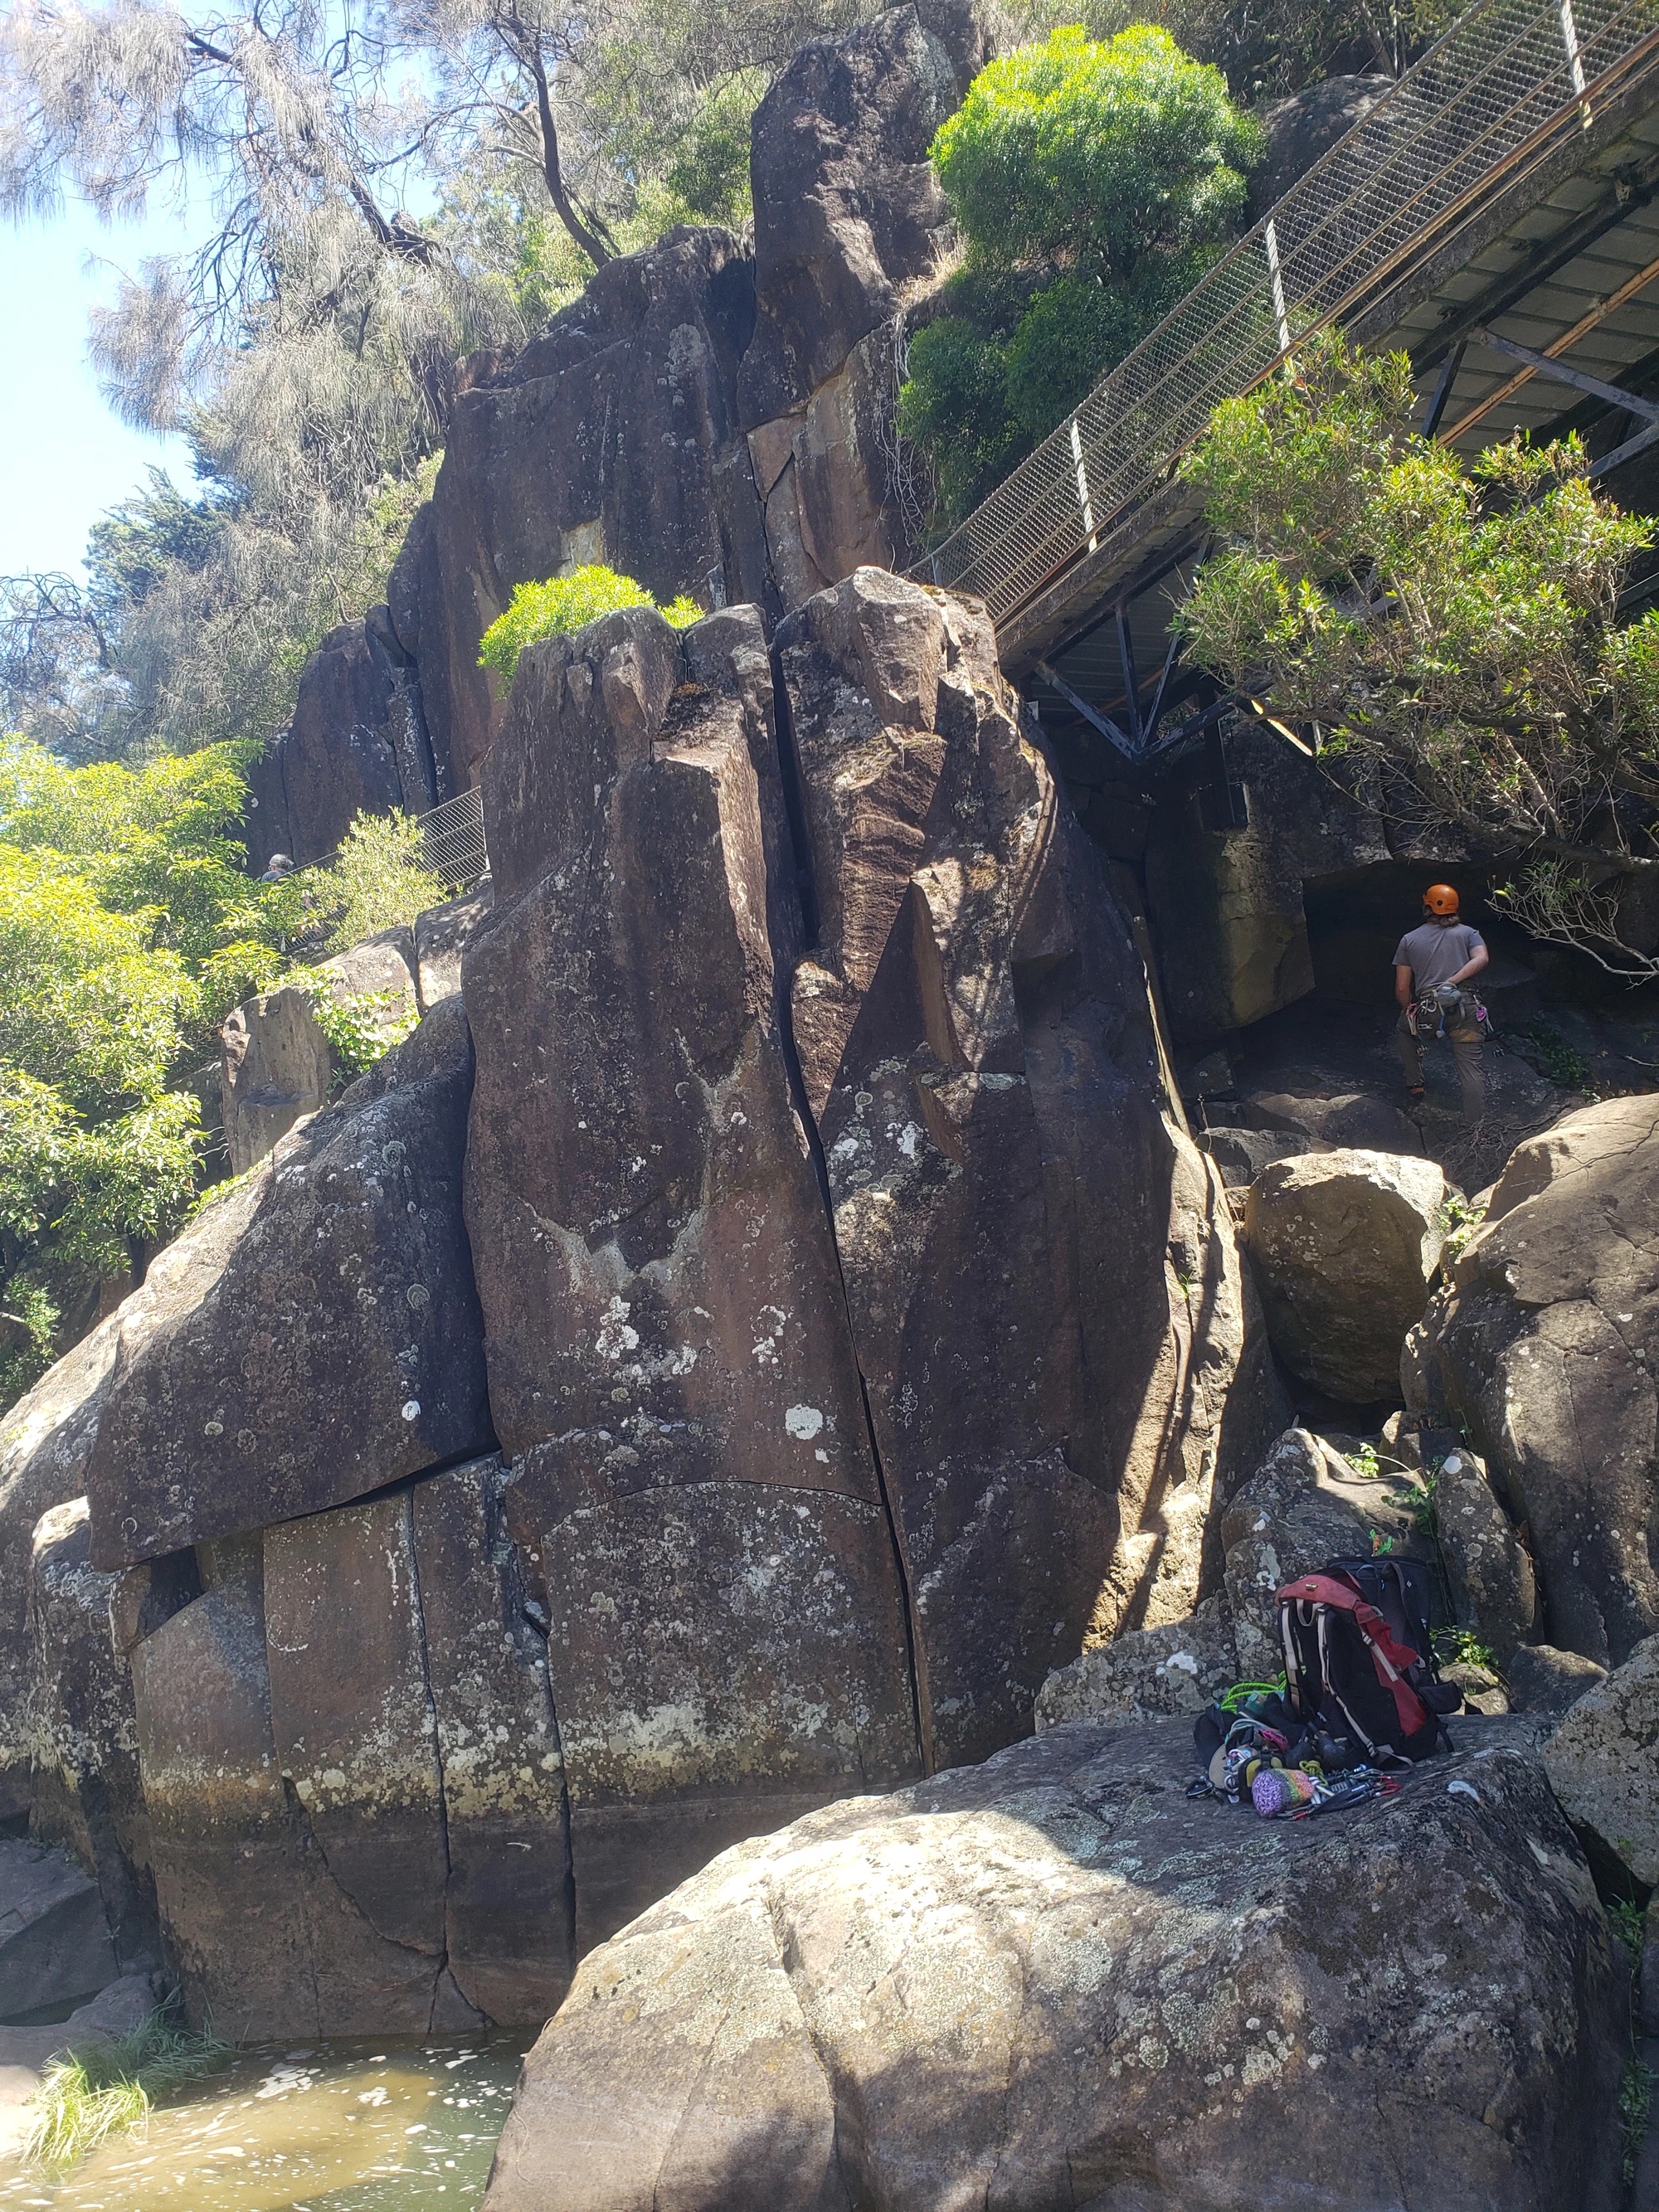
Topo: theCrag contributors, CC BY-NC-SA 3.0, theCrag
Best climbed at low tide. Access is on the other side of the foot bridge and scramble to the base of the lower tier. Thin hands to #4 or 5
Patrick Munnings & Jacob Dean, Feb 2023 · From: theCrag
Mindless Pinnacle
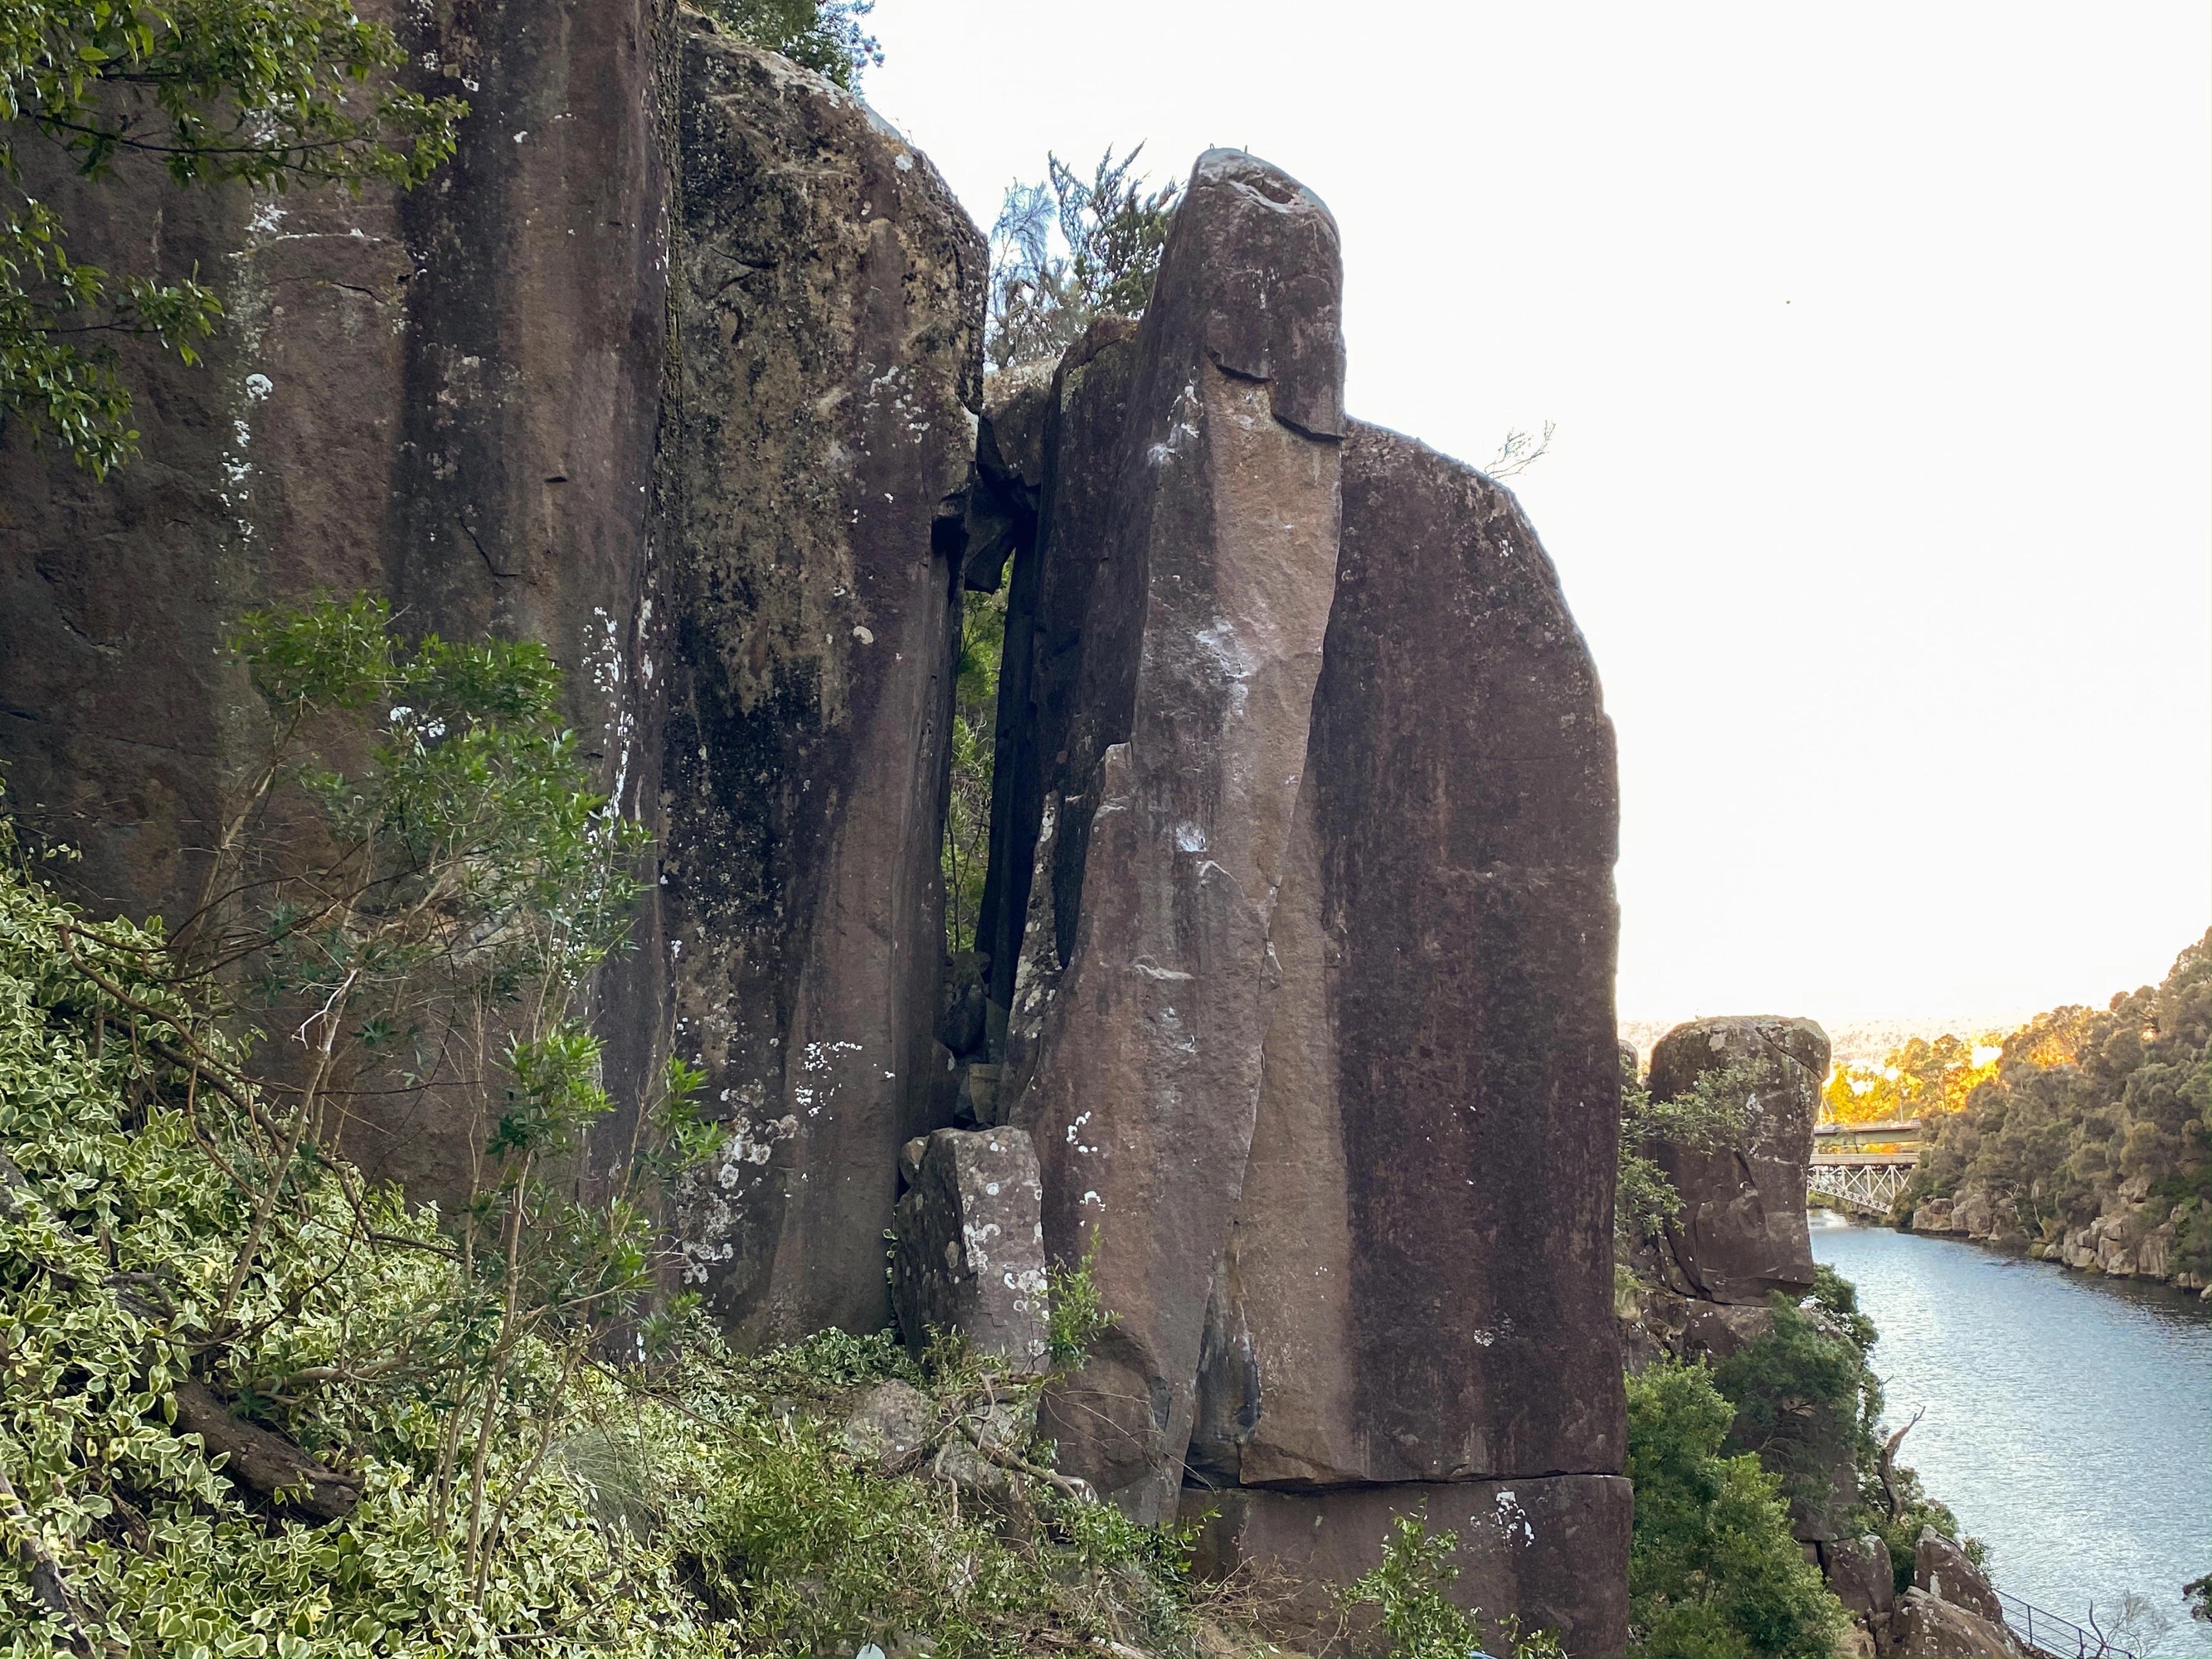
Topo: theCrag contributors, CC BY-NC-SA 3.0, theCrag
Excellent face and slappy arete climbing. Climb the bolted face of the obvious double arete/seperate pillar. Start at base of pillar, using chockstone for left foot if needed once climbing. DBB.
Nick Hanson & Aidan Cox, Apr 2021 · From: theCrag
The crack that forms the right side of The Great Willy. Offwidth easing to hands.
From: theCrag
Revival Area
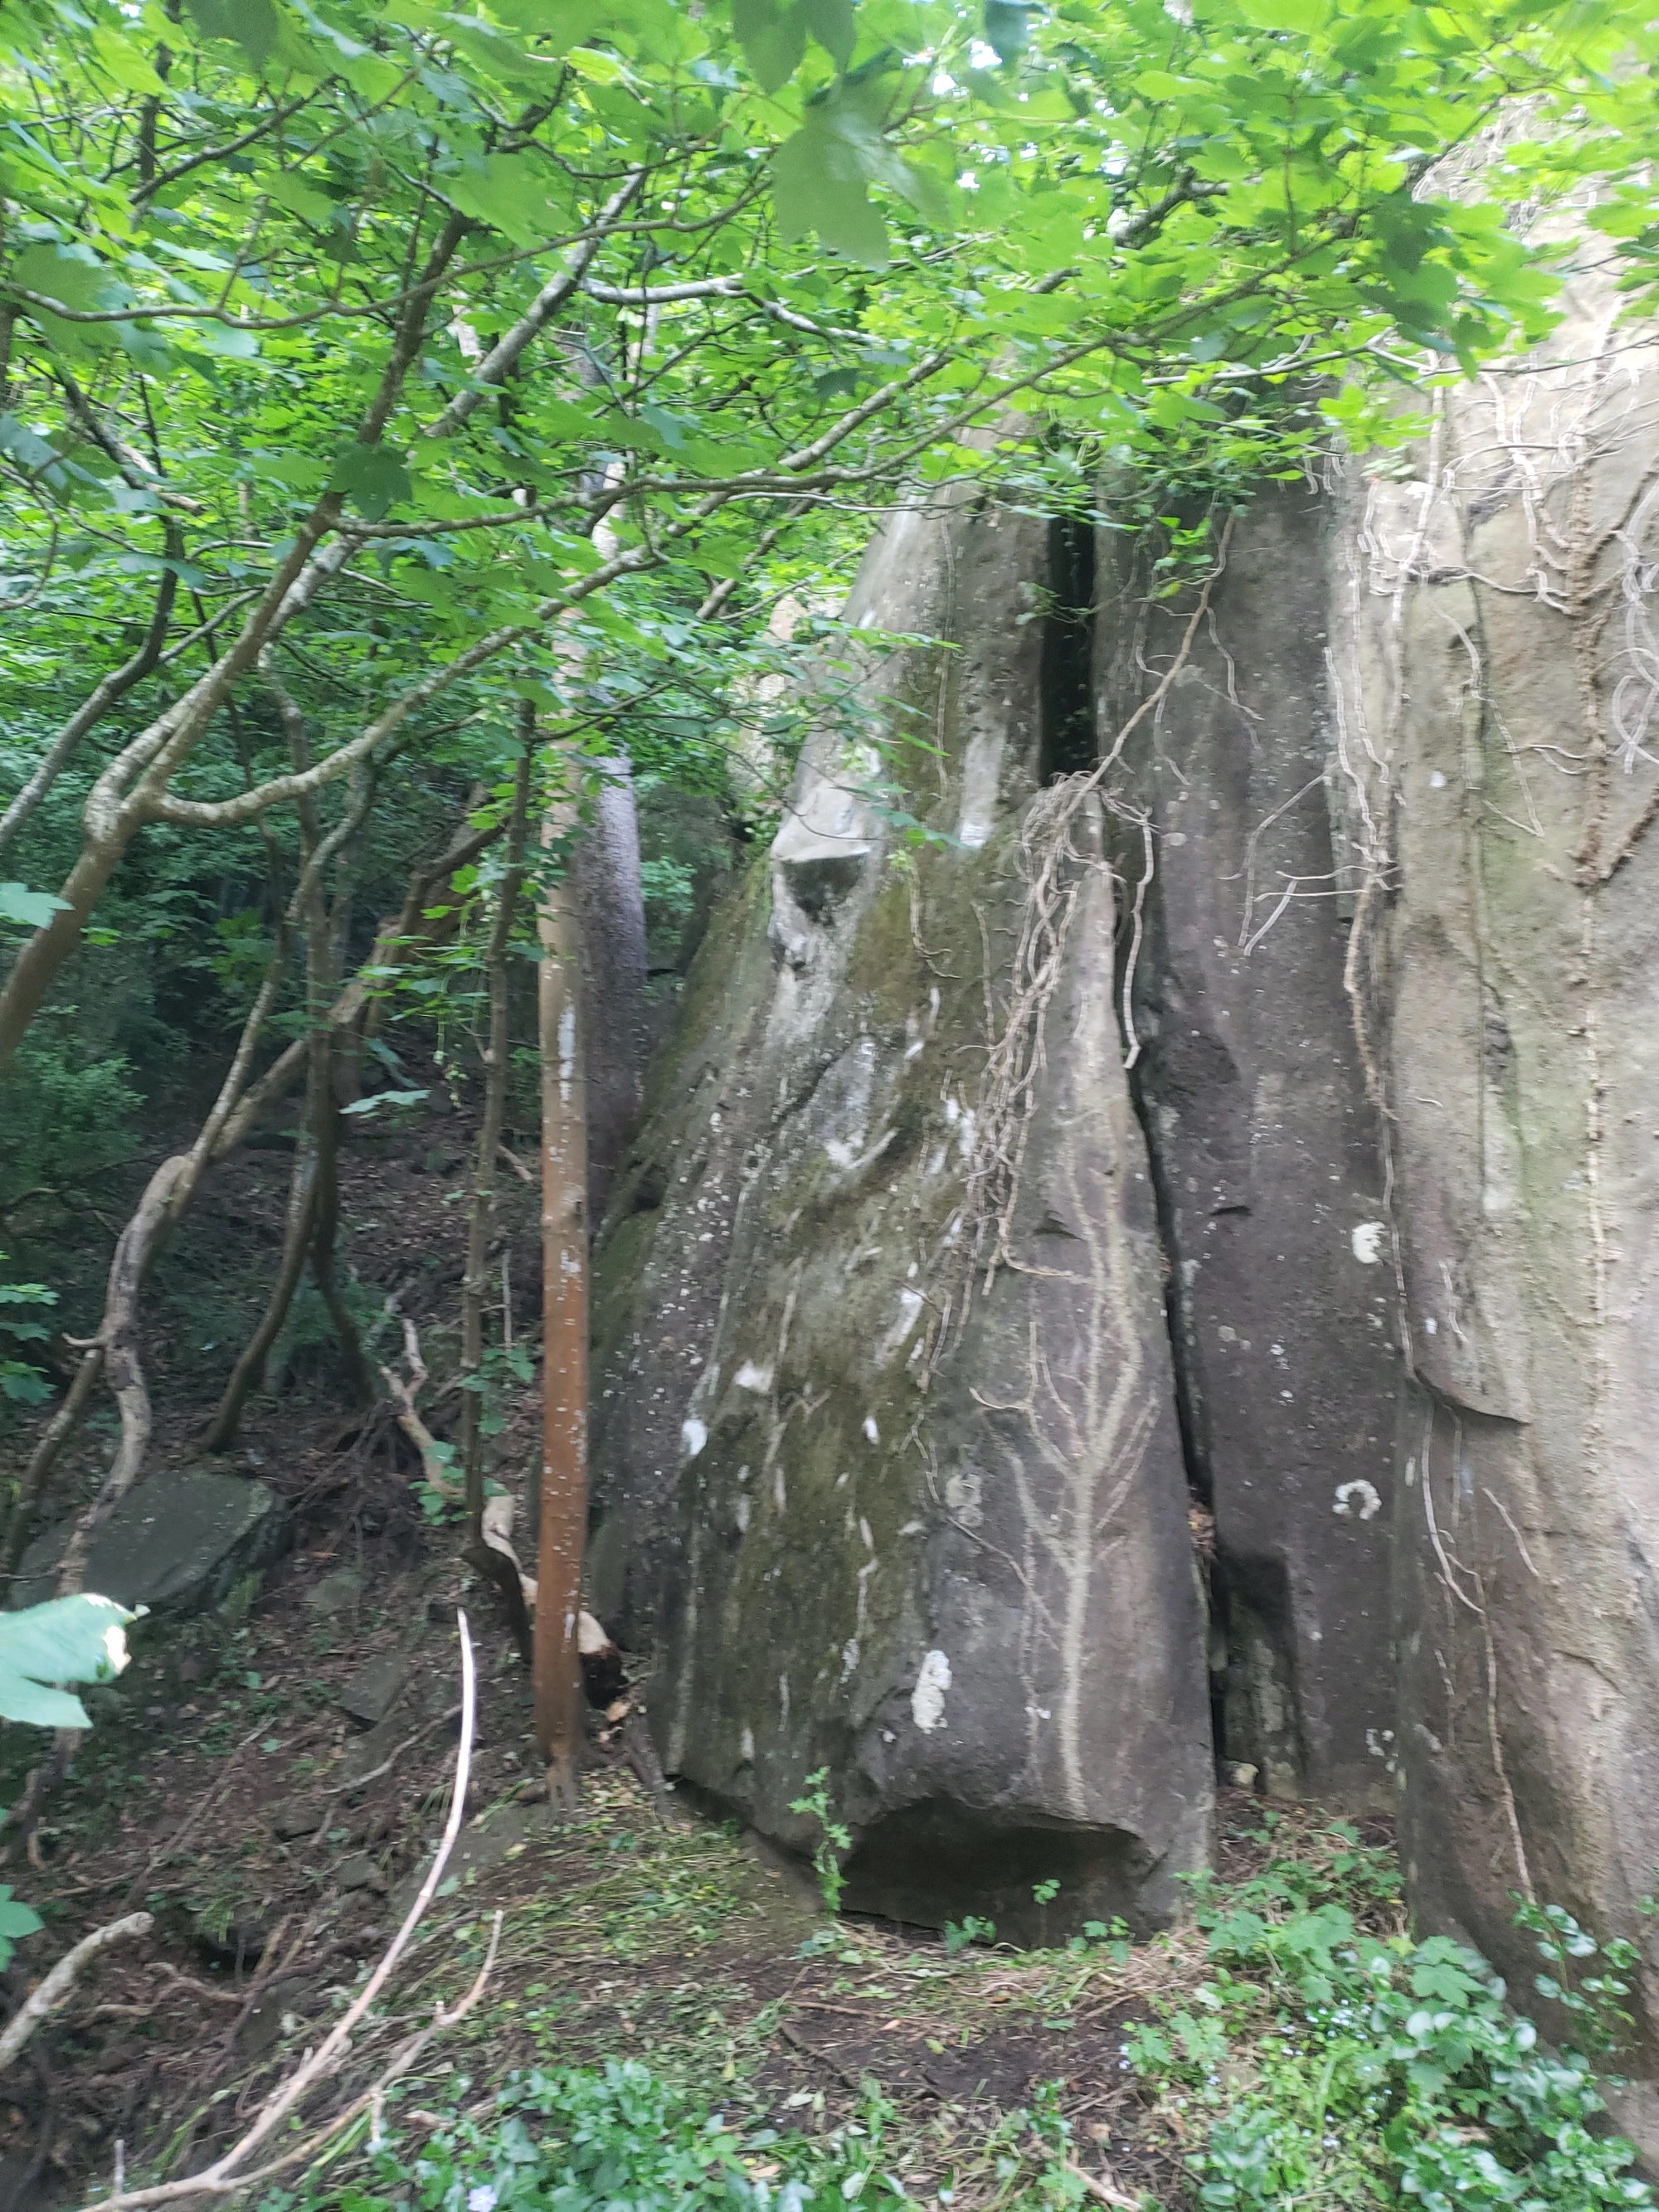
Topo: theCrag contributors, CC BY-NC-SA 3.0, theCrag