
Central Buttress
 15 min uphill
 Morning sun
 Broken dolerite faces and cracks, up to 100m
Introduction
Central Buttress spans the extensive area between Great Tier and Flange Buttress and is the closest buttress to the Organ Pipes Track. The Arena is an area of single pitch routes at the far left end of Central Buttress where it abuts Great Tier. Routes right of here are on the main face of Central Buttress and comprise climbs of mostly two pitches or more. The routes at the right end of Central Buttress become progressively shorter, culminating at Circus Wall before it merges into Pooch Gully.
Access
To access the Arena, drive to kunanyi summit, walk down to the top of Pipes between Pooch Gully and Teardrop Gully to locate the Arena. Climbs in the Arena are all accessed by abseil.
The main face of Central Buttress is accessed from below from the climbers' carpark. Walk left along the Organ Pipes Track past the access track to Flange Buttress for another 50m, before arriving at a track junction signposted as Central Buttress (GPS MTW040). Head straight up this track past a junction that heads left to Great Tier. After another 20m up the hill the track forks.
Taking the left fork provides access to the base of routes between Improbability Drive and Acid Test. Most of these routes start from Battle Cruiser Ledge, a ramp that rises left of Third Bird and terminates at Linda. For routes that start off this ledge, the rap station at the top of Battle Cruiser provides return access (down the line of Linda) to the left hand end of Battle Cruiser Ledge.
Taking the right fork provides access to the bottom of routes on Kacktus Buttress. For climbs in this area there are rap routes on Peregrine and Remembrance.
For access to the routes on Circus Wall walk down from the summit to locate the top of Pooch Gully. Routes start right of Pooch Gully and are accessed by abseil.
The Arena
The Arena is the conspicuous amphitheatre at the left hand end of Central Buttress high up where it meets Great Tier. Access is from kunanyi summit. Approach as for Upper Teardop Gully (or by walking along the cliffedge from the top of Pooch Gully) to the rusty pipe marking the Upper Teardrop Gully access track. Head down the track until it flattens out, then head left to locate the top of The Arena. Access to the base of the routes is via abseil. Suss out the various rap points from opposite if needed.
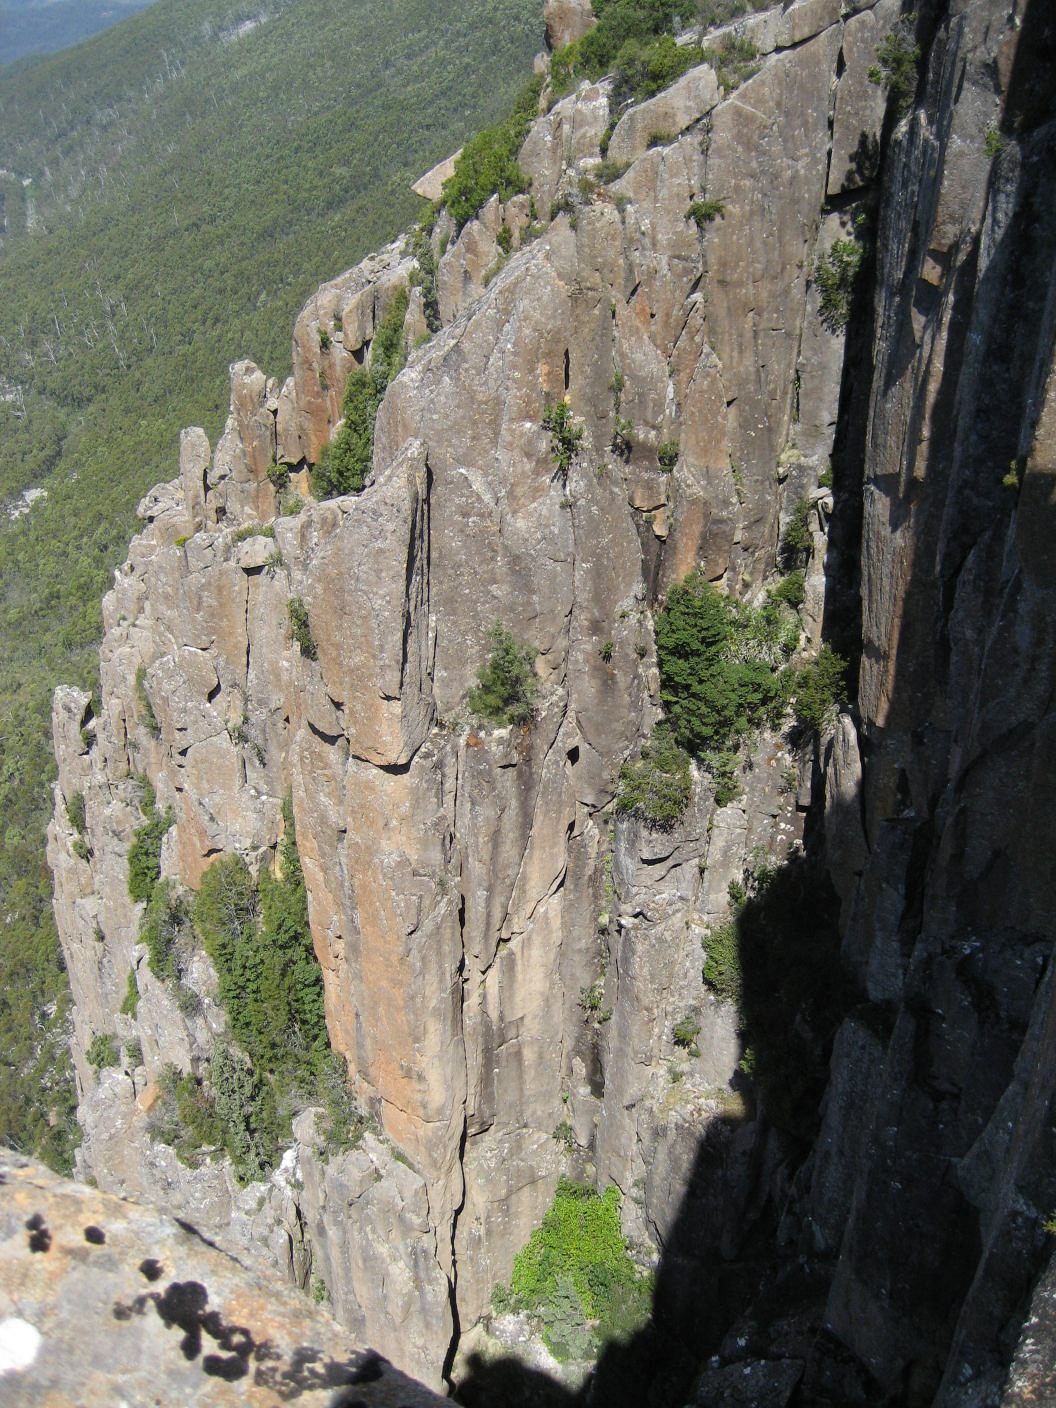
Arena South
The wide crack system to the R of the large pillar on the L side of the Arena. Climb the chimney and the ensuing off-width crux. Sounds great doesn't it? Nice climbing follows to the top.
P. Robinson, A. Wilson, Mar 2001.
A neat little route located on the south side of the Arena amphitheatre. Viewed from the top of Centurion it is the second north-facing crack line from the L (R of Menhir and L of Gladiator). Abseil off a large bollard to the sassafras bush down below (or the spike just above). Follow the pleasant crack to the top.
P. Robinson, B. Terry, Mar 2001.
The line R of Asterix on south side of the Arena. Watch out for loose rock. Follow the cracks past myrtle tree and sloping pineapple grass ledge, with a crux near top.
P. Robinson, B. Terry, Mar 2002.
A distinctive line on the L side of The Arena, broken by a few ledges. Start on a broad sloping ledge at the base of an open corner L of Catacomb. Climb the corner to the first ledge, where an awkward seam and face continues past an alcove to a stance. A thin finger crack past an old peg leads into an easier hand crack, which finishes at a belay ledge with a tree. Double ropes are handy. A short pitch of thrutching up the back leads to the top of the cliff.
N. Deka, T. McKenny, Apr 1990. FFA: D. Rollins, J. Jane, Feb 2013.
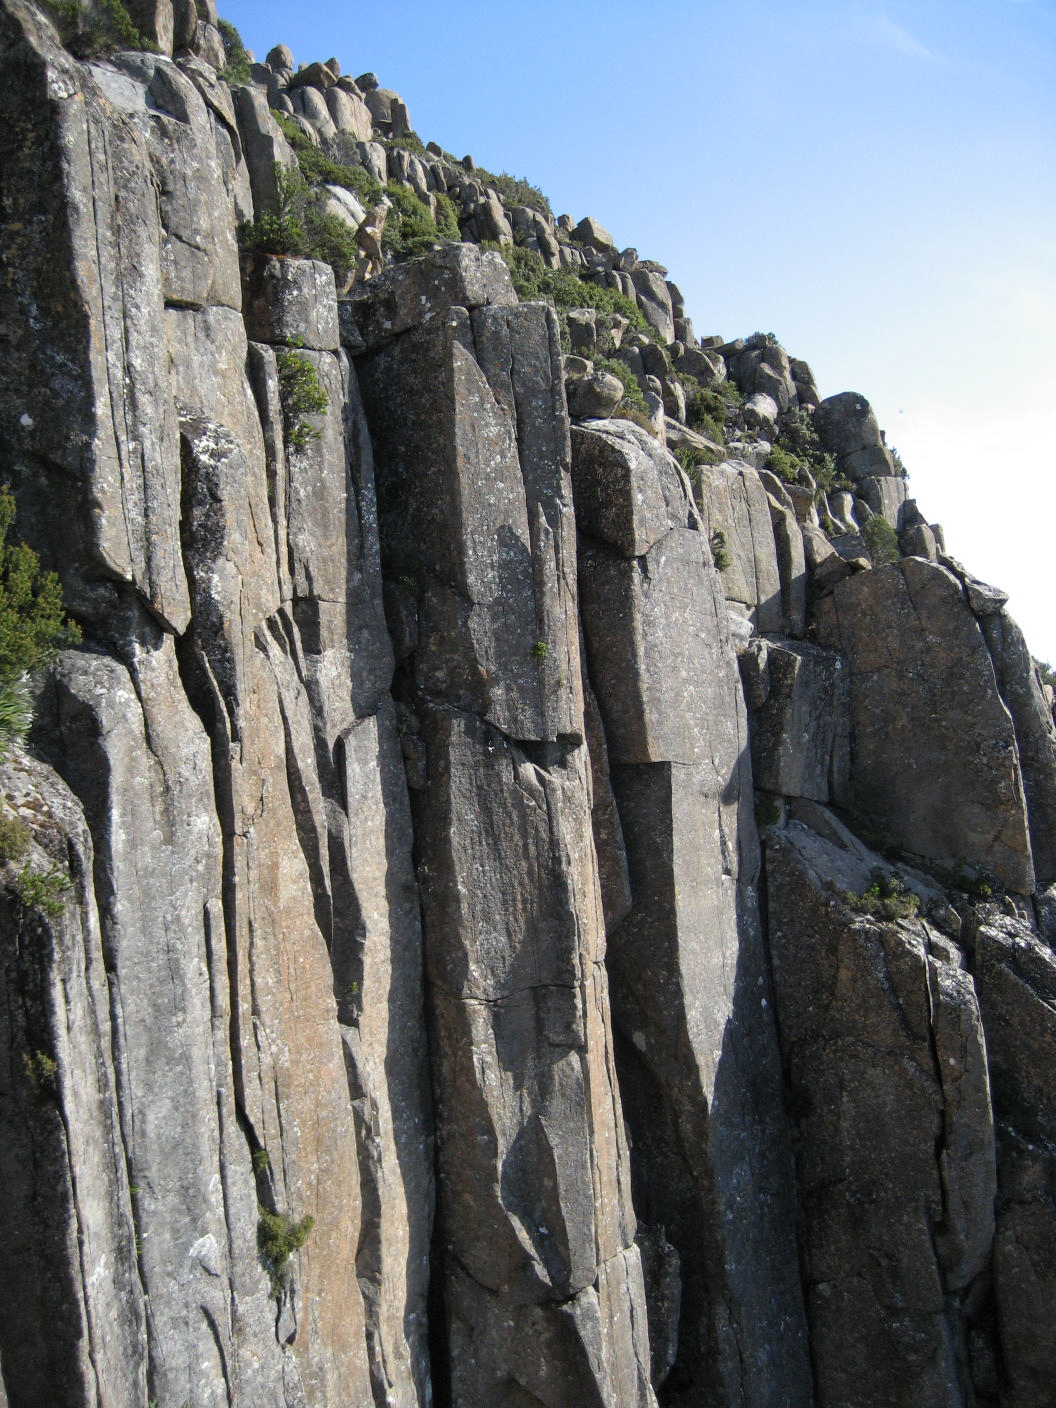
The Arena
The chimney/crack line L of Centurion. Climb the open corner and continue into the tight chimney. Exit out L onto the wall when the chimney becomes a squeeze, and follow the steep crack to the top.
T. McKenny, D. Gardner, May 2001.
The prominent crack in the centre of the buttress. A thin crack on the R can be used to avoid the overhanging offwidth crack at the start. Continue up the hand crack to the top.
D. Fife, P. Mackenzie, Feb 1983.
Exciting moments to be had on the prominent hanging pillar R of Centurion. The gear is not the best. Bridge the offwidth corner 5m R of Centurion for 8m to a small roof. Traverse R under this onto the face of the column. Climb the finger crack past a problematic niche, surmount the large flake above, and continue more easily to the top.
D. Stephenson, N. Deka, Dec 1989.
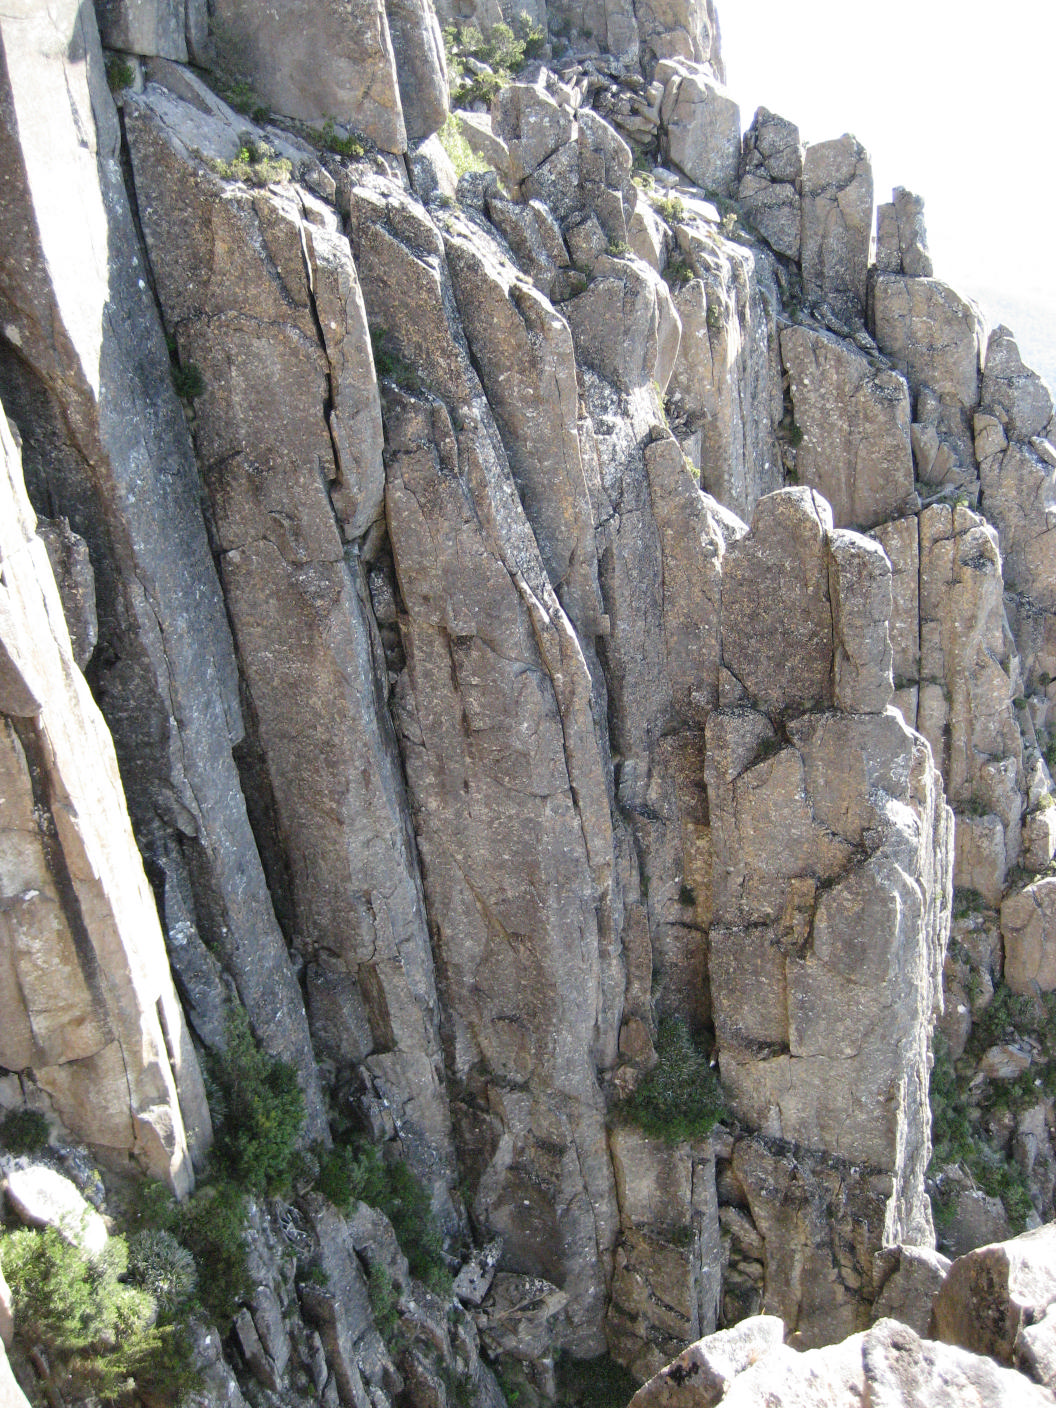
Arena North
Right of the Spear and left of Obelix is a large 3m wide chimney feature.. Climbing in it is a kind of 3D experience. Circus Maximus is the LH corner. Circus Minimus takes the RH line in the chimney.
Classical. Up the LH side of the chimney to the bulge (a head torch was used on the first ascent to find gear placements underneath it!) and follow the blank corner (crux), which becomes a finger and thin hand-sized crack. Follow the chimney, which higher up becomes awkward and a little run out to reach a large ledge. Take LH line and avoid weighting the loose blocks at the top too much by carefully chimneying past them.
P. Robinson, K. Robinson, Mar 2007.
A jolly outing that takes the RH side of the chimney. Climb the crack in the slippery V-chimney to a small roof and chimney L of this to the large ledge. Follow the clean crack system on the R to a bulge, hand jam around it, and climb directly to the top.
P. Robinson, C. Hewer, K. Robinson, 1 Apr 2007. (a suspicious date for a first ascent...)
The next routes are located immediately to the R of the Circus duo in the main Arena amphitheatre. Access is again by abseil (tape). Identifying your route of choice is significantly enhanced by looking across from the opposite side of the amphitheatre.
The corner two lines R of The Spear. Climb the chimney and overhang, then follow the corner all the way to the top.
P. Robinson, T. McKenny, Apr 2001.
Continually interesting climbing that is atmospheric on a misty day. The corner line R of Obelix with a dirty start. Double ropes are handy. Climb the line for 5m before moving L of the corner up the short clean crack behind a large flake. When it runs out, move R into the corner for a few metres before climbing the hand crack on the L wall to the overhang. Traverse L out of the corner into the steep, exposed line above. Climb up to the large platform (belay possible) and finish up the short wall as for Caledonian.
P. Robinson, B. Terry, Mar 2002.
Start as for Caledonian to the ledge, keep R of the arête for a few metres, then traverse L from the arête to climb a steep and exposed finger crack.
P. Robinson, B. Terry, Mar 2002.
Right of Obelix on the RH side of the Arena amphitheatre are two obvious lines.. The far RH line has a short crack leading to a large grassy ledge followed by a curving arête. Climb the L trending arête, keeping just R of it. Above the arête are two short walls.
P. Robinson, T. McKenny, J. McKenny, Feb 2002.
The next four climbs are located on a separate buttresses just R of the main Arena amphitheatre. The base of these climbs is reached by a 50m rap from the large ledge immediately right of Obelix (the same ledge where Caledonian finishes). The abseil finishes to one side of a steep 25m buttress. Watch out for loose blocks on the way down.
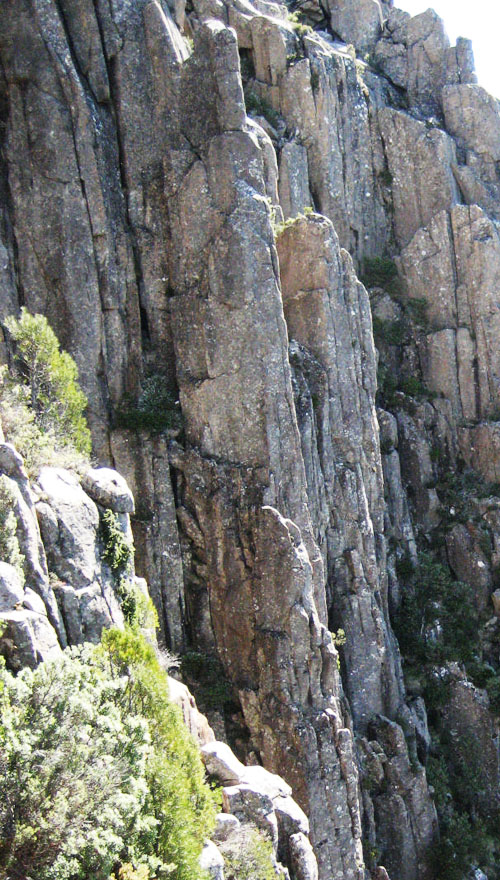
This route is used as an exit pitch for its companion routes. Starting from the top of the Telopea buttress, follow walls and the ridge to an exposed step across, which leads to the abseil ledge R of Obelix. Watch out for that loose block on the R just below the top.
P. Robinson, K. Robinson, Jan 2004.
A tribute to alpine guide Dave Gardner who died in 2003, while guiding clients on New Zealand's Mt. Tasman. A wild position on a narrow arête on the buttress left of Telopea. From the foot of Telopea, climb easily to the thin buttress on the left. The route follows the nose all the way, finishing on an airy perch.
K. Robinson, P. Robinson, Jan 2004.
A classic. Straight up the front of the buttress through two bulges, with a steep headwall to finish.
P. Robinson, K. Robinson, Jan 2004.
Takes the nose of the buttress, followed by the wall on the R. Start 5m below and R of Telopea. Follow the nose until one can move R up the wall via exciting layback moves to a ledge. Climb the wall and crack system just R of the nose to the top.
P. Robinson, K. Robinson, Jan 2004.
South Central Buttress
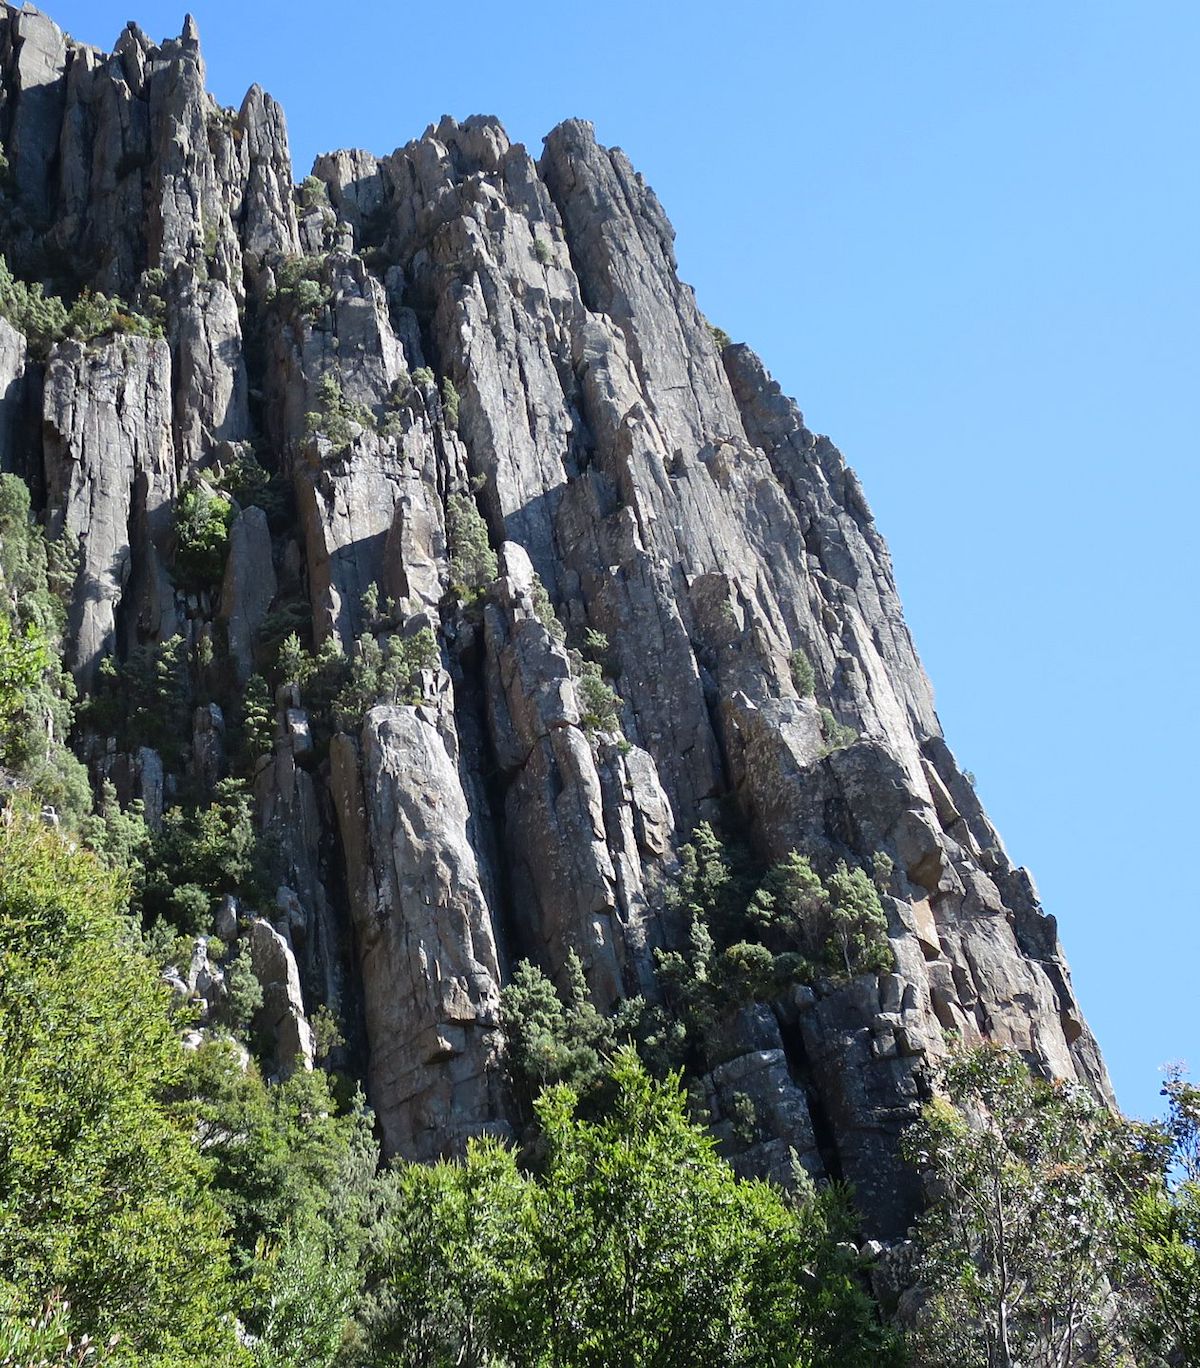
Originally known as Starseeker Buttress, this area at ground level is at the left end of Central Buttress. Several routes were put up here in the distant past, most of which are now overgrown and neglected. It's mostly south facing, meaning it gets a lot of shade and thus best in summer.
Access from the Organ Pipes track is via the signposted Central Buttress track, where after walking 70m uphill, the left signposted fork is followed along under the base of buttress towards Great Tier track. Alternatively follow the signposted Great Tier track, where after walking 30m uphill, take the signposted right fork to Central Buttress that leads along under the base of the cliff.
Approaching from the Great Tier track direction, follow the right fork for 50m under a massive triangular overhang to reach the foot of a small sub-buttress directly below a sharp orange arête. The left edge of this arête is aptly named Pillar of Crud. Low down near the base of the buttress is an inscription in white paint 4-1A, the route number from the original 1969 climbing guide! All the routes start from around this point. The early climbs have had few repeat ascents over the past 50 years and most are now loose and thickly vegetated. On that basis their descriptions and grades should be treated with caution.
South Central Buttress
The first route starts about 5m right of where the Great Tier access track heads up onto the ramp where the Great Tier main wall routes start.
This route follows the obvious line of bolts on the prow of a small buttress just right of Great Tier main wall. Layback the pillar for 5m to a ledge, step left climb the face trending right to follow the arête to the top of the buttress. Great climbing, no natural protection required. Originally given 23.
A. Williams, C. Godfrey, Mar 2008.
The next routes start off an awkward ledge up to the right of Shrapnel. To approach, follow the track past Shrapnel and down and around for 10-15m or so until it leads you to a steep gully. Scramble up this to the ledge.
The crack on the northern side of the Shrapnel pillar. Pleasant crack climbing, steepening at the top. Follow the line all the way to a small ledge one metre above the Shrapnel anchors. Abseil off.
Phil Robinson, C(B) Rathbone, Feb 2019.
P Robinson, K Robinson, C(B) Rathbone 2019-2021. Pitch 1 (Phil’s Crack) P. Robinson, C(B) Rathbone Feb 2019, pitches 2 and 3a K. and P. Robinson Feb.2021, pitch 3b P. Robinson Dec. 2019, pitch 4 (Telopea) and pitch 5 (The Steps) P. Robinson, K. Robinson Jan. 2004. 1st complete ascent K. Robinson, P. Robinson Feb.2021
Takes the next pillar/buttress right of Shrapnel. A steep start leads to a rest before a fridge hugging crux.
Dave Humphries, Jon Nermut, Feb 2019.
The next climb starts just to the left of the toe of the buttress, and takes a deep gulley system to the top.
Route re-discovered by J. Elliot, B. Higgins, 1960. Originally climbed by unknown ascensionists prior to that.
Bloodsport Buttress
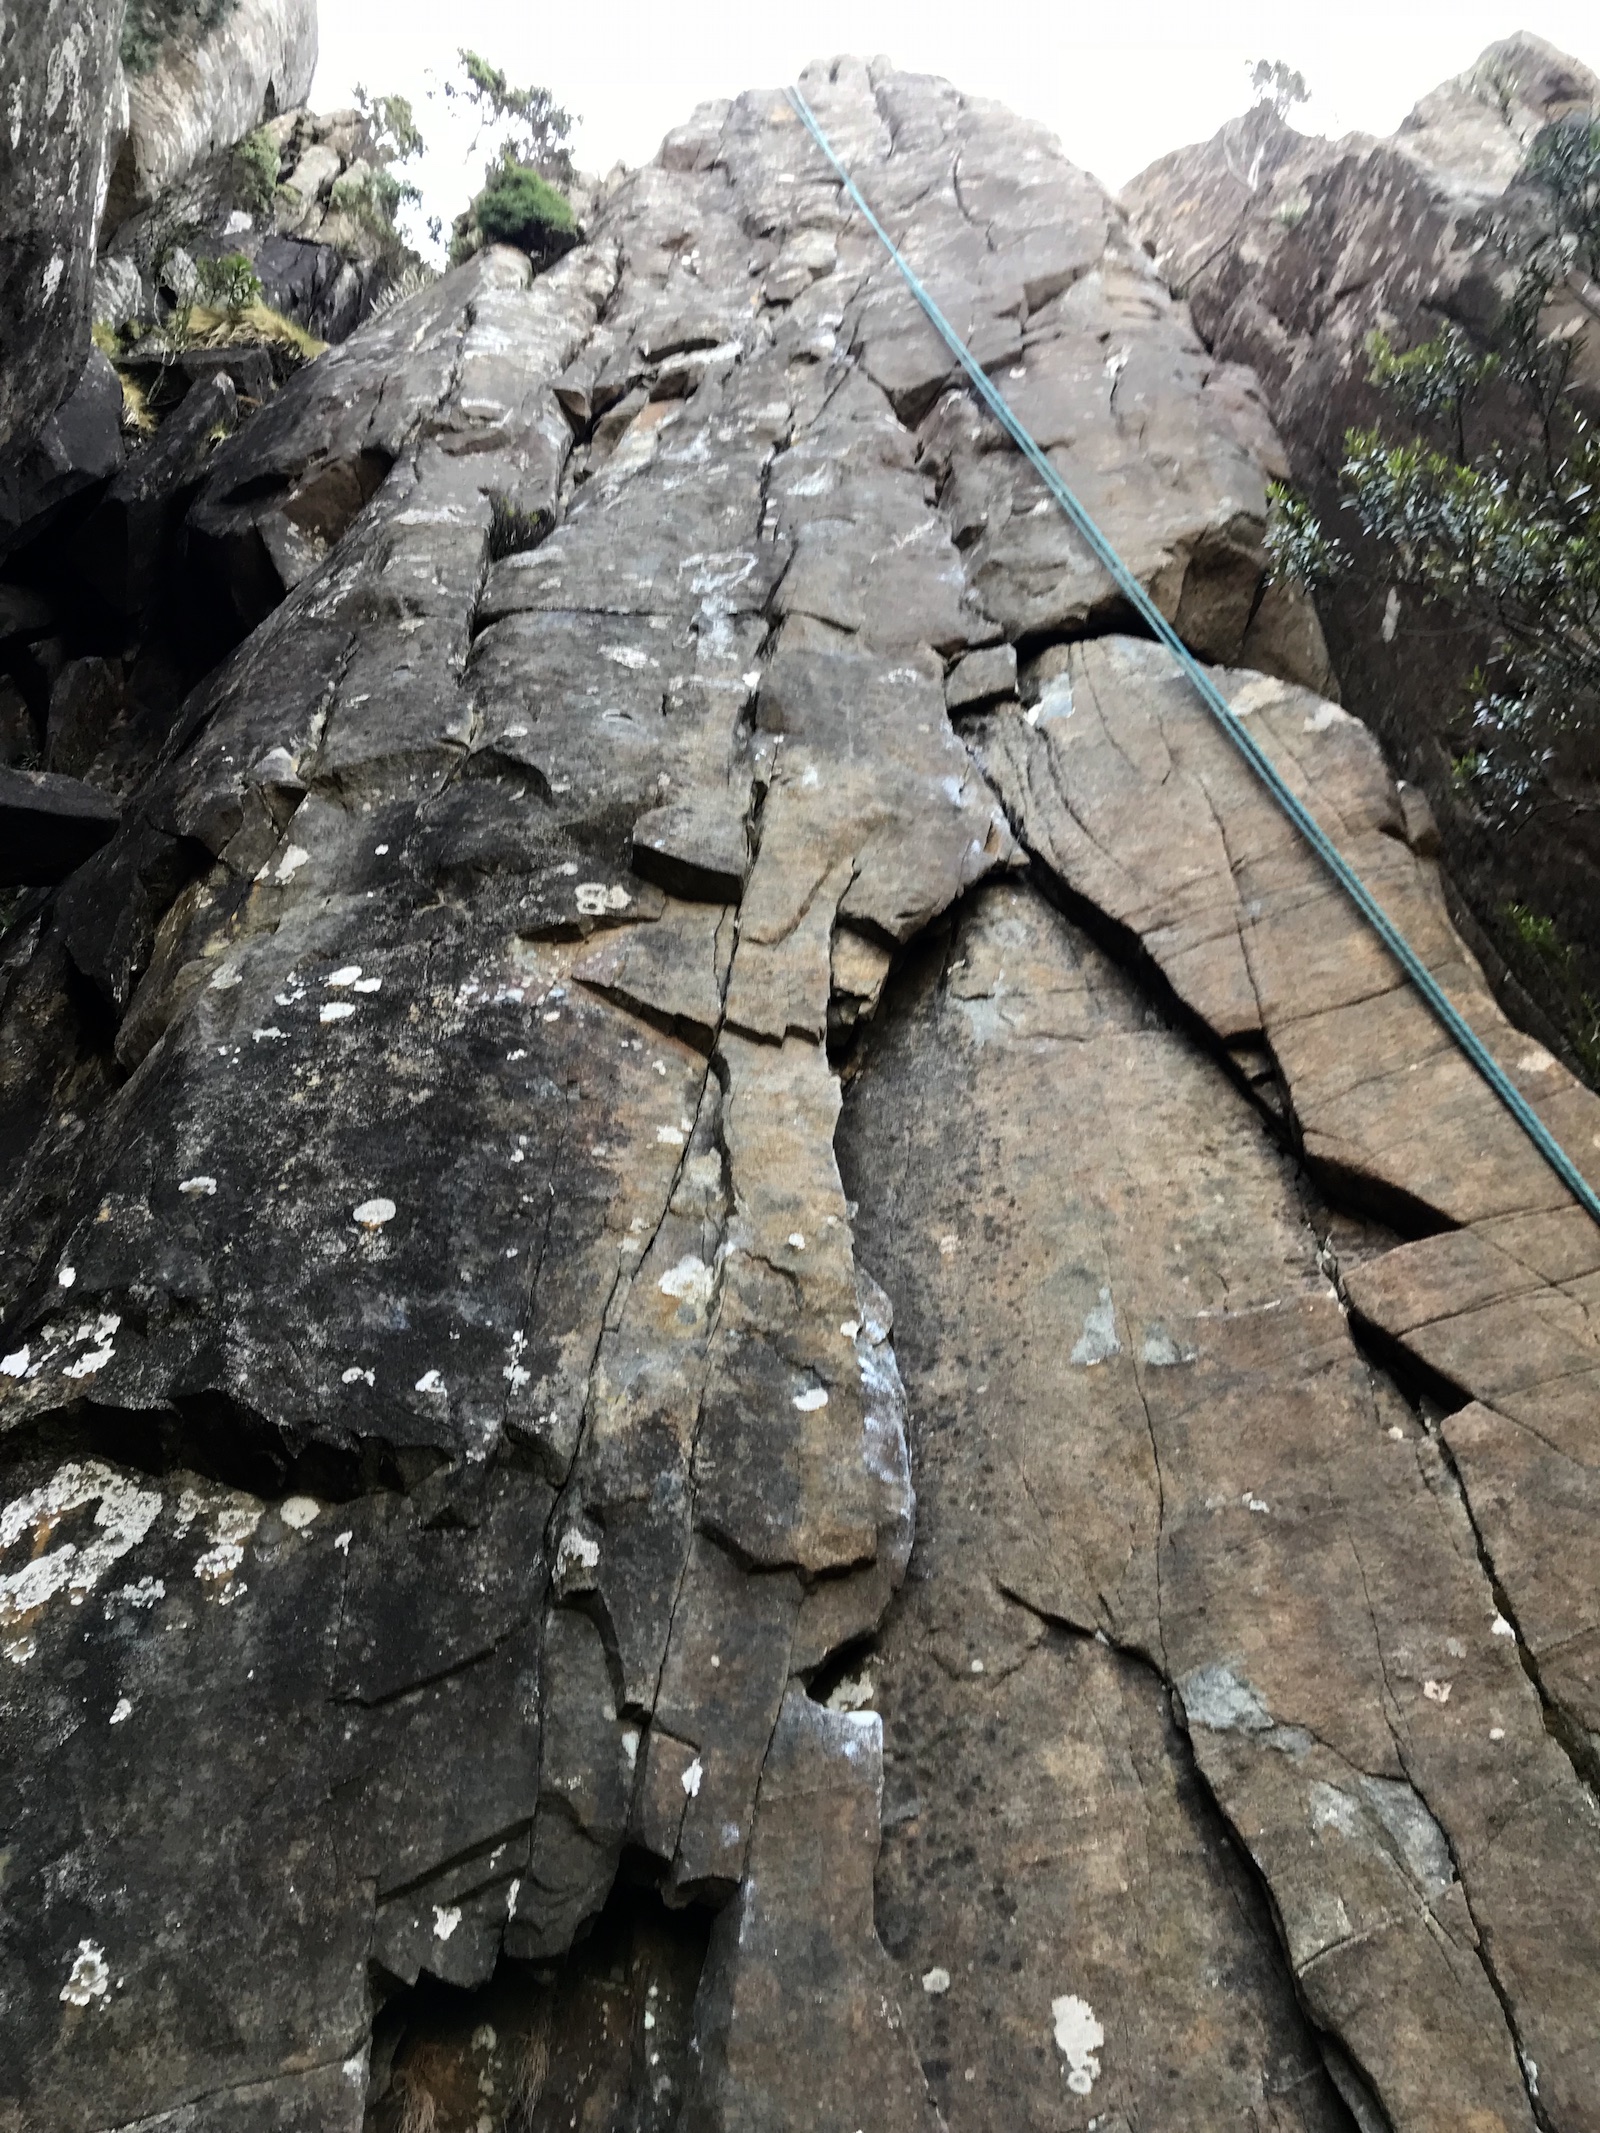
Takes the featured wall to the right of the second pitch of Whose Route. Approach up the steep gully leading to Phil's Crack, then head right into the Whose Route gully, and up to the base of the wall. Climb the steep featured wall, with gear in the crack on the left hand side. The crux is gaining the thin crack on the right side of the face and placing the first small cam in it - this will probably feel pretty bold onsight. Small cams and double ropes are essential. DBB above the face.
Dave Humphries, Feb 2019 (with pre placed gear).
Makes a fun second pitch to Bloodsport. From the Bloodsport rap station, move L past the big boulder, up the wide corner past an old piton, and climb the obvious twin cracks on the face above. At the last little bush in the LH crack/groove, step 2m R to a ledge to avoid the very loose looking shield of rock on the nose of the buttress. Continue up scrubby corner for 10m to the top of the buttress. As of Feb 2023, there is new tat to provide a 40m rap to arrive easily at the Bloodsport rap station.
Zach Sonstegaard and Kat Perndt, Feb 2023
Death Rattle Area
The following climbs are at ground level, accessed the track that links Great Tier track to the Central Buttress track. From the Organ Pipes track head up the Great Tier track for a few metres, then take the right turn. After a small distance at a widening in the track look out for a large overhang about 30m up.
P. Robinson, C.(B.) Rathbone, Jan. 2020.
The middle rib and face under the large overhang, left of Death Rattle. The climb starts 5m from the track at the base of the buttress below and left of two jammed blocks. Follow the centre of the steep rib to ledges at half height and climb directly up the wall above to an awkward V-corner below the overhang. The crux is the wall above the ledge and horizontals with spaced pro. Keep out of cracks to the right. Move left above the V-corner to a DBB.
K. Robinson, P.Robinson, Feb 2019.
The wall right of ‘The Straight and Narrow’ and right of the off-width chimney. Start as for TSAN below two jammed blocks. Climb over the blocks and up an easy mossy gully for 10m trending right to a ledge at the foot of a clean buttress. Start in the finger crack on the right and move into the centre of the face after a few metres climbing in the middle to a ledge at 14m. The thin crack on the right can also be climbed at an easier grade and with good protection. The centre is run out. From the ledge move diagonally left under the overhang joining TSAN below the V corner.
K.Robinson, P. Robinson, Feb 2019.
The next climbs all share the same start, at the very foot of the buttress (i.e. it's lowest point) along the track from Great Tier to Central Buttress, and include several shared pitches... if you can find them! The first to be climbed was Sand's Gory (P. Sands, J. Spinks) in 1961 although the exact line can not now be traced with certainty. From the original description it appears to climb up and then right to join a deep, dark, cavernous chimney, capped with a large chockstone, to the left of what is now Linda, and continuing up as for Linda above the chockstone.
T. McKenny, A. Beech, March 2013.
M. Douglas, J. Fairhall, May 1962.
R. Williams, J. Whelan, Oct 1966.
R. Mansfield, M. Tillema, 1970.
A route by Batten, Tillema and Mansfield in April 1970 (Tuberculosis 140m 14M1), was described in an earlier edition of the guide as starting left of Linda but details are less than definitive.
Below Battle Cruiser Ledge
Note (22/Oct2025): there is a Bassian Thrush reportedly nesting at the base of route 'Living the Dream'. Apparently it is a bit distressed by the presence of climbers. Please stay away from these small collection of climbs for another month.
Below the Battle Cruiser Ledge there is a cluster of small faces with some short quality sport routes. From the Great Tier track take the right fork along the signposted link track towards Central Buttress until directly under the lowest point of the buttress, below the black corner of Battle Cruiser. About 20m further on, a track leads up left through steep bush to the faces. The track passes under the base of the Three Stooges and continues left to a small face at the far left end of the track. Alternatively approach via the Central Buttress track and head up to Battle Cruiser ledge. Rap in from the obvious rap station below Battle Cruiser to the base of Three Stooges (20m).
The flakey face just left of Bad Back at the far left end of the access track. There is OK gear in the vertical then horizontal cracks.
J. Nermut, D. Humphries, Apr 2014.
The bolted face to the right of the dirty crack. Climb either to the L or R of the bolts.
J. Nermut, D. Humphries, Apr 2014.
To the right of Bad Back on the next face is another, slightly longer bolted route.
A bit of fun. Climb the middle of the face, moving right near the top. Mantle with style, and move back left to finish up the left hand arête. Rap off (20m).
The Three Stooges aka B. Bull, T. McKenny and S. Scott, Nov 2015.
The crack system immediately right of The Three Stooges has been cleaned, creating an easily accessible beginner’s trad lead.
Directly up easy cracks to the short and steep clean hand crack at the top. Jam and exit left when the crack runs out.
Belay/rap as for the Three Stooges.
P. Robinson, G. Dixon, Nov 2017.
A small track about 20m to the right of the last climb leads to a steep pillar of rock.
A hard bouldery start up and right and then follow the vertical arête above. DBB.
M. Bailey, B. Bull, D. Bruce and T. McKenny, Dec 2015.
Battle Cruiser Ledge
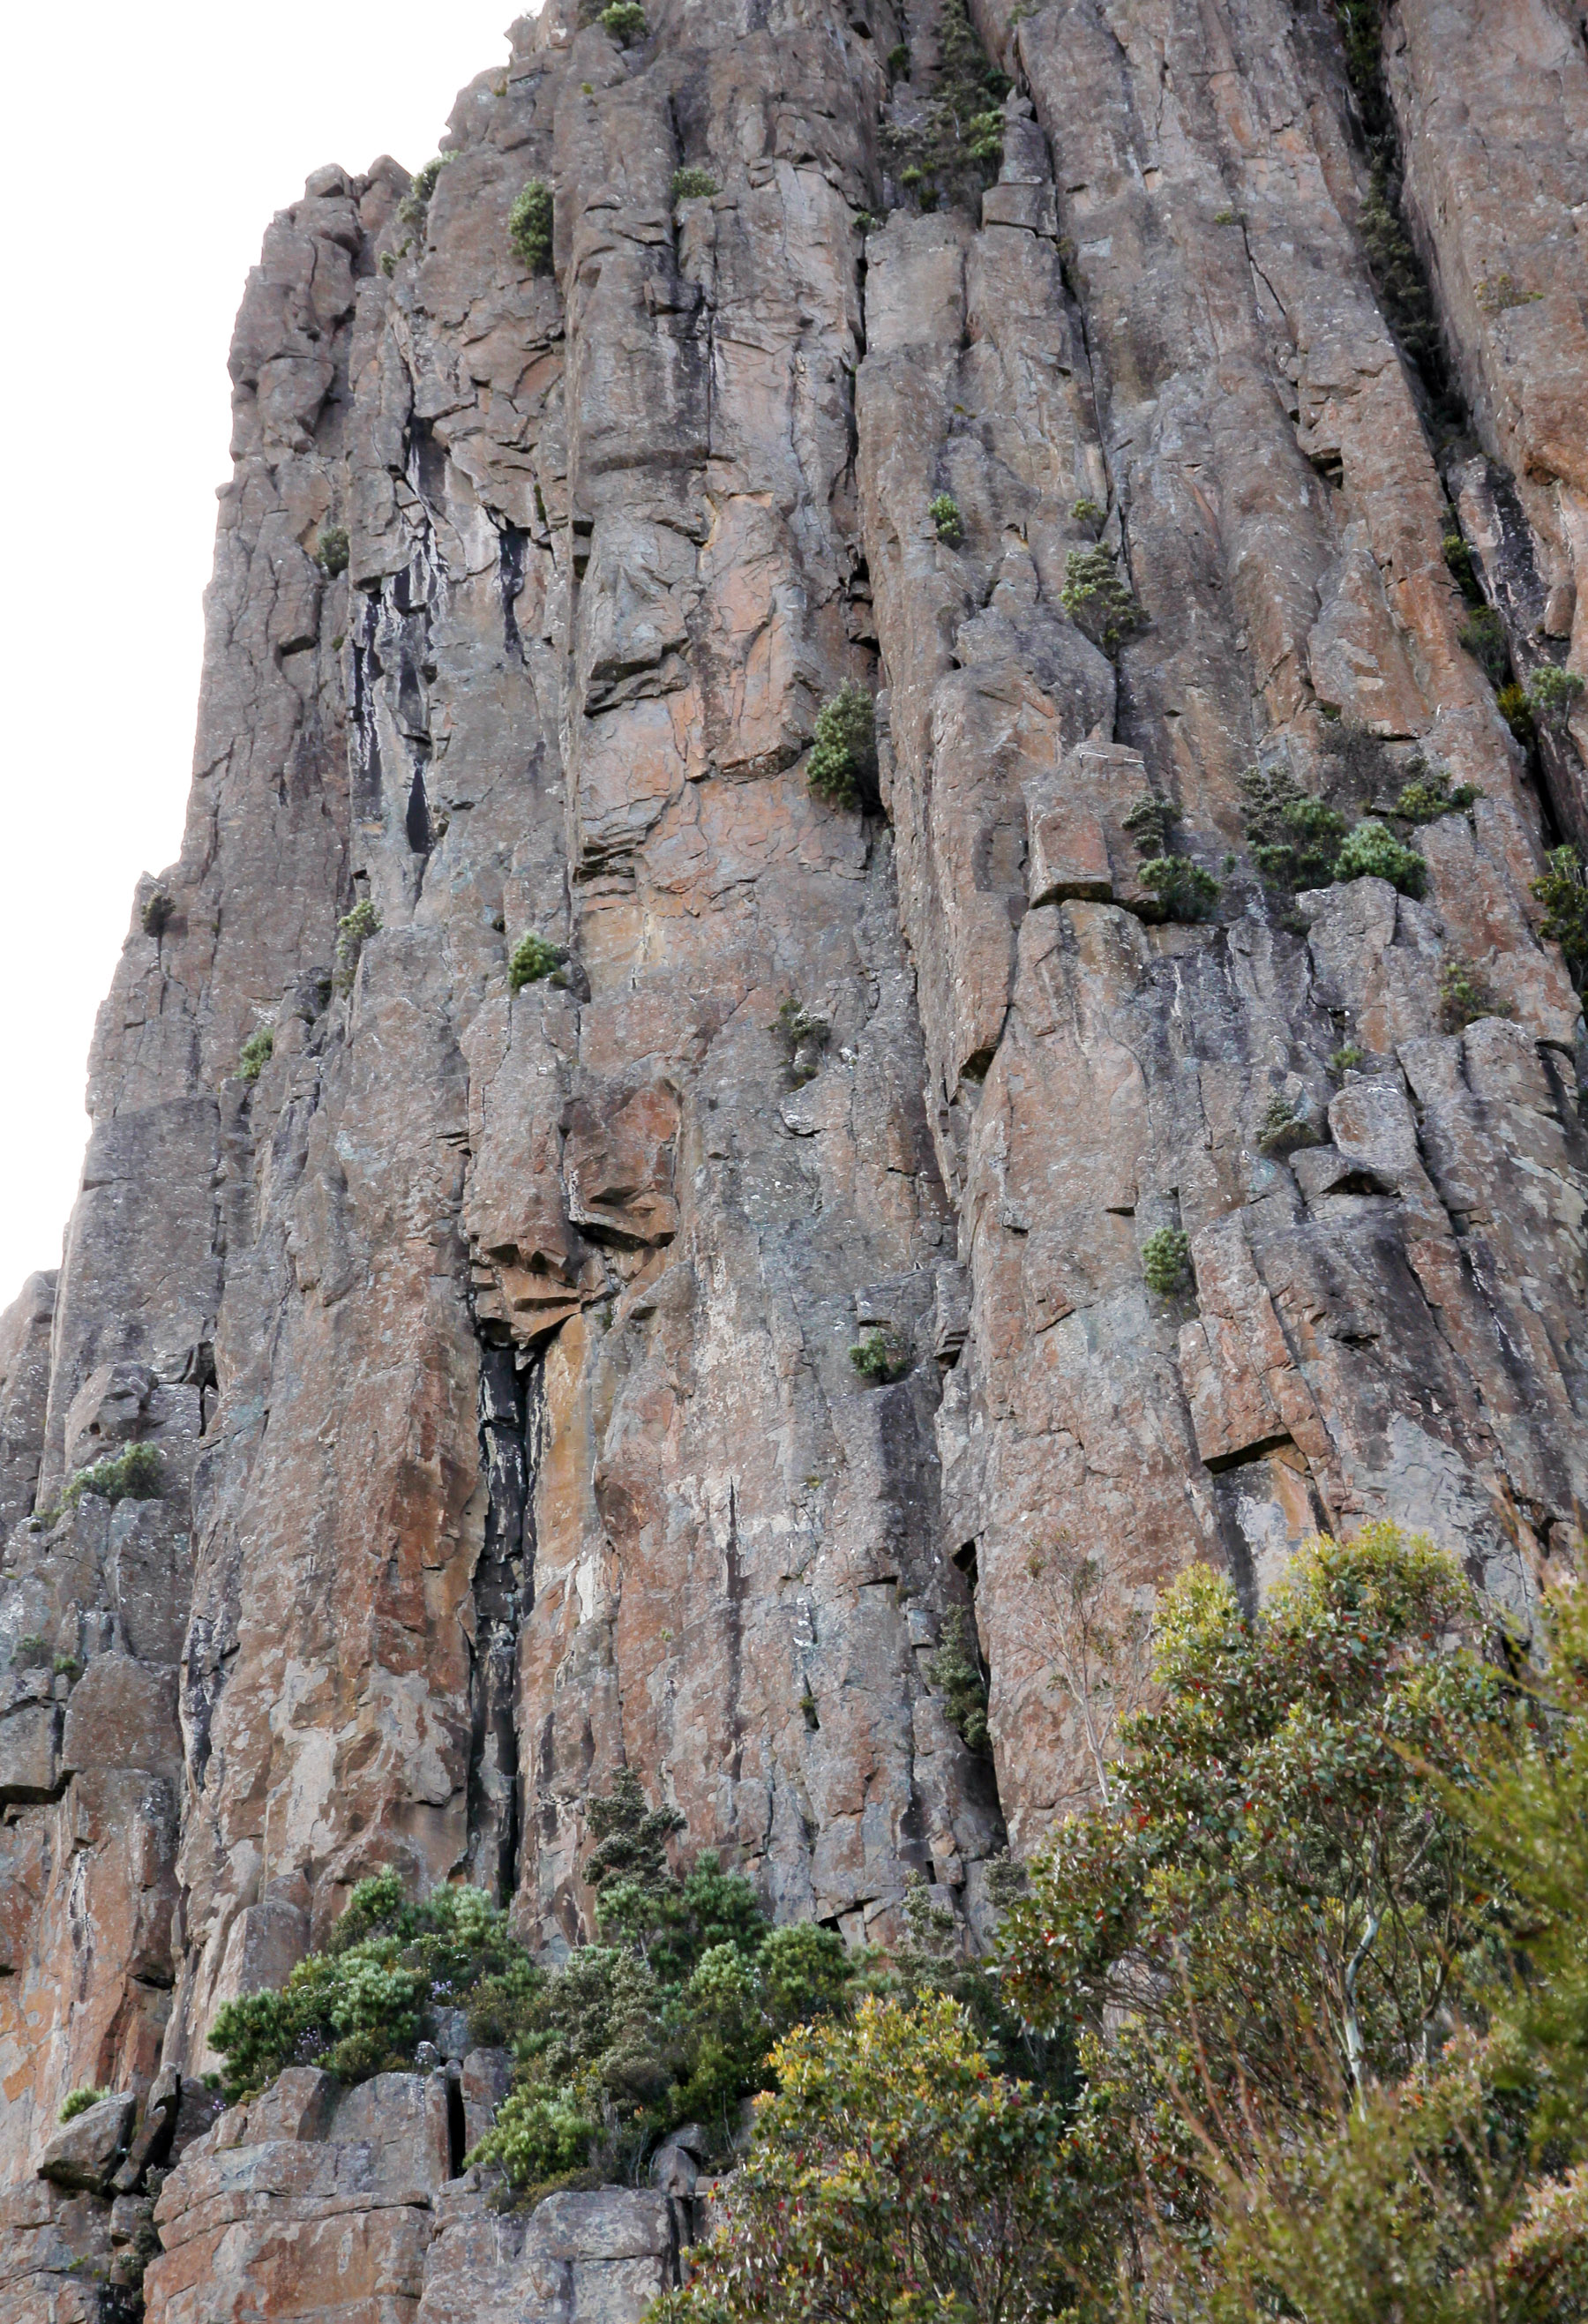
With the exception of Linda, routes between Five Easy Pieces and Mephistopheles are all accessed from Battle Cruiser Ledge. To access the ledge, take the signposted Central Buttress track uphill past the signposted Great Tier link track to the next junction. Take the left fork along under the buttress before scrambling up steeply to gain the ledge. Battle Cruiser Ledge continues in a rising traverse left that ends overlooking the Linda chimney.
Descent: There are several rap stations here.
1. The top of Improbability Drive (1x 50m to Linda chockstone, 1x 25m to Battle Cruiser ledge)
2. Three on battlecruiser.
- At the end of the first pitch (Major Tom lower-off - 28 m to ground).
- Take the first rap station you encounter on battlecruiser's second pitch (ring and chain) to get back down to the ground (55 m).
- Keep going up the arete above on the second pitch to reach the top rap-station (two staples) and head down Linda (1 x 50m to Linda chockstone, 1 x 25m to the left end of Battle Cruiser ledge). Note, to avoid a rope jam on the 50m pitch, run the abseil rope down the chimney. Use this rap-station to access Improbability Drive.
3. Two further rap stations (lower offs) are found on Cognitive Dissonance (28m) and Thesaurus (24m).
Battle Cruiser Ledge
Ascends the black and white streaked red wall capped by overhangs on the small buttress left of the Linda chimney. Belay at the far left end of Battle Cruiser ledge, below the start of Starship Trooper (alternatively, there is a belay anchor at the bottom of the route). Step left across the Linda chimney and climb the steep face through the blind corner and overhang, finishing at a DBB on the small ledge above.
D. Stephenson, N. Smith, April 2019.
S. Parsons, D. Fife, Phil Steane, 1982.
E. Peacock, G. Cooper, Nov 1982.
J. Moore, J. Veasey, Jan 1968. (3b): K. Prinz, L. Wood, A. Bowden, 1975.
A well-protected and quality alternative to the first pitch of Starship Trooper, taking the steep RH wall of the Linda chimney. From the LH end of Battle Cruiser Ledge step around the arête into the chimney. Climb up and into the crack on the R wall to an overhang, which is passed on the L. Move back R and continue up to belay as for Starship Trooper pitch 2..
N. Deka, D. Bruce, D. Batten, Mar 1988.
K. Carrigan, M. Law, 1978.
Face climb right of pitch one of Starship Trooper. Continuously interesting climbing to a lower off (28 m).
Roger Parkyn, Feb 2022.
Superb direct version of Battle Cruisers second pitch. Climb directly above the belay and follow the shallow left-facing corner until you can follow the flake out left and up to a spectacular rest below a small rooflet. Continue straight up the arête (crux), or slightly easier, step right and climb up a short wall to join Battle Cruiser at the diagonal trending flake. Continue up the rest of Battle Cruiser to the rap station.
D. Stephenson, J. Otlowski, Mar 1989.
M. Law, D. Bowman, 1978.
A fine route that makes a good first pitch to Space Cowboy. Start 2m right of Battle Cruiser and climb the thoughtful thin crack and wall to a sloping ledge below the roof. Layback and finger jam straight through it (crux), then continue up to belay as for Battle Cruiser.
M. Law, K. Carrigan, 1978.
I. Lewis, L. Closs, Sep 1973.
G. Cooper, Pete Steane, 1987.
Are you feeling bold? This route follows the thin line up the face between Faust and Twice. Either step out left of the corner chimney of Faust (approx 30m up pitch 1) and up the line or climb the line directly through both the overlaps. Small wires constitute protection and it is unknown whether the route continues straight up or veers right back into Faust. Rap anchors as for Battle Cruiser.
P. Robbins, 1990.
J. Moore, R. Williams, Mar 1967.
The line up the face and arête between Faust and Spartan Ethics. There is a thin and balancy crux between the 2nd and 3rd bolts, and another tricky move at the roof, the rest is about 20.
J. Nermut, D. Humphries, Jan 2015.
Immediately right of Cognitive Dissonance. Steep start, then keep following the line of U's.
Note: This route can be climbed on trad gear with a couple of pieces placed in Spartan Ethics ~1m right to protect the thin moves in the lower section. Lots of small wires/RPs and 2x #2 cams are required for the top two thirds.
Roger & James Parkyn, Heather & Nick Hancock, May 2016.
(1) S. Parsons, D. Bowman, Dec 1979. (2) D. Bowman, R. Wells, Feb 1978. (3) N. Deka, D. Stephenson, Apr 1988.
(1) P. Steane, Mar 1996. (2) P. Cullen, D. Bowen, M. Burton, Feb 1982.
J. Moore, R. Williams, Apr 1967.
Third Bird Area
Third Bird
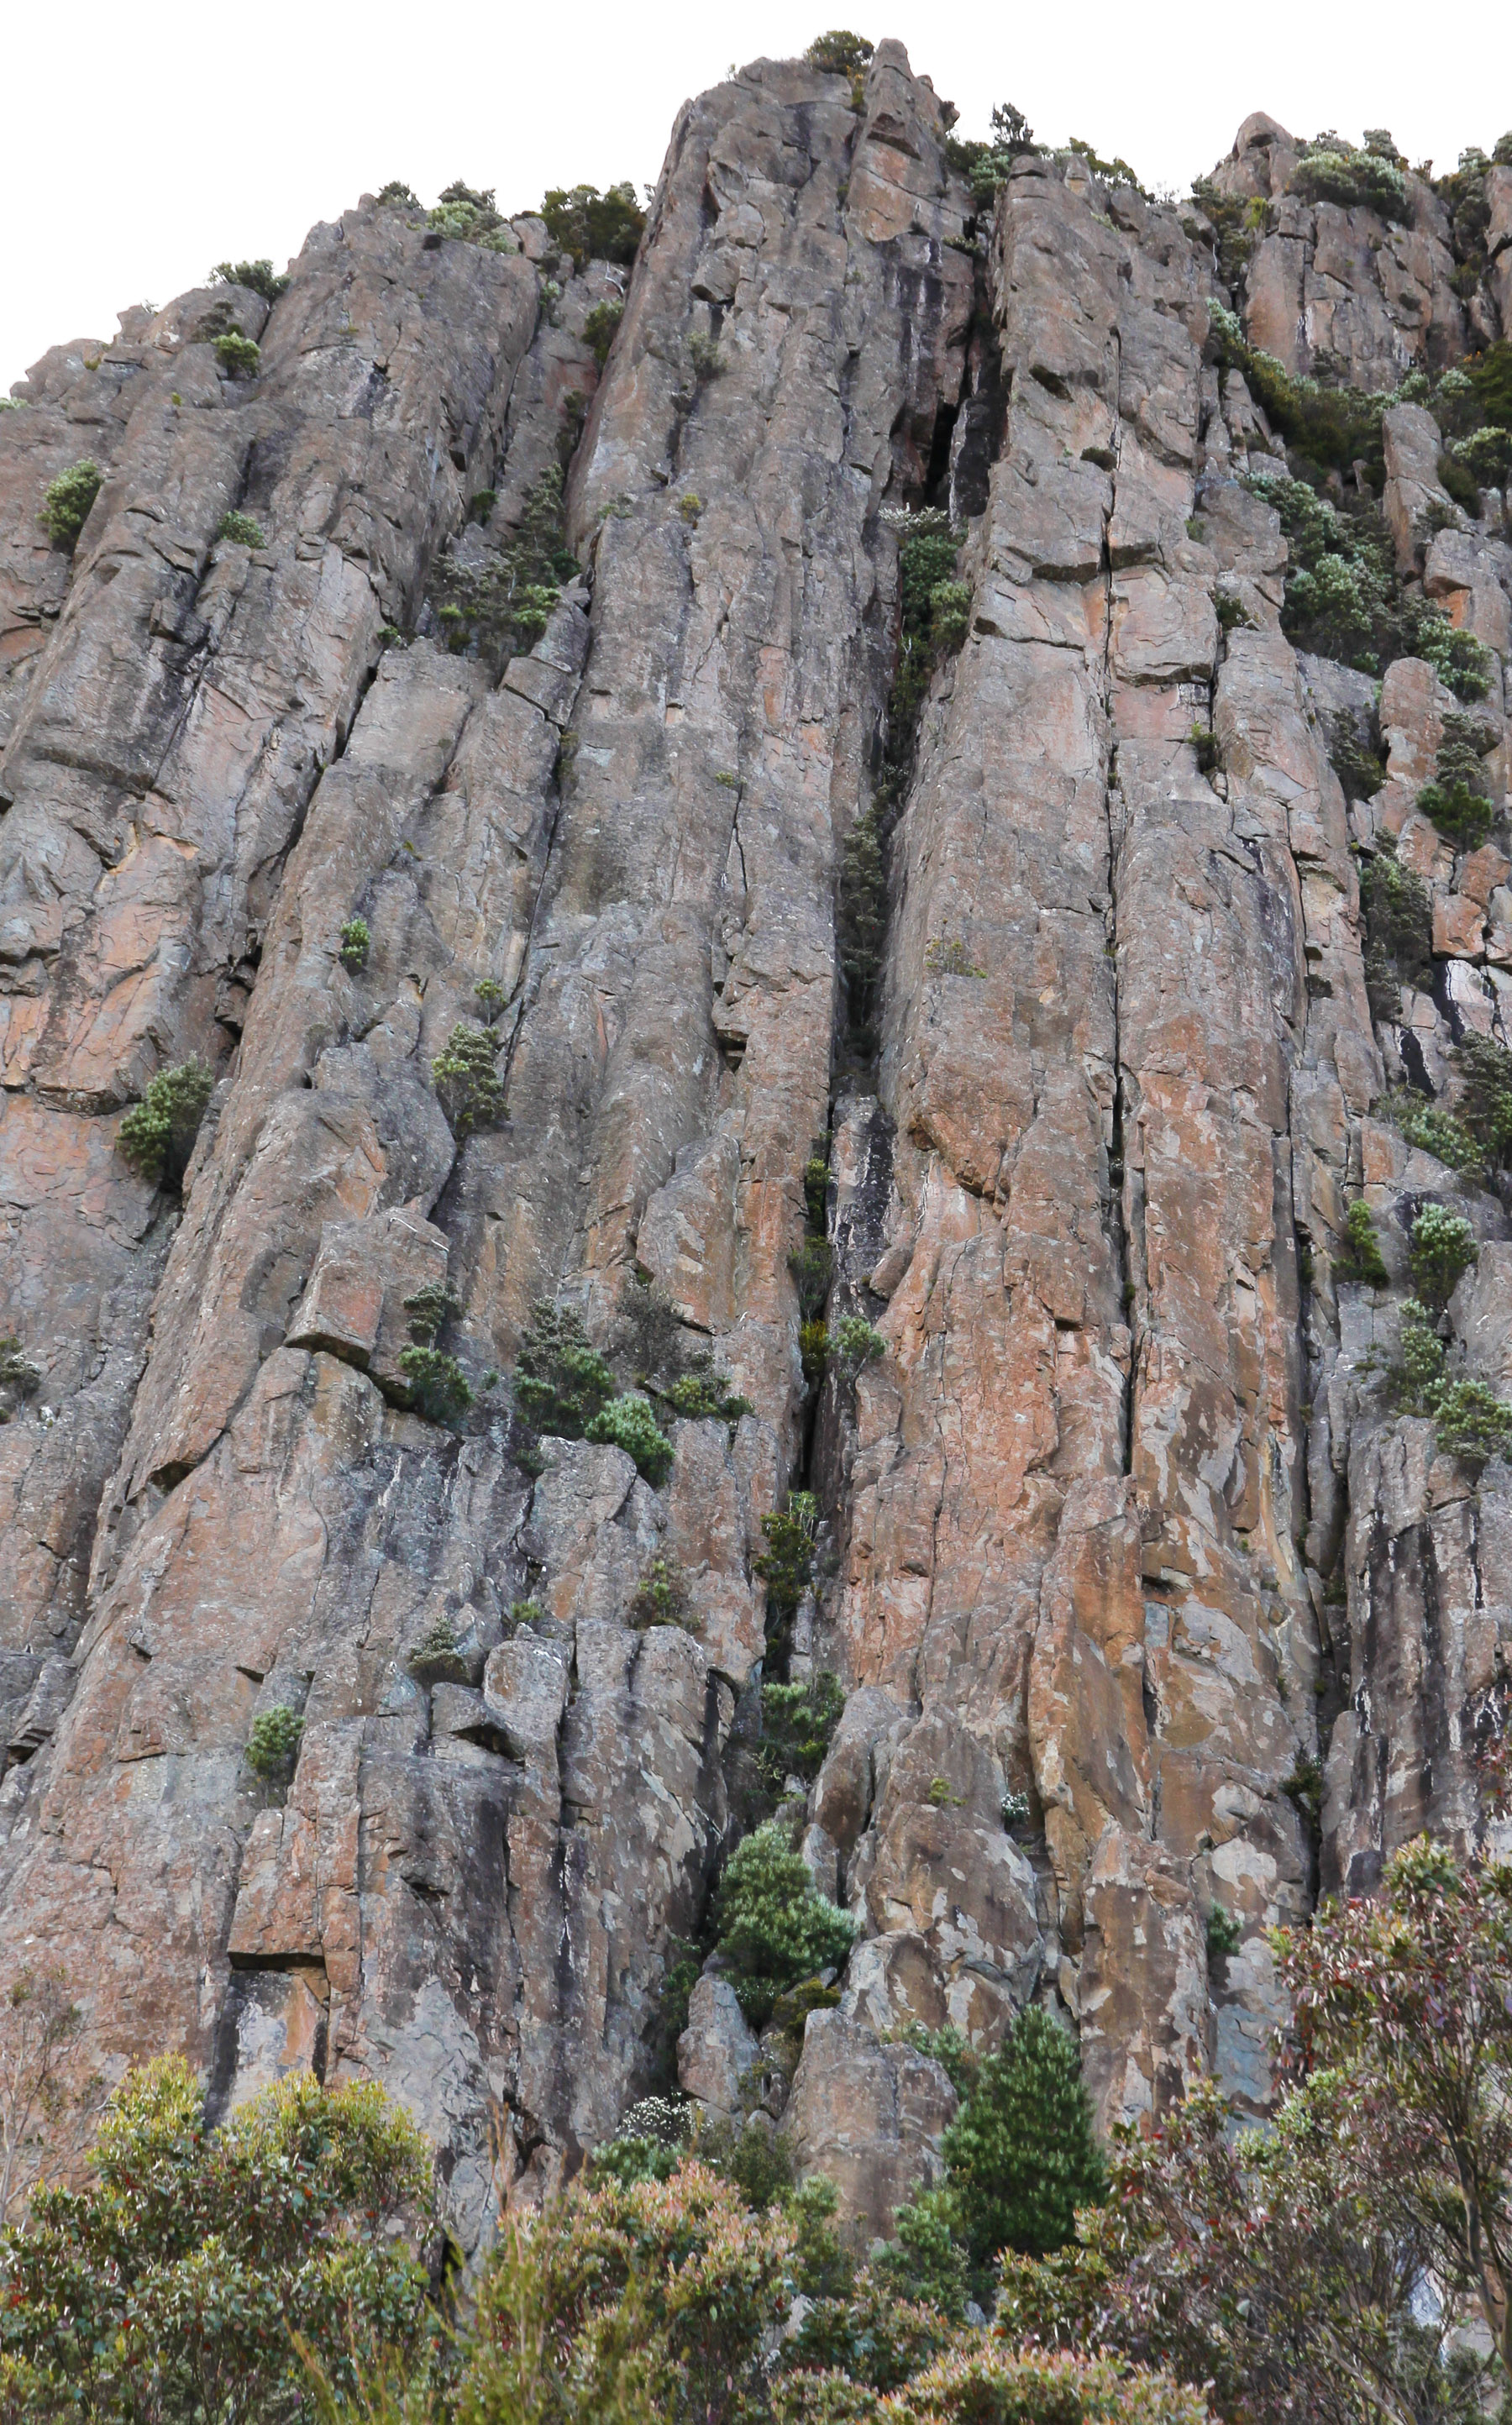
Routes between Third Bird and Heat are accessed from a side track en route to Battle Cruiser Ledge. Follow the Central Buttress track uphill past the signposted Great Tier link track to the next junction. Take the left fork as for Battle Cruiser Ledge, but after 15m turn right up a side track. that leads to a steep scramble equipped with a hawser-laid grab sling. At the top, an in-situ stone bench resides under the start of Third Bird. To access routes further right, follow the rough trail below the climbs. Descent from Third Bird and companion lines is via the Third Bird rap station (1 x 32m; 1 x 48m).
I. Lewis, L. Closs, Aug. 1973.
Thought provoking pitch on the black streaked wall between Third Bird and Banana Republic. Somebody has previously drilled holes for bolts for a direct line but it has bomber though slightly spaced gear if you are willing to look laterally for it. Start 2m right of Third Bird behind the tree and make an unprotected rising traverse right on delicate rock to the top of the initial Banana Republic hand crack (before it opens out into the niche) or climb the crack direct. Traverse back left onto the black streaked face. Climb up face and rock steps above to belay at single U-bolt. Finish up Banana Republic or rap off.
S. Bischoff, T. O'Sullivan, April 2012.
D. Stephenson, N. Deka, 1988.
(1) P. Cullen, D. Bowman, M. Burton, Feb 1982. (2) D. Fife, Pete Steane, Dec 1990.
P. Robinson, T. McKenny (alt.), Apr 2005.
G. Phillips, D. Fife, Apr 1996. Pitch 2b alternative: T. McKenny, J. Nermut, March 2013.
D. Humphries, J. Nermut, Mar 2013 & Jan 2014.
The following routes start at a very vegetated chimney reached by continuing along the base of the cliff right of Heat or by traversing left from Kacktus Buttress on a track under the base of the cliff
The orange arete to the left of Transfusion, flanked by greenery. Start 5m up to the right of Heat. Sustained climbing on edges and flakes to the top of the pillar.
Dave Humphries, Jon Nermut, Mar 2014.
T. Costigan, A. Keller, Mar 1968. Pitch 1a T. McKenny, J. Nermut, Jan 2014.
M. Tillema, P. McHugh, 1970.
Kacktus Buttress
Kacktus Buttress forms the right hand side of Central Buttress and is the first major feature left of Pooch Gully. All routes in this section of Central Buttress start at ground level and finish on top of the buttress, which is around 50m high (with the exception of Roast Chicken). To access the Kacktus Buttress, take the signposted Central Buttress track uphill past the signposted Great Tier link track to the next junction. Take the right fork and continue straight uphill to meet the base of the cliff at Kacktus Buttress. Descent is by the Peregrine or Remembrance rap stations.
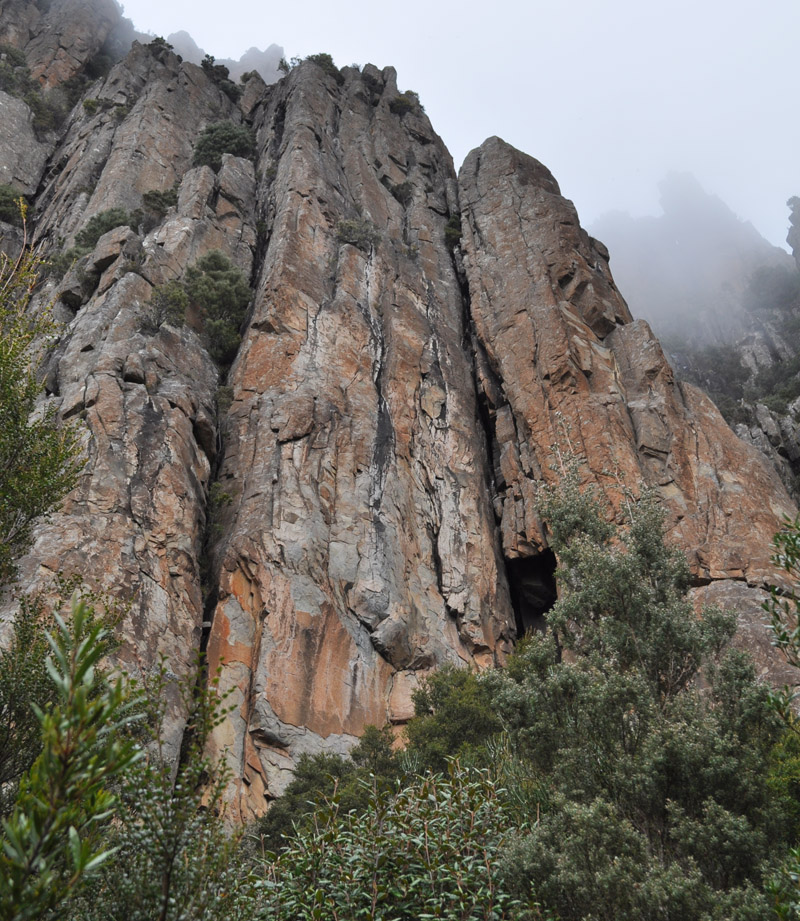
Kacktus Buttress
Dave Humphries, Jon Nermut (alt), Feb 2013.
P. Robinson, R. Mansfield, Dec 1980.
Dave Humphries, Jon Nermut, Dec 2012.
A fun little sport climb starting 5m R of Remembrance and climbing to the same anchor. Climb up and into shallow R facing corner, continue up to steep bulge. Jugs lead to good side-pulls on the face above. Head up and R before stepping back L to lower-off. Was originally 25, now 26 since a hold broke off. Slightly trickier if you are short.
S. Young, Jan 2013. Re-ascended in its more broken form by J. Trainer, 2015.
An exquisite single pitch trad route that takes a line up the centre of the steep wall it shares with Remembrance. Break L out of Rooster from below the first overhang, and follow the curving line of thin layaways and underclings, finishing up the open corner / crack system in the middle of the face. Descent: Remembrance rap station on the LH end of the pillar (45m).
A. Herington, S. Scott, Pete Steane, Feb 1990.
Takes the chimney line immediately R of Pugnacious wall, marked by a dark roof a few metres up. Start under the roof, after scrambling carefully up into a cave. Climb up through several bulges, avoiding the last vegetated roof either to the R or out to the L. Continue to the notch at 35m, step L and continue up the groove and arête past the small hakea. Descent: Remembrance rap station (45m).
P. Robinson, C. Rathbone, Jan 1981. Direct finish: T. McKenny, C. Walch, Mar 2005.
Sustained climbing up the fused corners to the left of Kactus. Start as for Kactus Direct (small wires). Climb to the horizontal break (cams and wires), then trend left and up the fused corners. When the corners finish step left onto the south face and head for the top. The gear for this route includes:
• set of cams from .1 to .5 cams
• Set small wires
• 3x 30cm quick draws
• 12x quick draws
G. Phillips and J. Breshnehan, 2014.
Follows the front face of the pillar right of Rooster. This is a serious lead, with spaced gear and several sections where a fail is inadvisable. The climbing is good though, and is more than enjoyable if you have a few grades up your sleeve. Start at the very base of the pillar, 3m right of a detached sub-pillar. Climb the thin crack to ledge then traverse left 2m. Climb the face and flakes above (keeping to the right of the fused corners) to a ledge. Continue past ledges and then with difficulty past a small hollow flake on the left, directly up a thin crack to easier but not trivial ground above. Step left and belay on the Oopsy Daisy anchors (35 m rap to groound).
D. Fife, P. Cullen, Dec 1987. Direct start/finish: T. McKenny, P. Robinson, Feb 2005.
This route takes an orange face around the back of Kacktus Buttress that is most easily visible and accessible from Princess and Nefarious. A short scramble leads up to the start. Manky at the start, then cruxy face climbing up higher.
D. Humphries, J. Nermut, Jan 2015.
Circus Wall
Pooch Gully marks the RH end of Central Buttress where it meets Flange Buttress. High up on the LHS of Pooch Gully as viewed from the base of cliff, is Circus Wall, a large reddish wall with a prominent line up through an inverted L-shaped crack. This route is Arthur's Circus. Routes on this wall are accessed from the mountain summit and all are 60m or less in length.
Access, From the summit walk down to the top of the cliff and and the patch of snow gums. Follow the cliff line around to the R as viewed by looking towards Hobart, past Pooch Gully still along the cliff tops to the start of Circus Wall.
Alternate Access, It is possible to access Circus Wall from the top of the 3rd pitch of Heat scramble right on a bushy ledge.
For routes between High Wire and Double Trouble Triple Treat descend to a prominent cairn that marks the top of Arthur's Circus. From here, rig an anchor and rap 50m to the base.
Further to the R as viewed looking towards Hobart is a short buttress with a small overhang. Scotch Mist and its companion line are found here, topped by a combined finishing pitch. Both routes are best done as two pitches. Abseil from a point just R of On the Road Again.
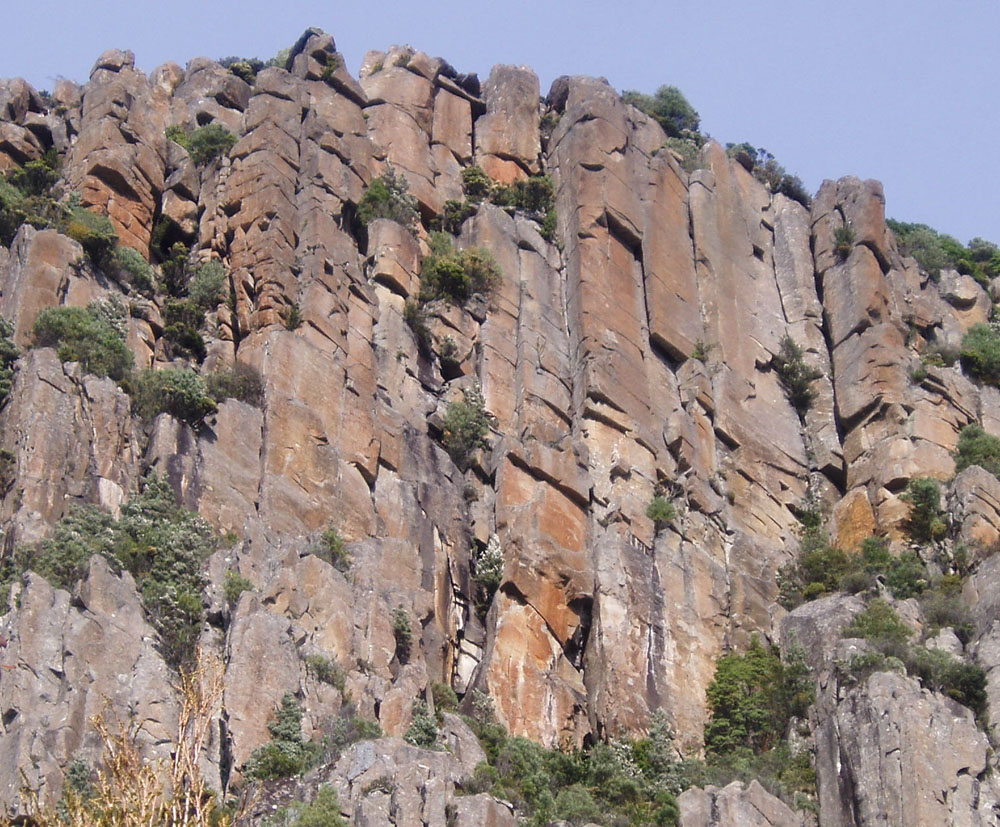
Circus Wall
- 75.Scotch Mist17
- 76.Faith, Hope and Deliverance17
- ★★77.On the Road Again17
- ★★78.High Wire19
- 79.Clowning Around18
- 80.What a Circus19
- ★★81.Clown Face23
- ★★82.Centre Stage18
- ★83.Circus Taz18
- ★★84.Circus Interruptus21
- ★85.All The Way20
- ★★86.Arthur's Circus18
- ★87.Line Tamer19
- ★88.Polymorpha18
- 89.Double Trouble or Triple Treat17
K. Robinson, P. Robinson, Feb 2009.
P. Robinson, K. Robinson, Feb 2009.
P. Robinson, K. Robinson, 1 Feb 2009.
P. Robinson, K. Robinson, 24 May 2008.
N. Deka, T. McKenny, Mar 1988.
P. Robinson, K. Robinson, Apr 2008.
The next two climbs are located L of Circus Taz and are accessed by abseiling down Circus Taz (all the way down for Clown Face or about 35m down for the ledge at the start of Centre Stage). Alternatively the rap station for Arthur's Circus works well (and avoids the ledge and bushes at the top of CS)
A classy face of orange rock in a great location. Nice climbing too. Starts at "ground" level (57 m from the top) and finishes at the Centre Stage start-ledge. The crux is passing the bulge near BR #7.
R. Parkyn, D. Rollins, Oct 2012.
A hidden gem. The clean finger crack splits the wall L of Circus Taz and finishes on the large bushy ledge. Layback and finger jam to your heart's content. Sustained and good fun. Exit by climbing pitch 3 of Circus Taz. "A Phil Robinson classic which may even be enjoyed by the masses!" quoth Kim.
P.Robinson, K. Robinson, Apr 2007.
P. Robinson, A. Beech, May 2004.
A cute pitch that follows the middle part of the arête R of Circus Taz, starting at the Centre Stage belay ledge. Crank through the lower bulge on jugs then climb the beautiful arête and face above. The crux is near the top. From the belay it is possible to swing across L into Circus Taz and join "All The Way" (trad gear not needed).
R. Parkyn, D. Rollins, Oct 2012.
Cranky stuff; follow the cracks on the wall left of the arete. U's allow it to be climbed as a "sport" extension to Circus Interruptus: from the top of that climb, lay off the blunt arete and stem across to Circus Taz, which is followed briefly to the large ledge where this climb starts (i.e. at the top of Centre Stage).
Roger Parkyn, Owen Gervasoni. Apr 2017.
L. Wood, C. Ditto Rathbone, Dec 1976.
A sky-rocketing crack up a great natural line.
Climb the fist crack (as for Arthur's Circus) for 10m to the square cut ledge (where Arthur's Circus traverses L) and continue straight up through a bulge and a 2m off-width section (crux)
P. Robinson, K. Robinson, Nov 2004.
Varied crack climbing in a clean corner at the far R of Circus Wall. Start as for Double Trouble. 1. 35m. A fist jam to start, then move up the crack system to the Lomatia shrub. Climb steeply past this to a ledge and up to a finger crack (crux), then climb the wall with a flake on the L and chimney on the R to a tricky exit onto a slab. Follow ledges to L and finish directly up the 3m boulder.
P. Robinson, K. Robinson, A. Kuylaars, May 2011.
A traverse, a wall and cracks with a few perched blocks on the way. The pillar at the RH end of Circus Wall 4m R of Line Tamer. Abseil in to a block at the bottom of the corner at the far R of Circus Wall. Climb 4m up the L edge of the wall to gain a hand traverse without footholds. Place some gear and head R without hesitation, for 4m to the nose. Steeply up the nose until one can move to easier ground (a belay here would avoid rope drag). Climb gently over two large stacked blocks just R of the nose to hand cracks and move carefully past a loose flake to the top of the pillar, joining Polymorpha for the last few metres.
P. Robinson, C. Hewer, K. Robinson, Jan. 2012.
A little further R of Circus Wall proper in Upper Pooch Gully is Euphrasia:
P. Robinson, K. Robinson, Jan 2014.
The wall R of Euphrasia split by a hidden crack.
Climb the corner for a few metres and the crack in the L wall to a ledge R of Euphrasia, joining back into Euphrasia for the last 10m.
K.Robinson, C.Hewer, Jan. 2014