
University Buttress
 20 min
 Morning sun
 Broken dolerite buttresses up to 60m
Introduction
University Buttress is the farthest left (south) of the major Organ Pipes buttresses. Round the LH end of the buttress, the cliff is broken into a complex of minor features, while the east face features the smaller Triclinicity buttress and a narrow vertical face split by the striking 60m high Ozymandias corner, easily discernible from the Organ Pipes Track.
Avalanche Couloir is the prominent couloir that splits University and Bulging Buttresses. It offers a mixture of shorter length trad and sport routes. The couloir is divided into sunny (LH) and shady (RH) sides and has L and R forks near the top. It also offers a route down from the top of the LH end of the Pipes.
Access
Approach via the Bulging Buttress/University Buttress track, which is signposted off the Organ Pipes track. The track climbs uphill to meet the base of Bulging Buttress, traverses left below the wall of Jelly Roll, then across past the little Aperitif sub-buttress and on up to enter Avalanche Couloir. A rock platform has been constructed under Chancellor Direct, a prominent crack line on the lower LH wall, and this route is a handy reference for locating other climbs.
For routes on the Triclinicity and University Buttress Left Side either go down left around the arête, or scramble through the notch just past Ozymandias. For routes in Avalanche Couloir head uphill from Chancellor.
Descent varies, with some routes requiring a scramble across to the Carpe Diem rap station (50m) while other rap stations are included in individual route descriptions. To descend any other routes make your way to the head of the couloir and scramble down the couloir itself. Apart from a short down climb near the top the descent is straightforward.
University Buttress
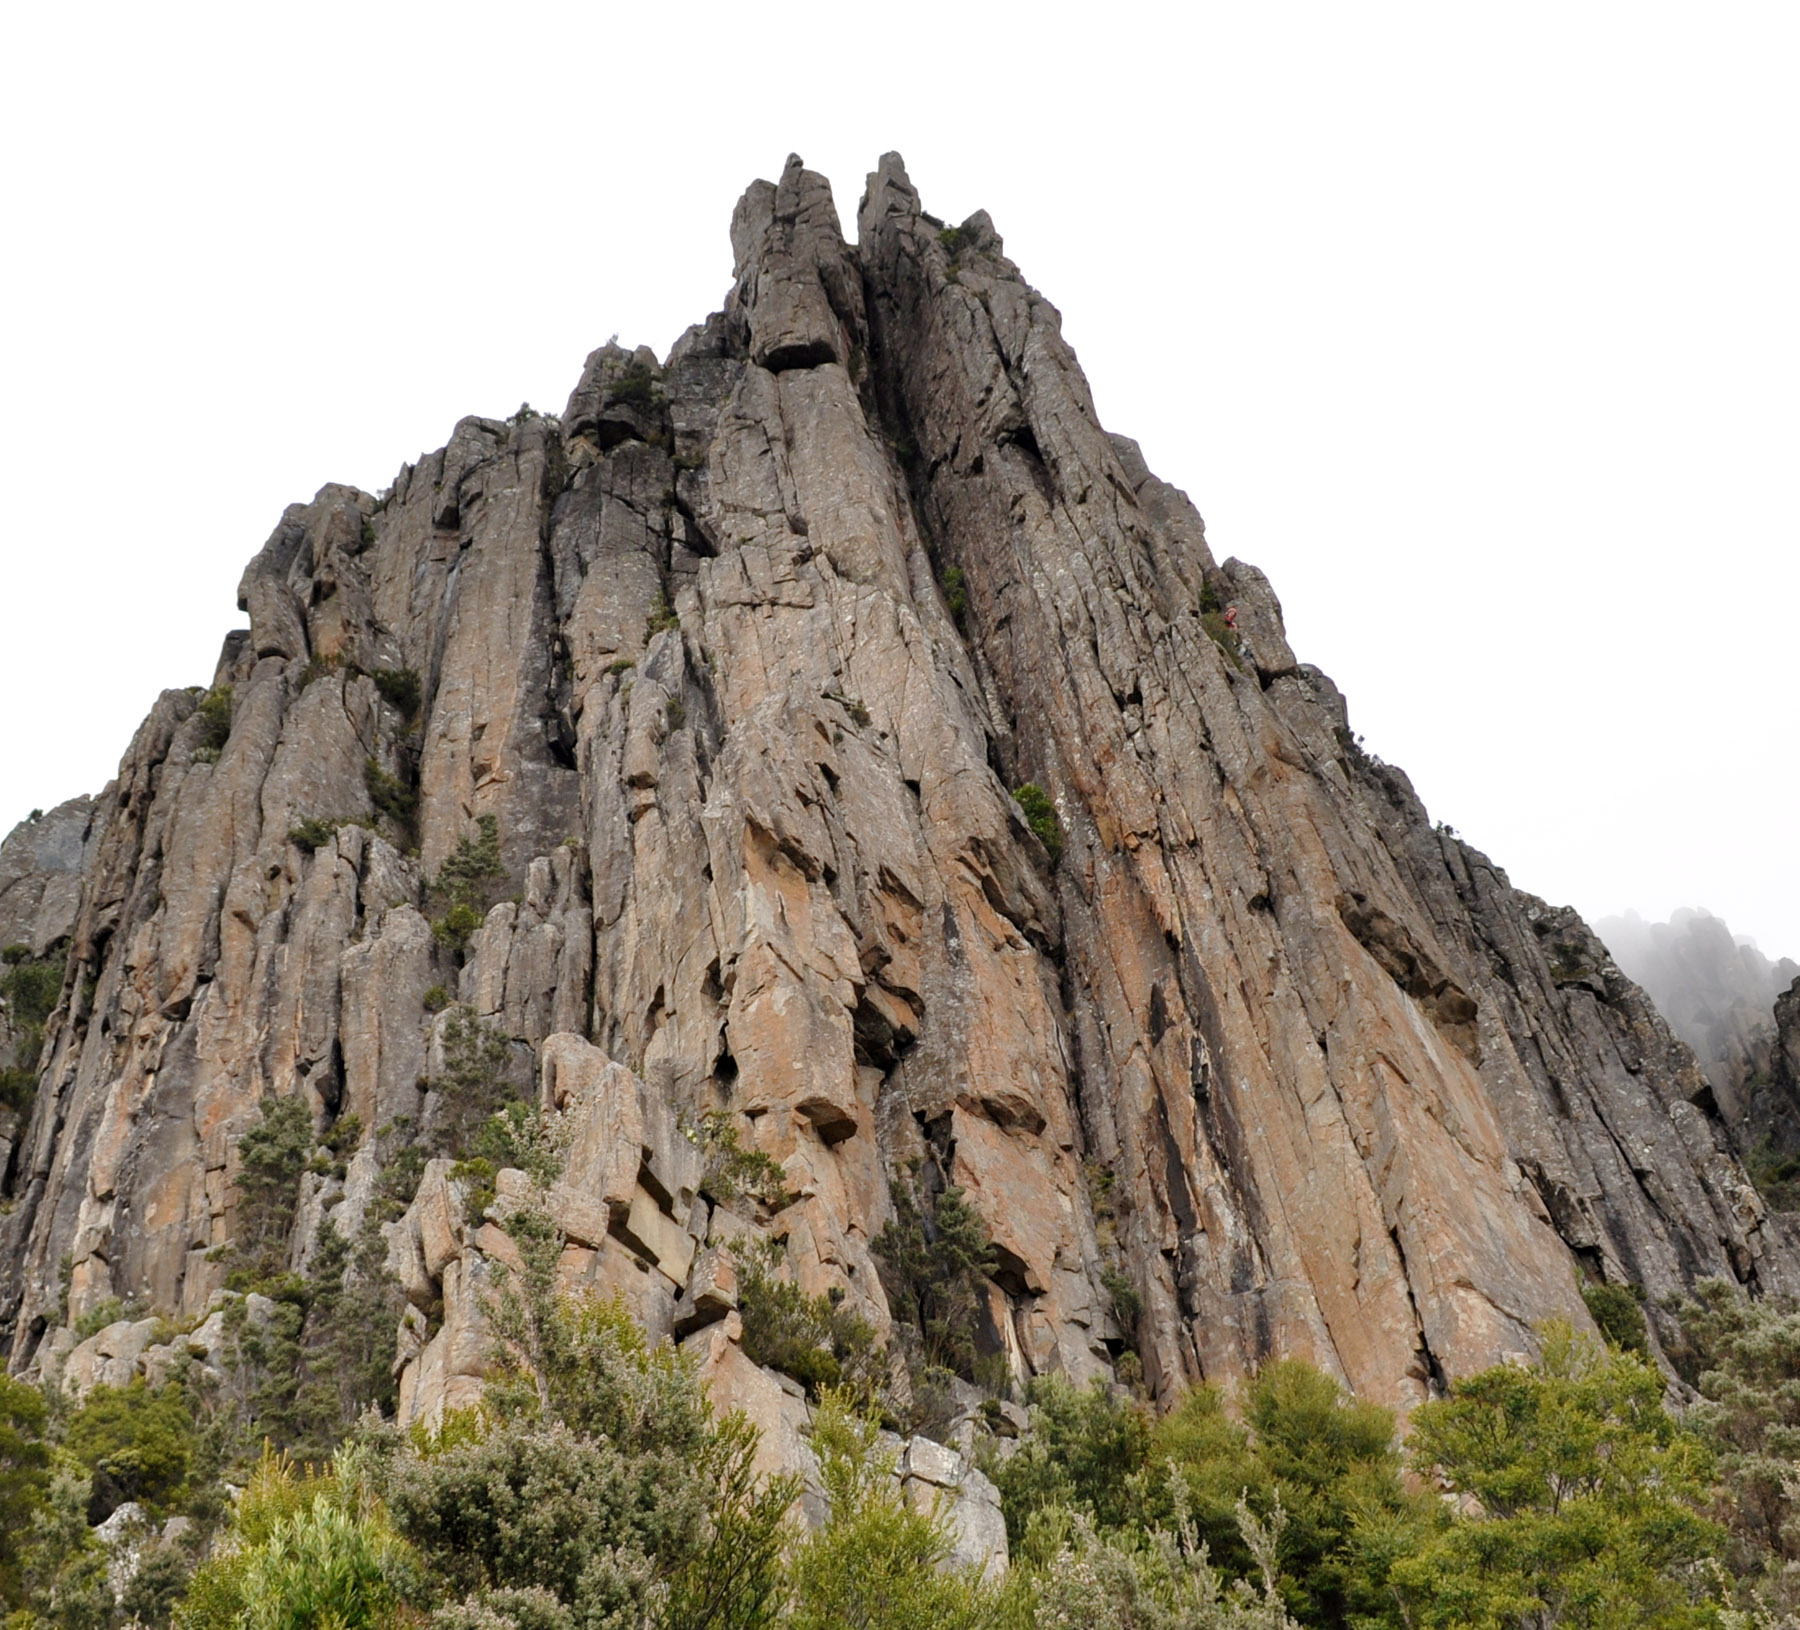
University Buttress
University Buttress Left Side
The first routes are located on the left/south side of the Buttress. Scramble through the notch left of Ozymandias, then follow a foot pad around until under a black and orange streaked prow with two cracks that diverge at a small roof - this is Two Angry Young Men. The line of bolts on the face immediately left is Mountain Rocket.
Takes the sustained face left of Two Angry Young Men. At about two-thirds height you are forced right to a steep bulge to gain the arete, before heading back left to finish.
Dave Humphries, Jon Nermut, Mar. 2017.
N. Deka, M. Ling, Feb 1988.
Get to the start by climbing Well Actually to its belay and then going left about 6m to a ledge.
Roger Parkyn, Owen Gervasoni, Apr 2018.
Scramble up, carefully, to a ledge at about 6m and to clip the first U. Pleasant climbing to a lower-off.
Roger Parkyn, Owen Gervasoni, Apr 2018.
P. Robinson, D. Drake, Feb 1982.
Pete Steane, D. Fife, Mar 1992 (to within 5m of the top).
Triclinicity Buttress
The main face of Triclinicity Buttress of is split by a crack (Triclinicity), with an off-width to the RH side separating the face from the main University Buttress.
Climb steep and clean cracks just L of the central Triclinicity crack and move around L arête onto a good ledge at half height. Ponder then commit to the delicate crux sequence moving up and back R to regain the arête and the undercling crack above. Hopefully you remembered to place high gear before that move L, and have a #1 Cam for that undercling crack. Rap from DBB (20m).
O. Gervasoni, T. McKenny, Feb 2015.
Earlier versions of the guide described this route as "a pile of choss" and "check your life insurance policy before starting!” An evocative and amusing description, but no longer correct: the loose rock that once marred this route has now mostly departed, leaving a good climb.
Follows the right facing corner crack in the center of the face to the overhang. Either go: a) directly up though the overhang into the bottomless chimney (as on the first ascent, grade 19); or b) pass the overhang by going leftwards via an under-cling corner before moving back right to regain the line (grade 17). Continue up the hand-crack above to the higher of the anchors.
P. Robinson, K. Bischoff, Mar 1981.
The wide crack (cleft?) to the right of Triclinicity and 3m left of Ozy provides some nice technical stemming. Take a standard rack from wires up to #4 Camalot (a single set may suffice). Two U's allow it to be climbed by those who don't own a #5 and a #6 Camalot (or who aren't packing them on the day!). Rap the route to descend (25m).
R. Parkyn, O. Gervasoni, Feb 2015.
Ozymandias Area
M. Douglas, J. Whelan, R. Williams, Oct 1966.
R. Parkyn, O. Gervasoni, Mar 2015.
G. Child, K. Carrigan, 1978.
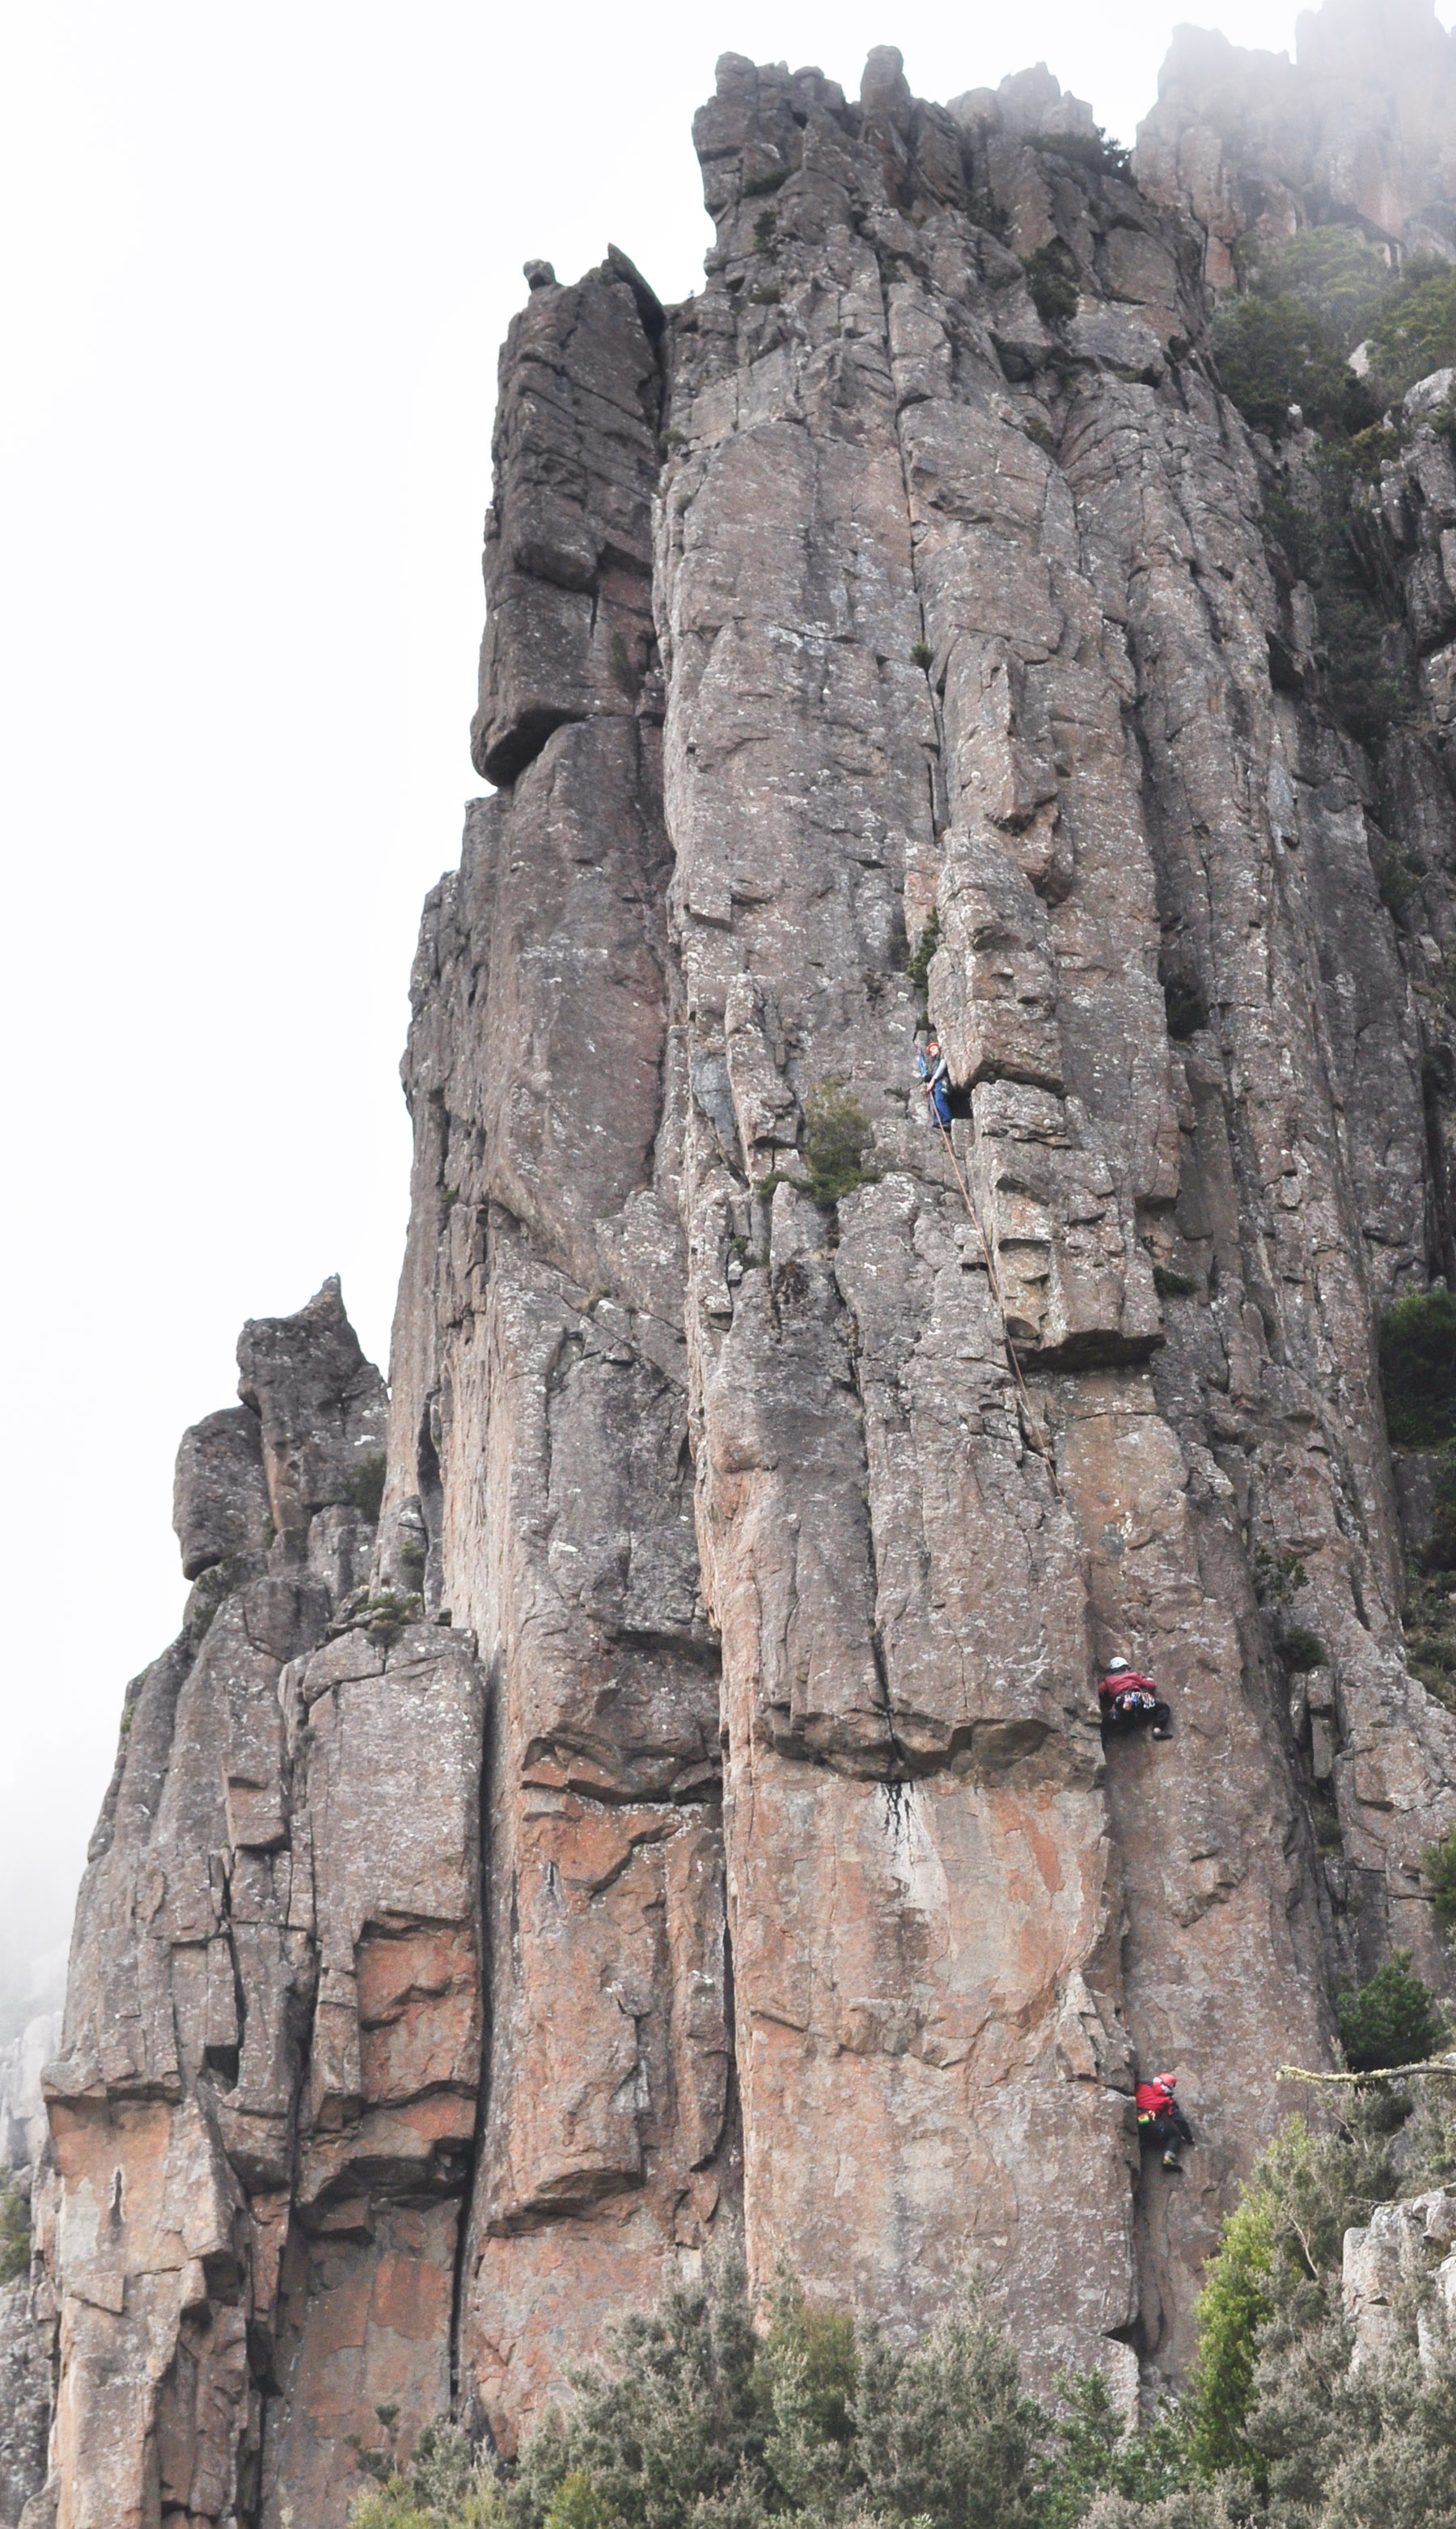
University Buttress Avalanche Couloir
Avalanche Couloir – Sunny Side
Routes on the Sunny Side of Avalanche Couloir are described from bottom to top (left to right). Descent for routes from Rebel without Claws to Piping Hot is from the Carpe Diem rap station (55m). It can also be done safely with 50m ropes and a short scramble. This abseil has a propensity for stuck ropes, hence the preference for 60m ropes. Walking up the gully before pulling your ropes eliminates the issue.
A top-rope problem because natural pro was considered insufficient. This route takes the difficult line up the orange face L of Chancellor Direct. Up thin face, through the roof and up the seam to belay ledge. Rap off slings or finish up Chancellor.
D. Fife, Pete Steane, Dec 1990.
I. Lewis, L. Closs, 1972.
M. Douglas, T. Terry, Mar 1967. FFA: Unknown.
G. Batten, M. Douglas, R. Mansfield, Feb 1968.
Seize the day, but don’t forget to take plenty of small wires, RPs and cams! The route weaves its way up the pillar immediately left of Piping Hot, following the intermittent cracks and line of least resistance. Scramble up 10m to a belay stance at the base of the pillar to start.
Up the pillar for 6m then follow the line out right, up and then back left into the base of a shallow corner. Continue up the line for 3m before a committing move out right to make use of a hidden edge of a flake. Keep going up the line to the belay ledge and rap anchors (1 x 55m).
N. Deka, N. Smith, J. Otlowski, Apr 1990.
The shallow corner 15m right of Chancellor Direct and immediately right of Carpe Diem, that is capped by a roof at 18m. Scramble steeply up to the start. Bridge and jam the corner to the roof. Move right under the roof (crux) and continue up broken corners to the top. Alternatively, traverse left at the roof and up the awkward crack (grade 18). Traverse around left to the Carpe Diem rap station.
D. Bowman, L. McLeod, Feb 1981. FFA: S. Parsons, P. Bigg, Feb 1981. Alt finish: K. Bischoff, Feb 1981.
M. Tillema, D. Klees, Nov 1972.
Pleasant arête and face climbing on the next conspicuous arête up the Couloir from Carpe Diem. The crux is near the middle and is quite vicious at the grade for the shorter population.
R. Parkyn, Feb 1994.
M. Tillema, R. Tillema, Nov 1972.
The face R of Terra Nullis. Move R up face to gain twin hand cracks which are followed to a belay.
S. Scott, A. Herington, 1988.
Not worth a rat's arse. Takes the "obvious" corner line just R of Pile Driver. A hand crack, an overhang, a steep corner, the odd tree, some lichen and a clod or two of grass thrown in – all the makings of a traditional Pipes classic. Tape abseil.
T. McKenny, P. Robinson, Mar 2005.
The next two climbs are found near the top of the LH fork in Avalanche Couloir, on the only east-facing buttress. This buttress is obvious from the top of the Falstaff Pinnacle.
This route follows the curving layback flake on the RH side of the buttress. Face moves lead to a thin finger crack and then to a steep layback. Finish via the easy crack system.
M. Jackson, Jan 2000.
The other route on the Sphygmus buttress. The thin crack that goes up the middle-L of buttress, with an unusual crux move to gain the finger crack proper. The face section is quite sustained for its length. Finish as for Sphygmus.
H. Jackson, Jan 2000.
Avalanche Couloir – Shady Side
Routes on the Shady Side are described from top to bottom. The first two climbs are near the top of the RH fork of the Couloir on the south side, roughly opposite Rodents of Unusual Size.
A slab with a finger crack.
D. Fife, N. Ward, 1982.
A prominent finger crack that widens to hands, splitting a buttress just above and to the L of Protein Pill.
S. Scott, P. Steane, and a cast of thousands, 1989.
The next two routes can be accessed by walking up to the top of Avalanche Couloir from University Buttress. This becomes fairly treacherous when wet.
The south side of the free standing pinnacle at the top of Avalanche Couloir. Two bolts with some natural gear lead to DBB.
K. Robinson, Apr 2000.
The face/arête downhill and left of the Free standing "Torre" pinnacle. Start on the sloping ledge, at the base of the crack to the R, step L to climb the face then continue up arête. Six FH and a #2 Camalot to DBB.
A. Williams, Apr 2000.
Awkward and dirty, another Cooper special. About 30m further up the RH side of the Couloir from the Falstaff Pinnacle is a good looking hand crack. Climb it if you can.
G. Cooper, Phil Jackson, 1989.
The next two climbs are on the Falstaff Pinnacle and appear to cover much of the same ground. Rap in for Two Little Angels, scramble up to the first ledge for Falstaff. You can choose how you get to and from the top, jump as per the Jackson lads or tyrloean as per Garry and Simon...
In their dreams! Rap in and climb up the front face of the pinnacle, to the L of Falstaff in an awesome position. 4 bolts and natural gear (cams from small to hand size). Tyrolean to pinnacle to access it, or jump...
G. Phillips, S. Young, 6 Mar 2007.
H. Jackson, M. Jackson, Jan 2000.
K. Bischoff, P. Robinson, Feb 1981.
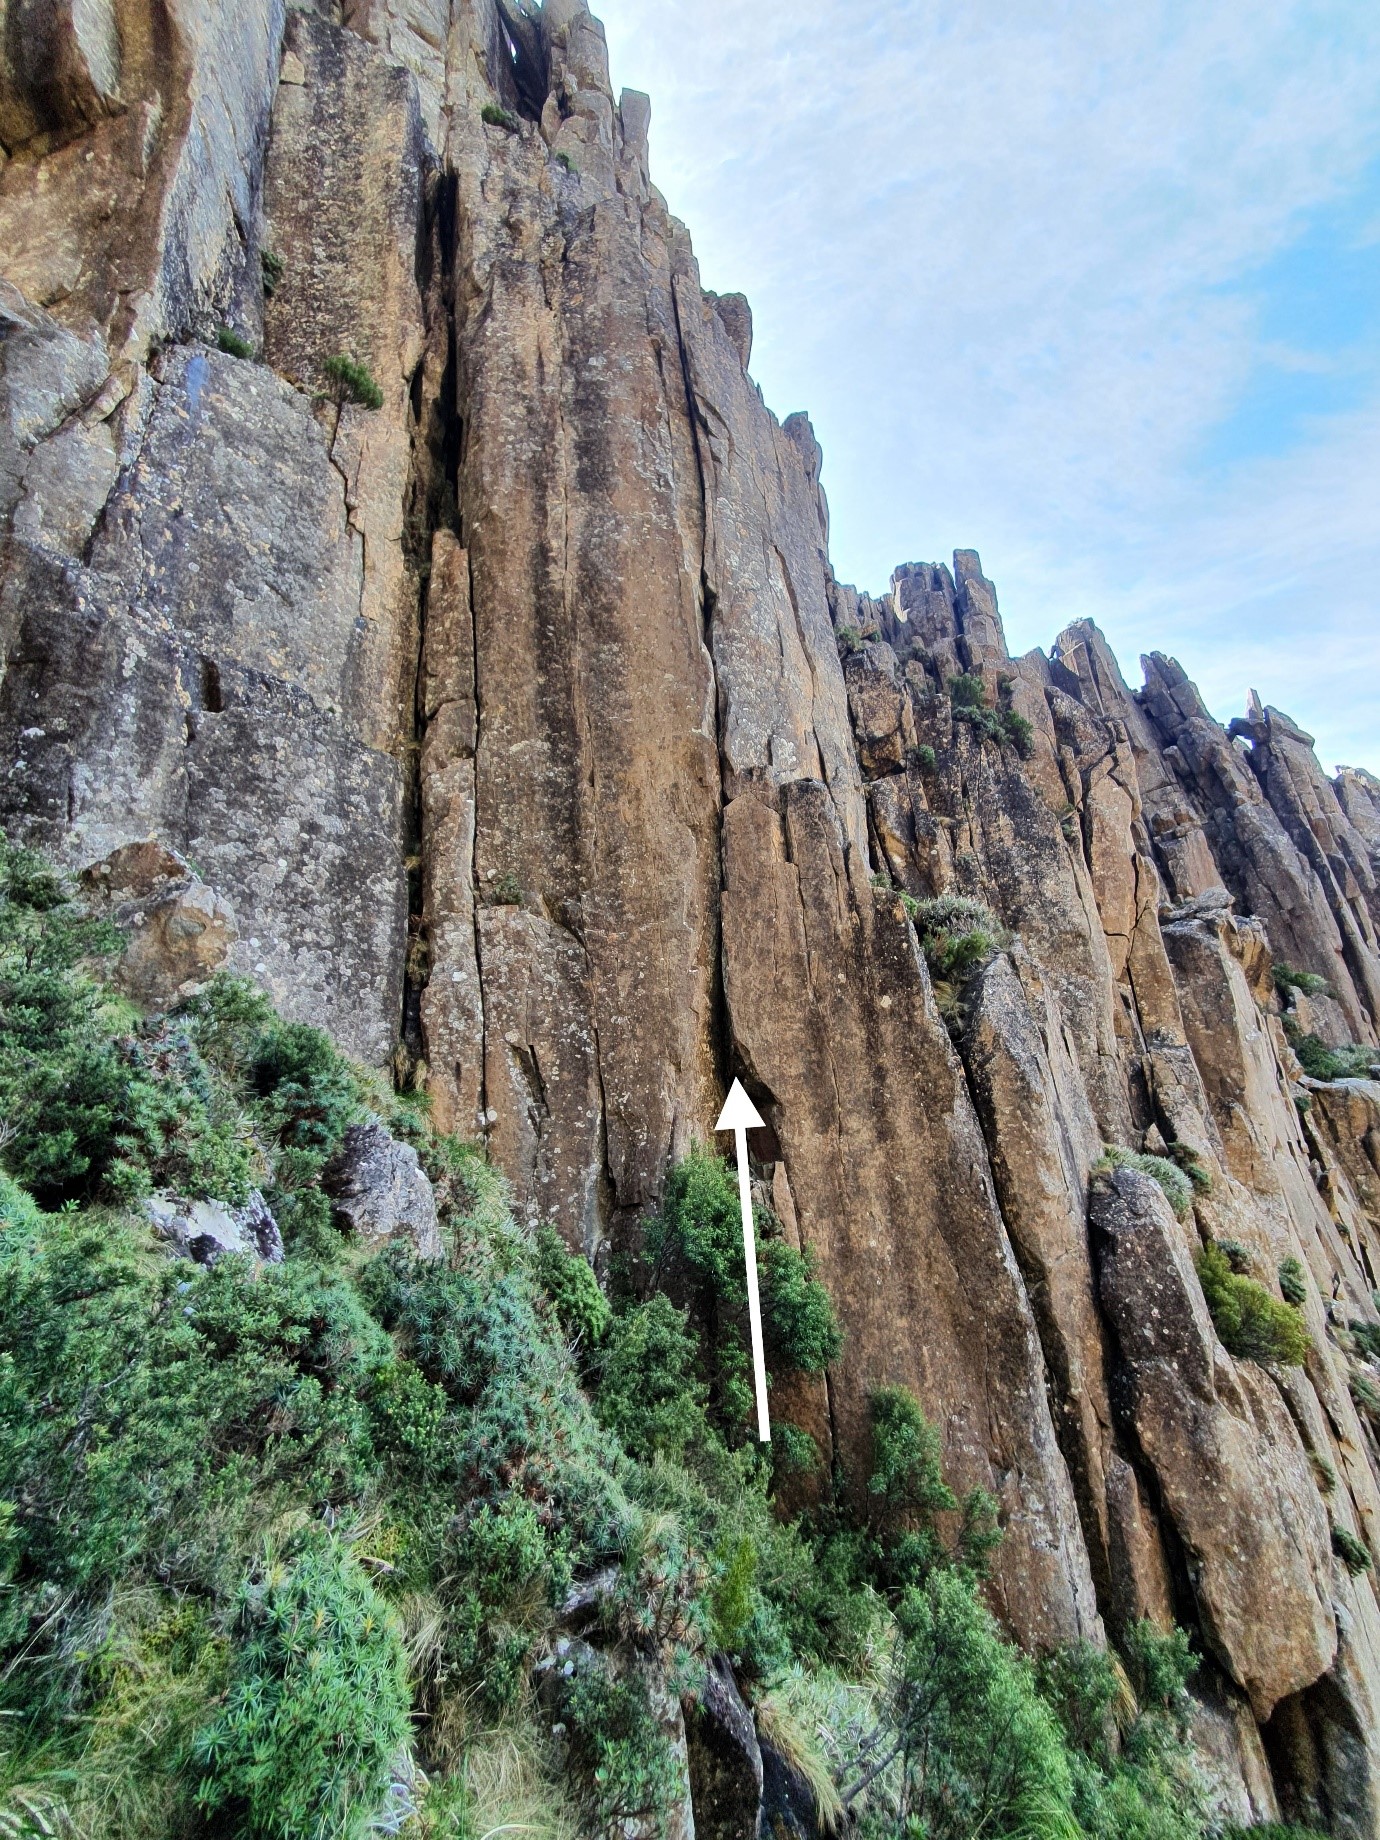
M. Douglas, J. Fairhall, Jun 1967.
M. Douglas, J. Whelan, Dec 1967.
Aperitif Buttress
This small buttress is right next to the main path north from University Buttress, downhill from Southern Crest and approximately 50m left of Cold Power/Heat Pump. Short the climbs might be but they are steep and pumpy, ideal for an evening’s exercise if you want some trad fun or an easier alternative to the harder sports climbs. The first climbs all start by the track at the lowest point of the buttress.
B. Bull and T. McKenny, I. Crossland, Dec, 2016.
You may be shaken if not stirred by this cheeky little number – a heady blend of equal measures of delicious exposure and excellent climbing, mixed with a good dash of smashed egos and an olive of fun.
Start at the very toe of the buttress and climb the arête, keeping just to the right hand side near the top. DBB (17m).
T. McKenny and B. Bull, Dec. 2016.
D. James, H. Jackson, Jan 2013.
A few metres north (right) of Aperitif and buried in the bush is a hidden secret, a steep black streaked wall.
The bolted line on the left. Neat face climbing trending slightly left to DBB.
O. Gervasoni, T. McKenny, A. Adams, March 2015.
Sustained face climbing on excellent rock up black streak right of Catch the Sun in Flight. Shares last bolt and DBB with 19 Shades.
O. Gervasoni, B. Ikin, Mar 2015.
Quality climbing up the wall and arête, trending left near the top to DBB.
The enticing yellow overhanging arête above is disappointingly (and lethally) loose.
T. McKenny and O. Gervasoni, Feb 2015.
Fun climbing through the roofs on the pillar 2m right of Shades of Grey. Originally graded 20, a crucial hold has come off on the roof and the grade is now at least 21, by all accounts!
T. McKenny and O. Gervasoni, D. Stephenson, April 2015.