
Hobart Quarries
 Various
 Mixed
 Dolerite and Sandstone
Introduction
There are a number of old quarries and other bits of choss within the city that provide a mixture of mediocre and reasonable climbing but with very easy access.
GPS
Proctors Quarry
Within this Hobart urban quarry are a number of good traverses and vertical boulder problems.
To get to the quarry Drive up Proctors Road from Sandy Bay. Half way up the hill is an obvious dolerite quarry surrounded by a wire fence. Access to the quarry is a bit tricky these days. The quarry is owned by the University of Tasmania and you have to get permission to climb there. Call (03) 6226 2791 for details. Gaining access involves filling out and signing an indemnity form and returning it (you can fax it) to the University Asset Management Services. A security guard will then come and unlock the gate for you at a pre-arranged time. It is best to arrange access at least a day before you want to climb. If a University security guard sees you bouldering without permission they will come and kick you out.
Cocaine Traverse
V?(Stand)The leftmost traverse starts on the slab under Cocaine Corner (the left most route on the lower level of the quarry) and traverses right past the start of Hit Me Quick to a large jug next to the large tree. There are several variations worth attempting: Left to right, right to left, the low traverse (only using under clings) and the high traverse.
Grand Annihilator Area
Just past the large tree to the right of Hit Me Quick, are several problems.
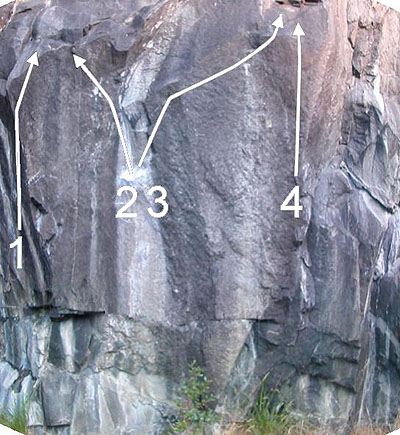
Up arete, finish as for Grand Annihilator
This is the very difficult problem following the very slopey holds up the overhanging wall, about 2m right of the previous problem. For several years the hardest problem in Tasmania and a classic of the grade. FA Marcel Jackson 94 Can also be done with a sit start which is slightly harder.
Do the start of the GA but crank out right to the two small holds high up to the right. Get established on these and then finish as for Event Horizon. This is a little bit harder than GA since it involves most of GA and then some more ugly moves after that. FA Marcel Jackson 97
As for Right Annihilator, using the slopes instead of the two crimps, finish as for Event Horizon.
The GA traverse (low)
V4?(Stand)Traverse along the base of this face (left and or right) from the tree to the easy ground past EH. This is a moderate grade and not as hard as the Justin Traverse, but reasonably tricky - a knee bar comes in handy. Reasonably fun. FA Marcel Jackson 97
The GA Traverse (high)
V9?(Stand)Right to left only. Start up EH then traverse the lip without using the finishing jug on EH (which is a fair way past the lip anyway) and finish as for the easier problem near the tree. This problem is harder than GA as it involves doing the final hard move of GA as well as quite a few very slopey foot swaps and hand slaps. FA Marcel Jackson 95
This problem involves cranking up left to some small holds at the top of the overhanging wall, and then pulling over the top, about 2m right of GA. Reasonably easy. FA Hamish Jackson 95
Event Horizon Eliminate
V9?(Stand)There are heaps of natural eliminates to Event Horizon (eg don't use the rounded top of the face, use the smaller of the two holds), but this is the best. The basic idea is to eliminate the two small holds. Start as for EH and crank a long way up left to the top of the face (the part of the lip used on GA) with the left hand. Put your left foot on the small foothold and slap to the top of the face on the right (just above and right of the two thin holds). Then do a big dyno to the obvious finishing jug (the same one as for EH). According to Marcel this problem is massively hard and is about the same difficulty as RGA. FA Marcel Jackson 97
Justin Traverse
This is the main traverse in the quarry, originally developed by Justin Kennedy with a million variations done by Marcel Jackson. It starts at the base of Natural High and now ends at the start of Suicide Bridge (the best part ends at Bent Needles). There are a couple of upwards problems that can be done here as well i.e. the starts of Faceless and Bent Needles.
This is the main traverse in the quarry, originally developed by Justin Kennedy with a million variations done by Marcel Jackson. It starts at the base of Natural High and traverses right on crimps. Crank upwards in the middle section to the higher holds.`
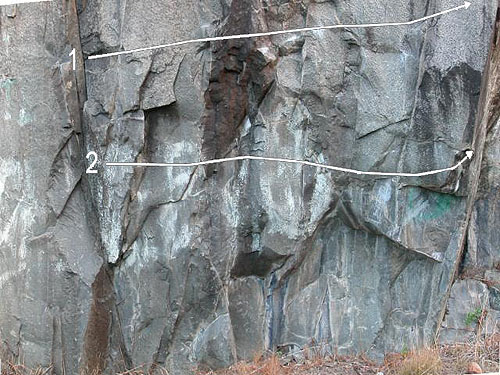
Traverse left to right using low side pulls and underclings
There are many other variants of the Justin Traverse, with varying degrees of contrivance. Some ideas are: The middle traverse - keep to handholds at about head height; The Eliminate traverse - use as few holds as possible; the super-high traverse (uses high handholds and no low footholds). The hardest of the variants is the so-called Footholdless Traverse. On this traverse you must eliminate all positive footholds, including bridging or layaway smears. Contrived, but difficult!
Unnamed
V5?(Stand)The start of Faceless
Unnamed
V3/4(Stand)The start of Bent Needles
Waterworks Quarry
Waterworks Quarry is located in Dynnyrne on Waterworks Rd. From the city, travel up Davey Street (B64) heading for Ferntree (Mt Wellington). At the round about 800m after the last set of traffic lights, turn left down Lynton Avenue. At the bottom of the hill just before the overpass turn right onto Waterworks Rd. The quarry is one km along here on the left hand side.
Local's Breakfast
★V5(Stand)The classic traverse along the base of the quarry. Start far right on "The Crippled Leading the Blind" and traverse left for 50m+, with three distinct cruxes until the end of the cliff (past the dog-leg crack of "Justin's Crack"). If your into "adventure bouldering" keep going and top it out on the lefthand side of the quarry.
This traverse has been reversed (left to right) at a slightly harder grade of V6. It's nicknamed "Local's Dinner".
M. Hitchcock 2009
Fruehauf
There are some vertical, crimpy problems in this Hobart urban training area.
To get to Fruehauf drive down Cascade Road, turn right to go to the tip, then right into Degraves St, across the bridge to Apsley, immediately left into Tara, drive into the car park and park at the gate. Squeeze through the gate and walk about 50m to where a track heads left up the bank to the cliff.
Small Wall
The short wall up and left of the main area, exposed now the scree slope of blackberries has been cleared. Rock quality dubious in parts. A good introduction crag to outdoor bouldering.
Contrived mini problems on the shorter boulder just left of main wall.
24 variants to this problem. All variants start from same obvious chalked handholds (R sidepull and/or L higher left jug (or lower left finger edge)) the only footer the obvious chalked low central footer, unless stated otherwise. Variants include right foot/left foot only versions, up R/L/dyno both, jump start, static, etc, using either of the two sets of allowable handholds.
Great fun! Easier if you're tall.
CW
Up the first arête.
CW
1m right of SM. Nice.
CW
SDS just right of BMC.Up wall, staying out of chossy groove. Intricate.
CW
Just right of chossy groove, under next 'arete' (look up!). Finish up 'arete'. Delicate thx to dubious rock quality.
CW
Just right of SL. High step to good sidepull edge, straight up wall. Balancey.
CW
) Im left of where the blackberries start at the obvious good flake/easy groove. Good holds, one high step, top out. Pleasant. An excellent warm-up.
CW
Just right of DW. R sidepull, L high edge, dyno to top, tricky mantle. Don't use anything covered in white moss. A great problem! Easier if you're tall.
CW
Start as for Grande Allegro, traverse left (low) to finish up Stealth Mission.
CW
Start up Grande Allegro, do the dpnt, but instead of doing the mantle, traverse all the way left along the top edge to finish as for Stealth Mission.
CW
Up Stealth Mission, but instead of the mantle traverse all the way right and finish up (mantle) Grande Allegro. Fun!
CW
SDS as for Stealth Mission, traverse all the way right, staying low, to finish up Grande Allegro. Nice!
CW
Not far right of GA, other side of the white moss, above the blackberries. Straight up wall + block.
CW
Start as for previous problem but trend right, crossing the 'crack' to topout at the highest/furthest point R. Dubious rock quality makes for interesting but not hard moves.
CW
Fruehauf Main Wall
A good fingery traverse starts at the two finger pocket about 5m right of the start of PE and continues via pockety moves to SE. When the start of SE is reached, do the first tricky move of SE to reach the horizontal. Do about one move along the horizontal to the right from where your feet can reach the nice footholds on JJ and then get down onto the holds of JJ. There is a nice layaway pointing left and then a shallow pocket. From here continue right past A to finish at the start of PL. The traverse can also be done in reverse. Try and link up both directions if you don't feel the effects of lactic acid. Also there are extensions on either end.
Doing the first few moves of the various climbs here is another way to do some fun bouldering, as a lot of the climbs have cruxy moves in the first 4 metres or so
Big Mutha Truckers Boulder
These problems are on the boulder at the extreme right hand end of Fruehauf, past This Is Steep Mum. Look right from this climb and you will see it, about 5m away. It has a low, wave wall on one side with 'V3' written in chalk.
The aforementioned boulder. Start on the right hand side of the wave wall on jugs, move left to big sloper, then bust to jugs and easy topout. Good warm up
Start at the far right of the boulder on the big jug, bust out to the starting holds of Big Mutha Truckers and finish up this. Very low start
This problem is on the other side of the boulder. Start in the middle of the boulder on two really small crimps and big pull to sloper then top out.
Tsunami Boulder
Next boulder along from Big Mutha Trucker Boulder. Rock is quite loose in places.
Hang start on lip as far left as possible, traverse lip all the way right across main face, around arête, to as far right as possible, mantle to finish.
CW
Start half-lying/half-sitting on ramp below o/hung face. Up face, mantle. Short but sweet!
CW
Dynamic (jump) start to Poseidon’s Puddle. Start from flattish area in front of ramp. Jump to lip, mantle.
CW
3. Sitstart directly under arête/prow, one hand/foot on either side. Pull to loose-ish undercling on prow with L, then go L again to lip, mantle. A great problem!
CW
: Contrived problem going up the right wall of boulder. Start matched on the slopey finger rail used for the R hand on Klingons… Throw to lip, mantle directly up. Arete is out of bounds.
CW
. Start as far right as possible, traverse lip all the way left passed arête and across main face to as far left as possible, mantle to finish.
CW
Far Right Boulder
Start left of obvious notch. Gain notch then pull up onto ramp on face, finish in high 'cave'. Advised to leave abseil rope for get off. A quality problem!
CW
Start on big hold on face right of previous problem, left of Vertigo Issue. Hard moves up onto face/ramp, avoiding dinner plates. Finish as for previous problem. Advised to leave abseil rope for the get off.
These next problems are on the recently newly-exposed wall at the far right end of Fruehauf. Problems listed left to right, starting at the far left of the face to the left of the obvious arete.
Climbs the face just left of Areteaphobia using crack + arete. Top is very LOOSE, be warned!
CW
Up the right face of arete. Don't use big blocks on right to start. Old-school adventure bouldering at its finest - finish straight up through looseness, etc, character-building but not too hard.
CW
Up the left face of the obvious sweet-looking arete. Top is loose.
CW
Brilliant line up the obvious o/hung crack. Uses crack + holds to right. Excellent!
CW
First pull uses crack, then the rest is fun climbing doing big moves on big holds.
CW
Next crack right of previous problem.
CW
Start just right of previous problem, finish with both arms wrapped around tree!
CW
Start (matched) as for Vertigo Issue, traverse all the way R to finish up Treehugger. Don’t use big block beneath Original Sin.
CW
Start as for Treehugger, traverse all the way L to finish up Vertigo Issue. Don't use big block beneath Original Sin. Great climbing!
CW
Start as for Treehugger, traverse left as per Virtuoso to finish up Crack Addict. Great climbing!
CW
Start at Vertigo Issue, traverse right to finish up Crack Addict. Don’t use big block beneath Original Sin. Excellent climbing!
CW
Little Boy Boulder
A small boulder on the way up to Far Right Boulder.
Sit start under o/hung face of prow. Up prow, trending slightly right. A cute little problem!
CW
Start as for previous problem, but move left as soon as possible. Another cute little problem!
CW
SDS as far left as possible, go straight up. Easy.
CW
Start as for previous problem, move R to finish up What About Me?
CW
Start as for previous problem, traverse all the way R to finish.
CW
It Ain't Gogarth Boulder
This boulder is the obvious expanse of rock just passed Fruehauf, where the old track heads up the hill. The rock on this boulder is loose and friable - BE WARNED!
Ascends the furthest R arete from SDS. Finish with both hands on obvious high rail. DOES NOT TOP OUT - the rock up high is crap!
CW
Starts 2m left of Why Not?, under the left of two thin seams. Finishes with both hands on obvious rail at 3/4 height. Precision and delicacy required...
CW
Few metres left of previous problem, starts directly under obvious good jug at mid height just left of the chossy groove. Up, clearing loose rocks from jug + higher holds as you go. Last couple of moves tenuous, but a nice climb nonetheless!
CW
Just left of previous problem, start directly under obvious thin crack/seam. Uses both it and holds on either side of crack/seam, starting on the R but moving L higher up. Nice.
CW
Few metres left of previous problem. Name says it all.
CW
Just left of previous problem.
CW
Left again.Takes the wall just to the right of the crack, trending slightly left.
CW
Left side of obvious arête. Gets looser the higher you go.Finish at ledge.
CW
Finger crack just left of arête. Good value climb - just like the real thing! Finish at ledge.
CW
SDS two metres left of Who Dares Wins, directly under the obvious big flake.
CW
Takes the relatively blank-looking wall between the last two problems. Starts as for Who Dares Wins but trends slightly left, uses obvious pocket up high. More committing than it looks thanks to friable rock.
CW
Next line left of The Flake Mistake, where two pencil-thin cracks come down. Start directly under left crack at two small edges. Up and slightly right to good rail, tricky moves up using small pocket in right crack/mantle. Dubious rock quality.
CW
Takes the line between The Flake Mistake and Lesser Of Two Evils. Tricky to the rail, get established on it and it's all over.
CW
Furthest line to the left. Start directly under the obvious blocky flake. Traverse slightly right at ledge, then up to chossy top.
CW
Start as for Larry Duggan, traverse all the way right to finish up Why Not?.
CW
Start as for Why Not?, traverse all the way left to finish up Larry Duggan.
CW
The Playground
The Playground is an area comprising of a motley collection of boulders/buttresses, even a short wall or two, found in the bushes etc off to the left of where the old Rivulet Track used to go up the hill. About halfway up (not long passed the only 'boulder' on the left side of the track) head up the obvious dirty slope then right along the 'path' - the obvious big prow is The Prow. Up beyond it via the steep and dirty gully on its right is a short wall with a bit of potential. To its left are a few random chunks of rock that could yield up some decent problems after cleaning, including access and site prep.
Straight up the face of the obvious 5-6m prow, using holds on either side and/or in the middle to gain the good ledge at three-quarter height, then top out directly in the middle. An EXCELLENT problem! (Landing is horrible - toprope recommended (as per FA))
CW (tr)
Right wall of The Prow, using holds on the arête for the left hand when needed, topout mantel on left. Good prep for The Prow.
CW
McRobies Quarry
There are a handfull of slabs and aretes in this very small quarry nearby to Fruehauf. To get there drive on McRobies Road and park near Syme Street and wander up the hill to the left where you can see the rocks.
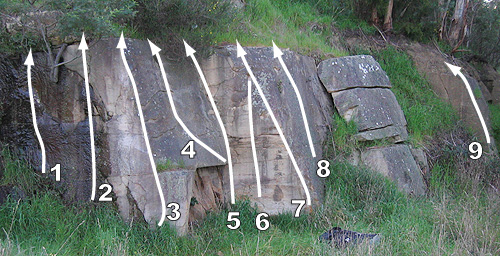
Face left of bent tree
Face right of bent tree
Start both hands on bent tree, traverse R acoss whole crag to finish up All In. Stays low except for V3 wall - crosses it at mid height. Excellent companion w/up to Tree's A Crowd R-L.
CW (first recorded, anyway...)
Up arete, eliminate the big ledge
Start as for 5 but go left and climb seam, don't use big ledge
Start directly under seam, don't use big ledge, climb seam.
CW
Corner
Up face without using corner to left or arete to right SDS exists, V3/4. Use arete for first pull only
SDS only CW
(Contrived) Up face without using corner to left or arete to right, starting SDS as far left as possible.
CW
Arete
Slab
Contrived but fun: Both feet and hands must ONLY use either of the cracks on the right side of the slab, except for topout. A cute little problem!
CW
Start as for All In, traverse L acrfoss whole crag to finish with both hands on bent tree. Stays low except for V3 wall - crosses it at mid height. Excellent companion w/up to Tree's A Crowd L-R.
CW (first recorded, anyway...)
Slab just right of arete. Just using the arete would be quite tricky.
SDS at L arete,pull onto and finish up slab.
CW
Start with foot on the good hold on the left side of the arete. Stay left - don't use any holds on or pull around onto the slab proper, even on the topout (dirty). Contrived to some extent, but interesting climbing.
CW
Sit start to 10. Stay on left side of arete all the way to topout.
CW
On the next boulder to the right. Sit start on L arete. Stay on left side of arete.
CW
Short slab beside 11.
CW
(Up the road towards the tip from the rest of the crag, the obvious arete on the right-hand side of the road.) Starting just around arete so it's on your left, pull on and around arete (it's now on your right) to ascend up the middle of the face until 3/4 height, then do a R high step/sidepull off the arete to tenuous topout. A fantastic problem!
CW
Start on bottom right of main face instead, join PHT.
CW
Start sitting on lower left. Up face, using left arete. Climbs nicely.
CW
Contrived problem starting on lower right of main face as per Paul's Hot Tip Direct but using holds on either arete is out. Up face to top out in the middle of the face inbetween the others. First couple of moves technical.
CW
Forest Road Quarries
There are three old sandstone quarries at the end of Forest Road in West Hobart. Guides to come.
Knocklofty Bloc
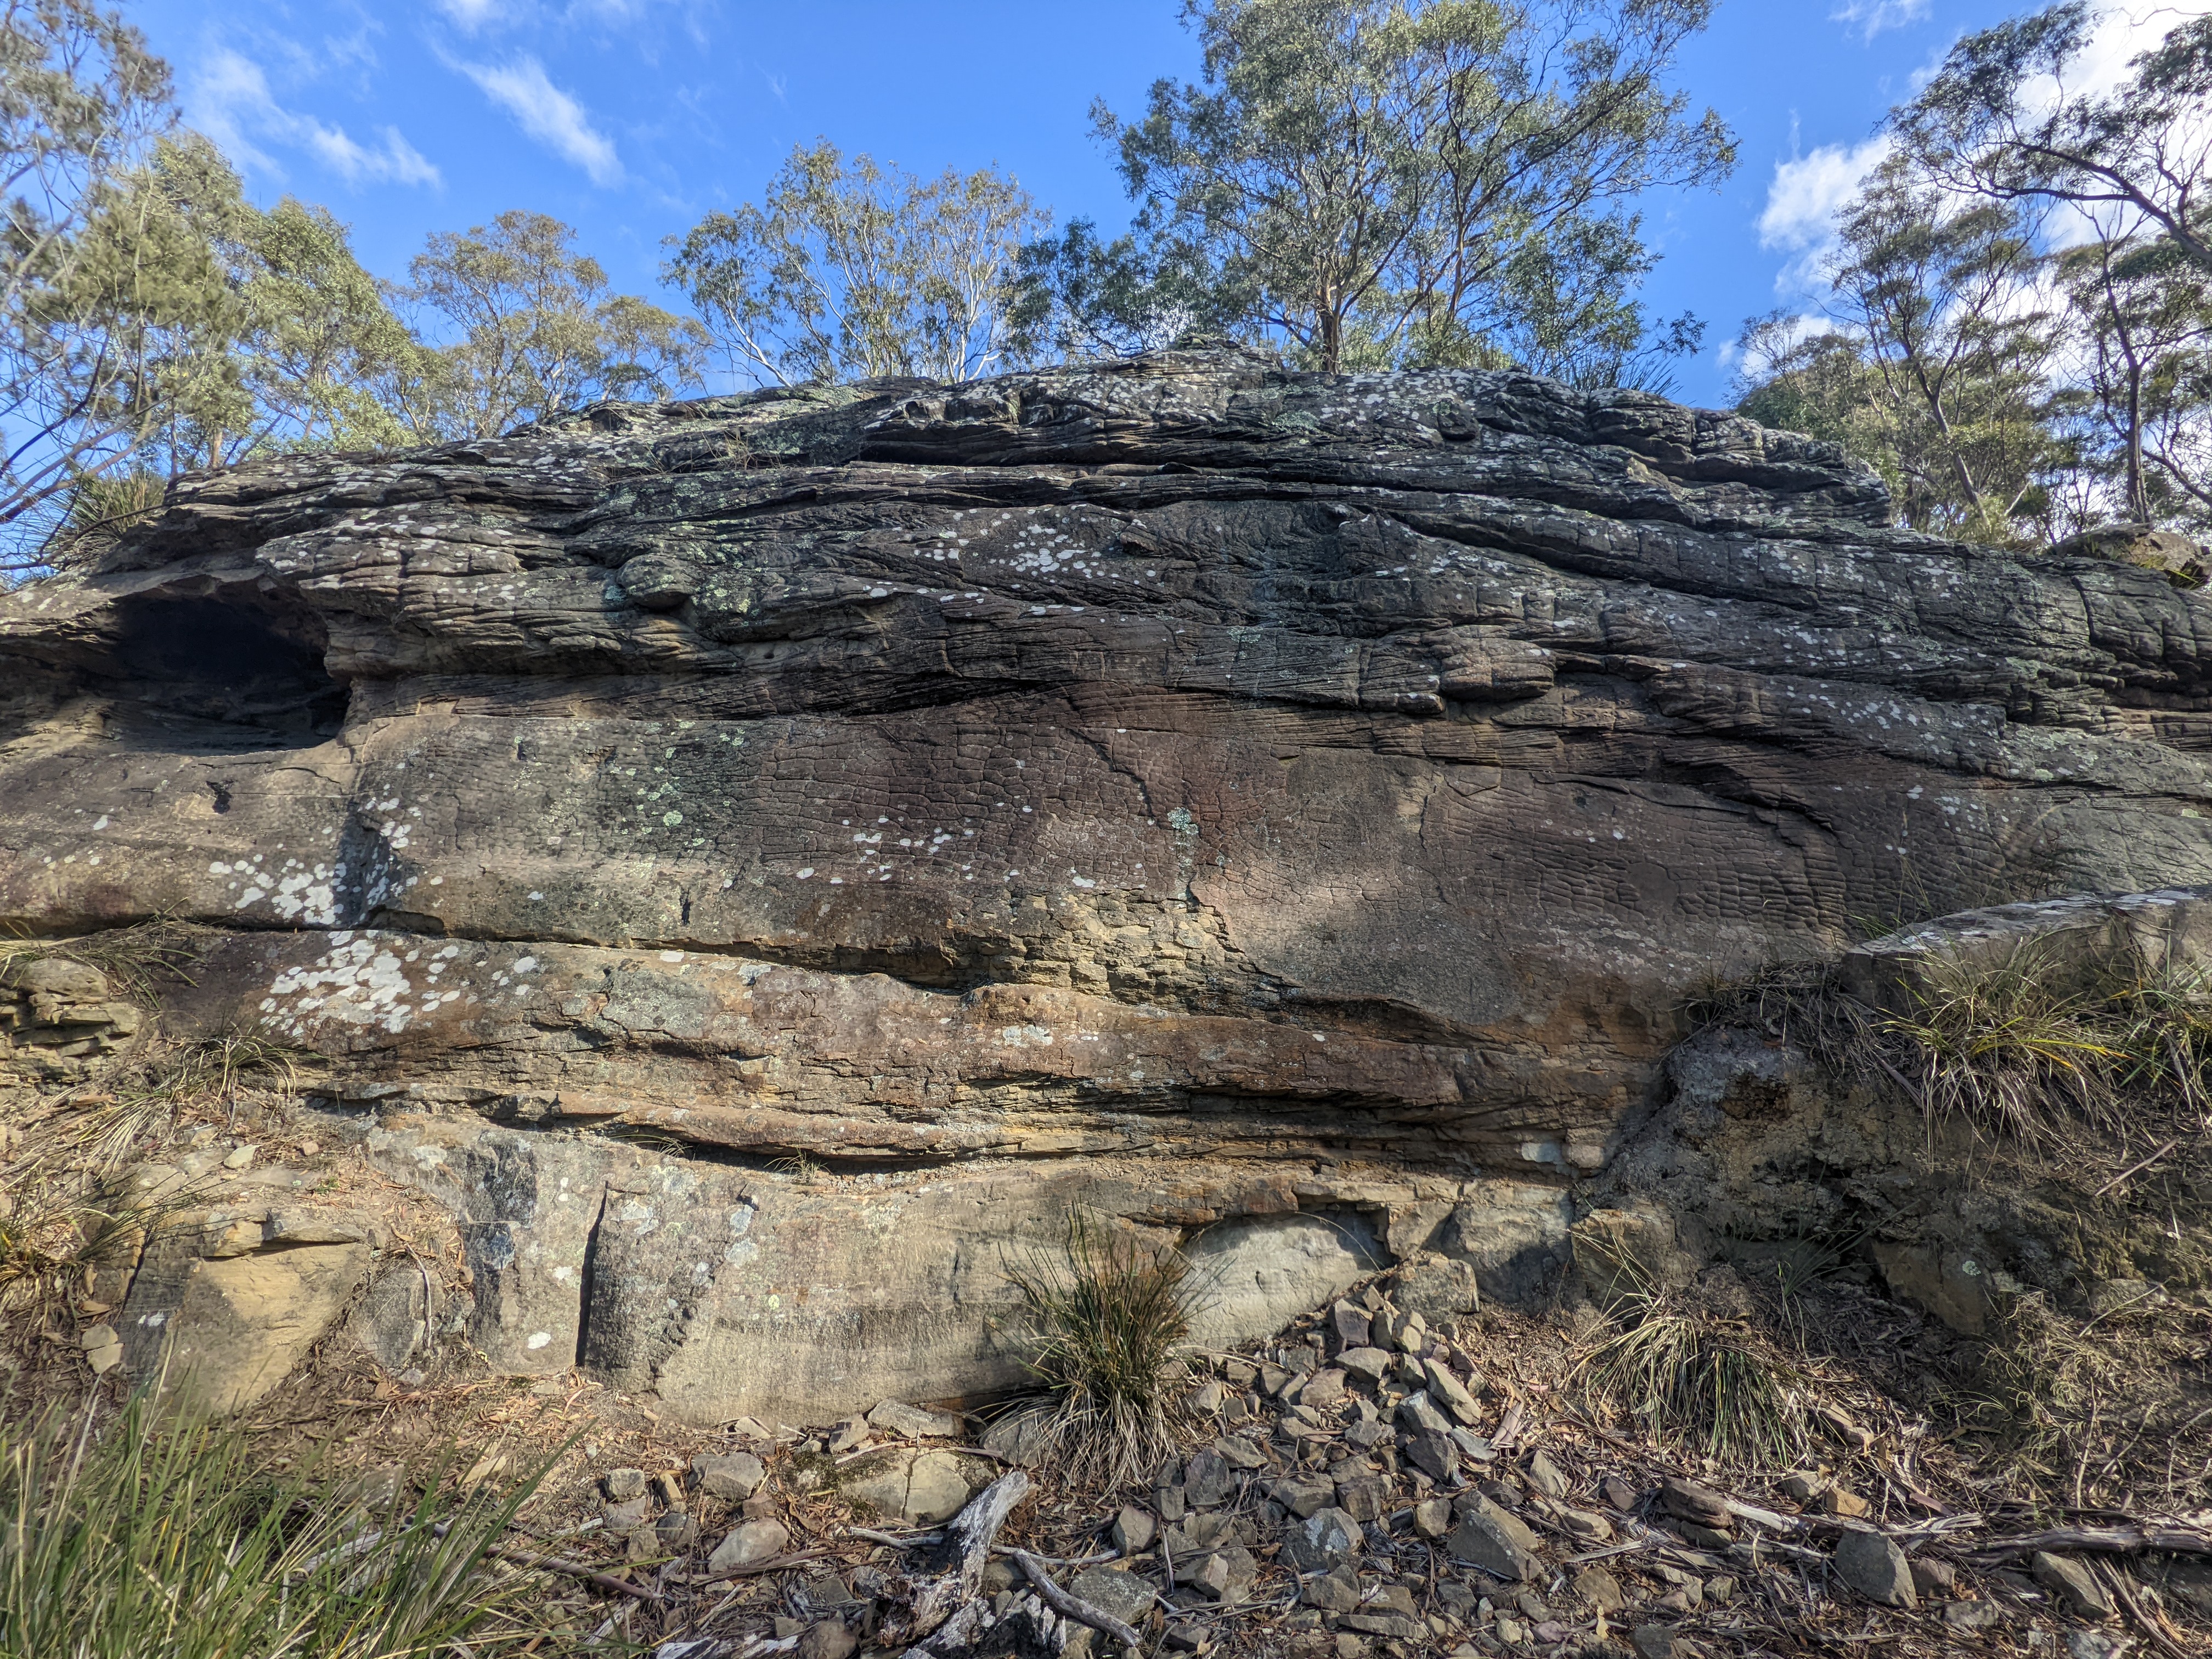
At the beginning of the Knocklofty summit loop walk, take the left trail up about 30 meters or so and on the left of the track you will see this sandstone rock formation. Has the potential to be cleaned and a few easy lines to be sent.
Open Project
Start in Reekie's Dark Dank Cave and head straight out.
Start on the bank to the right of the cave, and head straight up using the nice pocket and then right to dirty horizontal crack with grass and then good pinch shelf.
N Chin 2022
To the right of the previous problem, harder start then straight up with jugs the whole way
N Chin 2022
Just to the left of but using the sketchy hollow flake, up to the loose jug - the top third of this hold is solid - and then top out through the lichen. Top out would be much easier with a good clean.
J O'Wheel 2022
To the right of the previous, can use hollow flake, and thin crimps at start, then juggy top out.
N Chin 2022
Start at bank on far left and traverse to bank on far left with feet on bottom most rail.
J O'Wheel 2022
Alexandra Battery
This is the ruins of an old (convict era?) cannon battery in lower Sandy Bay. It was climbed on quite a bit in the early nineties until before the climbing gym. It provides a few vertical problems and traverses on mostly bluestone walls. It's a bit sharp in places. The grades are probably a bit random as they have been converted from non V grades.
Drive towards Taroona along Sandy Bay Road until the lower Sandy Bay shops. Turn right between the two petrol stations into Wayne Avenue, then take the next left into Nile Avenue. Park at the end and walk to the ruins (20 seconds). Using the map, along with the route descriptions, it should be fairly easy to locate the climbs.
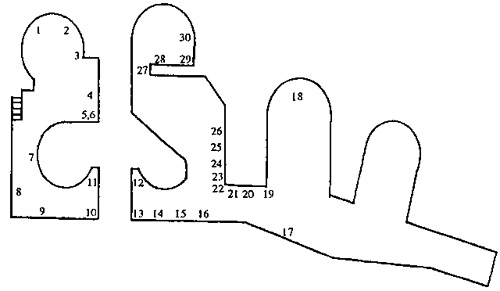
SDS chimney then the bulge via the crack.
The bulge via undercling.
The bulge left of corner.
Easy traverse.
Dyno from lowest brick pocket
All holds start in doorway.
Corner.
L to R.
Using RSG on roof, climb out of doorway.
Small edges to top.
Corner without using metal spike.
Chimney.
Up arete left of door, onto face.
Face left of archway, 2m. left.
Face, 2m left of 13.
Face, 2m left of 14.
Face, 2m left of 15. Start low.
Traverse.
Low traverse, without using top of wall.
Arete.
Pockets left of boulder.
Face 2m. left of boulder. Sharp holds.
Arete.
Middle of face. All holds.
One handhold and one foothold only.
Right pillar of archway to top.
Central pillar.
Free hanging double two finger dyno.
Left pockets and feet on wall.
Slab.
Face using pockets 2m from right.
The corner, using everything.
The corner, minus the crack.
The left face of the corner.
The bulge, with the ring.
The bulge, without using the ring.
Waterworks Reserve
There is some bouldering on sandstone of mixed quallity in the hills just above waterworks reserve.
Waterworks Cave
Also known locally as "Sixpence Cave", this is one of the steepest pieces of choss in Hobart. Limited potential, but with a lot of work some more problems could be done. From the entrance of Waterworks Reserve continue up the road to park at Ridgeway Reservoir. Walk down the bitumen road on the lower side of the road until you get to some reservoirs. Follow the top fence, then the track for another 50m down and around to the cave.
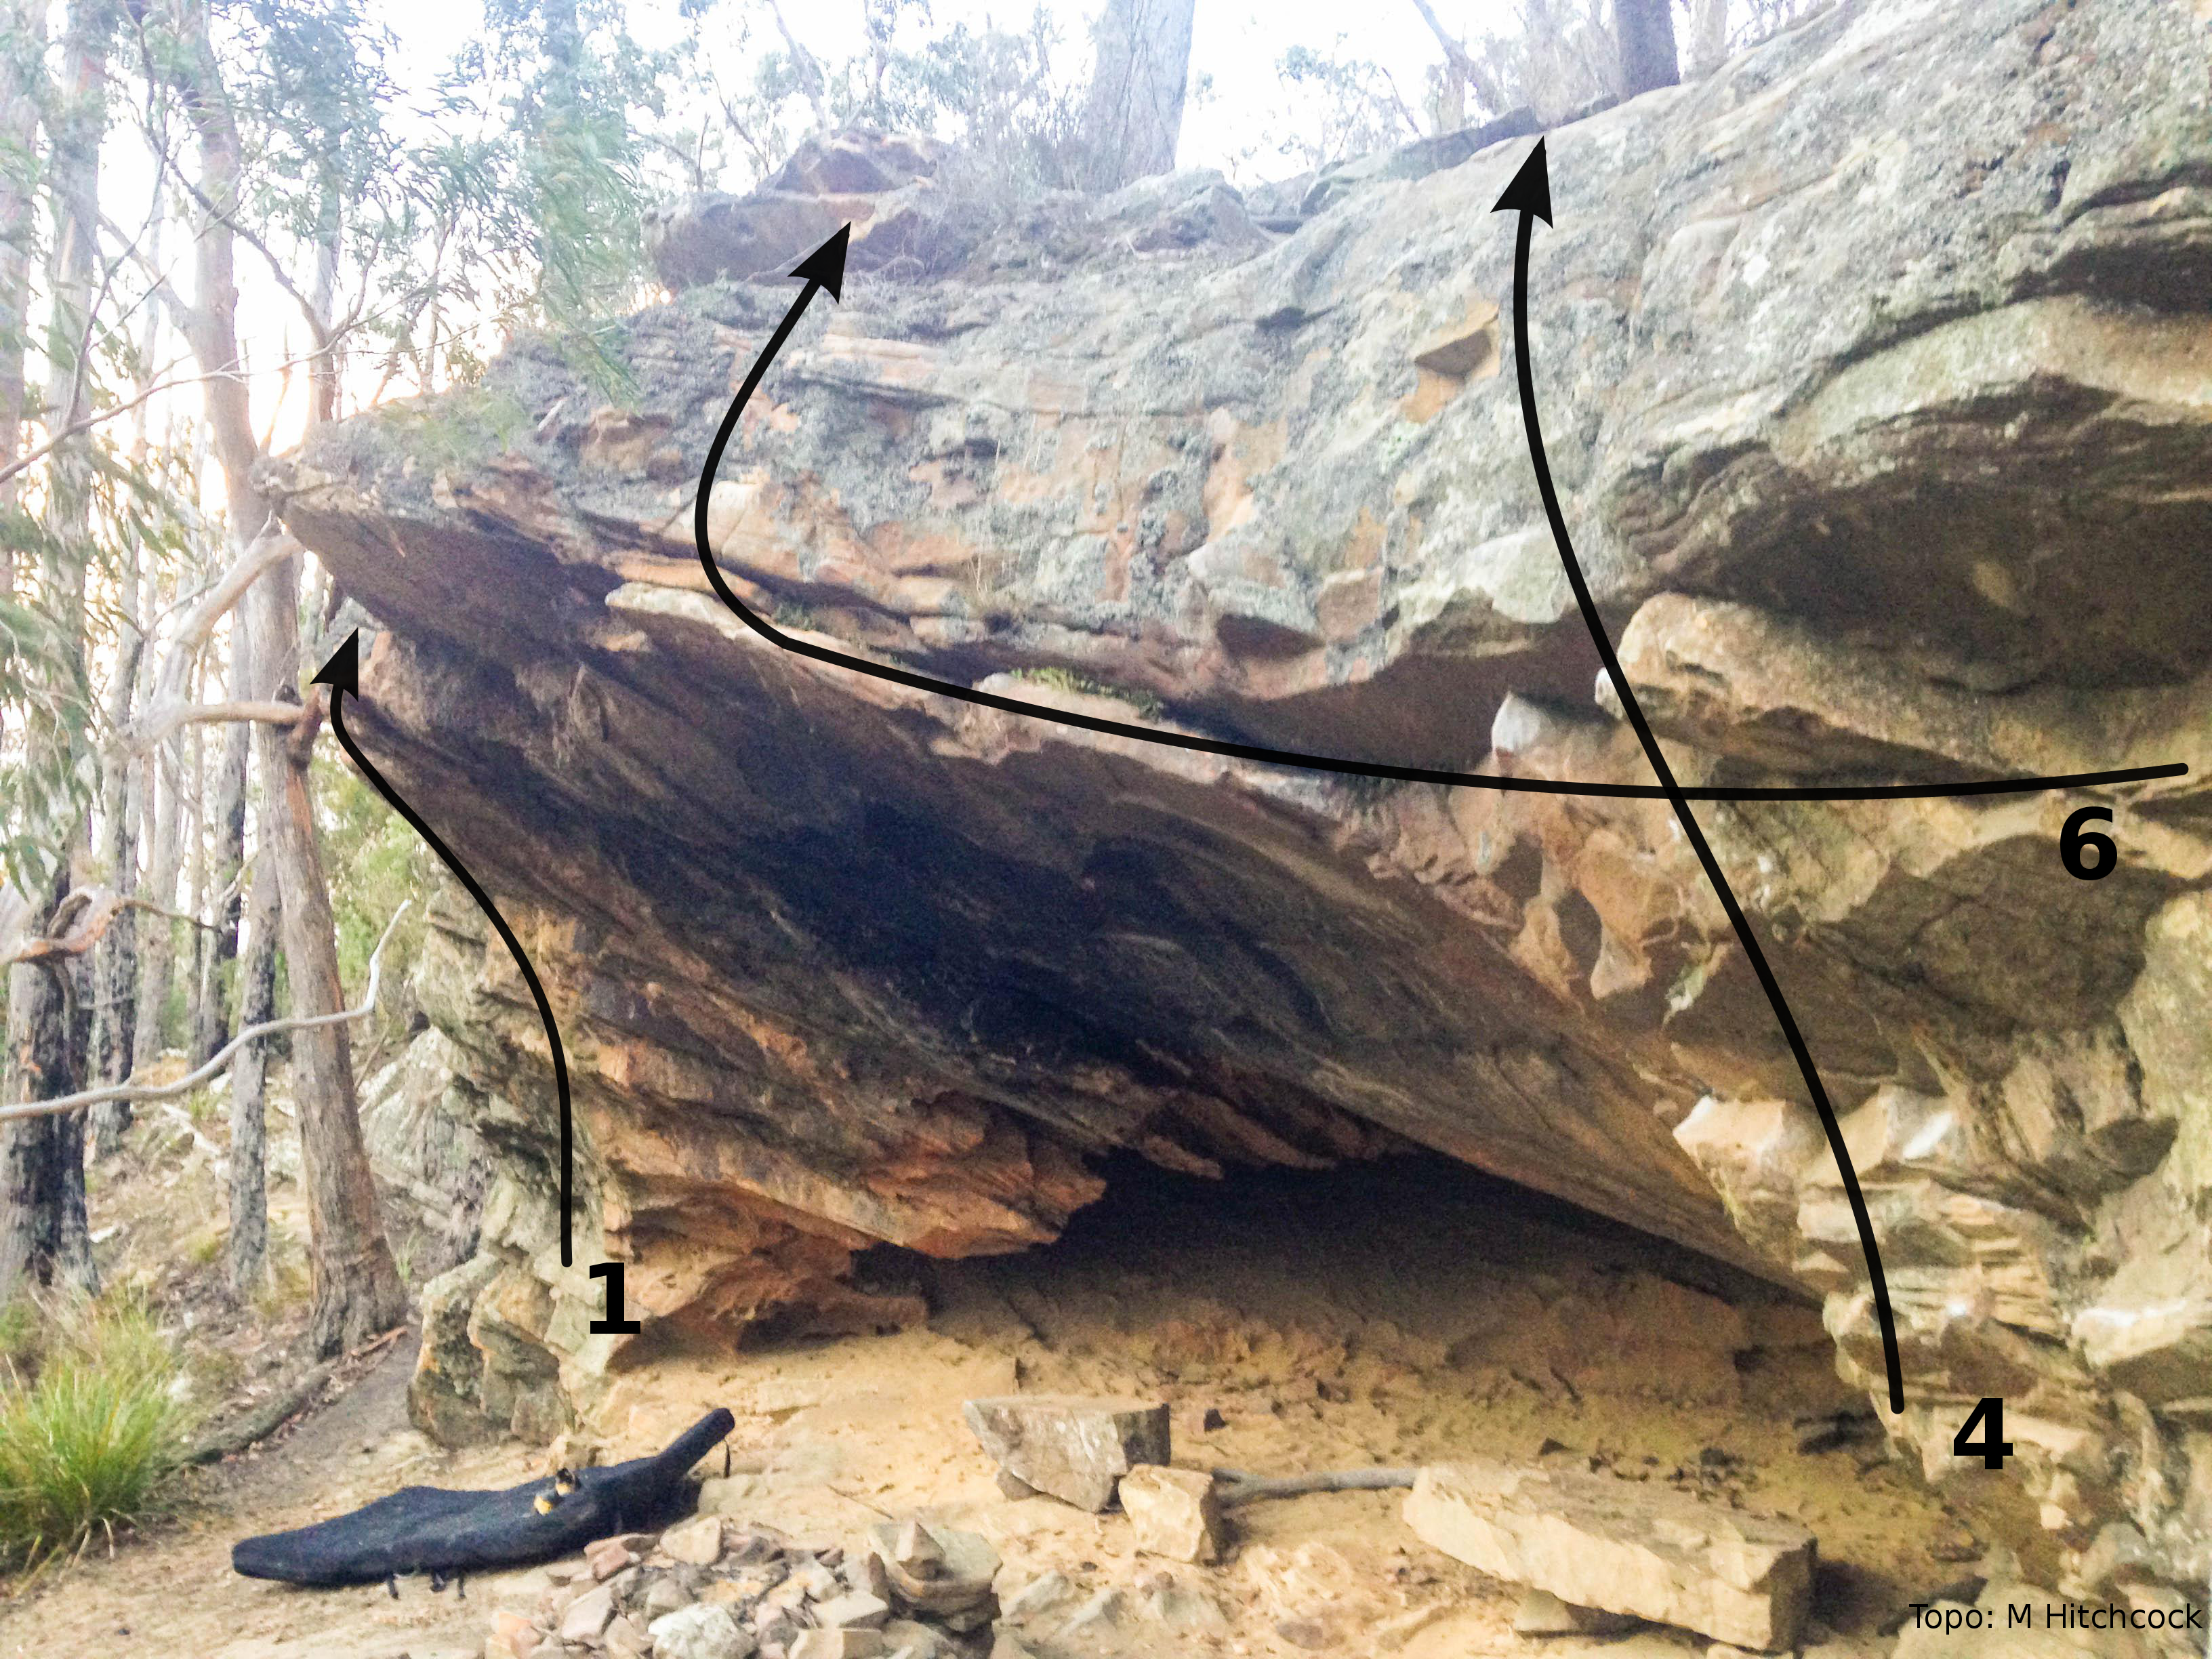
Left side of cave
Sit start with underclings on leftmost edge of cave. Head up and top out to the left.
Project - out the guts of the cave, a bit right of centre.
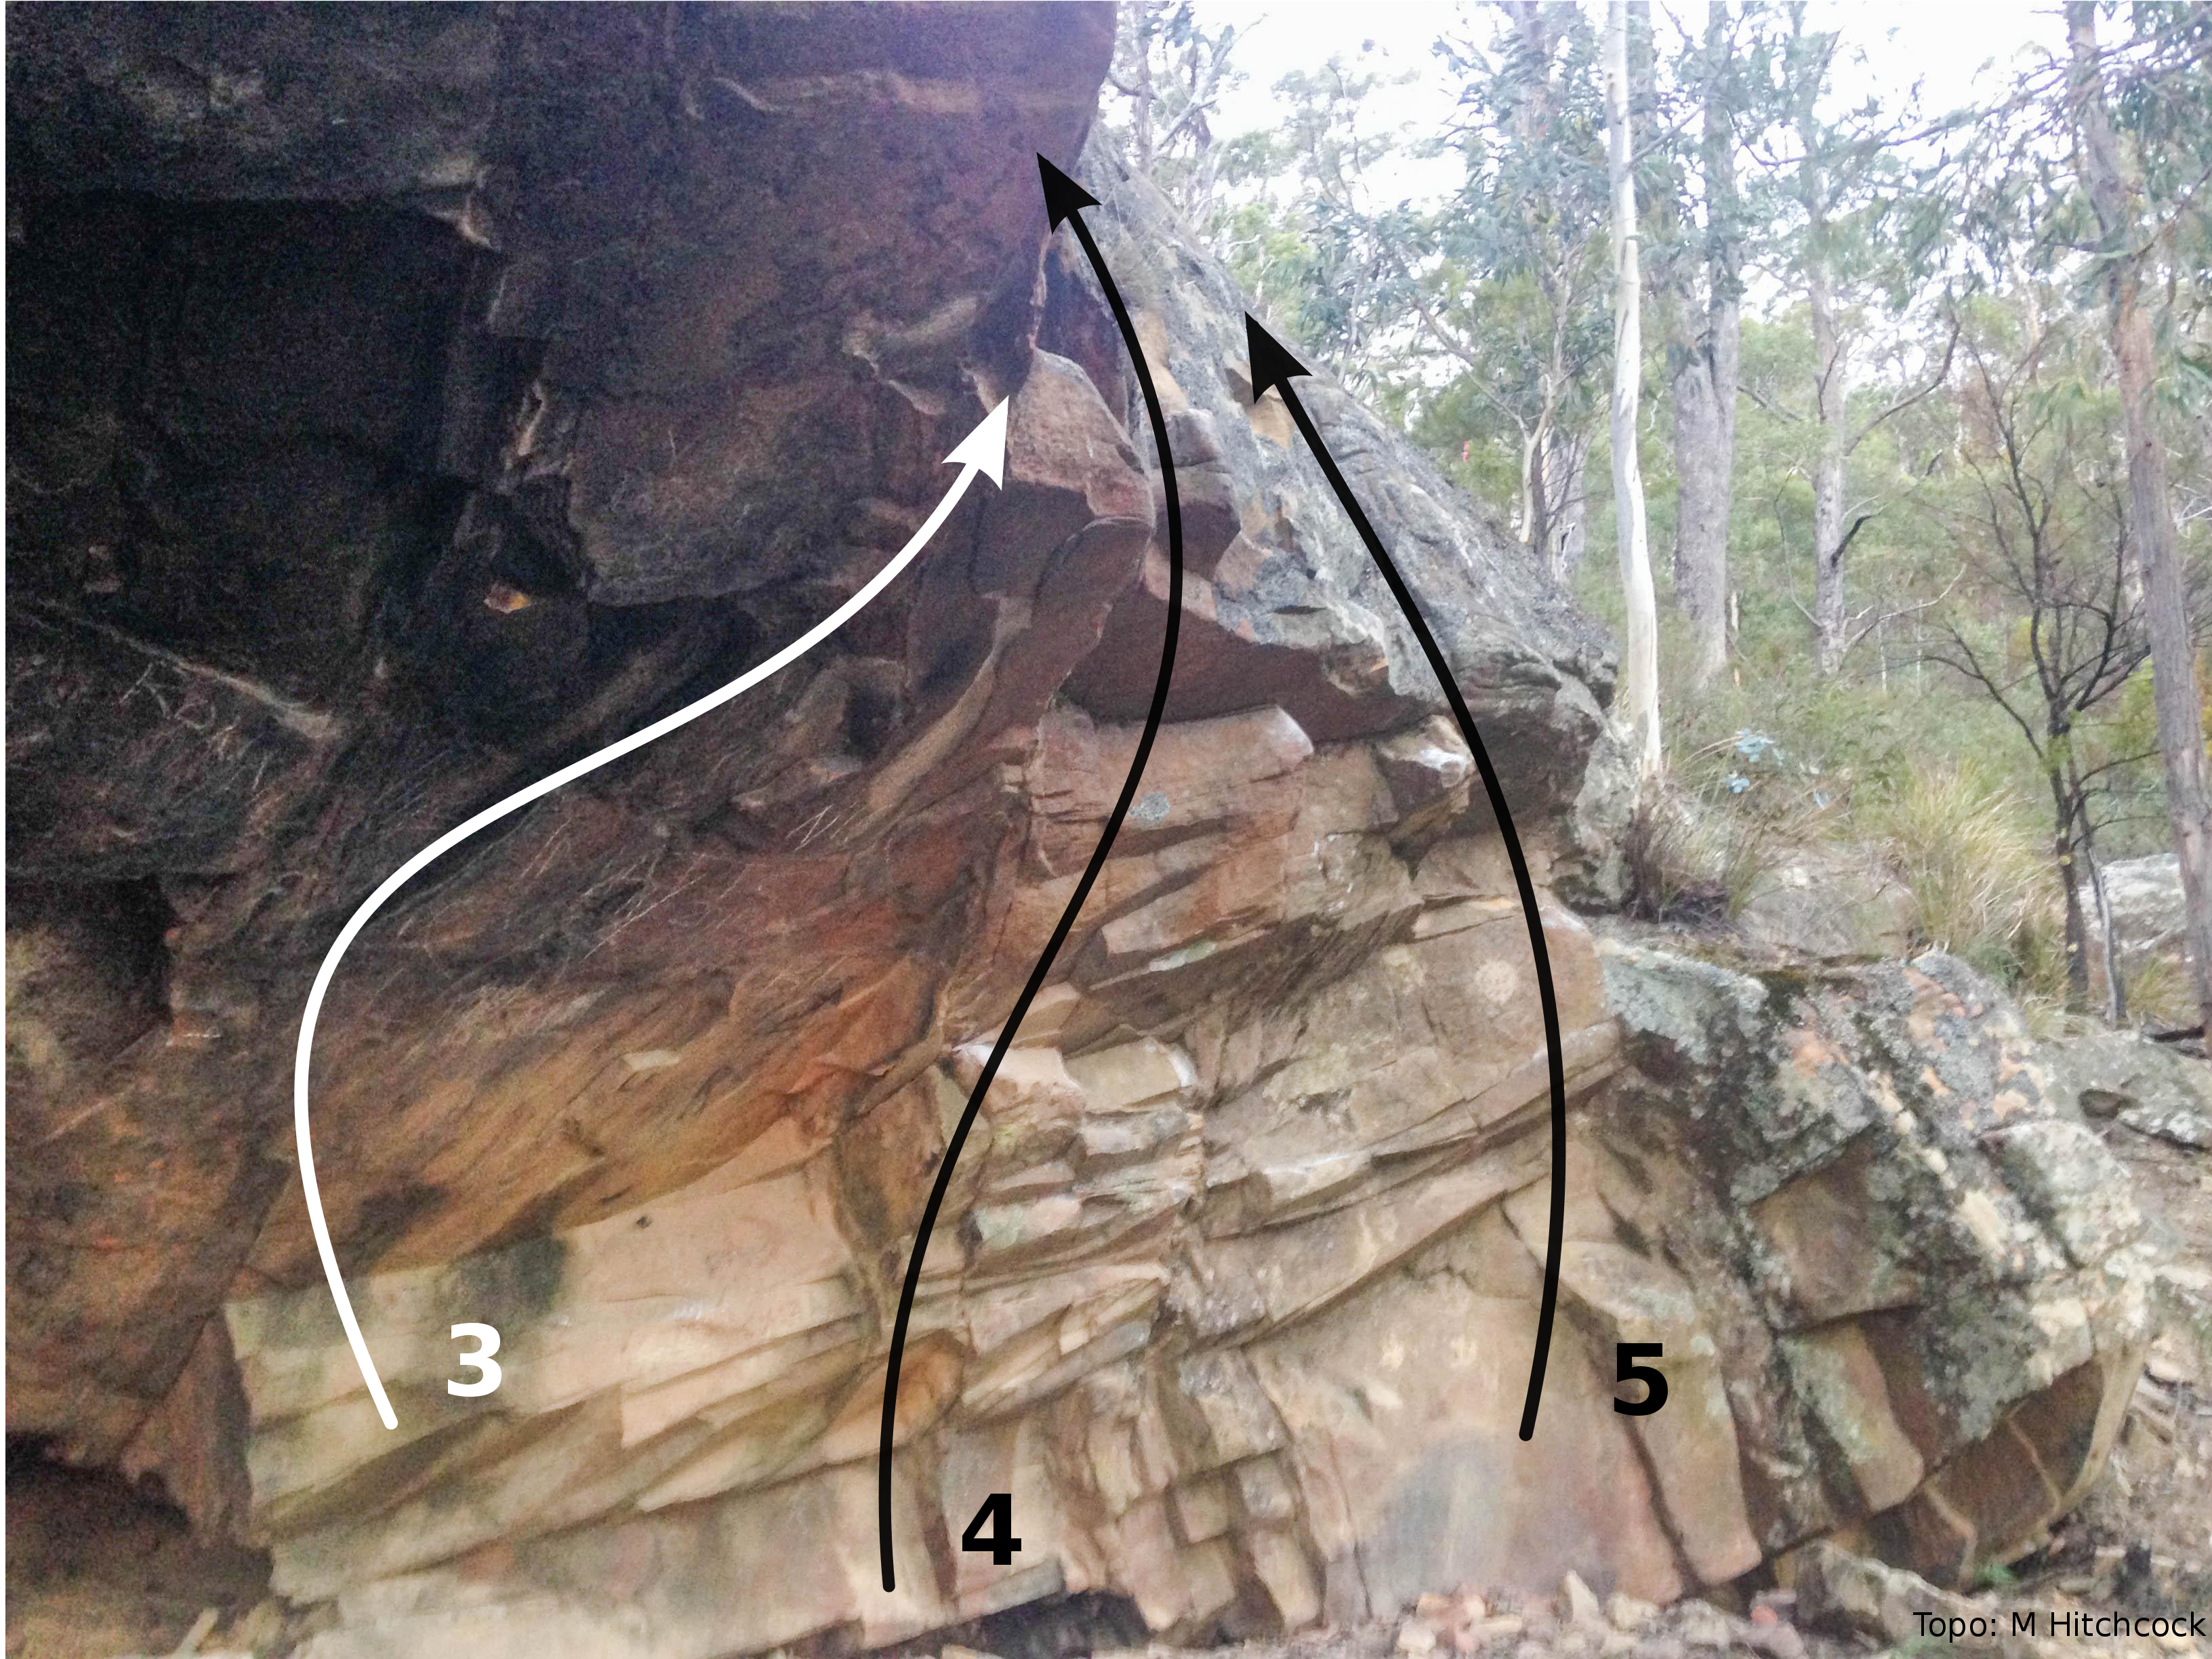
Right side of cave
Series of edges through steep ground on the right side of the cave.
Steep line of good holds to the left of Circles.
Start below the circles. Up on good holds on the right side of the wall.
Start at circles and traverse left along the line of jugs and out along the lip of the cave. Drop off when the jugs run out, or more heroically it could top out.
The Anomaly
A hidden gem with some excellent solo/micro-routes/highball problems. Well worth a visit. As elsewhere in the Reserve, some of the sandstone is a little fragile, especially after rain. At this craglet there are potentially significant consequences if a hold breaks high up - for this reason all the high problems on the main North face were checked out on a rope before being soloed/bouldered. There are holds everywhere in the middle of the North Face which is about 7-8m high in the centre - so really you can climb anywhere at will. Problems described left to right.
Access: Approximate GPS location -42.91260 147.27963
Head uphill along the Circle Track until you reach the second bench seat - here look for an obscure benched and overgrown track on the right heading southwest parallel to Sandy Bay rivulet. This is the historic Huon Bridle Trail, originally used as a horse trail between the Huon and Hobart. Charles Darwin followed it during his visit to Hobart in 1836. Follow this over and between some fallen trees and across a gully/creek until directly under the high voltage power lines. From here, head steeply uphill through the scrub to the left, keeping the power lines directly overhead and you should strike the Anomaly.
On top are some grooves left when the cables suspended above you were dragged across the top of the outcrop. A top rope can be arranged from the tree on the uphill side of the outcrop.
The East Face
Takes a line up the left hand end of the East face, using jugs on the left arete to finish boldly and steeply up the blocky groove. Start from the big pocket
Toby Watkins and Cormac Brannigan 23/04/2020
Start from big flat angled sloping rail/sidepull and Font-esque sloper and climb up hugging the arête trending slightly left (can scramble off carefully up dirty groove). Really nice problem.
DB 03/20
Significantly harder sit start to Cache grab with two hands on the big flat angled sloper
DB 03/20
The North Face
Just right of the big sloping rail, sit start from good opposing low sidepulls. Up to rounded slopes shared with “cache grab” then up via flared slot trending right up dirty groove to finish.
DB 03/20
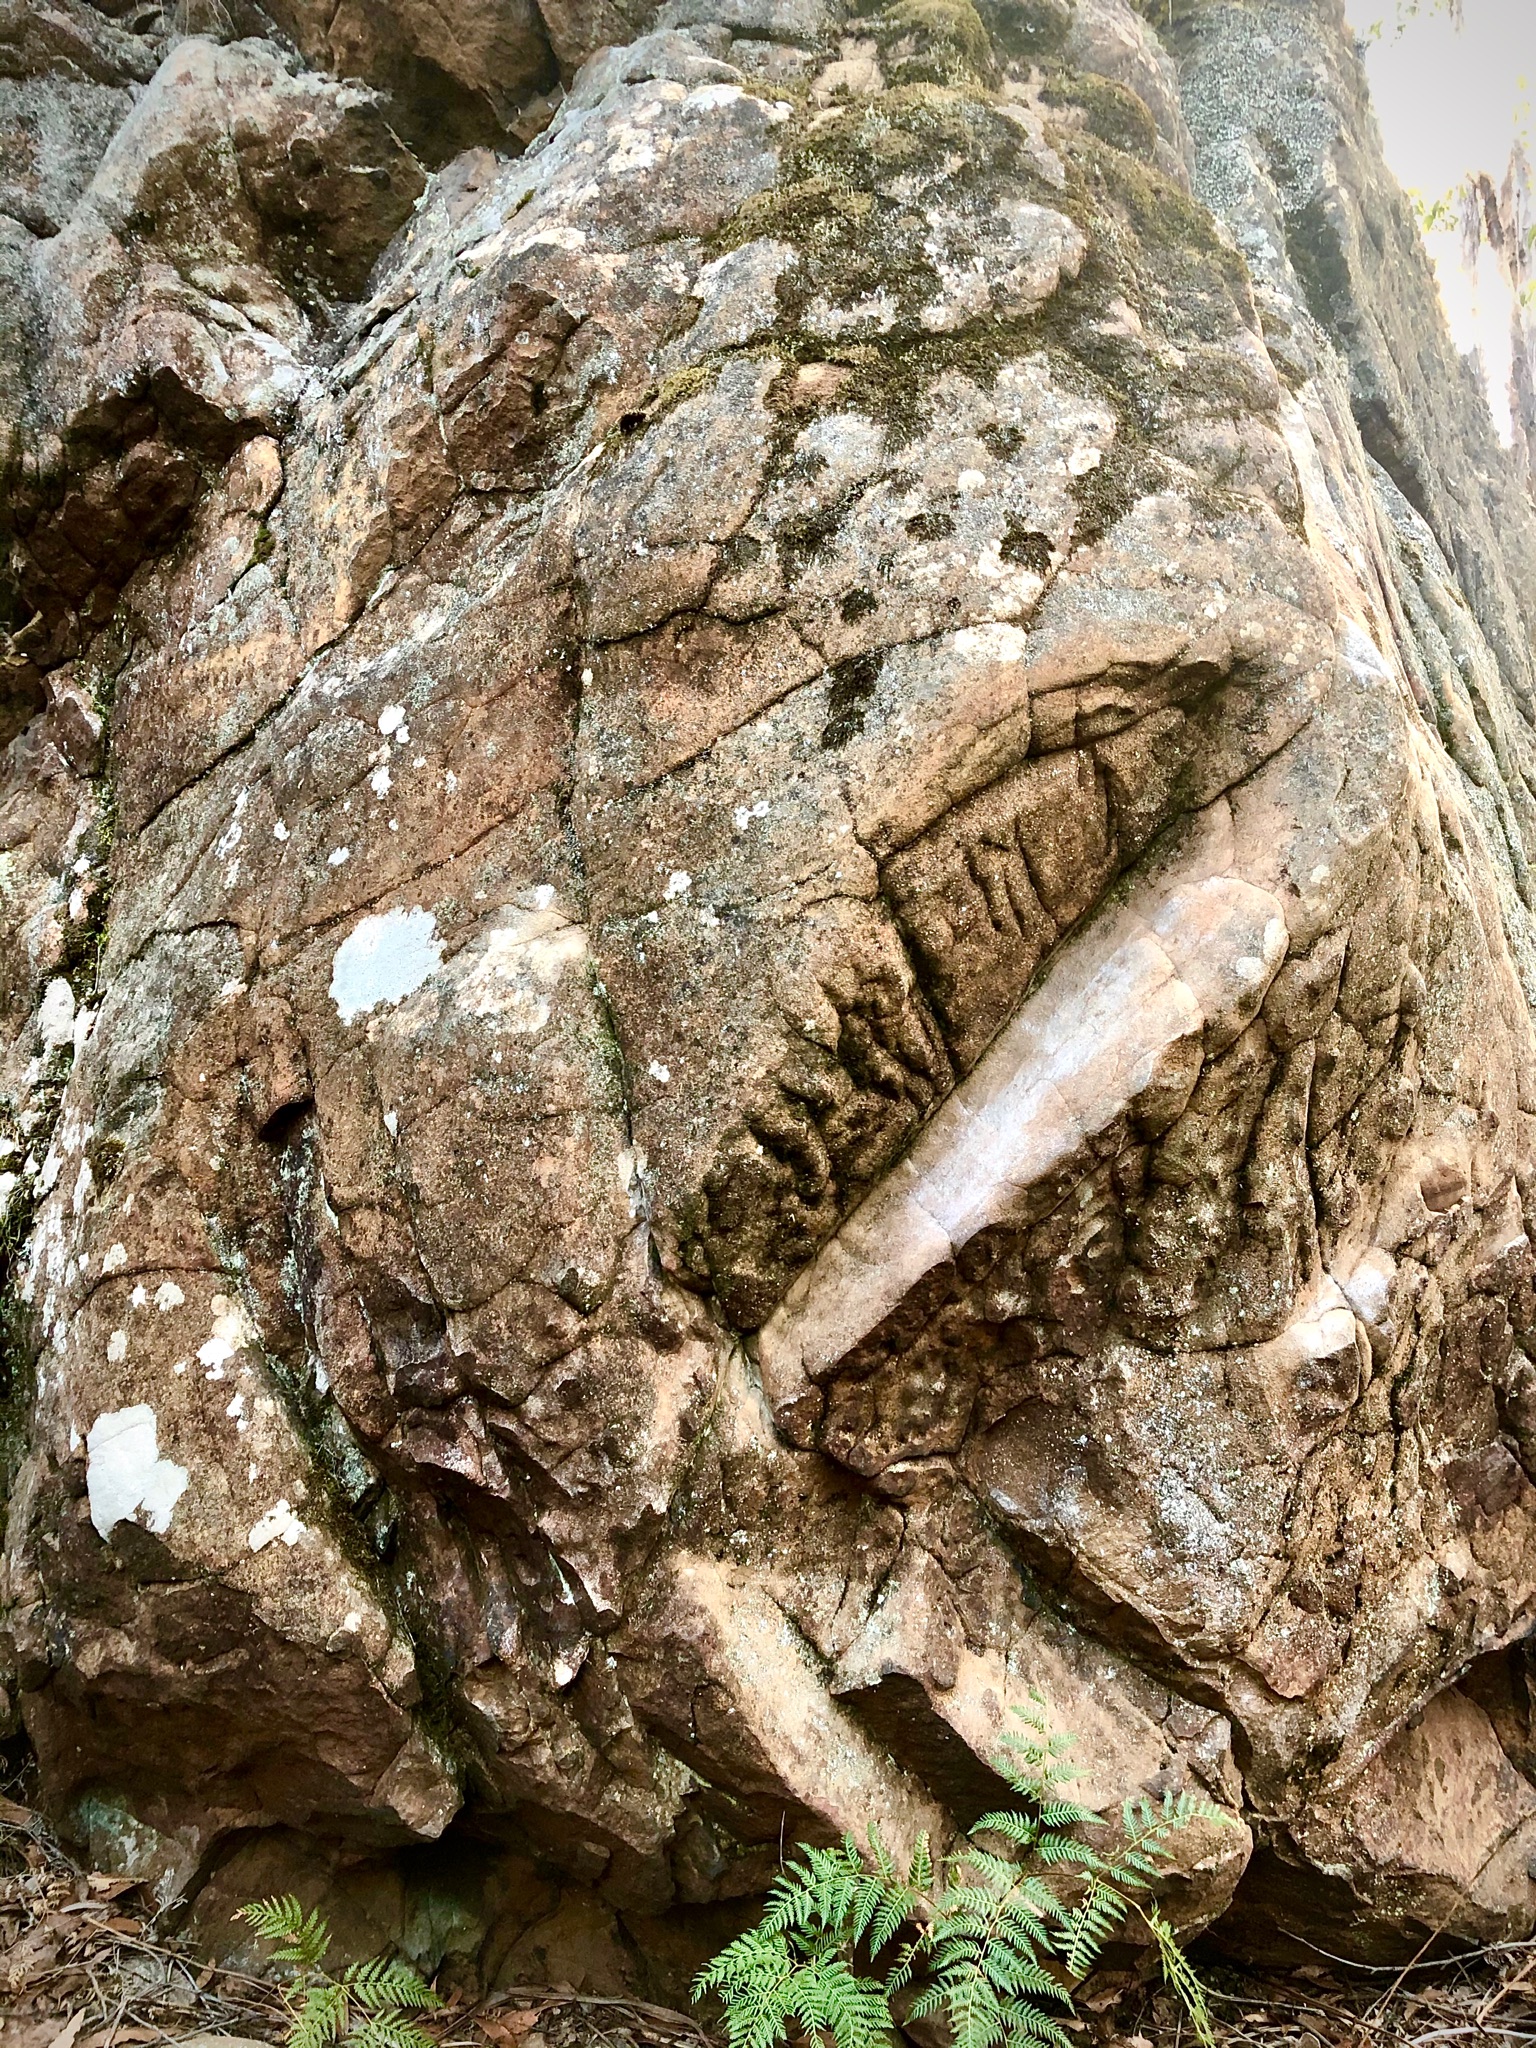
Left end of the Anomaly
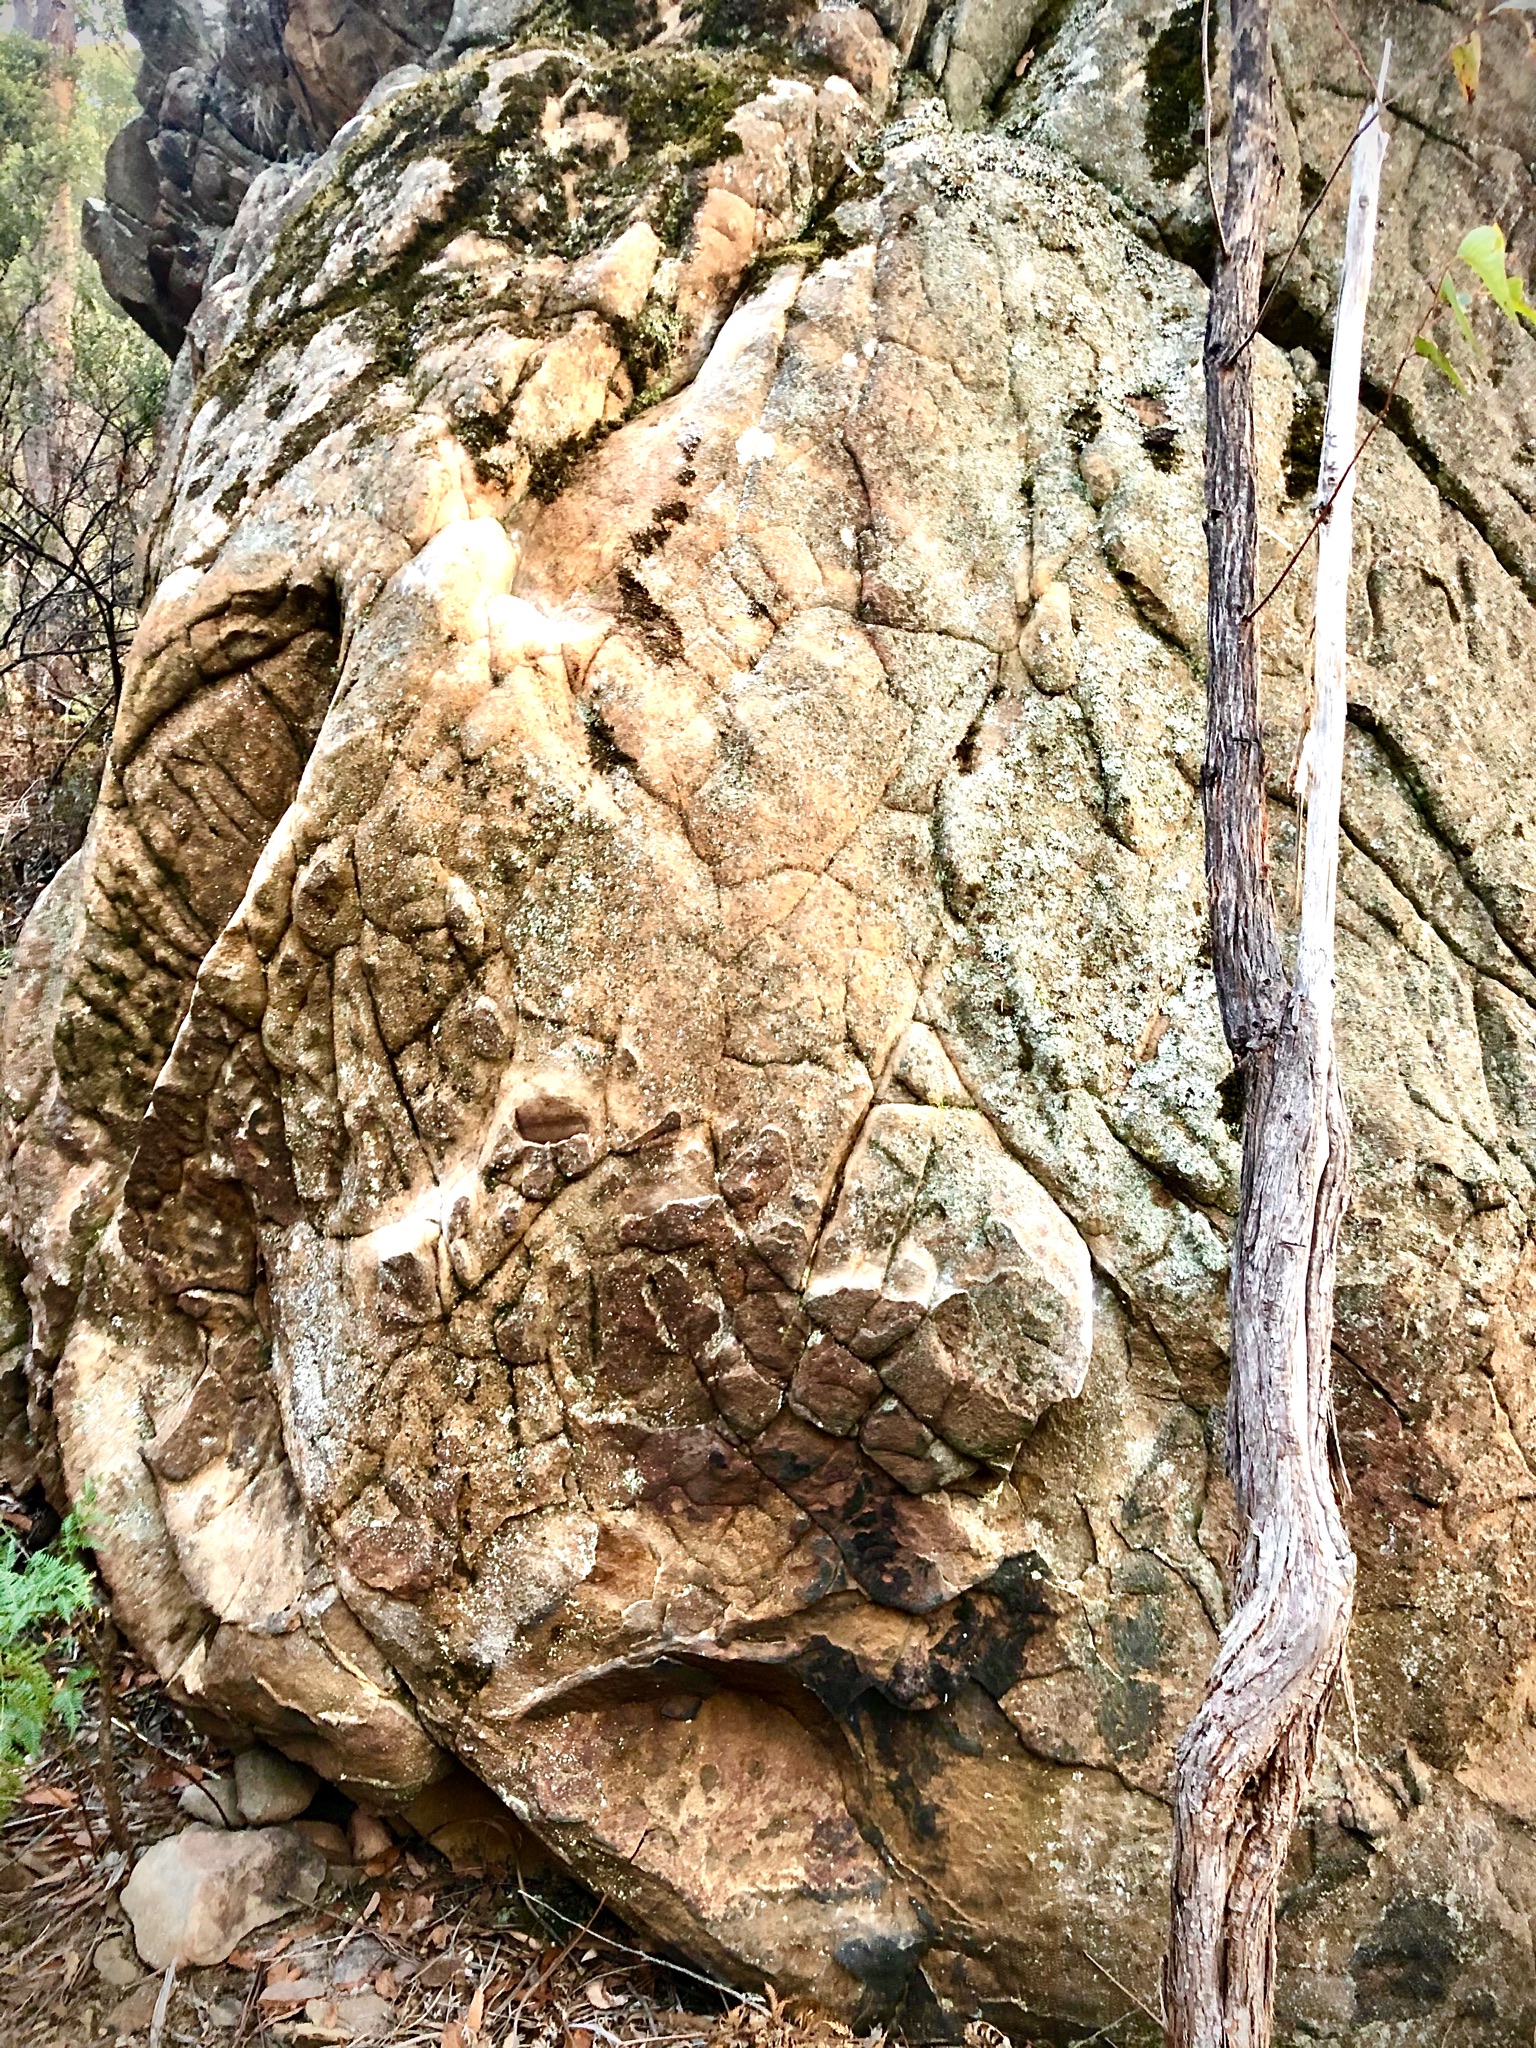
Left end of the Anomaly
Just right of LITTOC start from a good right hand pinch, and climb directly up the slab using the diagonal crack and rounded layways, finishing past the little tree growing out of the dirty groove
DB 03/20
About a third of the way from the left end of the main face, climb directly through the line of the diagonal undercling about 4m up. High. A few crumbly edges. 6m.
DB 03/20
Directly behind the small tree which is closest to the wall. Straight up the centre of the face. Some lovely holds. Some fragile holds. Highball. 7m
DB 03/20
Just right of “Social distancing” and right of the little tree. Straight up. Again, some nice holds, caution with fragile edges. Highball. 6m.
DB 03/20
Low (SDS for me) start up the right arete/nose of the main face. Up the nose on good holds, finishing boldly but easily up the rounded slopey arete.
DB 03/20
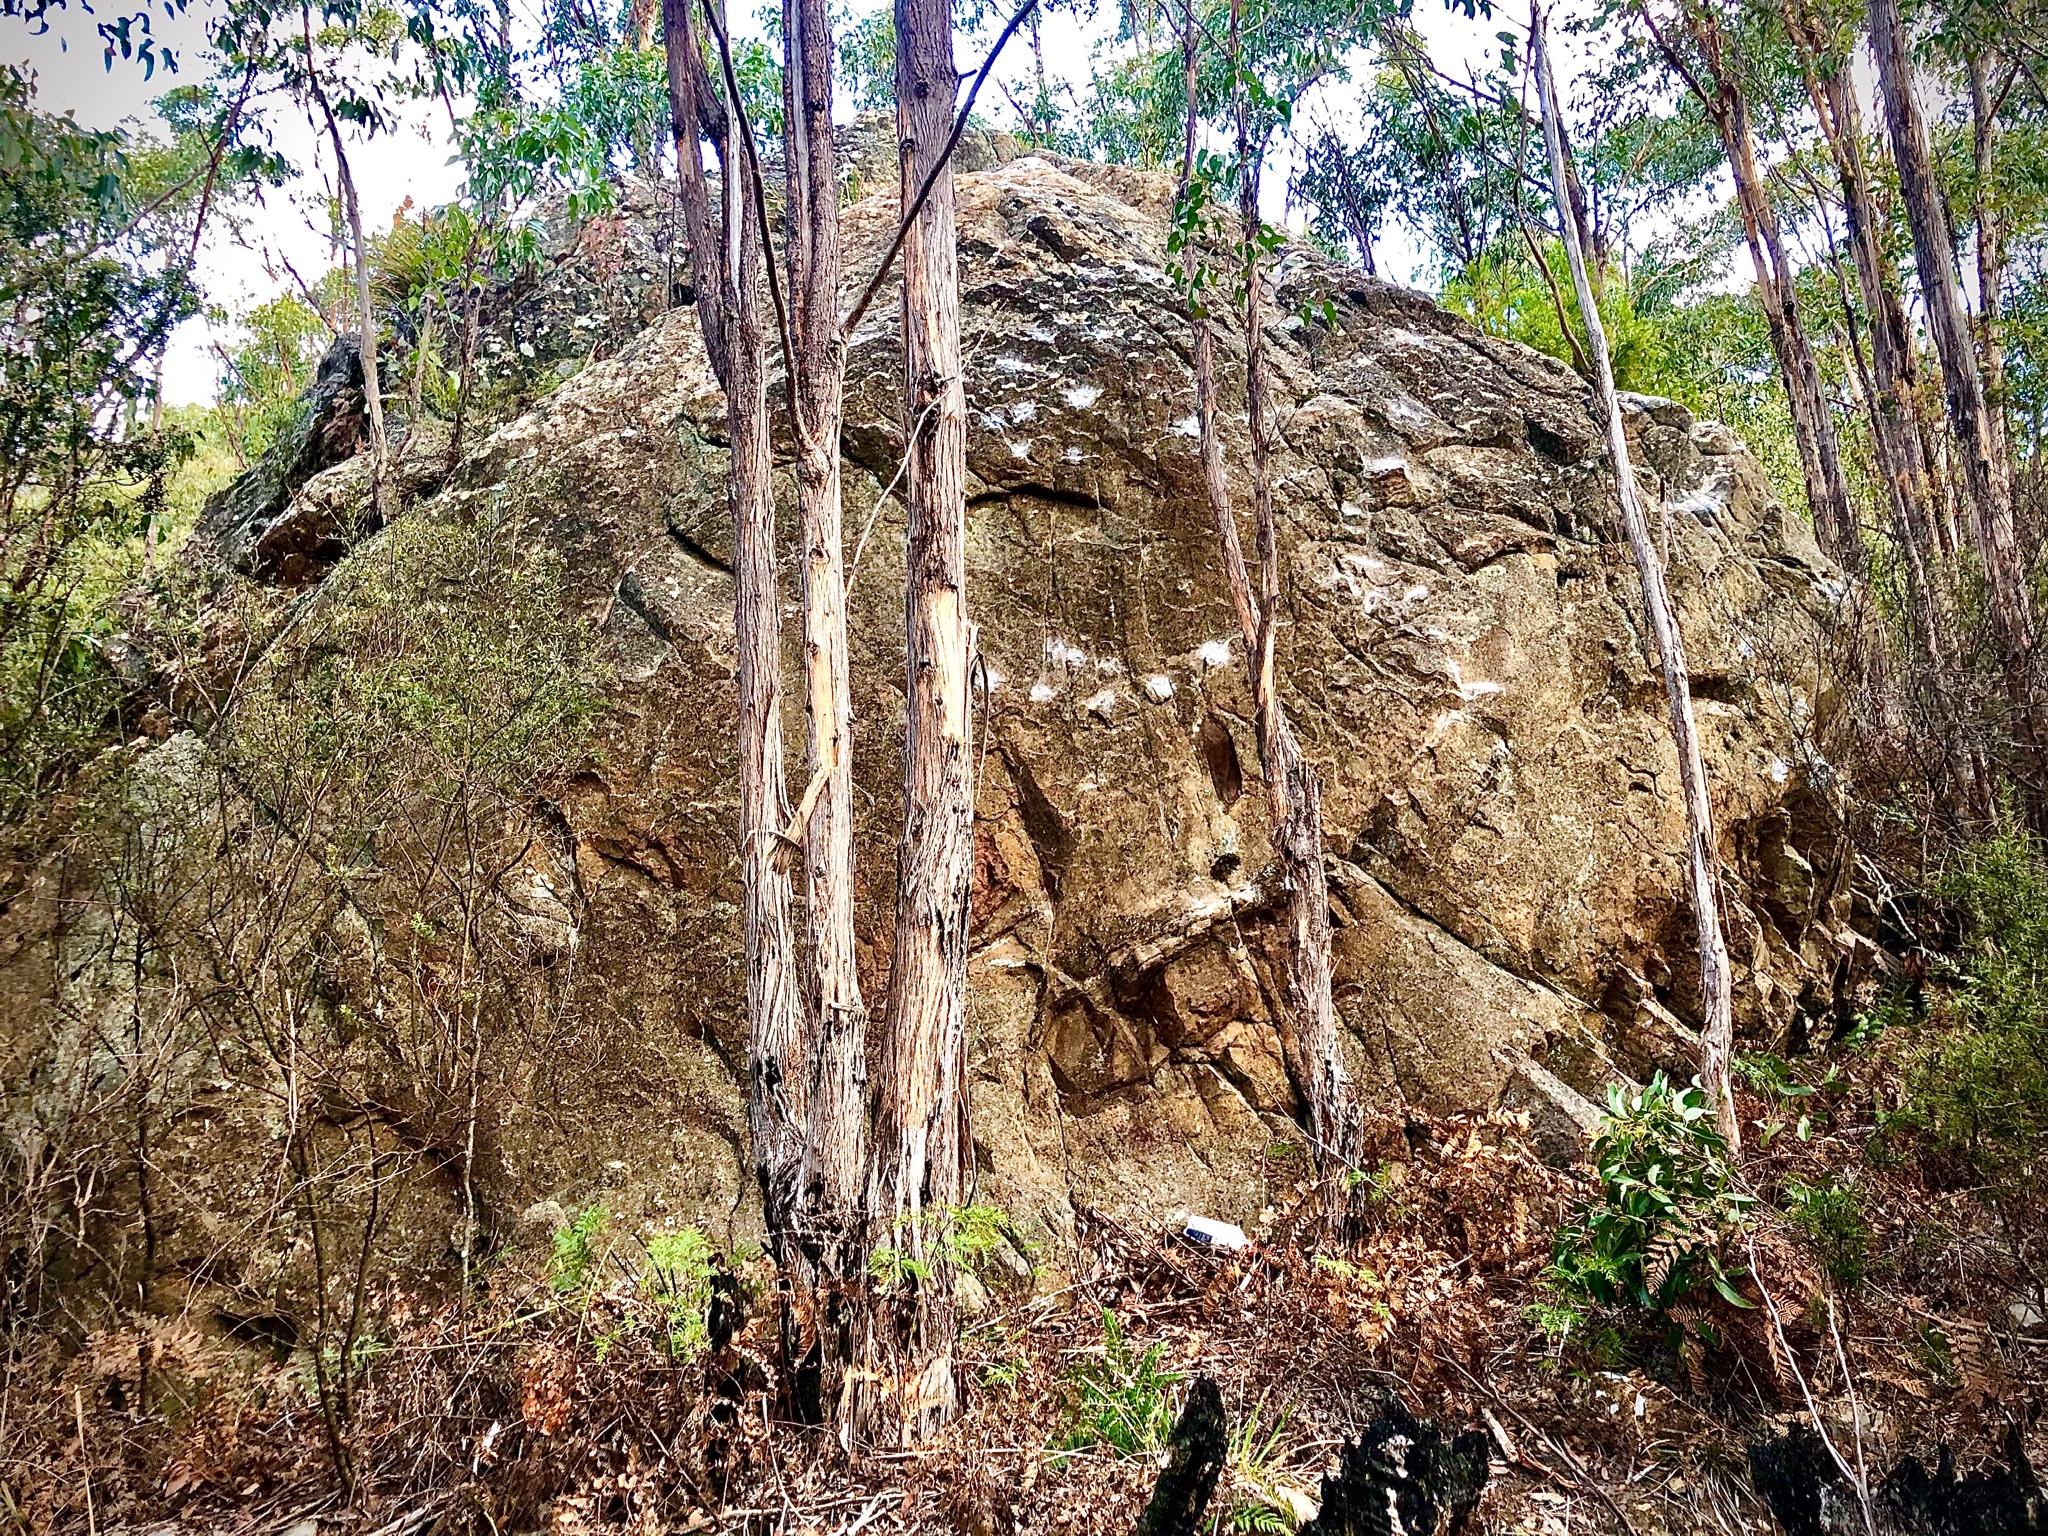
The Anomaly - main face
Gentle Annie Falls
Following the the pipeline track at Waterworks Reserve up the hill for about 5 minutes until you reach Gentle Annie Falls. There are two tiers of sandstone quarry.
Currently developed lines are on the second quarry tier.
Shitless
V2This climb is on the obvious bulge to the left of the drain feature. Start on rail and climb up to high slab topout.
The main developed area is about 30m to the right of Shitless past a mosy highball slab.
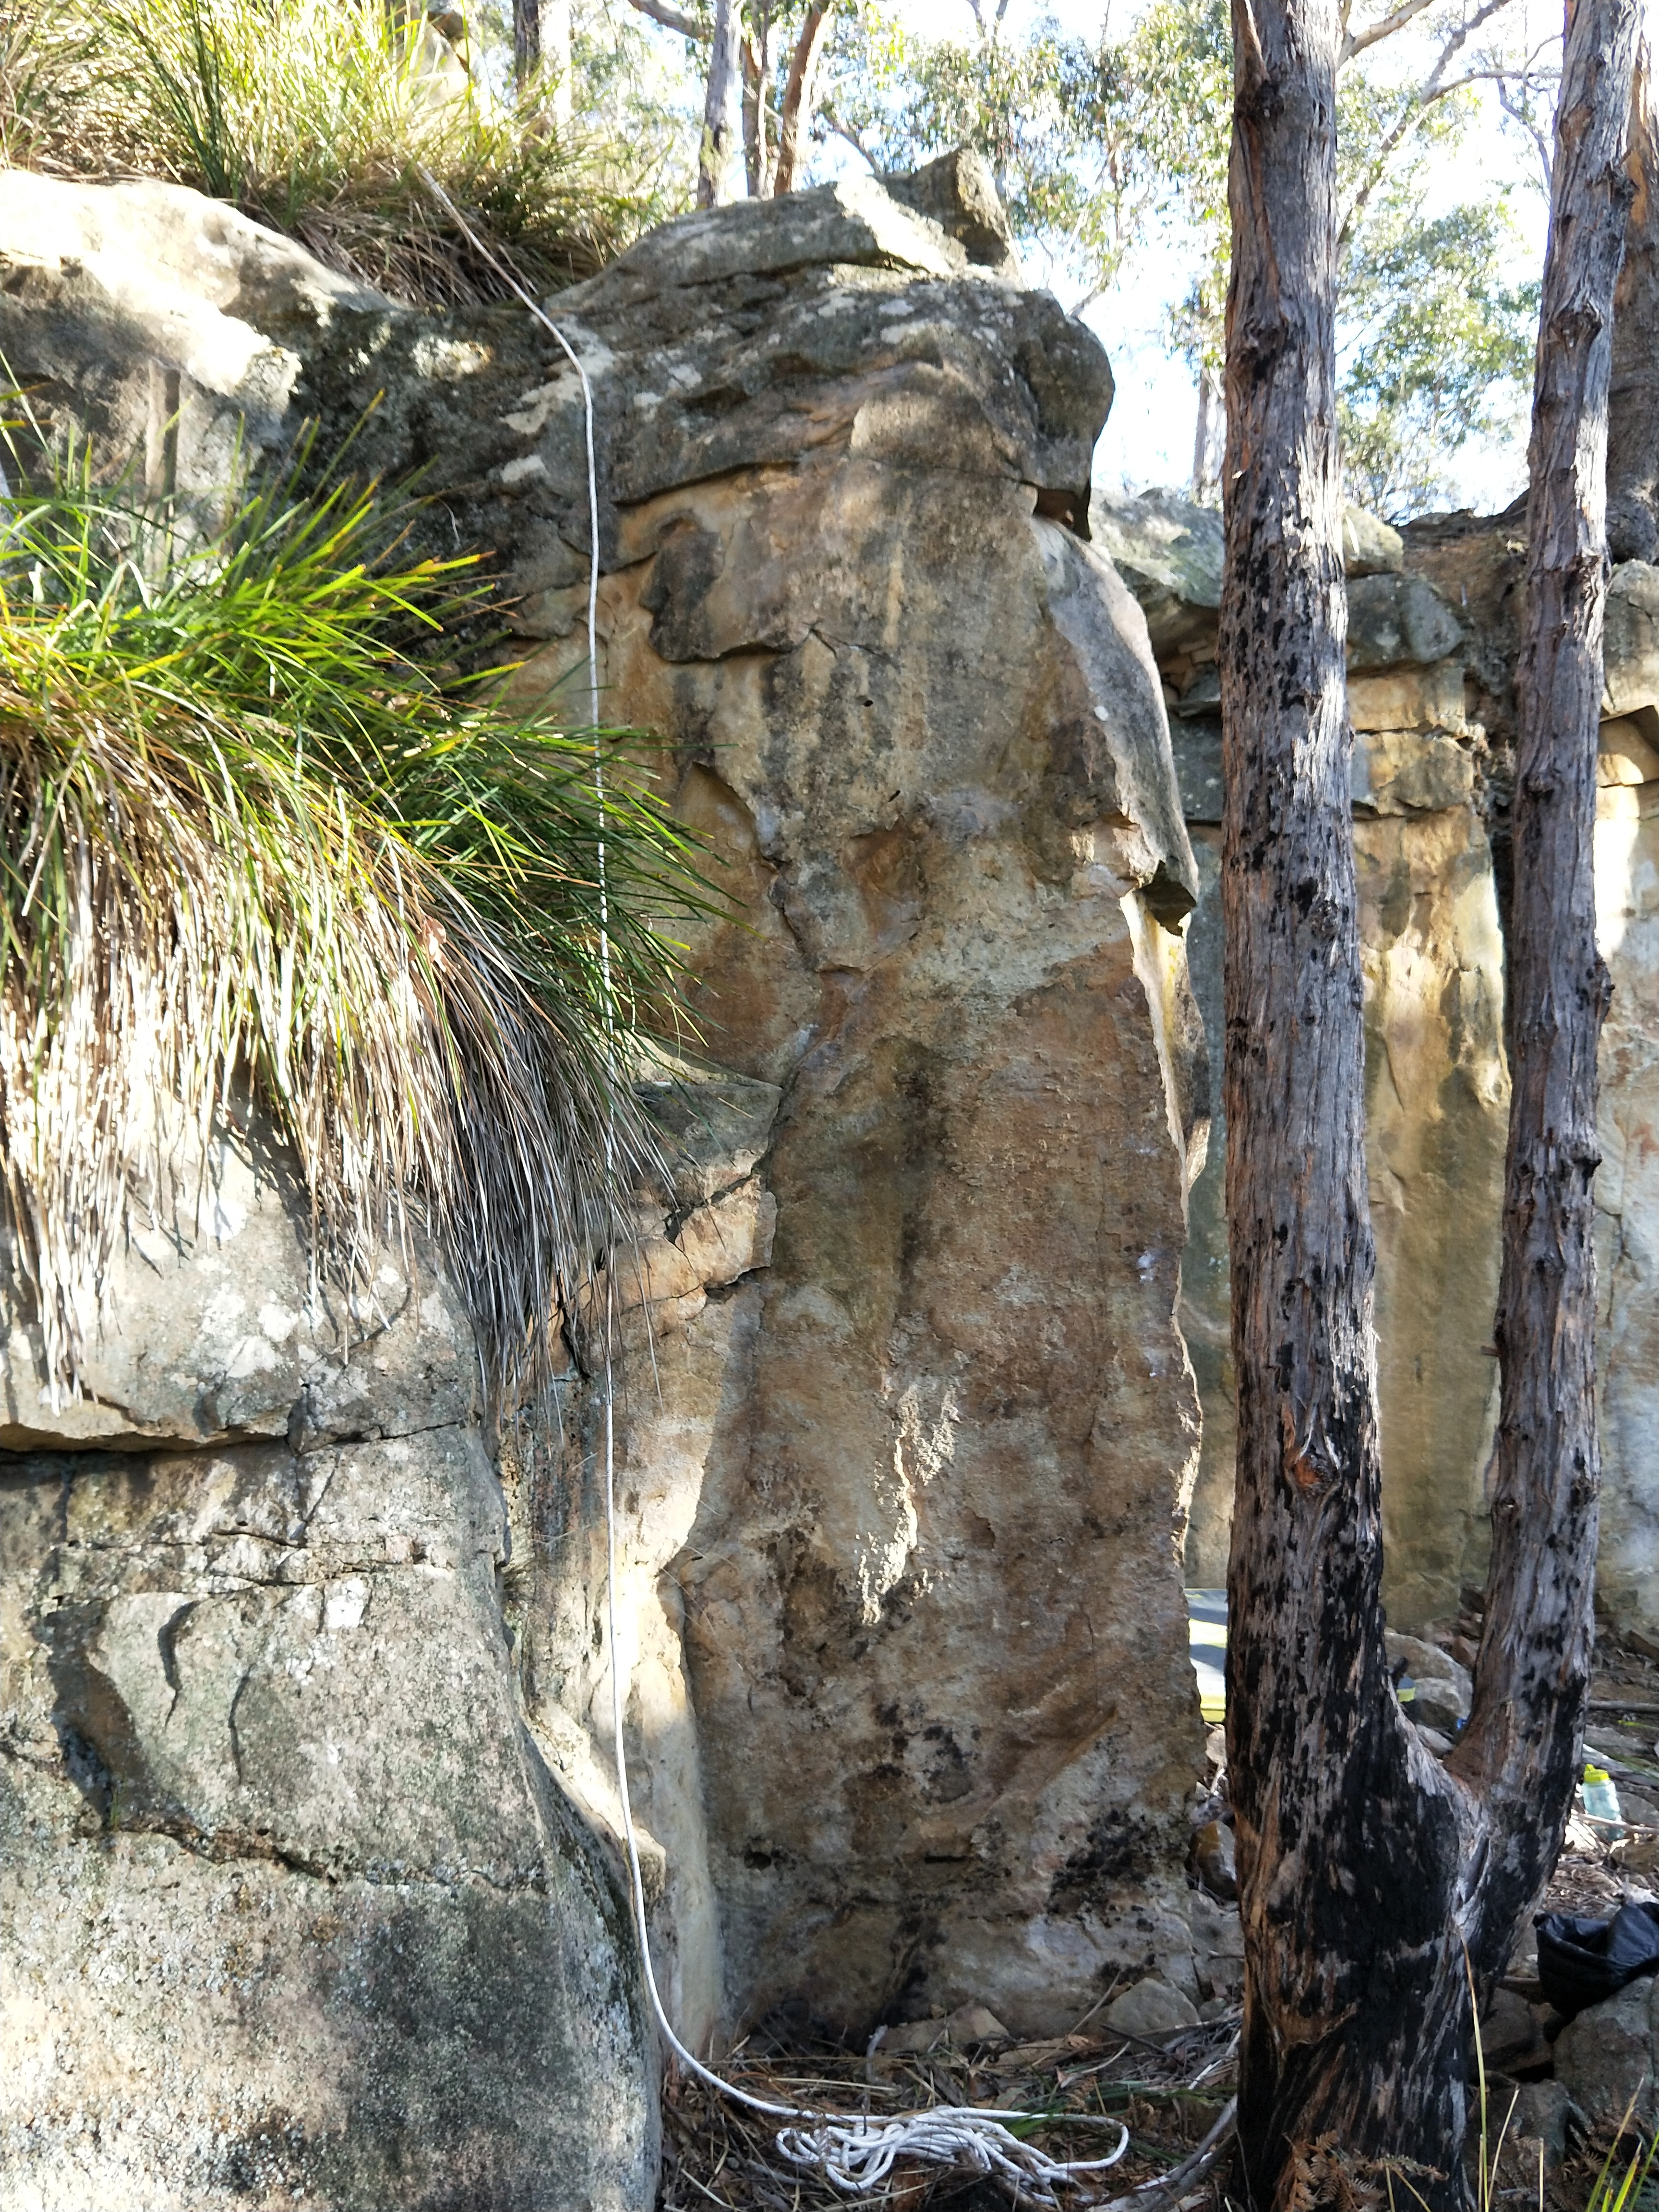
Start right hand low on the arete and left hand on the spoodgy crimp.
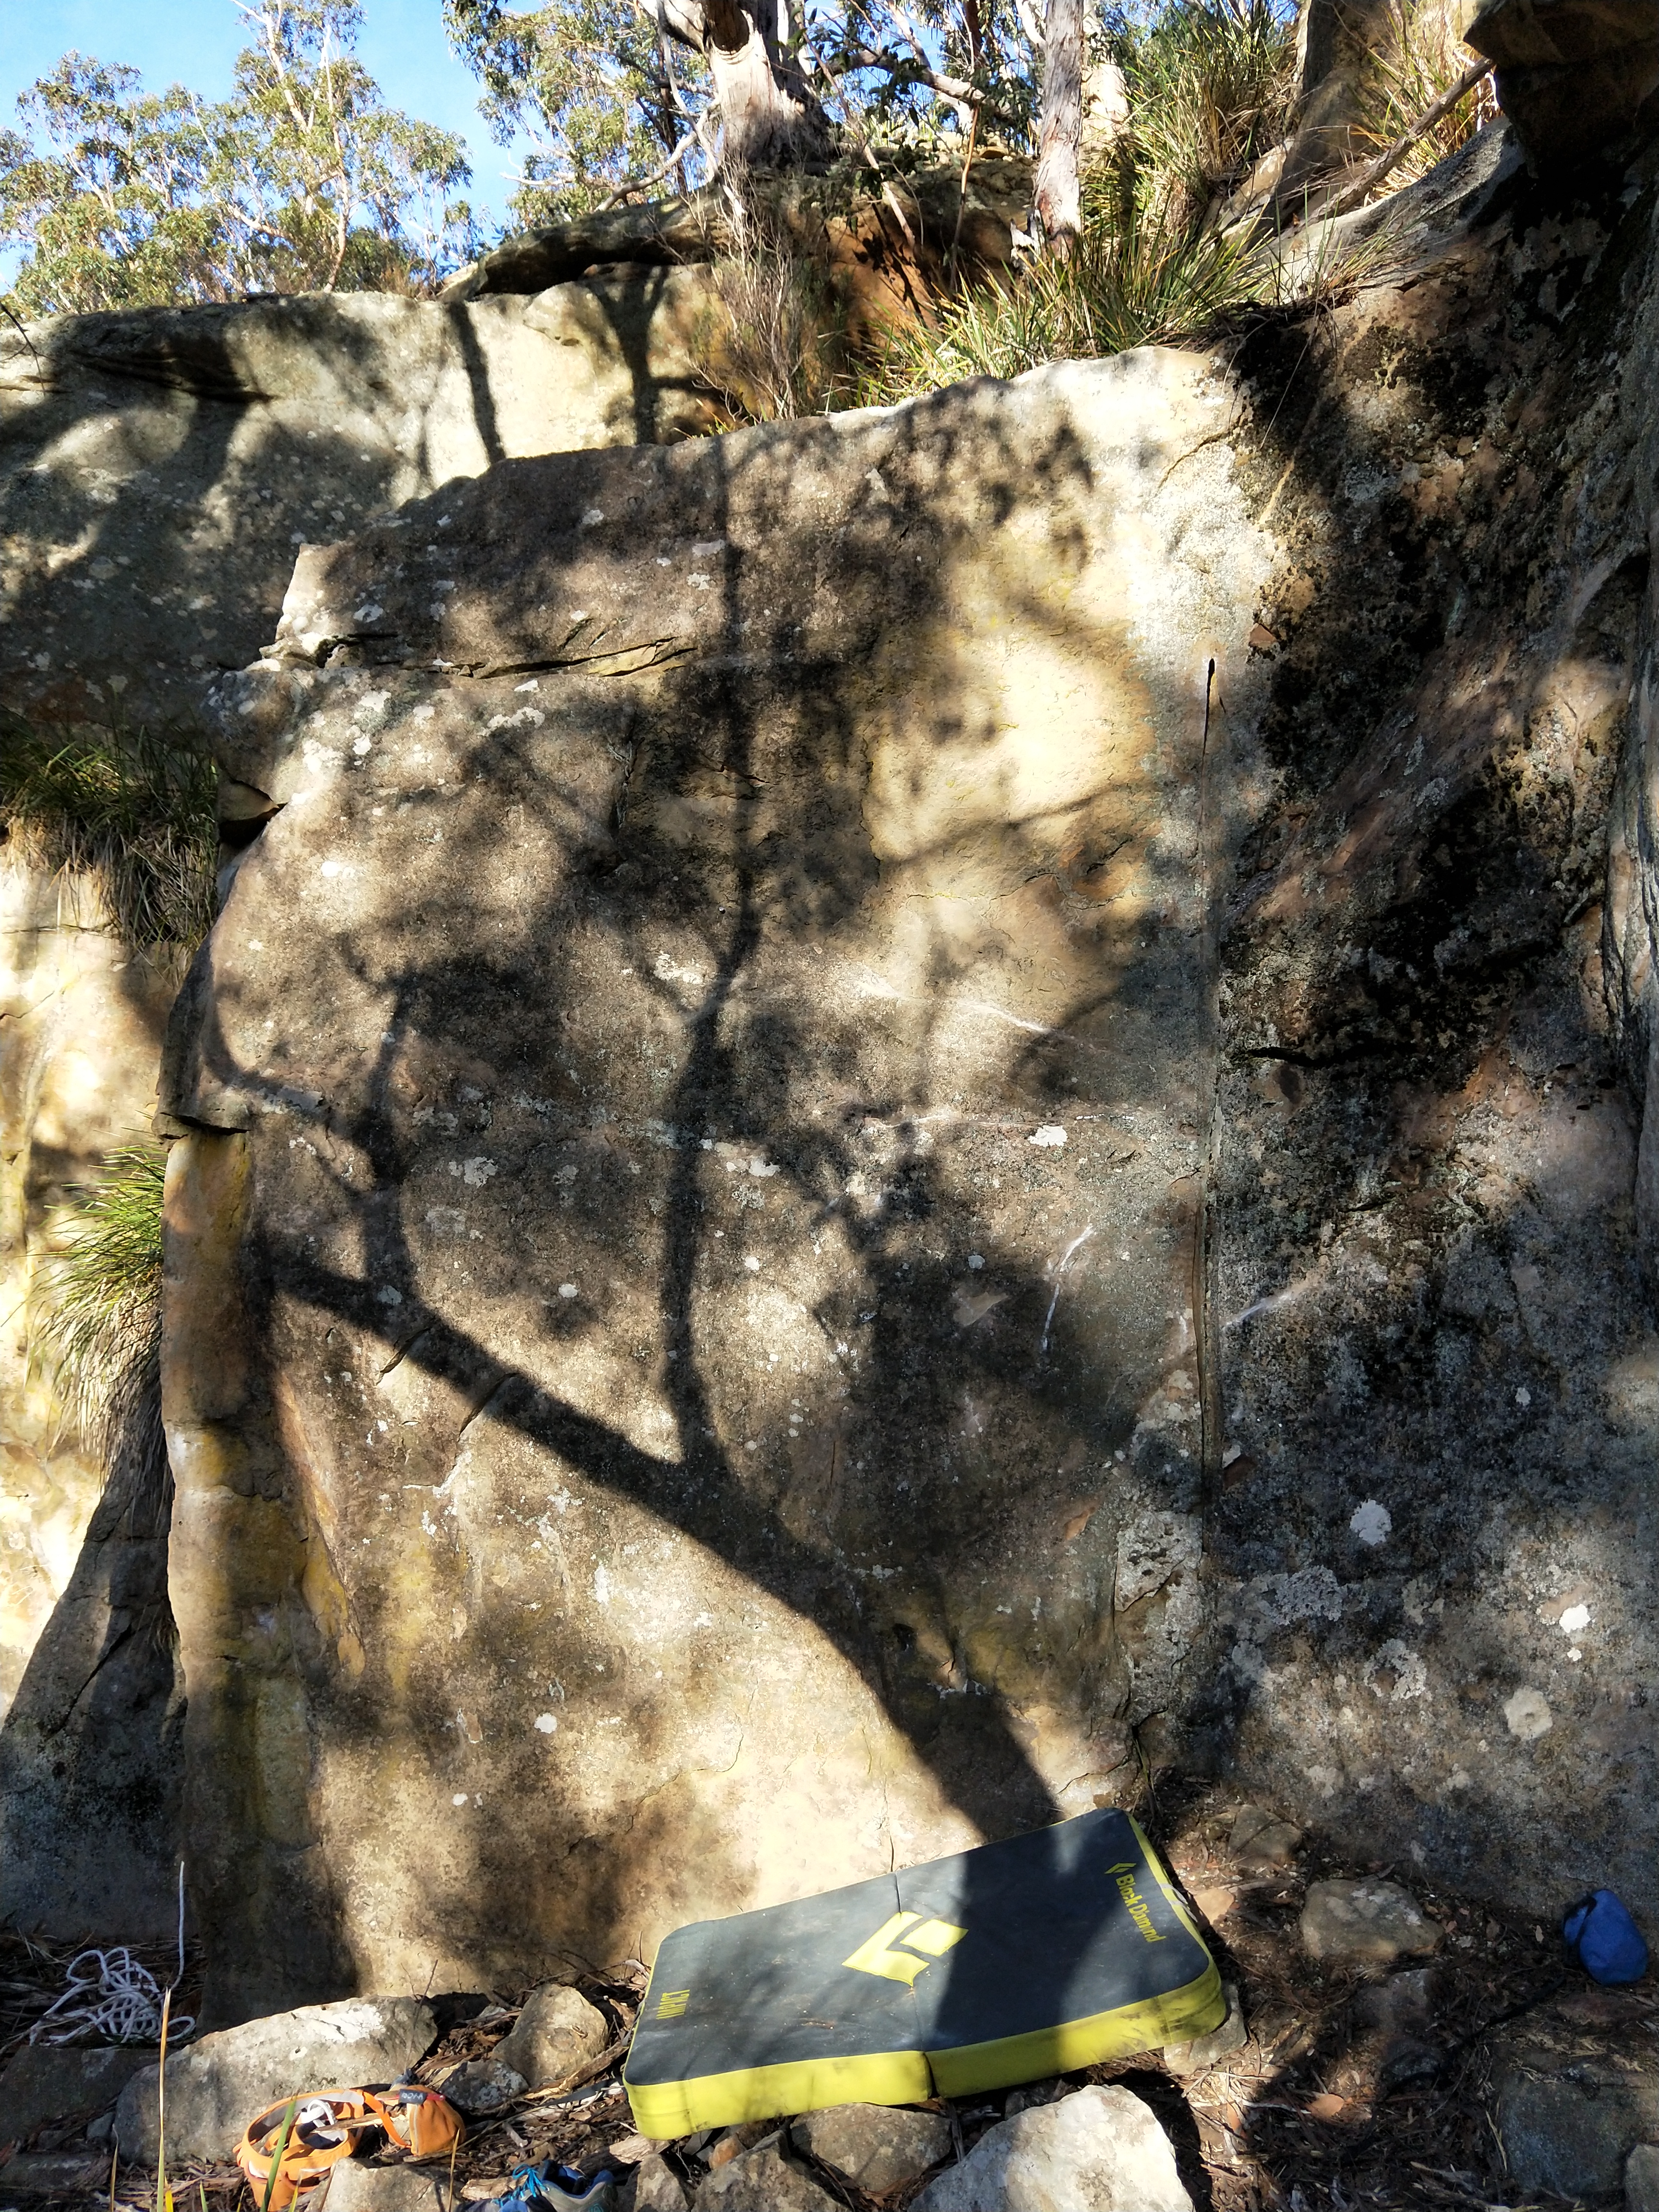
Sharing the same arete as Frankest of shadows. Start left hand using the arete and right hand using a low side pull.
Left hand on good sidepull. Starts left heads a little right then back left to top out.
Start as for 3 Continue up 4.
Start on long rail and mantle with not great feet.
Let's Play Twister
V4Start on sloped rail just right of the mossy corner. Move up and down and left via some funky moves then easy to finish up 4.
Pink Fluid
★V4/5Start as for Lets Play Twister, climb this to juggy pocket then traverse the crag via start hold of Nice for What and crimps till you join The Deepest Sighs, climb this to the top.
5 meters to the right of Nice for what is a blank face with text on it.
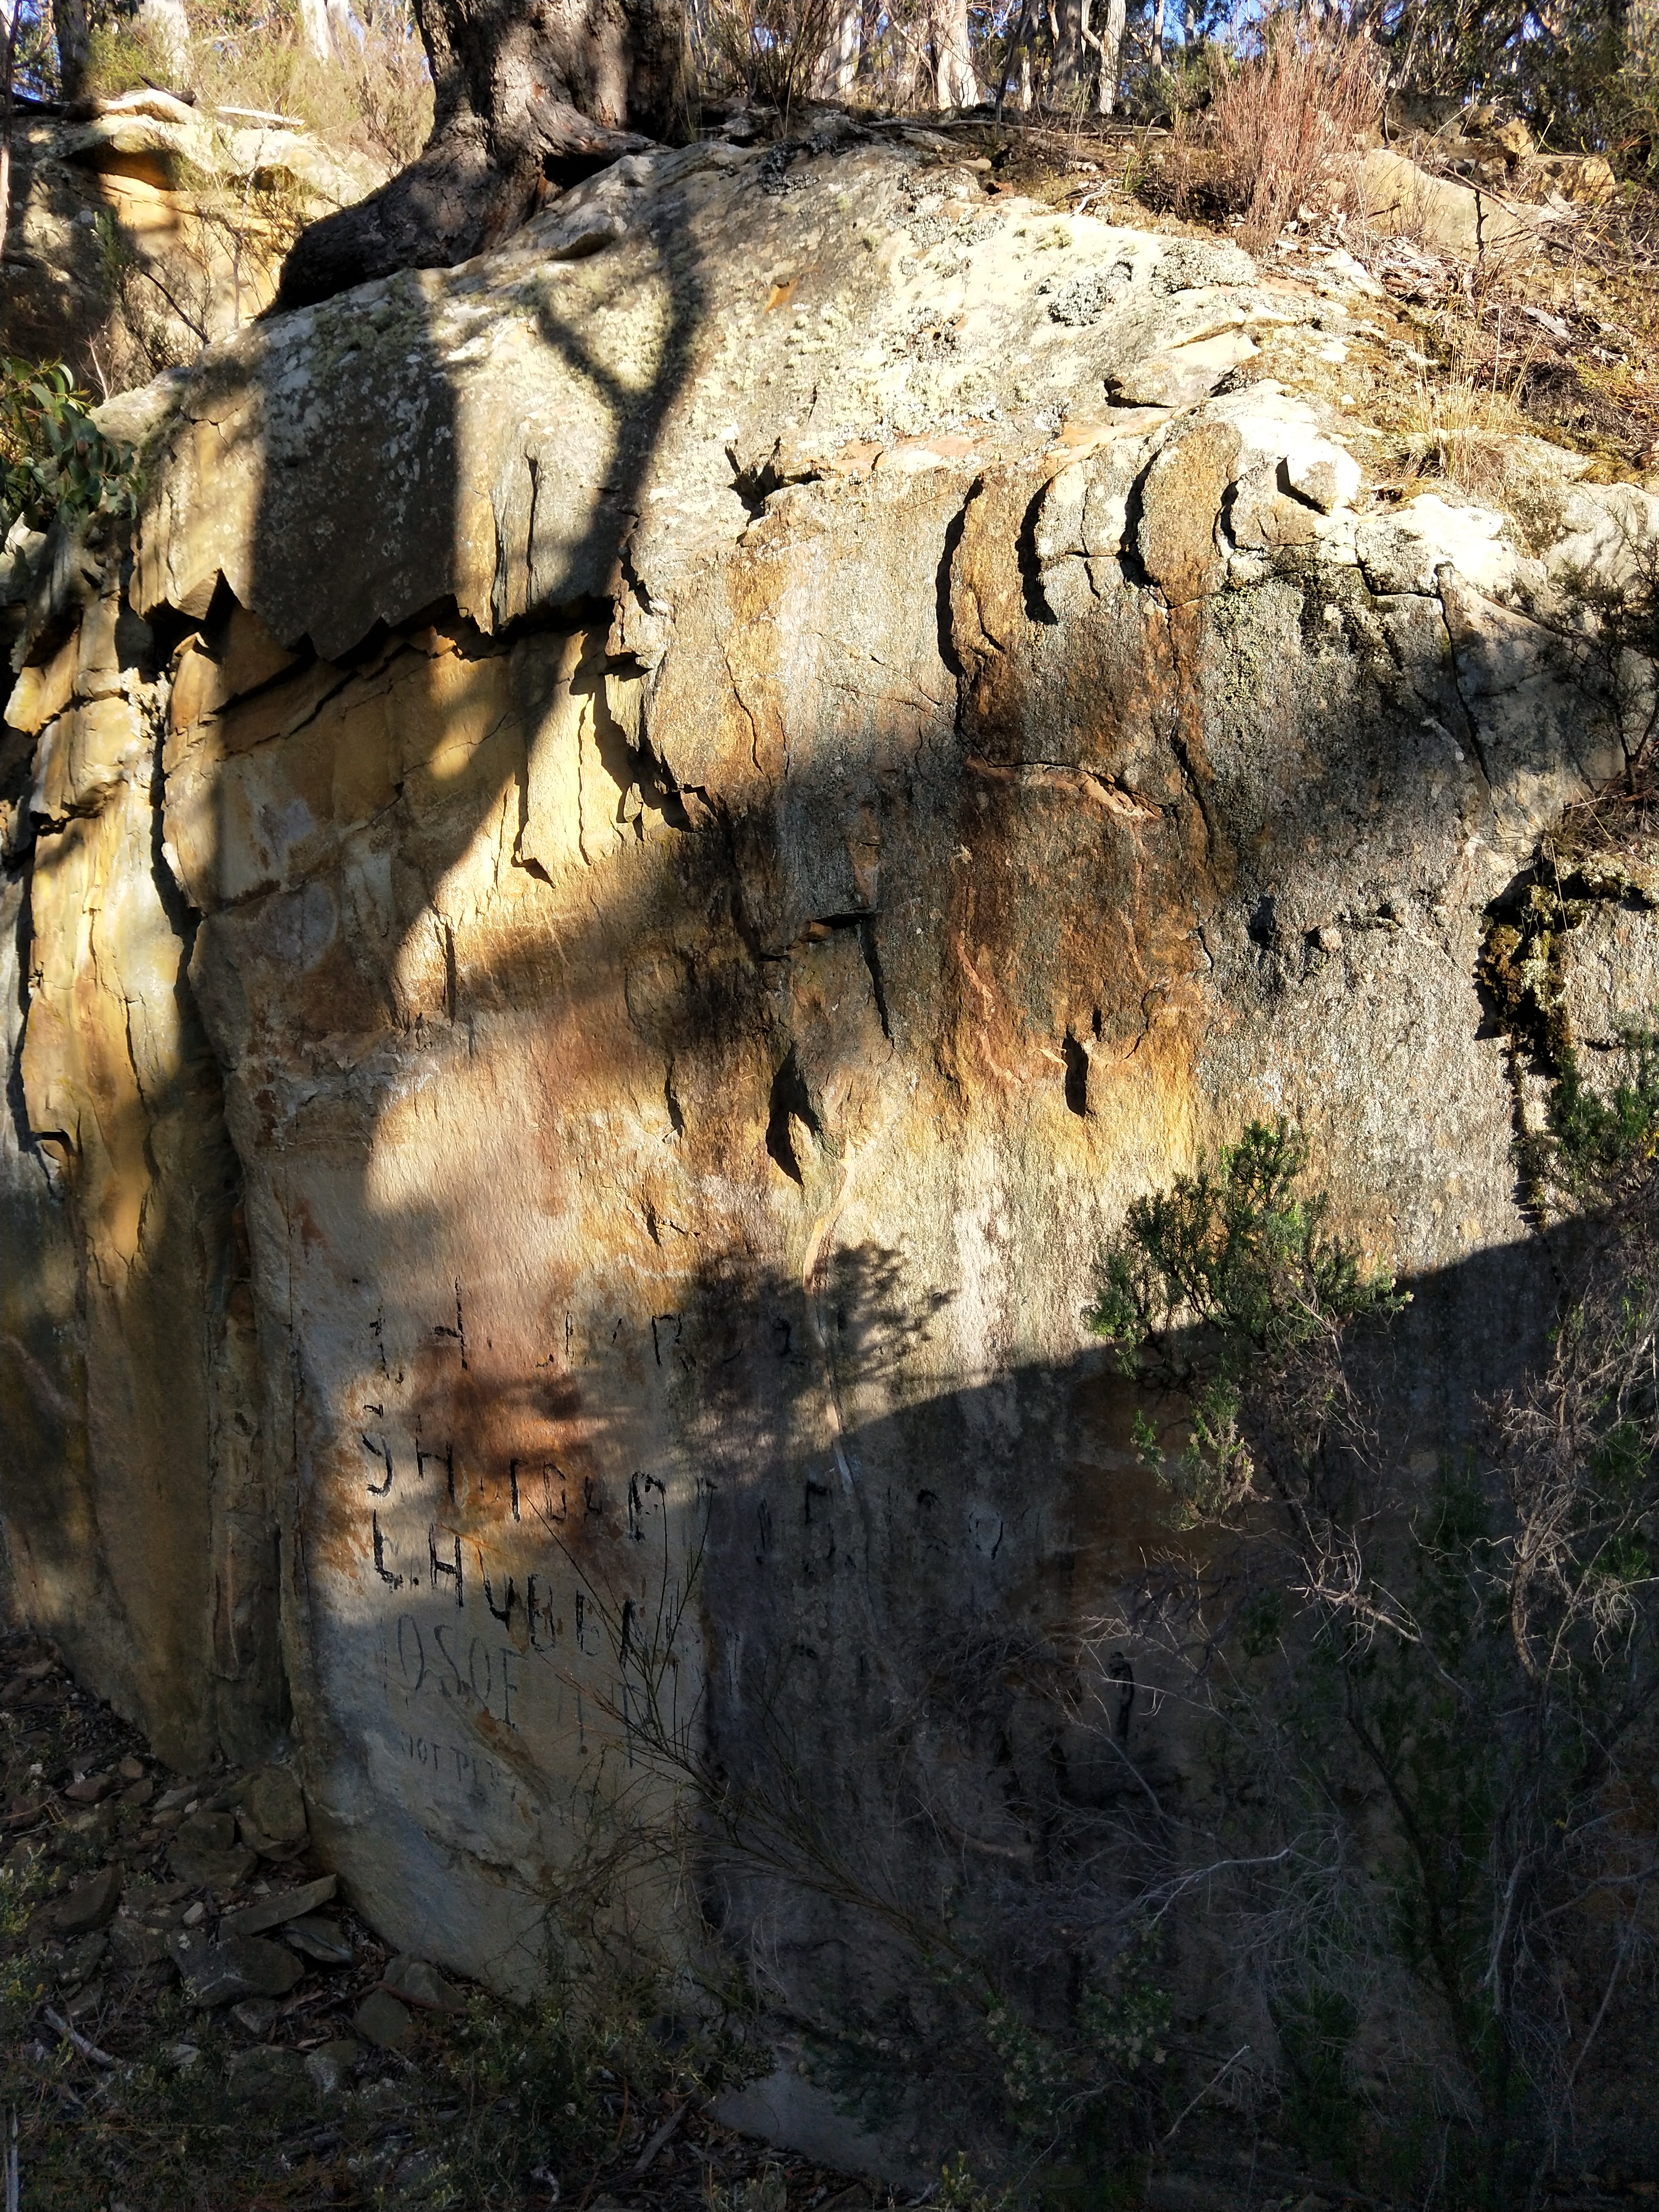
Start left and right low on the flake. Flake running up the face, with a slab top out.
Project
Continue on the main fire trail at the bottom past gentle Annie falls for 20 meters and you will see a free standing orange and grey boulder up to the left.
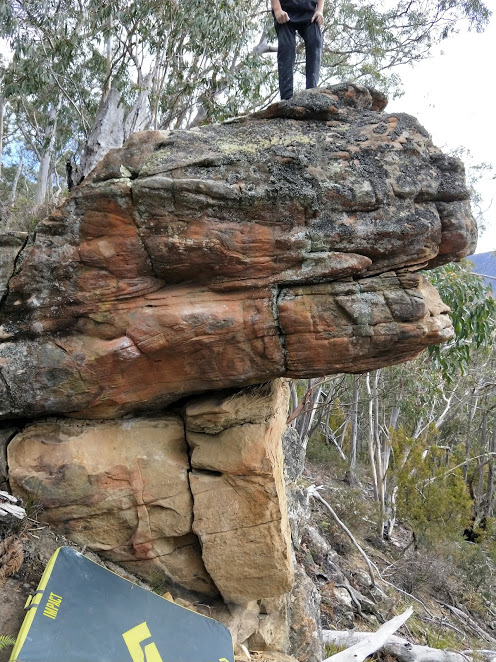
Sit start at break. Up on orange slopers then jump to rail.
Creekside Boulders
These boulders are in the band of sandstone above the creek flowing into the top dam. The rock here is generally better than at Gentle Annie falls. To acces them follow the larger track up the valley (not the one right on the creek), it has a sign about Charles Darwin at the start. A few minutes along this you will reach a chossy cliff up to the left. Follow the rough track up to the left of the clif then turn right to get above them. There is an ampitheater of rock with a large cave in the middle.
Just to the left of the cave. Climb the blunt arete to ledge then up slab. Might be a bit harder if you are short.
Further along the track, past the cliff there is another band of rock, near the end of this just before the track turns up the hill there is an overhanging boulge feature and a nice face capped with a roof. (The boulders need more cleaning)
Furthest left line on the boulge. Start on jugs under lip then up to mantle. Keep feet right of the dirt.
Next line right. Start on rail under roof jut to the left of the chossy cave. Up via crimps and dirty pocket.