
Broken Buttress
 20 min
 Not much sun
 Broken dolerite buttresses
Introduction
The far lefthand end of the Organ Pipes is a confusion of indistinct ridges, short spurs and buttresses and steep vegetated slopes. The most reasonably continuous line is found on Van Diemen Buttress, to the left of a number of short but steep walls and chimneys.
Further right is Broken Buttress a relatively low buttress bordering both sides of a short steep gully known as Fools Couloir. Fools Couloir culminates in a gendarmed ridge and is sometimes mistaken from the top as the descent route down Avalanche Couloir. If a descent of Fools Couloir is made, an abseil is required to reach the bottom.
Access
Van Diemens Buttress is approached from Organ Pipes Track further along to the left of the junction with the Sawmill Track.
The approach to Fools Couloir from the top is quick and easy. From the summit carpark, follow the northern fence-line of the communications tower down and by maintaining the same line reach the top of the couloir.
To approach Broken Buttress from the bottom do so via the Bulging Buttress/University Buttress track, which is signposted off the Organ Pipes track. The track climbs uphill to meet the base of Bulging Buttress, traverses left below Jelly Wall, Aperitif sub-buttress and up to enter Avalanche Couloir. When you get to Ozymandias either go down left around the arete along past Triclinicity sub-buttress, or scramble up through the notch to meet the track on the other side. Follow a foot pad south along the base of the buttress until you come to routes in The Good, The Excellent and The Ugly Area.
Van Diemen Buttress
Van Diemen Buttress is a narrow, sloping buttress well to the south of the main climbing areas. From the junction of the Sawmill Track and the Organ Pipes Track, continue south for another 100m or so before cutting up through a narrow band of scrub onto a a large block scree slope, heading for a distinctive square shaped face on the ridge above.
Various stages due to J. Elliott, M. Elphick, P. Hewitt, B. Higgins, P. Johnstone, J. Manning, 1959.
P. Robinson, C. Rathbone Nov, 2016.
Broken Buttress
To get to routes on Broken Buttress, which start near the base of Fools Couloir, continue along from the far left hand end of University Buttress.
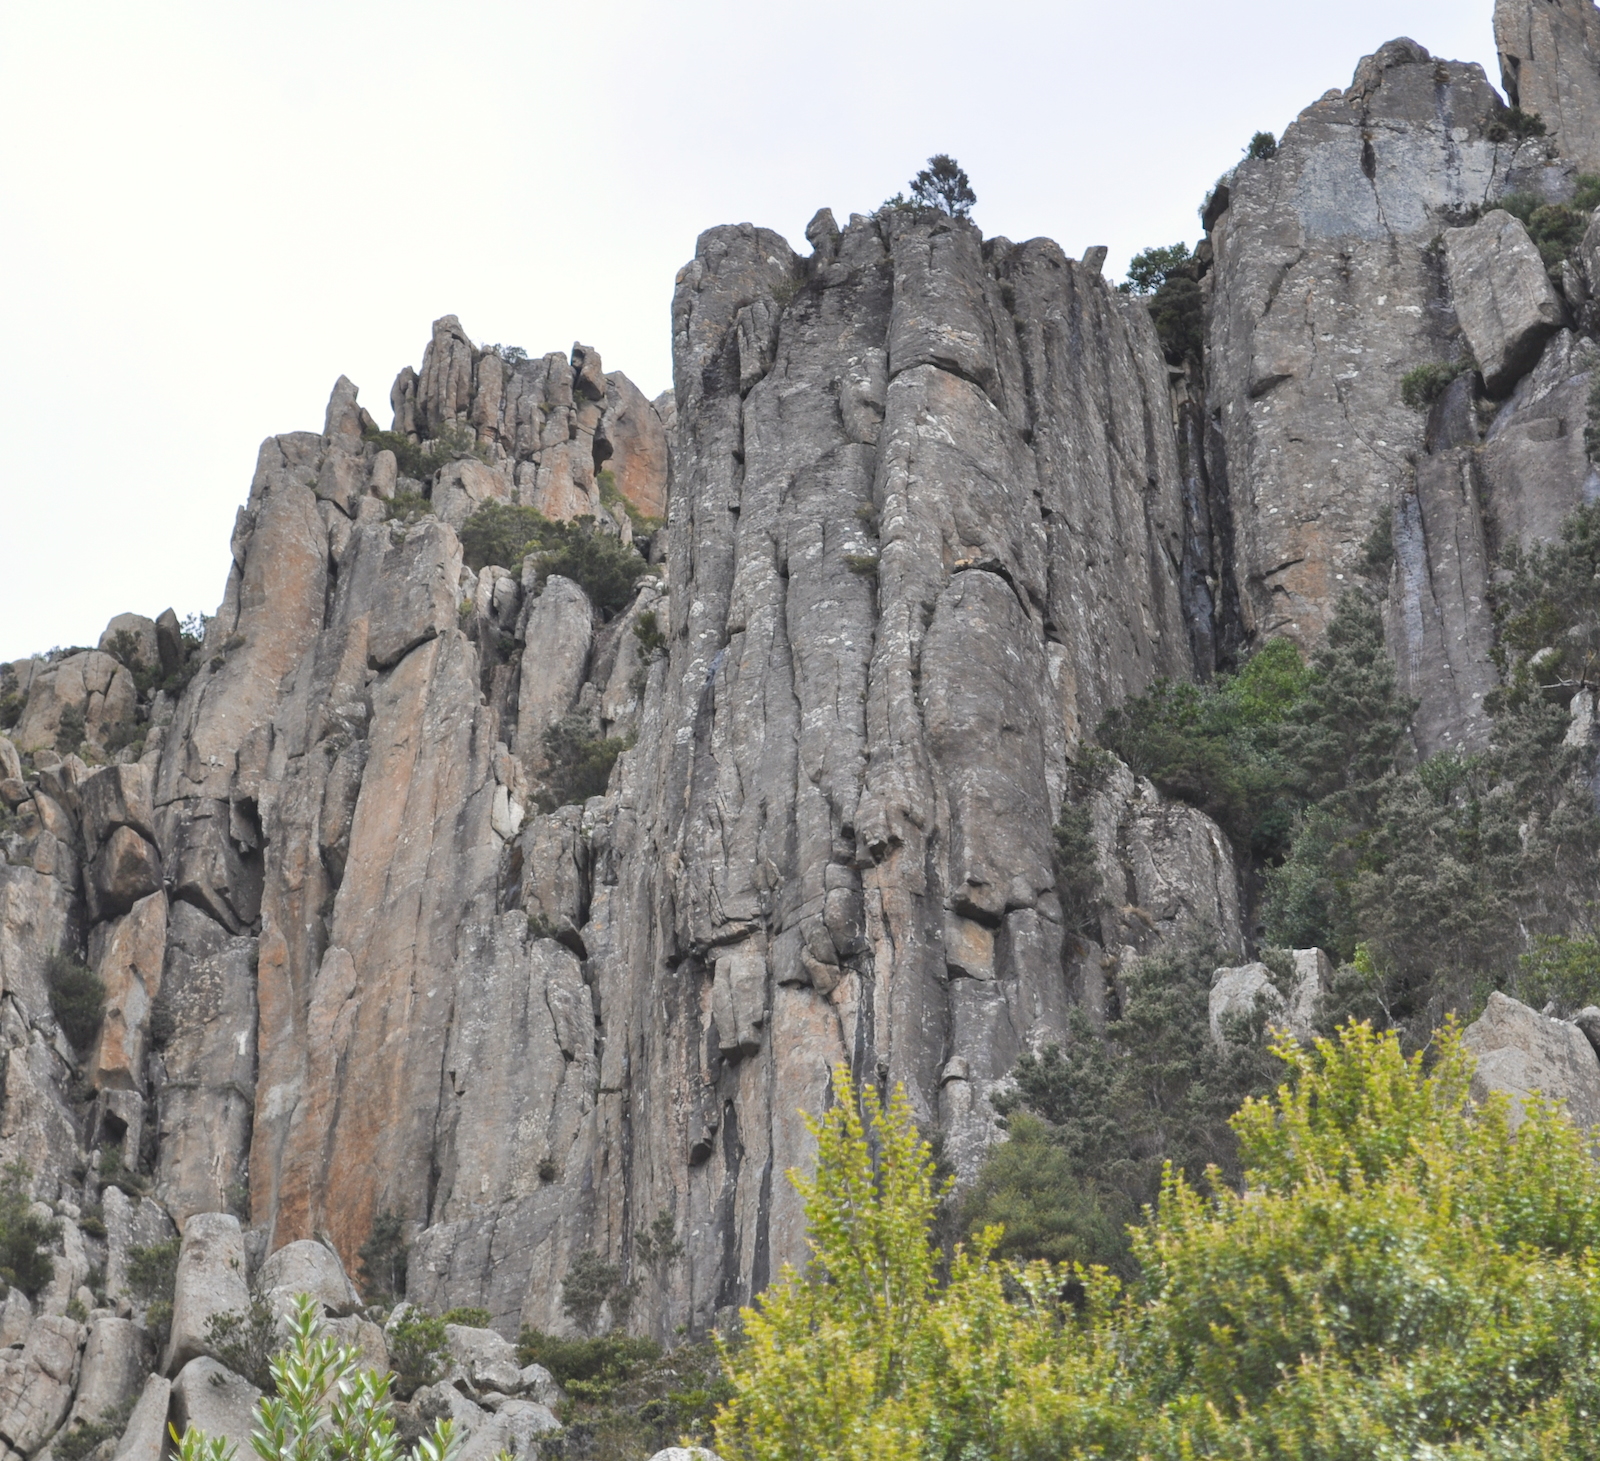
Broken Buttress
R. Alsop, M. Douglas, A. Keller, Mar 1968. Direct Finish: R. Mansfield, P. Robinson, Sep 1980.
To get to Seamstress and Assault Course is not so easy.
Follow access to The Good, The Excellent and The Ugly Buttress then scramble or rap down the left side of this ledge into the vegetated gully. Scramble back up the jungle on other side to access the base of Seamstress. You can rap off the first U bolt of seamstress to get back down to the base of the jungle gully.
Lovely climbing on the high orange wall left of Assault Course. The crux is near the top. Mostly on bolts to DBB, but also requires some natural gear (BD #0.3, #0.5 and #1).
S. Edwards, Nov 1995.
A strenuous excursion.The direct finish is now taken by Seamstress. From Start Me Up, scramble up the gully 5m left to the base of the imposing orange wall capped by a huge block. Start at a hand crack on the right hand side of the smooth wall. Climb the hand crack for 10m, step left to gain a finger crack, and follow this until forced right to a large ledge. Abseil off.
N. Deka, S. Bunton, Nov 1987.
Press the go button. Start 5m left of Crestline, at the lower pillar at the right hand end of Broken Buttress. Climb a finger/hand crack to the horizontal weakness halfway up the pillar. Move insecurely right, and follow the arête just left of the Crestline groove to the top. Abseil off or continue as for Crestline.
N. Deka, S. Bunton, Nov 1987.
Follows the nose a metre left of the base of Fools Couloir, starting at a dirty groove that splits at 12m. Up the groove taking the left hand line. The unctuous crux at 15m was originally climbed with a point of aid. Continue up to a platform and either traverse off to the right into Fools Couloir, or continue up several easy pitches among the spires on the skyline ridge.
U. Aurelli, D. Cox, P. Sands, Nov 1961. FFA: P. Robinson, R. Mansfield, Sep 1980.
The Good, The Excellent and The Ugly Buttress
This buttress is a bit of effort to get to, but has some excellent climbing. Continue left from Two Angry Young Men up a rough track to another orange and black streaked buttress, which overlooks Fool's Couloir. Descent for the following four routes is by abseil from rap station above The Way (30m).
Un-obvious, bizarre and interesting. This route starts 2m left of The Way and follows the seam and bulge just right of the arete. Finish at DBB on the ledge at the end of pitch one of The Way. Fully bolted.
R. Parkyn, Nov 1994.
R. Parkyn, Oct 1994.
An easier variant to The Way. Stick-clip the 3rd BR on The Way and then use the thin crack 1.5 m right of The Way, which is joined between the 3rd and 4th BR. It may avoids the meatiest part of The Way but this does make for a nice, techy and pumpy enduro route.
Roger Parkyn and Nick Hancock.
Start on the face between The Way and TGTETU. Technical climbing past six U-bolts leads to a lower-off. Originally the route finished to the top via the crack (about grade 18) but that is not recommended.
R. Parkyn, Mar 1995.
Takes the line on the right and front of the buttress. Climb the finger crack to the bulge, surmount this (crux), and continue up the dirty right hand crack above to the top. Abseil off.
D. Stephenson, N. Deka, 1988.
G. Kowalik, P. Robinson, Nov 1981.
Start 20m right and up from TGTETU, below a nose of rock. Climb the steep wall (crux) to an easier crack. Finish up the hand-crack on the left side of the nose. Abseil off a bollard (take your own sling).
S. Edwards, Feb 1995.
Upper Fools Couloir
Although the routes are short, access to the climbs in the upper reaches of Fools Couloir is easy and quick from the summit carpark, the rock is excellent, and there is a potential for more lines in the future, making it an ideal summer evening crag. It's quite a complex area of small columns and pillars. The easiest way to the top of the couloir is to walk down the northern fence-line of the enclosure surrounding the communications tower, then head in the same line for 5 minutes down the hill, passing a couple of cairns. You should end up at the top of the couloir, and be able to see the double FH on top of Short Changed, next to a cairn. From here you can set up a fixed line off the anchors and rap in. Alternatively, about 40m south is a gully at the SW branch of the couloir (GPS: MTW190) which leads down through scrub to the chain on top of No Fools Like Old Fools which is the easiest way to approach these climbs. For the North Ridge climbs, walk and scramble down the ridge about half way, and then either scramble down into the couloir, or set up a rap.
Redneck Ridge
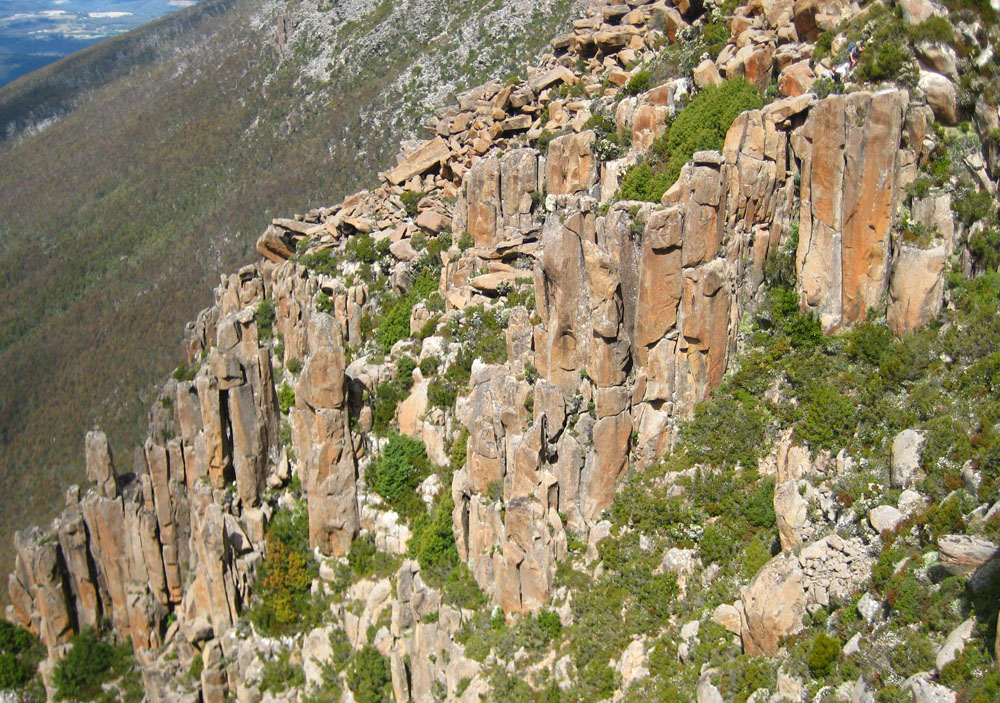
Redneck Ridge
Access to the routes on the gendarmed ridge on the south west (right) side of the couloir is via a rap chain on top of No Fools Like Old Fools. From the top of the couloir, traverse south (right) to a rough track that leads to the top of the first group of gendarmes. It is possible to scramble down into the main couloir from the bottom of the abseil.
This is on the SW face of Brand New Lies gendarme. Climb the layback crack and finish up left or alternatively follow the wide crack trending right to a tricky traverse right across the wall then straight up. Sustained.
A. Adams, Pete Steane, Nov 1992. Alt finish: K. Robinson, P. Robinson, Jan 2010.
Found on the next gendarme downhill from Rick the Redneck. Step off the boulder and climb the hand crack on the NW face. Follow the crack to the top. Rap off via the chockstone. Looks hard for the grade.
Pete Steane, A. Adams, Nov 1992.
The NE face of the highest gendarme is split by a crack. Up the wide crack, grunt past the delightful rooflet with the welcome assistance of the arête. Fists, big fists and a touch of off-width.
B. Armstrong, R. Hardy,May 2017
Start as for The Frightful Hog. Follow the crack for 4m up to the bulge on the right wall. Step right below the bulge and climb an appealing line 1m to the right. Follow the line to the top, finishing left. Hard for the grade.
Pete Steane, A. Adams, Nov 1992.
Takes left facing corner crack on left end of gendarmes. Well protected. Straight up with some balancy moves at around 3m. Then up the hand jam crack to the top.
A. Brooks, A. Beech, T. McKenny , Jan 2011
Steep, well protected and sustained crack climbing on excellent rock. Chain on top of the column.
T. McKenny, D. Gray, I. Snape, Jan 2011.
Head of Fools Couloir
Immediately below the cairned anchors (double bolt) at the head of the couloir is an area of 5-10 meter blocks. Rap in off the anchor or scramble in around the south side.
The left hand arête directly below the double bolt anchor.
J.Nermut, D. Humphries, Jan 2011.
The right hand arête. Stick clip the first bolt. Bouldery smears lead to a jug and slabby top-out.
D. Humphries, J. Nermut, Jan 2011.
Fools North Ridge
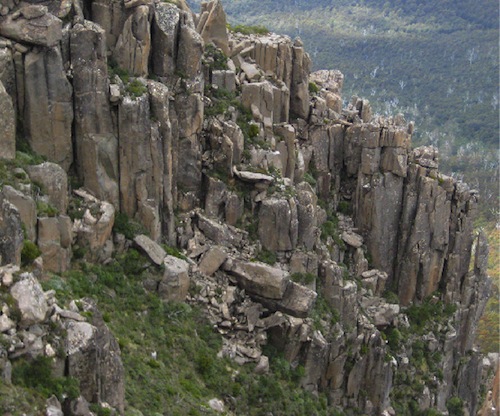
Fools North Ridge
The whole north ridge is actually in the sun in the evening. The Fools Gold crack is located a few metres to the left, as you face the crag, of a very obvious horizontal pillar (visible from the rap station at the top) that juts out into the gully, directly opposite the Rick the Redneck gendarme.
The continuous crack line, capped with a jammed block at the top. A difficult off-widthy start leads to good climbing, finishing out over the block.
T. McKenny, I. Snape, Jan 2011.
Continue down the ridge line to a flat shelf. Abseil in to the couloir floor and traverse right towards the large spike on the arête.
Climb the deep chimney about 2m left of the spike and finish up the twin cracks behind. Better than it looks but care needed with loose rock at the chockstone.
I. Snape, A. Brooks, T. McKenny, Feb 2011.