
Bulging Buttress
 20 min
 Not much sun
 Dolerite walls and cracks up to 80m
Introduction
Bulging Buttress spans the wide-ranging area between Avalanche Couloir and Teardrop Gully. The buttress is divided into left hand and right hand sections by a centrally located prow. At the left hand end close to Avalanche Couloir is SSSSI Wall, a hanging wall of quality looking lines that rises to join the main buttress to its right. Right of here on the left side of the prow is a steep, clean wall (Black Magic area) on which several fine sport and trad routes reside. The prow has a pronounced step 25m off the ground that traverses a short way left below this clean wall. On the right side of the prow the routes are initially shorter and finish at the step (Jelly Wall). Further right the routes in the Breaker Spur area become longer before the cliff eventually merges into the natural continuation of Teardrop Gully. The quality of the rock right of the prow is significantly poorer than that to the left.
Access
Bulging Buttress is accessed from the climbers' carpark. Walk left along the Organ Pipes Track for approximately 400m arriving at the signposted Bulging Buttress/University Buttress track junction that heads right up a boulder field (GPS MTW070). Follow this climbers' track to where it first meets the base of the cliff just right of the prow. This is Jelly Wall.
Following the track further left from Jelly wall takes you around the prow to access routes on SSSSI Wall and the Black Magic area
To access SSSSI Wall continue along this track, traversing left across and up to enter Avalanche Couloir. A scramble back right from the couloir accesses the base of SSSSI wall.
Routes in the Black Magic area are found immediately around and uphill left of the prow.
For routes right of the prow, those on Jelly Wall can be accessed from where climbers’ track first meets the cliff.
To access routes in the Breaker Spur area follow the base of the cliff 25m further right from Jelly Wall.
To descend climbs on this buttress, there are rap anchors on SSSSI (30m), Mildly Amused (35m), Beaten and Abused (35m), Heat Pump (50m), Warm Glow (50m), Black Magic (47m and 35m: or 1x 60m to the base of the scrambling route), Dal Nulla (30m), Jelly Roll (35m), Smoke and Mirrors (32m), and Breaker Spur area (50m and 37m).
SSSSI Wall
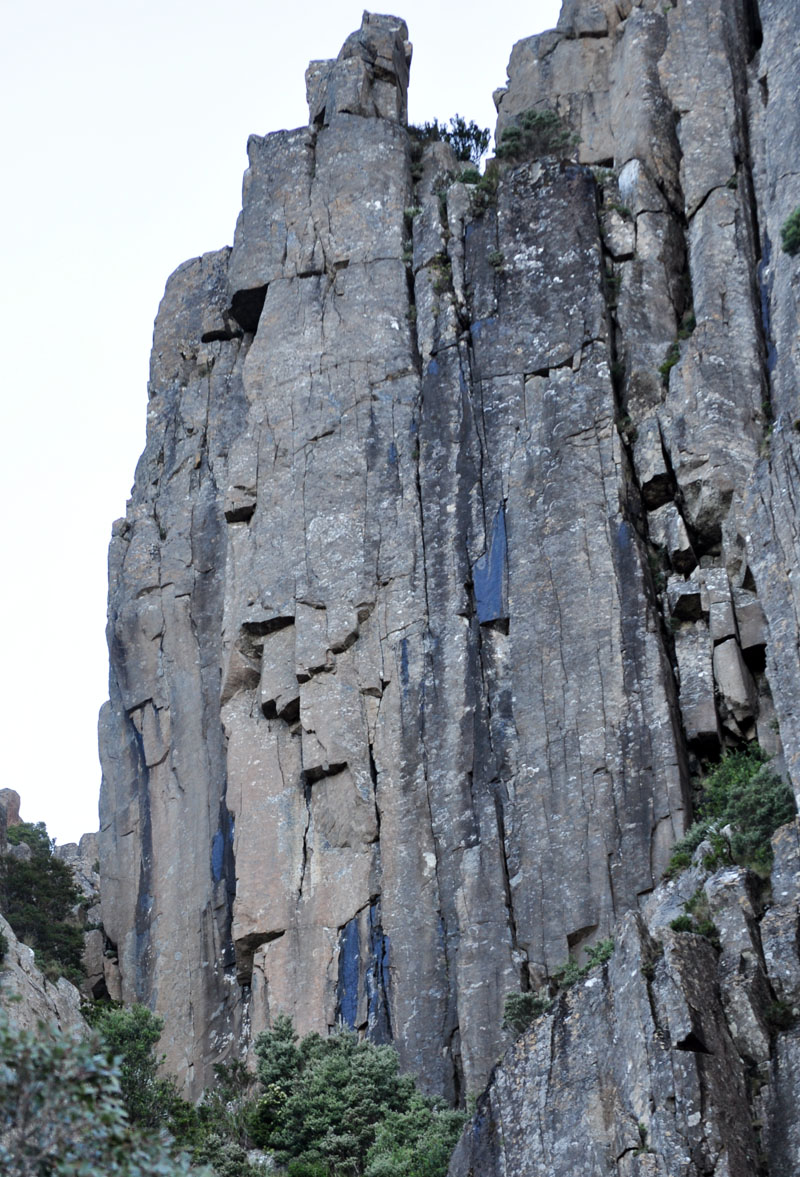
SSSSI Wall
A clean hanging black wall located right of Avalanche Couloir that offers quality steep routes. To gain access, climb 50m up Avalanche Couloir and scramble back R to the base of the wall. Descent from these routes is by the Mildly Mused rap station (35m) which is located on the southern side of the summit blocks.
A quality free route courtesy of an old aid line. At the LH end of the wall is a clean steep corner capped by a roof at 20m.
Climb the thin corner crack to the roof. Step L and up to DBB on a small ledge. Any old pegs on the line should be ignored and preferably removed, as they are well past their use-by date.
K. Bischoff, G. Dixon, Feb 1981. FFA: S. Parsons, P. Bigg, and D. Fife freed the lower half in 1982; N. Deka and D. Stephenson freed the original aid line in Feb 1989.
This route tends to remain dry even when the others on this wall are seeping. Start as for Beaten and Abused. At the horizontal break at 6m where Beaten and Abused goes R, go slightly L and up (tricky) into the crack above until the first U can be clipped. Undercling around the flake (crux) then continue up the face and arête above. Good natural pro is available in the crack (wires and cams), then 9 fixed anchors lead to a rap station.
R. Parkyn, Feb 1999.
The sustained and classic LH start to the upper crack of Crazed and Confused. Start just R of the arête to the R of SSSSI, at the base of the black streaks. Layback the thin flake to the horizontal break, then move R and climb the hand and finger crack past a couple of bulges to a second horizontal break. Step R and finish up the widening crack as for Crazed and Confused.
D. Stephenson, N. Deka, Pete Steane, Feb 1989.
The upper half of the wall is split by a prominent crack. Crazed and Confused is the RH variant. About 15m R of SSSSI, locate a large pedestal at the base of a steep black streaked wall. Climb the LH side of the pedestal. Launch off this and up a short steep wall (crux) until it is possible to step L into the prominent crack. Climb the crack and then mount the block on the L to a belay stance.
N. Deka, D. Stephenson, Feb 1989.
Black Magic Area
Routes from What's Left to Warm Glow start from ground level. Routes from Lignum Vitae to Isonomy start from the prominent step, left of the prow. A 15m scrambling route up a weakness left of the prow provides access to the step. If in any doubt, rope up to climb the scrambling route.
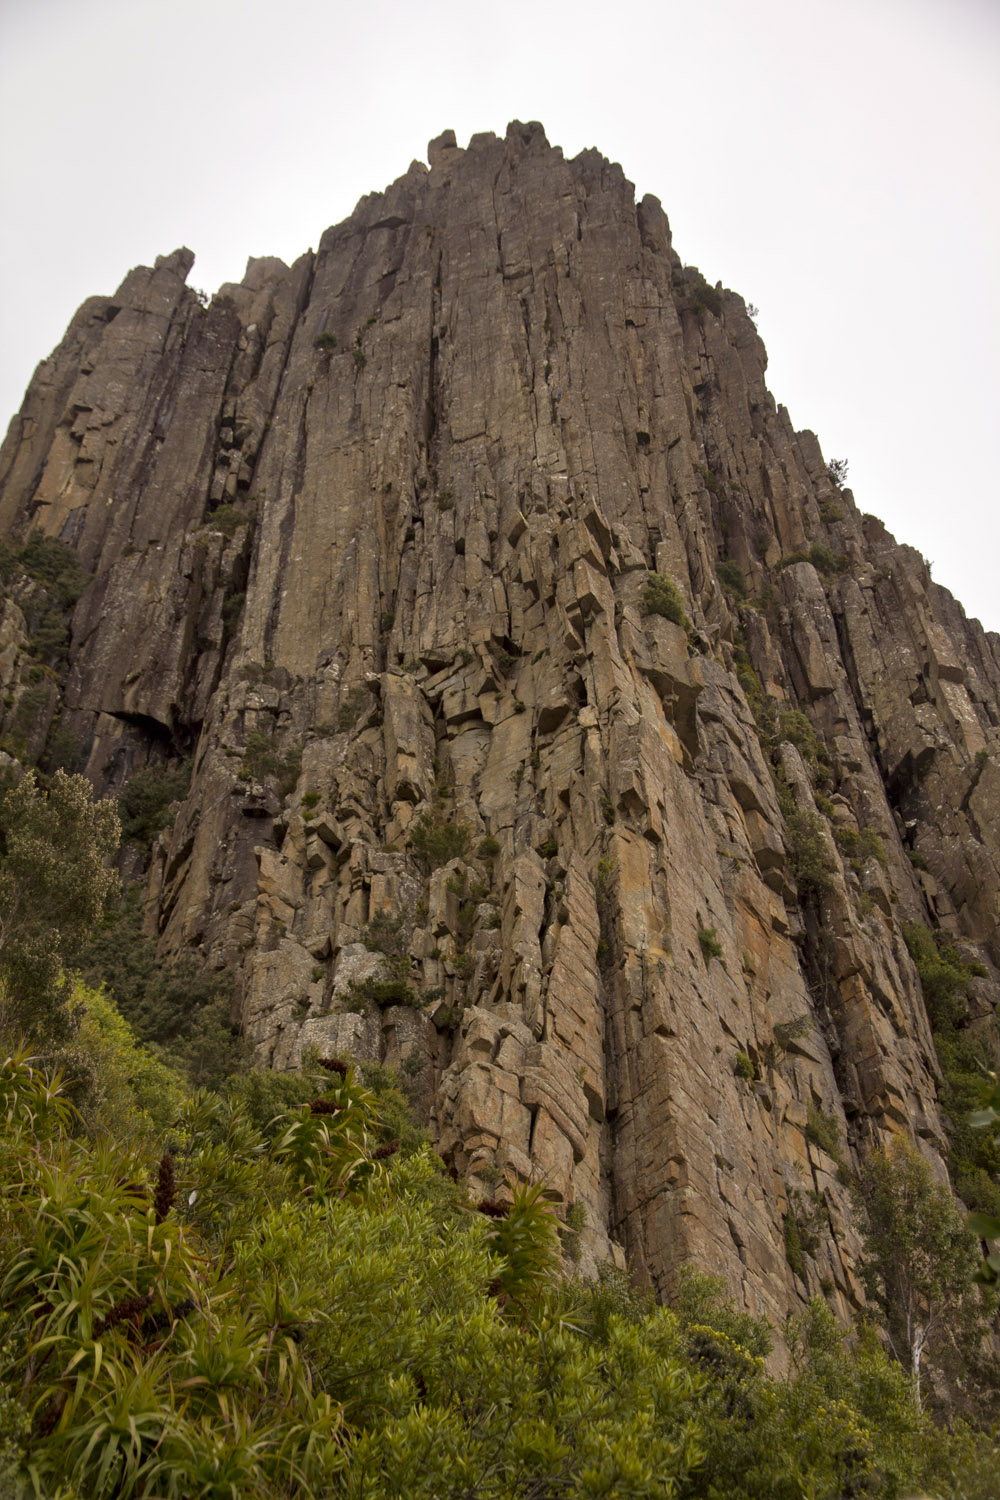
Black Magic Area
The left hand finish to Whatever that ascends the lump of rock left of the Wizard. From the U-bolt on the Whatever overhang, go straight up and climb through to the ledge on the left side of the arete.
Roger Parkyn, Owen Gervasoni, Dec 2015.
Grunty work through the overhang (trending rightwards) leads to some thinner moves on the arete (crux). Continue up and then step left onto the ledge. Finish by lay-backing the fin of rock up to the anchors.
Roger Parkyn, James Parkyn, Nov 2015
K. Bischoff, P. Robinson, Feb 1981.
A committing start and a pumpy finish. This route is on the wall of the buttress R of The Wizard. Despite previous morbid descriptions of initial traverse, this excellent climb can be well protected with use of double ropes - placing a good cam above the easy traverse (previously described as unprotectable), then other small gear at the end of traverse.
An alternative start is by climbing pitch 1 of heat pump and deviating left just before the anchors (a 45m pitch). Abseil from heat pump top anchors.
Pete Steane, D. Fife, Mar 1996.
R. Parkyn, N. Hancock, 2002.
R. Parkyn, D. McConnell, 2003.
A nice mini-route with a lower-off. Climb the steep thin crack-line about 6m right of the start of Heat Pump. Takes a range of gear, with micro-cams protecting the start.
Roger Parkyn, James Parkyn, Steve Goss, Jan 2016.
P. Jackson, R. McMahon, Jan 1971.
K. Carrigan, I. Lewis, Jan 1975.
Two well protected and possibly easier alternatives to the Black Magic top pitch. Climb Black Magic to just above the bulge at 15m then step right onto the face, past a spike, and either:
Variant 1 - Climb the crack on the left hand side of the huge detached flake or;
Variant 2 - Traverse right for another metre and climb the off-width on the right hand side of the huge flake.
Continue directly up the face above via a fist and hand crack, trending right and finishing up the prow to the Black Magic rap station.
Variant 1: T.McKenny, T. Meldrum, Jan 2011; Variant 2: G. Phillips, S. Young, Jan 2010.
Descent from the next three climbs is via the Malignant Mushroom rap station (30m) and Jelly Roll rap station (35m to the ground).
S. Parsons, S. Brennan, Apr 1981.
Climbs the arête right of Malignant Mushroom. Belay off the Jelly Roll rap anchors on the step, as for Malignant Mushroom.
Step R of the arête and ascend flake then arête with increasing difficulty and spaced protection to the overlap. Difficult moves past this, up past a bolt, then R to small ledge. Easier moves back on the arête lead to another ledge and up to the DBB .
H. Jackson , T. Smith, Feb 2013.
Start right of Equipoise on a subsidiary ledge slightly below and right of the far right hand end of the step, where the belayer can see the route and the ropes run clear of the arête. Mainly bolted but take #1, 2 and 3 camalots.
Climb the arête to a ledge at 2m, then diagonally right for 3m to reach a shallow right facing corner. Up this, then some hard face moves to a rest below roof. Directly climb through the roof (crux) and up to rest 3m above the roof. Up and slightly left on the upper face to finish with Equipoise at DBB.
A. Donoghue, H. Jackson, Feb 2014.
Jelly Wall
The access track meets the cliff at the base of Jelly Wall. The routes here ascend the wall right of the prow to finish on the step in the buttress. They can be done as access routes to climbs starting from the step or as nice single pitch climbs in their own right. The rock quality towards the left end is sub-optimal. There are rap stations above Jelly Roll (35m), Smoke and Mirrors (32m) and Dal Nulla (30m).
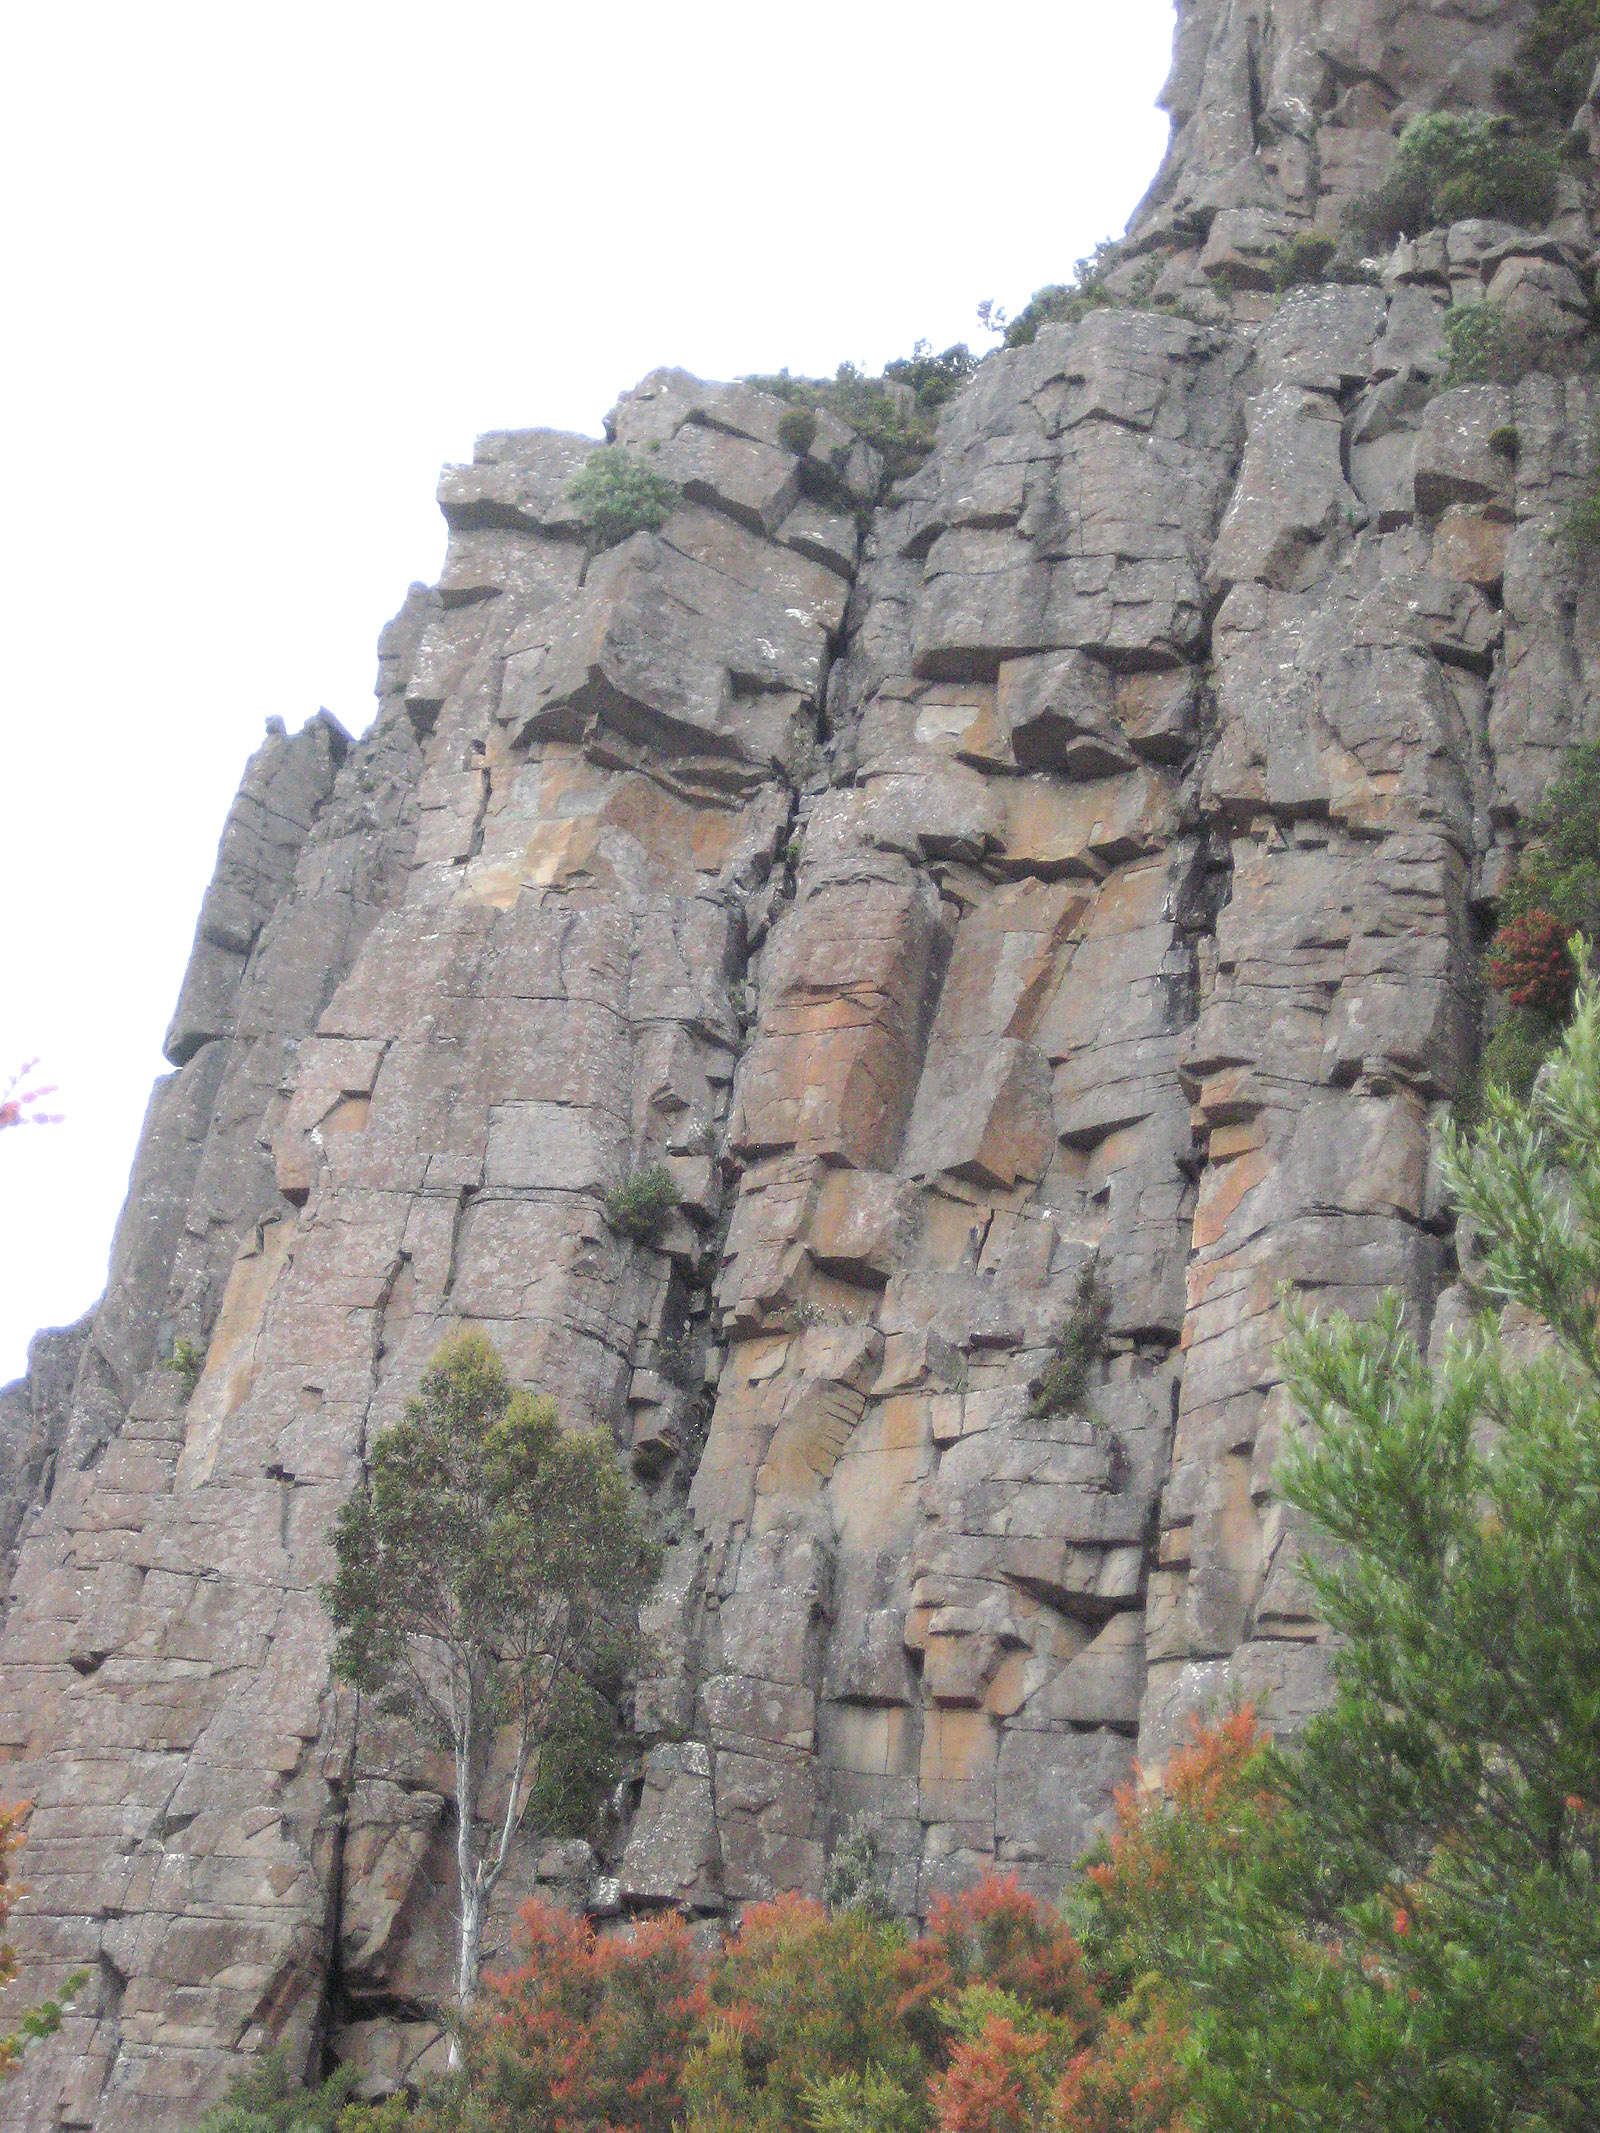
Jelly Wall
The open corner to the left of Jelly Roll has been climbed. The rock quality is as good (or bad) as it looks... Climb either up the corner or the left wall, breaking out right round the arête where the rock quality finally deteriorates to suicidal. Finish up last few moves of Jelly Roll. Descent as for Jelly Roll.
T. McKenny, I. Snape, D. Humphries, Dec 2010.
Great if you are a percussionist. For the rest of us though, the notes that emanate by rapping knuckles against dubious flakes on this route are more than a tad concerning. Starts near the left edge of the wall and ascends the cracked wall and crack system to the step. Descent via lower-off at top.
S. Parsons, P. Bigg, Apr 1978.
One of the earliest routes on the Pipes. Although the first pitch has recently (2013) had a bit of a make over, with much loose rock removed, it still requires care. Several upper pitches mentioned in the first Guide have never been identified. Start 3m right of Jelly Roll and climb the steep and in places loose crack. Finish on the step.
M. Douglas, D. Cox , Nov 1962
Start about 5m R of Jelly Roll, in the middle of the wall on good rock (directly under the lower abseil line from the step). Climb straight up the wall, either trending L at the final overhang and finishing up the last few metres of the Breakneck crack (15), or climb the roof direct and the terrific steep wall above (19) to the rap station (32m).
I. Snape and T. McKenny, V. Keller, Dec. 2012.
'Traditional,' so watch out! Definitely worth a look. The corner cleft 2m right of Smoke and Mirrors. Bridging and good holds lead past a jammed block to a bulge and short exit chimney to DBB rap station (30m).
P. Robinson, C. (Basil) Rathbone, May 2013.
Takes a spellbinding line up the face of the pillar 5m to the right of Smoke and Mirrors, to left of Breaker Spur. Climb the open book corner and then take as direct line as possible up the exciting steep wall above, trending slightly right then left to gain the finger crack. Finish up left hand arête to the ledge and DBB belay. Abseil off (30m)
T. McKenny, I. Snape, Dec 2012.
The line on the wall 2m right of Crucio. Scramble up to a small flat rock at the bottom of a hidden corner. Bridge easily up using big holds to the crack system splitting the wall above. Follow this and climb a short finger crack in the right wall (crux), move left and finish up the crack on the right. At the top go 2m left to belay as for Crucio. Rap off the Dal Nulla rap station to left (30m).
P. Robinson, C. (Basil) Rathbone, Jan 2015.
Breaker Spur Area
Climbs in the Breaker Spur area start 20m right of Jelly Wall.
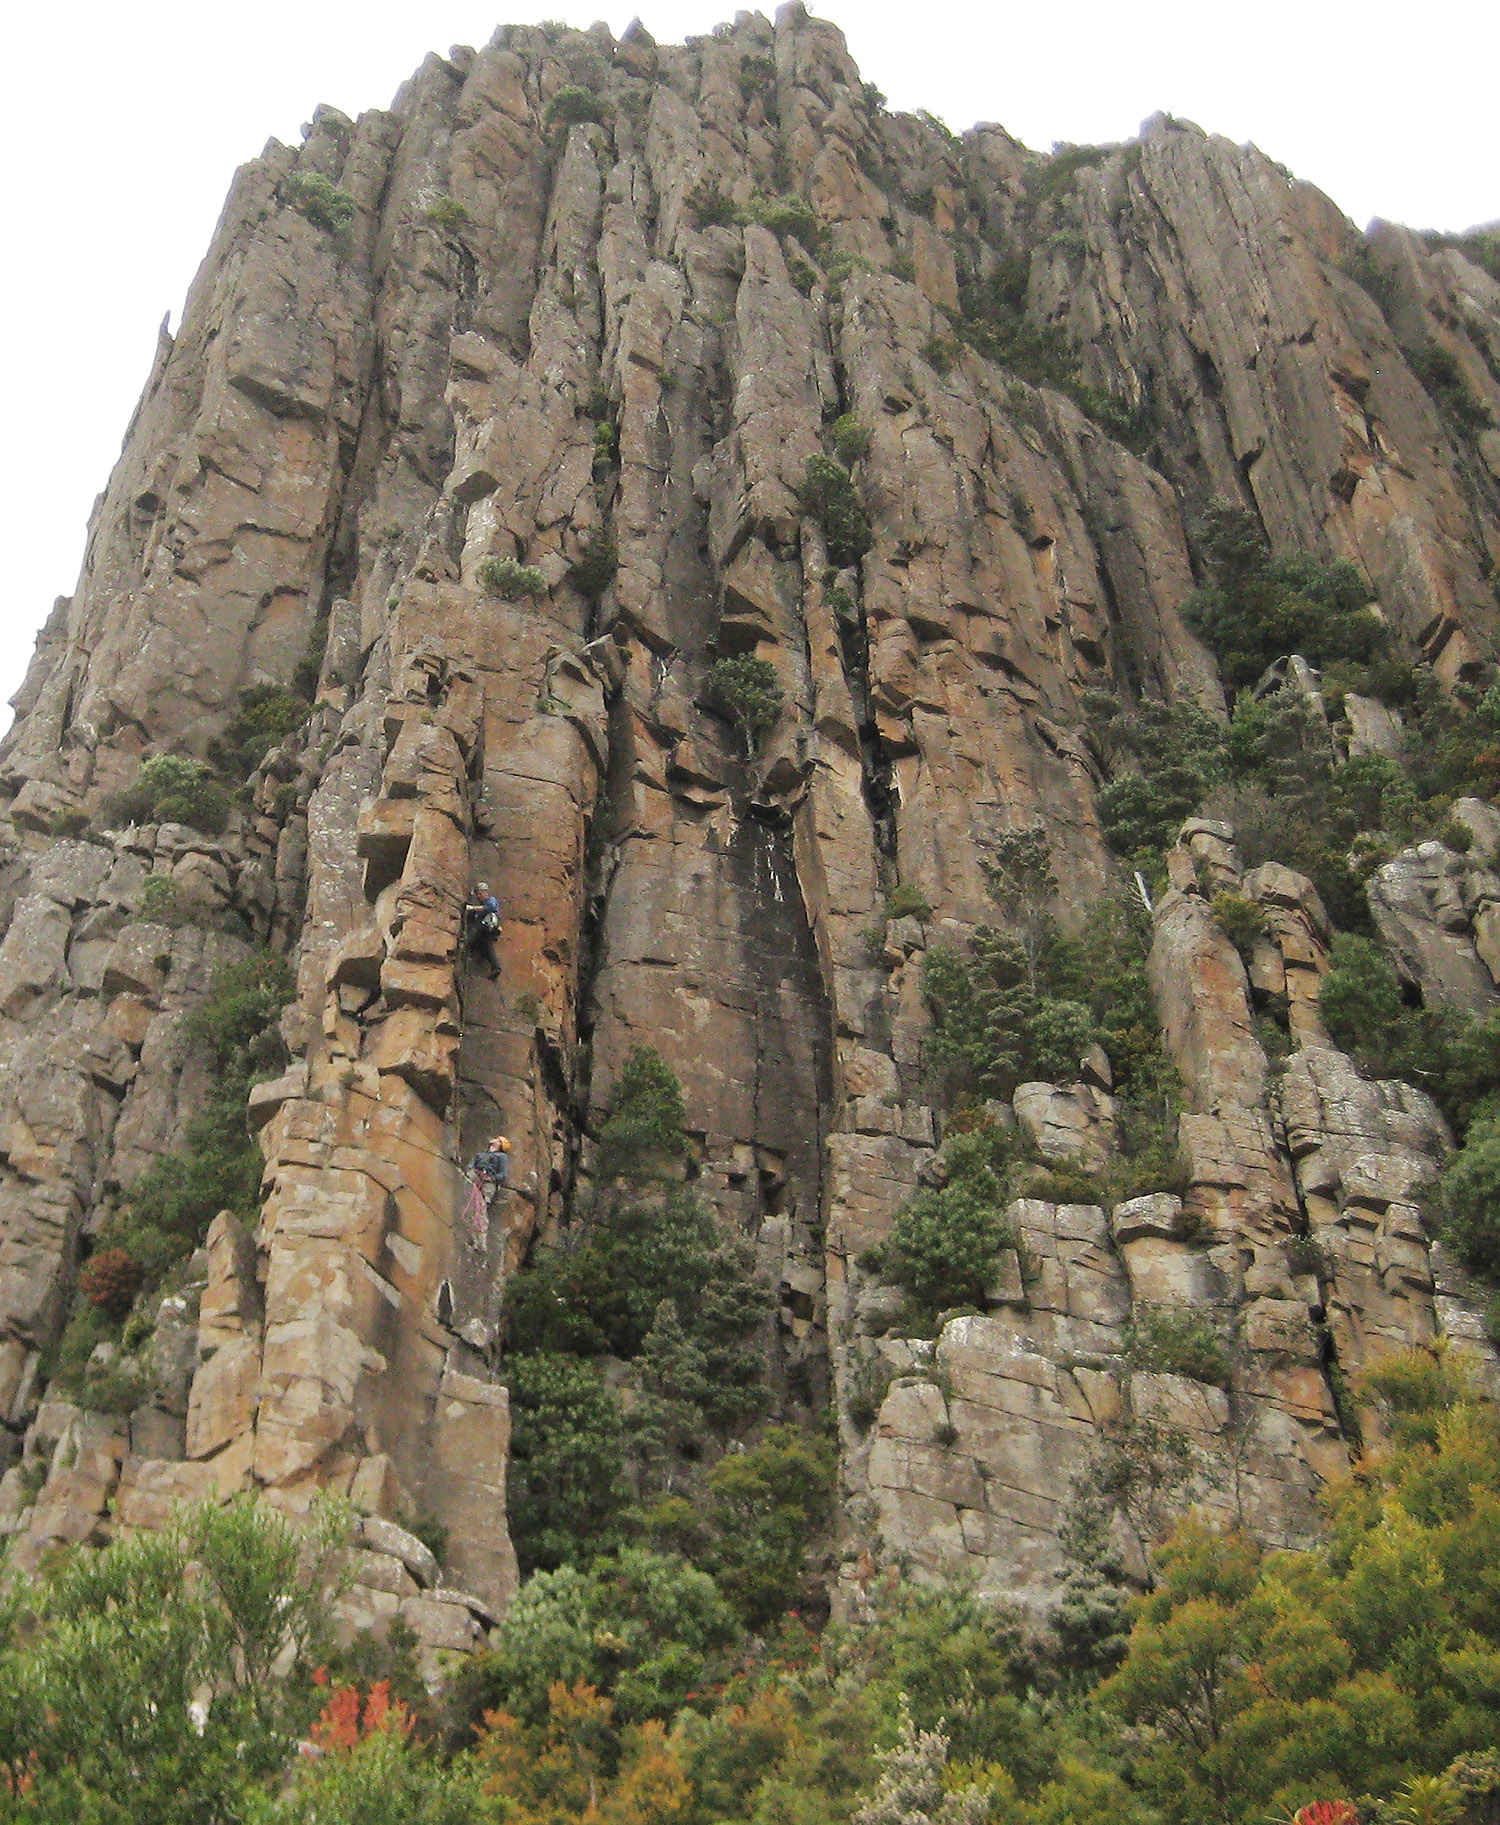
Breaker Spur Area
T. Terry, K. Hall, Mar 1968. Direct finish: Basil Rathbone, P. Robinson, Apr 1979.
M. Douglas, J. Fairhall, Jun 1967.
T. McKenny, P. Robinson (alt), April 2013, Left hand Variant: A. Adams, T. McKenny, A. Beech, Nov, 2016. The top bulge was climbed in 1974 by G. Kowalik and P. Robinson.
The next climb takes the short red arête to the right of the second pitch of Indian Summer.
The 6m run-out above dodgy gear on this route might be a bit too spicy for most. Start from the left hand end of Cracked Pepper 'ledge' or step right as an alternative second pitch to Indian Summer. Climb the lovely little arête on minimal protection until it re-joins Indian Summer at the belay station on pitch 2. Either finish up Indian Summer or rap off (1 x 37m).
L. Martin, T. Smith, Feb 2014.
I. Snape, T. McKenny (alt.), A. Adams, Dec 2012.
G. Kowalik, P. Robinson, Mar 1979.
"What doesn't kill you makes you stronger. Add a grade if you’re not used to loose rock and long run-outs... add a star if adventure is all that matters to you. Many loose pieces are used in the process of climbing... the loose bits are fairly large, while the surfaces are good quality," (Hamish Jackson). The name really says it all - you have been warned. It would be prudent for belayers to stand out of the possible line of fire.
Start as for Breakout and climb up the dense vegetation to the airy face above. Follows a line just right of the Breakout chimney though some small roofs and open faces reaching a ledge on the left at 40m, then back right onto the face again to finish at larger ledge. Descent: traverse easily left to Cracked Pepper rap station (48m to base of line).
H. Jackson, A. Donoghue, Mar 2014.