
The Firewall
Introduction
The Firewall is a beautiful little crag of steep red and orange rock. Its north-easterly aspect sees sun until mid-afternoon, and the crag is sheltered from strong winds. It doesn’t rain much in the area, but when it does most of the routes are steep enough that both the climbs and belay areas stay dry (although sections of the cliff may seep after prolonged heavy rain).
With a comfortable flat belay areas, a concentration of routes at a range of grades, and its relative closeness to Hobart, the Firewall is a great winter sport climbing crag.
Access
From the main parking area walk down the old fire trail for about 50m, and then follow the track off left (marked with cairn) through the bracken then down the spur line (as for the Colosseum). The spur ends at the top of a small cliff (Riverside) just above the river. The left side of the Firewall area is visible about 100m to the north (left as you face downhill). The track to the Colosseum continues down to the river past Riverside, but just before you reach the base of Riverside, a track (originally yellow taped) leads off left for about 100m across north to the Firewall, just over half a kilometre from the car and about 10mins walk.
Takes the right hand side of the black and orange slab that's up to the left of Lucifer and where the track meets the cliff. Nice climbing.
Jon Nermut, Dave Humphries, Jan 2018.
Start up in the corner left of the direct start, up the slab to one U and then head right to the arête. Straight up from the U has been top roped, but you end up joining Lucifer at the arete anyway.
Tony McKenny, Stu Scott 2017
Bouldery start through a bulge just near where the track meets the cliff, then head right to the arête and up.
Stu Scott, Tony McKenny, Justin Otlowski May 2017
The access track from Riverside reaches the cliff just to the right of Lucifer Direct at a steep slab capped by a roof. The slab has a prominent crackline up its centre, and a left facing layback system on its right side.
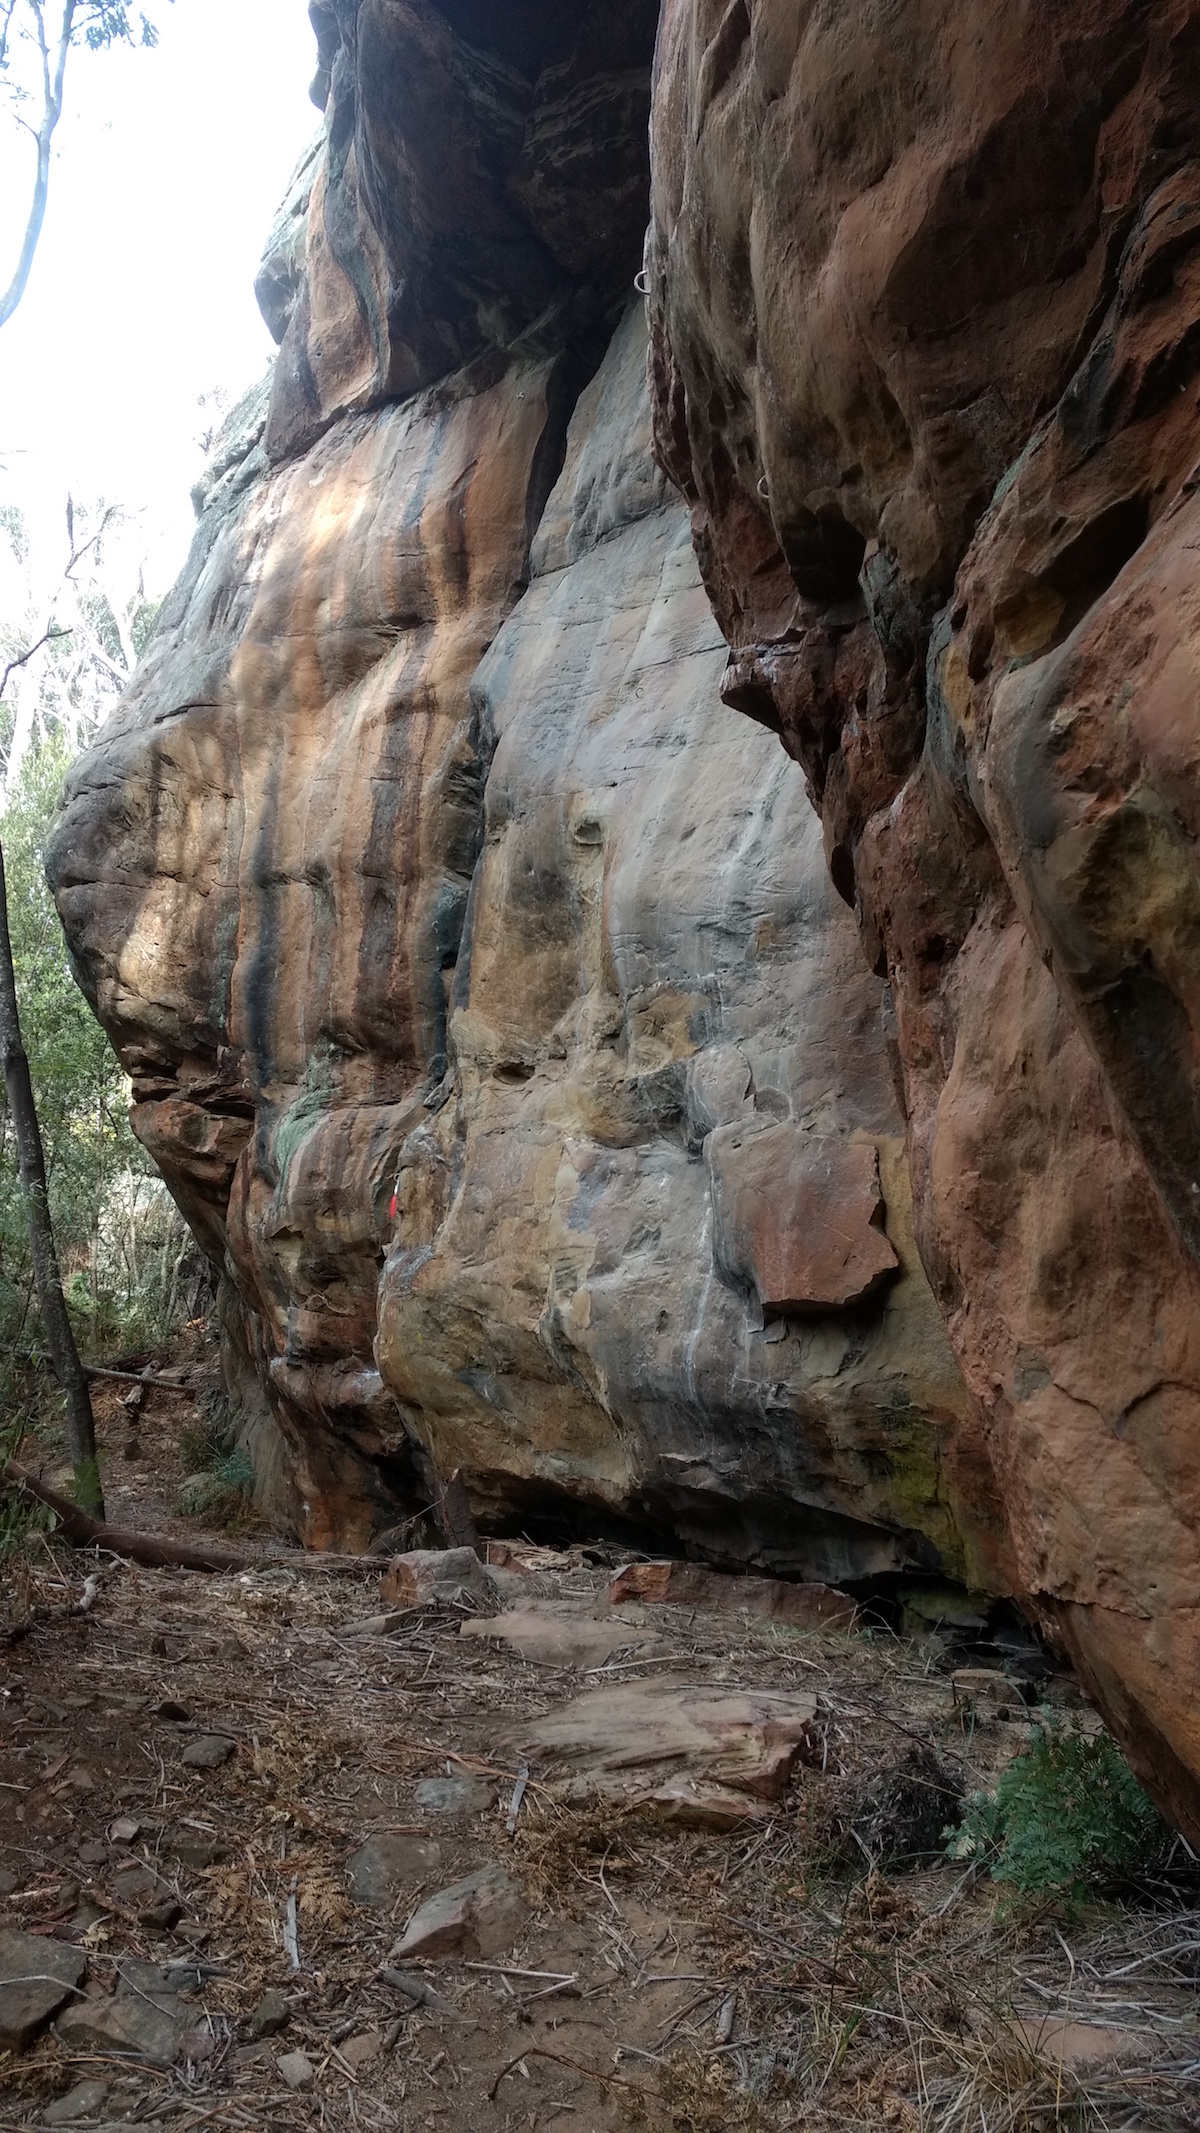
Firewall
Where the track meets the cliff, on the far left of the overhang. More like a v8, climbs better than it looks. Start left of the first bolt coming back right and blasting up the short arete, very thin climbing.
Ryan Sklenica, 2019
Start as for unquenched but traverse right along the seam rather than doing the mantle then jump to finish up ‘Apple a day’ only one bolt to finish back jump to clean.
Start on good holds in break a metre or two left of unquenched. Dino for the jug and finish up unquenched. Best to have first few bolts of UQ clipped first. 4 Stars.
Simon Bischoff 2020
Start just left of the crackline. Crank leftwards onto the overhanging rounded arête, then up and over bulge via pockets and horizontals to slab (DBB). Lower off, or step right to finish as for Welcome to the Dark Ages.
O Gervasoni August 2017
Start up the prominent crack line. A tricky layback sequence leads to the overlap. Make a technical traverse 4m left then finish up the pillar / arête feature to DBB.
O Gervasoni, August 2017
The tendon tearing steep slab of impeccable stone underneath the roof.
Owen Gervasoni, July 2019
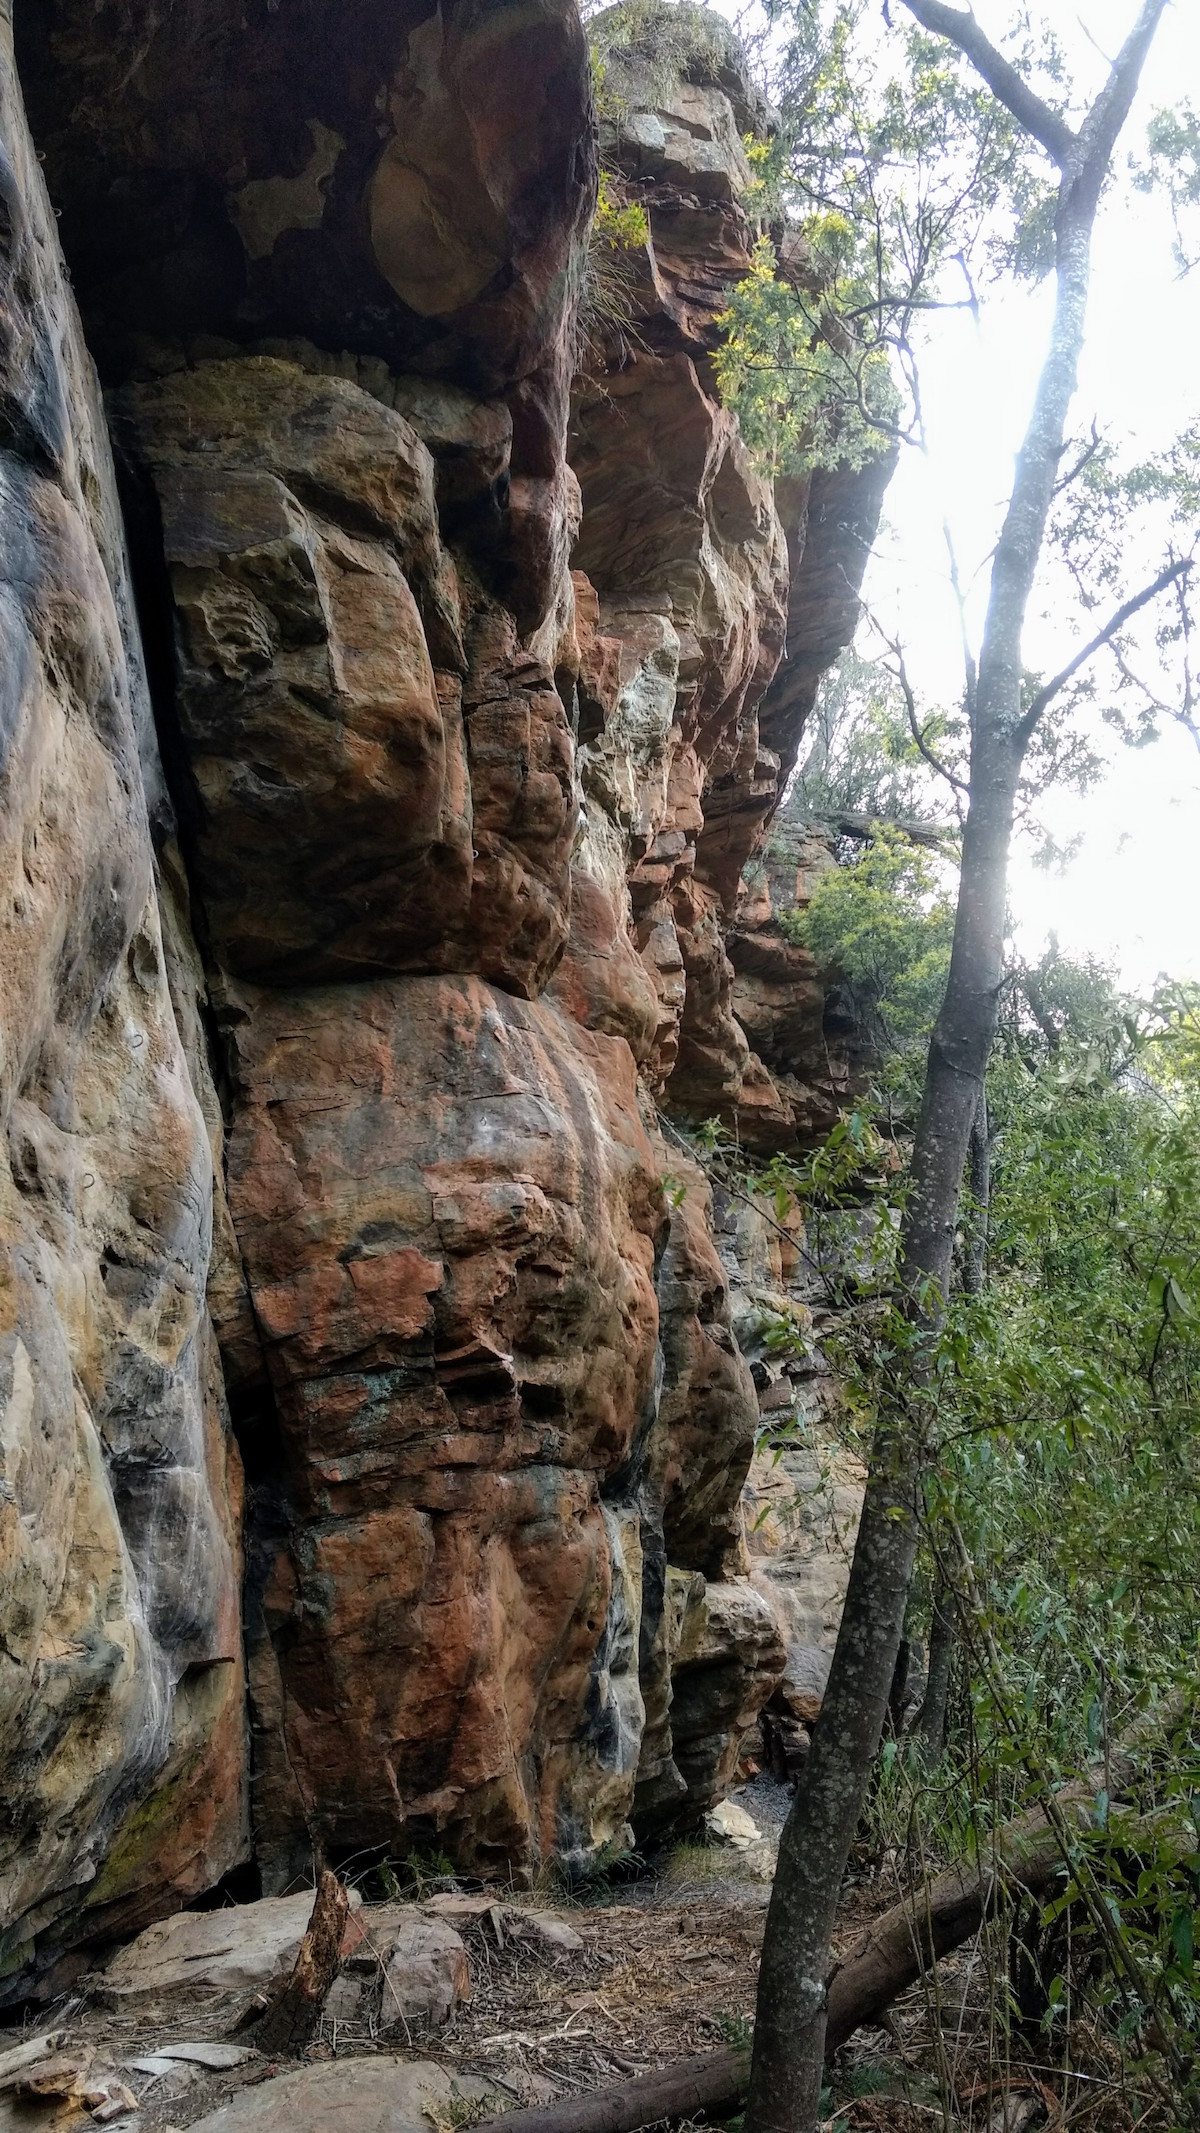
Shares the initial bouldery start with Glowing Embers, but instead of moving right, mantles left onto the wall above. Once established, climb up the steep wall to a slopey anchor clip.
O Gervasoni, July 2017
On the left end of the main overhanging 'Fire Wall'. Boulder up the short left arete then trend right on immaculate rock to a rest at the base of a pillar. Up pillar to roof, and a strenuous pull on flakes.
O Gervasoni, May 2017
As for Gambit but at the second last bolt head left to a slightly easier finish. Was originally graded 27 but a few new holds have appeared! (2022)
G Phillips 2017
As for Firewall to the ledge. Then head left and up.
G Phillips 2017
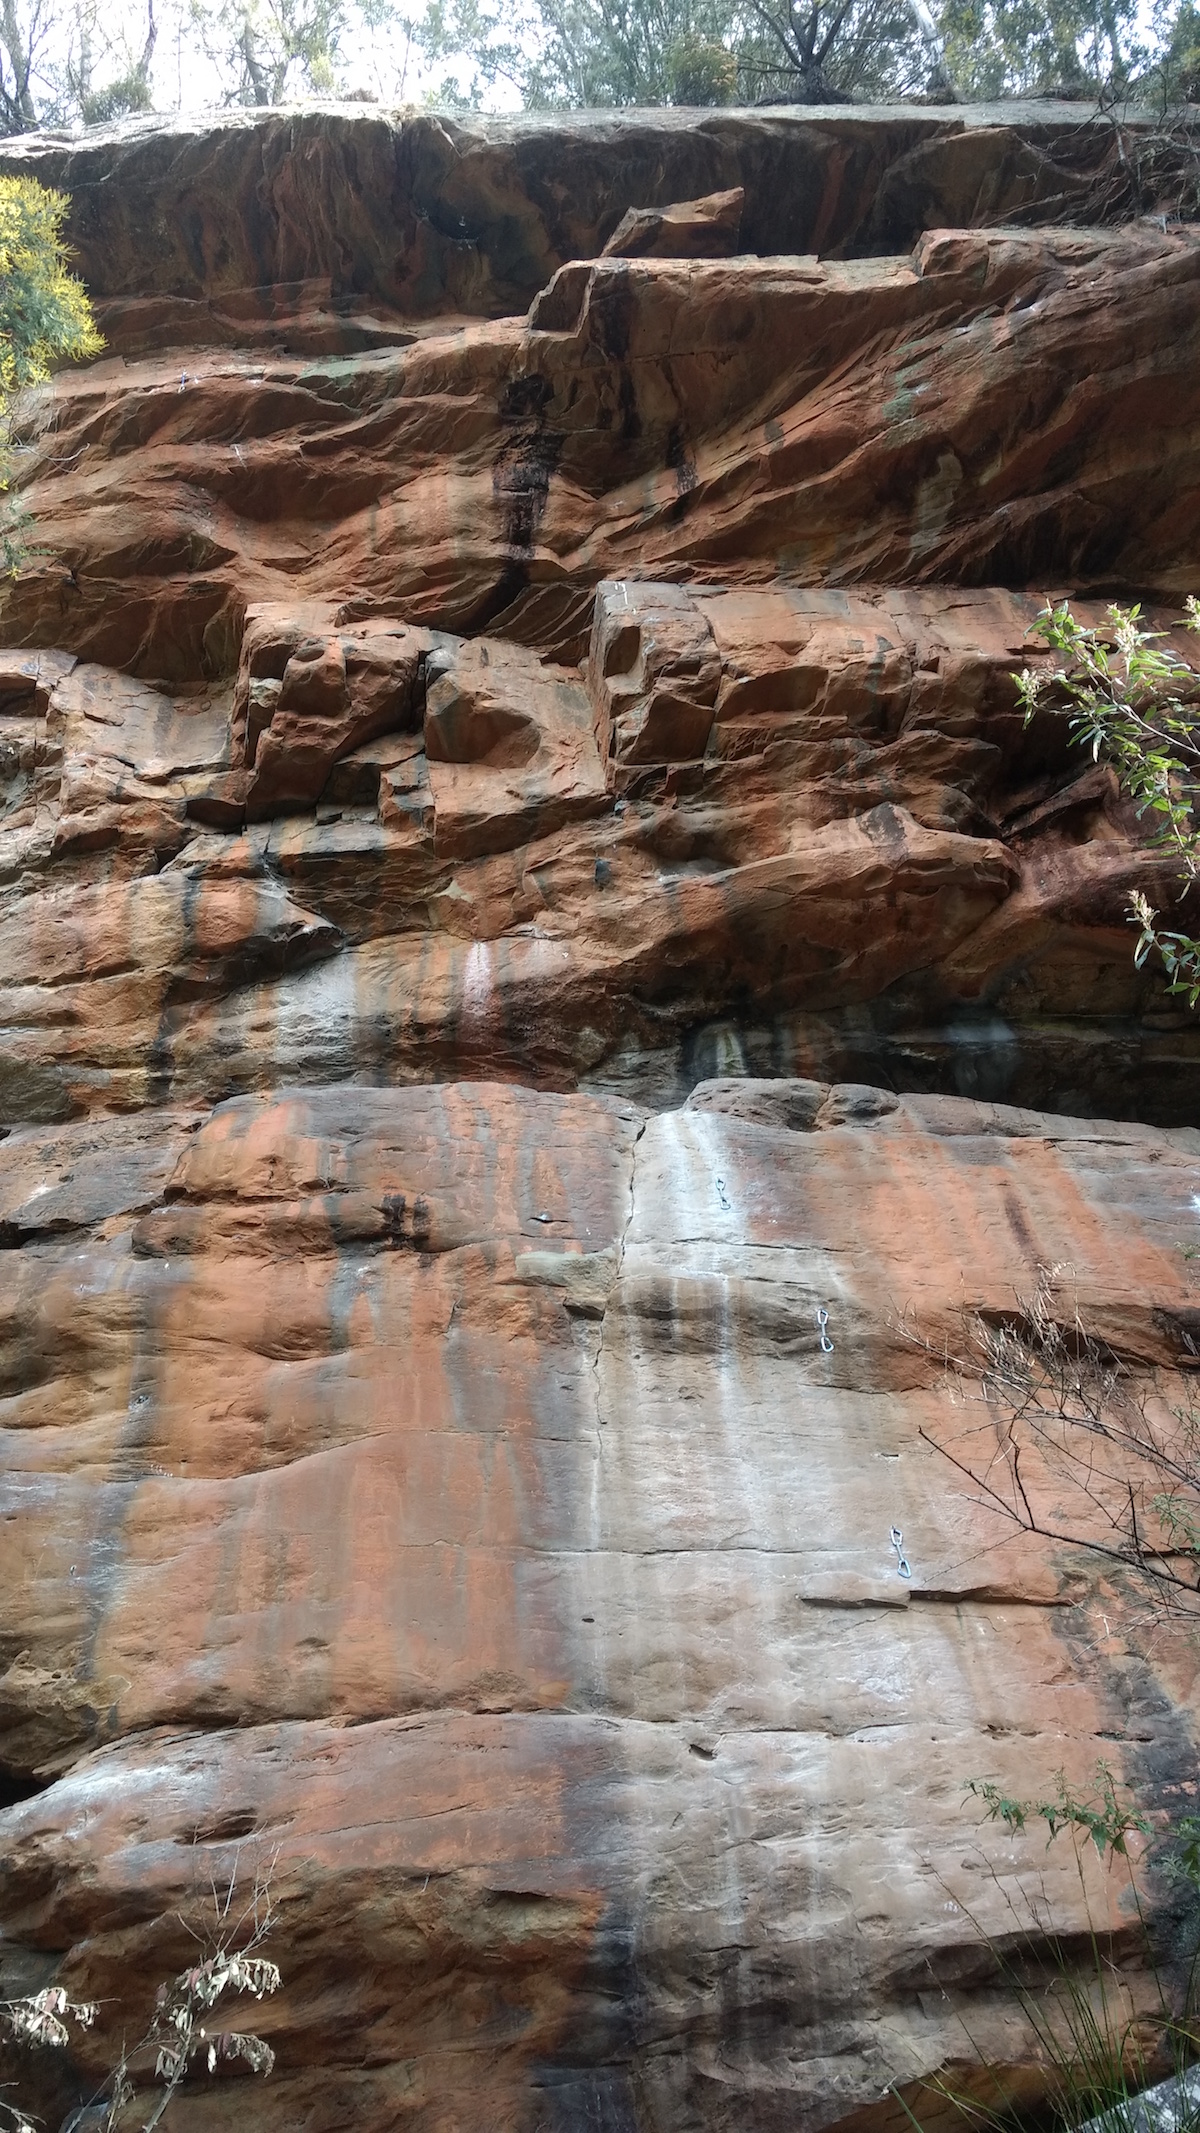
A striking line on superb rock.
Garry Phillips, Apr 2017
Steep climbing over a series of bulges.
G Phillips May 2017
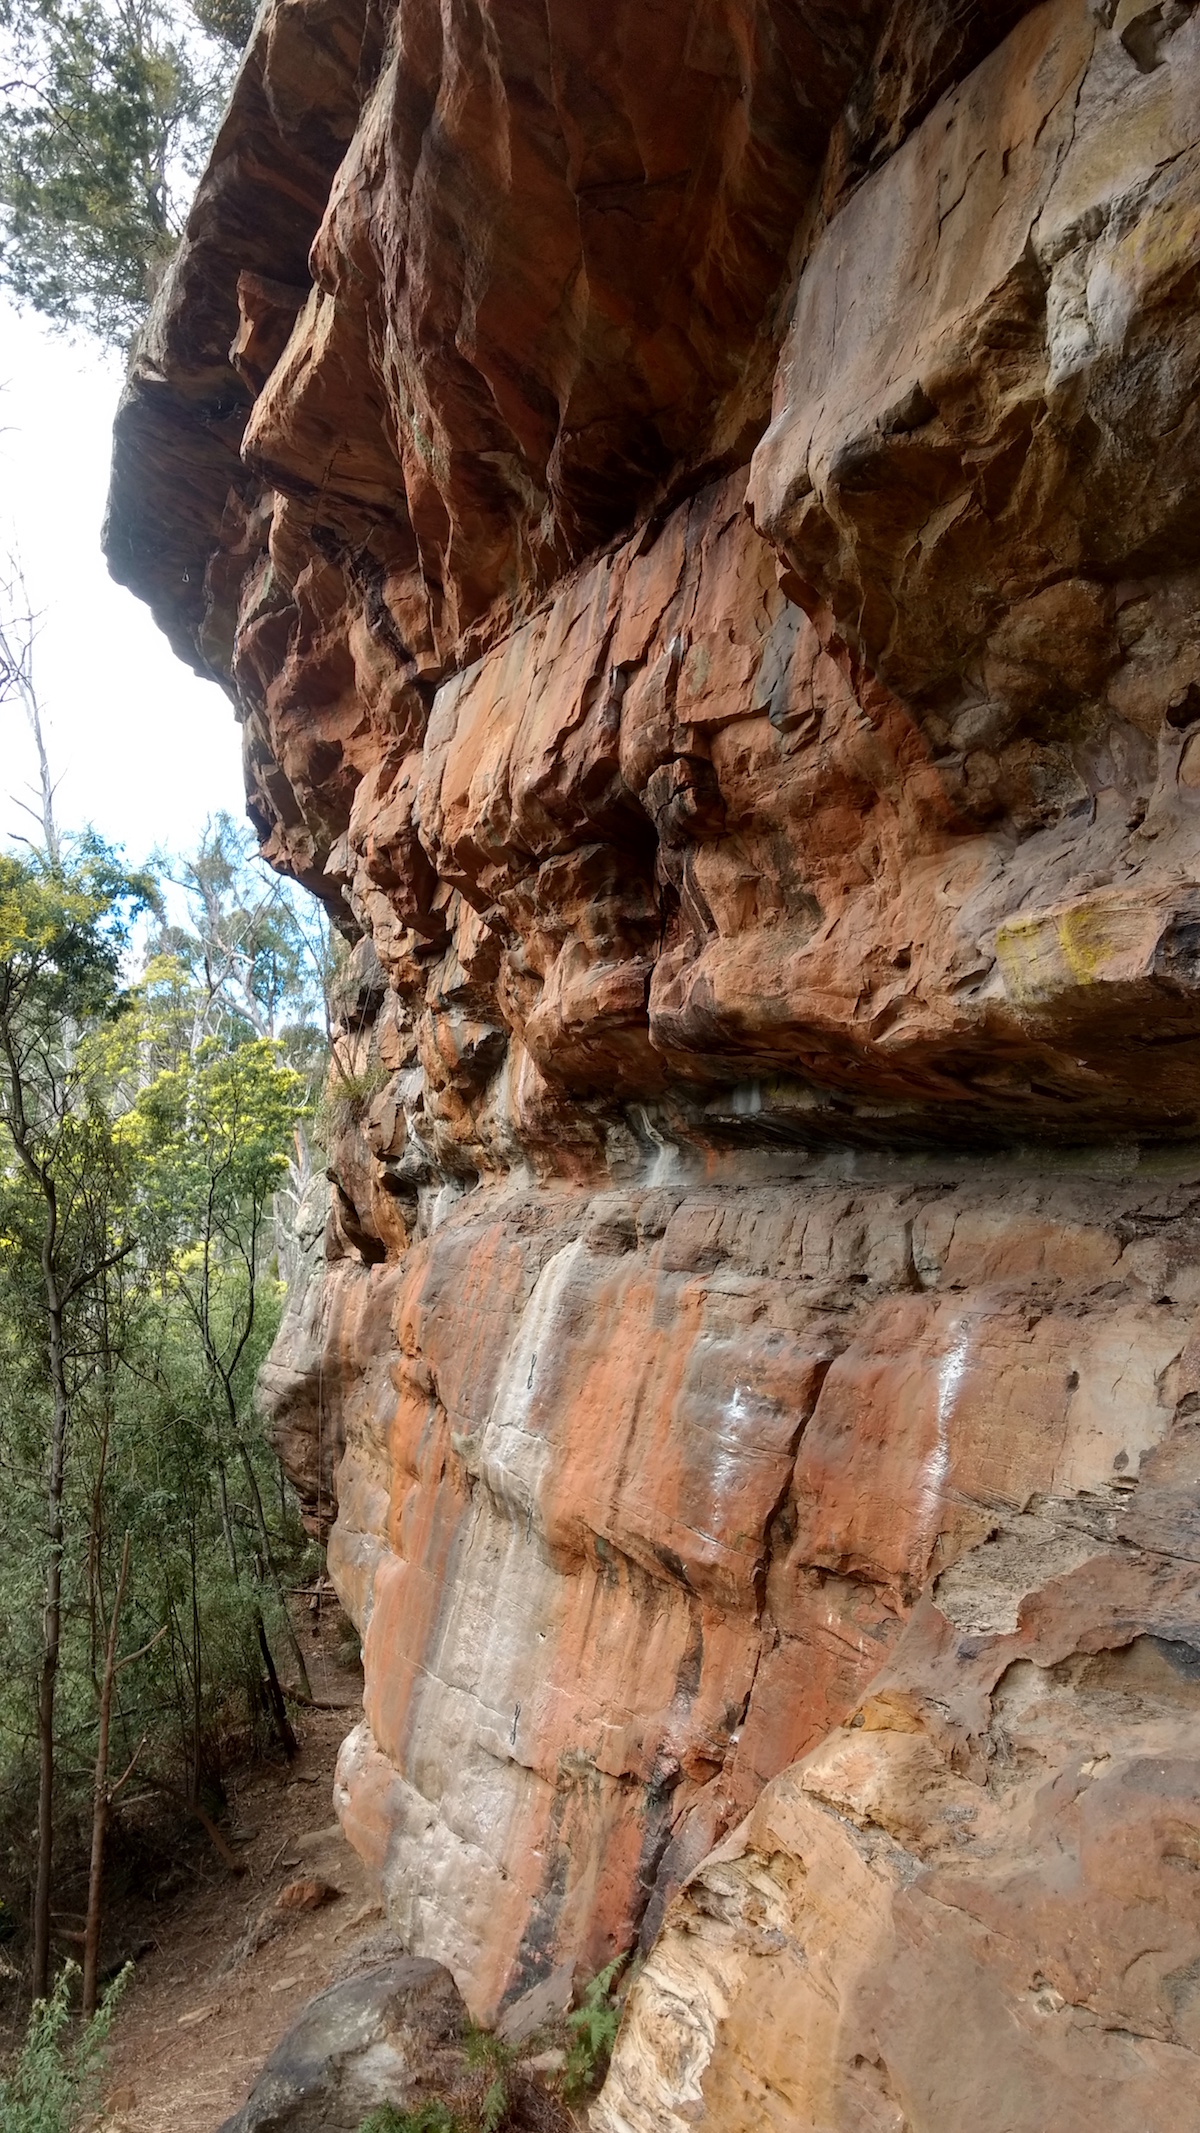
Easy climbing leads to a bouldery crux.
Garry Phillips Aug 2017
Starts 2m right of Thors Hammer.
Up hanging corner then traverse right and pull the roof. Chill on the ledge and pull a funky boulder to the chains.
Alex Hartshorne Sept 2019
Up Fawks to break but instead of busting the weird boulder, move right into Firestorm and pull some big moves up the hanging arete.
Brilliant.
Alex Hartshorne Sept 2019
Starts 6 metres right of Thors Hammer.
Steep climbing with some cool moves. Finishes up the steep arete.
G Phillips sept 2019
Towards the right end of the Firewall is an 8m high buttress under the main wall. On its right side is a featured slab. Get established, moving left onto the slab proper. Up to DBB.
O Gervasoni, September 2017
Remarkably steep and exposed for the grade. Start as for Deputy Warden, but continue straight up the corner. At the top of the sub-buttress move boldly right onto the main wall, and continue up the exposed arête and corner above.
O Gervasoni, September 2017
Floodland
Floodland is located 3 or 4 minutes further up the dry river bed past the Fire Wall. It is on the opposite side of the valley, so offers shade when the Fire Wall is in sun (before about 1pm to 2pm), and visa versa. Access as for the Fire Wall, but about 20 metres before the path arrives at the Fire Wall proper, head down to the river bed. Walk upstream for about 3 minutes. The climbs start right out of the (dry) river bed. There is scope for 2 or 3 routes to the left of the route Floodland with a little cleaning, and scope for 2 or 3 to the right of HM&M with an epic amount of cleaning.
Shares the first 2 bolts with HM&M, then offers a thin and technical rising leftward traverse followed by a punchy steep finish to anchor chain. There is a fixed biner on the third bolt for the leader to clip through when lowering (to save from a potential big awkward swing).
Owen Gervasoni, Nov 2017
Good looking line that has its moments. Up through overlap and shallow left facing corner feature. Step left and climb thin face before some interesting steep moves through the summit overhang.
Owen Gervasoni, Nov 2017
Riverside Crag
Riverside Crag is a series of short walls to the south of the junction of Sand River and the fork that heads up towards the Colosseum. You go past the northern end of it on taped track to the Colosseum, just after the turn off to the Firewall. It's shadier than most of the other crags.
Riverside Main
Keep going left around the corner form the first bit to find the main wall. It has partial shade until about 1pm then full shade after that.
The short, steep and fun arete left from The Tiger Snake.
Jon Nermut, Jan 2018.
The left arete of the main face. Do a high stick clip to protect the bouldery start on the right, then head left past a big heuco to the arete and up.
Jon Nermut, Dave Humphries, Dec 2017.
Follow the straight line.
Roger Parkyn, Owen Gervasoni. Nov 2017.
Up the middle of the wall, to a steep cruxy bulge.
Dave Humphries, Jan 2018.
The wall a couple of metres to the R of previous. Juggy to start with, then thinner on the grey headwall at the top.
Dave Humphries, Jon Nermut, Nov 2017.
Start as for Grey Goshawk, then head right to fun, juggy climbing just to the left of the Blackwood tree.
Jon Nermut, Jan 2018.
Riverside Right
This is the sunny, north facing bit that the track goes right past.
The steep left arete of the wall. A V4 to a V0. Stick clip the first bolt.
Jon Nermut, Dave Humphries Jul 2019.
A hard bouldery start leads to face climbing, then head right to the last two bolts of Spotted Tail Quoll.
Dave Humphries, Jon Nermut, Oct 2017.
Follow the seam, with a tricky move right at the top.
Dave Humphries, Jon Nermut, Oct 2017.
Hard move through the initial roof, then nice jugs.
Jon Nermut, Dave Humphries, Jul 2019.
The right most route on the wall. Follow the curving feature right of the top bolt.
Dave Humphries, Jon Nermut, Jul 2019.