
Sunny Side bouldering
 1-10 min
 All day
 Dolerite
Access
Best accessed from the south end of Kings Bridge, up the Zig-Zag track. The climbing is described in order of appearance as approached from Kings Bridge. The first boulder is approximately 50m up the Zig-Zag track, just left of the trail.
GPS
1st Boulder
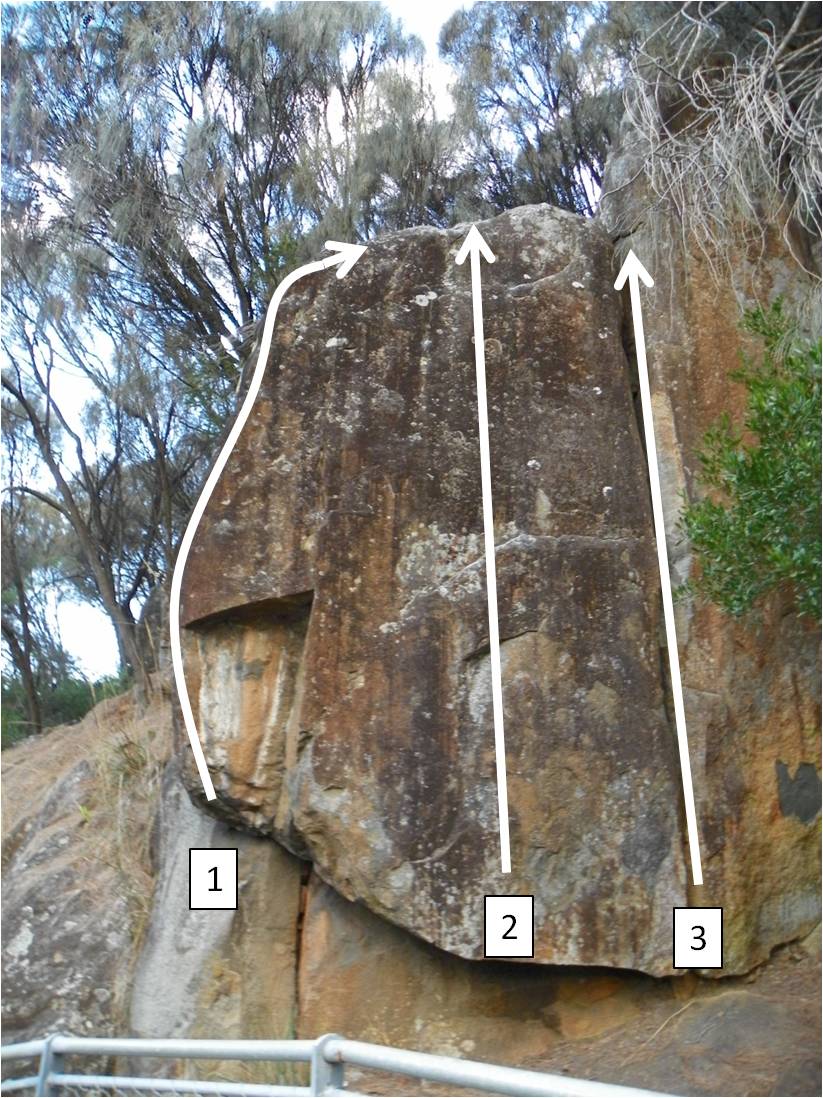
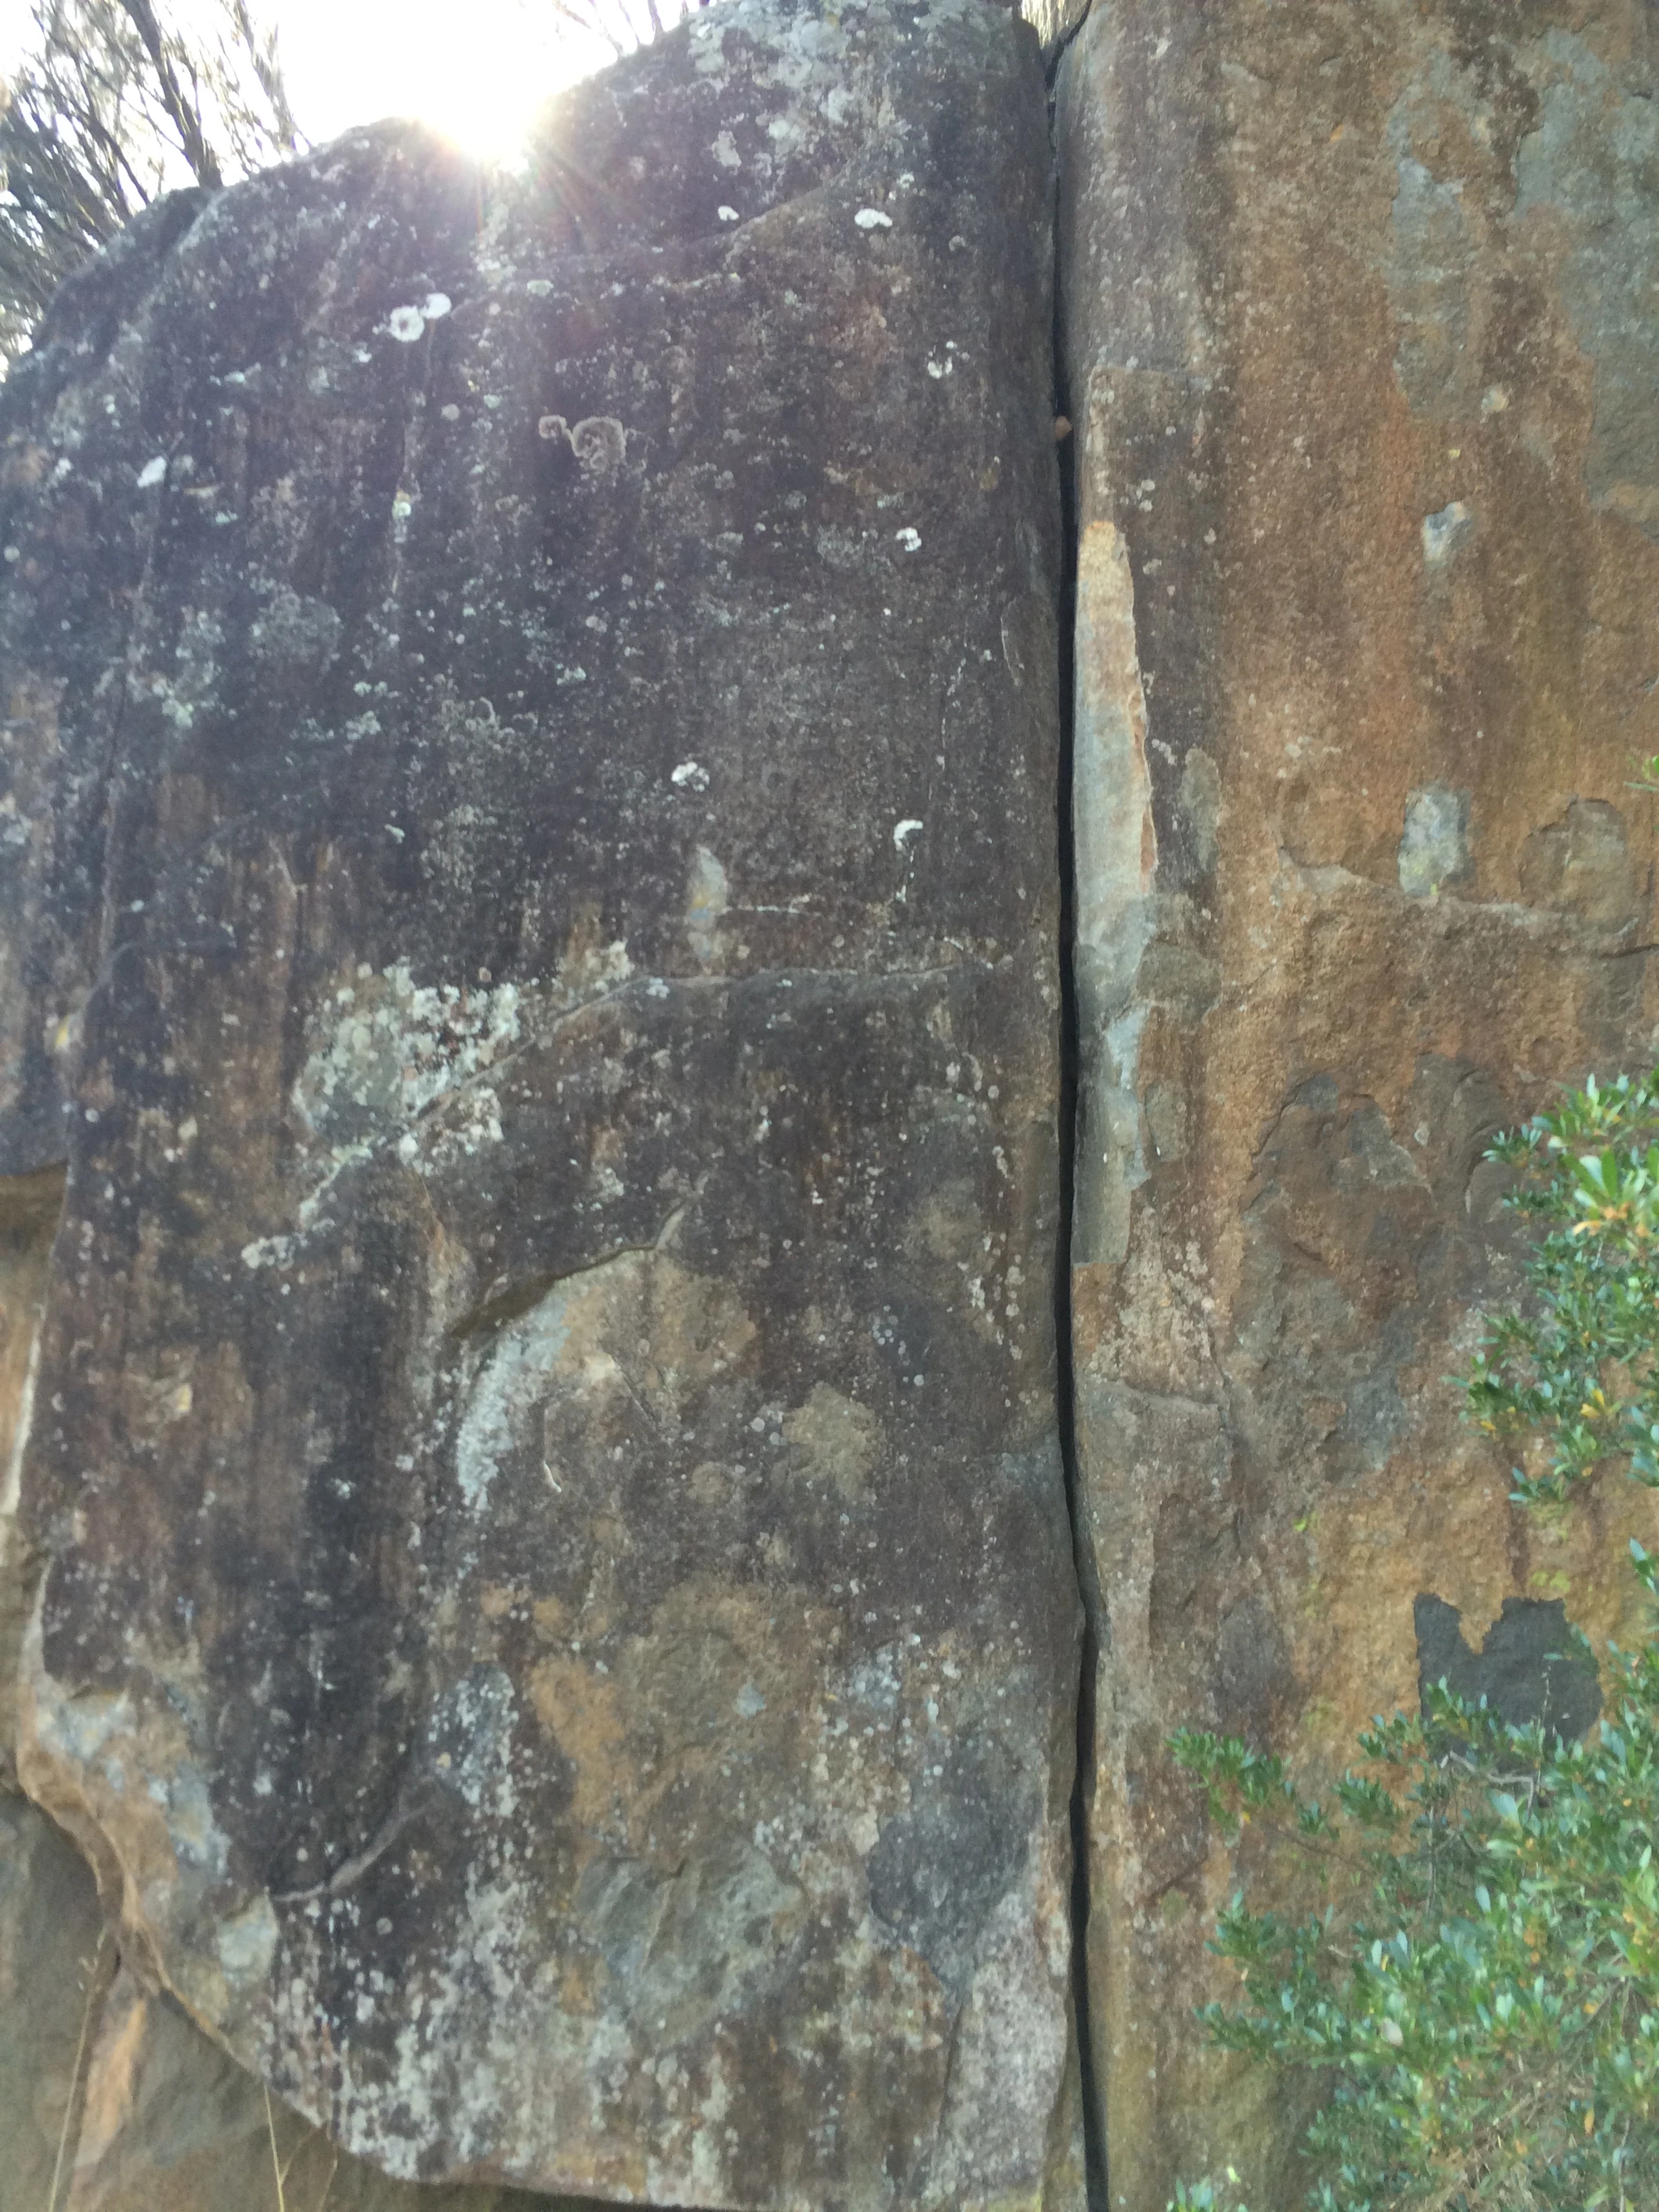
Topo: theCrag contributors, CC BY-NC-SA 3.0, theCrag
Start off a short broken slab below and climb up the blunt arête via sidepulls and crimps. Feels fairly tall when you get up onto it.
Gerry Narkowicz, 1985
A classic ledge mantle, although somewhat height dependent. Start on some small crimps at head height, make a move up to the slanted rail and mantle up to a good hold and top out. The crack to the right is off. It may look scary, but the fall and landing are actually quite good.
Jam your way to glory.
Michael McHugh & Robert McMahon, 1972
Second Set
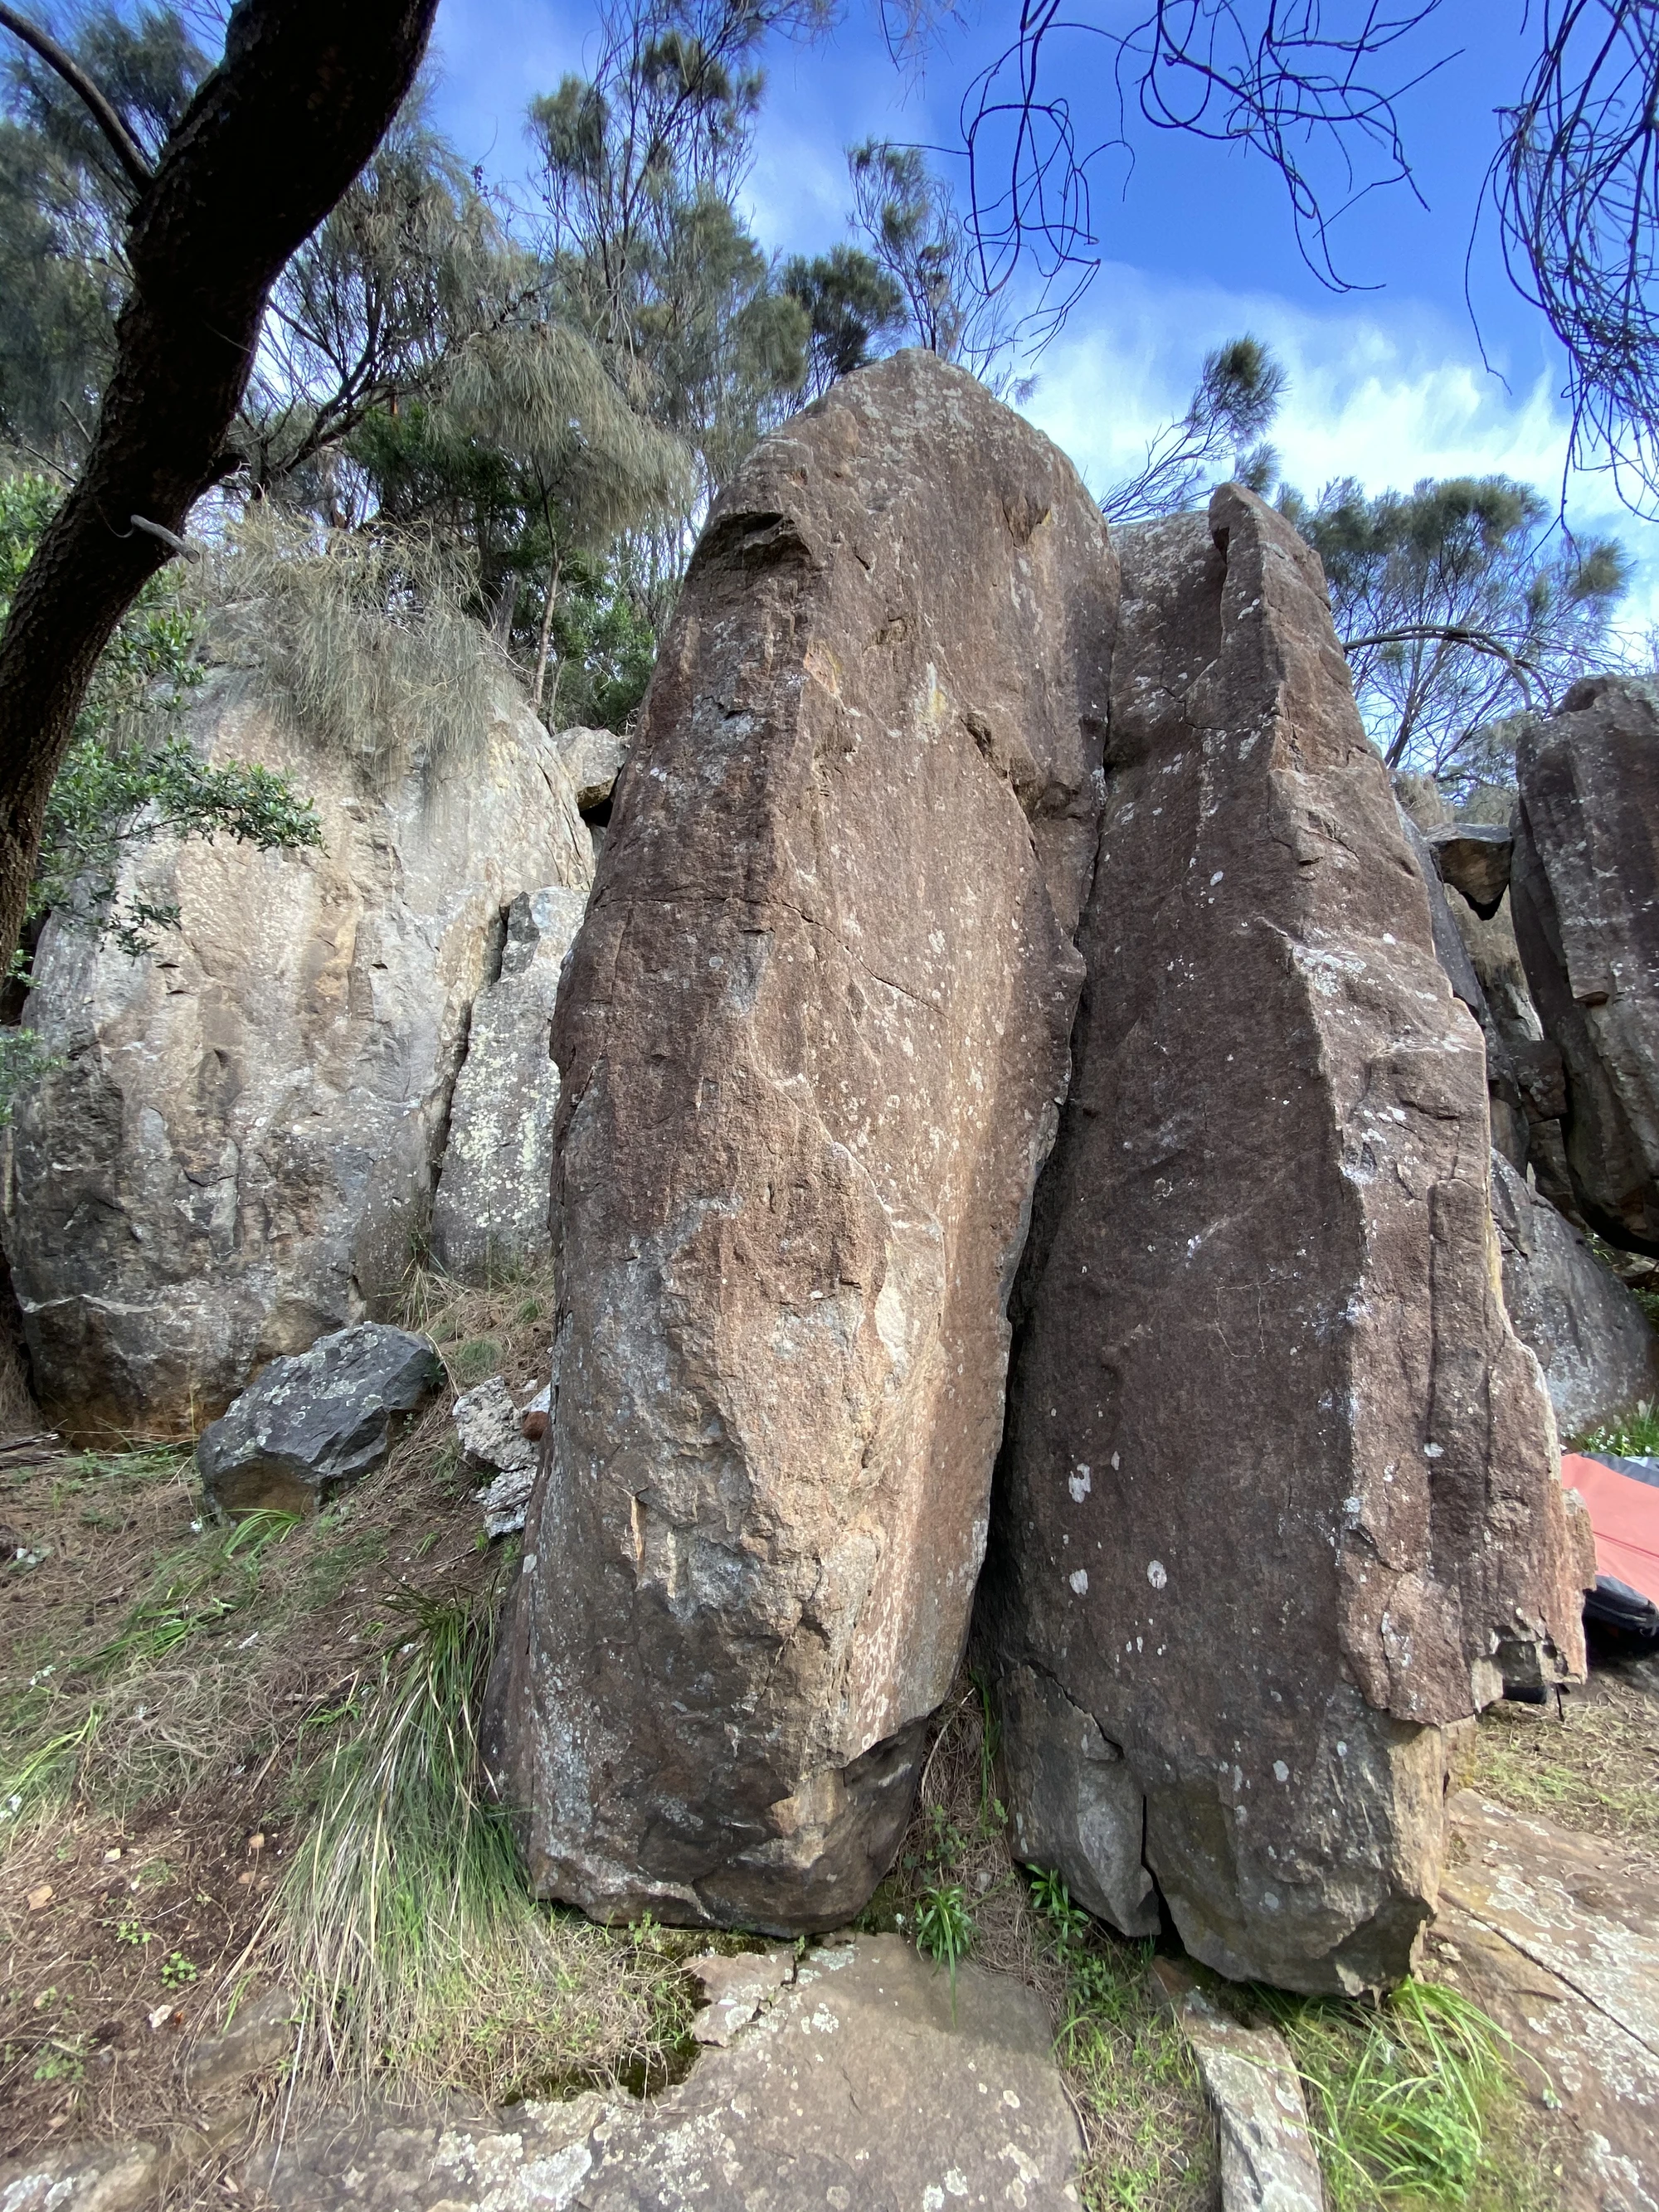
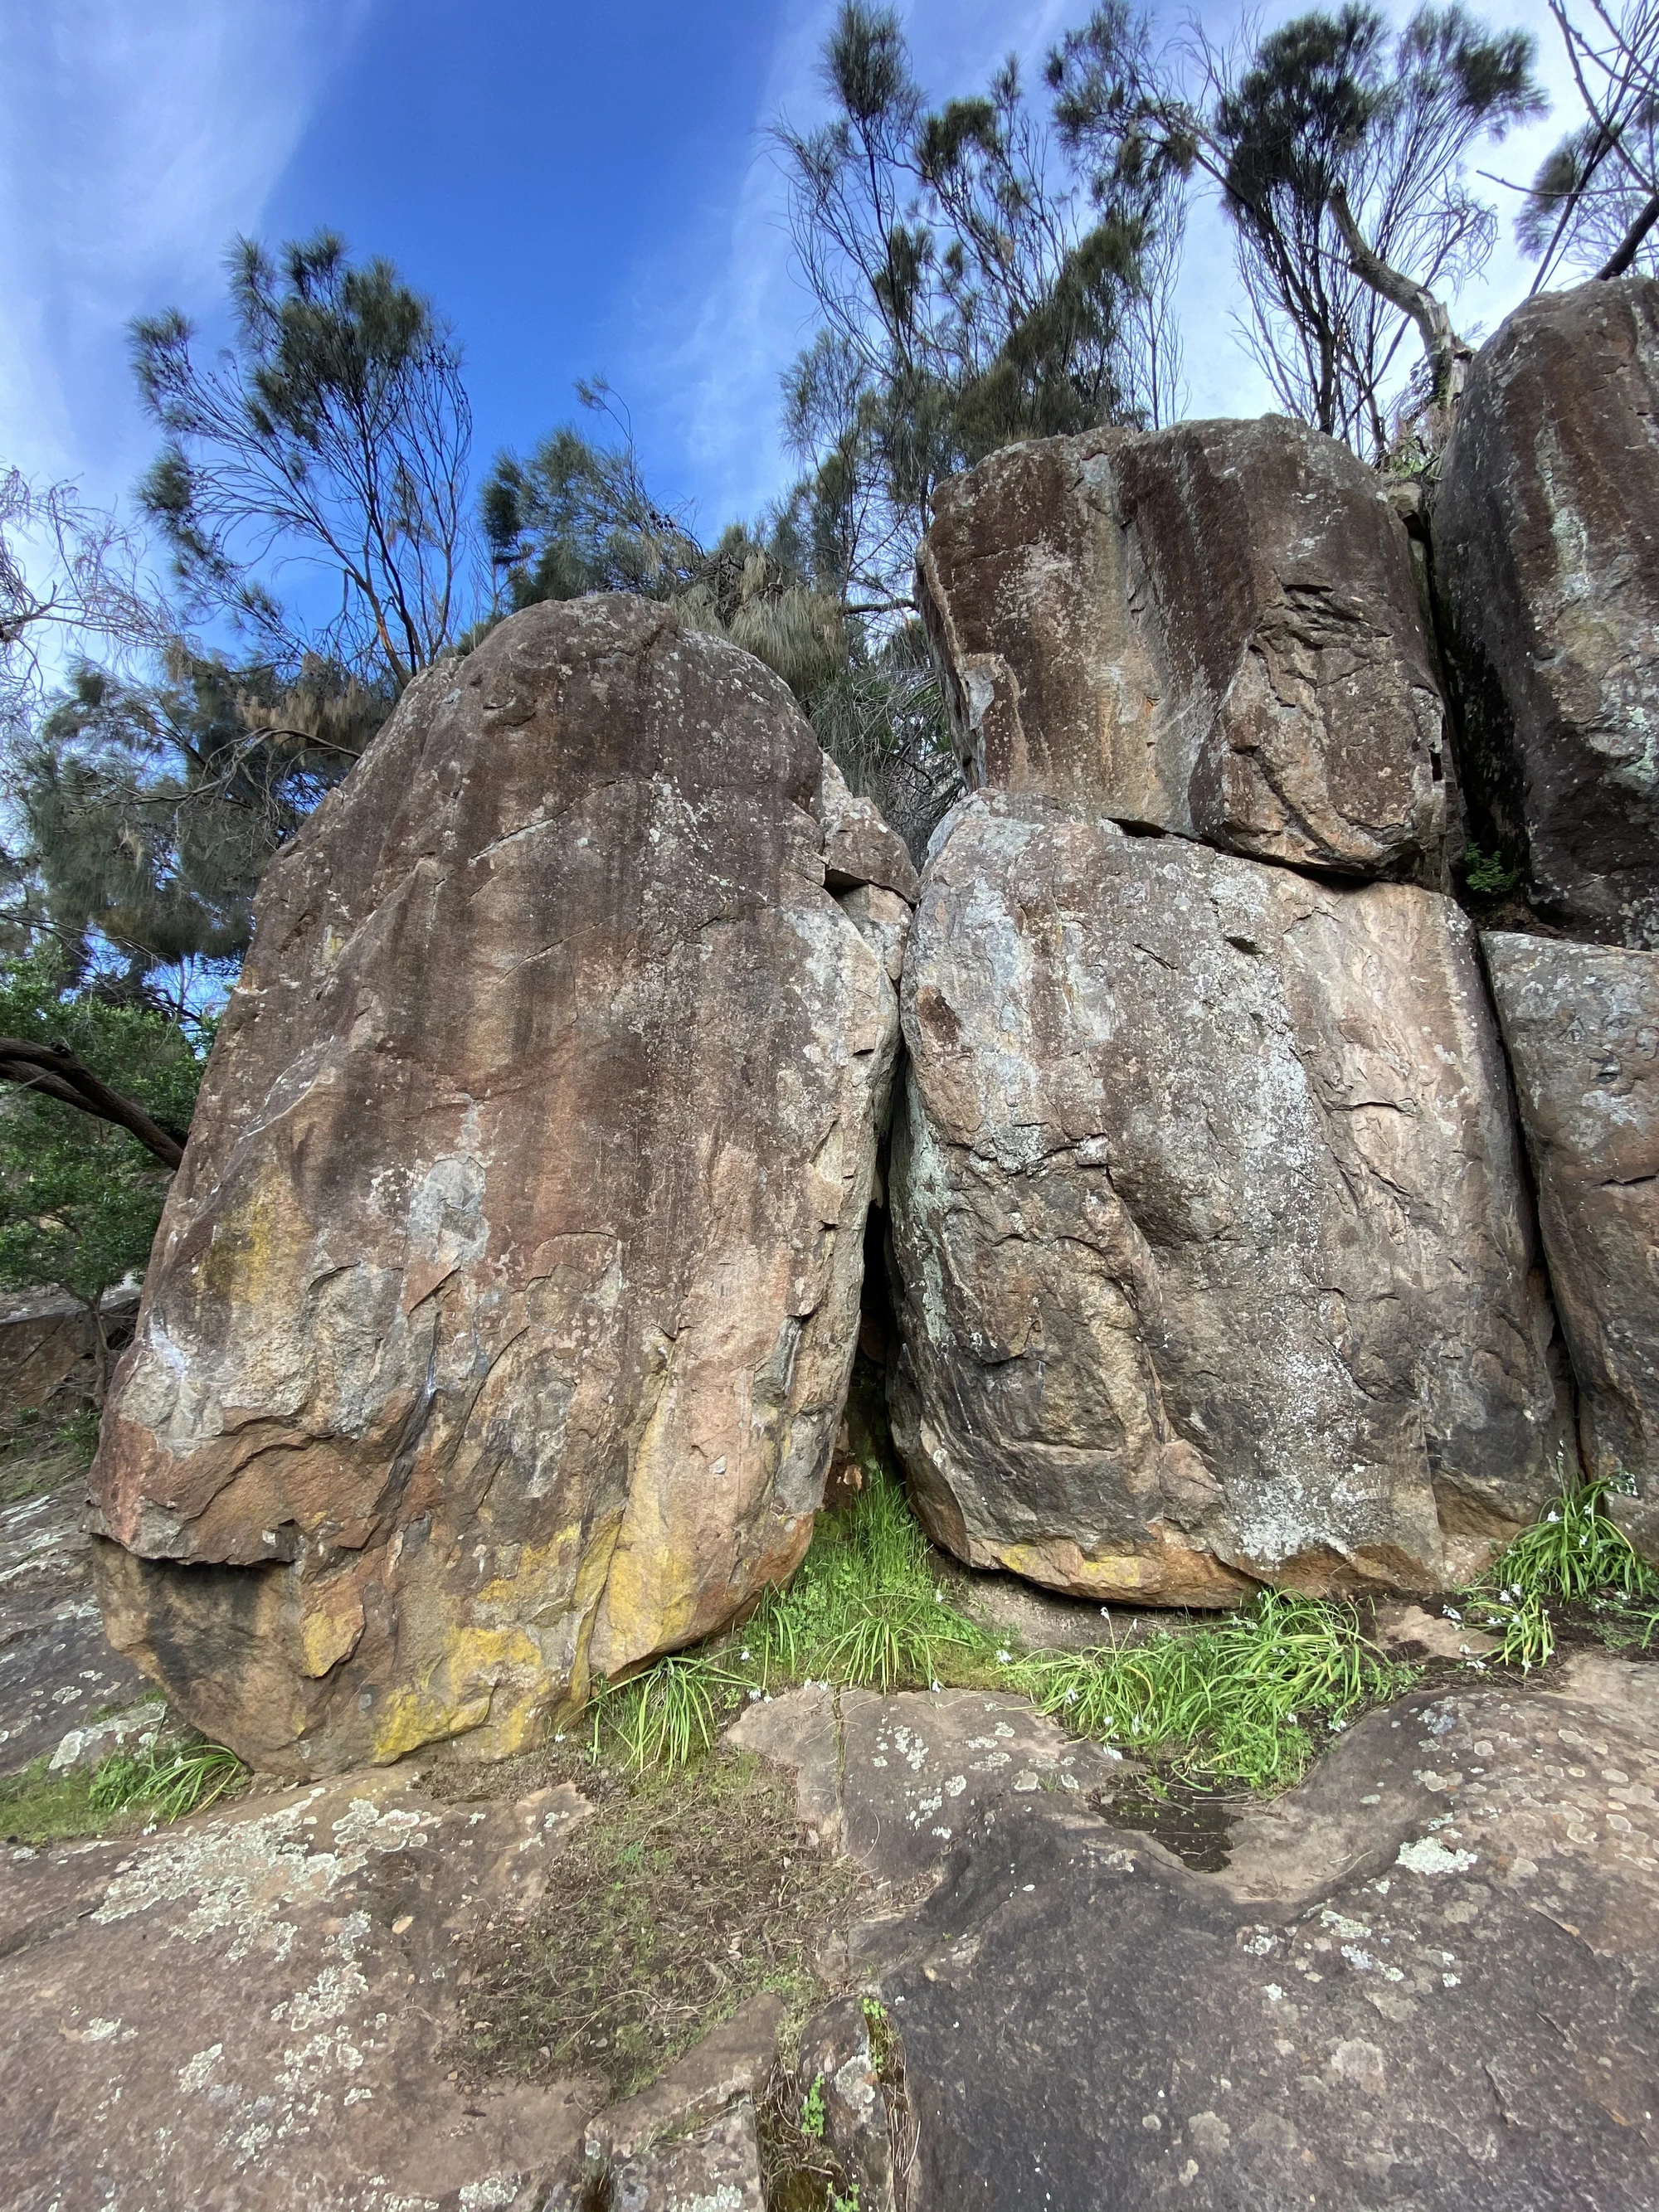
These problems are on a group of boulder faces 20-25 metres past the 1st boulder just off the track on the left.
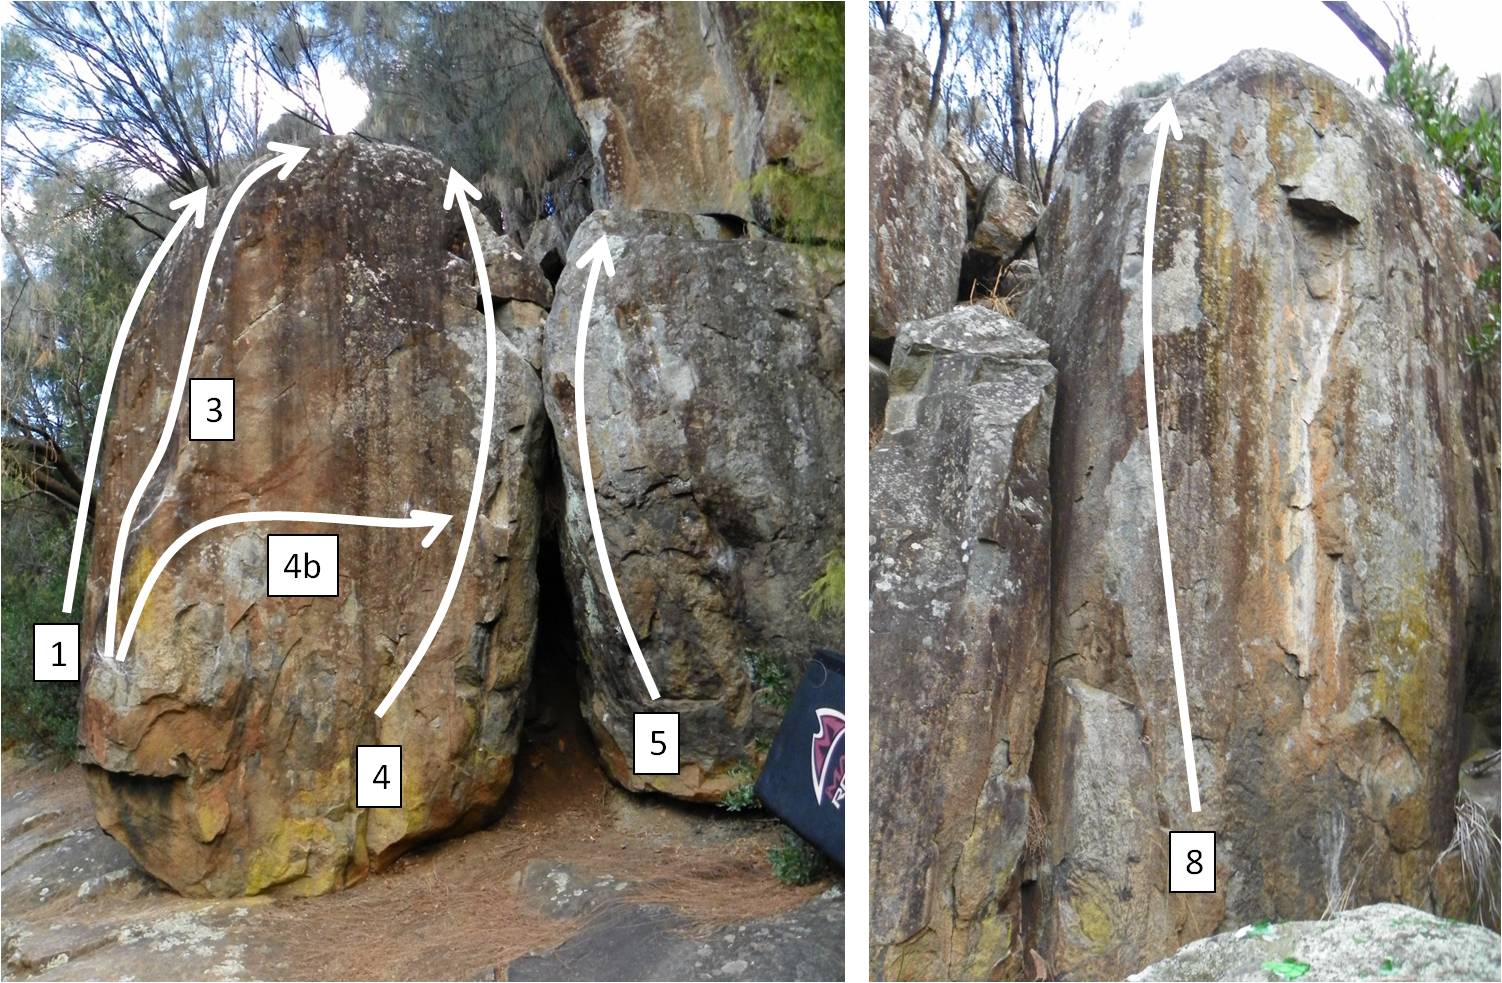
Topo: theCrag contributors, CC BY-NC-SA 3.0, theCrag
Climb the first low angle blunt arête.
Corner between arêtes.
Topo: theCrag contributors, CC BY-NC-SA 3.0, theCrag
Start on a low jug on the right side of the arête and pull up and over into easier climbing.
Start on two opposing sidepulls and climb just left of the corner without using the other boulder to the right.
Start as for A2 and traverse rightwards to finish up 4's a Crowd.
Start squeezing on a good LH sidepull in the gap and a not so good RH sidepull a little lower. Continue up more sidepulling to the top without using the other boulder to the left.
Stand start towards the middle of the block using two stacked vertical side pulls. Venture out right to a good opposing side pull, then travel back left to top out as for “Five for Five”
Jaime Williams (FA)
Jaime Williams, Nov 2023 · From: theCrag
Crouch start as for “Five for Five” using left side pull and right hand undercling / side pull. Trend right to link into “Toe for Tufa”.
Jaime Williams (FA)
Jaime Williams, Nov 2023 · From: theCrag
A few meters right of the previous climbs is an arête jutting out into the Track. Sit start on a good left-facing sidepull block under the low roof and climb over the point to top out.
From: theCrag
Proud arête with technical moves in an exposed position. Gets the heart pumping.
A few metres right of the previous climbs is an arête jutting out into the track. Start on a good left-facing sidepull block under the low roof and climb over the point to top out.
Climbs the featured face about 2 metres right of the previous arête.
Above and behind the climbs just described is a second tier. Climb the clean blunt corner up thin crimps to a crux at the top.
Seif Buttress
Continuing up the track from the second set maybe 100 metres or so (just after the first switchback) is the 8m Seif Buttress. There are 3 routes described here in the route climbing guide that all start the same directly off the track - the left crack at grade 18, the centre arête at 20, and the right-leaning crack at about 18 as well. Additionally there is a shorter V0 up the back (also the downclimb) which can be used to access the anchors on top. All of these routes can, and have, been done as bouldering/soloing and with the advent of modern pads and trends in recent bouldering an 8m V0 or V1 is well within reason and thus warrants mention here. Nevertheless, a fall from the top could still land you in some serious trouble, so treat them with the respect they deserve.
Feltham Boulders
There are two boulders at the top of the Feltham Buttress that currently have problems. Access as for the routes by hopping the fence at the first little overlook and following the climbers track down the hill to your left. In less than 100m you will see a large rectangular boulder. Condensed Ham is on the downhill side.
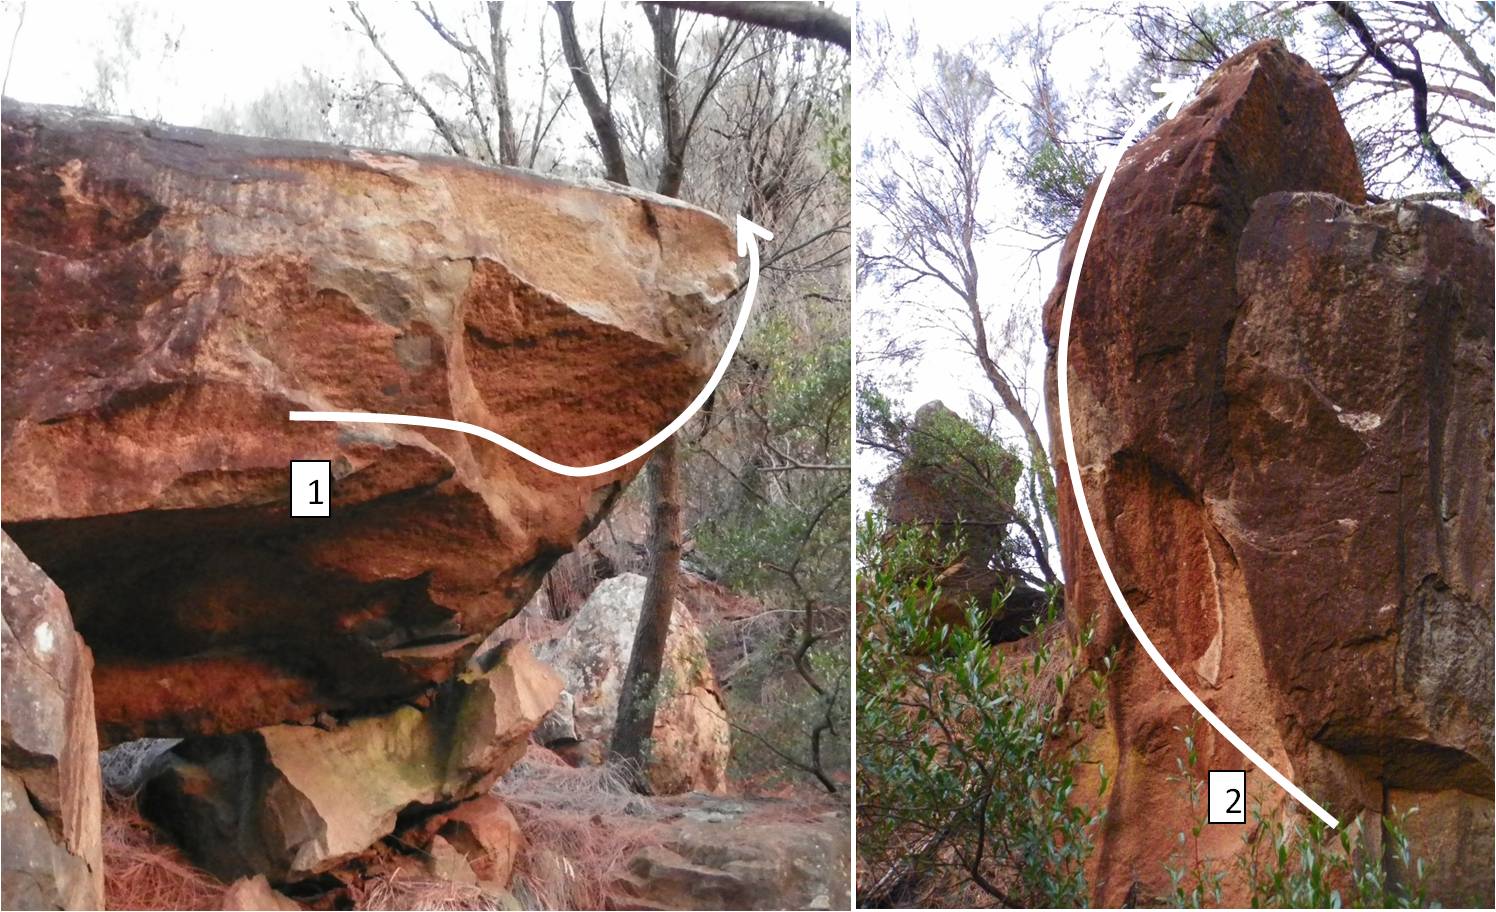
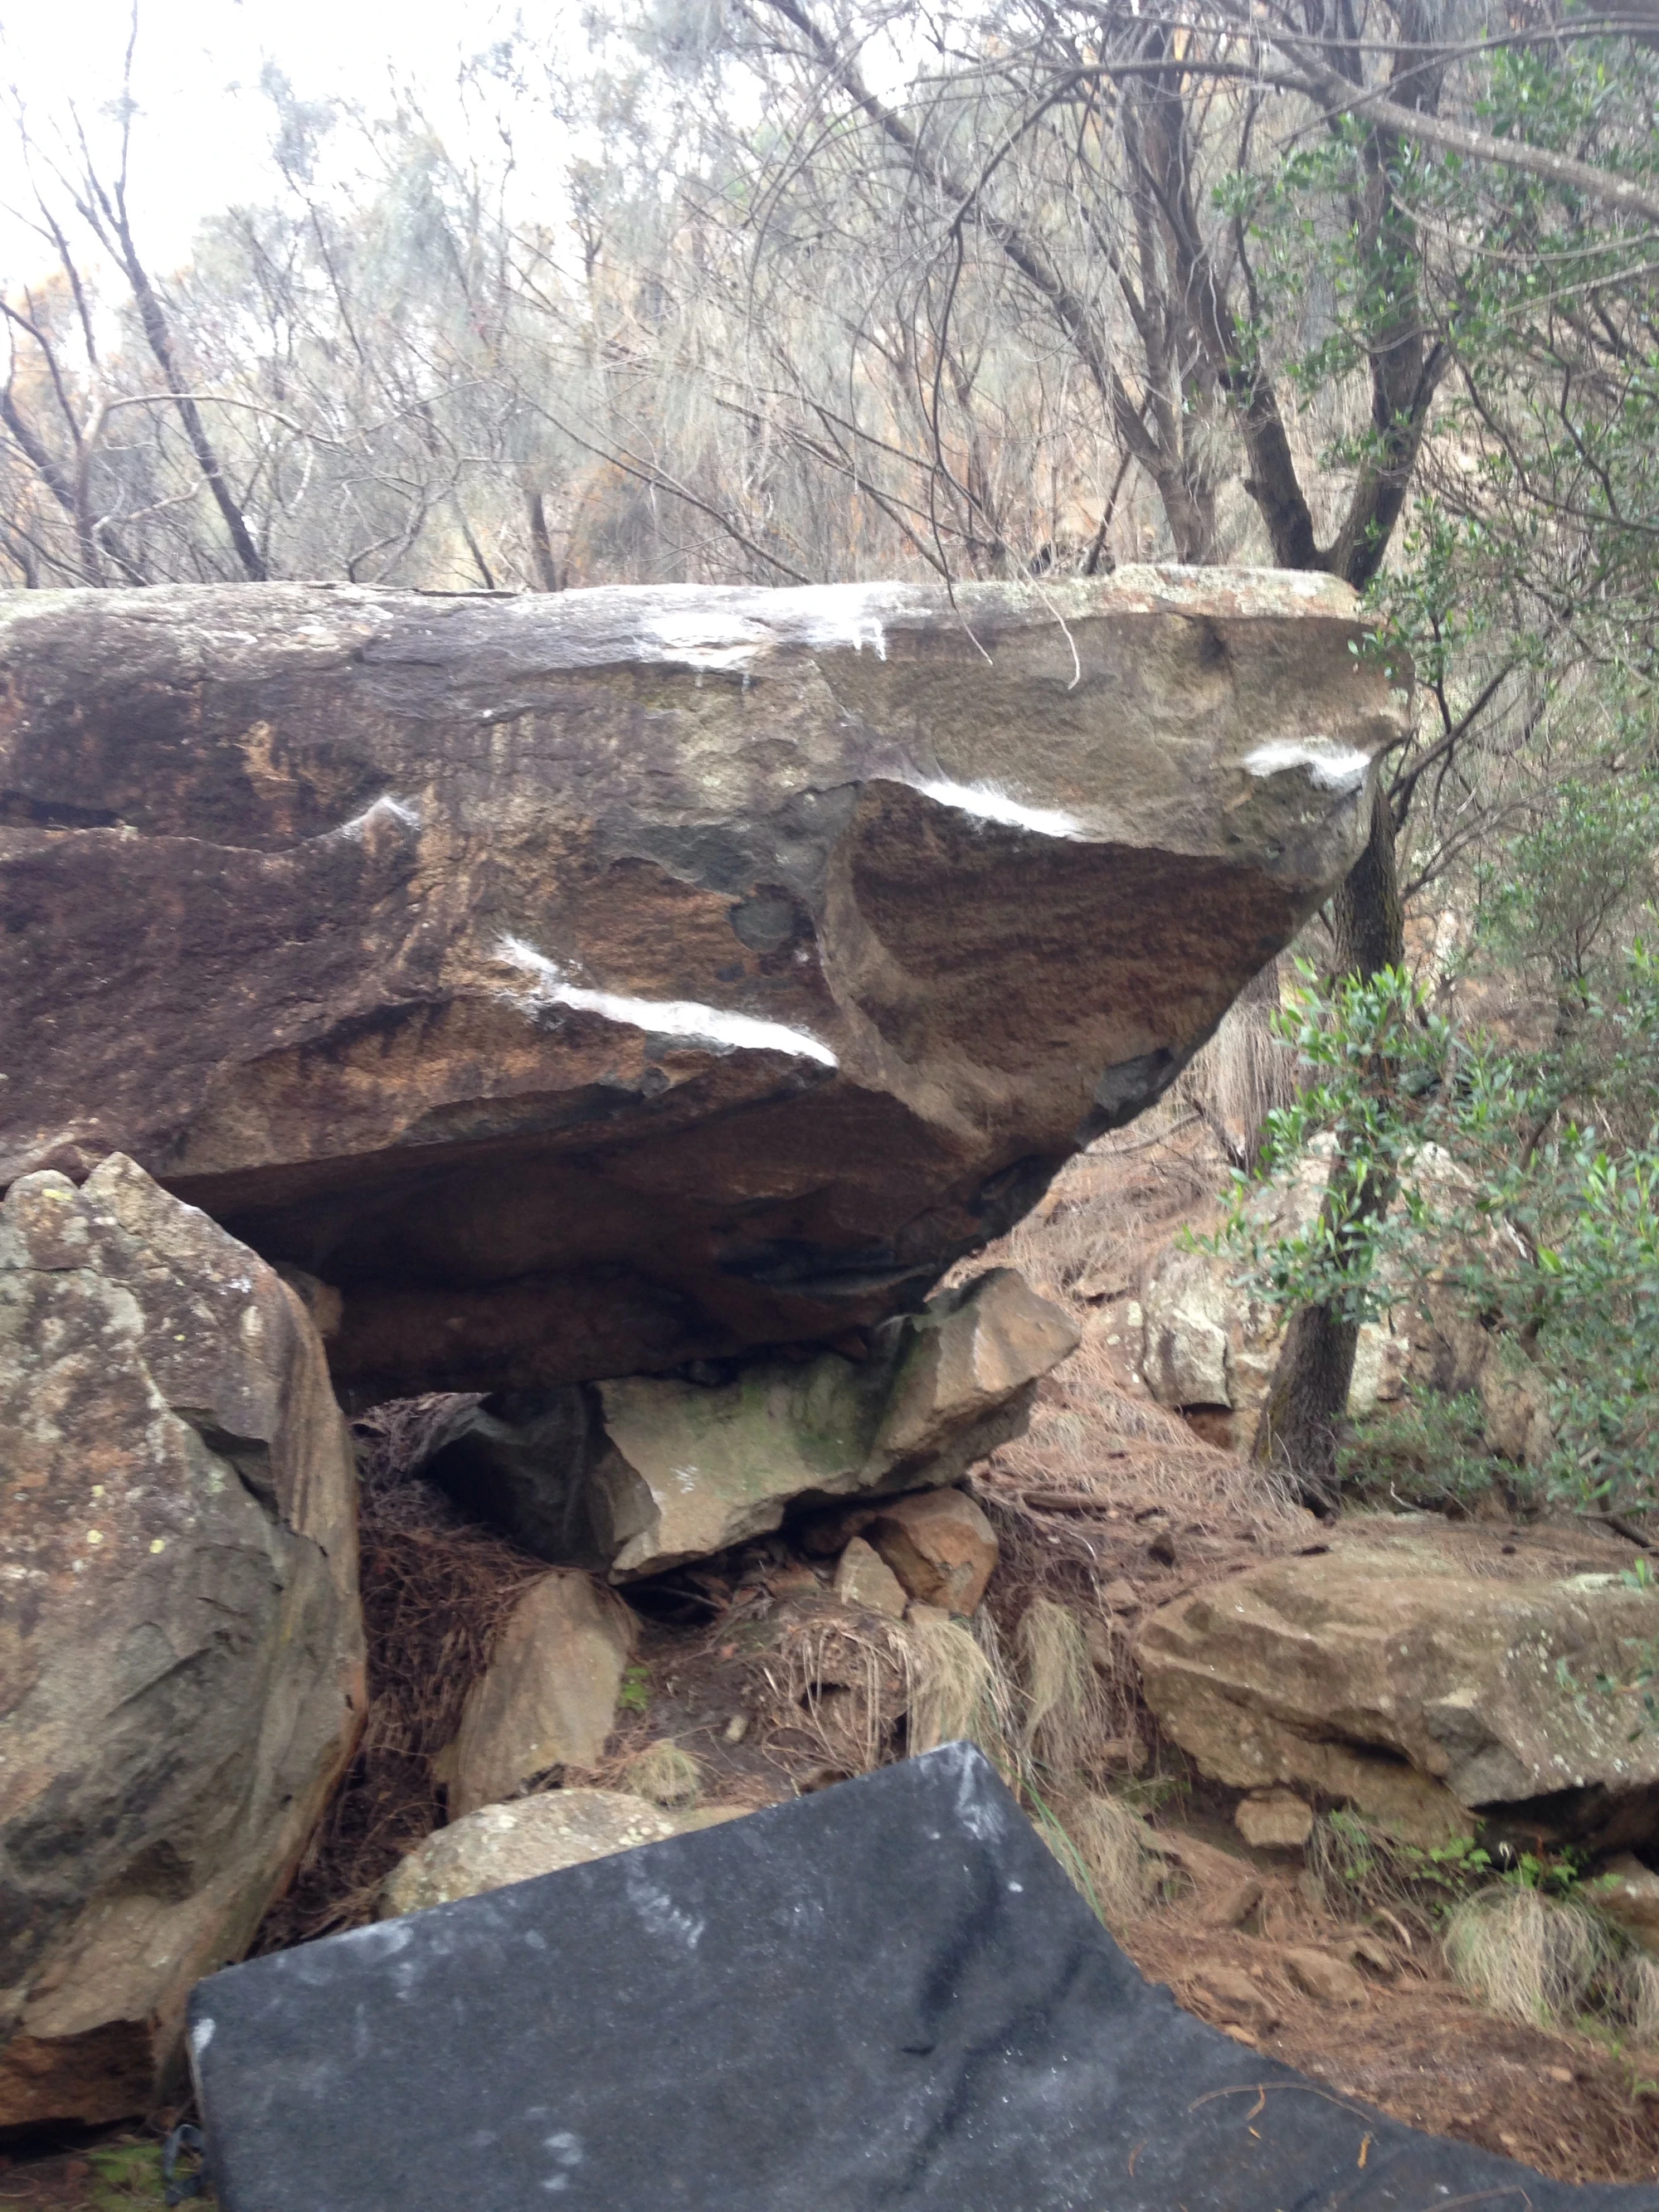
Topo: theCrag contributors, CC BY-NC-SA 3.0, theCrag
A nice balance of tension and compression. Start on a small crimp and sloper at the far left side of a slopy rail (a toe-hook may help to get you started). Move right to the knife-blade arête and top out.
Start as per Condensed Ham but move straight up to a rounded top out.
If standing in front of Condensed Ham, this boulder is about 7 metres back and to the right. Start matched on a low right facing sidepull and trend slightly leftwards over the bulge to a tricky top out. Although not technically high, the landing slopes severely only to be mitigated by the fact that if you fall from the crux (which is near the top) you'd likely land in a bush that may or may not keep you from rolling down the hill. The first ascensionist threw a pad over the bush to make himself feel better, which may work for you too. See no evil...
The Sushi Grove
Slab on the far R with small block at base. Climb the face using double aretes.
From: theCrag
On boulder R of slab. Mantle low block, then up face and R arete. Slightly spicy top out.
From: theCrag
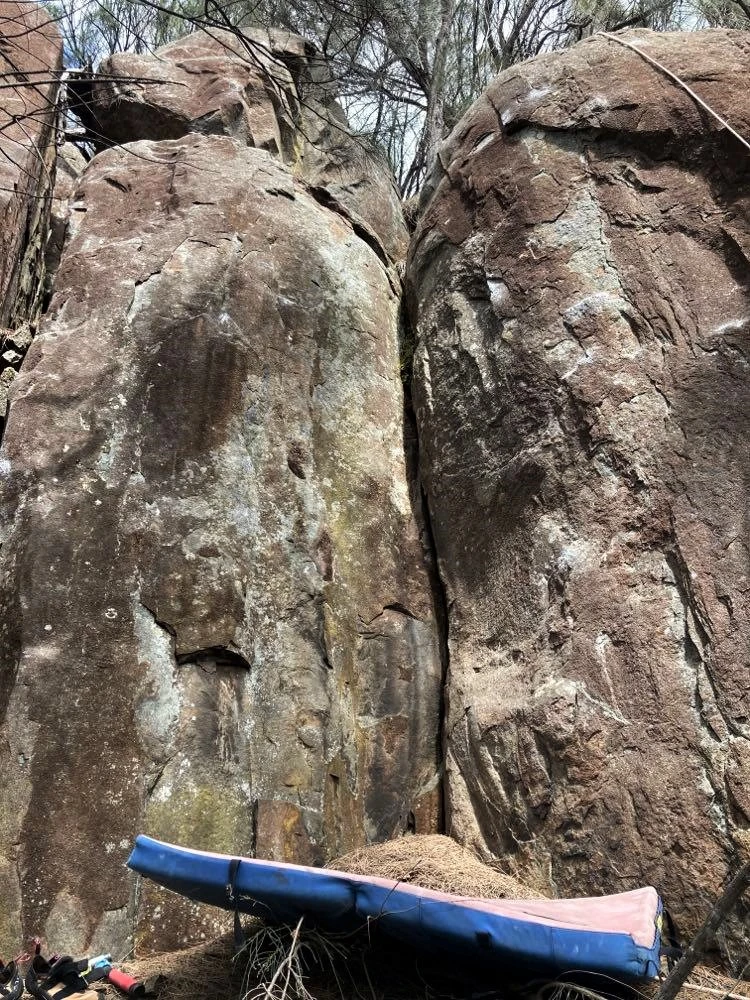
Topo: theCrag contributors, CC BY-NC-SA 3.0, theCrag
Highball. Stand start with L hand on arete and R hand on large hollow sounding flake. Good holds most of the way. Avoid far RH blocks at top as they may be a little loose.
From: theCrag
Highball. The face R of corner. Stand start on small crimps, to flat horizontal hold and large side pull. Big moves to a delicate finish.
From: theCrag
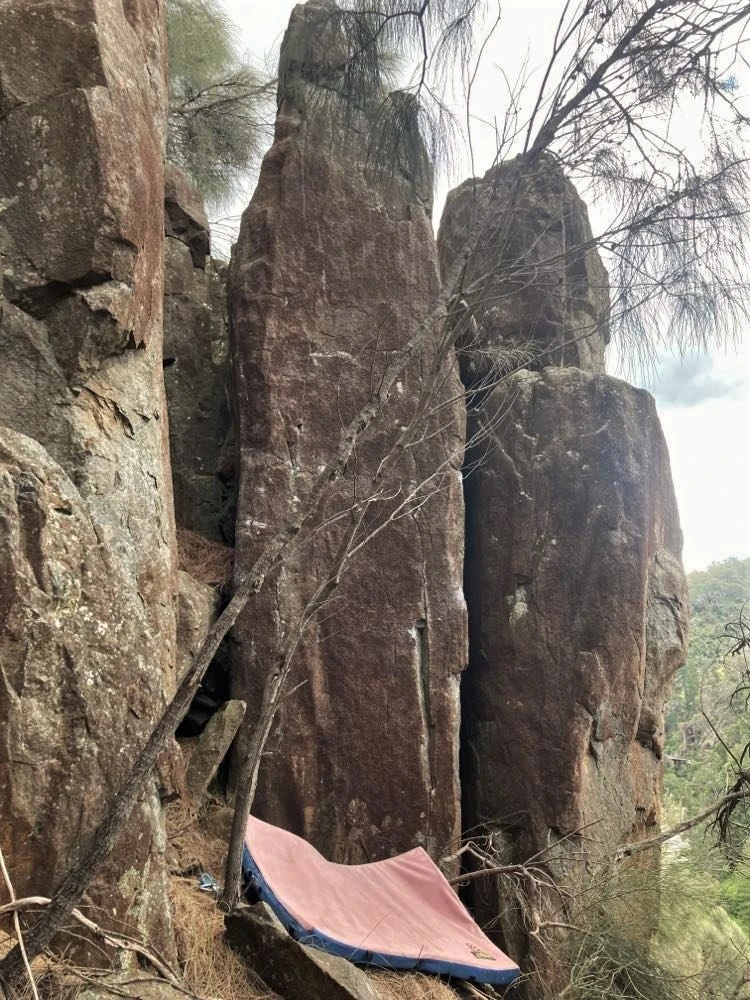
Topo: theCrag contributors, CC BY-NC-SA 3.0, theCrag