
Suspension Bridge Area bouldering
 1-10 min
 Dolerite
Access
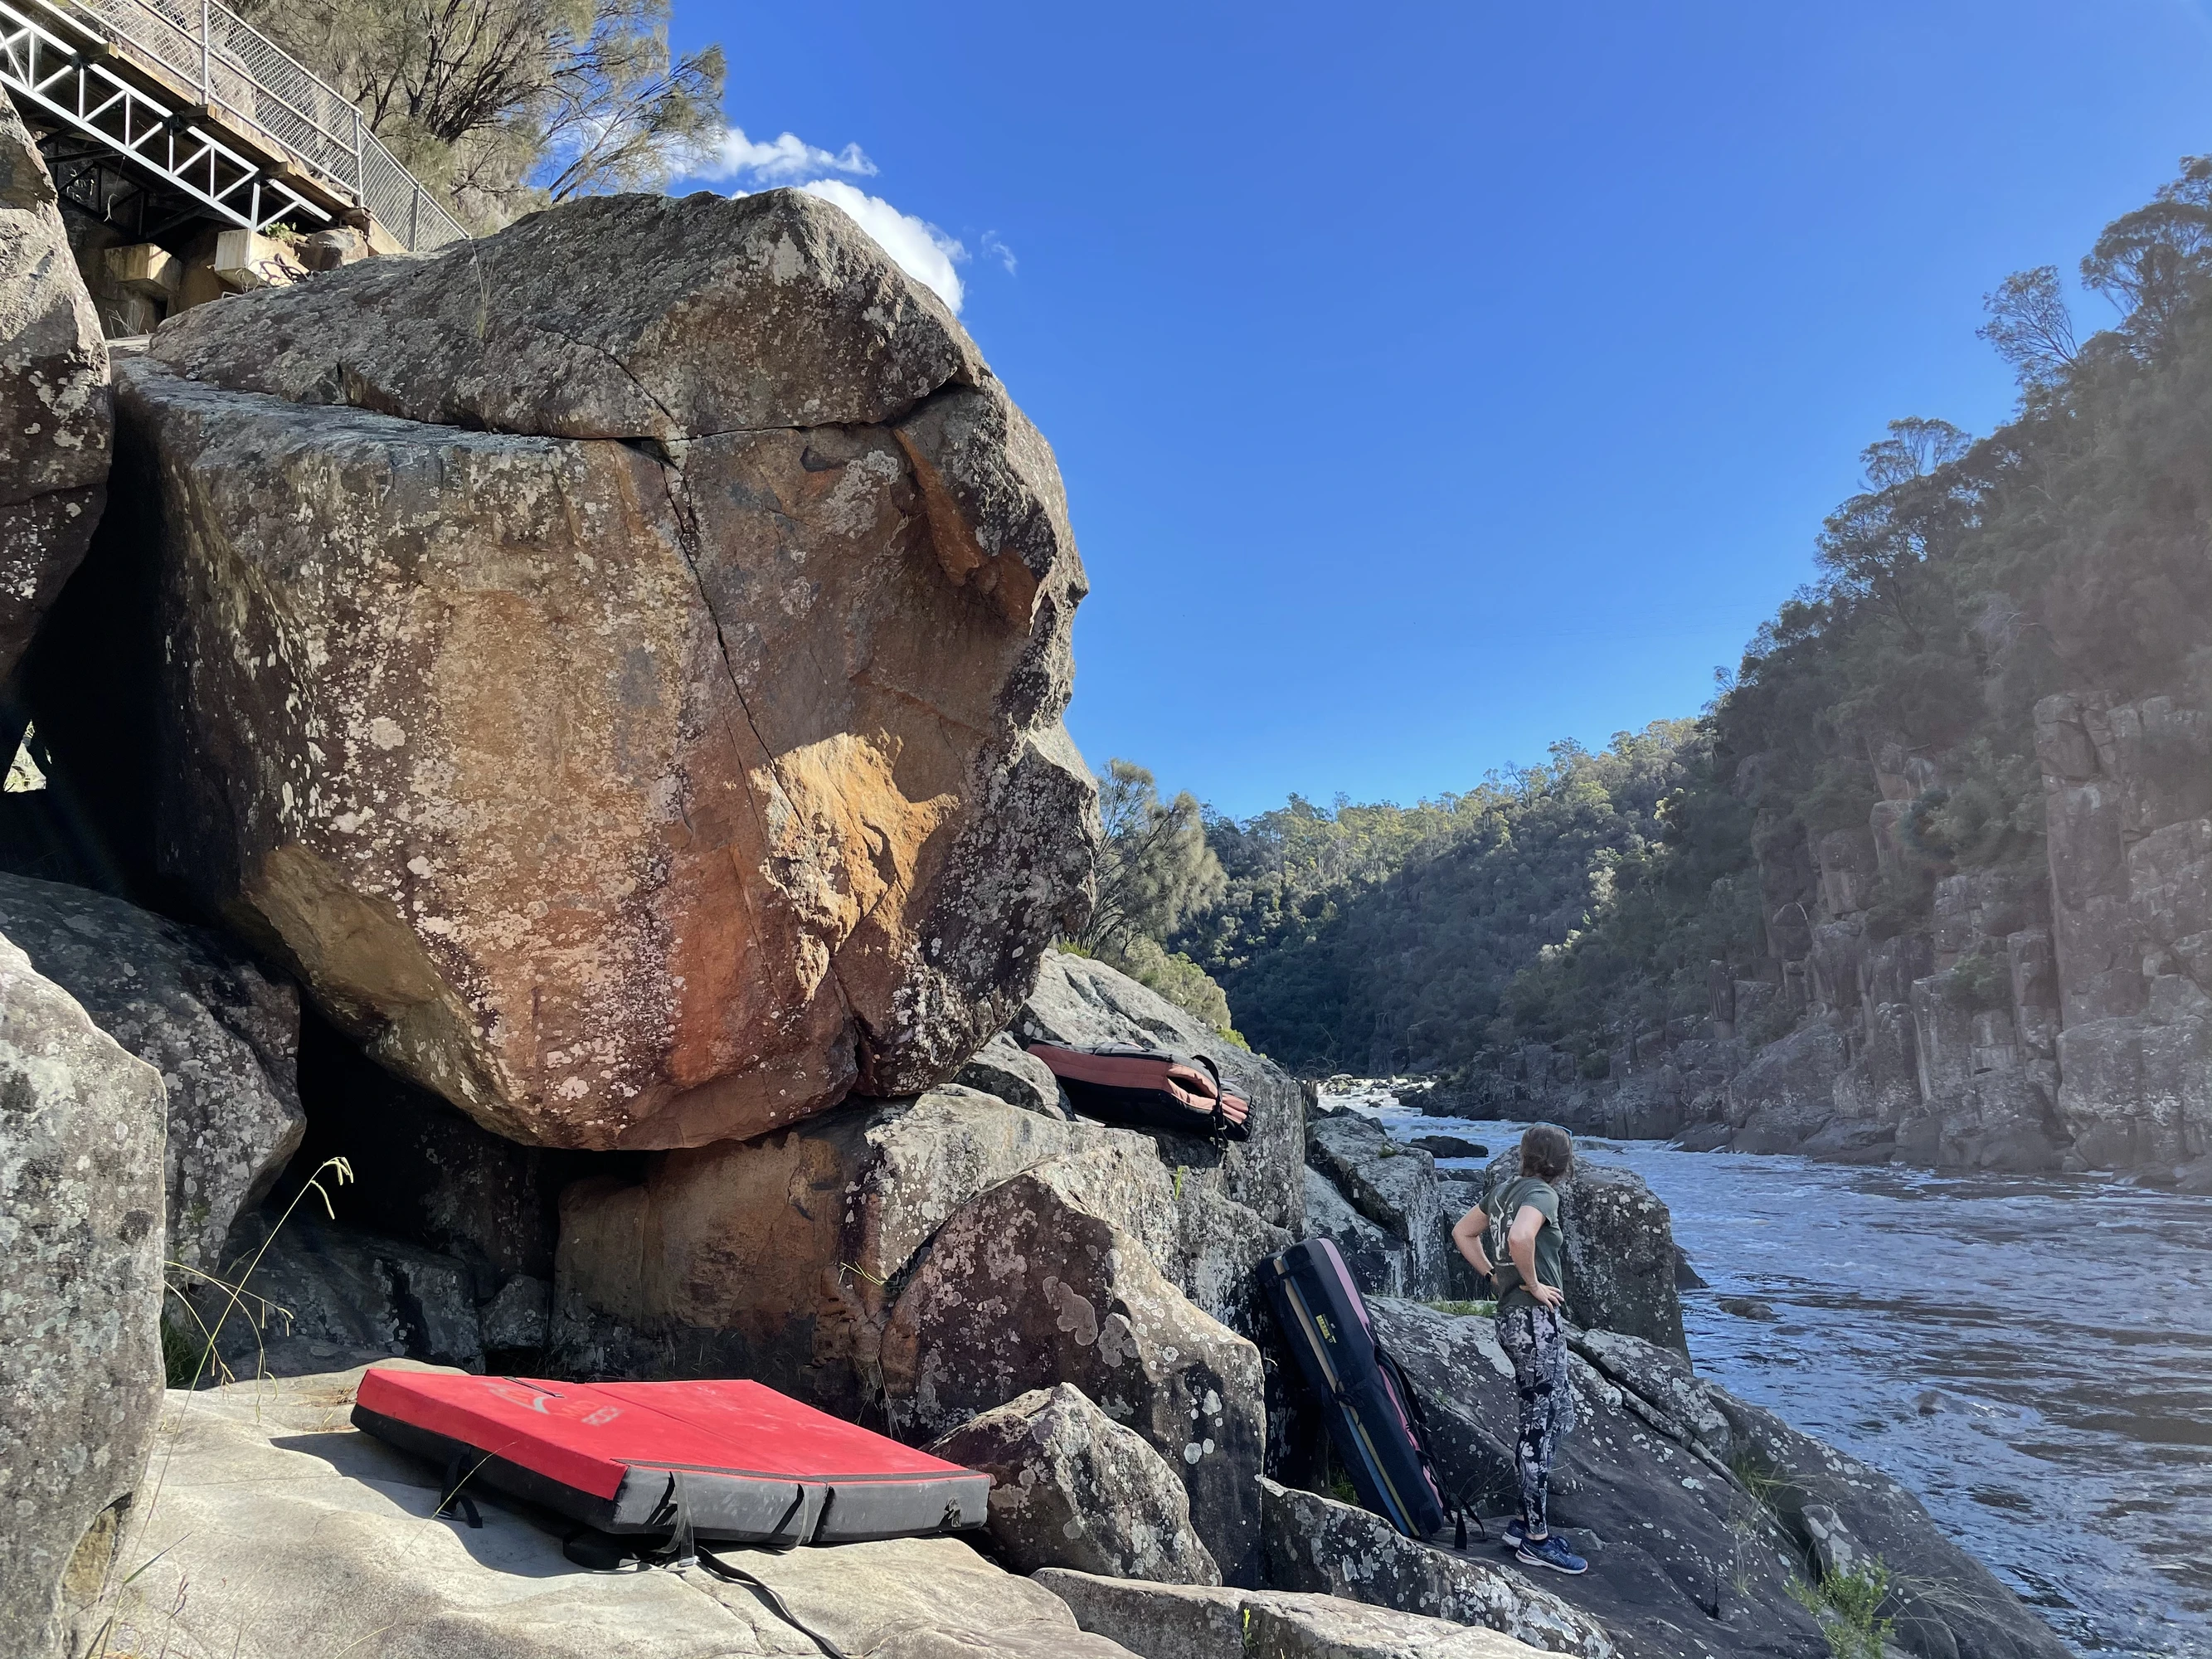
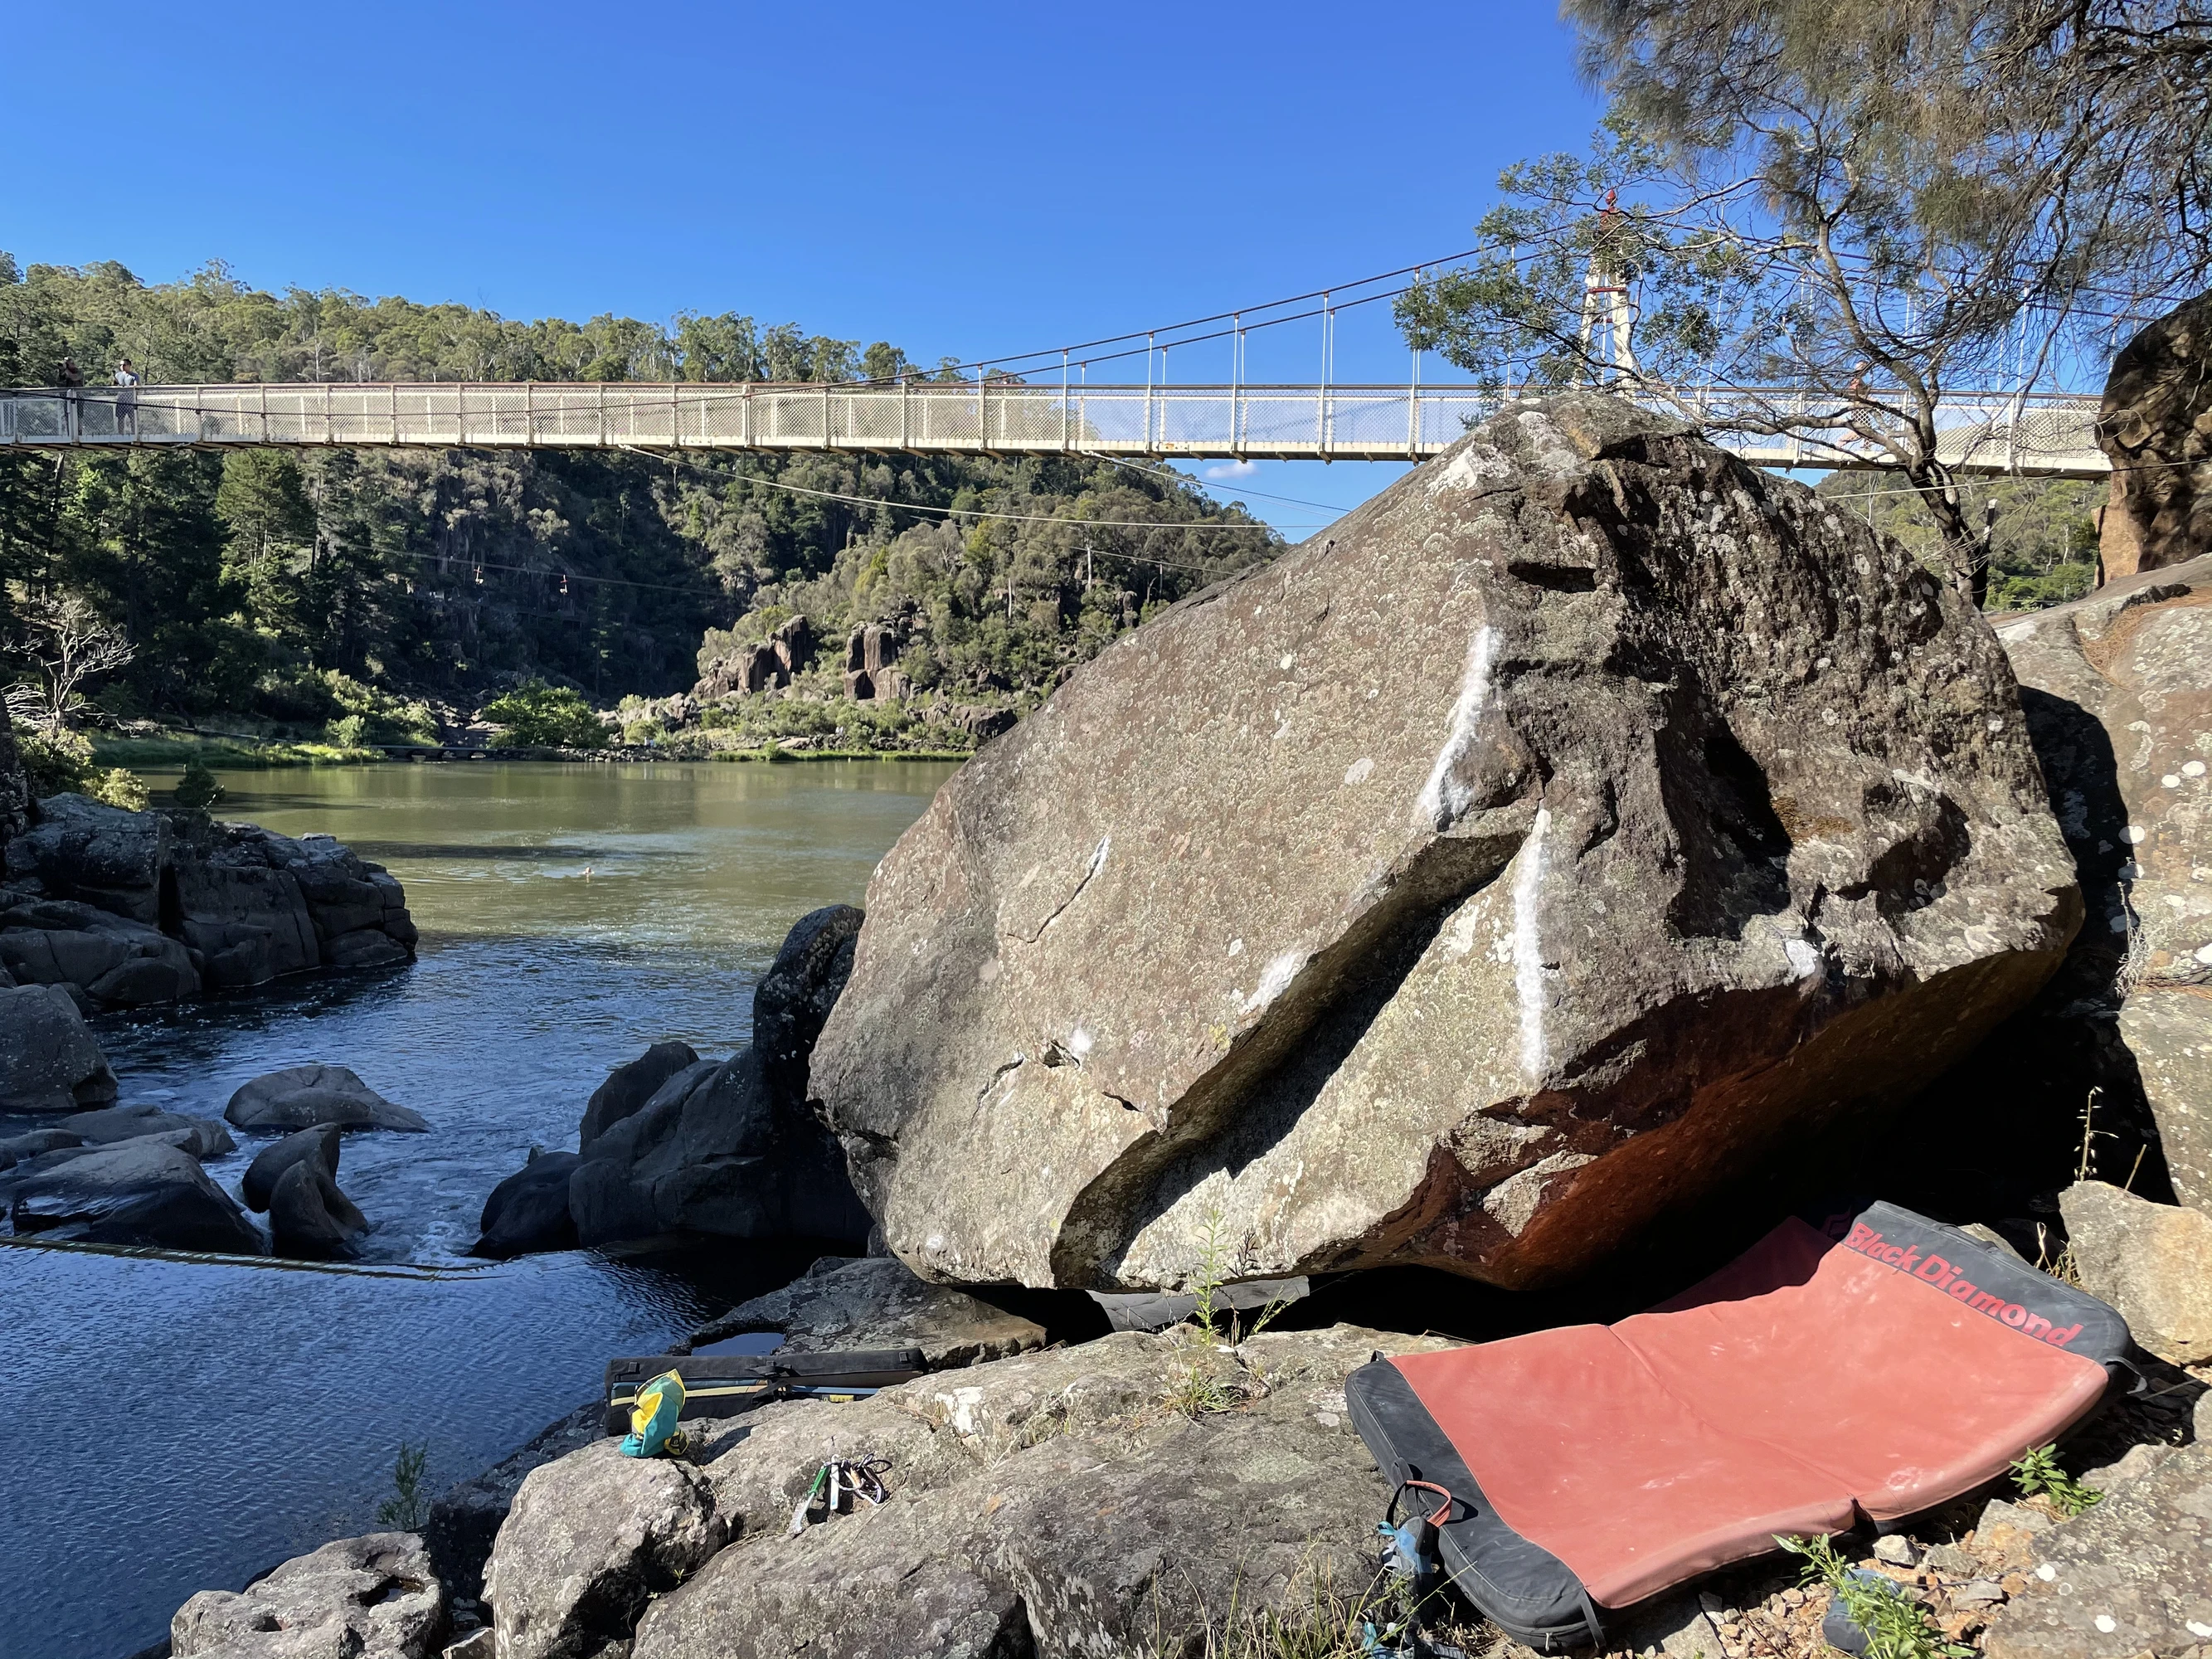
From the Basin car park on the West Launceston (south) side, go through the gate and walk west along the Duck Reach track to the Alexandra Suspension Bridge. Hop the fence to the left of the bridge and scramble down to the water upstream of the bridge. The first large boulder, with an overhanging face towards the bridge, is the High Water Block. The areas that follow are described in the order you come to them. Some boulders can be fully flooded when the river is running high, although that is rare. This area is upstream of the bridge on the Basin side; for the boulders on the Duck Reach side see Duck Reach bouldering.
GPS
High Water Block
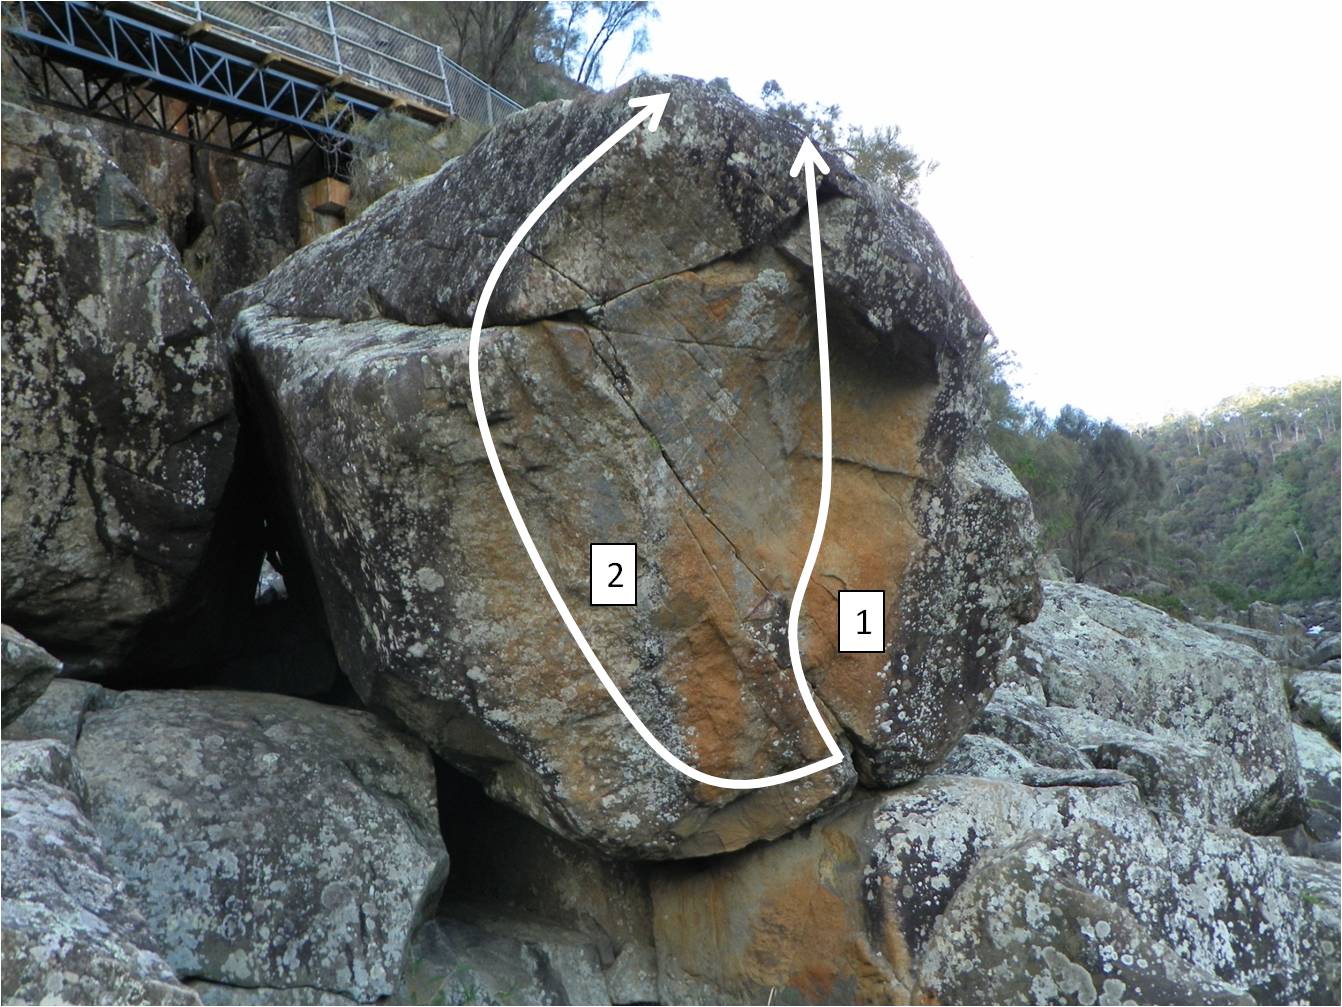
Topo: theCrag contributors, CC BY-NC-SA 3.0, theCrag
Just up-river of the suspension bridge on river-right is a boulder with an overhanging orange face. Sit start on the right facing large sidepull at the bottom of the boulder with feet on the pedestal below (The pedestal is split by a crack not far to the right of where the boulder sits, don't use feet right of the crack). A tricky first move, involving an improbably looking pinch or alternatively some small gaston crimps, leads to some better holds to gain the lip only to be followed by a heart-breaker slopey topout.
Start as for the previous problem but move out the belly of the boulder to the left, then up through and angled small crack to the lip. Top out over the point.
From: theCrag
Topo: theCrag contributors, CC BY-NC-SA 3.0, theCrag
Stand start in the centre of the slab, with a great 2 finger pocket for your right hand, and a single finger one digit crimp, from there head straight up the slab to top out.
Tommy Krauss, 2021 · From: theCrag
Same climb as High Water Face but as a sit start. Start matched on sidepull flake.
Bevan Ashby, Apr 2023 · From: theCrag
Stand start with two opposing underclings on the shield, head right via underclings and follow the arete up to top out over the highest point of the boulder.
Tommy Krauss, 2021 · From: theCrag
Sit start High Shield with a right undercling pinch and left hand in the two finger Gaston pocket. Pull off the ground and into High Shield and finish the same way. Harder than it looks!
Tommy Krauss, Feb 2021 · From: theCrag
Sit start under the prow, left hand on the arete, right hand on a good sloper on the low lip, slap your way up to easier finish.
Tommy Krauss, 2021 · From: theCrag
Around 1m right of High Prow, sit start on the low lip and mantle to easier top out.
From: theCrag
Start as for the previous problem but move out the belly of the boulder to the left, then up through an angled small crack to the lip. Top out over the point.
Suspension Boulder
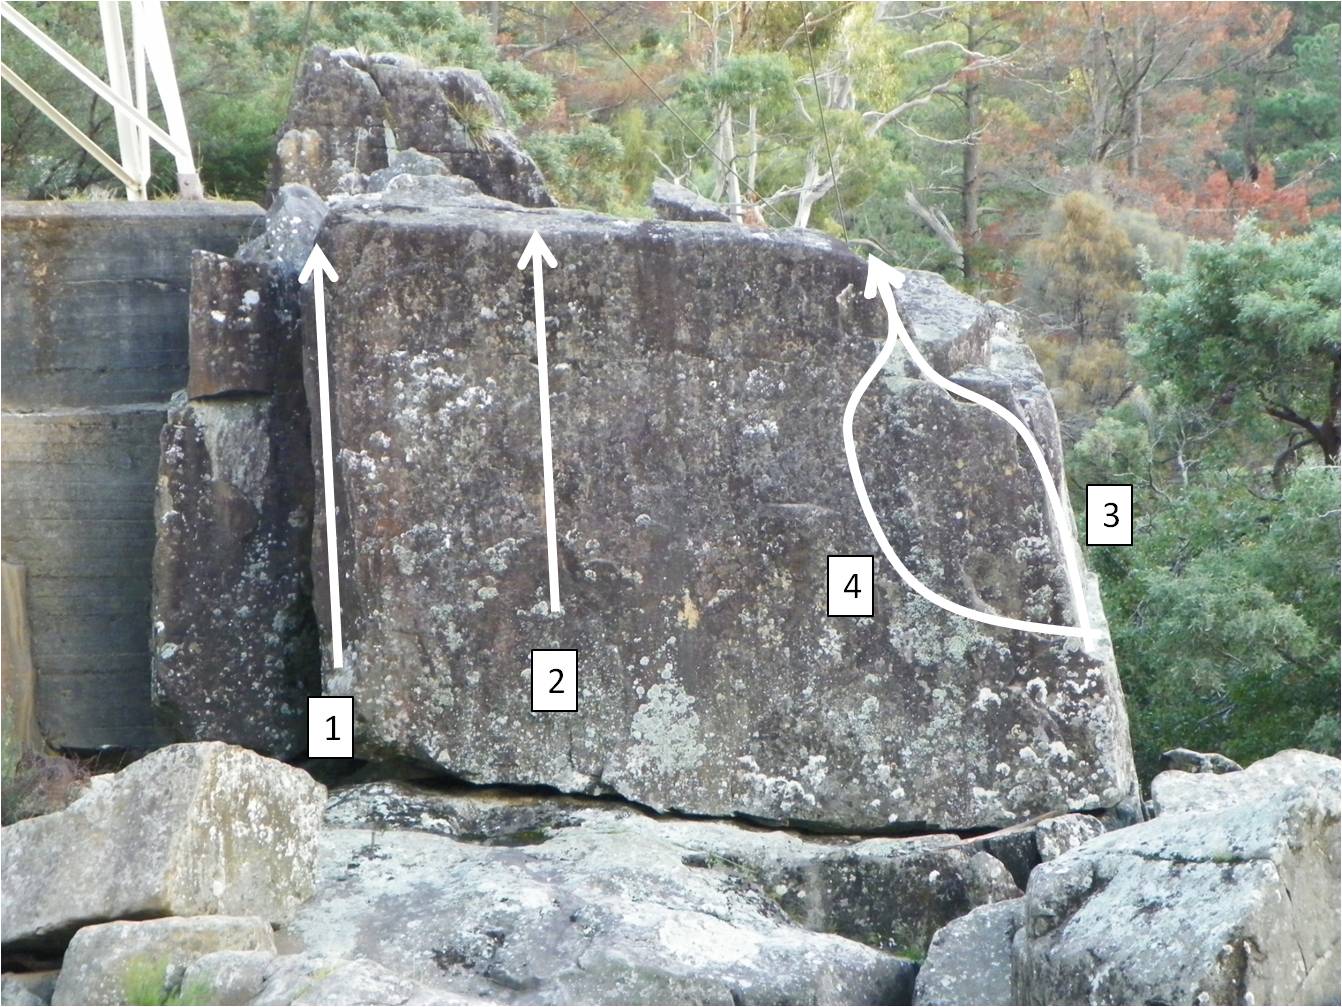
On river-left, just under the suspension bridge is a tall face. This problem climbs the up-stream blunt arête.
Start on some very small crimps at about head height and move up through more crimps to the slopey lip and top out. This problem is tall, but the landing is flat and can be well protected with pads.
Start on a waist-high jug on the right corner of the face. Move up left to a flake and continue up this to the top.
A bit of a contrived line, however you get to use a pretty amazing tufa-like feature not usually seen on dolerite. Start as for the previous problem but move left up to an angled rail and continue up and left past the tufa and a pretty good ledge to a big move to rejoin the previous problem.
Low Water
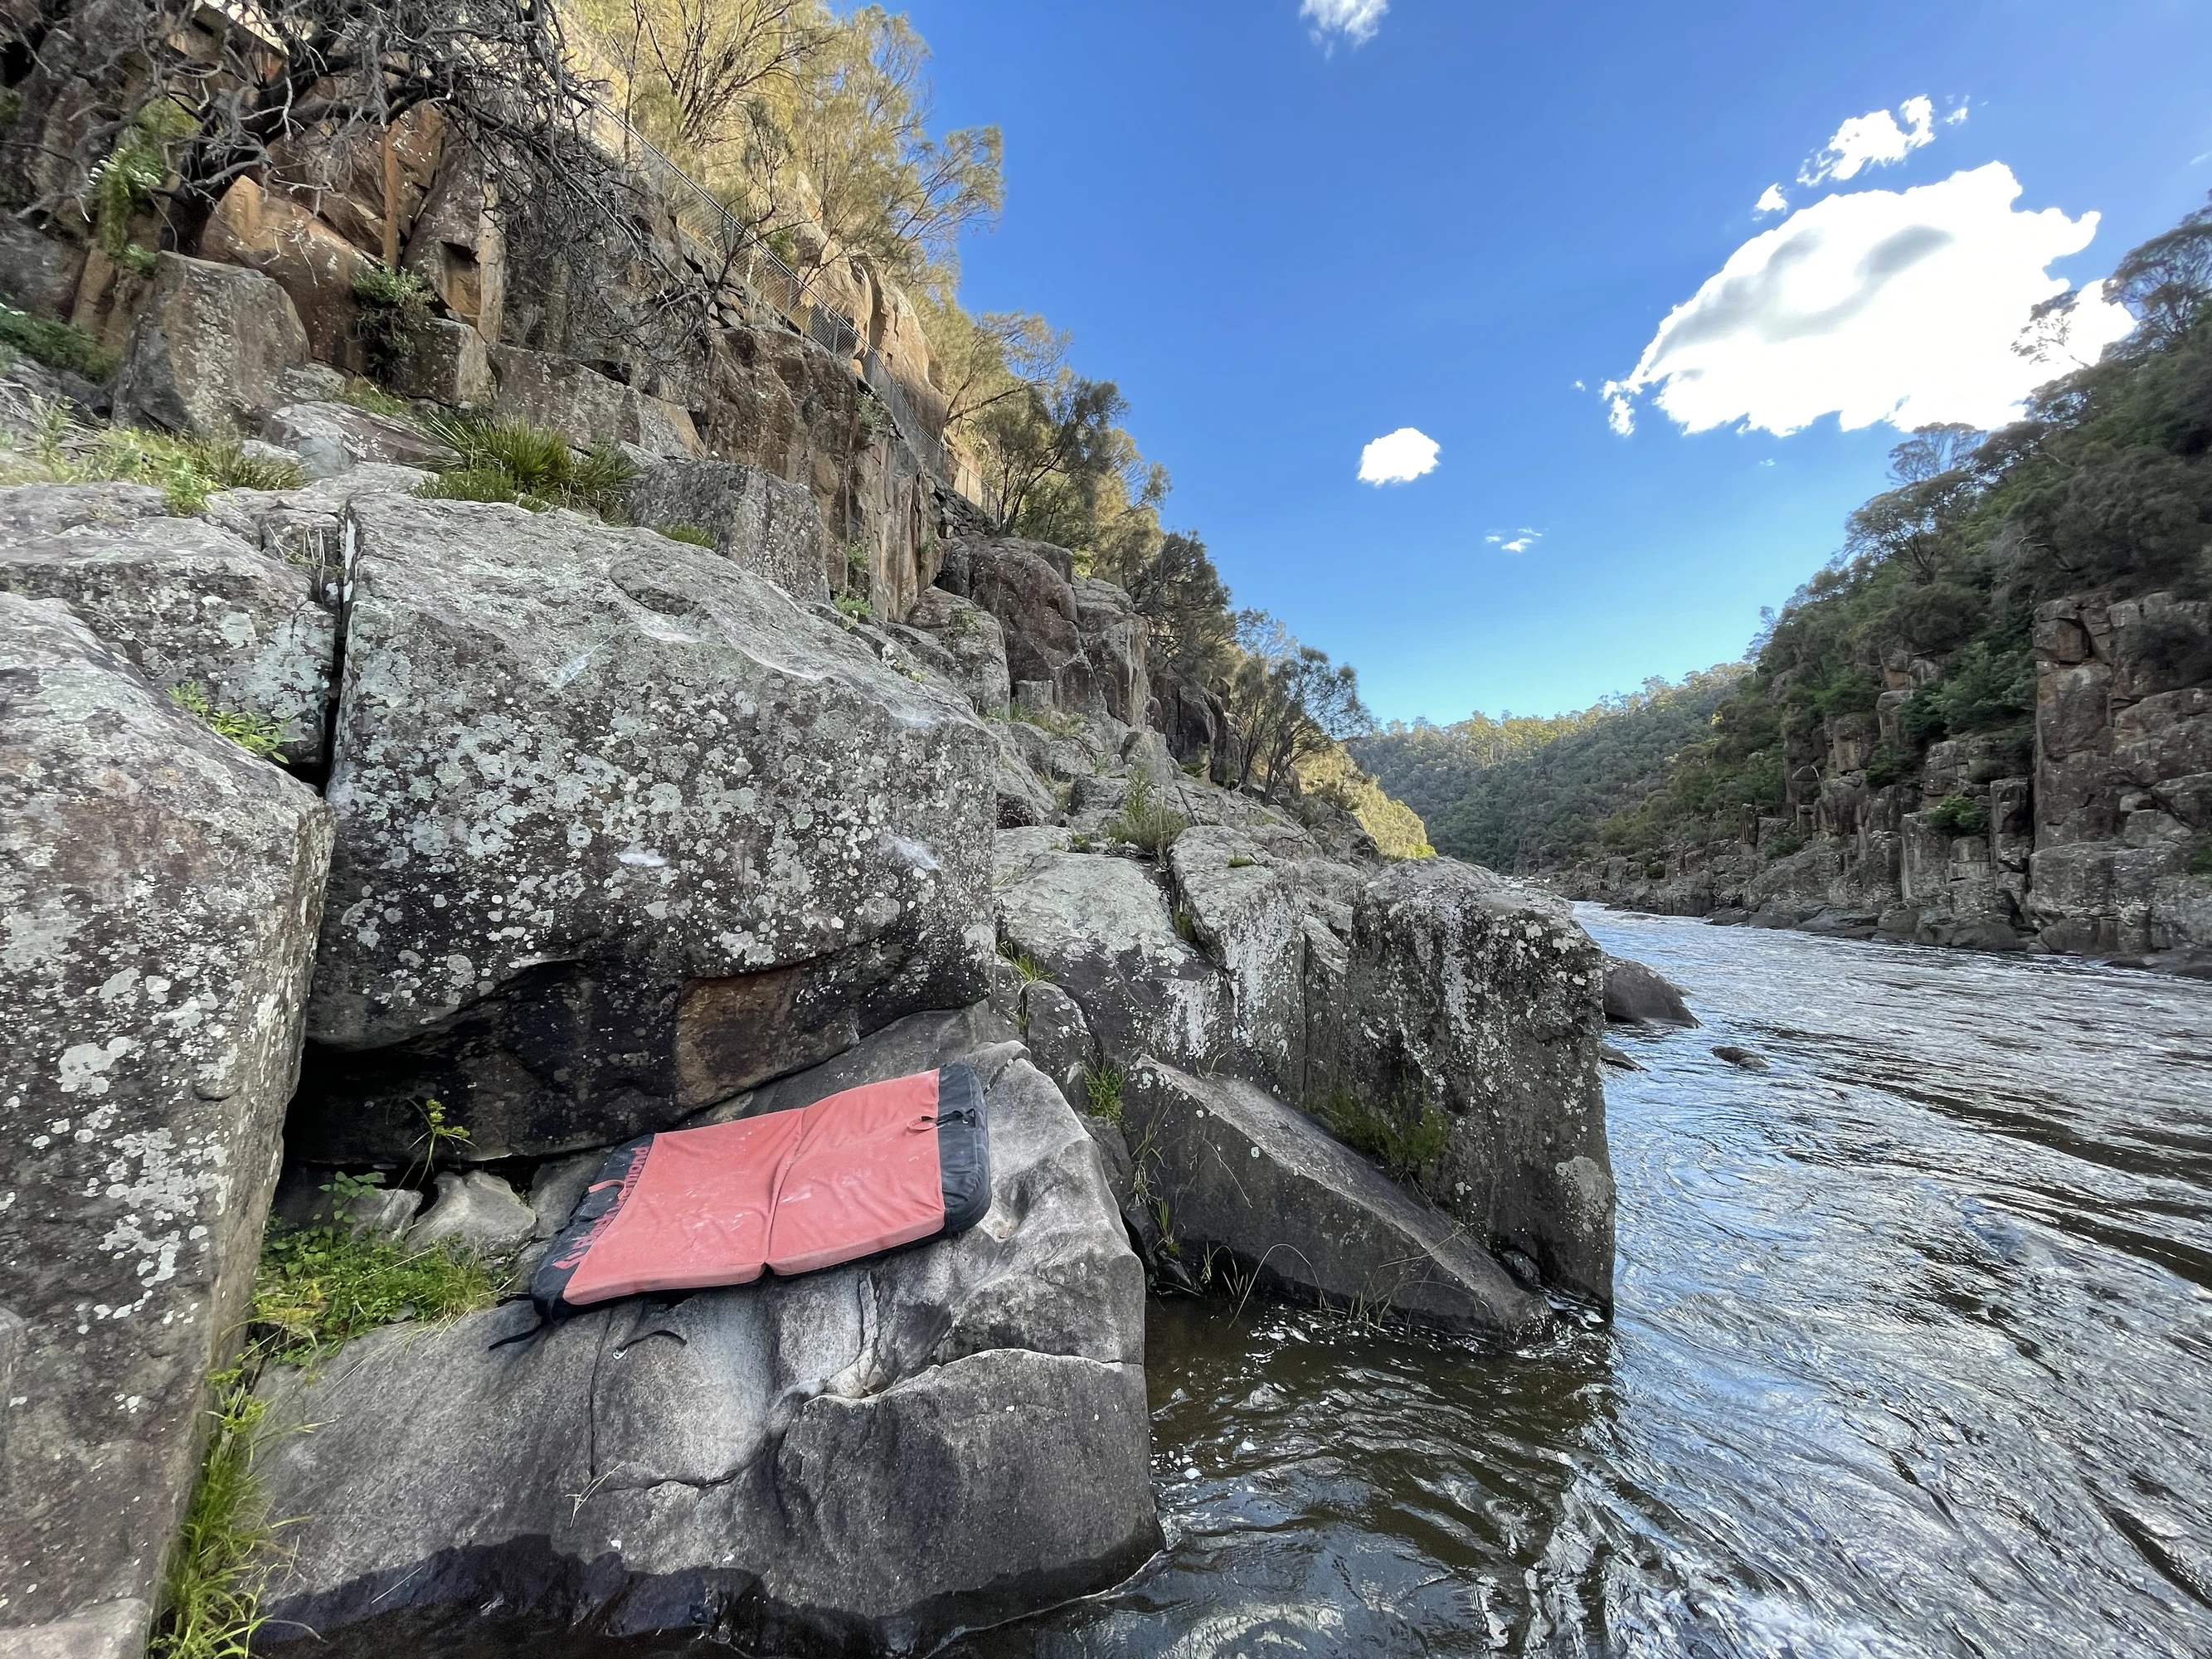
Topo: theCrag contributors, CC BY-NC-SA 3.0, theCrag
Sit start with your left on the arete, right on a good pinchy hold, make hard moves on the arete and up via bad holds on the right.
From: theCrag
Stand start on 2 bad slopey edges with bad feet and mountain goat your way to the top. Very hard by the feel of it.
From: theCrag
Sit start to Dehydration via a left sidepull and right hand underclinging the base of the boulder.
From: theCrag
Crouch start on good incut crimps and bad feet, big move and mantle to the top.
Tommy Krauss, Feb 2021 · From: theCrag
Nelsons Corners
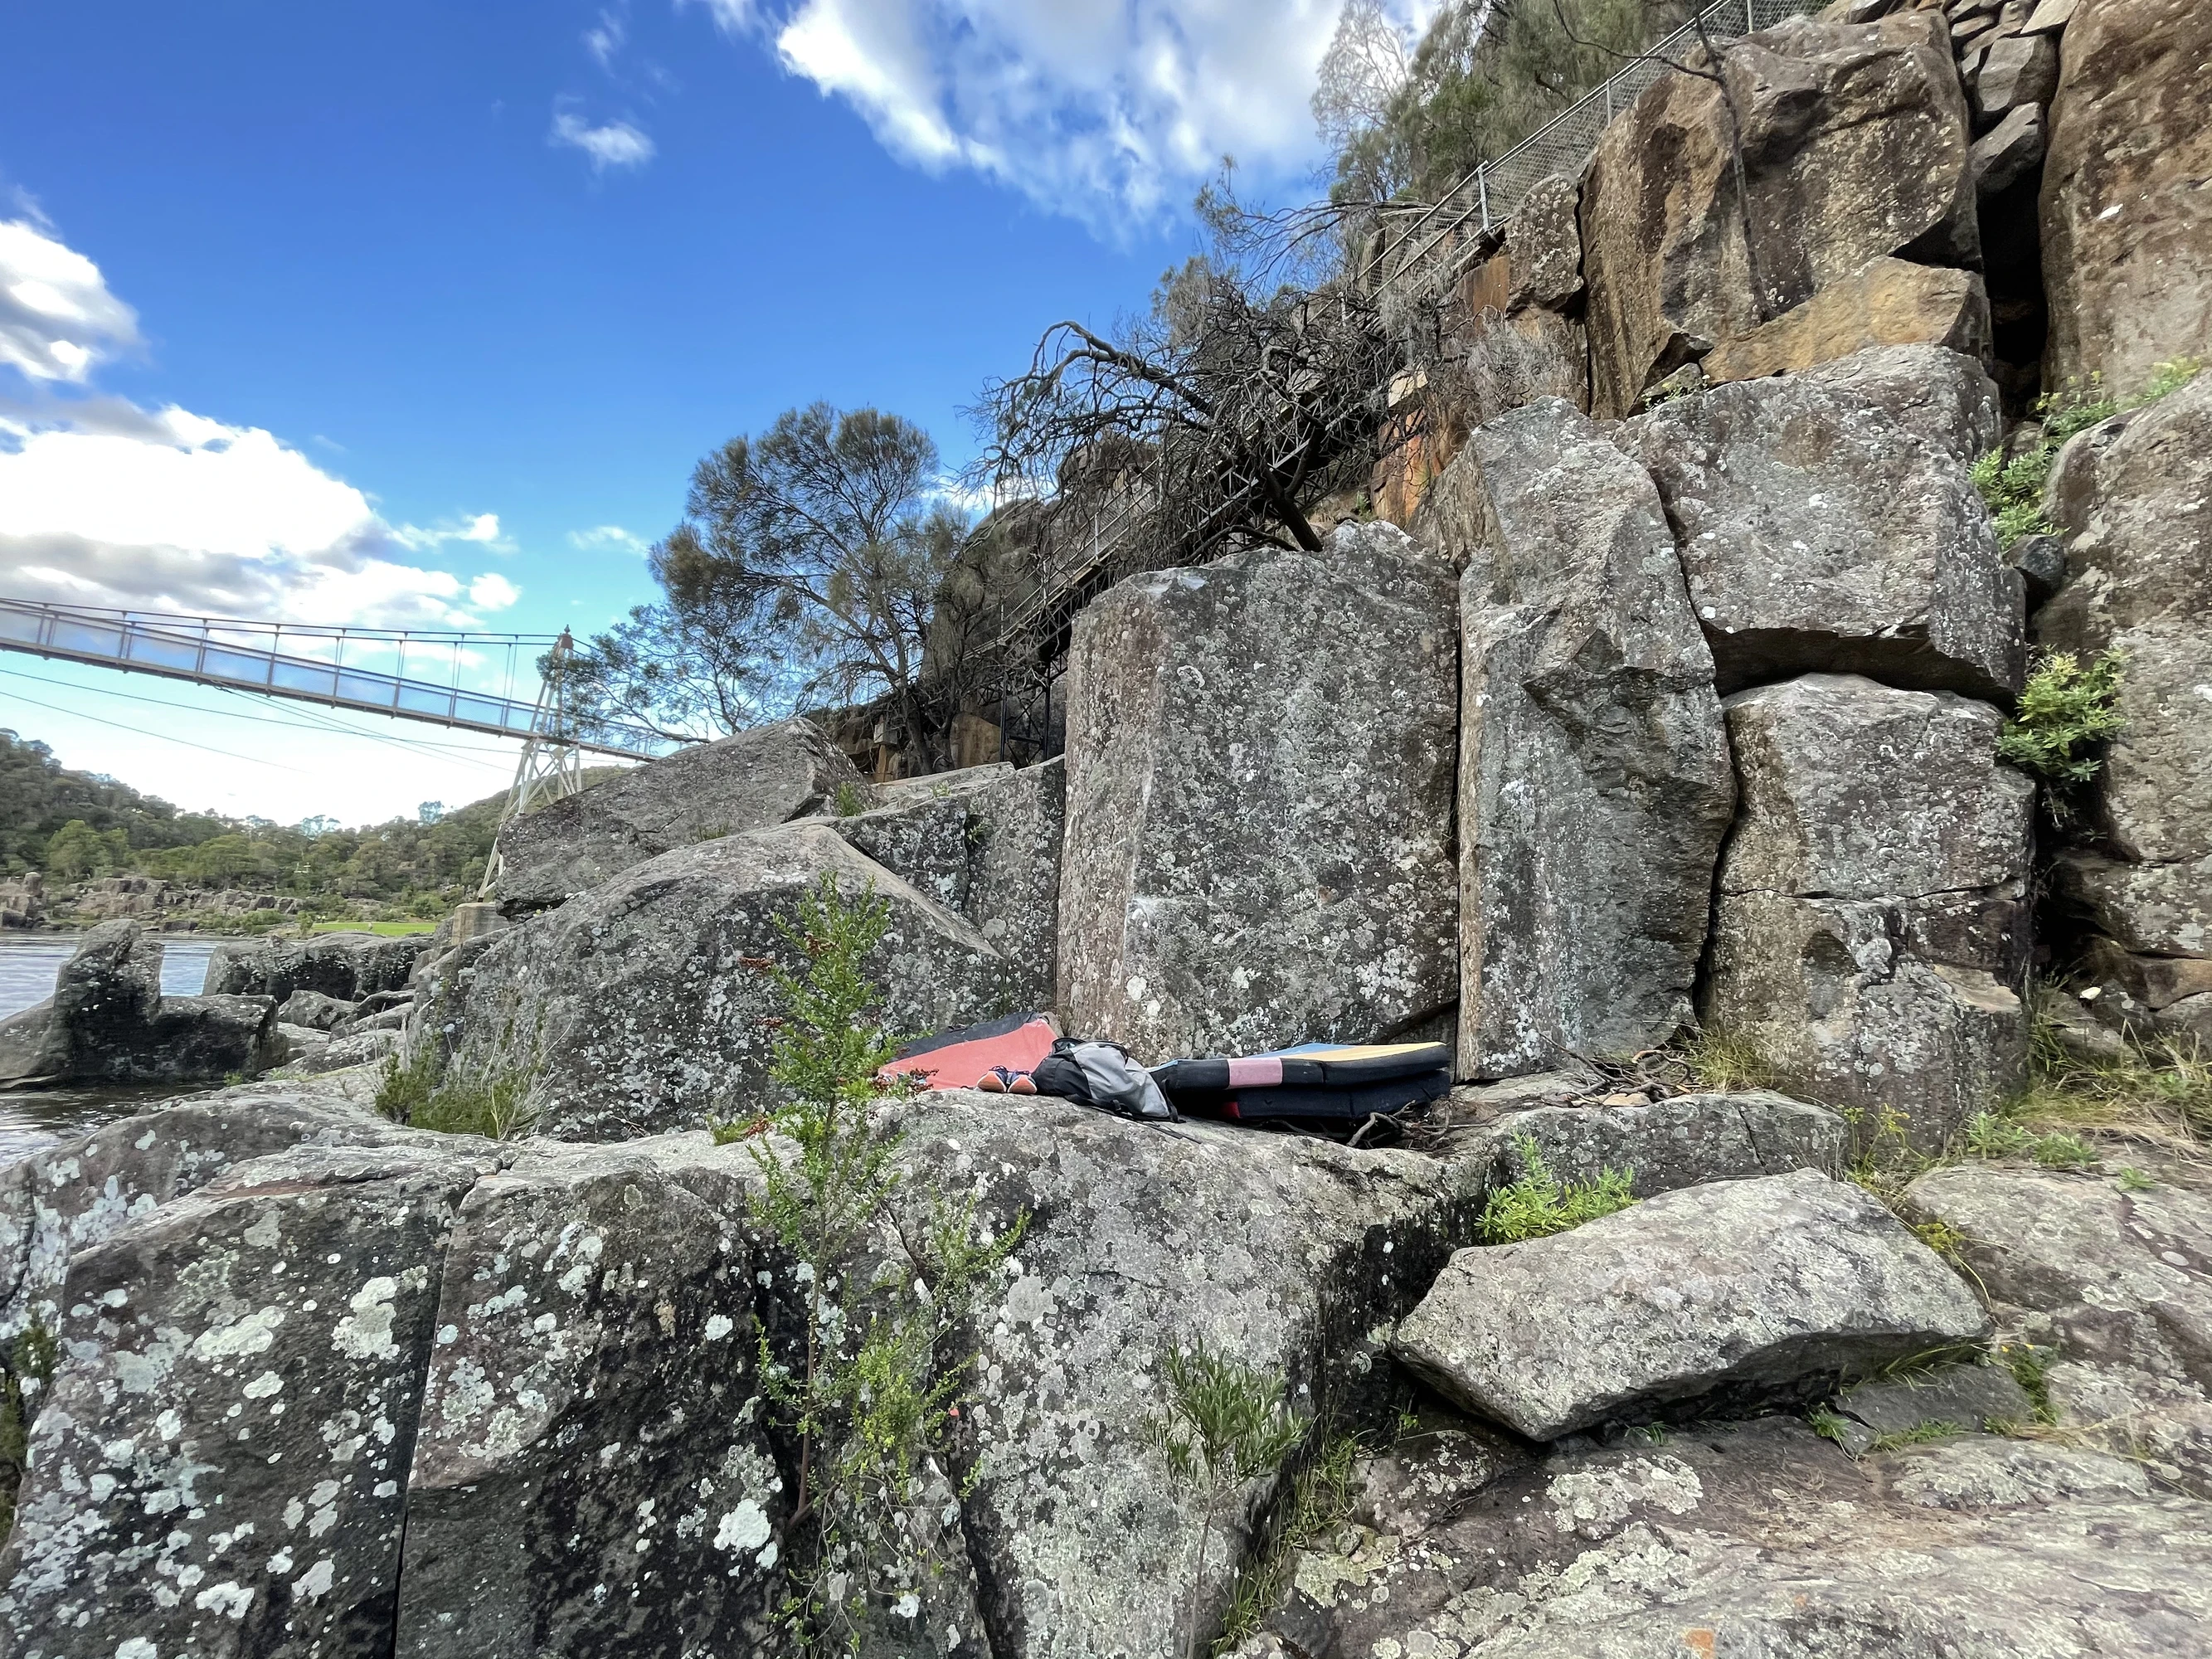
Topo: theCrag contributors, CC BY-NC-SA 3.0, theCrag
Hang start on two slopers on the lip of the short access ramp. Pull up and slap/mantle your way to glory.
Tommy Krauss, Feb 2021 · From: theCrag
Sit start matched on diagonal sidepull then climb the face without using aretes.
Bevan Ashby, Apr 2023 · From: theCrag
Corner crack. Sit start with finger crack. Climb crack to top
Jacob Dean, Mar 2023 · From: theCrag
Stand start with right crimp and arete. Climb arete until jug then top out with crack and block on right. Direct finish for someone more bold than myself
Jacob Dean, Mar 2023 · From: theCrag
Stand start with right hand on right side pull and left hand on obvious left side pull. Then pull on and make some compression moves up to a technical top out
Tommy Krauss, Feb 2021 · From: theCrag
Squat start on left side of the obvious arete with hands around shoulder to head height, establish before moving up arete using crimp 5 cm around the other side of arete and half moon shaped incut hold then continuing up and topping out
Jude Karpeles · From: theCrag
Sit start on good holds in the bottom right of the dihedral. Big moves get you to the left arete spanning the whole dihedral. Climb up and over the highest point of the boulder without escaping left.
Tommy Krauss · From: theCrag
stand start with left hand on left arete and right hand on right arete. Traverse across the wall and top out on the right of the wall.
Simeon McKee & Jude Karpeles, Dec 2025 · From: theCrag
Adventure Time
Adventure Time Walls
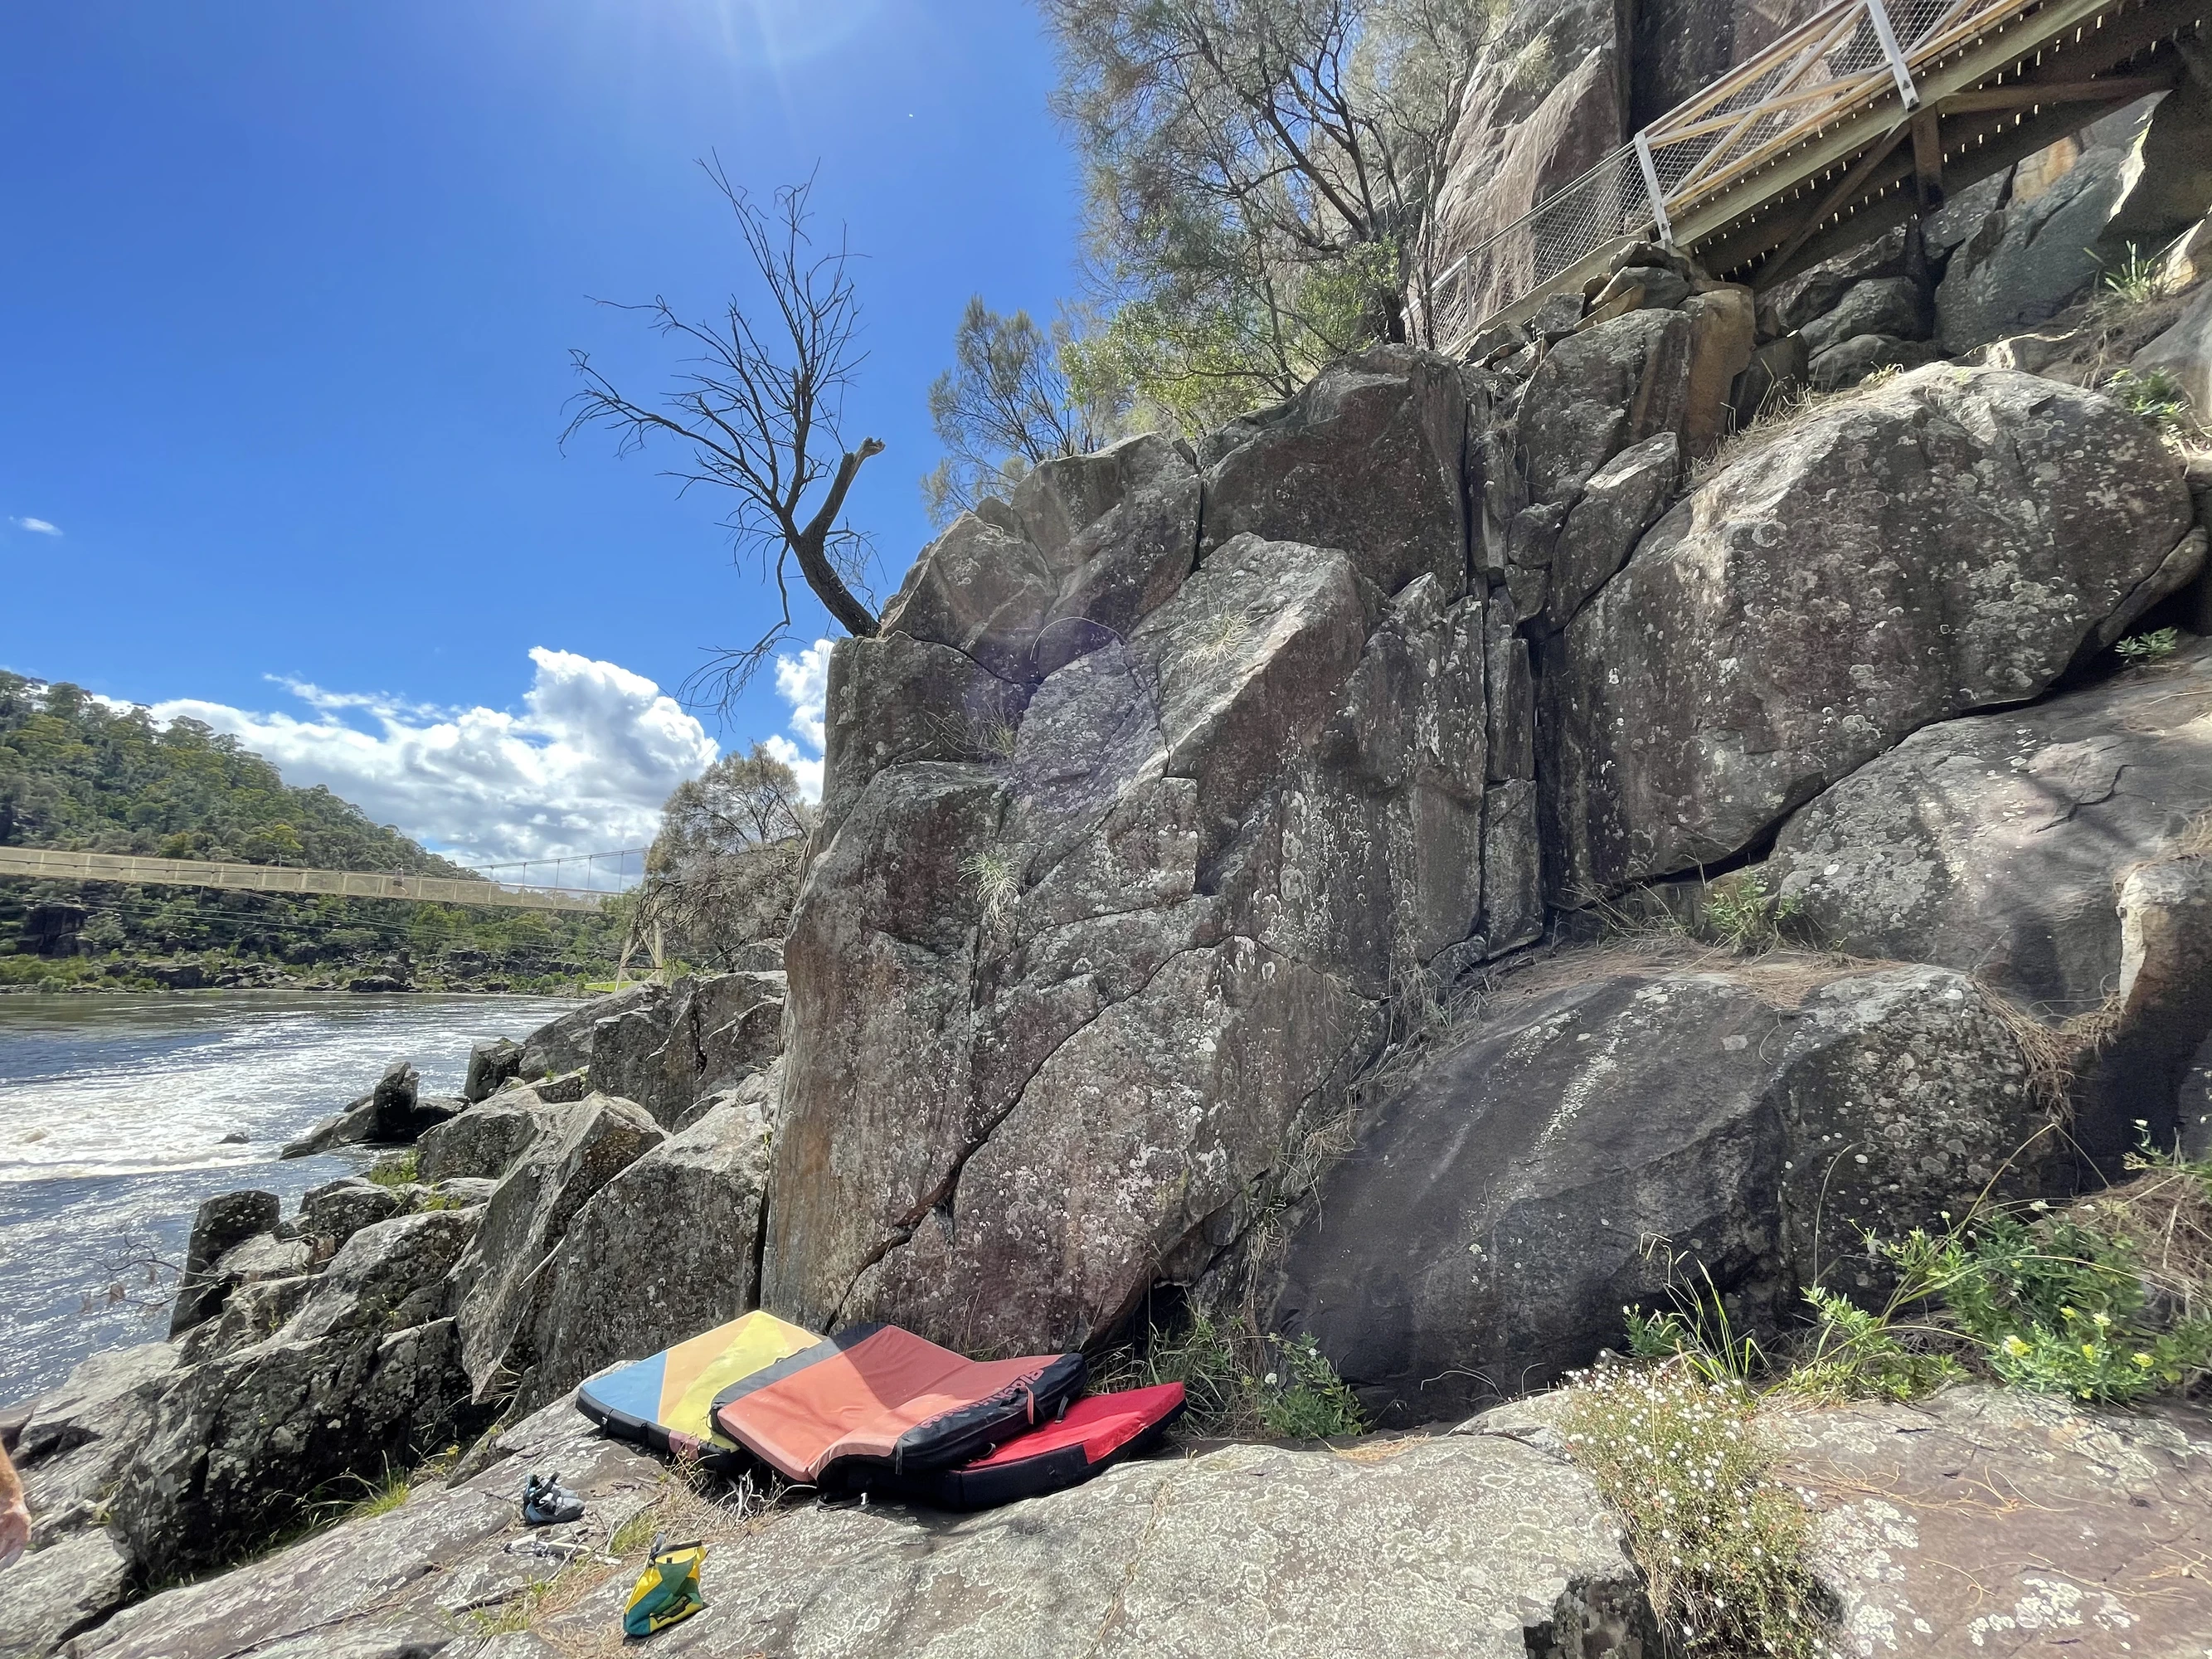
Topo: theCrag contributors, CC BY-NC-SA 3.0, theCrag
Sit start on the horn and follow the diagonal trending crack right and all the way around the walls to a committing mantle section. Either down climb the corner on the right or scramble up to the walking track.
Kris Penn, Feb 2021 · From: theCrag
Start on the same horn as Earl of Lemongrab and head straight up and over the highest bit of the wall. Careful at the top as it is rather high, easiest way down is to jump onto the walking track and hop the handrail on the other side back into the gully.
Tommy Krauss, Feb 2021 · From: theCrag
Start with right hand in the crack and left hand on the incut small undercling, traverse left along the underclings and eventually merge with Earl of Lemongrab, continue and top out the same way as you do with Earl of Lemongrab.
Simeon McKee, Dec 2025 · From: theCrag
Adventure Time Slabs
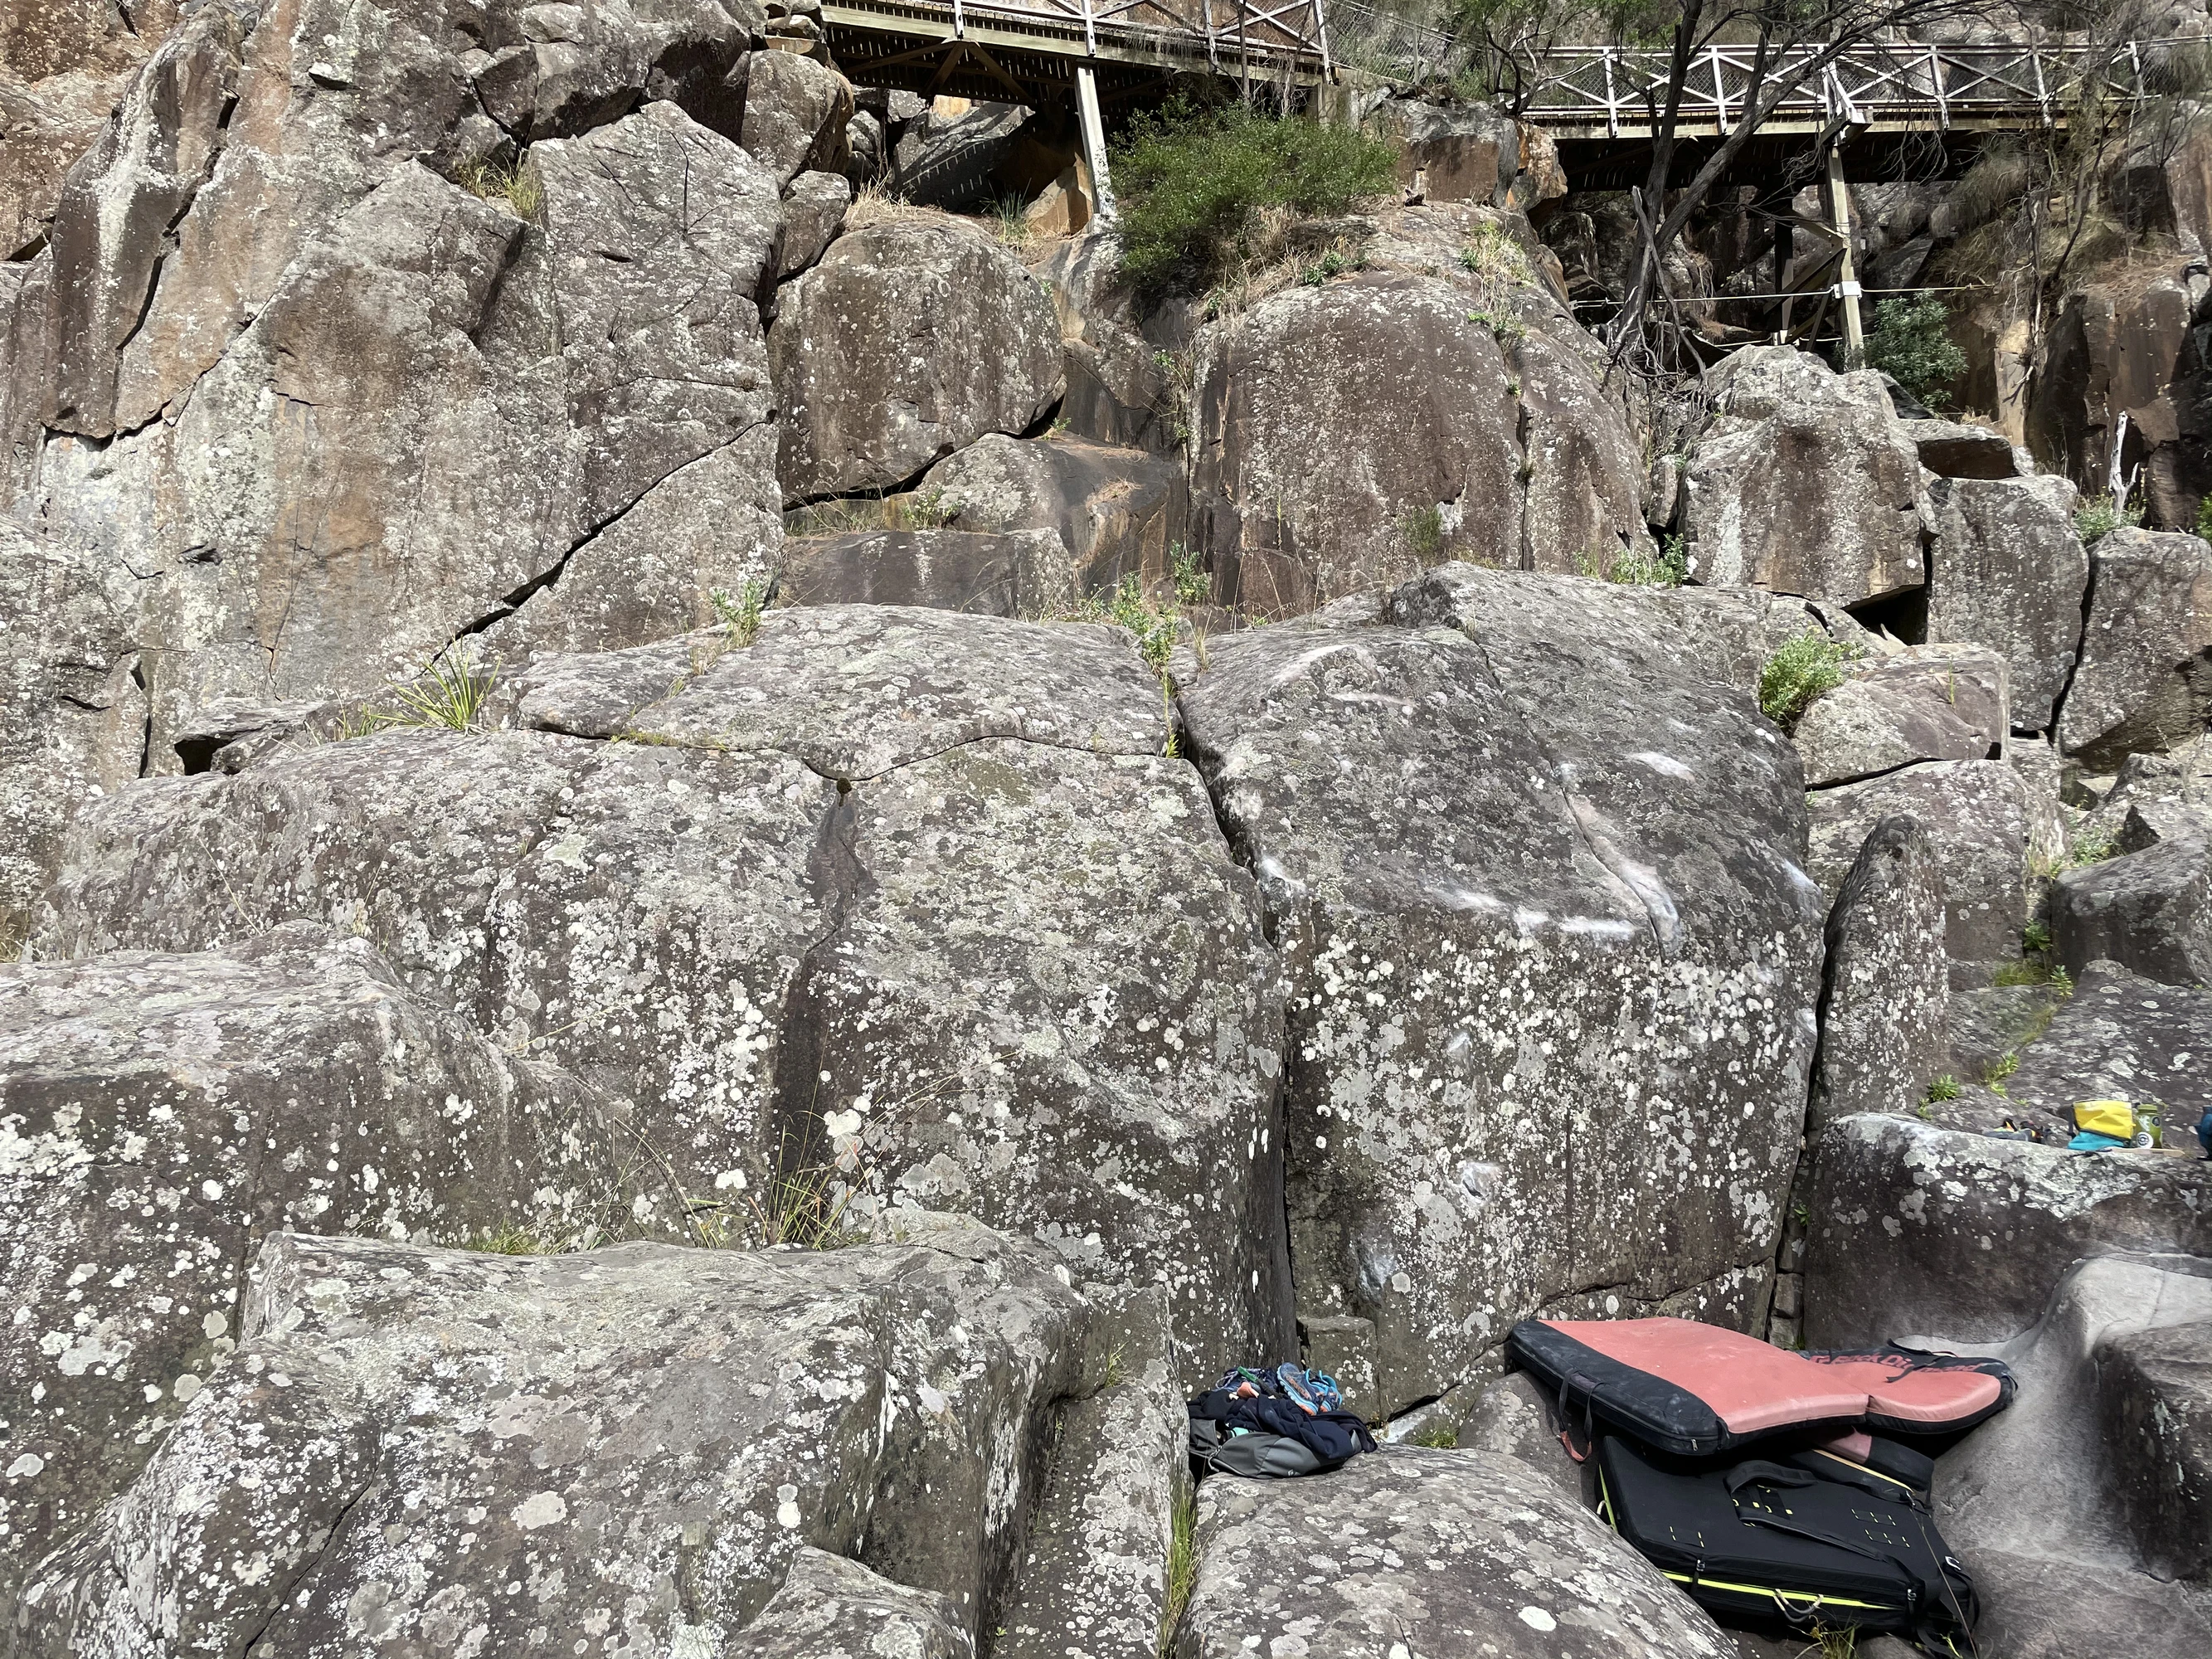
Topo: theCrag contributors, CC BY-NC-SA 3.0, theCrag
Sit start with left hand on the big sidepul and right hand on the good low gaston/pinch. Move up via hard first move and mantle using the left hand arete of the boulder. Having a spotter is advised!
Tommy Krauss, Feb 2021 · From: theCrag
Sit start with left hand on the same hold that Critical Reception uses for the right hand. Right hand in the flaring crack as low as possible, hard first move with bad feet and top out via mantle using the good crack in the centre of the boulder. Stand start goes at around V1 from the slopers on the lip.
Tommy Krauss, Feb 2021 · From: theCrag
Stand start with your left hand in the flaring crack as close to the lip as possible and right hand on a good sloper low on the arete on the right. Make some hard moves and mantle straight over the lip. Goes without saying but the block on the right is out.
Tommy Krauss, Feb 2021 · From: theCrag
Parasite Boulder
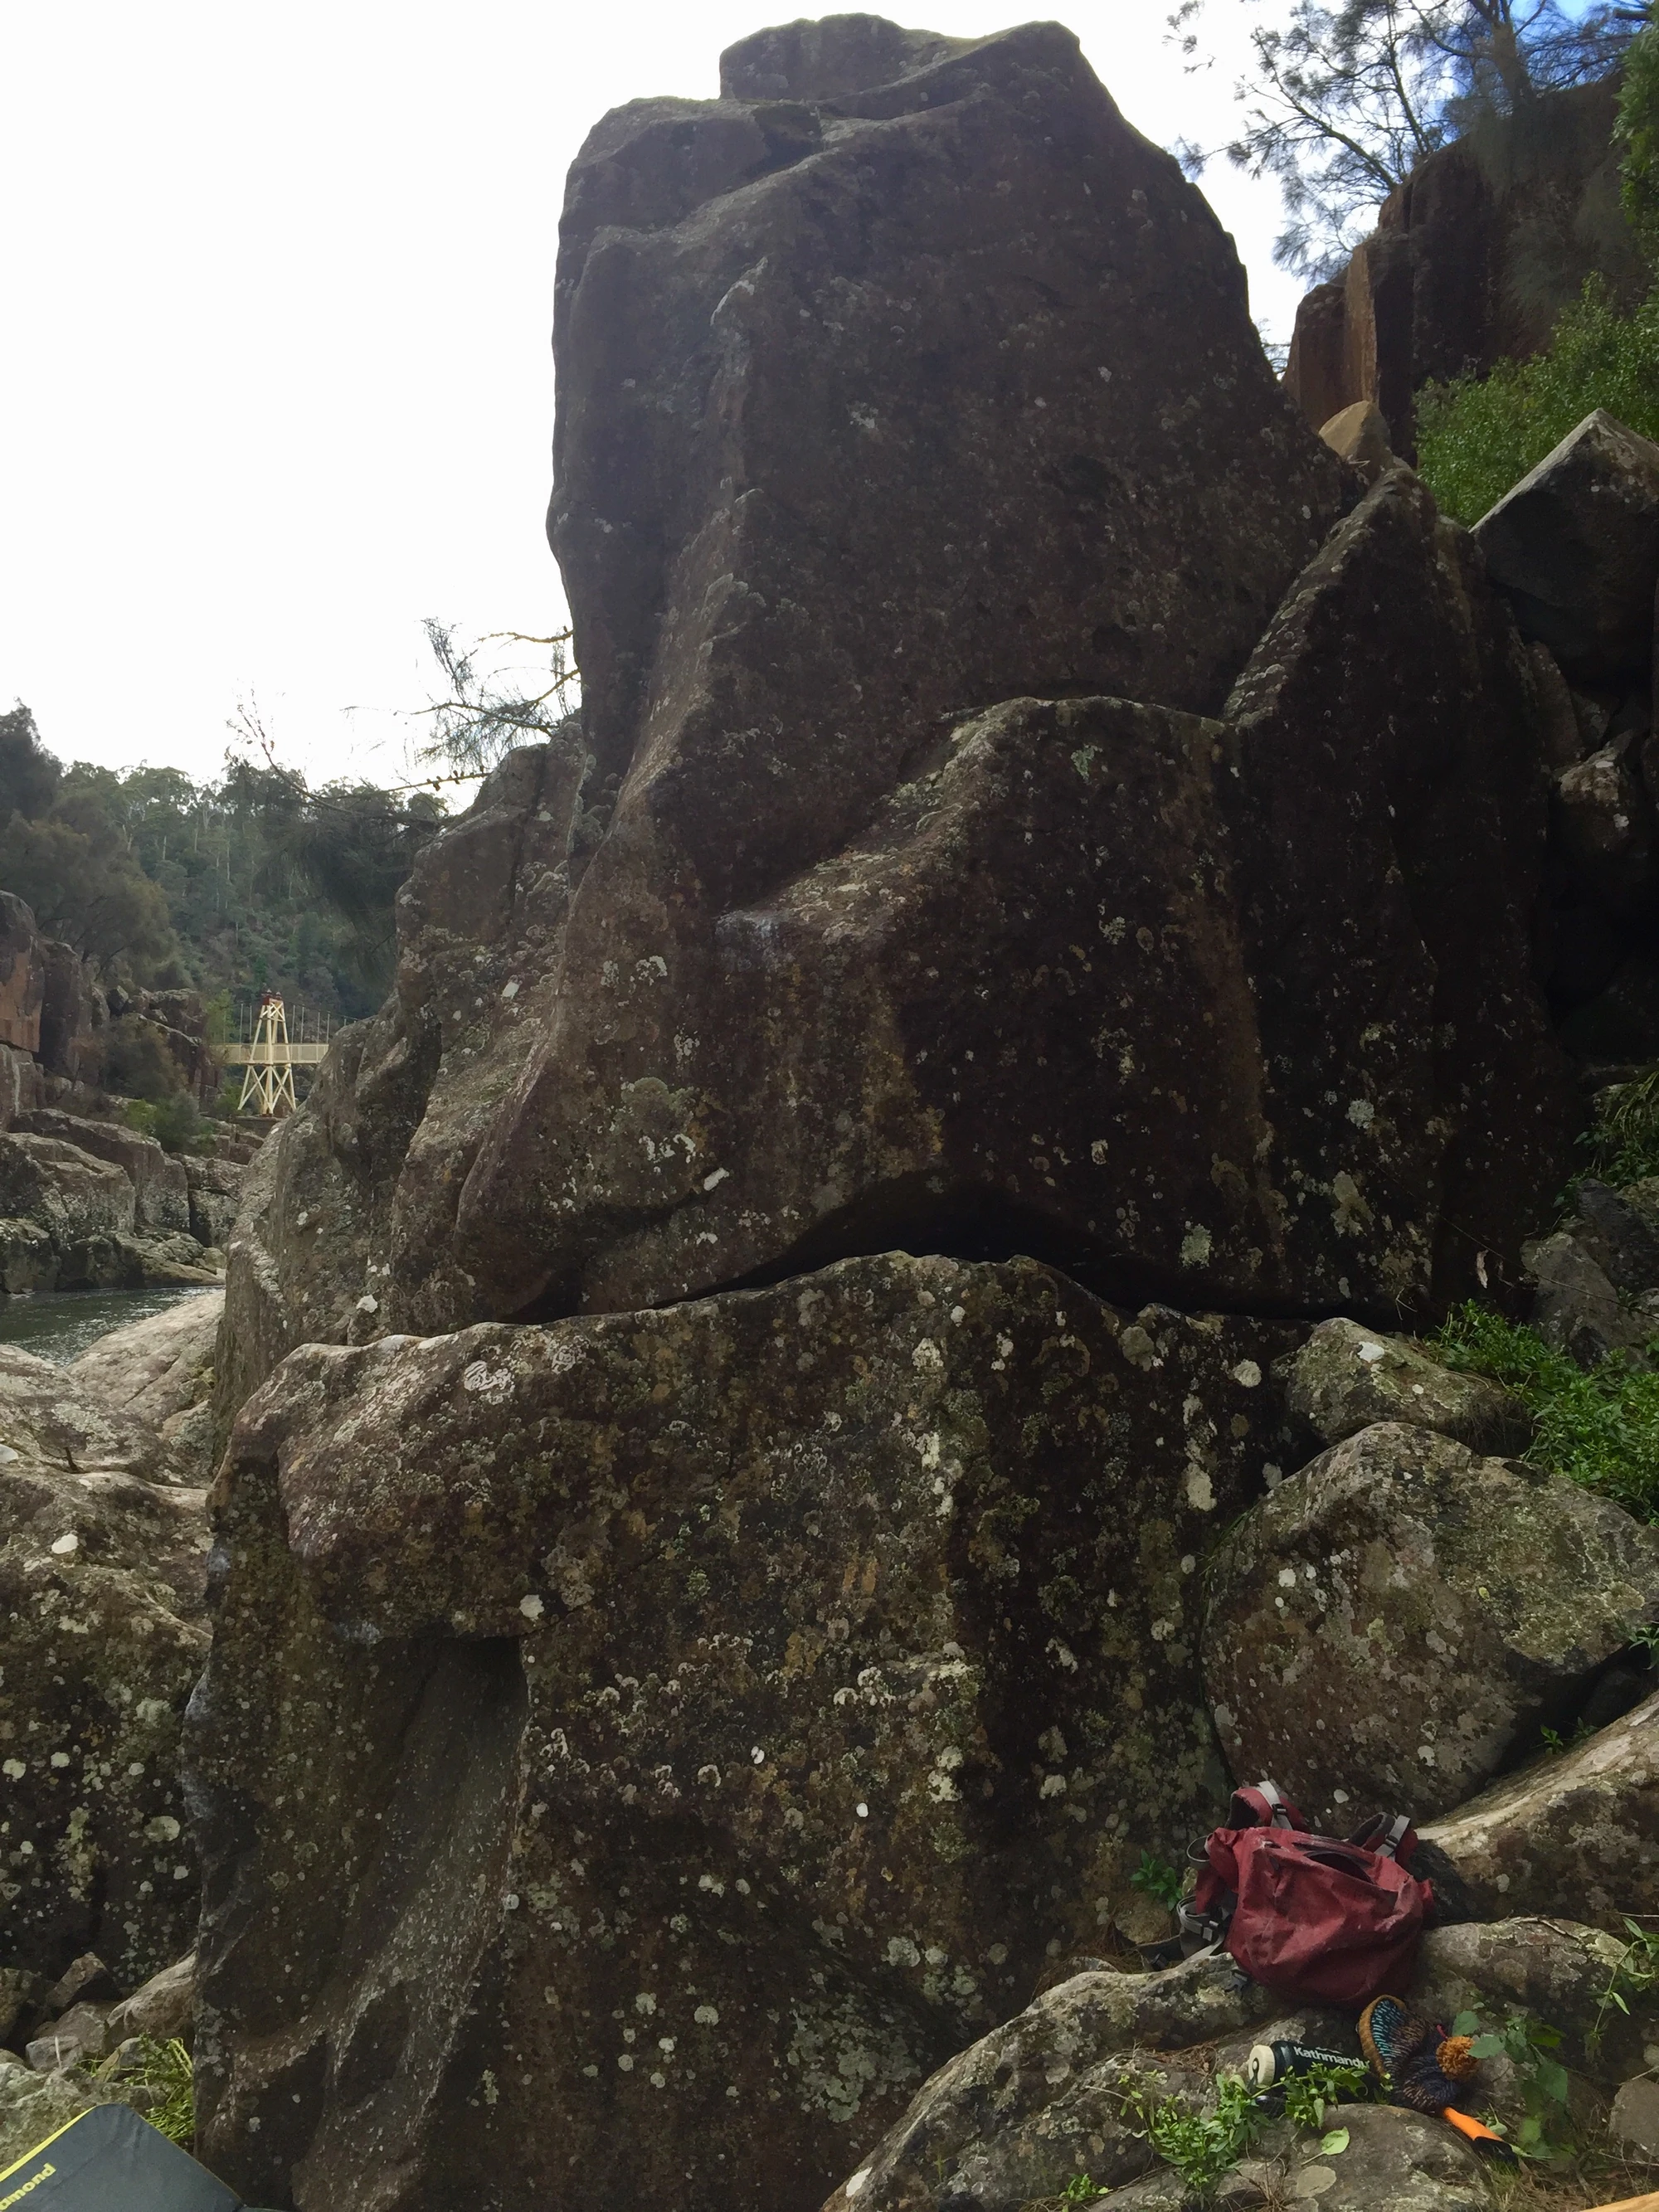
Topo: theCrag contributors, CC BY-NC-SA 3.0, theCrag
Downstream of main boulders just past recessed alcove. Stand start in the capped corner. Shimmy up and slap to good rail. Walk off left at break. Direct finish and sit start look possible.
From: theCrag
Start as for Inside an Eggshell. From rail traverse R to arete and finish up high on top of boulder.
From: theCrag
On downstream face of The Main Rabbi gully. Tough sit start with LH on smooth arete and RH on chock side pull. Scramble down at back of gully.
Isaac Lethborg · From: theCrag
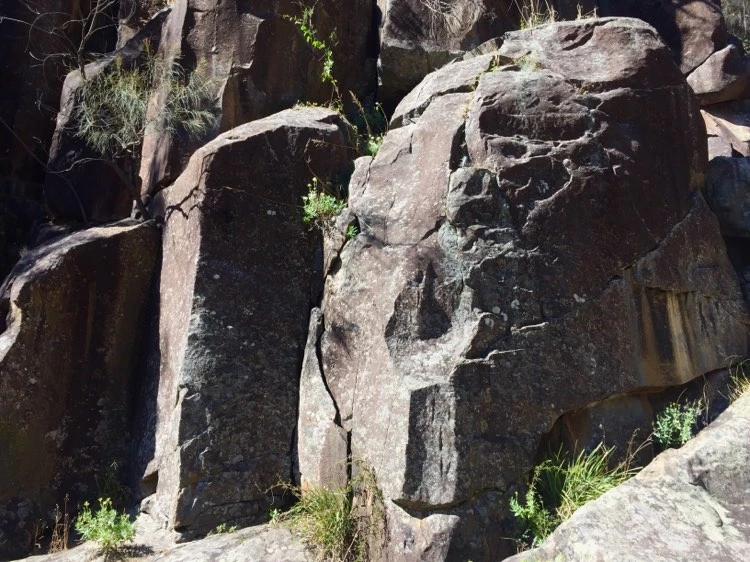
Topo: theCrag contributors, CC BY-NC-SA 3.0, theCrag
The slippery corner downstream of Deuce boulder proper. To get off, down climb route or climb up to next tier and down climb easy flake.
From: theCrag
Climb the first half of the trad route Bread of Angels (21). Start on far left as for Deuce, and go straight up on good holds - finishing up crack and slab.
From: theCrag
Start as for previous route - then traverse right on rails to central line and up. A couple of mats or a spotter is needed for the mid-height slightly committing crux. Direct off the undercling, and good holds down low seems possible.
Nick Morgan, 2021 · From: theCrag
The main diagonal traverse line. Stand start on the far left, trending right to top out up the final arete. Keep off anything below the semi vegetated floor crack (so yea..feels slightly contrived/almost cheating..but would be way harder without this low foot rail). Try not to fall into the hole, and get someone to spot you for the chimney slot finish if possible.
Nick Morgan · From: theCrag
Ground Zero Boulders
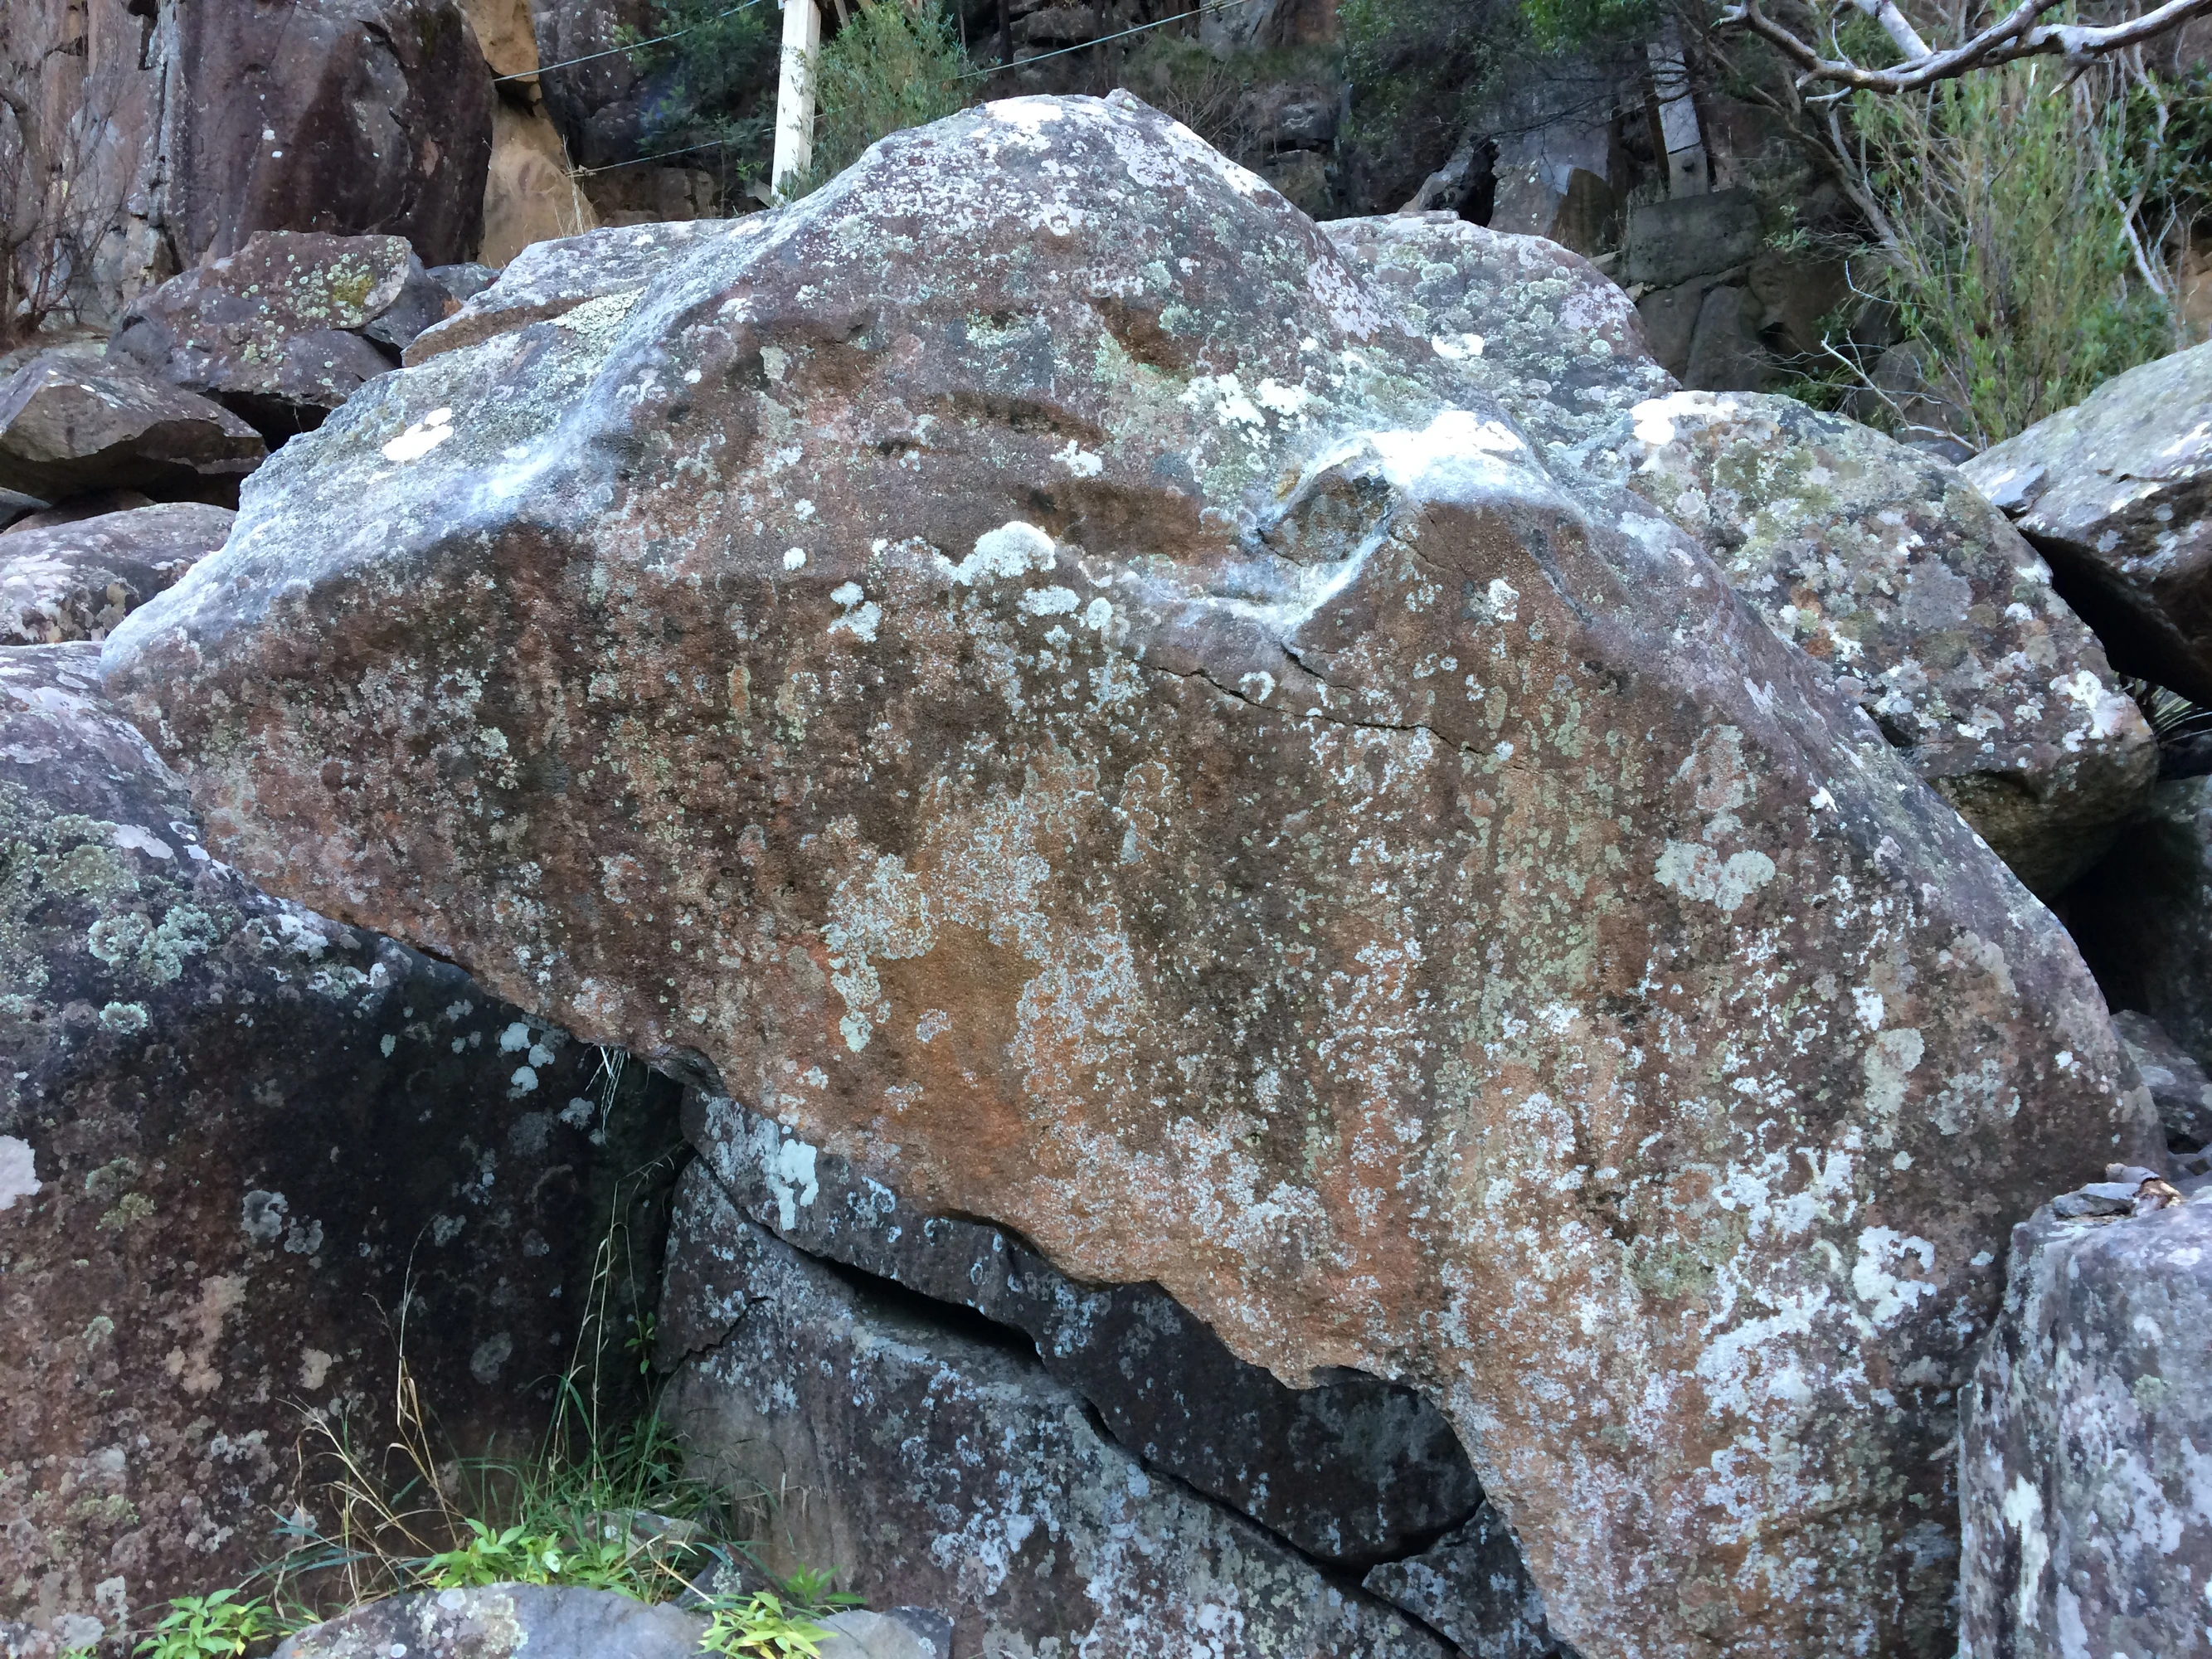
Topo: theCrag contributors, CC BY-NC-SA 3.0, theCrag
Hang start from the two slopers on the right. Traverse left to the point, swing behind and up to top out.
From: theCrag
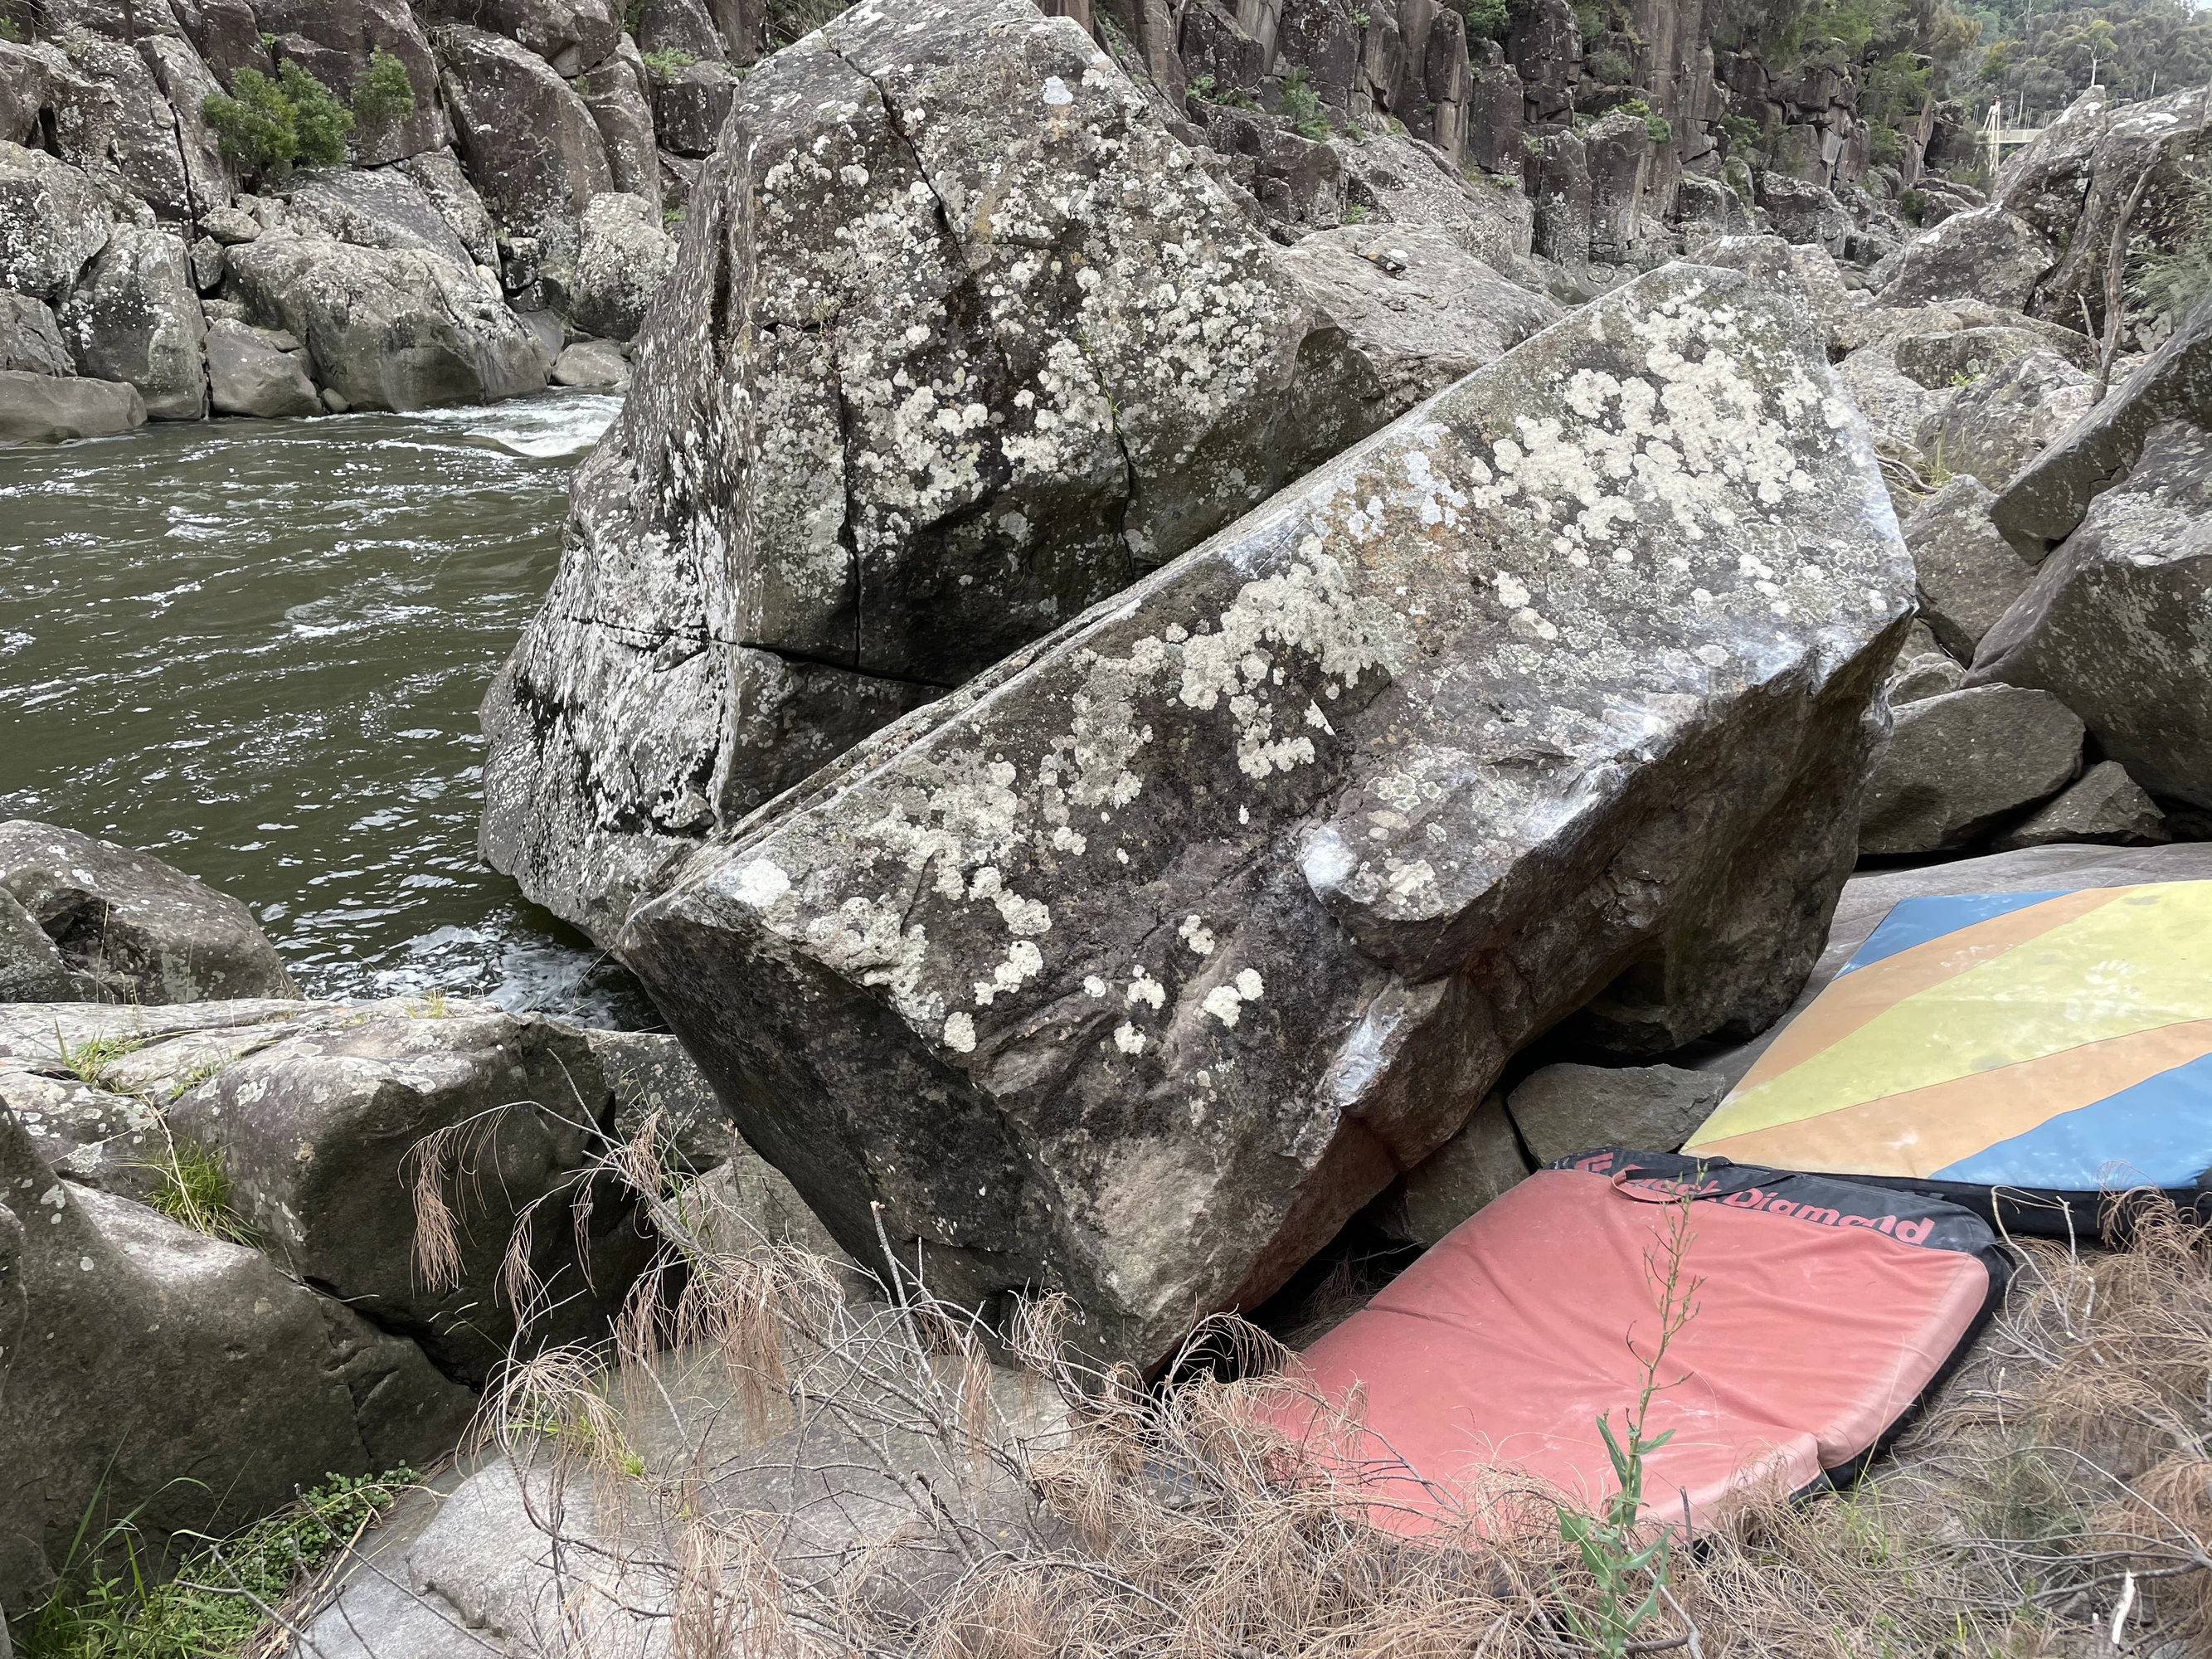
Topo: theCrag contributors, CC BY-NC-SA 3.0, theCrag
Start at the far right of the left rising crack, under the roof of where the two boulders meet. Traverse with bad feet left, around the corner and up the face. The landing under the face is not good but the climbing is relatively secure.
Jacob Dean, May 2021 · From: theCrag
Hang start on the lip at the front of the boulder, punch right, turn the arete and Mantle over Tradie Lady
Kris Penn · From: theCrag
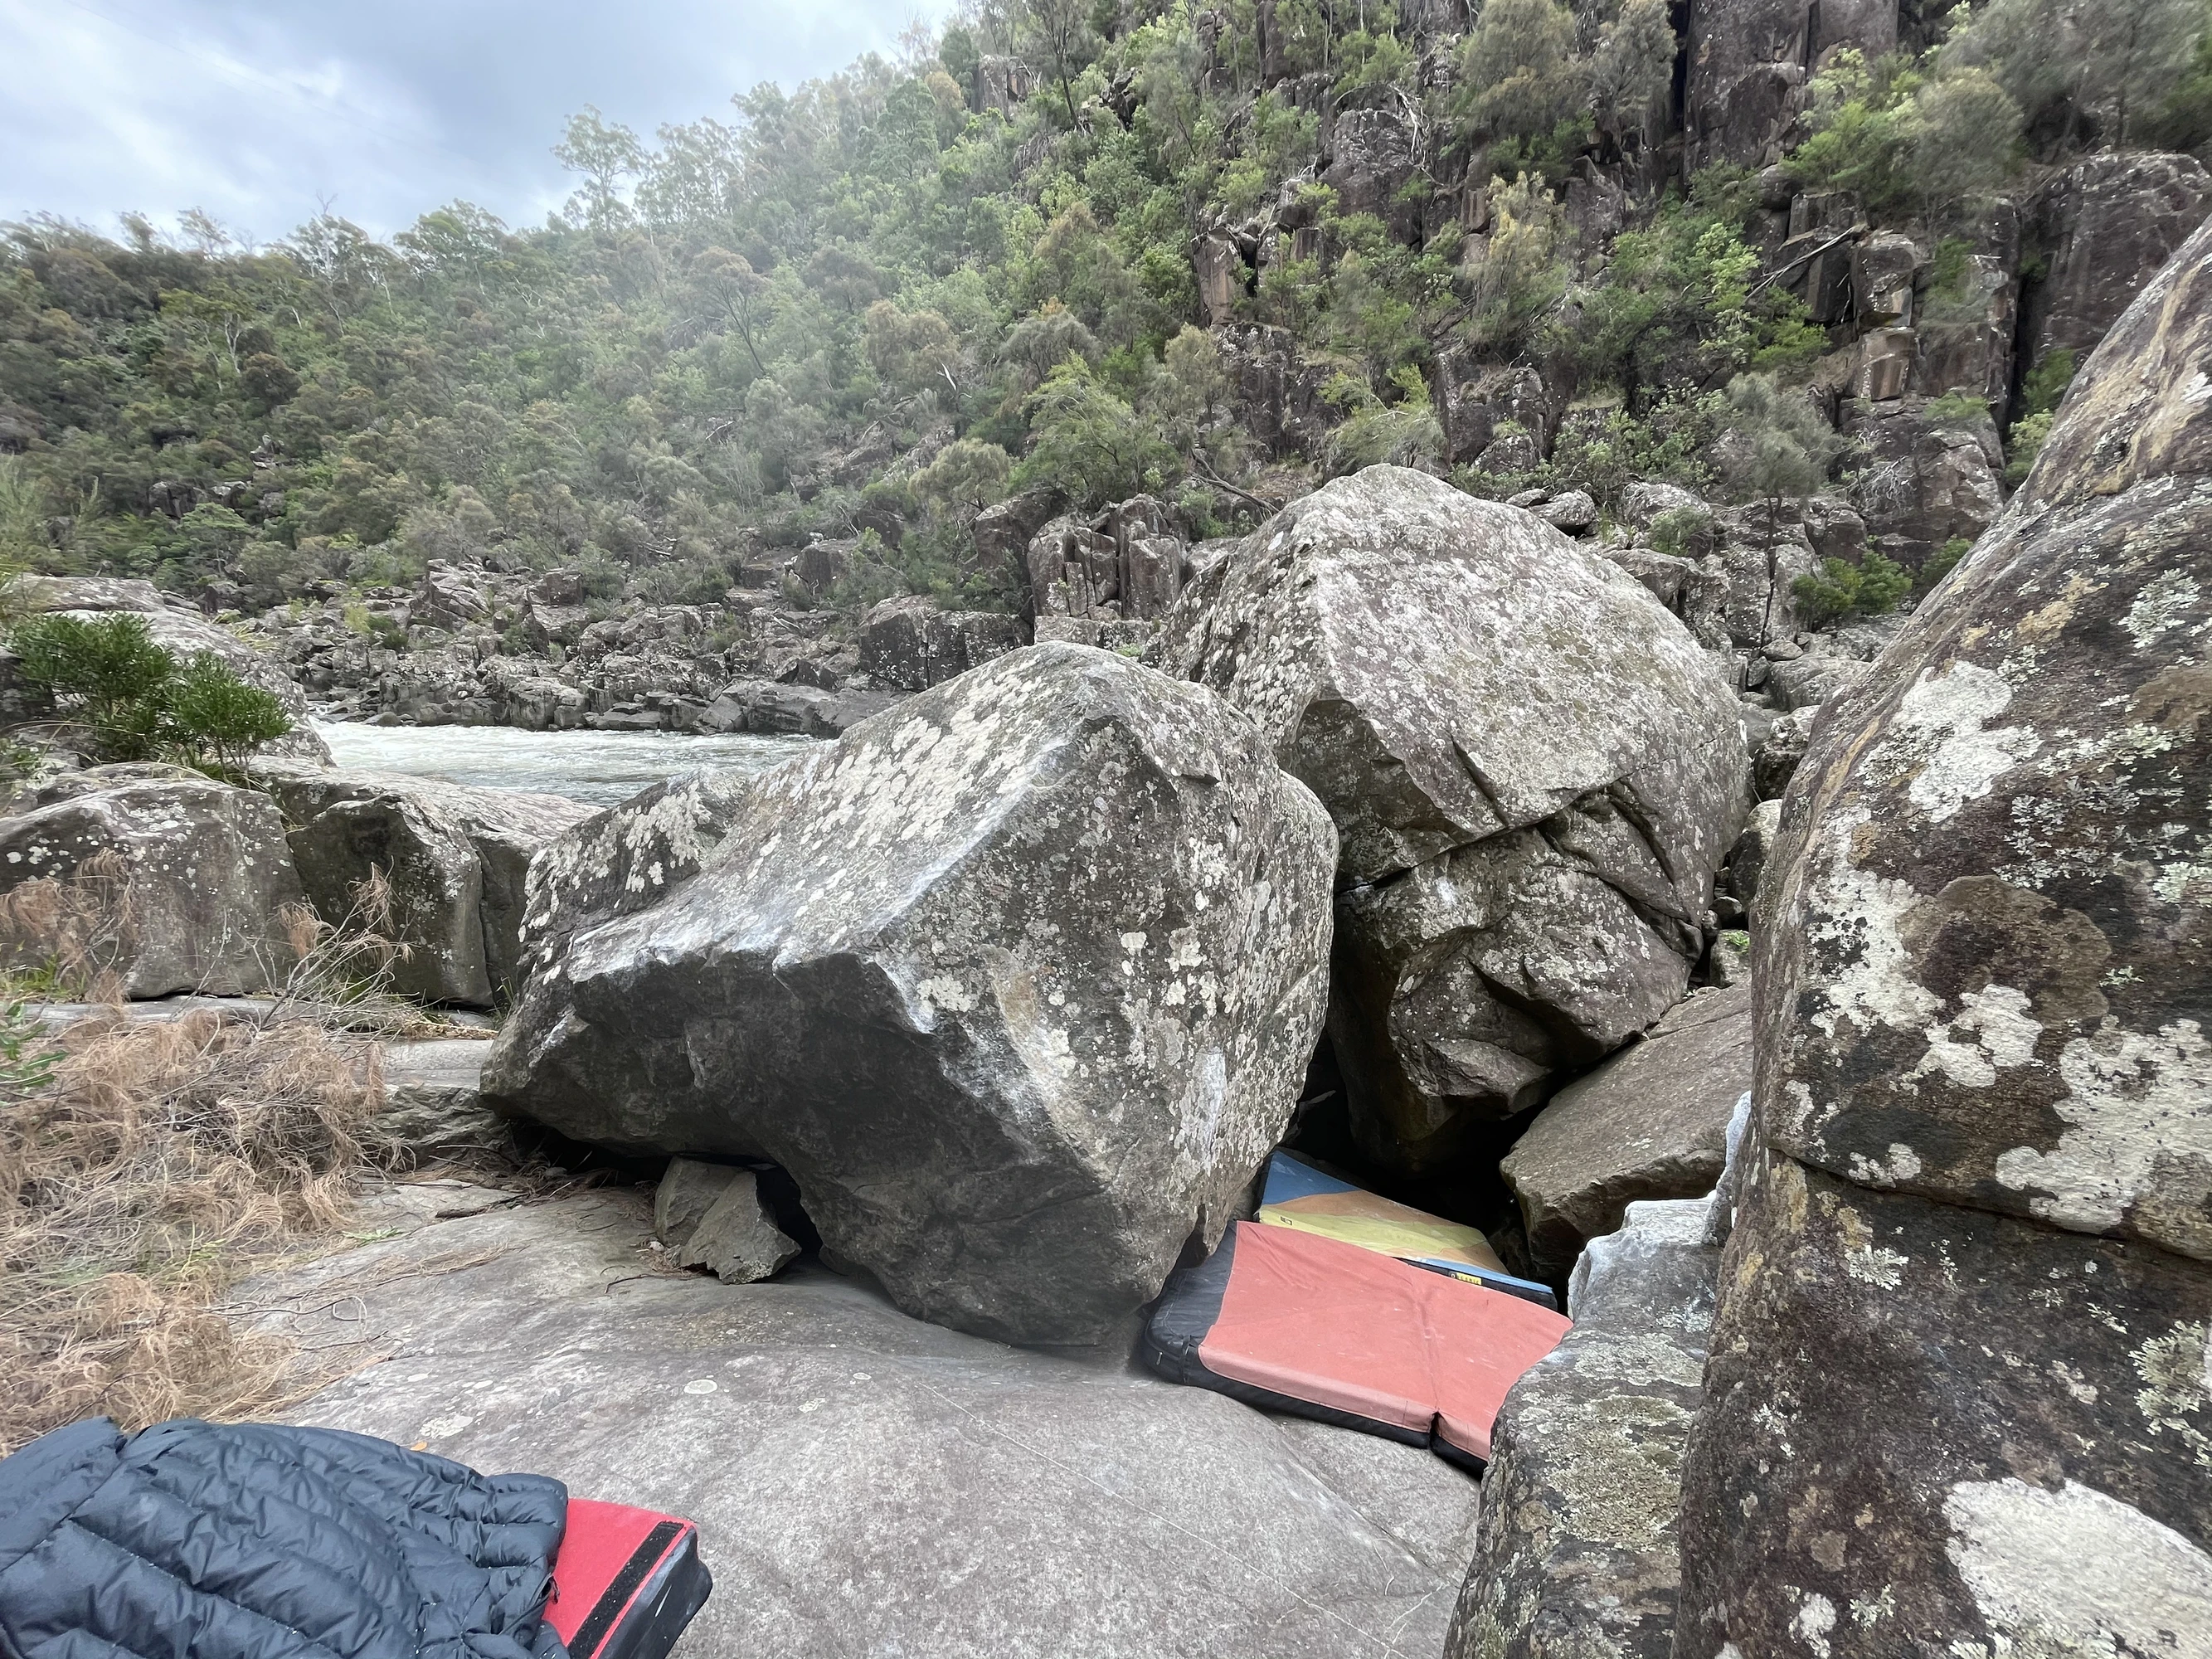
Topo: theCrag contributors, CC BY-NC-SA 3.0, theCrag
Sit start with left hand on good incut jug and right hand on slopey lip. Punch straight up to good jug and mantle
Lindsey Reid · From: theCrag
Sit start with your left hand on a sidepull and right hand on the gaston, mantle from there
Tommy Krauss · From: theCrag
Sit start with left hand on good side pull low and right hand on gaston on the lip, bump out right to the arete and climb arete to top. Starting with your left hand on the gaston and right hand on the arete goes at around v3.
Tommy Krauss · From: theCrag
Sit start with feet smearing on the low nose, left hand on a slopey two finger sidepull and right hand crimps. Make a hard move to gain the arete and top out over hightest point.
Tommy Krauss · From: theCrag
Hang start on the slopey rail and pull to the top via bad feet and good hands, harder than it looks.
Tommy Krauss · From: theCrag
Sit start low on good left hand and slopey right hand, hard initial moves get you to a few slabby moves up high.
Kris Penn · From: theCrag
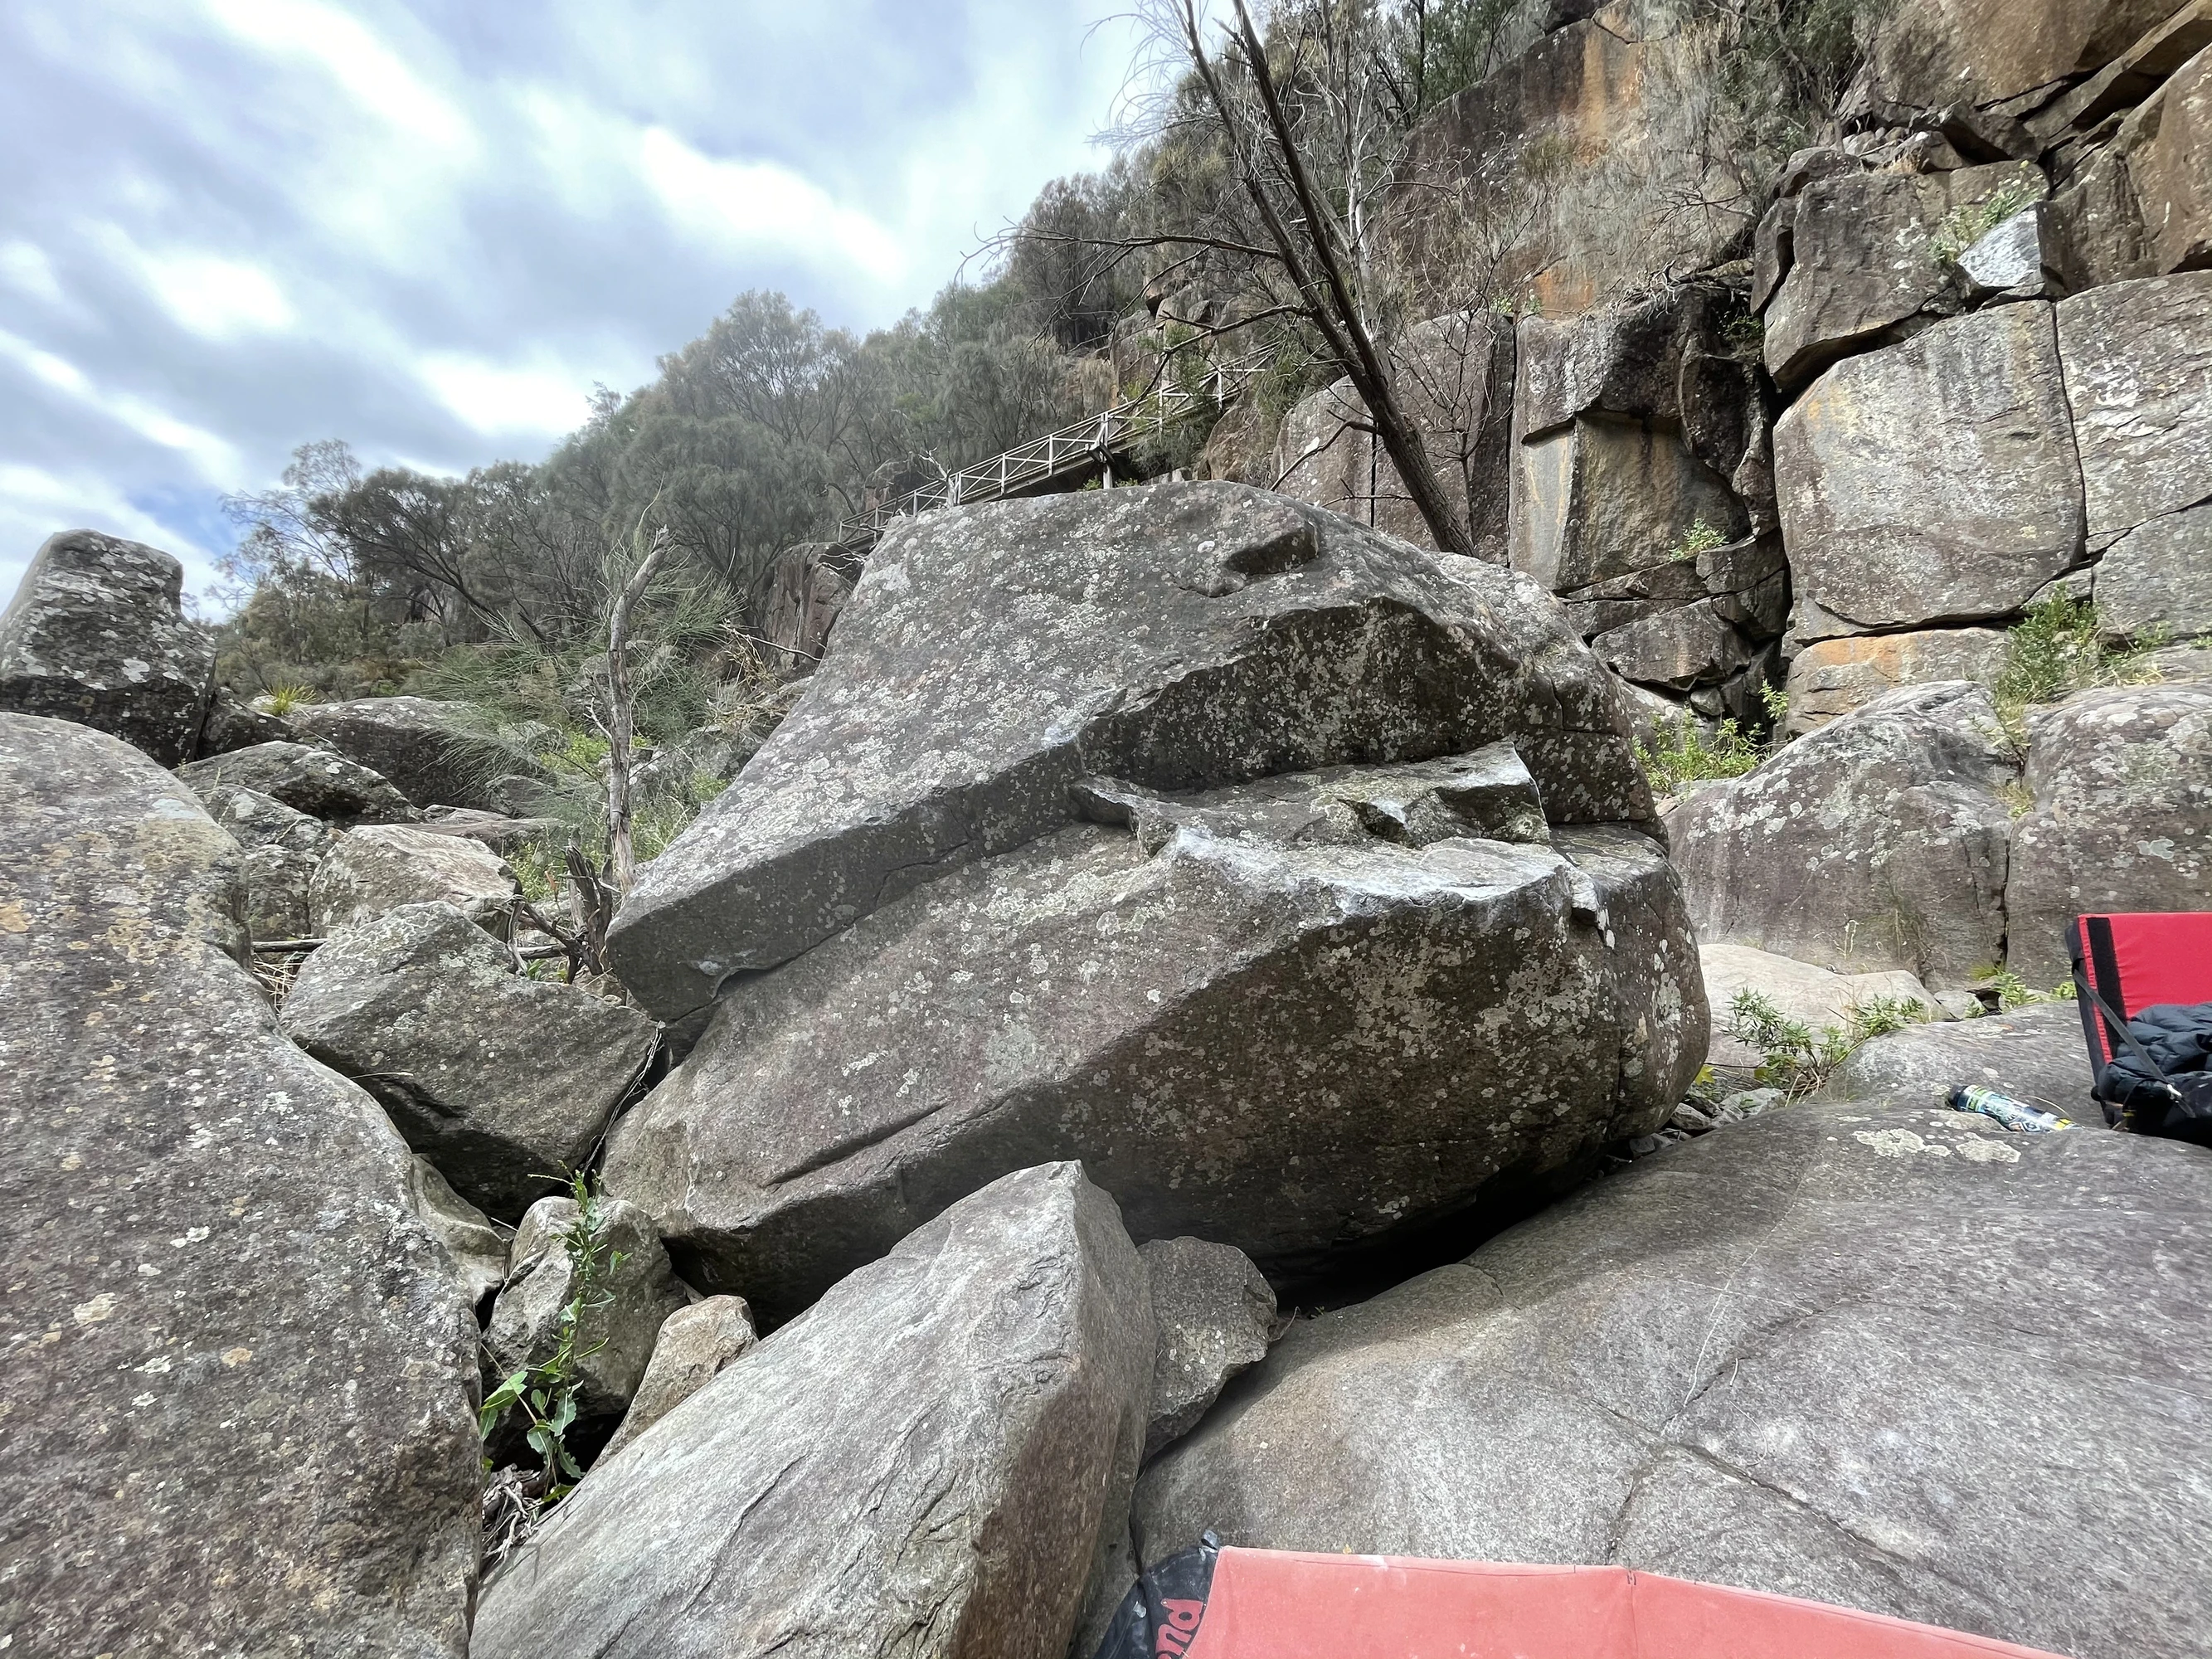
Topo: theCrag contributors, CC BY-NC-SA 3.0, theCrag
Hang start on the good indented jug on the lip, bad feet or campus slap your way to a graceful double knee mantle.
Tommy Krauss · From: theCrag
Sit start on good pocket like hold and slab your way to the top over the shield.
Kris Penn · From: theCrag
Sit start as for Little Women, and finish as for Millwright Low
Kris Penn · From: theCrag
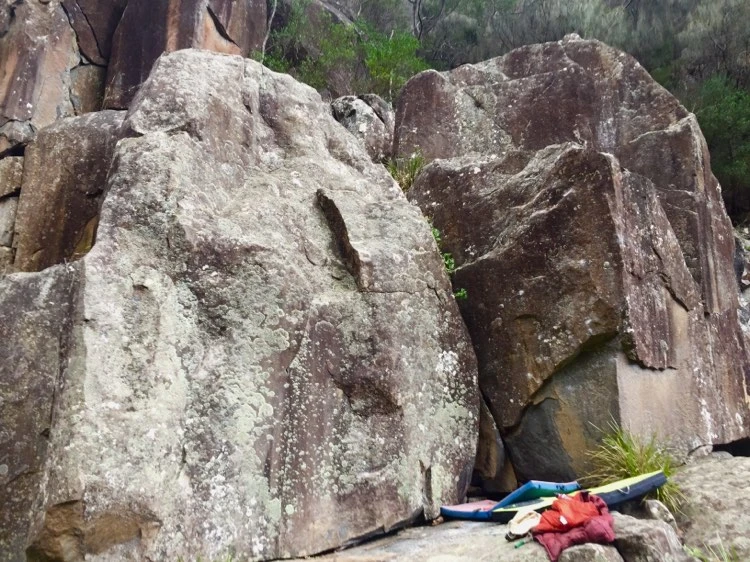
Topo: theCrag contributors, CC BY-NC-SA 3.0, theCrag
Highball. Apparently done as a trad route (21) back in the dark ages but that’s ridiculous - it’s a boulder! Stand start on the nose into easier high ground.
From: theCrag
Stand start at undercling. Up vertical face and/or RH arete.
Will Gregory & Nick Morgan, 2021 · From: theCrag
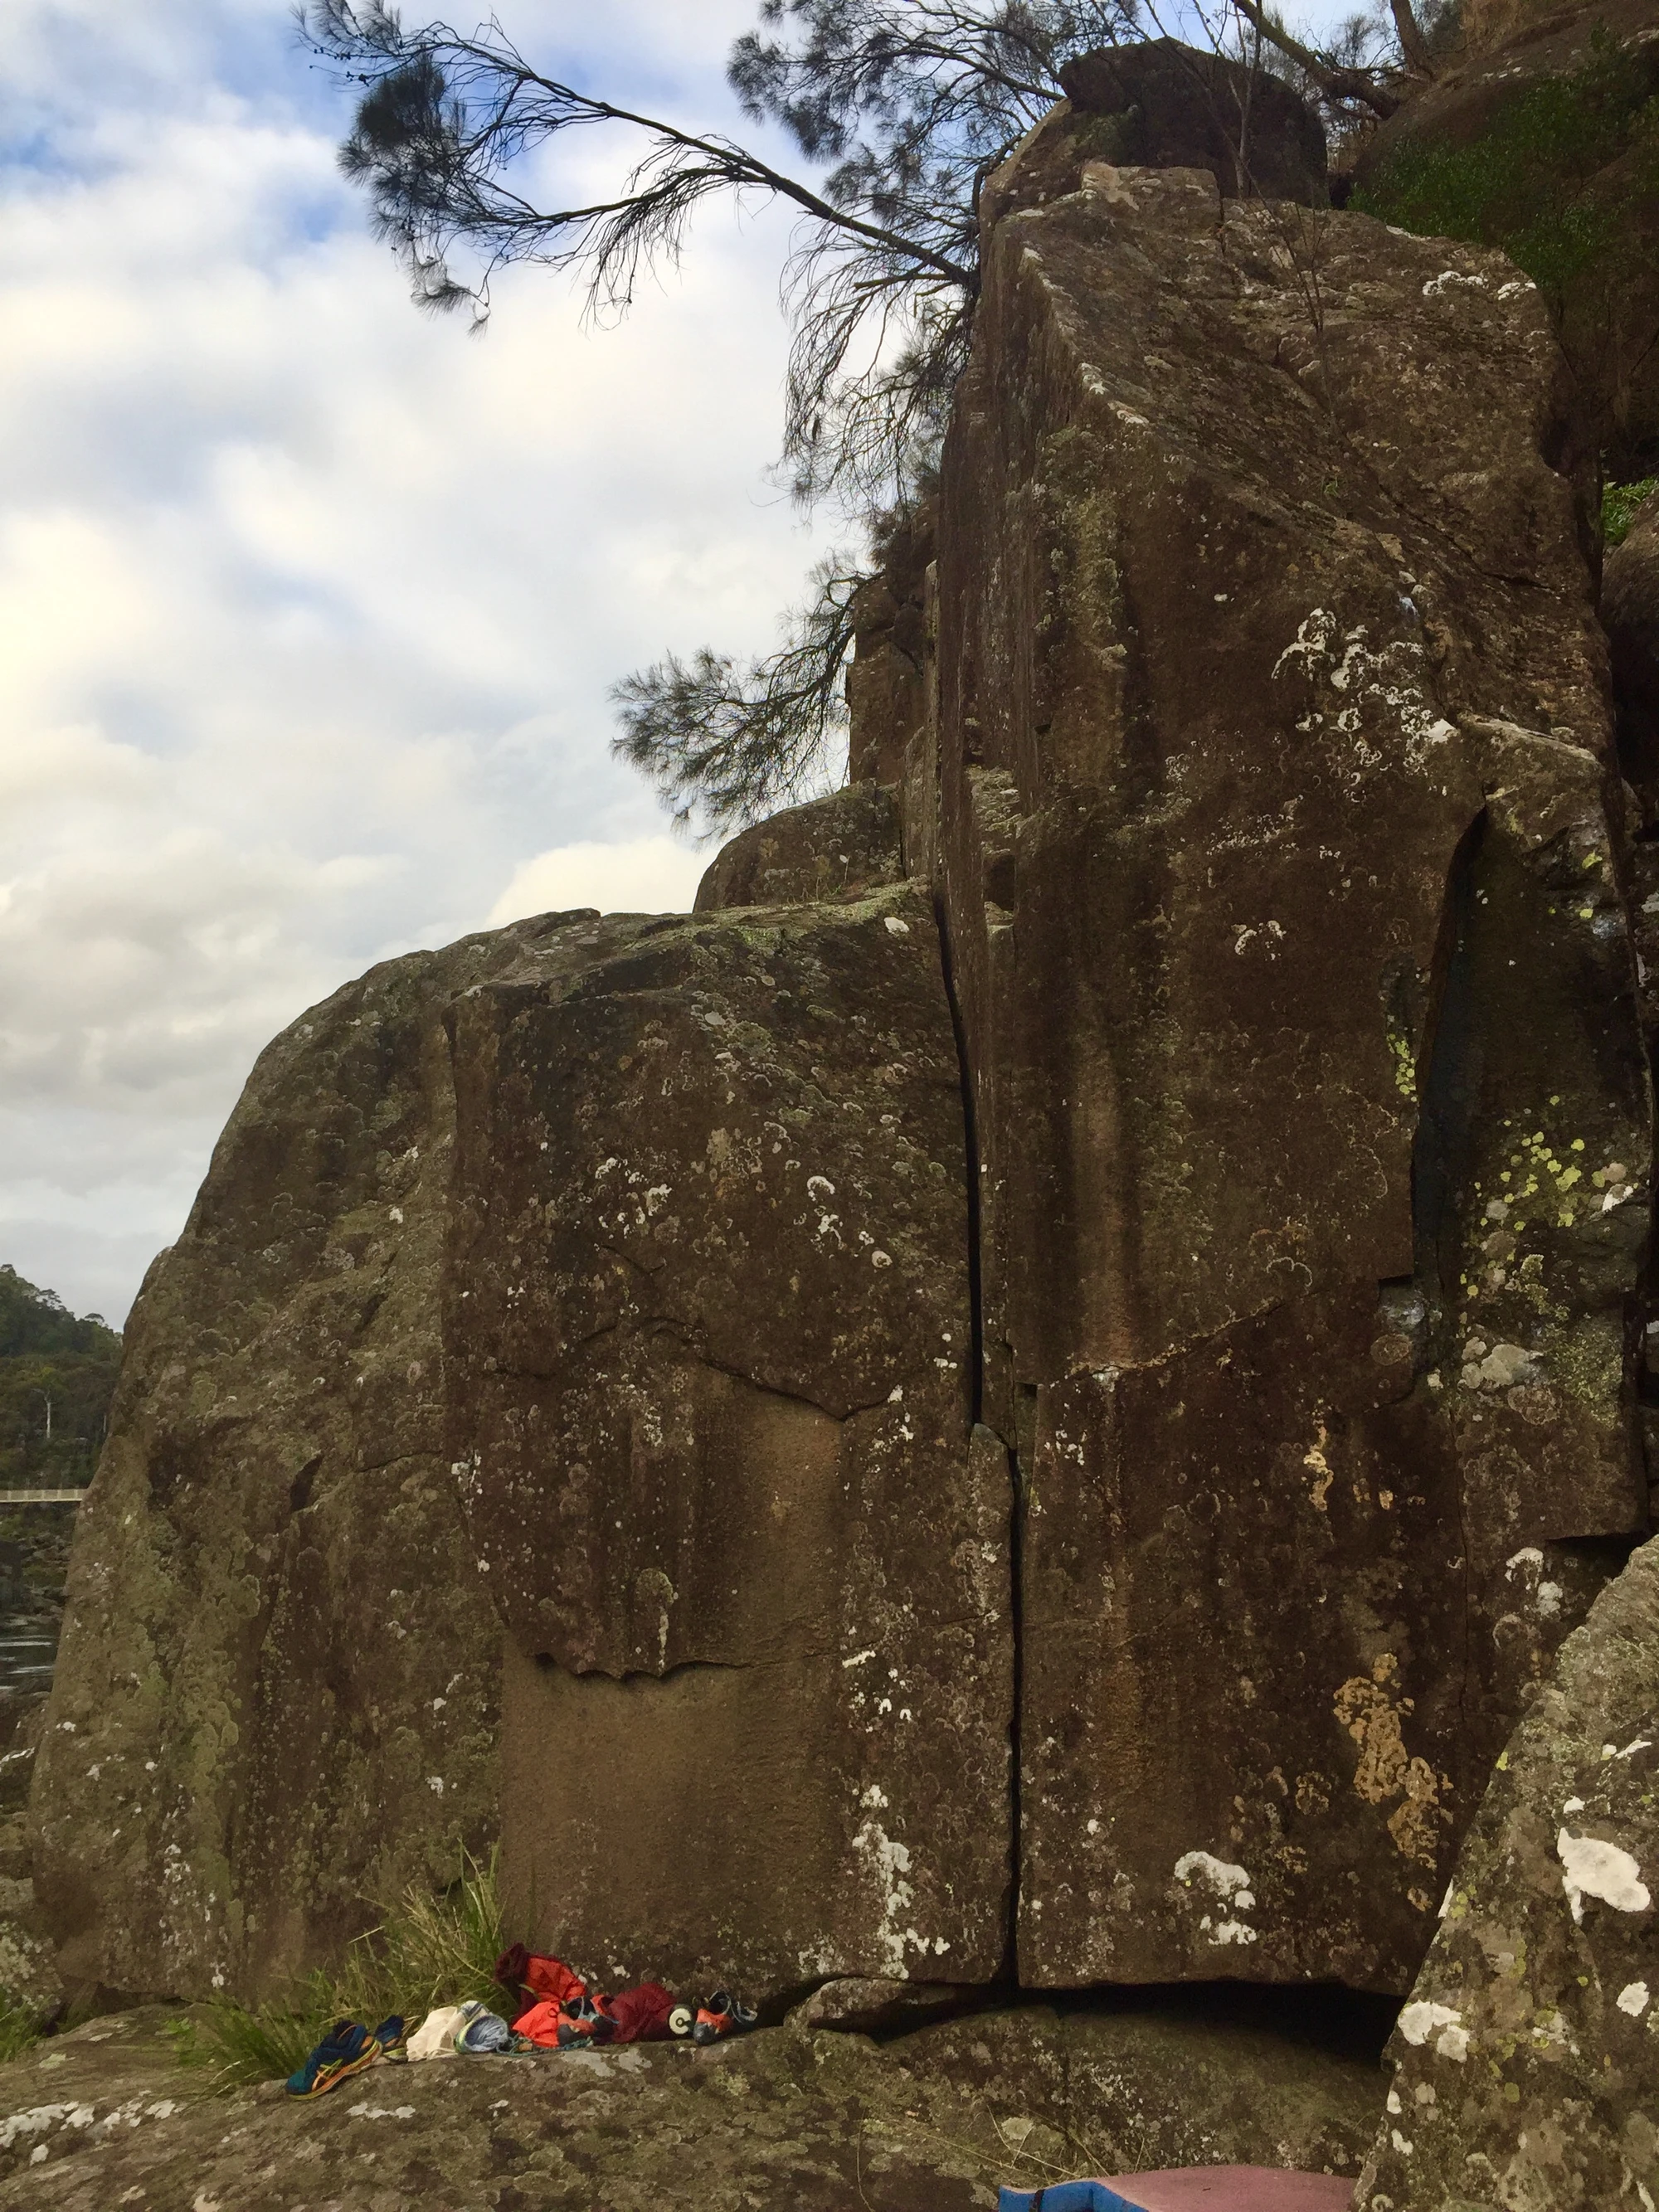
Topo: theCrag contributors, CC BY-NC-SA 3.0, theCrag
Upstream of the main Drop Zone Boulders are some vertical faces. This is the obvious crack facing up river. Sit start, then up through slab.
From: theCrag
Start as for The Coin Slot and veer right to arete without using neighbouring block. Delicate moves lead into the v-groove. Top out from here. Safest to swing onto right wall to finish. Bring a spotter.
From: theCrag
Driftwood Boulders
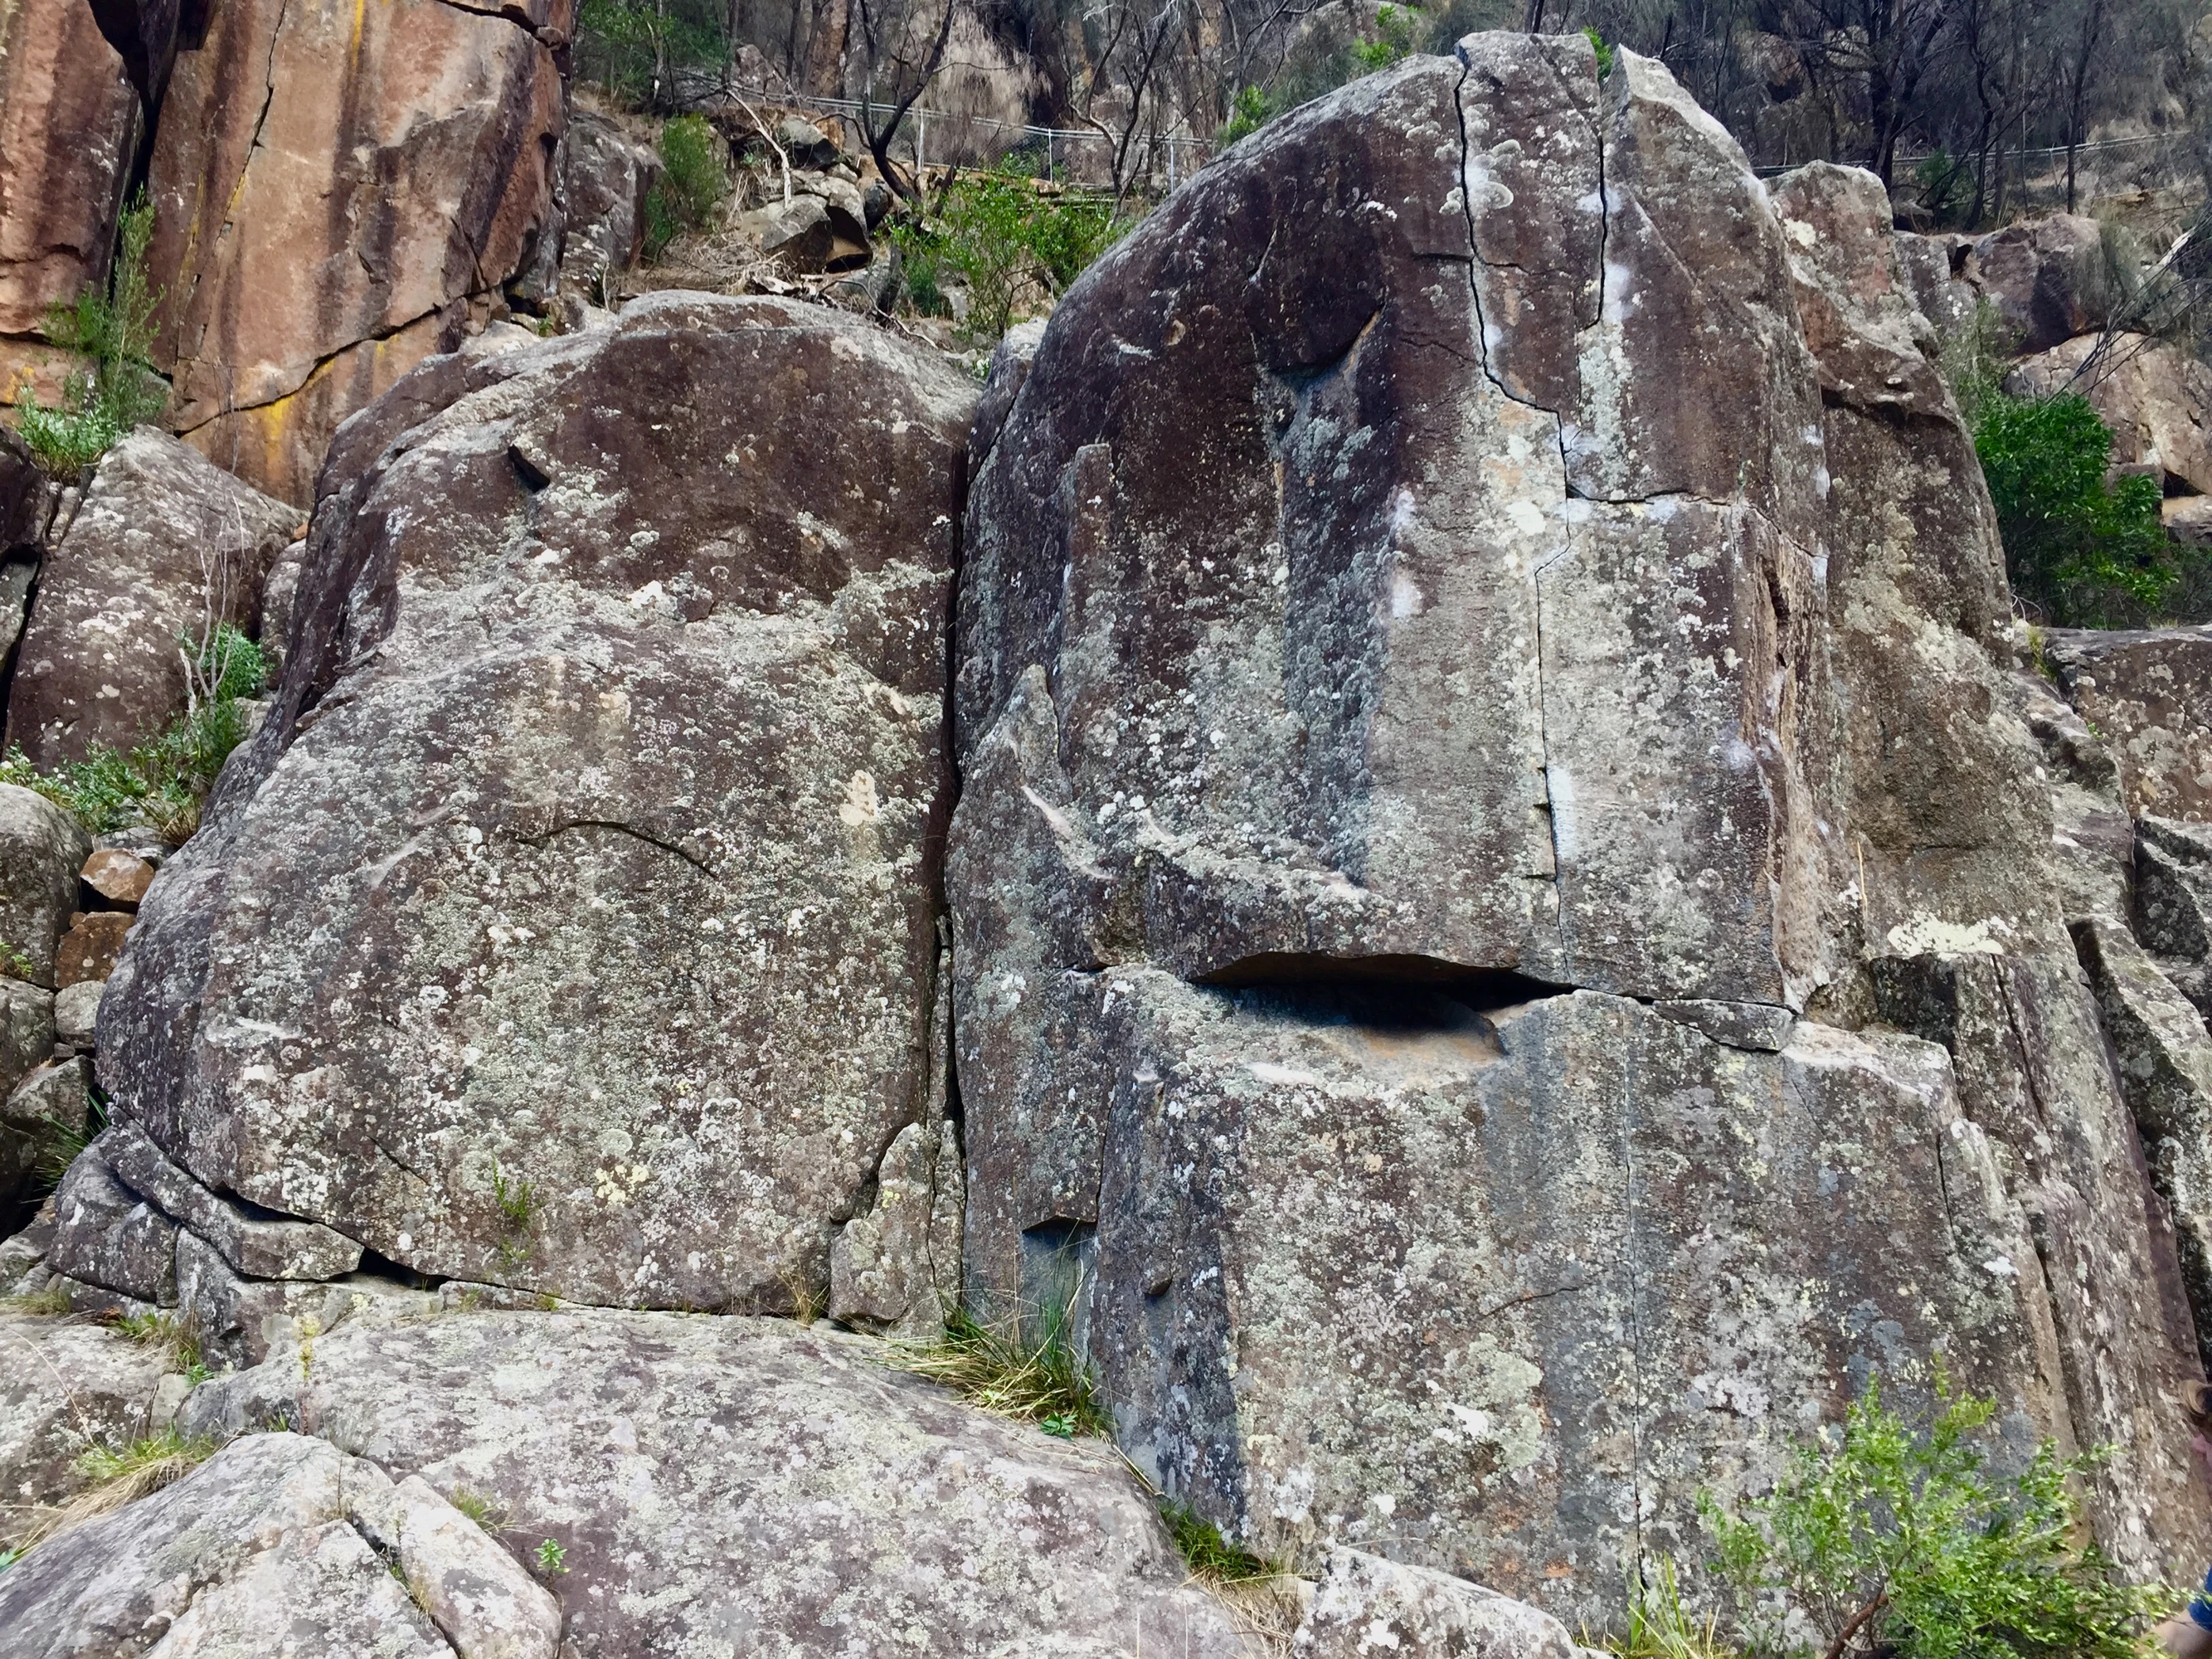
Topo: theCrag contributors, CC BY-NC-SA 3.0, theCrag
Stand start and onto slab. Easy enough climbing but funky landing so be careful. Sit start goes at around V1
From: theCrag
Sit start low on arete and up left to progressively better holds. Stand start makes a nice V0.
From: theCrag
Highball. Stand start in the middle of the main face. Layaway/rock up to a good hold, before continuing up the thin cracks and RH arete.
Patrick Munnings · From: theCrag
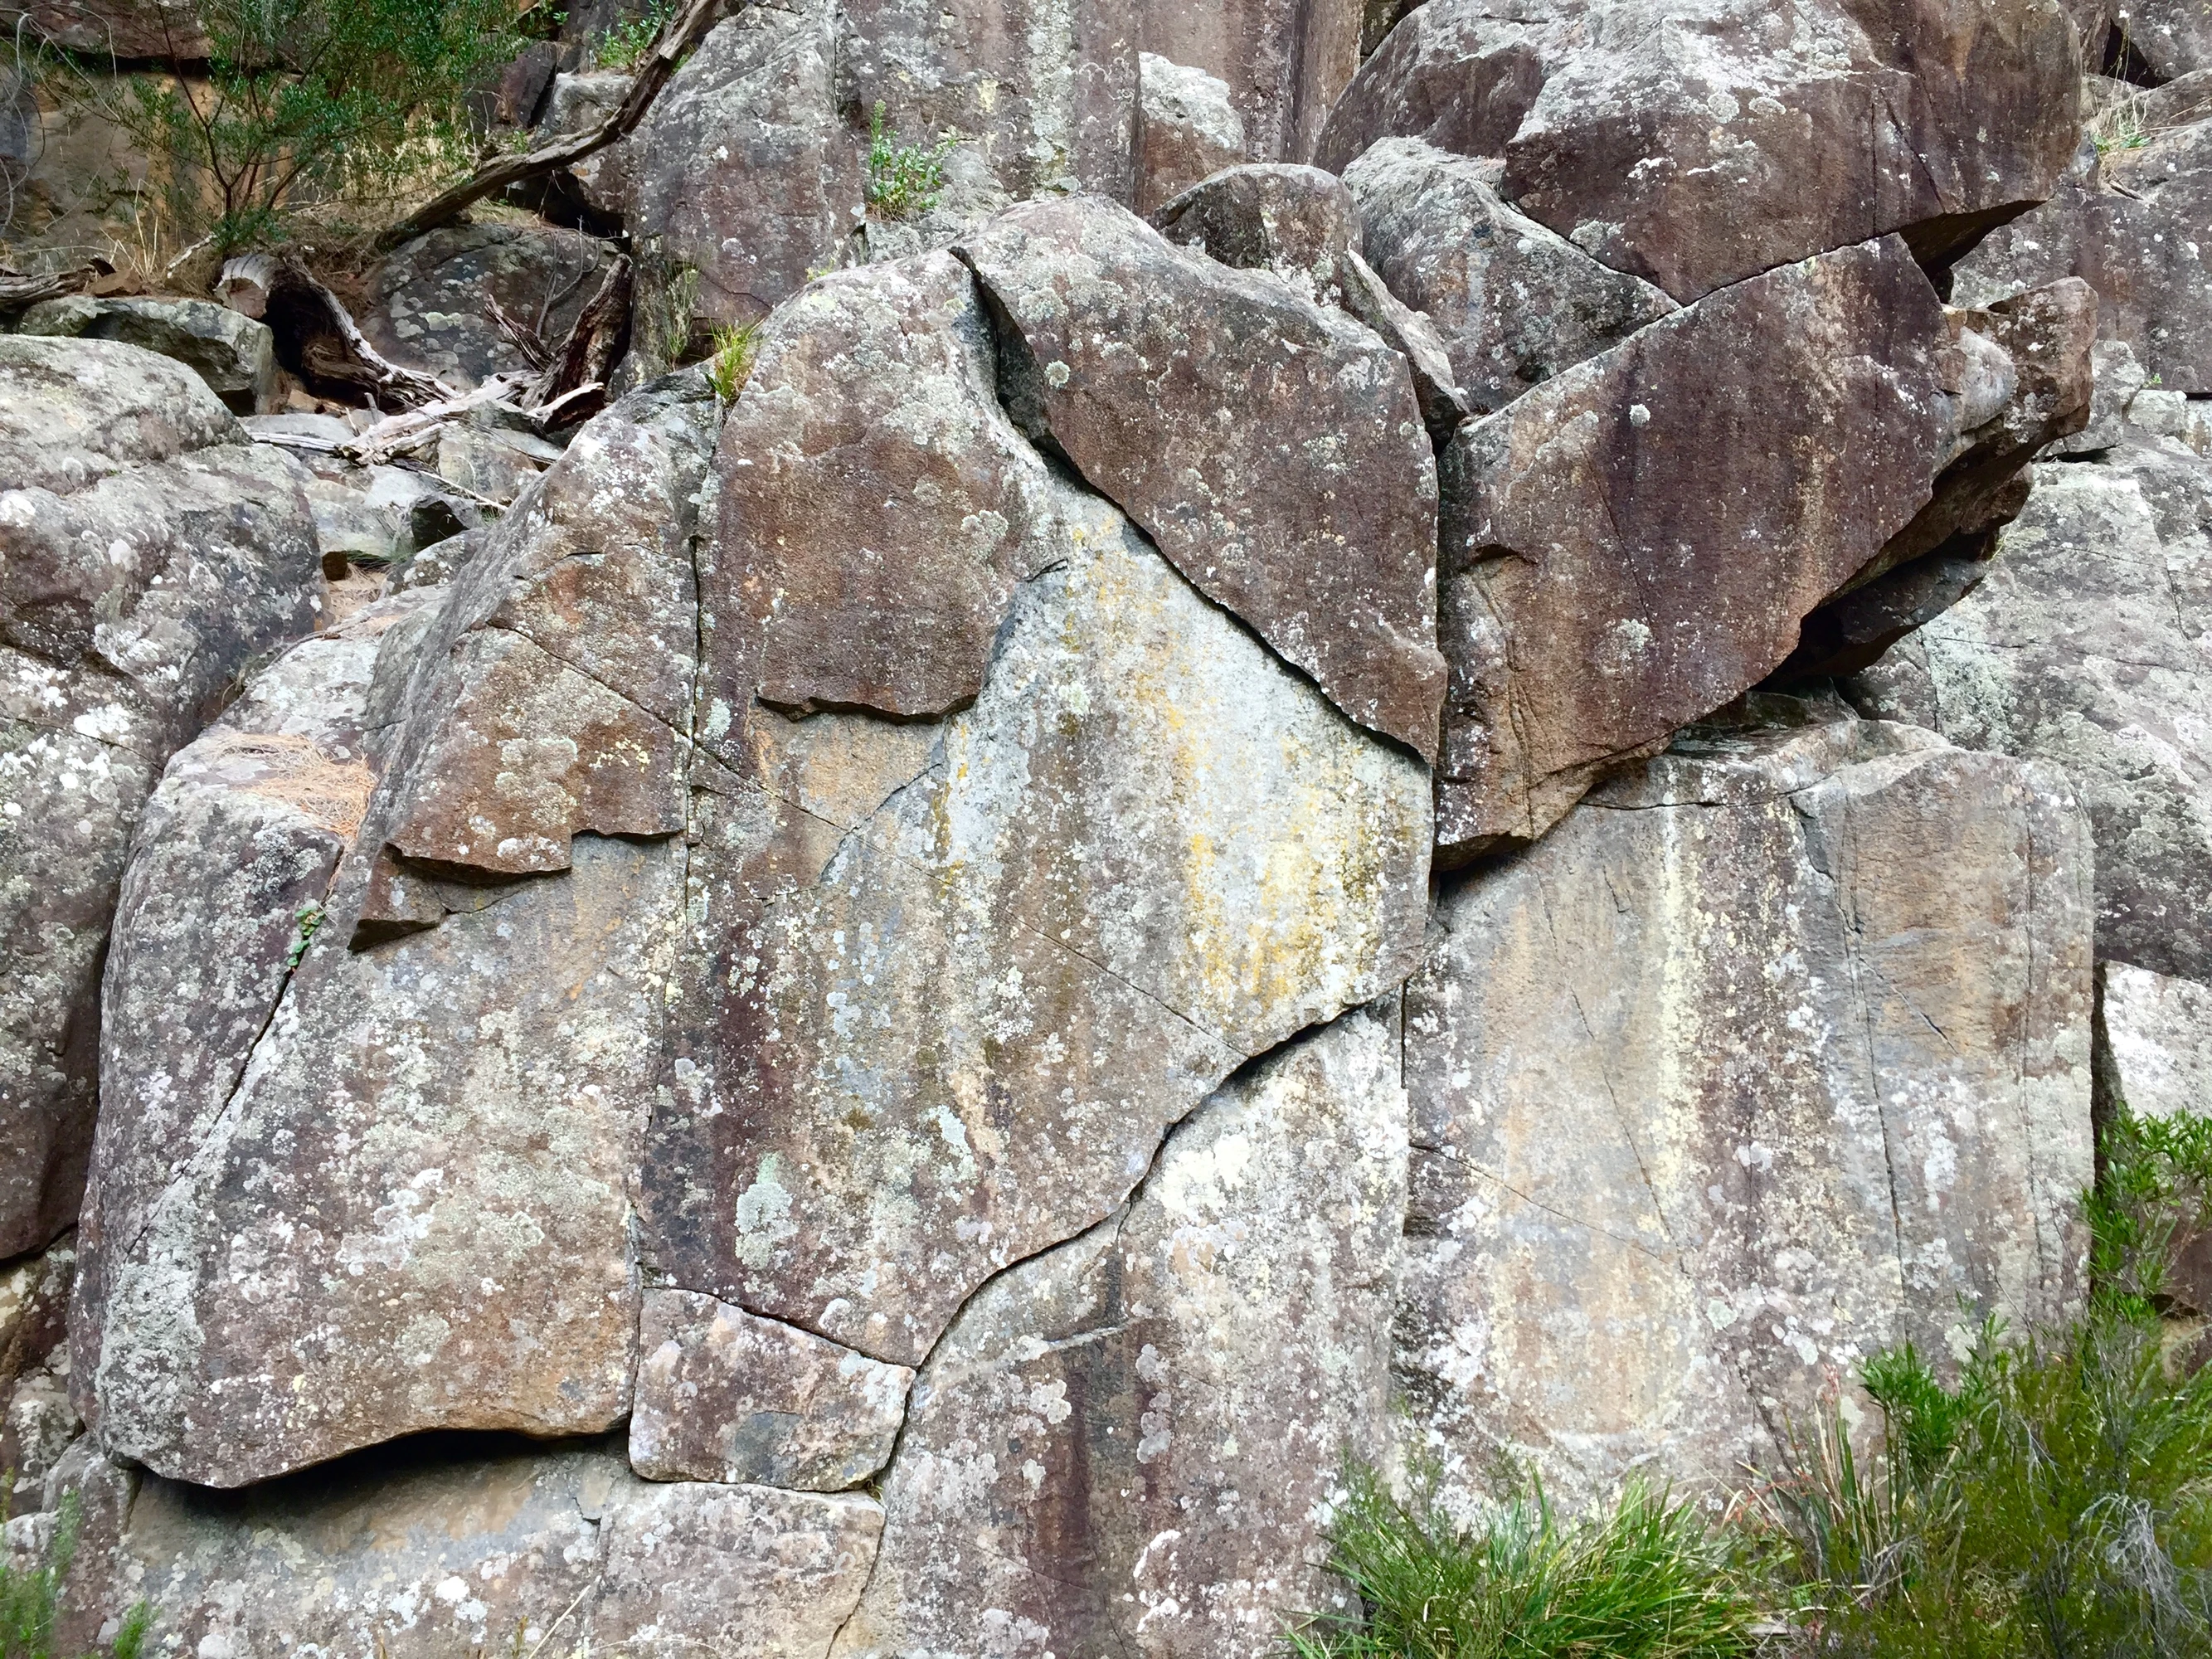
Topo: theCrag contributors, CC BY-NC-SA 3.0, theCrag
Sit start same as for Woodchucker, but head straight up via thin seam and arete.
From: theCrag
Sit start on left of boulder off good holds. Traverse right along jam crack to finish vertically up central line.
From: theCrag
Same start as for Woodchucker, but continue right along diagonal traverse crack to mantle beneath overhang. Finish up over highest point of boulder. A couple of mats or a good spotter recommended.
From: theCrag
Stand start with LH on seam and RH on right arete. Compress and rock onto left footer. A one move wonder, but it’s a cheeky good time. Finish on mantle ledge or continue up Lumberjack.
From: theCrag
Snakes & Ladders Area
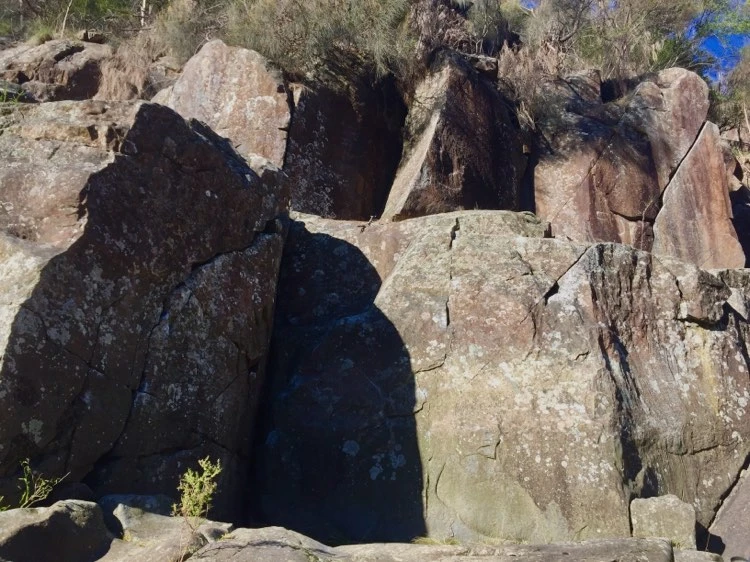
Topo: theCrag contributors, CC BY-NC-SA 3.0, theCrag
The LH upstream facing wall. Sit start L at side pulls, and move rightwards up line. Some weird sloping holds guard the top out.
From: theCrag
The river facing wall. Sit start on far left at large side pull. Pop to rail, traverse slightly R then up central line.
From: theCrag
Highball. No directions needed. The obvious R trending diagonal jam crack on the upper tier. Sit start for full value. The top out is easy enough but fairly spicy - so either don't fall, or bail into corner after the crack finishes. May be a classic for those into this kind of thing.
From: theCrag