
Shady Side bouldering
 1-10 min
 Morning only
 Dolerite
Access
Enter at the Kings Bridge entrance on the north side and walk up river along the tourist track, or come from the Gorge Restaurant car park on the Trevallyn side and head down river. The areas are grouped by the light posts they are near. Each light post is marked with a number such as "LP 5". Problems are described right to left as you come to them.
GPS
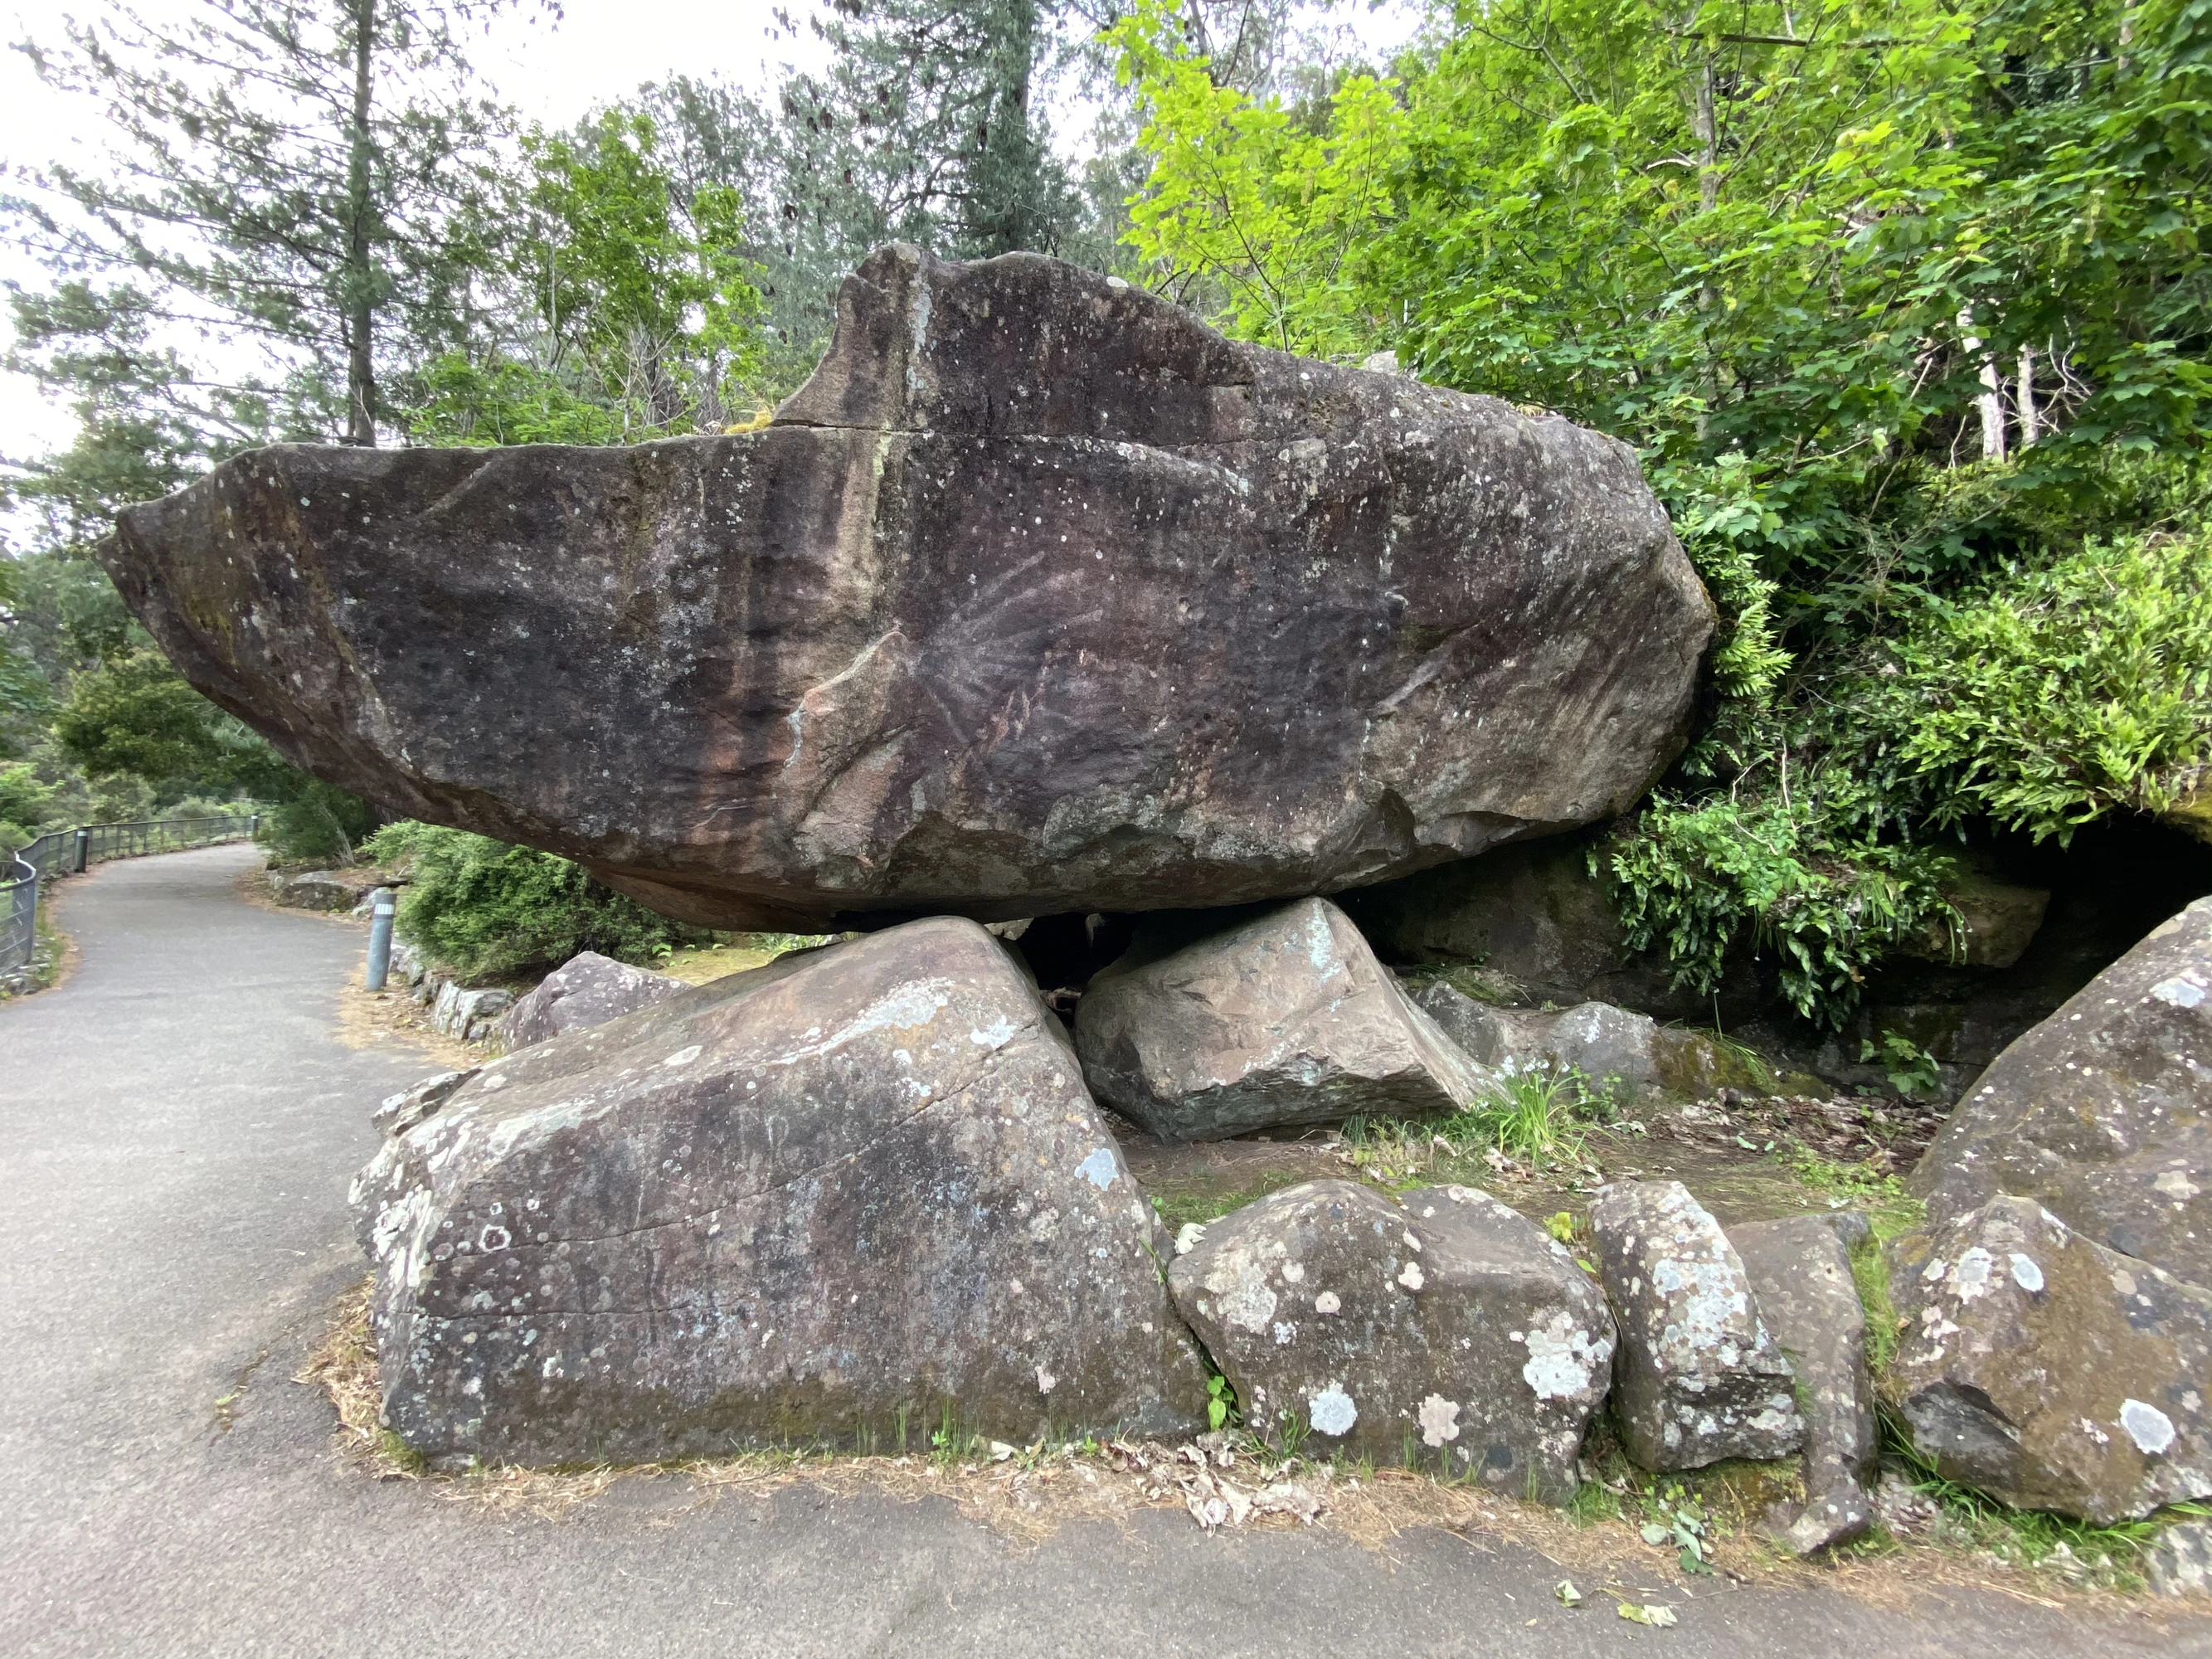
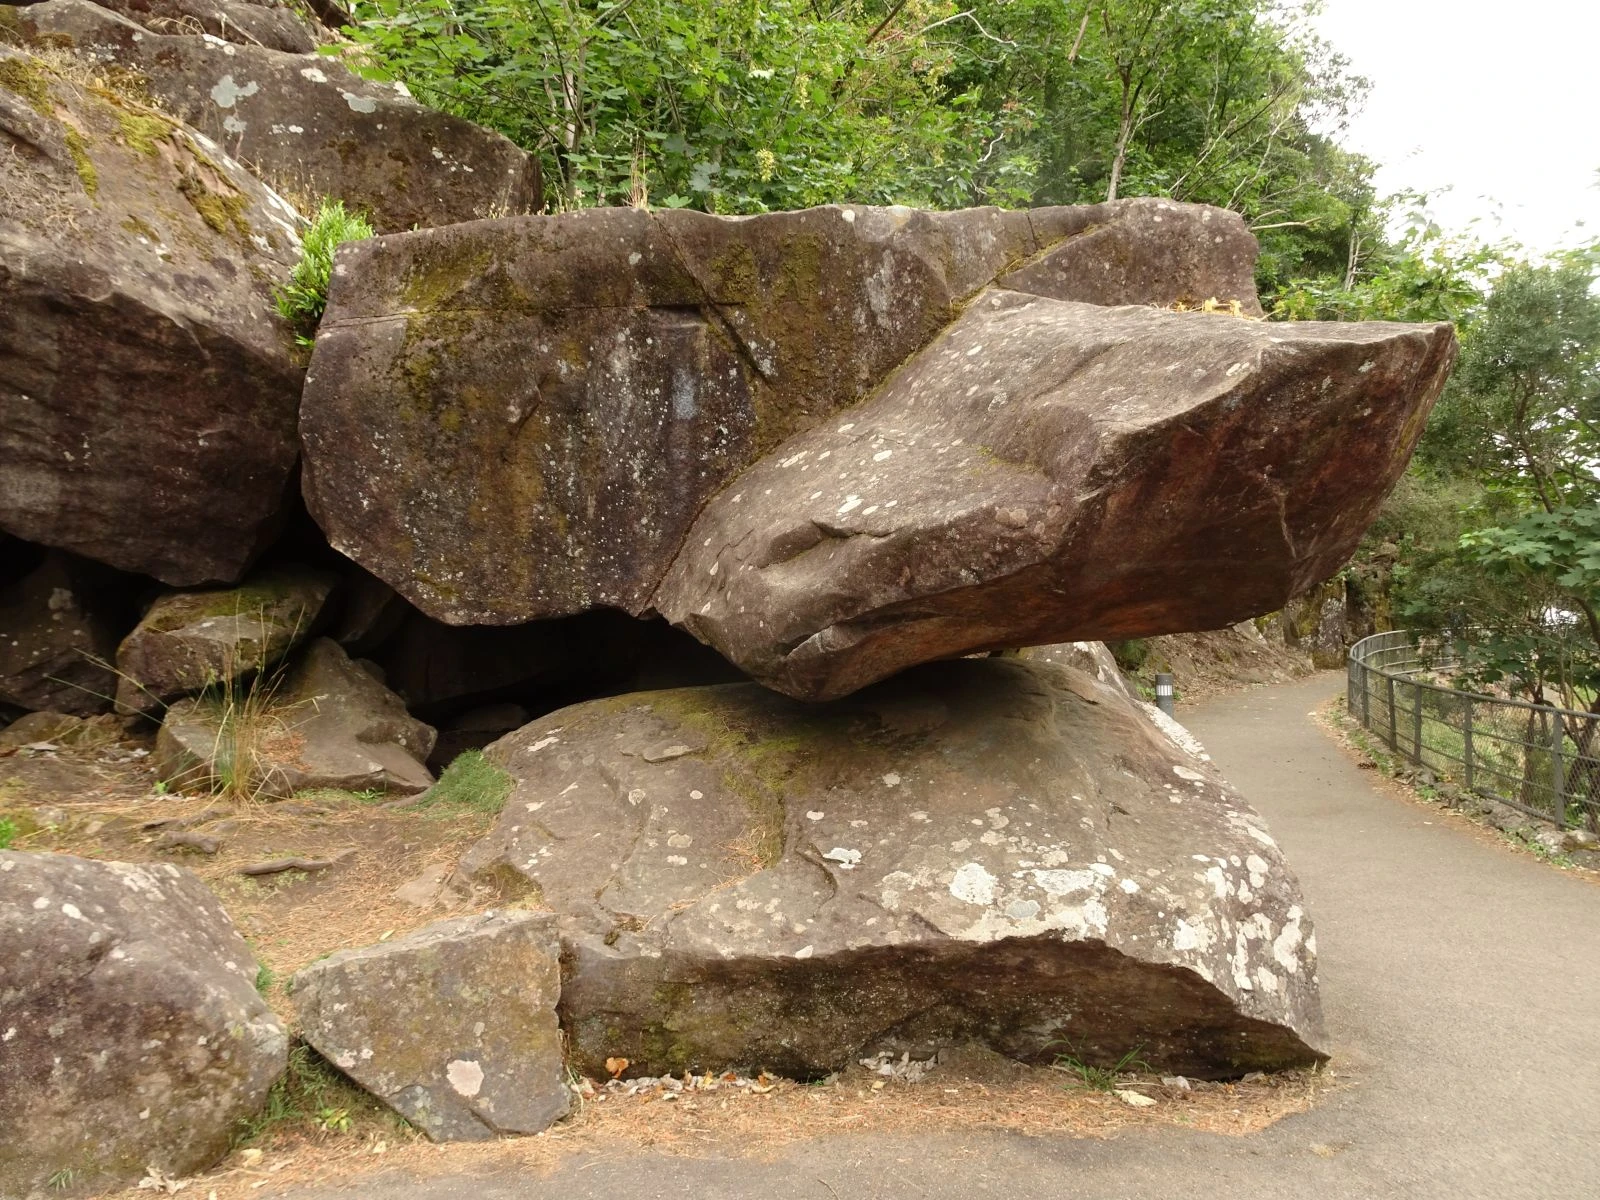
Welcome Boulder
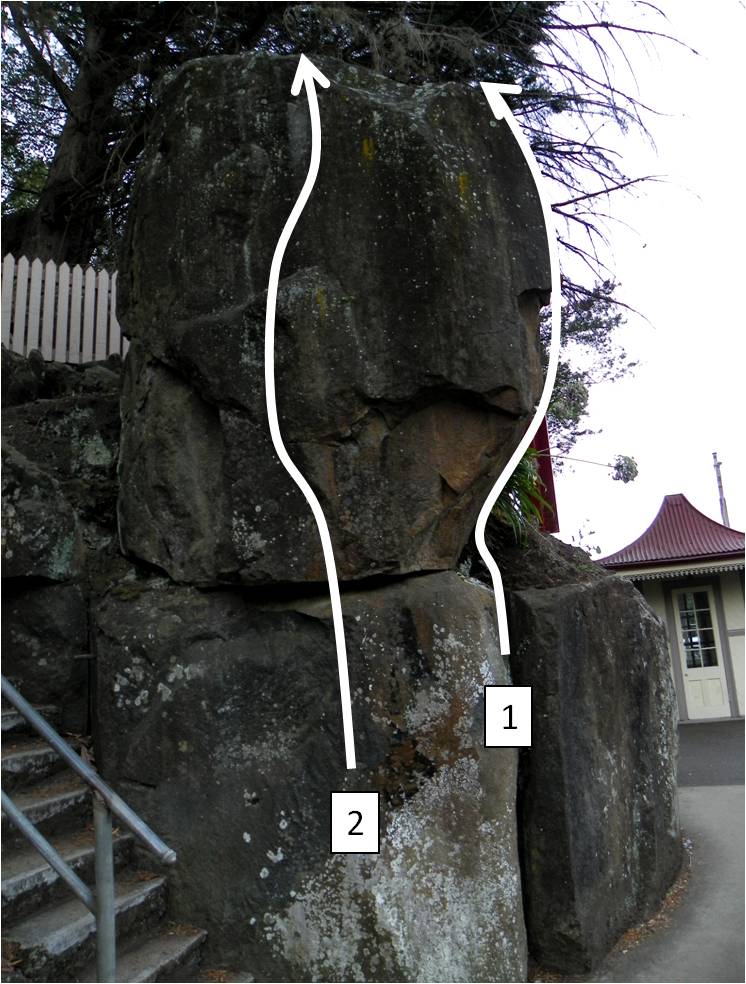
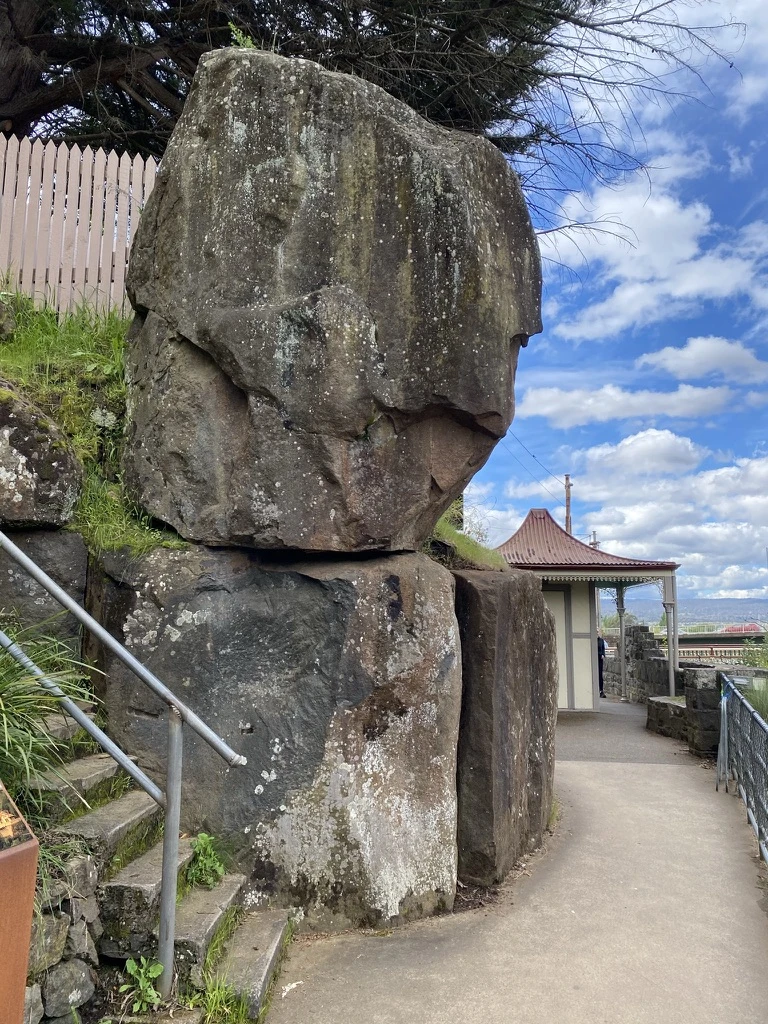
Topo: theCrag contributors, CC BY-NC-SA 3.0, theCrag
Start on the pedestal and climb up the arête directly over the track. As a pad pretty much blocks the track for this one, trying it at say 5pm on a sunny summer afternoon is probably not a great idea.
Better climbing and more out of the way than its neighbour. Start on the Pedestal at the bottom of the stairs that lead up to the house and climb past a few sidepulls to a large sloper with a crack in the back. Move directly up to the lip and top out.
LP 5
Start on a jug at about waist height a couple metres to the right of the light post at a crack and a drilled hole. Angle up leftward to finish on the good holds directly above the light post at about 2.5m height. The drilled hole is part of the problem and it would be quite a bit harder if you decide to go au naturel.
The Love Wall
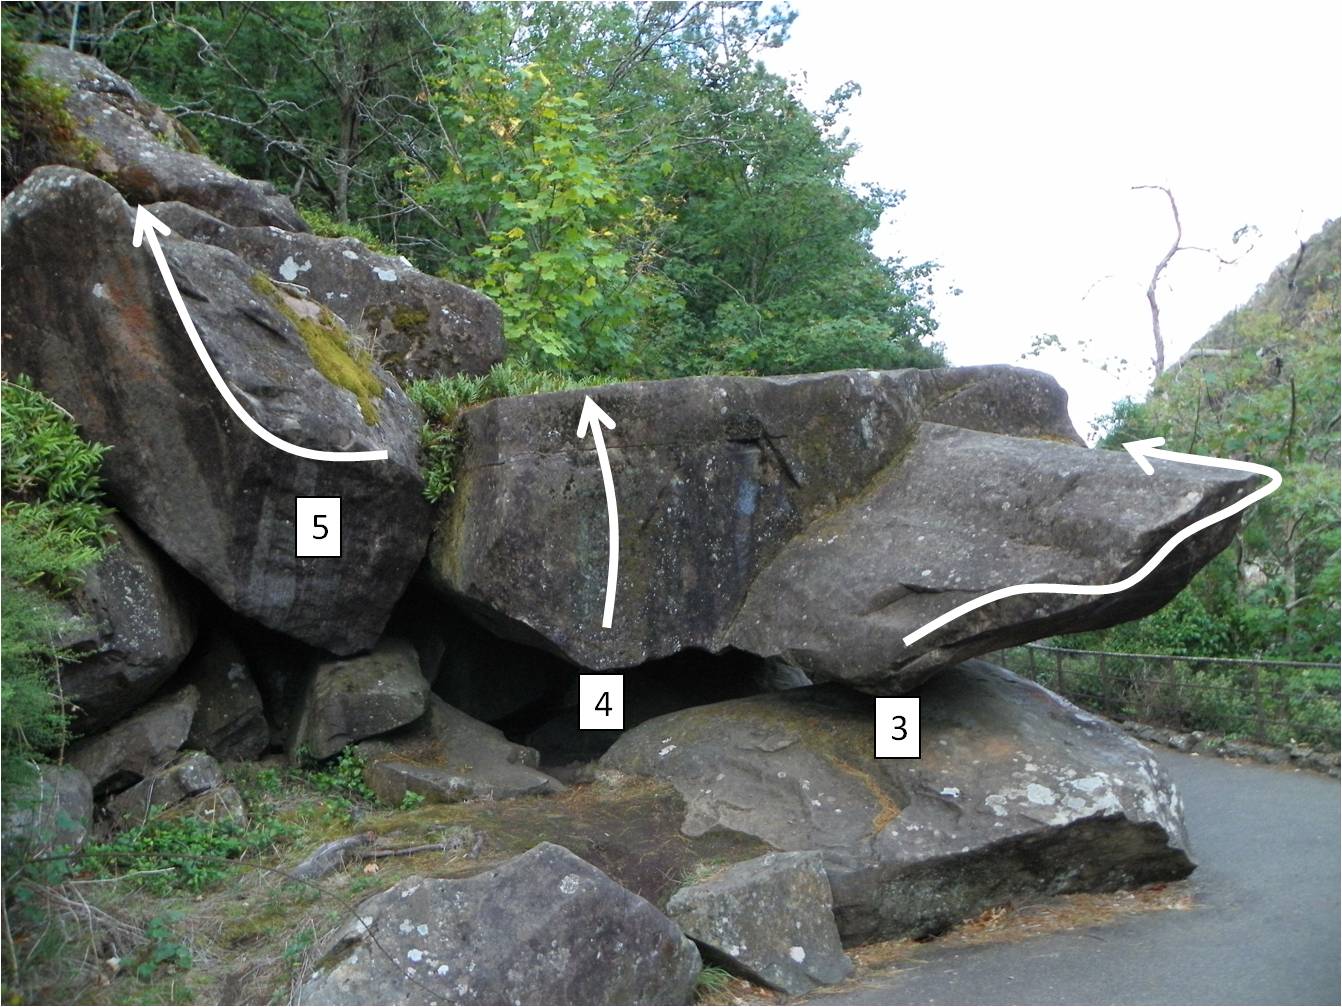
Just past LP5 a buttress comes out and runs parallel to the track. The word "love" is currently graffitied on the downriver side.
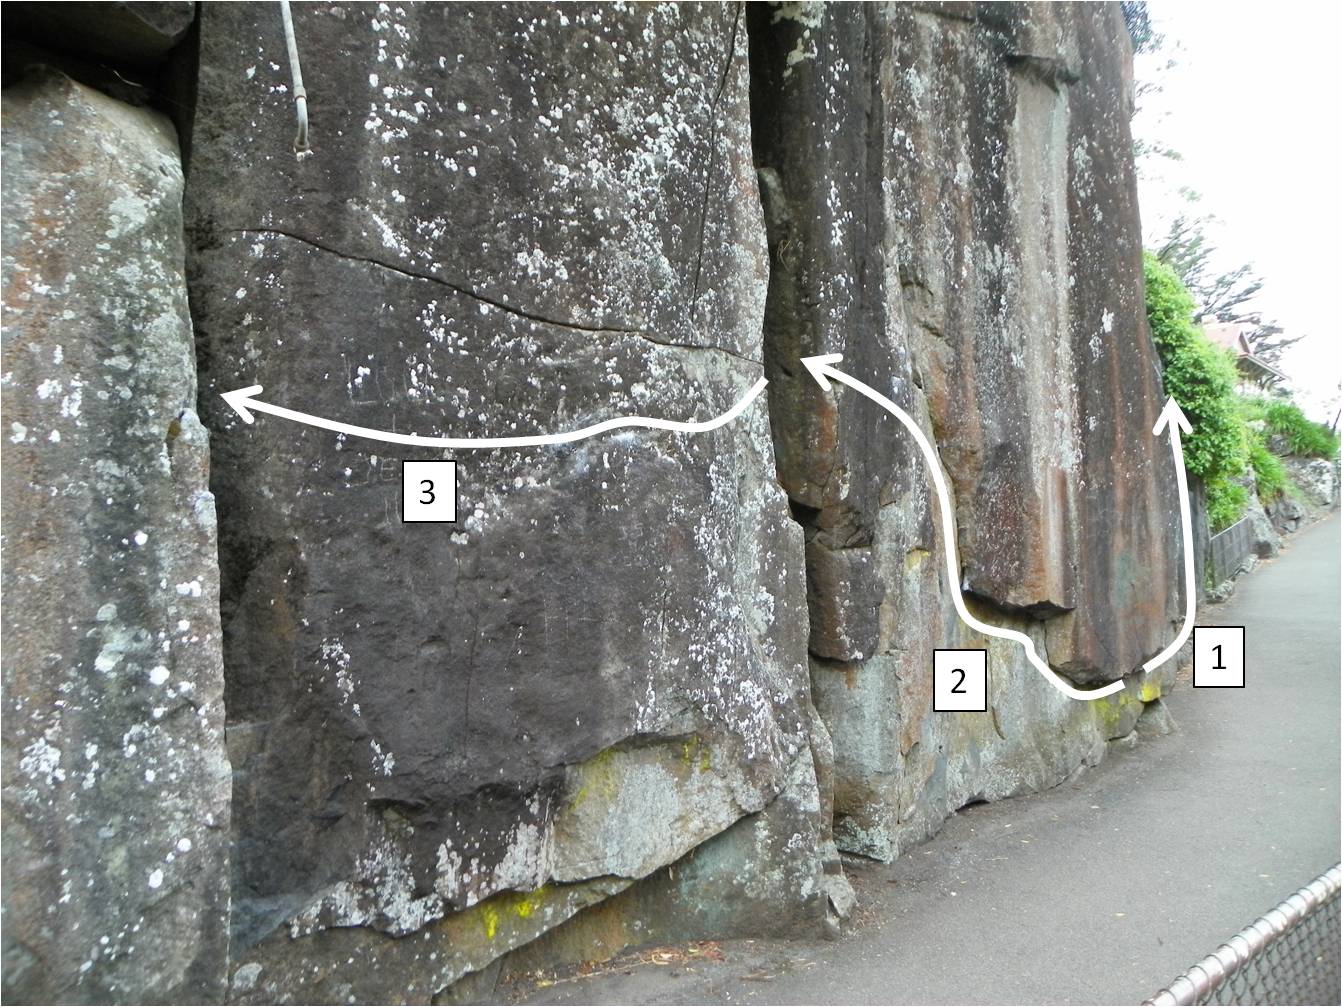
Just at LP5 . Start on a Jug at about waist height a couple meters to the right of the light post at a crack and a drilled hole. Angle up leftward to finish on the good holds directly above the light post at about 2.5m height. The drilled hole is part of the problem and it would be quite a bit harder if you decide to go au naturale.
Mark Polinski · From: theCrag
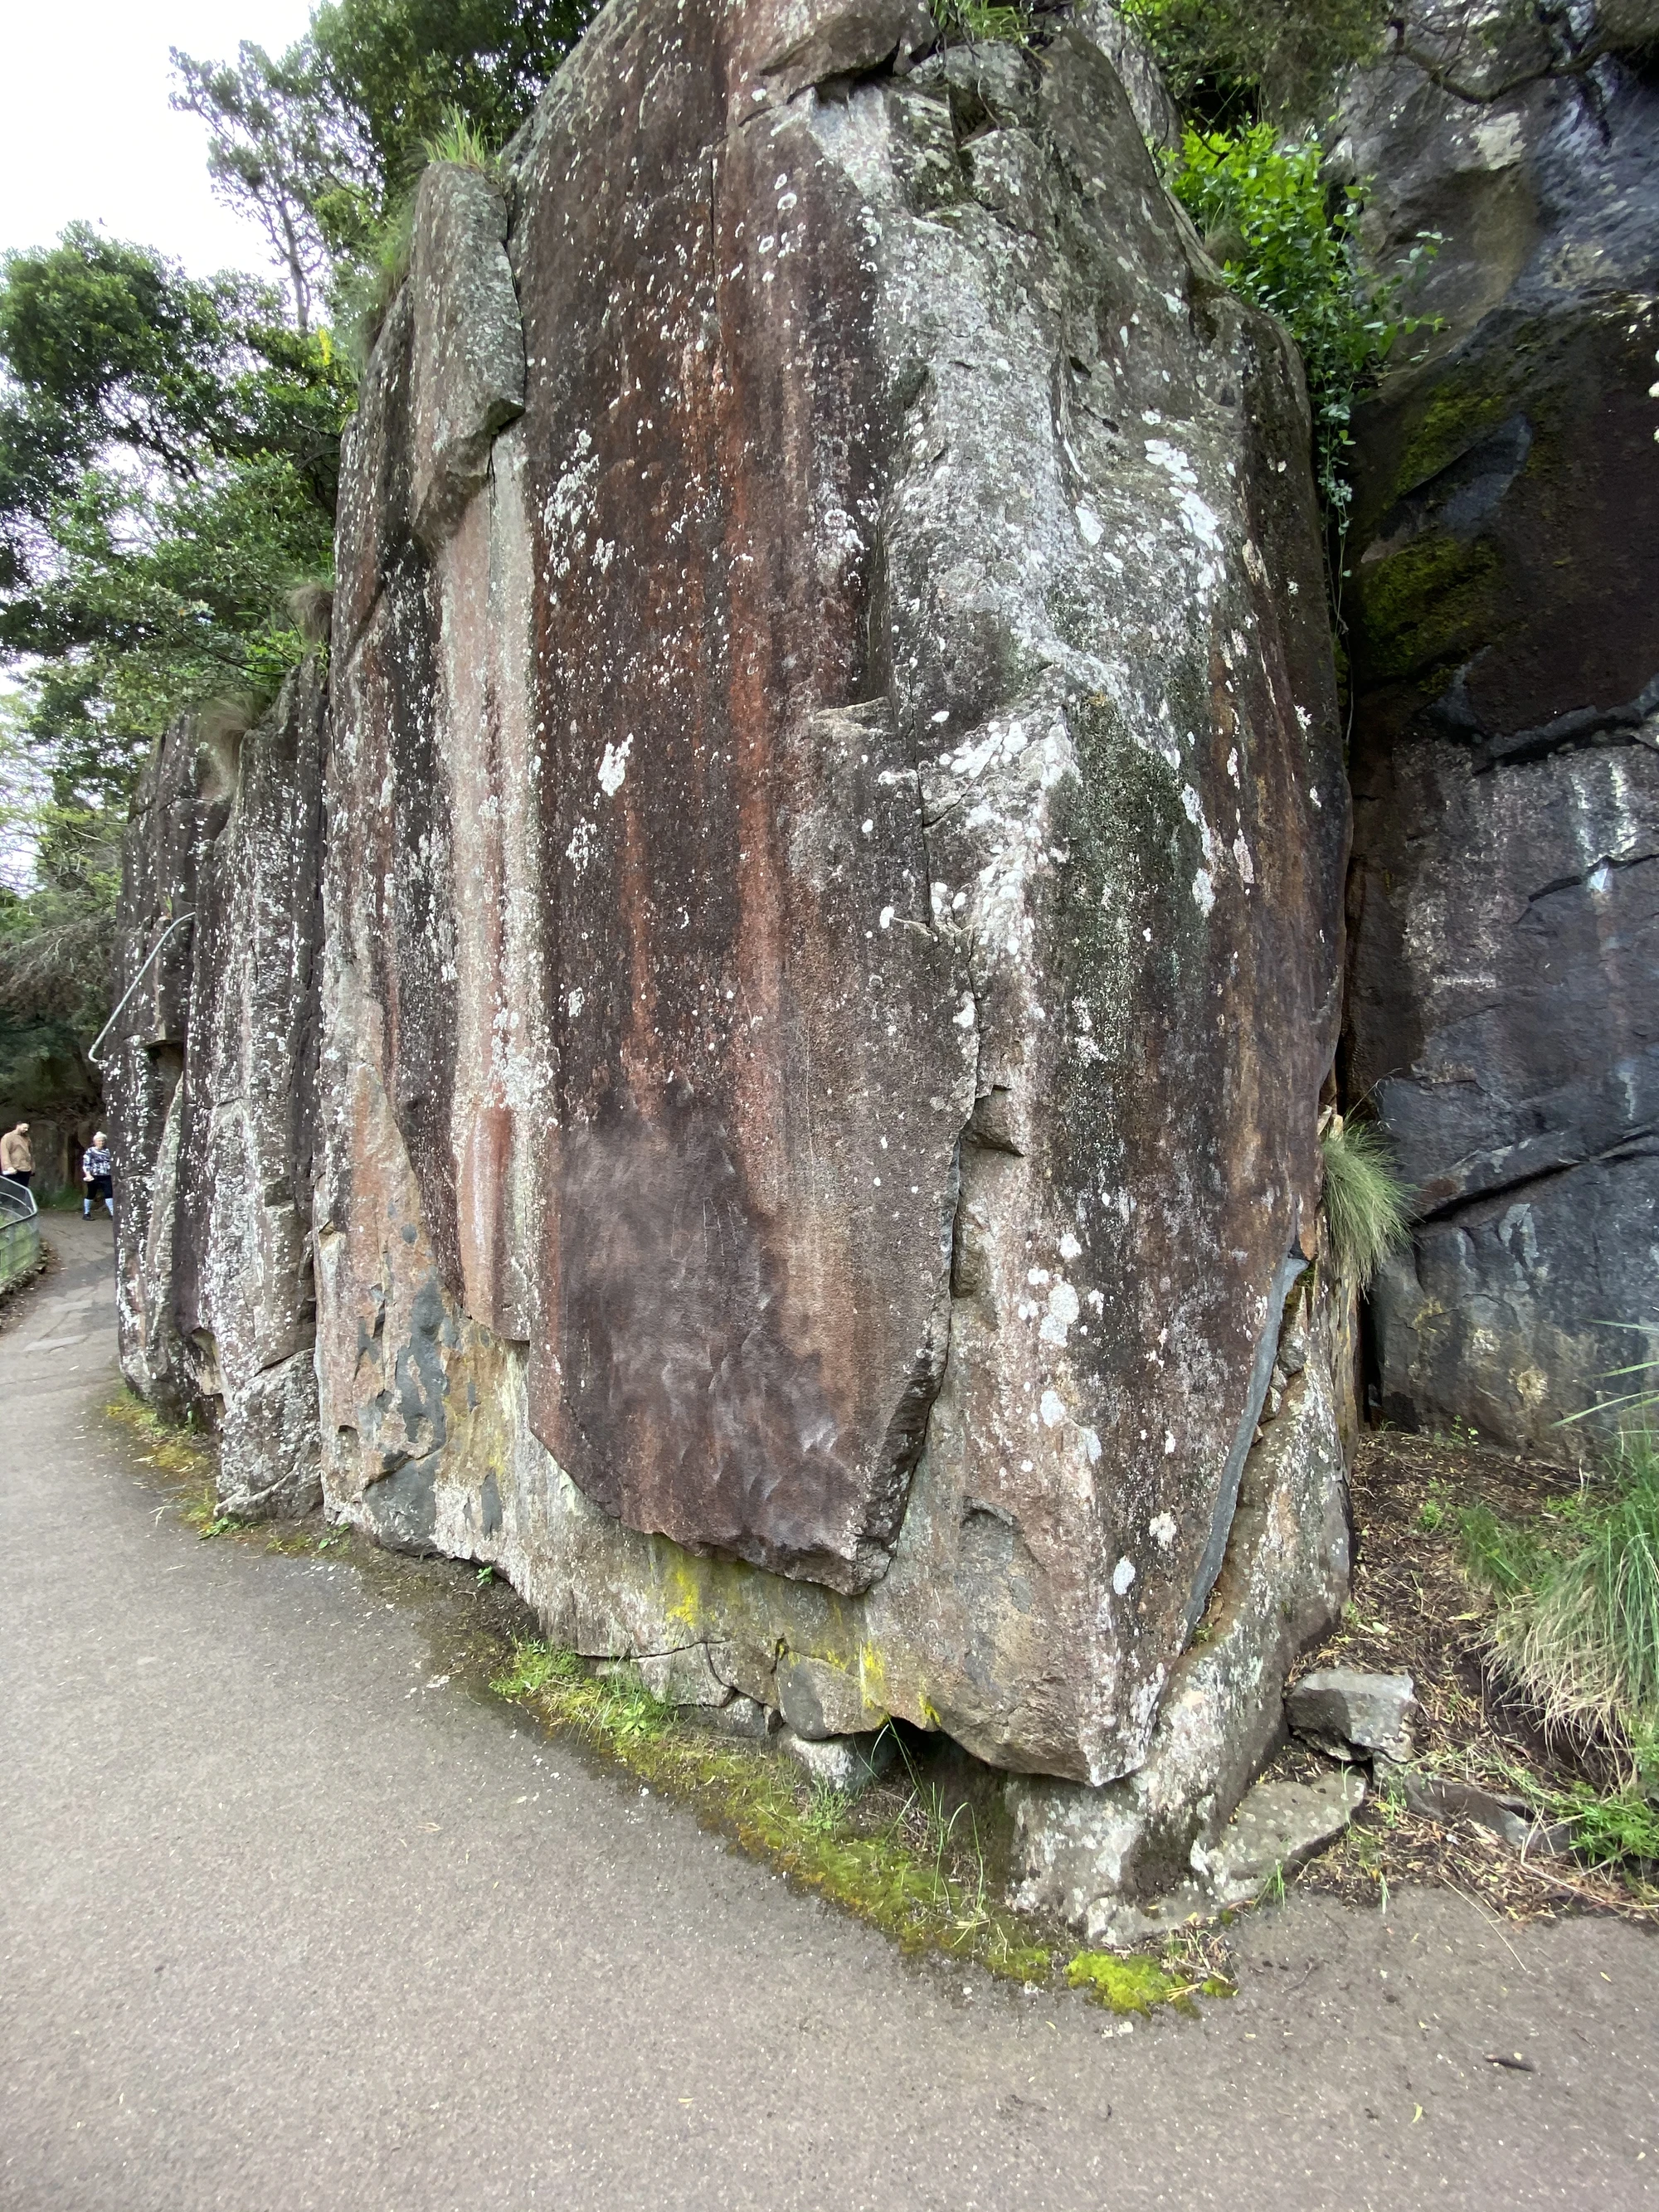
Topo: theCrag contributors, CC BY-NC-SA 3.0, theCrag
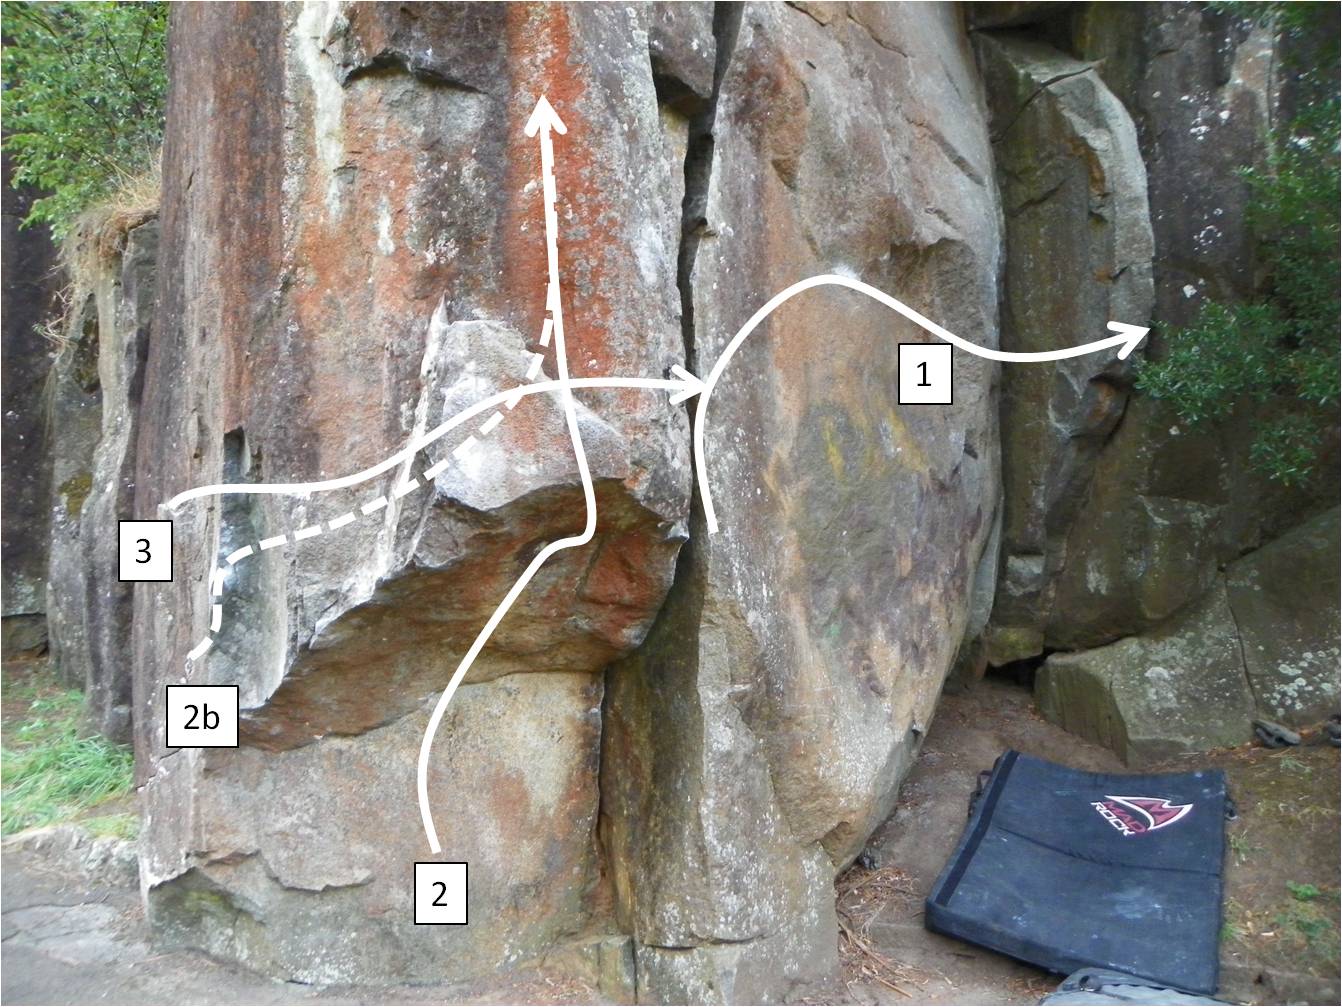
Sit start on low underclings about 1 metre left of the corner and move up and right on good sidepulls to a jug at about 3 metre height. Drop or downclimb from here.
Sit start on the low undercling as per #1, but move left traversing through more underclings to finish on jugs in the crack at about 2.5 metres height.
Start in the crack where the previous problem finished off (even better if you climbed into it from that problem, although it doesn't change the overall grade) and traverse left through some thin crimps and tricky footwork to finish on good holds in the next vertical offwidth crack.
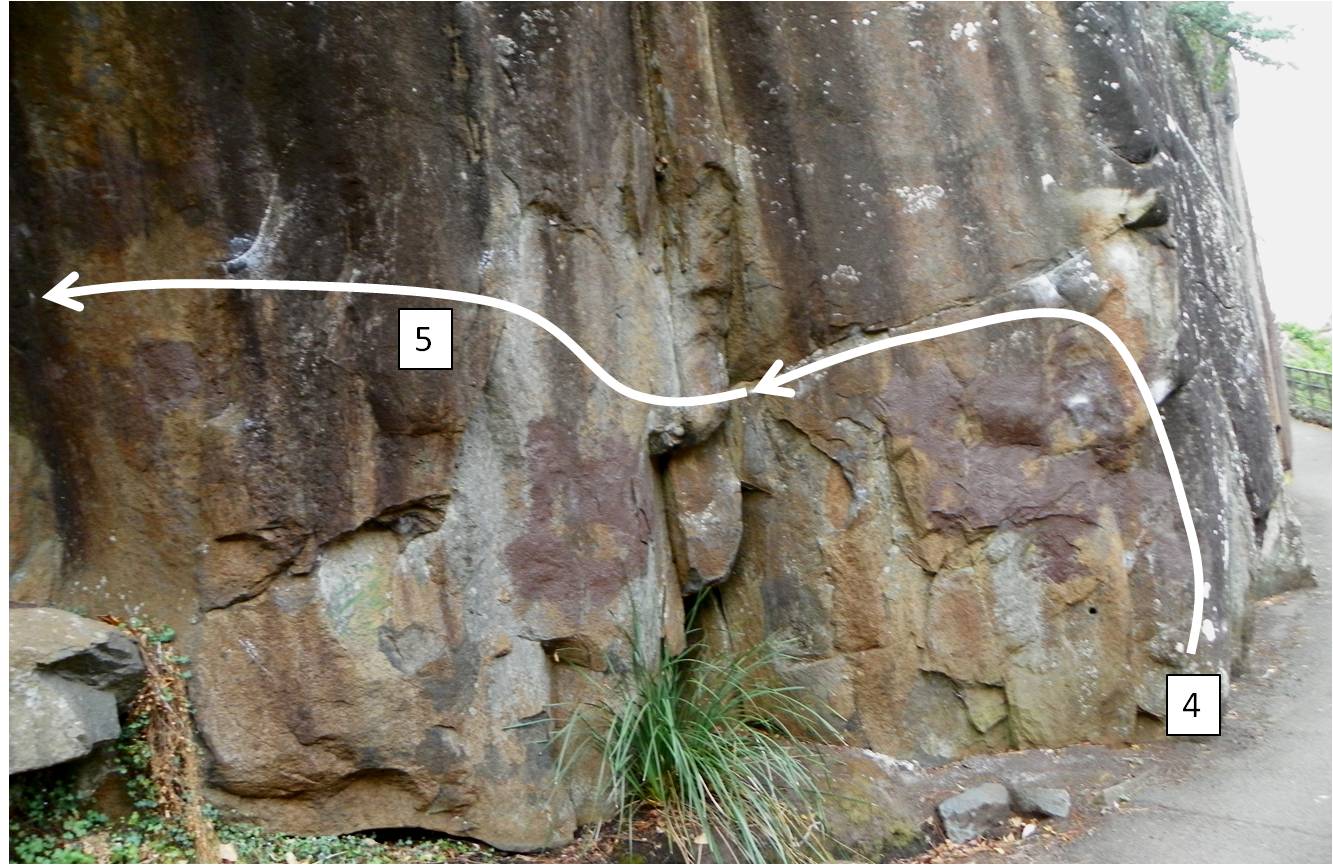
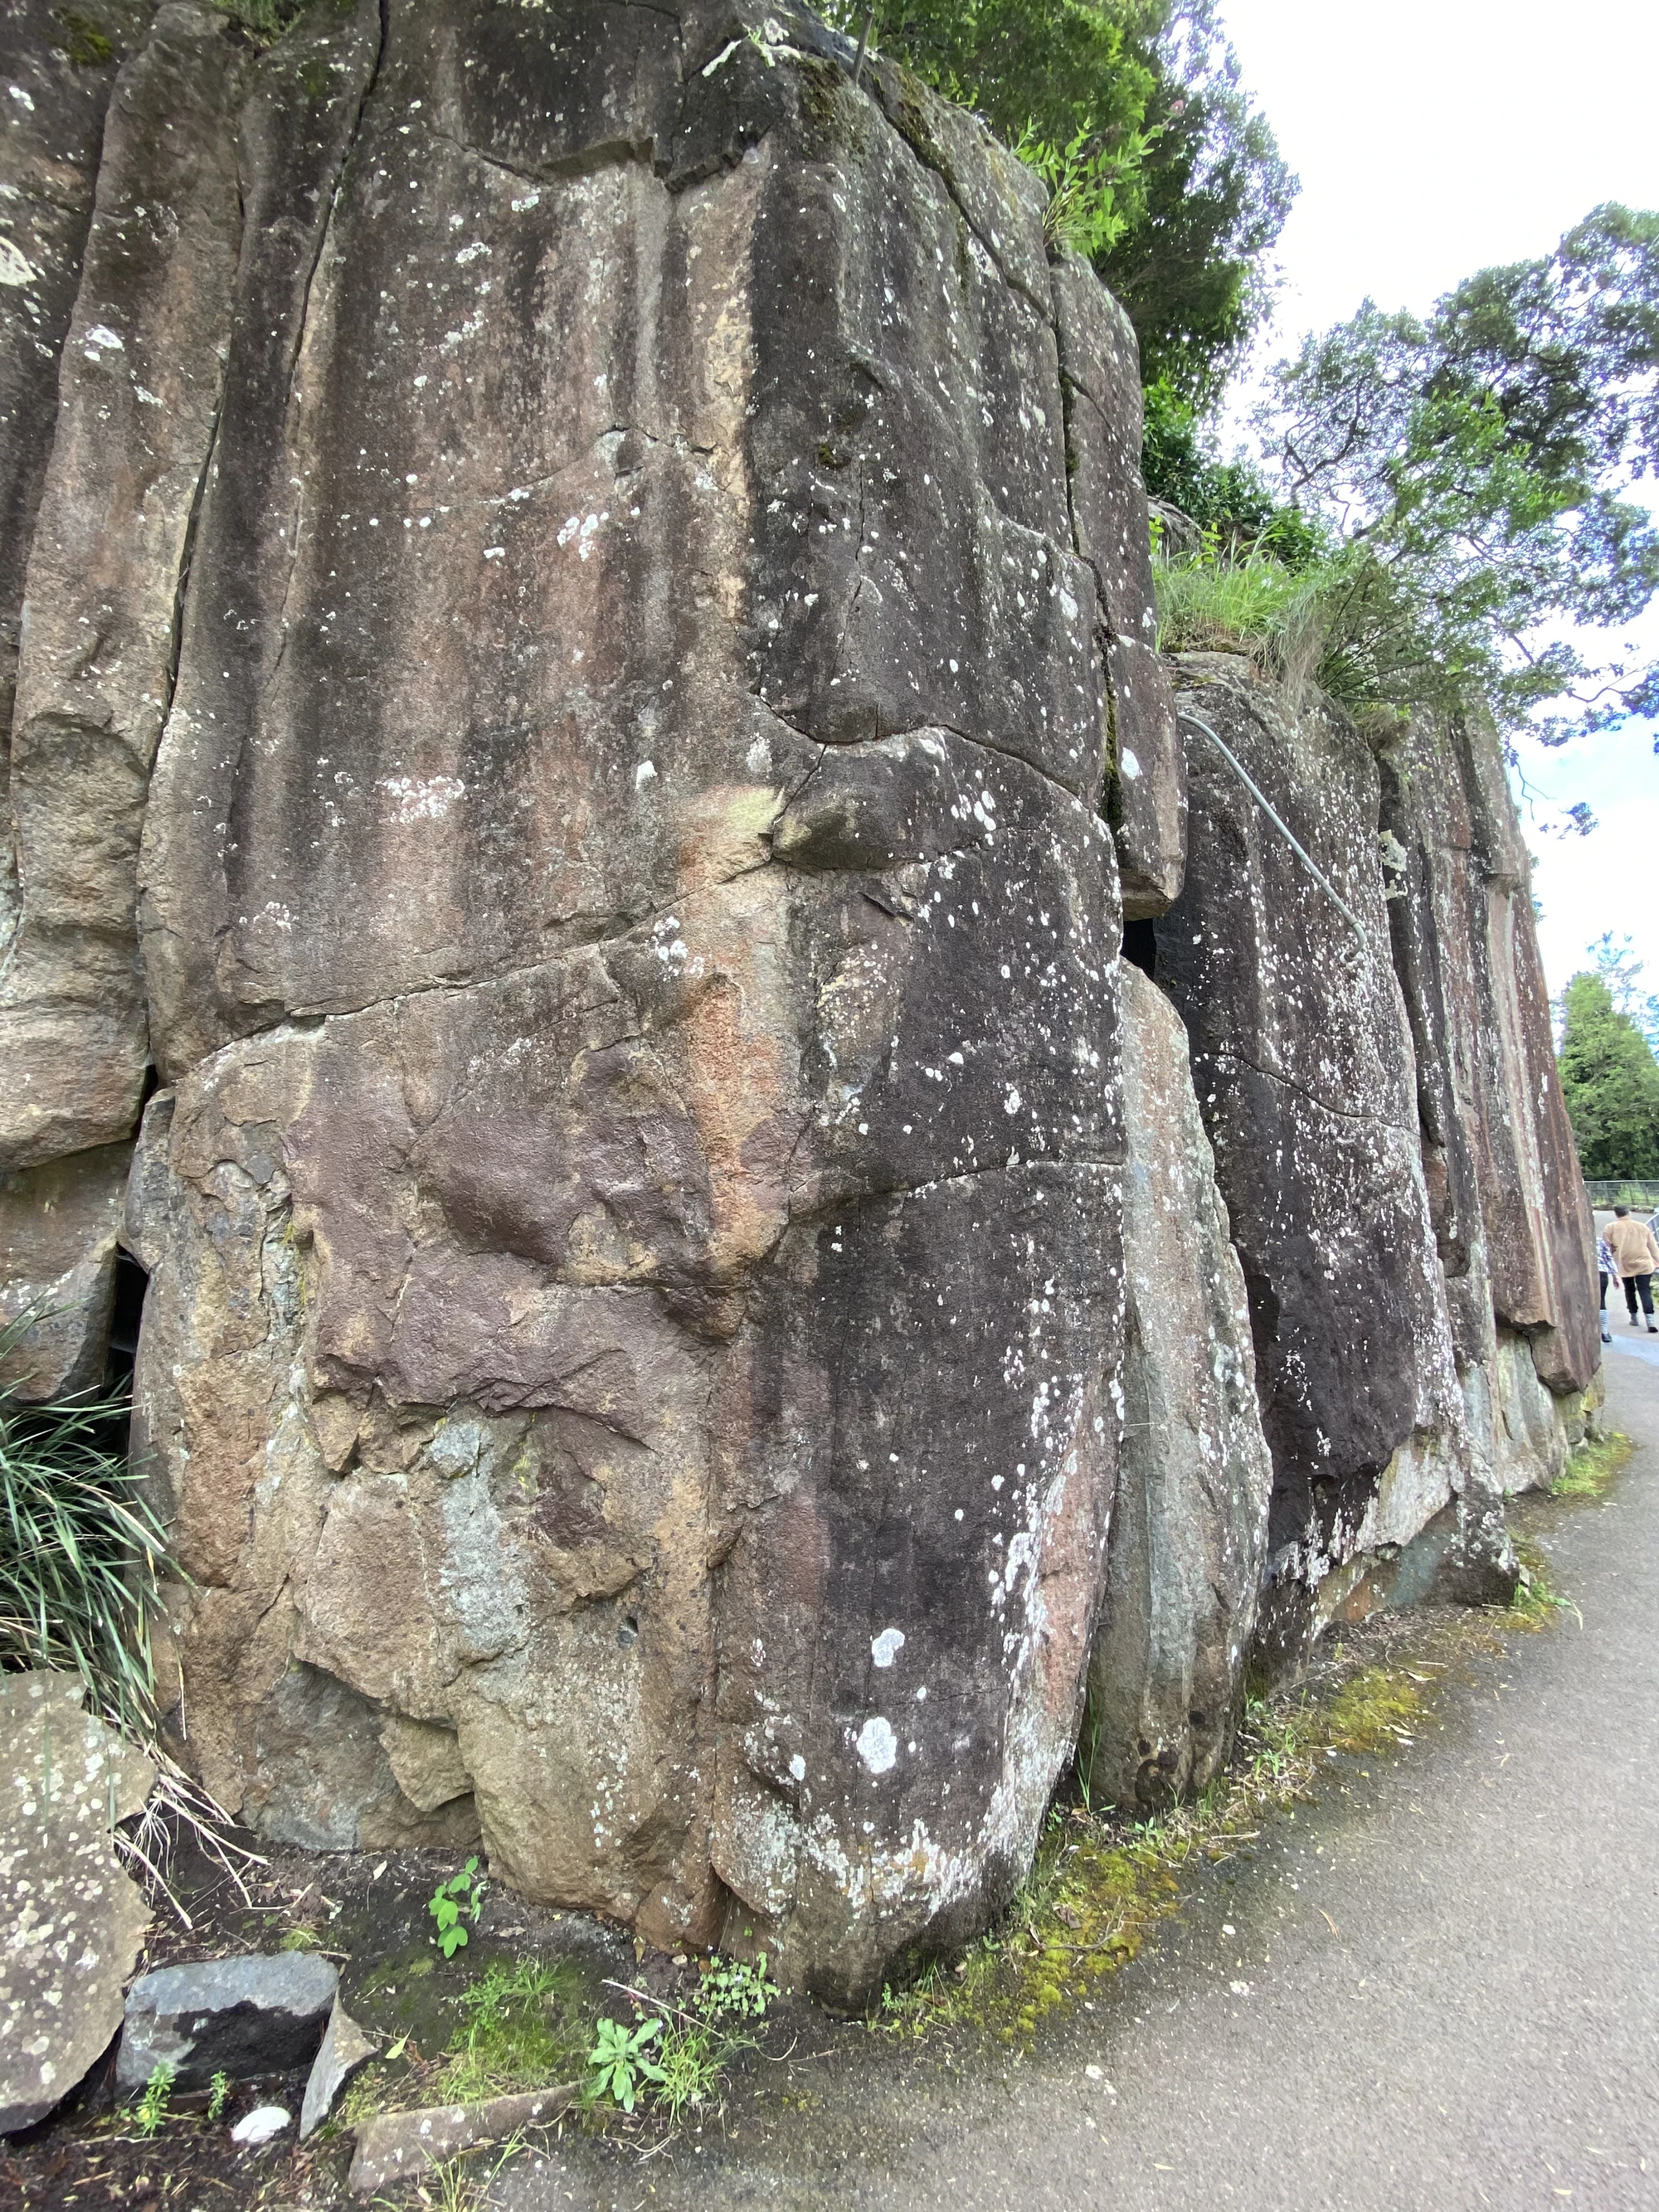
Topo: theCrag contributors, CC BY-NC-SA 3.0, theCrag
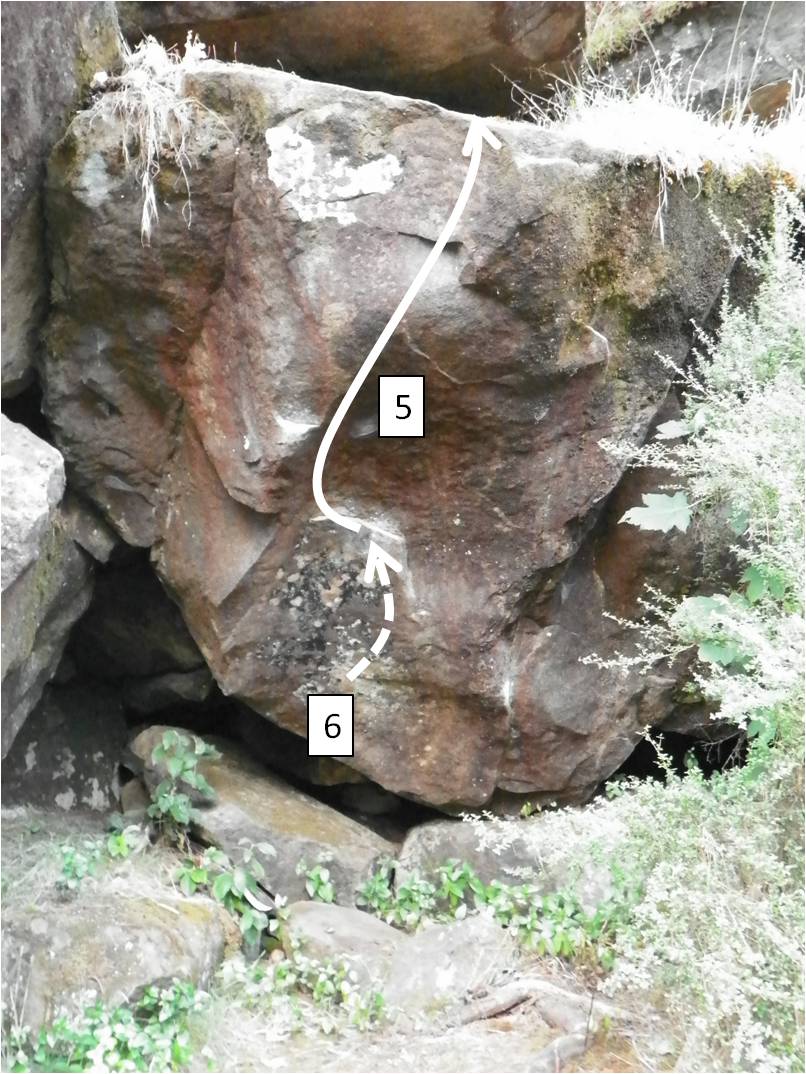
Sit start LH on a low sidepull crimp, and RH a little higher in an arching undercling feature. Move up to a good incut crimp and small edge and then to a good rail. Traverse the rail rightwards through the corner and finish as per #5 by stepping off in the elevated cave. Although the crux is technically over within the first few moves, you may want to at least have a look at the rest lest you find yourself in trouble once you've done the opening.
Start in the corner on some good holds and traverse left through a cool double handed pinch to finish by stepping off onto the raised platform in the small cave. The original intent for the problem was to head straight up just before the end (which has been done at about V6) however some of the upper holds are ready to break and are continually dirty due to water flow, not to mention the epic downclimb, so this problem is not mentioned in the list. Feel free to rekindle the option though if it strikes your fancy.
The full traverse of the Love Wall. Start standing on the crack used in #1, reverse this down to its low undercling start and proceed through problems 2 and 3 which can then be linked into 4 and 5. More moves than most of the routes you'll climb in the gorge.
Heckle Area
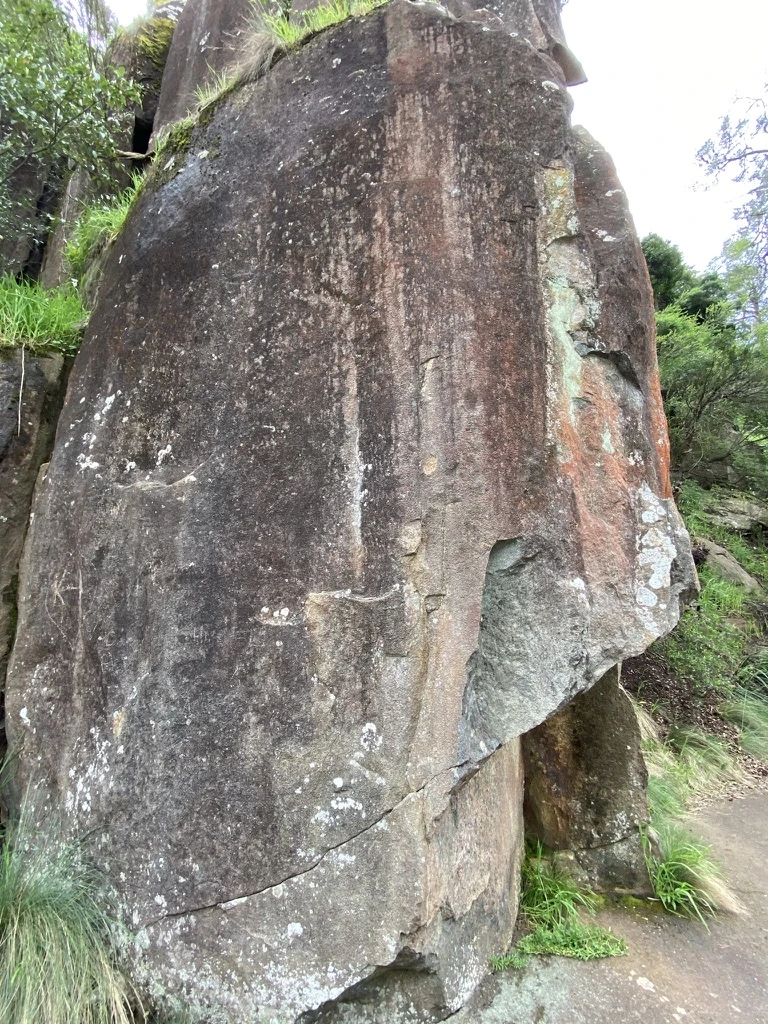
About 30m down the track is a little roof with an offwidth to the right. This is the Heckle Area.
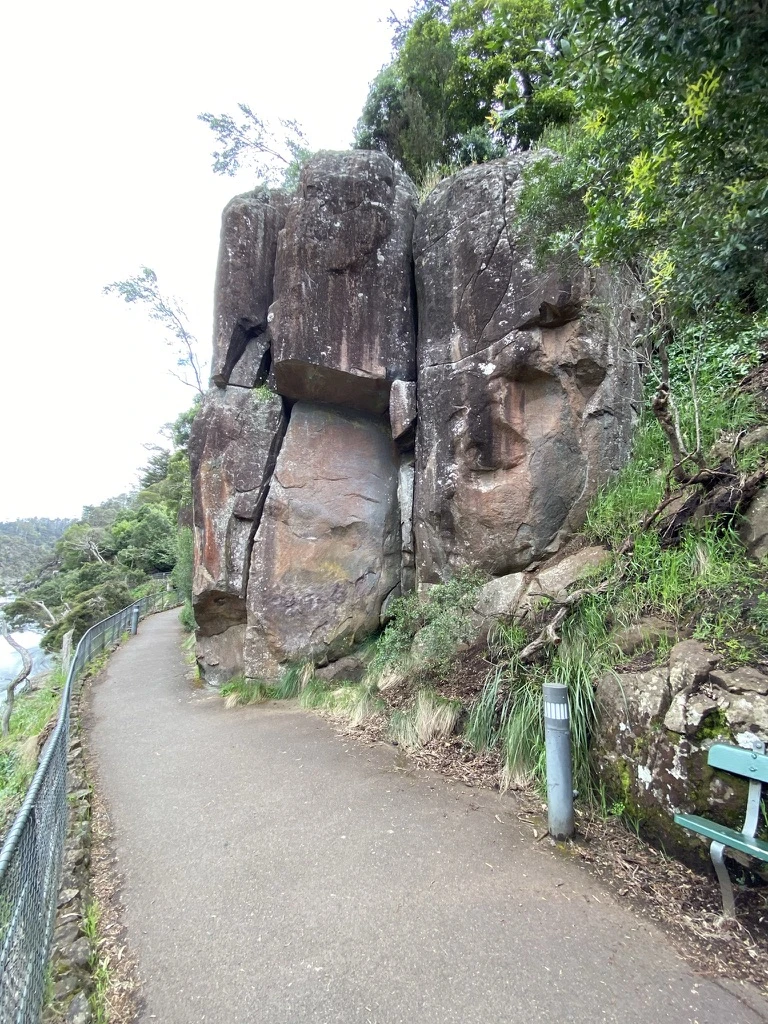
Topo: theCrag contributors, CC BY-NC-SA 3.0, theCrag
From offwidth traverse rightwards across face and bridge through the corner to finish in the crack on the right. As the name implies, it's more of a puzzle than a difficult rock climb.
Sit down and start under the roof by squeezing the lowest part of the roof (LH) and the left side of the vertical crack (RH) slap up with compression to reach the jugs just over the lip. Mantel these jugs and stand on them for the finish. For the purpose of this exercise, the crack to the right is off.
Topo: theCrag contributors, CC BY-NC-SA 3.0, theCrag
An eliminate, but still good if you're looking for a little more difficulty. From a good low corner edge just down and left of the roof move rightwards via RH small edges under the roof and an improbable but usable LH slopy pinch and squeeze across and up to the jugs. Finish standing on this (as per the V3). The good hold up and left from the sitstart is not part of the problem.
Start 2m left of the arête on the good edges you would have avoided in #2b. Traverse rightwards around the arête to the crack and finish as for number 1.
From the holds at the start of the Heckle Traverse, go left to the top of the crack in the corner and drop off.
LP 9
Topo: theCrag contributors, CC BY-NC-SA 3.0, theCrag
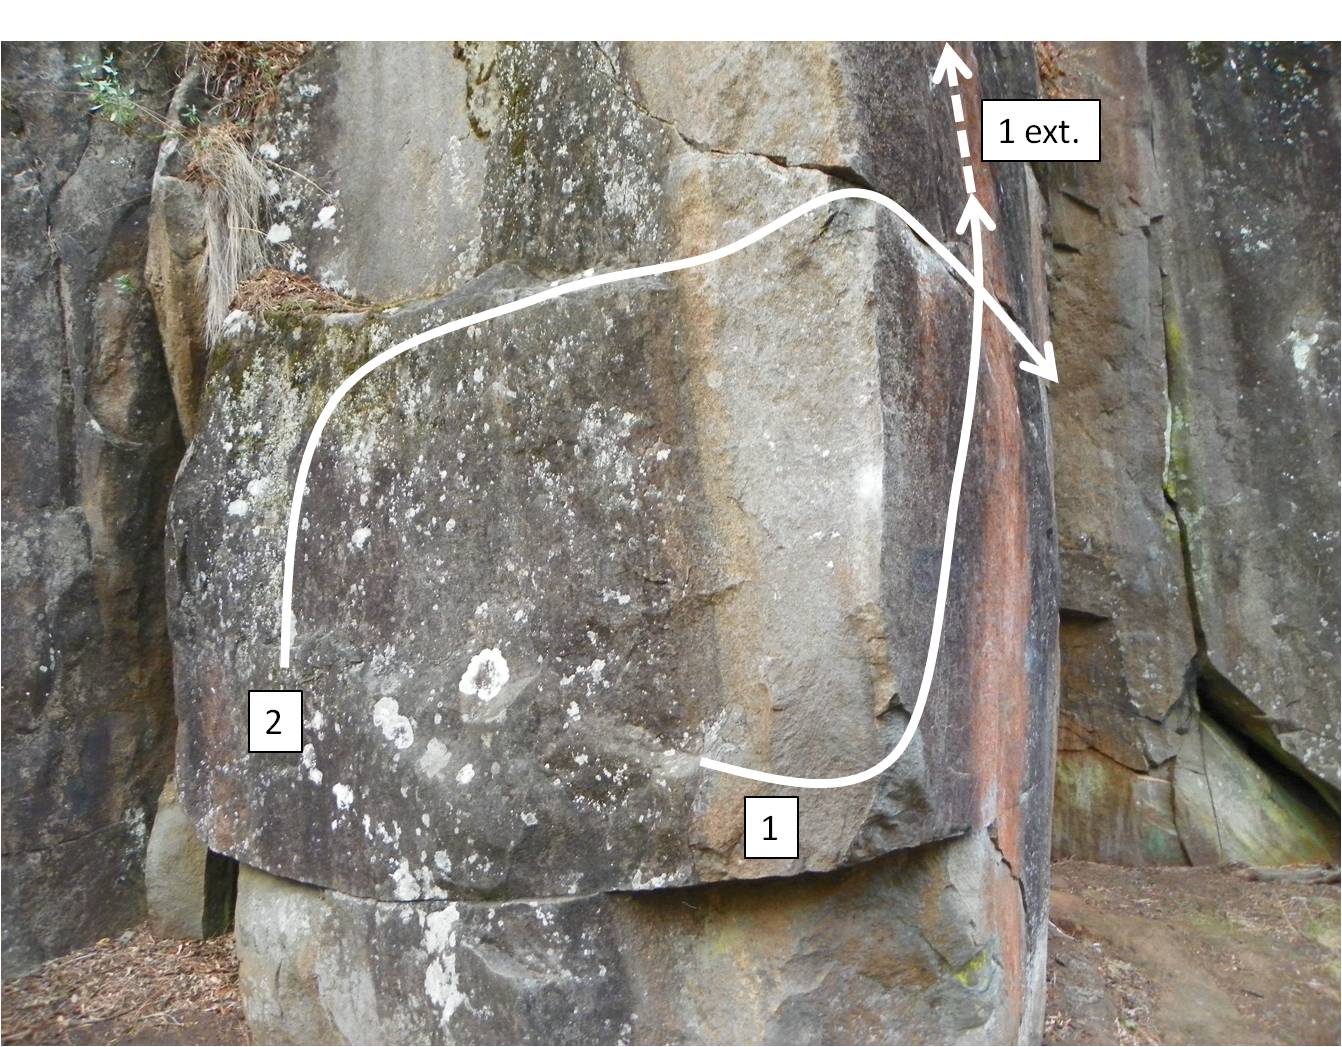
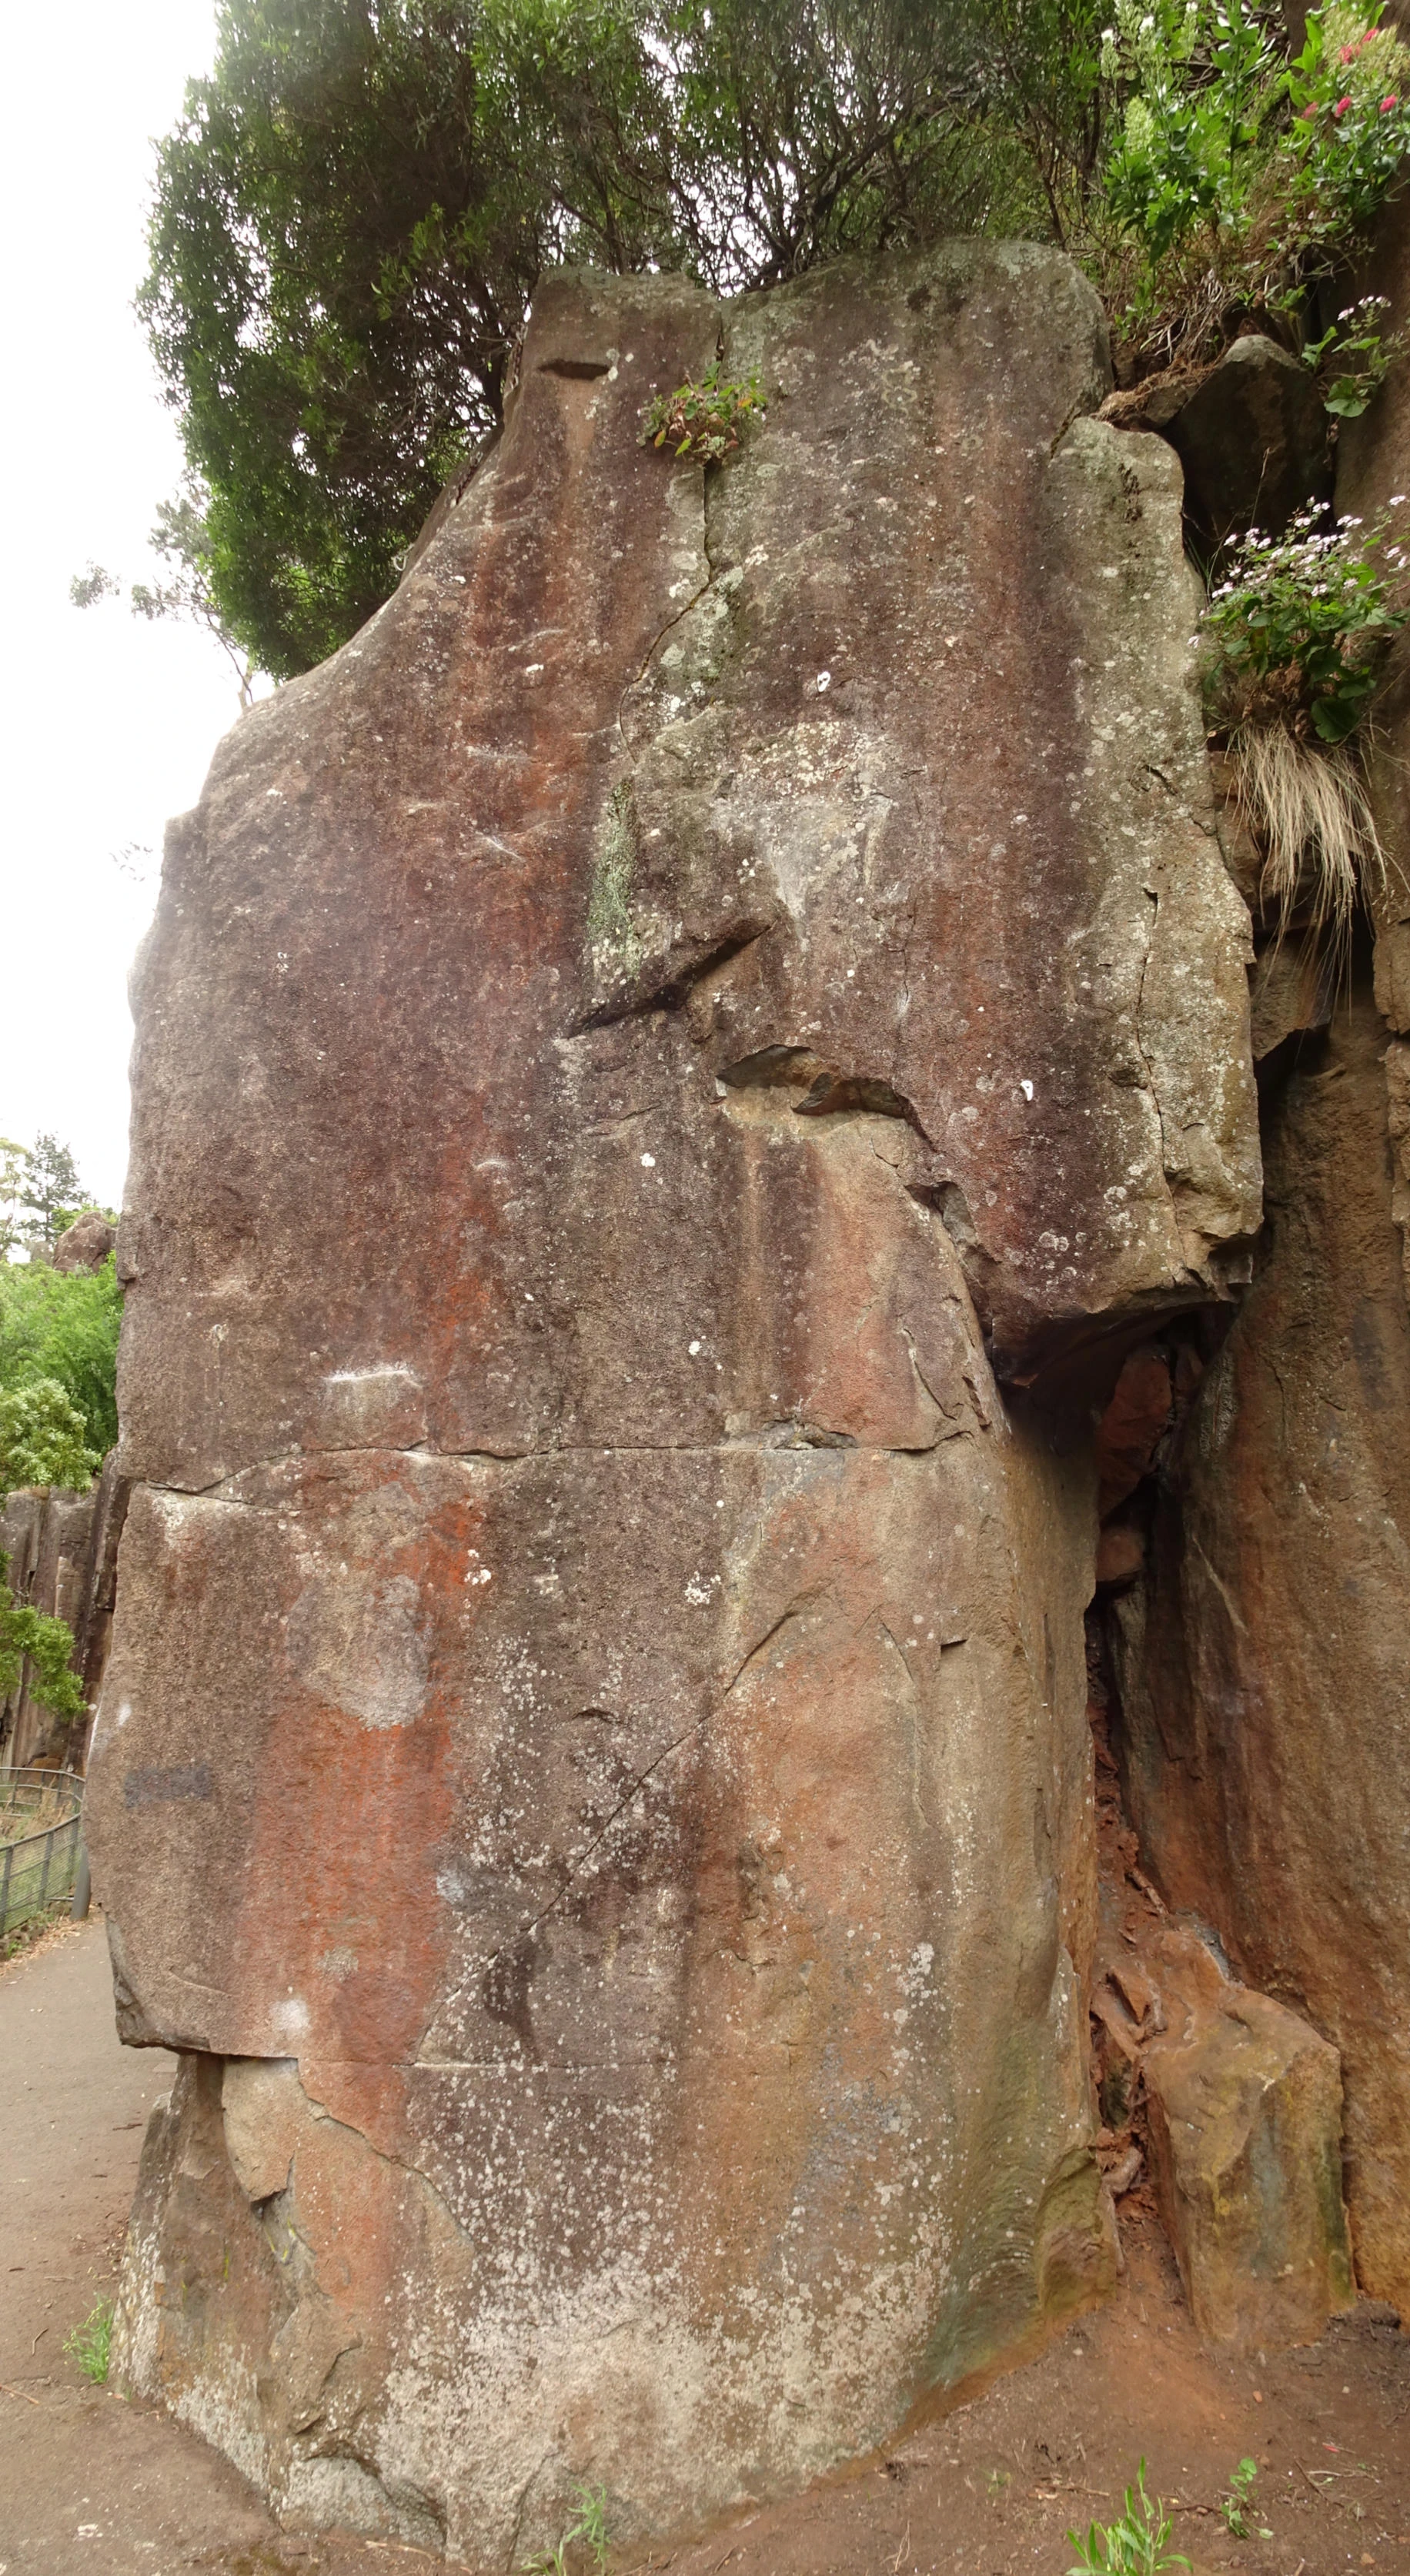
A really nice problem. Start on good holds at waist height just left of the arête. Move right around the point then up to the thin seam and up again to a good crimp rail just above. Either drop from here (easiest option), or continue right and finish as per #2 which adds a few moves but doesn't really change the grade.
Climb Spunk up to the crimp rail and continue up the arête to the top. The stand start to this is a 2 bolt climb (Spunky Monkey 27), but the whole line starting from the sit can easily be bouldered with a pad or two. The easiest descent is to downclimb the grade 19 just to the left of the arête. A topout is possible but not recommended.
Start on a waist high short horizontal rail about 4 metres left of the arête. Make a big move up to the next good rail and traverse rightwards around the corner where the rail becomes a seam. Continue on until just before the corner where you can drop down to a good incut left-facing sidepull to finish.
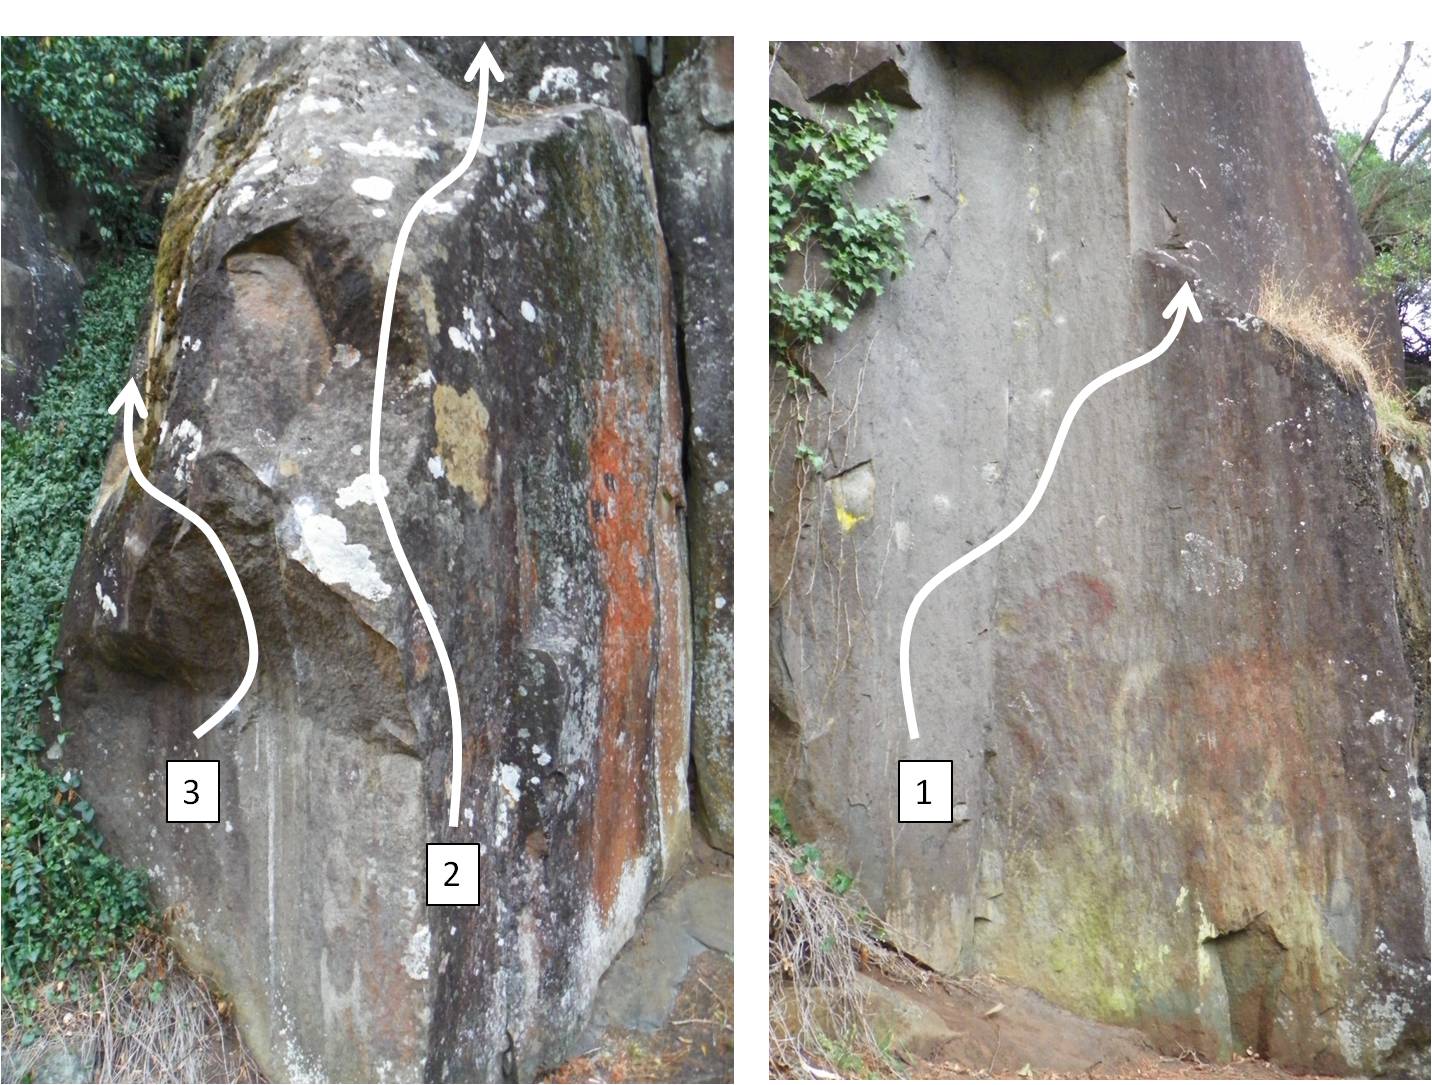
About 10 metres to the right of the Spunk arête with the two-bolt routes is another route climb called Six Agile Men (grade 17) which starts in a corner and climbs up past a small ledge and over a tree branch. This problem climbs the wall just right of this corner with a high start on some edges and moves up to a large sloper to finish.
Climb the bottom of the Six Agile Men route without using the right corner, but instead climbing the arête directly up to the large ledge via sidepulls and crimps. Drop or downclimb the corner.
Traverse leftward from the Six Men arete to the next arete left.
From: theCrag
Traverse leftward from the Six Men arête to the next arête left.
LP 10
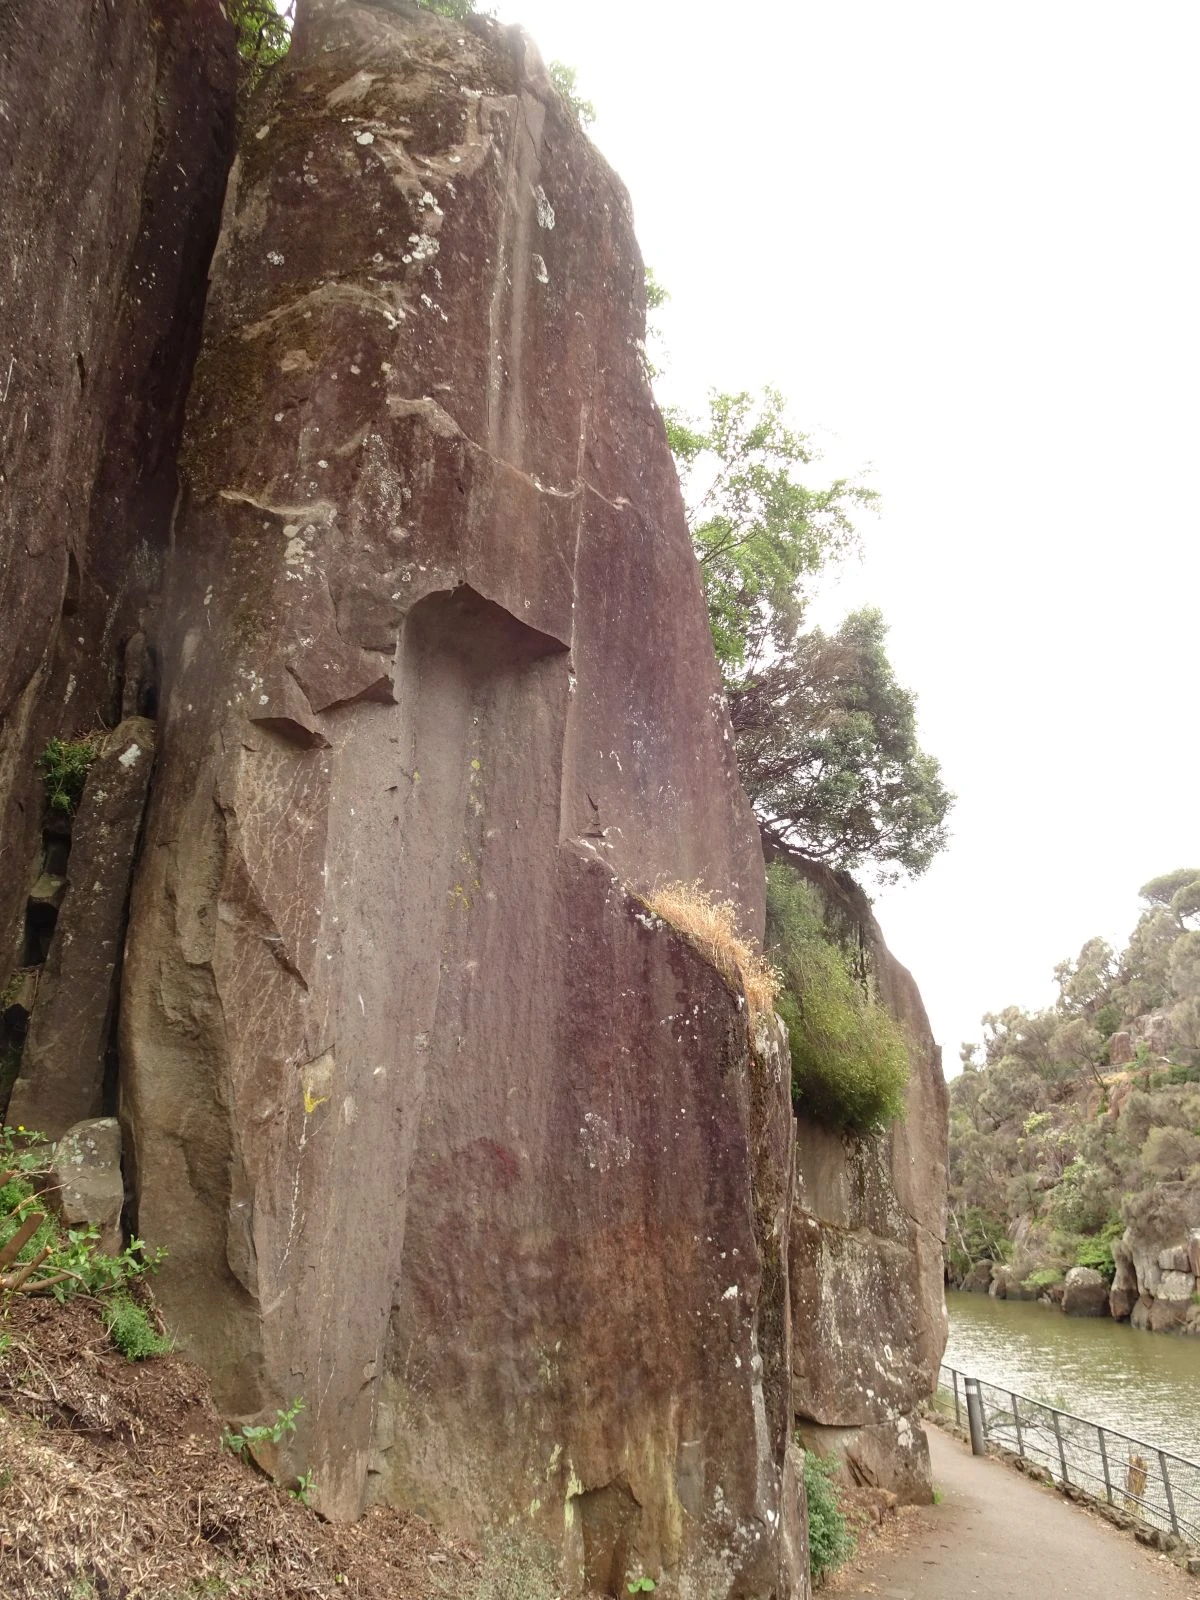
Topo: theCrag contributors, CC BY-NC-SA 3.0, theCrag
Behind LP10 is a very thin and technical dihedral climb called Fox Trot (grade 28). Start as for the route on small crimps just left of the corner and move up and into the dihedral on more small crimps and smeary feet until you can finally escape to good holds on the angled rail at about 4m (about the 2nd bolt). Drop from here, preferably onto a pad or two.
A very good problem. About 20 metres farther up the track from The Fox past a few route climbs (called the New Move area in the route guide) is a shorter nose-like feature. This problem starts with a good RH edge and a slopy LH sidepull a metre around the corner. Move up past slopy crimps and onto the slab to top out. You can come down the ivied gully to the left.
Knighty Project
Sit start on two small staggered crimps under roof left of Knight's Castle. Up via slopers to good edge over the lip and up.
From: theCrag
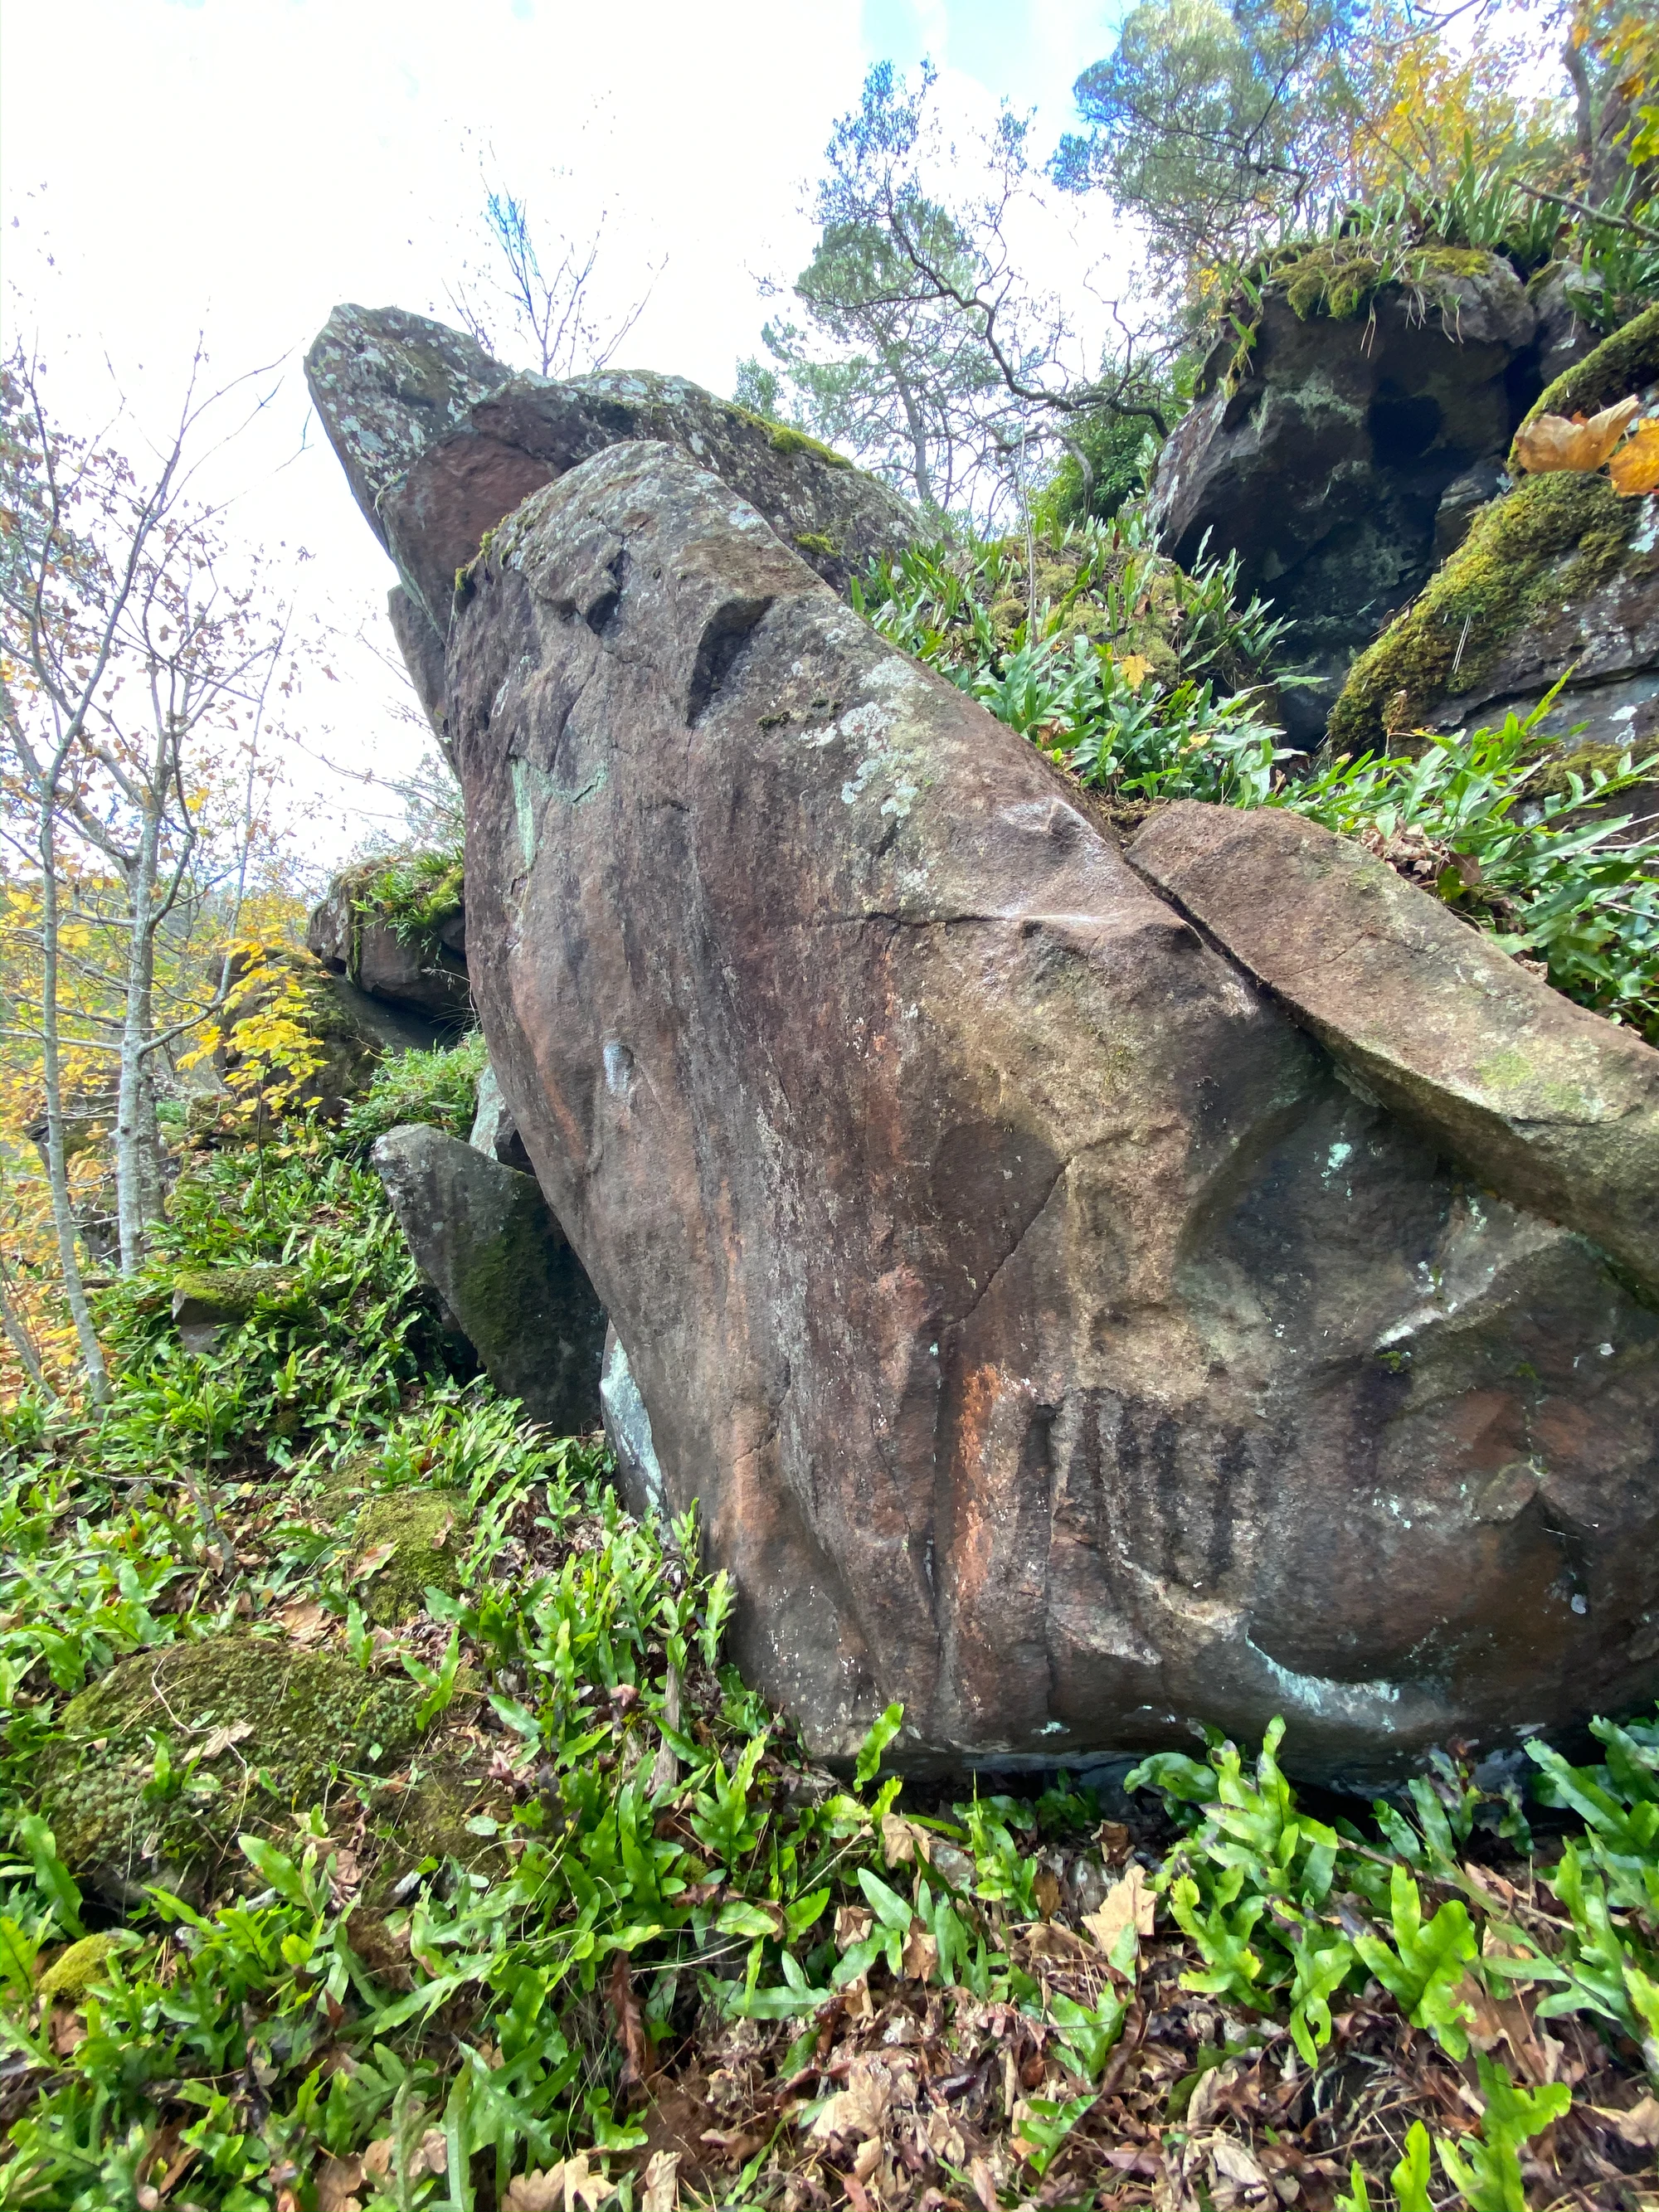
Topo: theCrag contributors, CC BY-NC-SA 3.0, theCrag
Just right of the Knight's Castle corner are two small staggered crimps under the roof. Move up through horrible slopey holds to a good edge over the lip to the left and finish on easier ground.
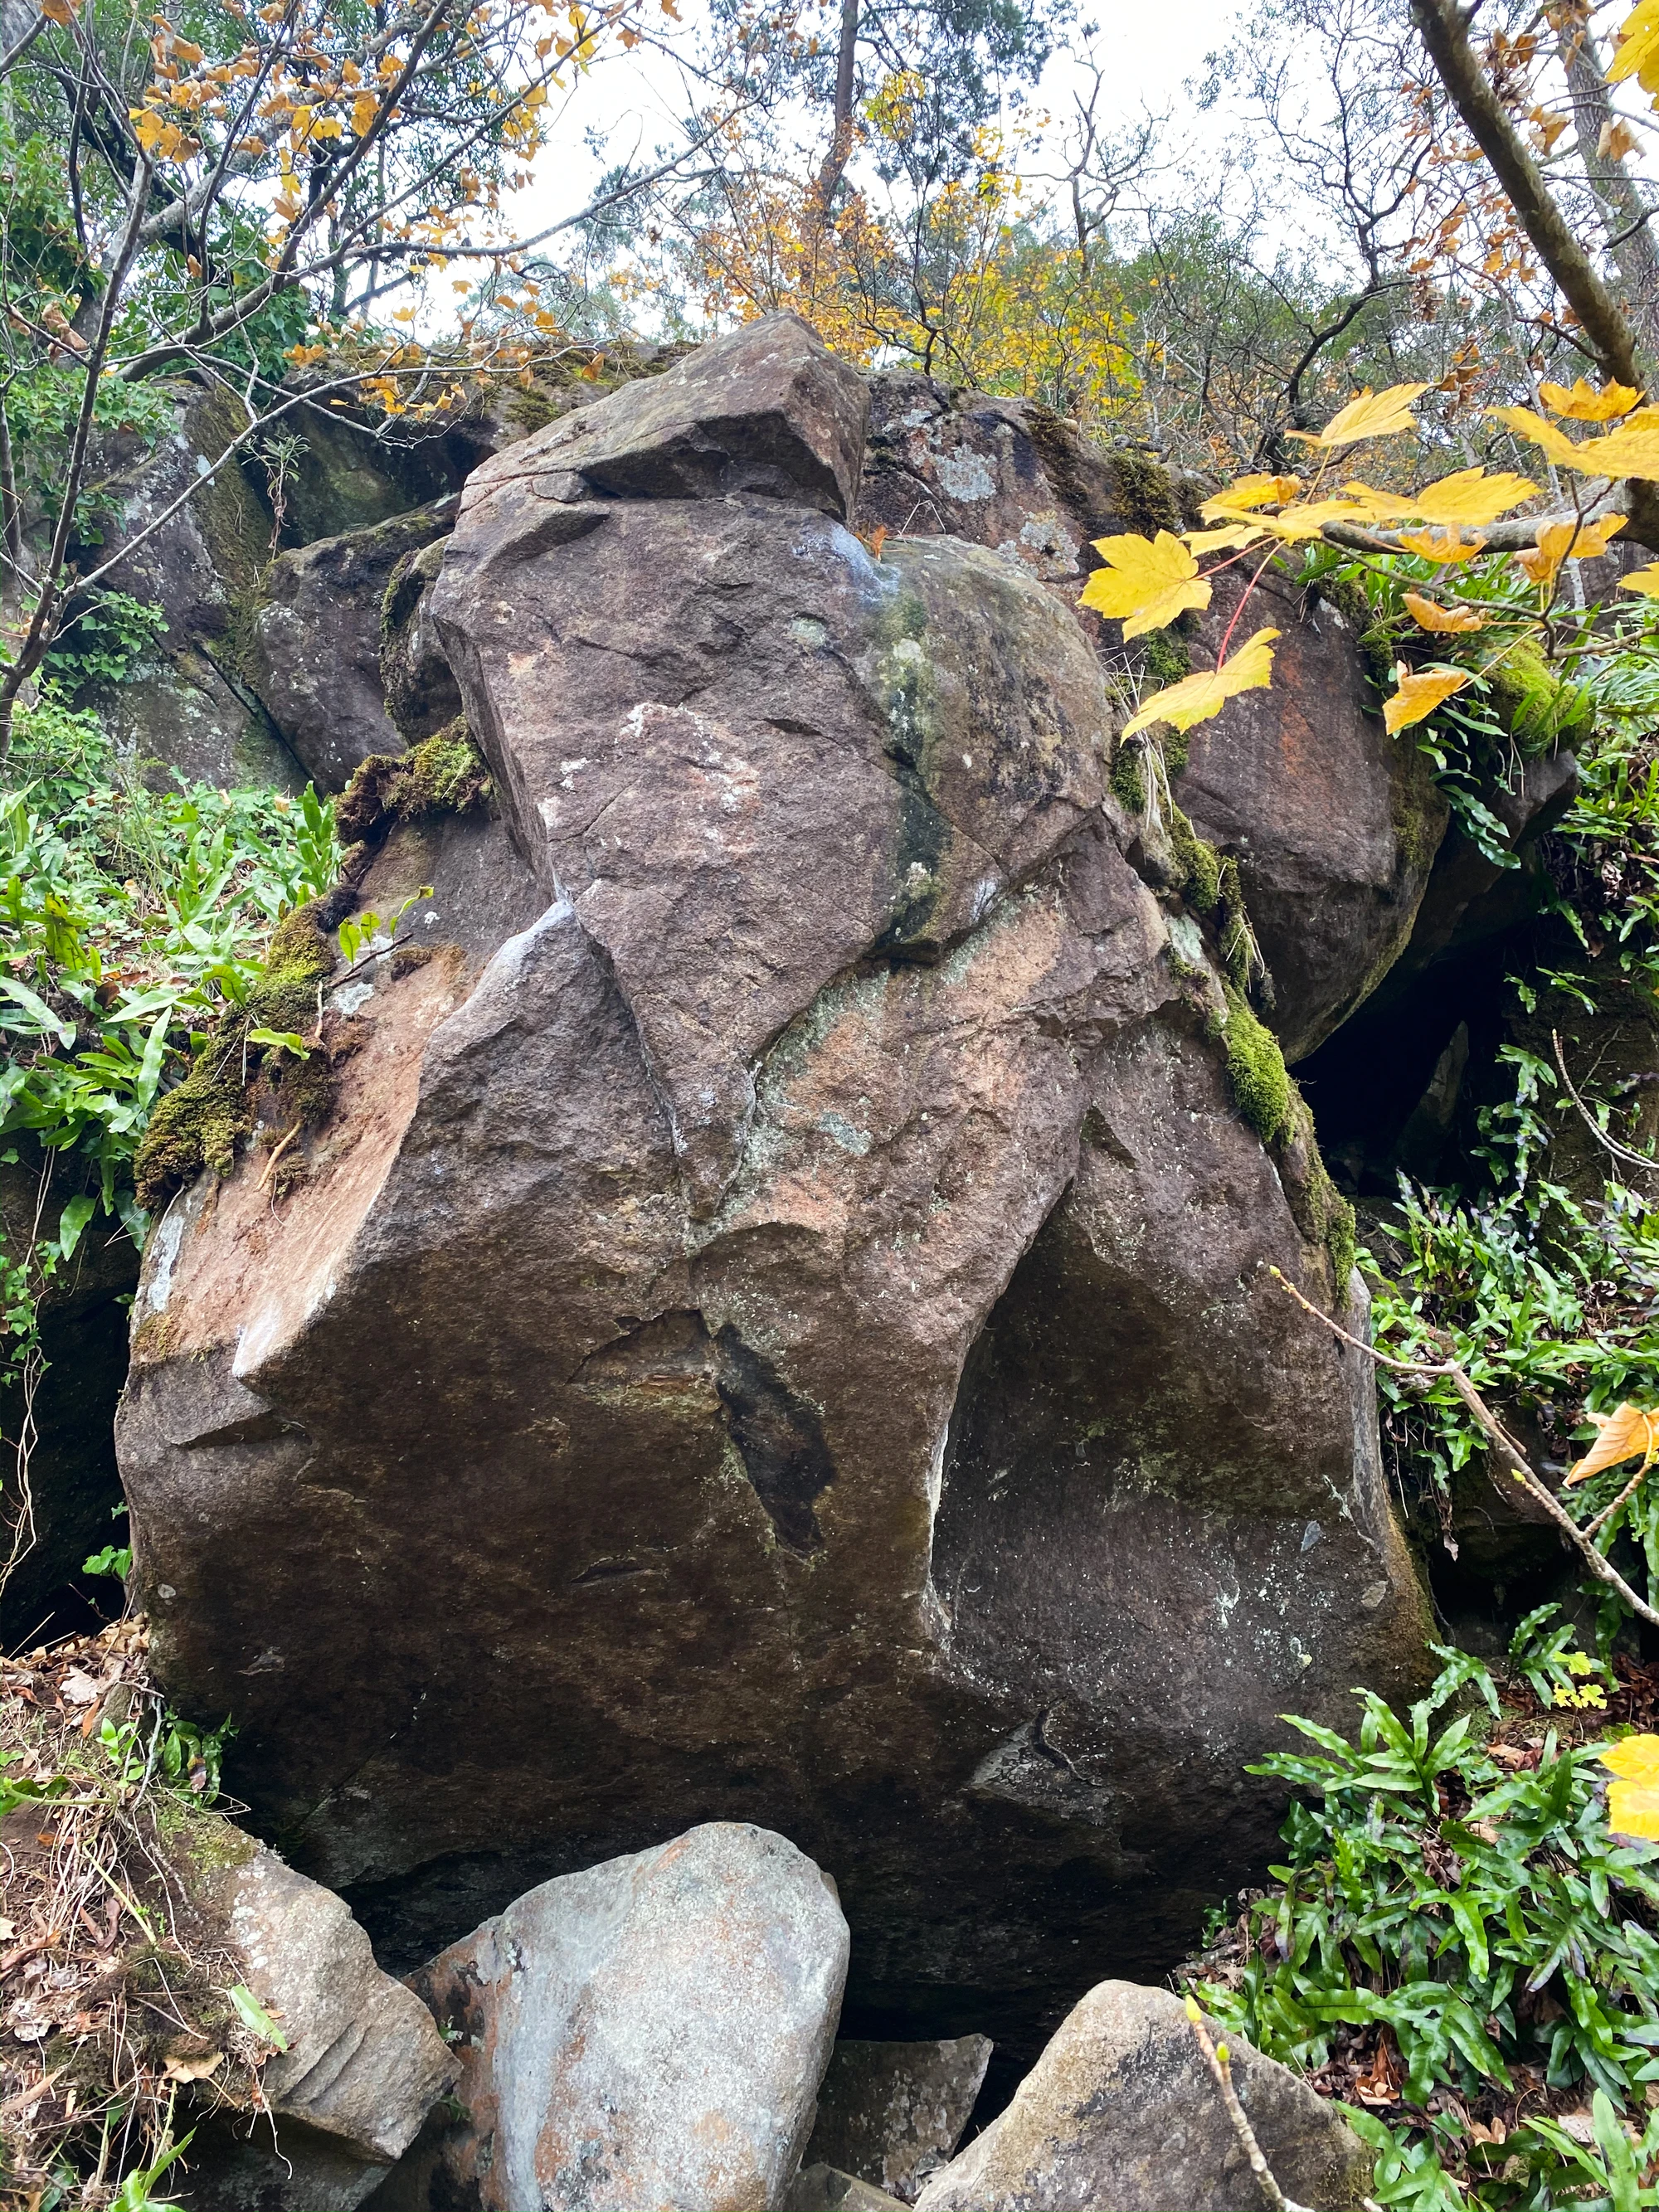
Topo: theCrag contributors, CC BY-NC-SA 3.0, theCrag
Sit Start with LH on good Side pull and RH on bad slopey side pull. Head up via big moves to top.
Nick Hanson, Apr 2021 · From: theCrag
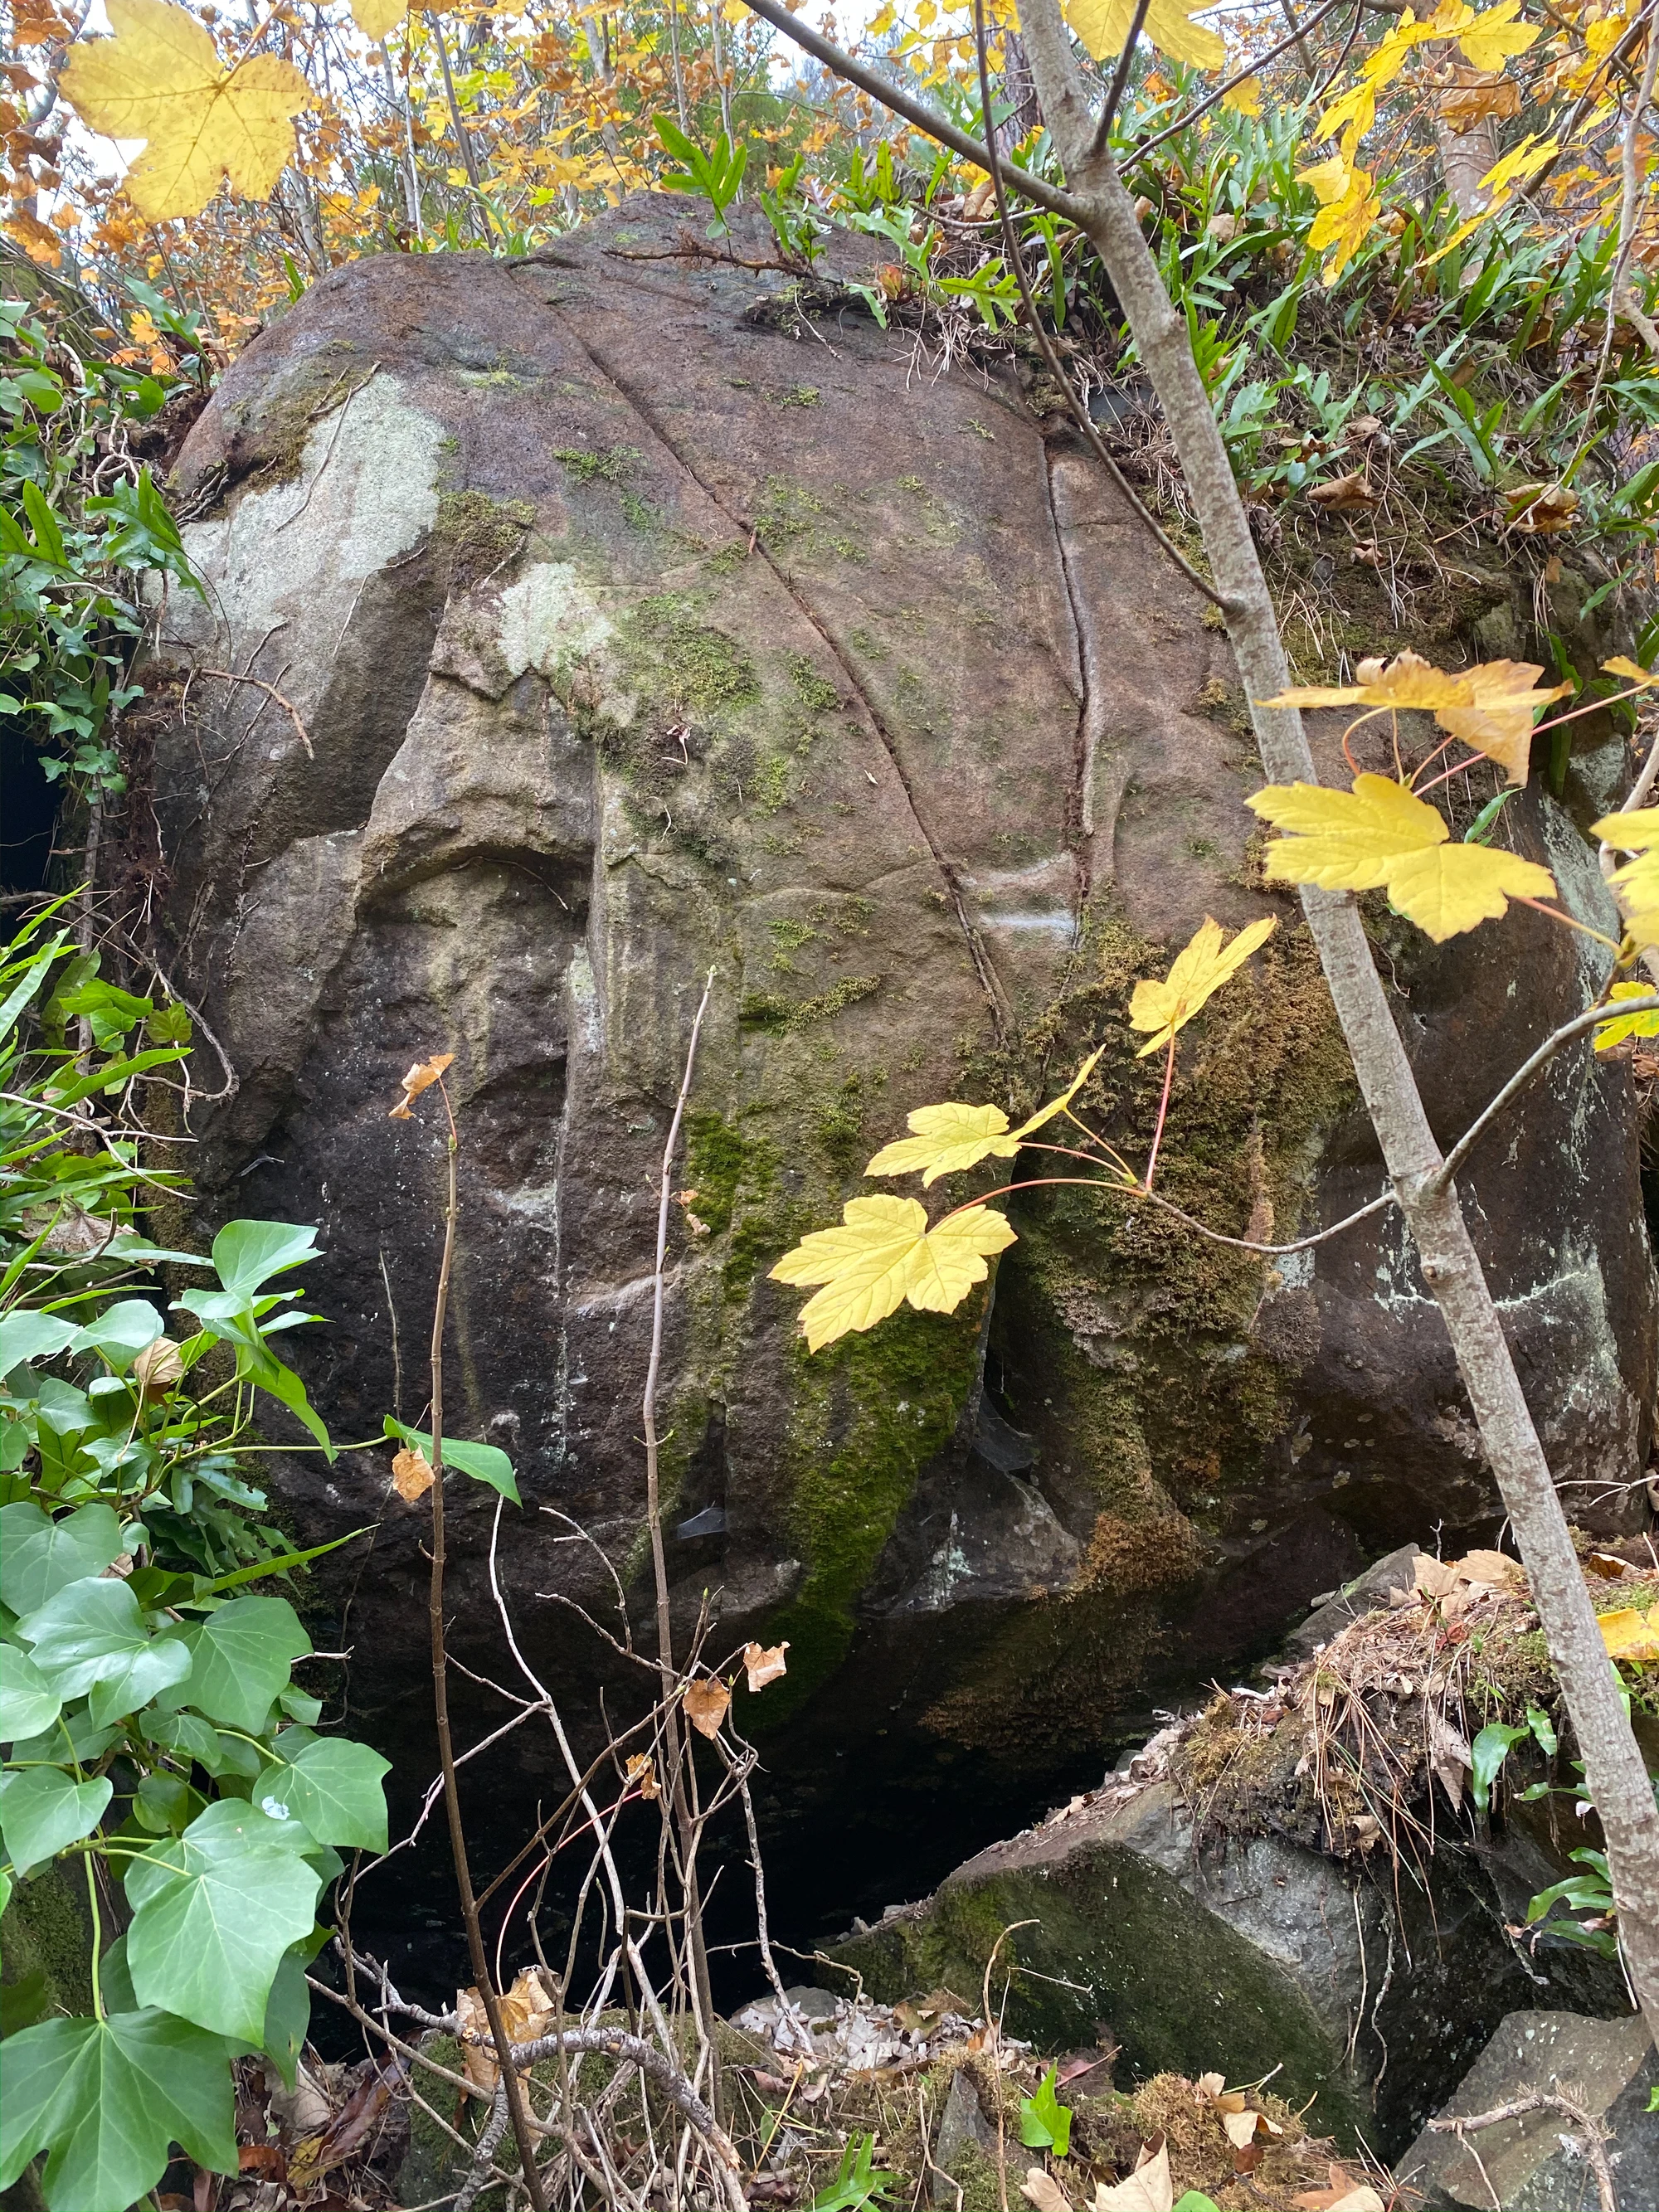
Topo: theCrag contributors, CC BY-NC-SA 3.0, theCrag
Cleaned and ready to go. Untried, so not sure of grade. Up for grabs if you want it! At a guess, maybe v4+
From: theCrag
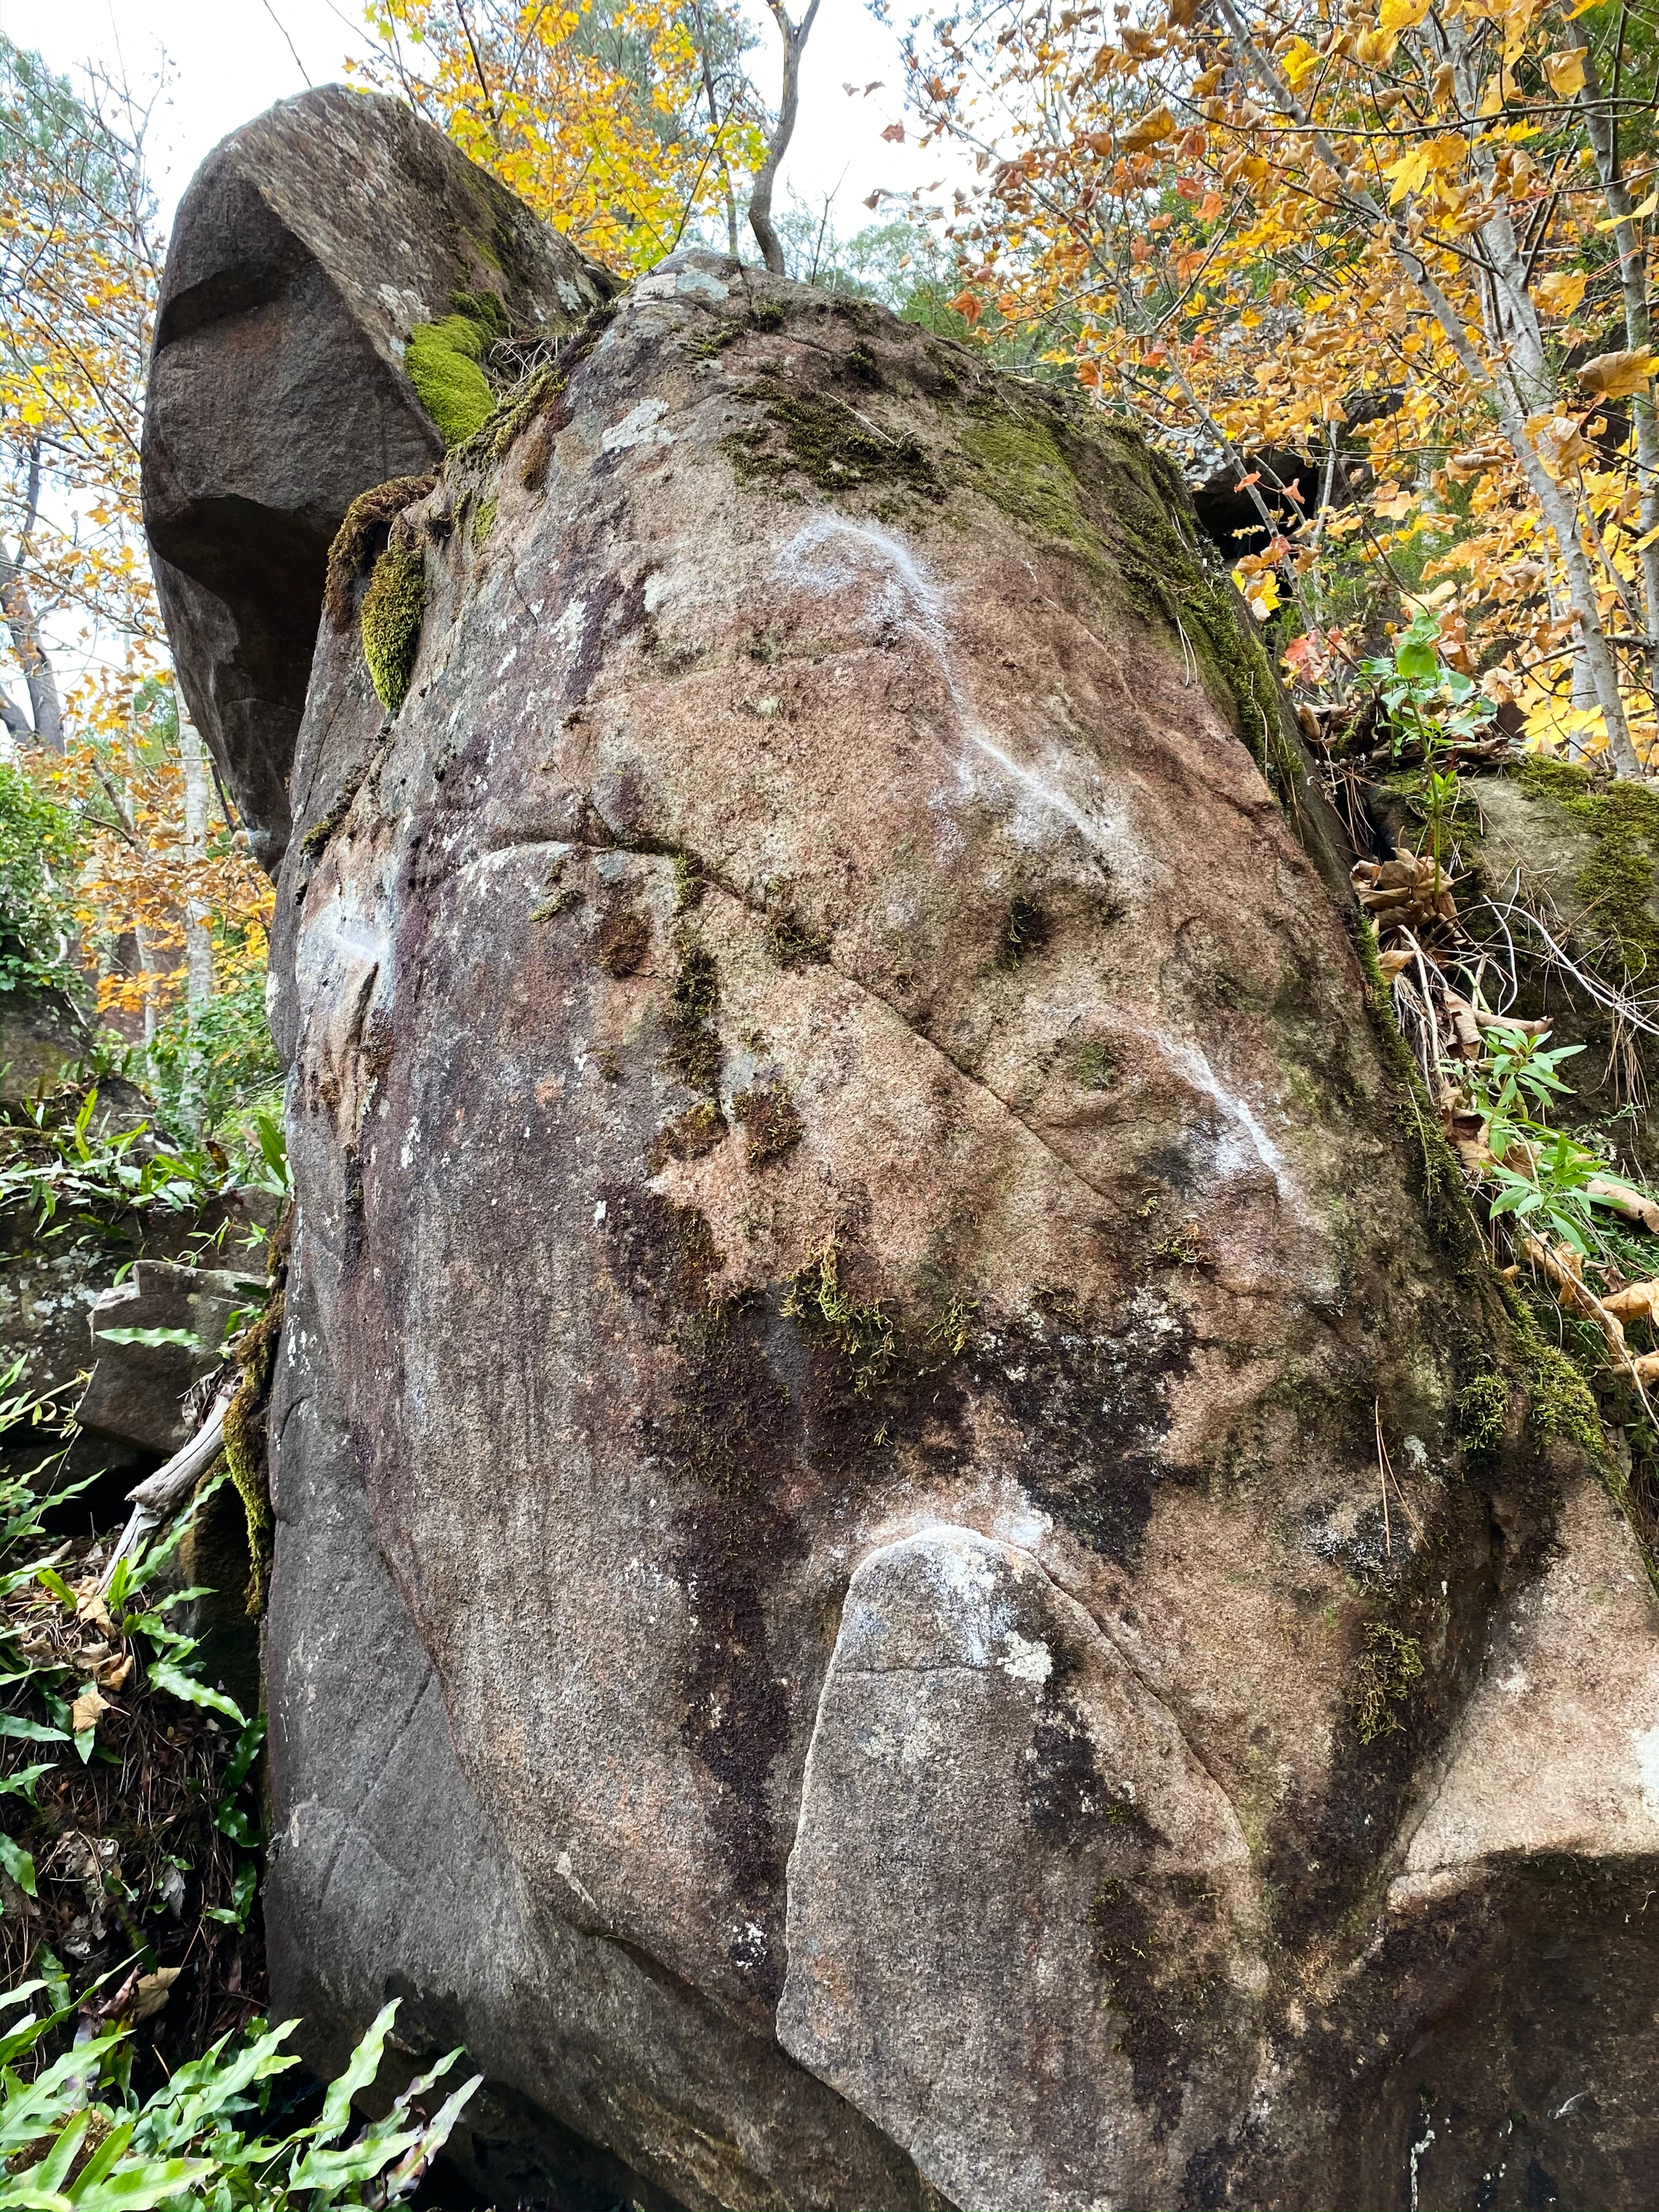
Topo: theCrag contributors, CC BY-NC-SA 3.0, theCrag
Sit Start matched on large flake. Burst up arete via slopey holds and good LH crimp.
Nick Hanson, Apr 2021 · From: theCrag
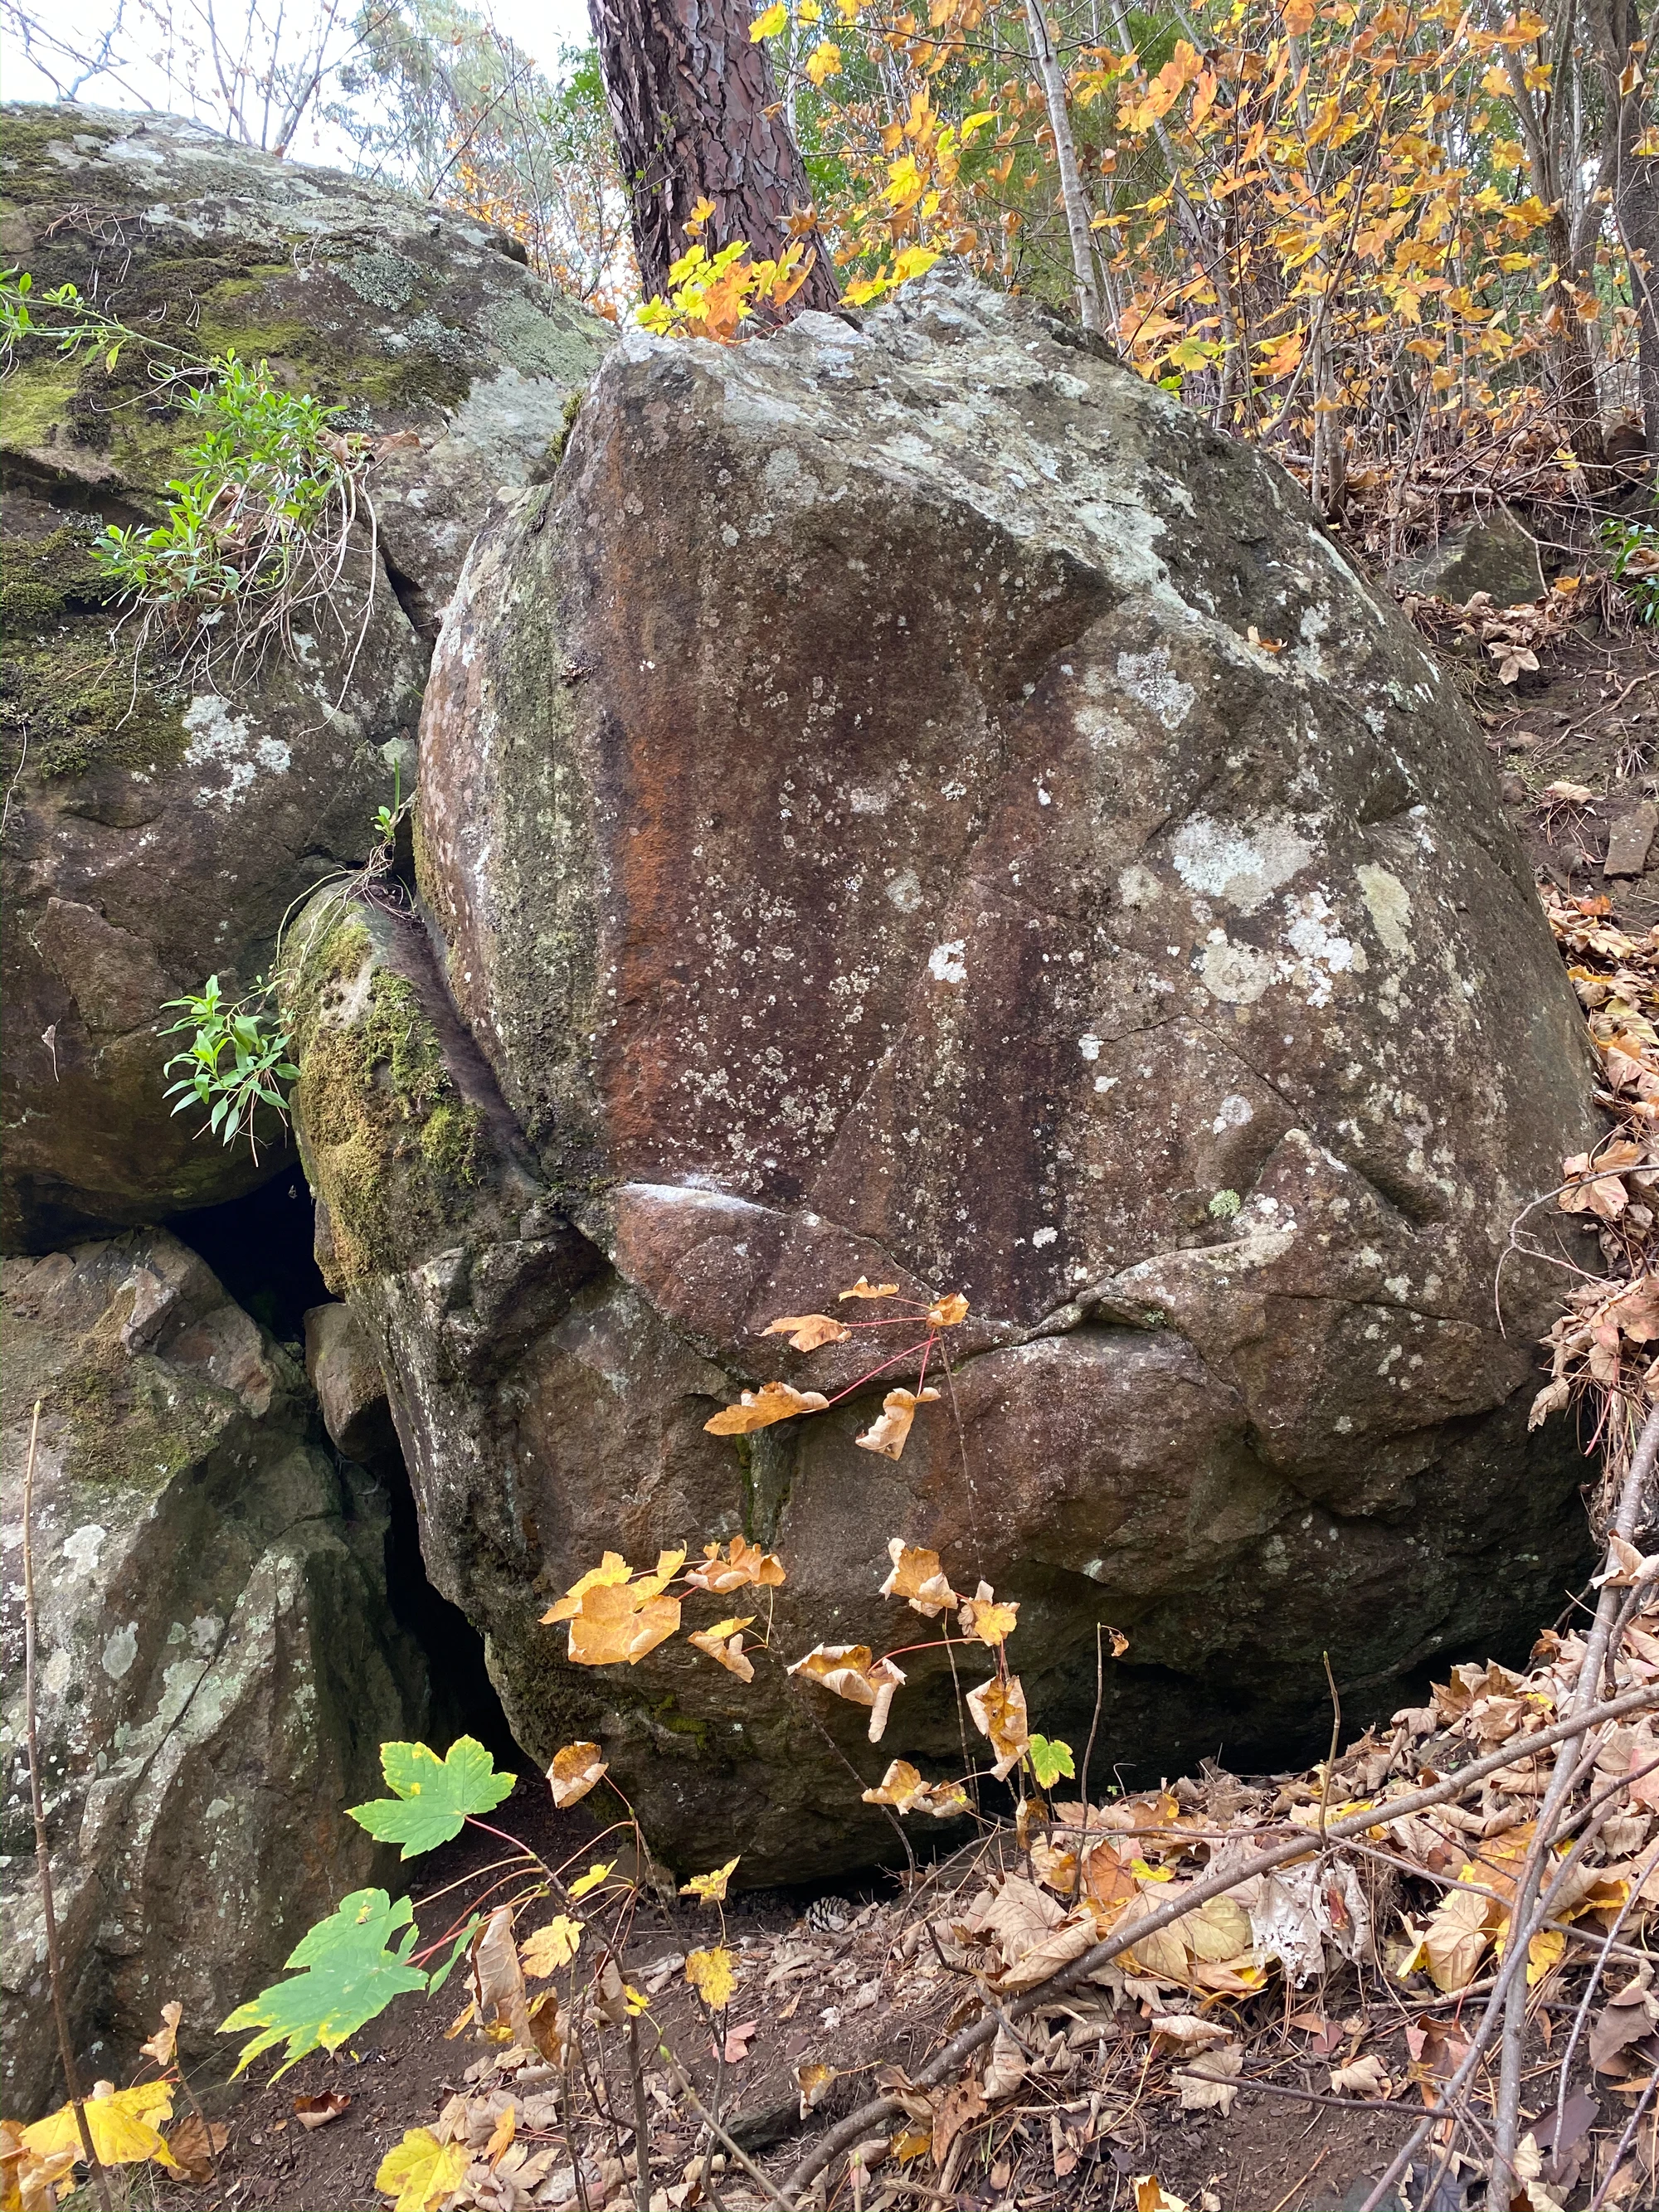
Topo: theCrag contributors, CC BY-NC-SA 3.0, theCrag
Sit start matched on flat hold. Head up via interesting moves & top out.
Kobi Newman, May 2021 · From: theCrag
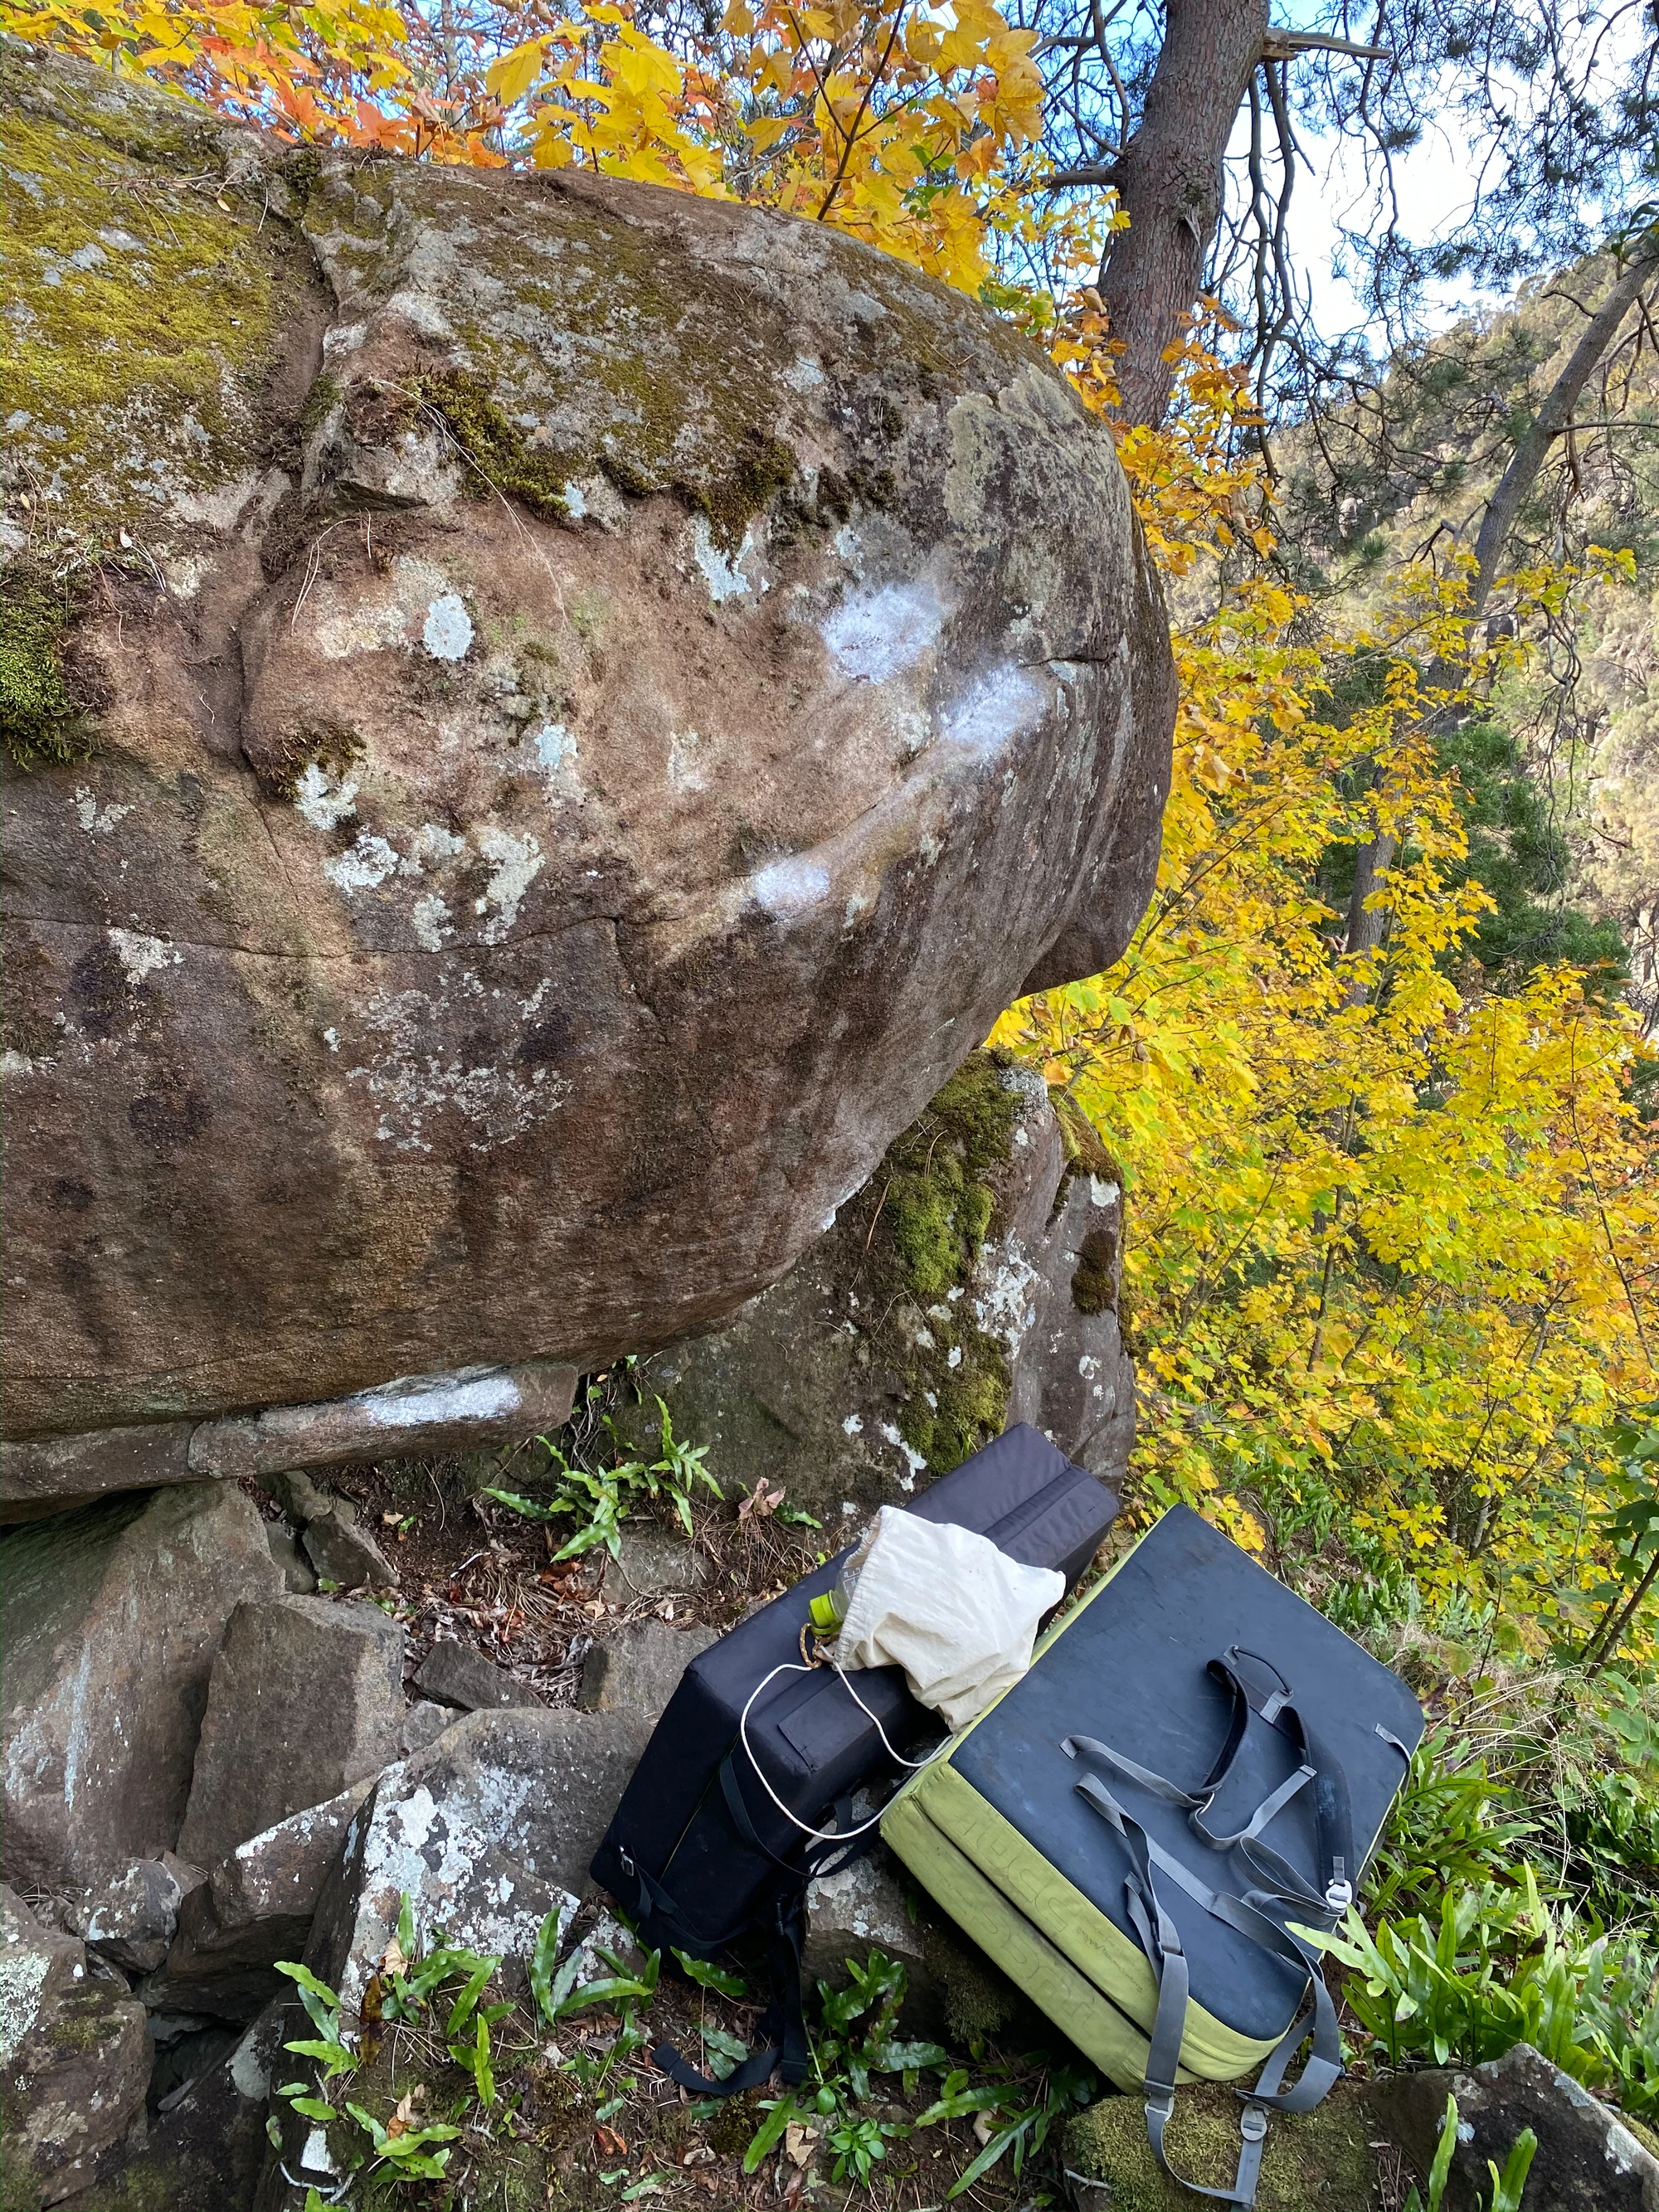
Topo: theCrag contributors, CC BY-NC-SA 3.0, theCrag
Sit start matched on large jug. Move right to crimp and make a big move up to slopes. Top out. Spotter recommended for top.
Nick Hanson, May 2021 · From: theCrag
LP 12
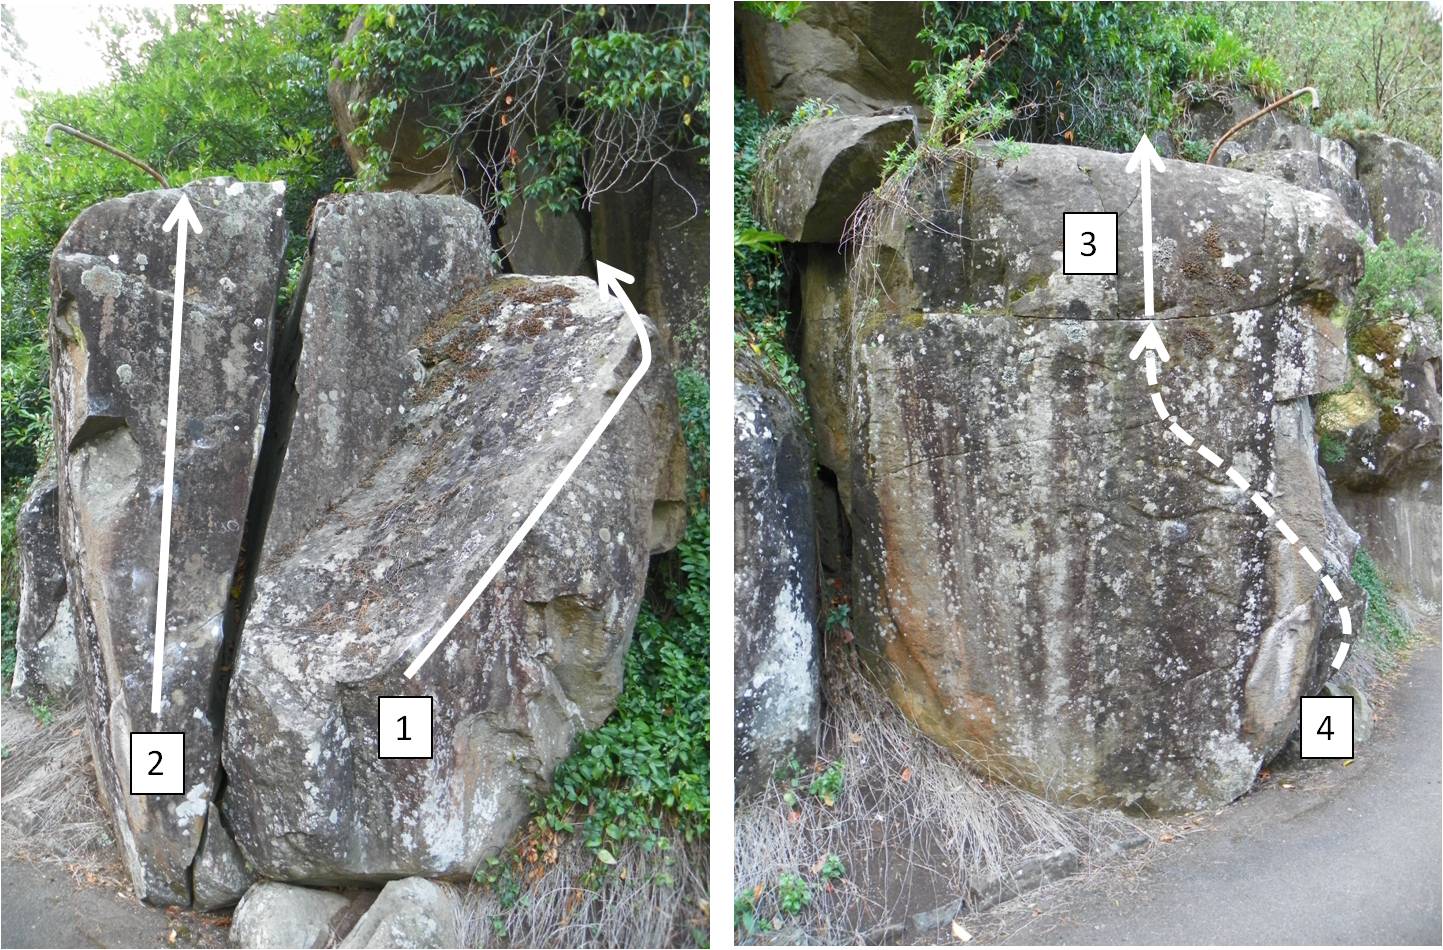
Rising hand traverse near LP 12. Better than it looks. Start on the horn jug at the bottom of the corner and follow the lip up and right to the top.
Climb the face just left of the large crack on nice crimps without using holds right of the break. Sit start on a LH sidepull and RH flat crimp.
Jump start up to a crimp rail at about 2.5m. Move straight up without using the tempting large ledge to your left.
Start as for #2 and angle up and left around the corner to the start holds of #3 and finish that problem. Preemptive taping the tip of the left index finger is probably advisable once located and start using the 'invisible' hold.
LP 16 - Lone Pillar
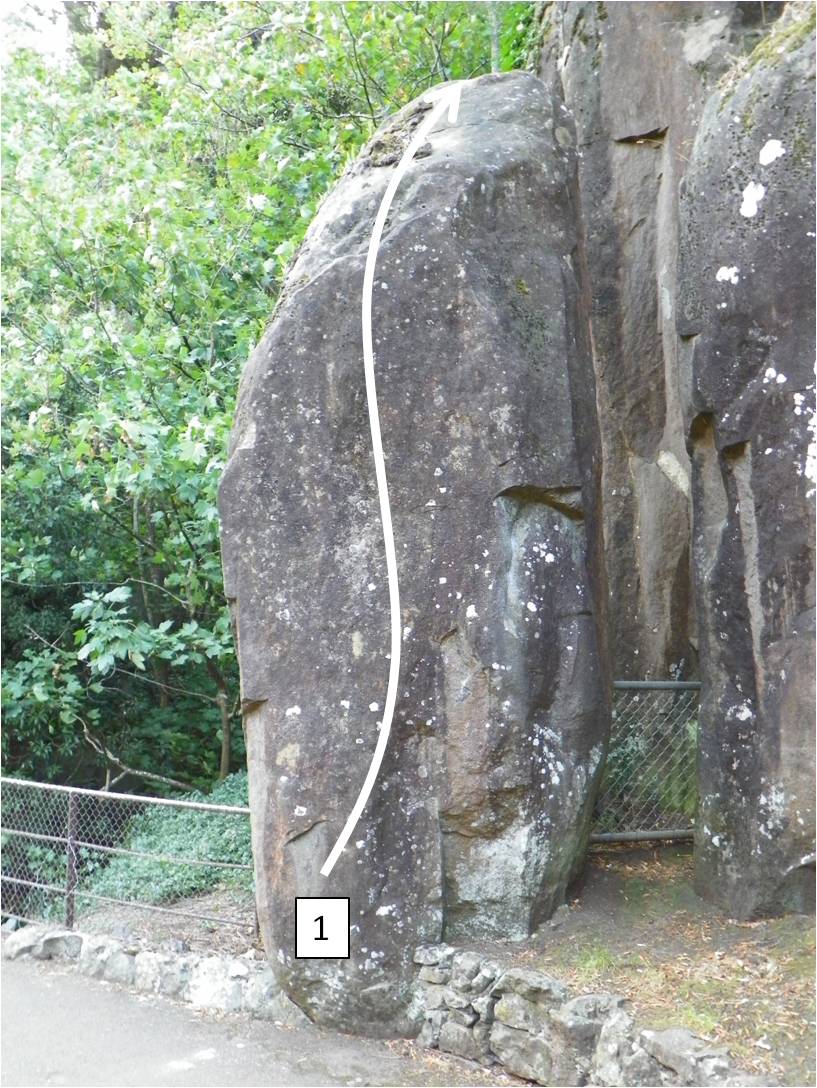
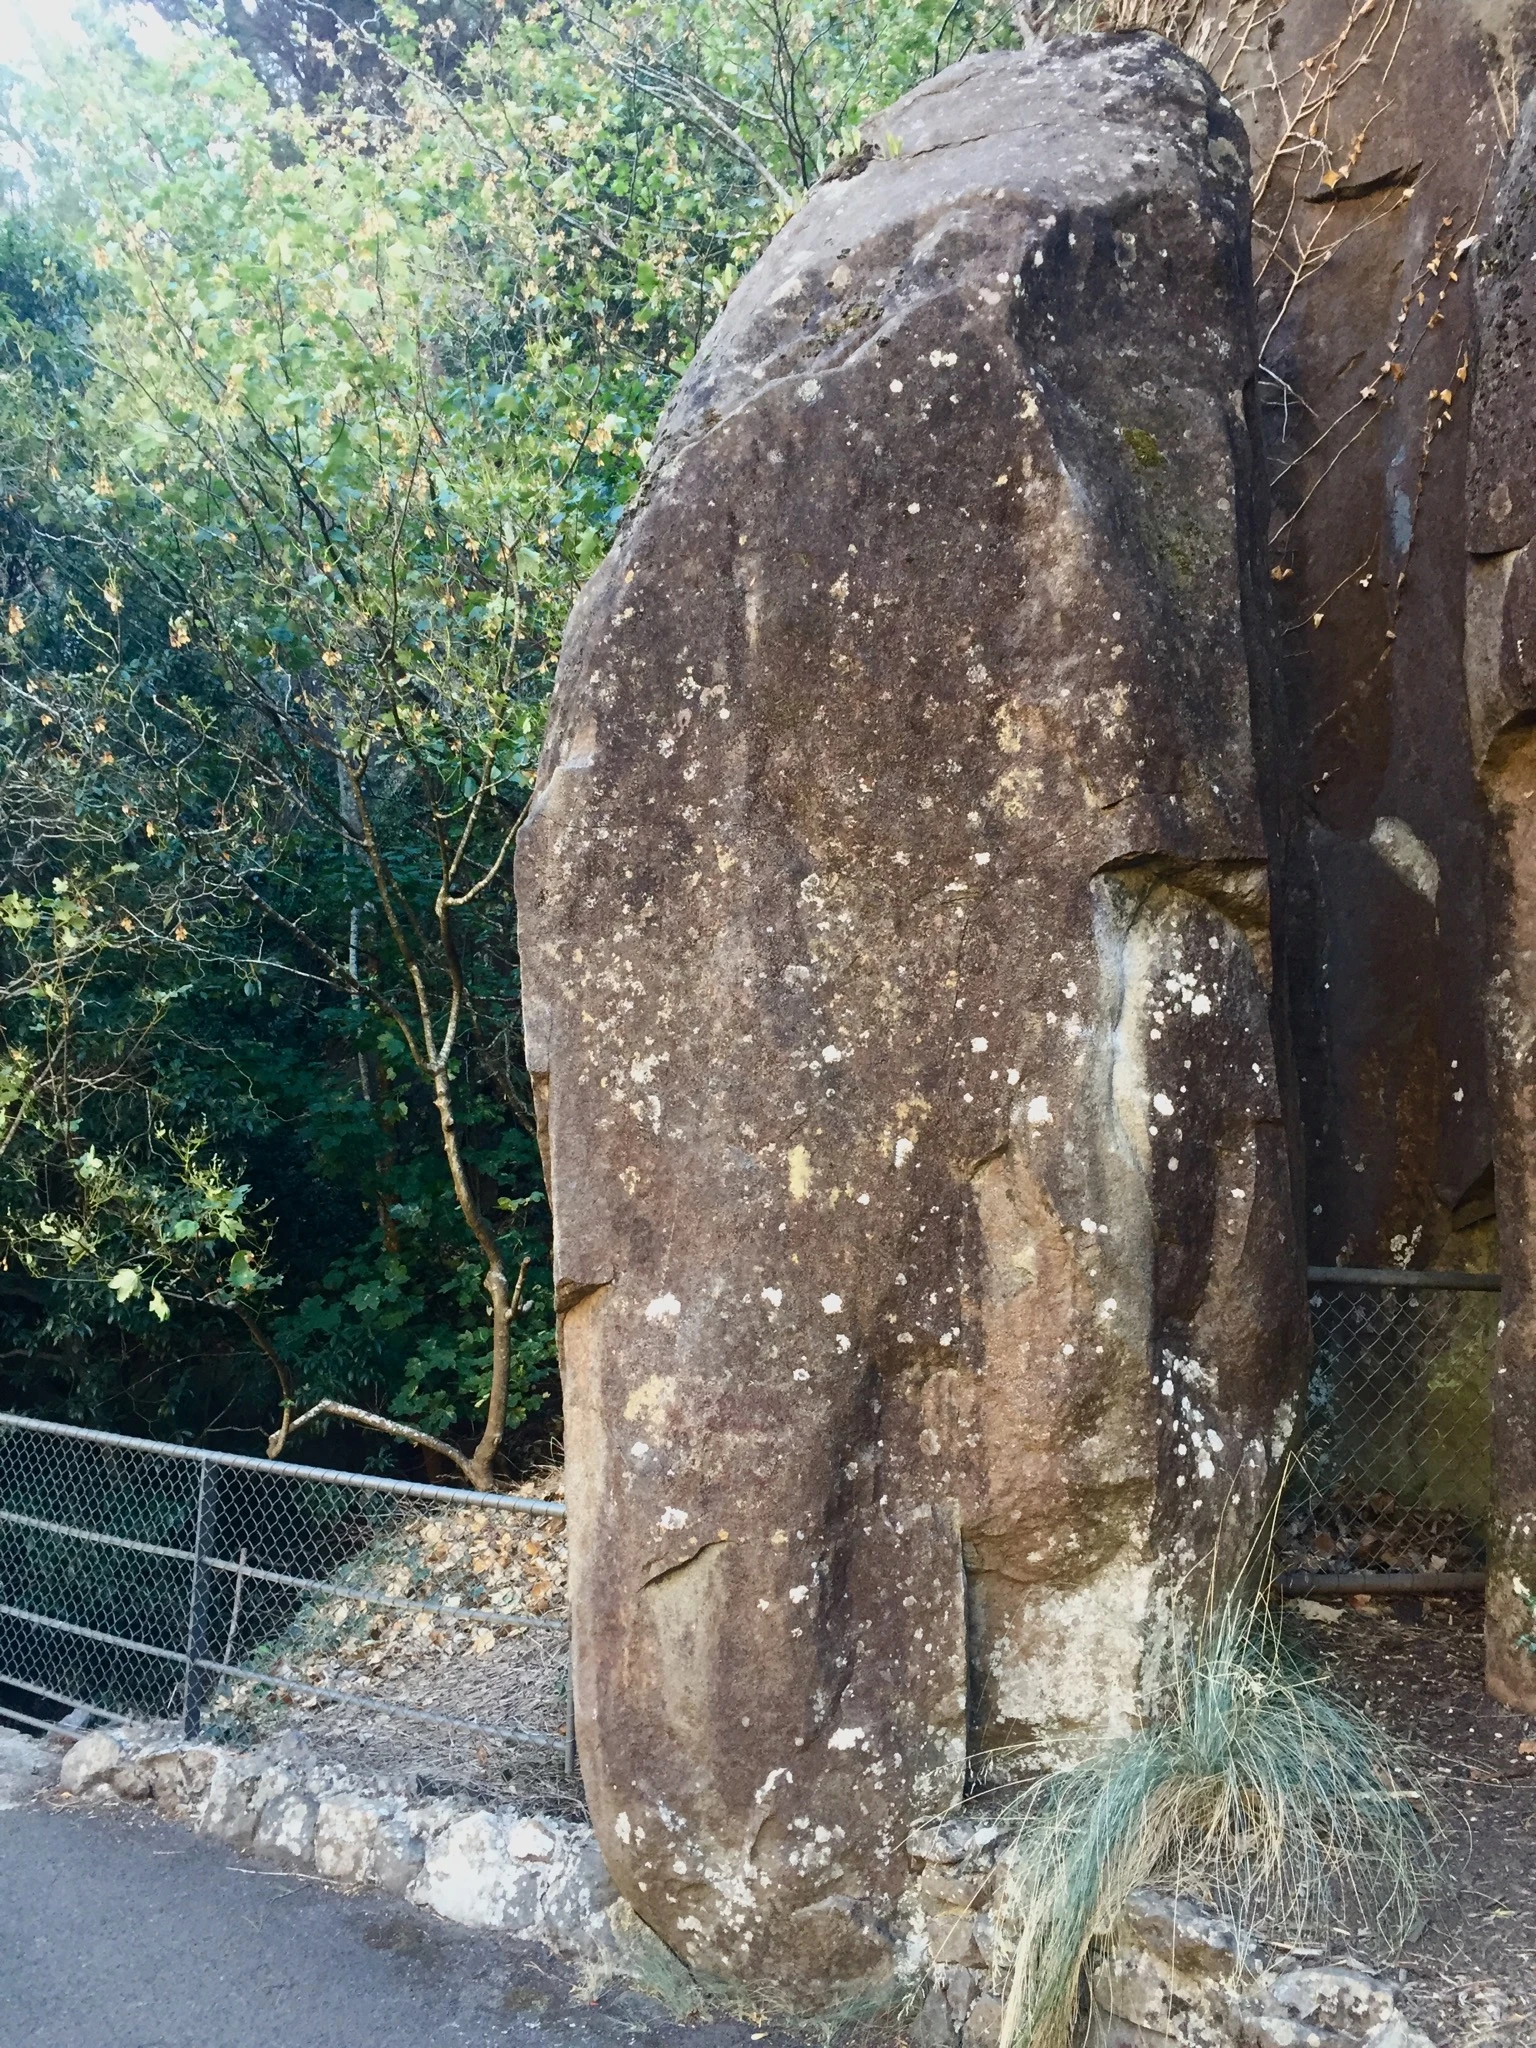
Topo: theCrag contributors, CC BY-NC-SA 3.0, theCrag
Excellent problem. Sit start squeezing with a LH sloper and RH on the good low corner. Slap up corners, slopers, and edges to a good jug. Continue up the slab to stand atop the pillar. There's no way to walk off from the top, so the best descent is to reverse the slab and drop from the jug onto a pad (which really isn't that difficult).
LP 17
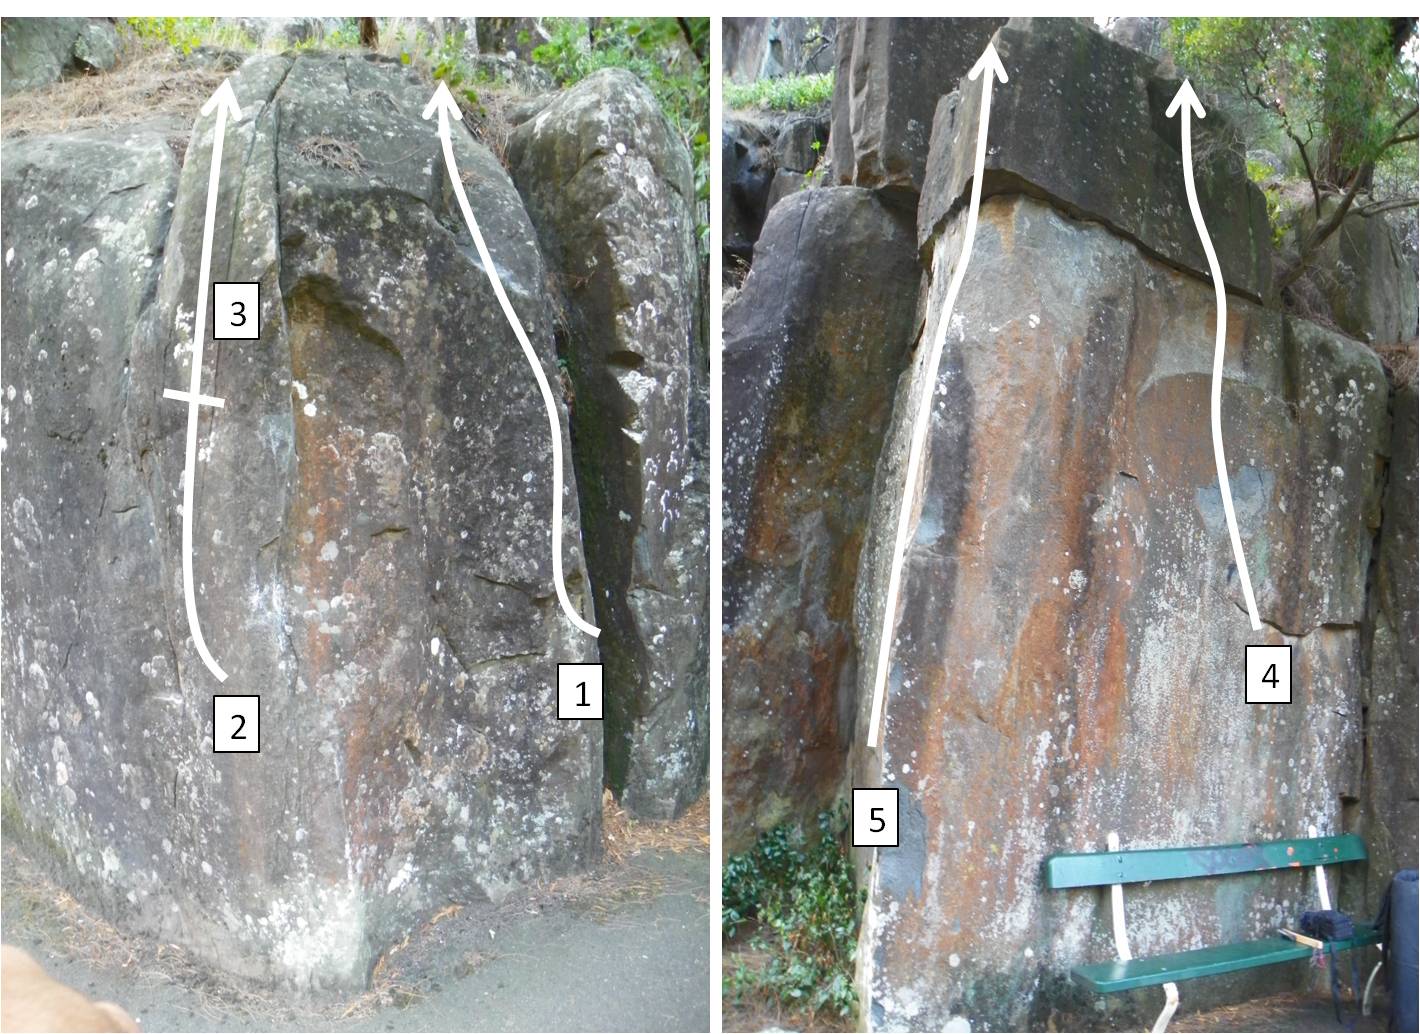
About 1m left from LP17, start on a good angled sidepull rail. Move up past a crimp to the sloping dish, and then to the top.
2m to the left of the previous problem and LP17, in a blunt corner. Start LH on a crimp at waist height and RH on the arête. Make a hard move off bad feet to a good lefthand sidepull and climb to the top.
Climb #2 skipping the first hard move.
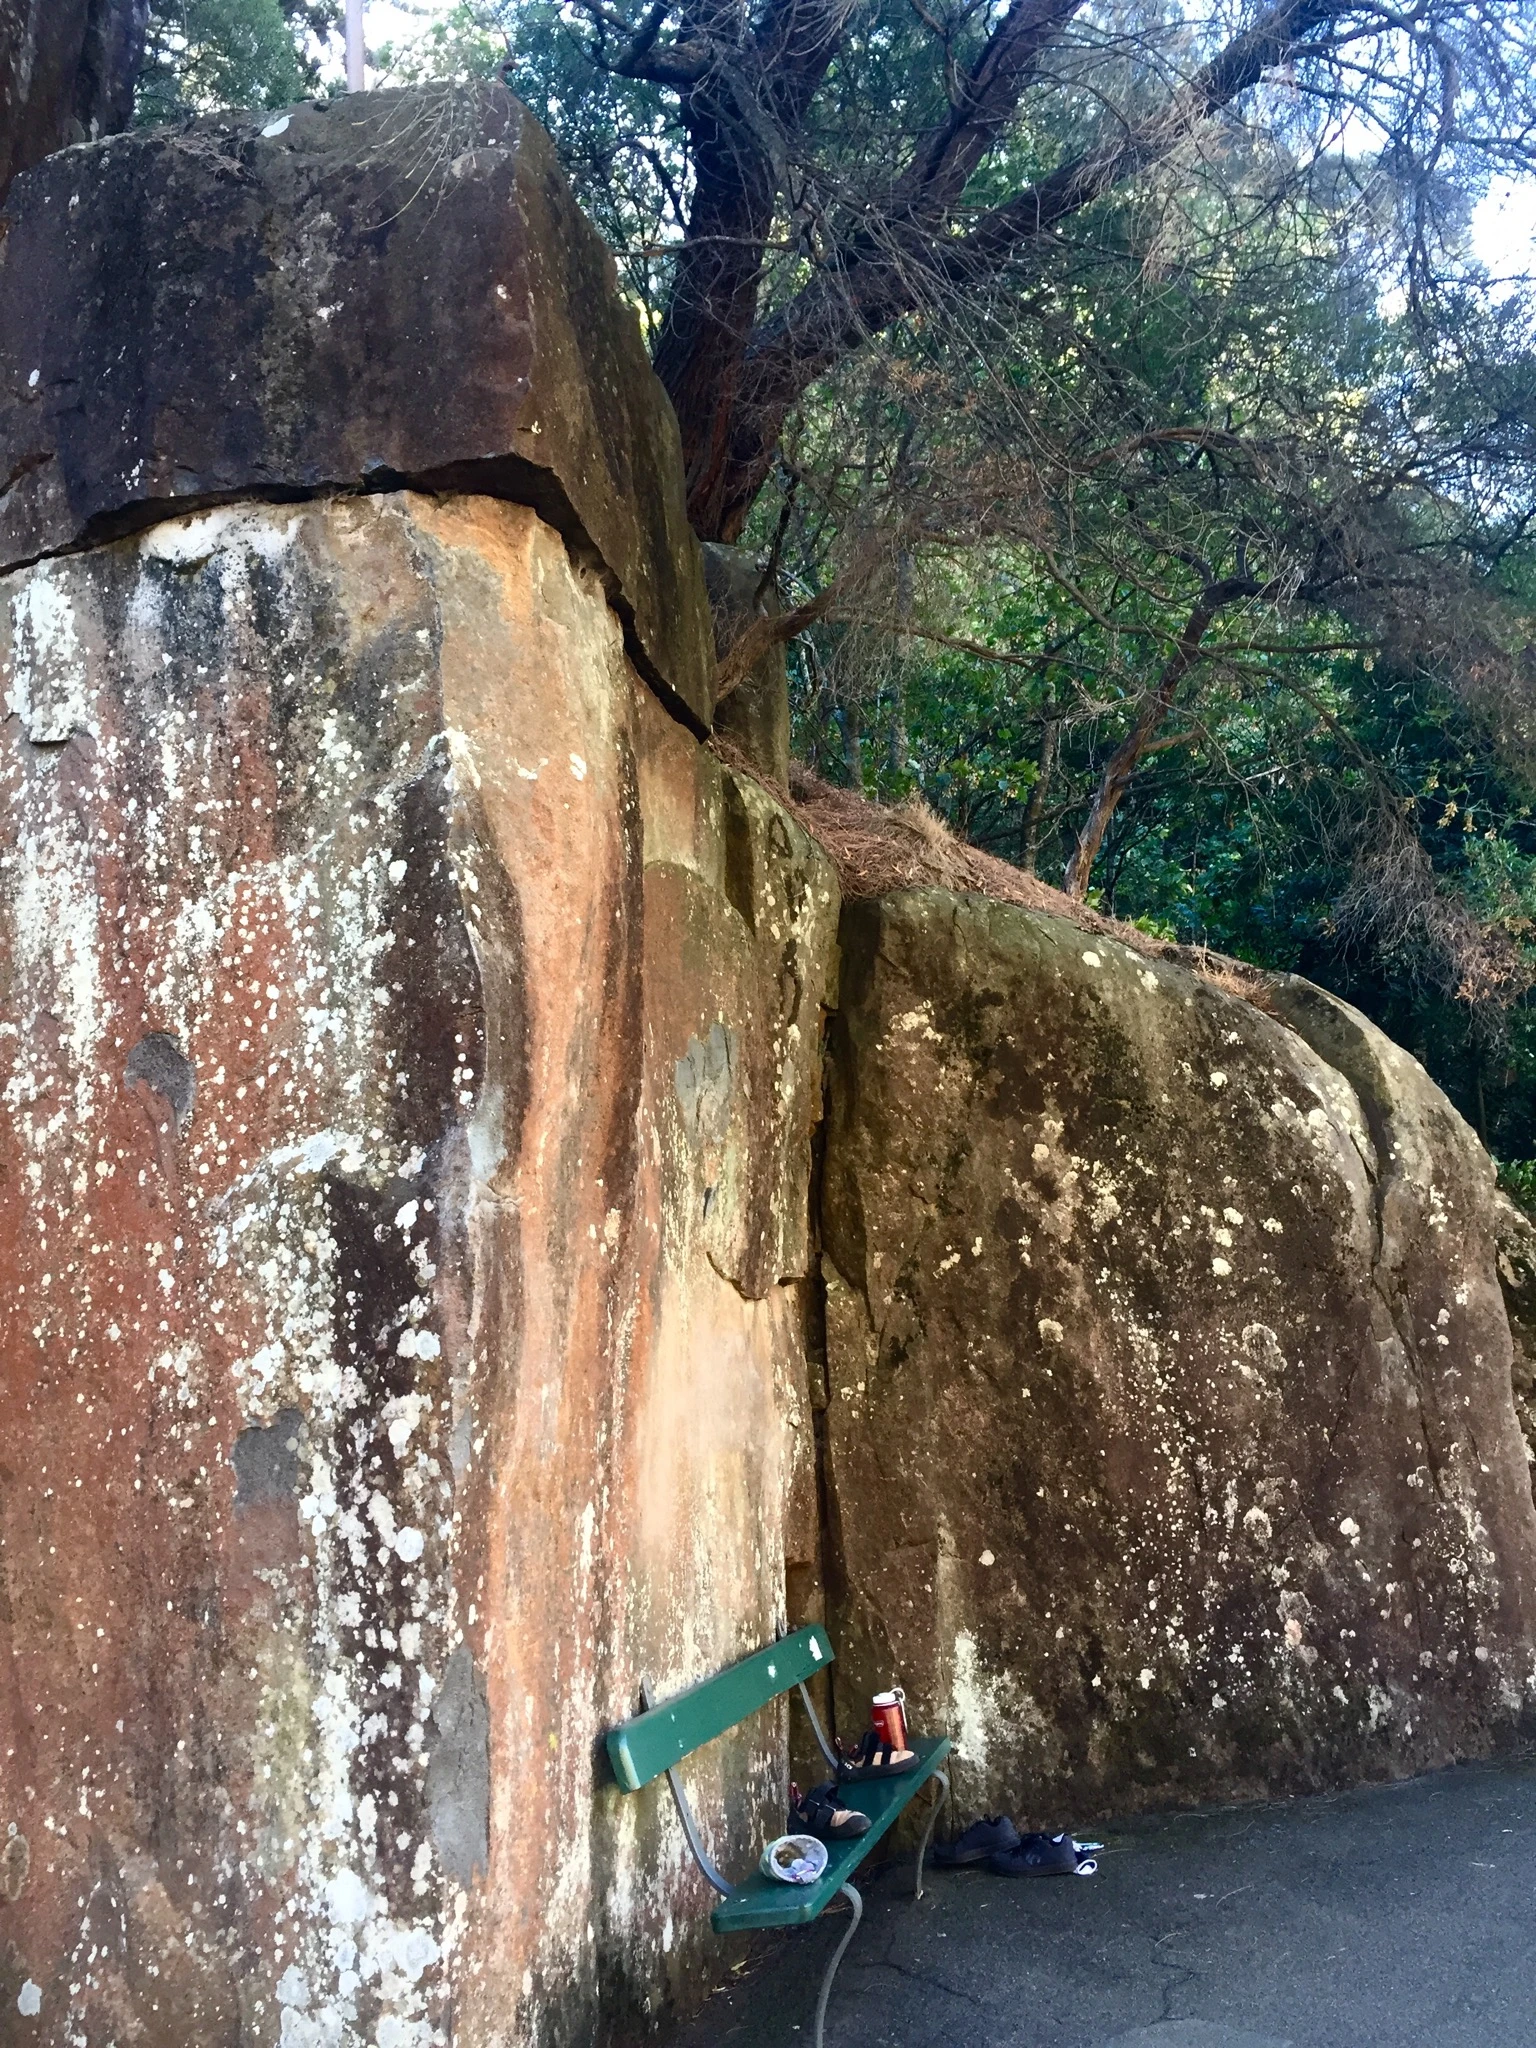
Climb the face above the bench. Start standing on top of the bench via an undercling and make a committing move to the rail above. Move slightly left to top out.
Topo: theCrag contributors, CC BY-NC-SA 3.0, theCrag
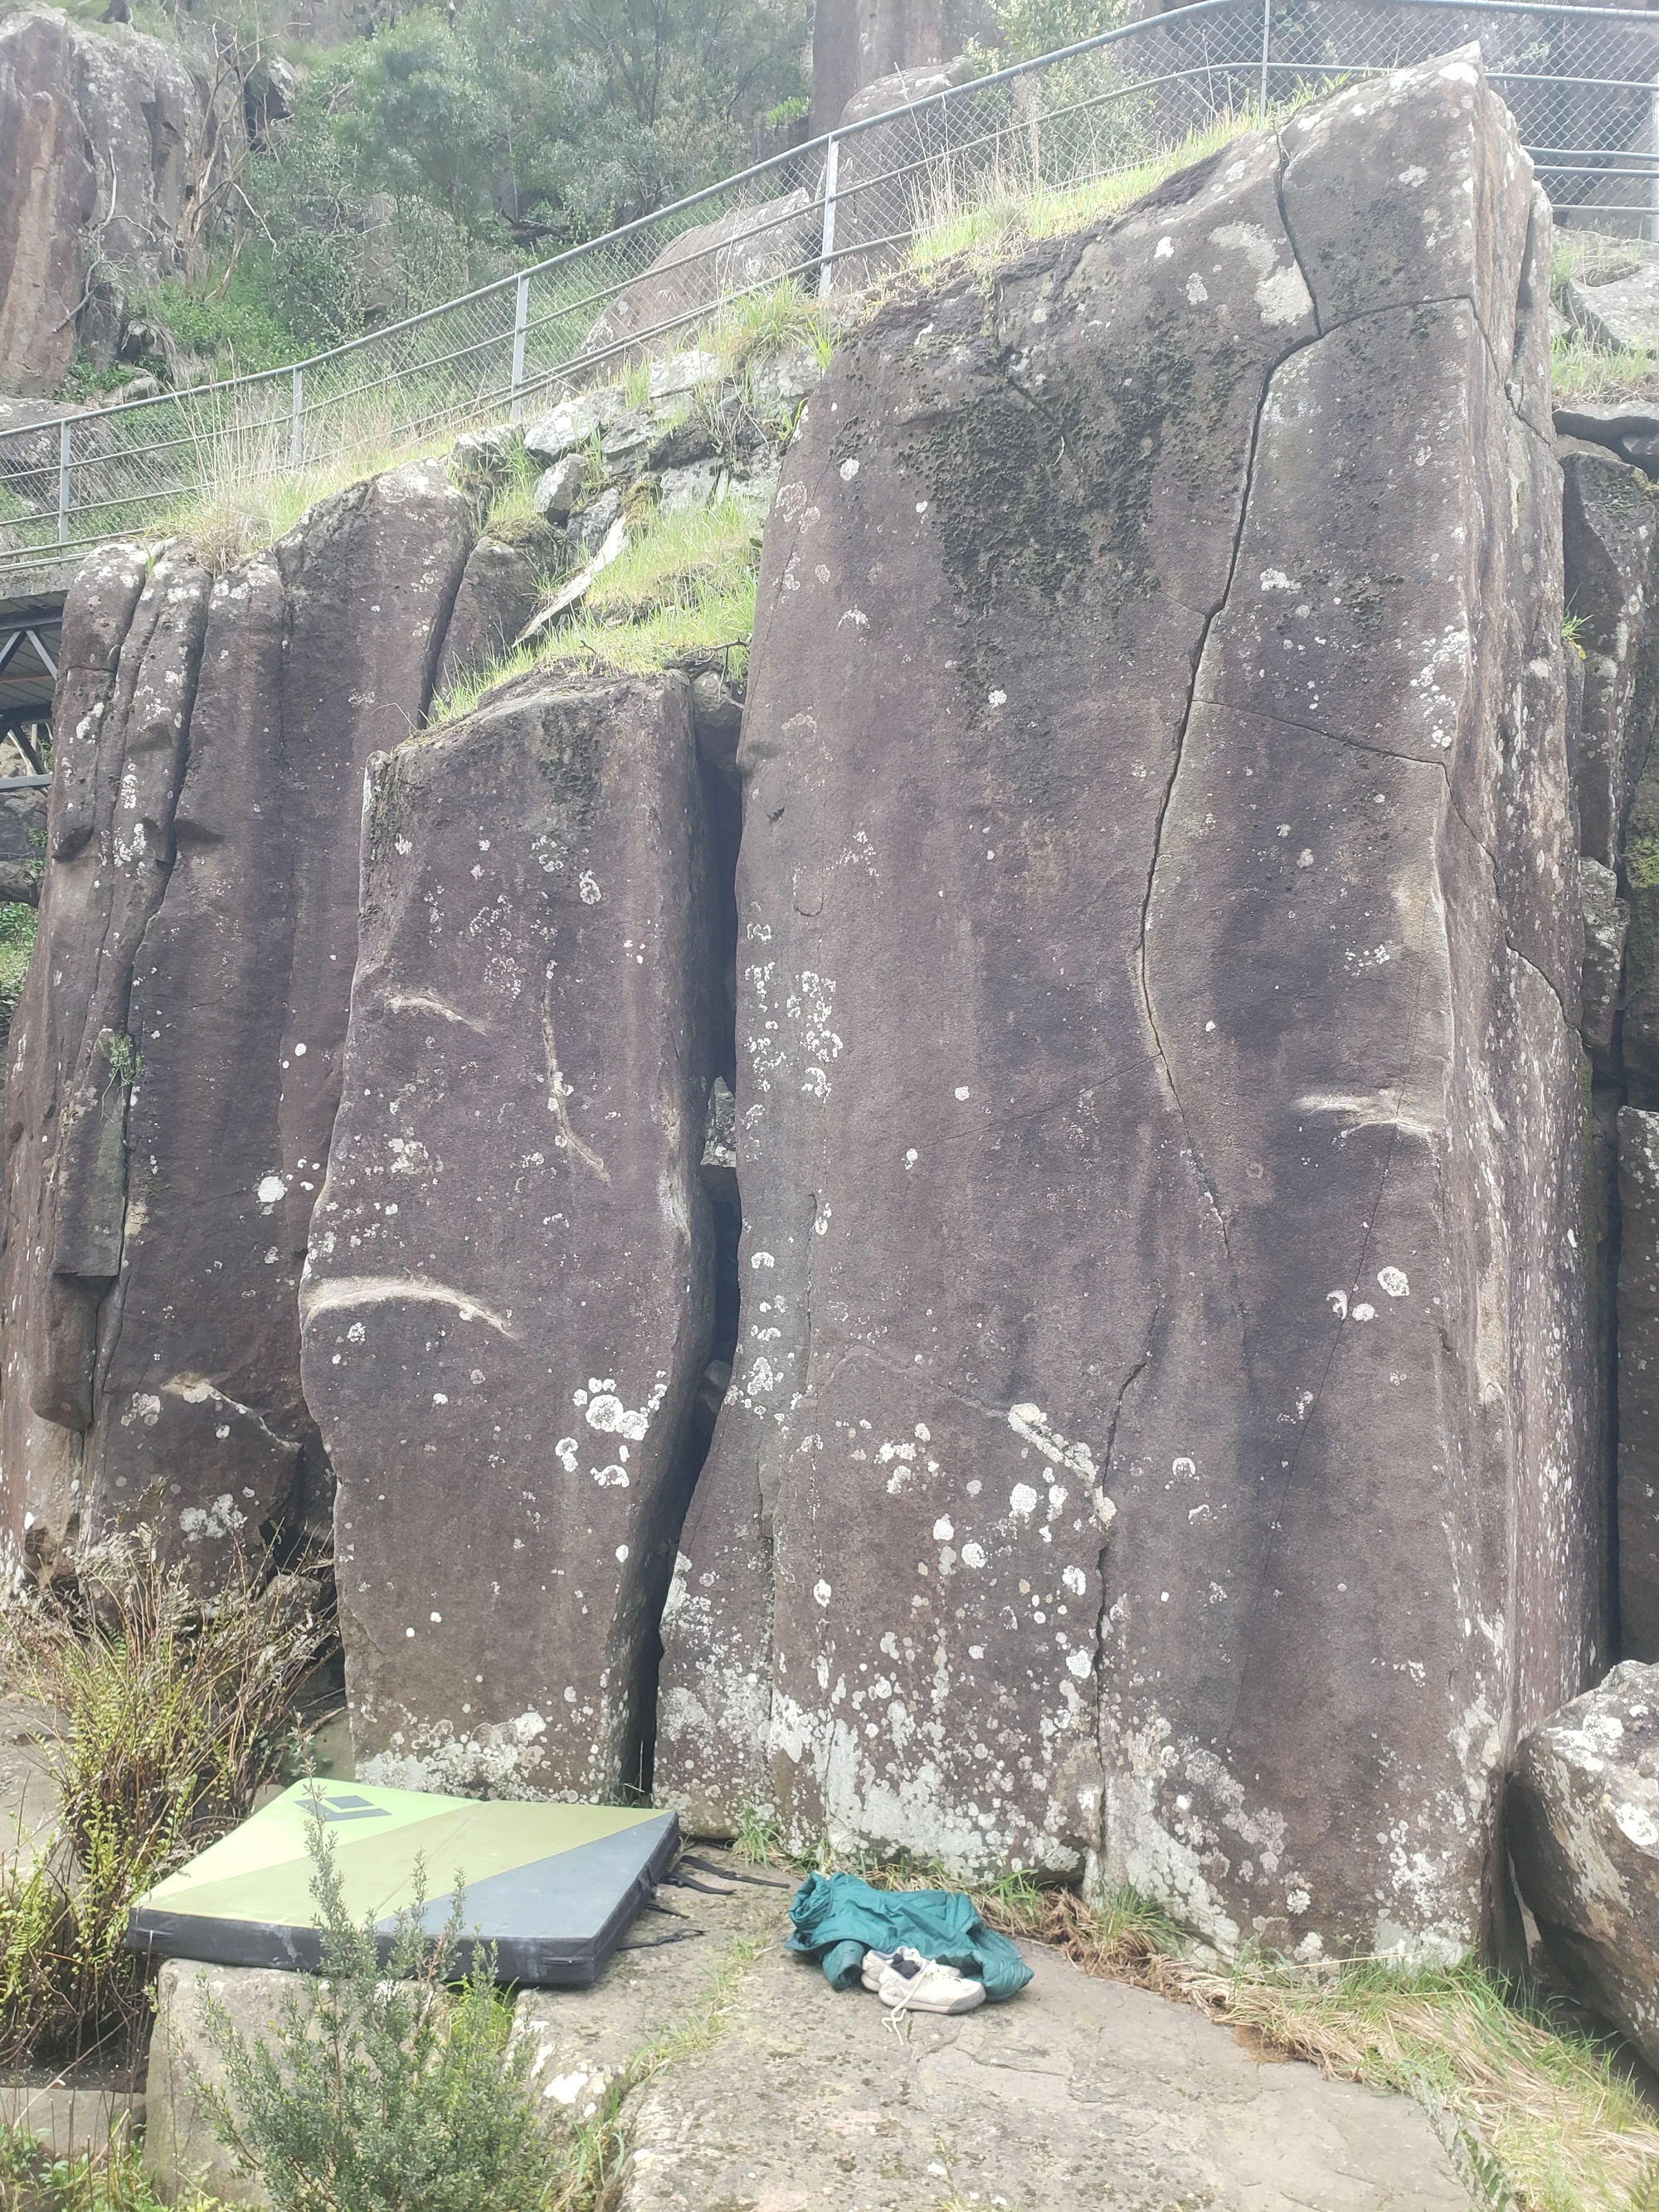
Not a bad line, and a bit of history too, reportedly first climbed by Barber circa 1975. Stand start and move up crimps to top out left of the steel pole. See if you can do it in some old wood-shanked EB's!
Henry Barber, 1975
Topo: theCrag contributors, CC BY-NC-SA 3.0, theCrag
At water level, climbs arete moving right to finish above a hostile landing.
Patrick Munnings, 2022 · From: theCrag
Stand start using both aretes, climb straight up face
Patrick Munnings, 2022 · From: theCrag
LP 23
Start just behind LP23 and traverse rightward up and down along the slopey lip to the corner.
LP 25
The slab with a hole at the bottom about 0.2m from the ground. Start on a left facing corner feature and move straight up to the slab. Often dirty and not exactly destined to be a classic. We can't all be beautiful.
LP 27
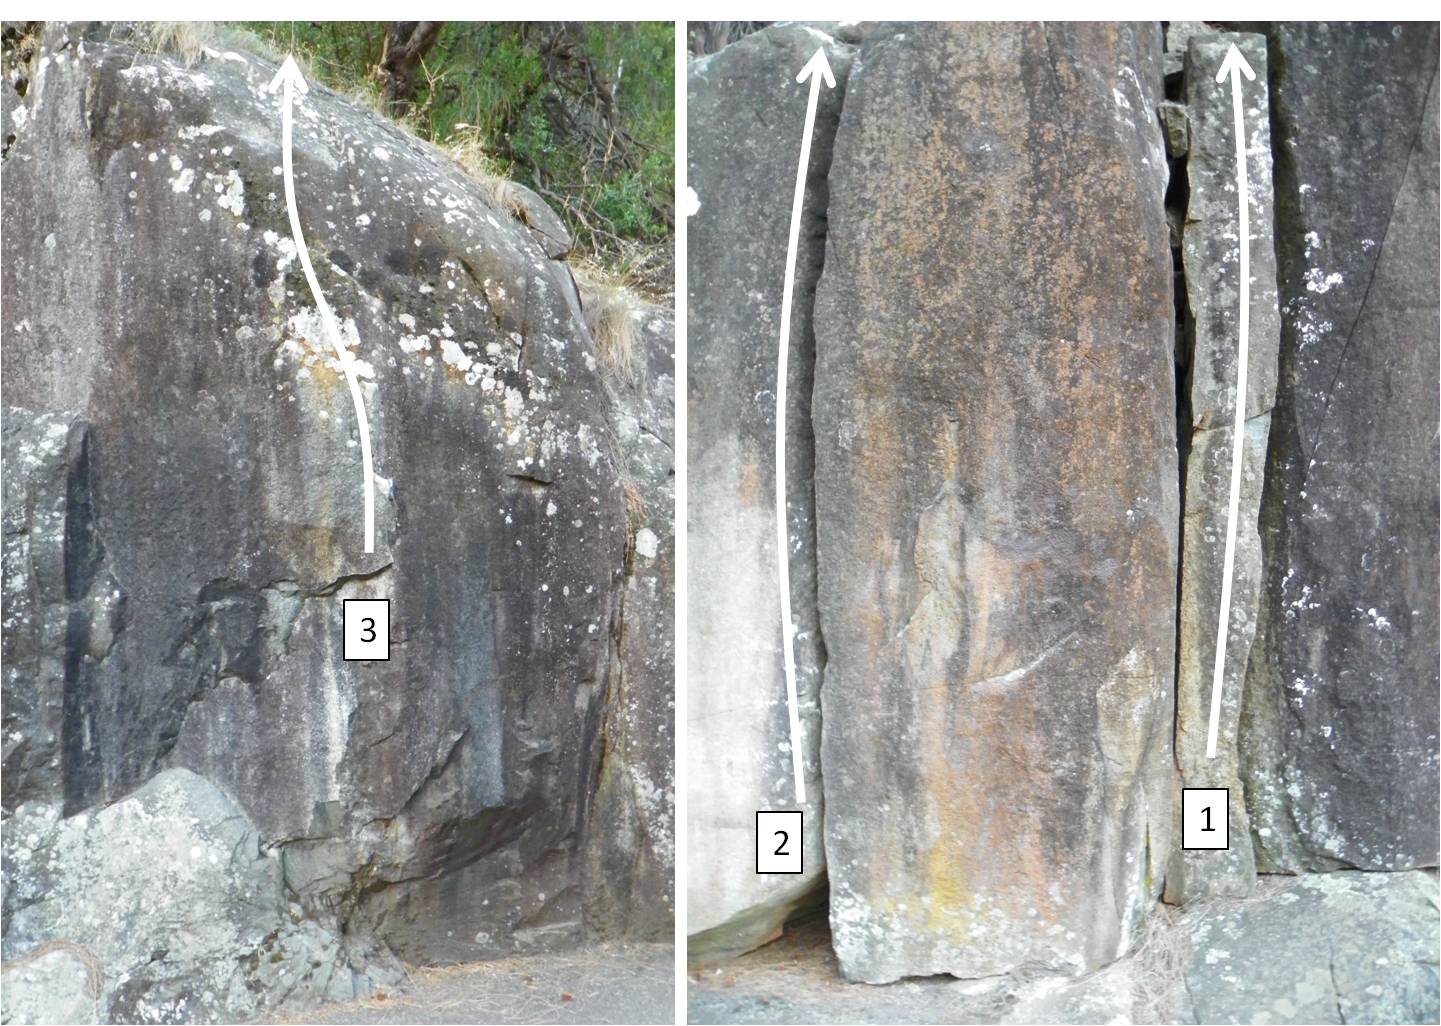
Climb the twin cracks to the top.
Climb the layback crack to the top.
Half way between LP27 and LP28 is a blunt arête. Start on a crimp at head height and climb good crimps to top out the slab.
Double Dozen
The Double Dozen buttress is just opposite the large bench positioned in the centre of a large landing.
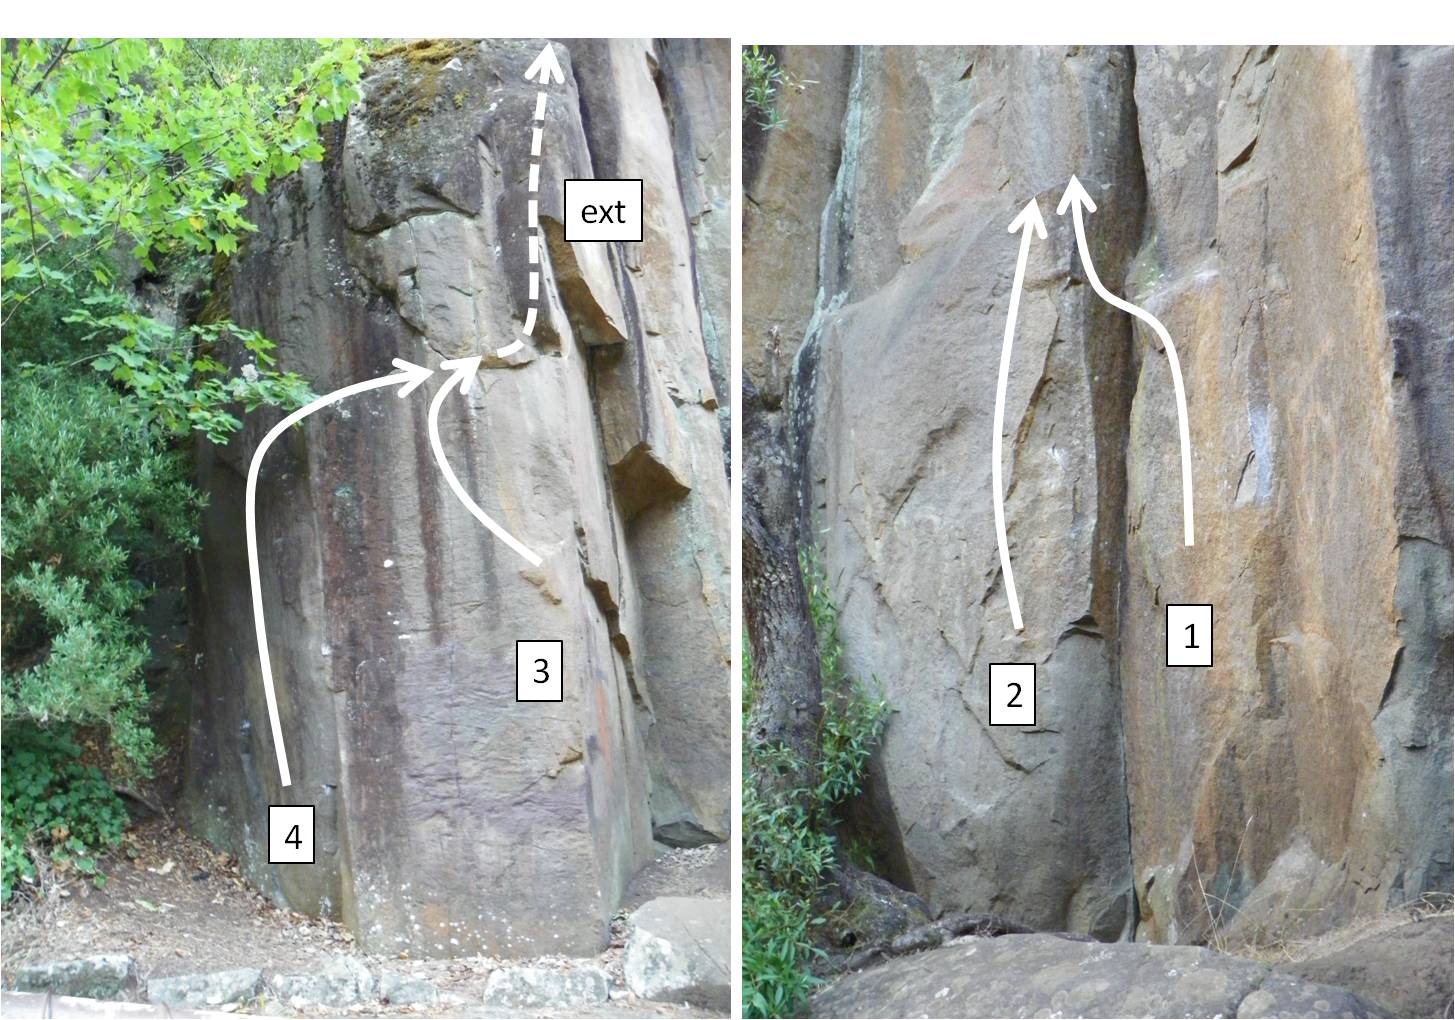
Climb the start of Double Dozen (Classic 22 trad route) to the ledge up slopy crimps in the corner.
Start on a LH undercling/sidepull with RH on the corner and climb the face left of Double Dozen to the ledge.
Great dyno. Start on a large jug on the arête about 2m above the ground and huck for the rail up and left. Make a move right to finish on the large undercling directly above the start hold. This problem has been topped out by climbing straight up from the finish which isn't difficult (V2/3) but very committing.
Sit start with a small right hand sidepull crimp just left of the blunt arête and left hand on a small gaston crimp just above a right facing slopy rail. Climb straight up via some large span moves to a bad right hand pinch and then exit out right to the rail. Traverse this to finish as Double Jump or top it out as per the extension to that problem.
LP 34
Low traverse from left to right 8m past LP 34, finish on ledge near stump.
The Erratics
There are a jumble of freestanding boulders between LP36 and LP37. There are a bunch of problems here, most of really good quality, and are described below right to left as you would come upon them from King's Bridge.
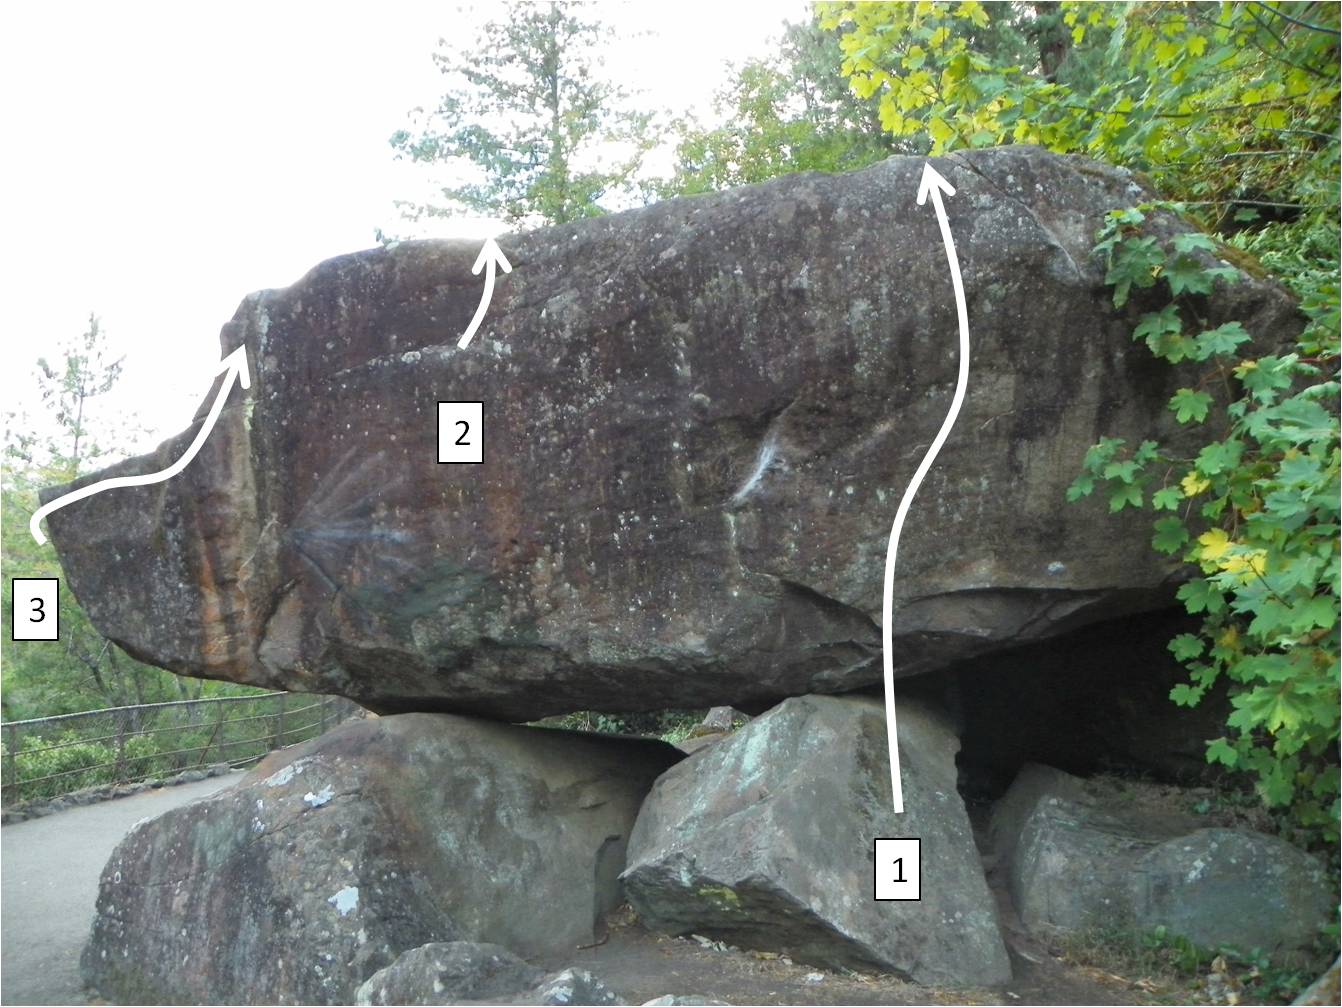
Topo: theCrag contributors, CC BY-NC-SA 3.0, theCrag
A classic. Step up on the ramp and grab a good LH sidepull and a RH undercling for balance. Make a big move up to a good hold right hand, and then another big move to the top.
Climb Ramped Up but pull on and do the first move without using the ramp.
Ramped Up has had a foot brake off since its first ascent in 2021 and has not been done since. Most likely a good grade harder now.
Jordan Grant, 2021
Jump (or stand if you're tall enough) to a slopy rail and make a couple short moves with poor feet to gain the lip and top out.
Topo: theCrag contributors, CC BY-NC-SA 3.0, theCrag
Sit start with a good hold and a left heel in the dish and traverse rightwards on the rising lip all the way around the corner to top out where the lip steps up.
Sit start at a good little edge toward the bottom of the lip and a RH sidepull crimp with a foot on the slab to the right. Pull up to some sidepulls and the top.
Start hanging on a sloper and edge about 0.5m right of the corner arête and campus left to gain the arête (you can try feet if you like, but they're not likely to help). Once you've pawed your way to the arête make a big lockoff move to gain a hold high on the slab and top out.
Con Cam Direct - Project
Start as for Con Cam Express, but head straight up via a tricky mantle. Needs some cleaning
From: theCrag
Topo: theCrag contributors, CC BY-NC-SA 3.0, theCrag
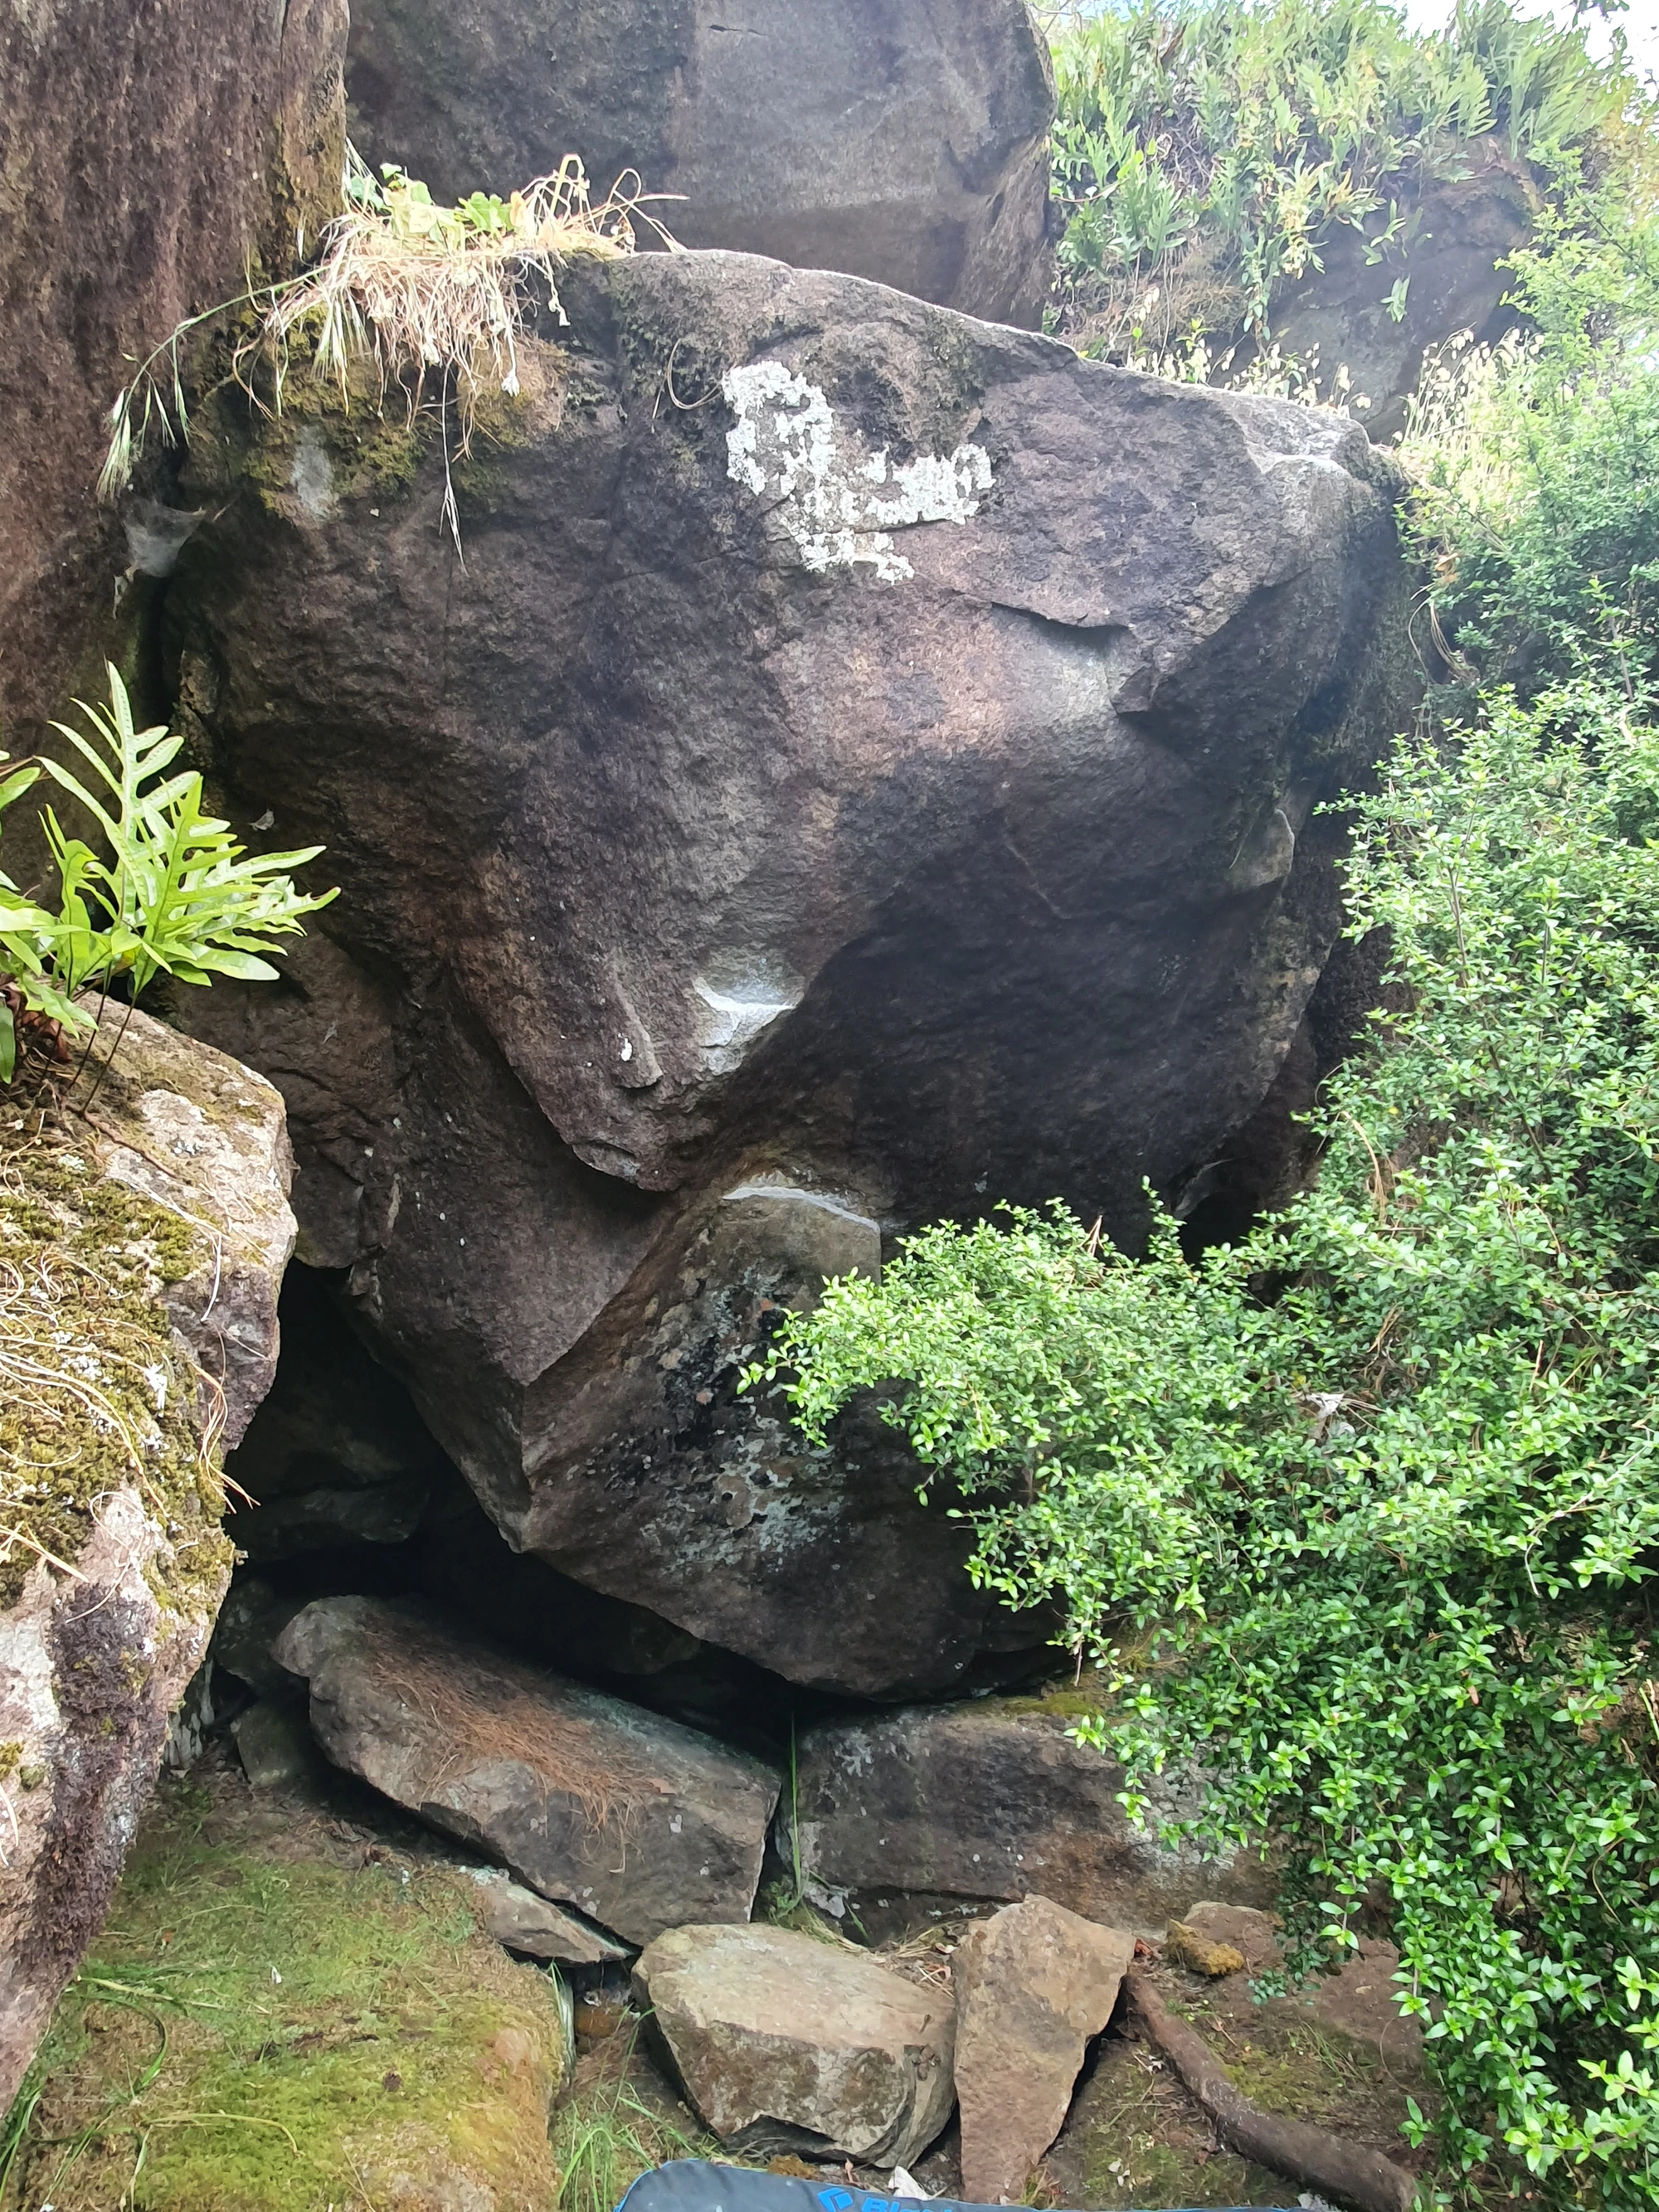
Start matched on a good rail at about waist height on the steep face just behind LP37. Make a few powerful moves to gain the lip and top out. A really good thuggy problem.
Sit start with right hand low on a right facing slopy side-pull and left hand on a dimpled sloper under the arête. Do a brutal compression move with horrible feet up to the good rail that starts the previous problem and finish that to the top.
Topo: theCrag contributors, CC BY-NC-SA 3.0, theCrag
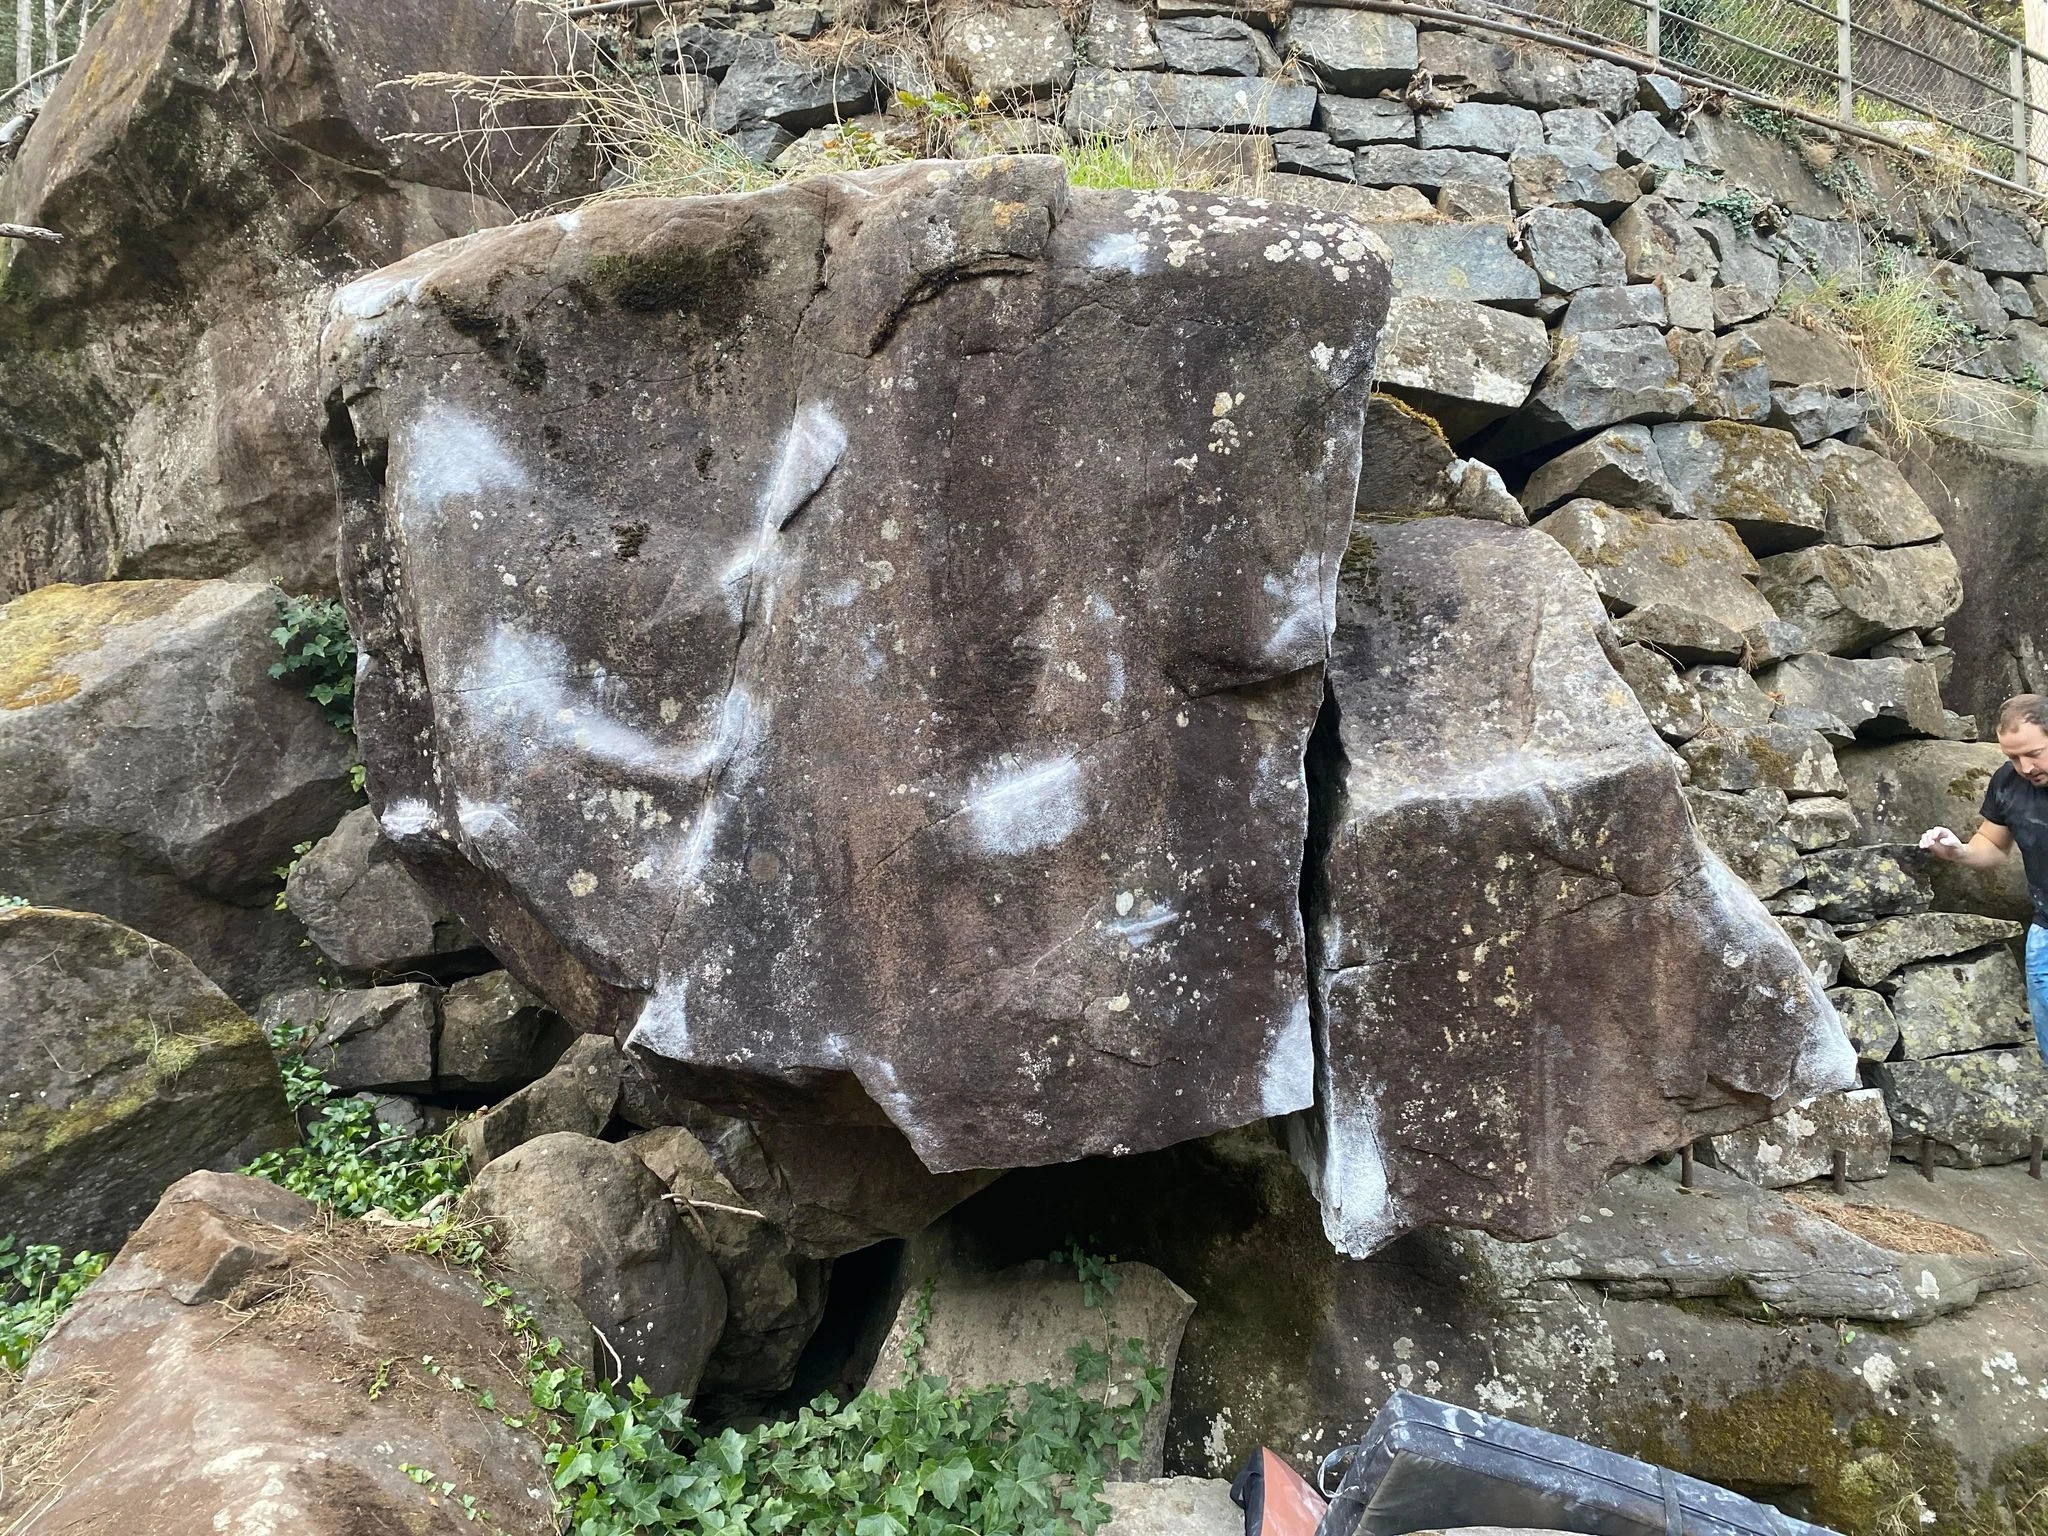
This boulder is the open arête on the short face below the erratics.
Sit start on two decent crimps next to each other, head up via LH sidepull and a series of RH sloping sidepulls. Punchy!
Jordan Grant, 2022
Sit start matched on sloper then climb up and top out.
Bevan Ashby, Apr 2023 · From: theCrag
Sit start matched on sloper then climb into El Dorito and top out.
Bevan Ashby, Apr 2023 · From: theCrag
This problem is just to the right of 27 Club.
Squat start in the middle of the boulder, LH on good sidepull at the bottom of the lip and RH on a good sidepull at the bottom of the lip. Head up into good edge on face and continue through good sidepulls for left and right. Has a potential lower start, could be good. ~BLOCK ON THE RIGHT IS OUT~
Jordan Grant, 2022
Crouch start in good hand jam at the base of the crack as far back as possible, jam your way to the mantle and mantle onto the right hand block avoiding the left hand block. Eliminate but great fun.
Adam Tenteye, Mar 2025 · From: theCrag
Topo: theCrag contributors, CC BY-NC-SA 3.0, theCrag
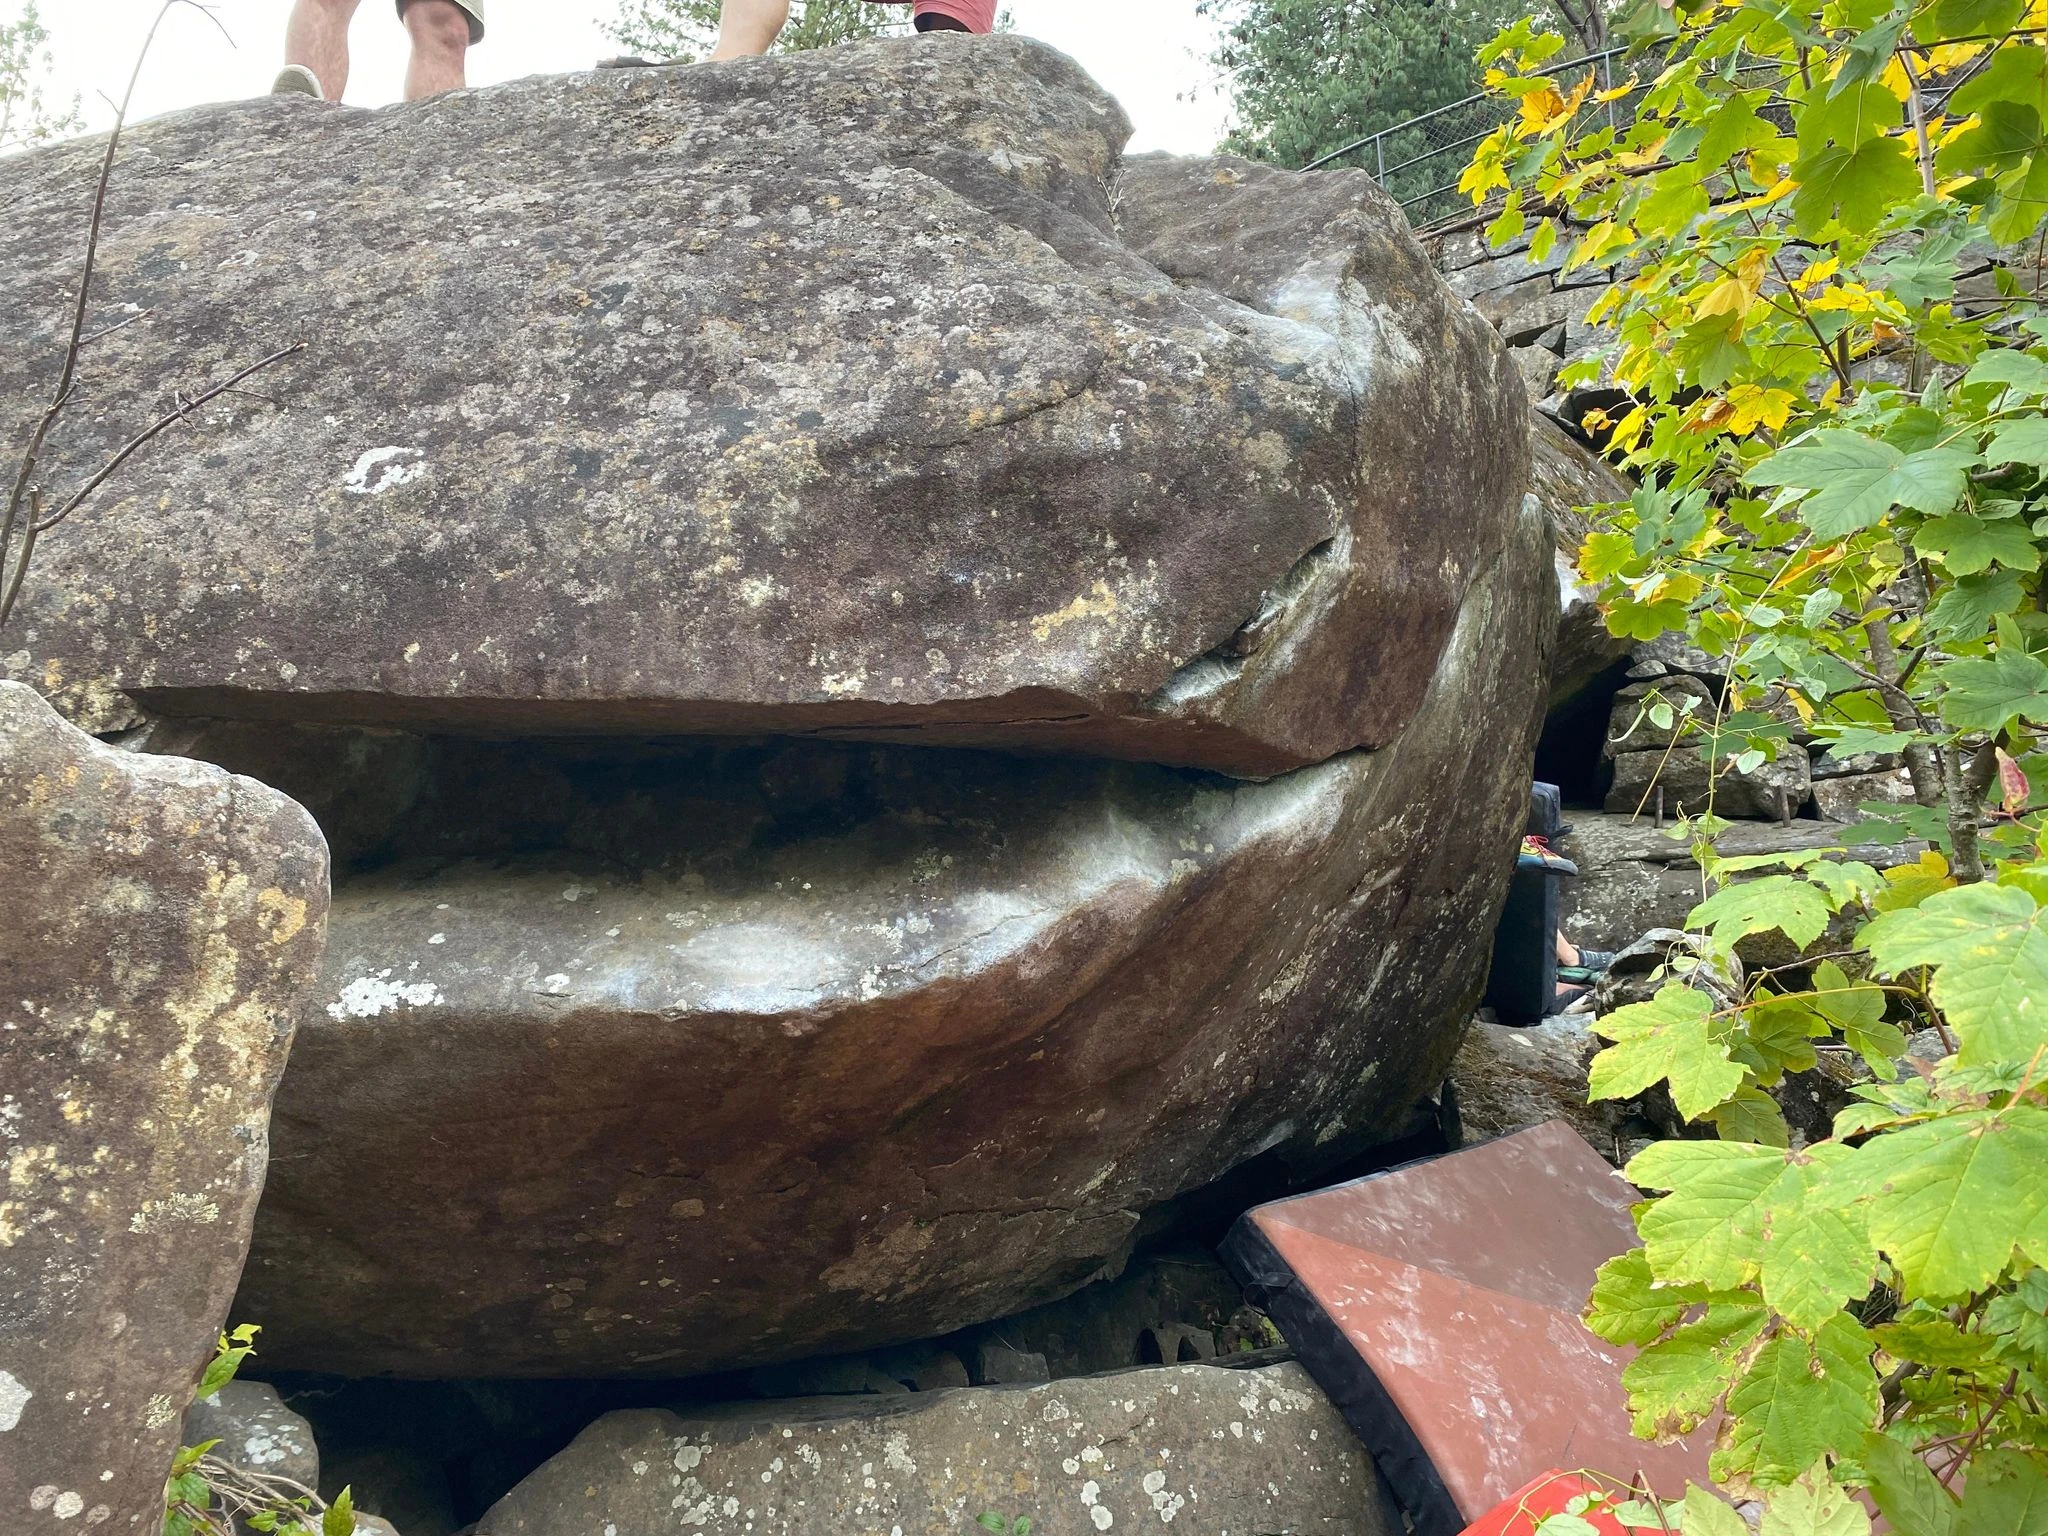
This problem is on the hanging block just right of El Dorito.
Squat start under the block on the RH side of boulder, LH on good undercling and RH on lip of the boulder, pull into toe hooks and you are away. Compress up and turn the corner to exit up and right. Would have a decent line starting on the lip where you toe hook and straight up. ~BLOCK ON THE LEFT IS OUT~
Jordan Grant, 2022
This problem is locked just under Tiptoe Arête towards the river.
Start with RH on improbable sloping 3 finger drag and LH on ok pinch. Gain a right heel and cross big LH into good edge, punch right for sidepull, left for compression and then head hard right for the top out jug. Classic river texture!
Jordan Grant, 2022
Start with left hand on the triangle sloper (RH start hold for 'Tide Rider') and right hand on an juggy crimp under the boulder. Head up and right as for 'Tide Rider'.
Elliot Vercoe, Jan 2023 · From: theCrag
Stand Start on large under cling just above the start of tide rider with very high feet on large sloper before a large move up and to the right to good slopers before following slopers at the top of the rock along to the right and the topping out same jug as tide rider
Jude Karpeles · From: theCrag
Topo: theCrag contributors, CC BY-NC-SA 3.0, theCrag
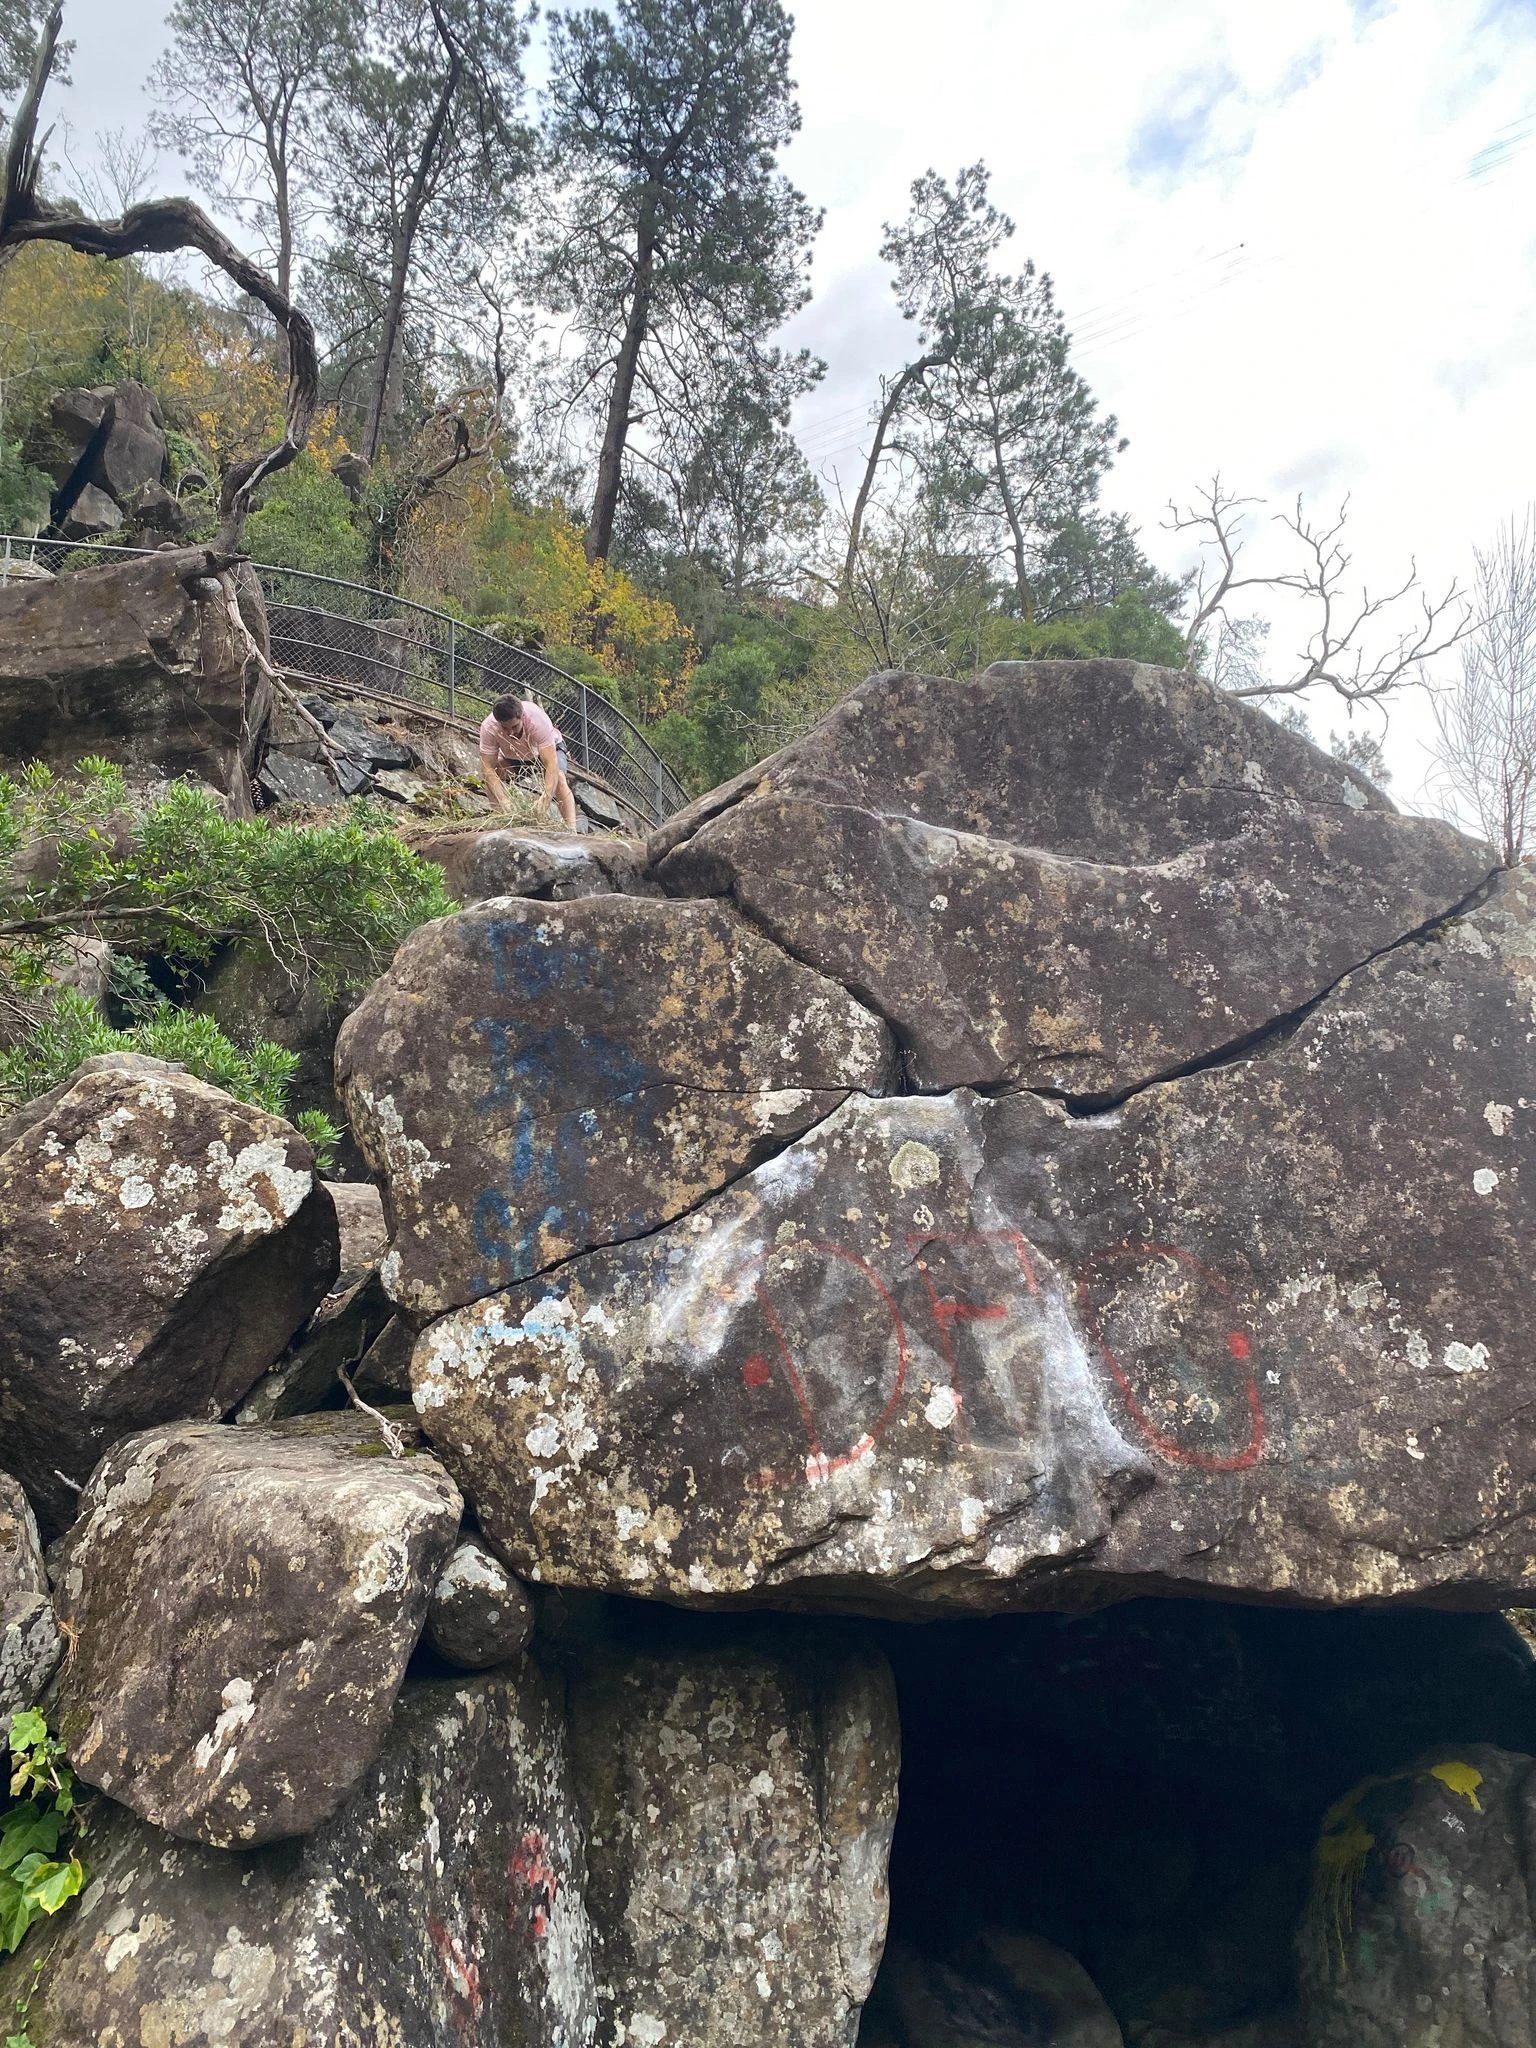
This problem is on the same boulder as Tide Rider, but far left just to the left of the entry to the cave.
Stand start LH good jug and RH sloping sidepull rail. Head straight up and right via good breaks and do not exit left early, continue up to flat top jug for airy mantel. Landing is beyond dicey, pad may or may not help.
Jordan Grant, 2022
Topo: theCrag contributors, CC BY-NC-SA 3.0, theCrag
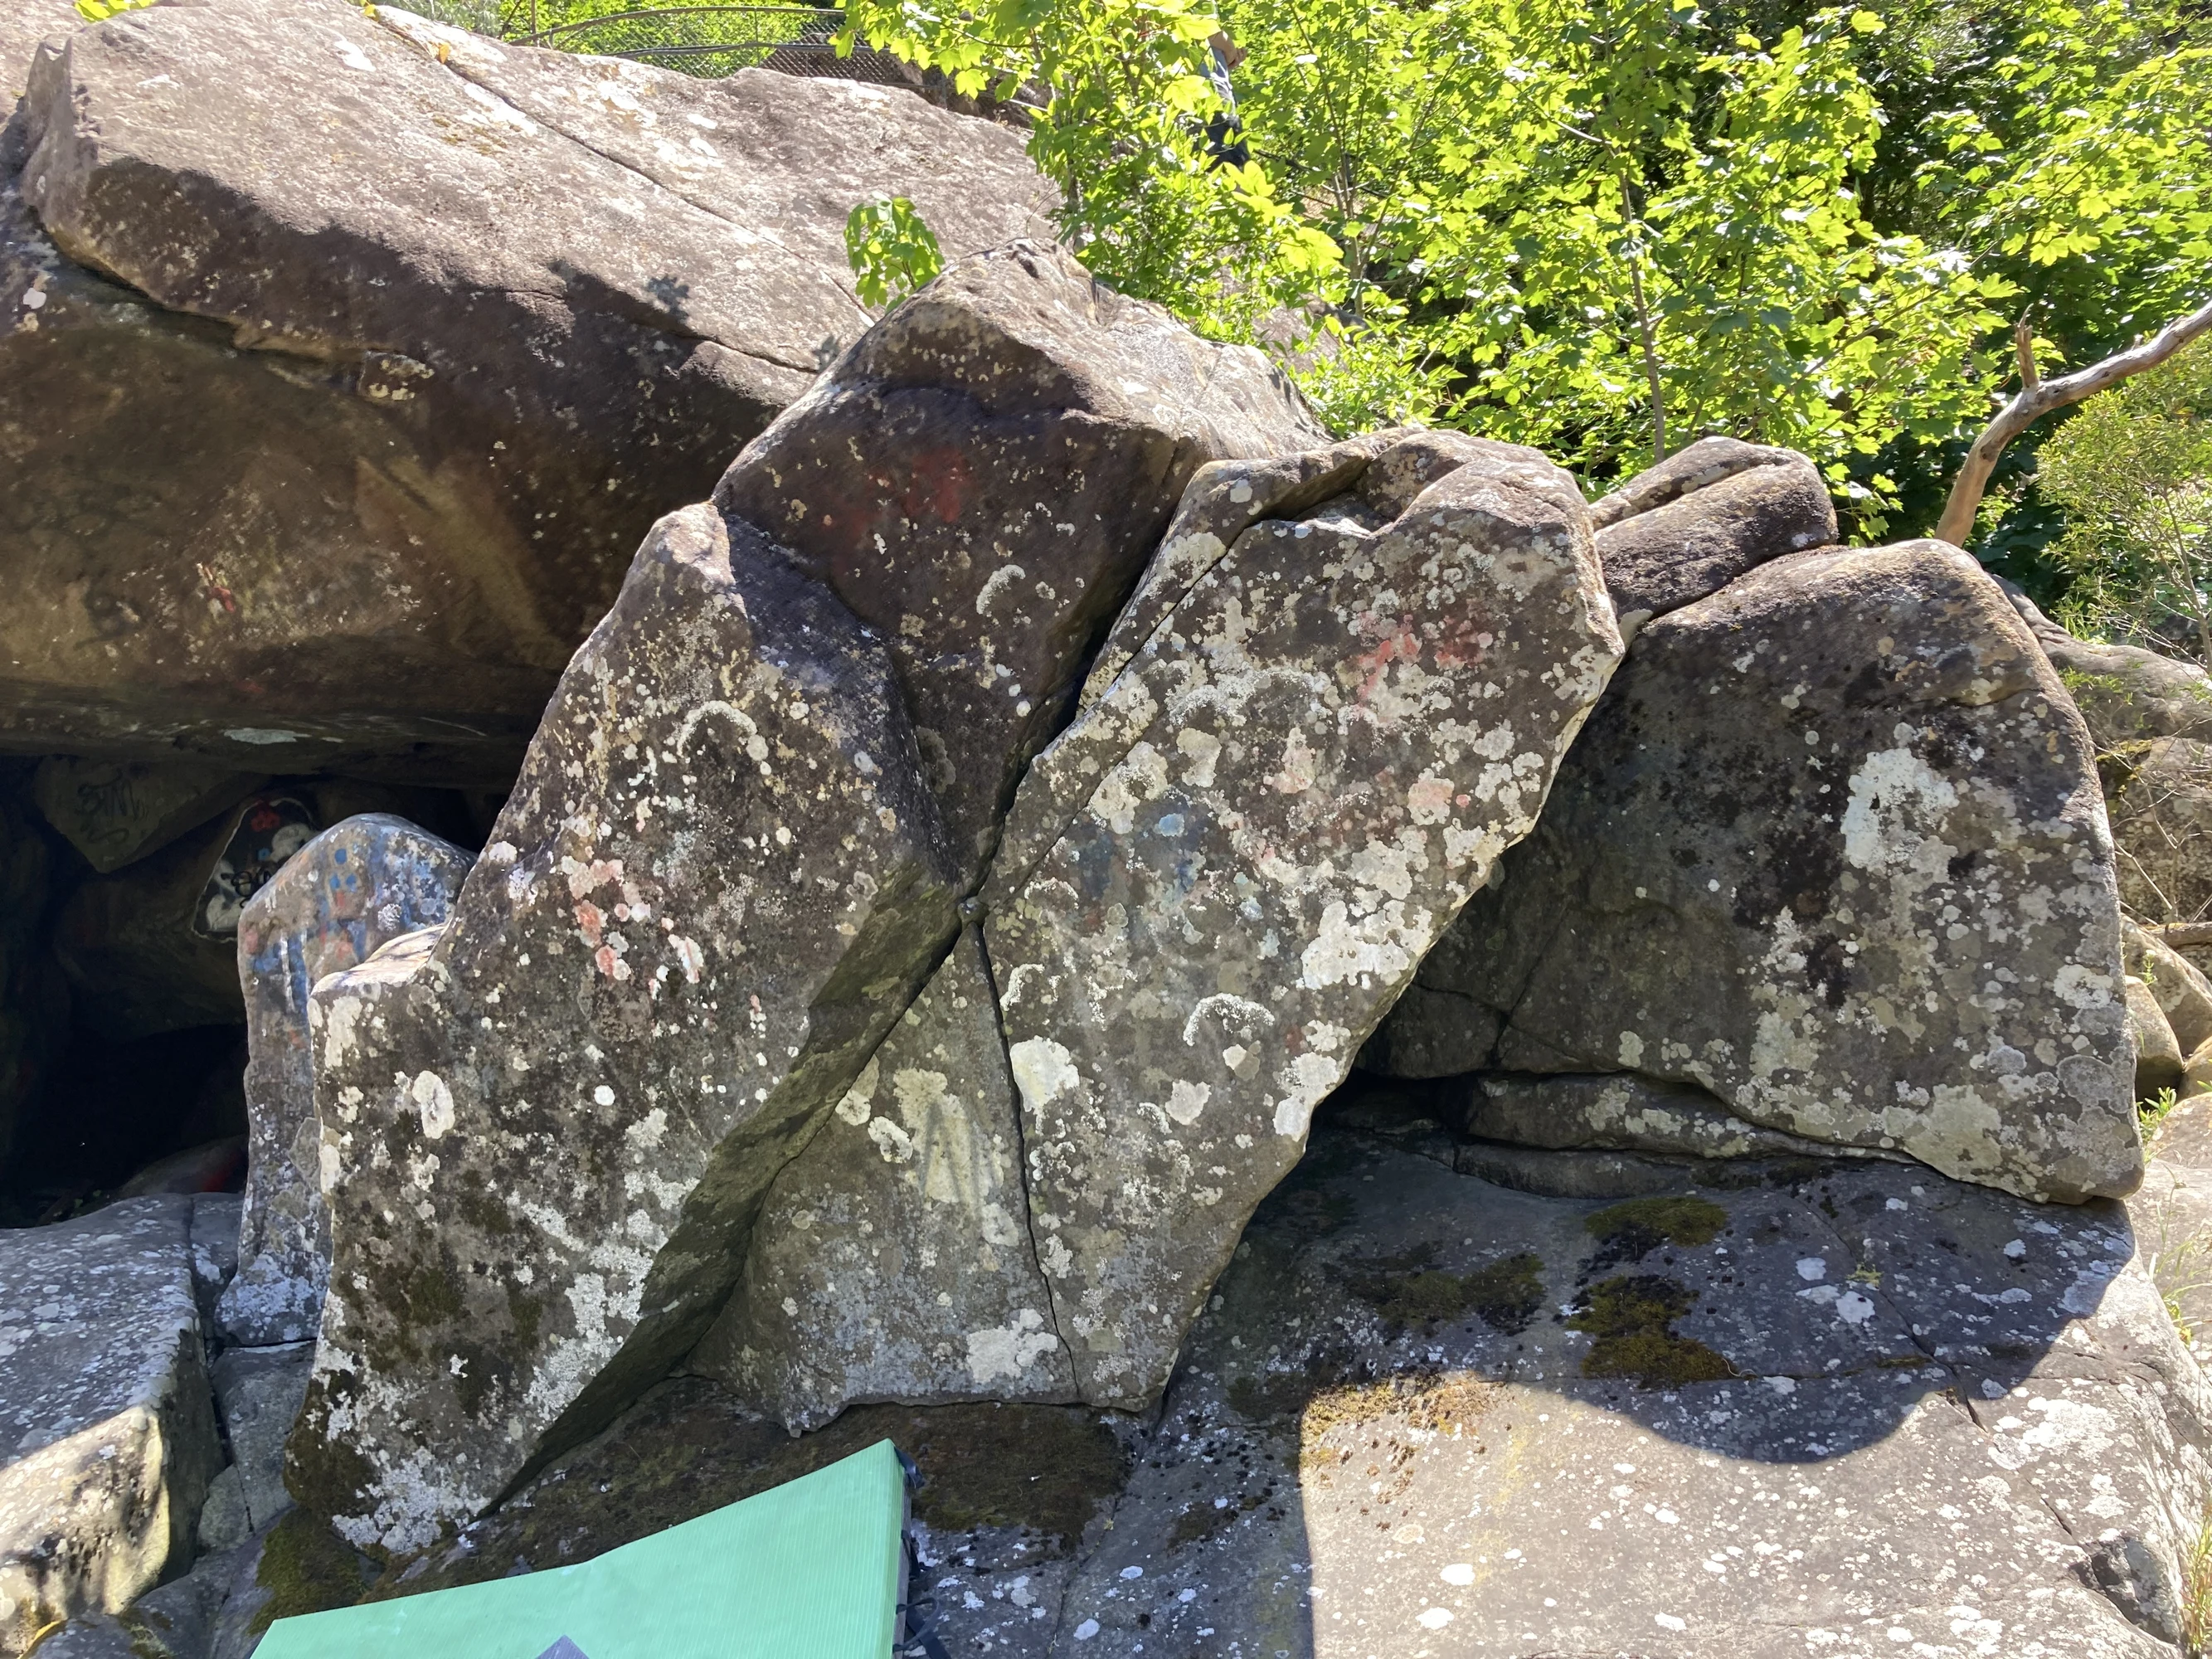
Match hands on low vertical hold within the crack, find feet on your left, and top out on the left
Simeon McKee, Dec 2025 · From: theCrag
Bridge Comp Boulders
Topo: theCrag contributors, CC BY-NC-SA 3.0, theCrag
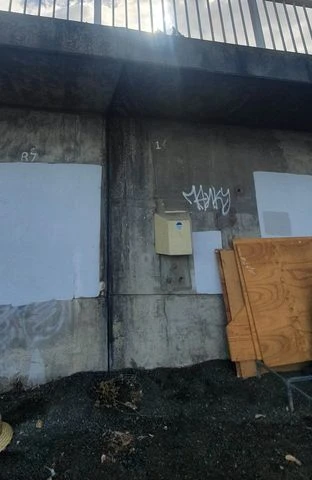
This is the left most, tallest block. 4 points of contact on 'Volume' like feature to start. Finish matched above on flat ledge under railing.
Kaikopopopopo · From: theCrag