
Big Bend Bouldering area
 5min to 30min
 Mixed sun and shade
 Dolerite
Introduction
Mt Wellington offers some good opportunities for bouldering. It's a bit scattered, and dolerite is an acquired taste for bouldering. But there are lots of problems, particularly moderates with easy access for after work climbing.
Access
From the centre of Hobart drive up Davey Street, which becomes Huon Road, for 9.6km. Just before Fern Tree a well signposted road (Pillinger Drive) leads off sharply to the right and winds up the mountain. To reach Big Bend Bouldering area continue up a few more kilometres to a big leftwards bend in the road (9.1km from the turn off).
You can park at the bend itself (~3 spots) or pull off the road where you can.
GPS
Lost World
There are some unusually steep dolerite boulders on the way to Lost World. The rock is flakey and exfoliated with huge amounts of friction. Some of the landings are pretty bad, so a good spotter or thick mat is a good idea.
Park your car at the big bend just down from the summit of Mt Wellington, and then follow the directions and map below to find the problems.
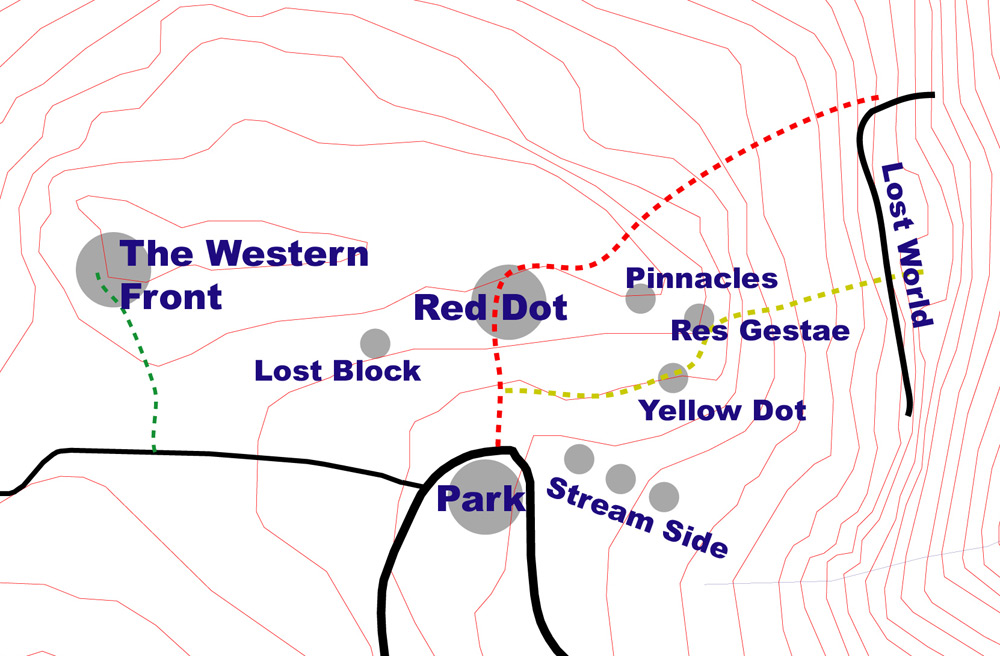
Stream Side
The first group of boulders can be seen downhill from the carpark. Follow the little stream down the hill. About 20m down is the first boulder, a short clean face with two faint grooves above a slopey ledge.
Unnamed
V2The left hand groove, with a hold on the arête to get started. Eliminating the arête will be pretty hard.
Unnamed
VEThe right hand groove is pretty easy if you use the crack to the right, but bloody hard without it and not done this way yet.
Follow the stream down for another 40 metres or so to a group of boulders with 2 prominent arêtes and a V shaped corner.
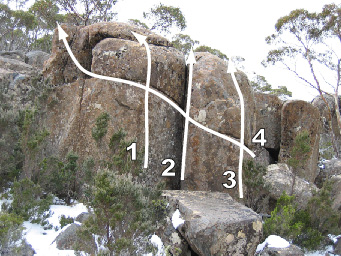
Unnamed
V2(SDS)Just across from the main boulders is a small free standing boulder. Sitstart at the undercut arête to awkward top.
The arête left of the corner. Don't use the crack or layaways to the left. Jump up to the break then dyno up to the top break. Using the holds to the left is V0, and the crack to the left is VE.
The V shaped corner and crack - bridge, chimney or crack climb it.
Start below the faint arête between the two blocks and above a clear landing around to the right of OS and crank up to the top.
Start just to the right of Back in the House, and traverse left on the excellent rising horizontal line to finish around past Moss.
Highball World
From Streamside follow the stream downhill for about another 50-60m. Head up and left when you can see these sizable buttresses. This area can also be reached easily directly downhill from the Yellow Dot boulder.
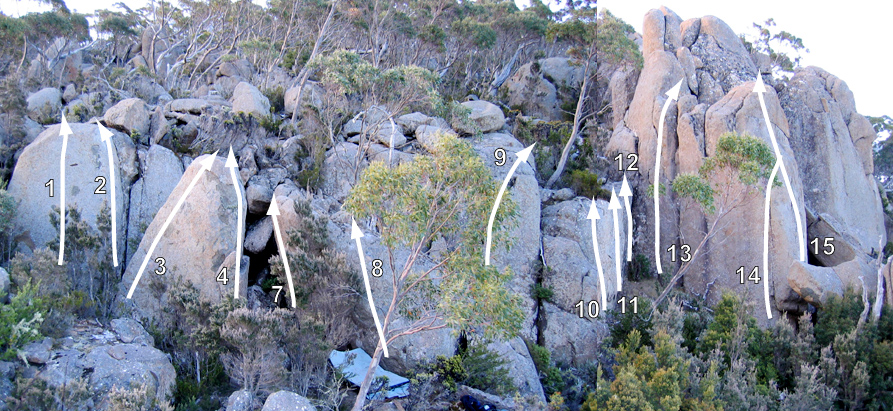
Up slab.
Right arête of slab.
Left arête and face of little pinnacle.
Right arête of little pinnacle from sit start.
Back face of pinnacle.
Face behind pinnacle.
Project - layback up left arête of steep face.
Start at low jug on right arête of steep face.
Nice diagonal flake.
Crimps on left side of face.
Right edge of short face.
Face 2m right of HSB and just left of corner using pinch.
Project - crack system.
M Hitchcock 2019
Seam and arête, finish up Highball to Hell.
Start right of the arête and after a couple of tricky moves climb the featured slab to the top.
These problems are on the near horizontal pillar below the highball lines pictured in the topo above.
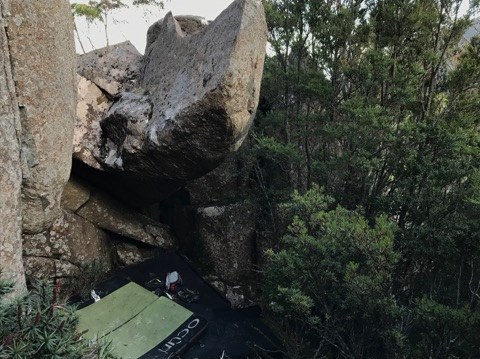
Sit start under the roof (as per Period of Transition), go to the big sloper-jug on the left side of the column, mantel up to more slopers until you can reach over the top to jugs.
M Hitchcock 2019
The belly of the incredible, near horizontal pillar. Hang start at the back of the column using the obvious sloper on the left (used to start the previous problem) and right hand low on the ok slopey rail on the right. Get a heel up and climb out the column, topping out at the very end by pinching your way up the arête to gain the lip.
Marco D'Alessandro, February 2018
There are more problems to be done around to the right.
Rainbow Face
This small face is in behind a scree pile downhill from Highball World. It is a little face with a crack/corner on its left and a leftwards curving arête on the right with a diagonal ramp in the middle of the face.
Unnamed
VEThe easy handcrack in the left corner.
Rainbow
V2Start a bit right of the crack at the bottom of the rightwards leading ramp. Climb up this on slopers then straight up to the top.
Unnamed
V?Project - Start just left of the right hand edge of the face, but don't use any of the good holds on or around the arête. Instead climb the thin and bulgy face towards the top of the ramp and then to the top.
Unnamed
V0Sit start at the right edge of the face and climb it using the right arête.
Lickety Split
Below the Rainbow face is an area of scree, just below the scree and to the east is a small gully where slabs have fallen from one side to the other (what3words.com coords are tacky.tacky.blistering).
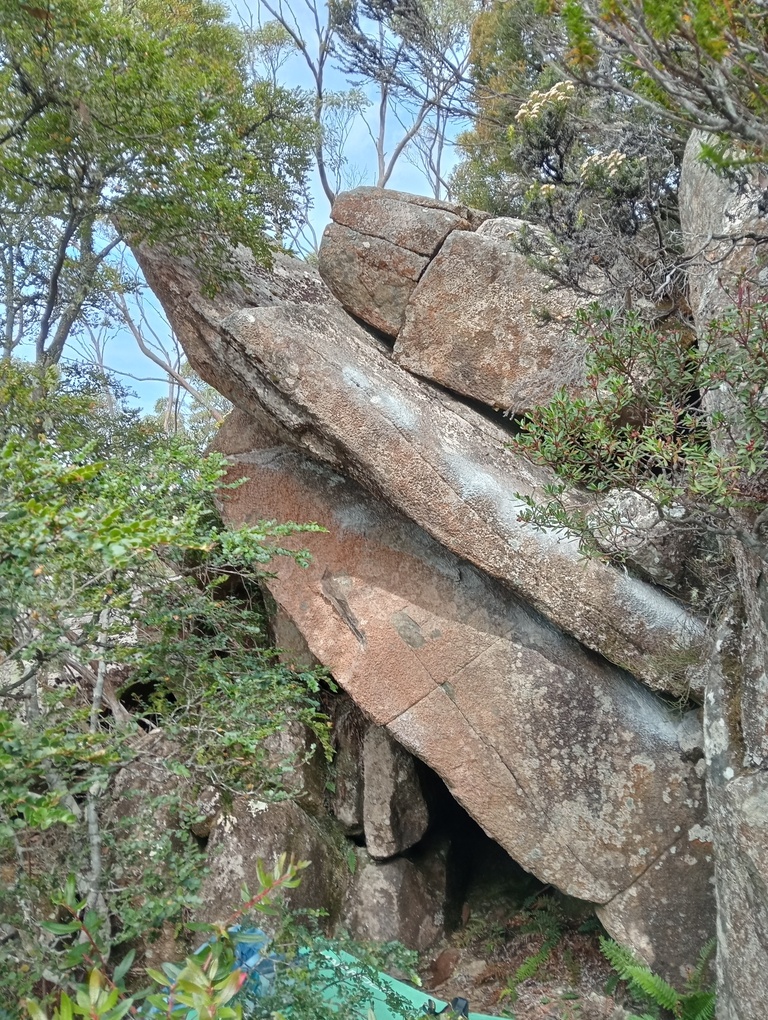
Lickety Split
★★★V3(Hang)Classic.
Start with a foot jam and hands at the lowest part of the rail. Follow the line.
The variant finish moving onto the slab from the jug is the same grade.
Underling
★V4(SDS)Start with a foot jam with hands on the lowest part of the ramp. Follow the ramp until the Lickety Split jug is reachable and finish on the slab.
Finishing by following the line is a bit meh.
Low Project
V?Start under the underling block then finish up Underling.
Queen Slot
The next problems are on the Queen Slot Boulder. Follow the little stream down the hill about 100m past Stream Side or 50m past Rainbow until you see a square cut boulder on the left of the stream with an arête that faces Mt Wellington.
Unnamed
VEUp the middle of the face left of the arête.
Queen Arête
V0The arête.
Queen Slot
V3About 4 metres right of the arête is a very nice looking crack/groove.
Unnamed
V1Start at Queen Slot and traverse leftwards right around the boulder. The only tricky bit is at the start.
Res Gestae Boulder
To get to the next boulders start on the cairned track from the road, but at about the second or third red dot turn right and follow a roughly marked track for a few minutes to a group of boulders where the yellow dots start (Yellow Dot Boulder). There are a couple of easy crack and slab problems here.
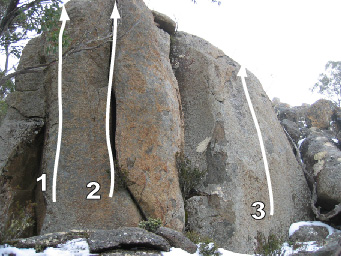
Thin arête to right of corner, eliminate corner. Contrived.
The thin slab on the right side of the Yellow Dot Boulder.
From the Yellow Dot Boulder follow the yellow dots down the hill for another 50m or so. Where the track takes a right hand turn down the hill there is a 3m high overhanging boulder with an OK landing on the left hand side of the track. This is Res Gestae boulder. If you can't find it from this description head to Lost World along any other track and locate the yellow dots about half way along the cliff top. Follow the track up to the boulder.
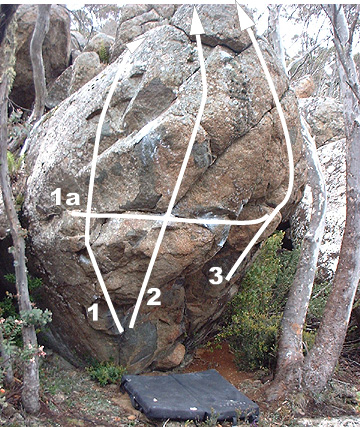
Sit start underneath the nose of the boulder on underclings, as for Hammurabi. Move up and left to a very big jug, then throw from the jug to another good hold and an awkward top out. Starting from the jug is about V2.
Start on the big jug on Tools, then traverse right around the nose and into the horizontal break/crack on Res Gestae to finish up that problem. The horizontal break/crack was loose and has now broken, taking with it two crimps. This problem can still be done, albeit a bit harder.
Sit start underneath the steepest part of the boulder, at the nose and in between Tools and Res Gestae. Crank directly up through and over the nose. "Pretty Hard"
This is the problem on the right hand side of the boulder. Sit start with your hands on the incut hold and the undercling. Move into the horizontal break (this has now broken so the problem is harder) with difficulty and then pull through the bulge on good holds and then to the top. Stand start is V2.
20m straight up the hill from RG is a bulgy wall with 3 obvious lines. Be careful of the bad landings.
The left hand line needs some cleaning.
The middle line with the big detached flake at the top.
Climb the thin right hand seam without using the footholds or flake to the left on PIO or the blocky ledge to the right. An easier variant uses the footholds on PIO.
The Pinnacles
If you head up the hill from the Yellow Dot boulder you will come to two pinnacles that are both about 5m high. There are several problems that have been done here by the Jacksons that I don't have the details for.
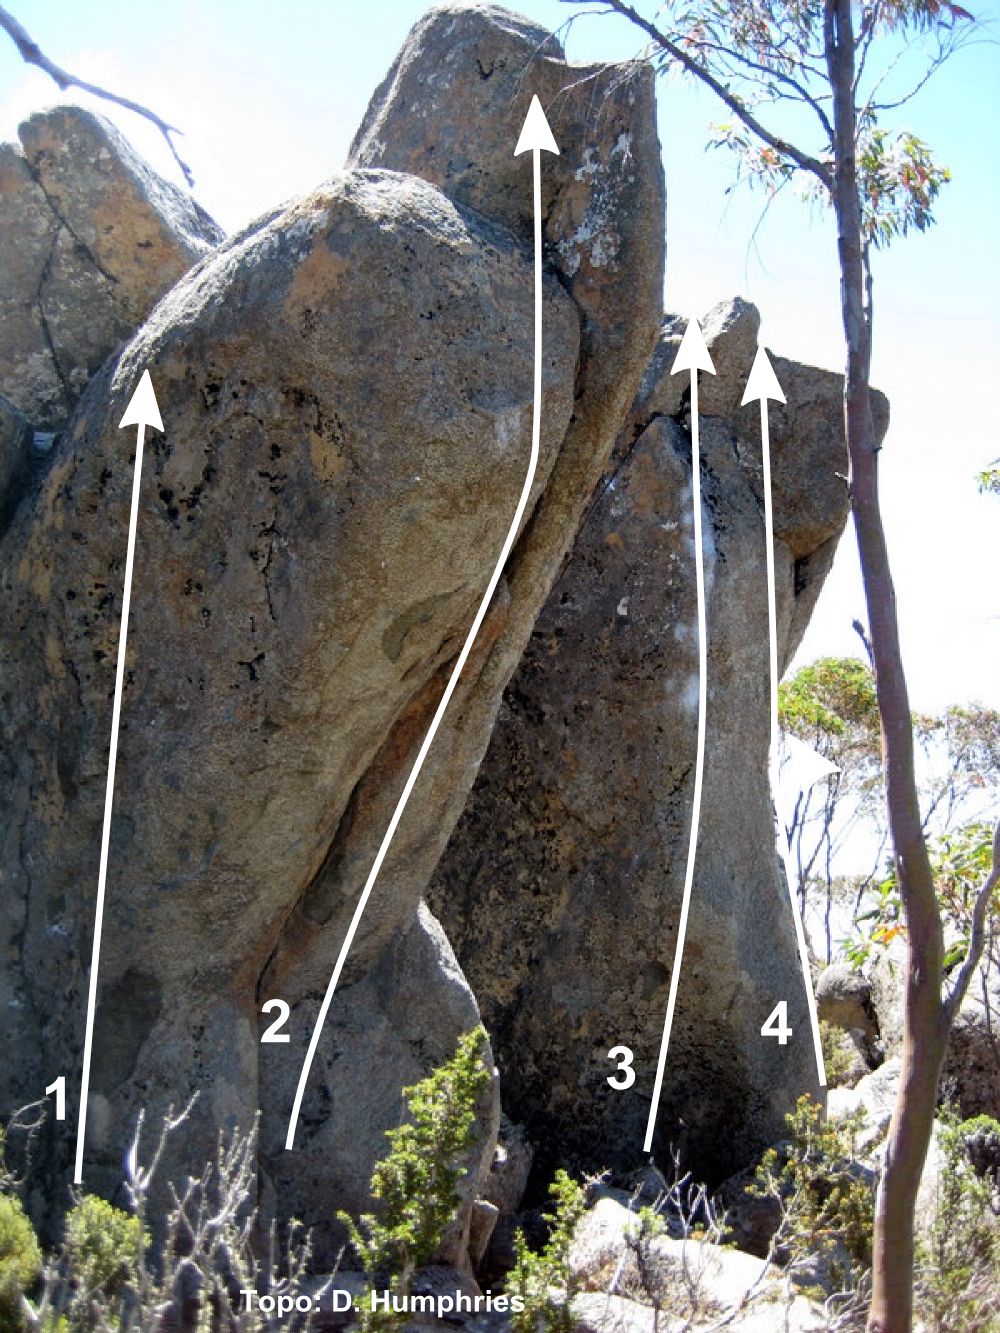
Sitstart off the block, and climb the thin face to the left of the overhanging crack.
Sit start the front of the left hand pinnacle. An excellent problem with challenging holds and movements.
M Hitchcock 2017
Unnamed
V2(Stand)On the wall left of The Horn start at the left end, head up to the scoop then to the top. Piker's version is V0. Landing is OK with two mats.
Start in the hollow below the left arête of The Horn. Move up to delicate moves on the arête and the top jugs. The stand start is a grade easier.
The right hand arête of the right hand pinnacle. There are quite a few variations of this quite nice problem: One starts on the left and goes to the top at the arête (using whatever) and the other (the original and most obvious line) starts on the right. Also on the right side one can climb the face (heading slightly up right instead of left to the arête). All are about the same grade.
Unnamed
V1About 3 or 4 metres to the right of The Horn is another boulder with a reasonably pleasant slab.
Walk around behind the right hand pinnacle to find an area with more boulders. The following problems are on the boulder straight ahead behind a pile of dead trees.
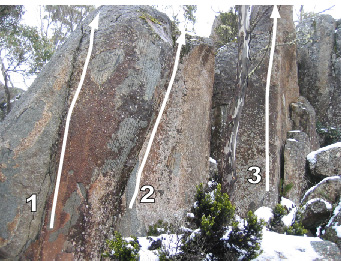
Unnamed
V1(Stand)Climb the slab left of Millennium Bug using the left arête.
The thin seam through the slightly bulging face.
Start just right of MB and climb the thin right-trending crack.
About 3m to the right and up the hill from MB is a slabby arête. Climb it without using the boulders on the left or right.
Red Dot Boulders
There are some good problems along the red dot track. From the big bend follow the red dot track up the hill for around 50-100 metres to where the track makes a sharp right hand turn around a group of boulders. After the right hand turn there is an overhung boulder that faces up the hill just off the track next to a cairn. This is Sweet Pussy. Downhill and to the left of here is a slightly overhung prow - this is Holy Shit.
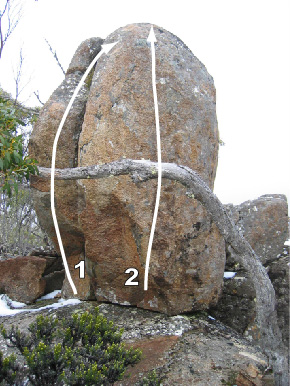
Sit start underneath the little overhang and climb it using the left arête and holds near the crack. A dynamic move to gain the sloper above the overhang, and then a fairly easy top out.
Sit start 1 metre right of Sweet Pussy at the right arête with a big span between the crack and the hold way around to the right. Climb through the bulge using a toe hook to the right and a thin lay away to an awkward friction top out.
There are a couple of eliminates yet to be done on this boulder - just the crack; Sunset without the crack; and the traverse from around right to the left arête.
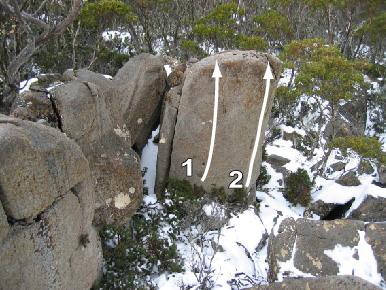
Up face, don't use left arête/crack.
Down and to the left of SP is a gently overhanging prow. Climb the steep face from its lowest point without using the crack to the right (there is an easier variation using these holds). Thin and scary due to a dodgy landing.
Along the track a few metres from SP is an upwards pointing arrow painted in red on a rock. To the right of this is a decent sized pinnacle.
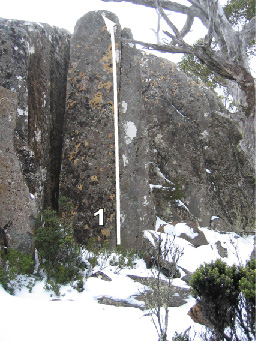
Straight forward up the front of the pinnacle. The other faces are also climbable at a reasonable grade.
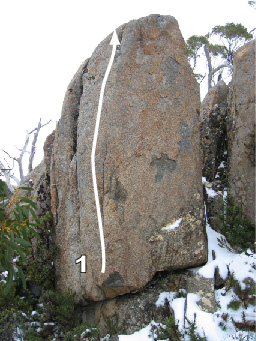
There is another detached pinnacle up and to the left of the previous one. There are a few variations: use everything; straight up the front; and the hardest variation is the right hand side of the front of the block without using any of the holds to the left of the groove in the middle of the face.
Directly above the Elegant Pinnacle is a red arrow painted on the rock.
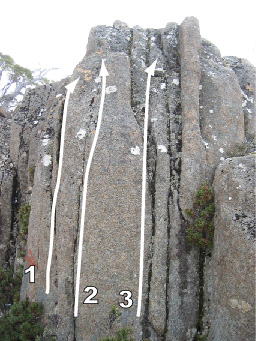
The flake just to the right of the red arrow.
The thin seam just to the right of the previous problem without using the flake to the left or the stuff to the right.
The groove/slab right of AH.
Above the previous problems, near the top of the hill, are another couple of pinnacles.
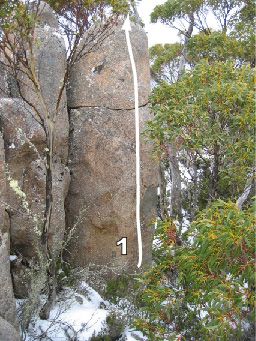
The back arête of the pinnacle up and to the left which faces away from the summit of Mt Wellington. Climb the arête/slab on nice incut flakes.
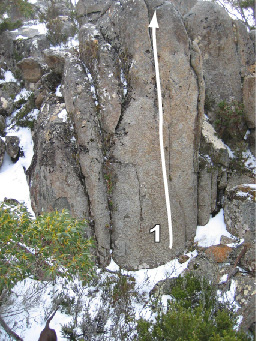
To the right of the previous problem and directly above and back from Arrow Head is a tallish pinnacle/face with a series of seams up it. Climb directly up the face.
Unnamed
V2About 30m to the right of the Elegant Pinnacle at the same level is a blunt arête/slab behind a dead tree with 3 forks. Climb the very thin and delicate seam up this above a bad landing.
Red Dot Down Hill
There are several impressive prows next to the red dot track as it heads back down the hill to Lost World, but no one has had the balls to climb any of them (bad landings). As you come down the track there is an obvious overhanging arête (not climbed yet). Further down the track goes left down a ramp.
Chukin a Wobbly
★★V2/3(SDS)Start on good incuts below the nose of the boulder above the ramp. Throw left to jugs then follow them up left. There may be a harder start from the right, but it didn't seem to climb well.
Around here there are various bits of steep rock which either have bad landings, are too tall, or don't have any holds.
Lost World Amphitheatre
There are a very large number of nice boulders in the amphitheatre below the Lost World cliffs. They have barely been touched to date, but there is a large amount of potential here. The bad landings and the walk put people off, but with a bit of vision there will be some excellent problems done here. The quickest and easiest way to get there is to follow the yellow dot track down to the top of the cliff, then take the red dot track down around the northern edge of the cliffs and down into the amphitheatre. It takes about 15 minutes.
Small Time Area
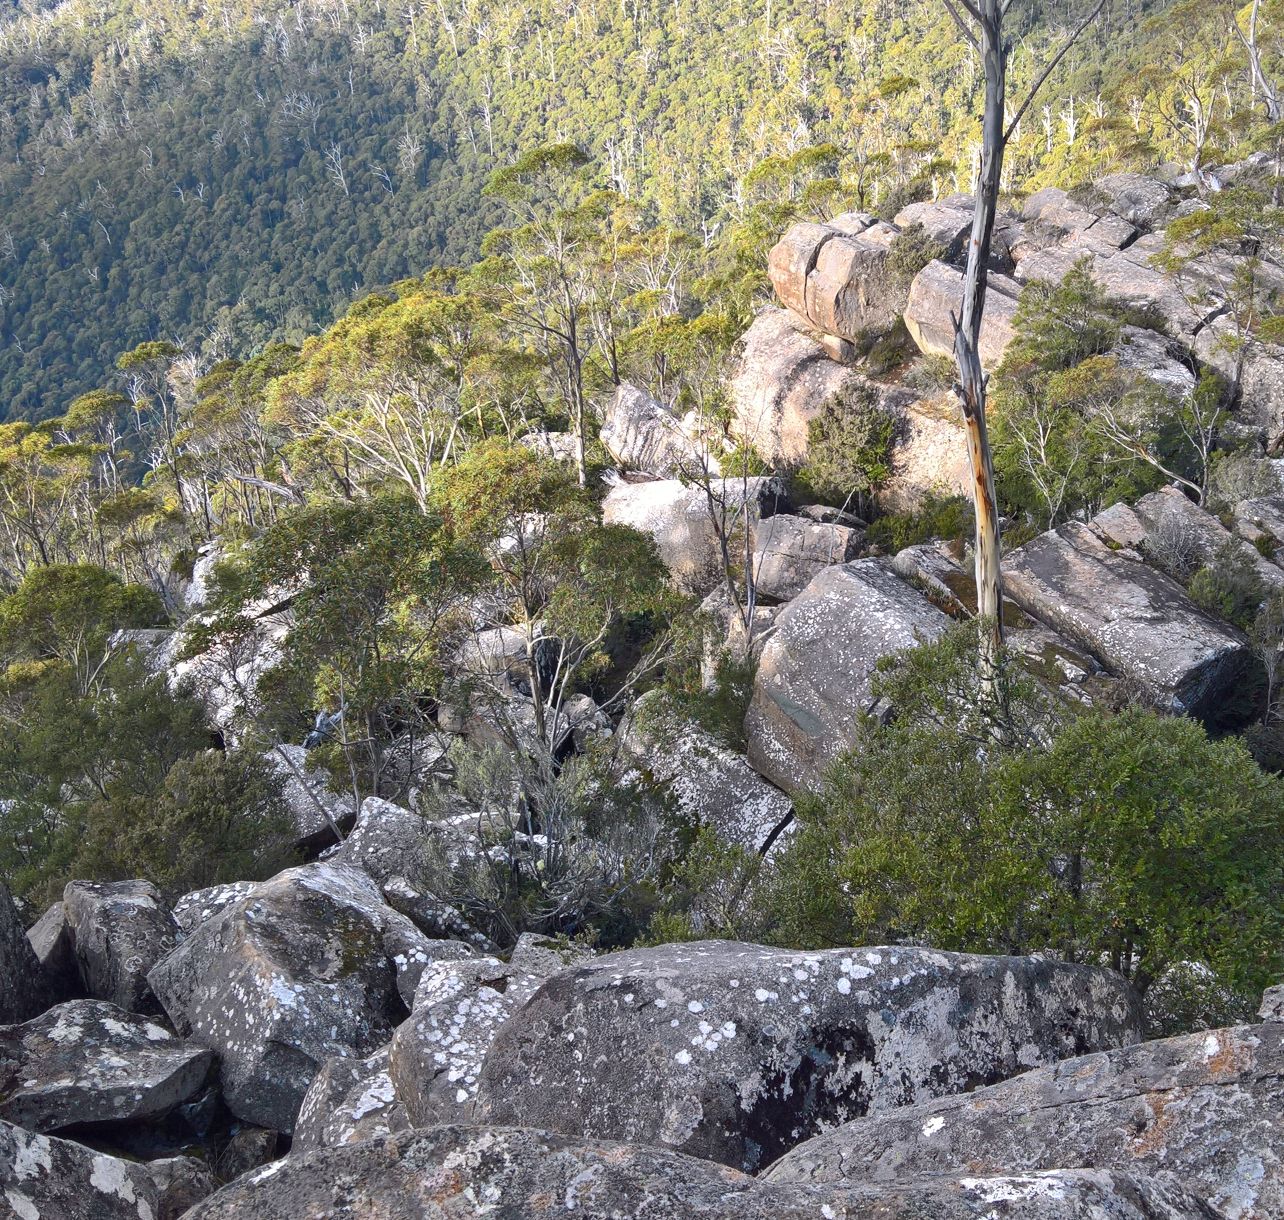
The small time area is below the start of the amphitheatre when coming down the red dot track. The problems in this area tend to be dry and sunny even in the depths of winter.
The easiest access is to head down the gully where the red dot track meets the amphitheatre proper. Head across the broken pillar to the flat block, then across to where you can see the small time boulder.
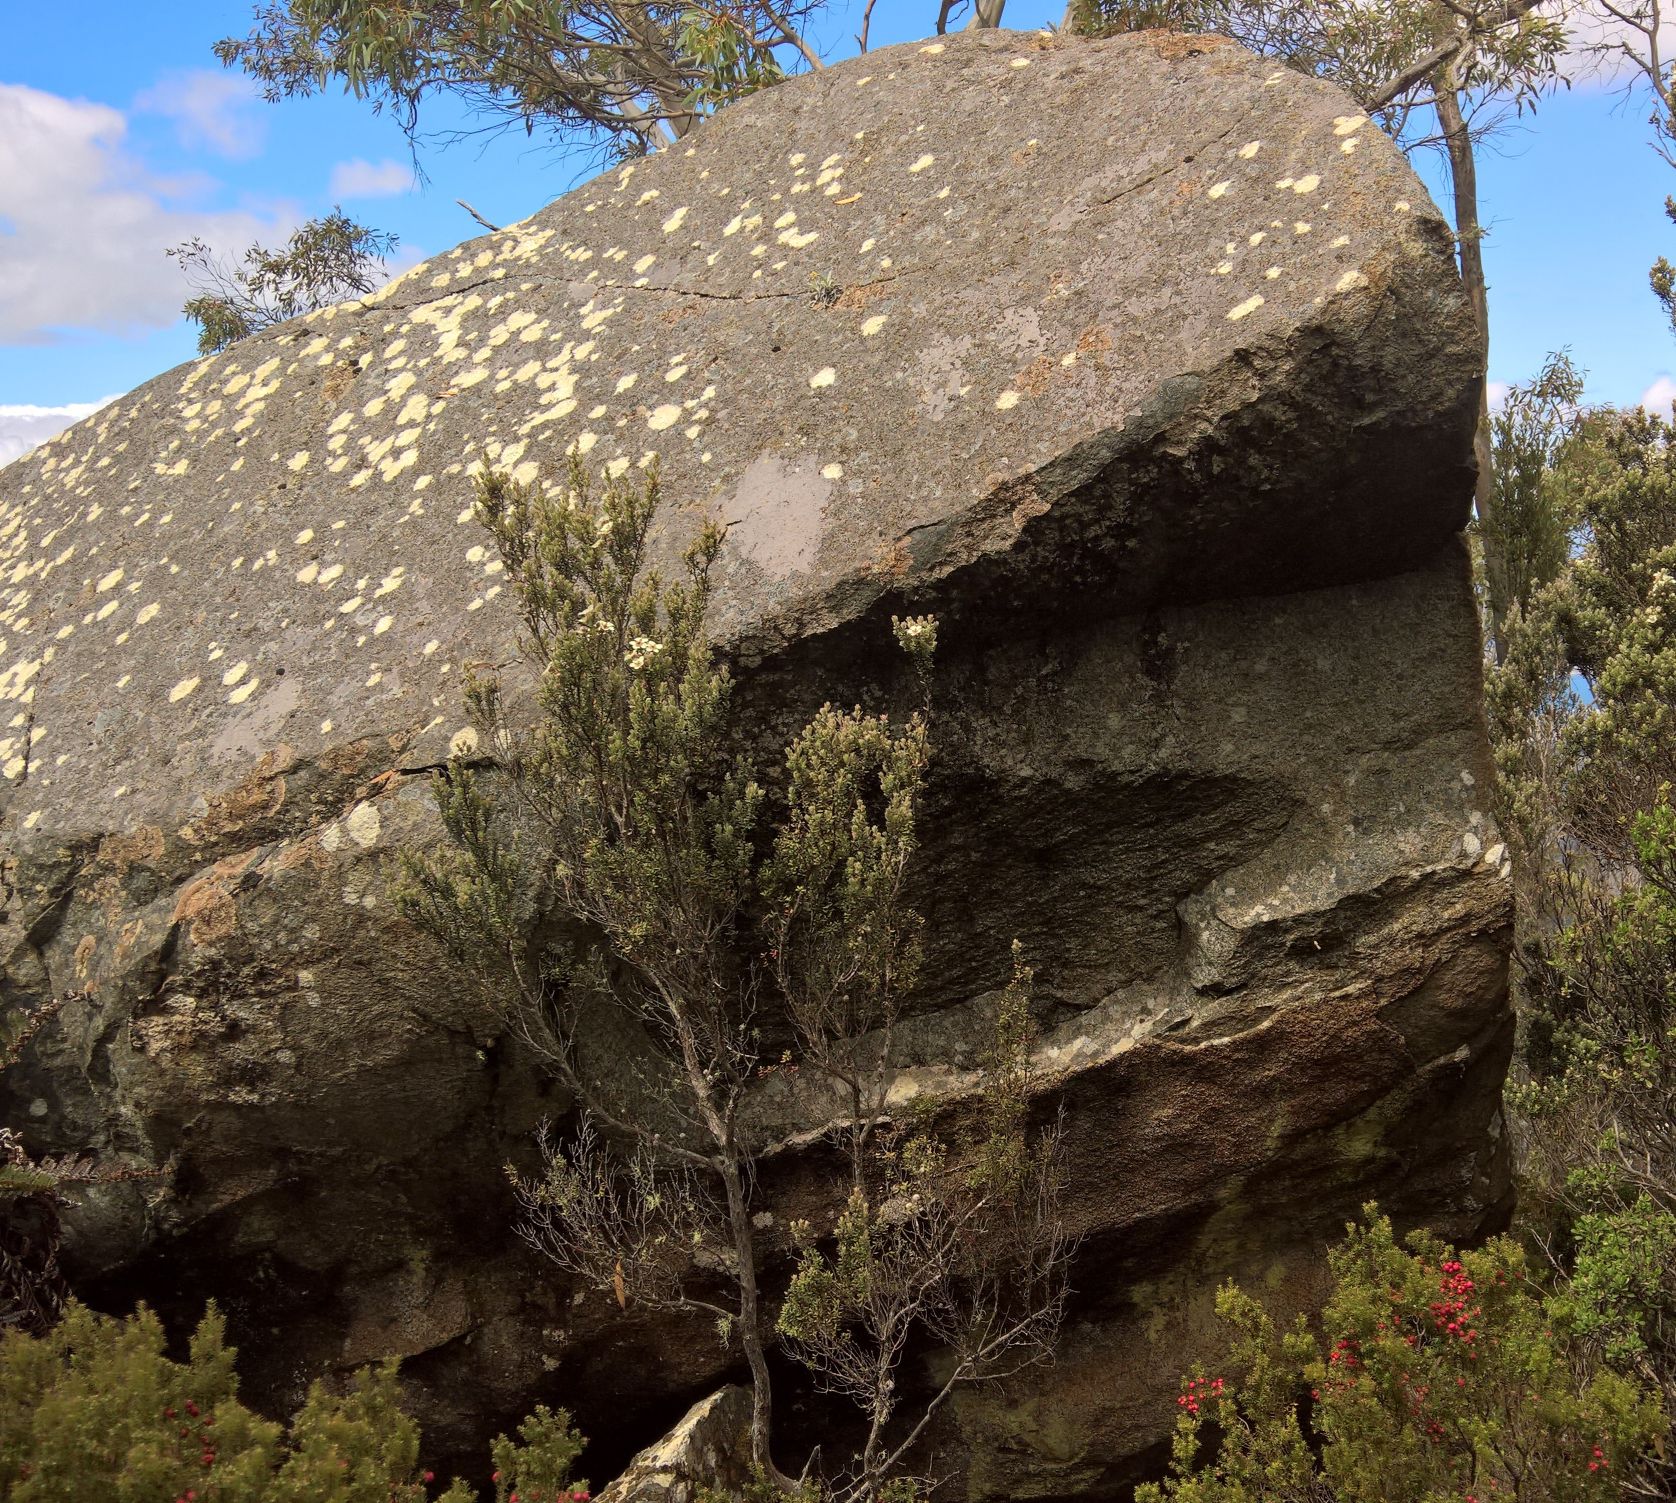
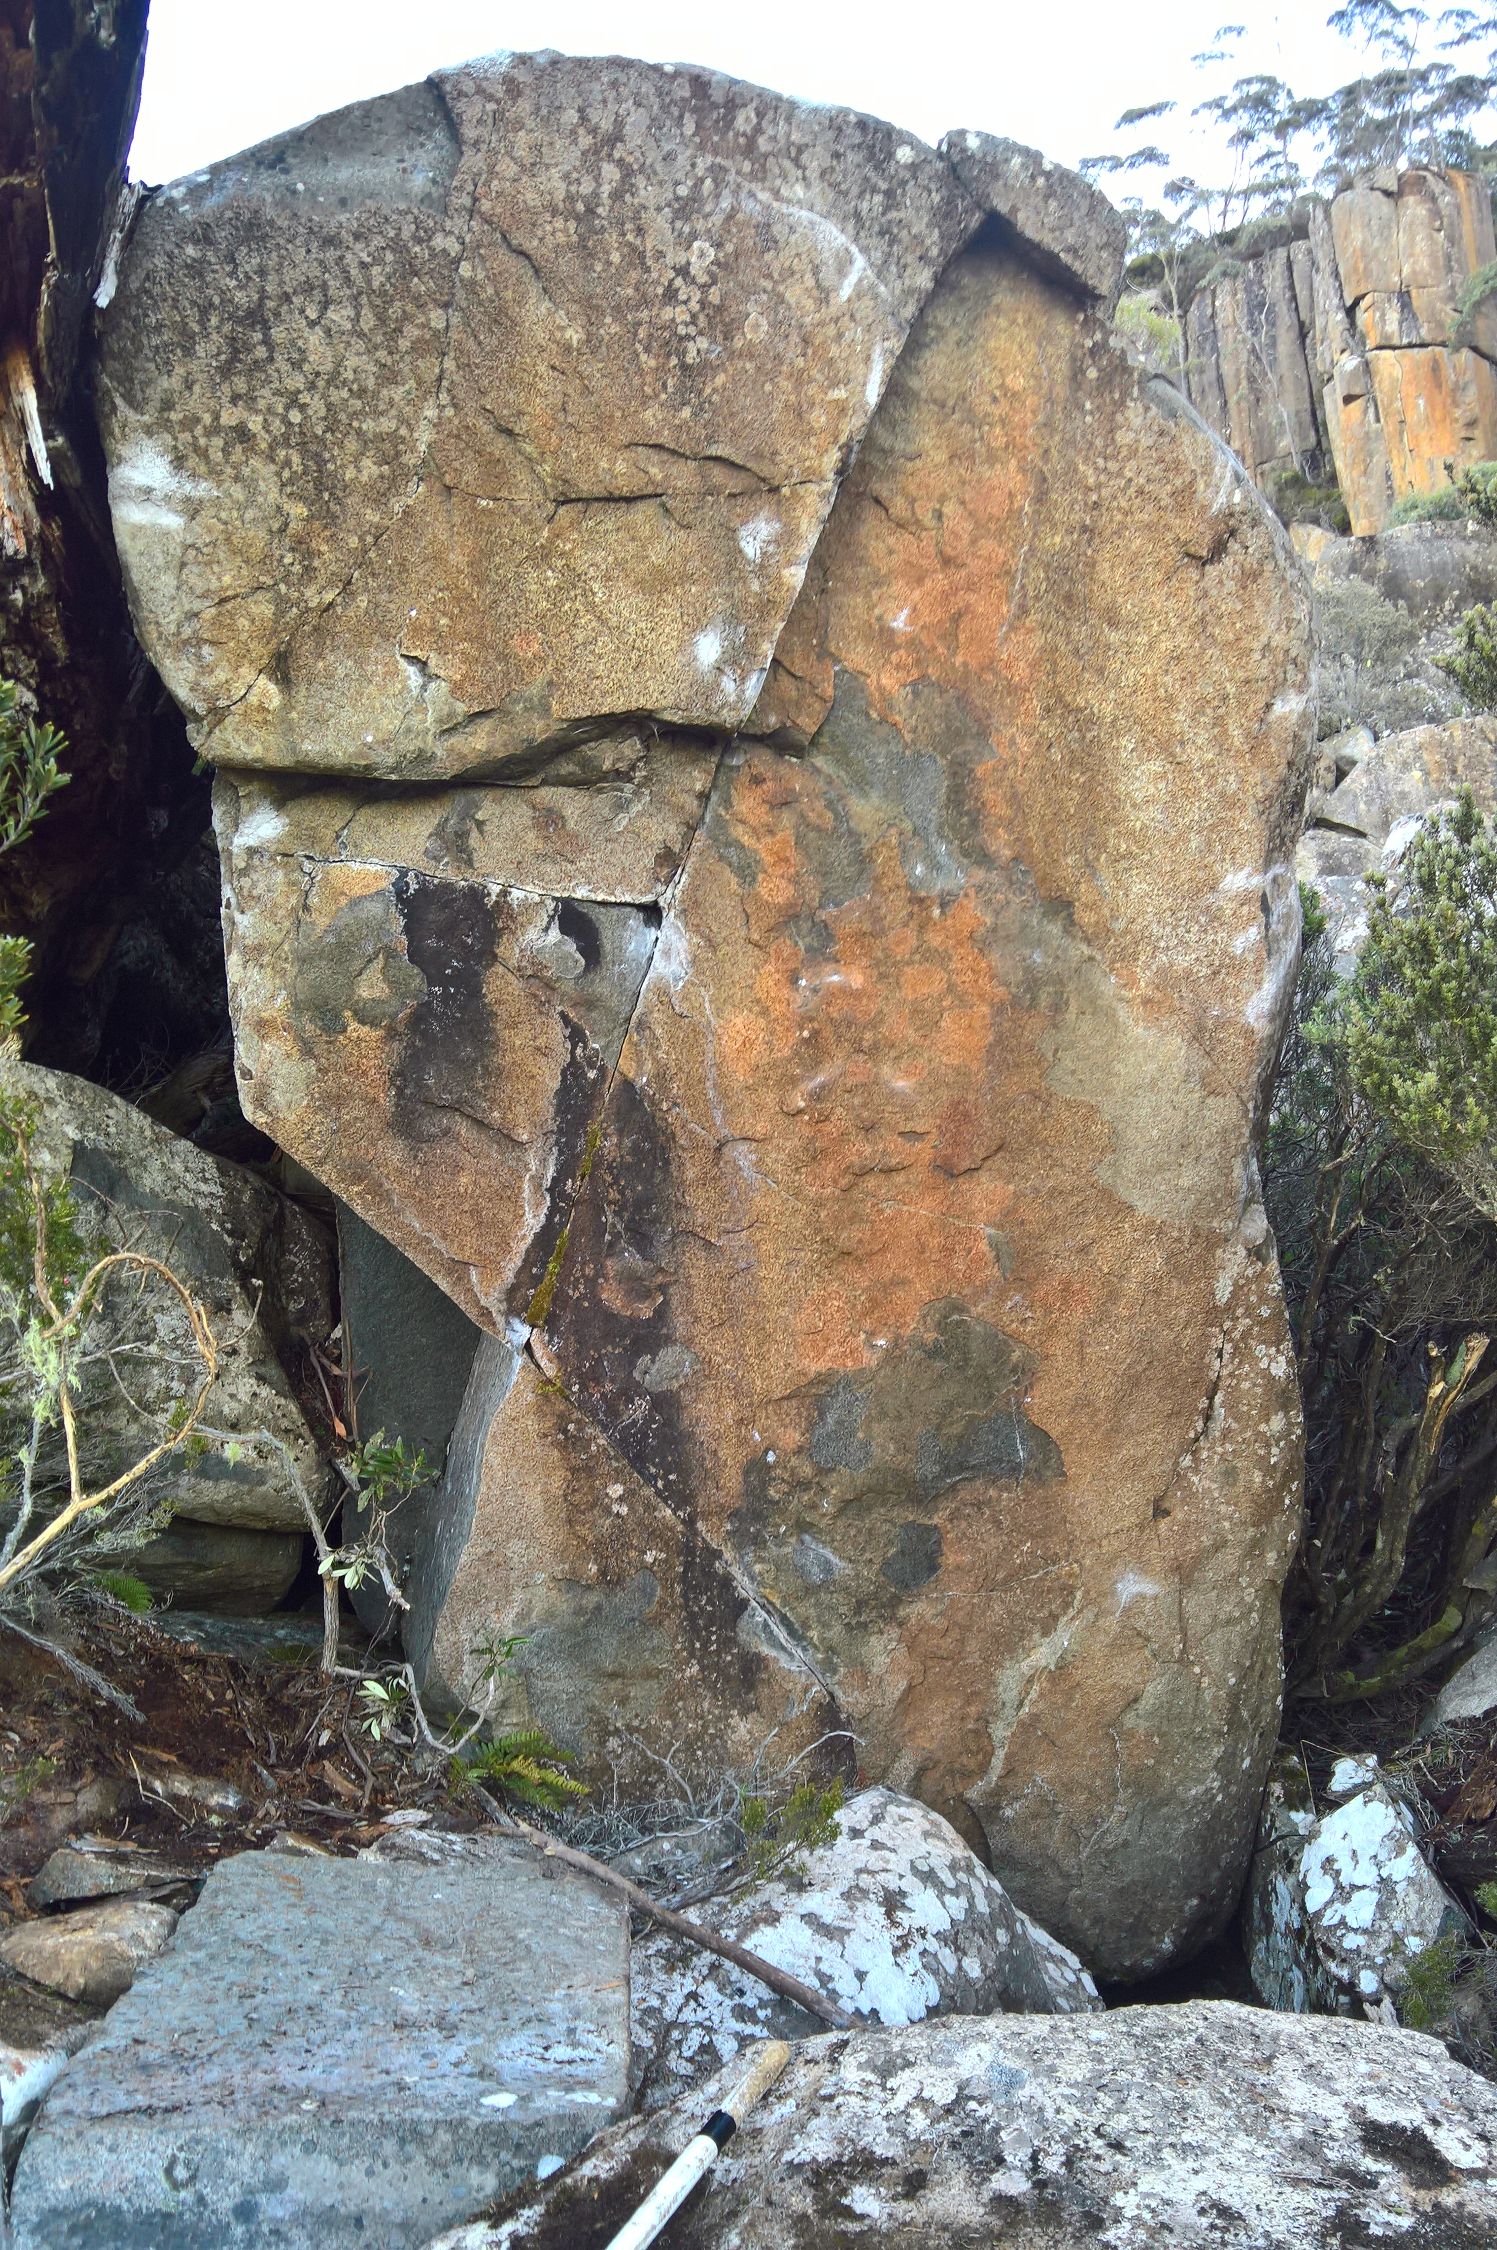
Quality from start to finish.
Start spanning the arête and the sharp rooflet where the block has fallen out.
Start pinching the bottom of the vertical rail and under the overlap.
Main Amphitheatre
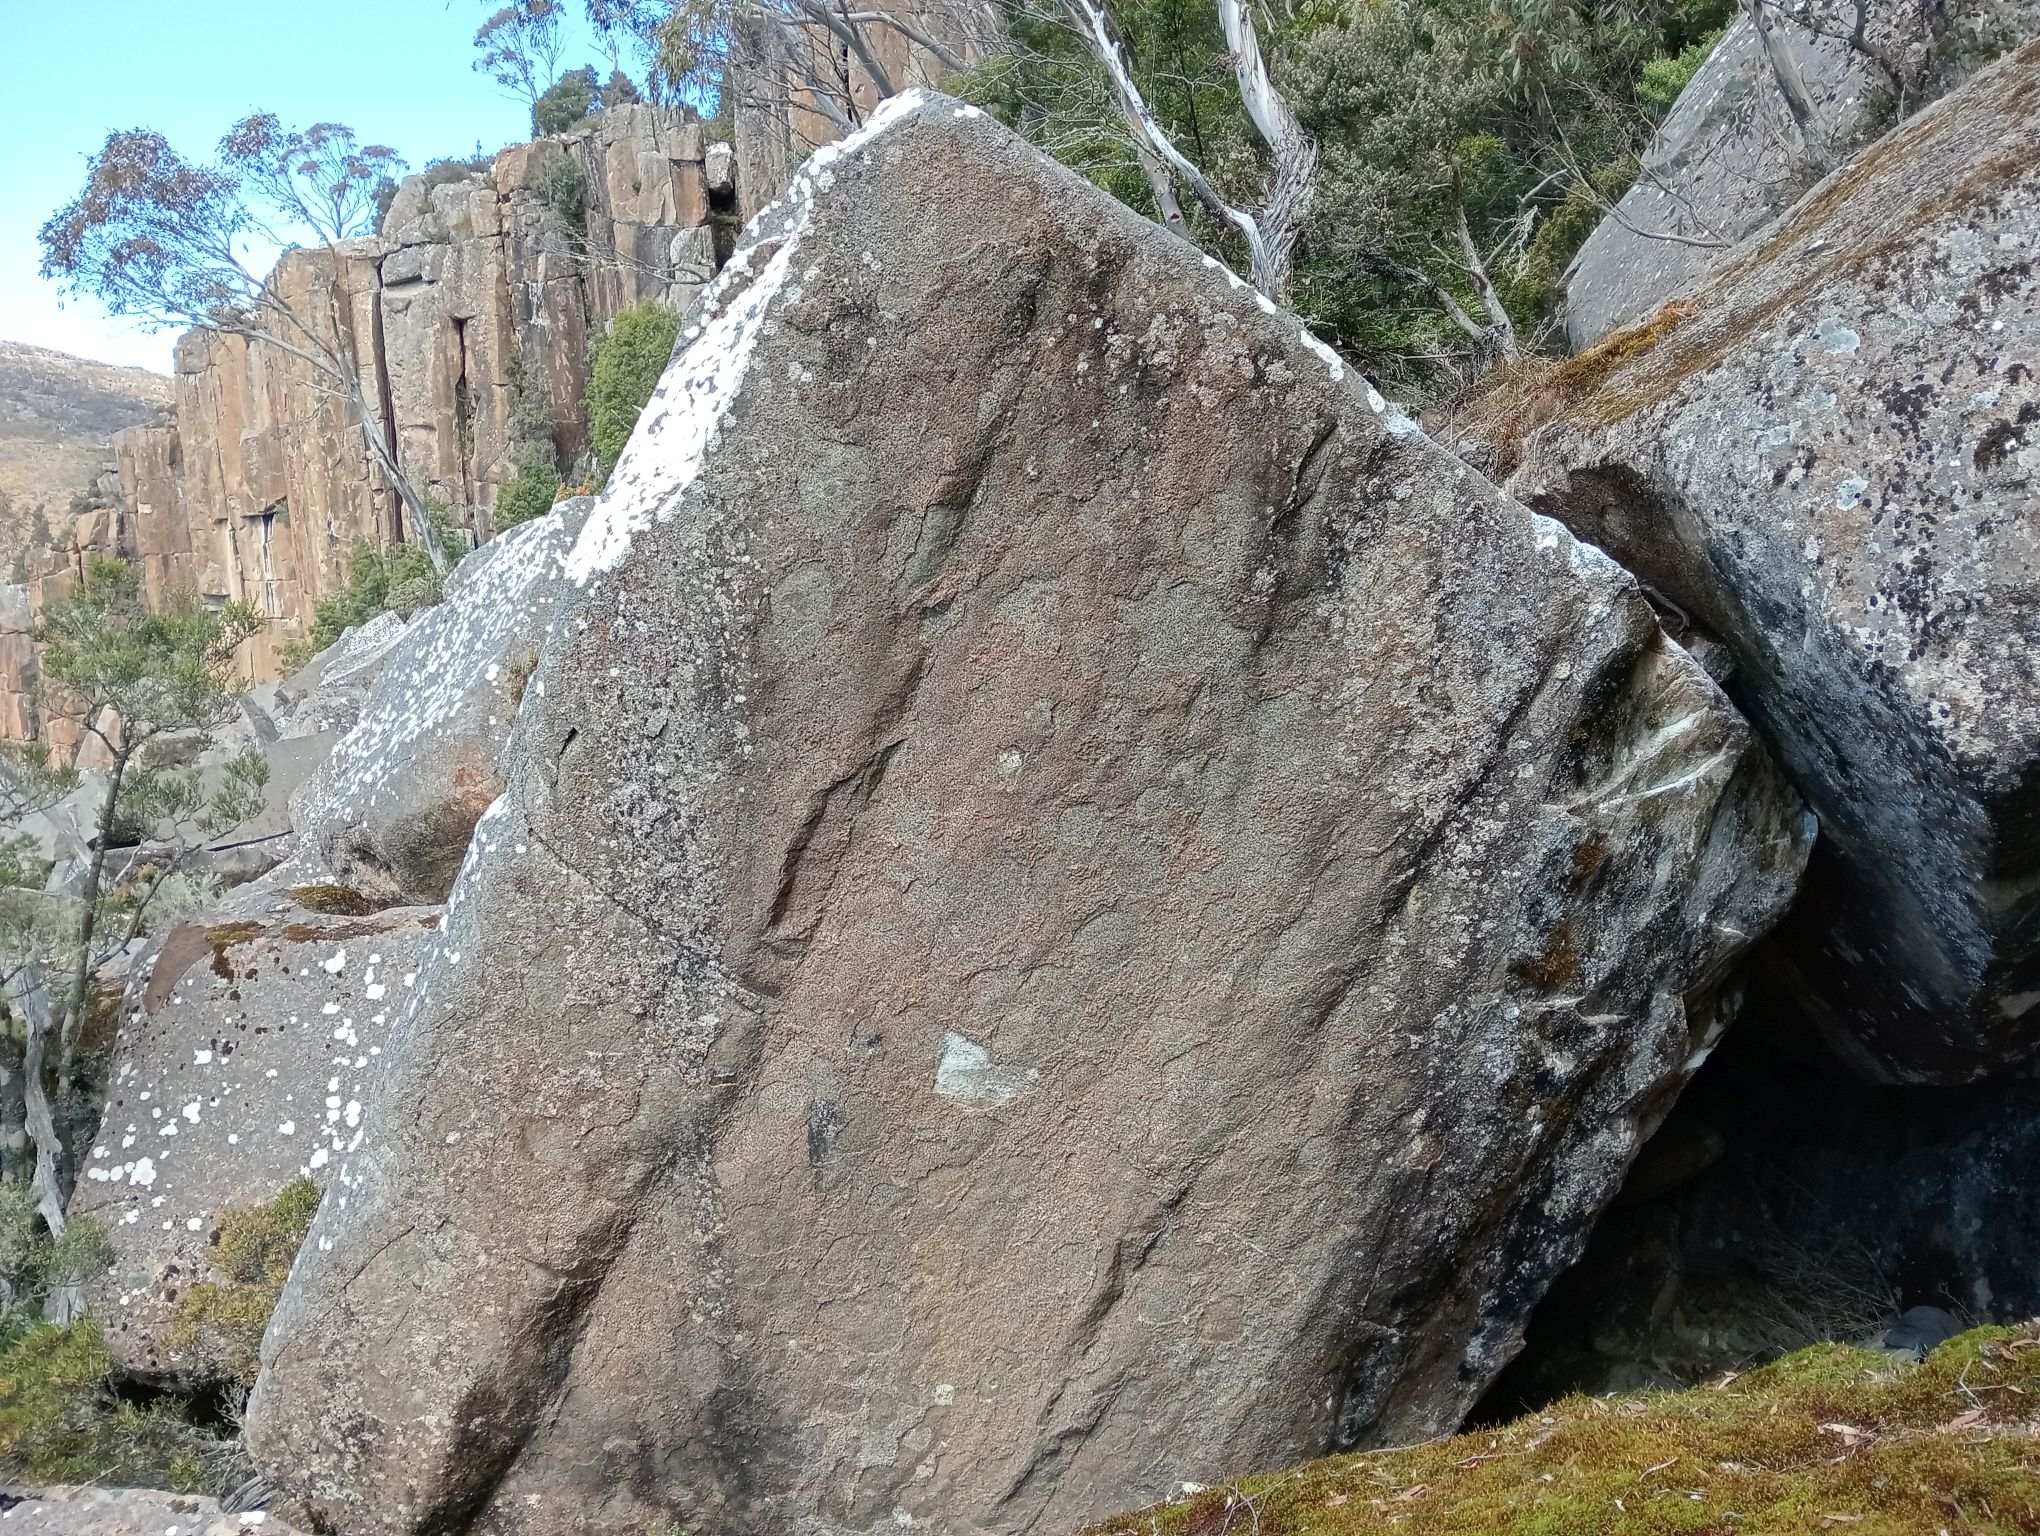
At the first track marker in the amphitheatre head uphill.
Start on the finger rail.
To the right of the path just after the balanced log is a steep face with a crack up it facing away from the track. Sit start compressing left arête and crack.
The next two problems are on the obvious triangular boulder with a mediocre landing on the right before Central Boulder.
Run up slab then swing right and mantel tip of the spike.
Start on hand jams with high heel then bust right and up arête to mantel the highest point.
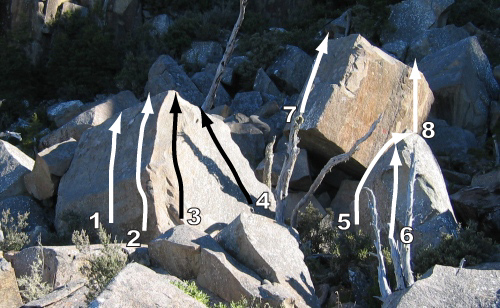
This group of boulders is in the centre of the boulder field, below Lost Wanderer.
Project - slab without arête.
Sitstart left of arête.
Nice easy slab.
Nice easy slab.
Start on left of boulder, hand traverse rightwards.
Project - straight up middle of face.
Juggy slab above ankle breaking landing.
Thin face on front of Central Boulder.
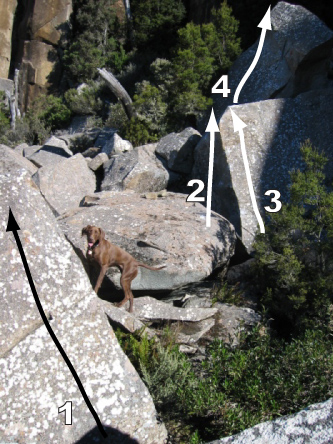
This group of boulders is straight up the hill from Central Boulder.
Nice slabby arête.
Hidden face and arête. Sit start is a project.
Slab just right of Whiskey Arête, a bit contrived.
Slab above Whiskey Arête.
This group of problems is in a large hole to the east of Central Boulder.
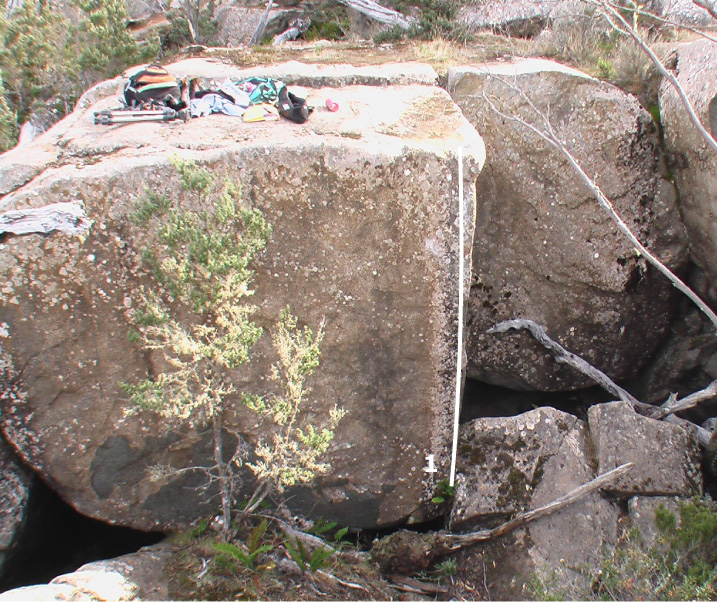
Straight up the arête. Try not to focus on the holes below.
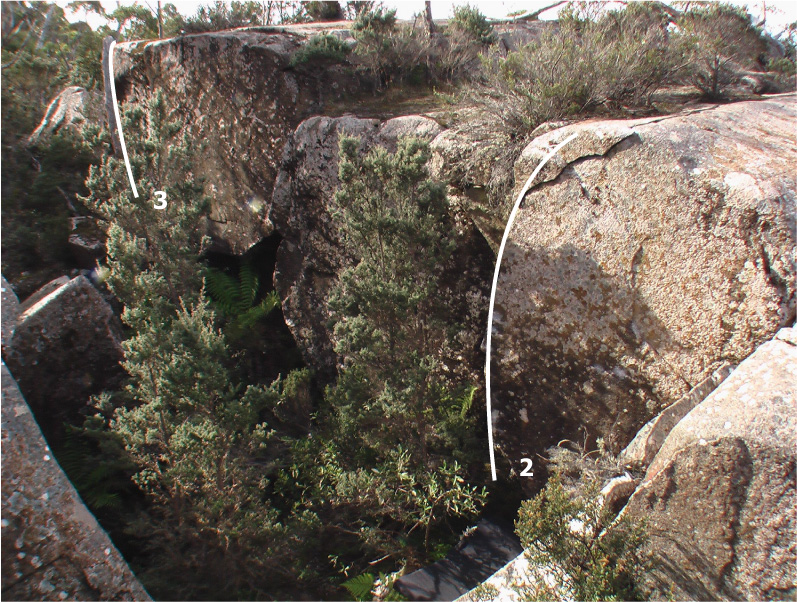
Up the arête. Variations include various wall holds and sit start.
Pull on to arête and climb.
The Lost Block
From the big bend walk west up the stream for about 30m and then head north straight up the hill to just below the ridge crest where you should find a very nice looking overhanging block with two striking arêtes.
About 50m left of the Lost Block itself is a group of broken up boulders.
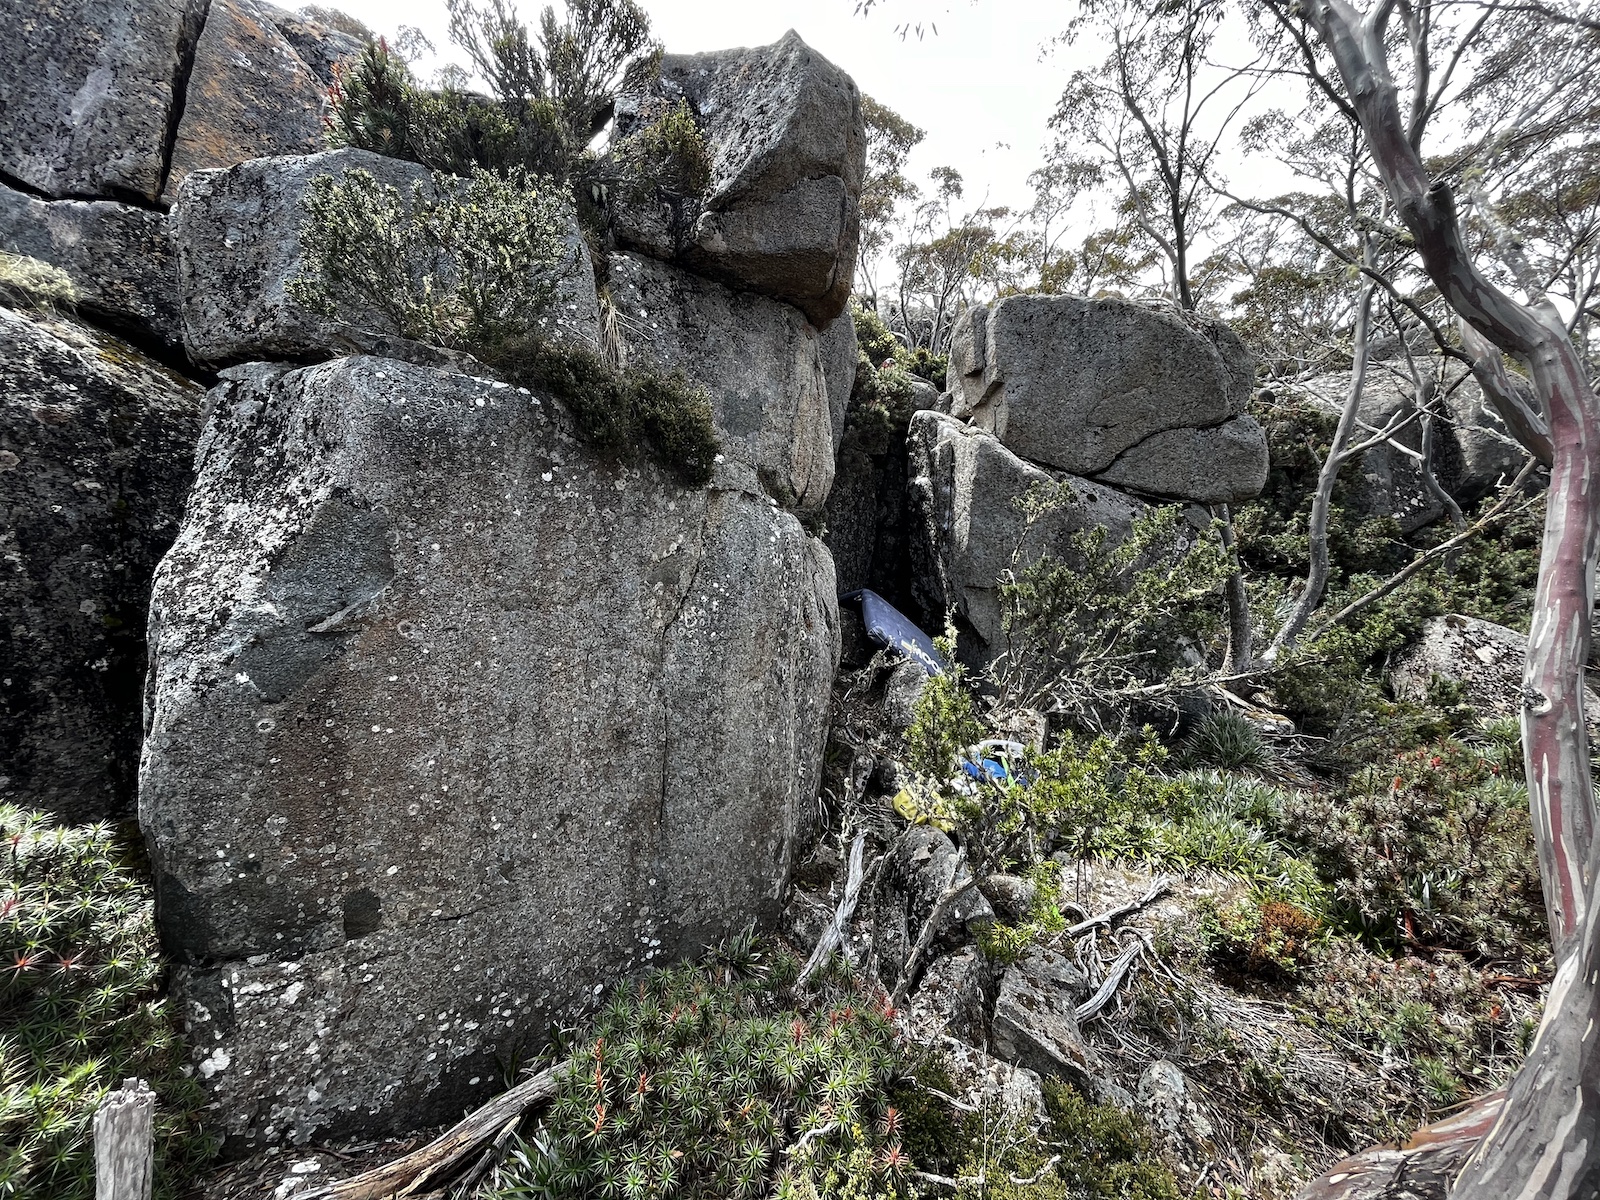
Left side of steep face, try to avoid pulling the flake off in your face.
The arête of the steep face, using sidepulls on either side of the arête.
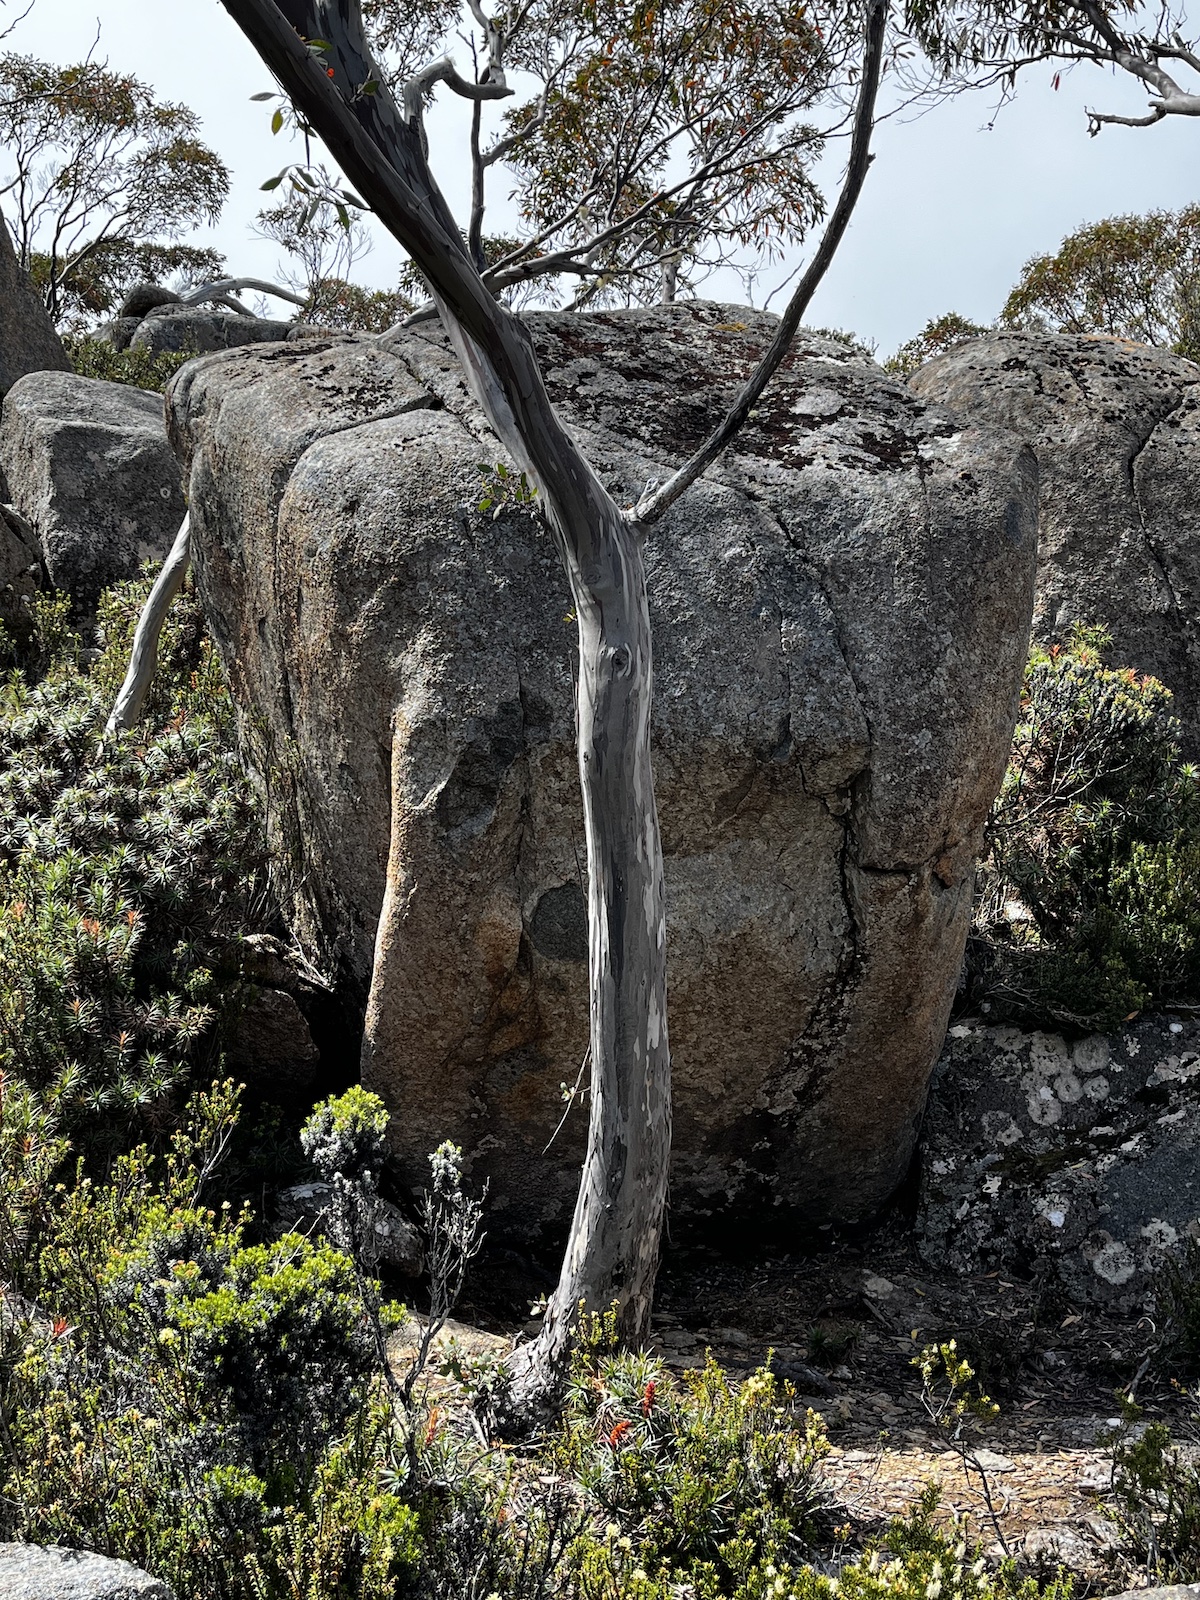
The left hand arête.
The right hand arête. Standing start is V3.
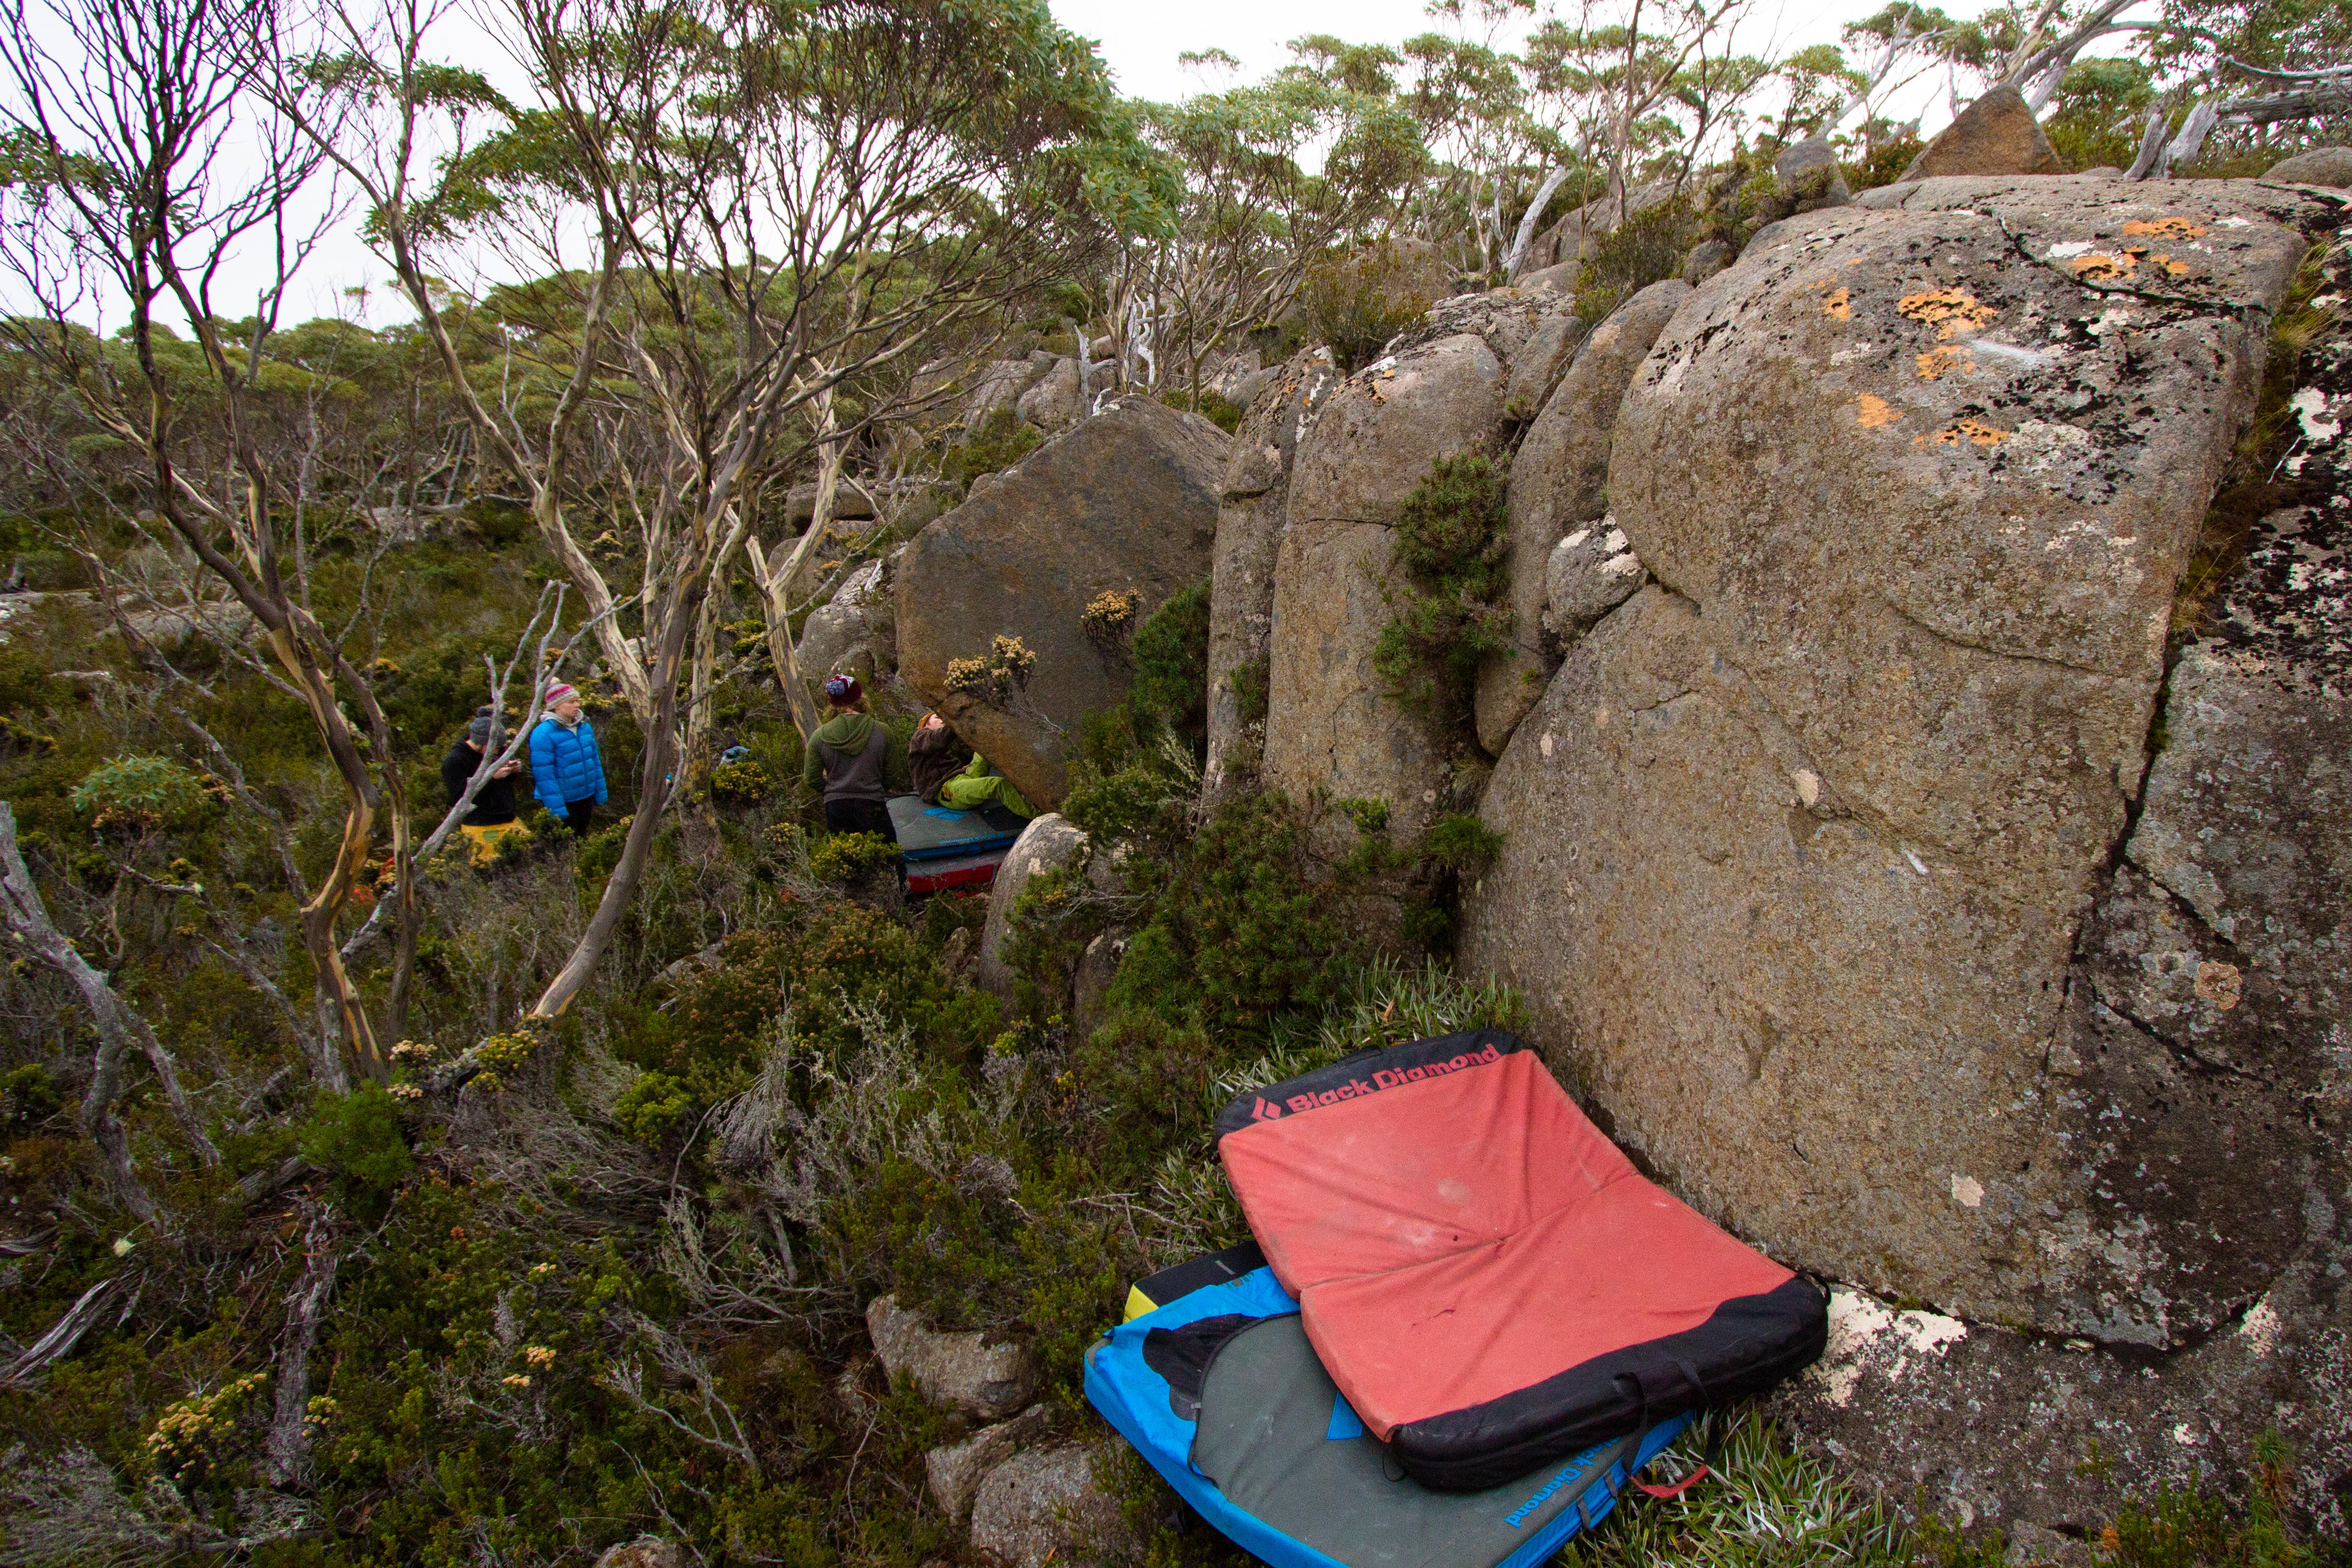
Up the middle of the slab 5m right of the lost block.
The next few problems are ~10m to the right of Slap Happy.
Start on the right of Slap Happy, traverse left topping on arête.
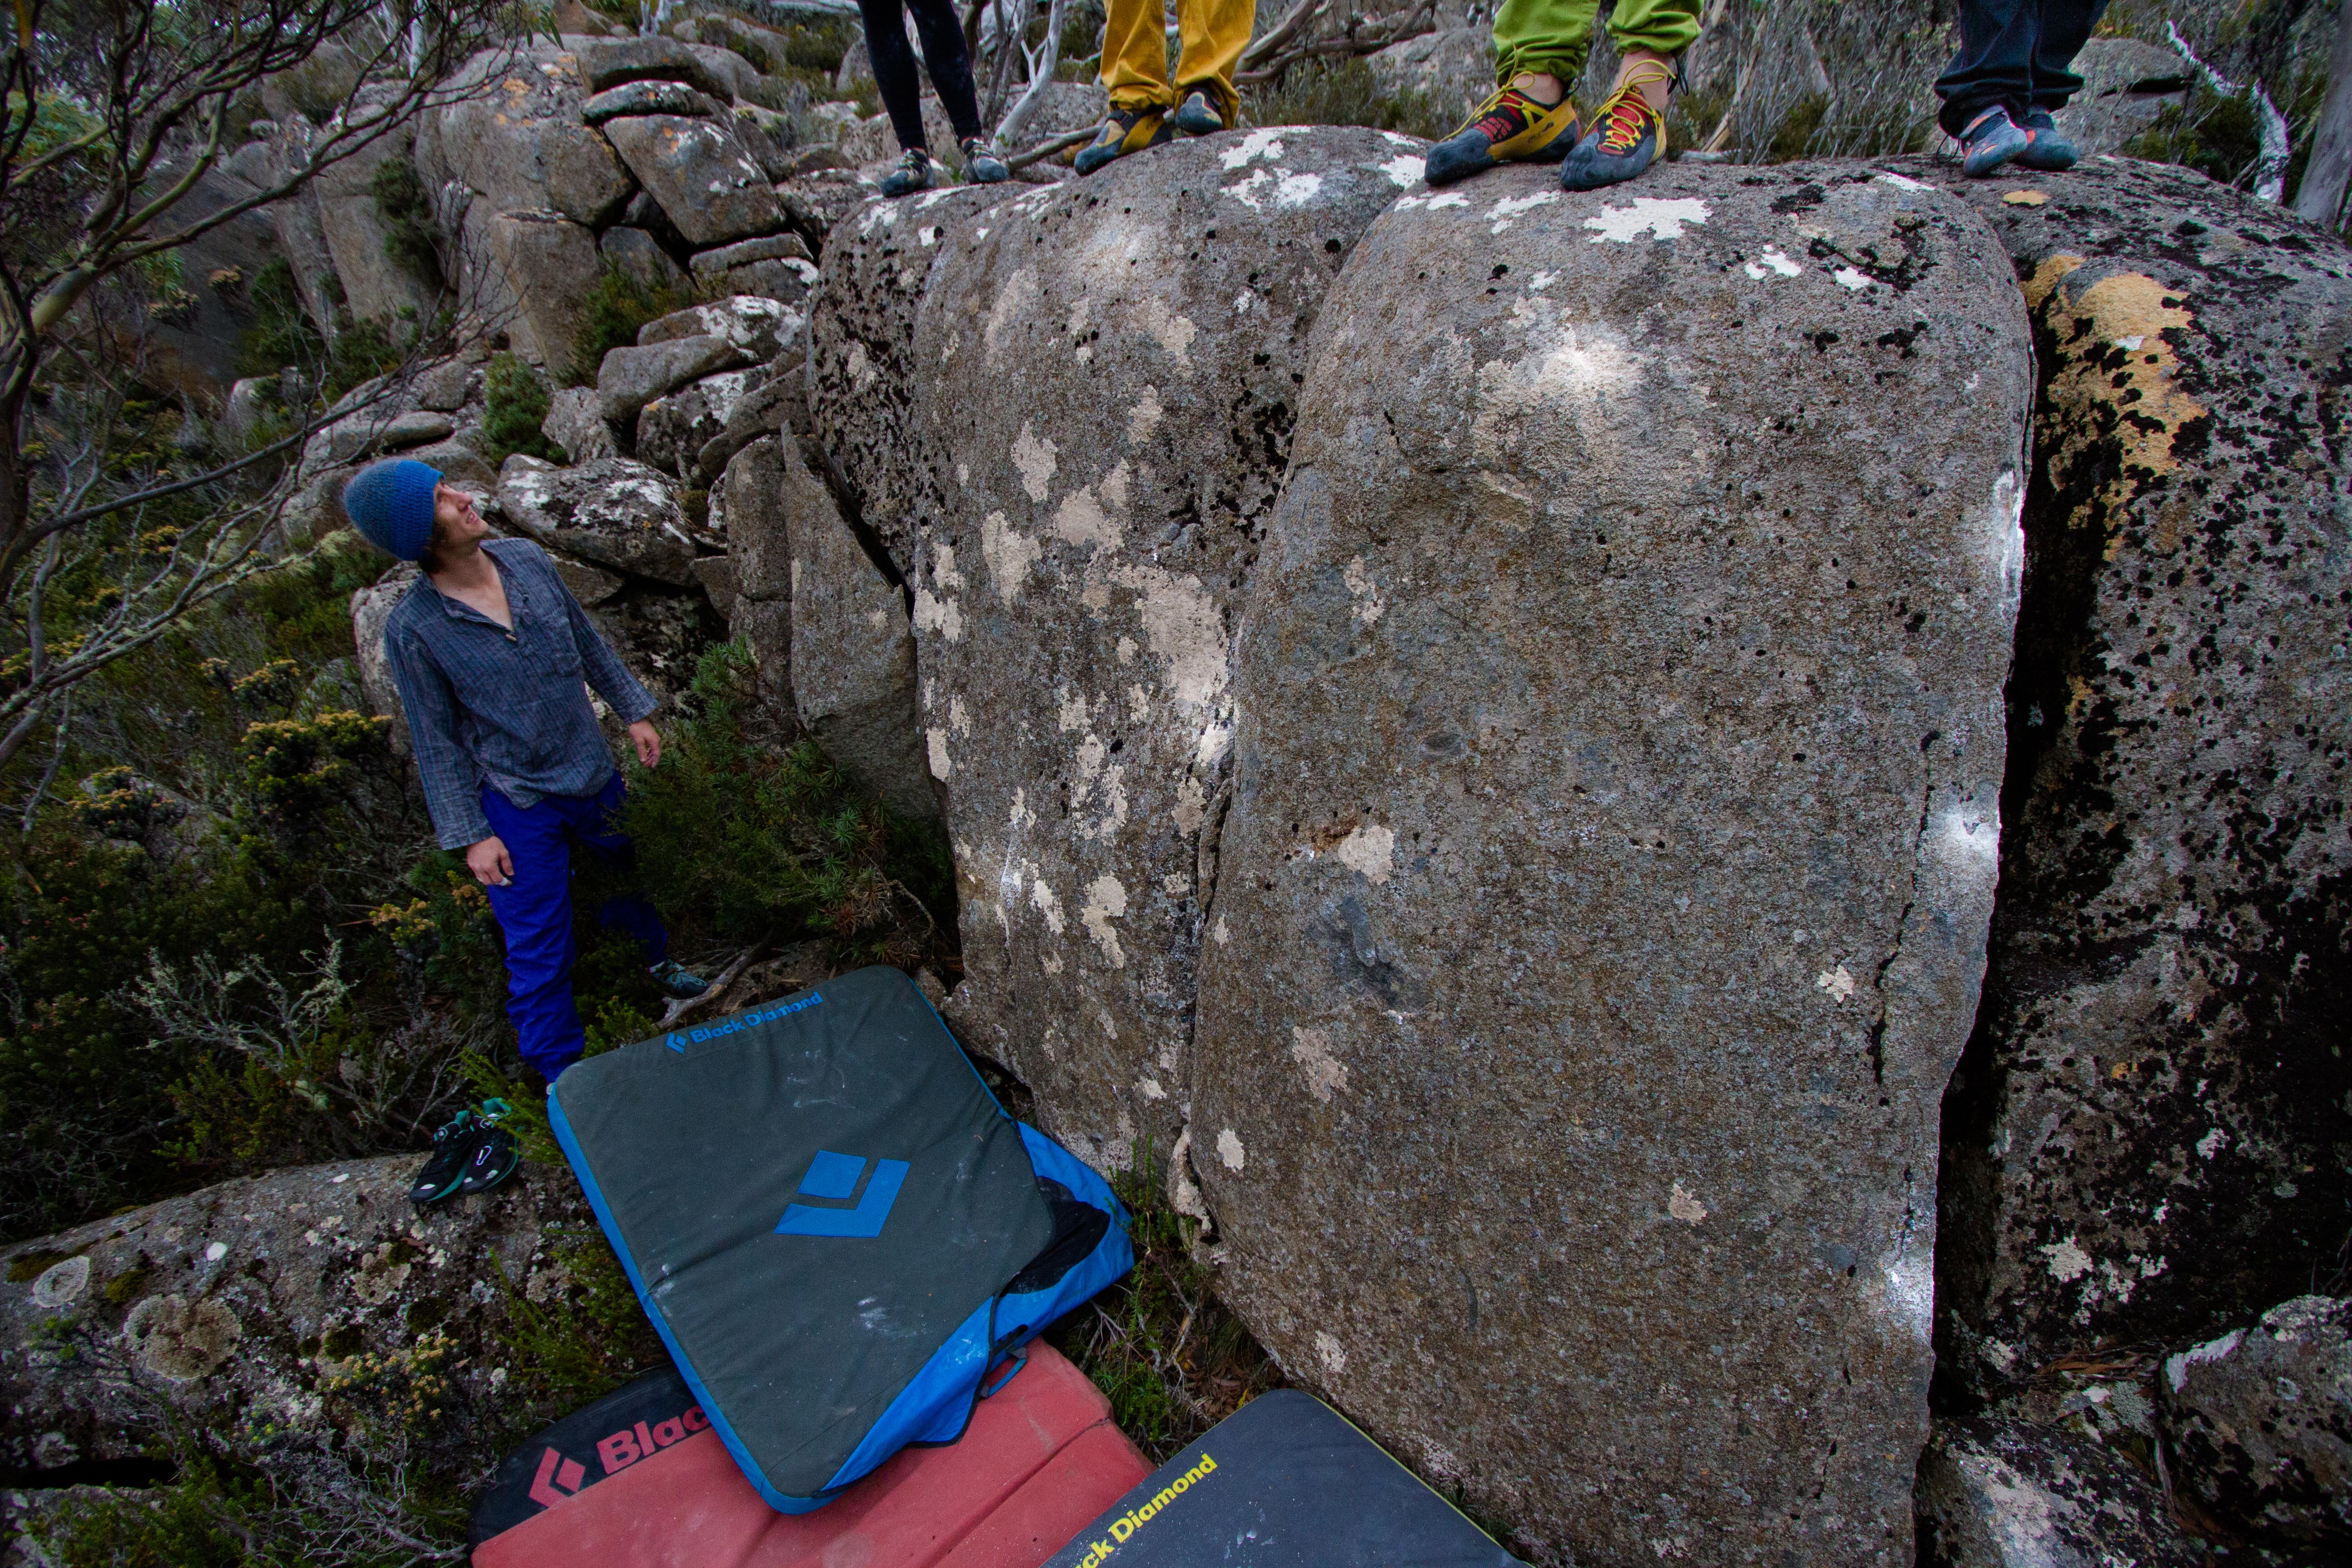
Sit start with RH in crack and good LH. Head up using crack and slopes.
T. Krauss 2017
Crack.
SDS arête (#4) and while still low, head left and up crack.
T. Krauss 2017
Arête.
T. Krauss 2017
Northern Mt Arthur - Sunny Side
The Sunny Side area is an extensive area of scree/outcrop/boulder fields. The area is a 10-15min walk from the big bend car park. It has a picturesque, sunny, Northern outlook.
Access: Head along the 4wd track towards the Western Front from the car park. After 100m there is a series of small boulders, beside the track on the right (Northern side). Turn onto a difficult to see track at the biggest of these boulders. Follow this track up and over Mt Arthur. This will take you over the saddle below the top of Mt Arthur. Continue downhill until the track steepens at the top of the descent track (overseers.decisive.liaise). Follow the track down to the small plateau (imagining.irregular.minutes).
The boulders at the plateau are easiest to find (i.e. right beside the structure), until landmarks become clear and the problems developed further it is probably best to use any GPS points/What3words references for navigation, alternatively wander around and have a look.
Above the Plateau
This area ranges East and West from the descent track for about 100m in each direction.
The various boulders can be most easily accessed from the top of the vague buttress lines.
Western Gully
The Western Gully area is around 80m West of the descent track. It is a fairly broad gully with scattered outcrops on the Western side with a higher concentration of boulders on the Eastern side.
At the top of the descent track follow the vague paths West until a small clump of head high boulders. At the boulders head down to the Eastern side.
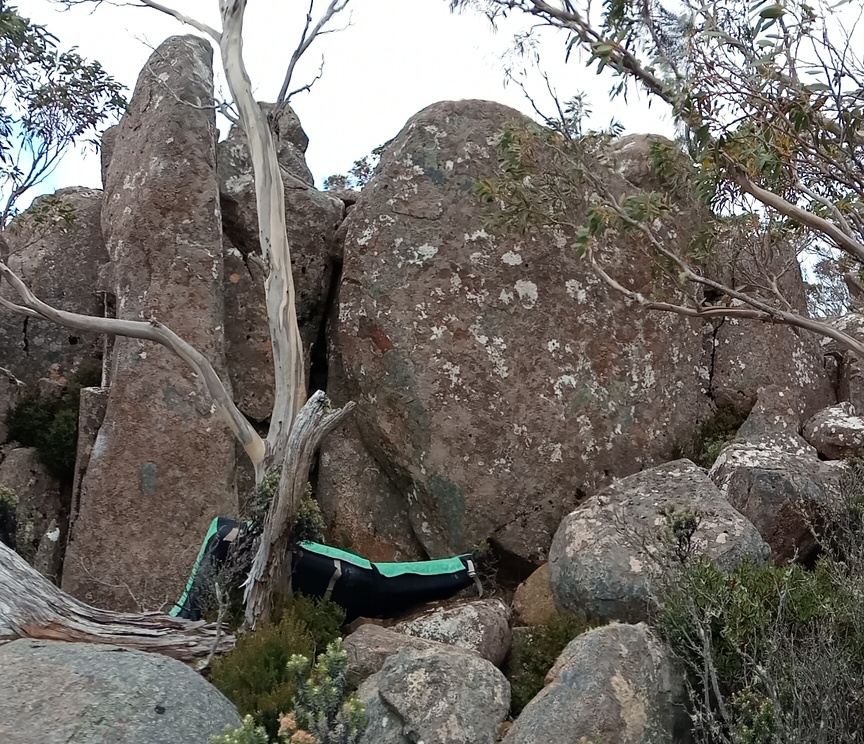
Start spanning the boulder.
Descent Track
At the top of the descent track are a group of boulders to the right.
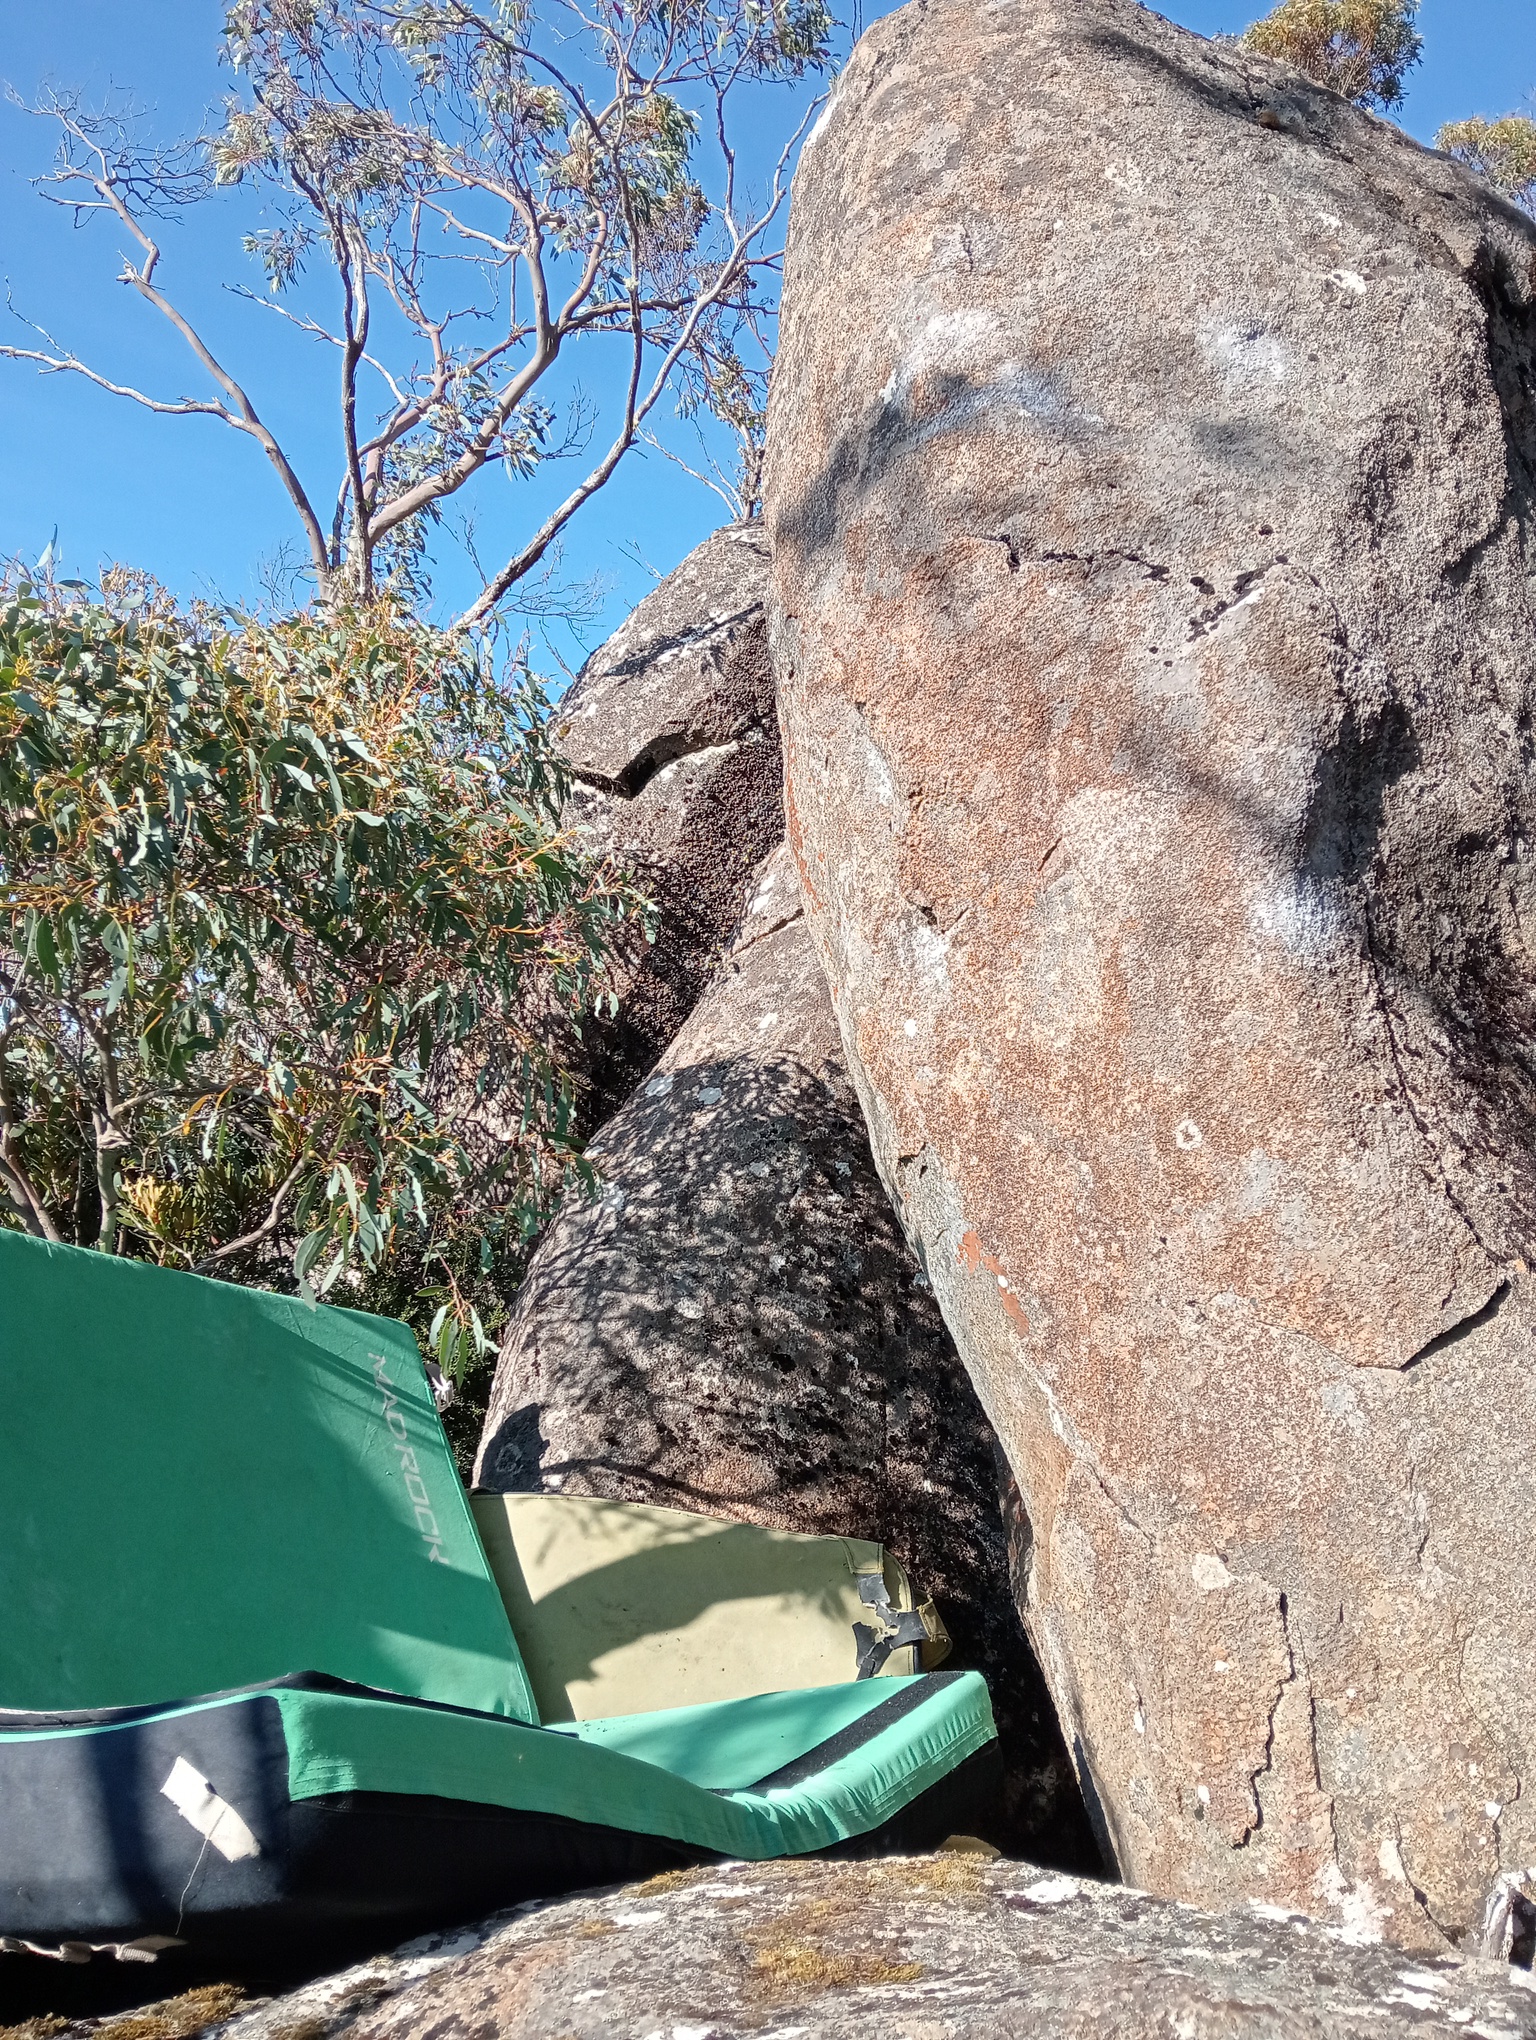
Start on the crimp and slopey sidepull.
2m left of Bridge Head.
Two metres further right is a tilted boulder.
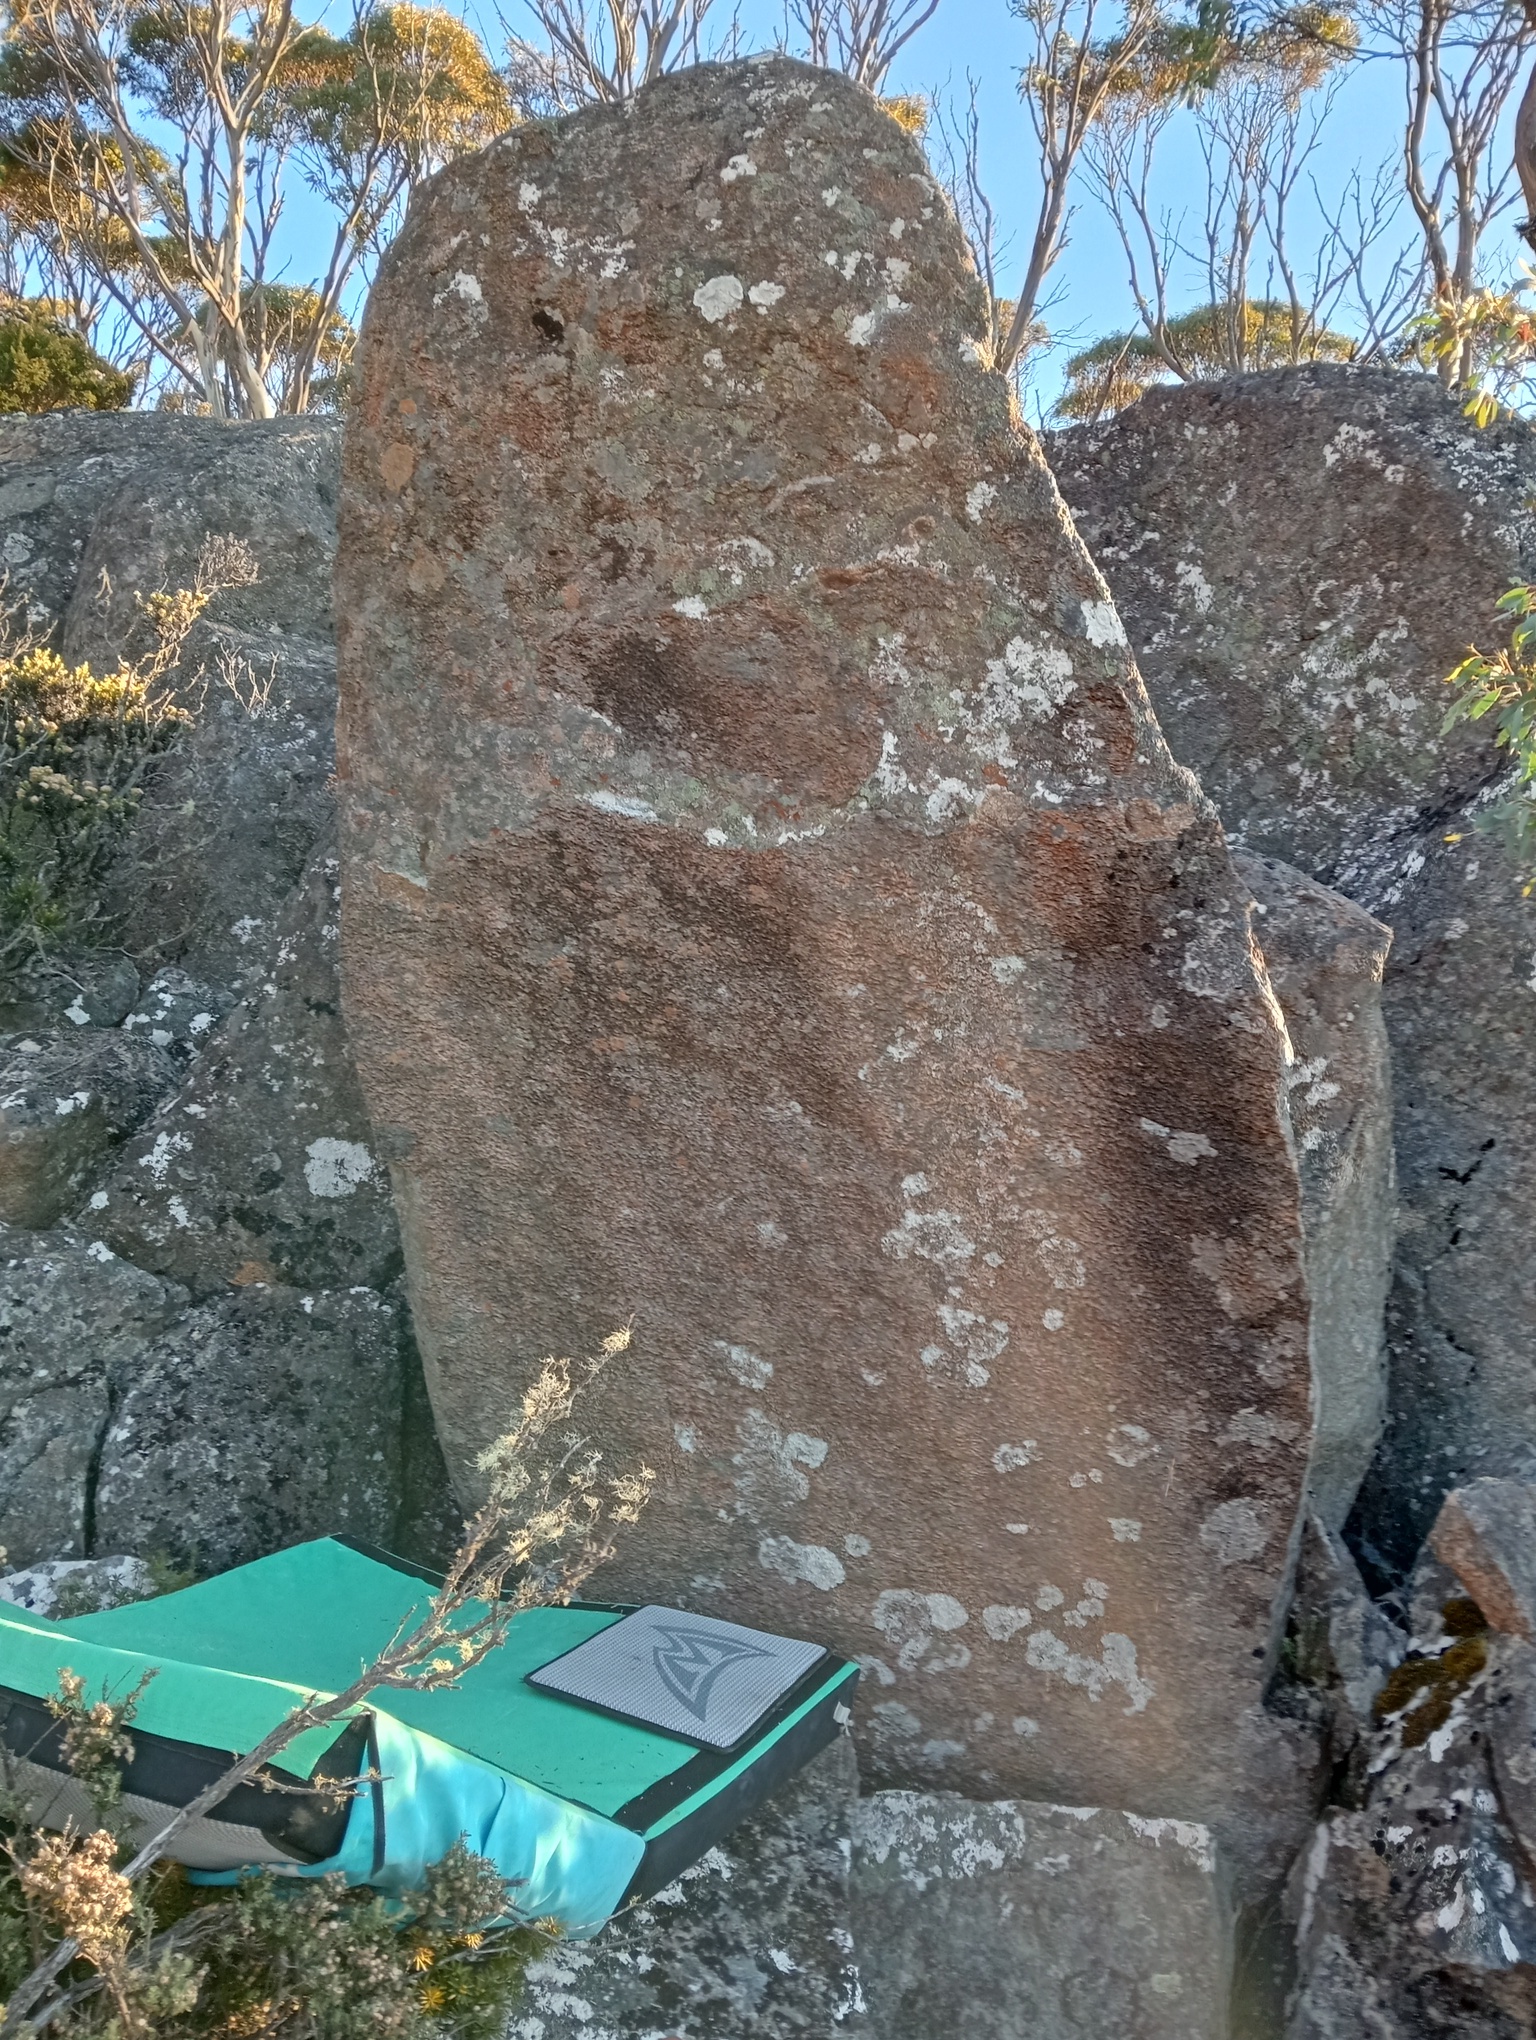
Climbs the LH arête.
Use the arête with low feet and bump off the mat to the RH crimp.
Disappointingly avoidable at the top.
Start yarding off the arête with a highfoot.
Near the Plateau
The structure sits on the plateau, below a range of slabs, faces and pinnacles.
About 20m from the structure is a wall that has exfoliated a deal of flakes and looks mostly grey.
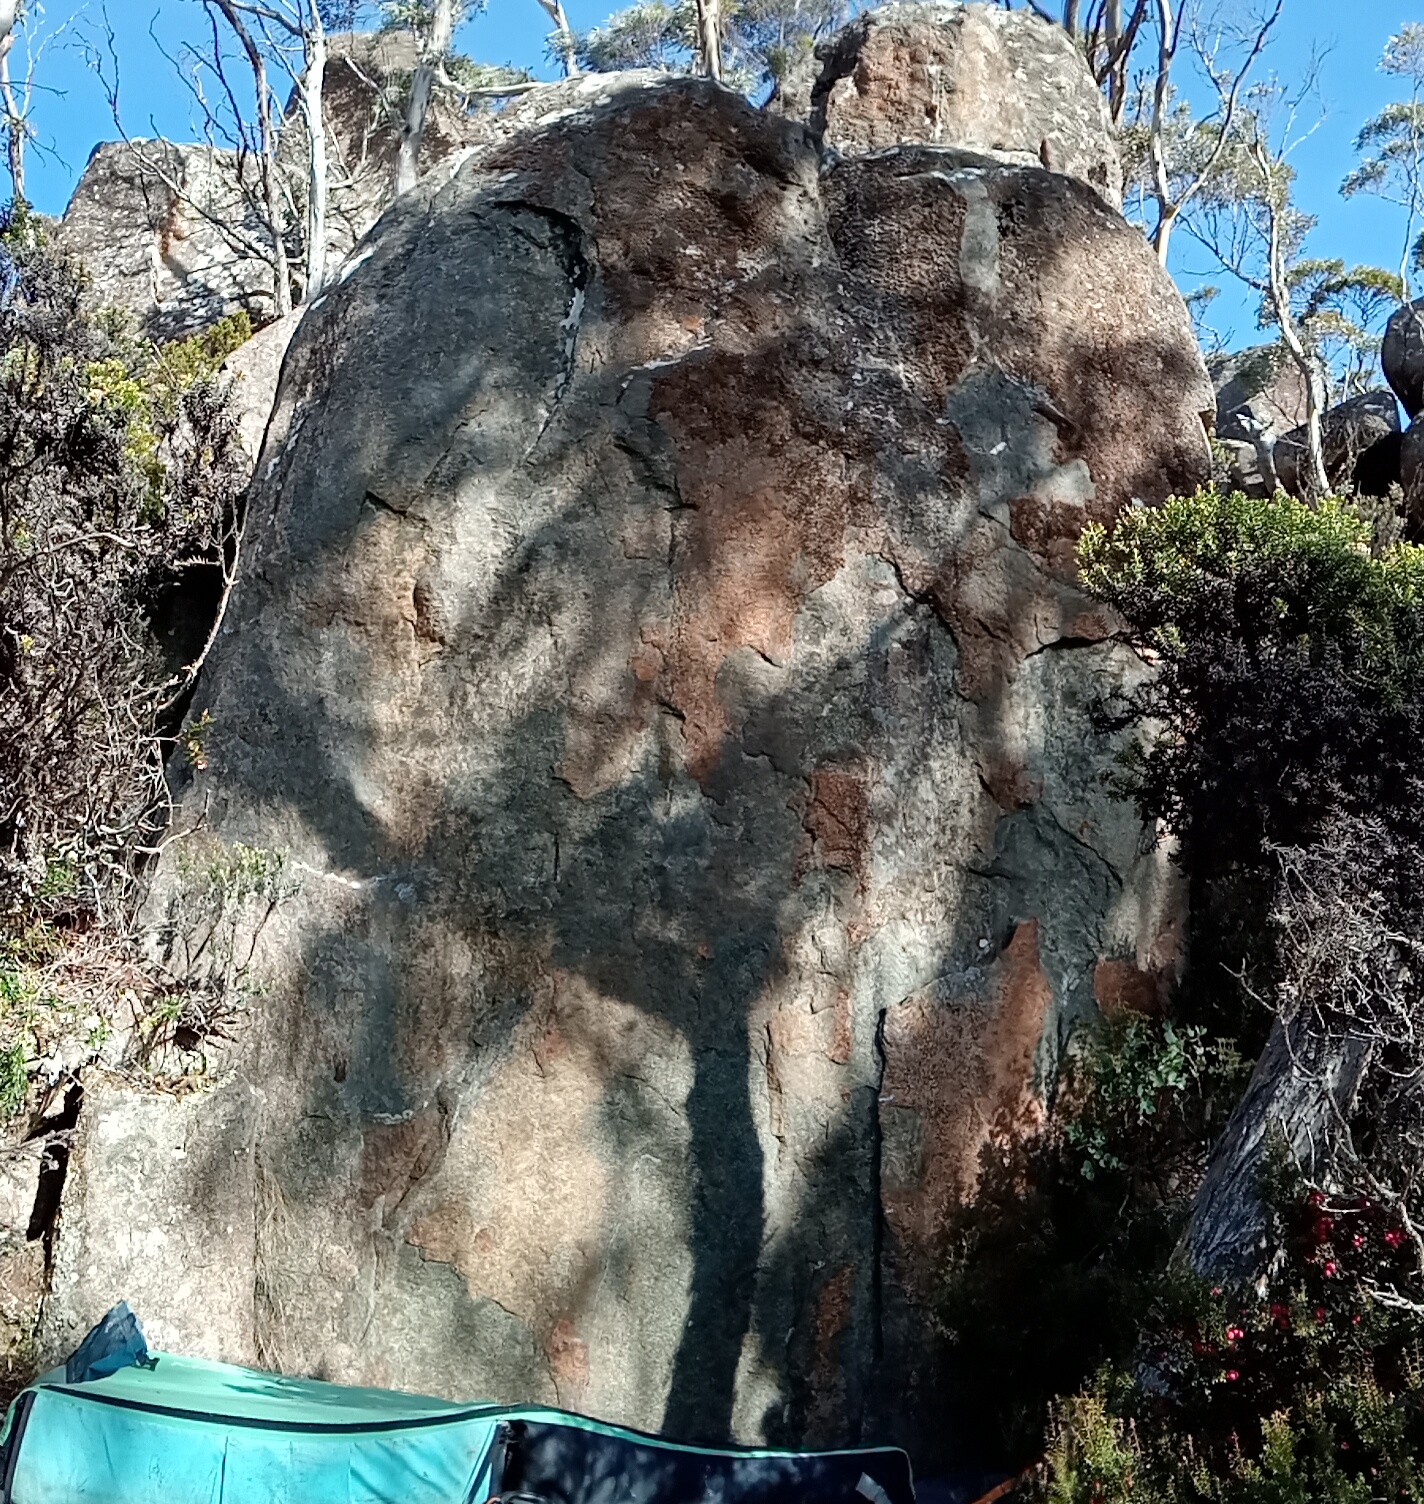
Superb in a great setting.
Start with the mantel and side pull.
Another great problem.
Start with the crimp and flake.
Near the structure is a group of boulders.
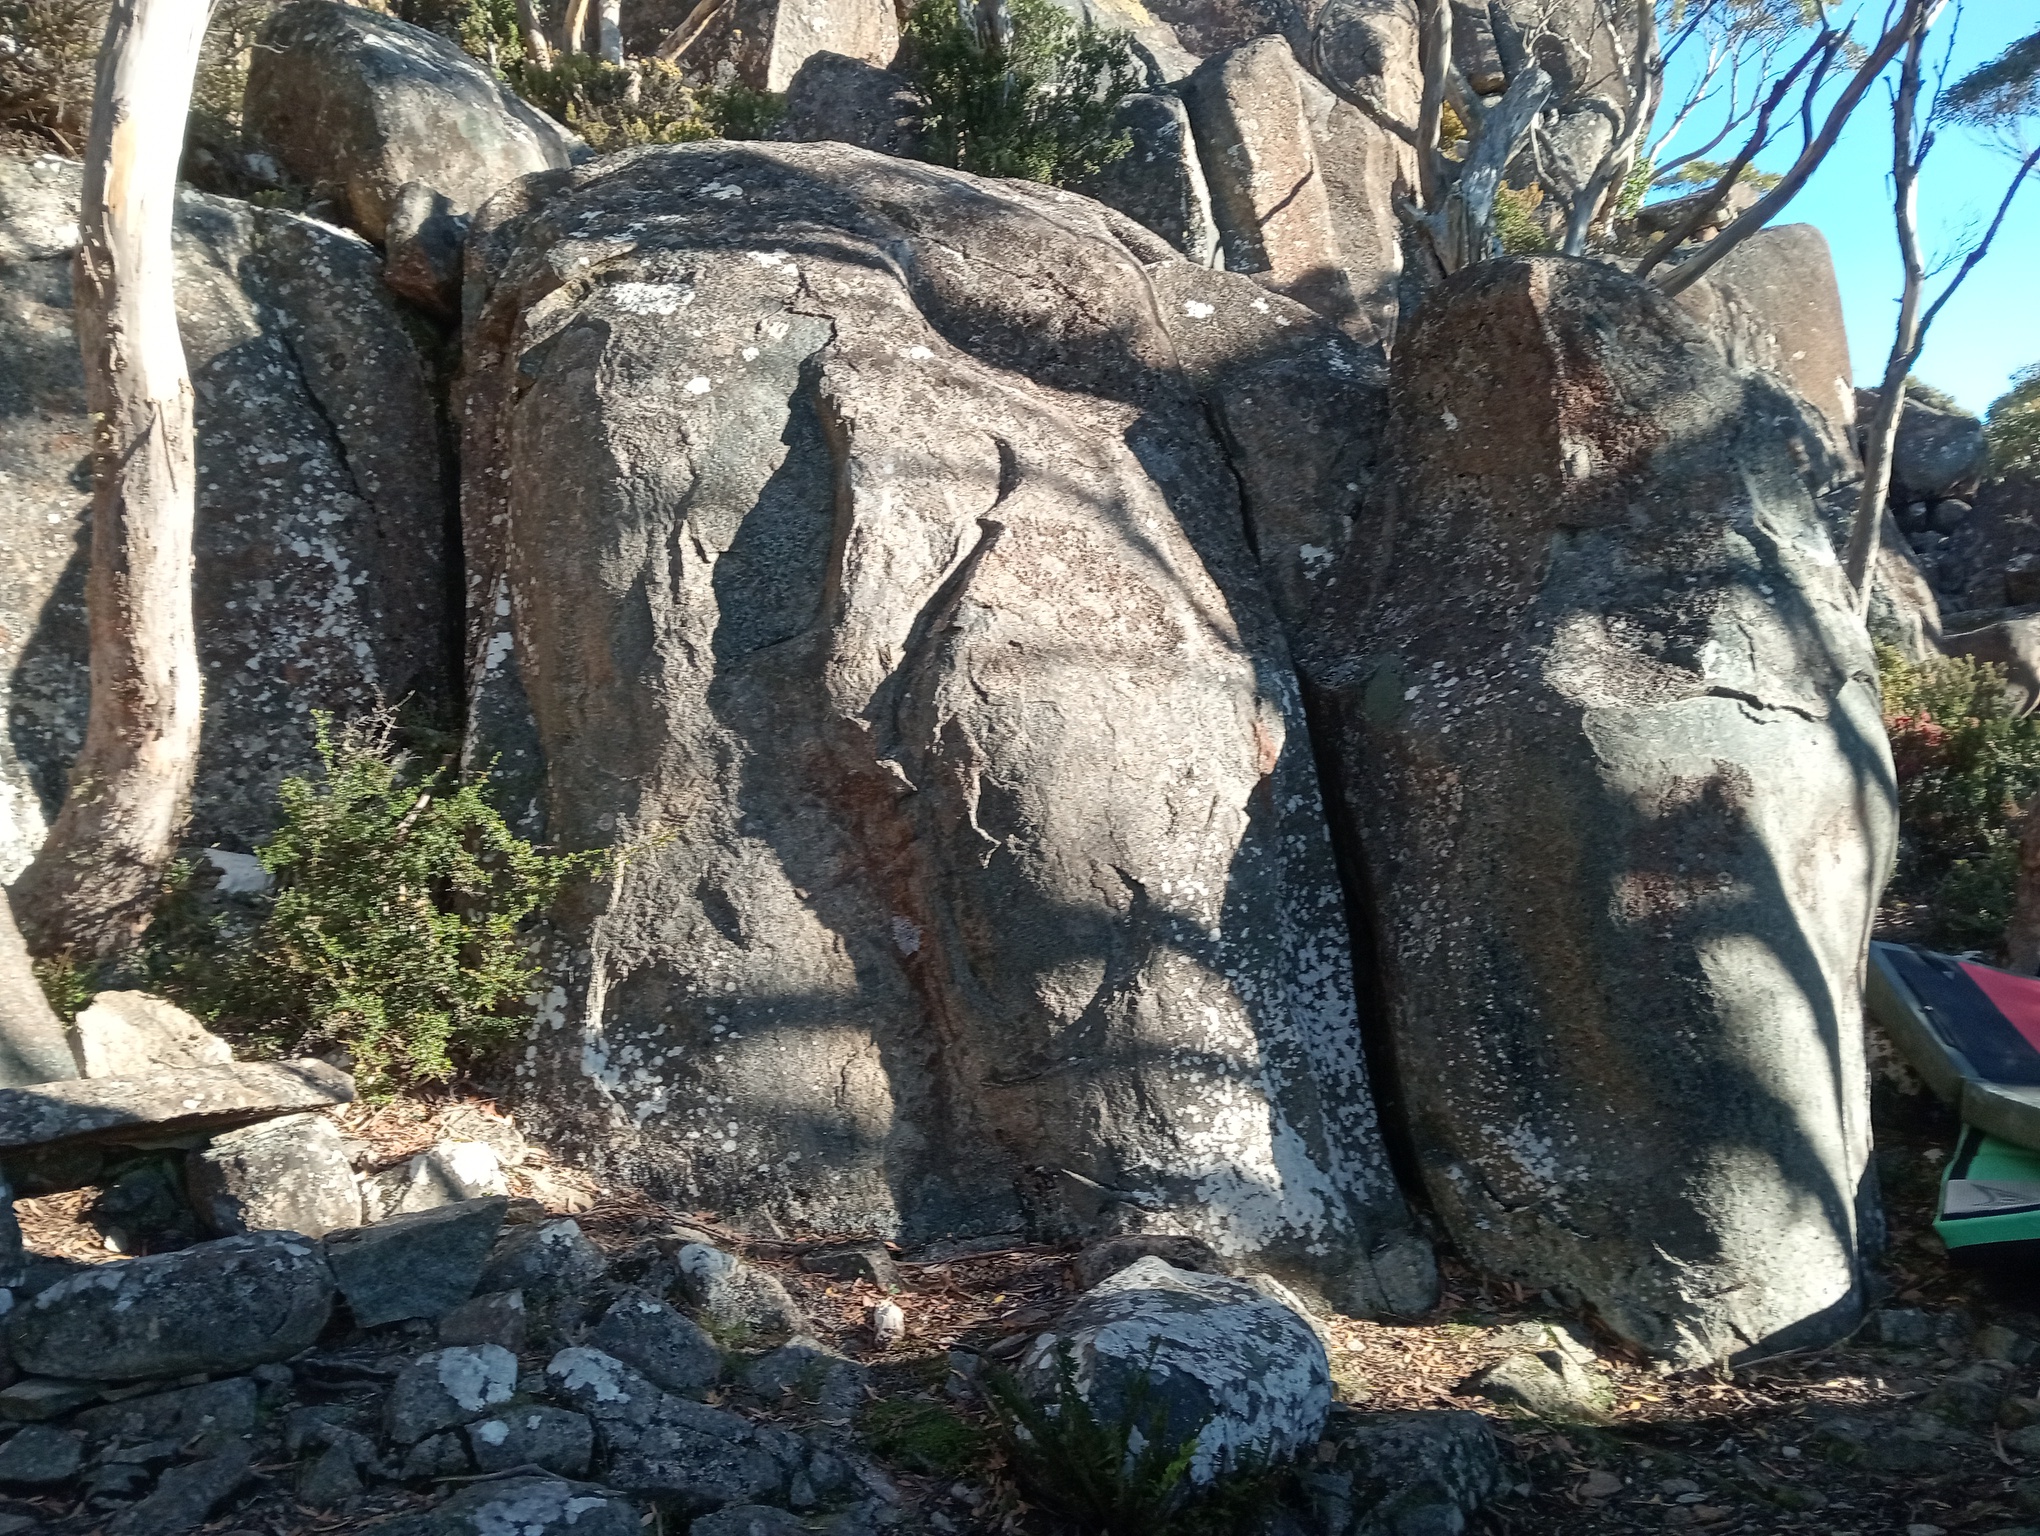
Nice slab.
Gentle stroll.
More taxing slab.
5m to the right is another small buttress of slabs.
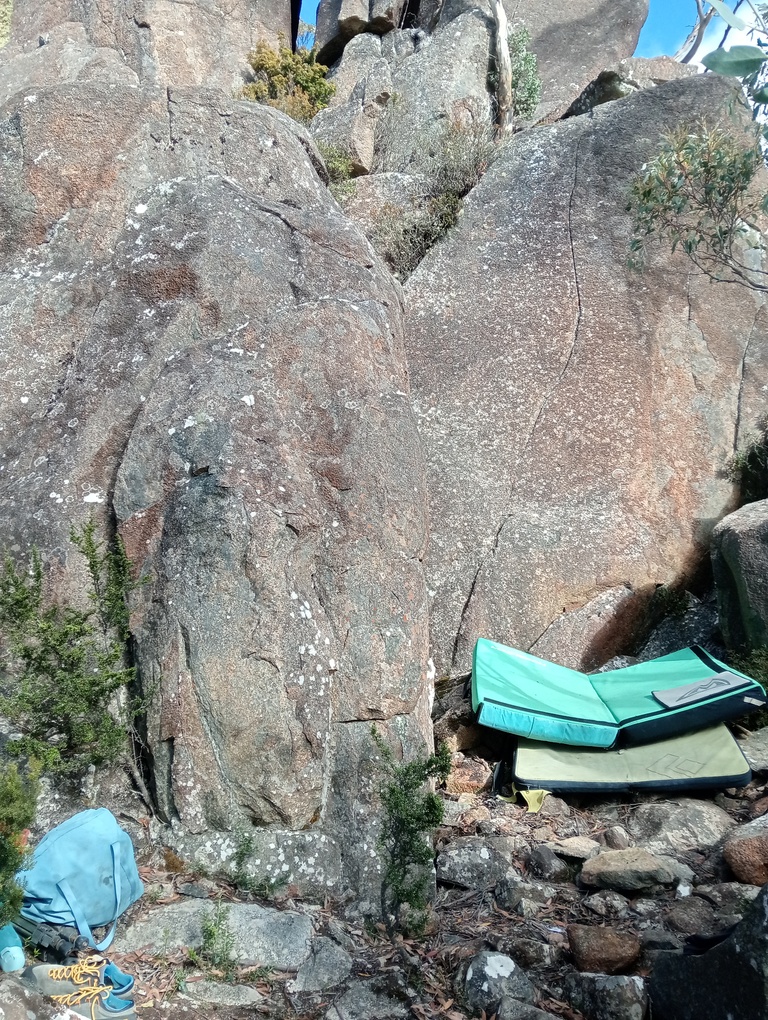
Straight up.
Start on the arête and move straight up, moving left at the top.
Waddy!
Around the lead next to the hut is a bulging arête/fin. It is 15m west from the hut.
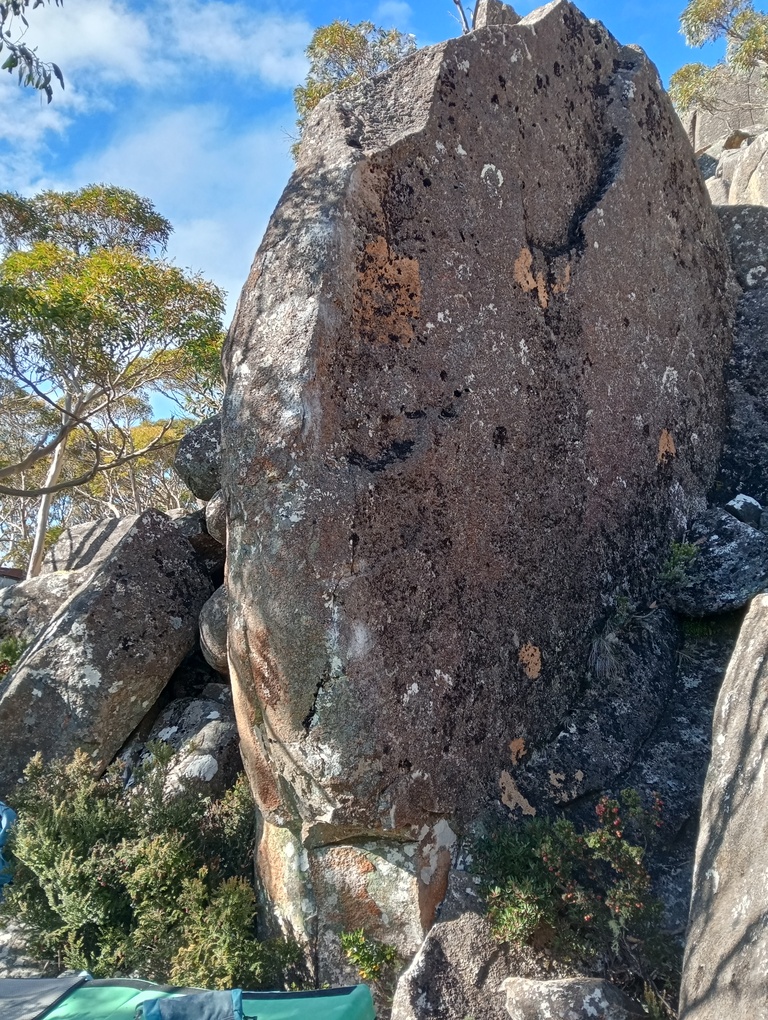
Start spanning the arête.
Below the Plateau
Below the plateau is a scree field that sits on another band of buttresses and boulders.
From the plateau head North East (diagonally right) over the scree field to a notch between two big boulders that provides a steep descent path to the area below. At the bottom of the descent track (about 20m) is a roof with some easier problems (jurors.faraway.family).
Call of the Falcons Area
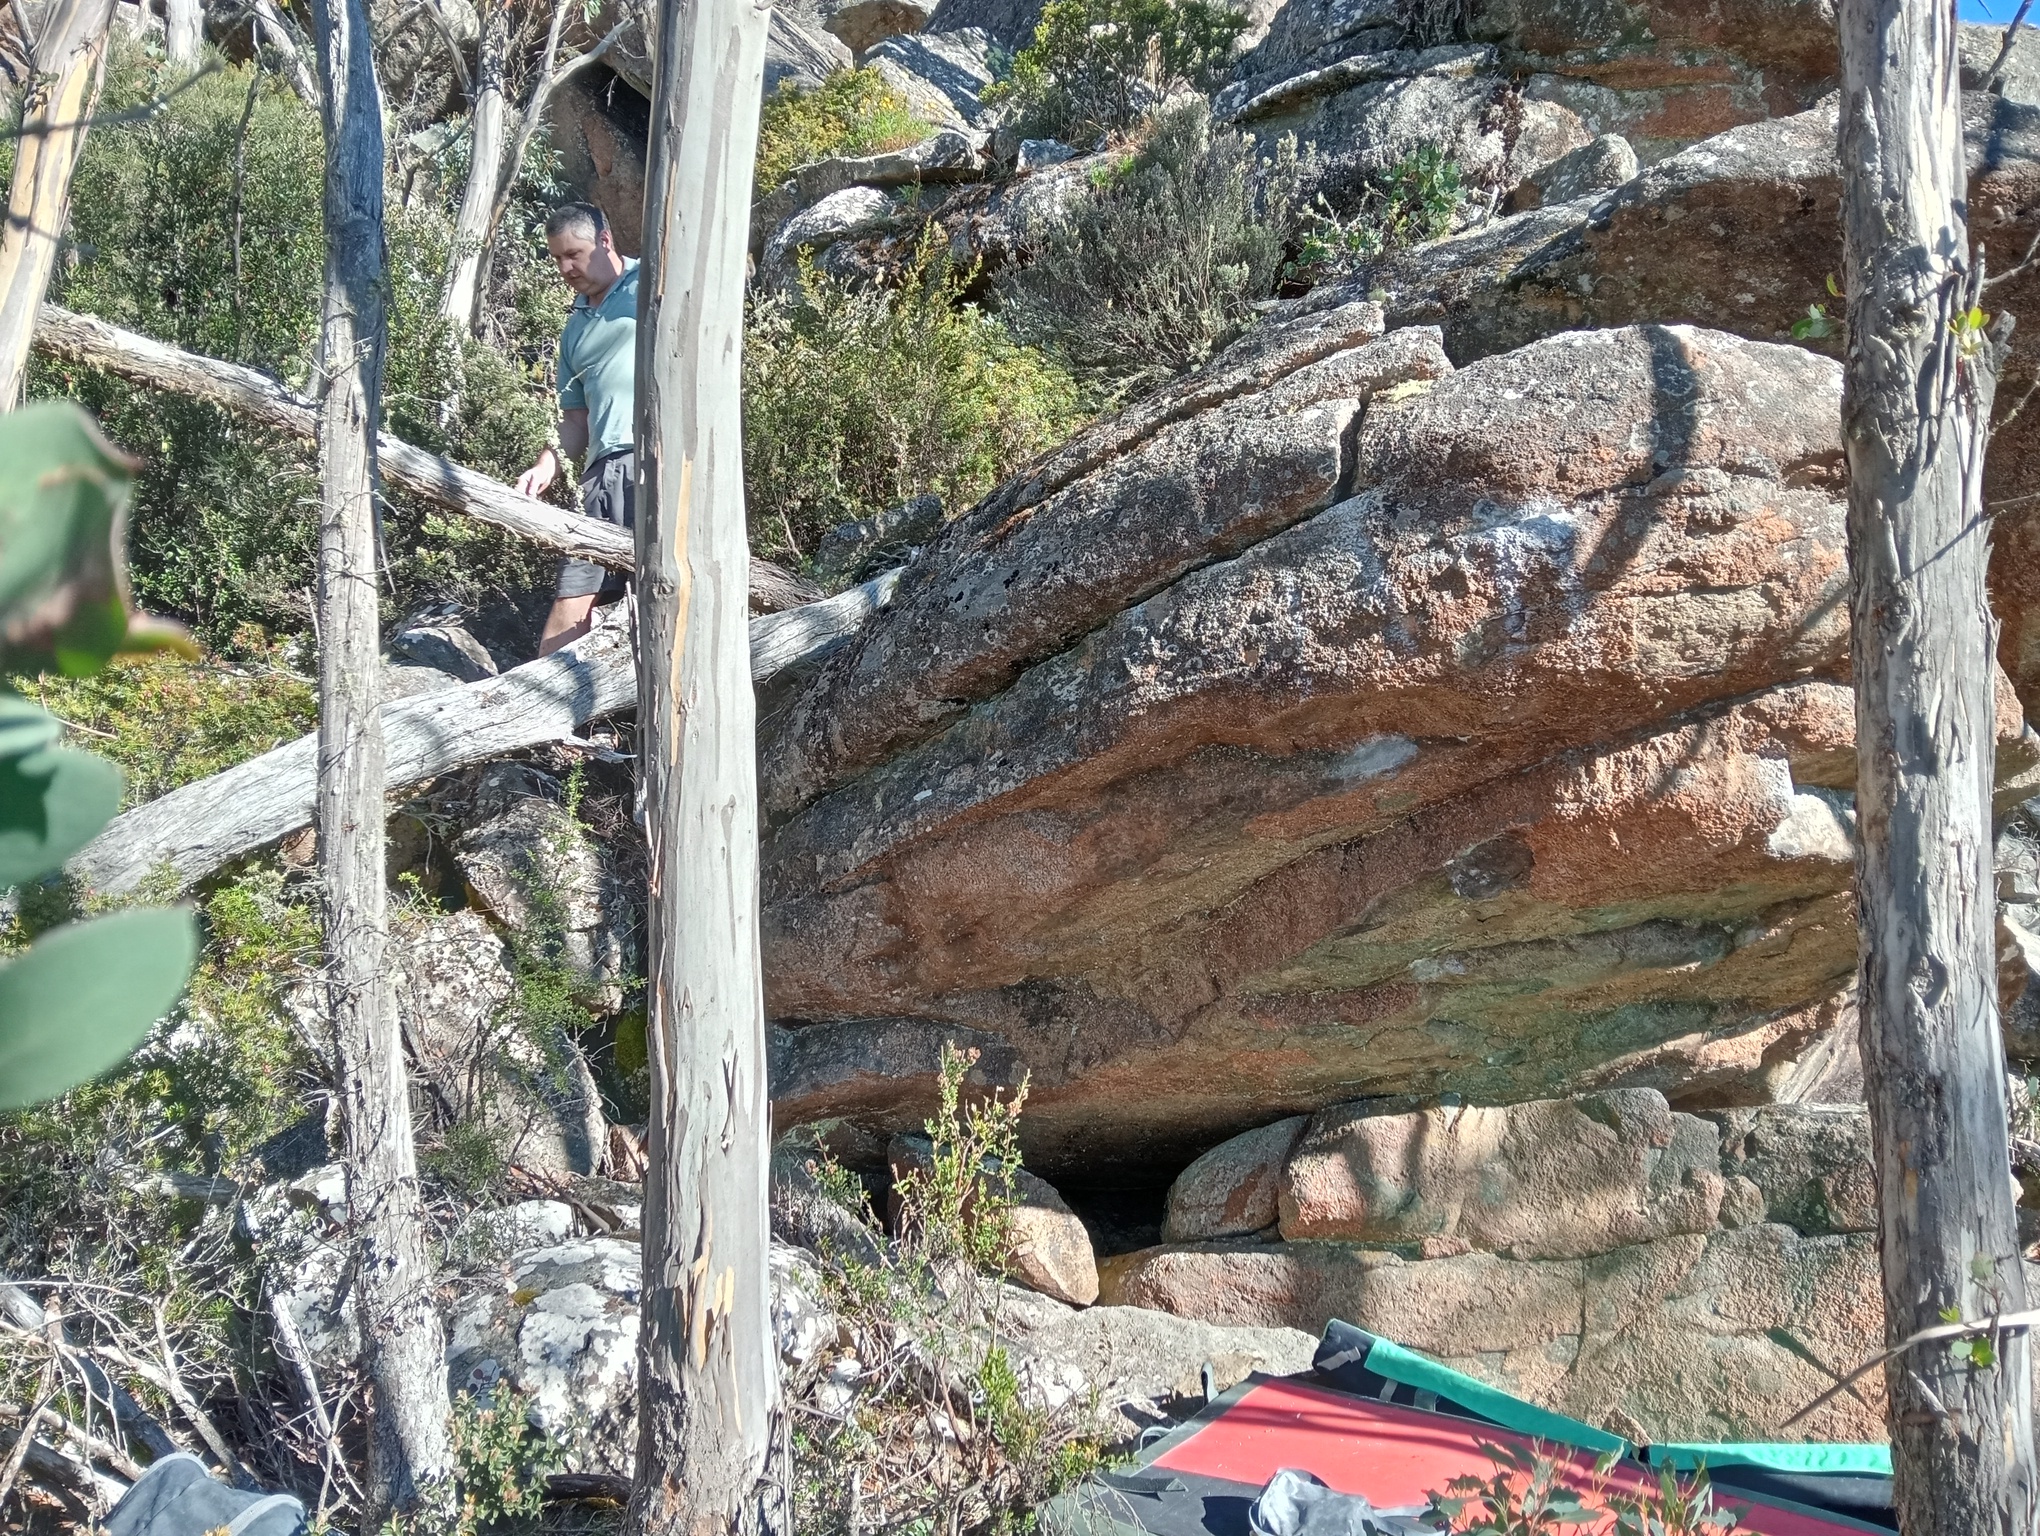
Start on the jug and follow the rail to the top.
Start on the jug on the plinth.
10m below CotF and to the East is a small roof.
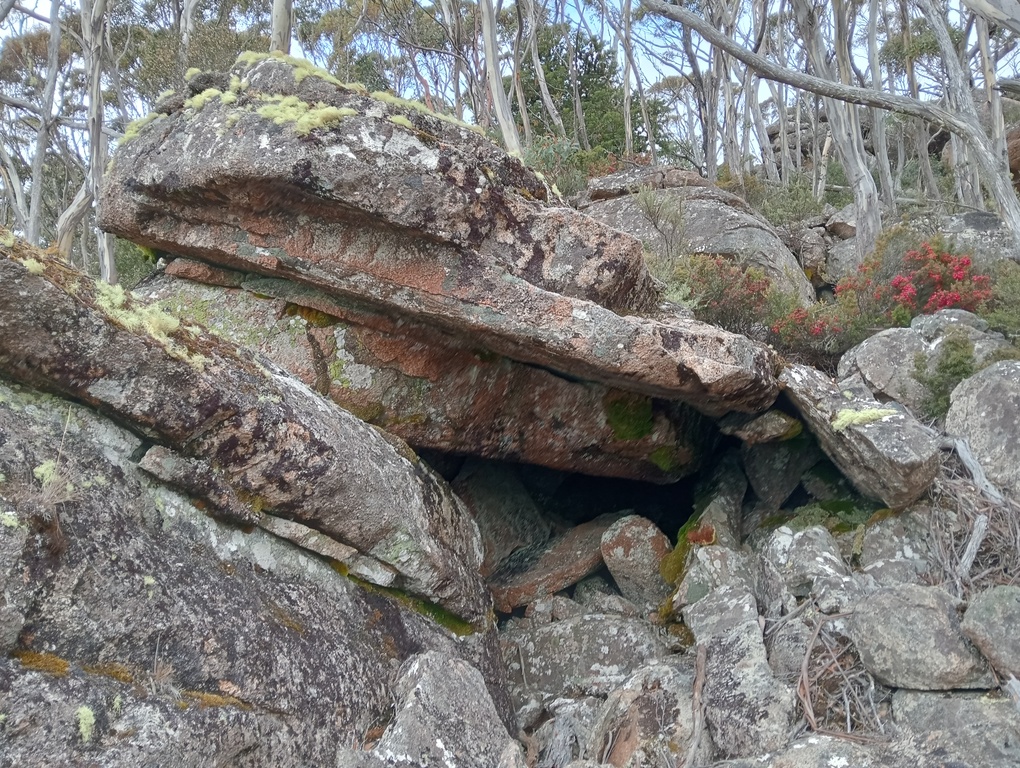
Start on the jug in the back of the grotto.
The Western Front
The Western Front is a group of boulders that face west. The area contains a range of fun problems and tends to be ‘warm’ and sunny in winter and cool and shady on summer mornings.
To get there walk up the gravel fire trail from the big bend, about two or three hundred metres, to just before the road reaches its highest. A small cairn marks a maze of tracks that eventually lead to the boulders (about 80m) then further on the hut (if in doubt head north until you hit the rocks).
A good reference point is the highest boulder on the hill, which is the top of Shell Shock (see Shell Shock for GPS data).
The area comprises four tiers of boulders, the first tier can be found trending left as you head north, and eventually leads to Blitzkrieg. The second tier is above the first tier and starts at the Somme. The third tier is above the second tier and includes the Skinless area with the fourth tier being at the top of the hill and includes Shell Shock.
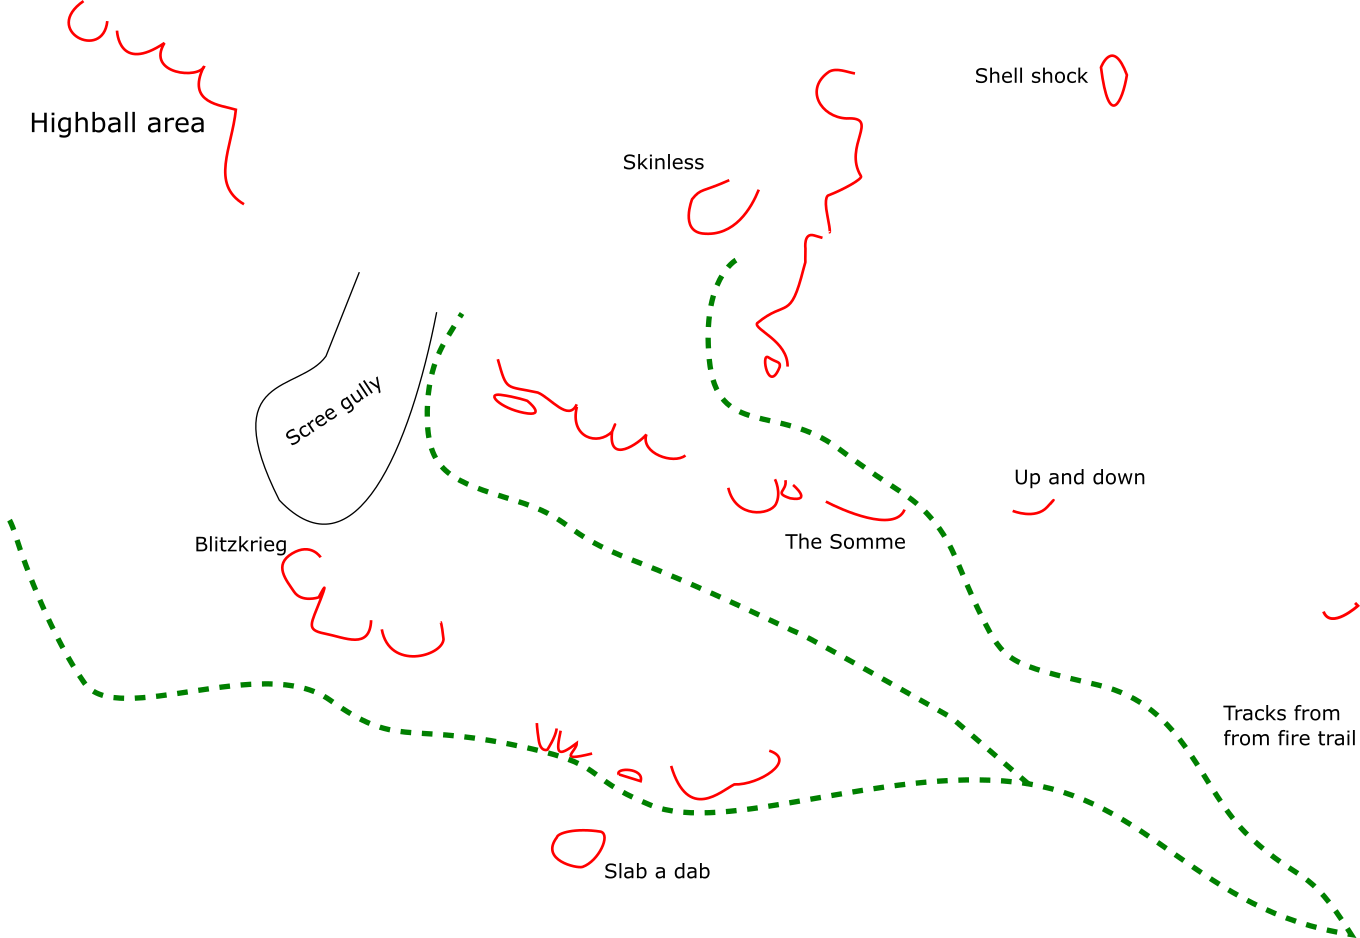
Morphic Boulder
Follow the left trending tracks between a boulder and a series of small buttresses that continue to the Blitzkrieg area.
About halfway between the track and the First Tier proper is the Morphic boulder.
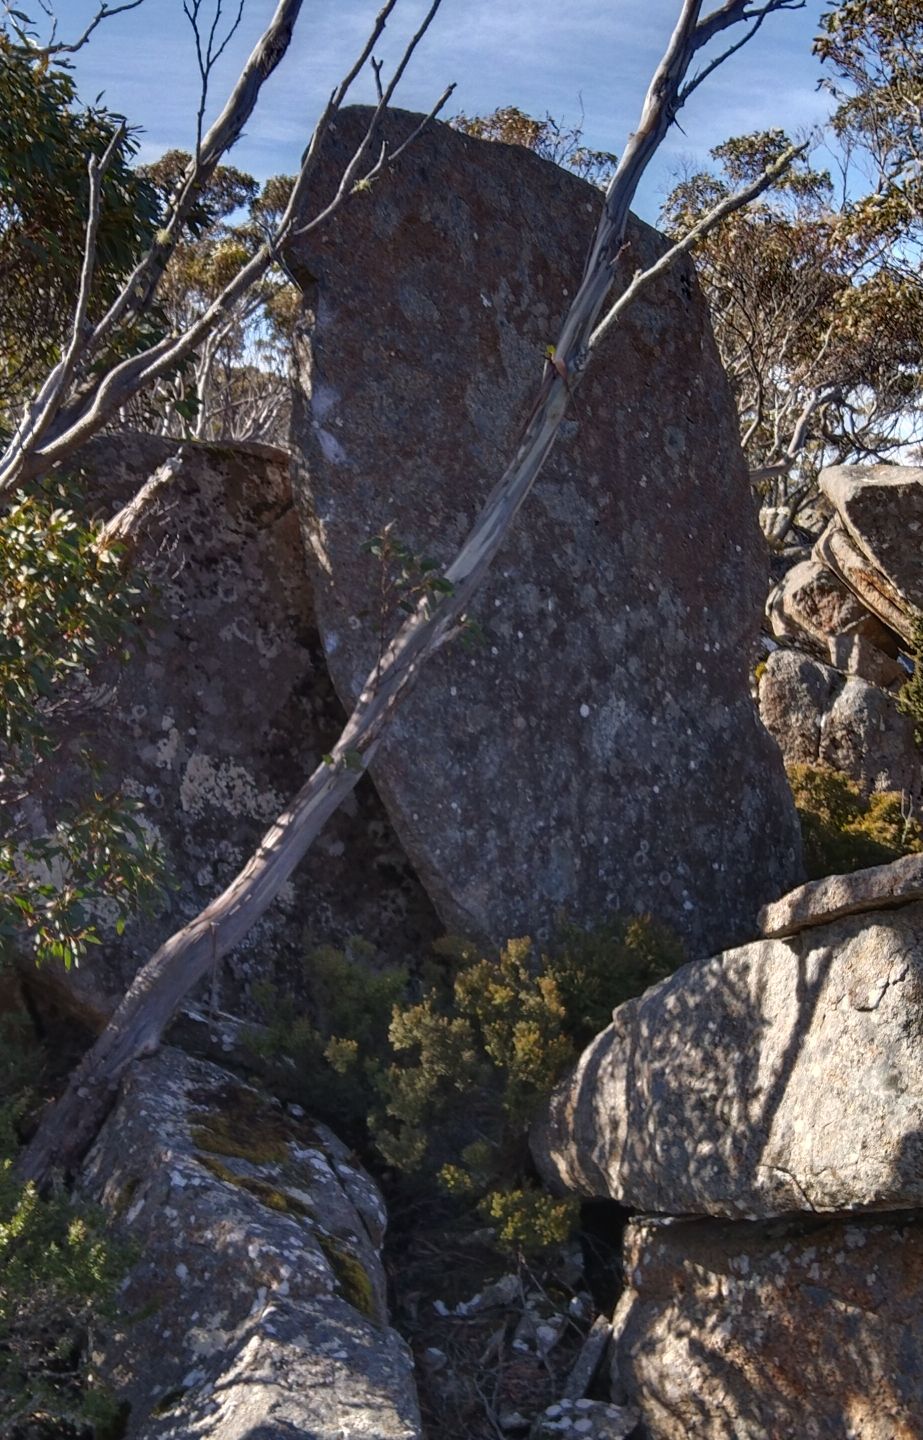
Unusual squeezing up the arête. Could be any grade.
The First Tier
Continue past Morphic boulder to the first series of outcrops.
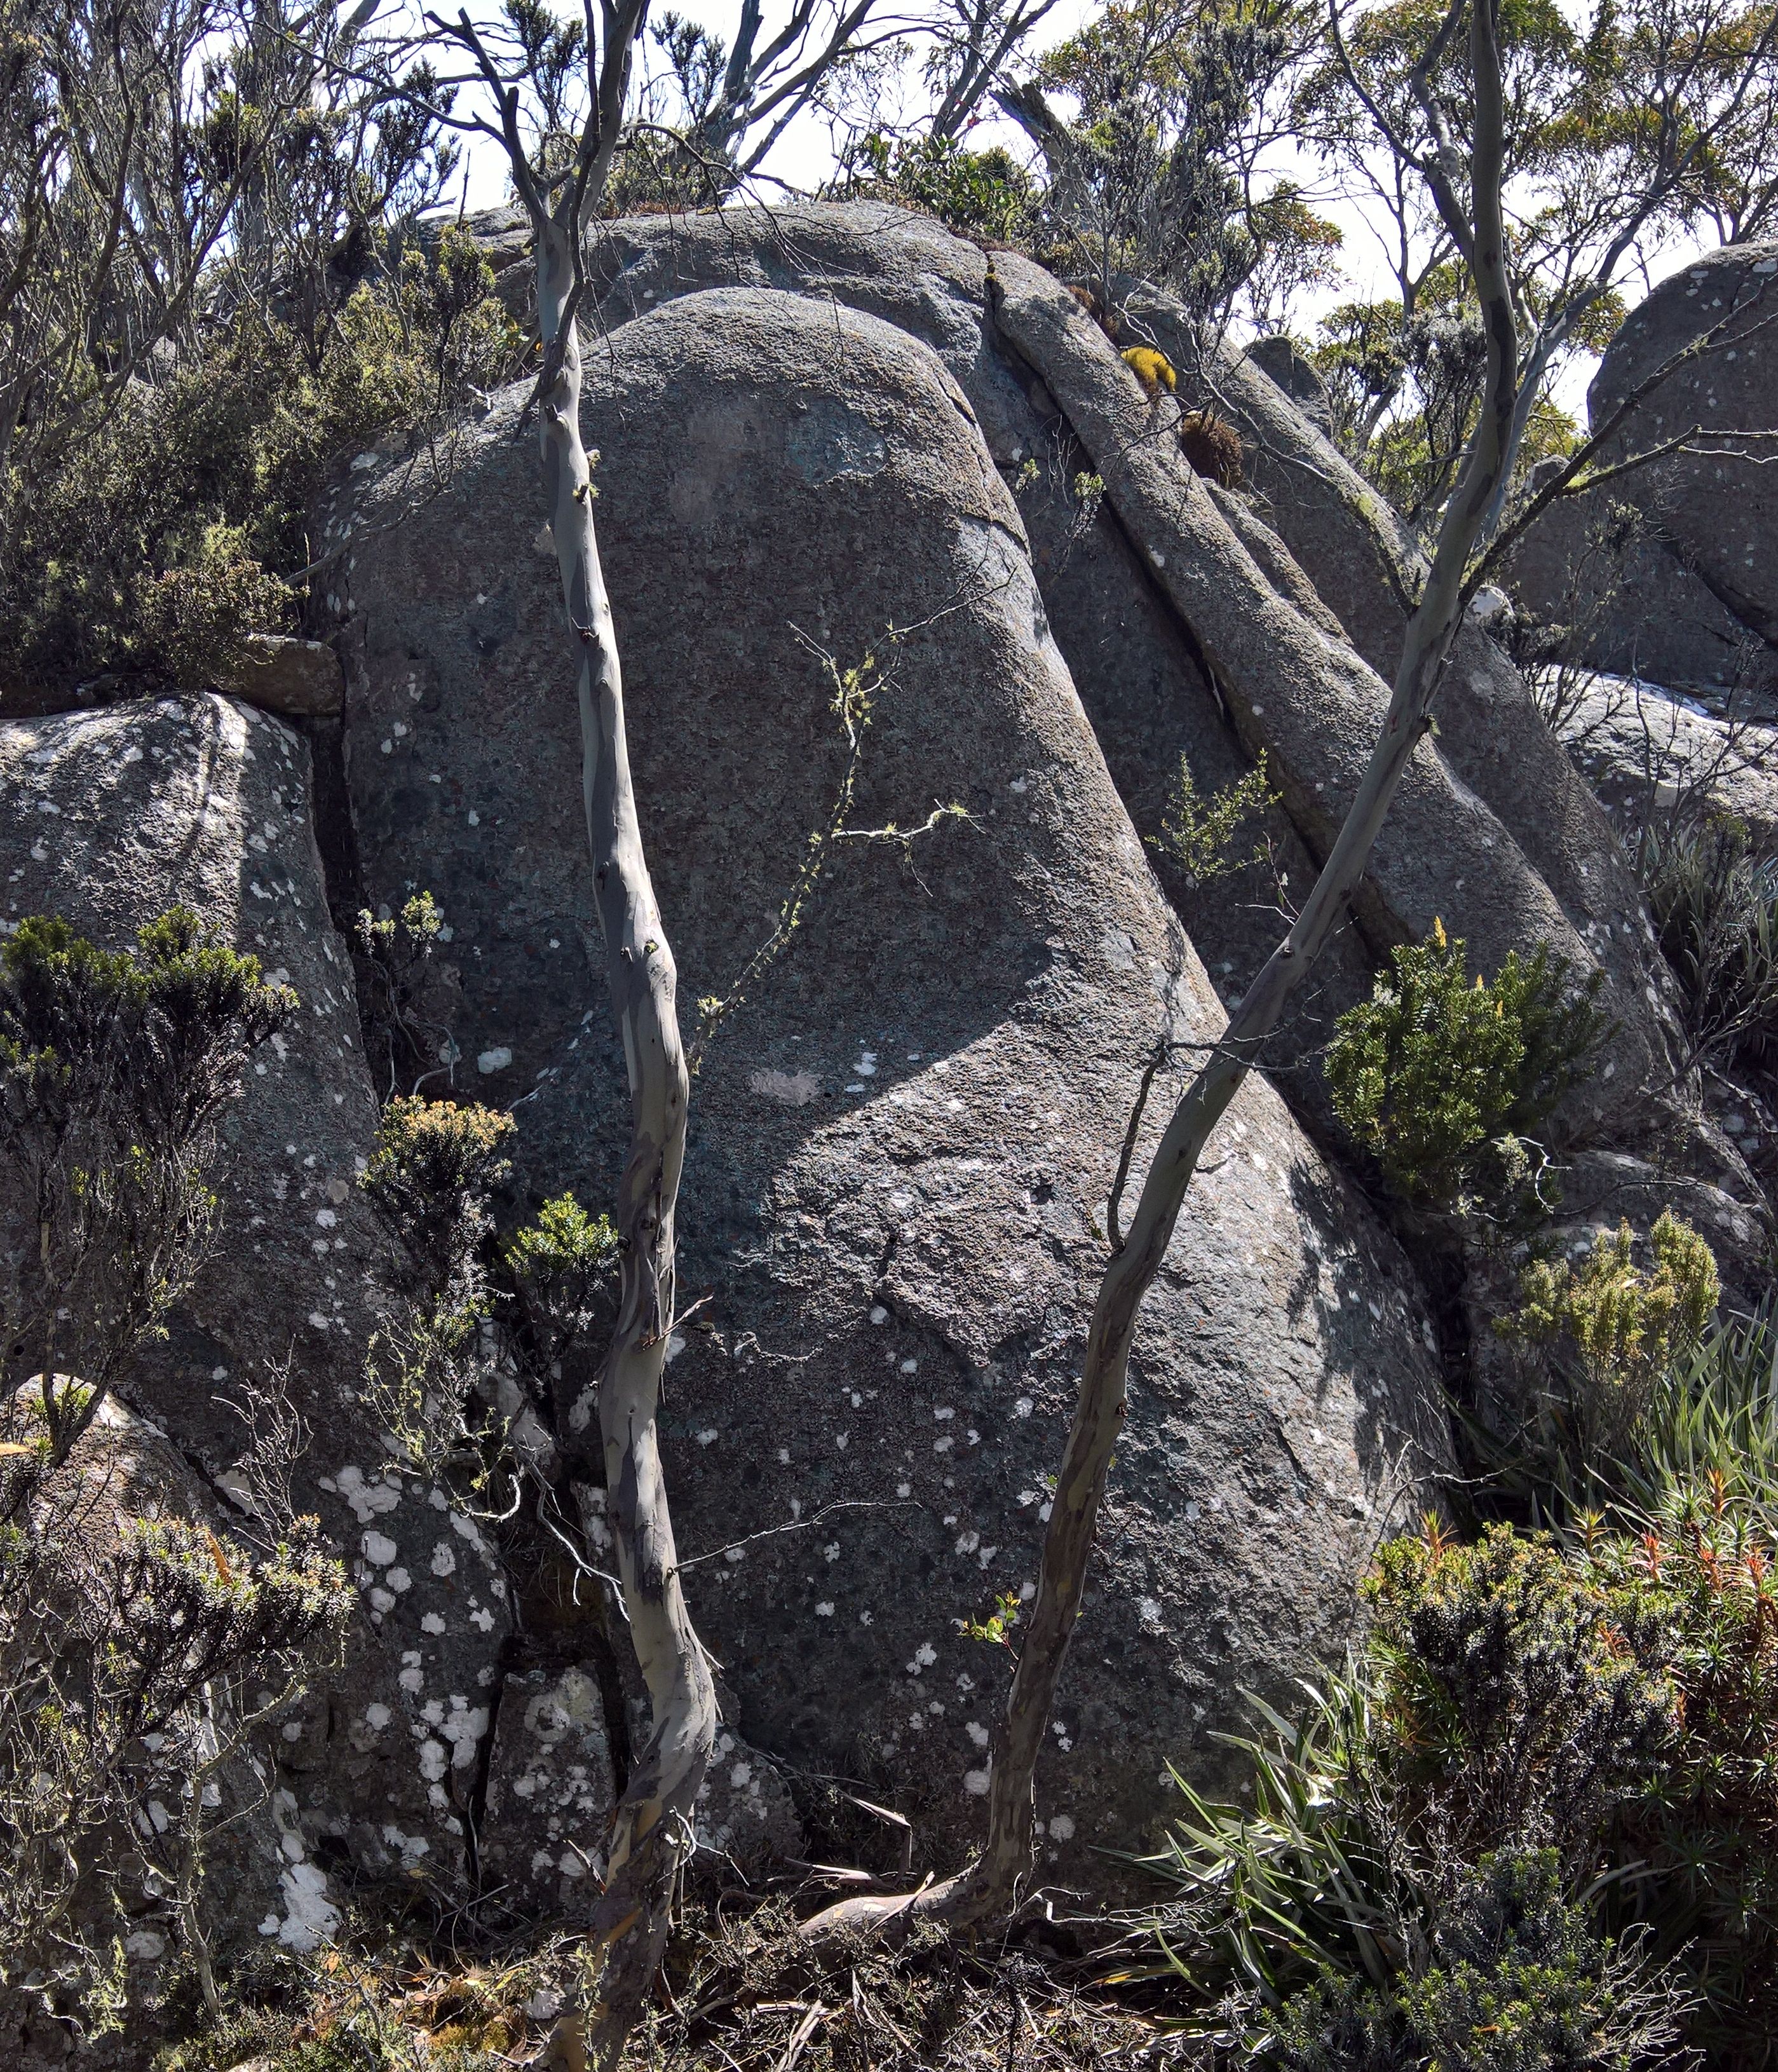
Tombstone 4m right of the easy slab.
Easy slab rockover.
The next problems are on the Slab a Dab boulder.
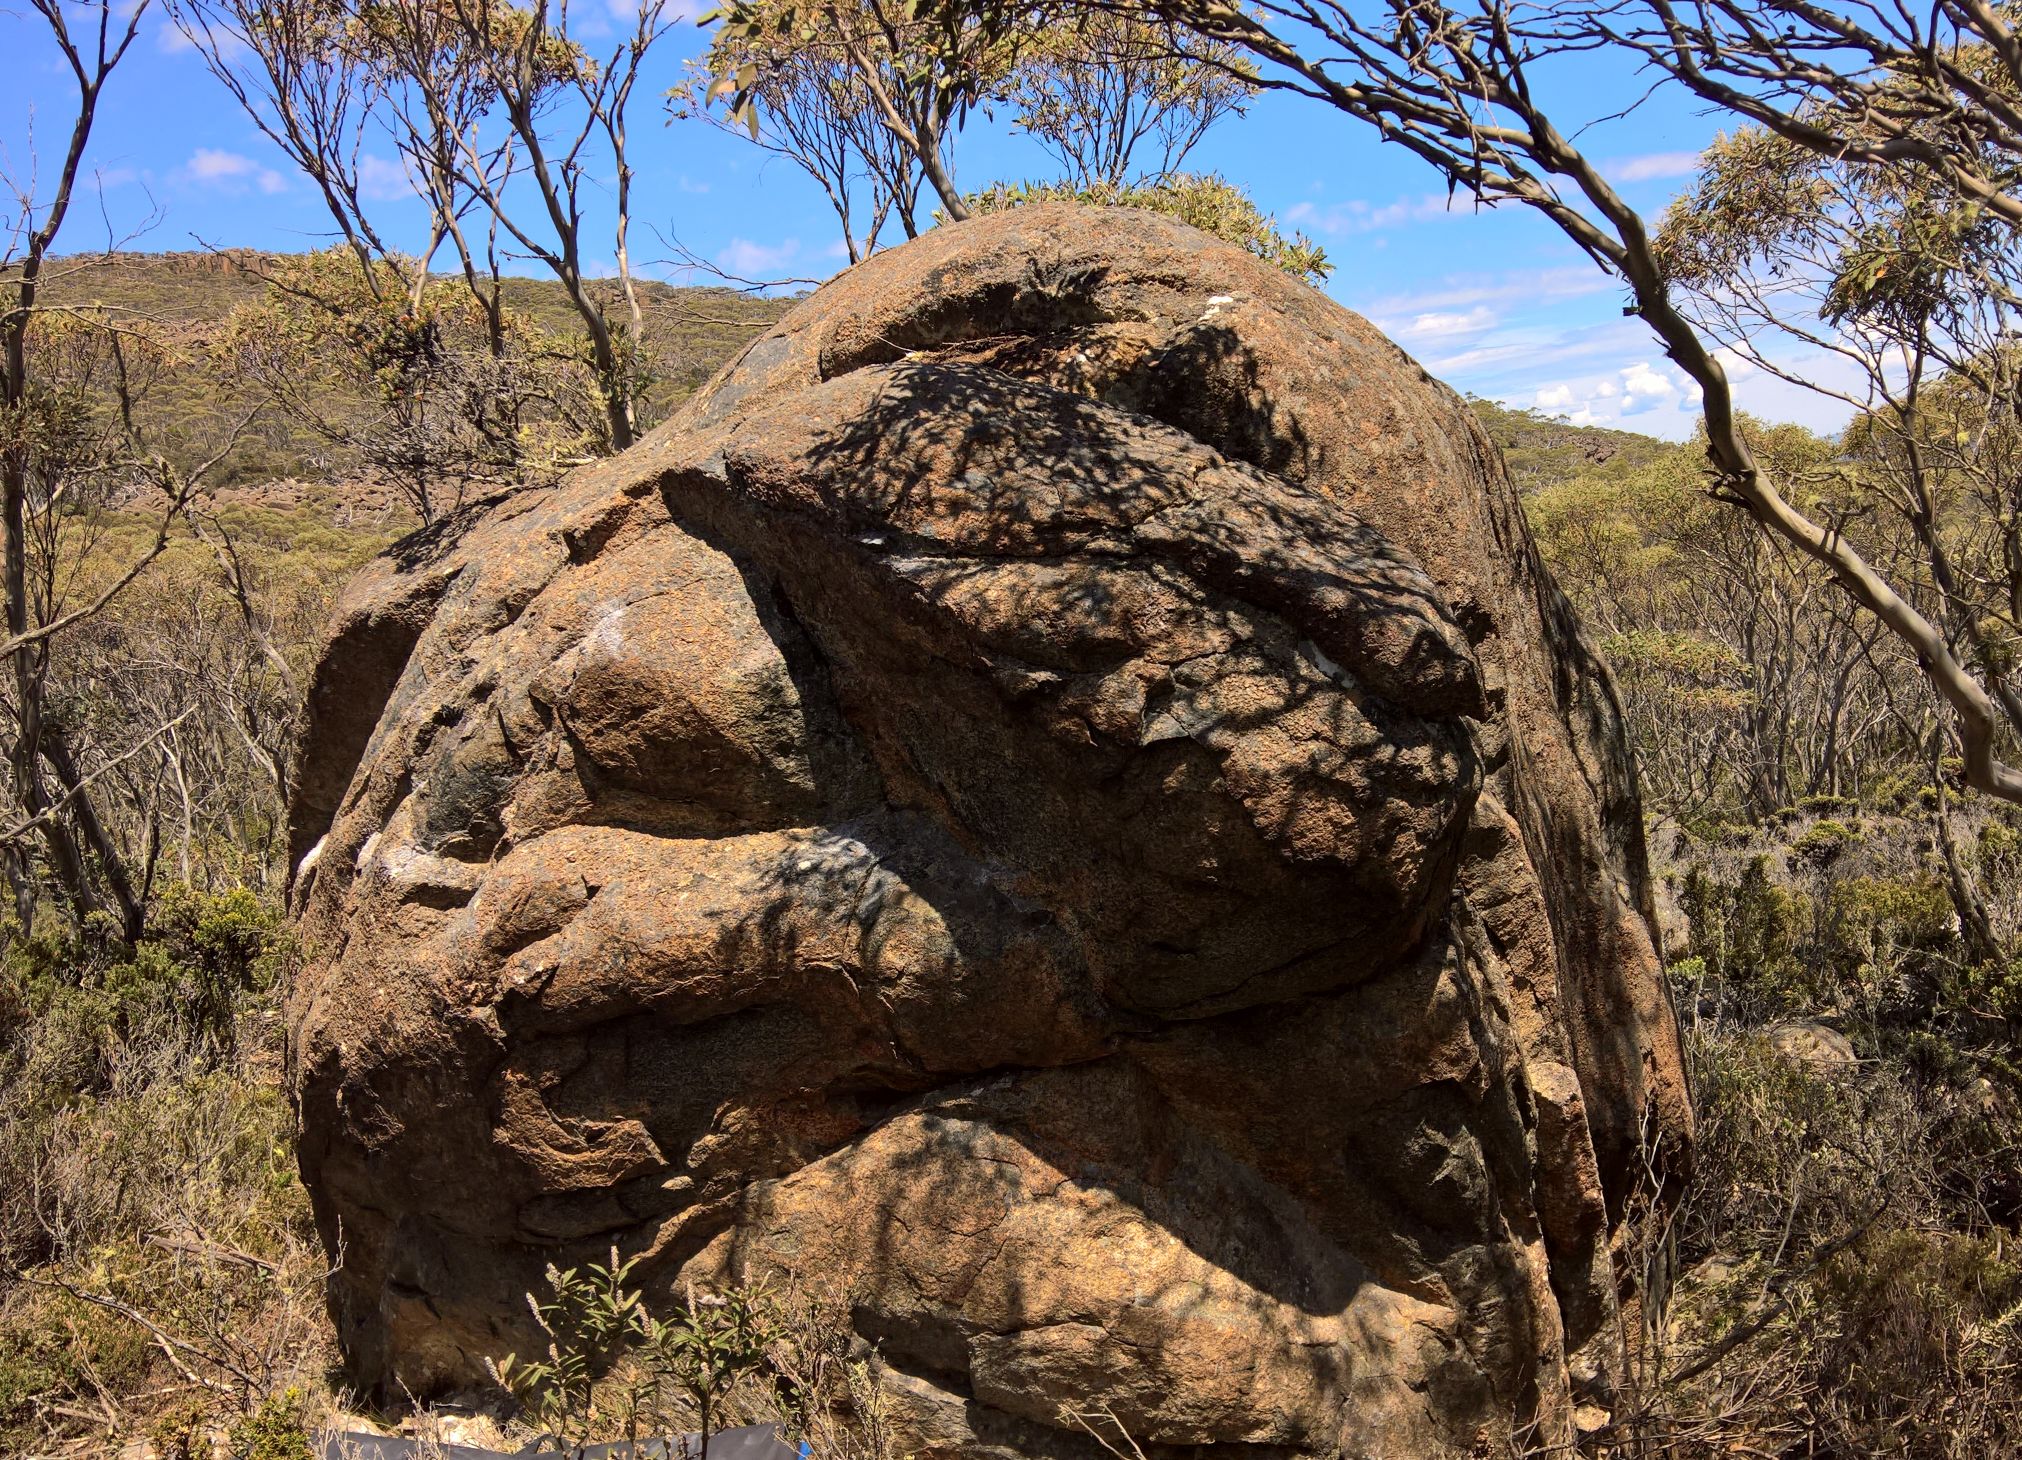
North Western arête of the bloc.
Two metres left of the arête is a large layaway edge.
Starts on the next layaway line one metre left of the previous problem.
Starts on the jug on the eastern side.
One metre left of previous.
Starts on jug on the southern side of the boulder. Finish straight up or traverse around the boulder and finish up 6.
Hands free ascent of the slab (no hand dabs!).
Opposite Slab a Dab and right on the track is the Get Off the Couch tombstone.
Sit on the pineapple grass couch. Pull up using the sidepull and left arête.
The next buttress is four metres left of Get Off the Couch.
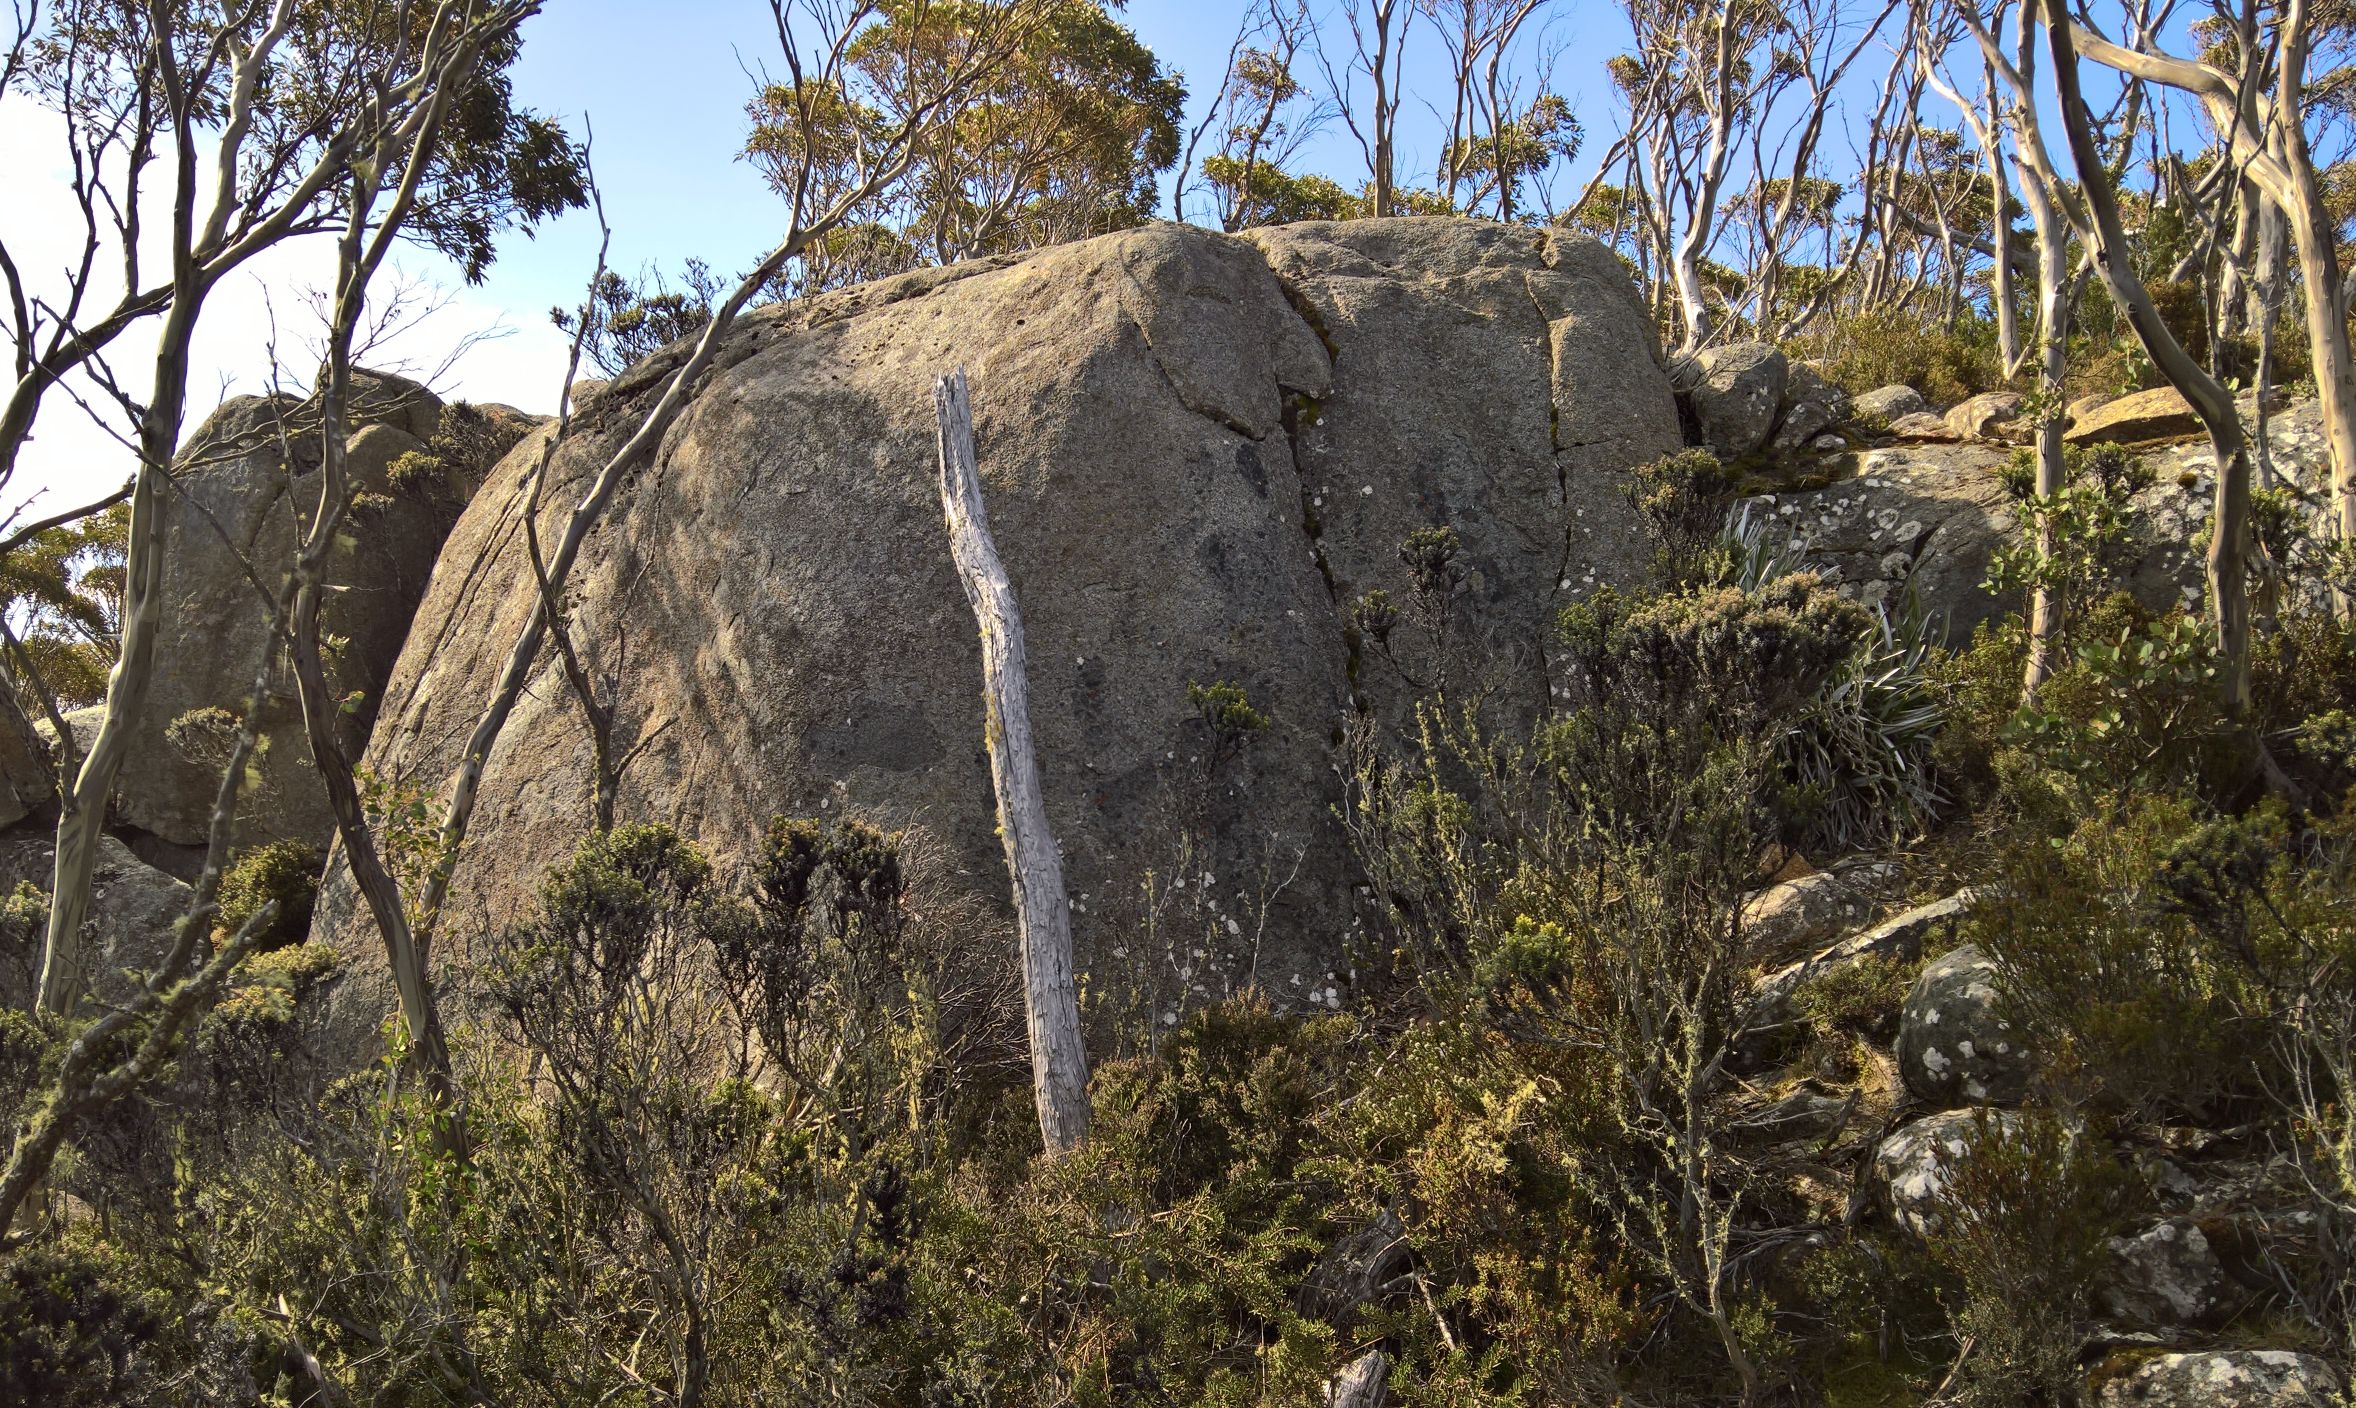
Up right side using crack.
Classic slab. Start on the finger rail. Straight up.
Up the weakness.
Currently the next three problems haven't been identified.
Unnamed
V1(Stand)Arête and slab to left.
Unnamed
V1(Stand)Nice slab with good edges right of arête.
Unnamed
V0(Stand)Little pinnacle to the right.
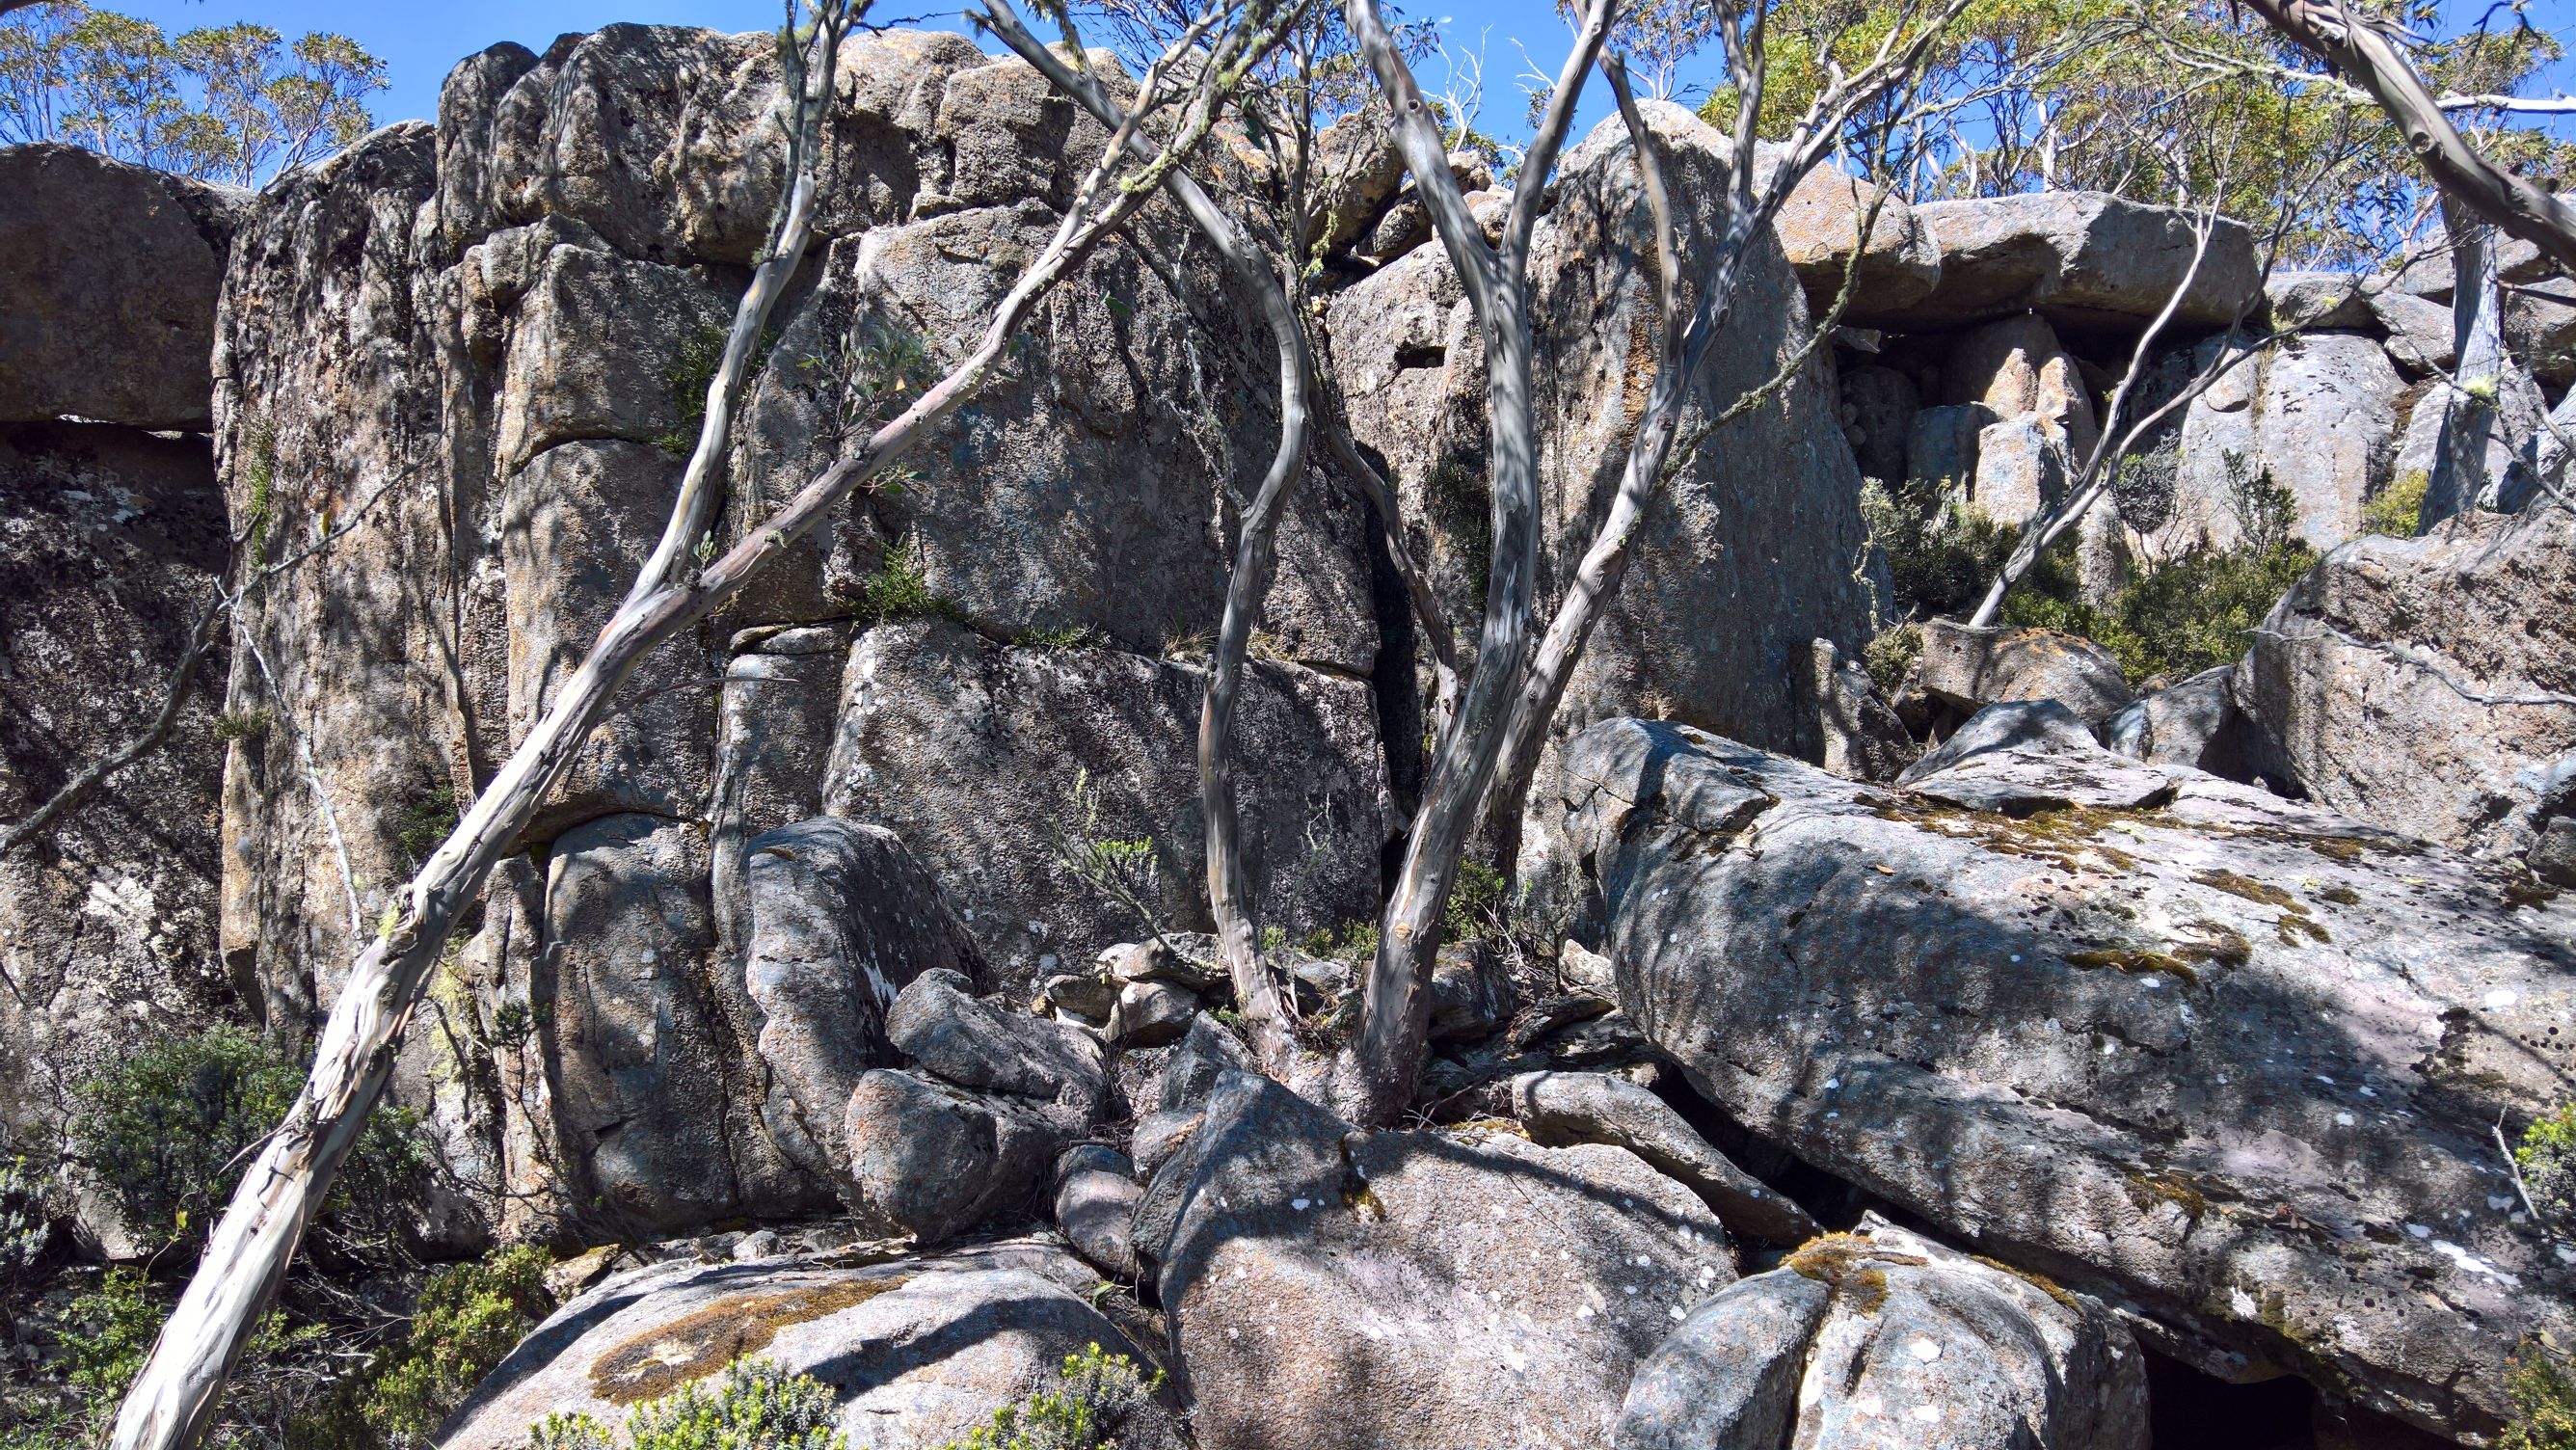
Arête behind tree. Start off block.
Face.
Up corner.
Good holds up arête.
Face using cracks.
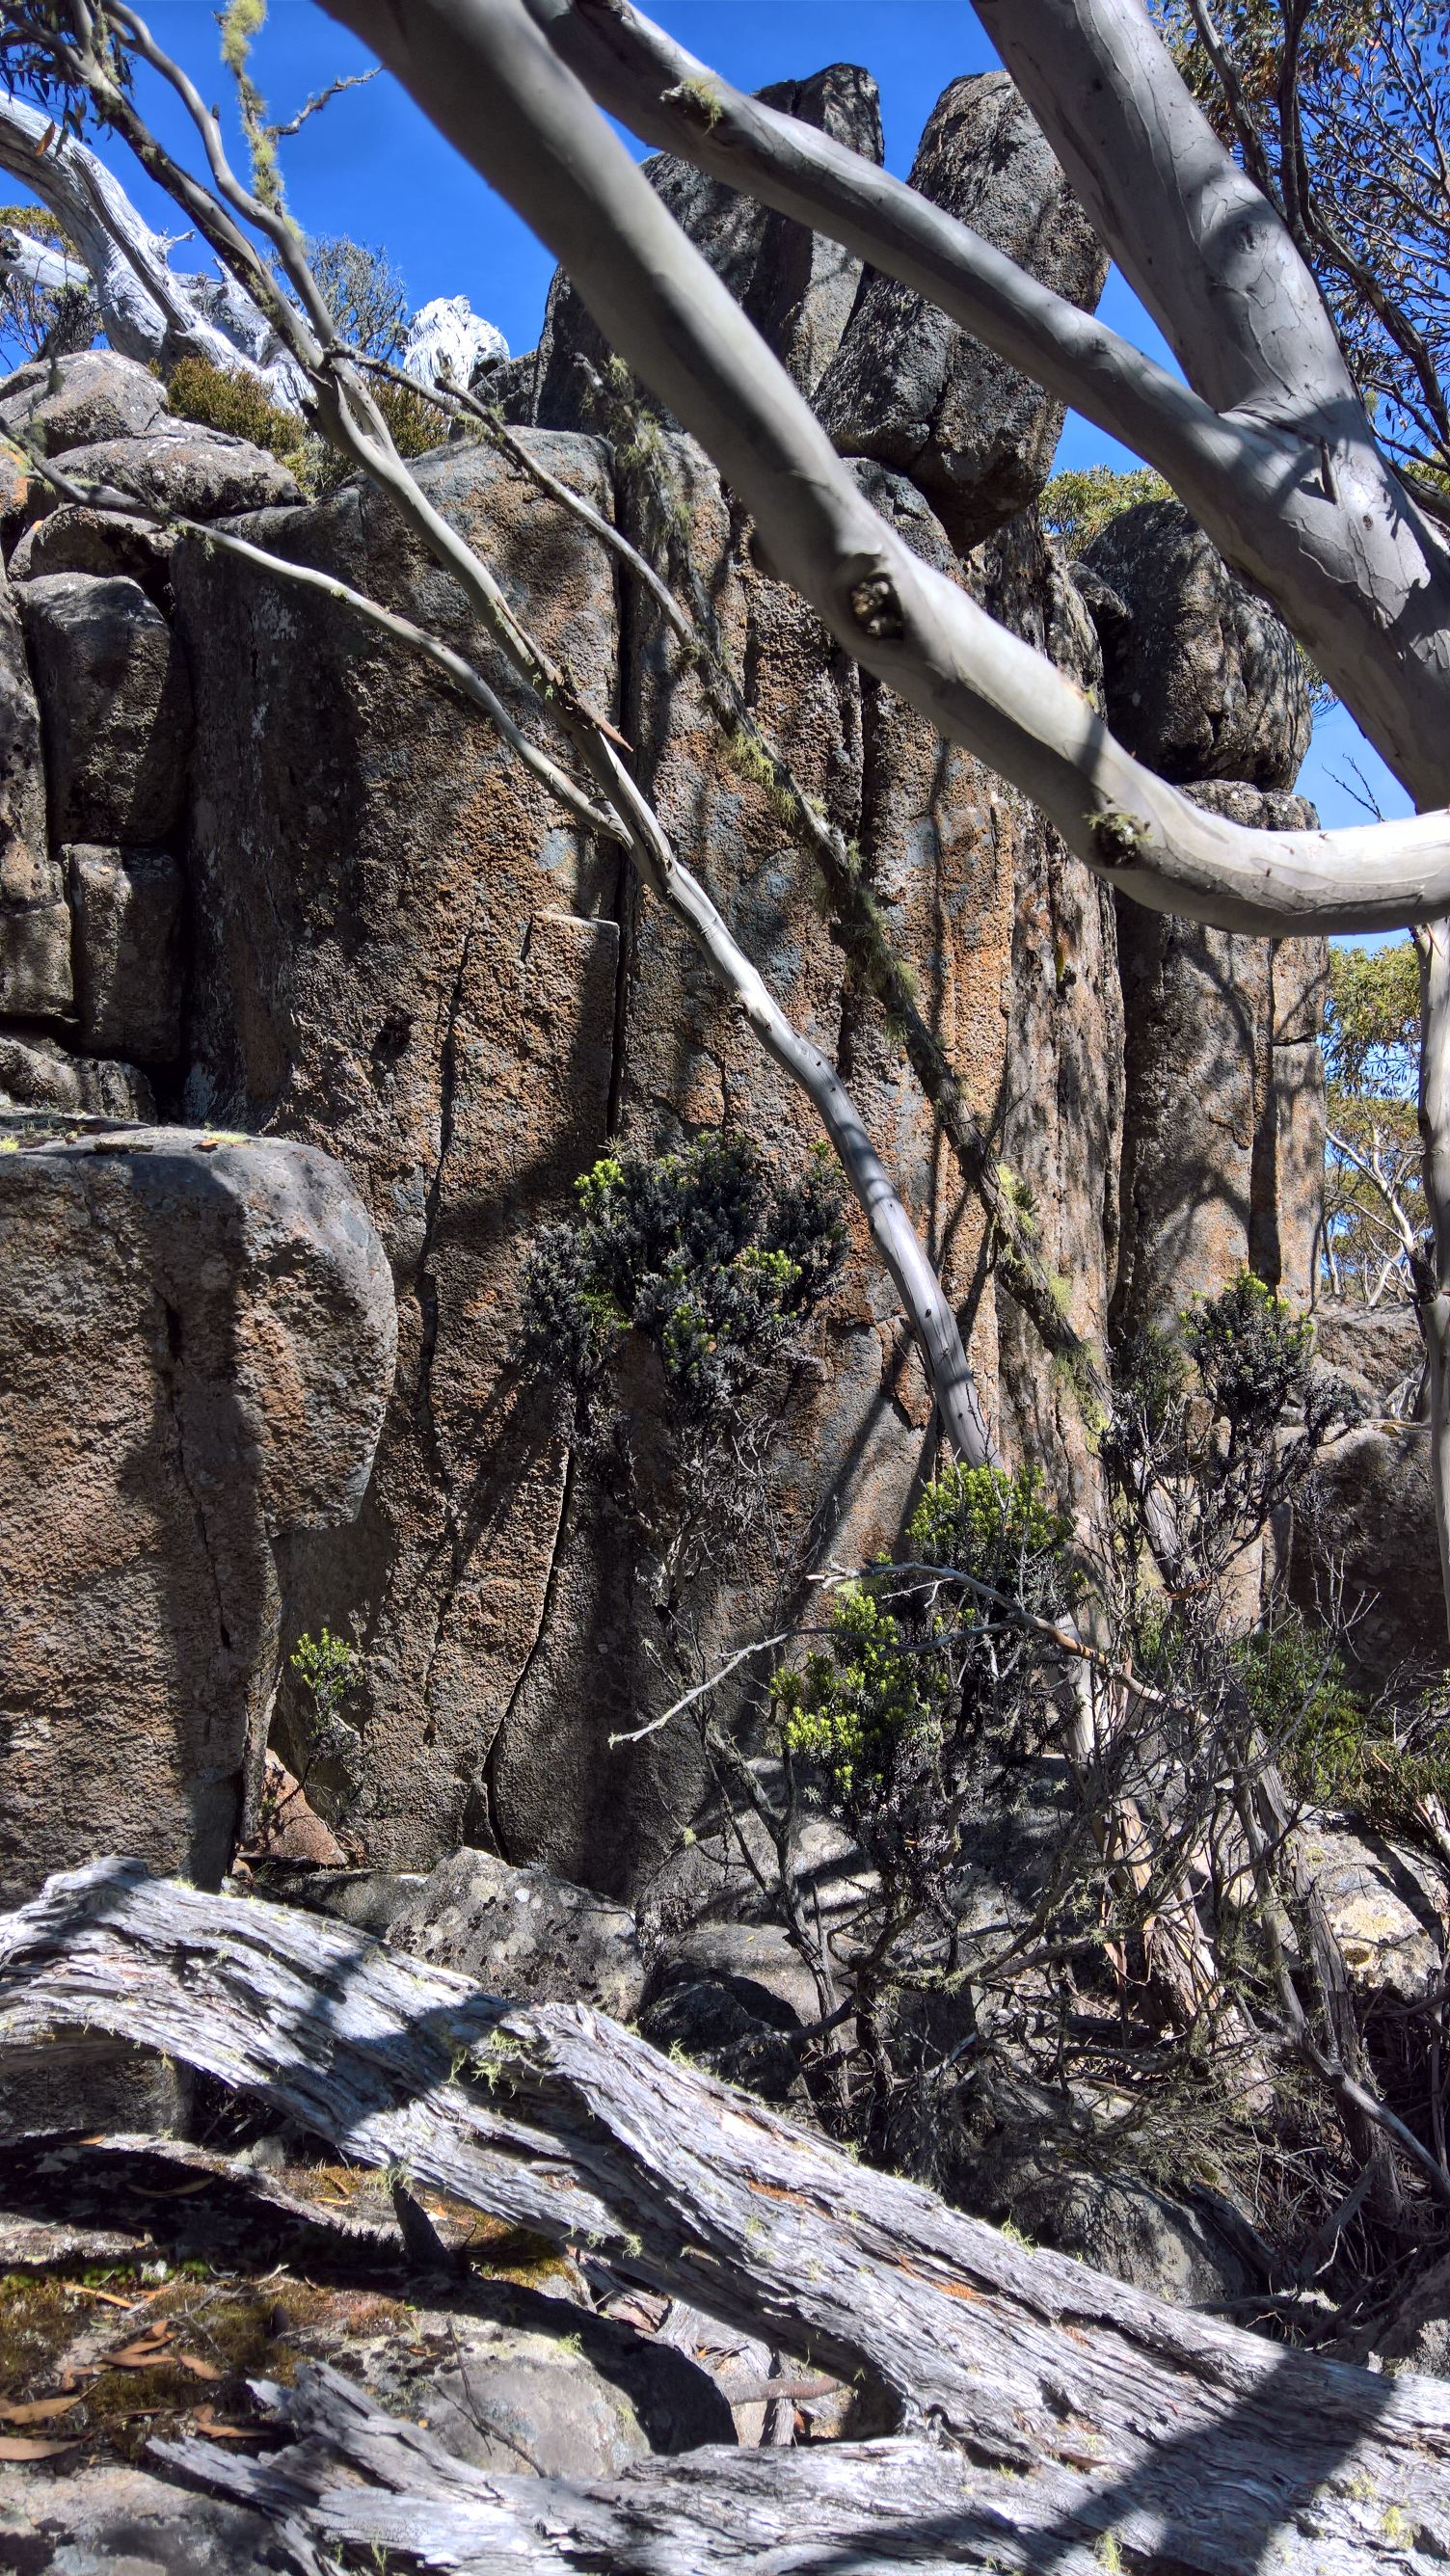
Up arête finishing up the block at the top.
Up steep finger crack.
Highball Area
To the left of the scree is a series of highball buttresses.
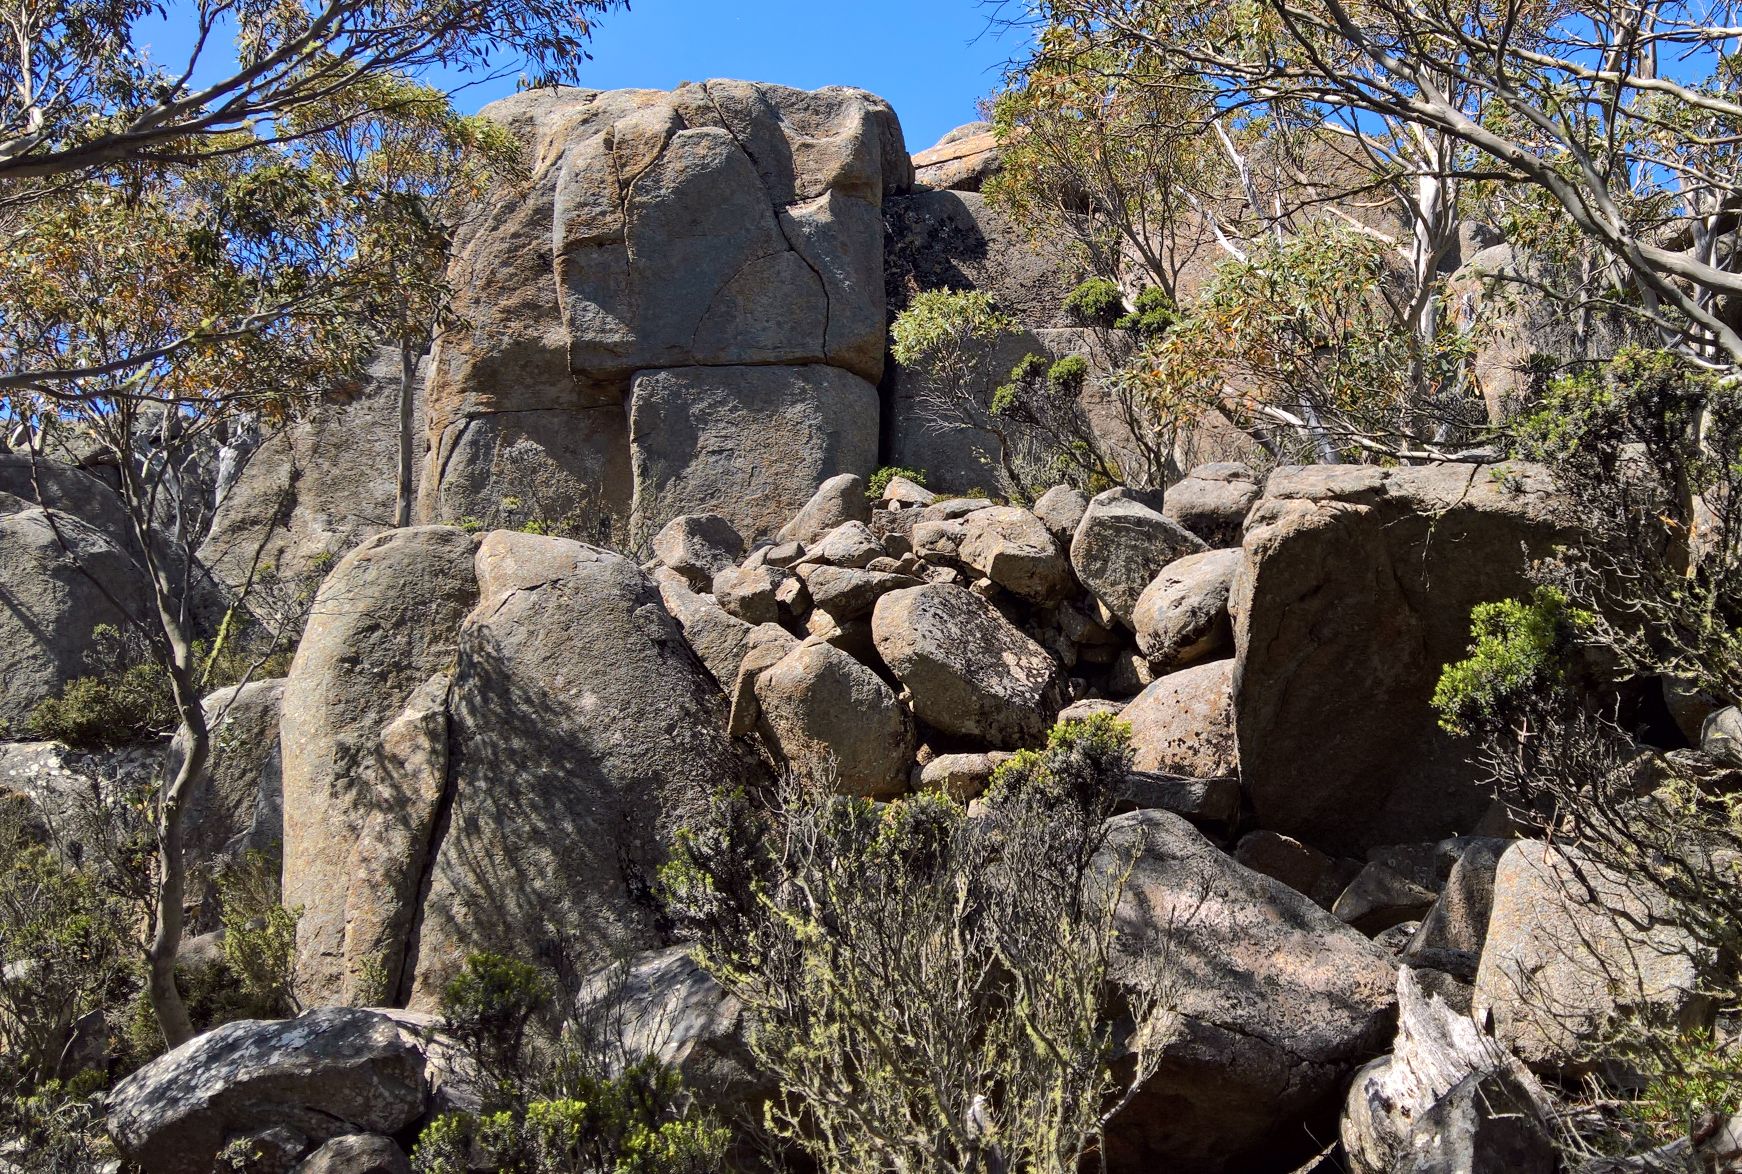
Pop up from horizontal break and up high face.
Project - steep highball corner.
Beautiful left curving hand crack.
Up face just left of arête and crack with a long reach to the top.
The Second Tier
The Second Tier is a range of short buttresses that run for about 60 metres, finishing just below the Skinless area. Following the central tracks from the road will bring you directly to this area.
Twenty metres left of the first buttresses is a tilted plate of dolerite resting on surrounding boulders.
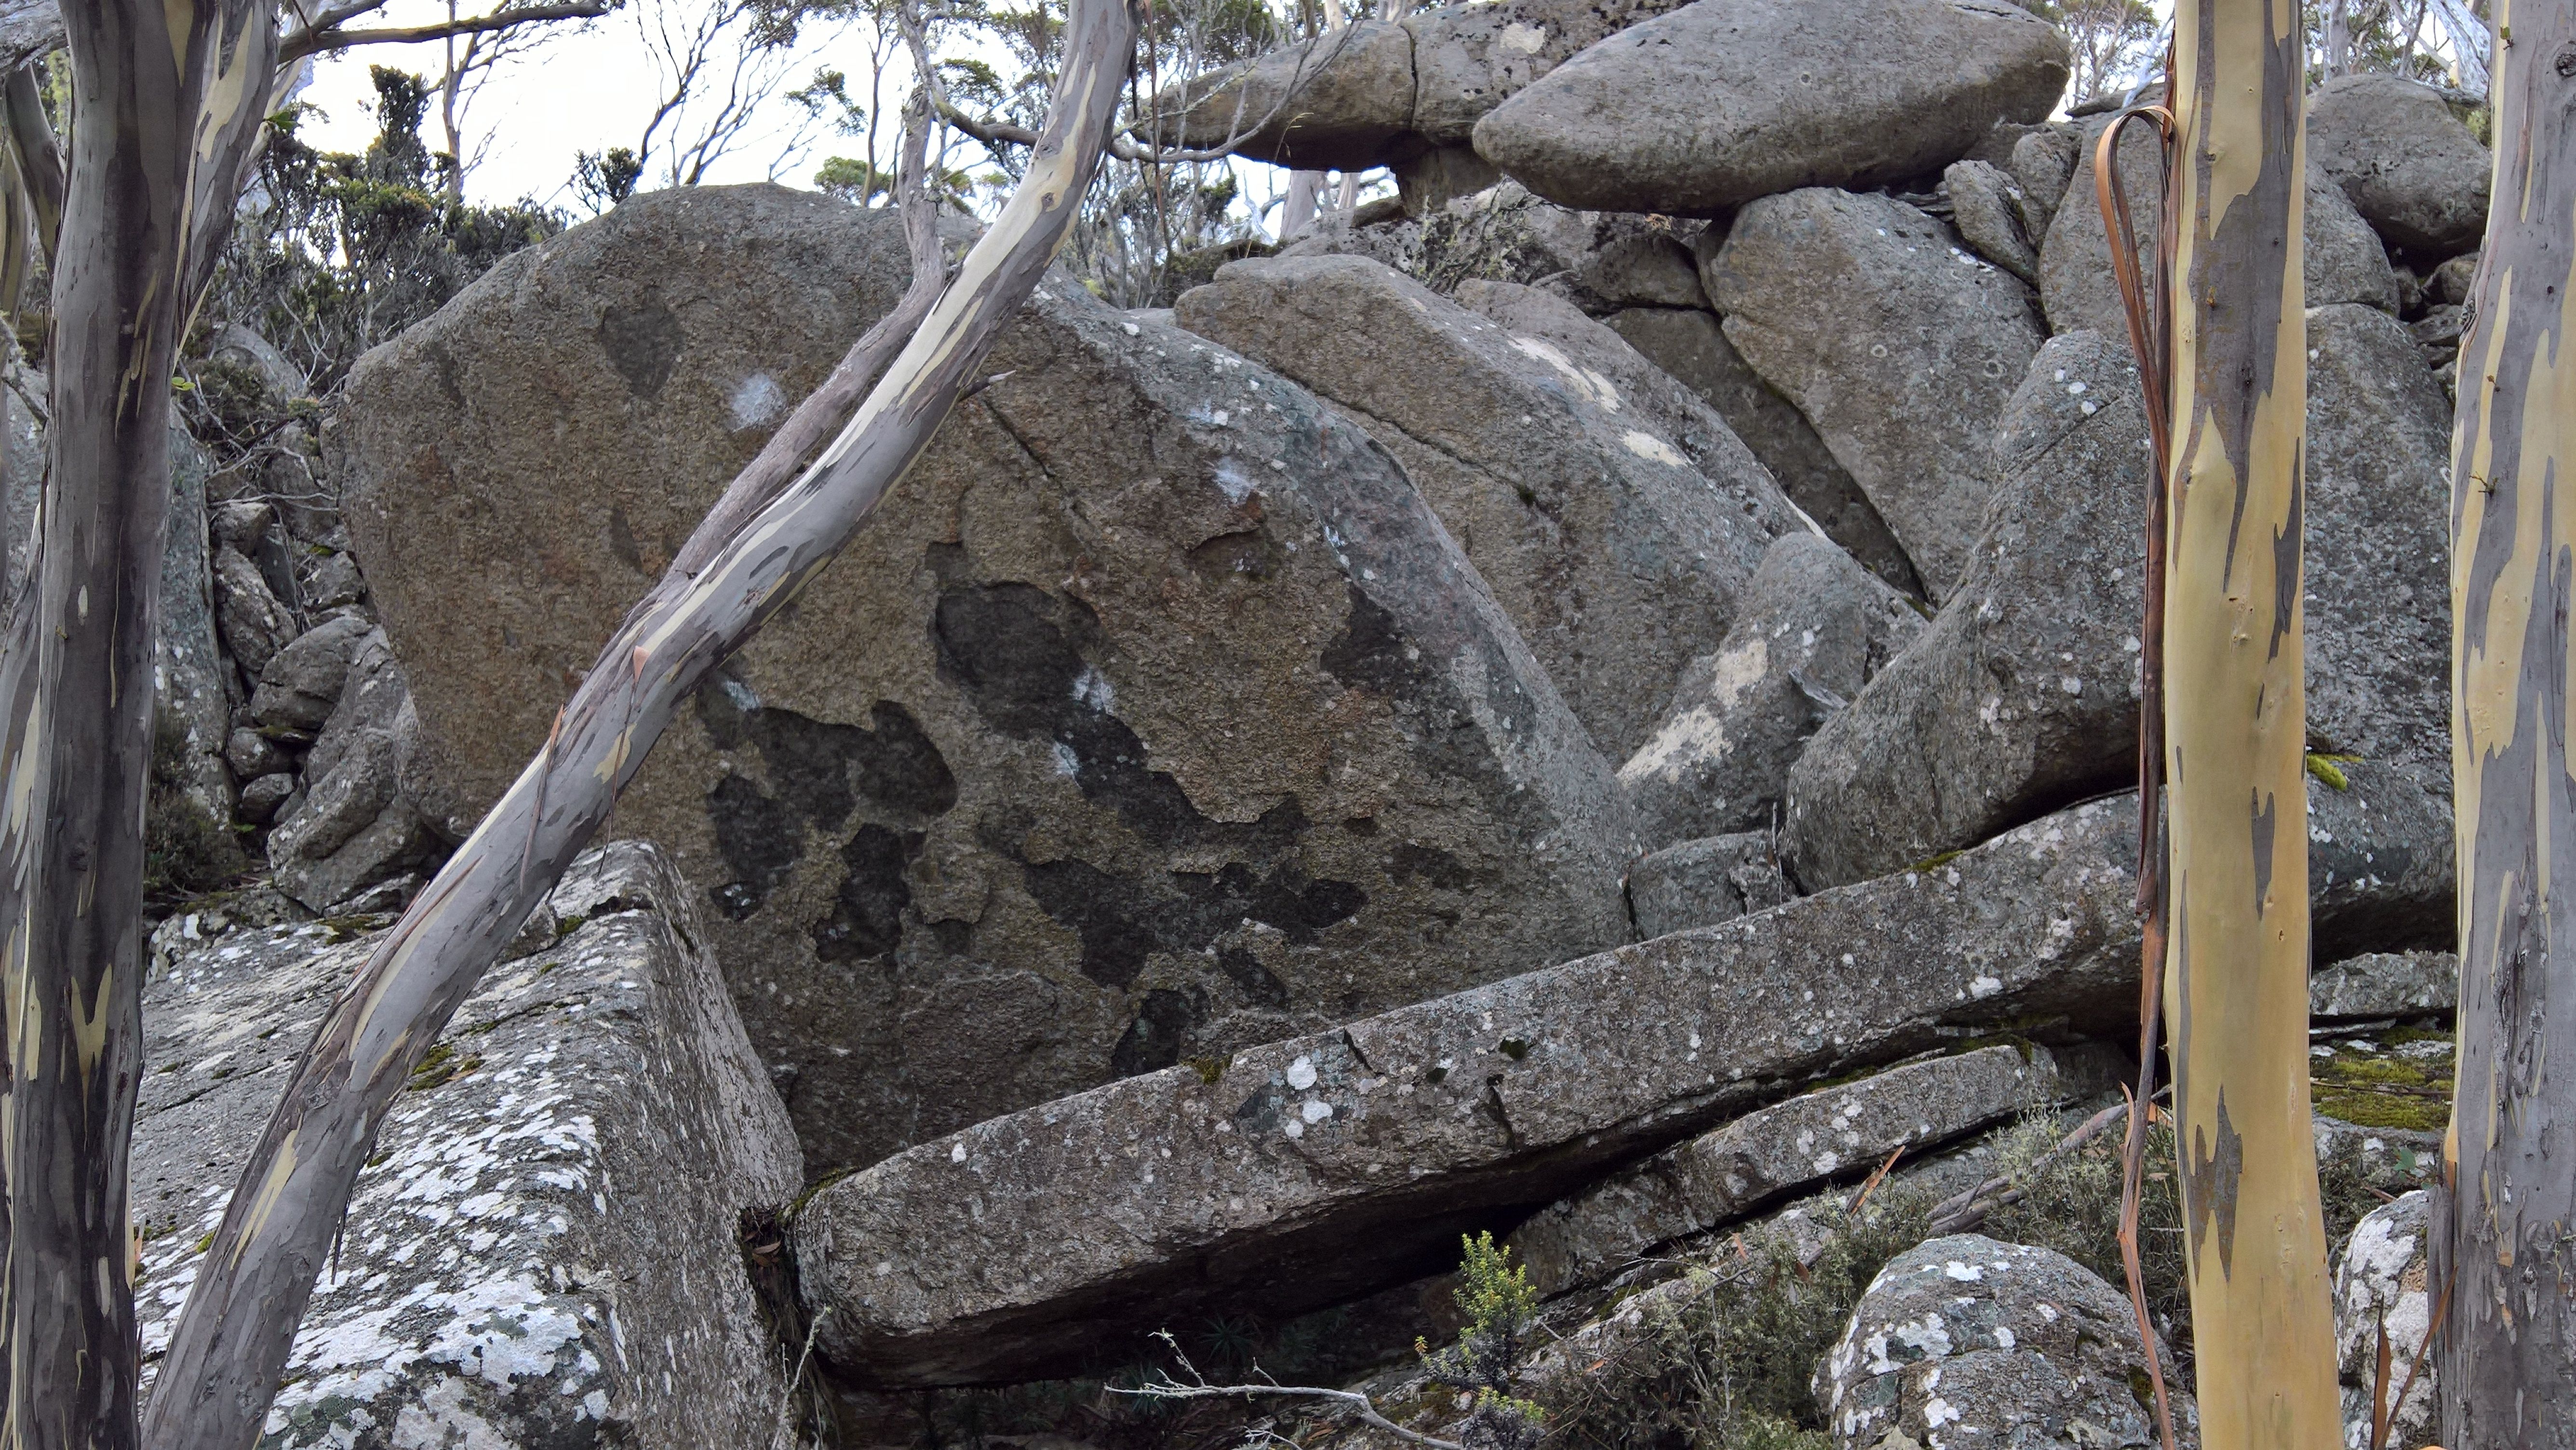
Start on the right, complete to the sitdown finish!
Start in the hole, climb the steep face on credit card crimps.
Twenty metres left of Up and Down is the Somme boulder.
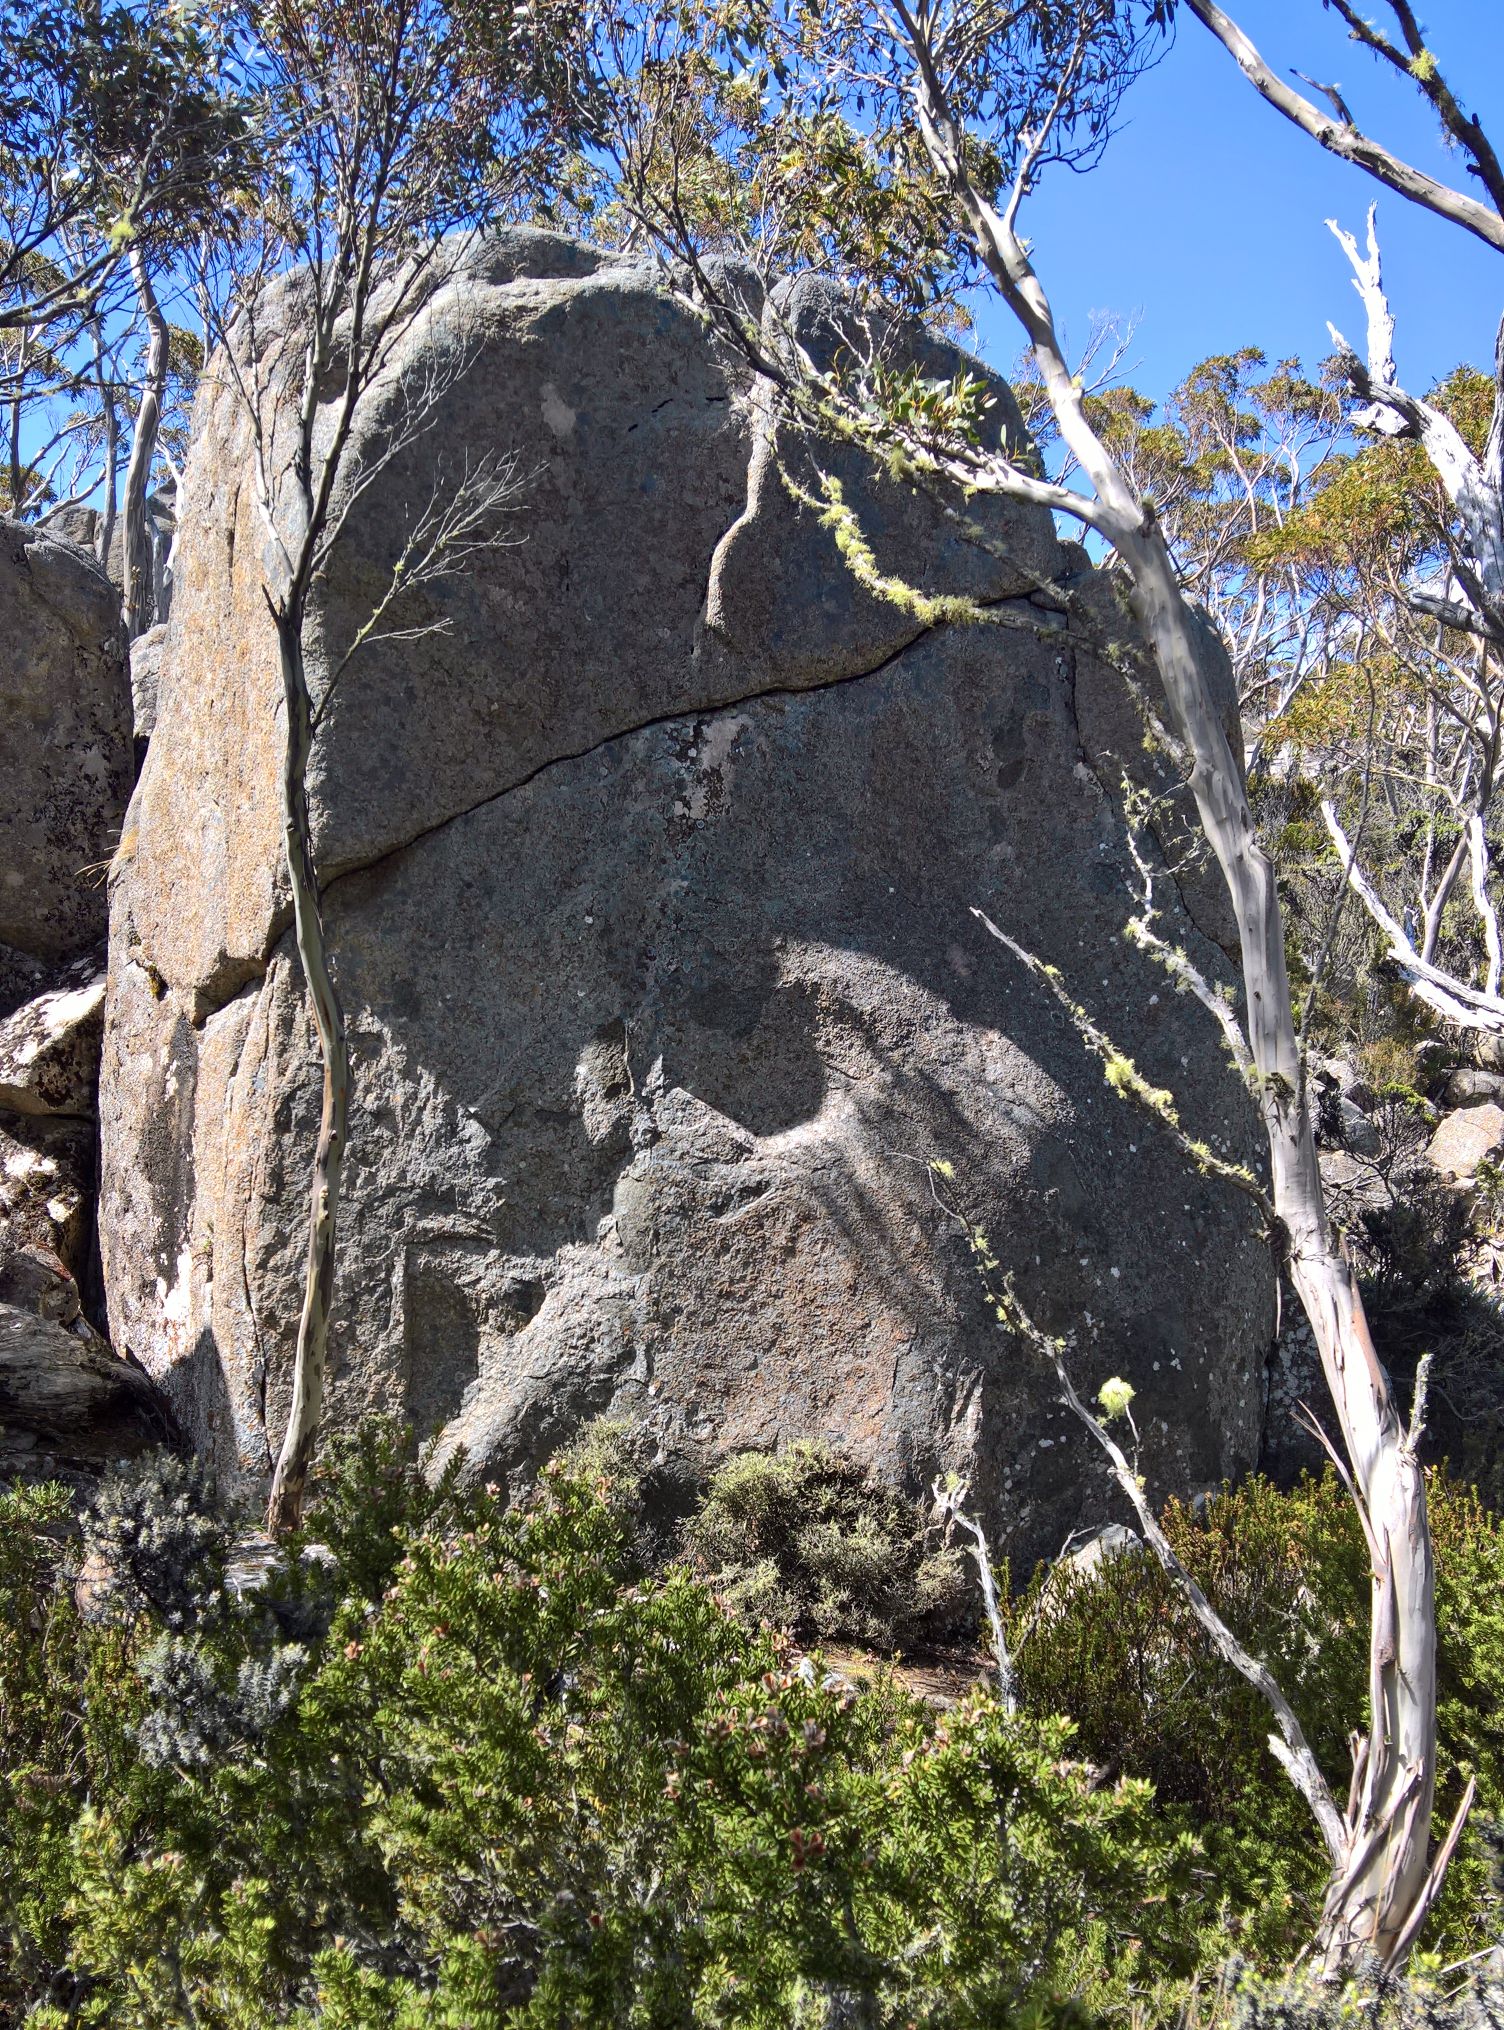
Arête.
Face left of centre.
Crack around the arête.
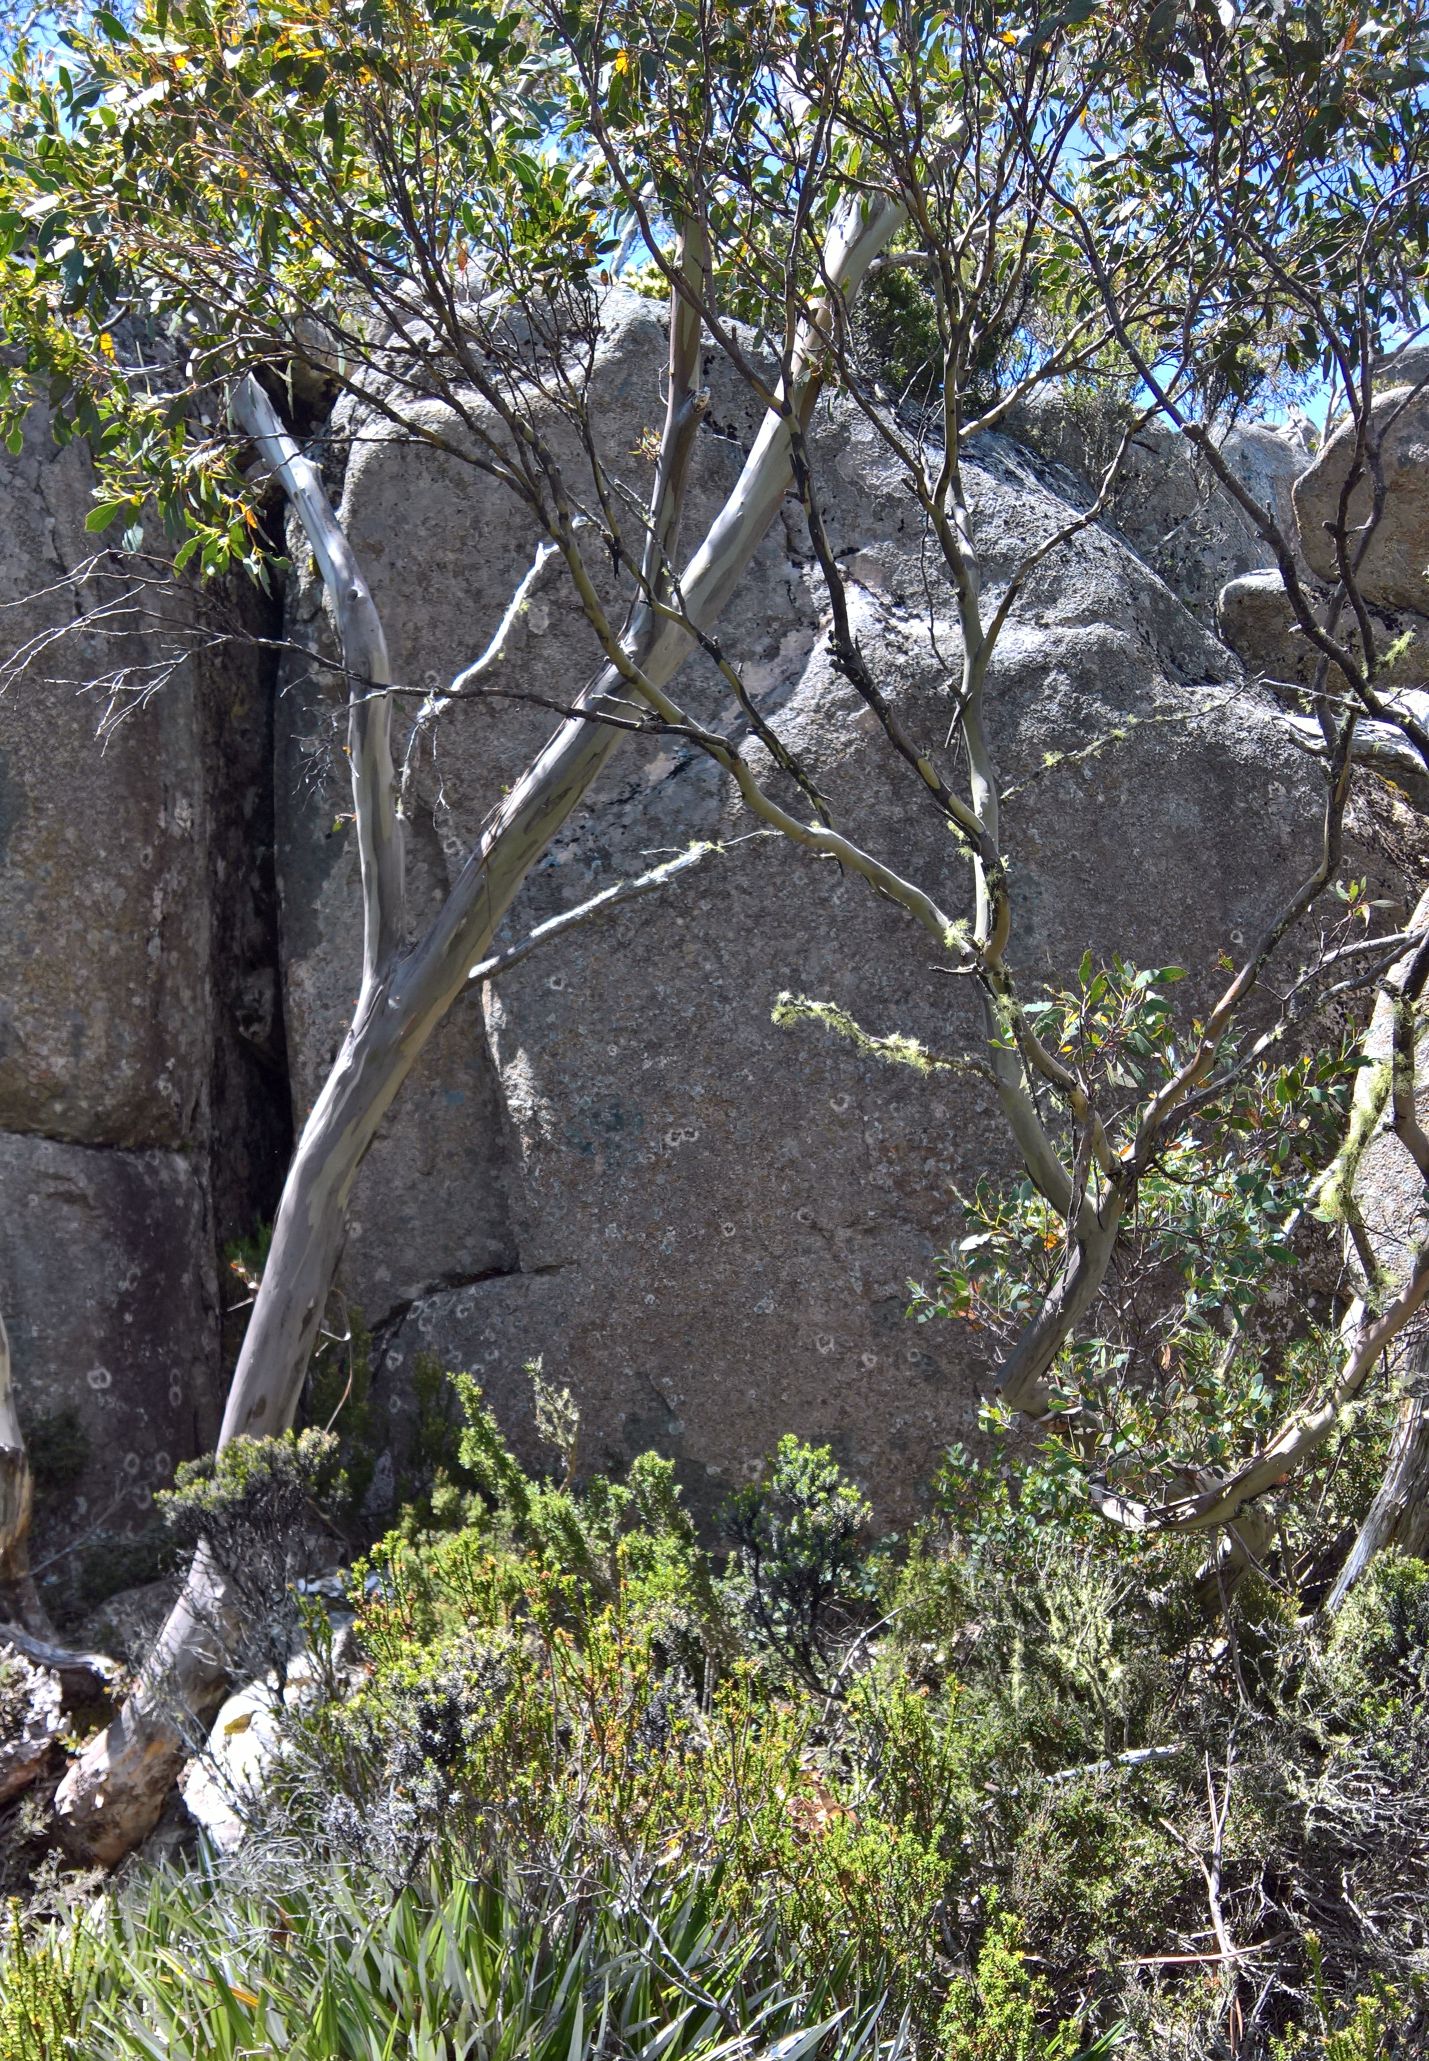
Face up middle using slopey ramp.
Slab between 2 ramps.
Arête left of Verdun.
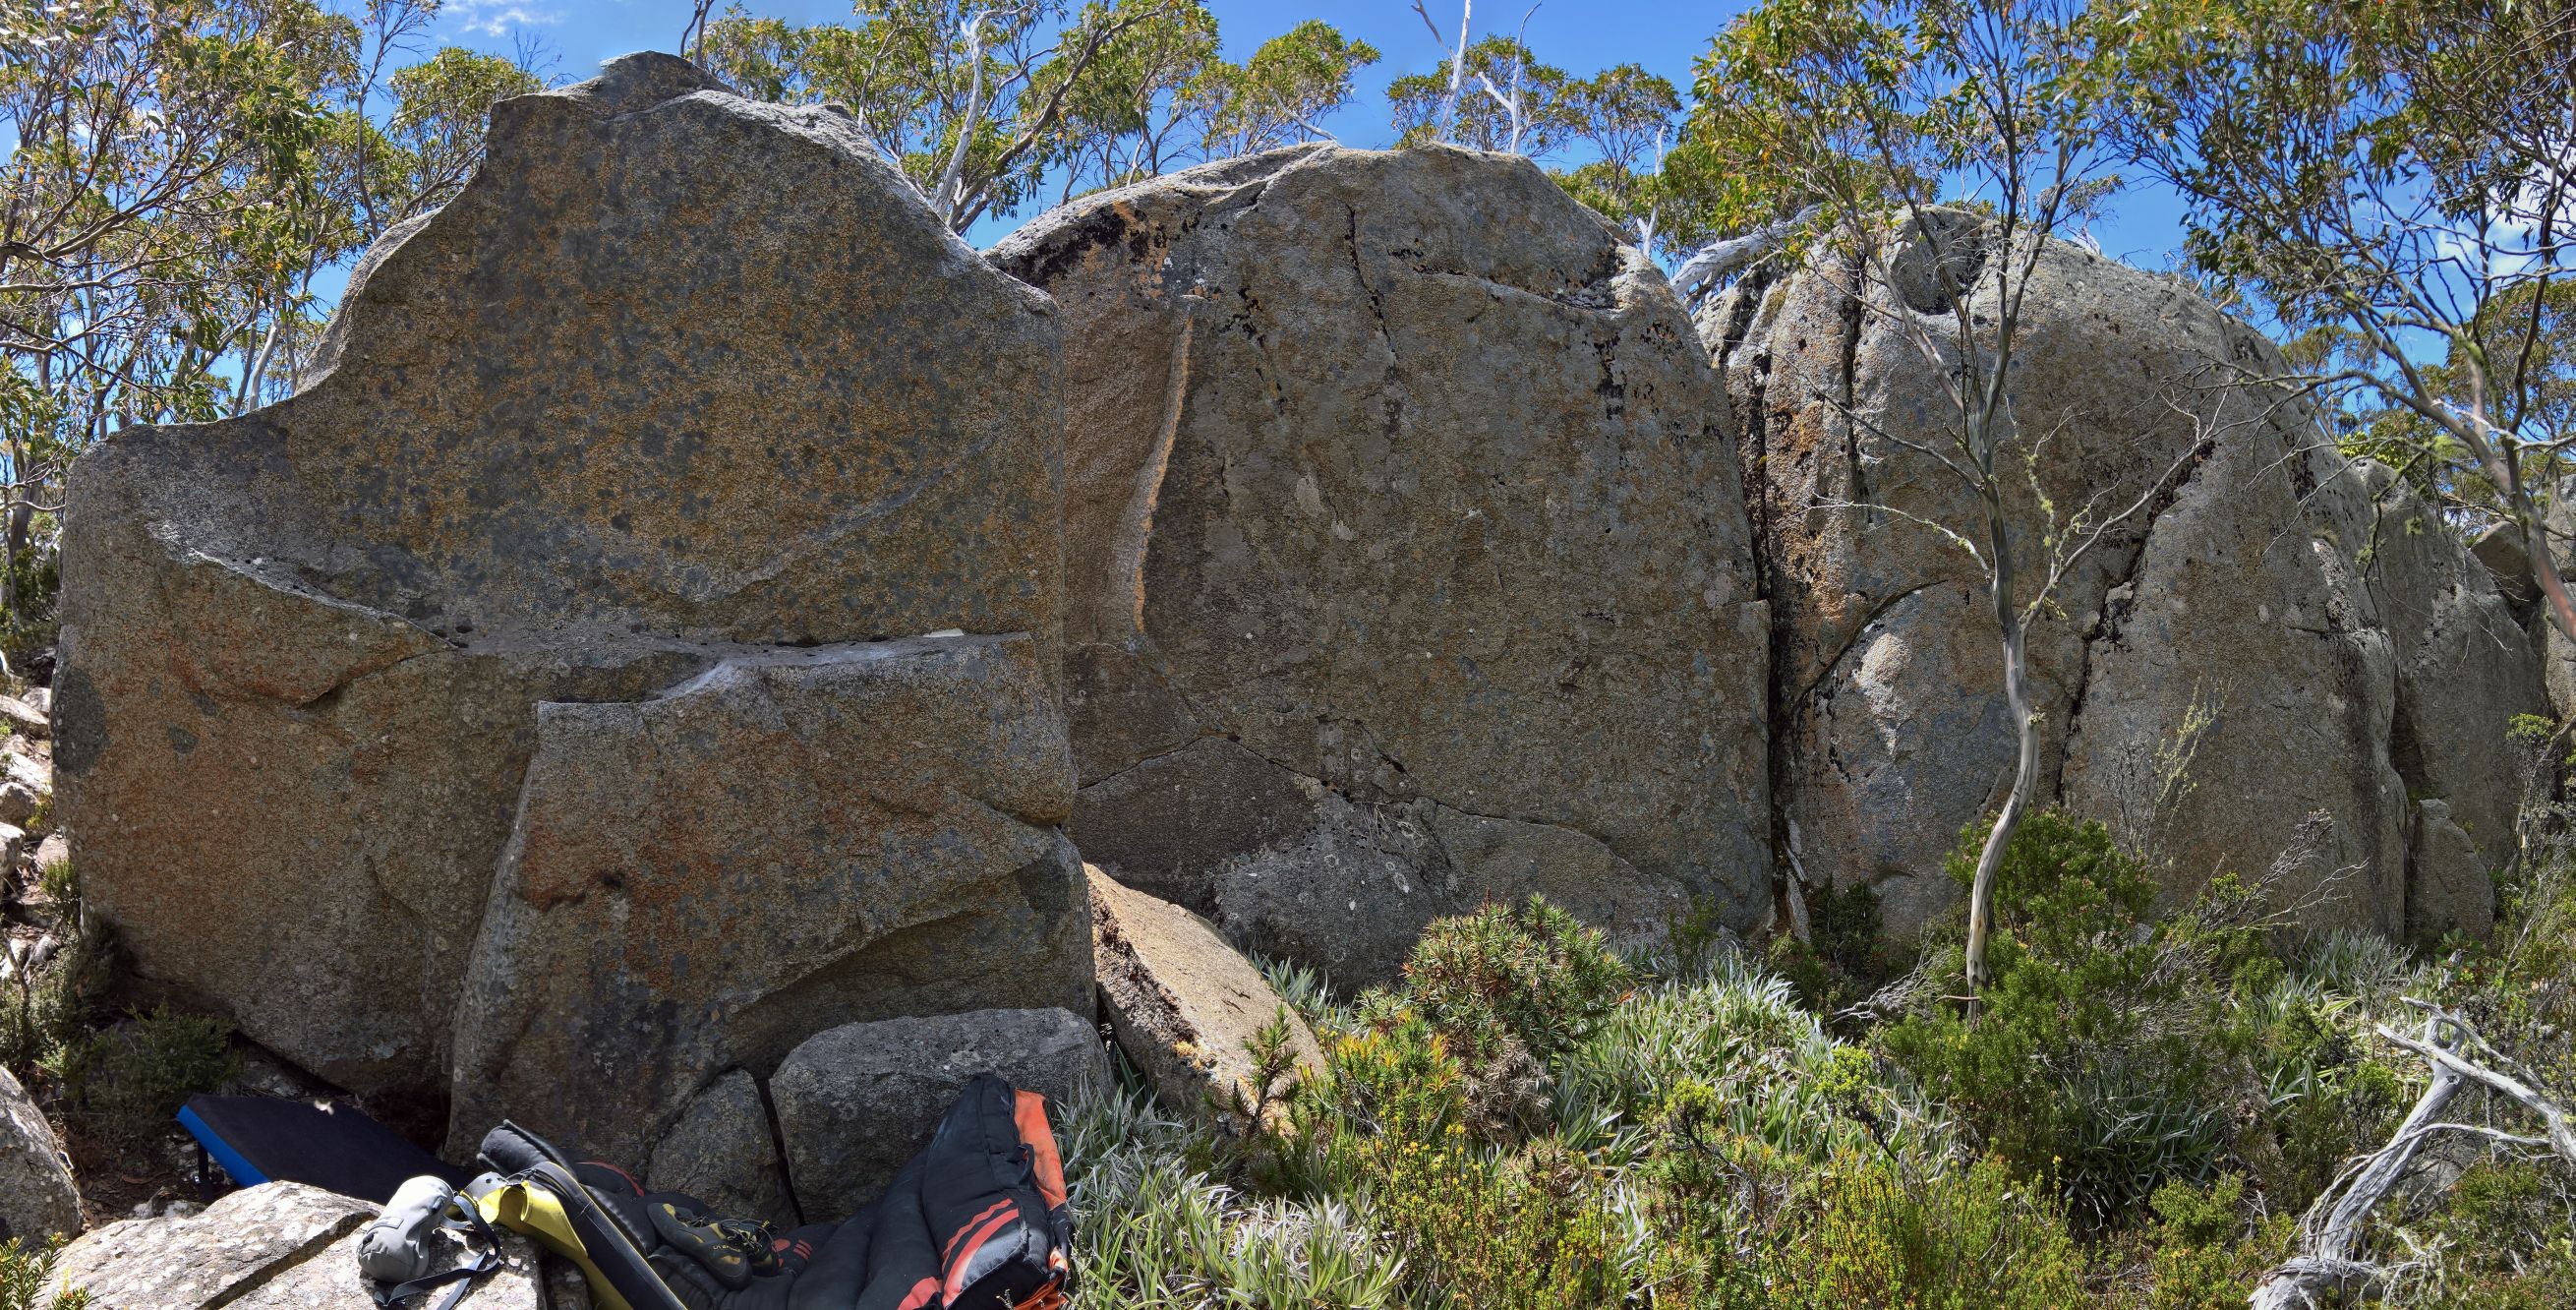
Start on jug and finish right.
Start on juggy rail and straight up.
Moving around to the left takes you up to the Skinless area.
Skinless Area
The Skinless area is the area with the hardest problems at the Western Front, Time Flies and the sit start to Passchendaele.
The Skinless boulder is a squat free standing boulder that sits on a small plateau bordered by a series of buttresses.
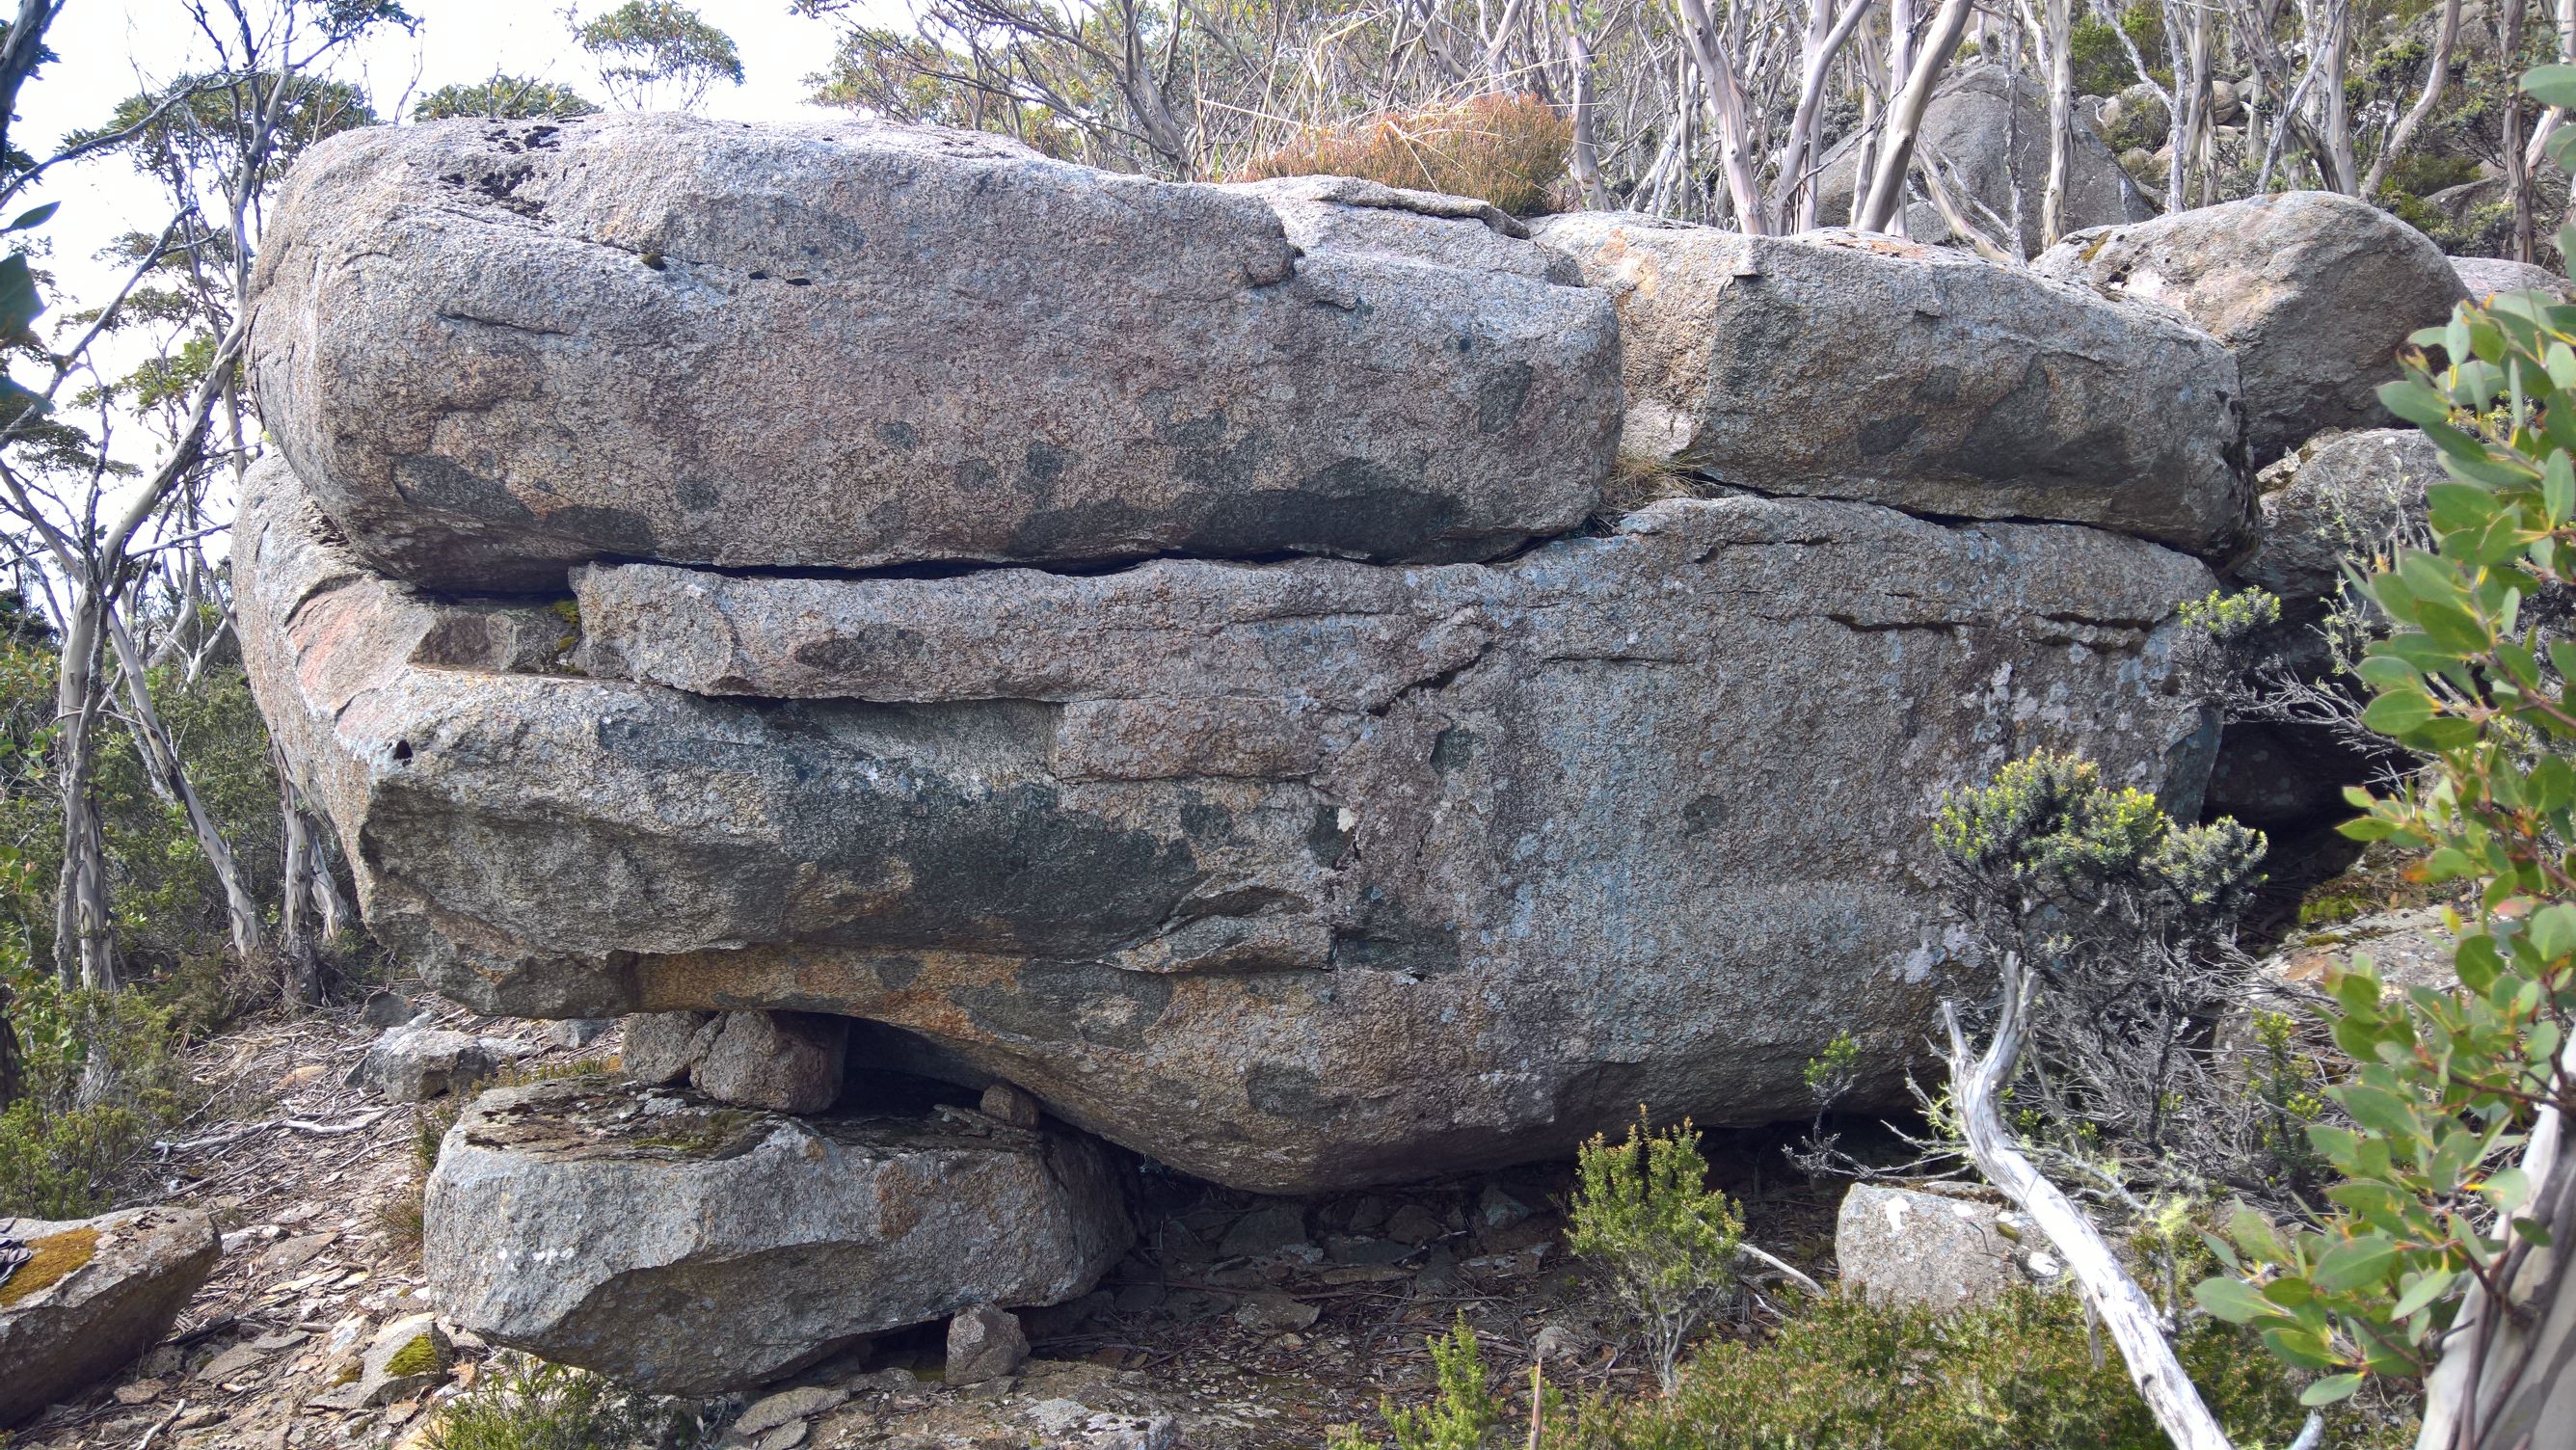
Traverse horizontal break from far right around arête then finish as for Skinless(?).
SDS off jug then left to arête and up, avoid block.
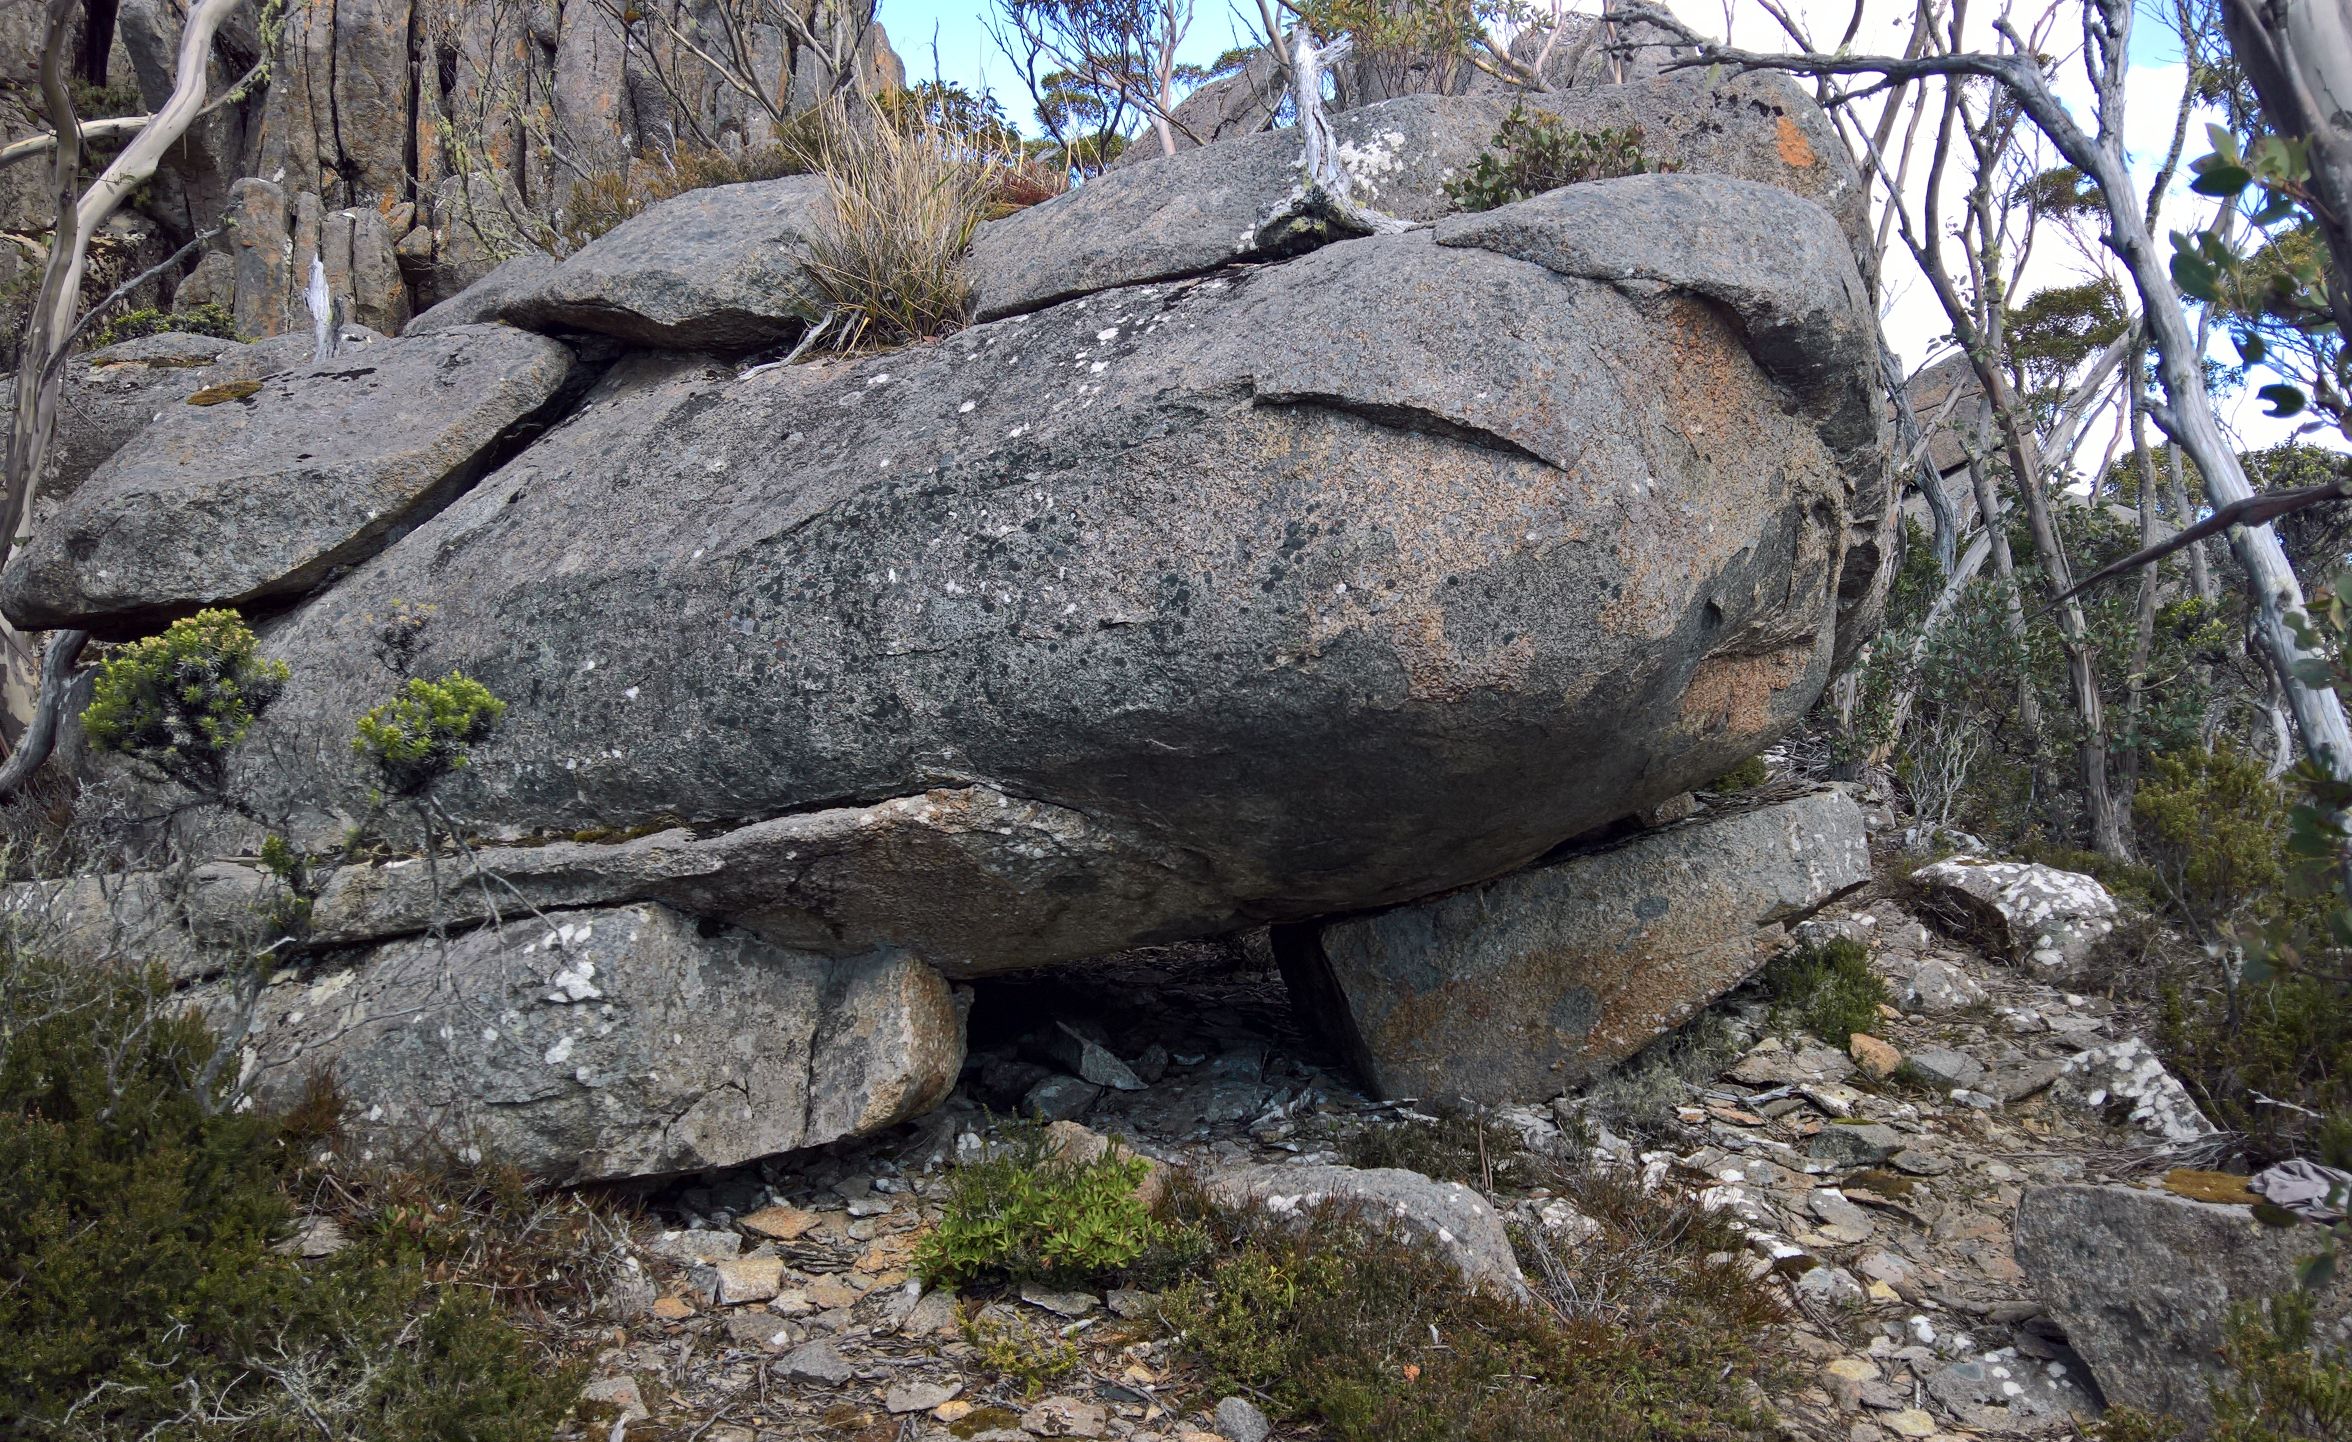
Sitstart on rail then right around arête on slopes then up. Don't use jugs at top until the finish.
Sitstart on rail then straight up on slopes.
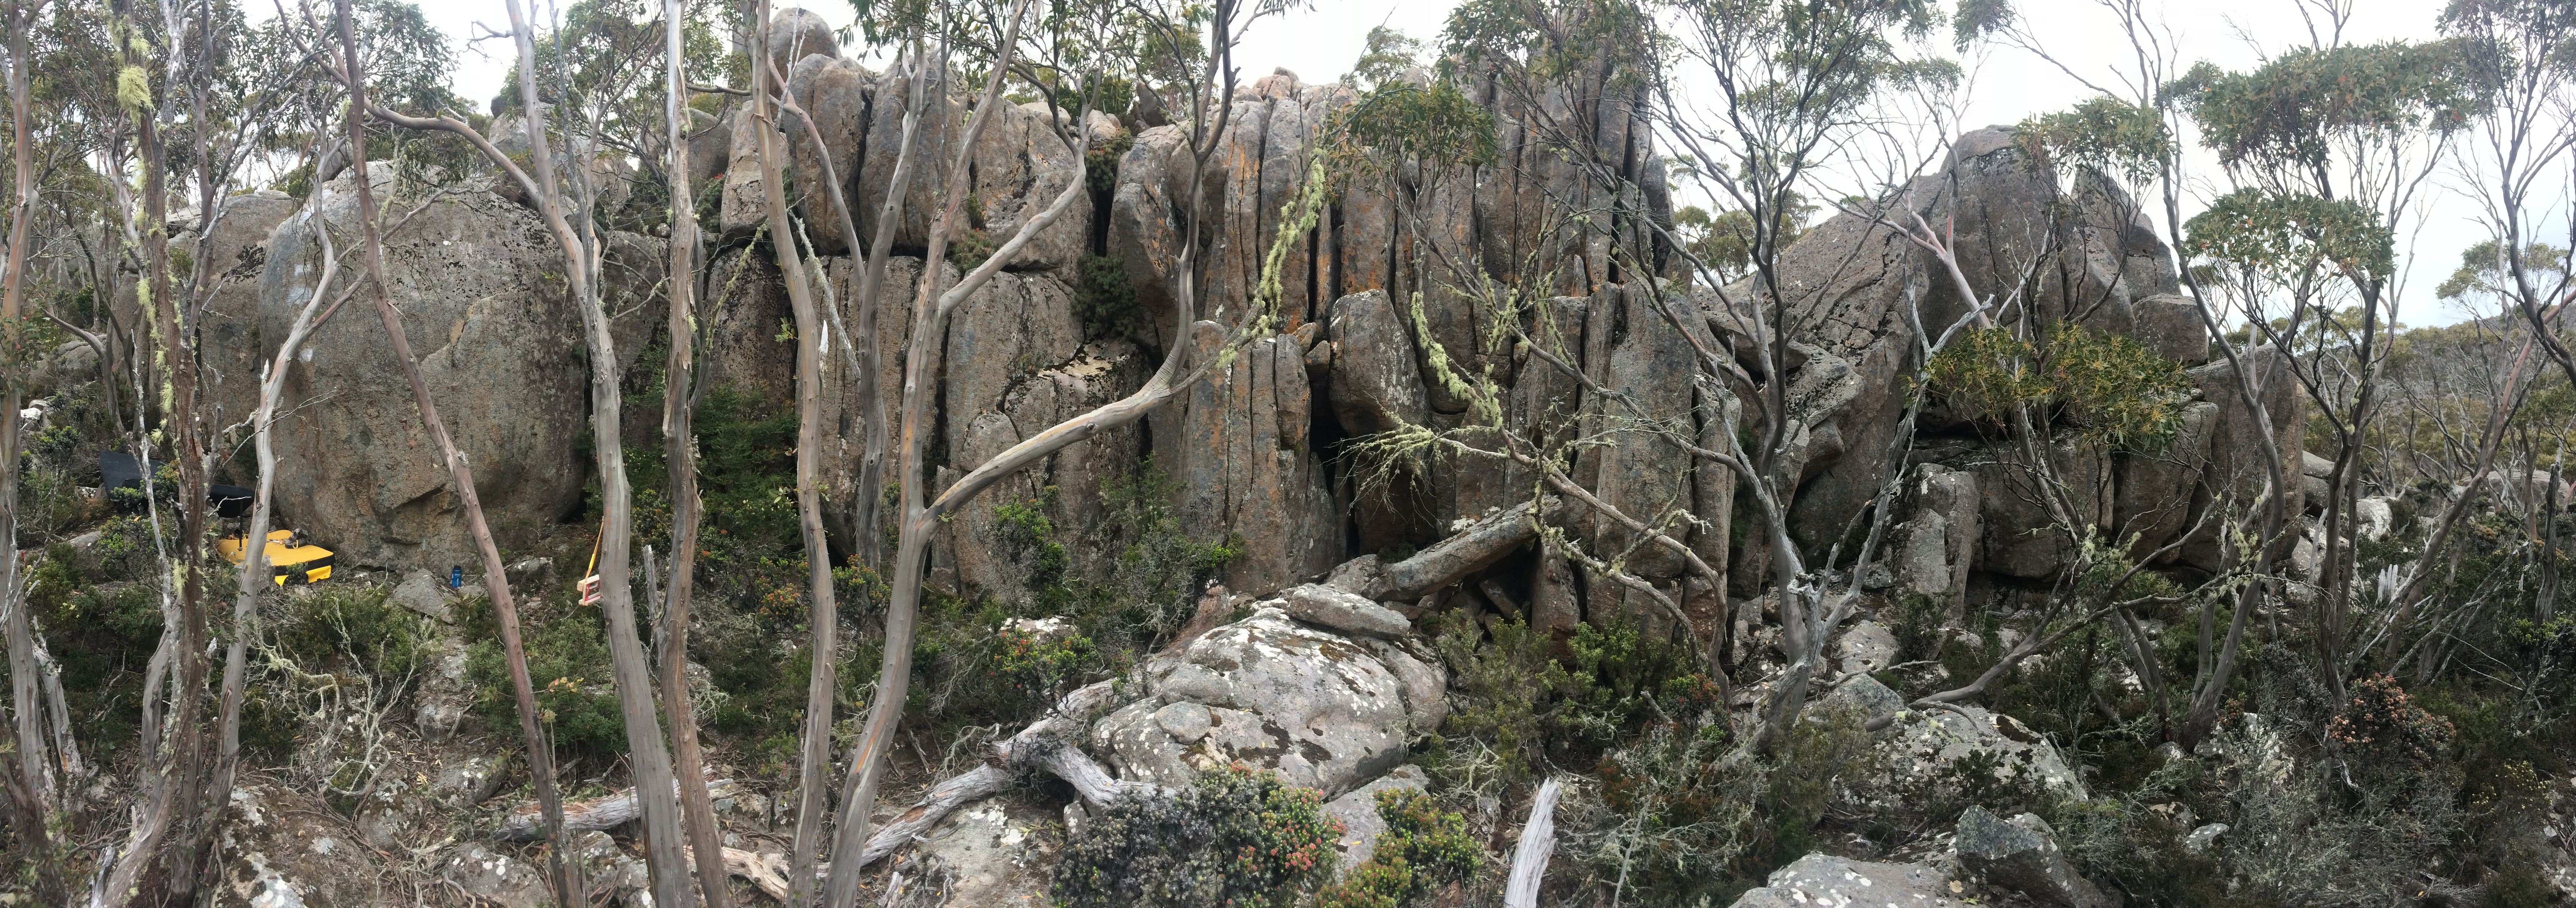
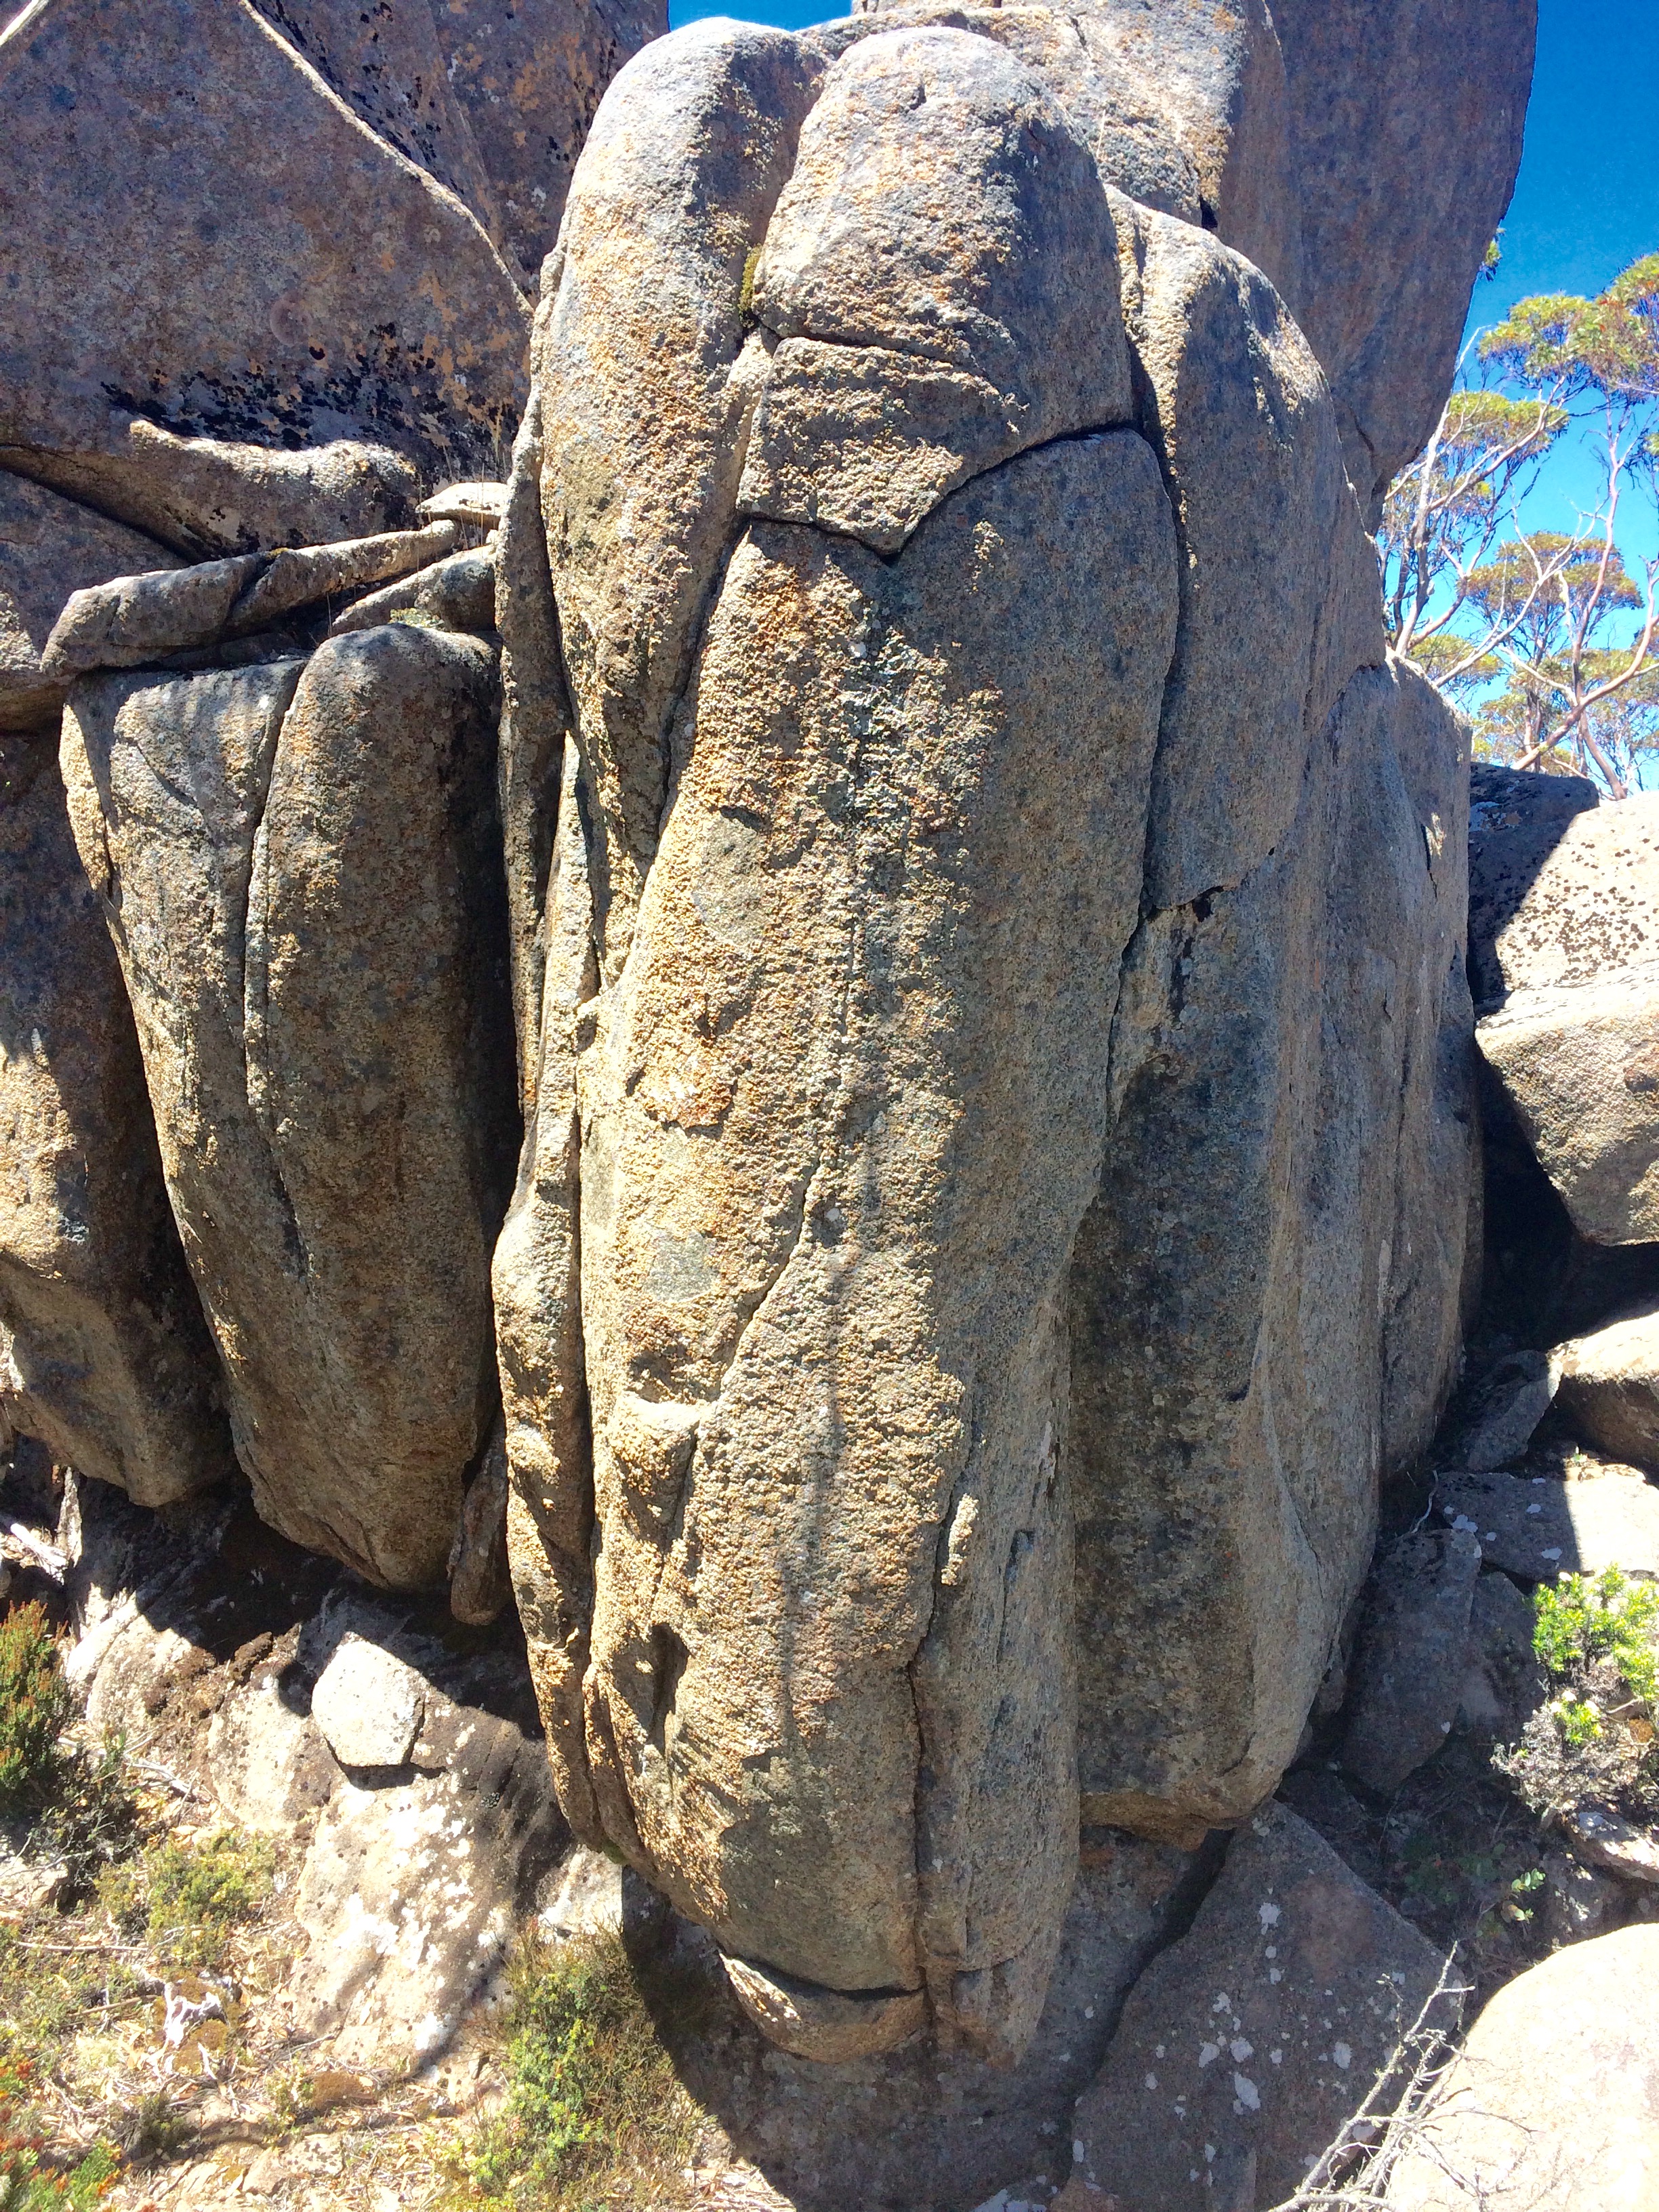
Corner.
Up front of prow.
Up flakes.
Stand start on the boulder, climb the flake and top out. Easy, but poor landing.
M Hitchcock 2018
Behind the Capitan Scary-Pants boulder, there is a small cave. The next boulder lives in there.
An interesting start at the bottom of the cave. Long moves out though jugs quickly lead to a mantel.
M Hitchcock 2018
Sit start in the corner. Stem, jam, and jug haul your way out and up.
M Hitchcock 2018
Sit start the easy arête. Top out is hairy, but solid.
M Hitchcock
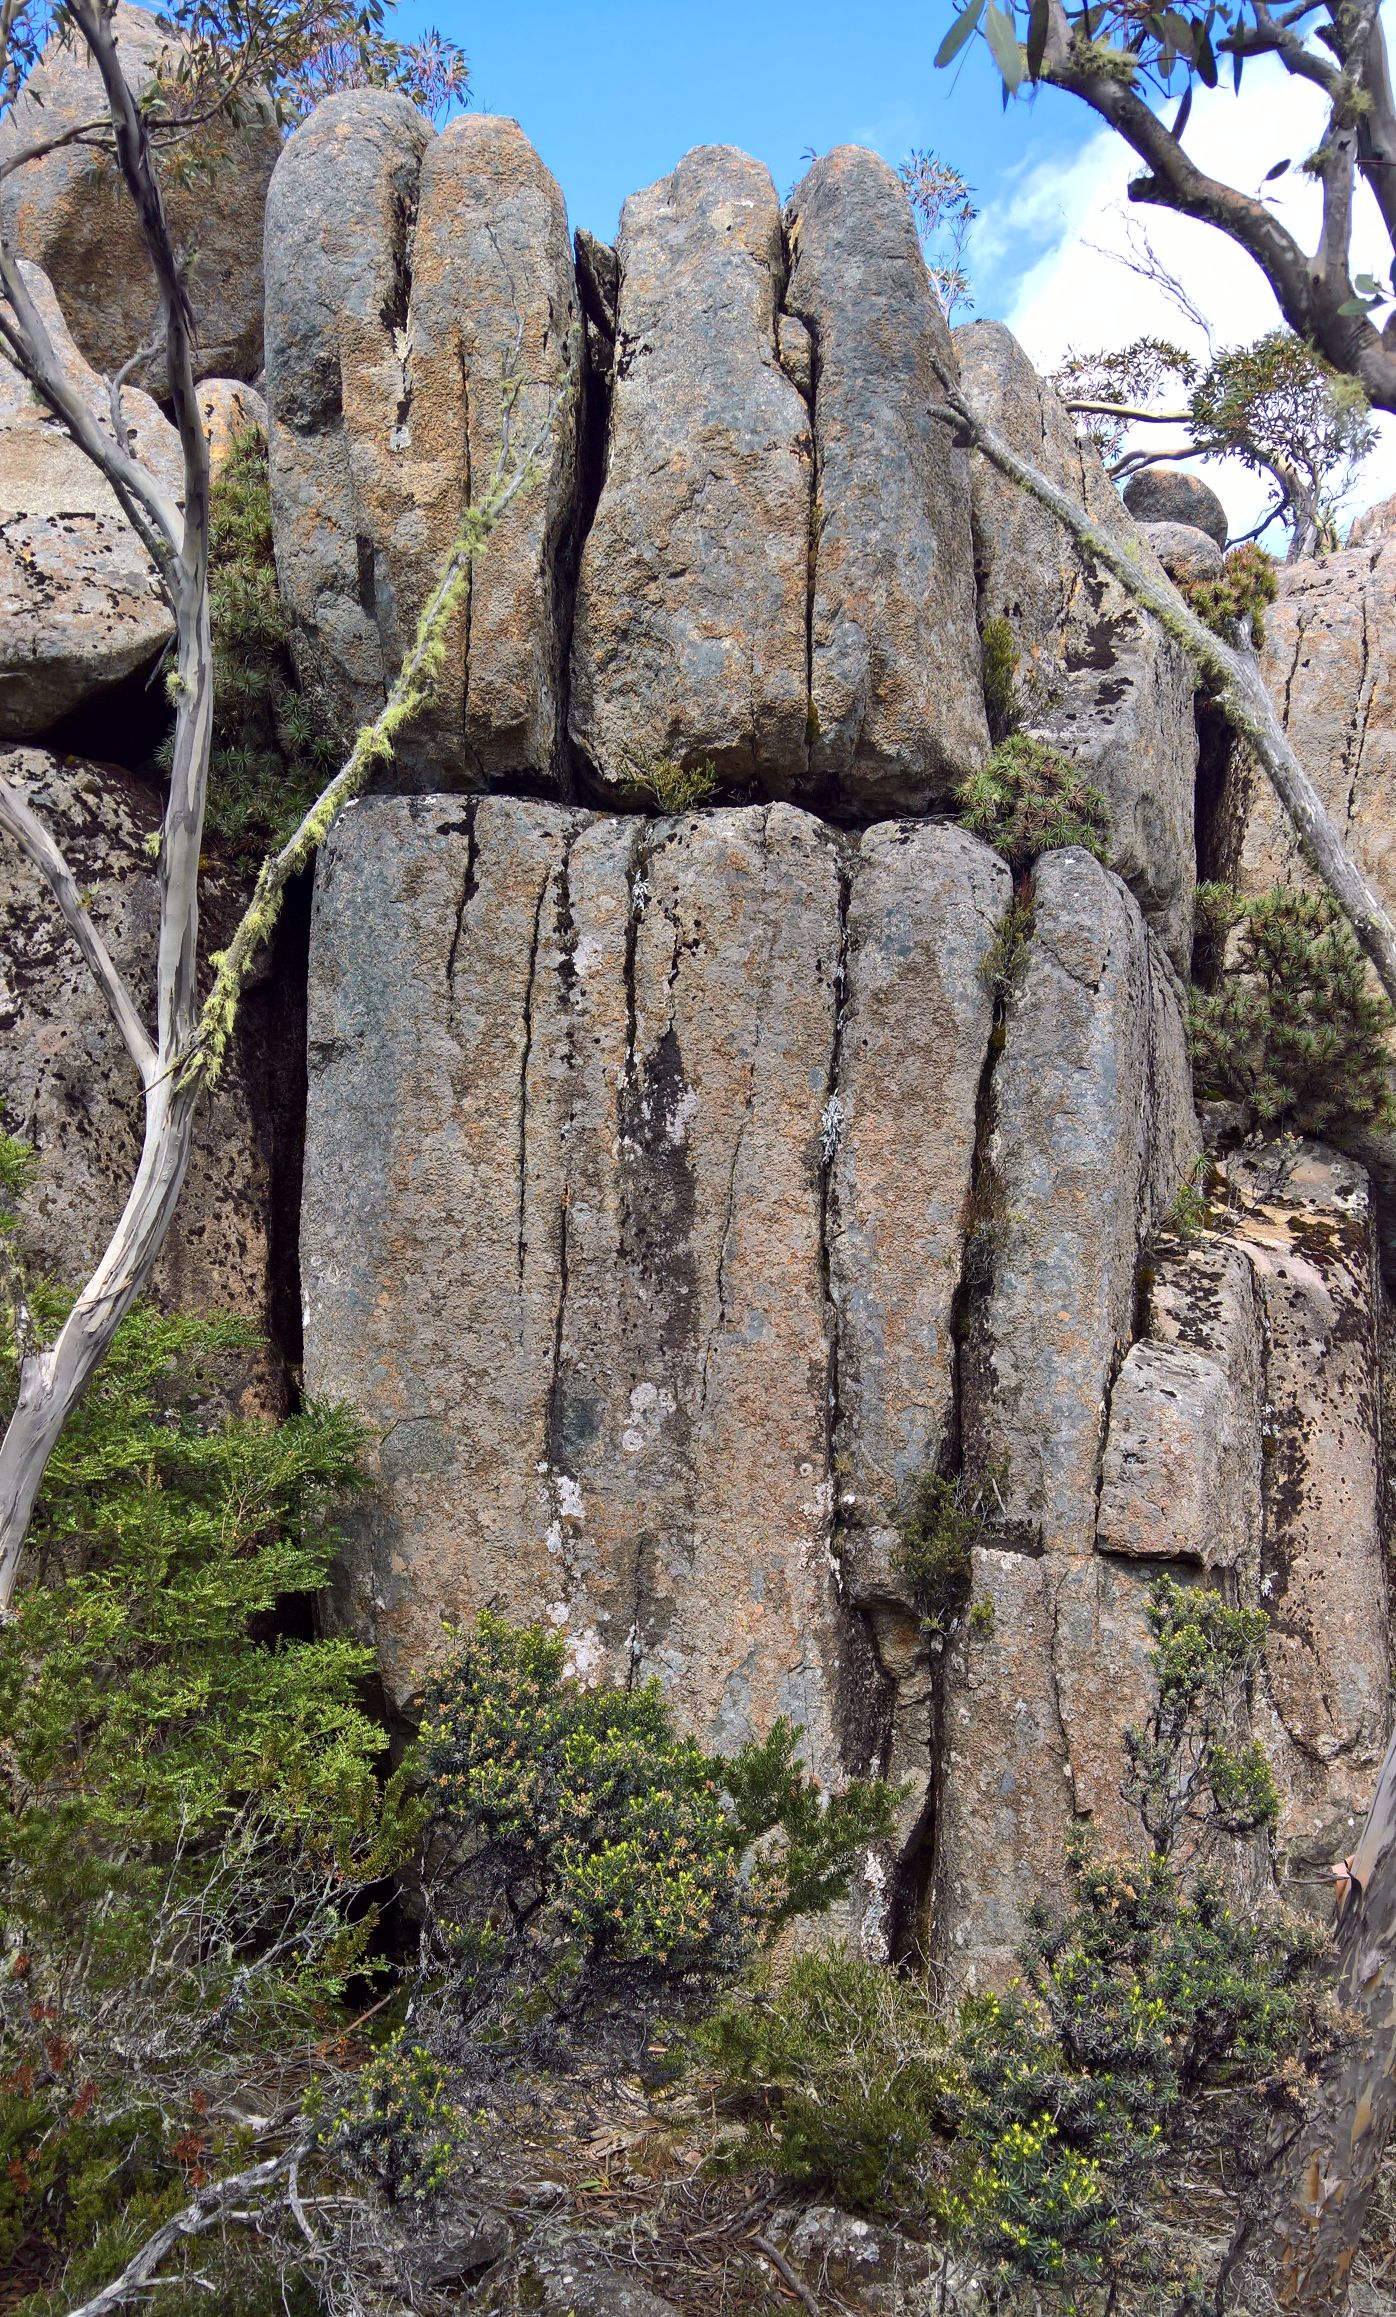
Thin vertical cracks up face. Originally done as a stand start (V3), a sit start was added in 2018 (V5).
M Hitchcock 2018 (added SDS)
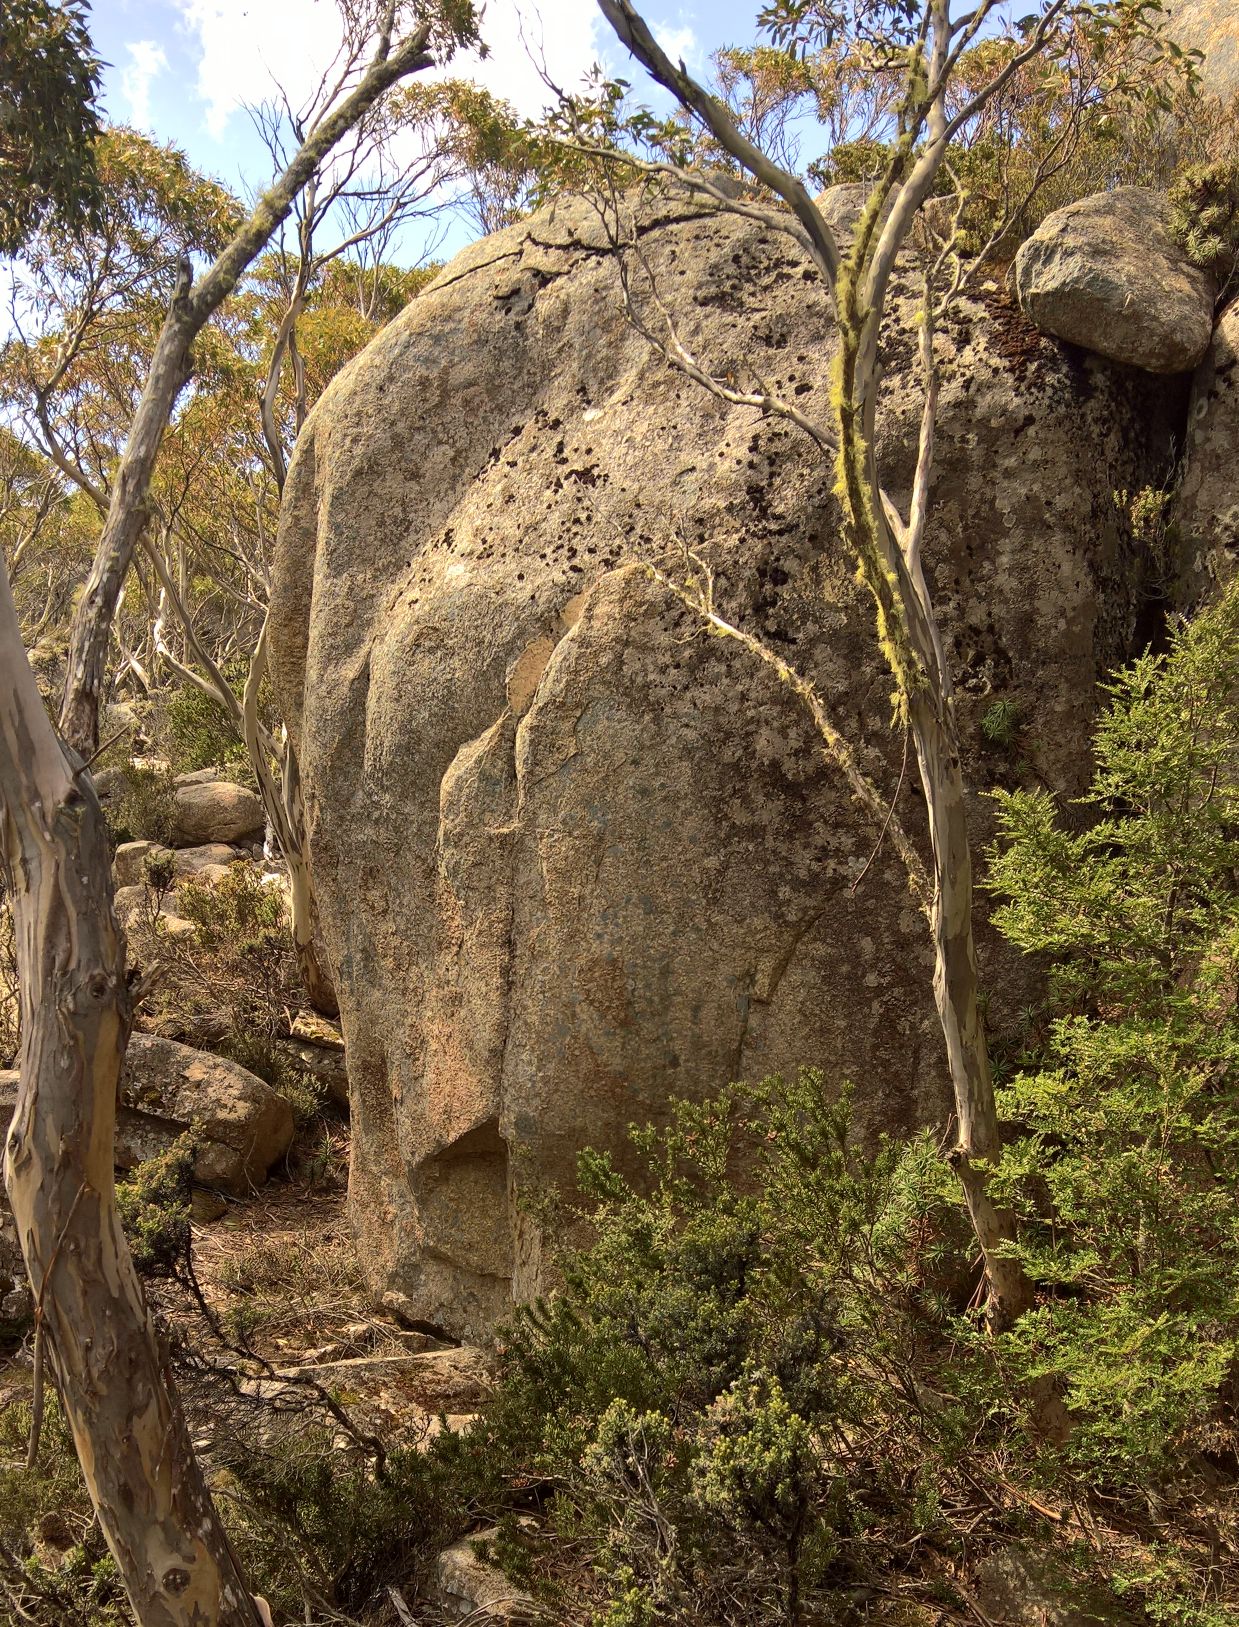
Stand start to the right, up to incut then long balancey reach to top.
Sit start to Passchendaele from down left.
The very slopey bulge, head up and right.
Ten metres up and left of Time Flies is Shell Shock.
Shell Shock
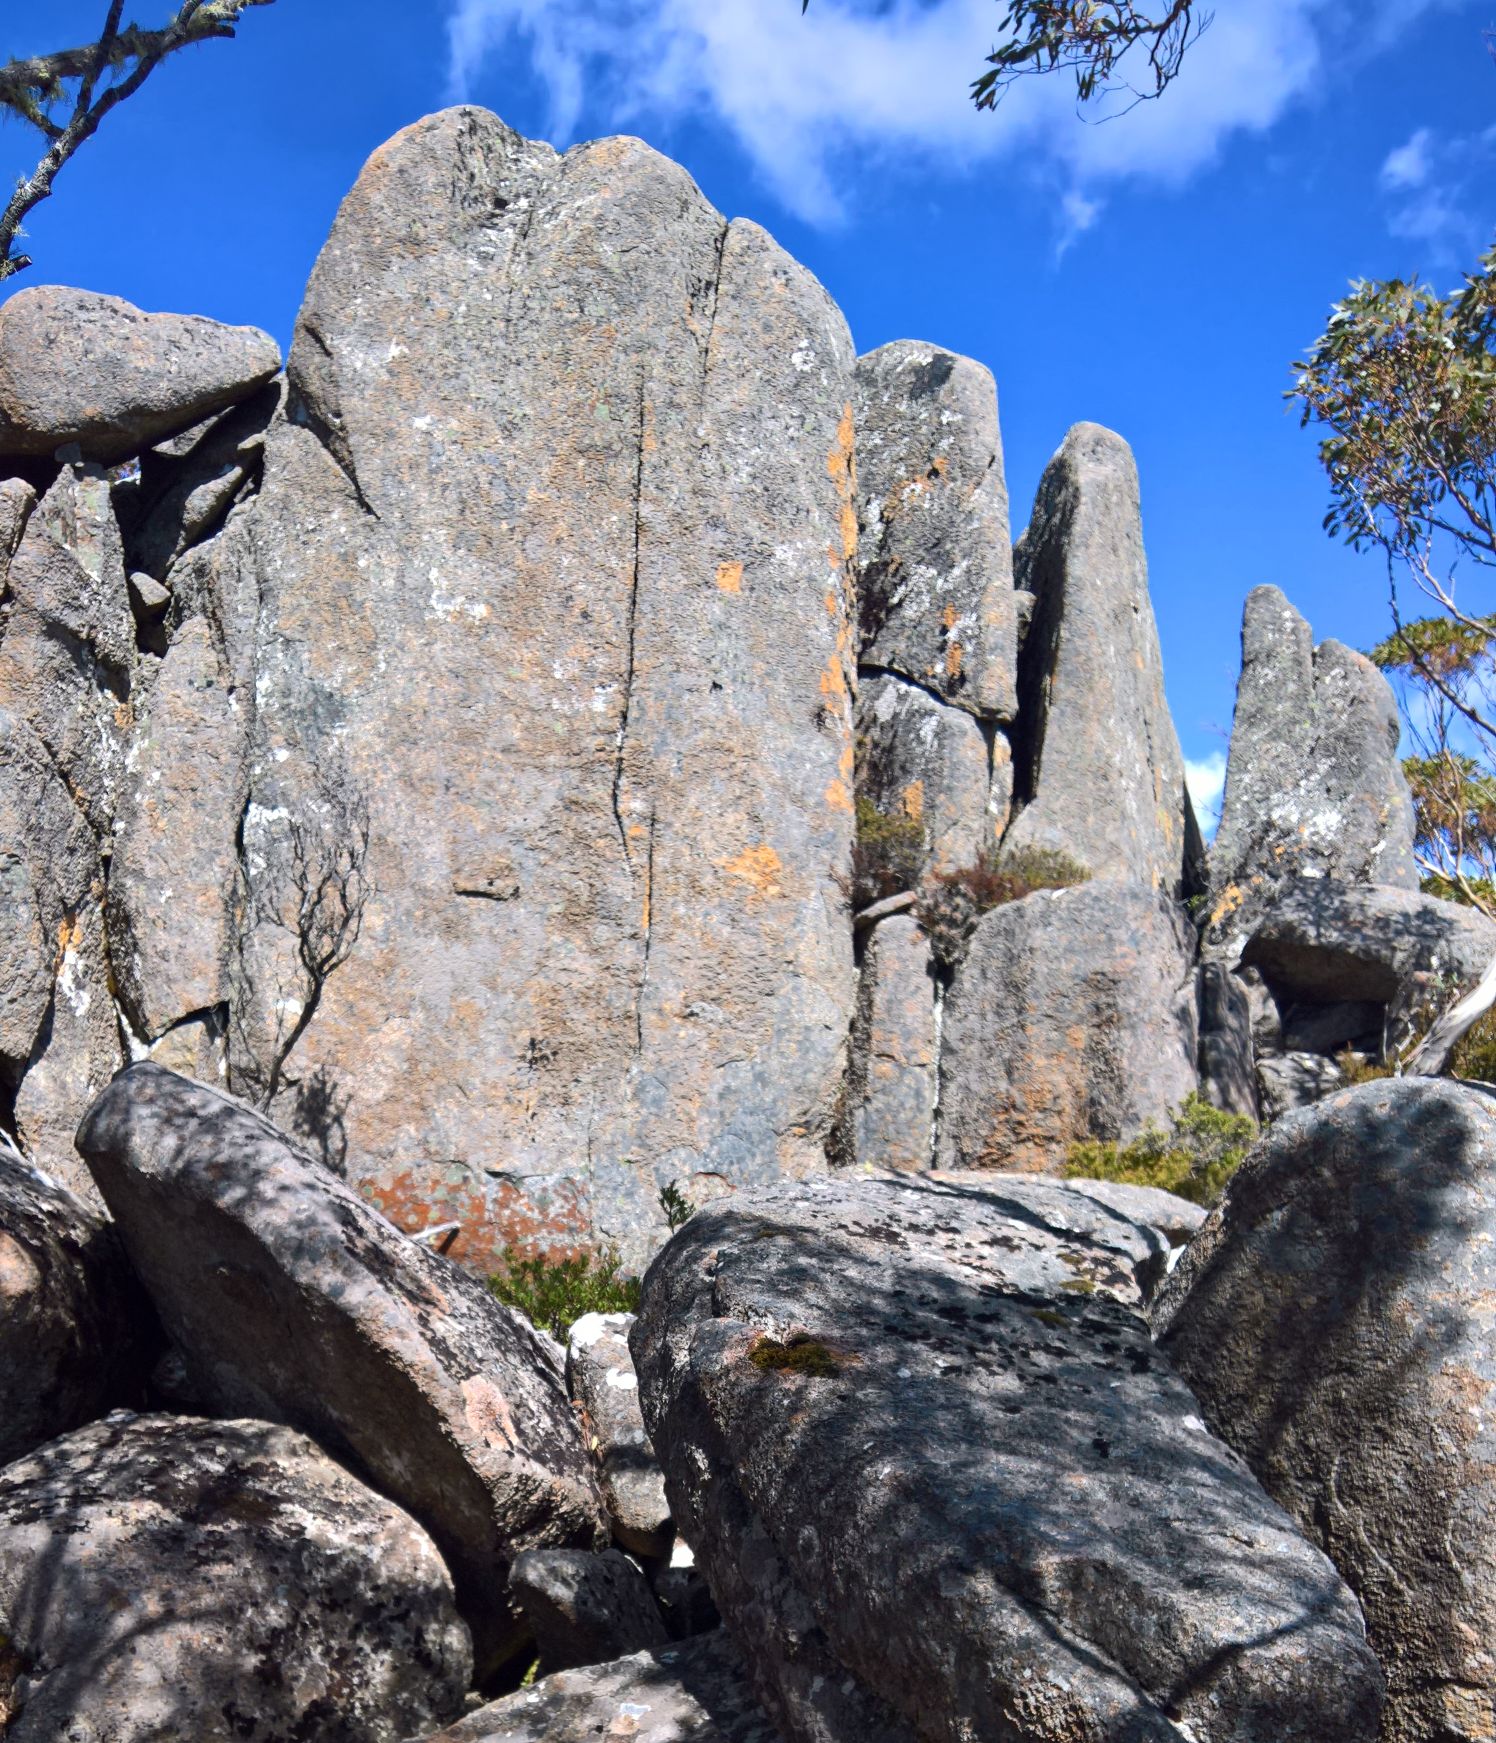
Thin shallow crack in middle of face of boulder right at top of hill. Only use crack.
The Lost Front
The Lost Front is an area to the north west of the Western Front. It comprises a main tier and some isolated boulders and outcrops.
To access, follow the western (left) most tracks from the road. Continue around to under the hut, then head west to the patch of scree at the top of the first tier. Head down from there.
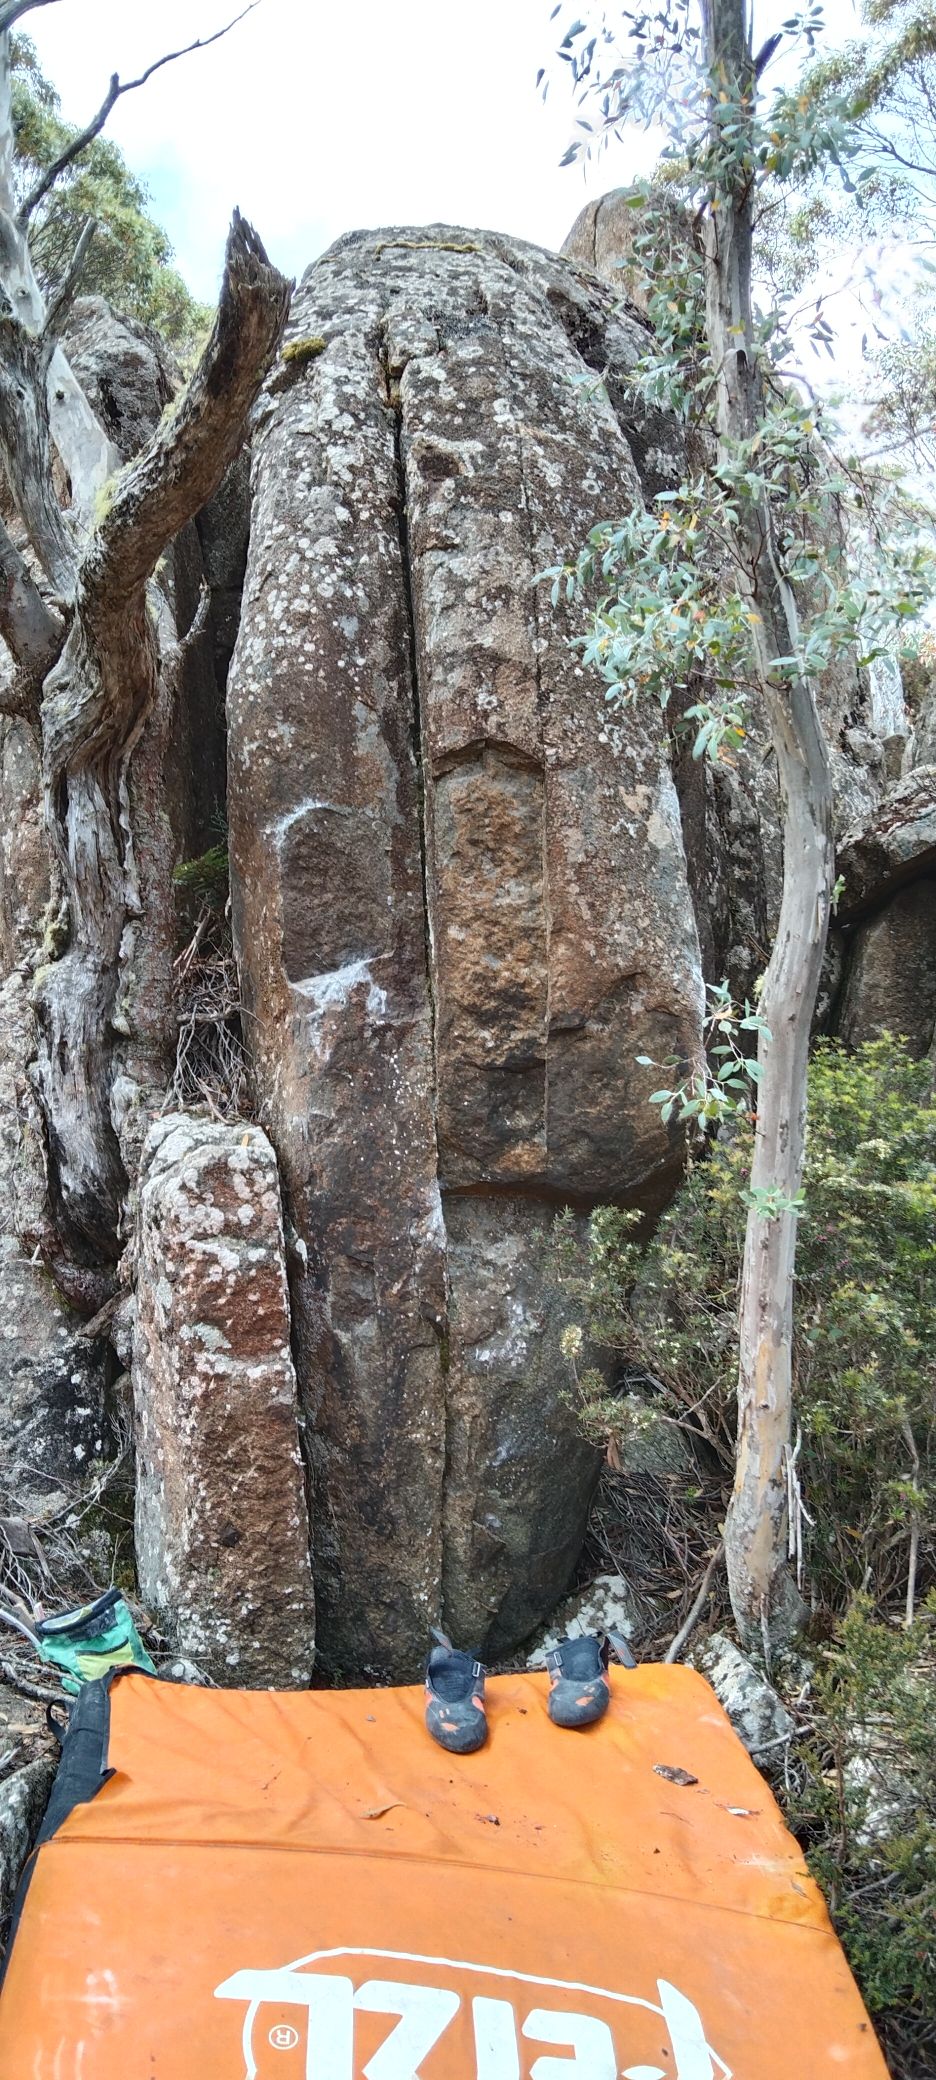
Ignore the side pillar.
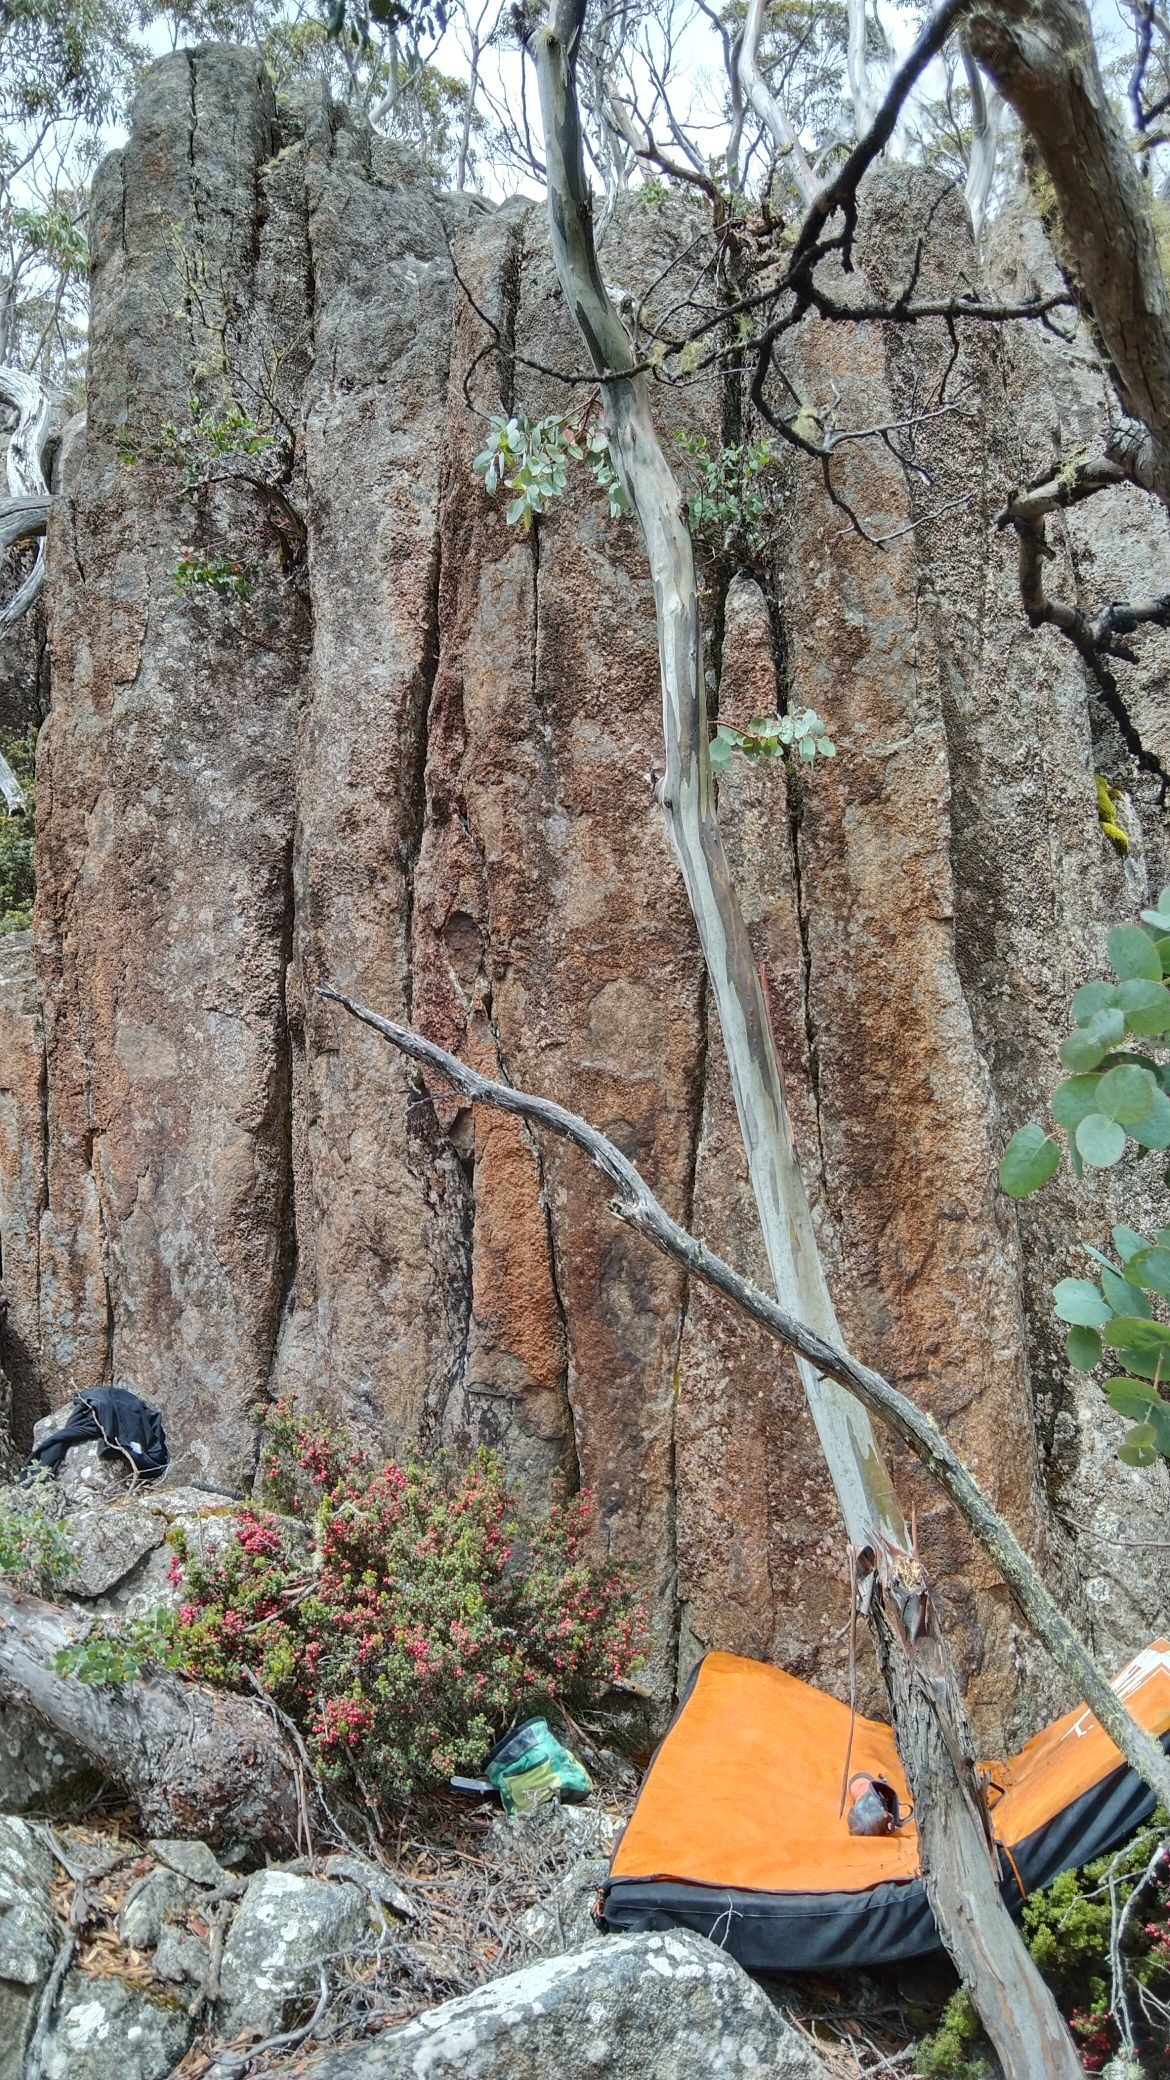
Straight up the crack.
Follow the layaways to the top, trending left.
Follow the arête.
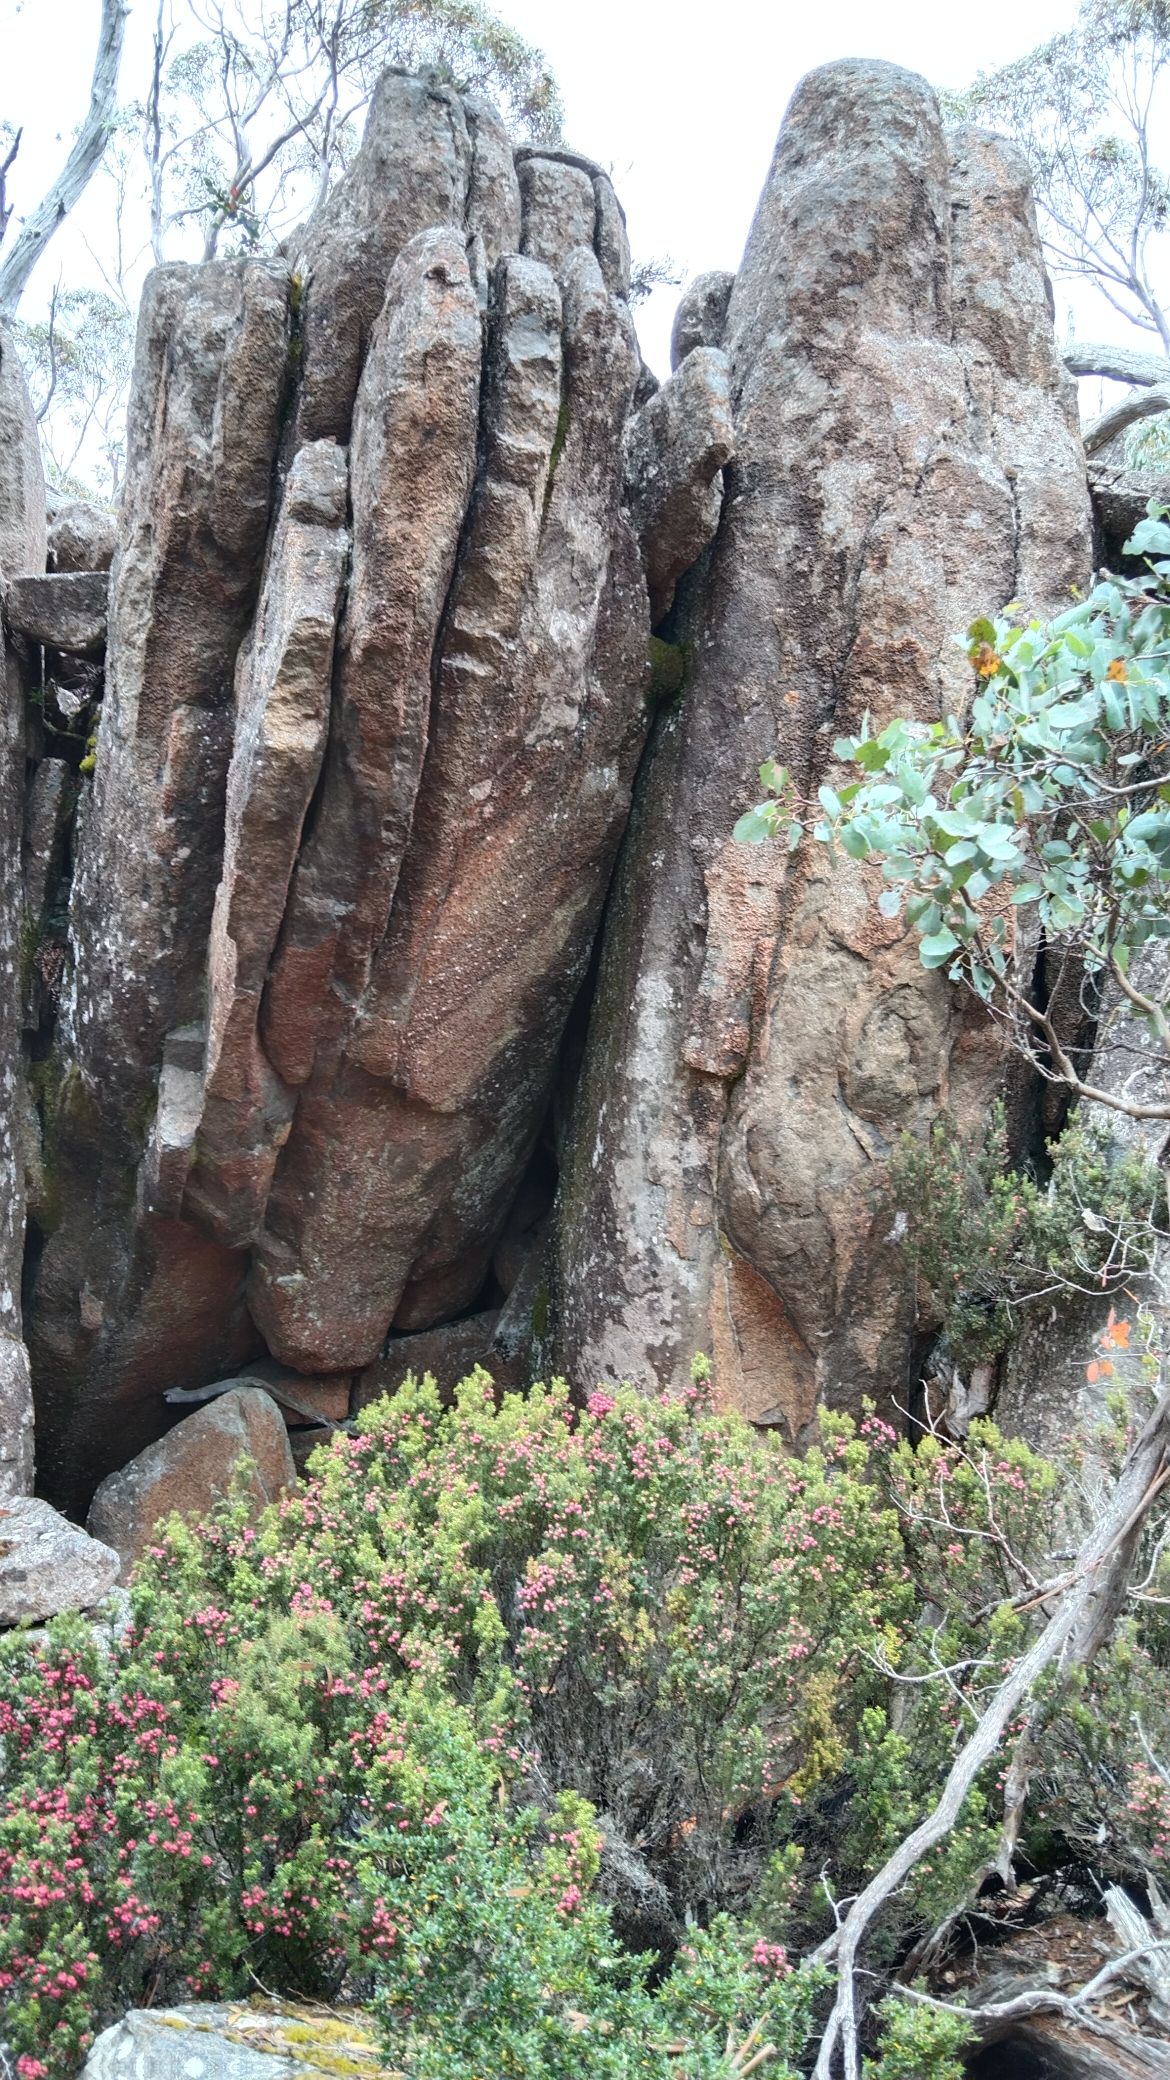
Great line. Hard!
Very cool line. The top gets hard and possibly hazardous.
To the right of problem 6.
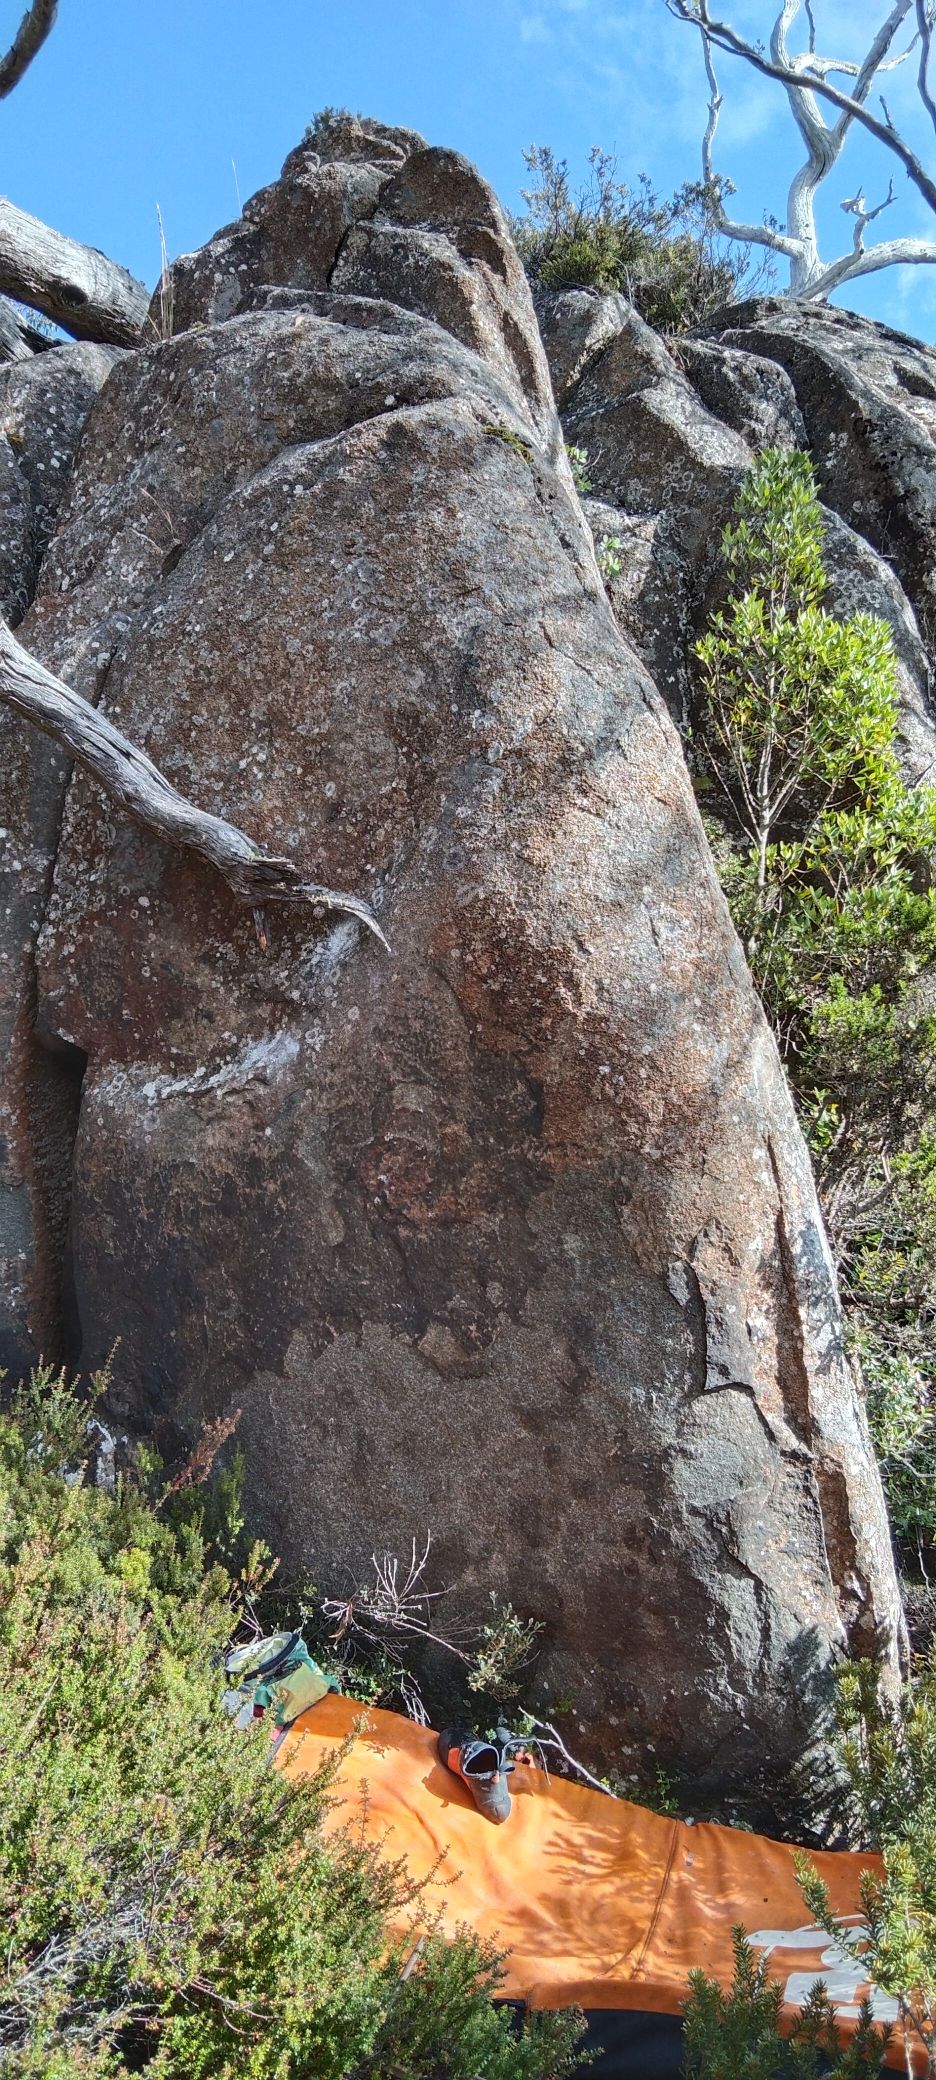
Climb the arête.
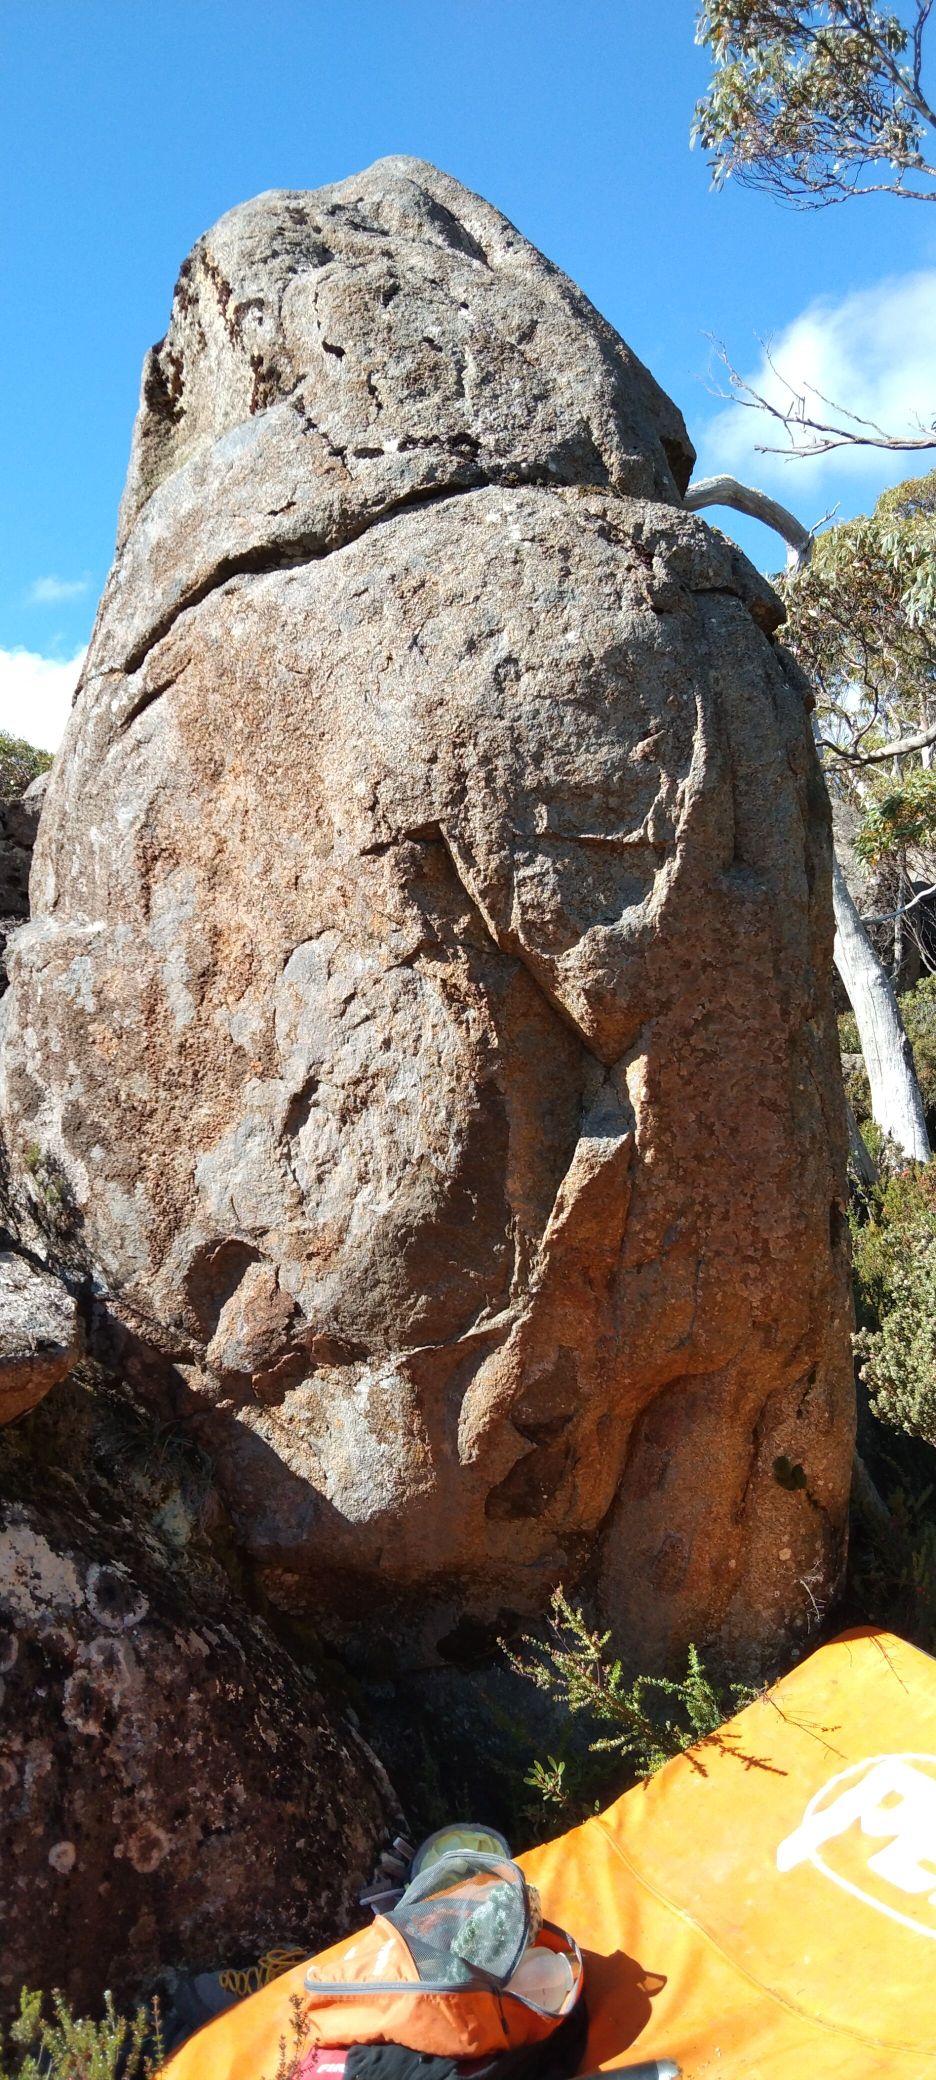
The Gold Coast
The Gold Coast boulders are the group of boulders/outcrops visible from the Western Front. The Gold Coast faces north and is warm on a sunny day and is about 25 mins from the car to the boulders. The boulders range from about 3-7m in height with the landings being a spread of good to evil. The problems range from mini-trad routes to serious highballs and are mostly just under or over vertical.
Park at Big Bend and follow the track towards the Western Front. Turn left (up the hill) at the point of departure for the Western Front. Head for the scree trending right. It is pretty easy going with a pad, as the scrub is low when you're not on scree.
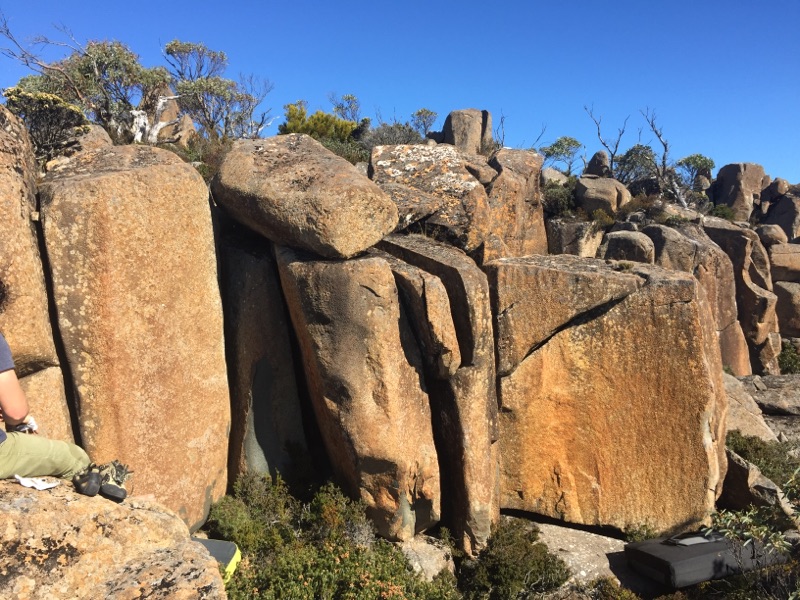
Sinker jams all the way to the top.
Max Hopwood, Apr 2017
Climb the slab.
Just like the old days. Chimney and jam.
Warm up 1.
Warm up 2.
Start in the corner and follow the crack.
Layback arête. Awaits a sit start.
Dylan Lehmann April 2017
Start on the obvious footholds. Interesting from there on.
The following boulders can be found heading back west along the front of the Gold Coast area.
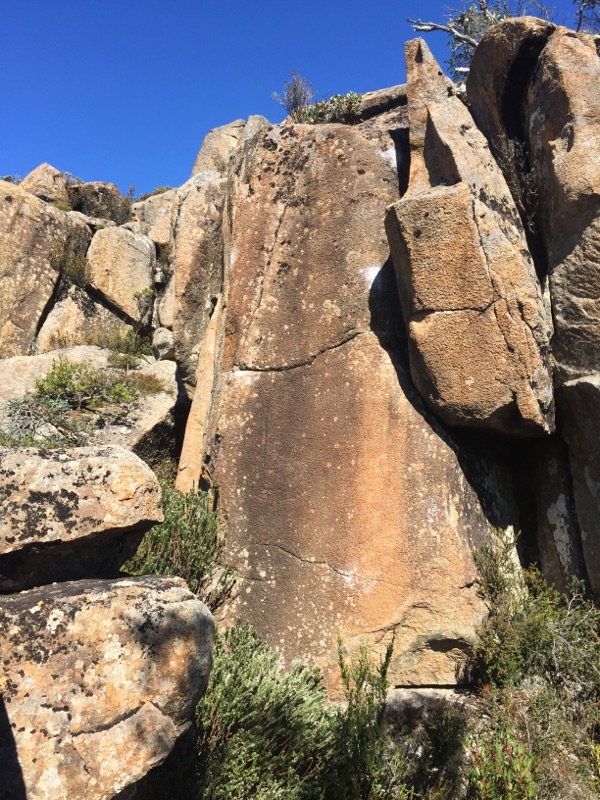
Fun moves lead to an exciting topout. Large chockstone to the right is out.
Dylan Lehmann April 2017
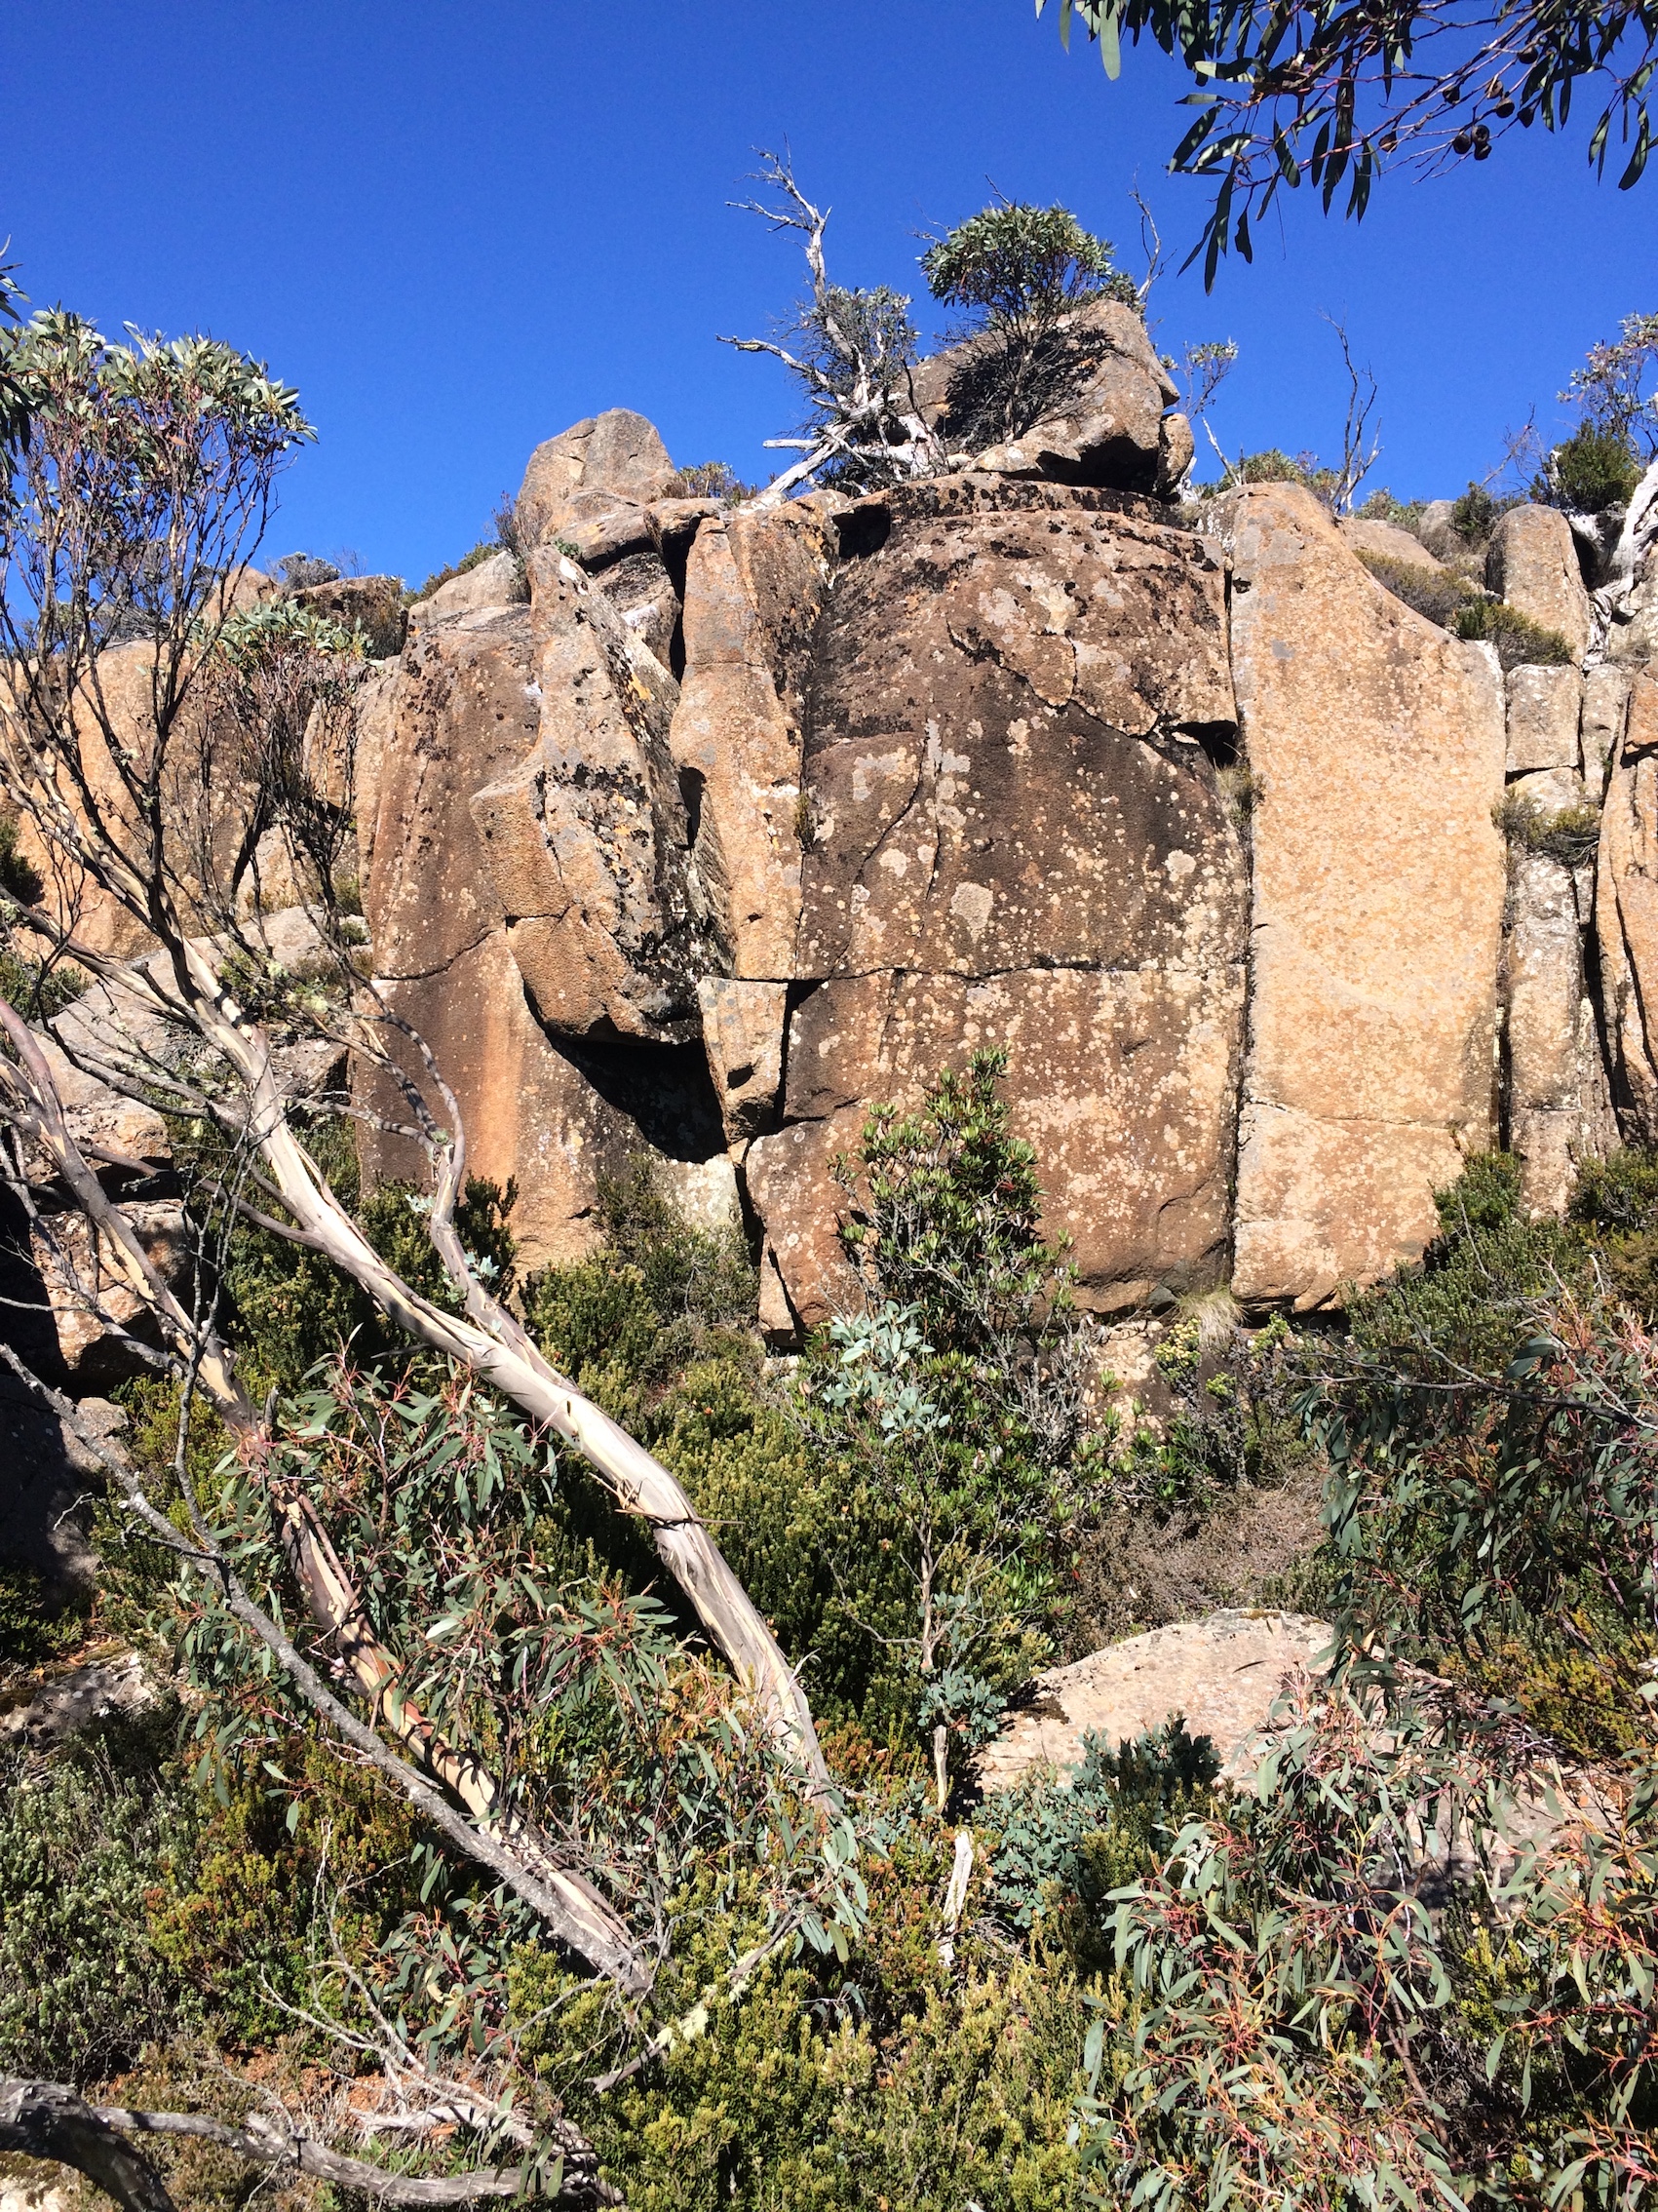
Climb the lichenous face and dirty finger crack, making use of the good face holds.
Max Hopwood, Apr 2017
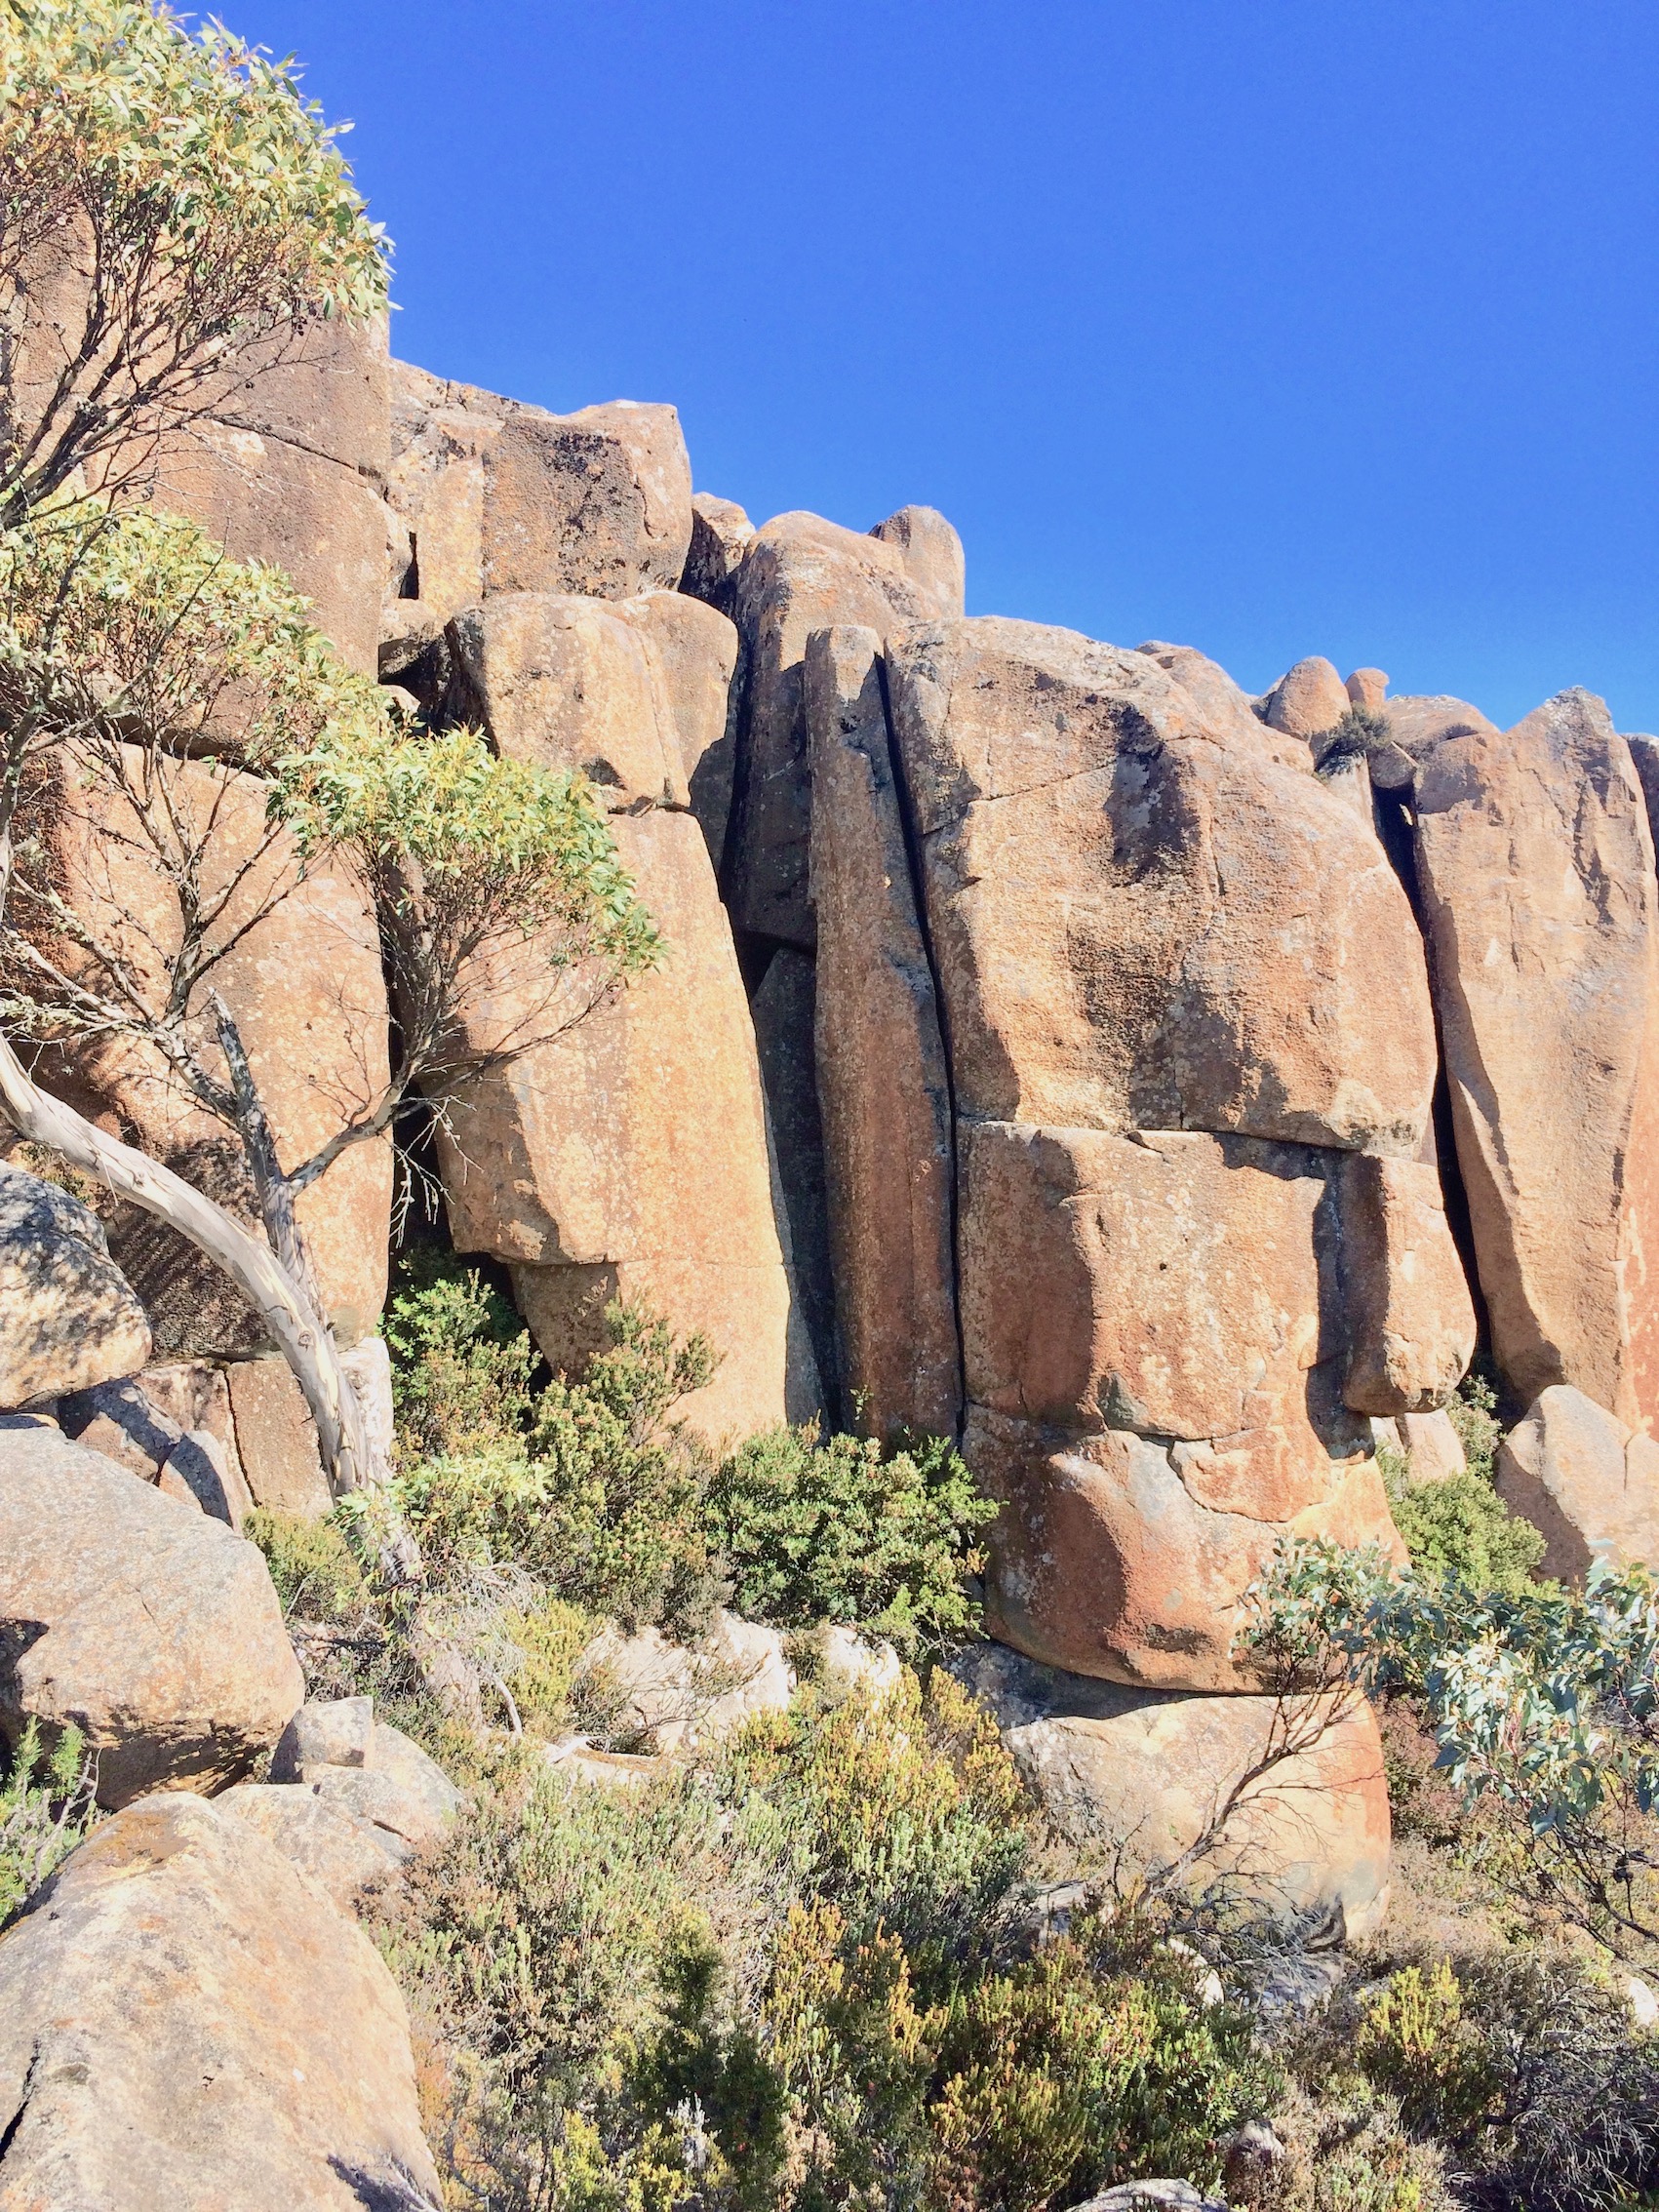
The obvious finger crack to hand jam at top.
Max Hopwood, Apr 2017
Project
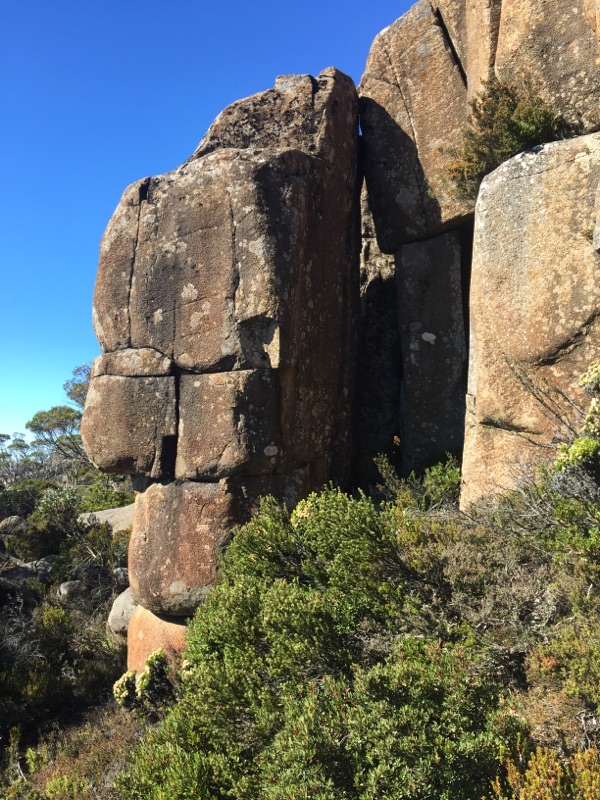
Dylan Lehmann April 2017
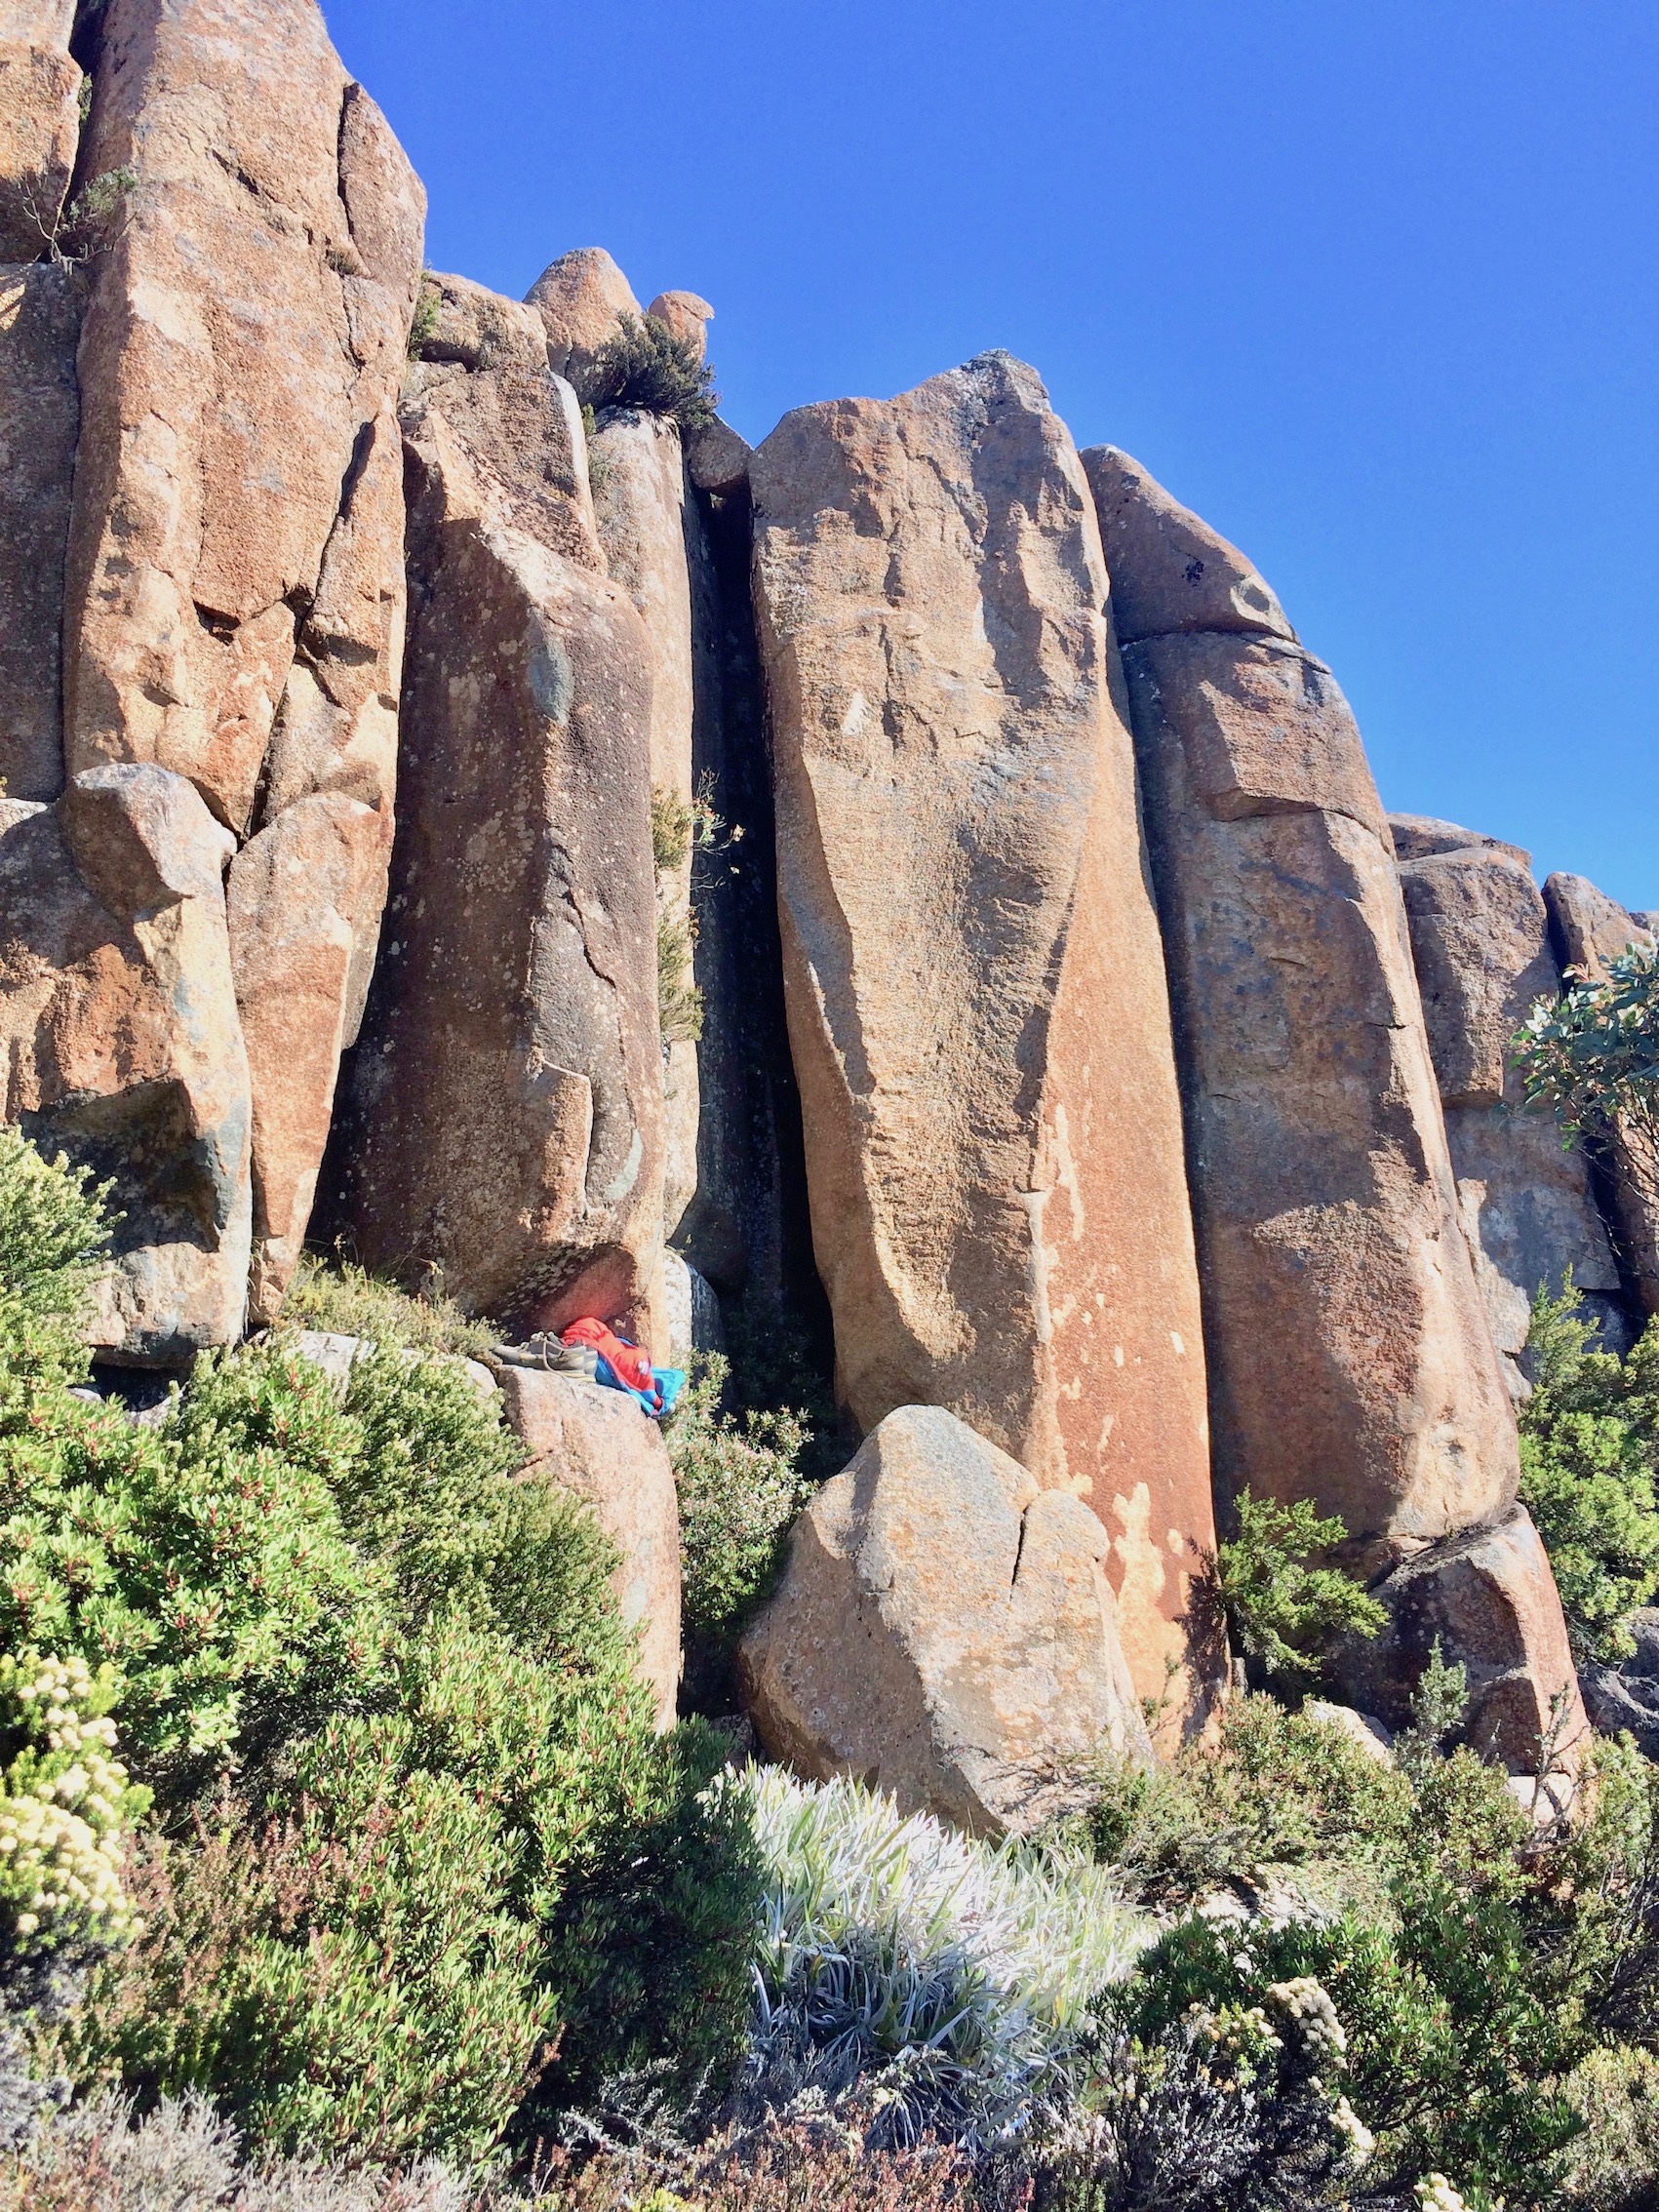
The chimney with the striking rock at the top. Make use of the finger crack on chimney wall.
Max Hopwood, Apr 2017
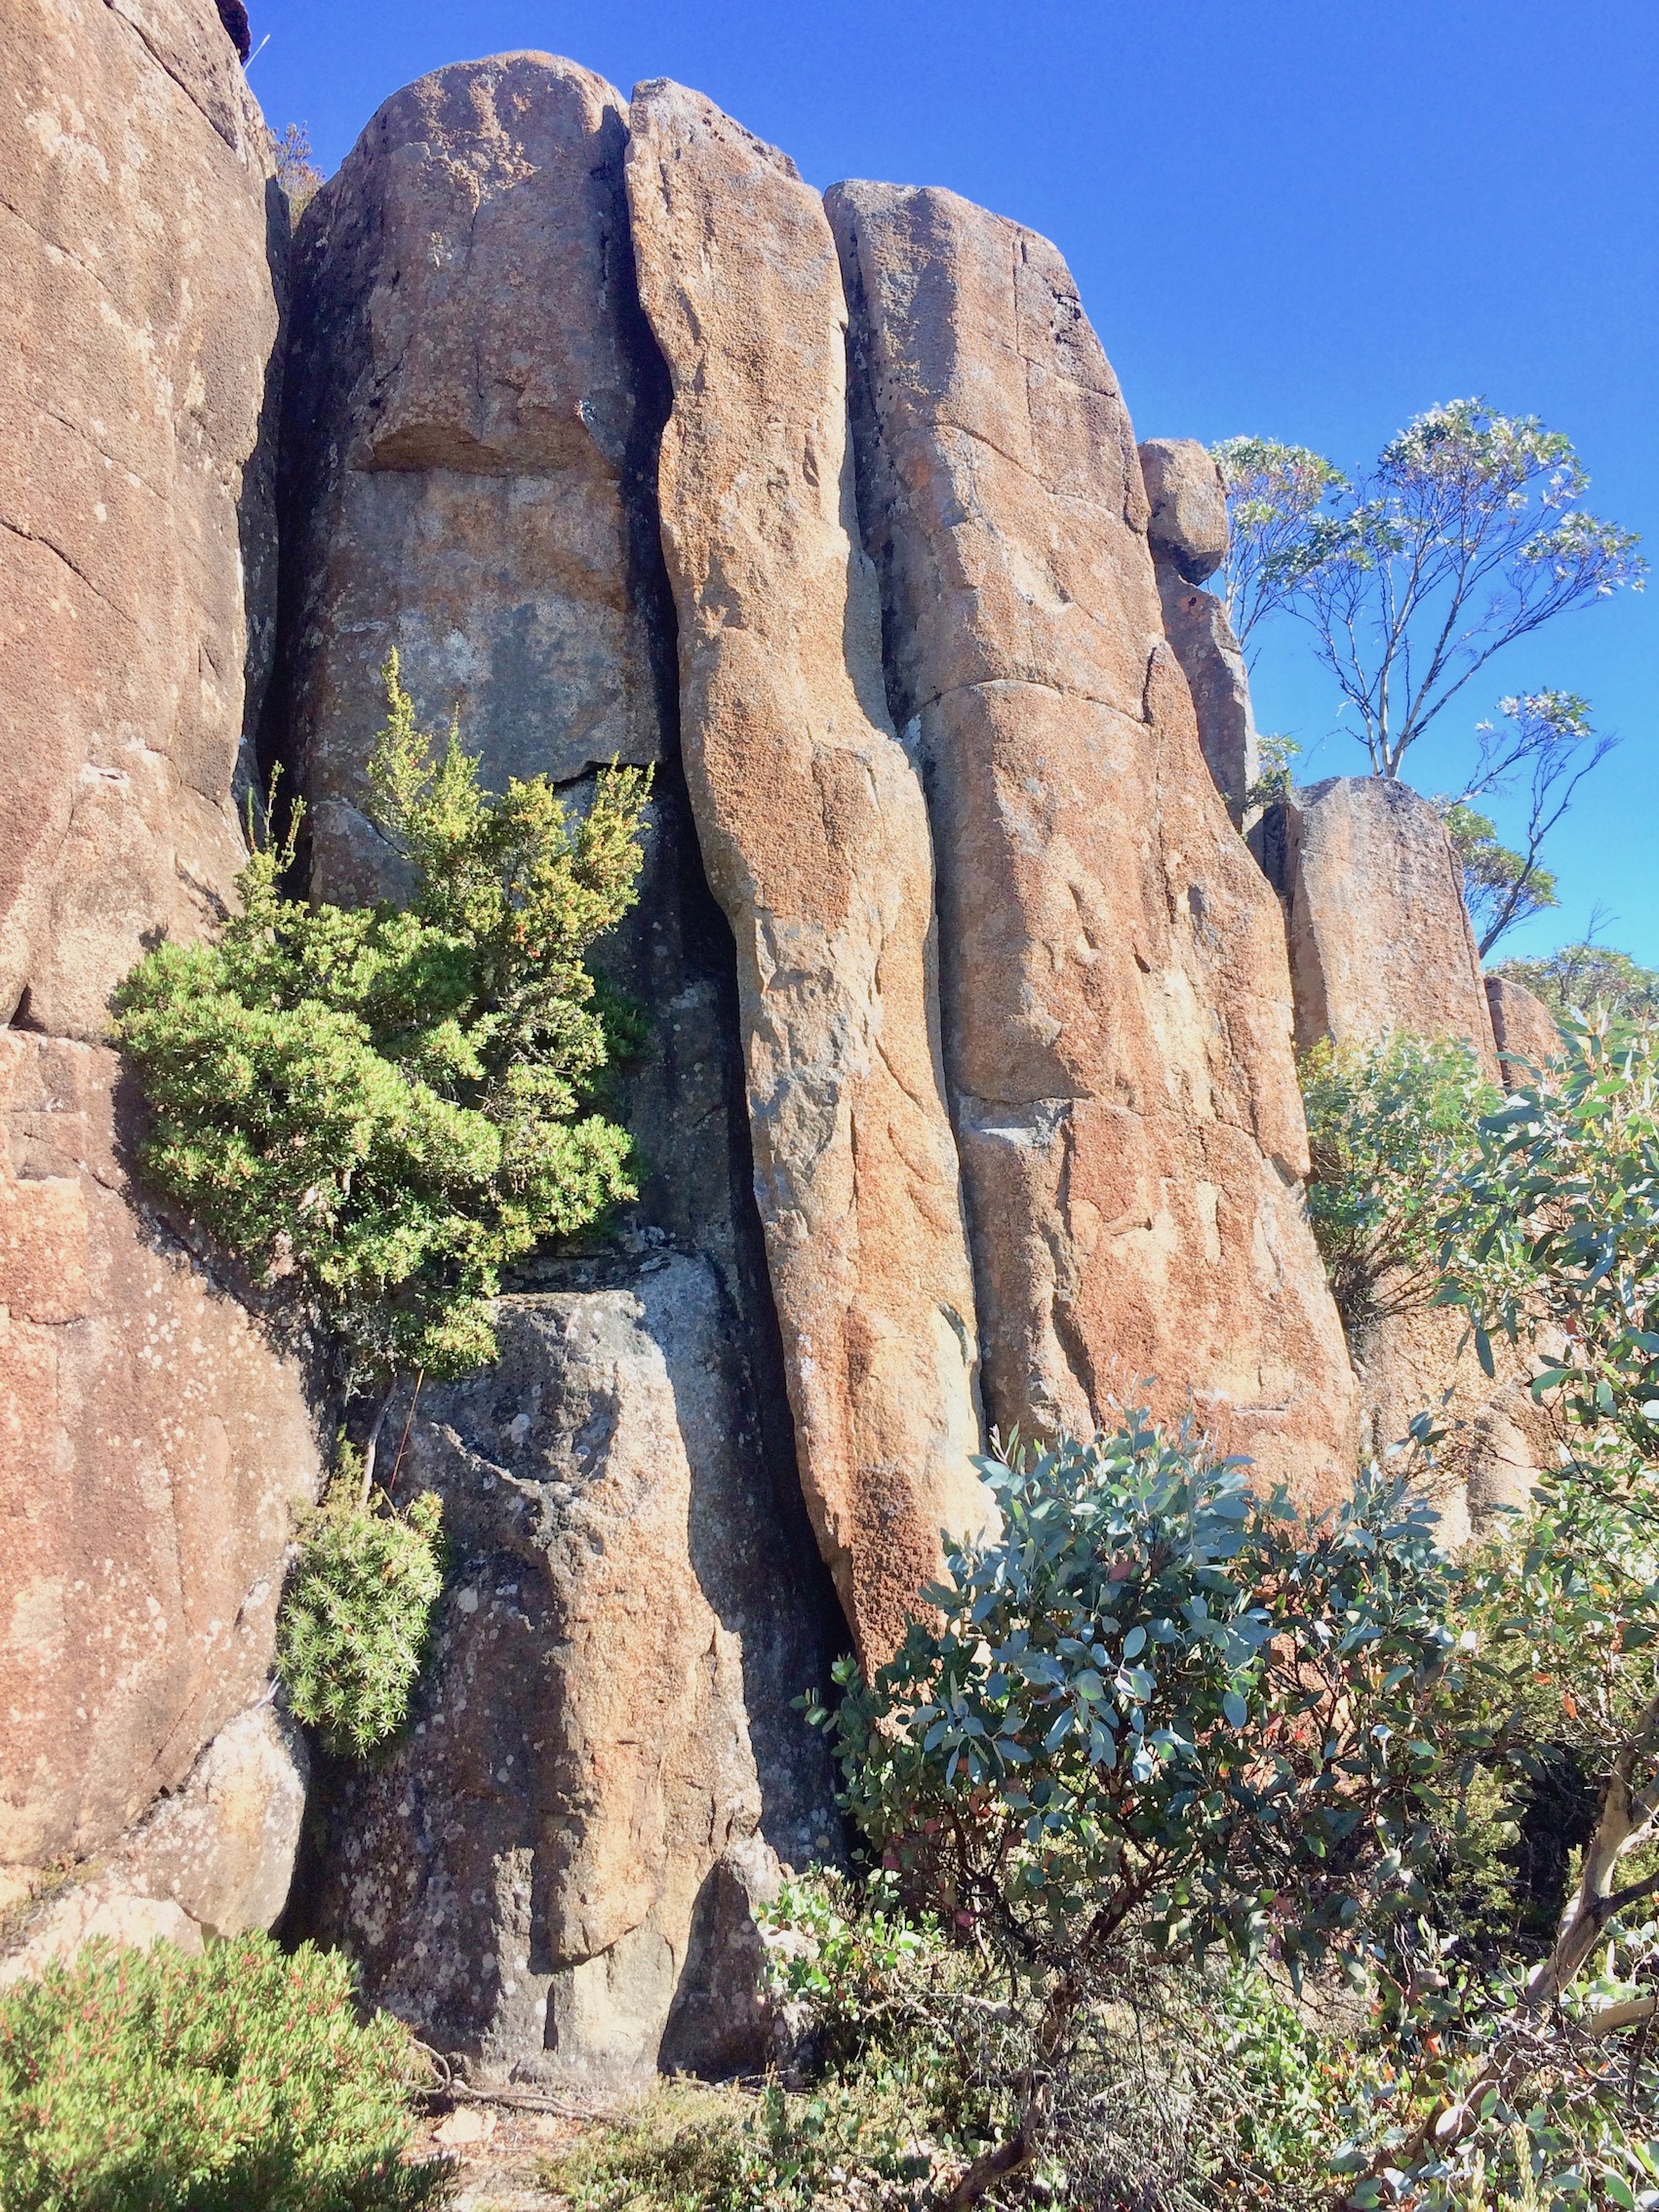
The off-width to hand crack.
Max Hopwood, Apr 2017
Use the twin cracks either side of face and jam your way up.
Max Hopwood, Apr 2017
The conspicuous splitter crack between Piggybacking Dylan and The Rabble. Wide-hand jams to off-width at top.
Max Hopwood, Apr 2017
Good face climbing to safer ground out right.
Dylan Lehmann April 2017
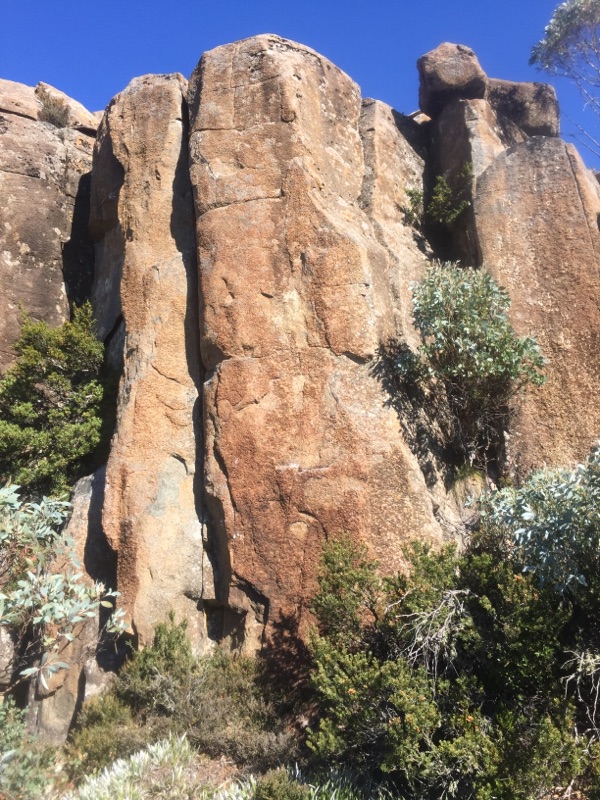
Dreamland
Short arête.
M Hitchcock 2020
Hanging prowl. Slide your pad under the plants to avoid unnecessary damage.
M Hitchcock 2020
Start with LH sidepull and RH on arête. Move up and left to top out. Pay attention to the name and don't trample the plants (slide your pad under them - not above - to avoid unnecessary damage).
M Hitchcock 2020
Hard start to an easier top. Unclimbed.
Squat on the rock with a good side pull. Not worth climbing, let alone fixing the landing.
M Hitchcock 2020
Sit start on the lowest block, head up and leftish before topping out at the apex of the boulder.
M Hitchcock 2020
Same start as Modern Movements, head right and up the detached block.
M Hitchcock 2020
Thark Ridge
Thark Ridge follows the western aspect of the Mt Wellington plateau. It is made up of 4 hills adjacent to the Mt Montagu trail, each of which is loaded with a plethora of dolerite boulders and significant potential. The first of these has seen early development, with several projects and untouched boulders remaining.
For access park in the large Big Bend carpark, and walk along the Mt Montagu trail, which starts on the opposite side of the road.
Hill 1
To access Hill 1, head along the trail for 10-15 minutes, following which you will notice that the eucalypts clear on the right, with numerous boulders visible a few hundred metres uphill. There is a loose, pineapple grass pad on the right (GPS 42.89027 S, 147.21732 E) that makes the going fairly reasonable until you reach the scree. There are a few really nice intermediate lines here, followed by a bunch of easy problems and also a few low-balls. The boulders are generally listed from north-east to south-west.
Scree Field Warm-ups
A few easy problems as you approach the area. Mosquito block is a good point of reference with access, while the scree block is in the middle of the scree field you have to cross to reach Icarus.
The first boulder you come to has an easy compression line above the small pond. Start compressed on both sides, boost up.
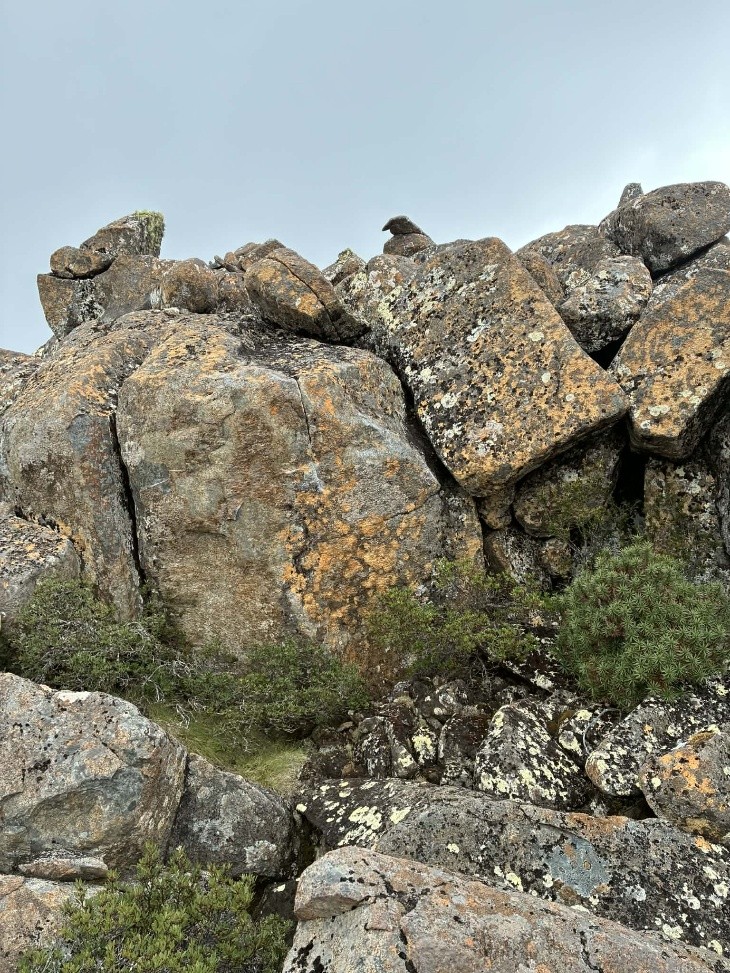
Sit start on lower right side pull, follow slopey rail up and left.
Straight up face.
Icarus
Icarus and a bunch of easier problems.
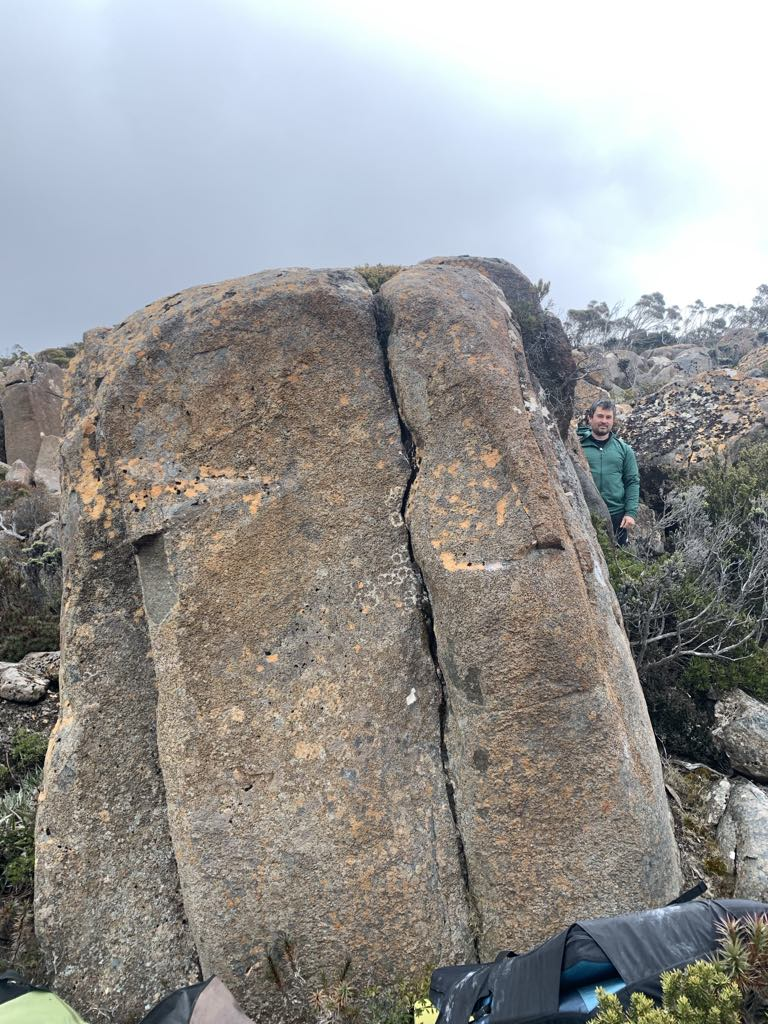
Left hand on small rail, right on side pull.
Straight up.
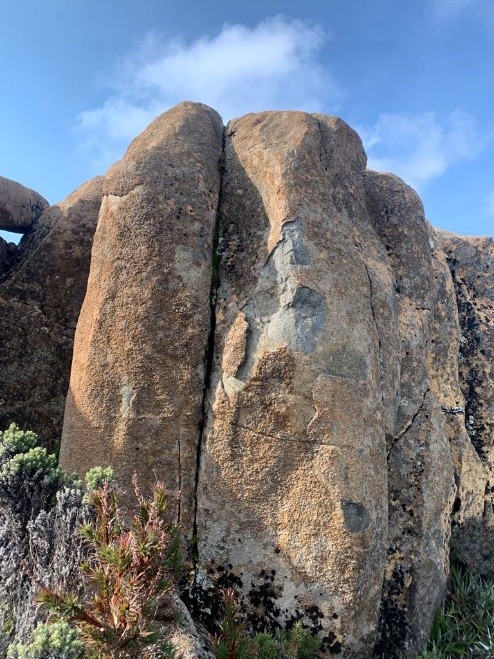
Start on obvious jug, punch to sloper and glory.
Start crouched with side pulls and smeared feet.
J O'Wheel 2024
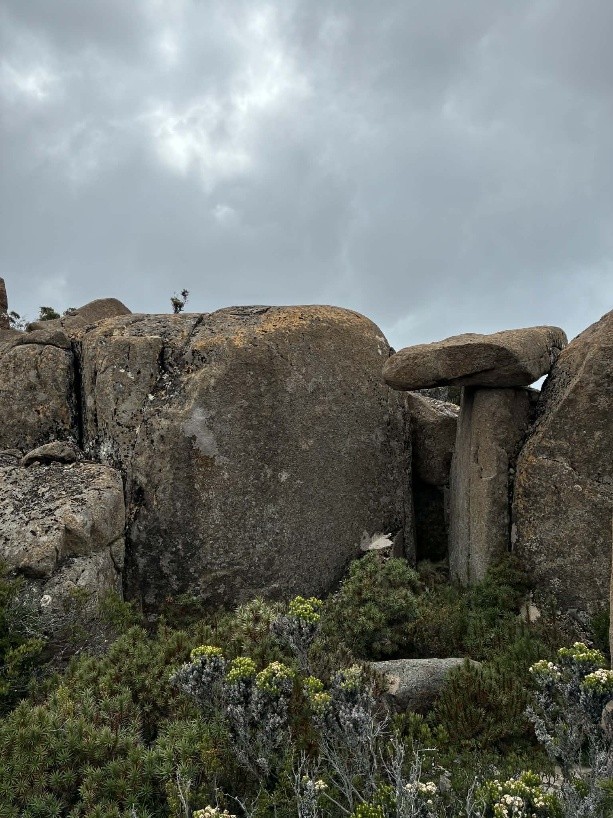
Under the large overhanging rock. Climb at own risk.
Stand start under the rock, as far back as possible. Follow the jug line, before climbing out and mantling on the furthest point to the left-hand side. Banger but feels like you might die.
Ben's Cousin 2025
Start as for CBAR, traverse all the way around to Right Pinch.
Stand start, with left side pull, ok right foot and other limbs flagging. Block to the left is out. Pop up to awkward right crimp from ground (unless you are tall), lay back and top out to the right, towards the thin seam in the middle of the boulder. Classic with good crimps.
C Reekie 2025
Demeter Area
Located about 10m south of Icarus, several blocks surrounding a small low-ball pillar. Problems described from left to right.
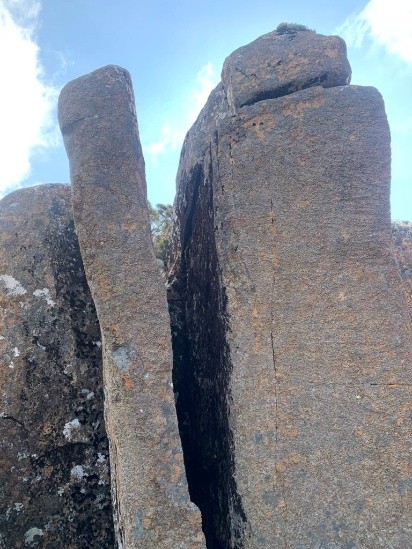
Thin Pillar
Unclimbed.
Sit start in scoparia, beware the mobile stone at the top. Suggest top-out to the right.
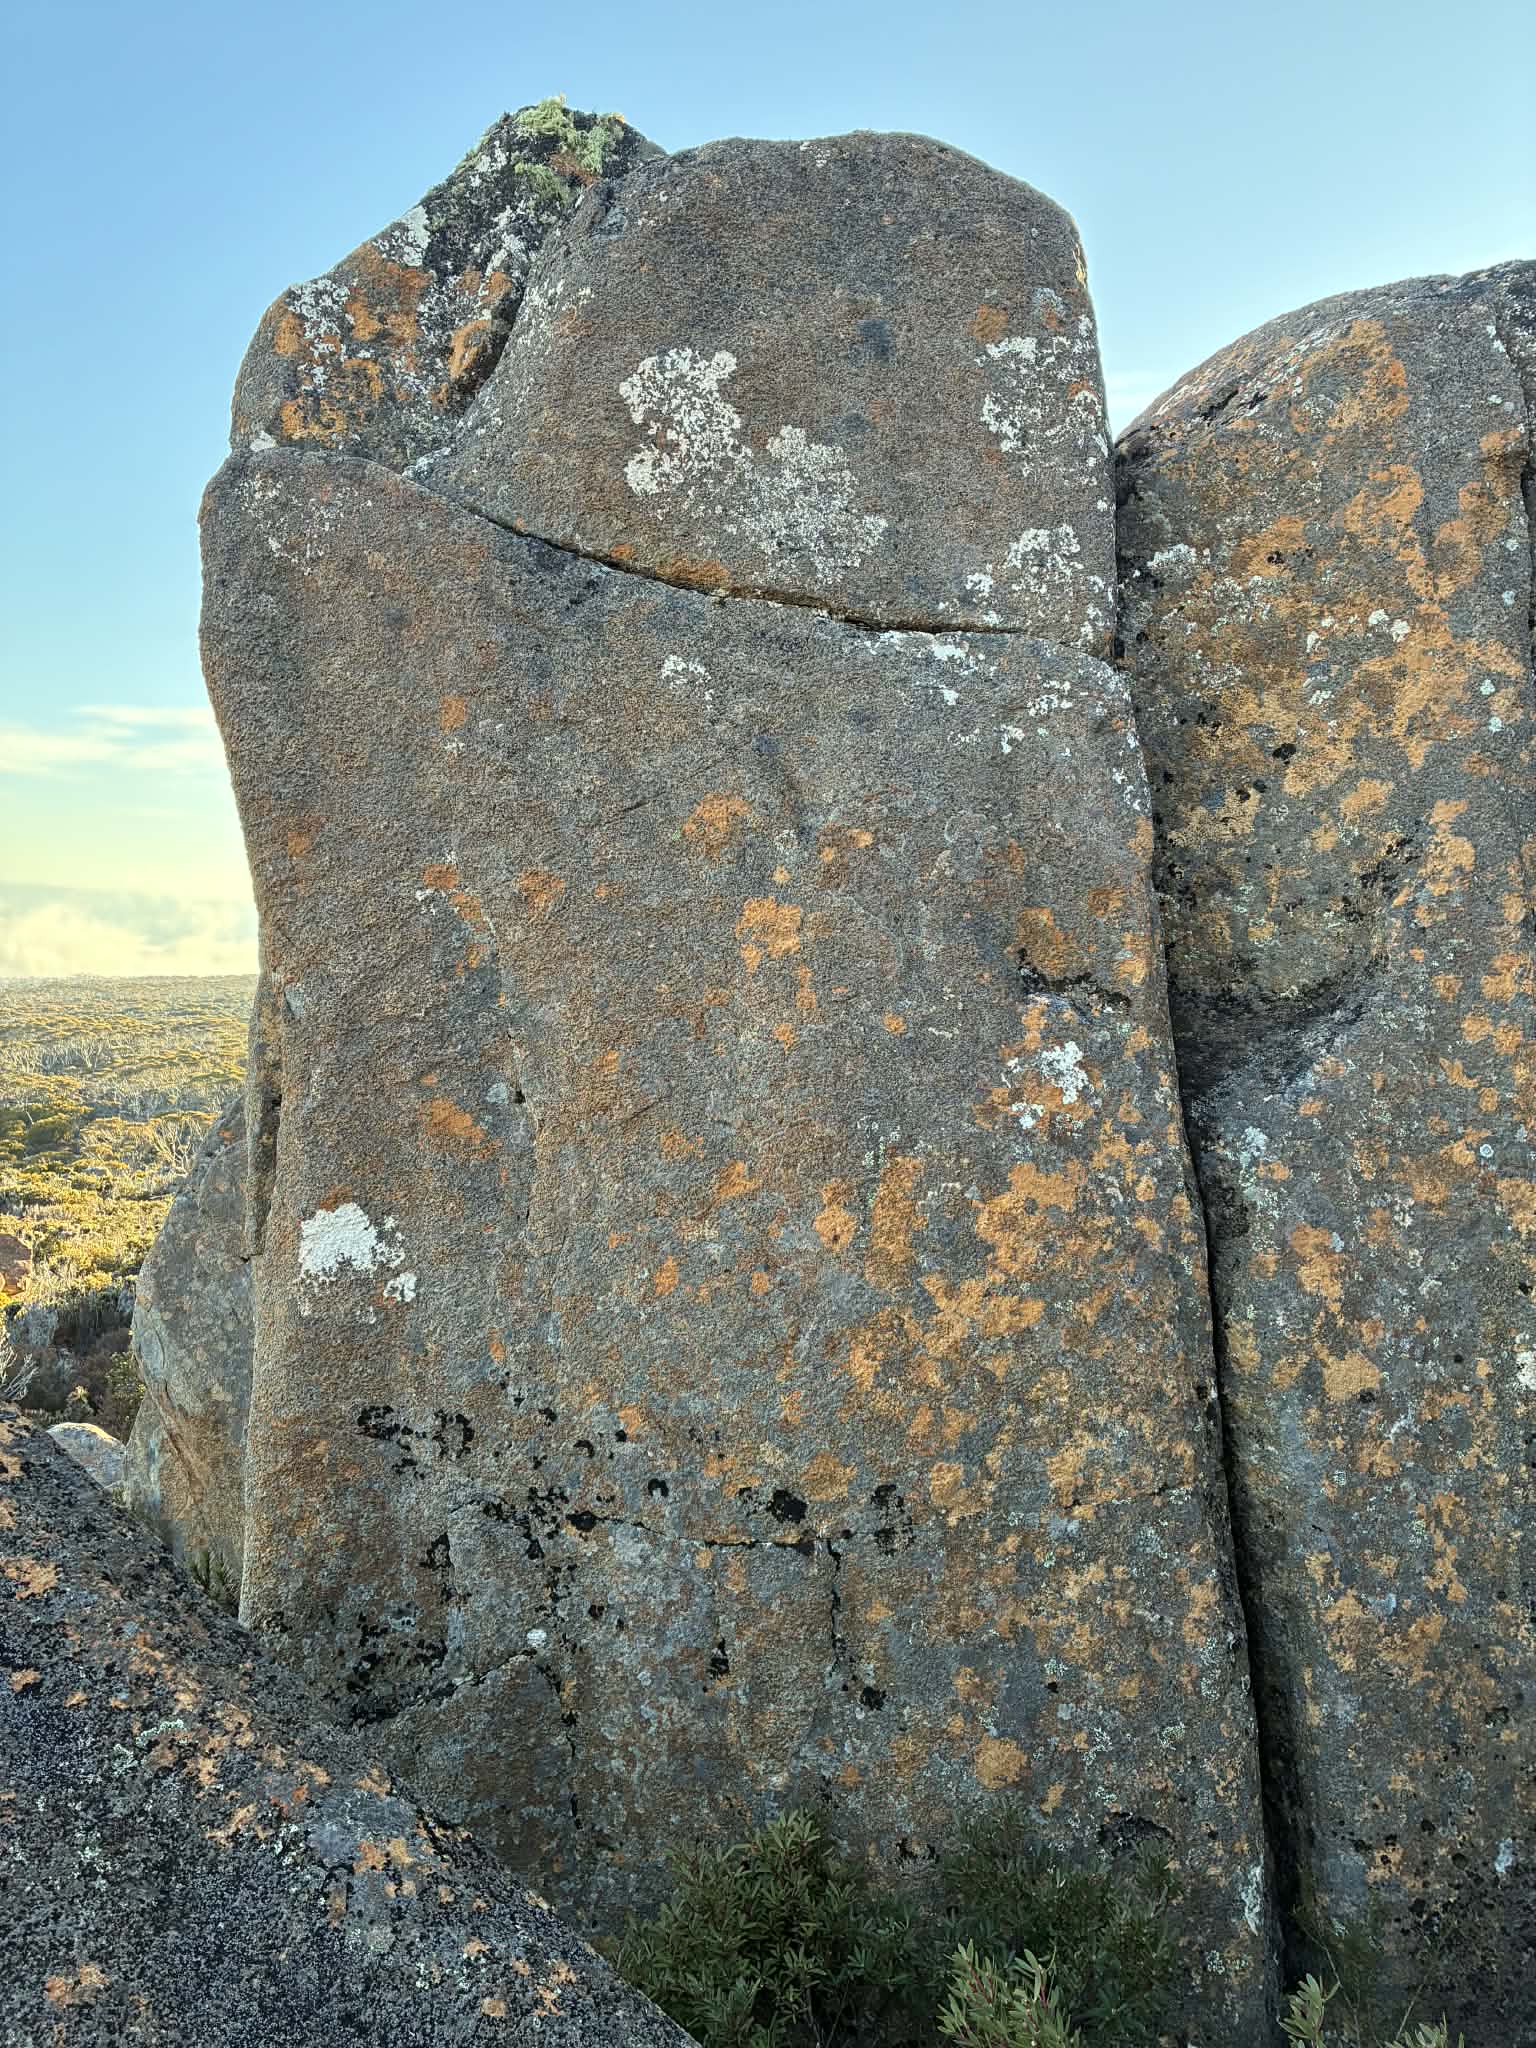
Stand start in the crack, up to the horizontal seam. Follow left and top out as for Thick Pillar. Easy and fun.
M Reekie 2025
Obvious line to the right of GT, warm up, hasn’t been cleaned.
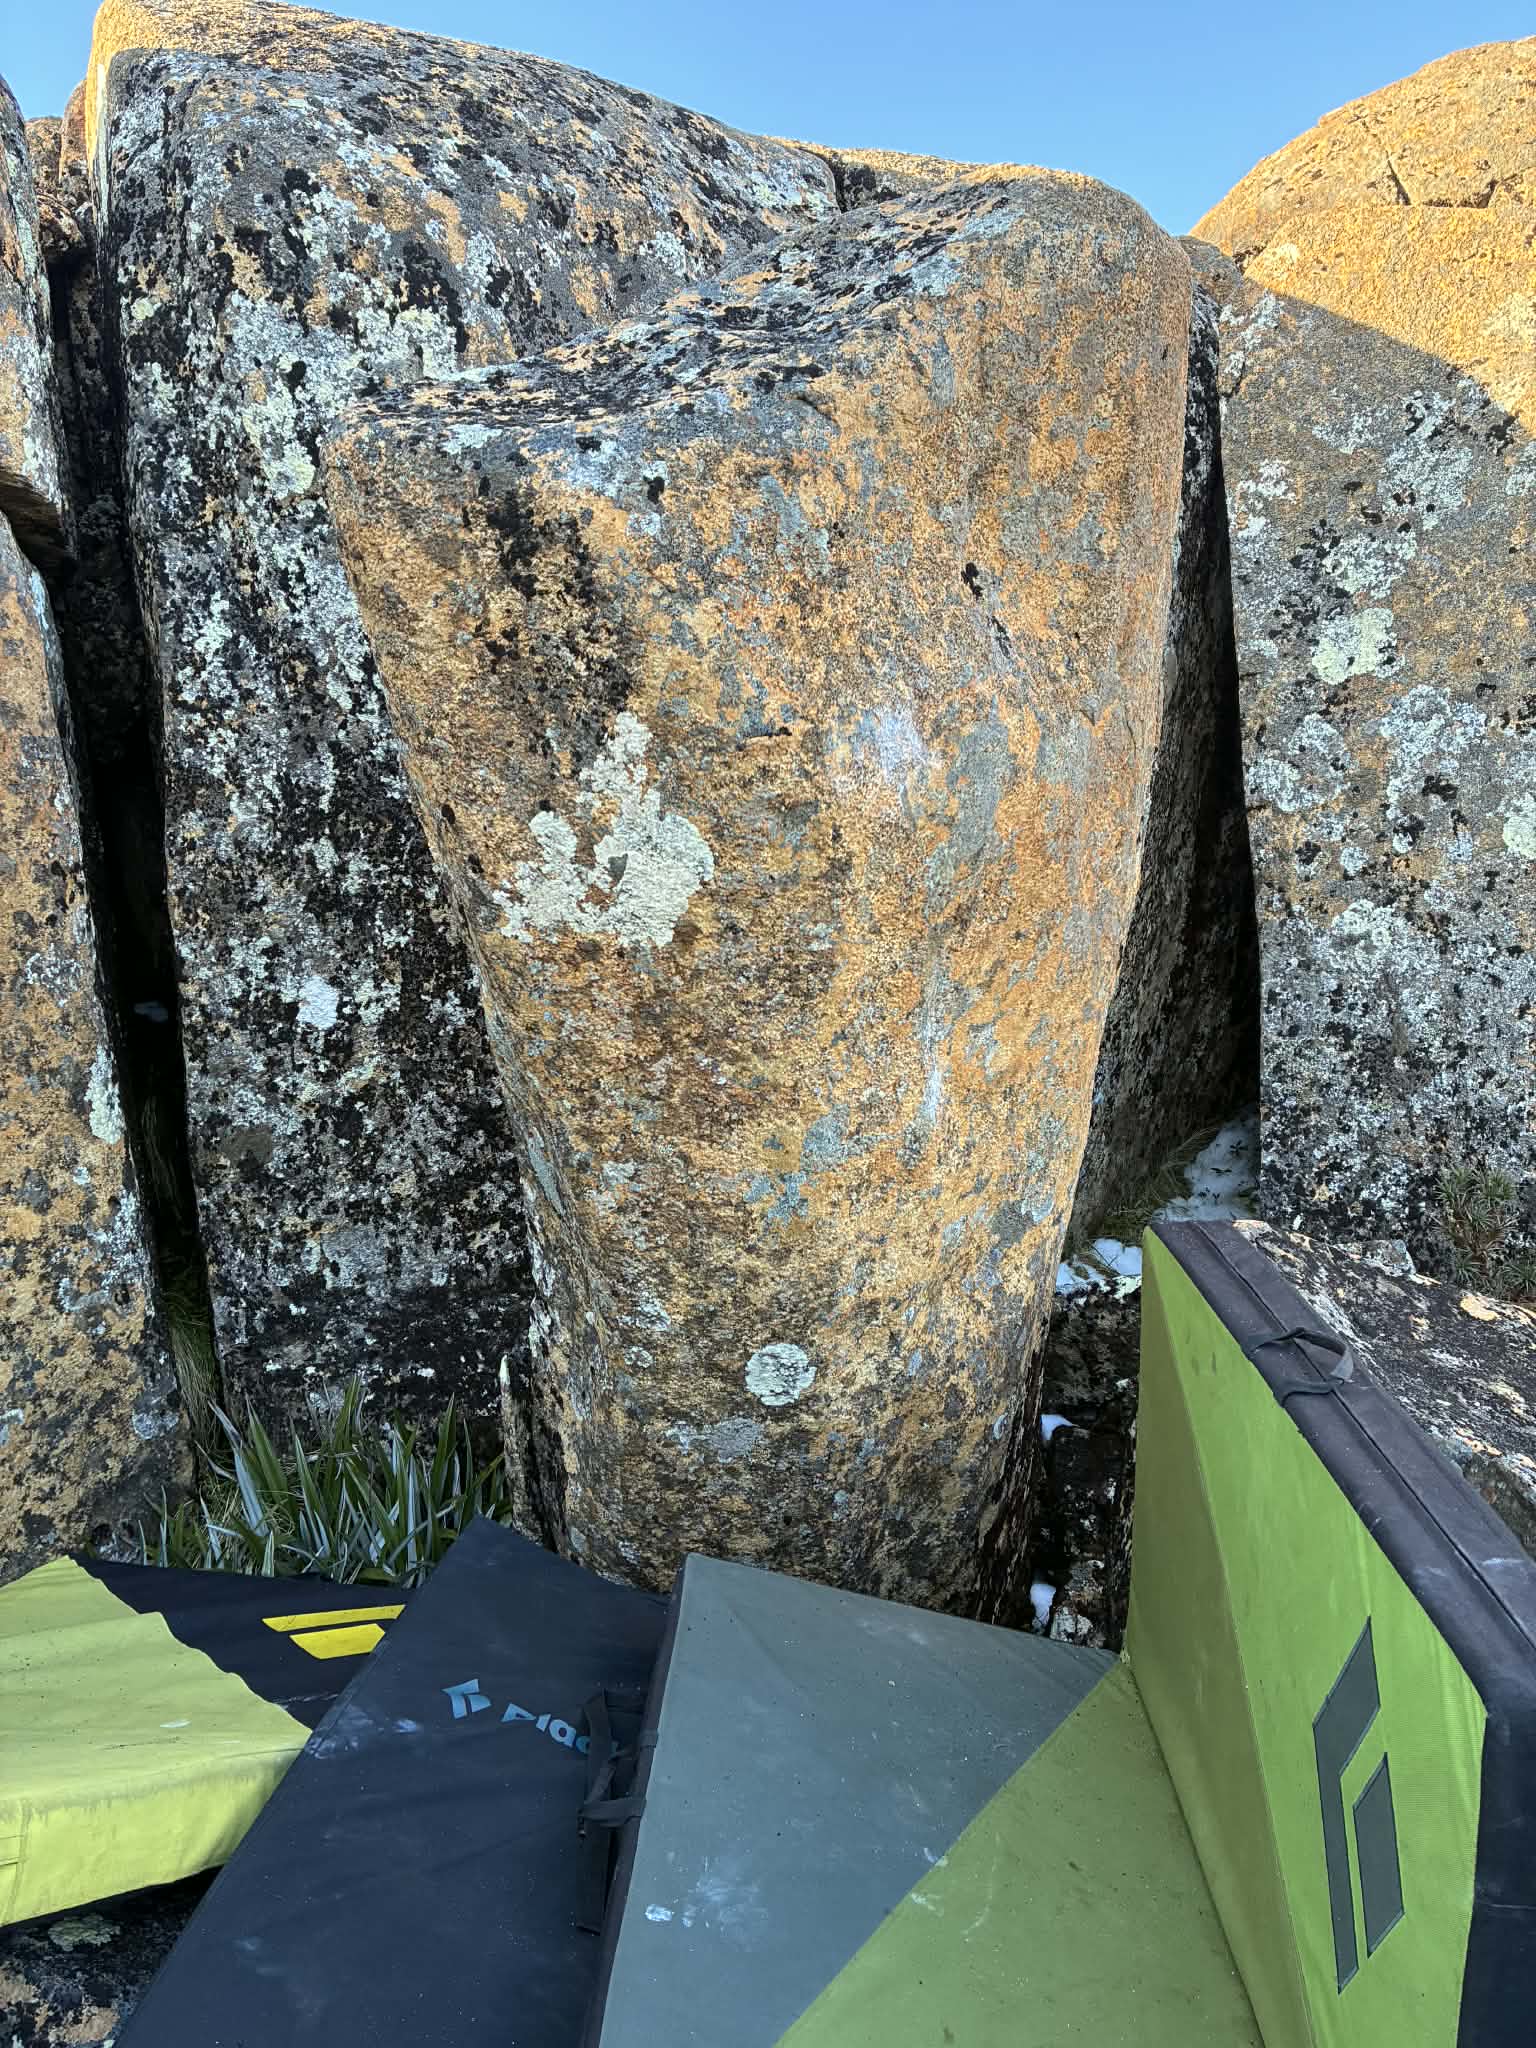
2 move low-ball on the smaller central pillar. Start with right side pull, left around back, right heel locked. Boost up.
M & C Reekie 2025
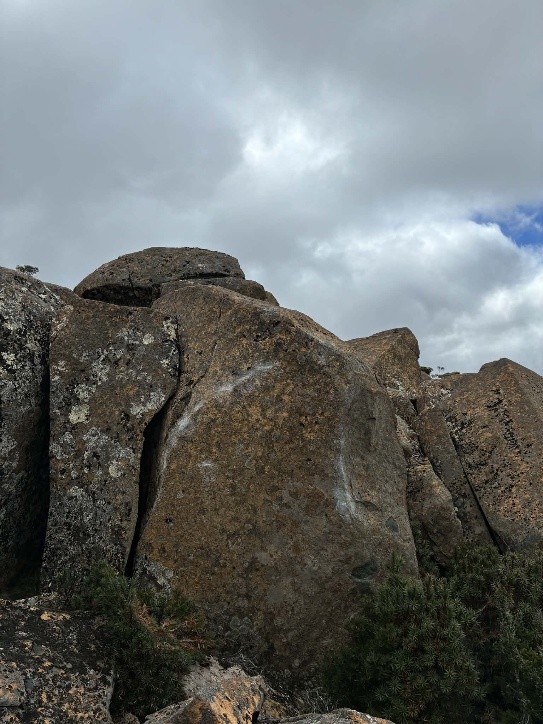
Sit start on left, with slot side pull and tiny right crimp. Up to rail, follow right and top out on right side.
C Reekie 2026
Project, start on right side pull, with left hand on tiny crimp as used for Demeter. Hard first move then easy from there.
The Beacon
The clear, chunky fallen pillar, which is nestled atop other columns. About 30m further south west from Demeter.
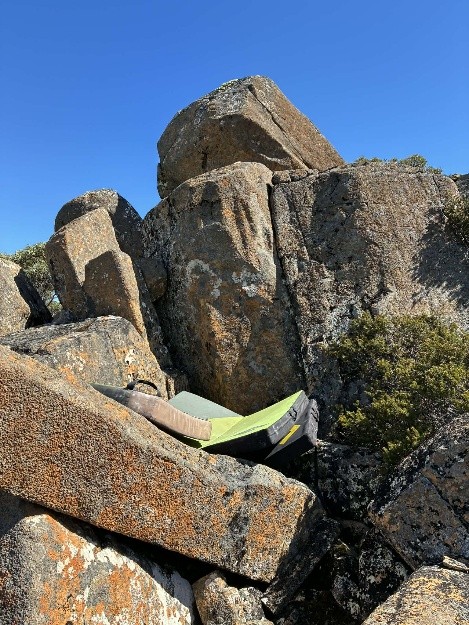
Straight up.
Straight up, tension is awkward.
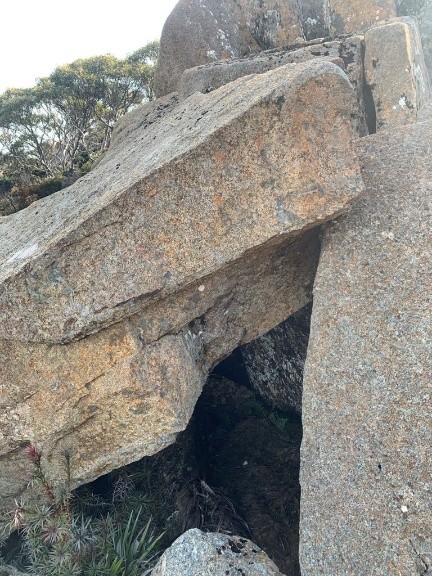
Unclimbed cave escape, morpho benefit for a smaller person. Sit as far in as possible.
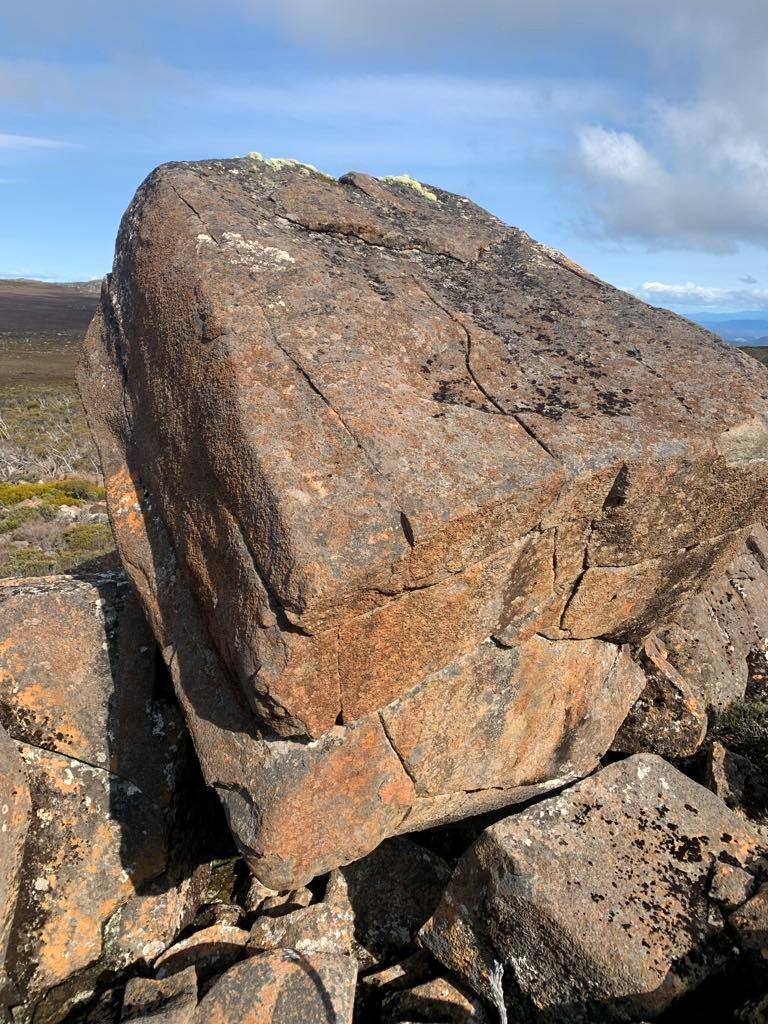
Obvious line up the left arête. Sit start with left hand on large sloper, right hand on low crimp rail (start of route line). Couple of difficult crimp moves straight up the arête, to a reasonable top out.
C Reekie 2026
Start matched on chock stone, two smooth moves up to edge and top out. Nice low-ball.
J O'Wheel & C Reekie 2026
Denethor's Right Arête - Unclimbed
Straight up the right arête.
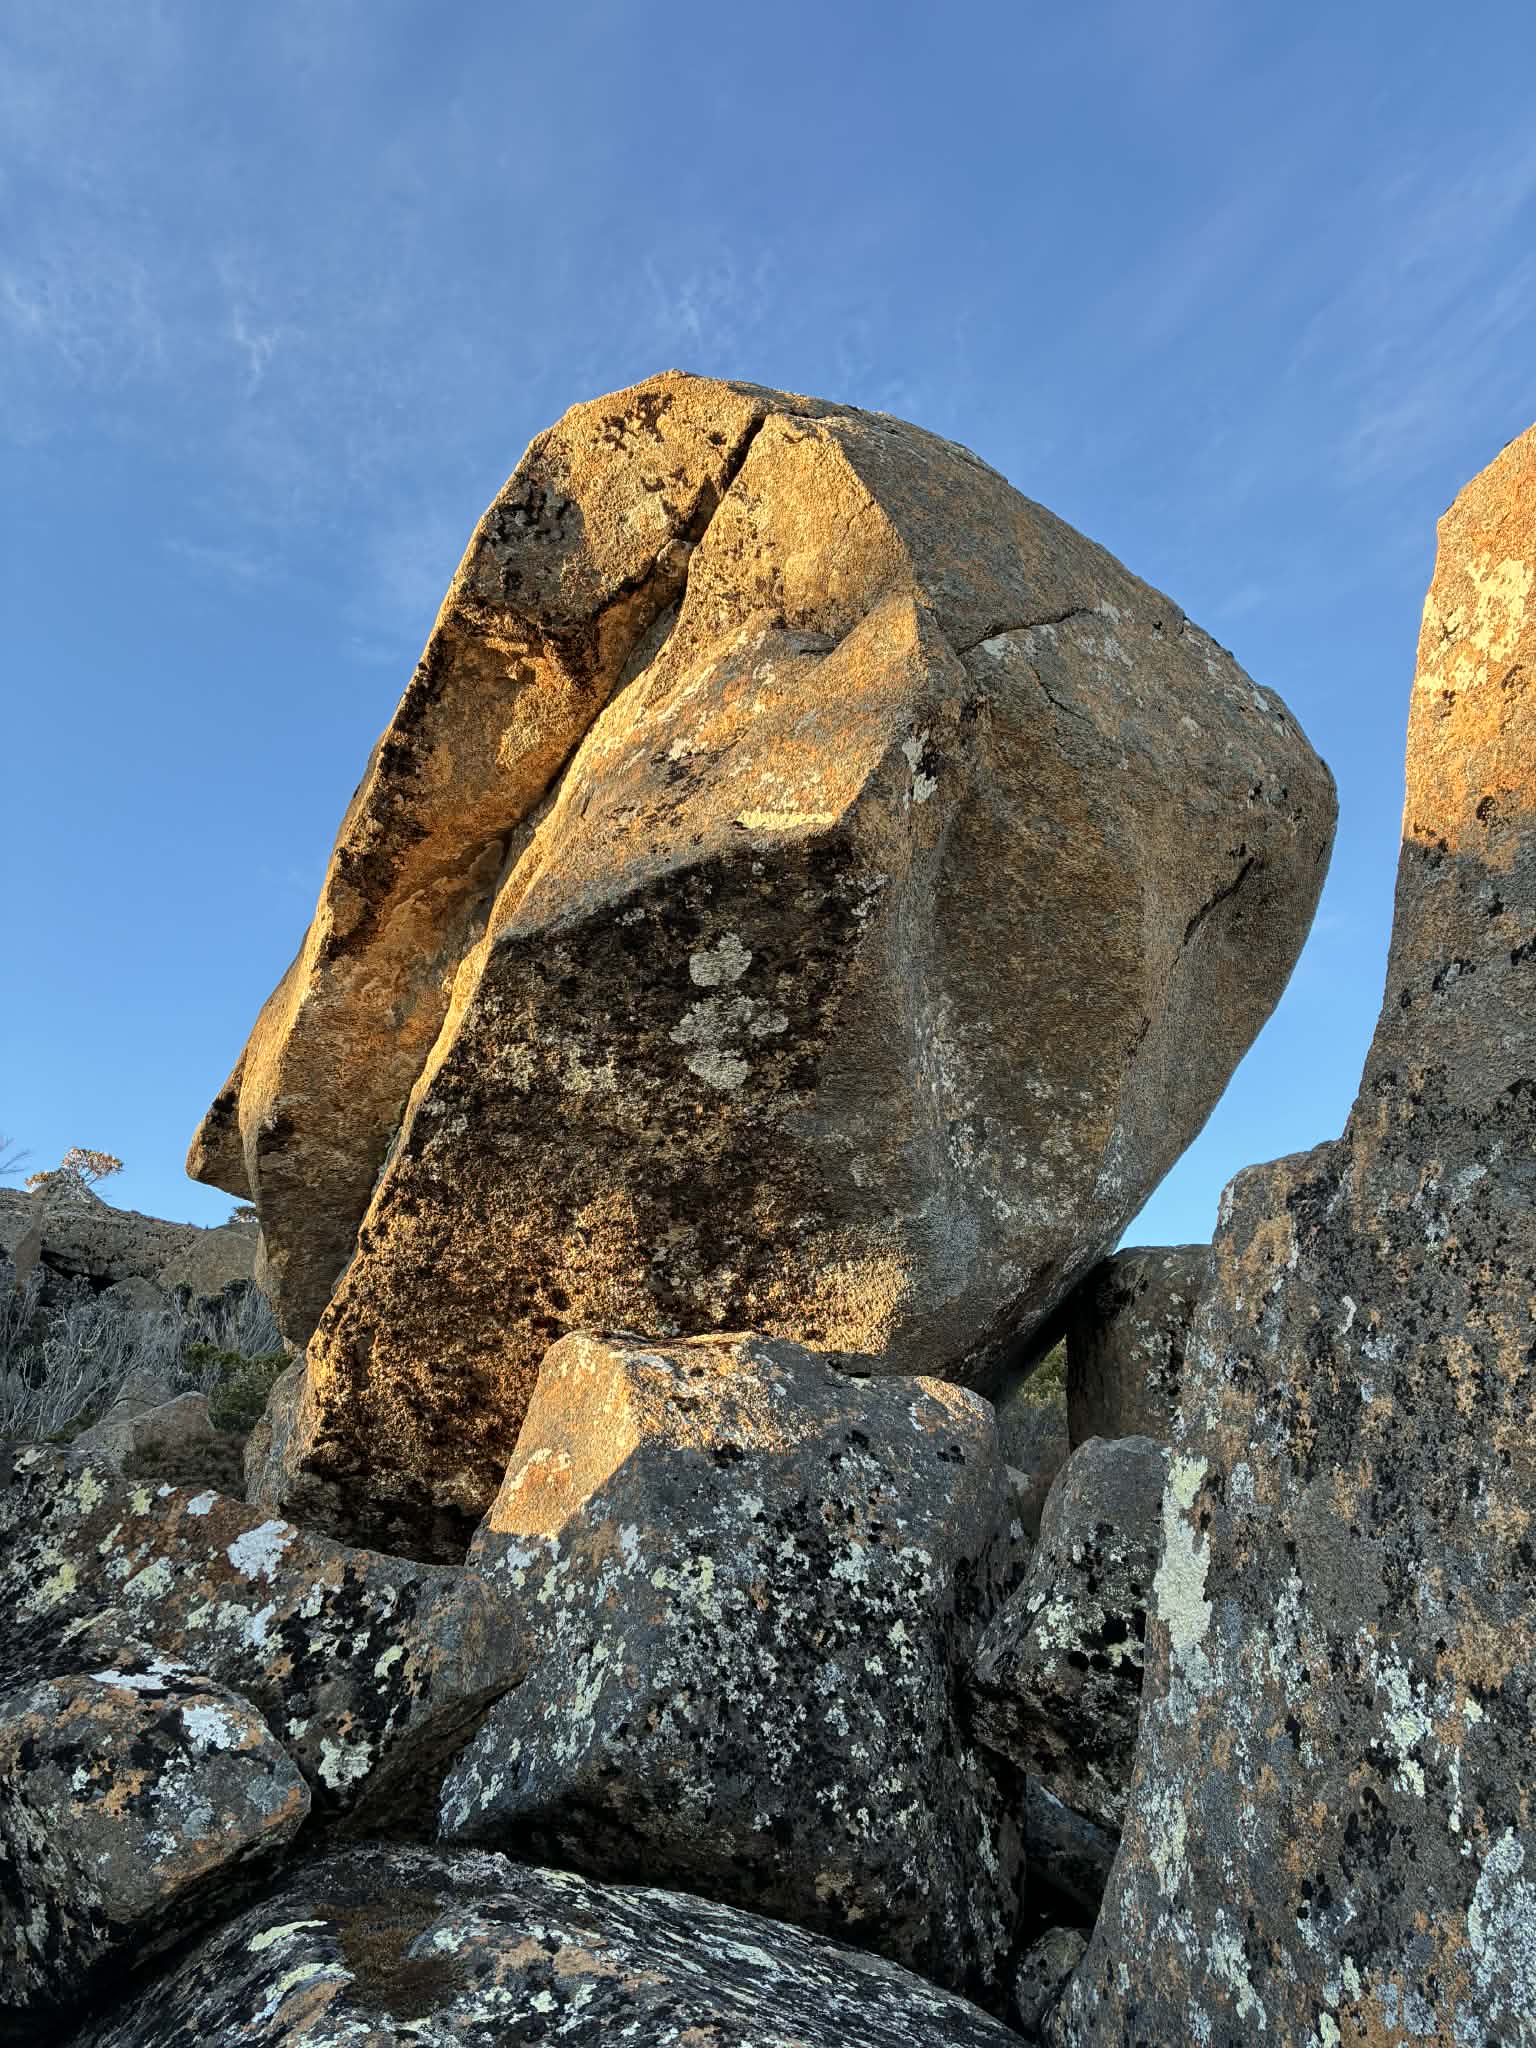
Beacon Underside - Unclimbed
Classic line on the belly of the Beacon, overlooking the plateau. However, landing is sketchy and spotter will need a spotter! Hang start on decent left hold, right tight heel and right side pull.
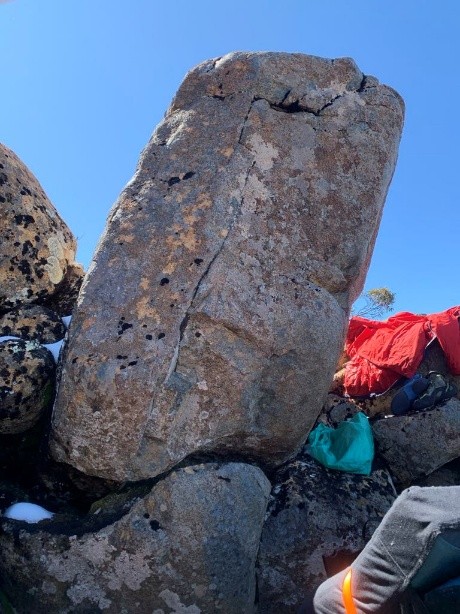
Slightly uphill and south from the Beacon. A nice warm-up with a few fun moves. Small moss covered rock on top, please leave in-situ. Block on right not in for feet.
M & C Reekie 2024
Upper Sector
These easy boulders sit at the top of the hill, and have a few lowball problems. Head directly uphill from Greenhat’s Throne and they will be visible, albeit scattered along the top. Described from north to south.
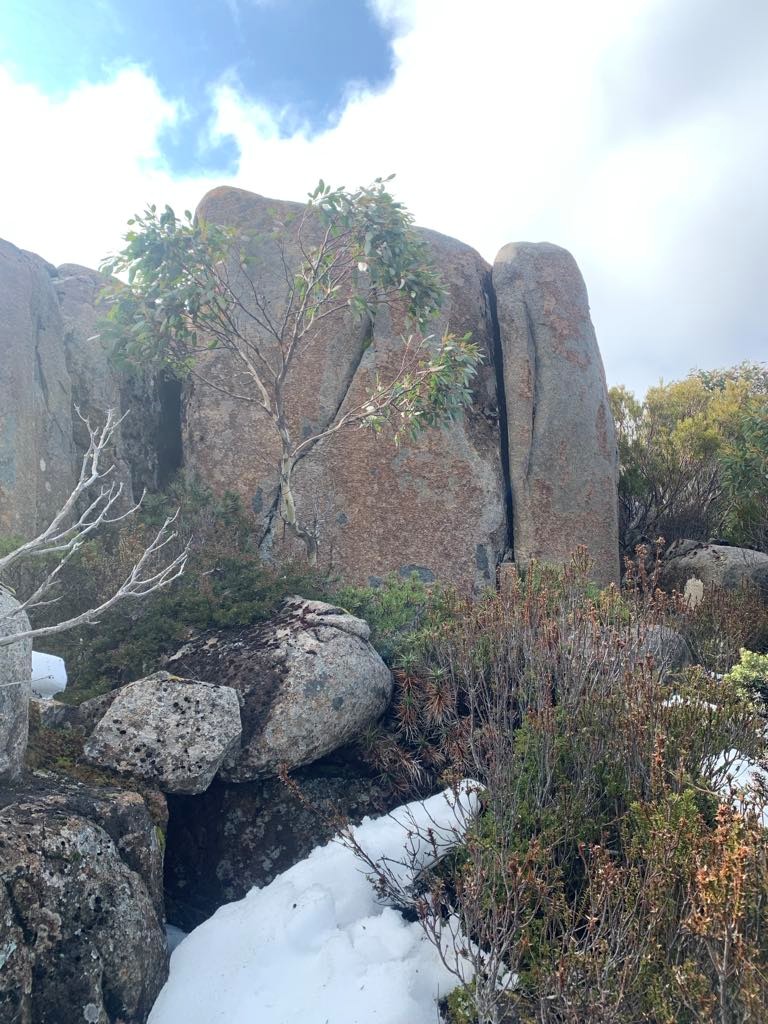
Follow the obvious crack line, choose your own adventure.
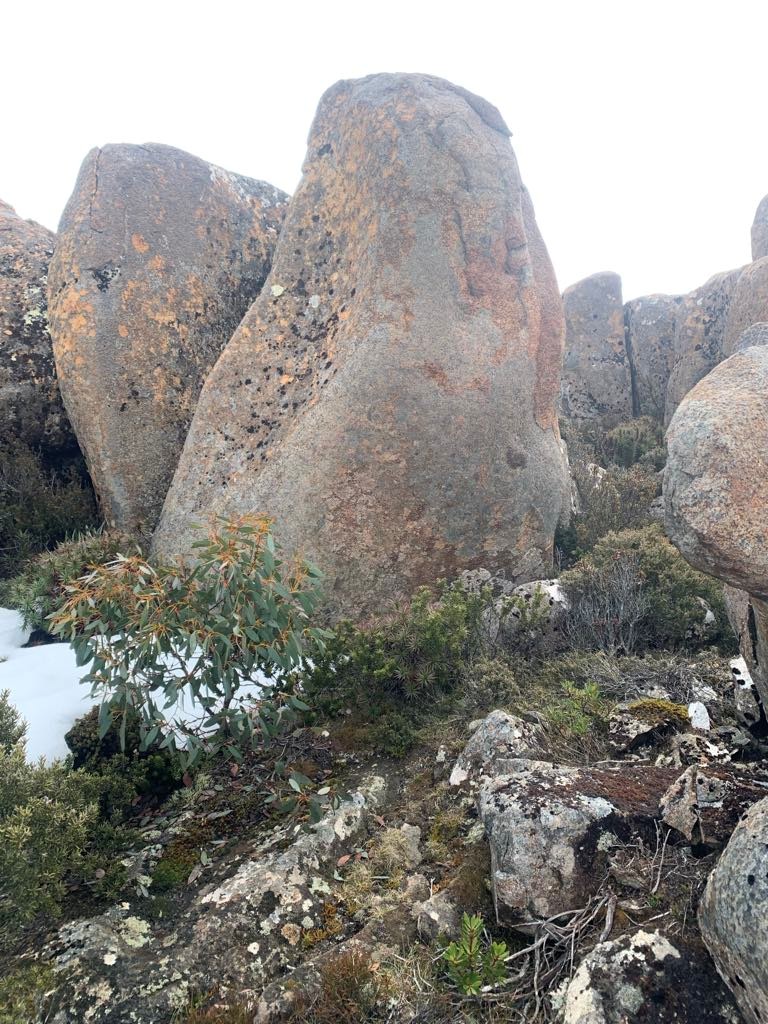
Span the block and head up.
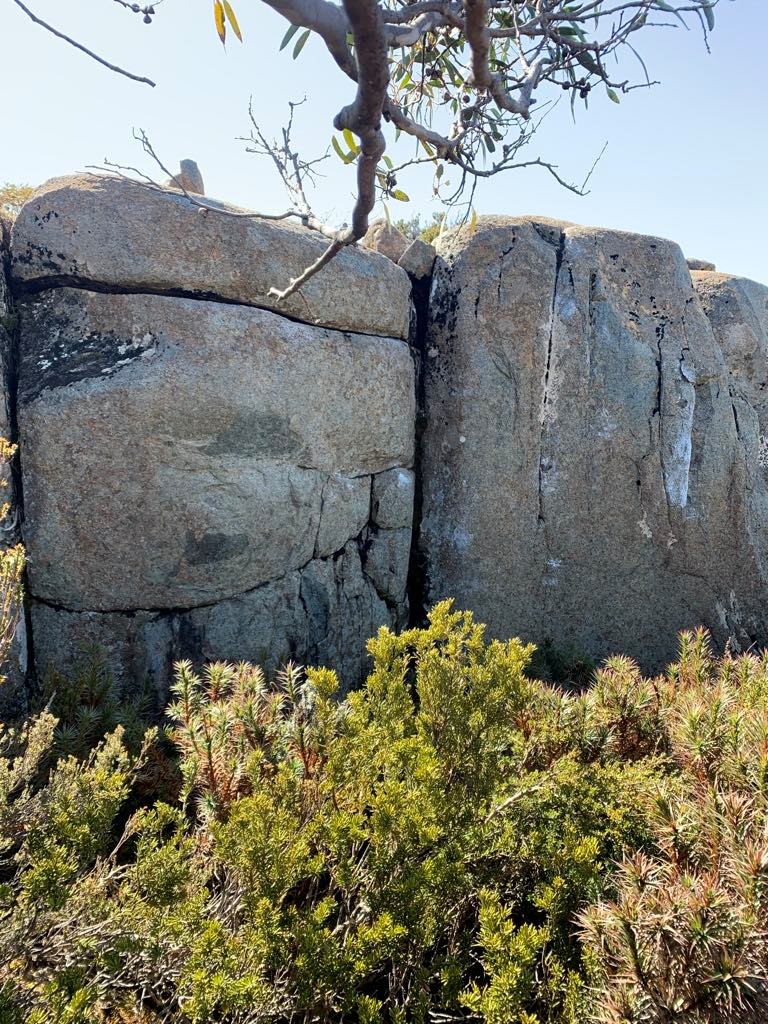
Harder than it looks, a few awkward early moves followed by an easy top out. Start with right hand side pull and left wherever works.
D Peacock 2024
Straight up, crux is the mantel.
Start as for Mantlecore, tend left along the crack and avoid the mantel.
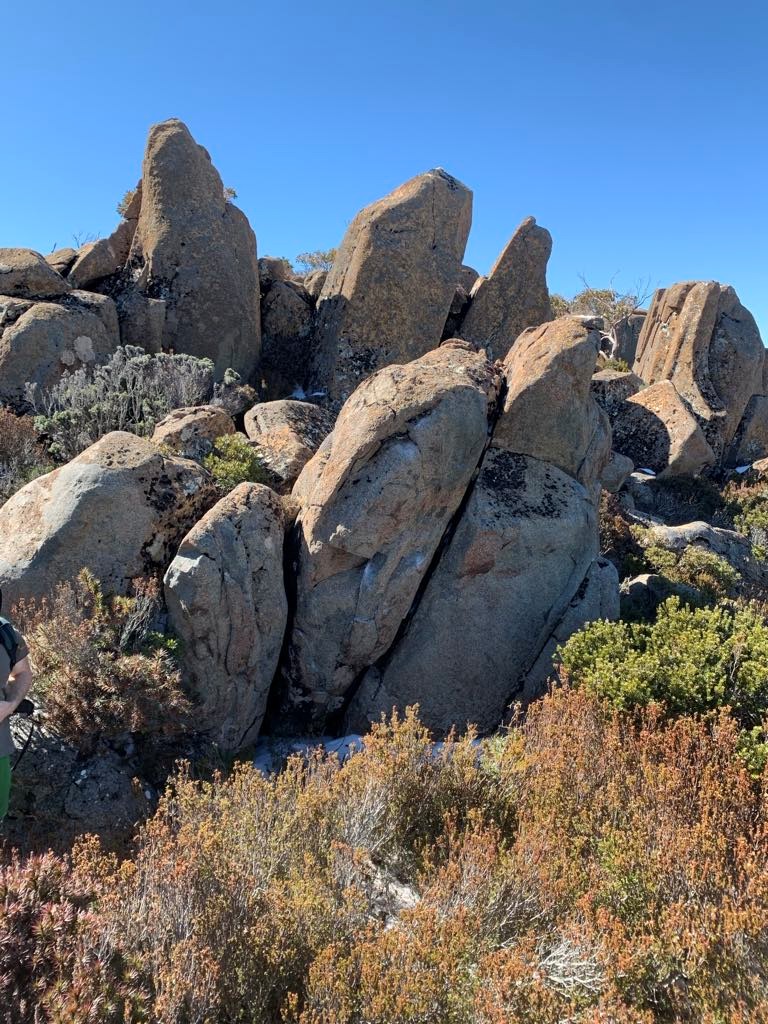
Further south along the top area, with a bunch of high pillars that have some potential. Only ST has been climbed thus far. Start on low left hand crimp and right gaston. Thug up.
M & C Reekie 2024
The Hammer Area
About 50m past the Beacon, walking below the scree, there is a bold overhanging pillar and a few unclimbed hard yet decent lines.
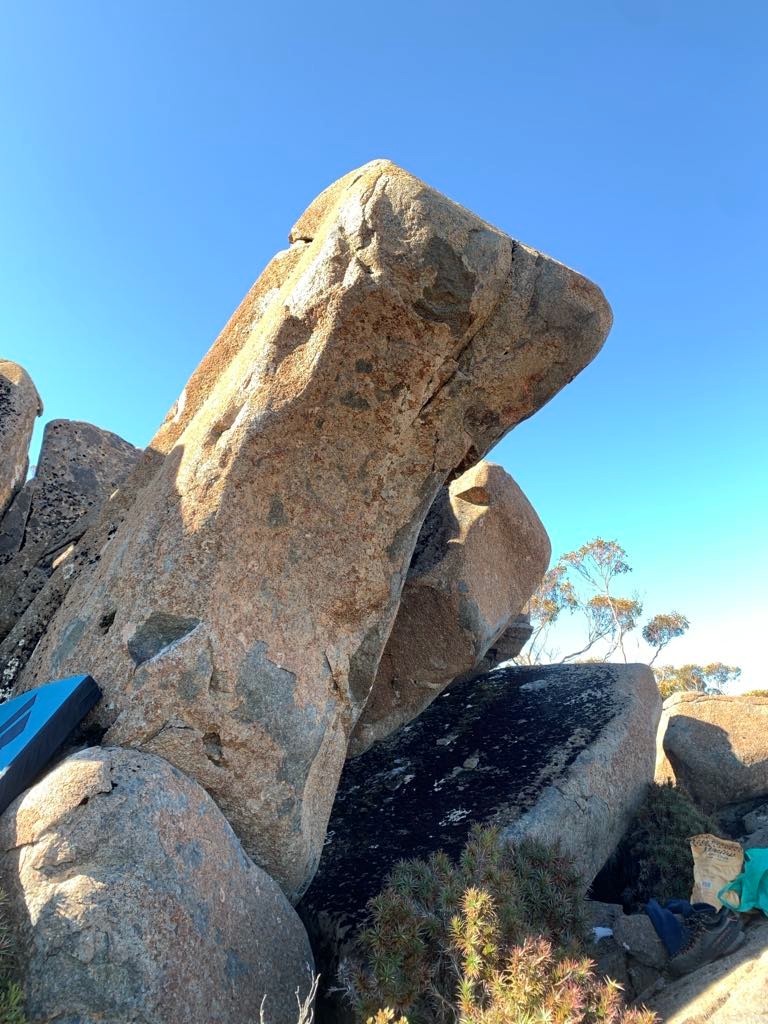
Crouched start on opposing side pulls, moving up the left side of the pillar. Gain the high left hold, hit the sloped crest and top out using the small crack on top. Classic.
M Reekie 2025
Hard sit start on poor holds, up using face and right arête, top out over the middle.
Lowball to the right of the pillar, following the sloped edge.
The next boulders are nestled in the scree field just above and south of the Hammer. A few easy lines done so far, potential for a couple of challenging lines in the area.
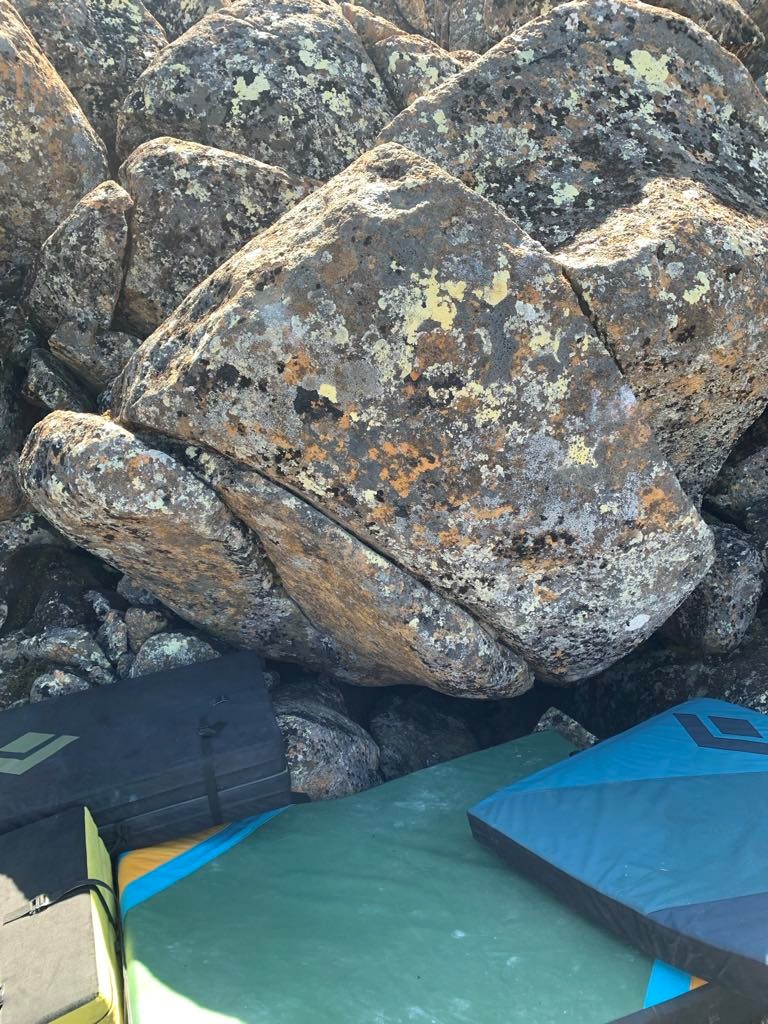
Sit matched on rail, with deep left foot. Head right and use those heels. Slightly contrived, avoiding the obvious jug to the left.
C Reekie 2024
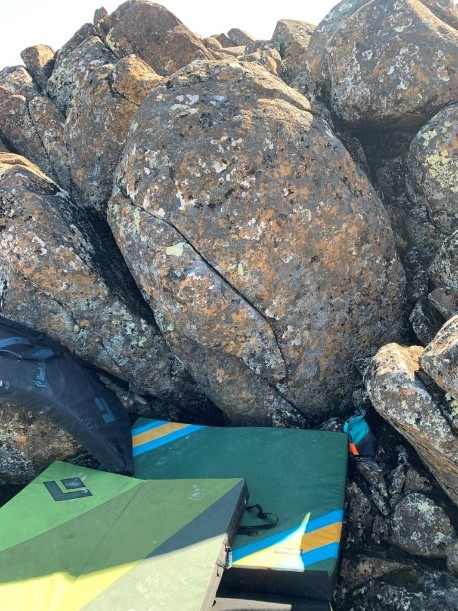
Sit matched on rail, move along, heel up, rock over and up on crimps. Check holds first as one of the unnecessary crimps is loose.
C Reekie 2024
There are plenty more lines to be found on Thark, although each hill adds another 15mins of approach time on feet. There are however rumours of a mega block with an unclimbed king line in the gap where the track heads towards Devils Throne...