
South Wellington Bouldering
 20min to 45min
 Mixed sun and shade
 Dolerite
Introduction
Mt Wellington offers some good opportunities for bouldering. Its a bit scattered, and dolerite is an acquired taste for bouldering. But there are lots of problems, particularly moderates with easy access for after work climbing.
Access
From the centre of Hobart drive up Davey Street, which becomes Huon Road, for 9.6km. Just before Fern Tree a well sign posted road (Pillinger Drive) leads off sharply to the right and winds up the mountain. Keep going up the road to reach the Summit. From the Summit carpark take follow the track past the transmission tower to the South Wellington track. All the boulders are accessed from this track.
Plenty of parking at the summit.
GPS
South Wellington
South Wellington comprises areas accessed from the South Wellington walking track. The area is stunning when sunny and in the middle of a snow storm!
From the car park walk about 30m along the track to South Wellington, and directly opposite the TV tower you will see a small face with 'ABC 1958' graffitied on it. Sit start on good flat hold and up on slopers.
Patient Lady Boulders
These boulders are about a 20 minute easy walk from the Summit car park. Head South along the main path past the concrete tower until the South Wellington track veers right, keeping on the edge of the plateau. The boulders are fairly easy to spot as they are the first large, decent looking group of boulders you will come across. The landings are good and rock quality is also good with some interesting features.
decent warm up
Well worth a look at, quite friction dependent. Sit start would make it harder.
Eli
Chimney :)
Eli
Start with hands in horizontal crack. Probably the best V3 on the mountain (so far).
Eli
be careful about the flake up the top. A hard start but a good landing.
Eli
Good landing and a good climb.
Stu Bowling
First Valley
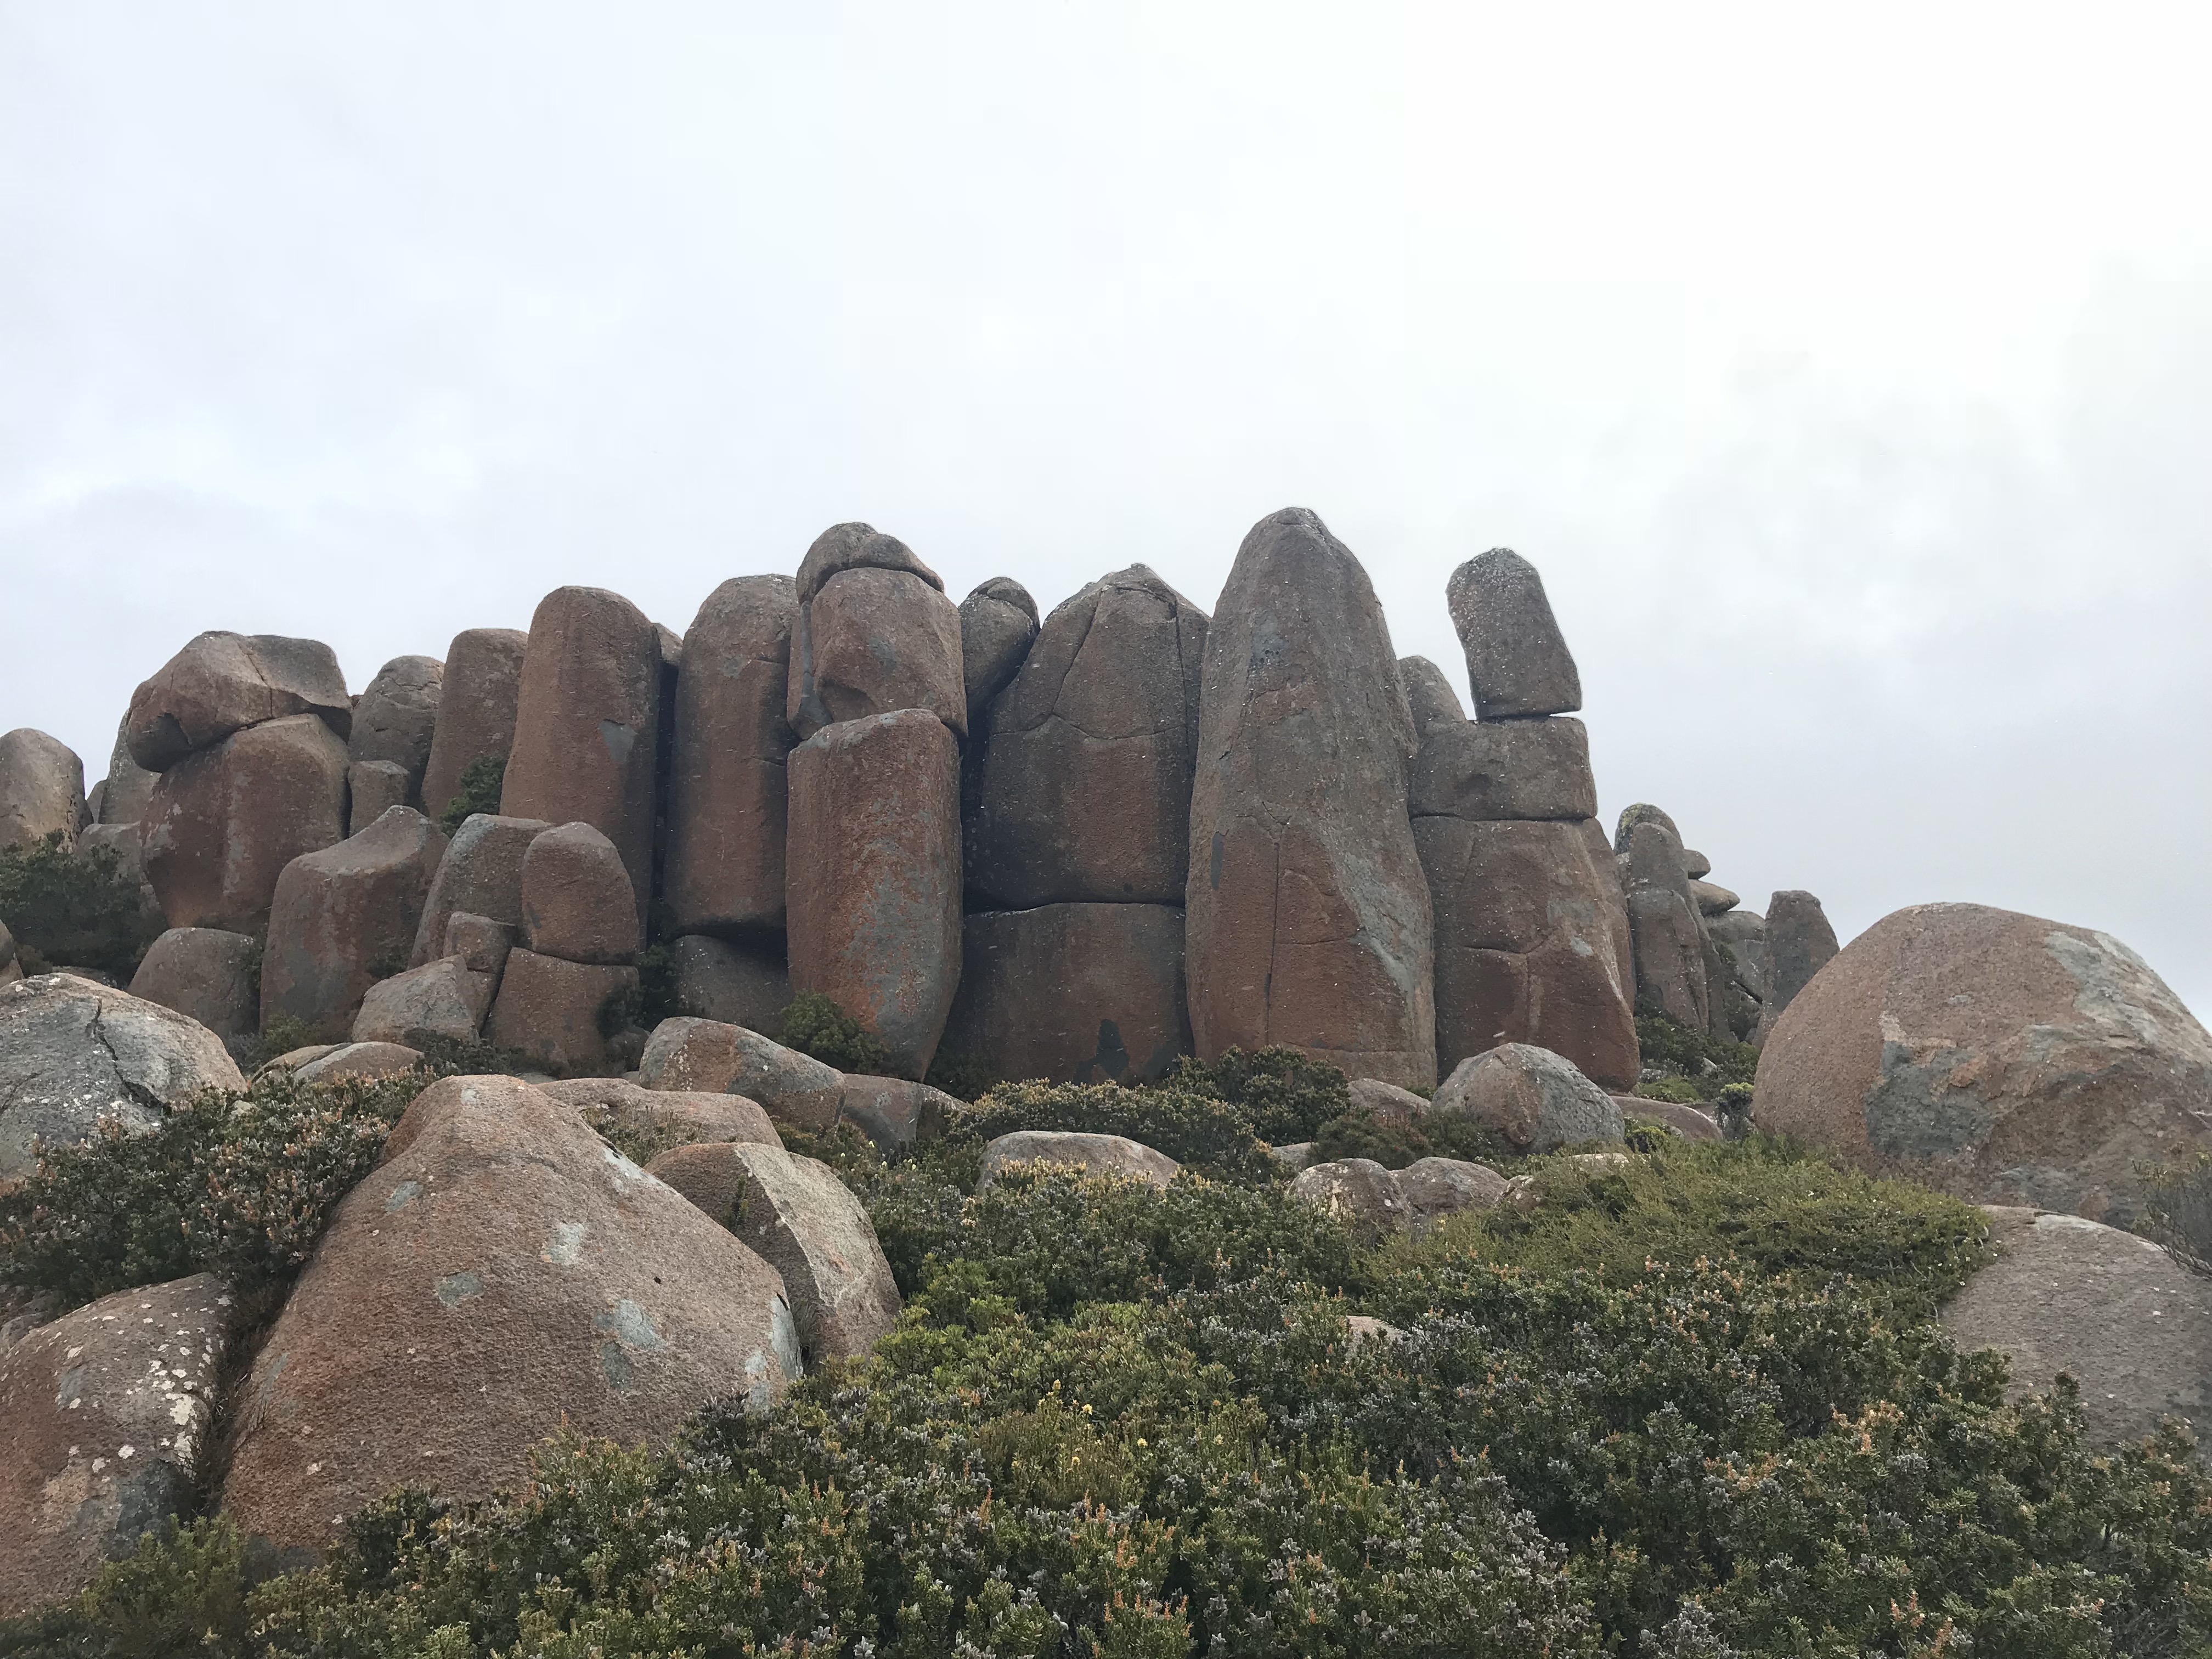
The First Valley is located a couple of minutes walking past Patient Lady Boulders and is the next cluster of sizable boulders. The most obvious line is The Cock Block
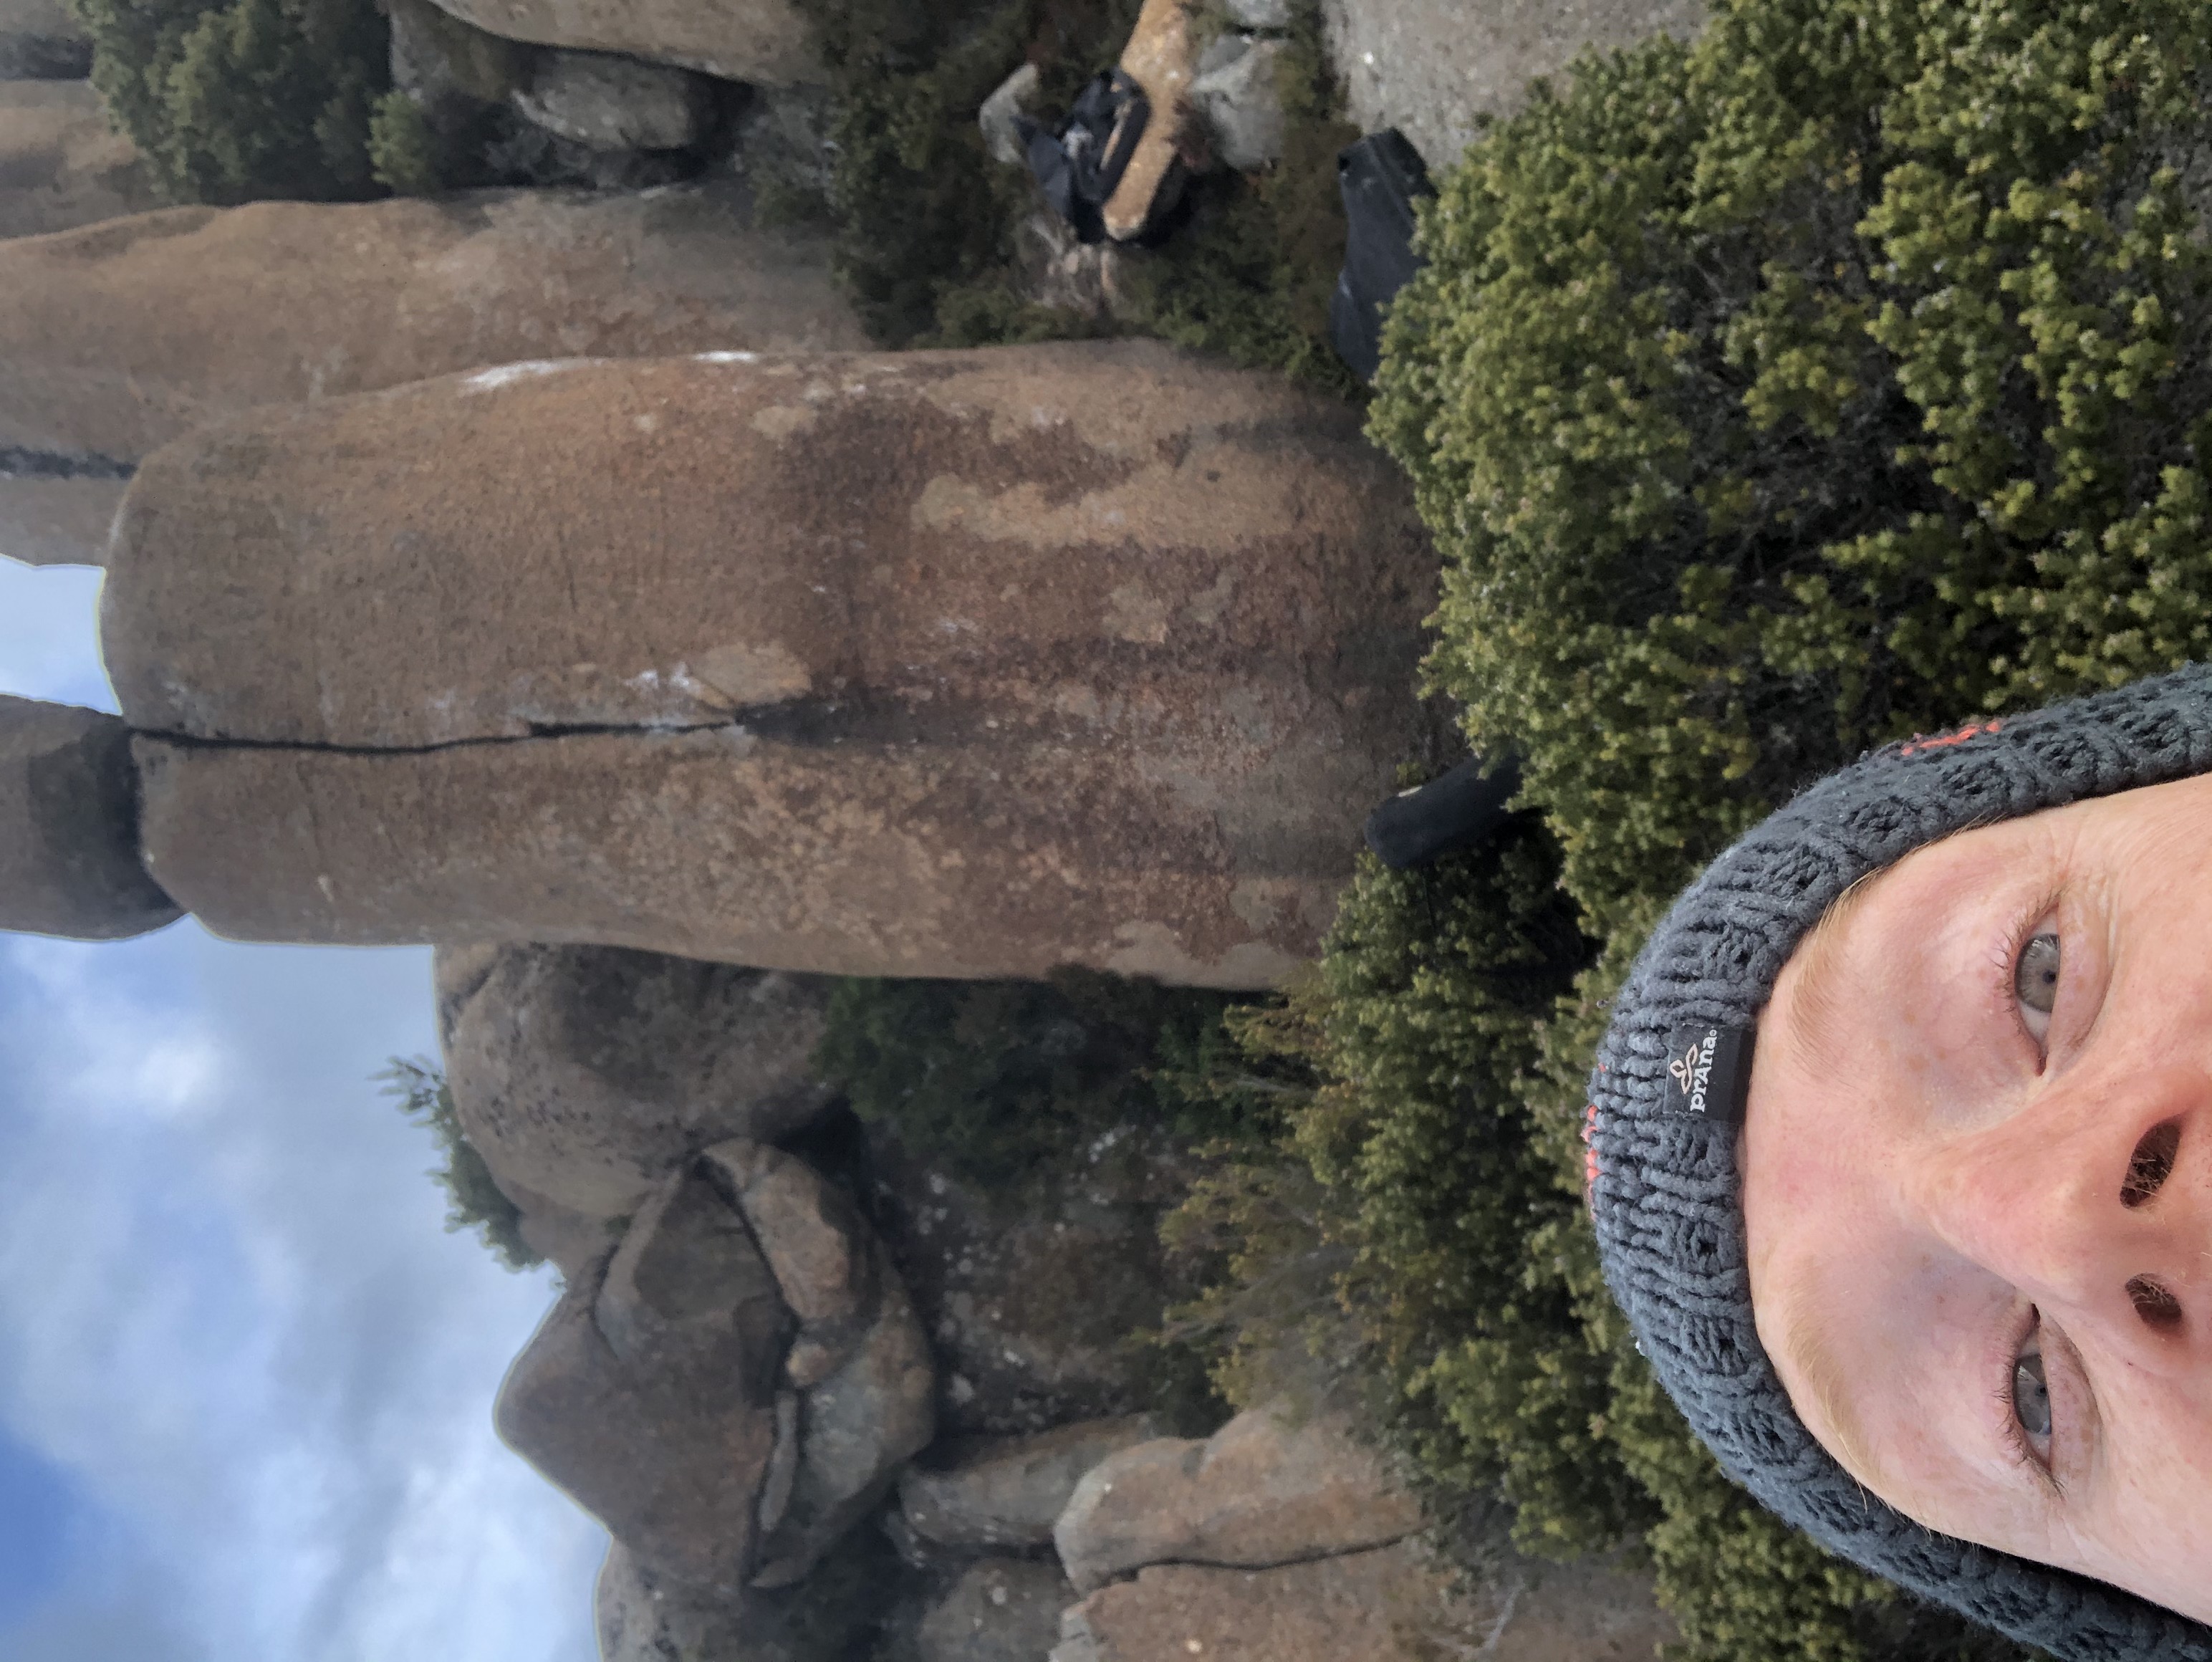
Arete and crack.
M Hitchcock 2020
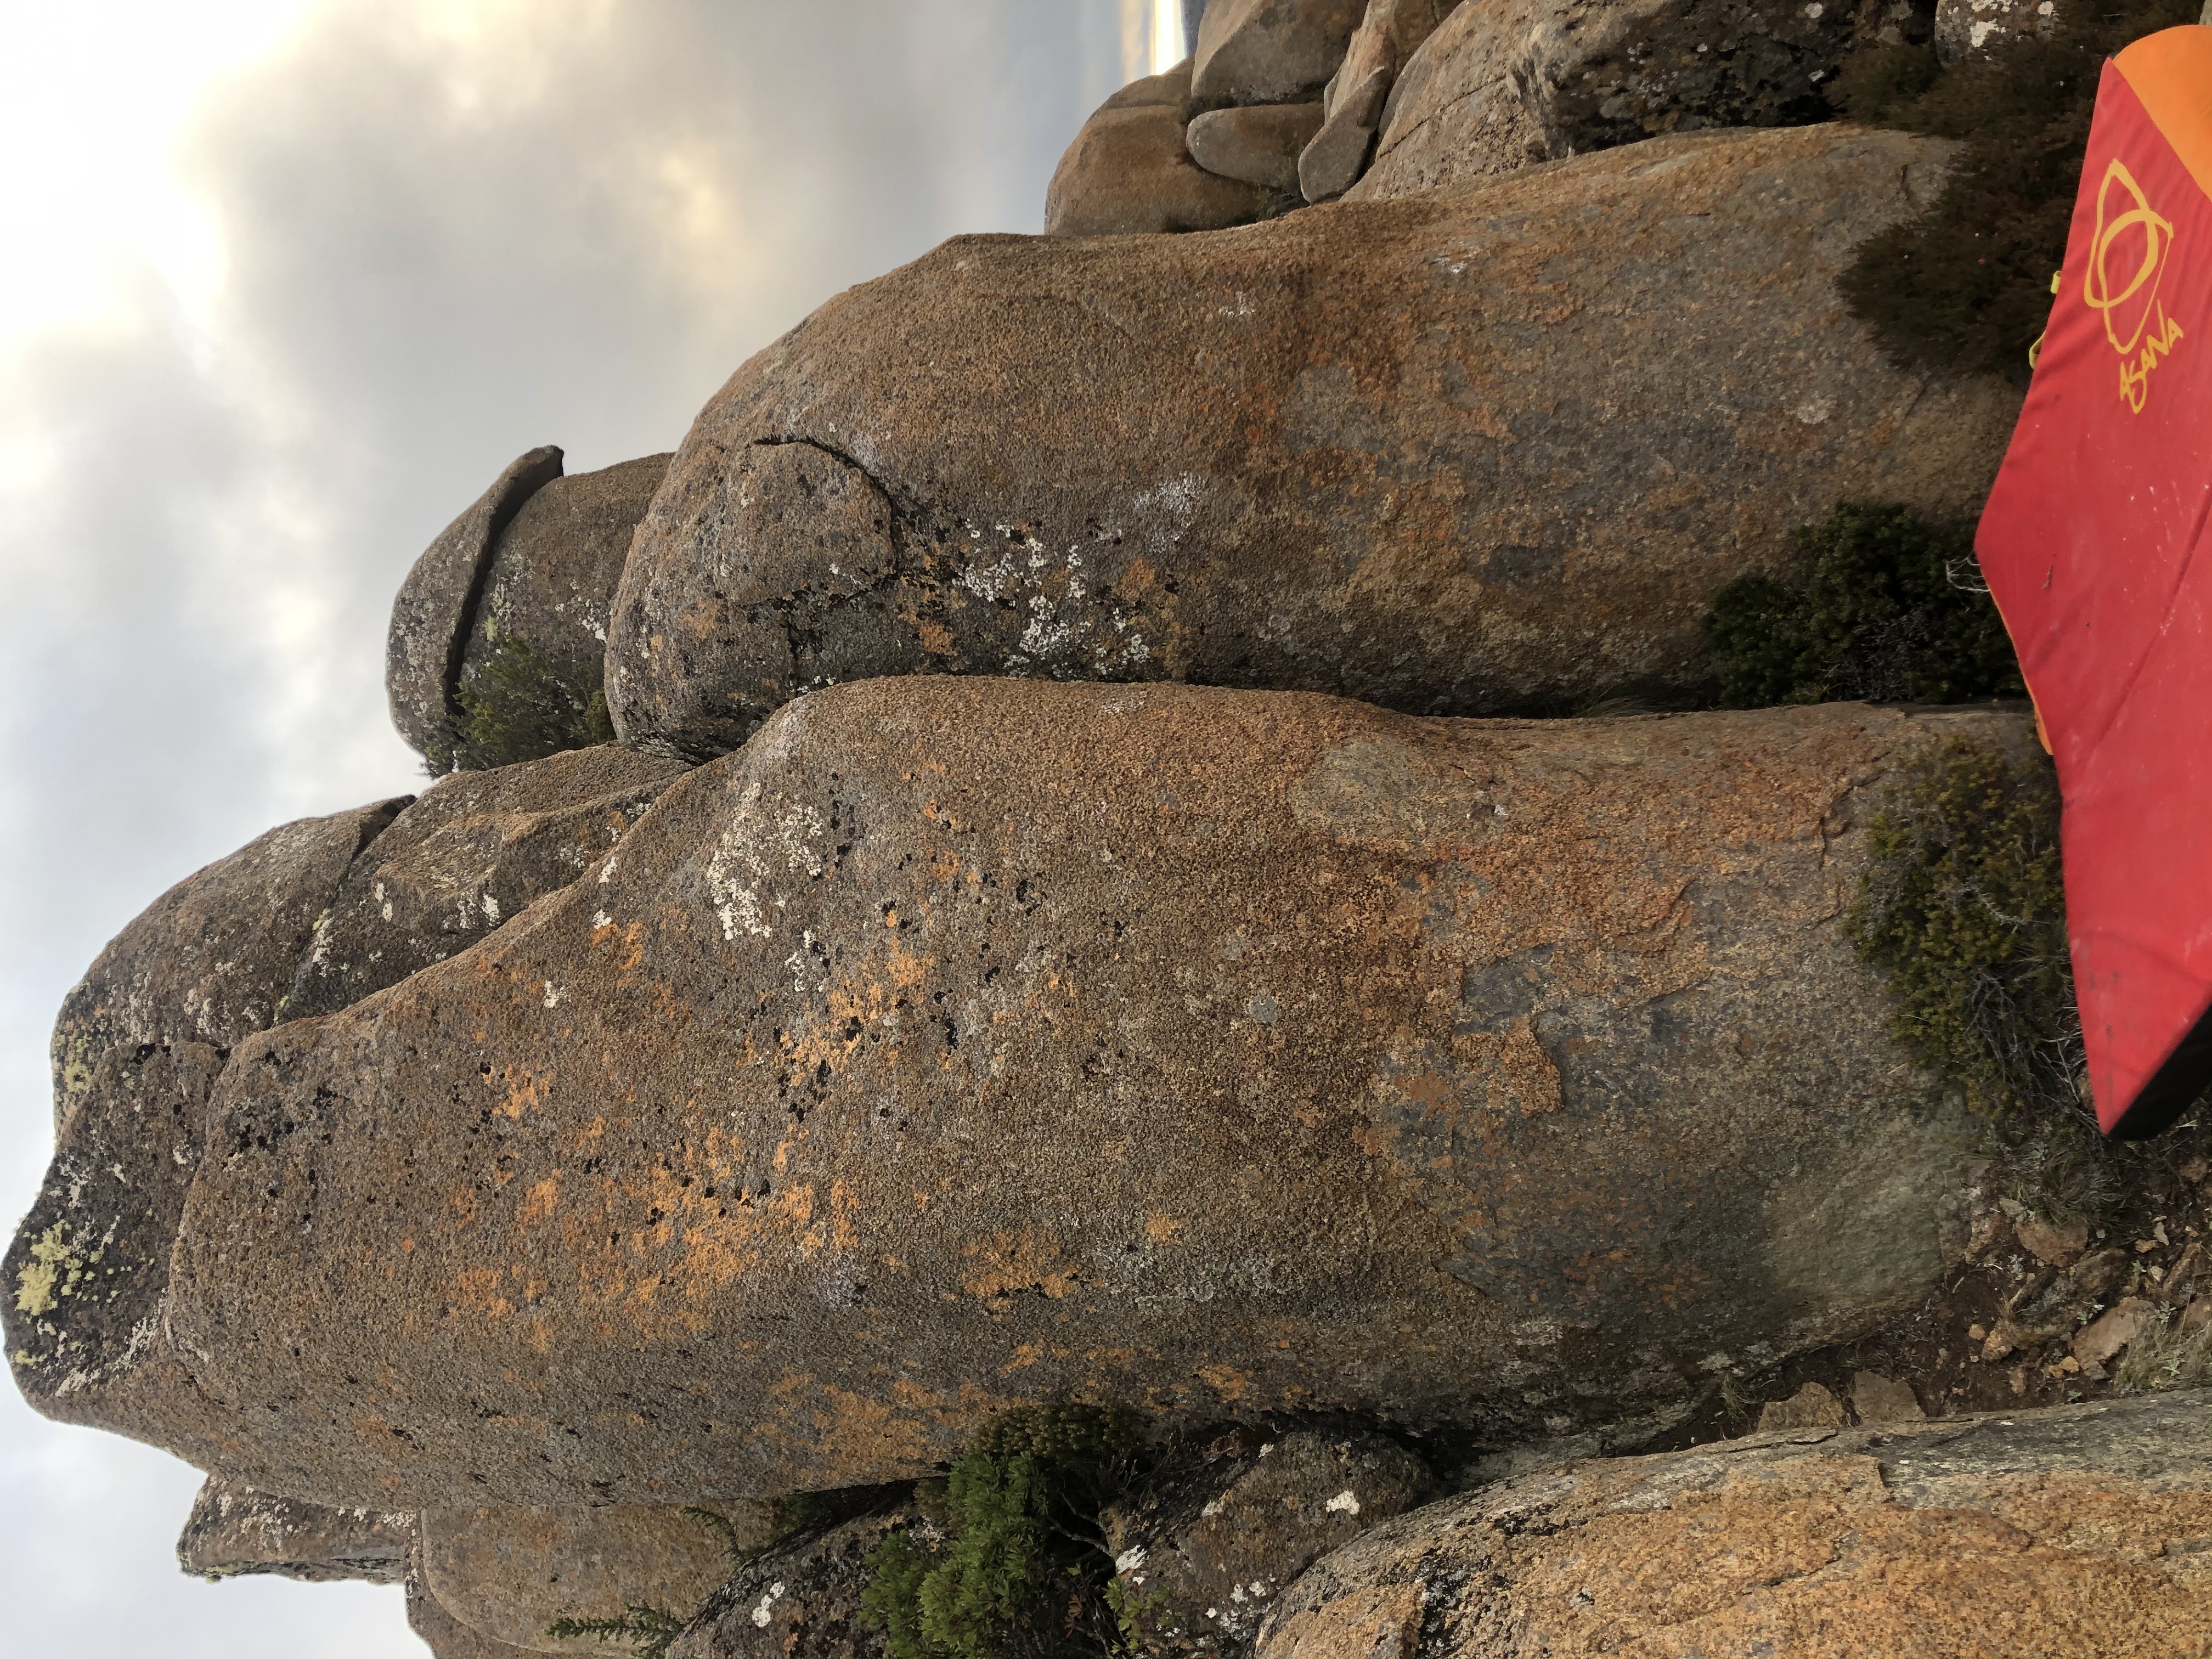
Hug the wide and slopey pillar
M Hitchcock 2020
Short pillar with a good hold to mantle.
M Hitchcock 2020
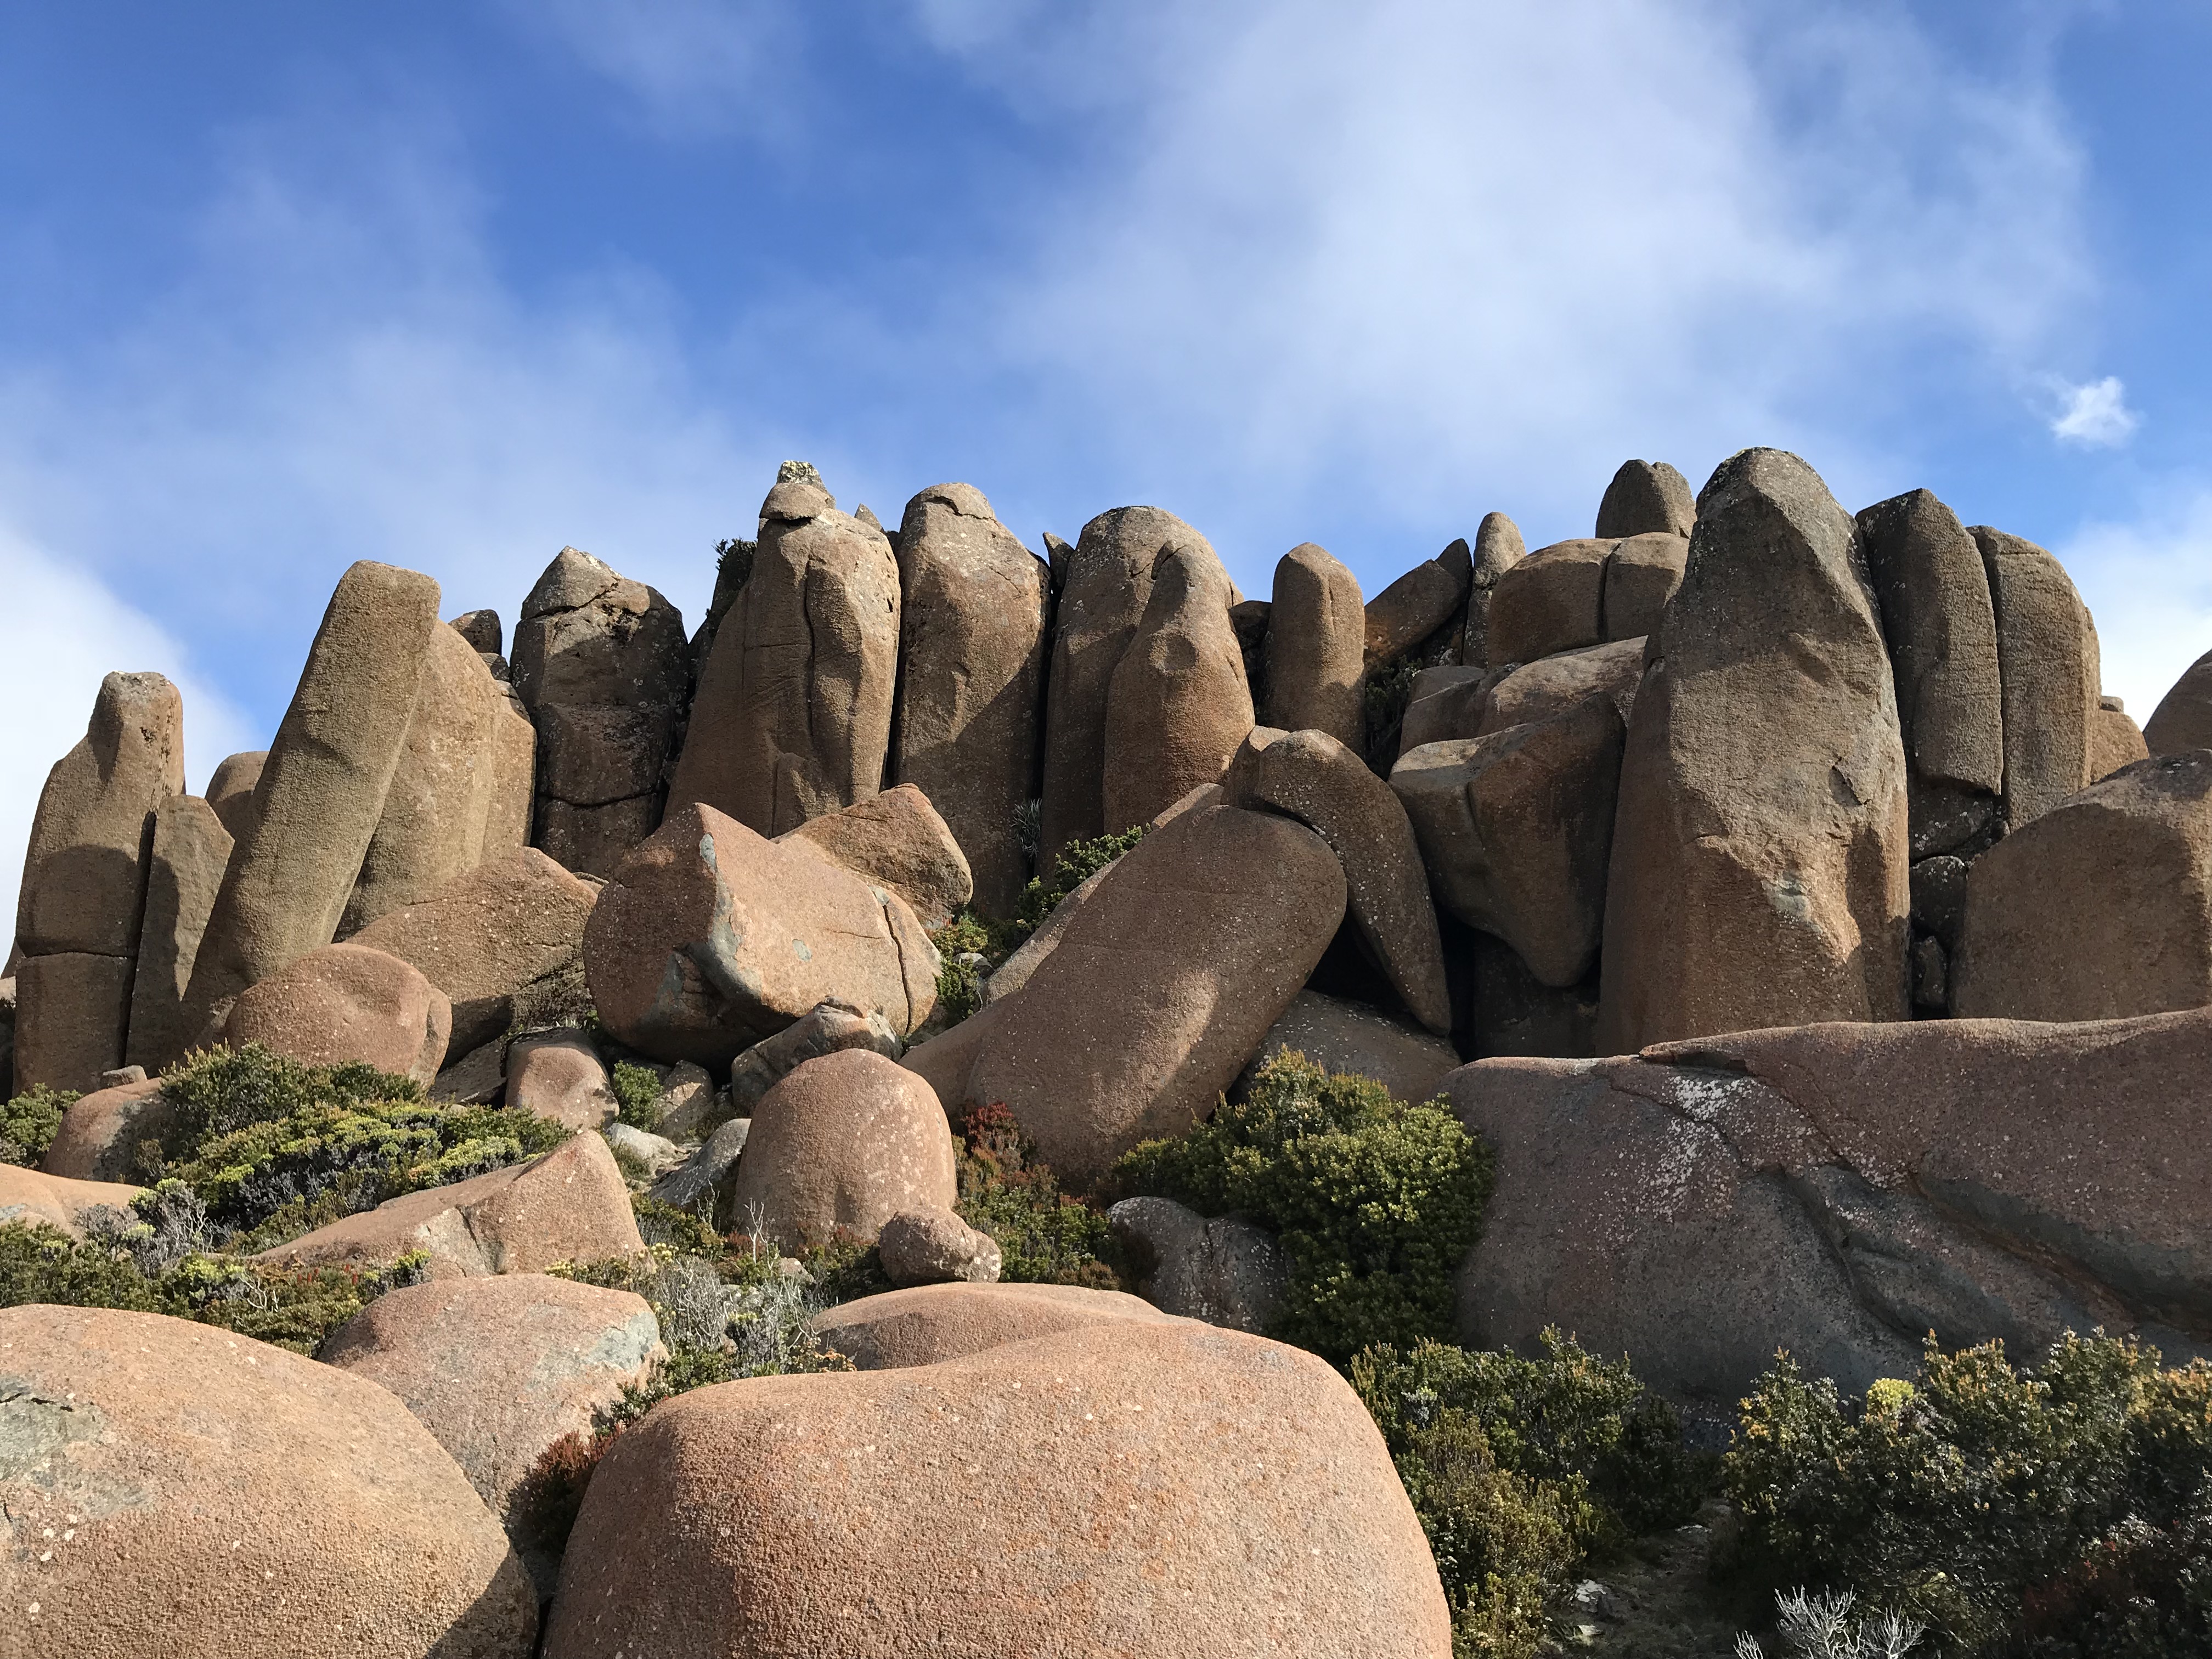
Reasonably high above reasonably bad landing. Good compression line nonetheless.
M Hitchcock 2020
Who dares master the cock block? Climb the underside of the high pillar over a not-so-great landing.
C Taylor 2020
Project 3
Project 4
Project 5
Taller than it looks on the picture
Start standing and undercling the hanging nose, big reach or dynamic hop to gain the lip and mantle. Landing better than it looks.
C. Johns, 2011
Hard first couple of moves to hard mantle to easy top.
C Taylor 2020
Shorter arete just right of Potential Posture.
M Hitchcock 2020
Second Hill
These are the boulders on the outcrop ~50 south of the First Valley boulders. Landings are generally the safest and flattest.
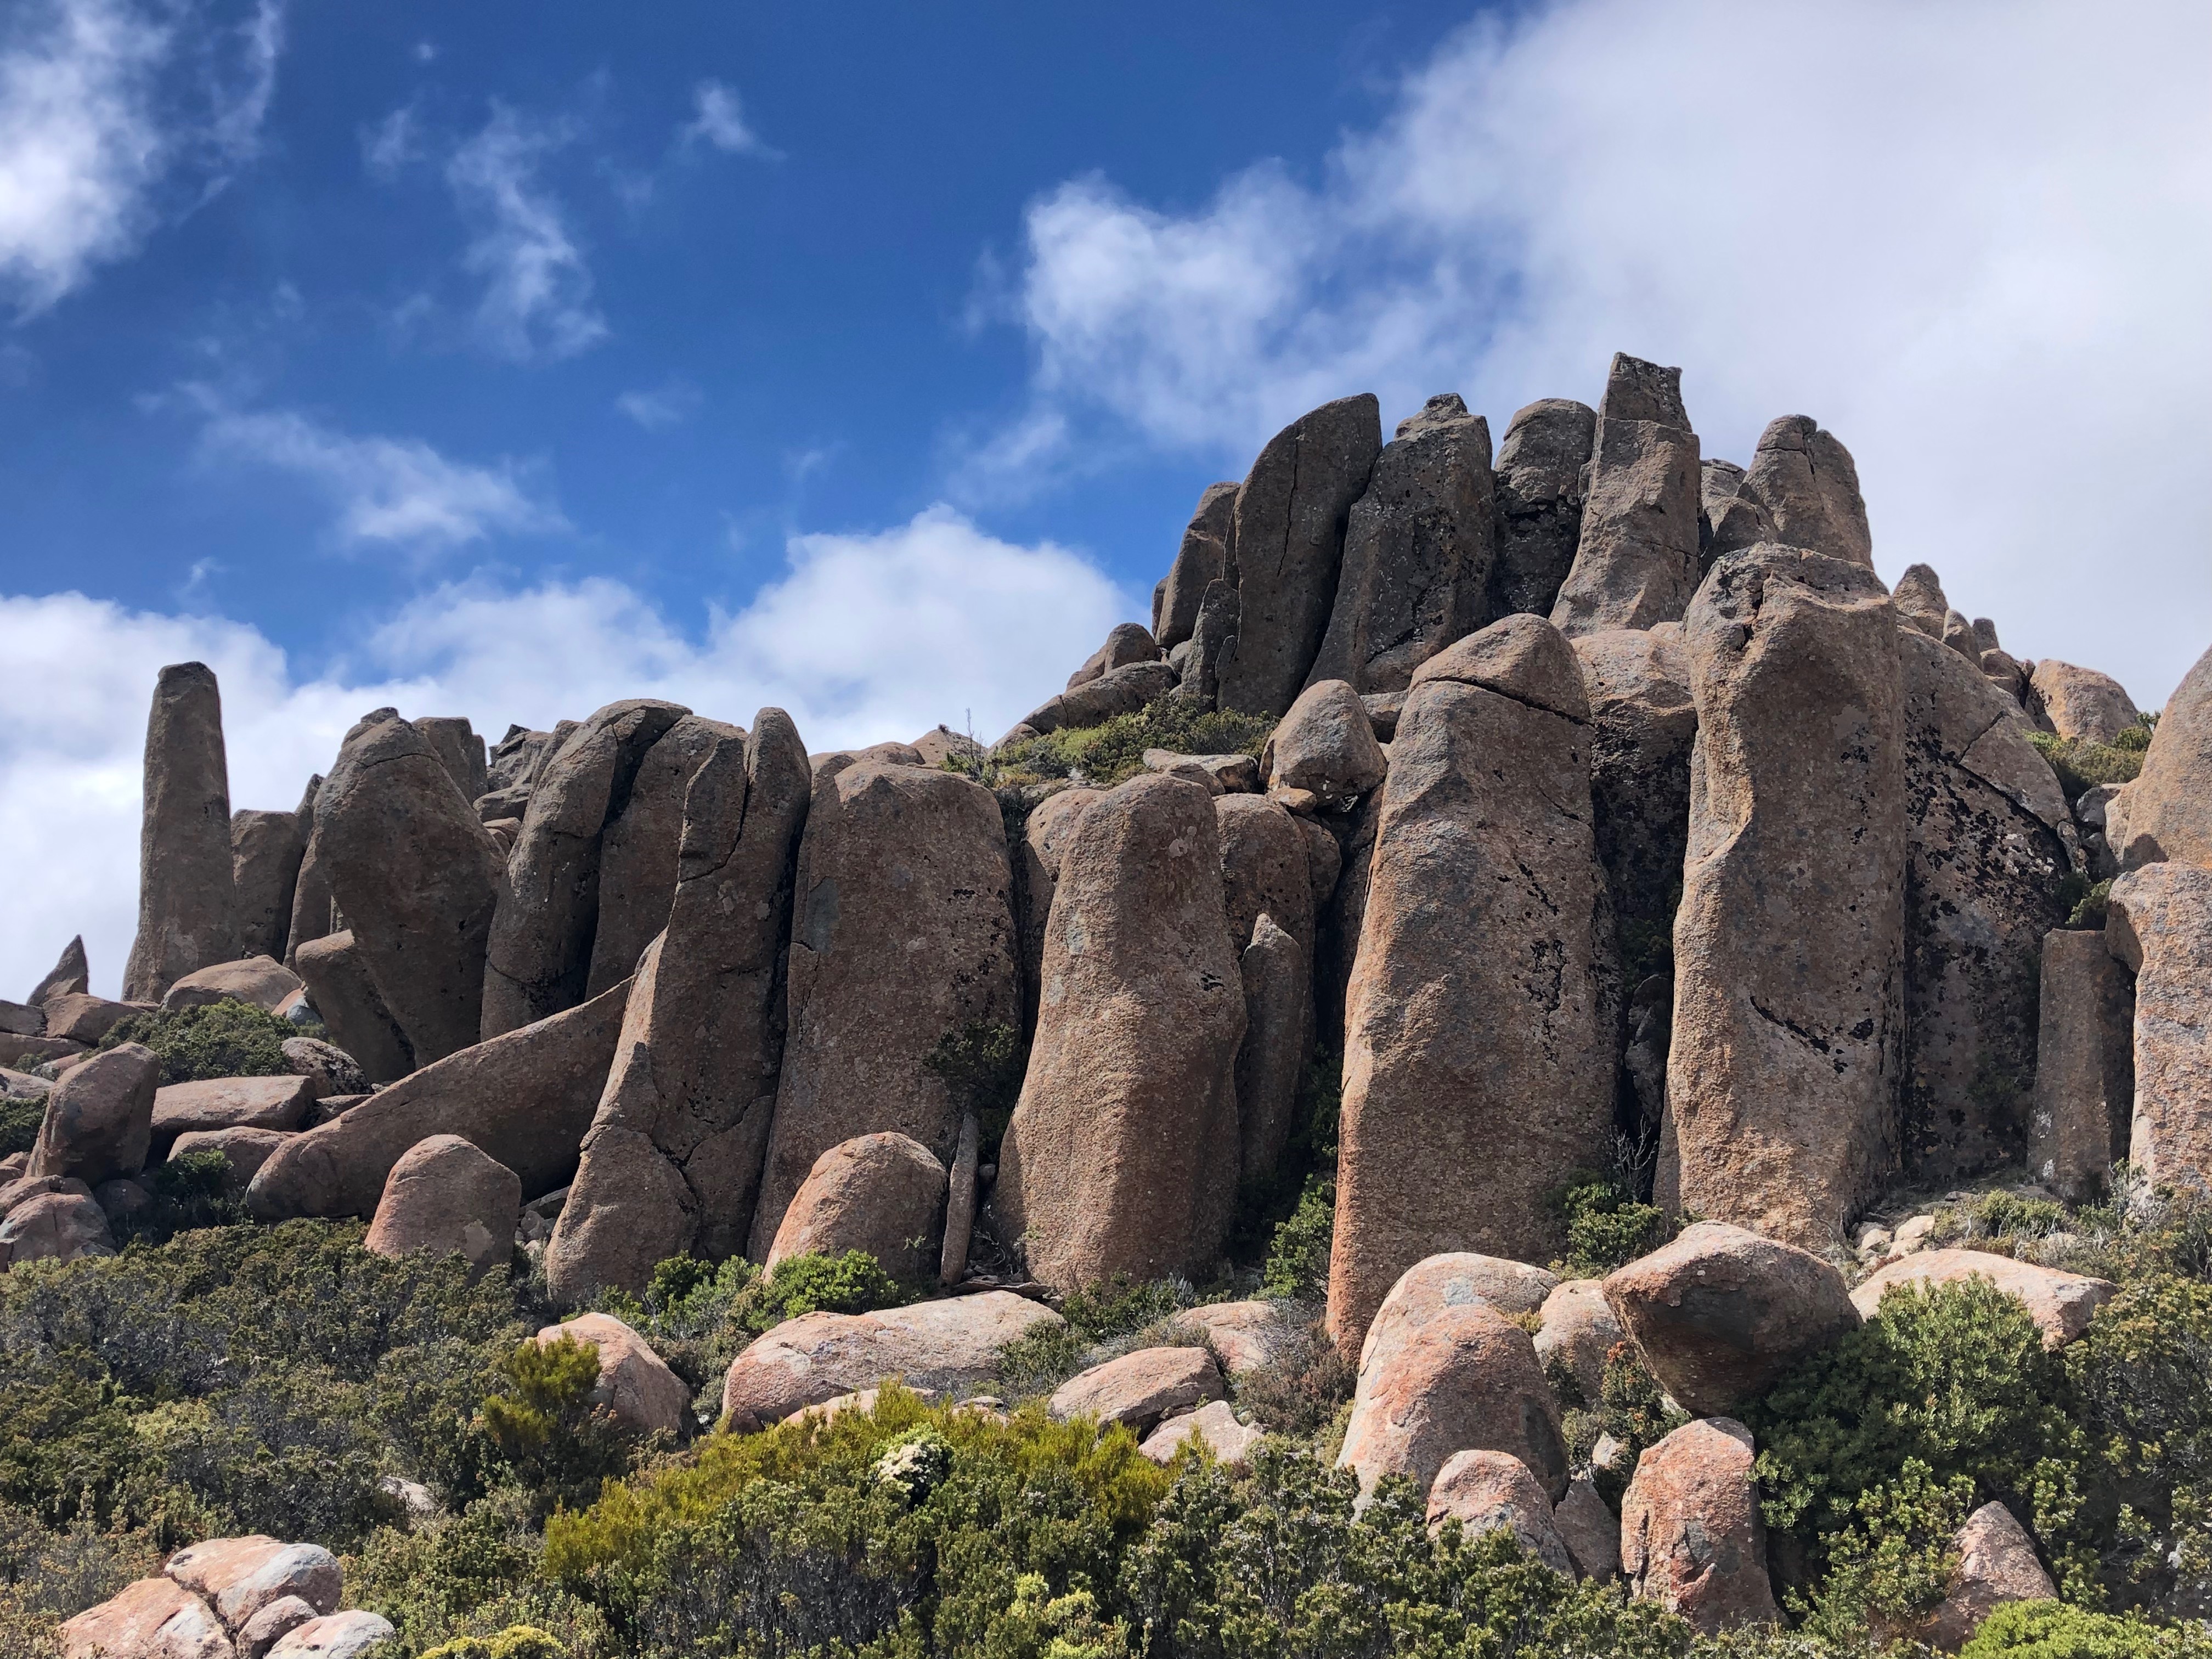
Second Hill
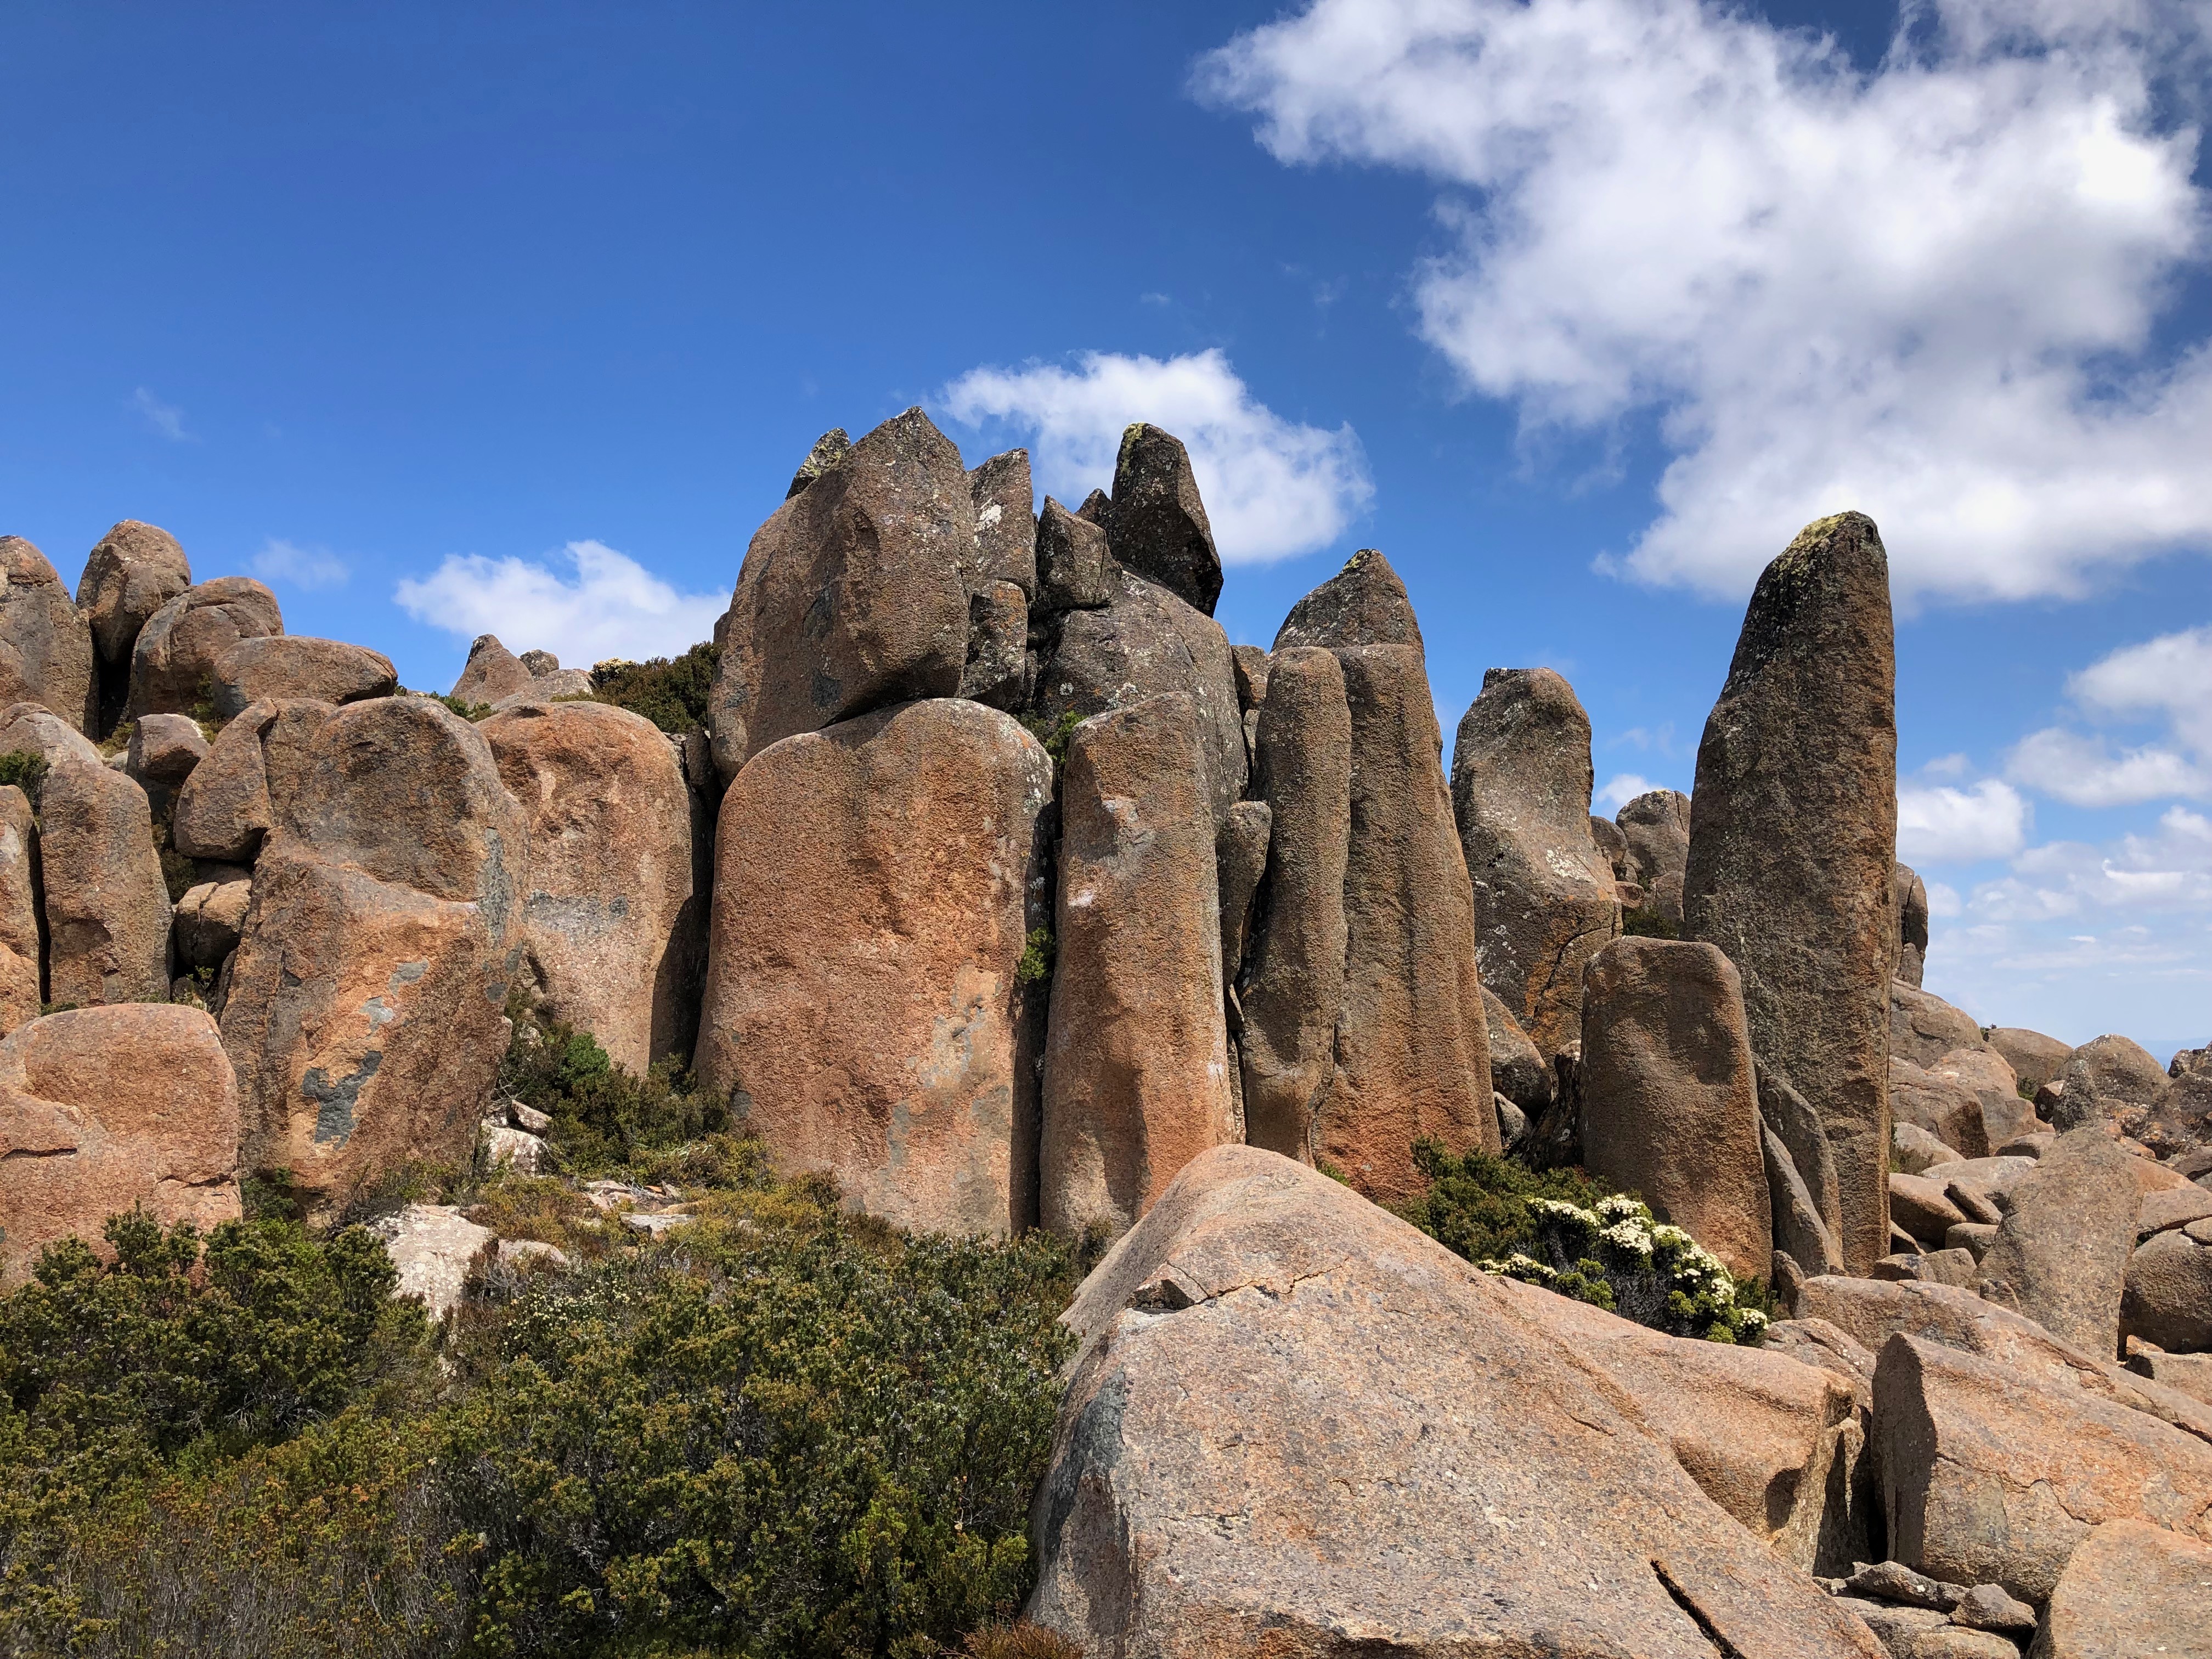
Second Hill
Sit start with good hold on right arete.
M Hitchcock 2019
Stand start with left arete and... nothing. Top out on the top boulder.
M Hitchcock 2019
Up the off width
M Hitchcock 2019
Slap up the arete, find the holds, and top out.
M Hitchcock 2019
Climb the hanging pillar. Avoid the chockstones on the left.
M Hitchcock 2019
Climb up the pillar. Climbing gets easier as it goes, but keep in mind you also need to climb down... don't be the punter stuck on top.
M Hitchcock 2019
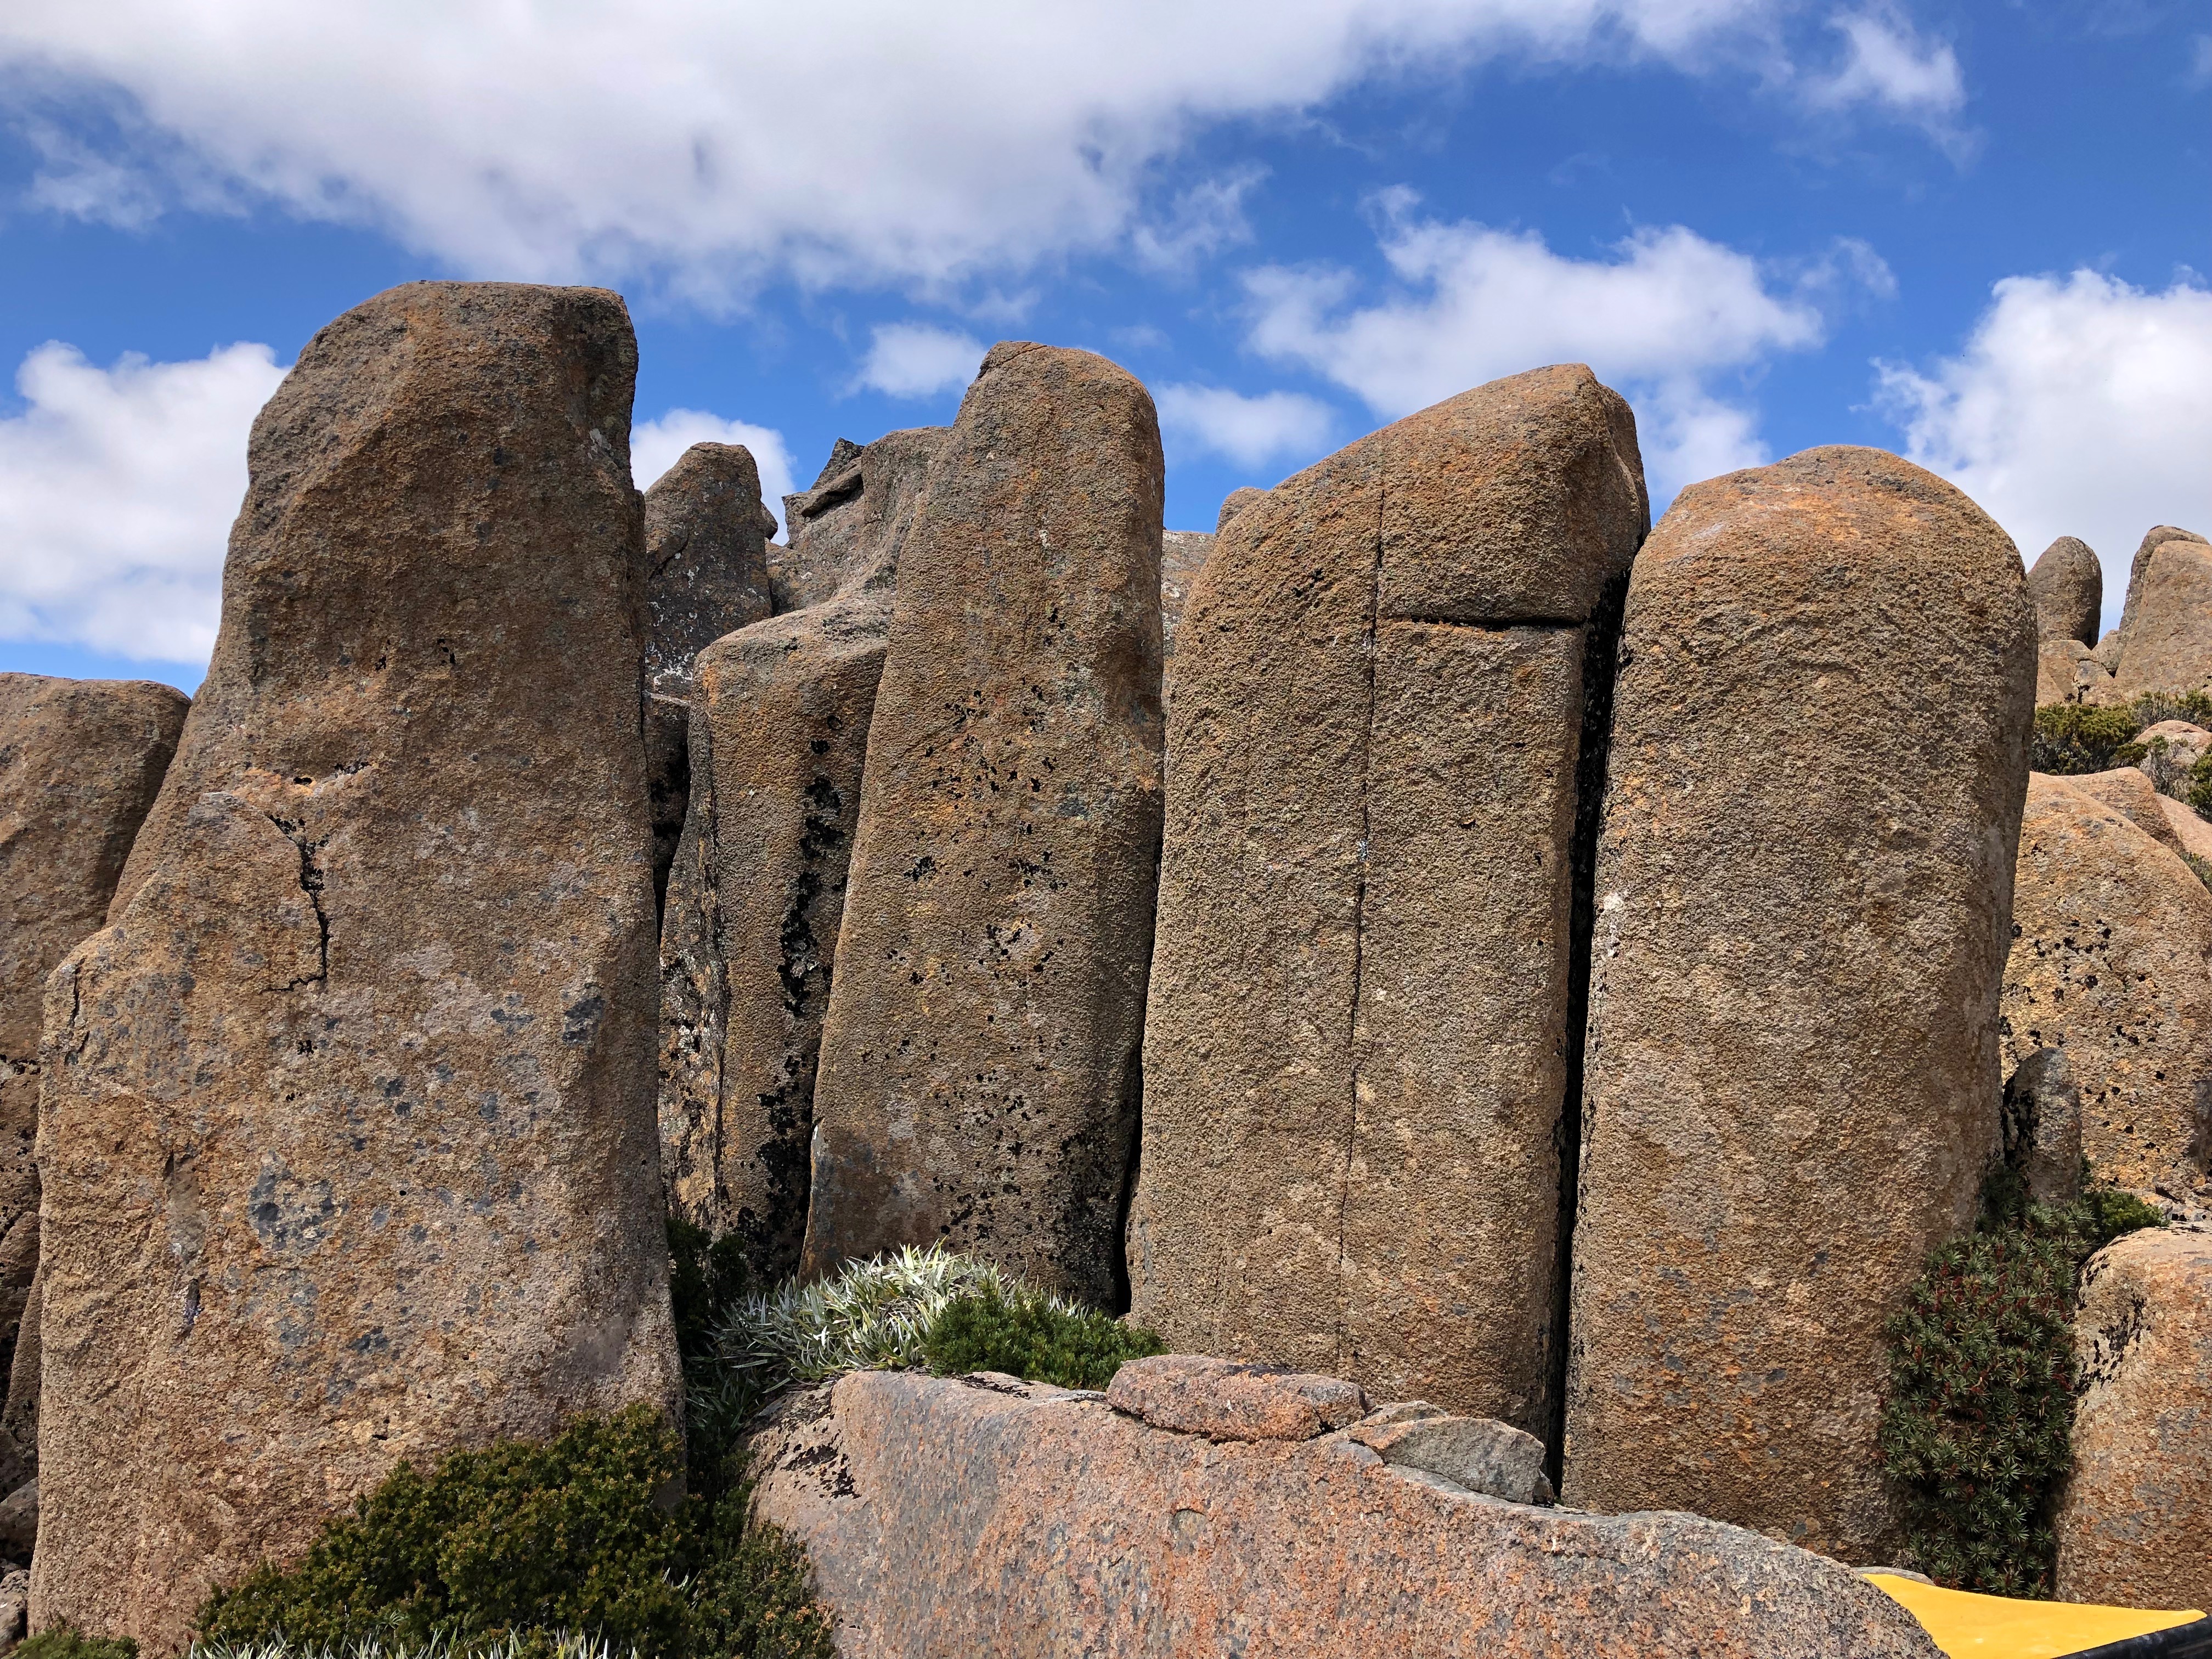
Sit start with RH in the crack.
M Hitchcock 2019
Stand start and head up through the good jugs.
M Hitchcock 2019
Chimney up the gap
M Hitchcock 2019
Climb the crack.
M Hitchcock 2019
Start with RH pinch in the seam, and LH on the prickly arete.
M Hitchcock 2019
Climb the fist crack.
M Hitchcock 2019
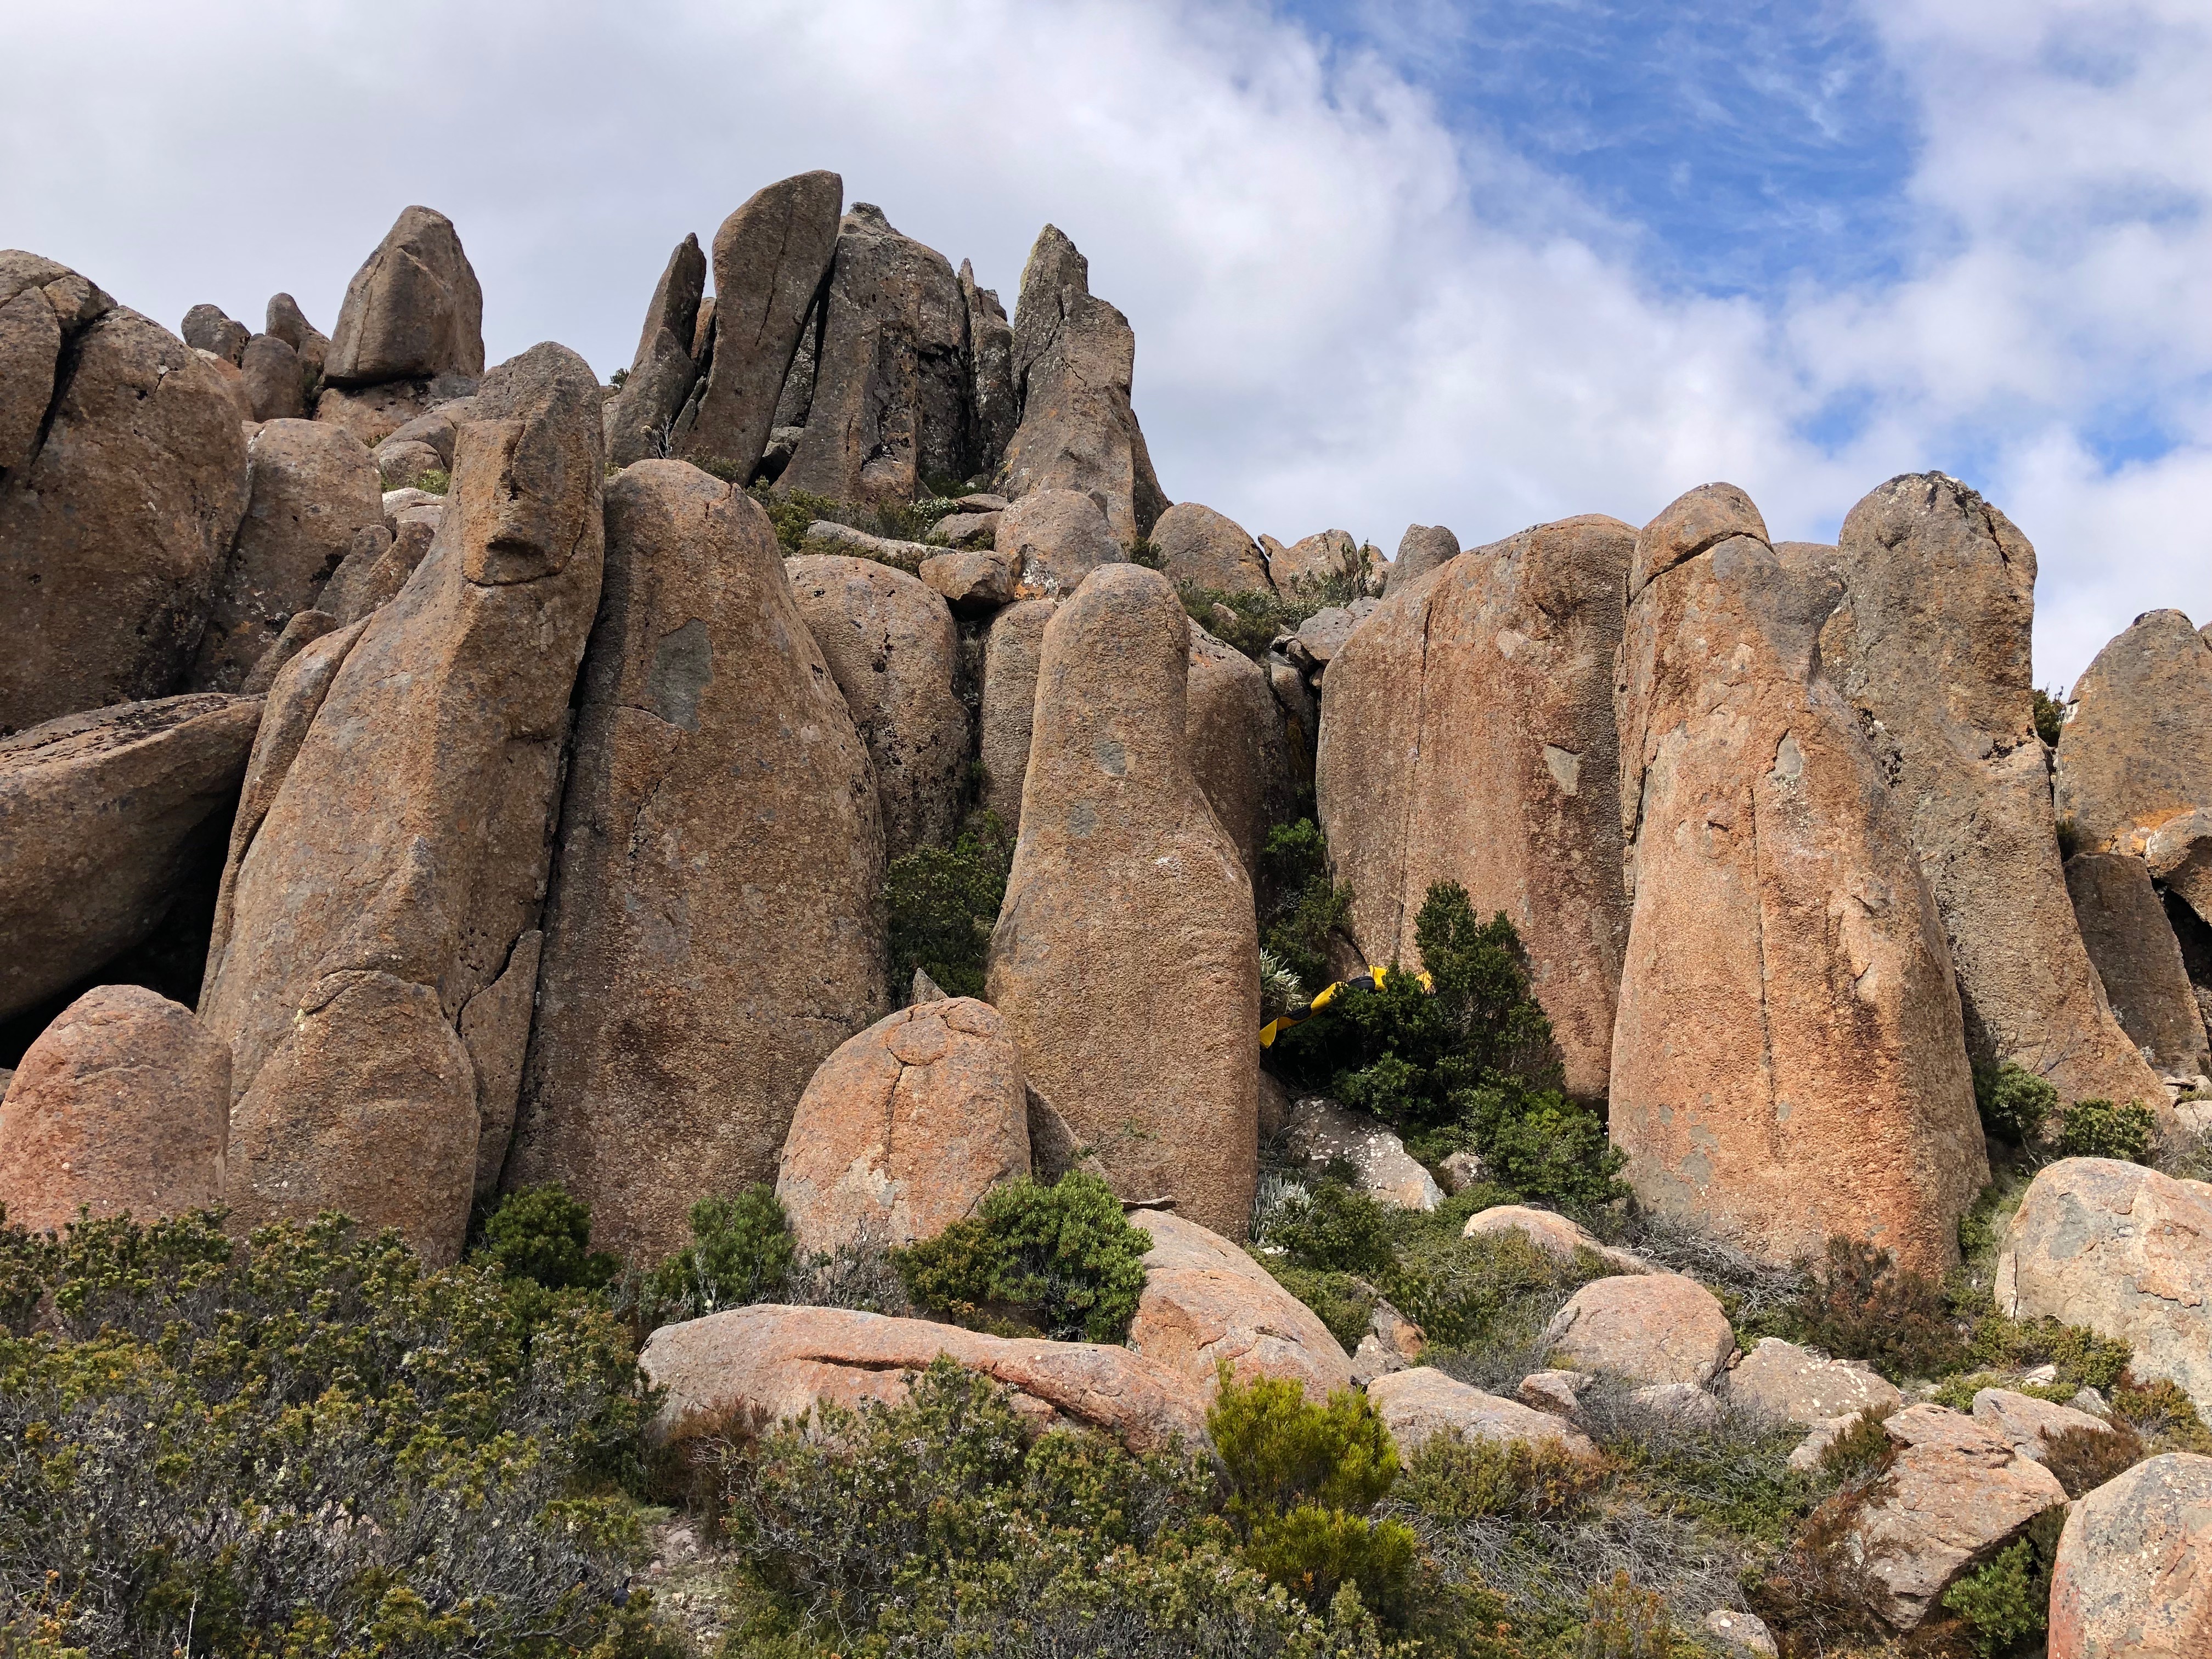
UP the underside to top out over the tip.
C. Lang 2018
Start left, head up the underside right.
C. Lang 2018
Top the the tipped pillar, climb the crack and bulge.
C. Lang 2018
Sit start on the break at the lowest point of the boulder. Climb the arete and mantle left.
M Hitchcock 2019
M Hitchcock 2019
Climb the crack.
M Hitchcock 2019
Hug up the hard start and top out.
C. Lang 2018
Climb the thin seam with some great moves.
C. Lang 2018
Climb the crack.
C. Lang 2018
Climb the fat arete.
C. Lang 2018
Climb the front of the arete.
C. Lang 2018
Climb the face and scoop.
M Hitchcock 2019
Climb the arete.
M Hitchcock 2019
Climb the face
M Hitchcock 2019
Climb the arete.
M Hitchcock 2019
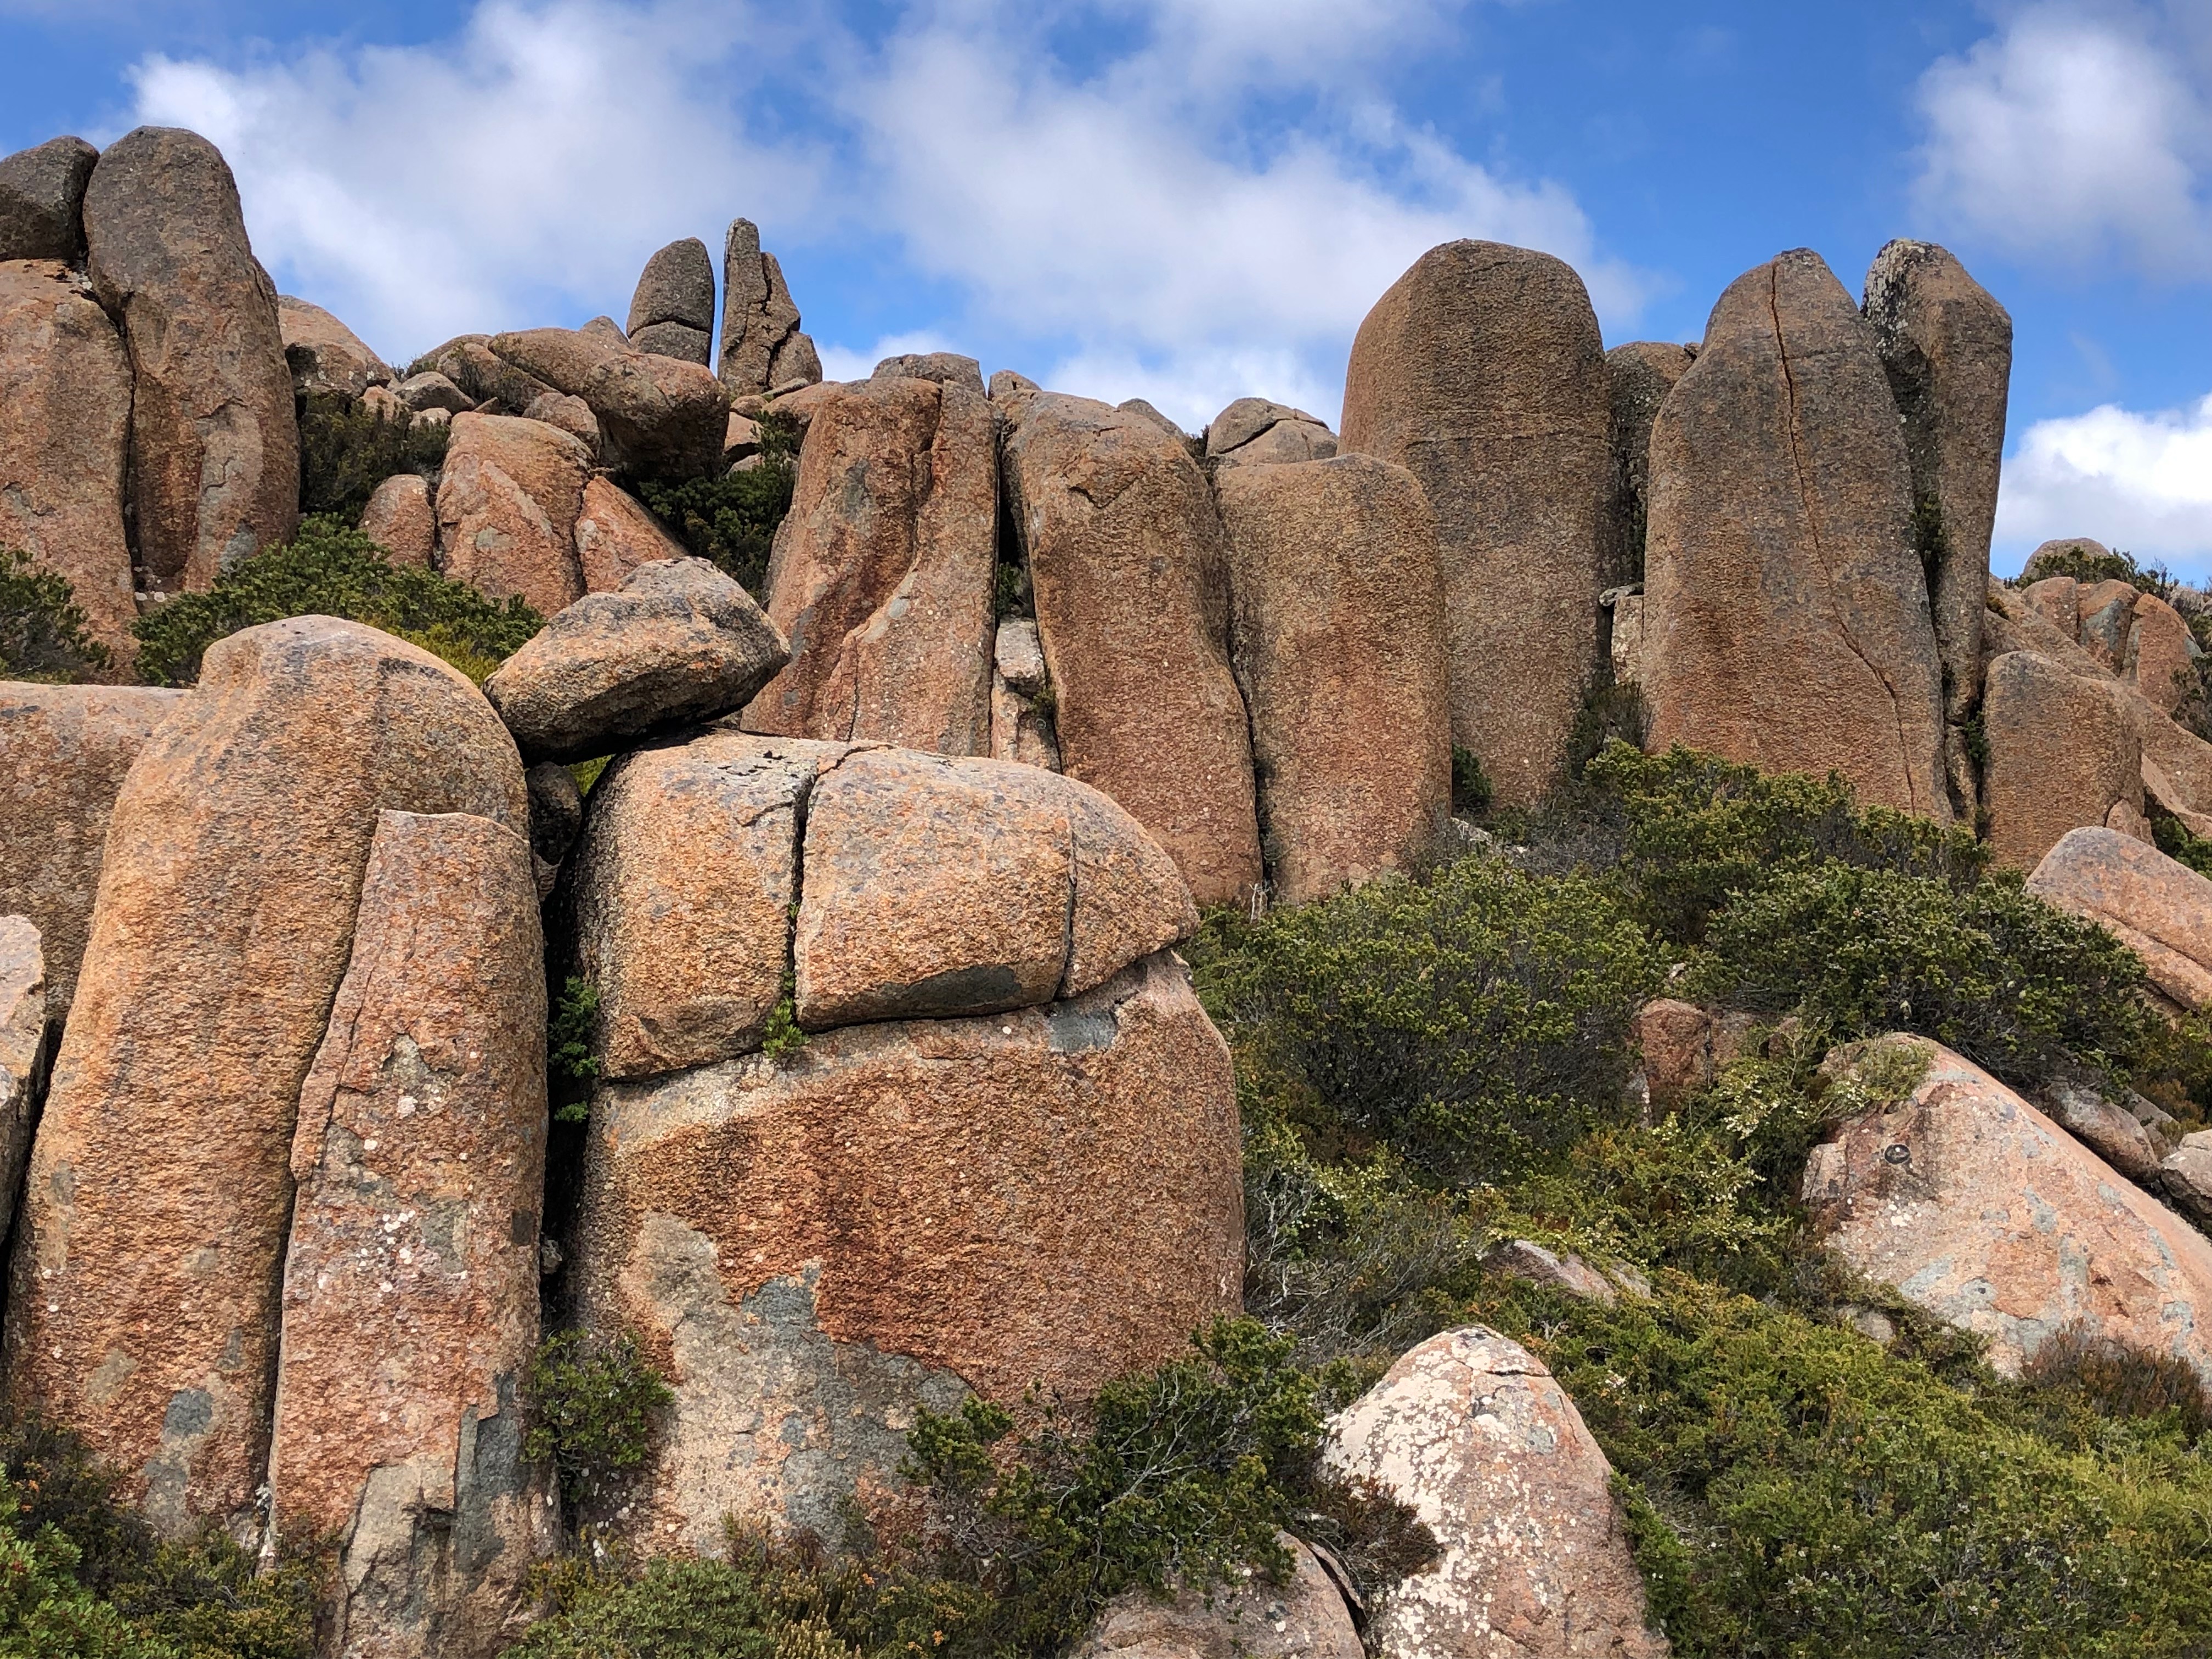
Climb the short slab 2m left of Jar-Jar
M Hitchcock 2019
Jam the short crack.
M Hitchcock 2019
Climb the broken face.
M Hitchcock 2019
Climb the crack.
M Hitchcock 2019
Climb the broken face from a squat start on the horizontal.
M Hitchcock 2019
Climb the broken short arete.
M Hitchcock 2019
Climb the arete
M Hitchcock 2019
Climb the fat arete to mantle.
M Hitchcock 2019
Slap up the slab/pillar.
M Hitchcock 2019
Hug you way up the pillar using the seam in the middle.
M Hitchcock 2019
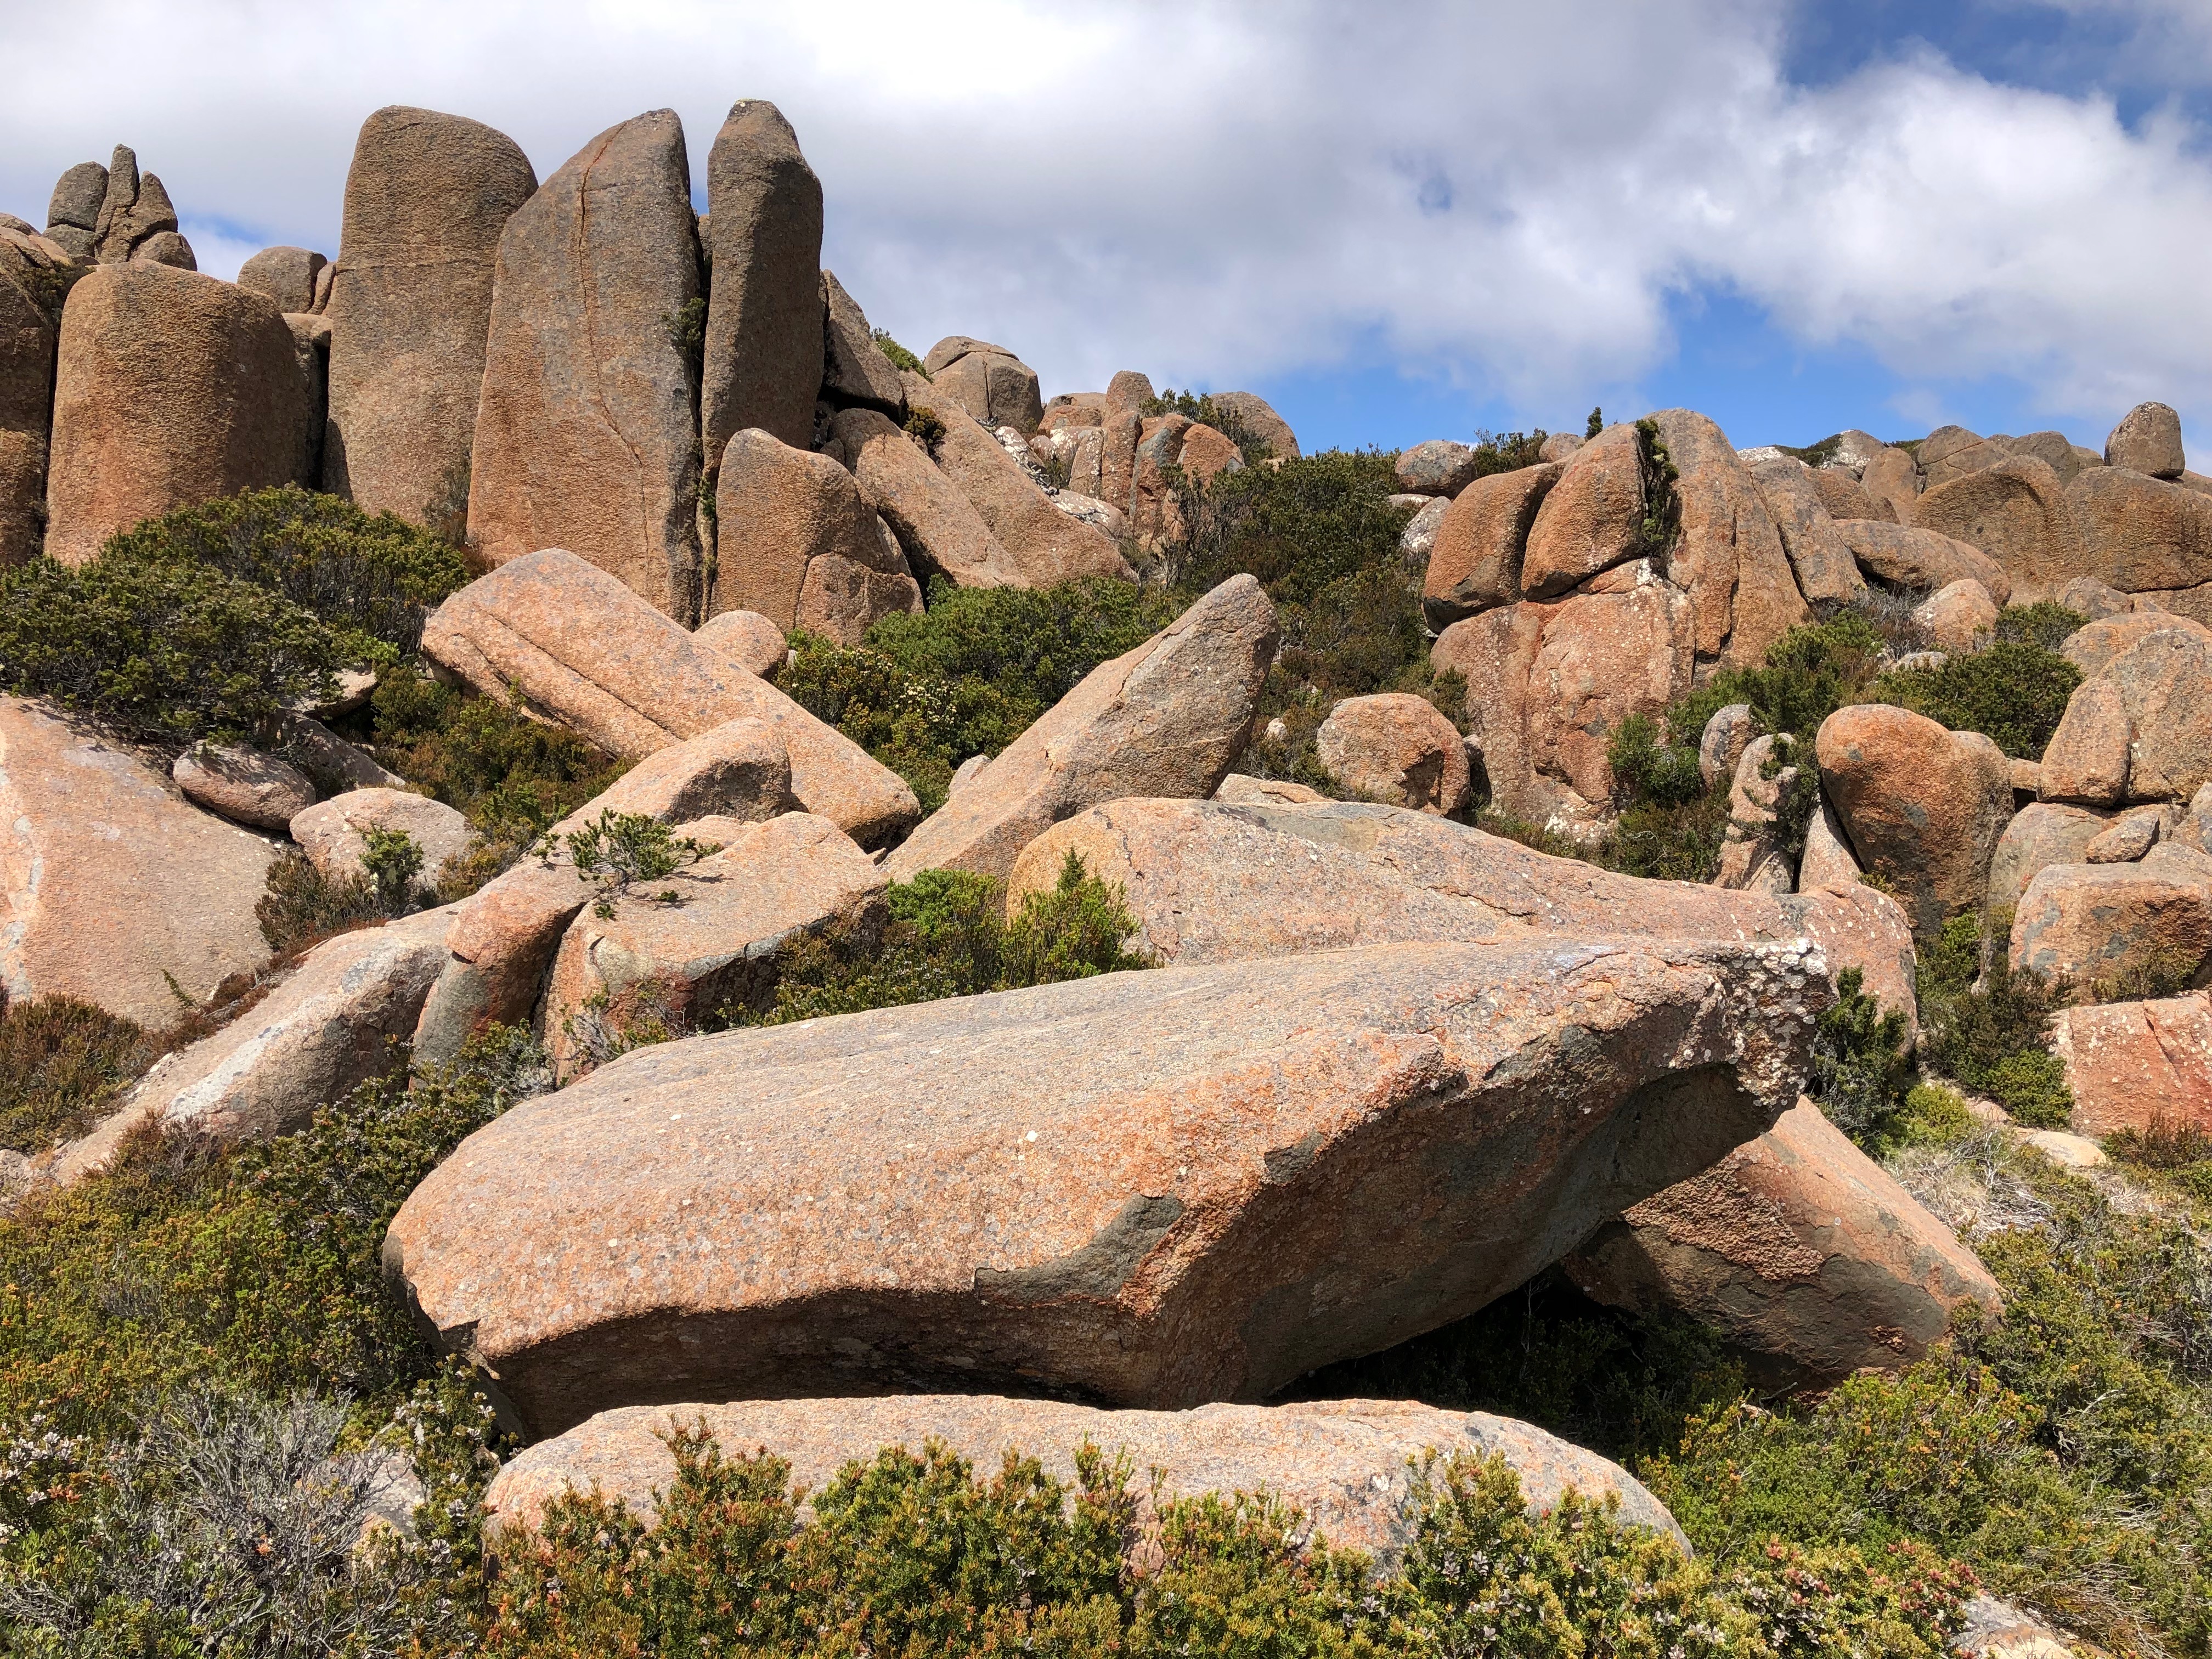
Sit start on the jug, traverse left and mantle at the apex.
M Hitchcock 2019
The next boulders are on the southern side of Second Hill. Facing the Penal Colony.
Climb the right/underside of the pillar.
C. Lang 2018
Stand start with a good LH crimp and large foot rails. Up the bulge avoiding the cracks.
C. Lang 2019
Sit start the closed-out crack, head up where it opens.
M Hitchcock 2019
Jump on this project. compression with good feet, until a dyno to the top.
Climb the arete avoiding the wall on the right.
M Hitchcock 2019
Jump on this unclimbed line. Challenging start with a compression to slopey mantle.
Climb the three-sided chimney on the opposite side to Jika-tabi Foot Soldier.
M Hitchcock 2019
Butt Soup Boulder
Walk 5 minutes past second hill until 2 poles past the rocking stone sign. Turn east and walk for 150 meters, keeping your eyes peeled for the distinctive crack lines on the left.
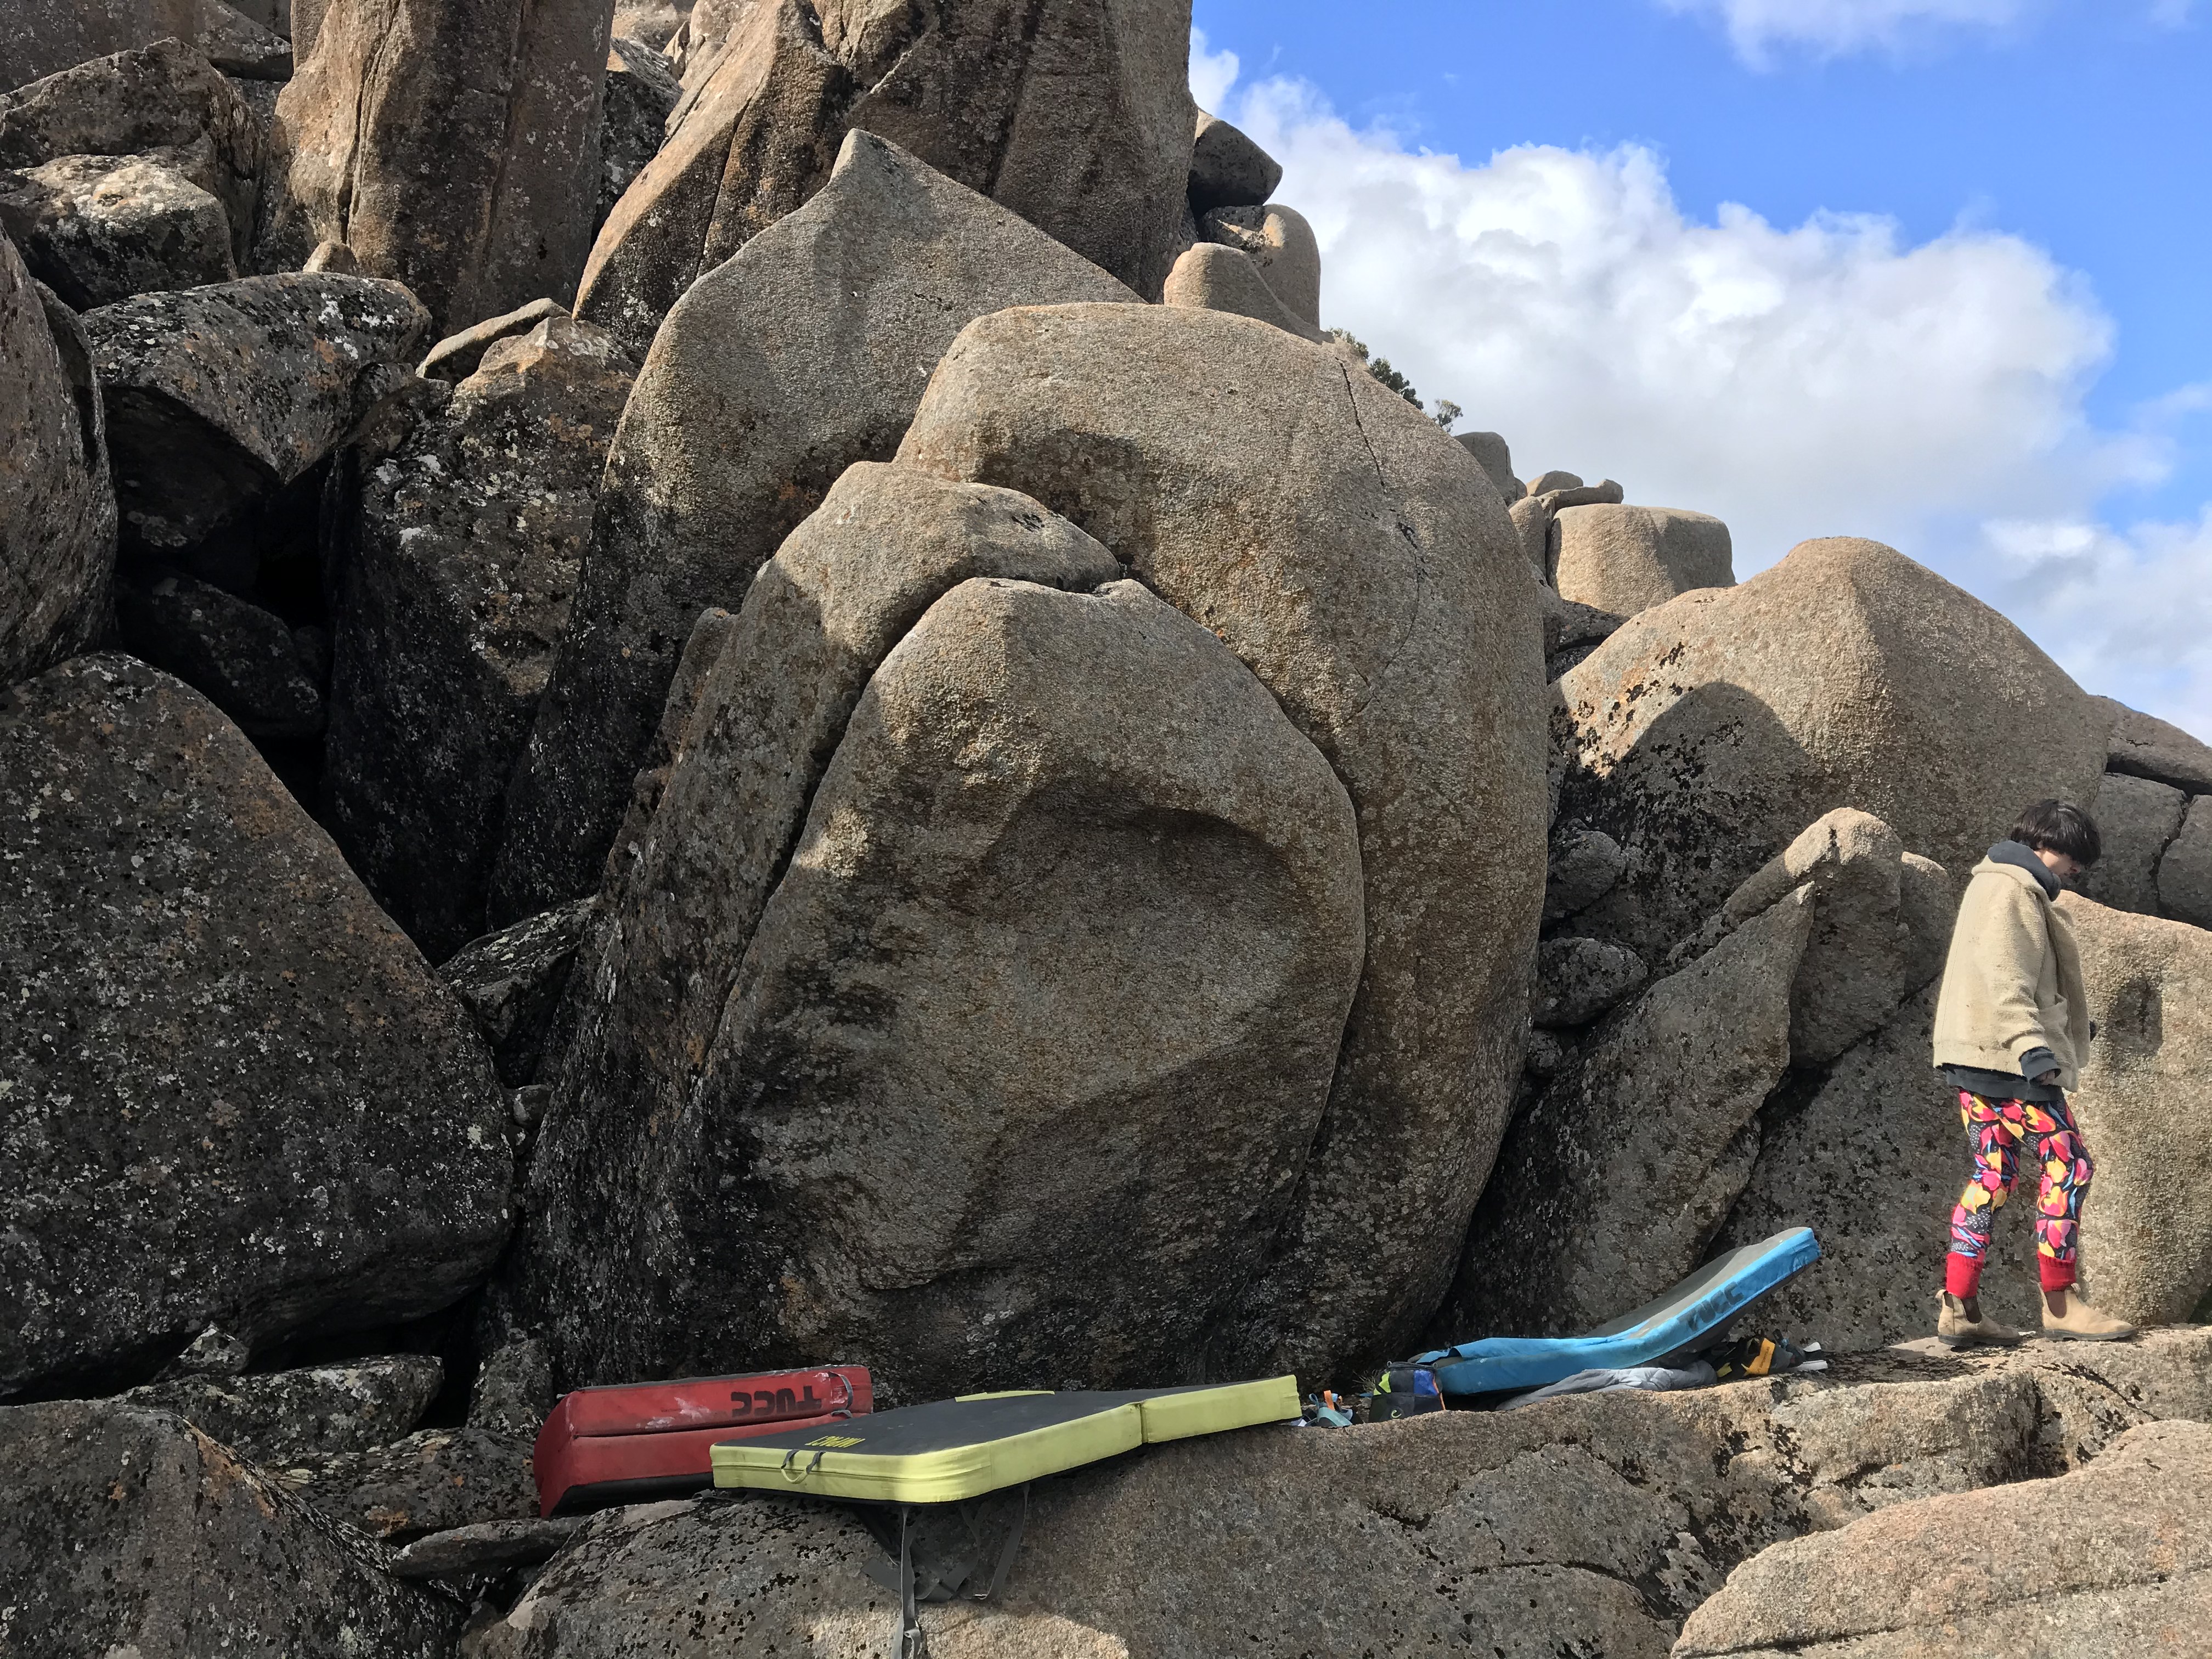
The left crack line.
R Stallard
Sit way back at the bottom of the cave and layback/ jam your way to glory. A fallen over pillar at half height makes this one of the safer lines on the mountain. Absolute banger!
R Stallard
Penal Colony
An area with high and good problems. But the landings are worse than second hill. Lots of potential for new boulders though!
Access to the Penal Colony is via the small valley on the other side of the second hill. Alternatively, head up to the Second Hill boulders, and go east and south around the front side.
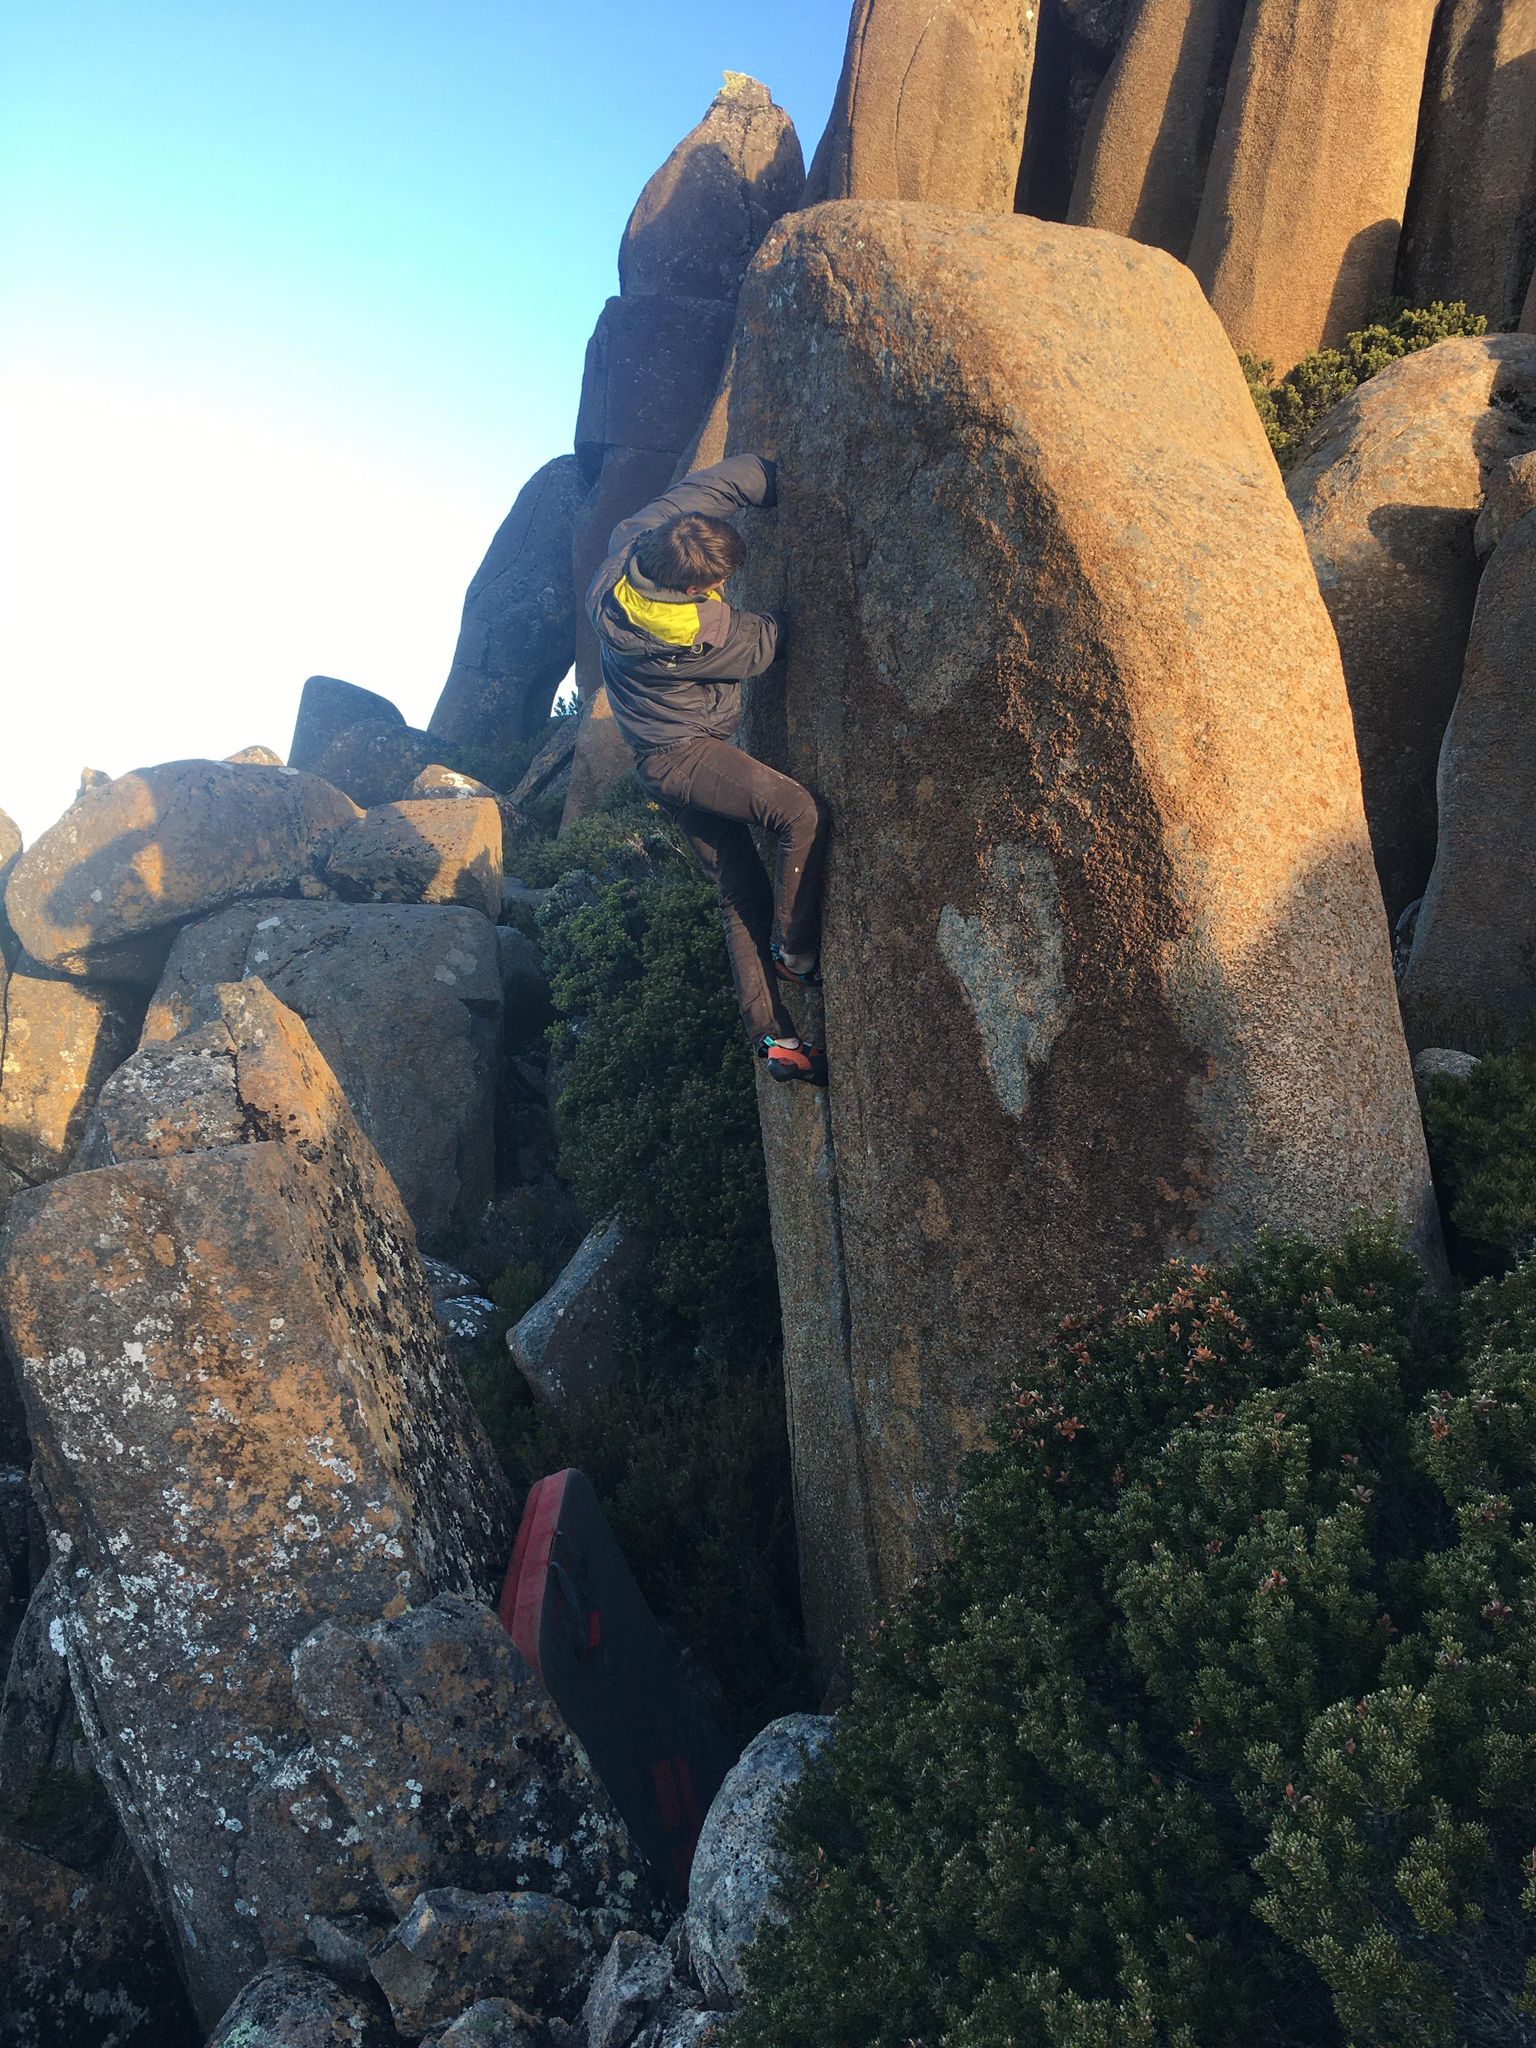
Climb the perfect #2 handcrack. Start in the hole and watch your back on the slab.
T Krauss 2013
Slap up the easy-angled arete to the right of Plumber's Crack
C Lang 2019
Rocking Stone Area
There are lots of boulders out here waiting for the psyched individuals. Walk down the Summit-Ice House track past the Second Hill. Keep going and you'll see a artefact of a sign showing the way to the rocking stone.
Snowdonia
At the sign for the rocking stone head right to get to a long band of cliffs. There is a heap of potential here for boulders of all heights and difficulties.
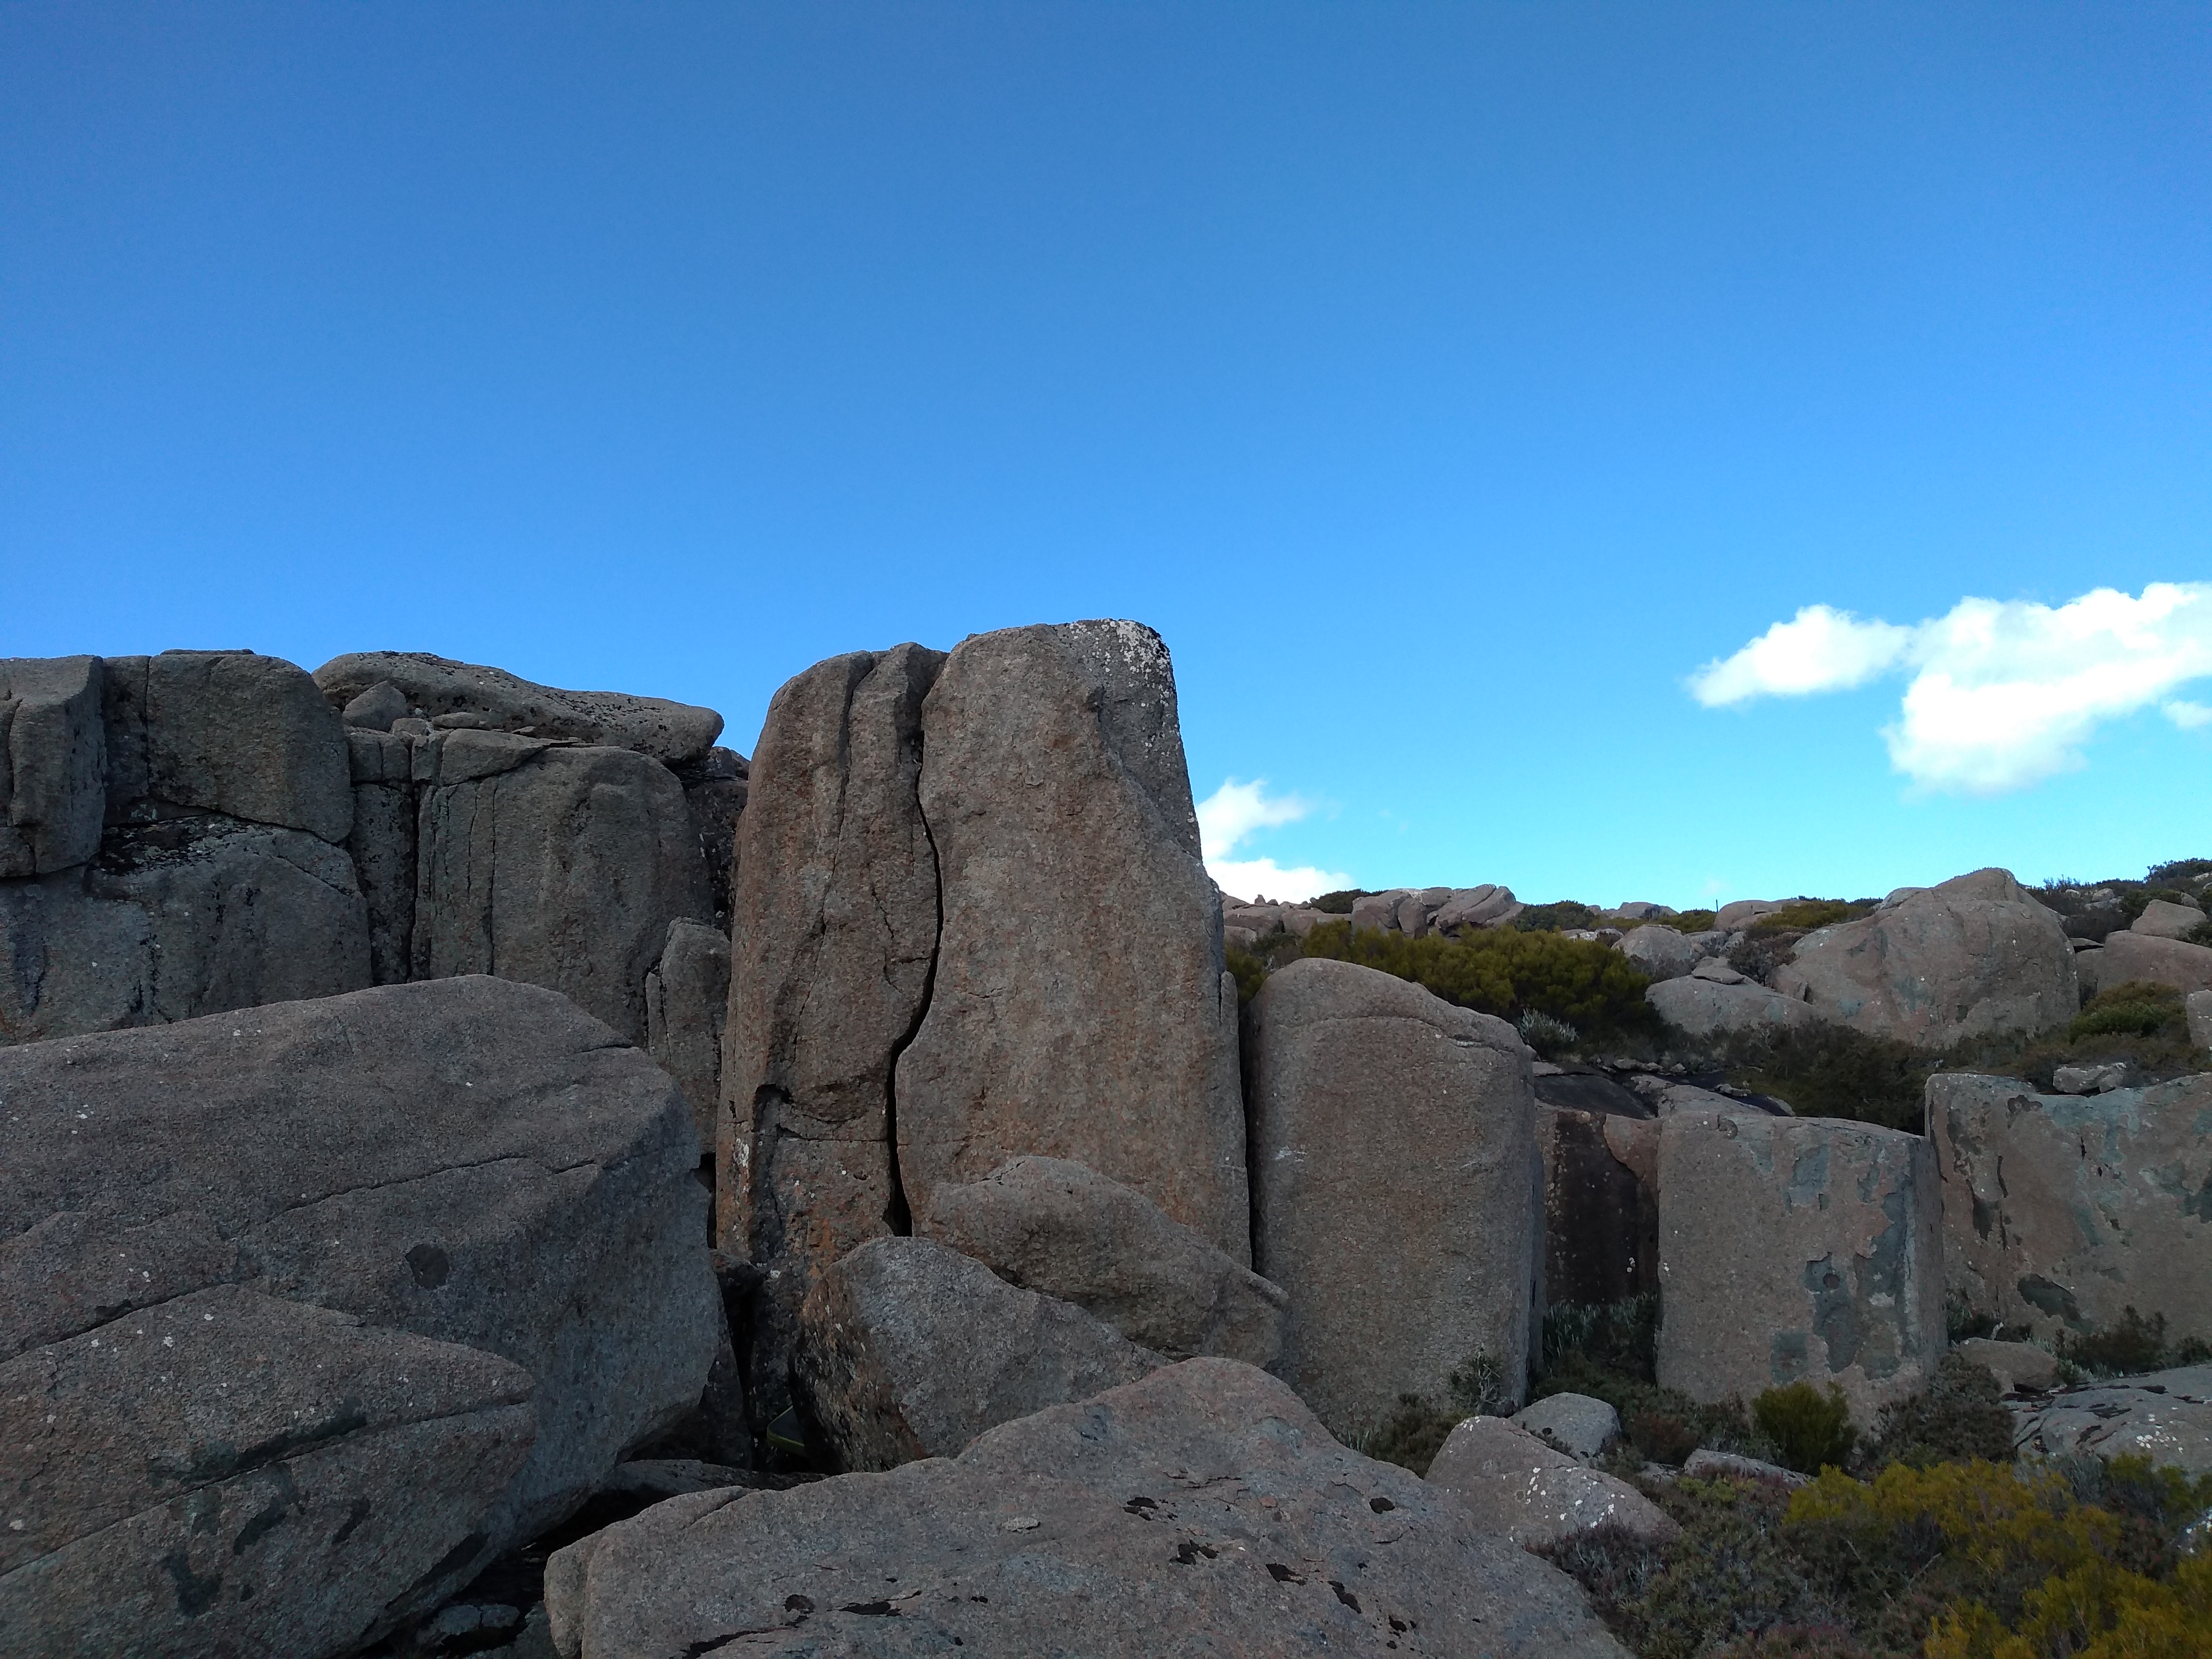
Wide compression.
The high, sickle shaped crack above an interesting landing.
J. Schwarz, 2019
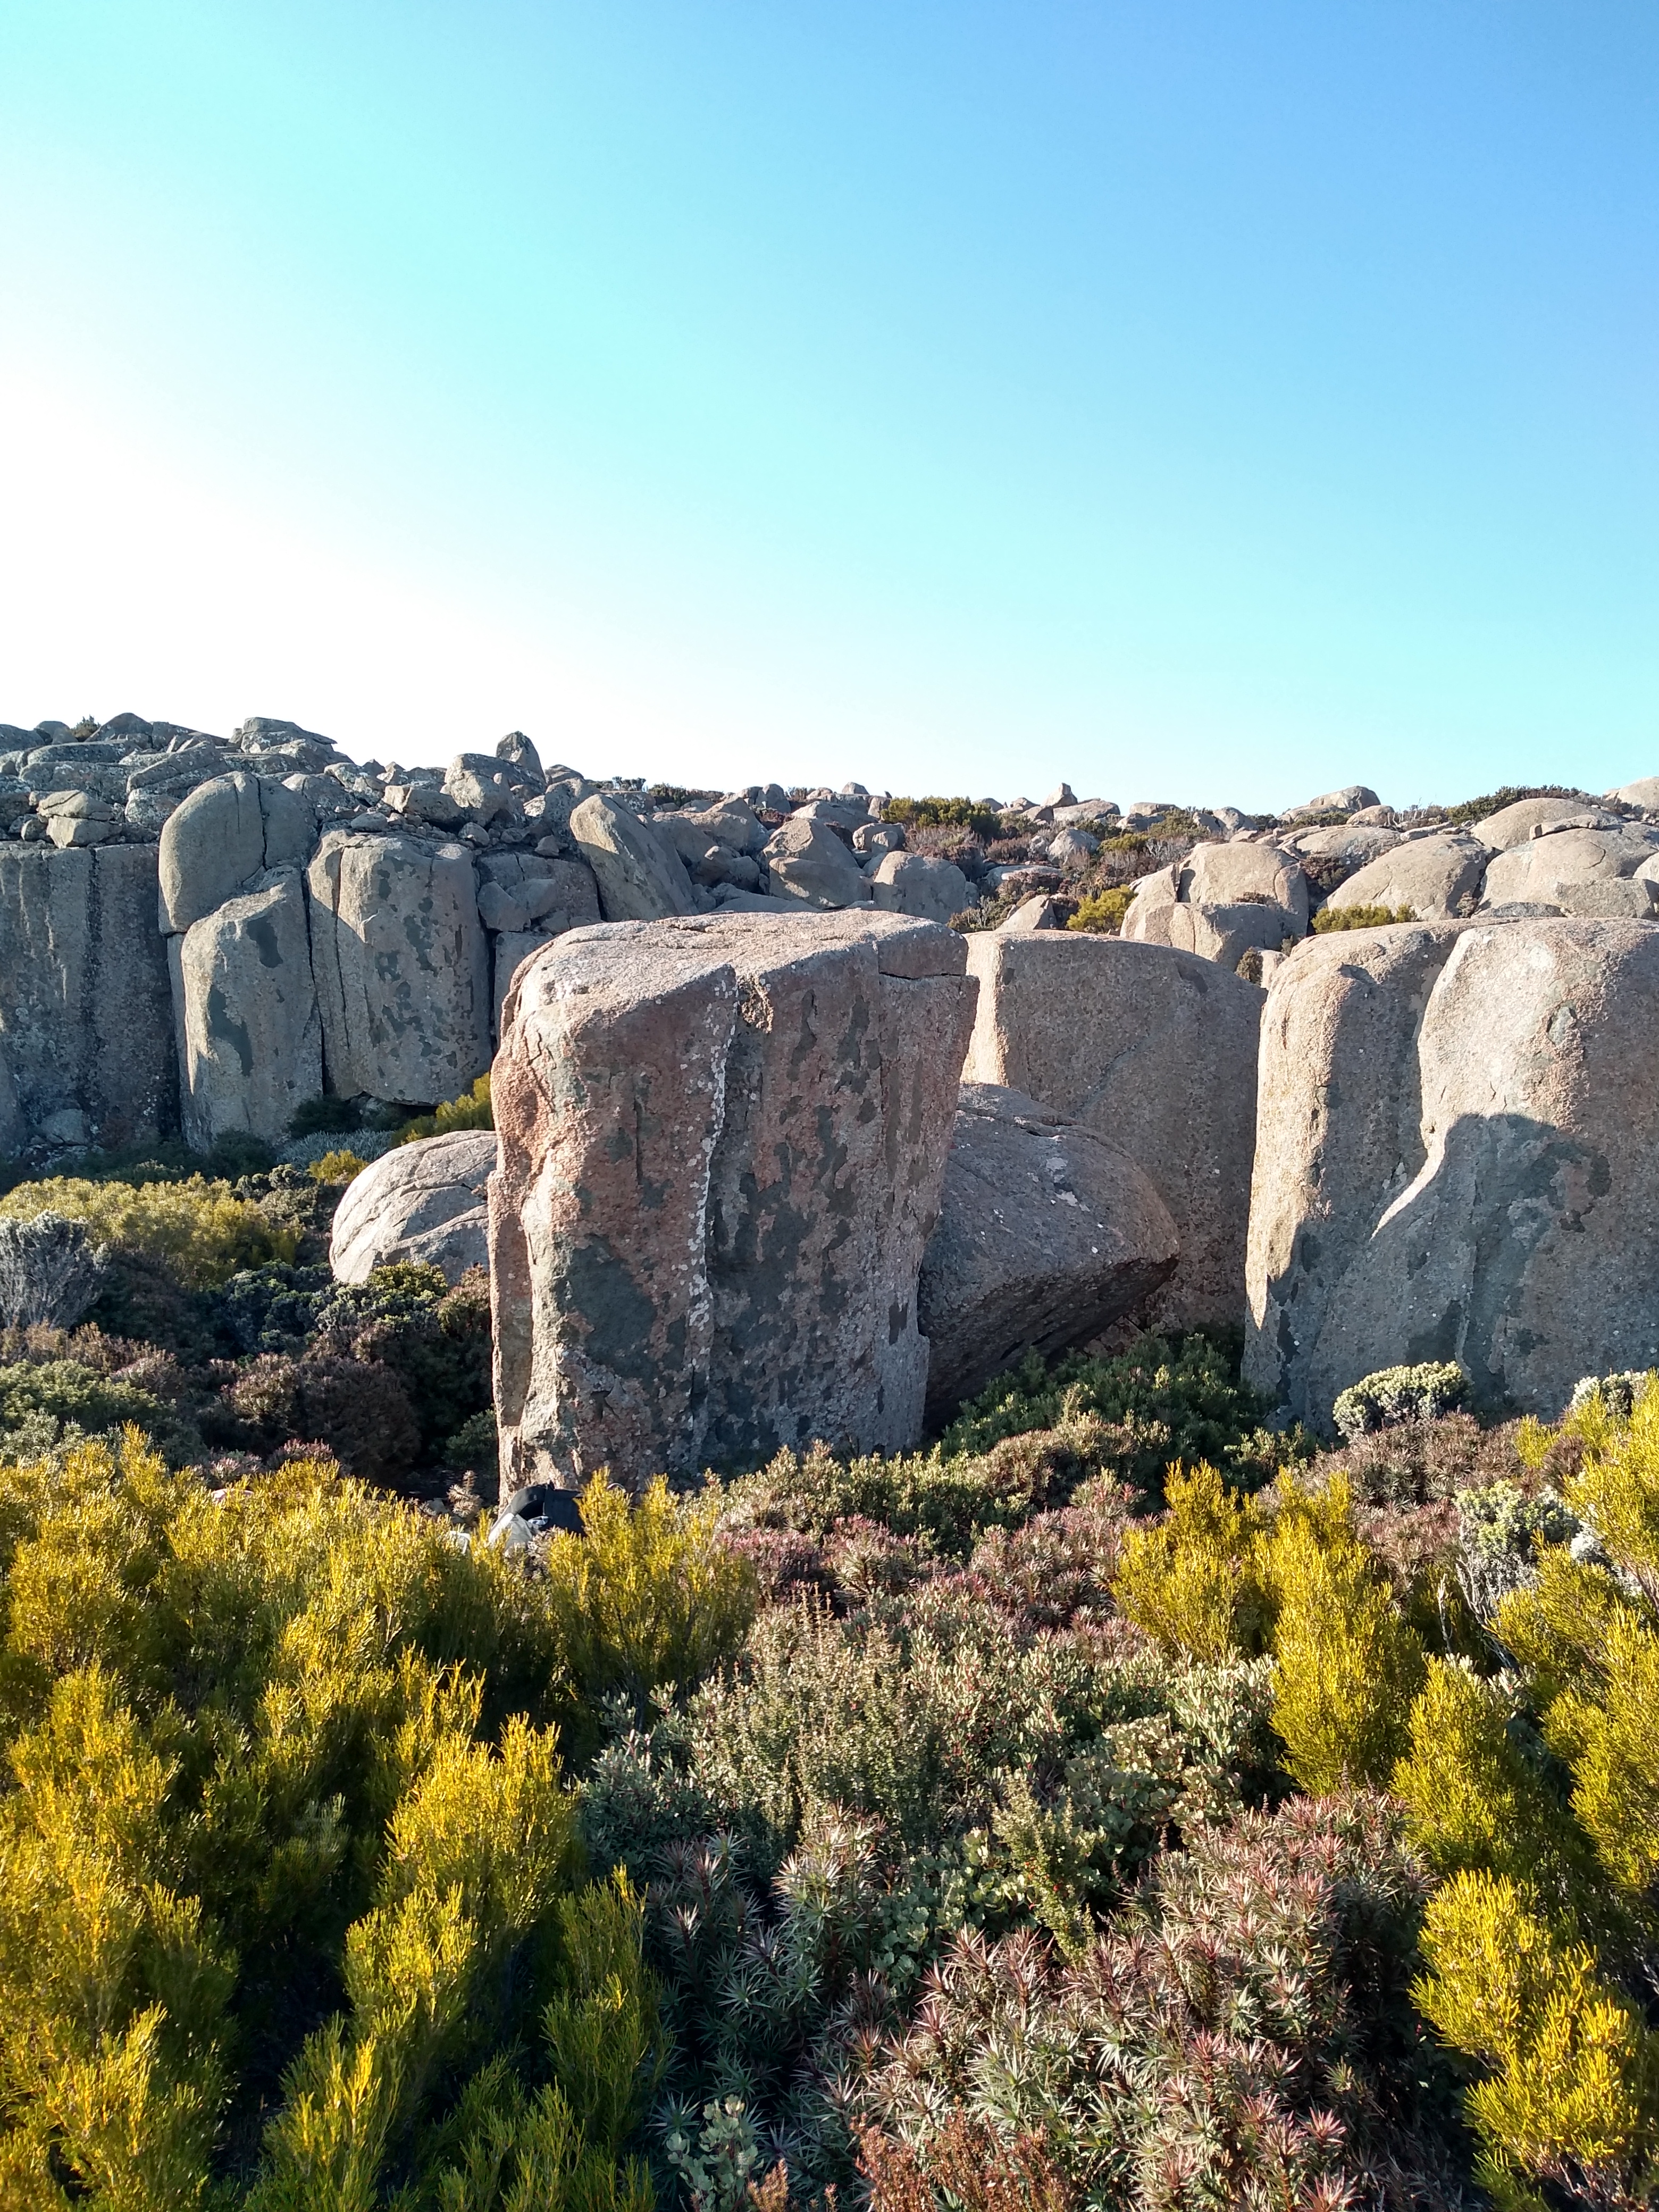
Nice slab to the left of Embrace the Koalaness.
J. Schwarz, 2019
Sit start and hug your way up the massive juggy flake.
J. Schwarz, 2019
Right Arete.
J. Schwarz, 2019
Clasic dolerite compresion up the very steep block.
J. Schwarz, 2019
Easily up the right trending ramp.
J. Schwarz, 2019
Thin seam opposite Over Sea Under Sky. Sit start will go around the same grade.
M Hitchcock 2019
Compress the short wall around left of 'counter a-crack'
M Hitchcock 2019
Easy compression on right arete.
J. Schwarz, 2019
To the right of JACL. Hard first move off crimp and sidepull pinch.
J. Schwarz 2020
Layback up righthand groove/flake.
J. Schwarz 2020
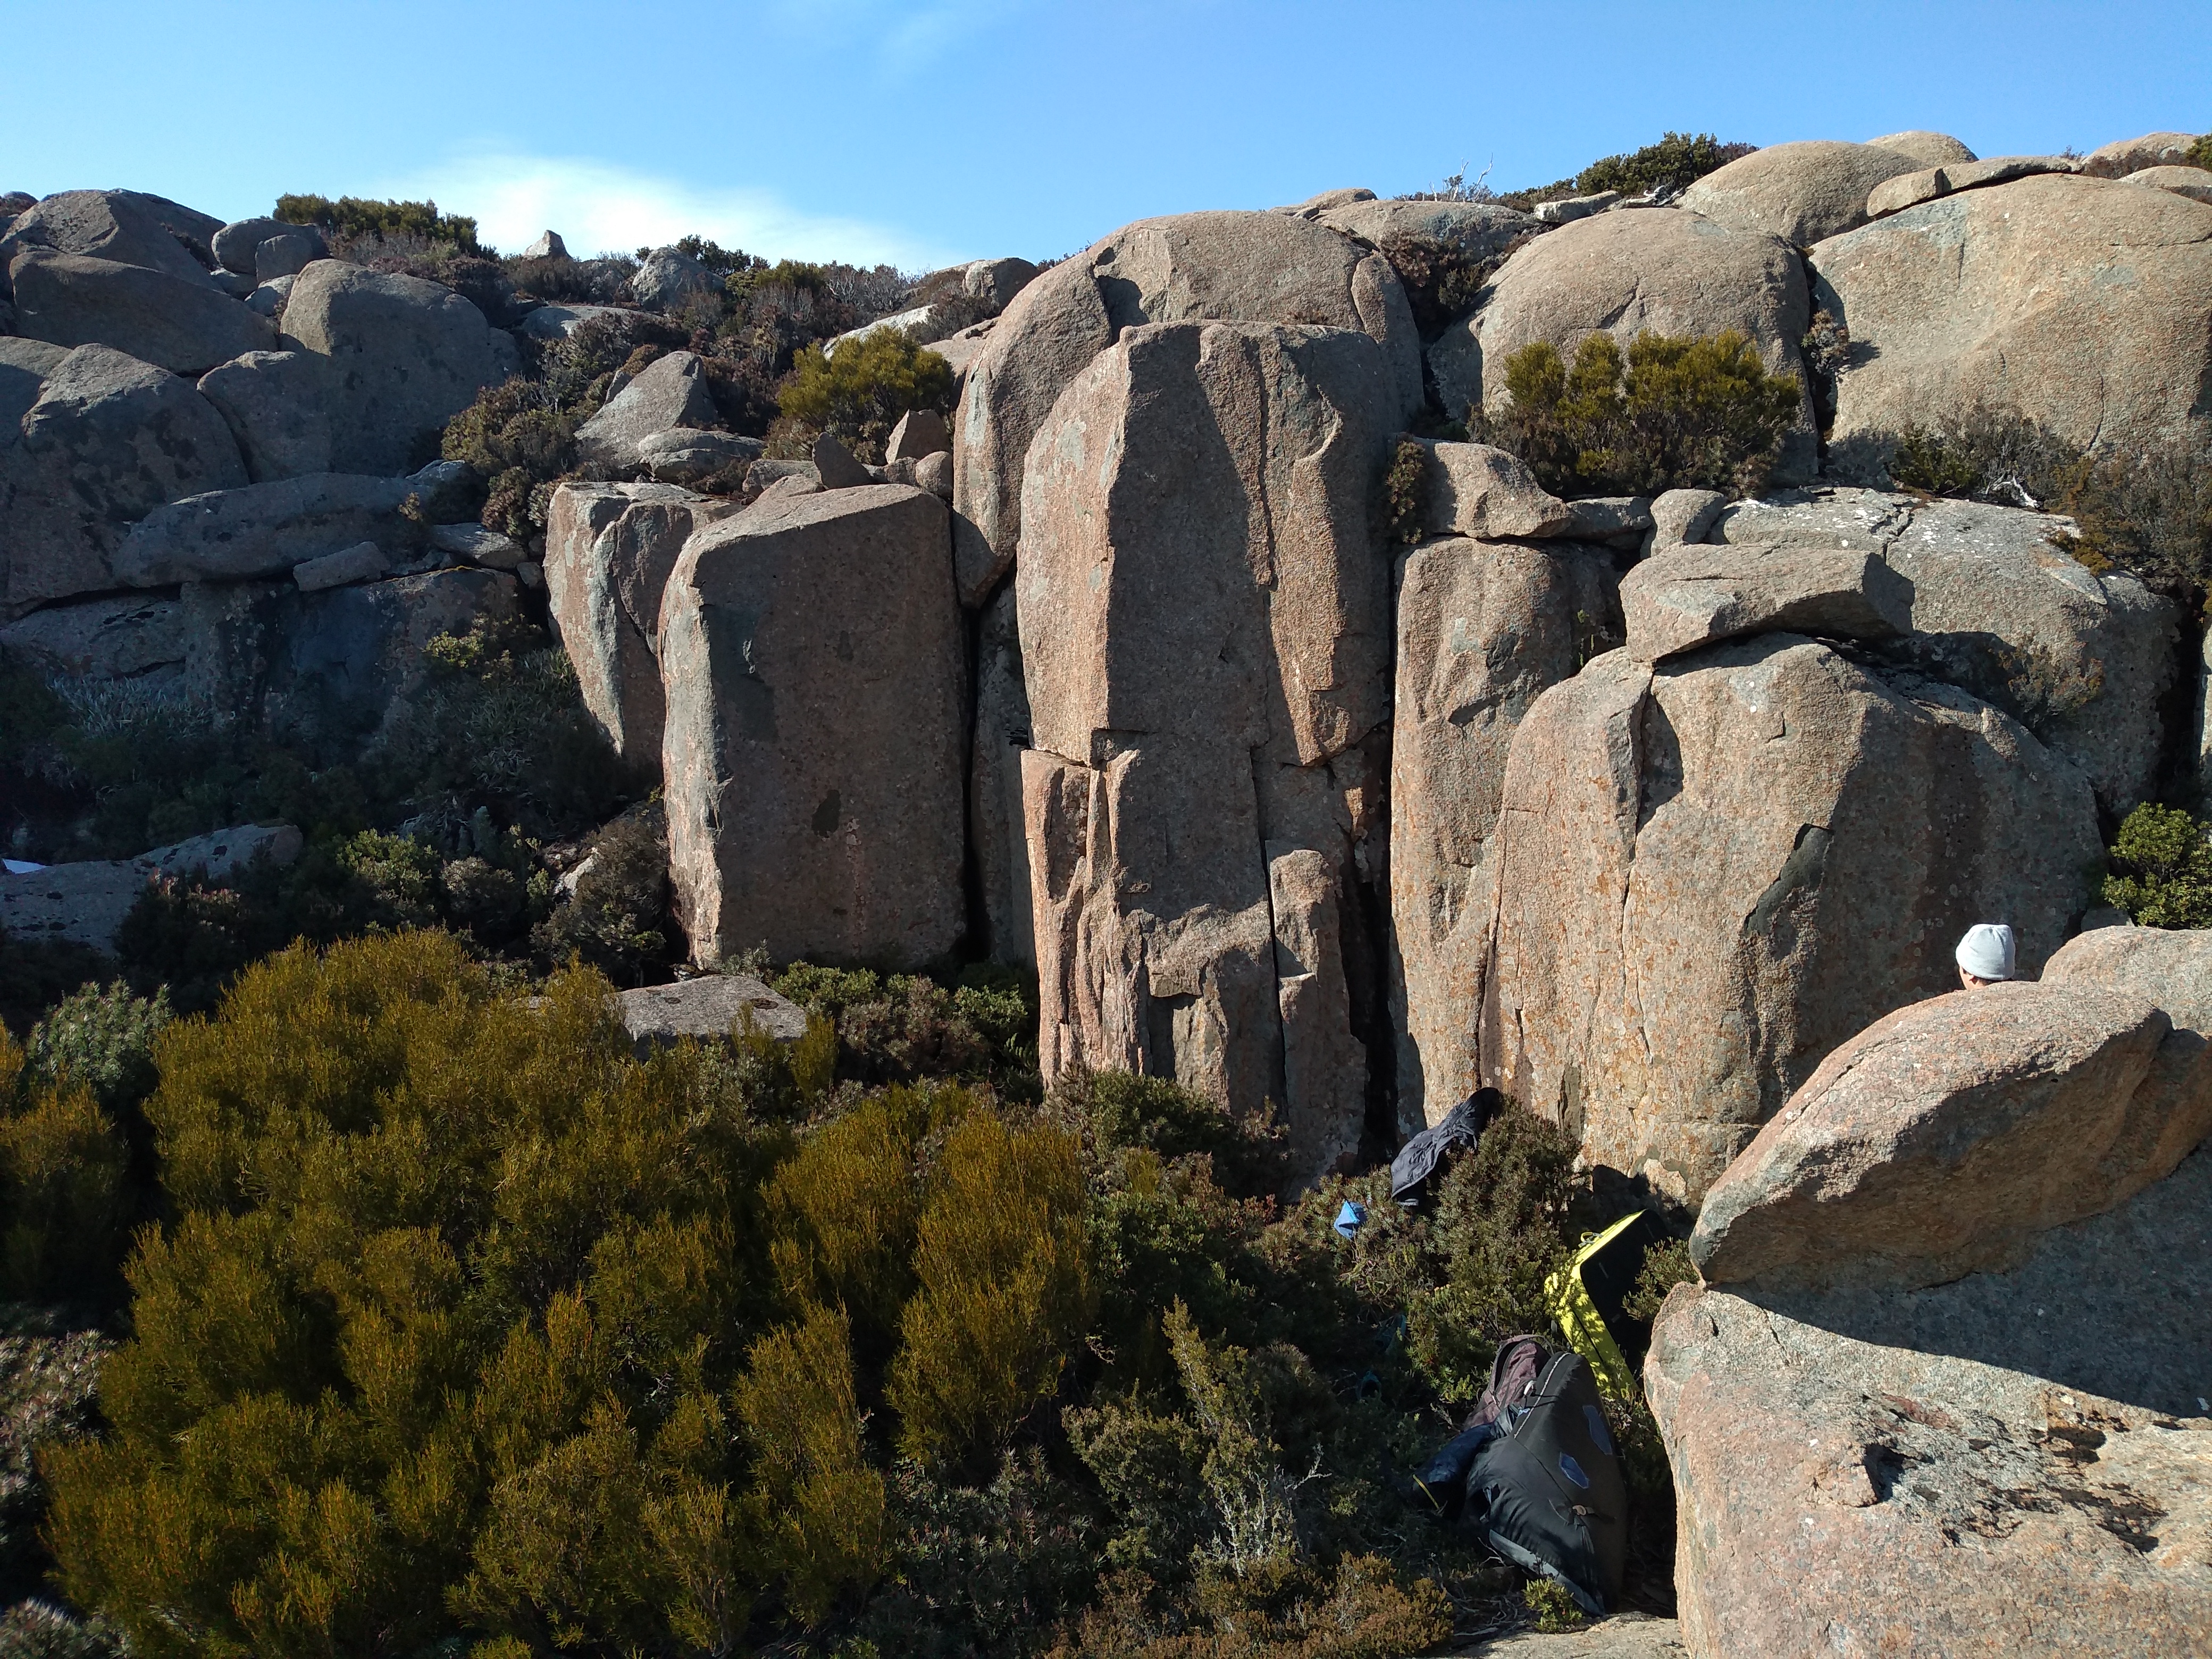
Short compression with holds.
M Hitchcock 2019
Up face.
J. Schwarz, 2018
Easy compression
R. Schwarz, 2019
Start left in low seam right on sloper. Nice moves up face.
R. Schwarz, 2019
Next boulders to climber's left of 'Hugs and Disses'..
High face.
The 8,848m corner with two cracks. Start on the southern Nepalese side. Leave a spotter in base camp and your pads at camp 1, then forge through the khumbu icefall watching for the pineapple grass. Surmount the pepper berry, where you can bivouac by the springs at camp 4. Start up the crack, but you might want to ditch your oxygen tanks before mantling the Hillary step. Take a quick summit selfie, but don't dawdle in the dead zone.
J Riaz 2019
Next boulders form the western edge of the first amphitheater.
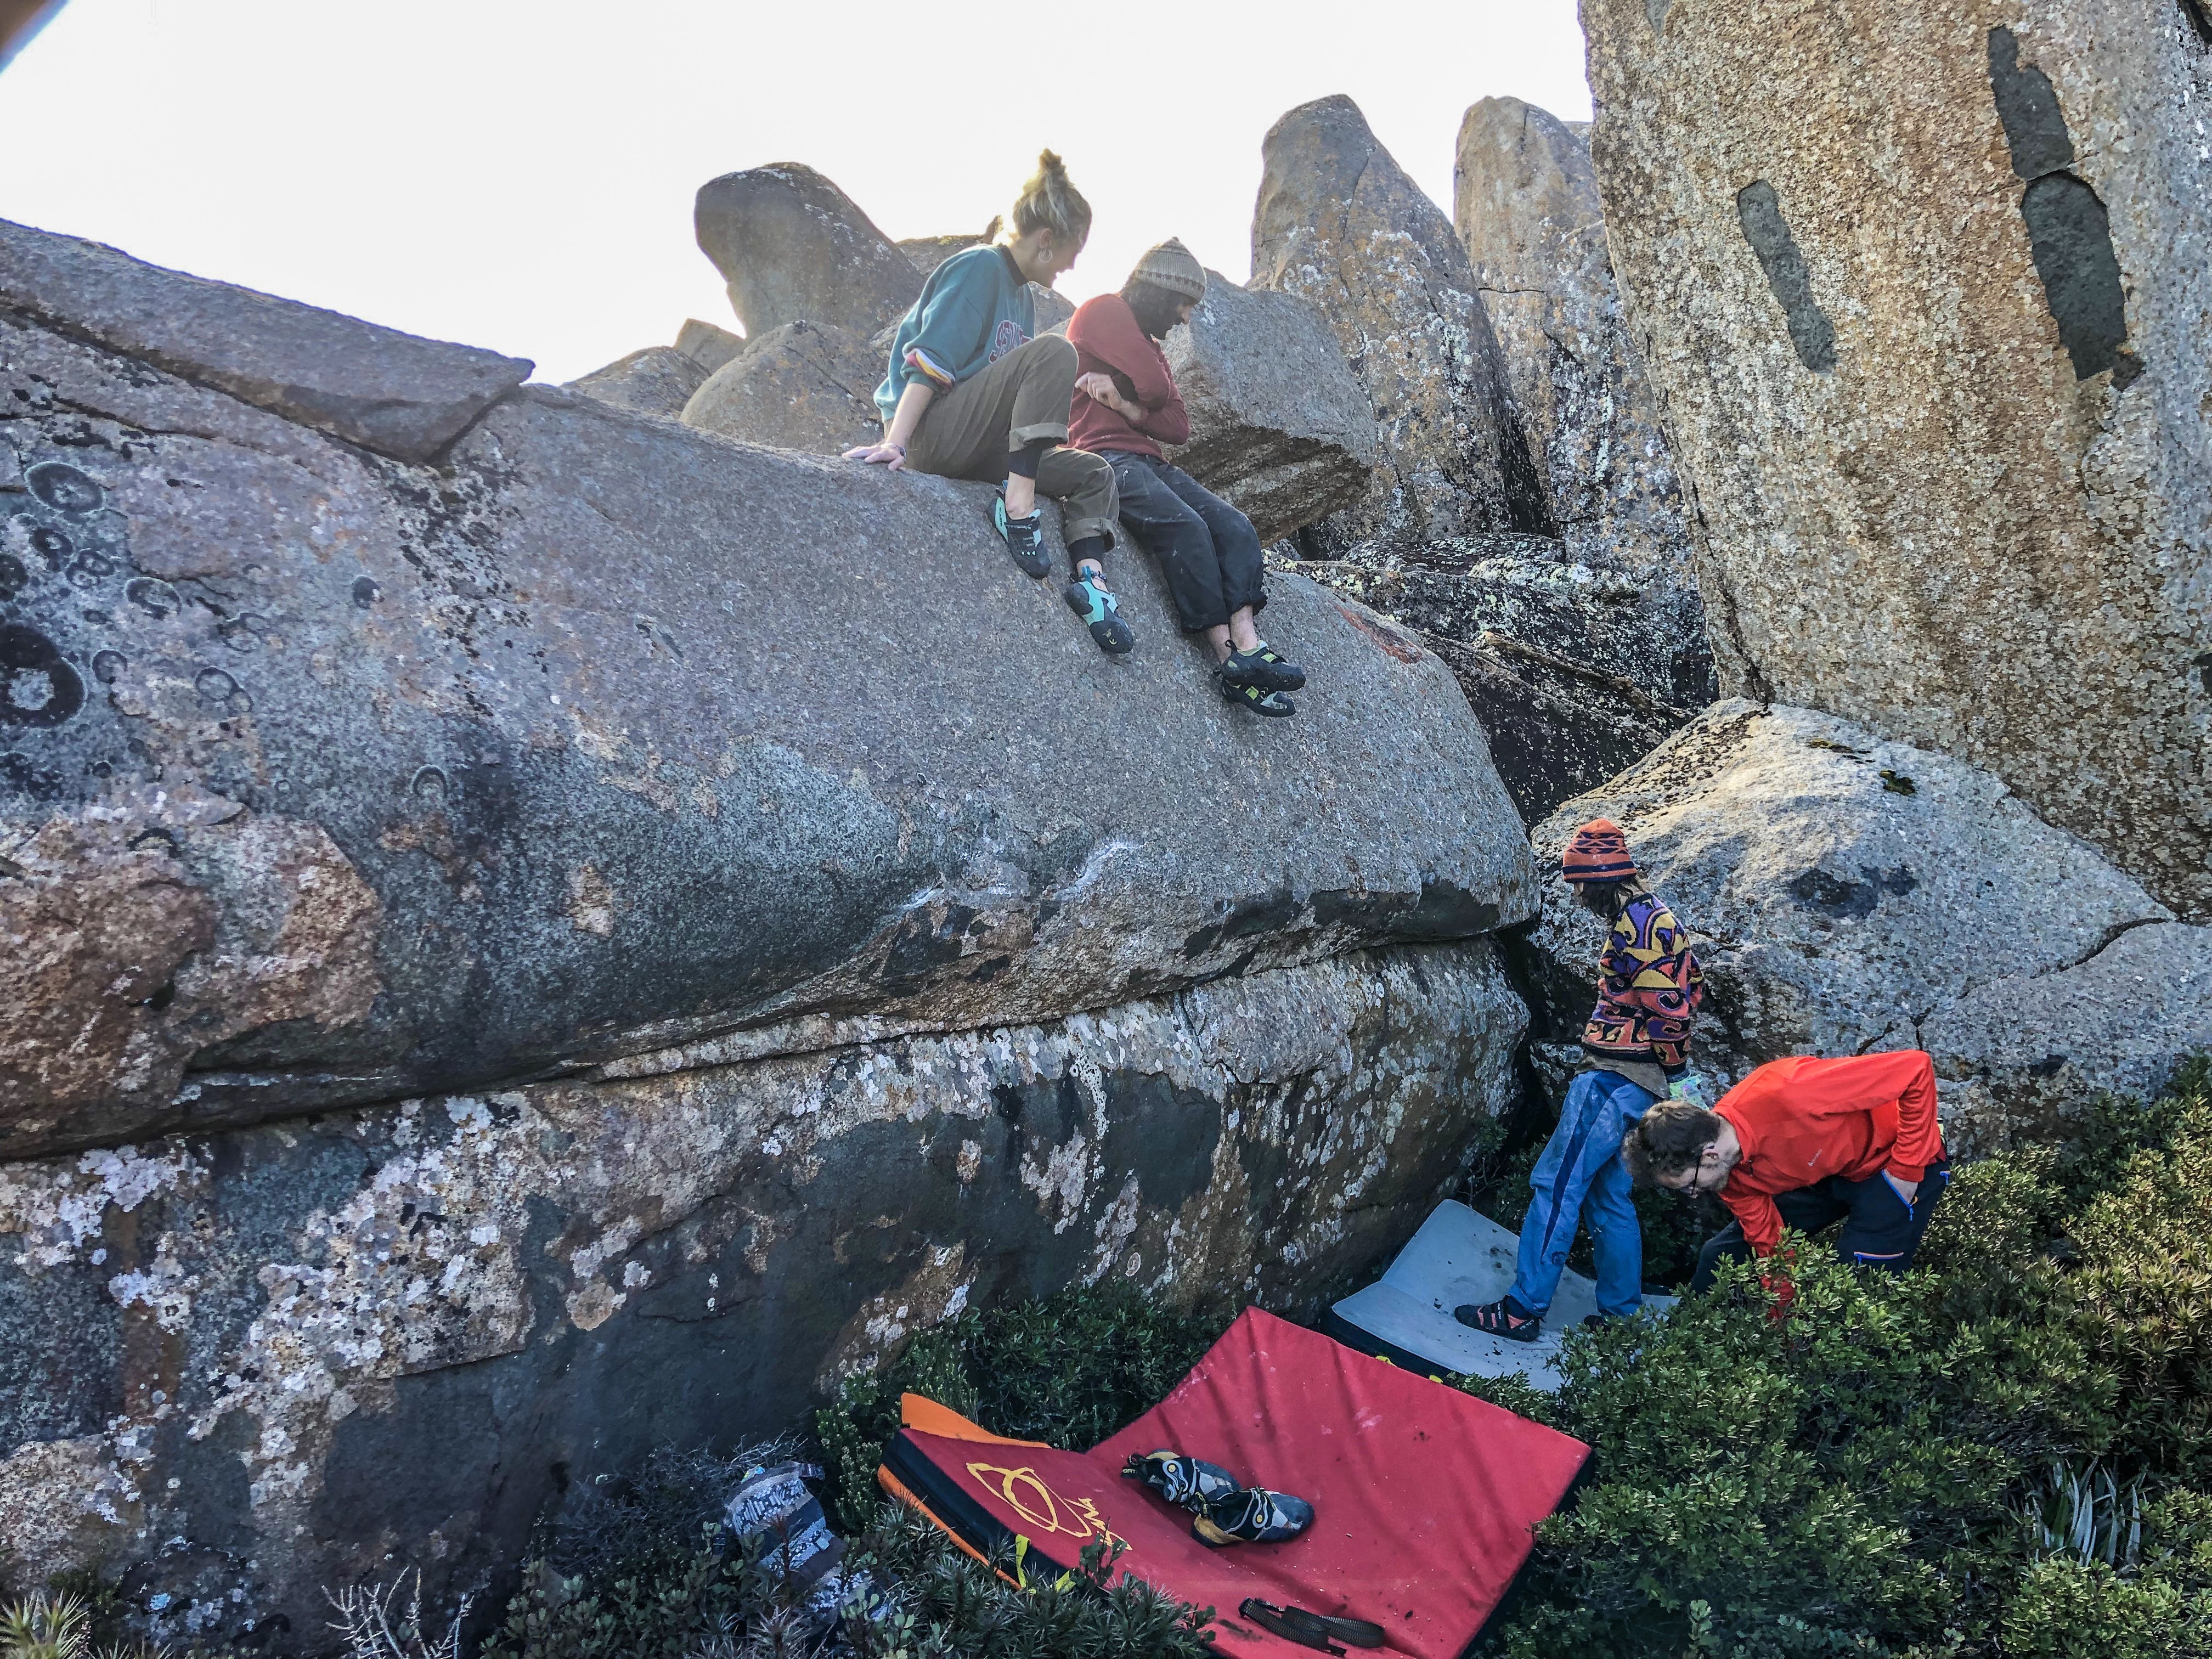
Low traverse along the horizontal, starting as per 'Troelli ac ymestyn'.
Push out a mantle from the crimps.
M Hitchcock 2019
Undercling and up.
M Hitchcock 2019
The next boulders are on the far side of the tumbled rocks, past the big free standing pillar.
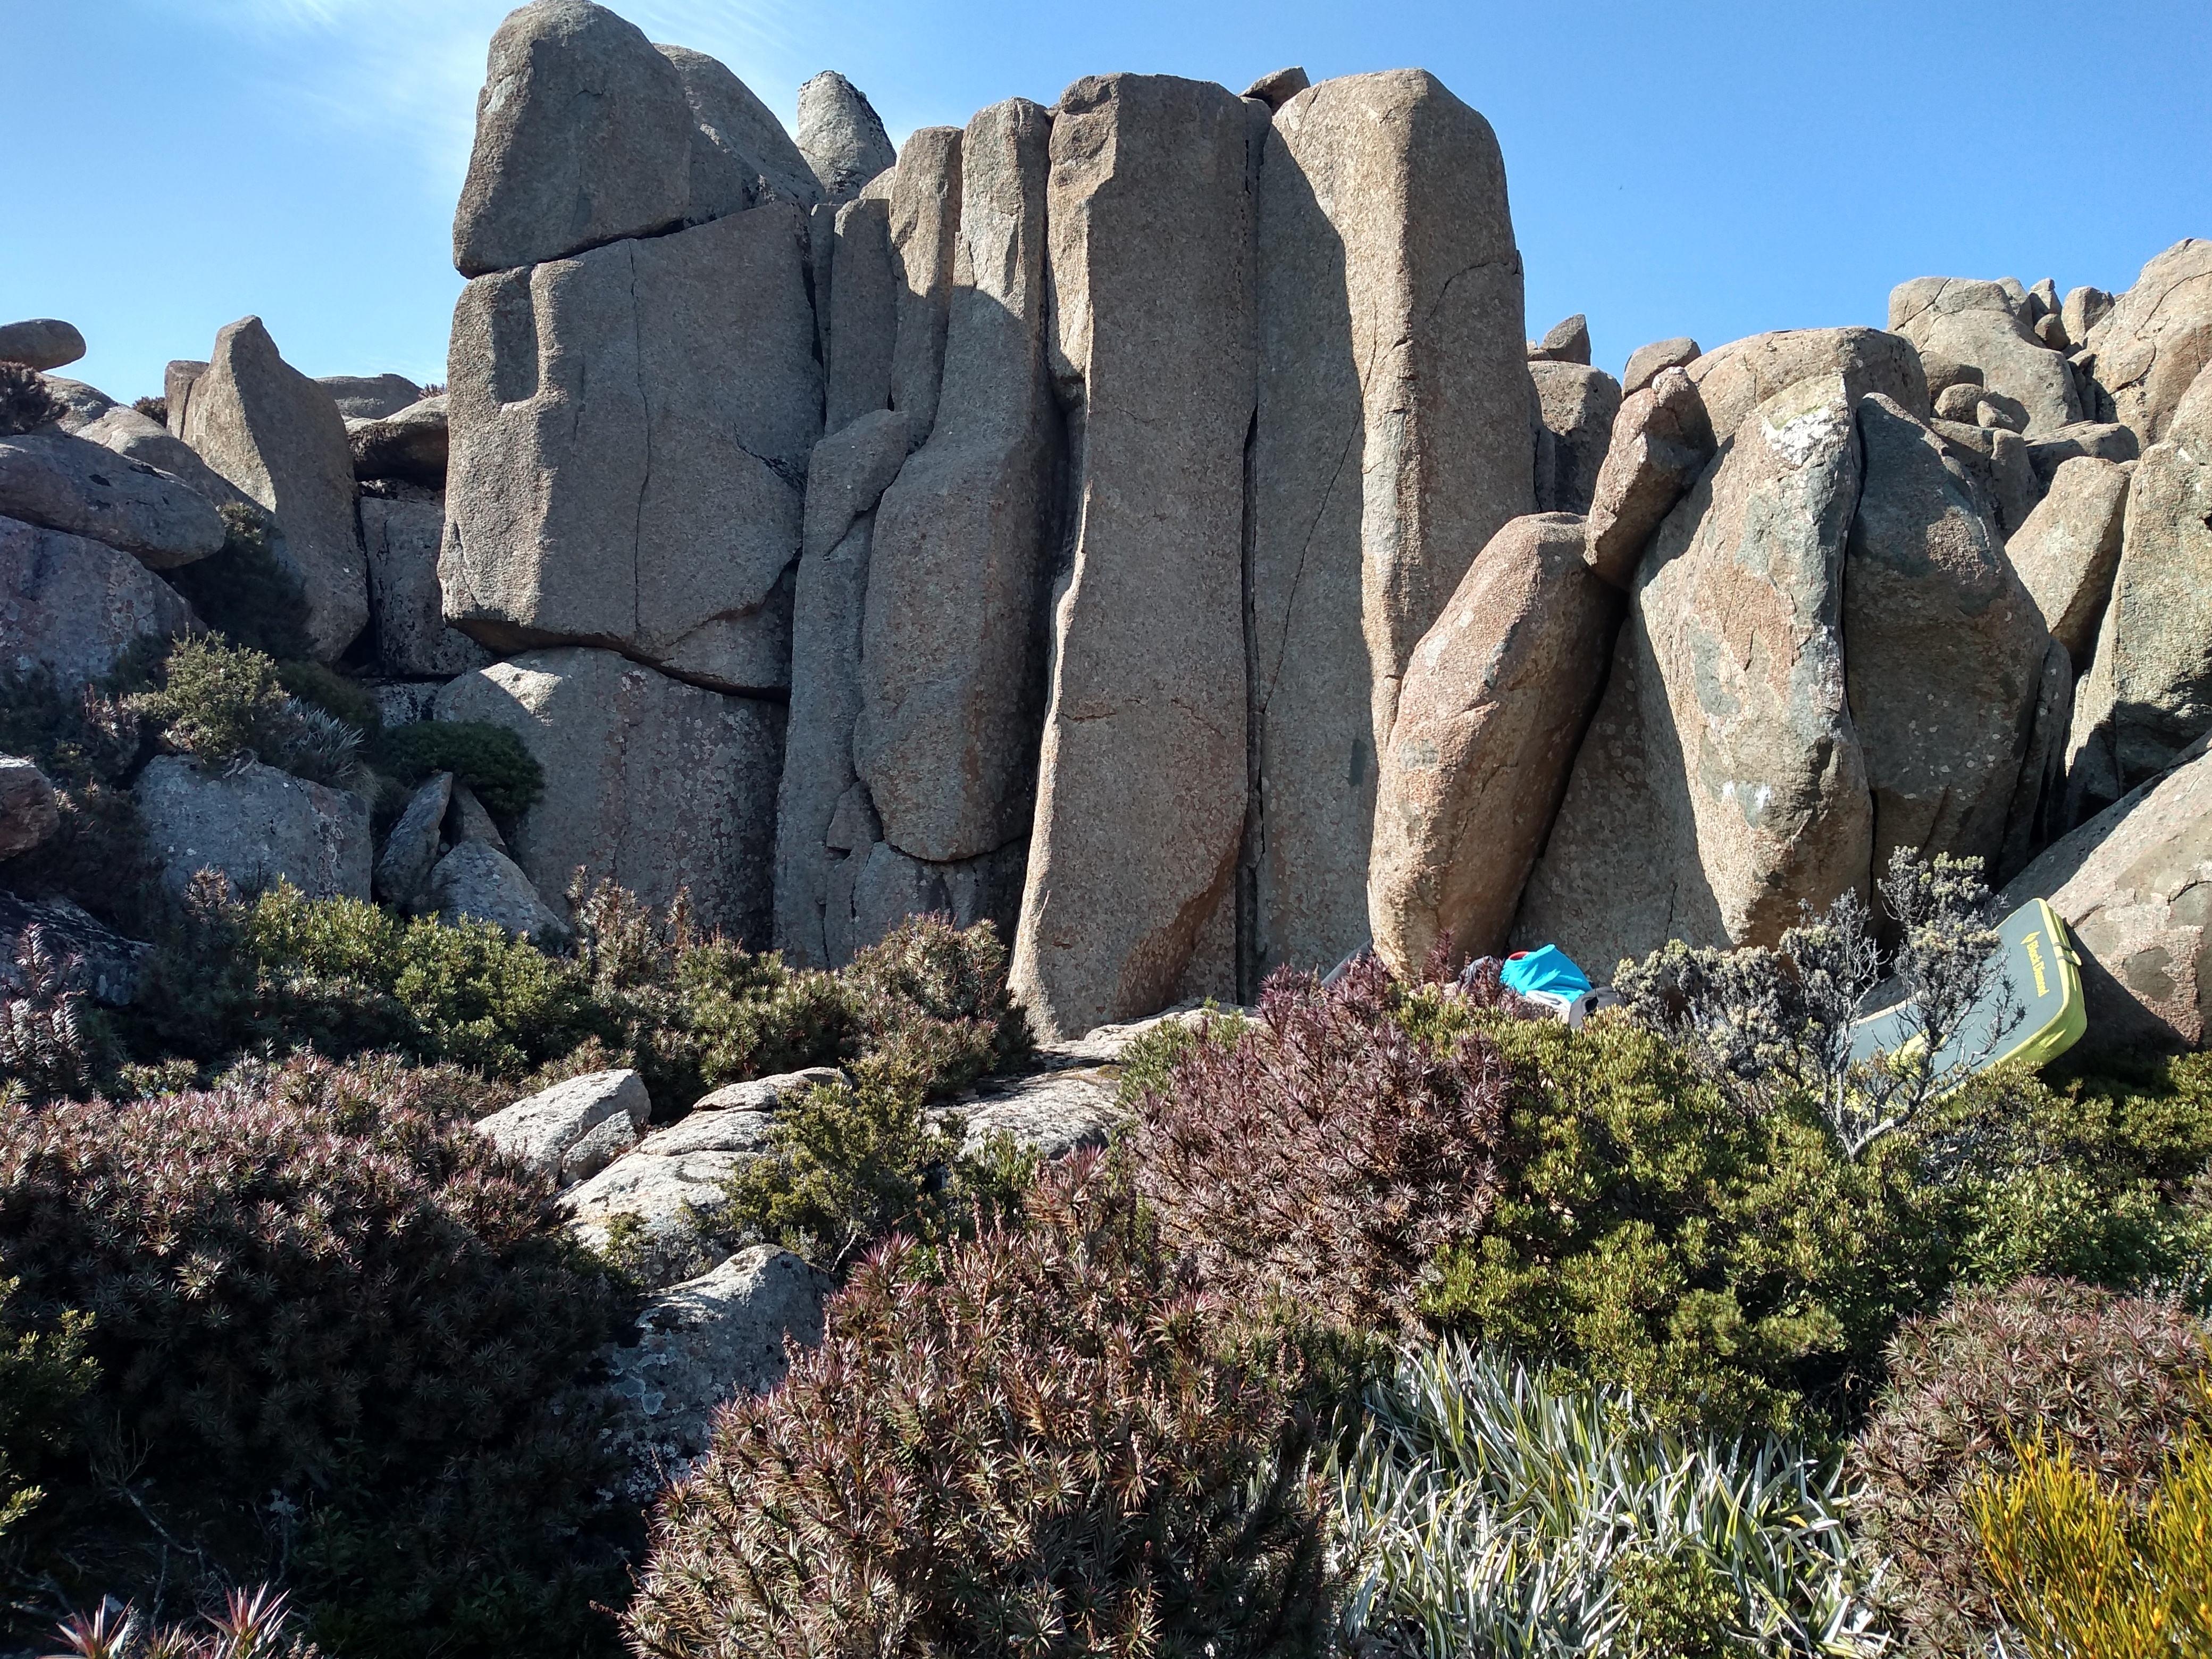
Up easy slab behind Get in the Groove. Careful of the hole.
R. Schwarz, 2019
Layback up crack in overhanging corner/groove.
R. Schwarz, 2018
Start squeezing prow with kneebar. Up to crimp then chuck right to sloper and up.
R. Schwarz, 2019
Up to the right in the scree is a very thin pillar. Sit start then slap up and balance on top.
J. Schwarz, 2019
The wider pillar just to the left.
J. Schwarz 2020
Start on large jug in middle of face, up via right sidepull avoiding the hole to the left.
J. Schwarz 2020
The next problems are down left on darker coloured rock.
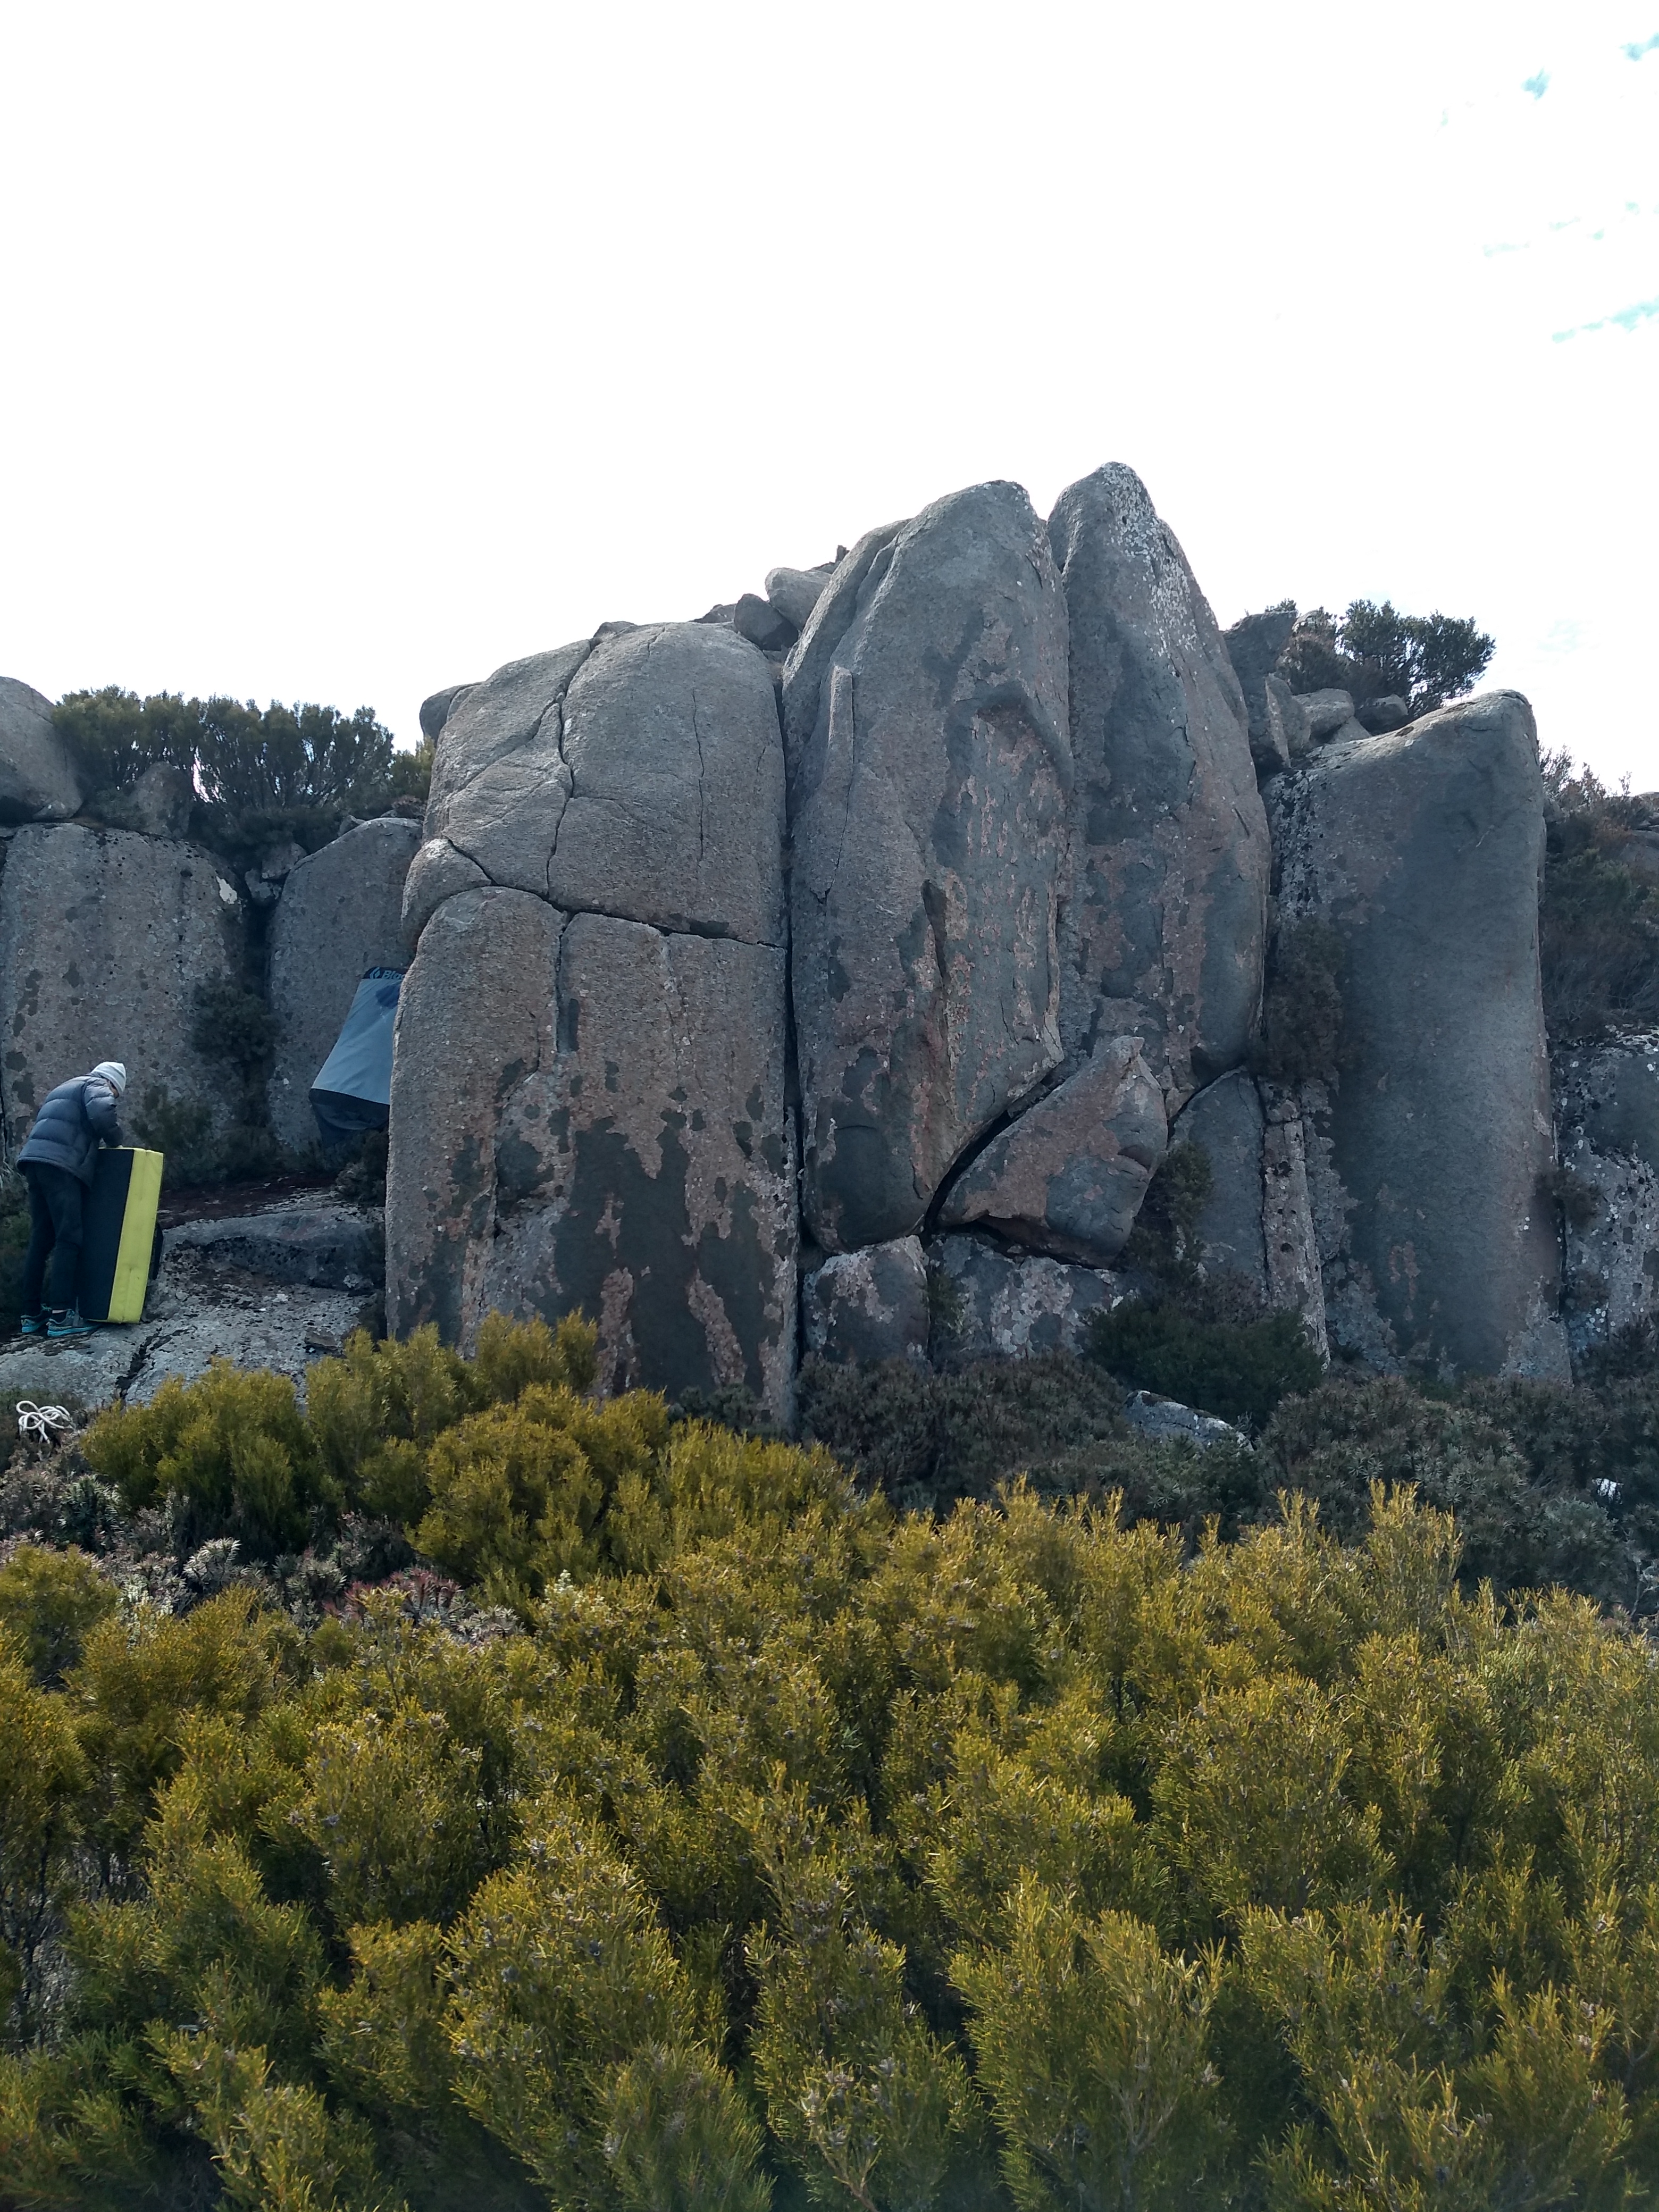
At the top of ramp left of Dead Blue Wren, Start on jugs then powerful moves up seam.
R. Schwarz, 2019
Sit start on left arete, up and right.
R. Schwarz, 2019
Start right hand on undercling left on sloper. Up left.
R. Schwarz, 2019
Up crack.
J. Schwarz, 2019
Next problem is around the corner at a group of sick looking highballs.
The obvious flake up the high face.
J. Schwarz 2020
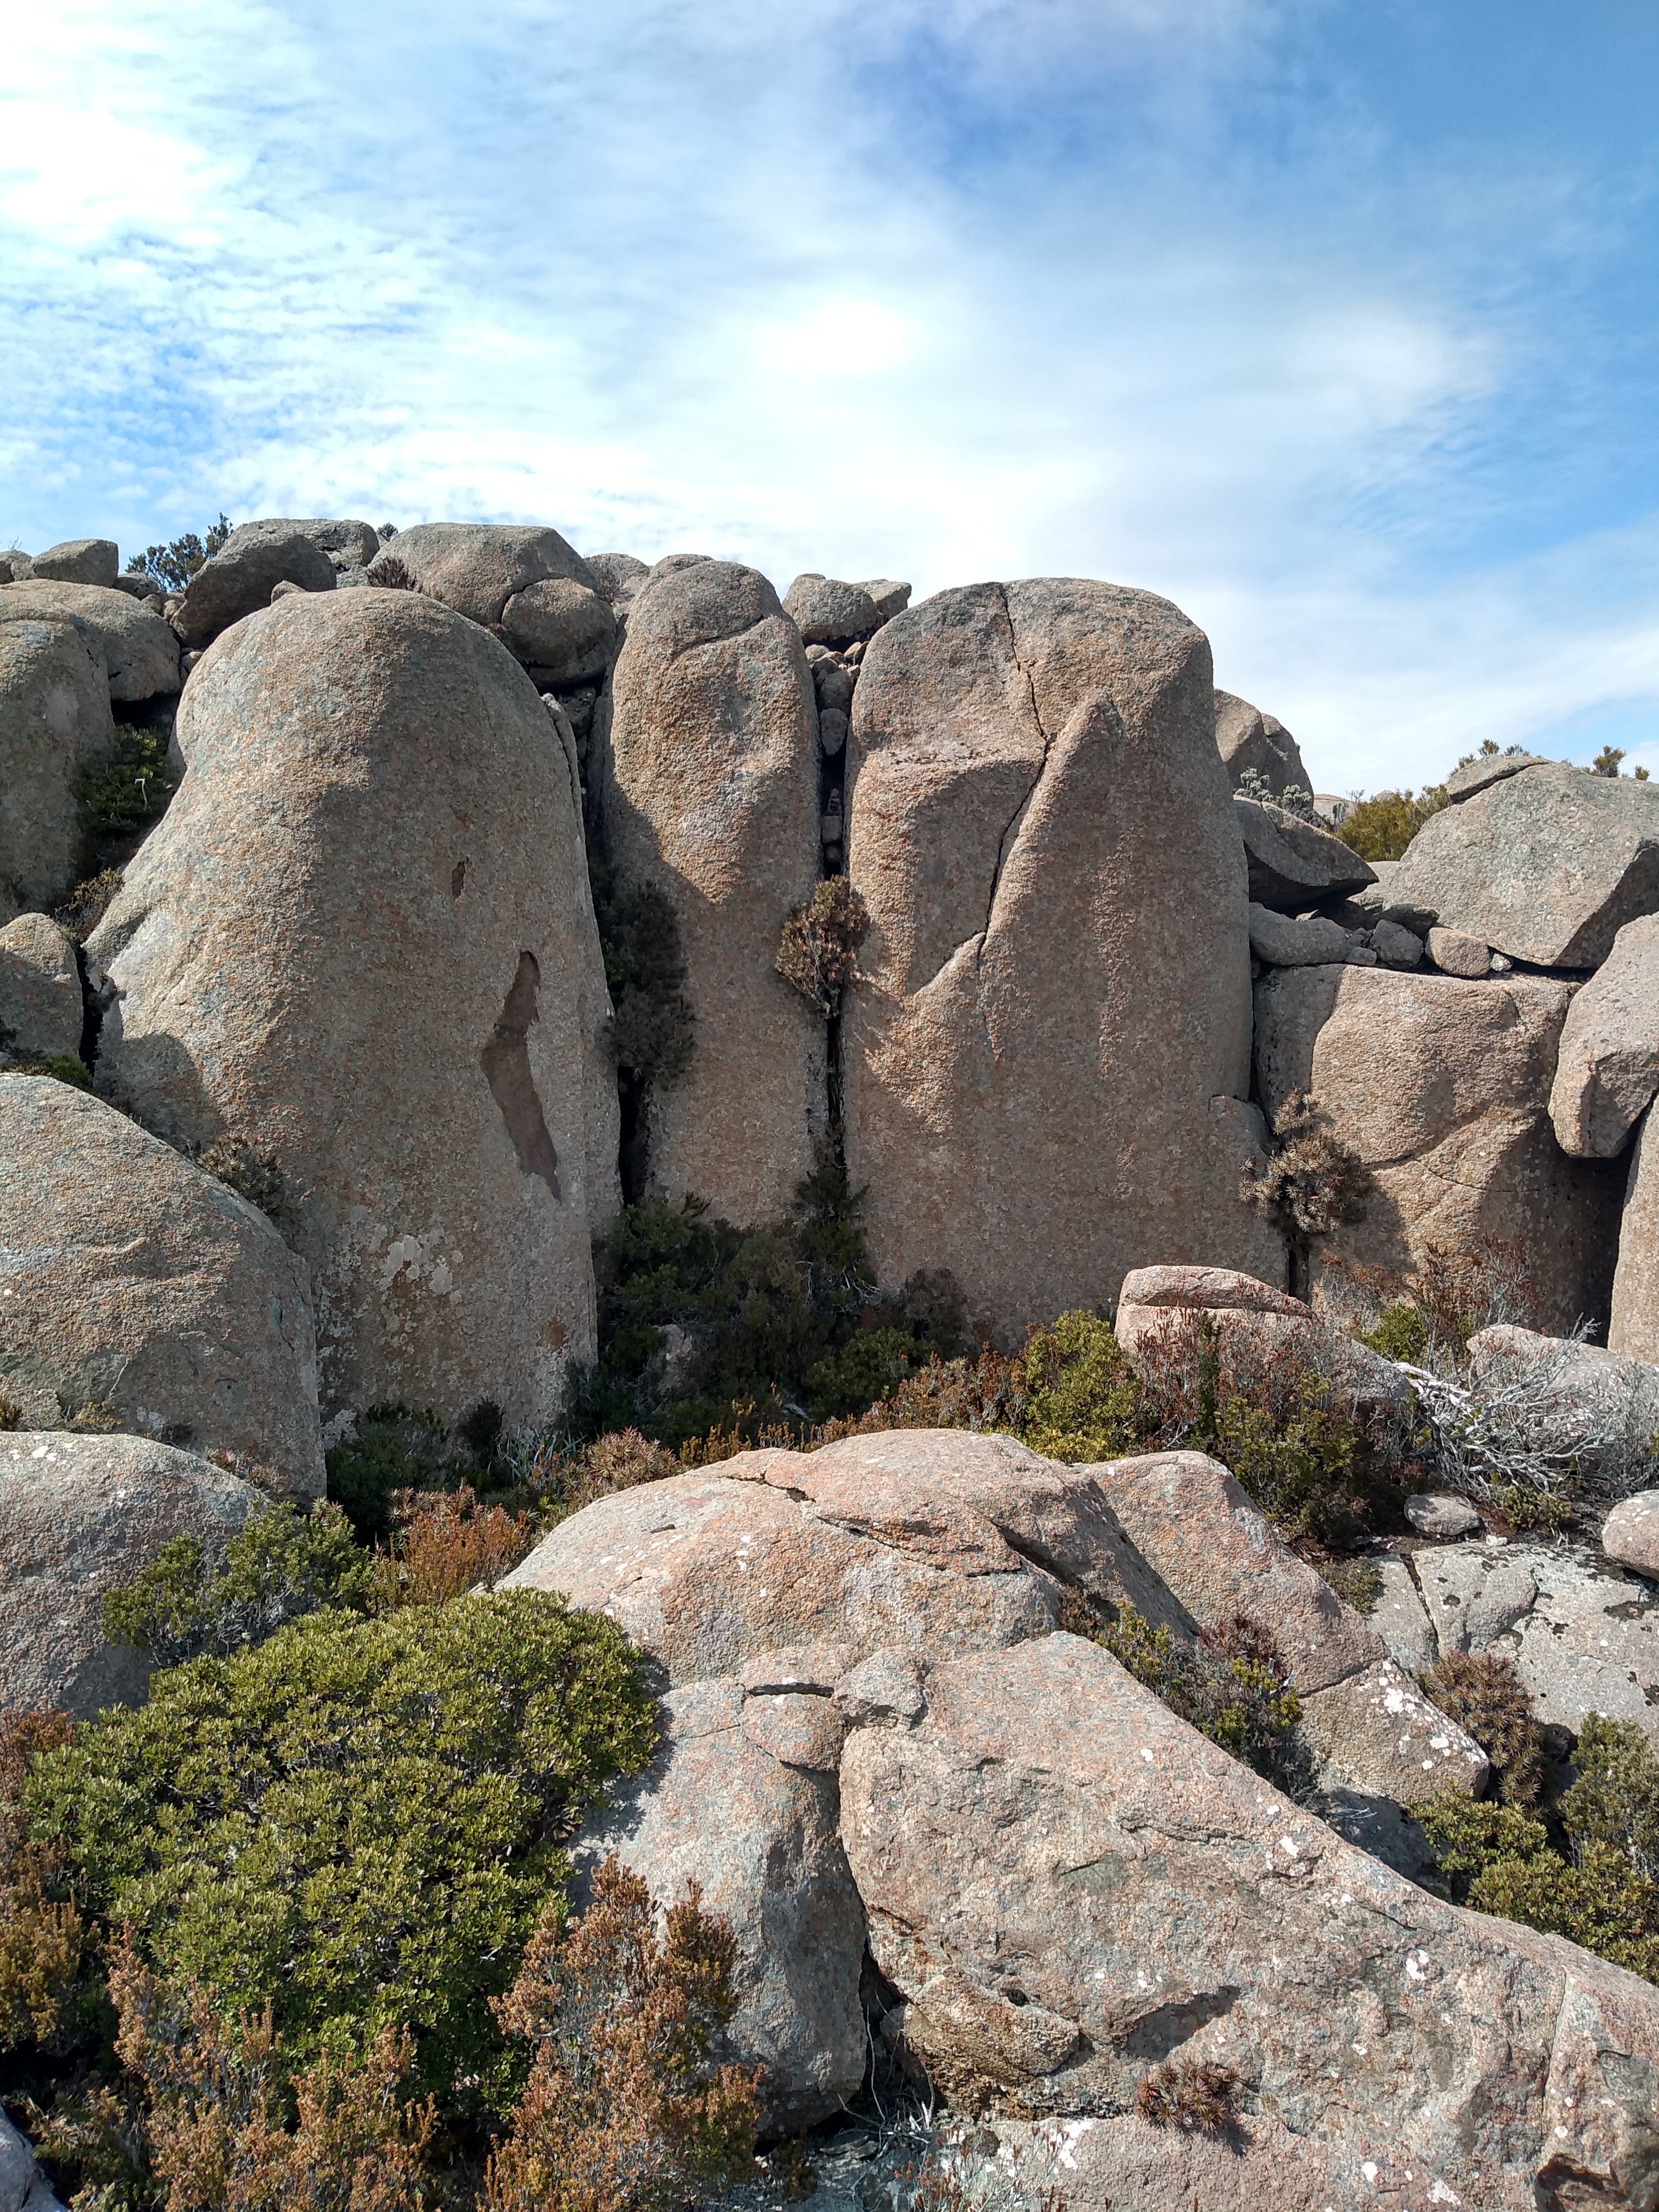
Start on jugs then big move up to slopey ledge.
R, Schwarz, 2019
Lorde's Castle
Compress and slab.
M Hitchcock 2020
Stand start the short arete with a good hold.
M Hitchcock 2020
Take the crimps to the top.
Sit start with the jug under the boulder and the scoop at the lip.
M Hitchcock 2020
The big, featured face with the undercling top.
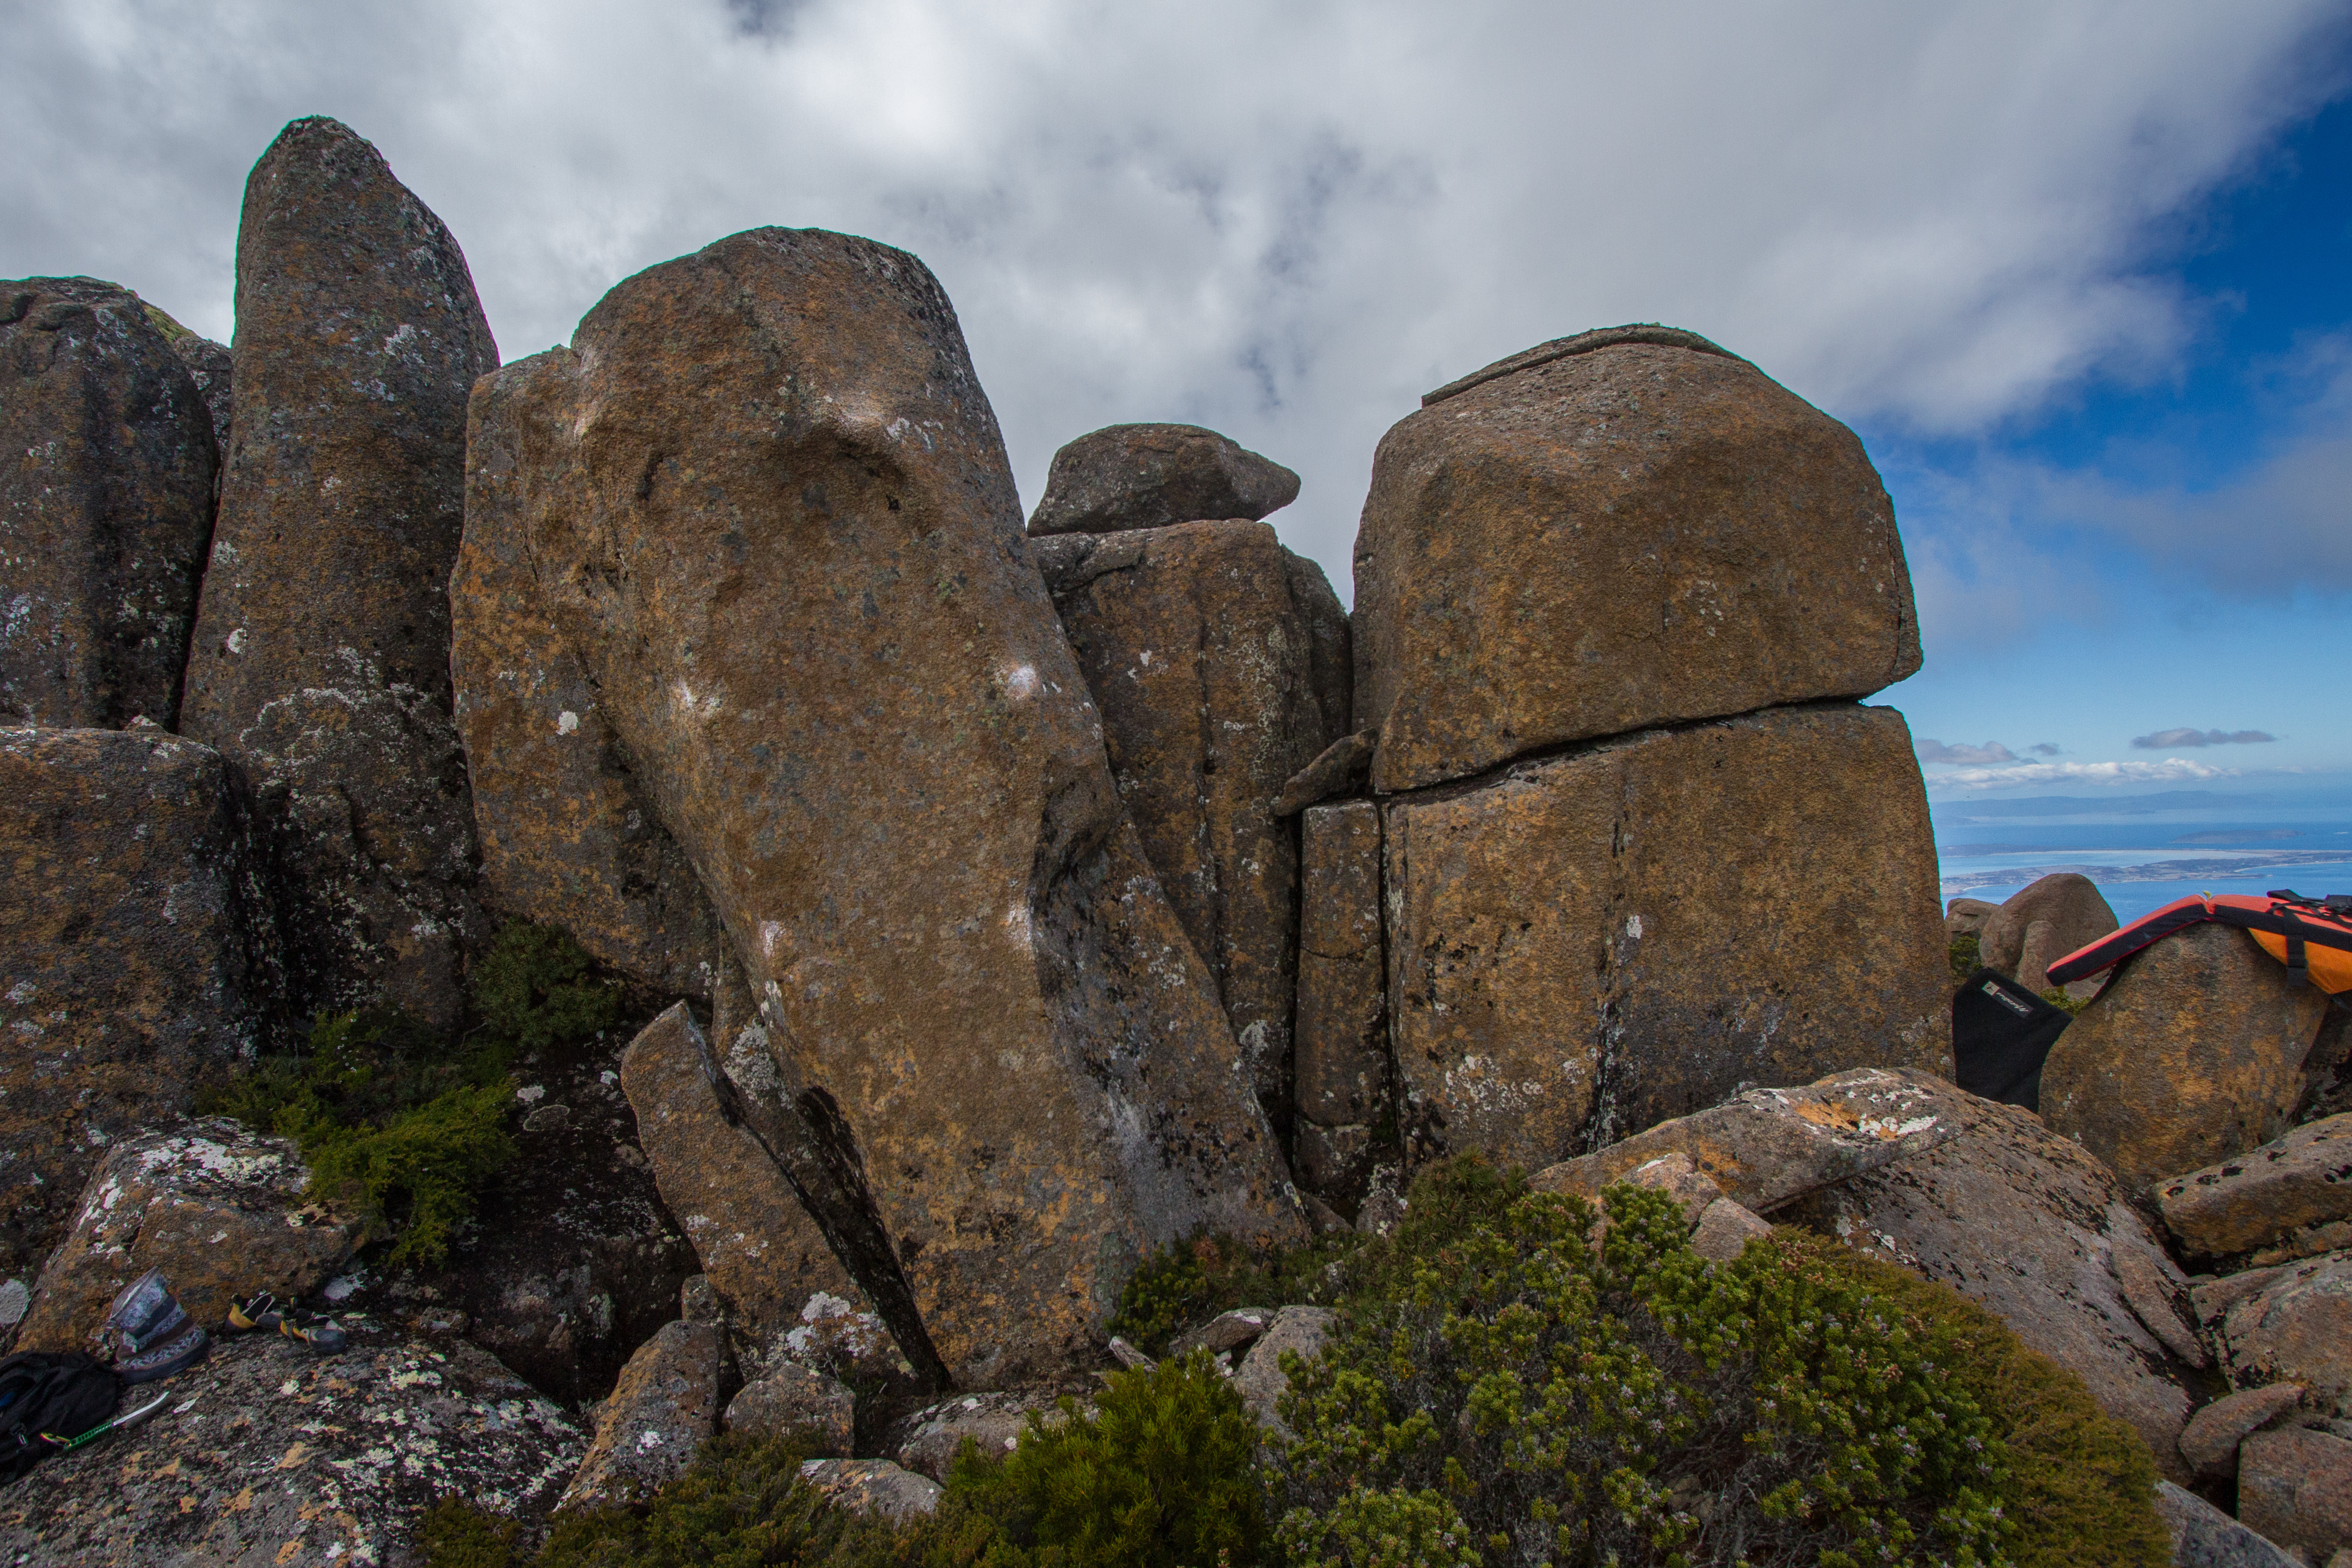
Stand start compressing both aretes.
M Hitchcock 2020
From the ground, compress to the horizontal and up.
M Hitchcock 2020
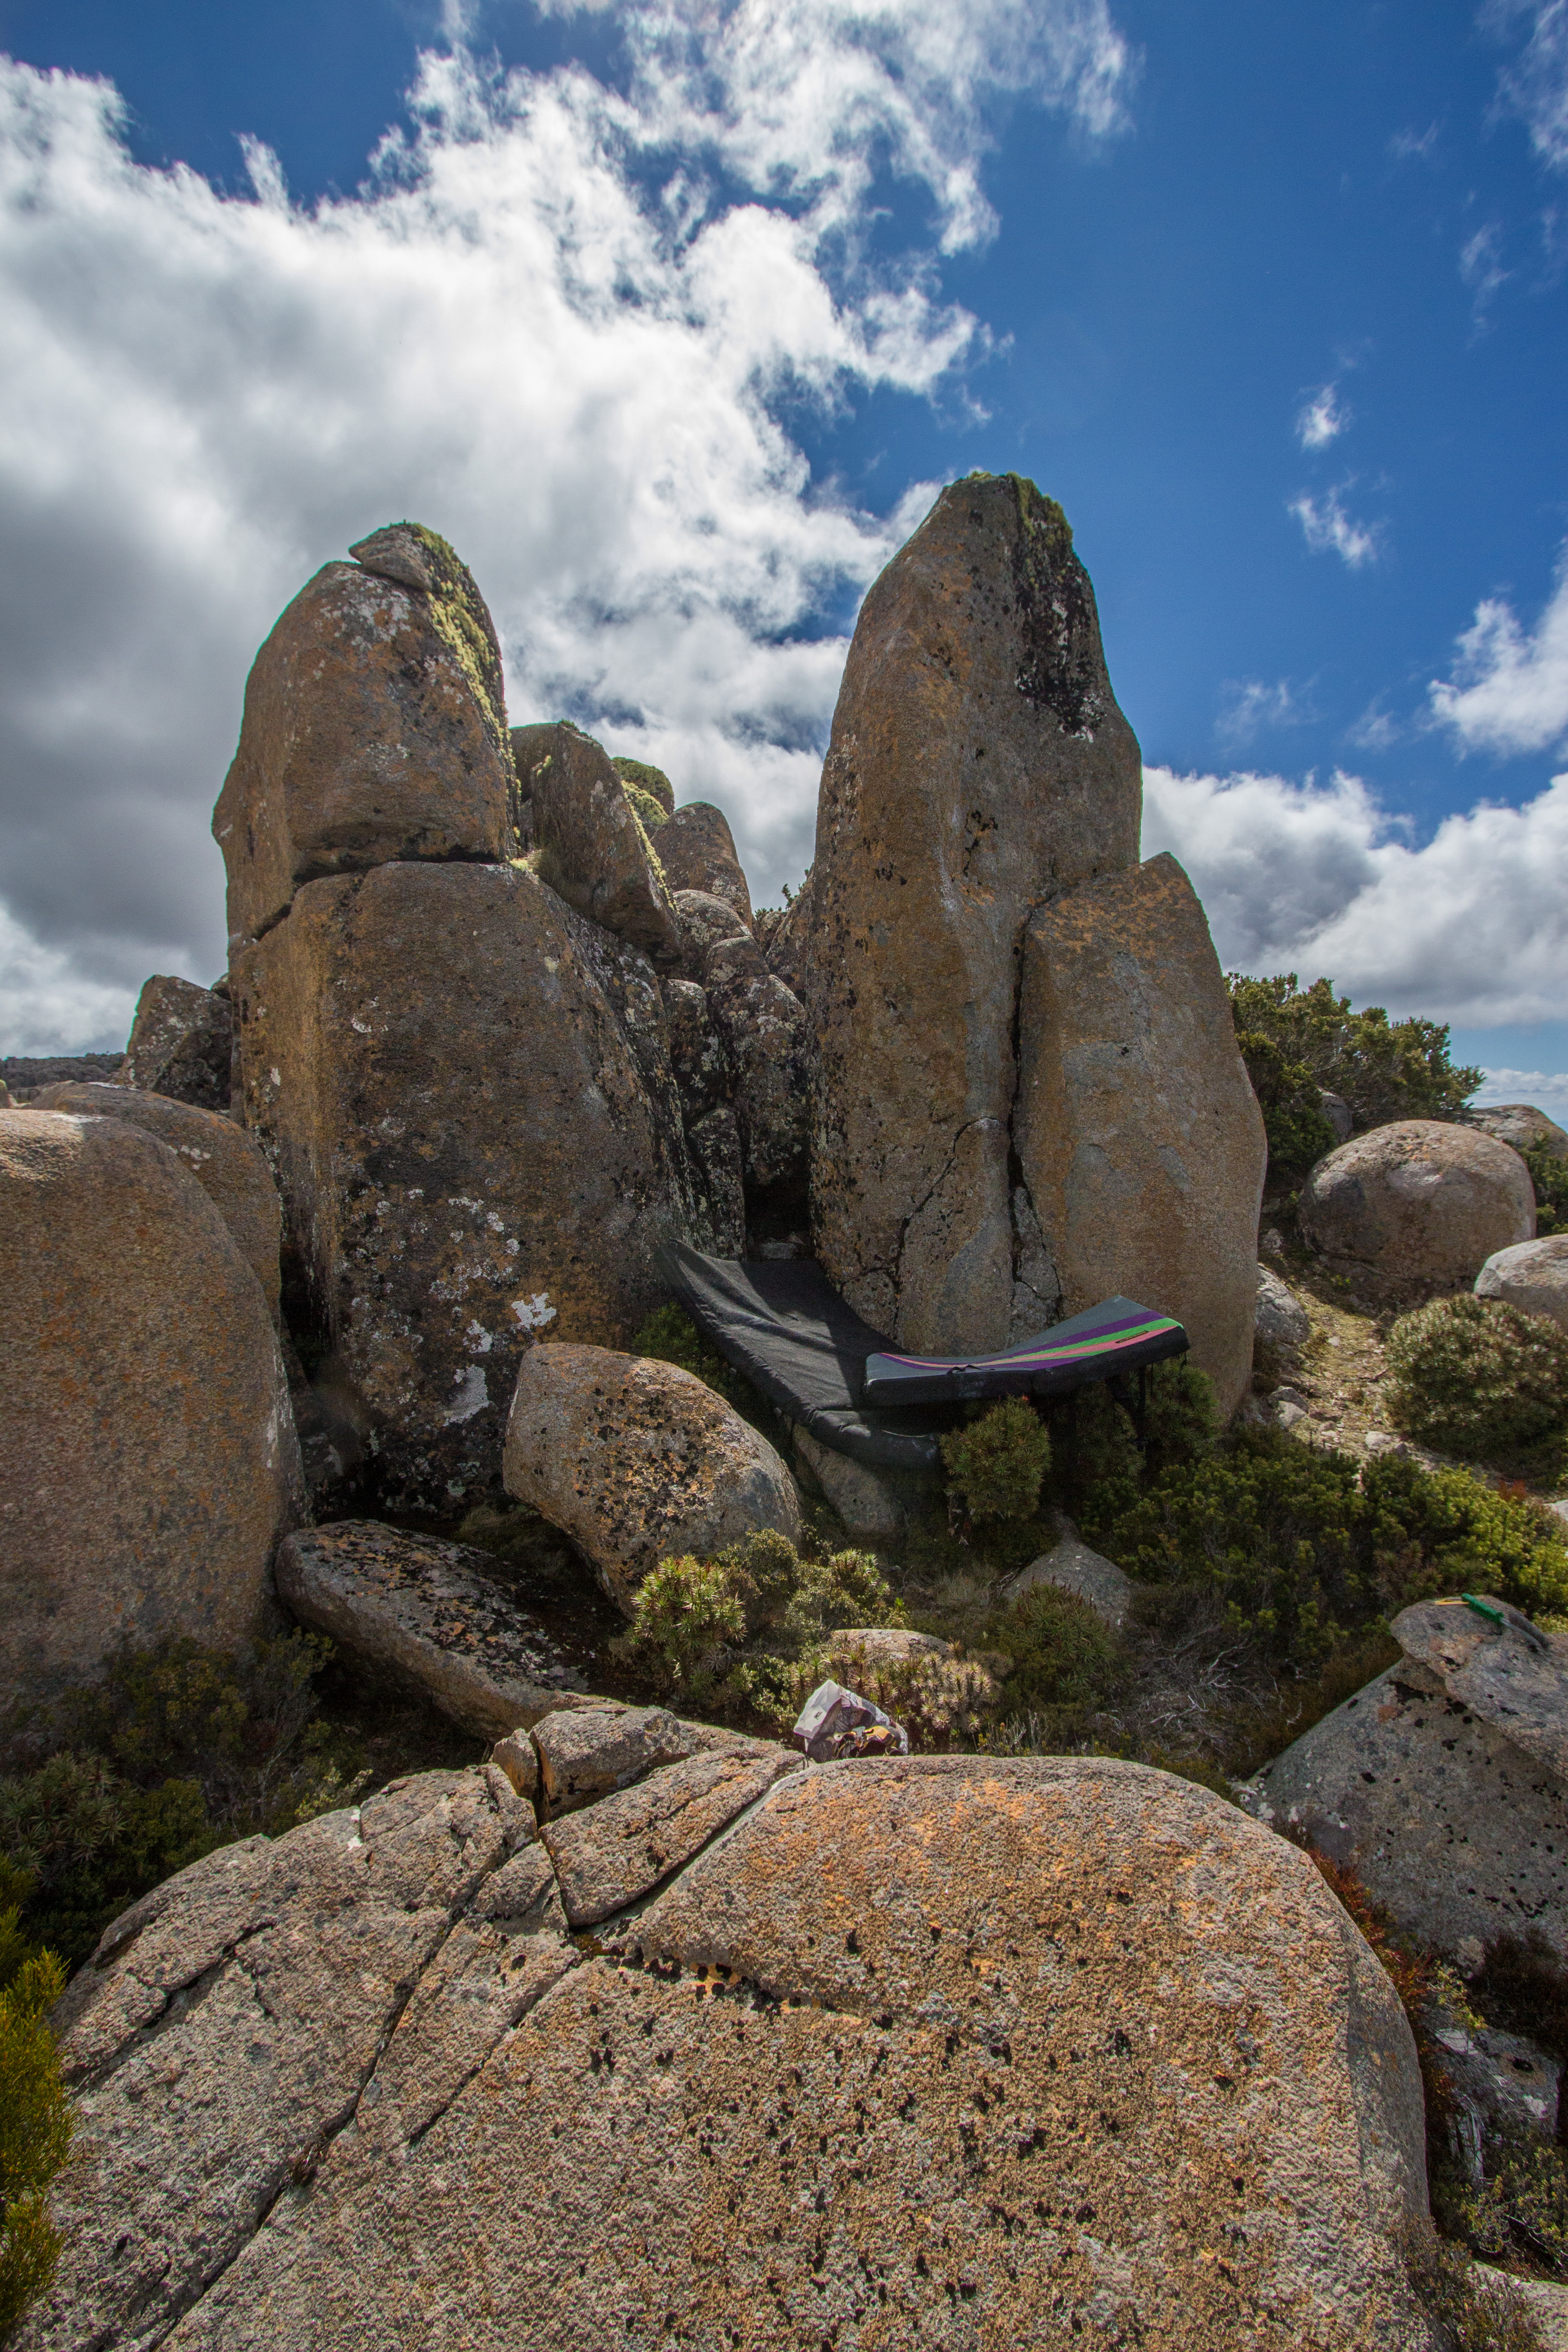
Climb the high arete from a sit start.
M Hitchcock 2020
Stand start in the hole with a good crack. Big and committing above a hard landing.
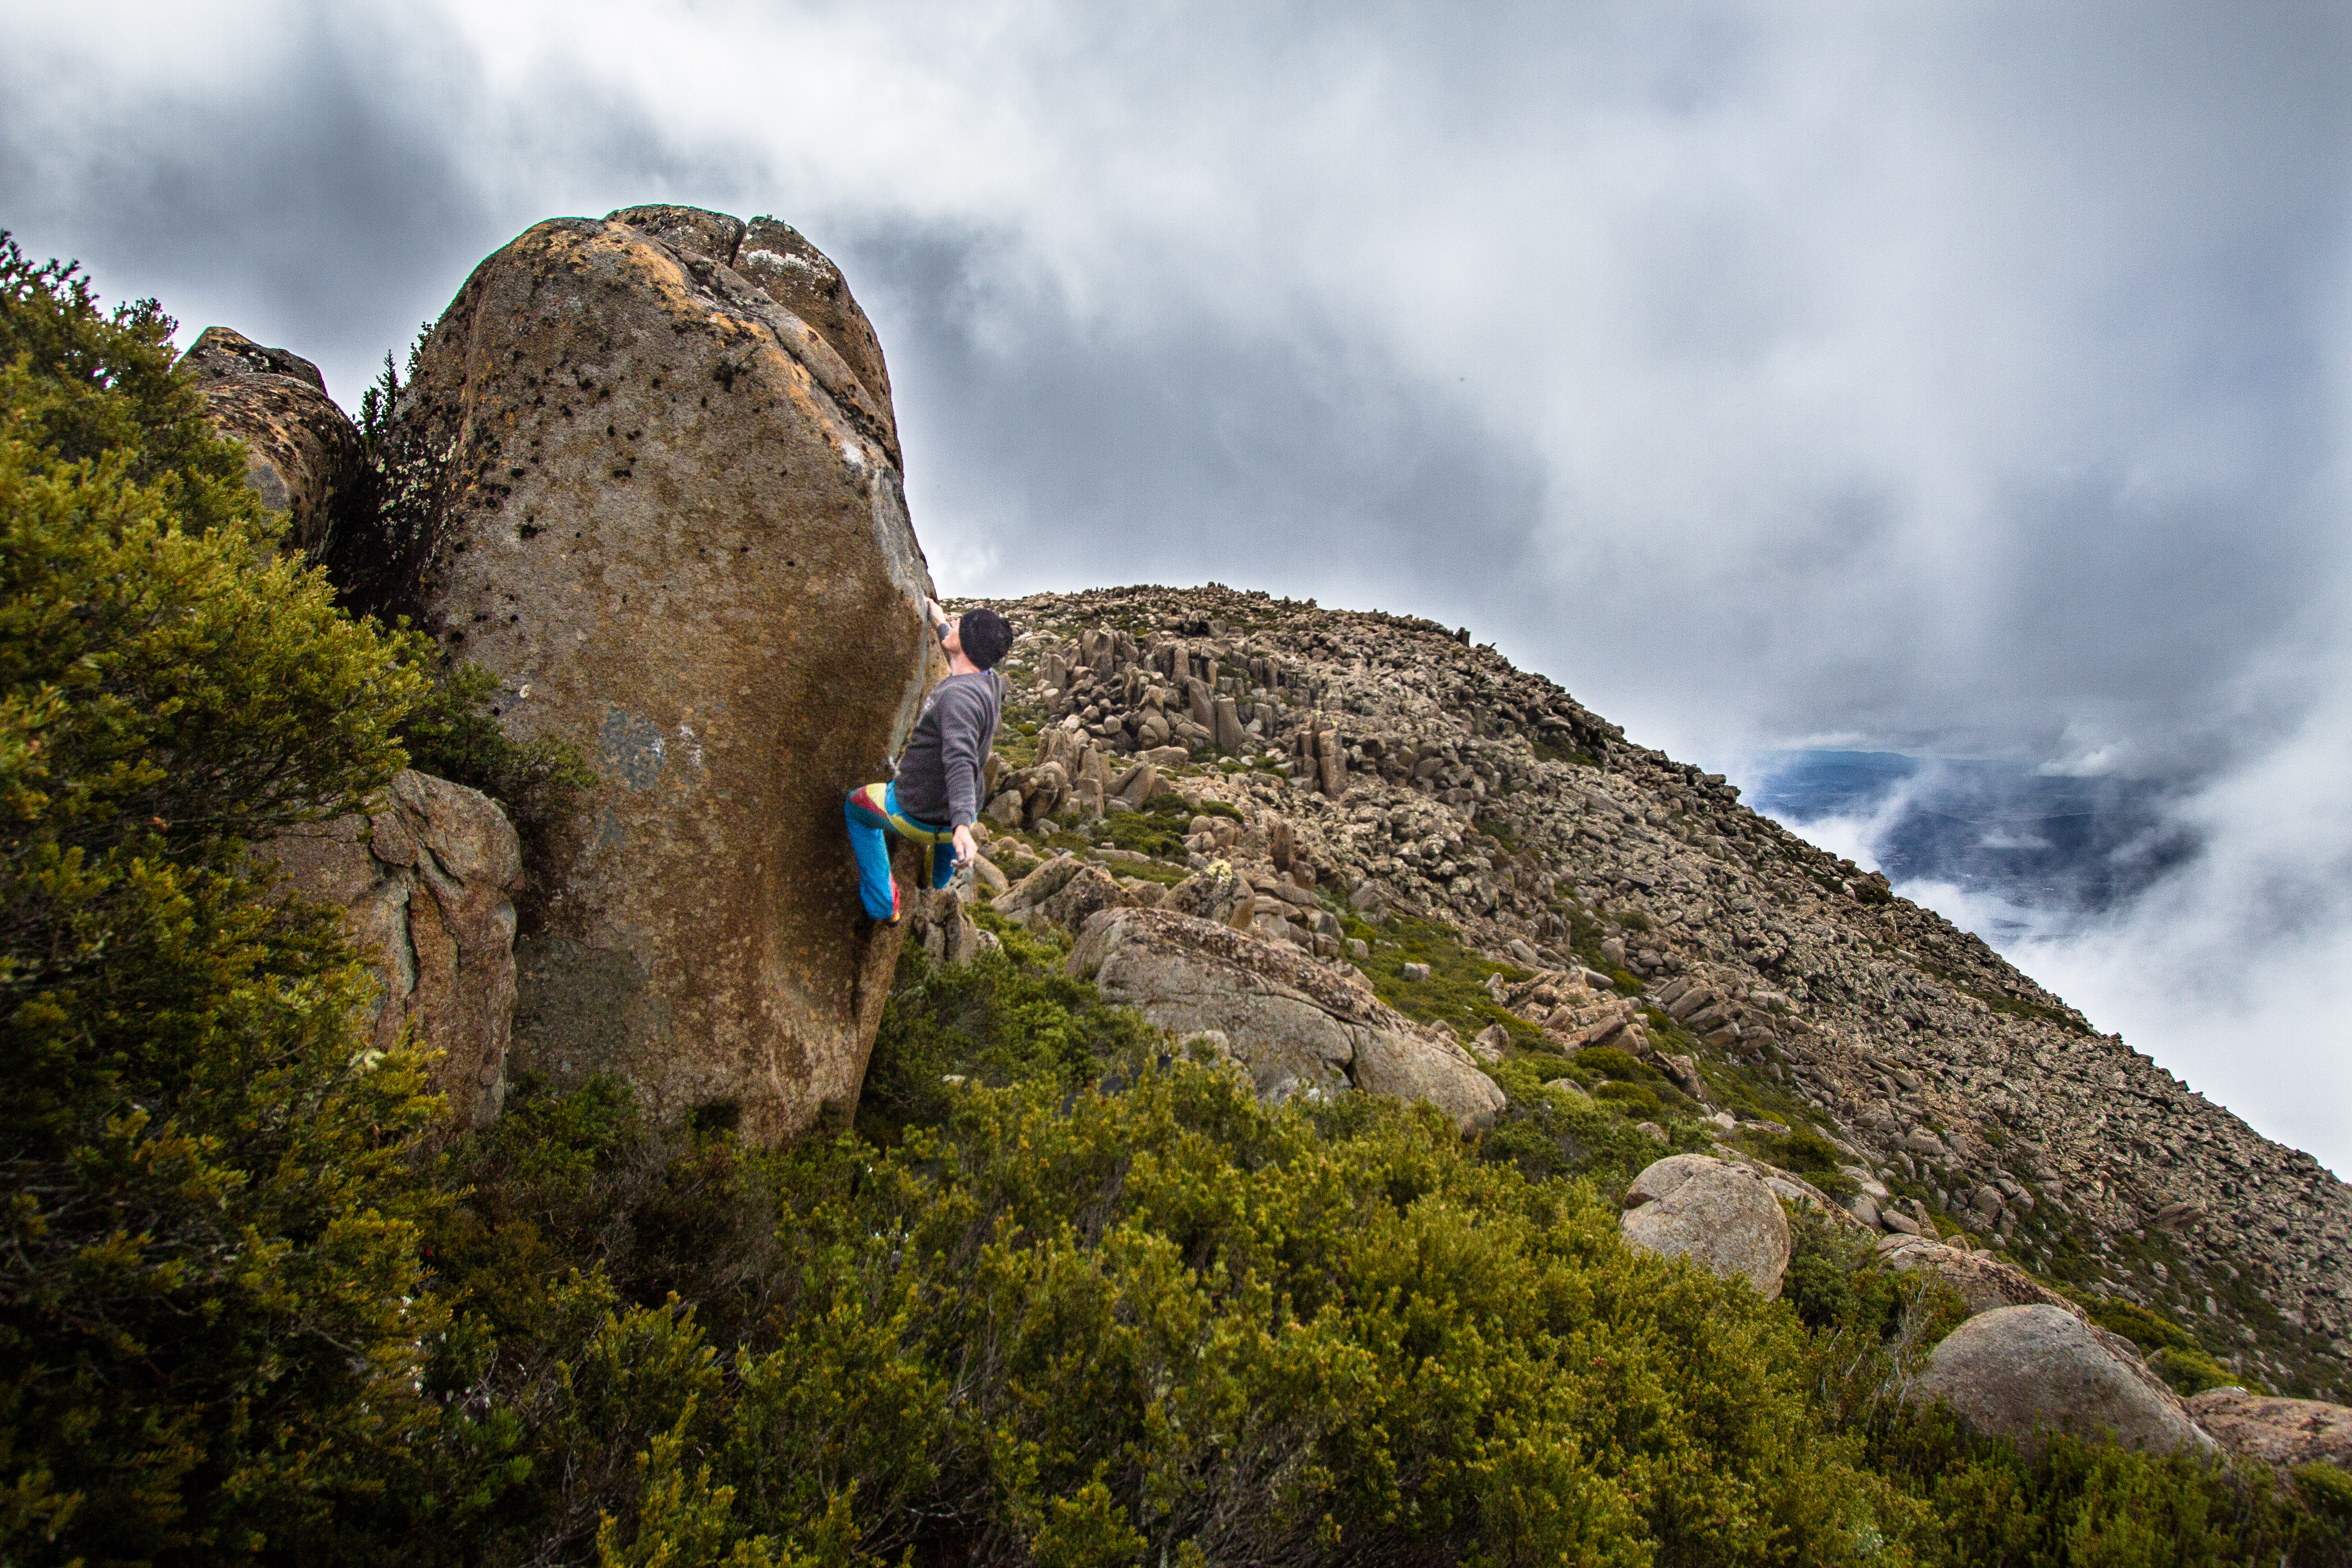
Stand into the scoop and climb up through some good side pulls and movements.
Originally climbing without using the flatty as it was covered in wet moss (take some grades off if you destroy the moss to use the flatty - also take off environmentally friendly points).
M Hitchcock 2020
An awkward distance north of Lorde's castle...
The pillar awkwardly distanced from Lorde's Castle. Sit start left arete
M Hitchcock 2020
In the scree below Lorde's castle...
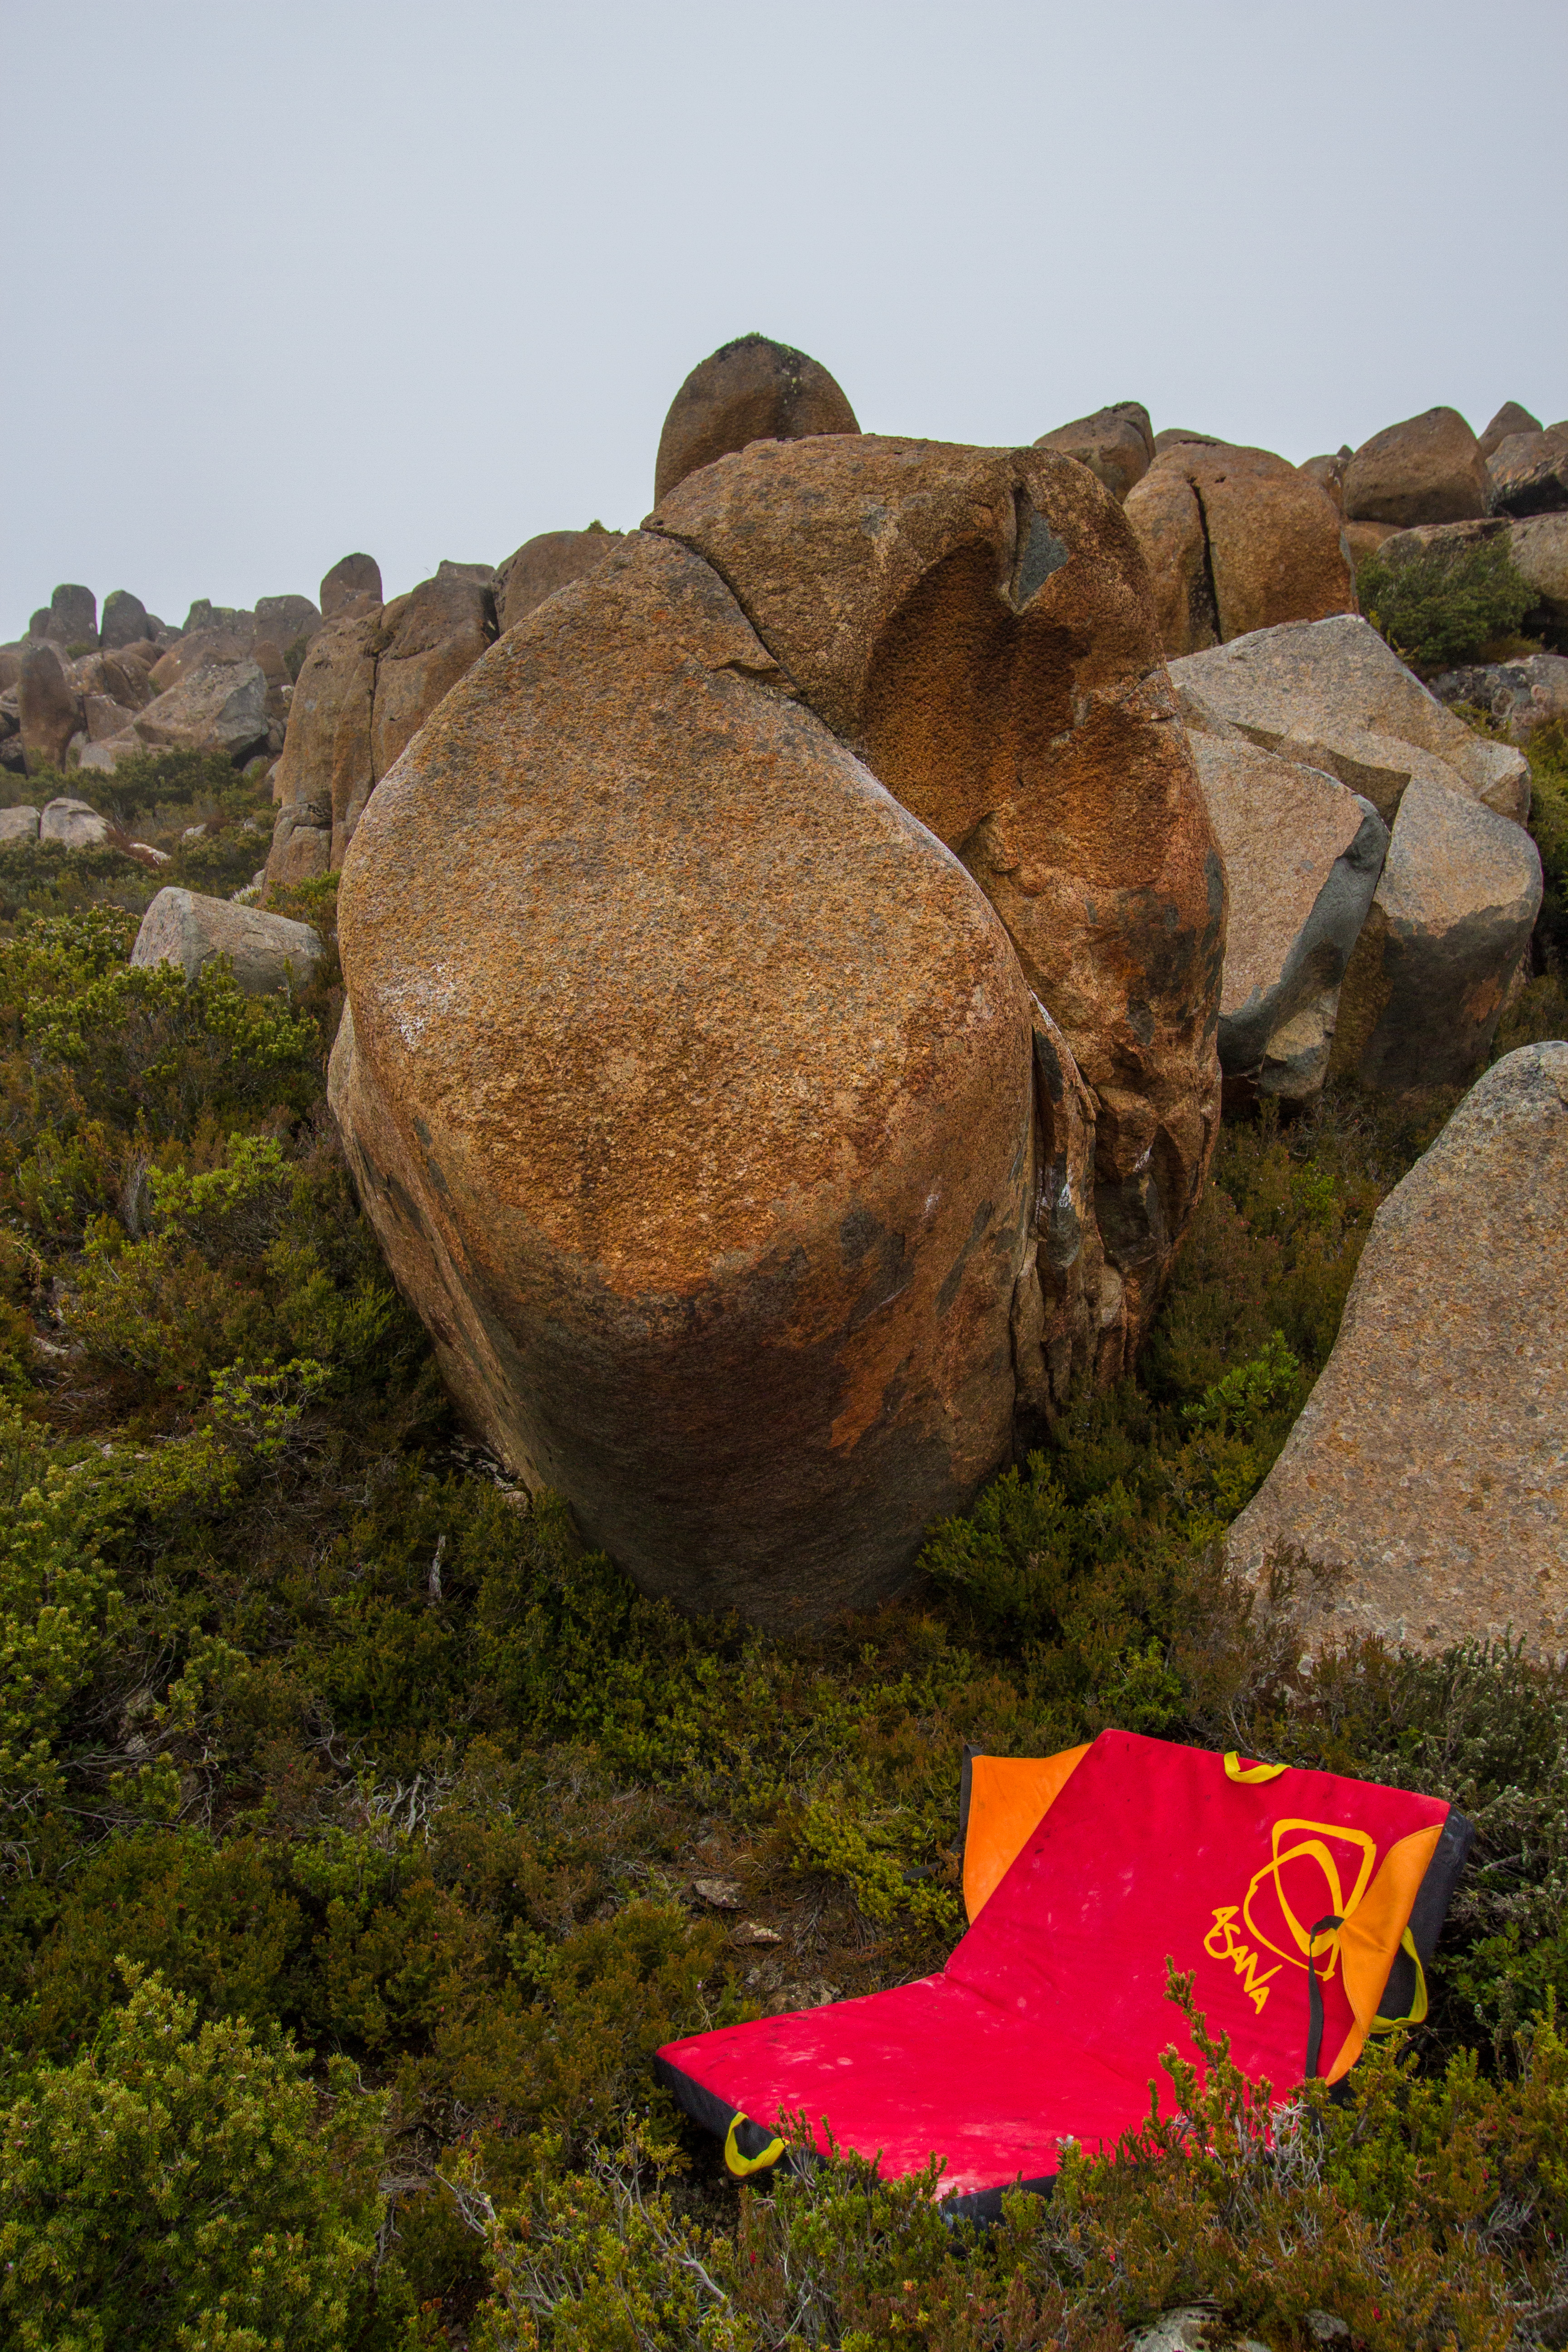
LH arete of the boulder.
M Hitchcock 2020
Sit start on the underclings of Man two.., follow the slopes out left to finish up Man one... Unique moves on the mountain.
M Hitchcock 2020
Broken side of the boulder, starting with two good undercuts.
M Hitchcock 2020
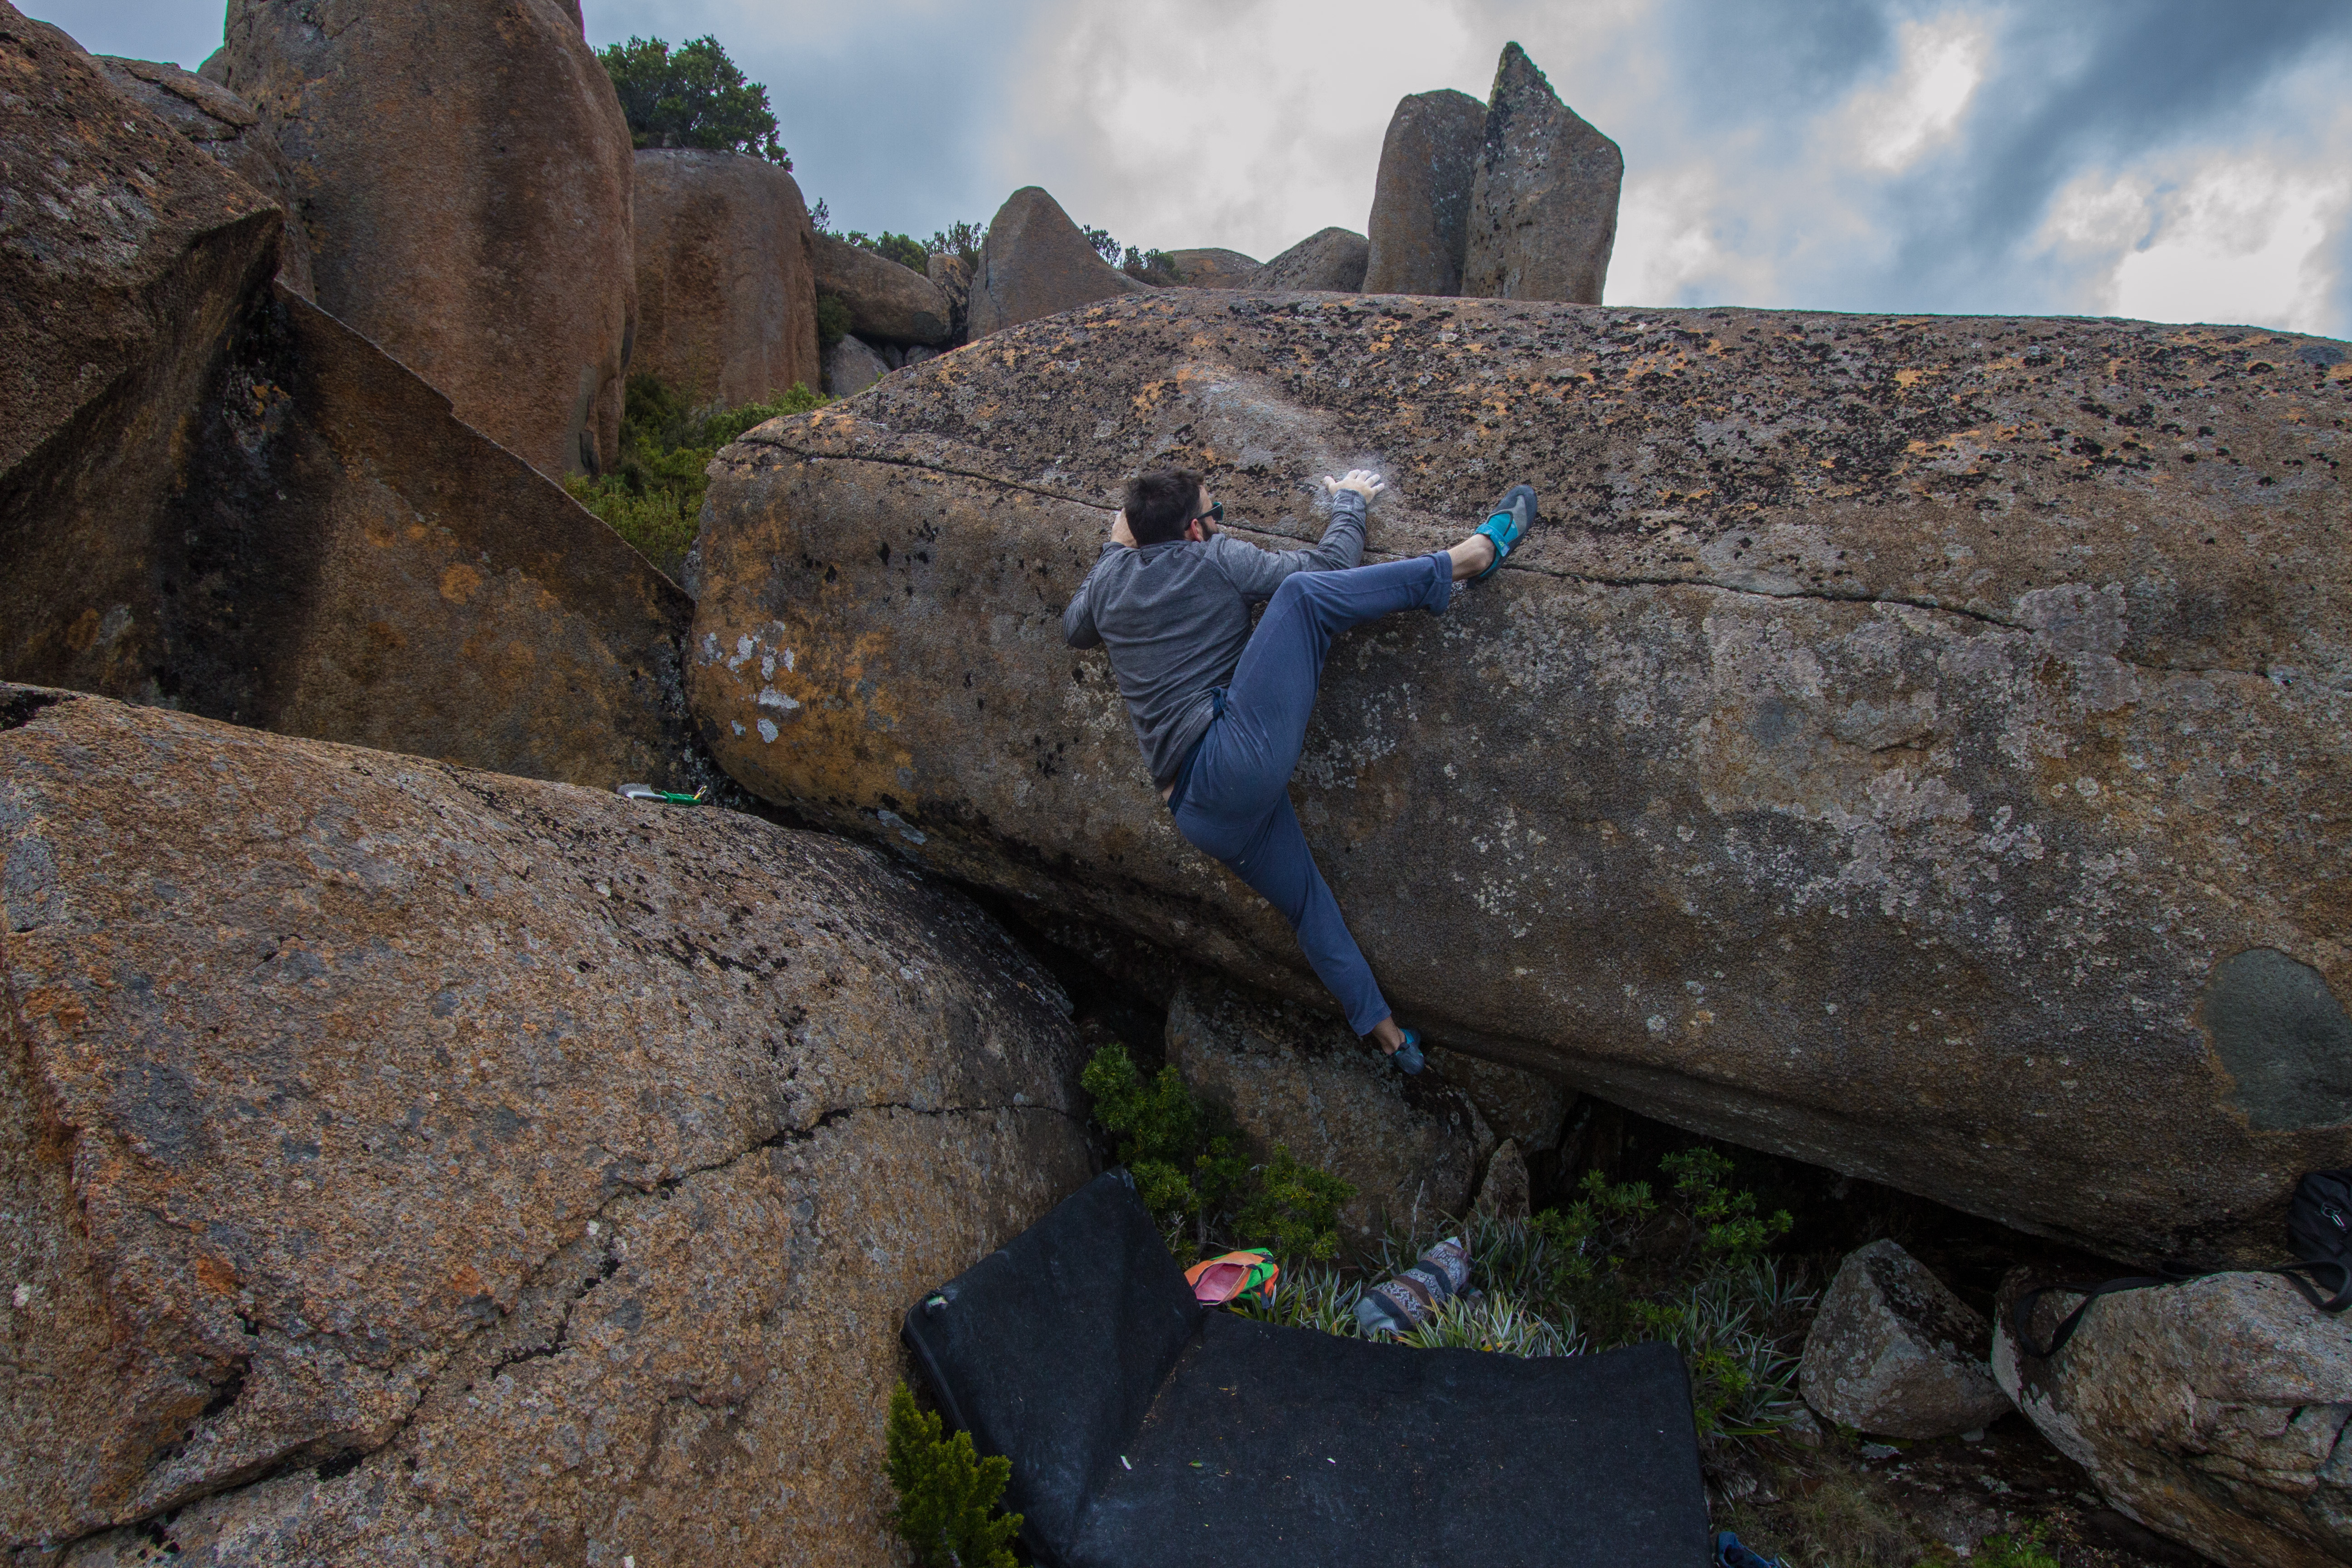
An absolute gem of a line. Stand start with two good crimps (stack pads if you can't reach them).
M Hitchcock and C Johns 2020
Press your body into the scoop, then up to mantle.
C Johns 2020
Ticktack Land
Ticktack land has the potential for 50+ good boulder problems. Only a few have been developed so far. Some may be put off with the 30min walk across the beautiful, flat plateau. Such horribly stunning views. Who can put up with that?
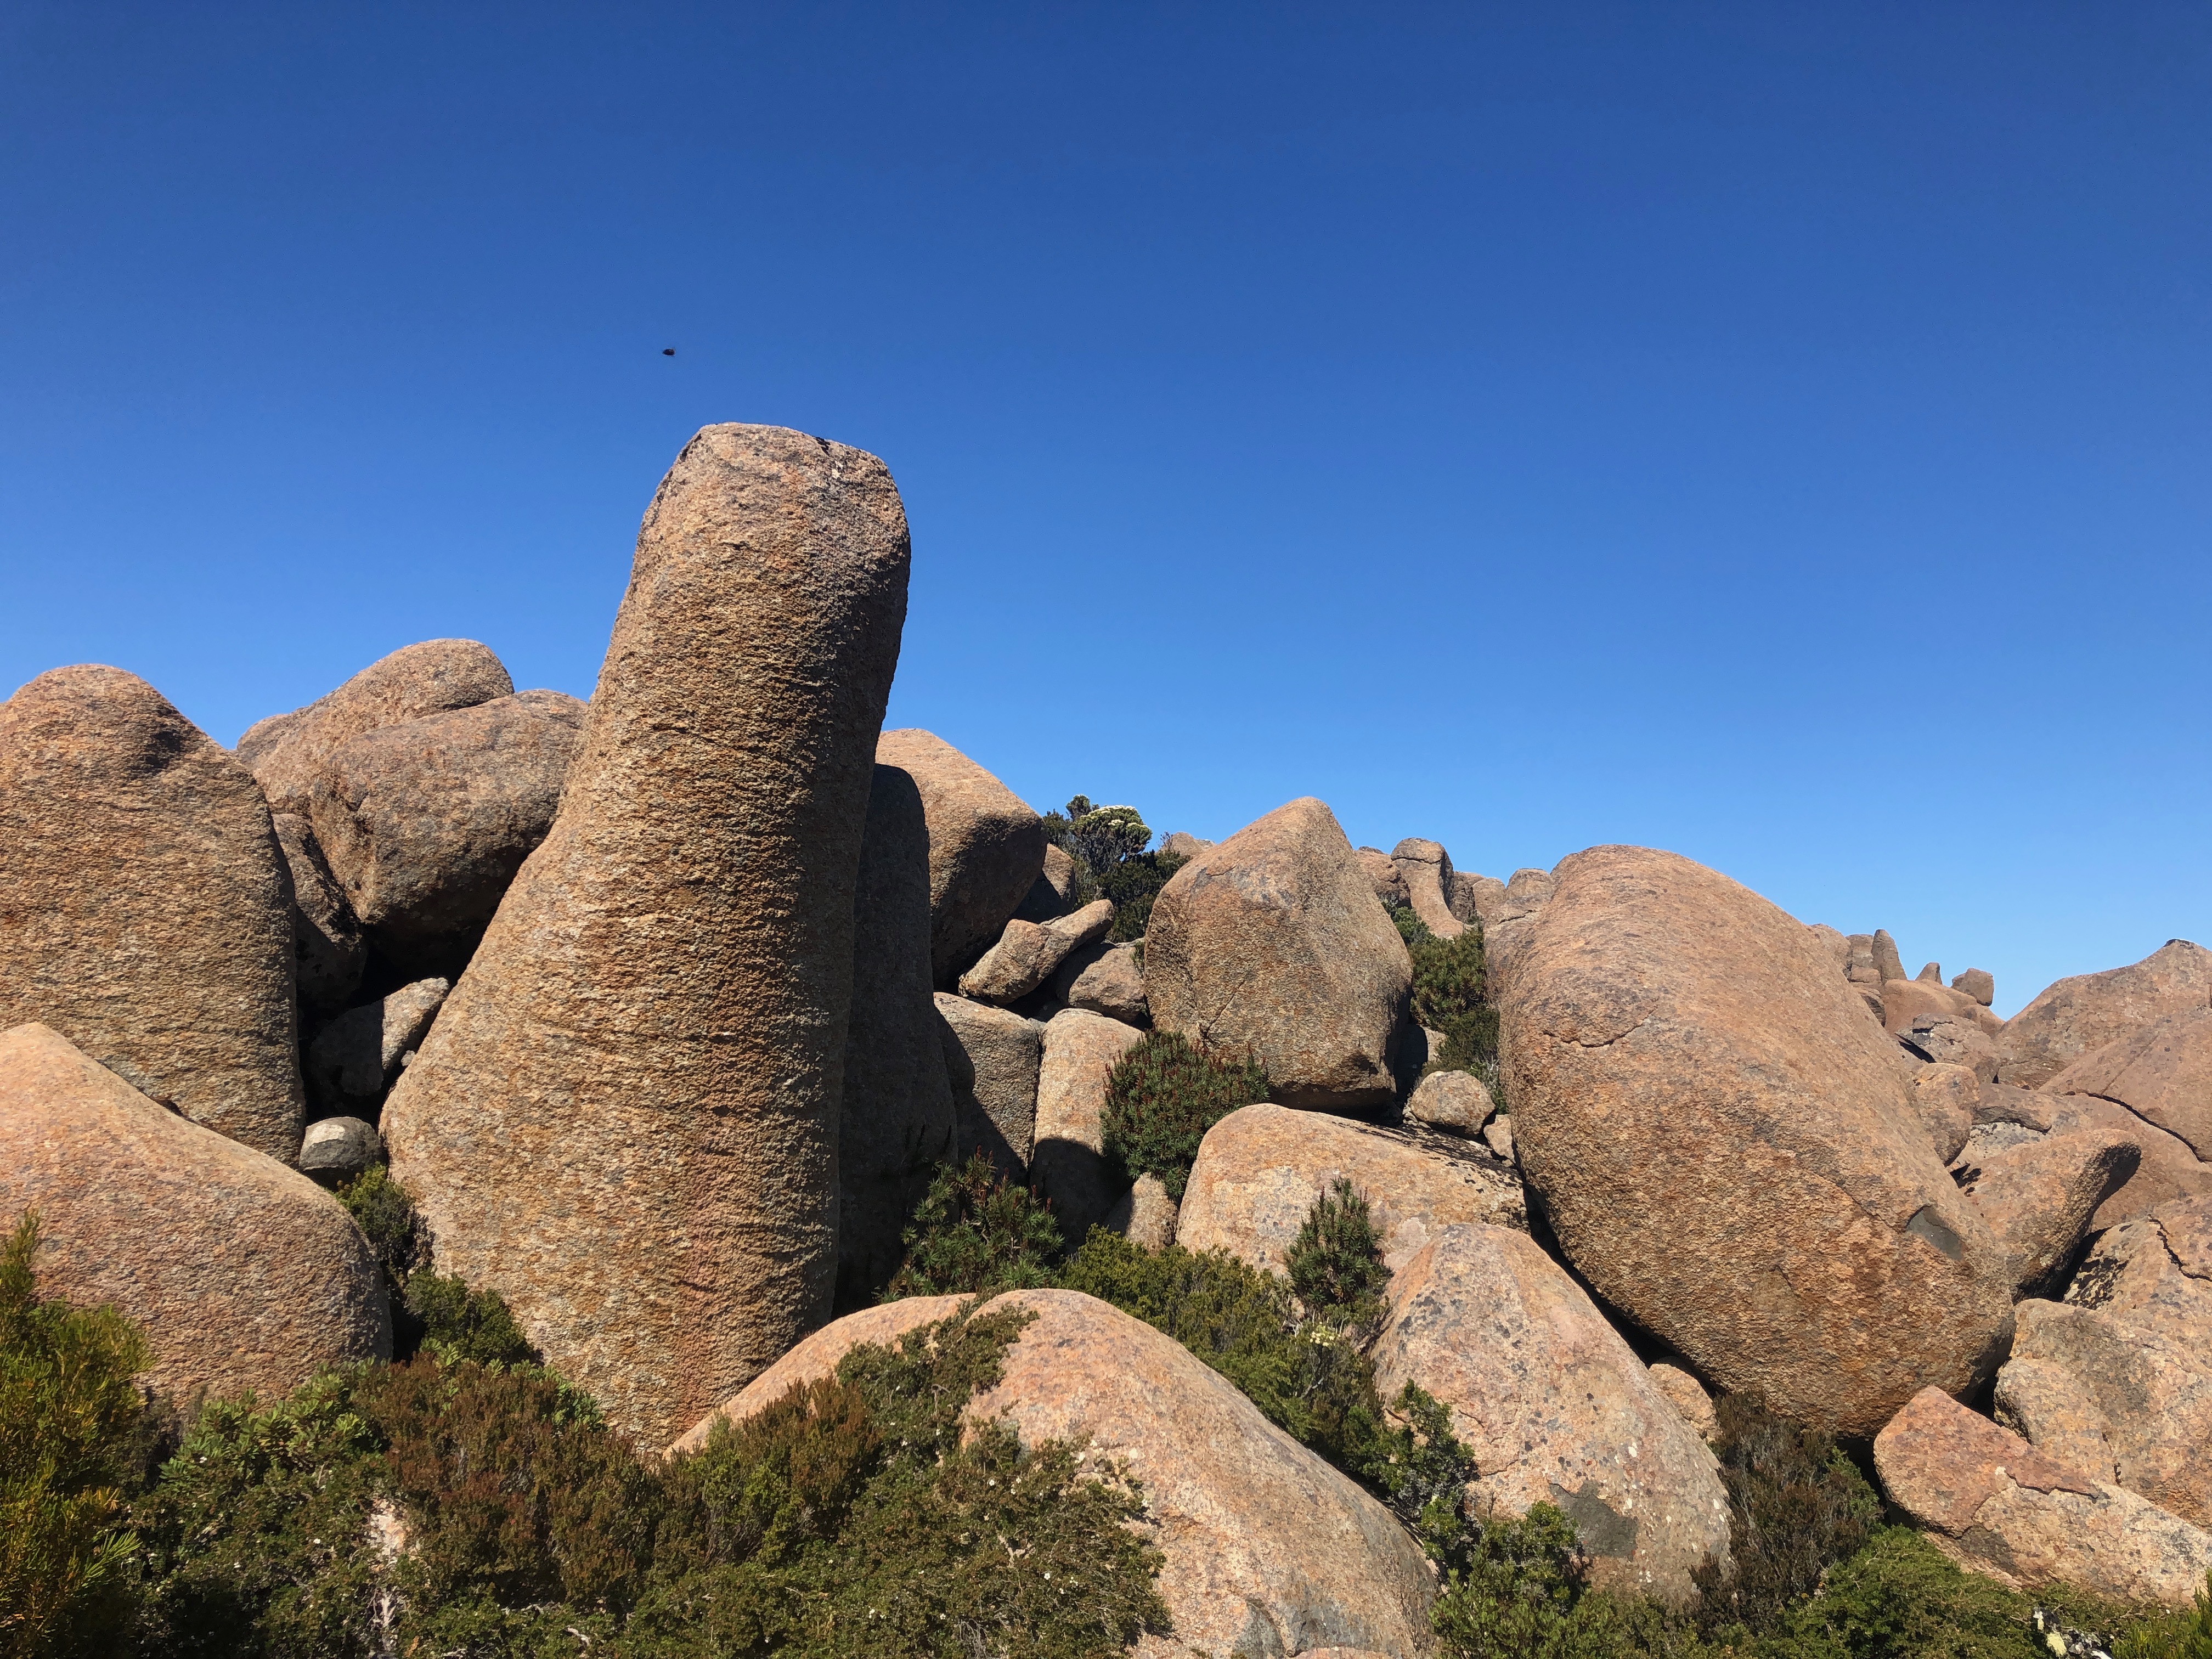
Slap up and mantle.
M Hitchcock 2019
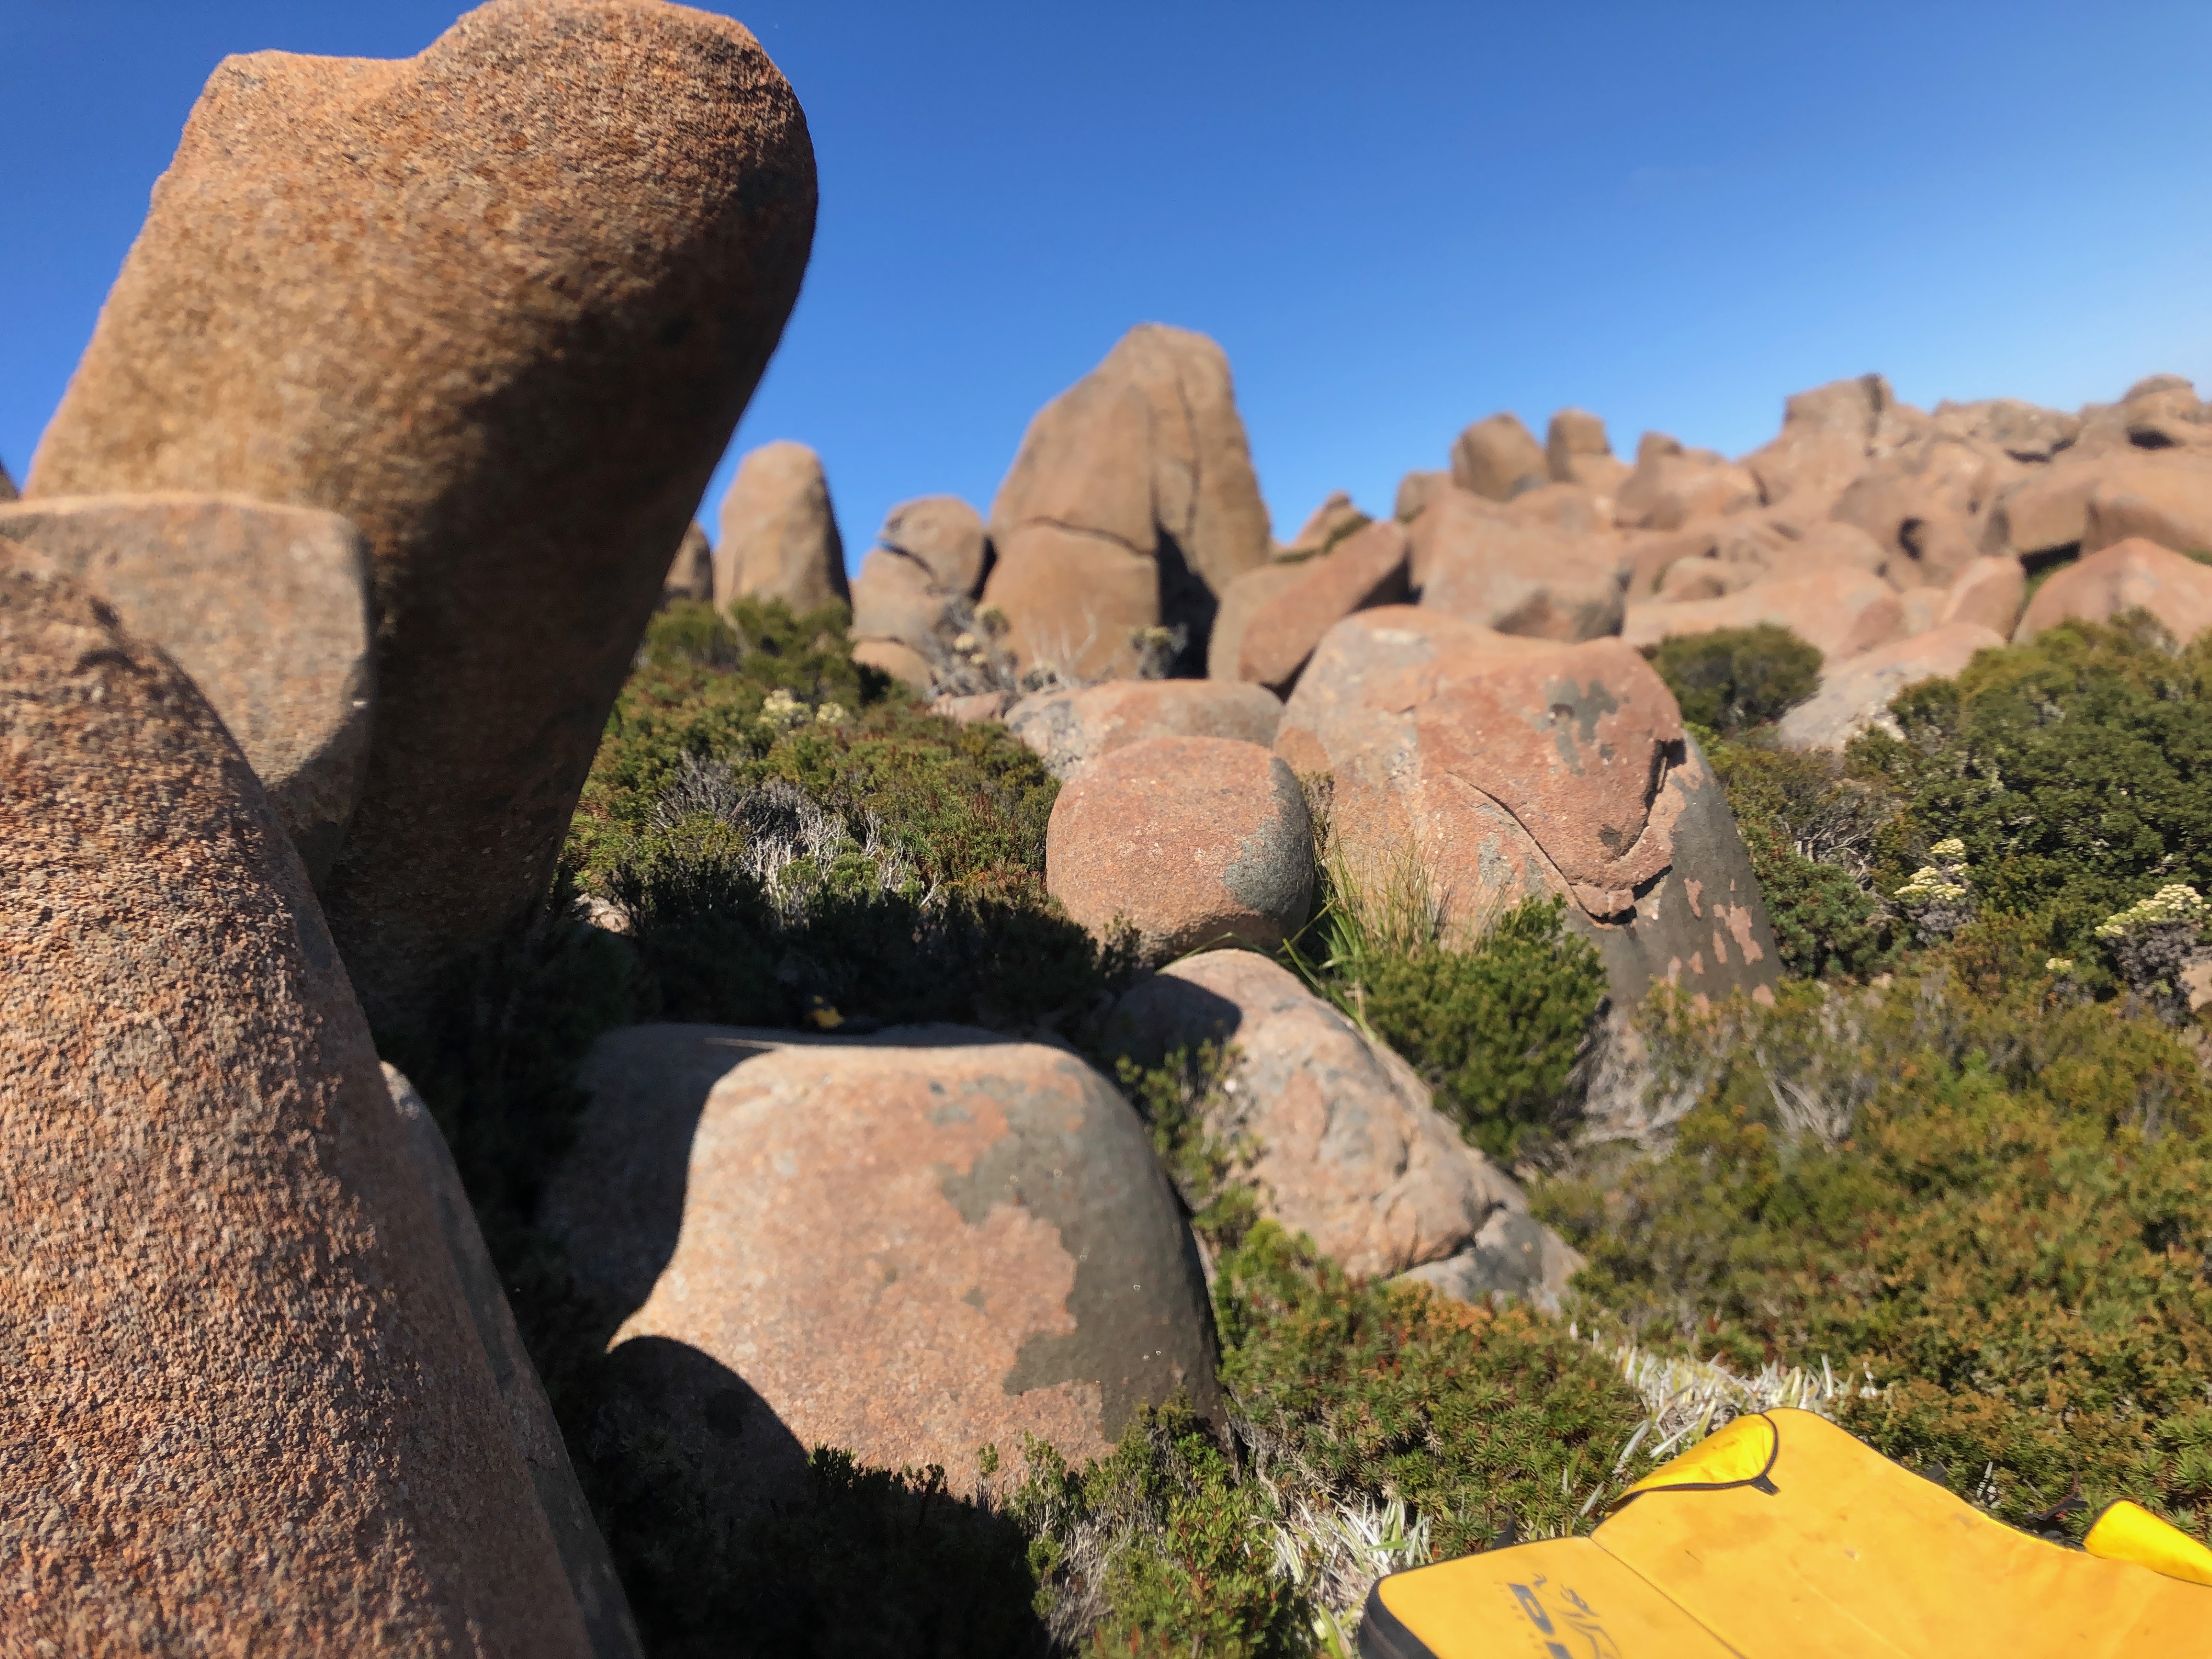
Jump (or reach if you're tall) to the flat jug. Mantle.
M Hitchcock 2019
The next few boulders are ~50m east of Dairy of a Whip Snake
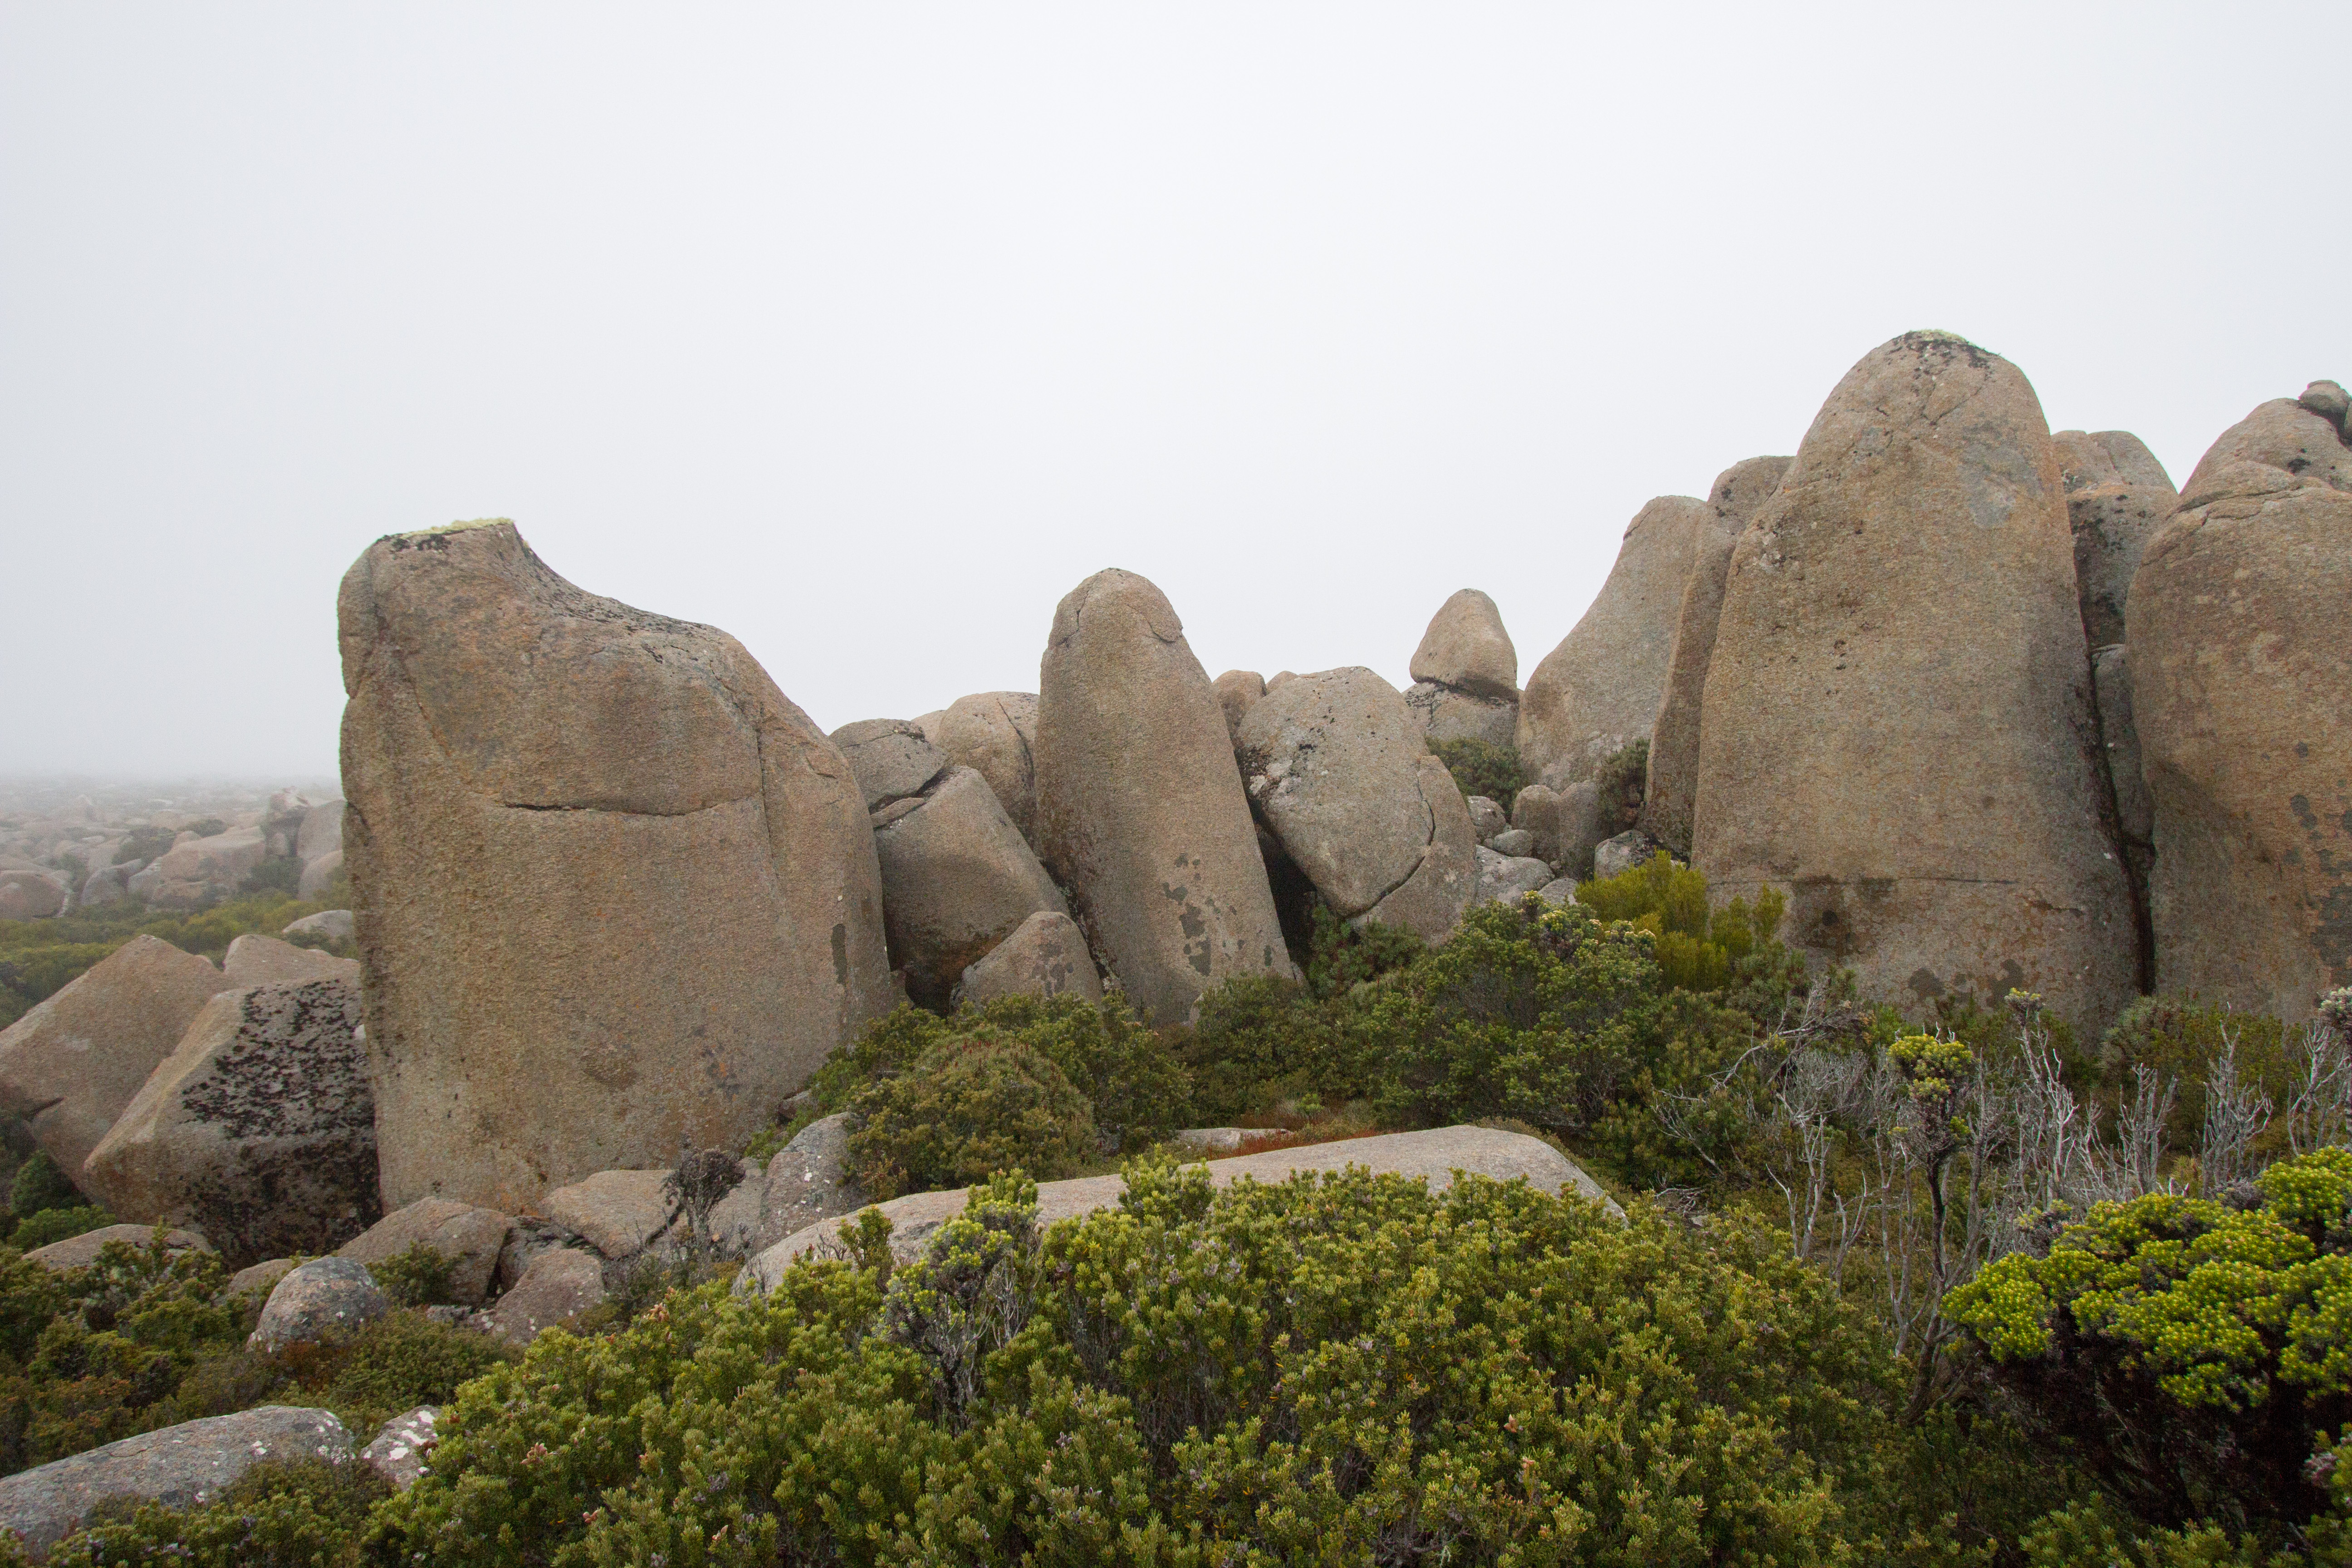
Stand start on horizontal break.
M Hitchcock 2019
Up the right hand side of the boulder.
M Hitchcock 2019
Up the blunt arete/pinnacle.
M Hitchcock 2019
Start on the good foothold, hugging the arete. Up to the good rail and top out.
M Hitchcock 2019
Up the middle/right side of the boulder.
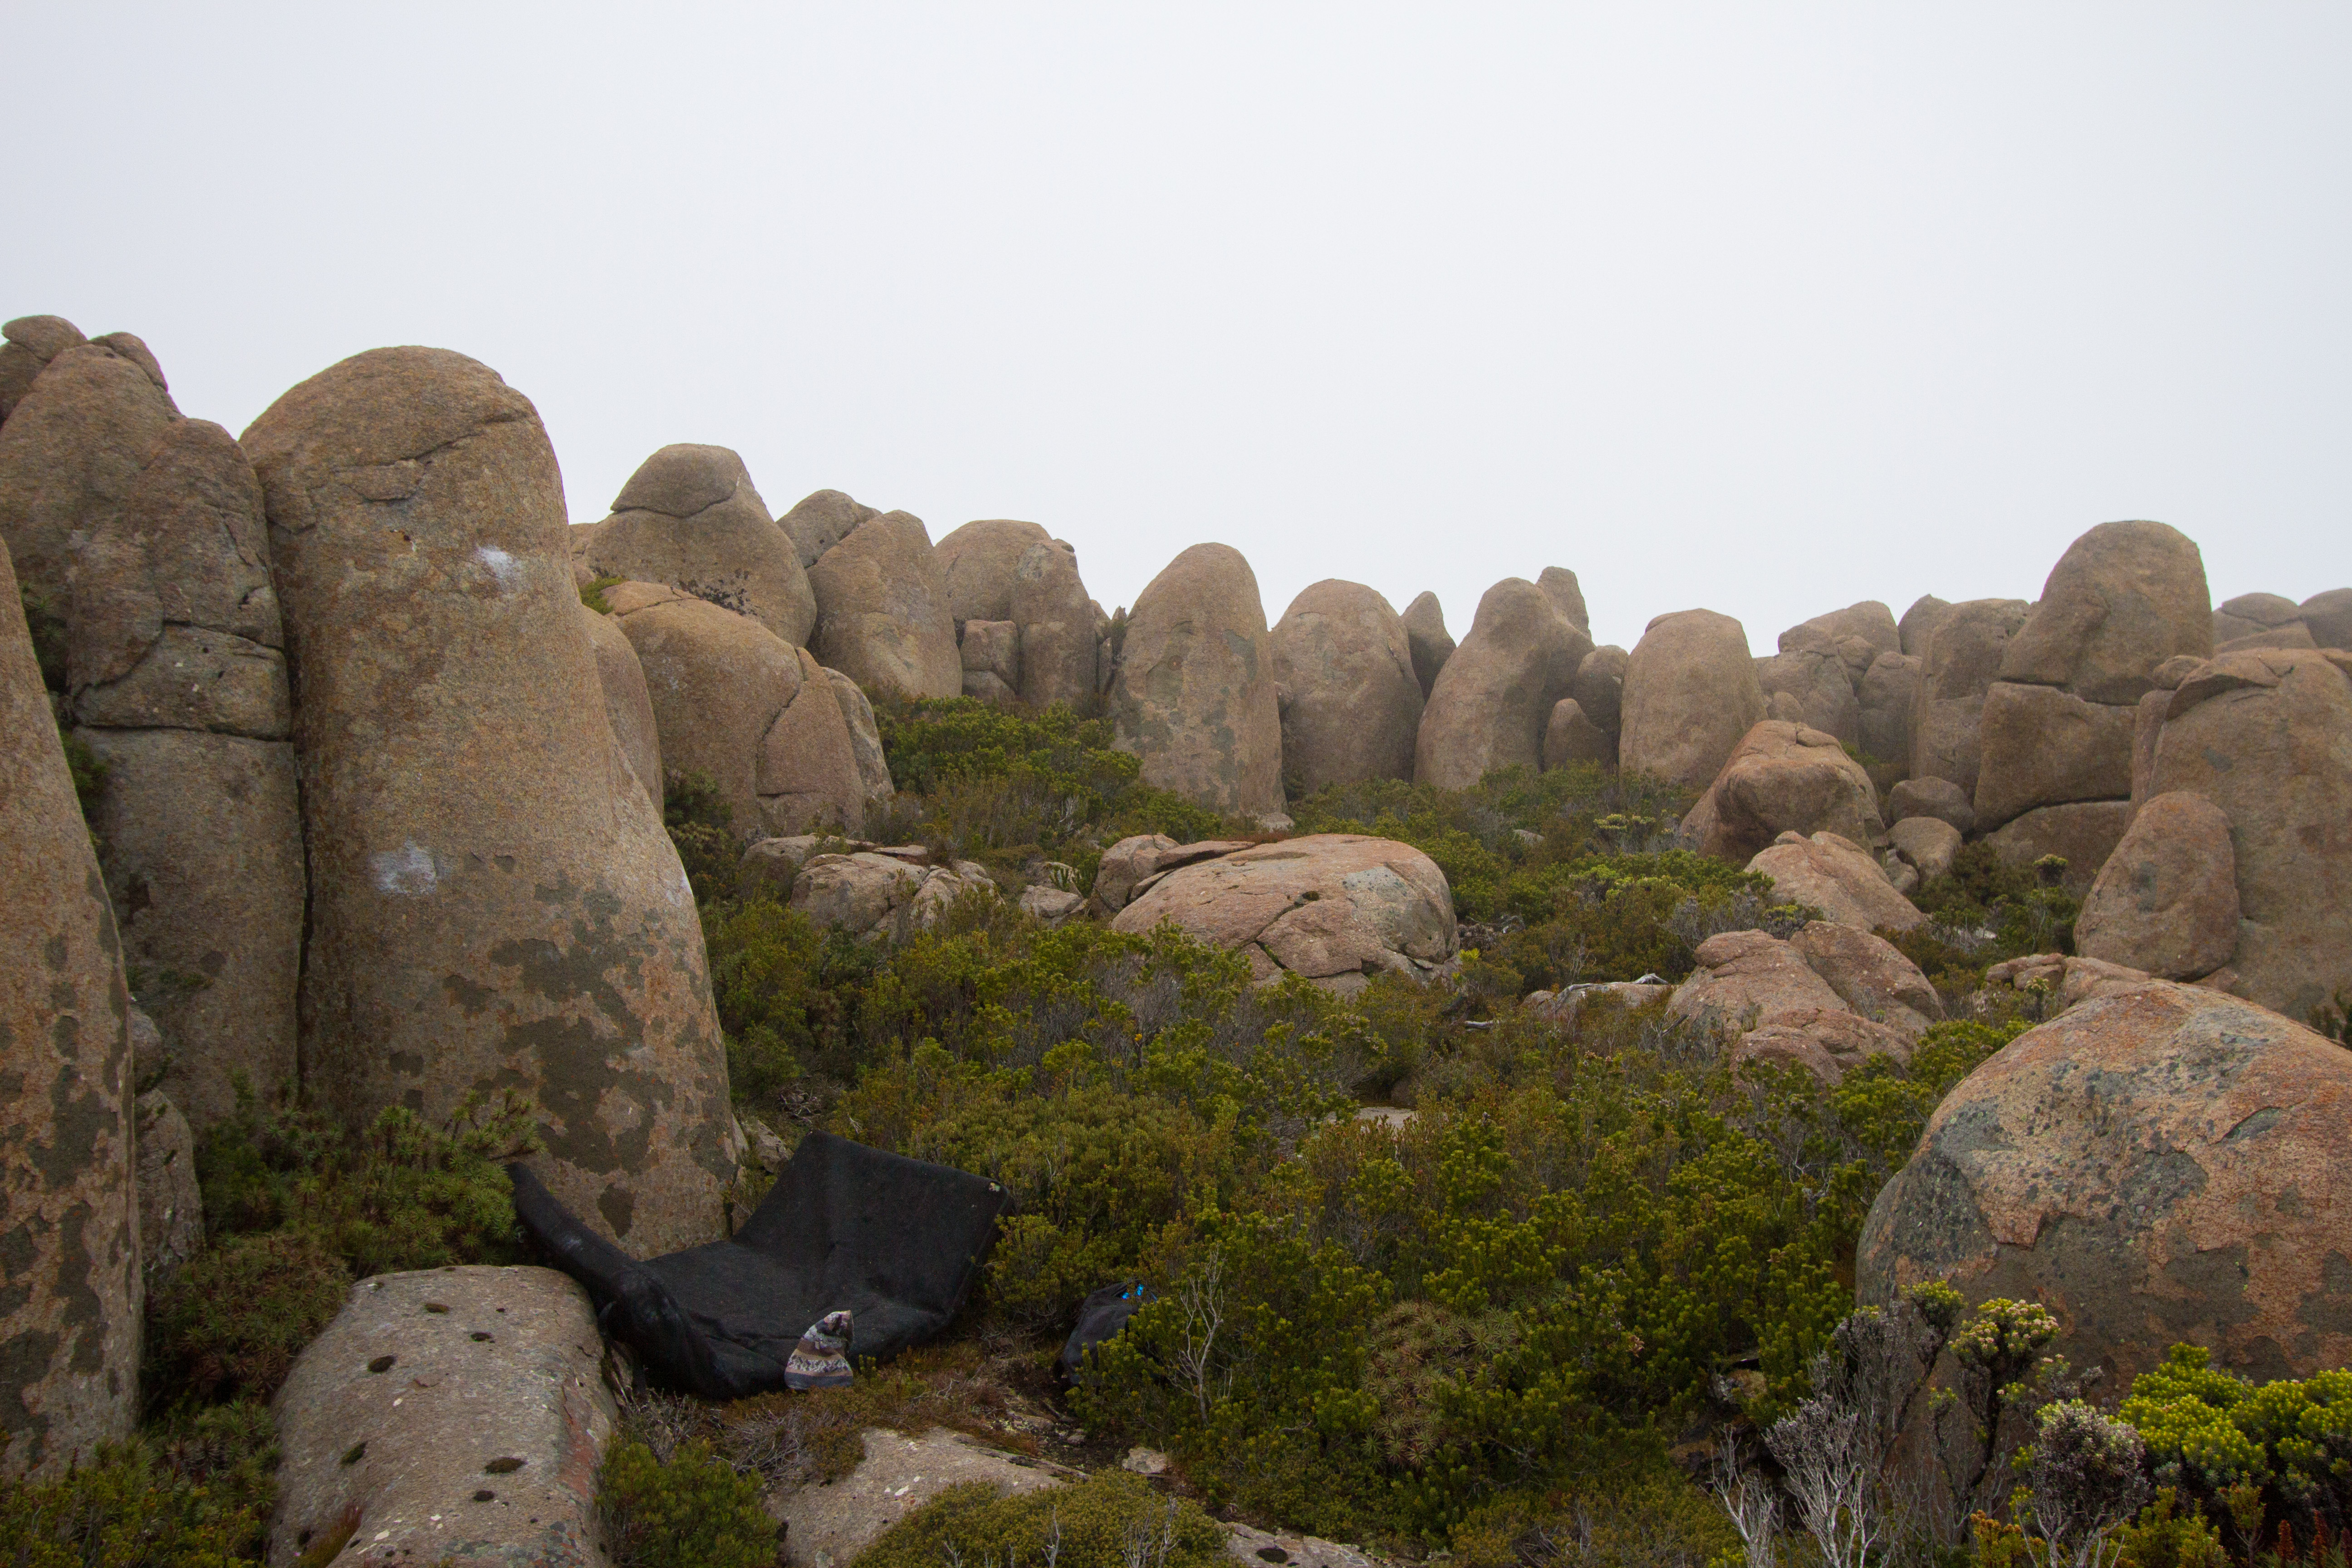
Span between the slaps, with micro feet. Up to the sloping crimp and top out.
M Hitchcock 2020
Up the right hand side near the espalered tree (careful not to break the beauty).
M Hitchcock 2019
The next few boulders are another 20m east, grouped together into a small court.
Slap upwards.
M Hitchcock 2019
M Hitchcock 2019
M Hitchcock 2019
M Hitchcock 2019
The next boulder is a few meters South-East.
Hang on the lowest horizontal, head upwards.
M Hitchcock 2019
These problems are 10m south of Higher Kinda High
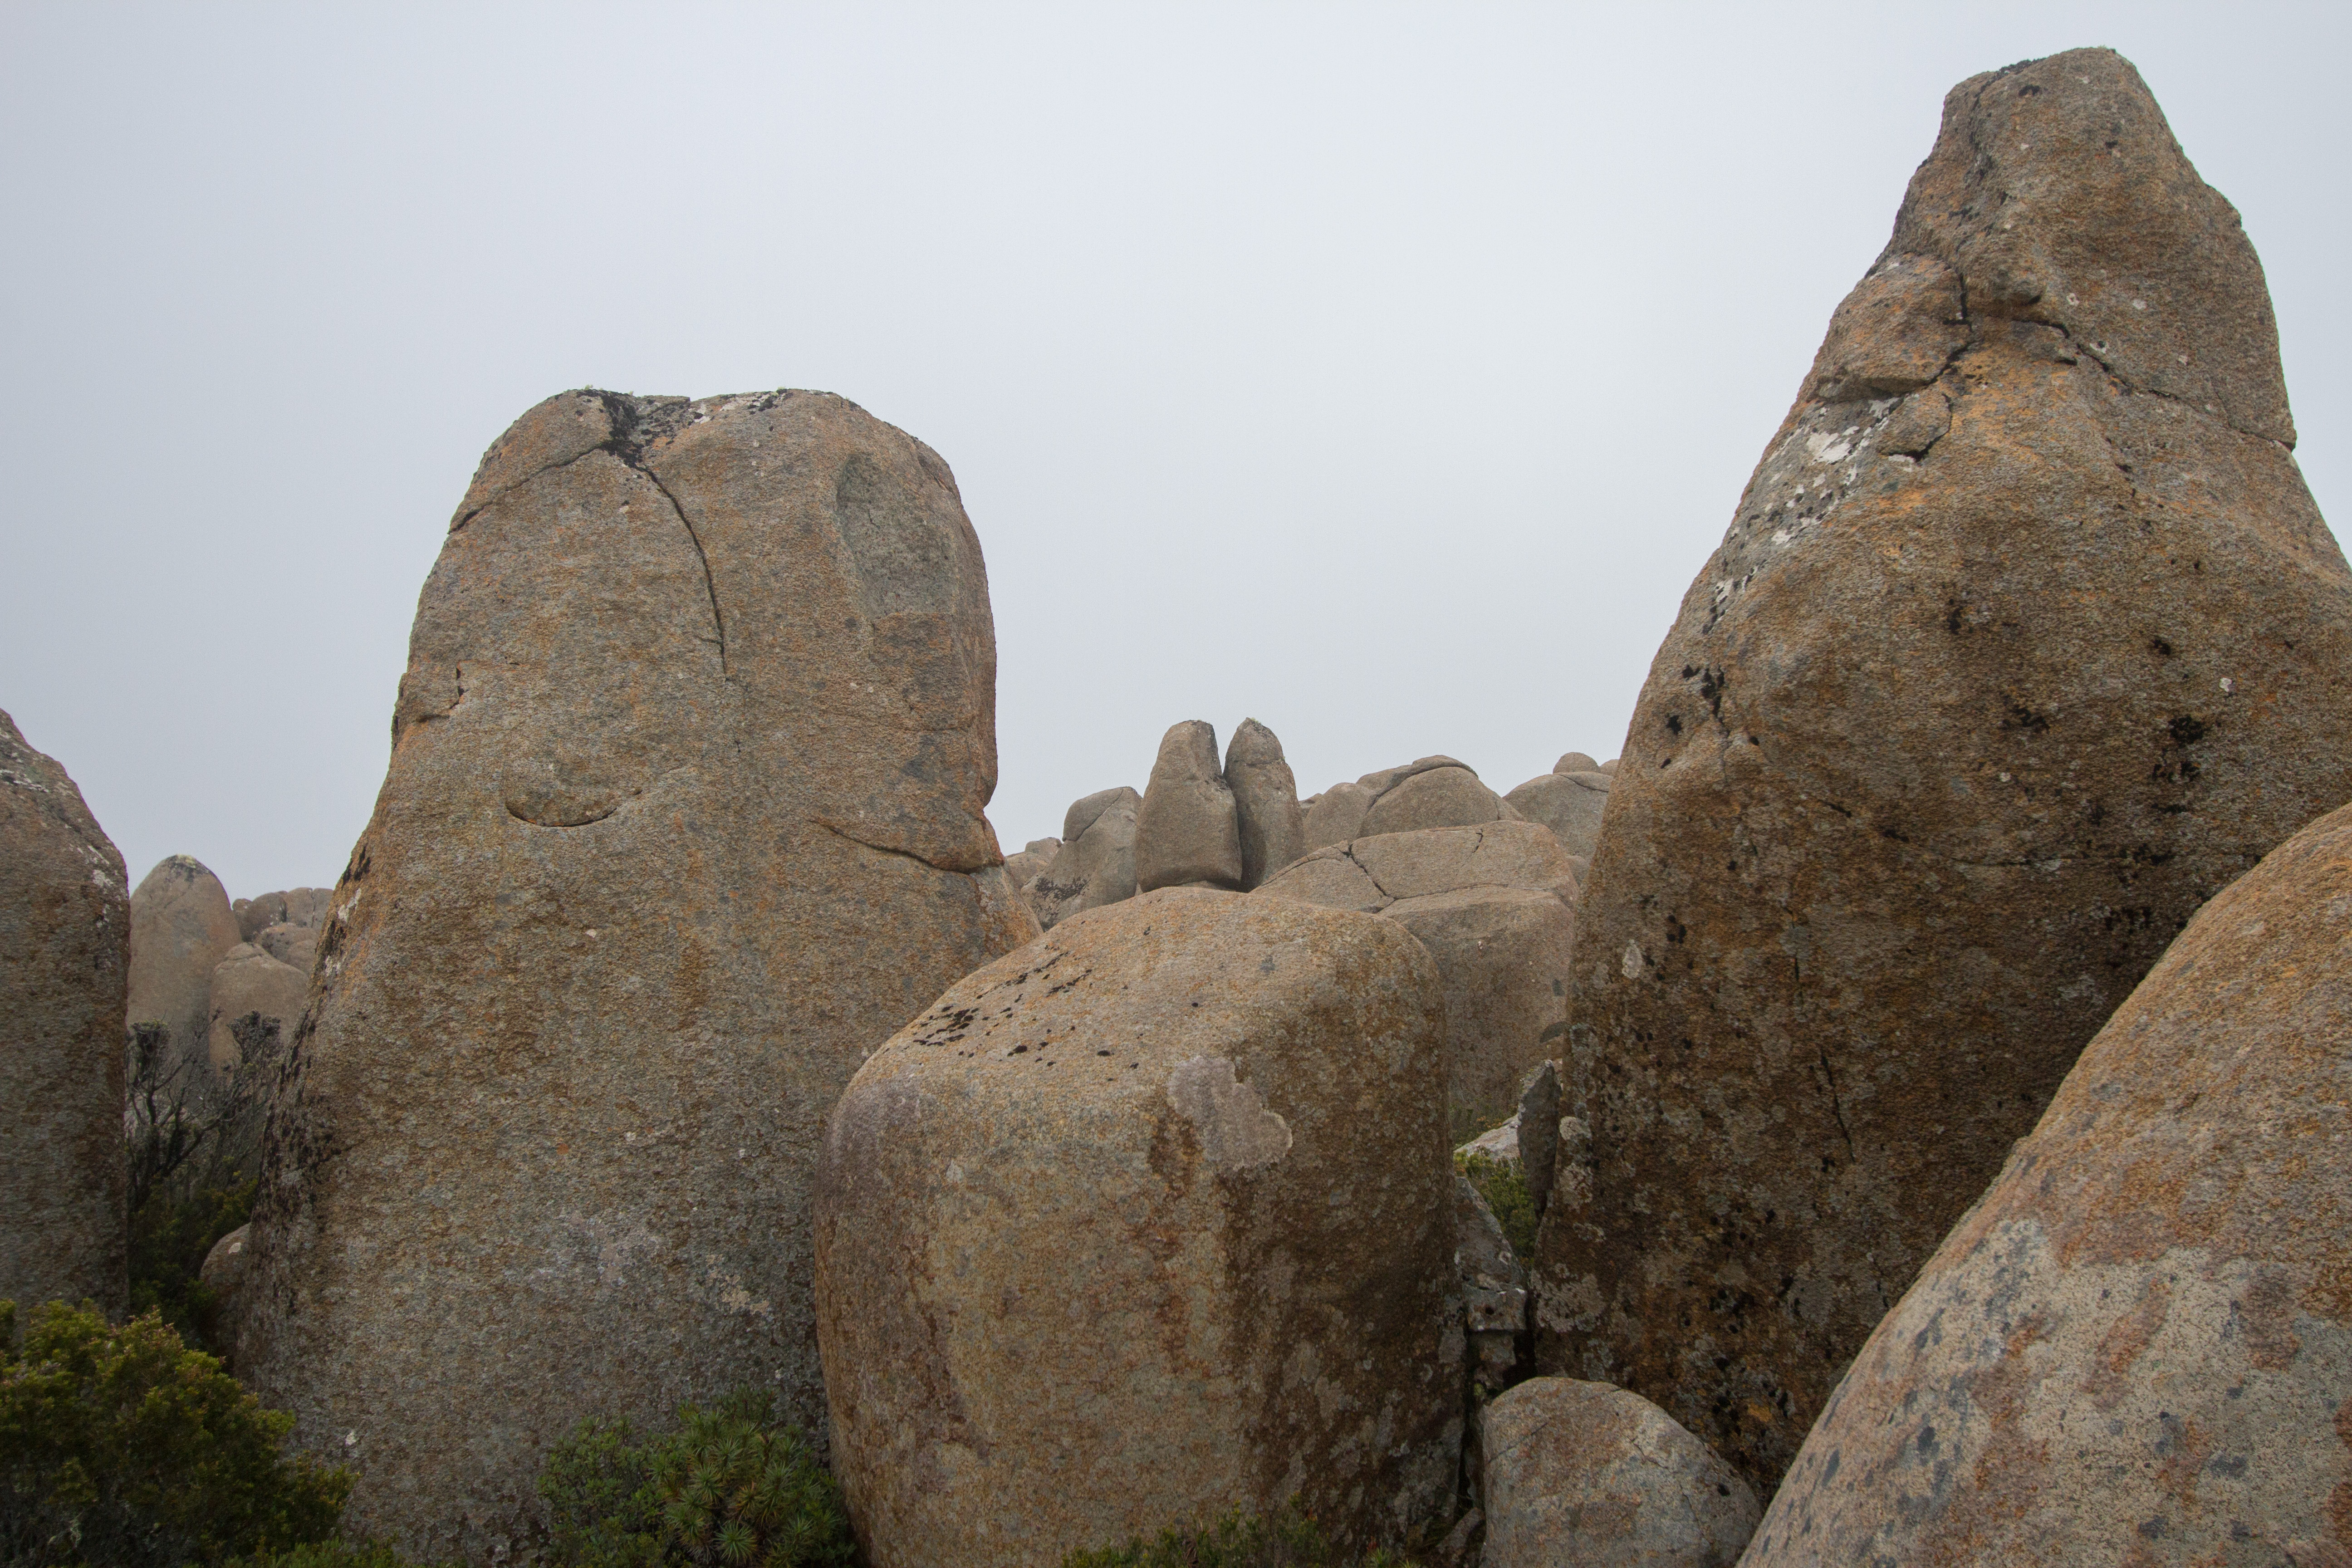
Up the short and easy crack on the north side (opposite side of block to Moonmantle).
M Hitchcock 2020
Up the side of the pillar in the small alcove.
M Hitchcock 2020
Mantle the scoop feature and top out.
M Hitchcock 2020
Hang low on the block and mantle.
M Hitchcock 2020
Stand on the small pedestal and move up the pinnacle above.
M Hitchcock 2020
Back on the trail, these next problems are downhill (south)
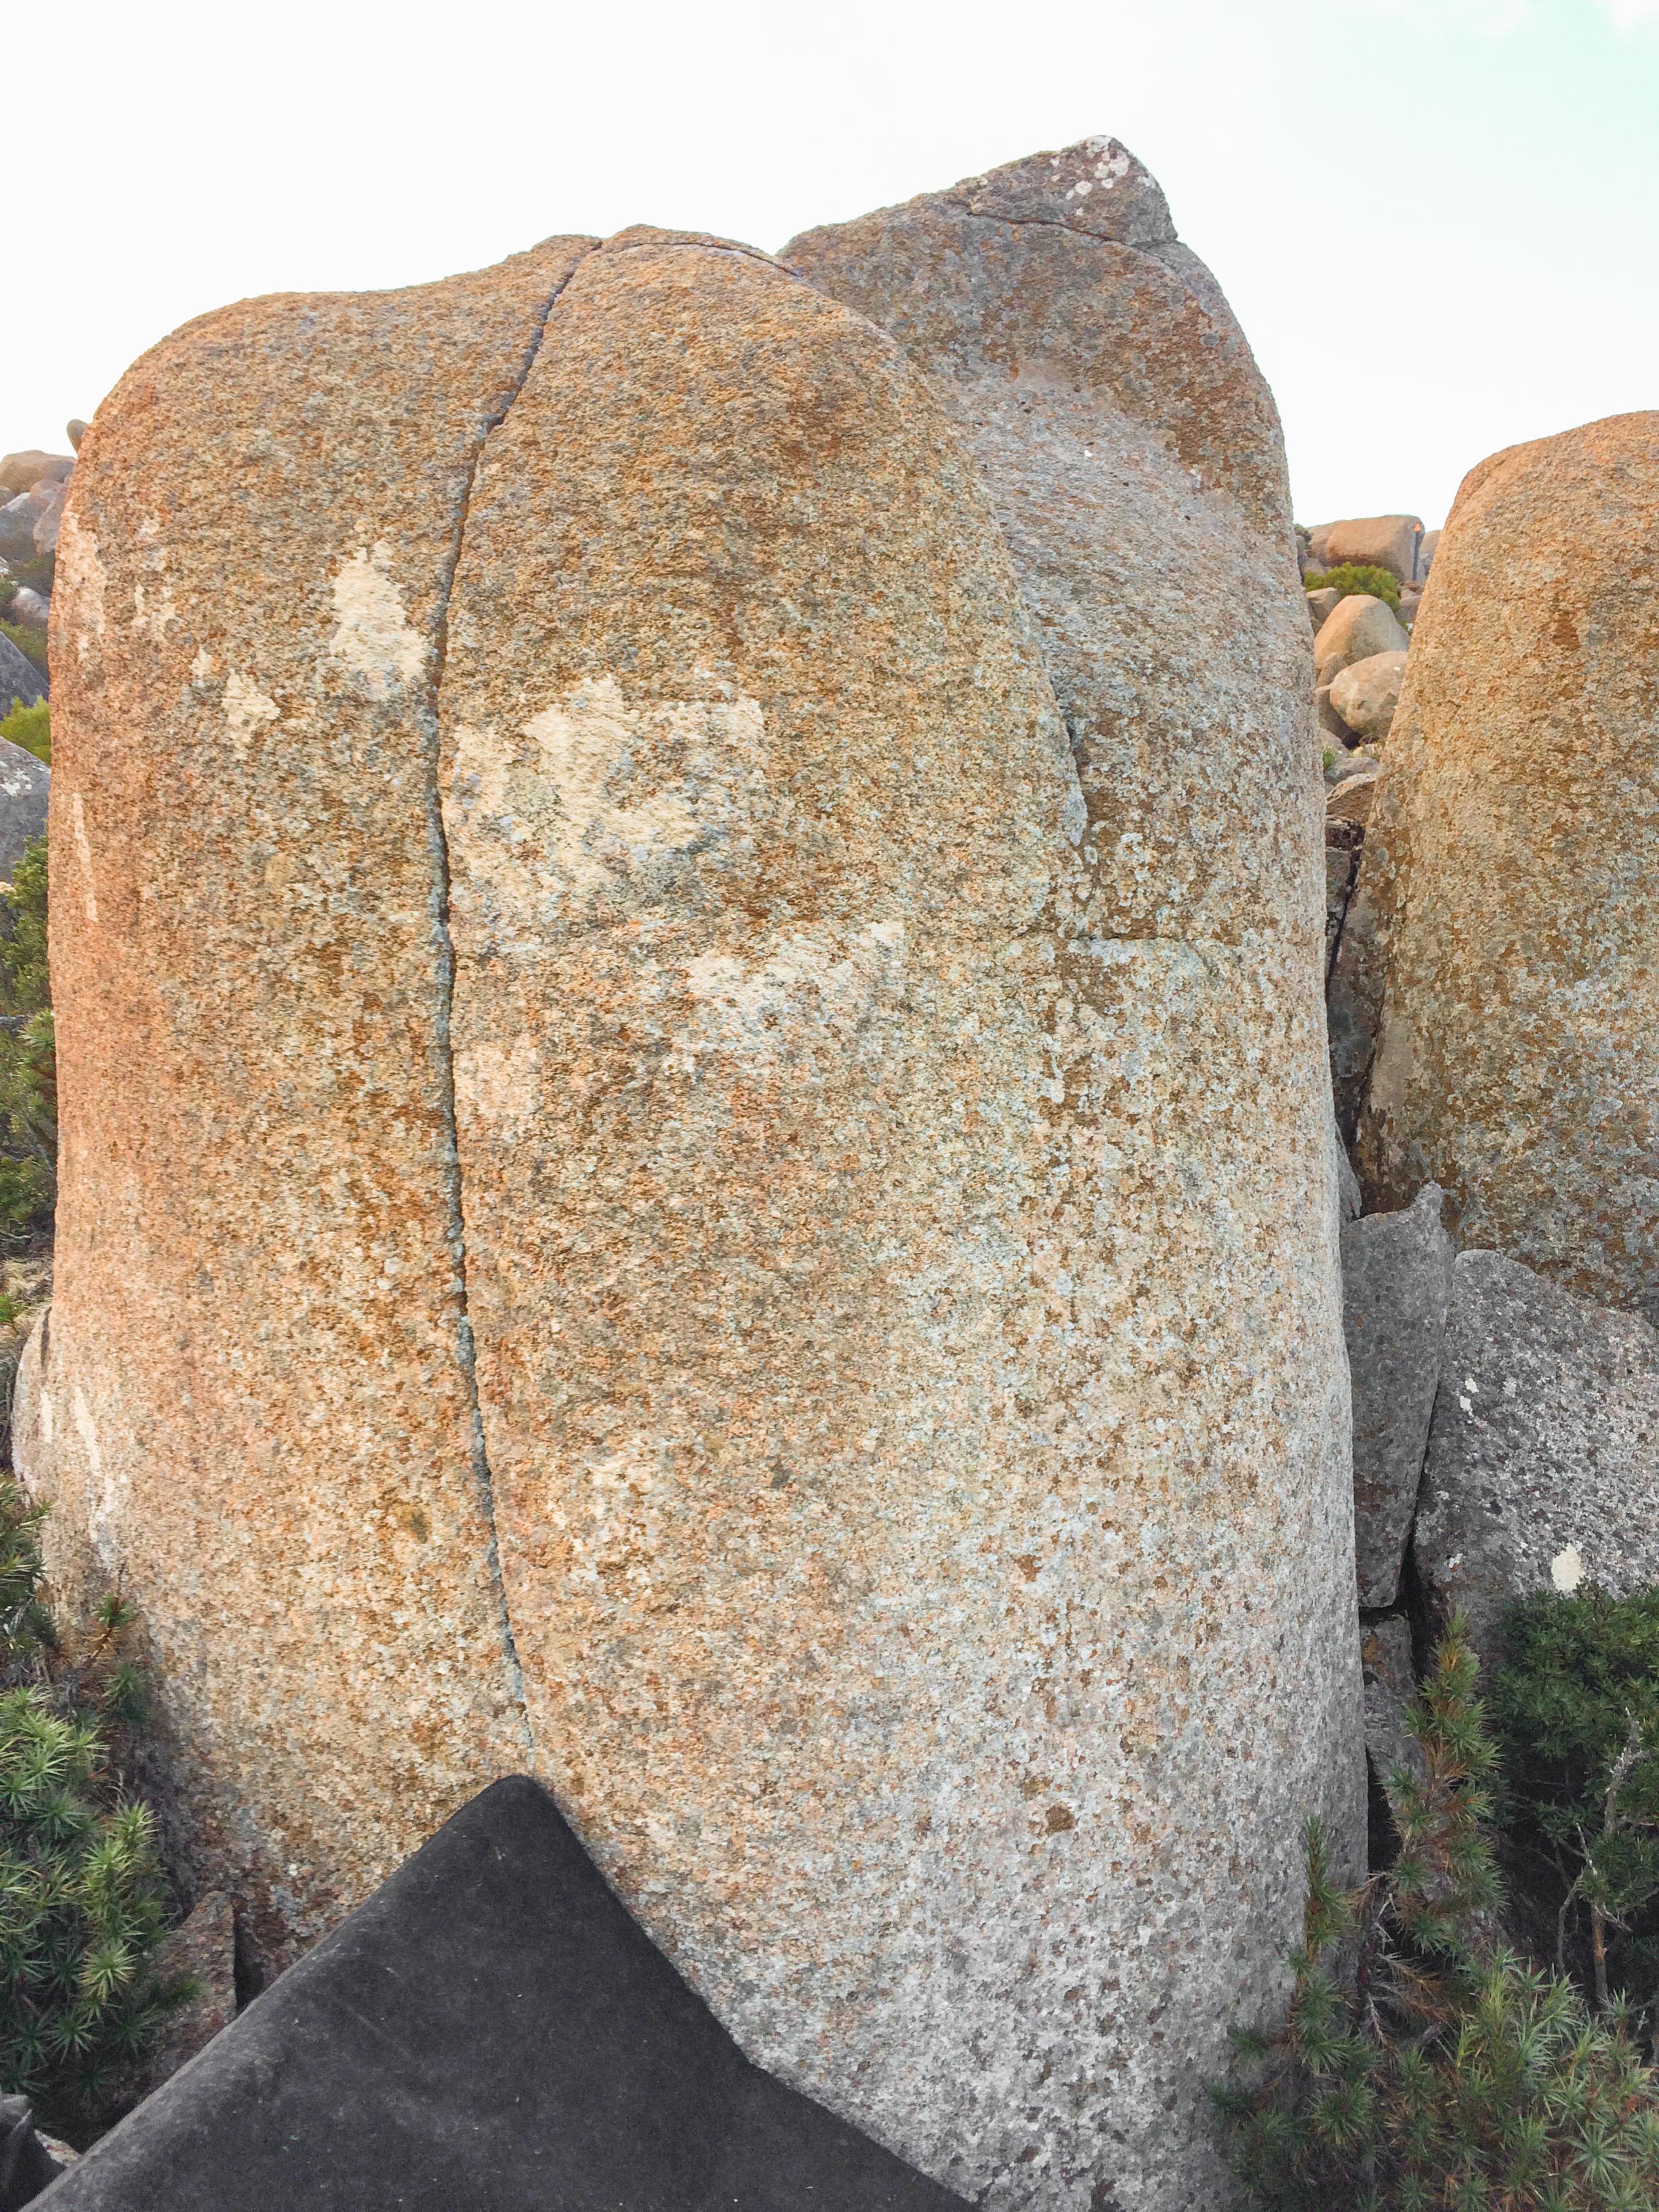
Split tack
Stand start with LH finger crack and RH sloper on blunt arete. Sit start with go, but pretty challenging.
M Hitchcock 2017
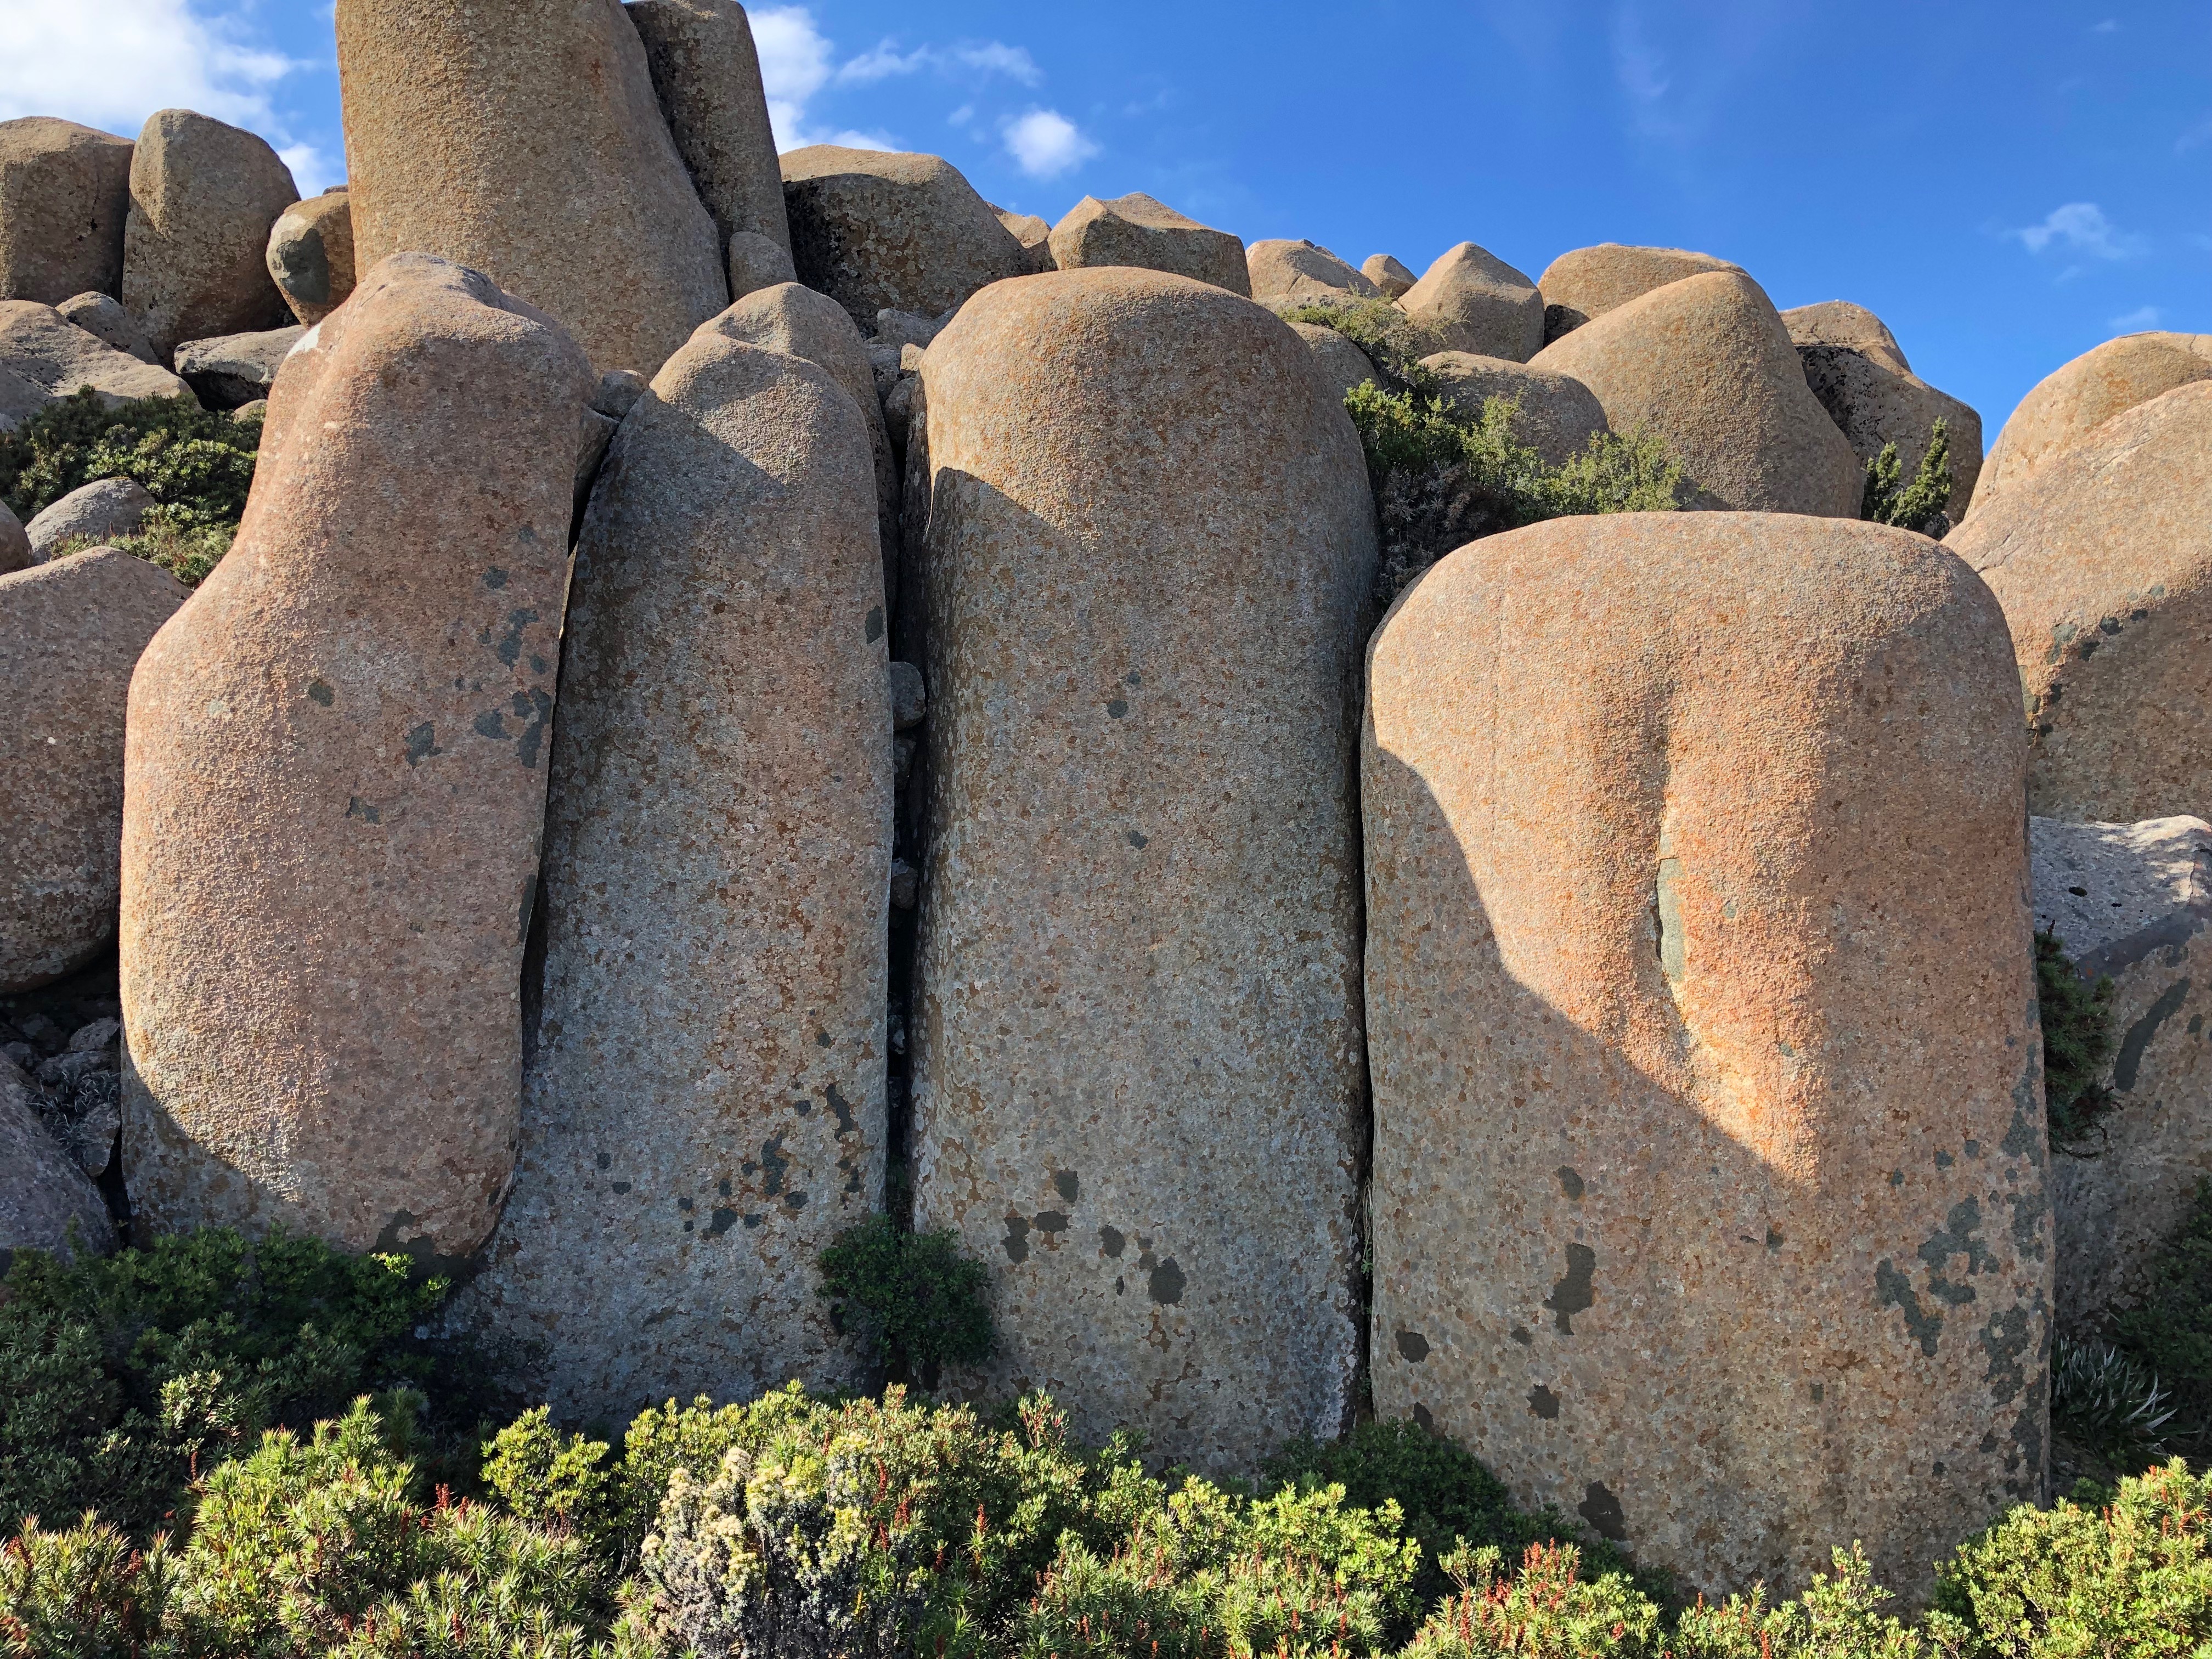
Climb the capped chimney/offwidth.
M Hitchcock 2019
Climb the off width
M Hitchcock 2019
Climb the hand/fist crack.
M Hitchcock 2019
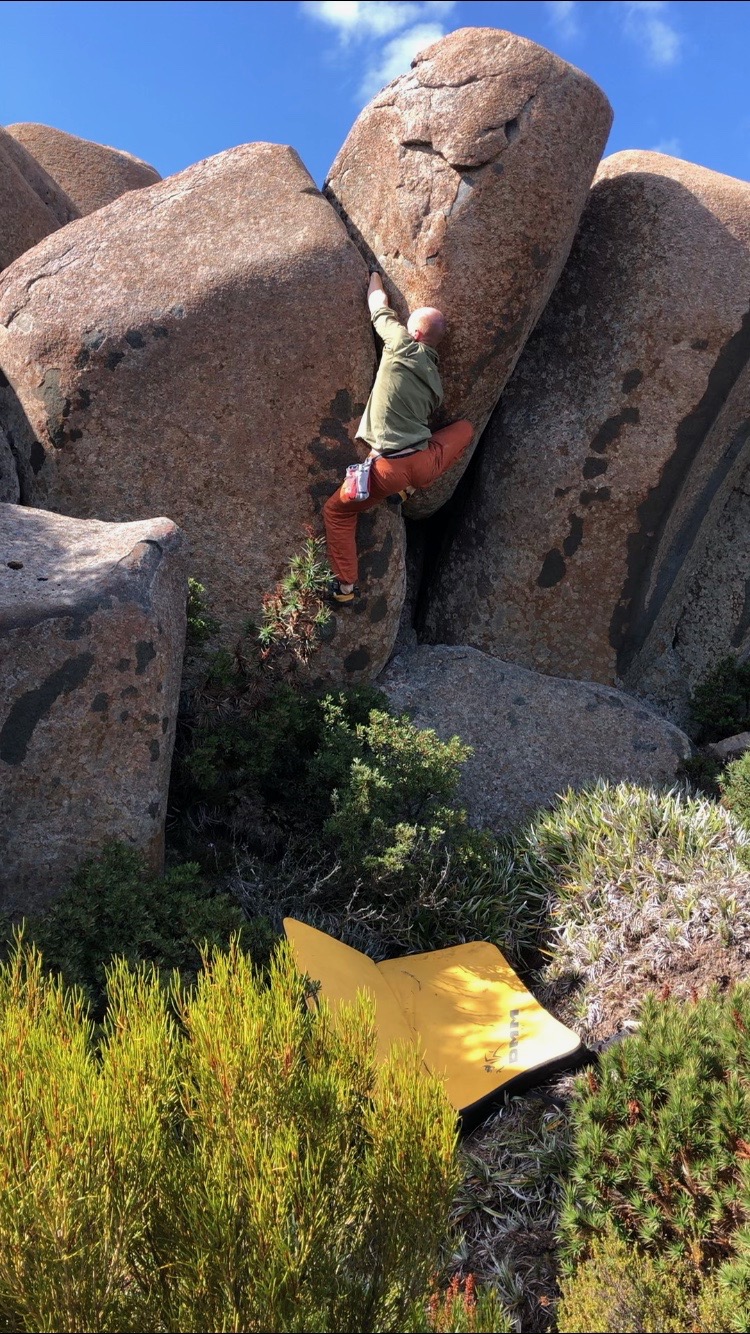
Climb the overhanging hand crack.
M Hitchcock 2019
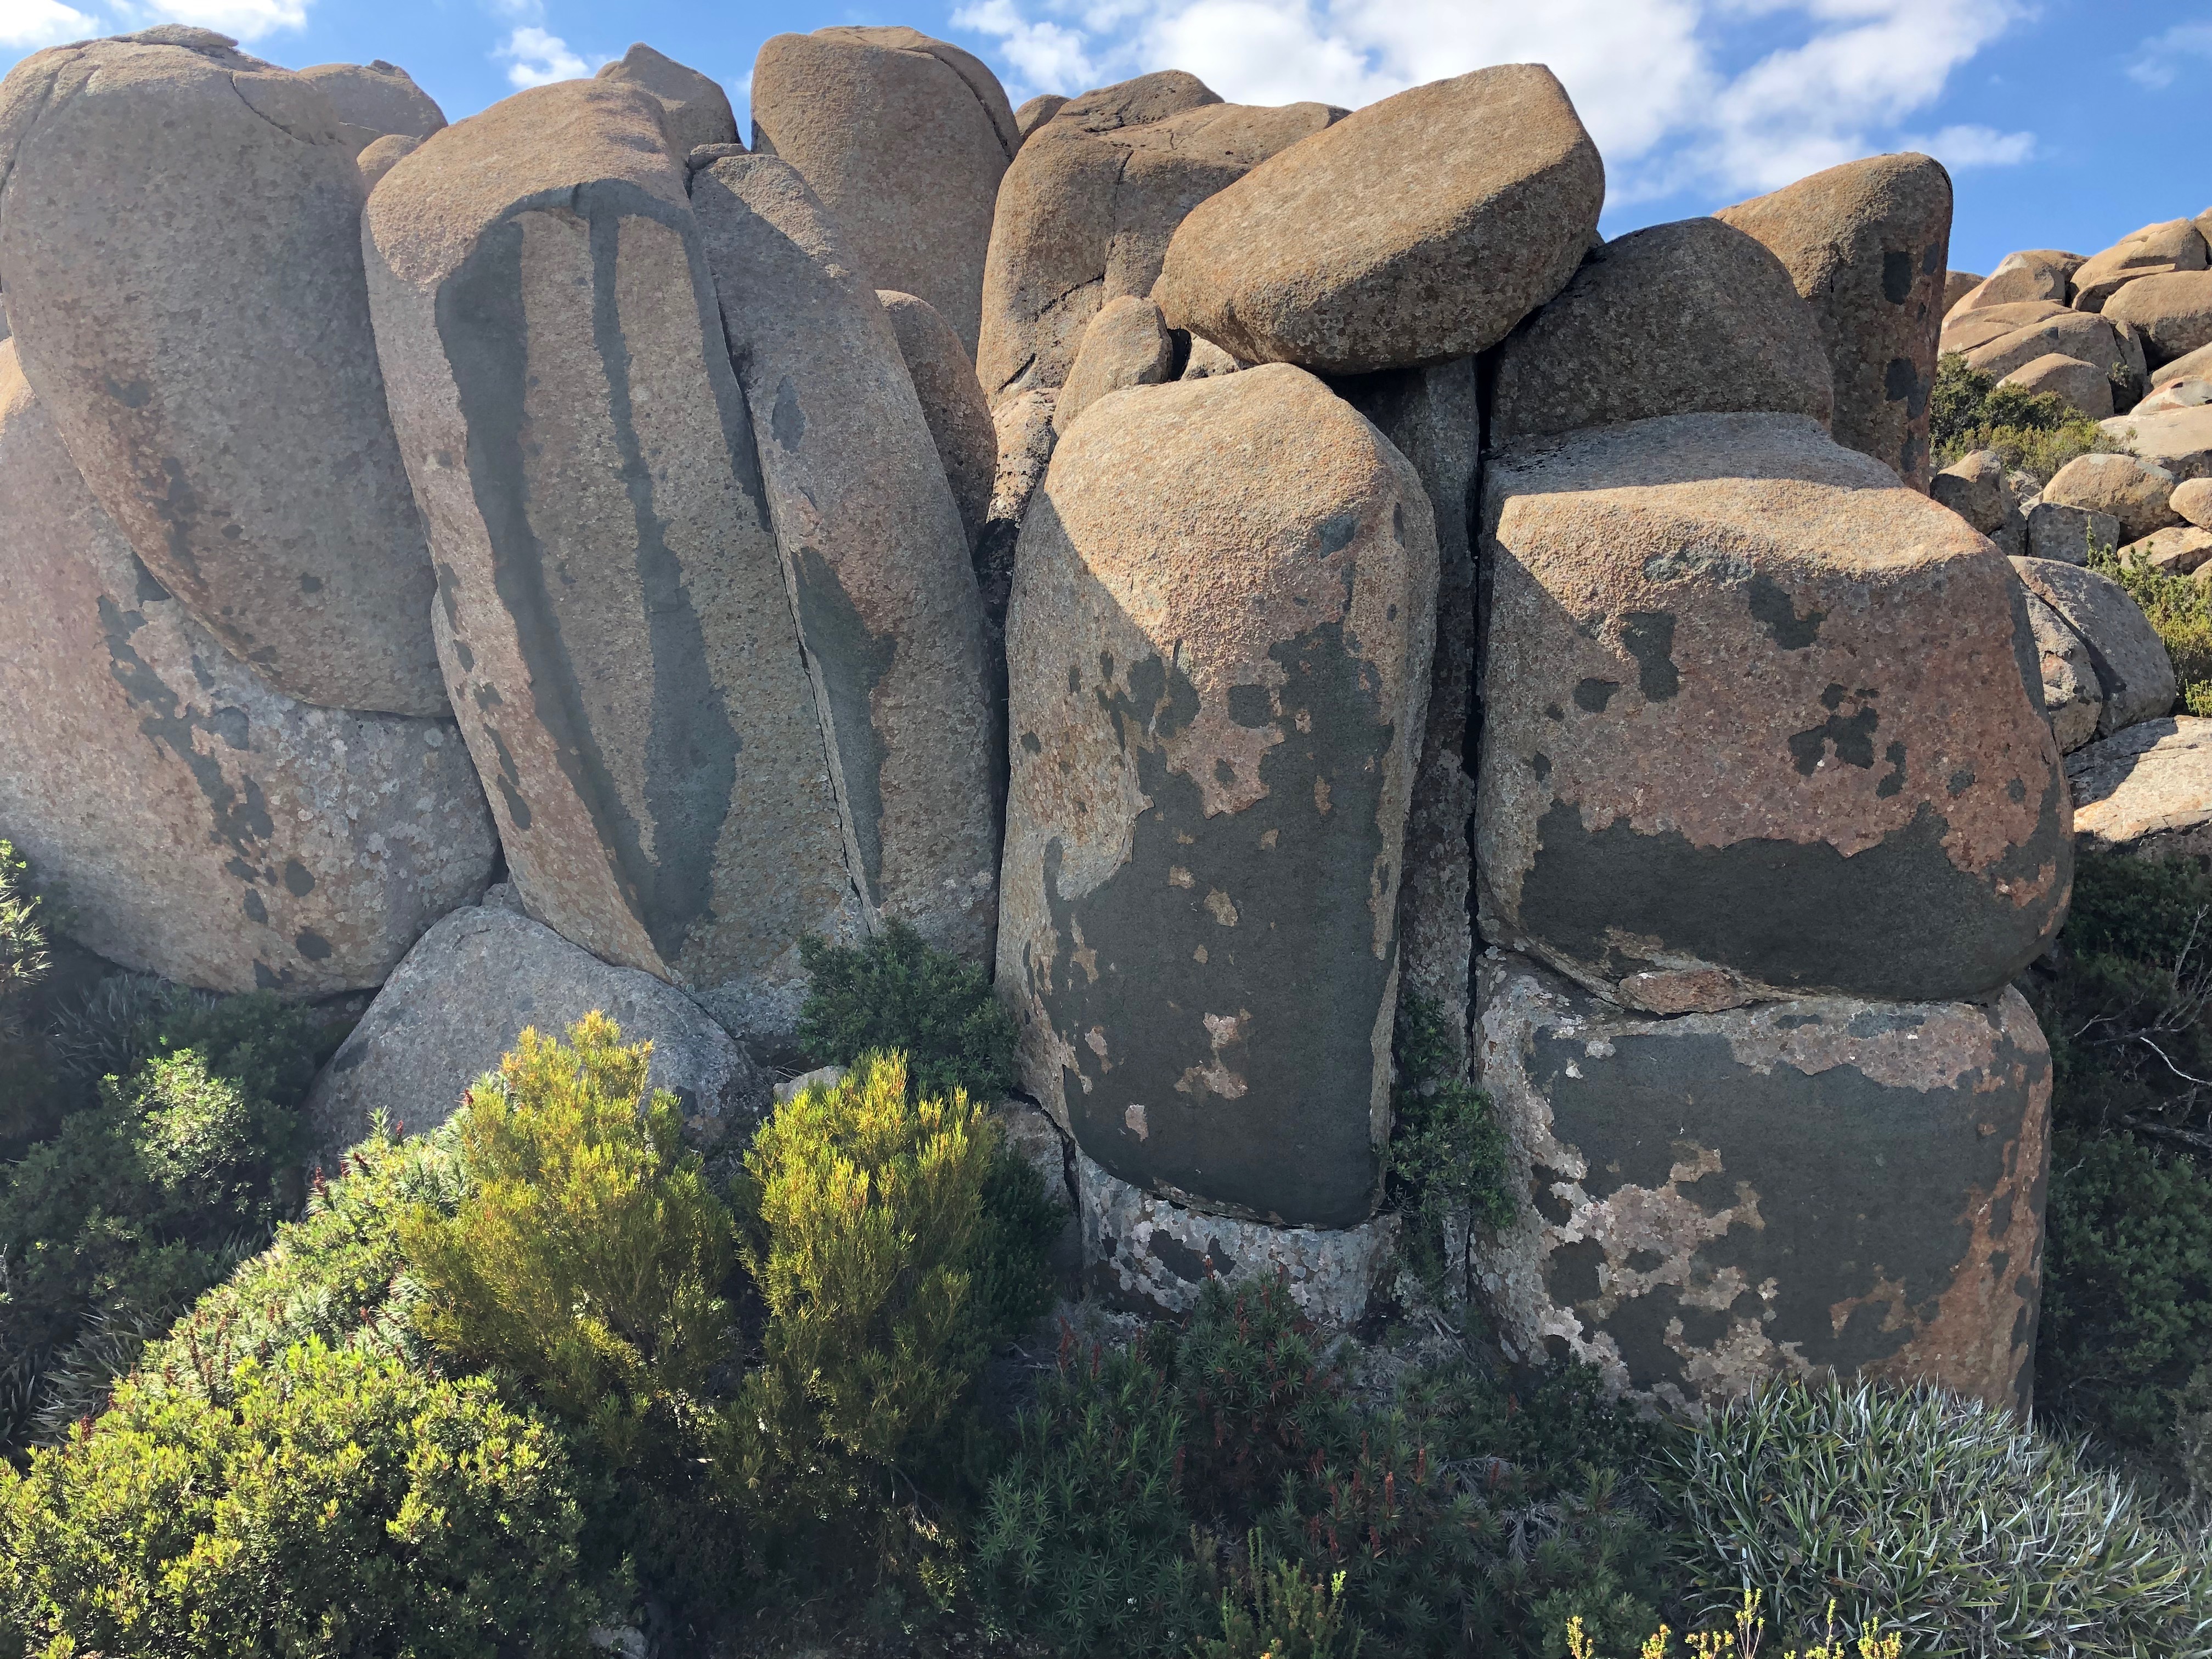
Stand start with good RH rail on arete and the LH slopey crescent. Probably harder the shorter you are.
M Hitchcock 2017
Offwidth immediately right of Ada.
M Hitchcock 2017
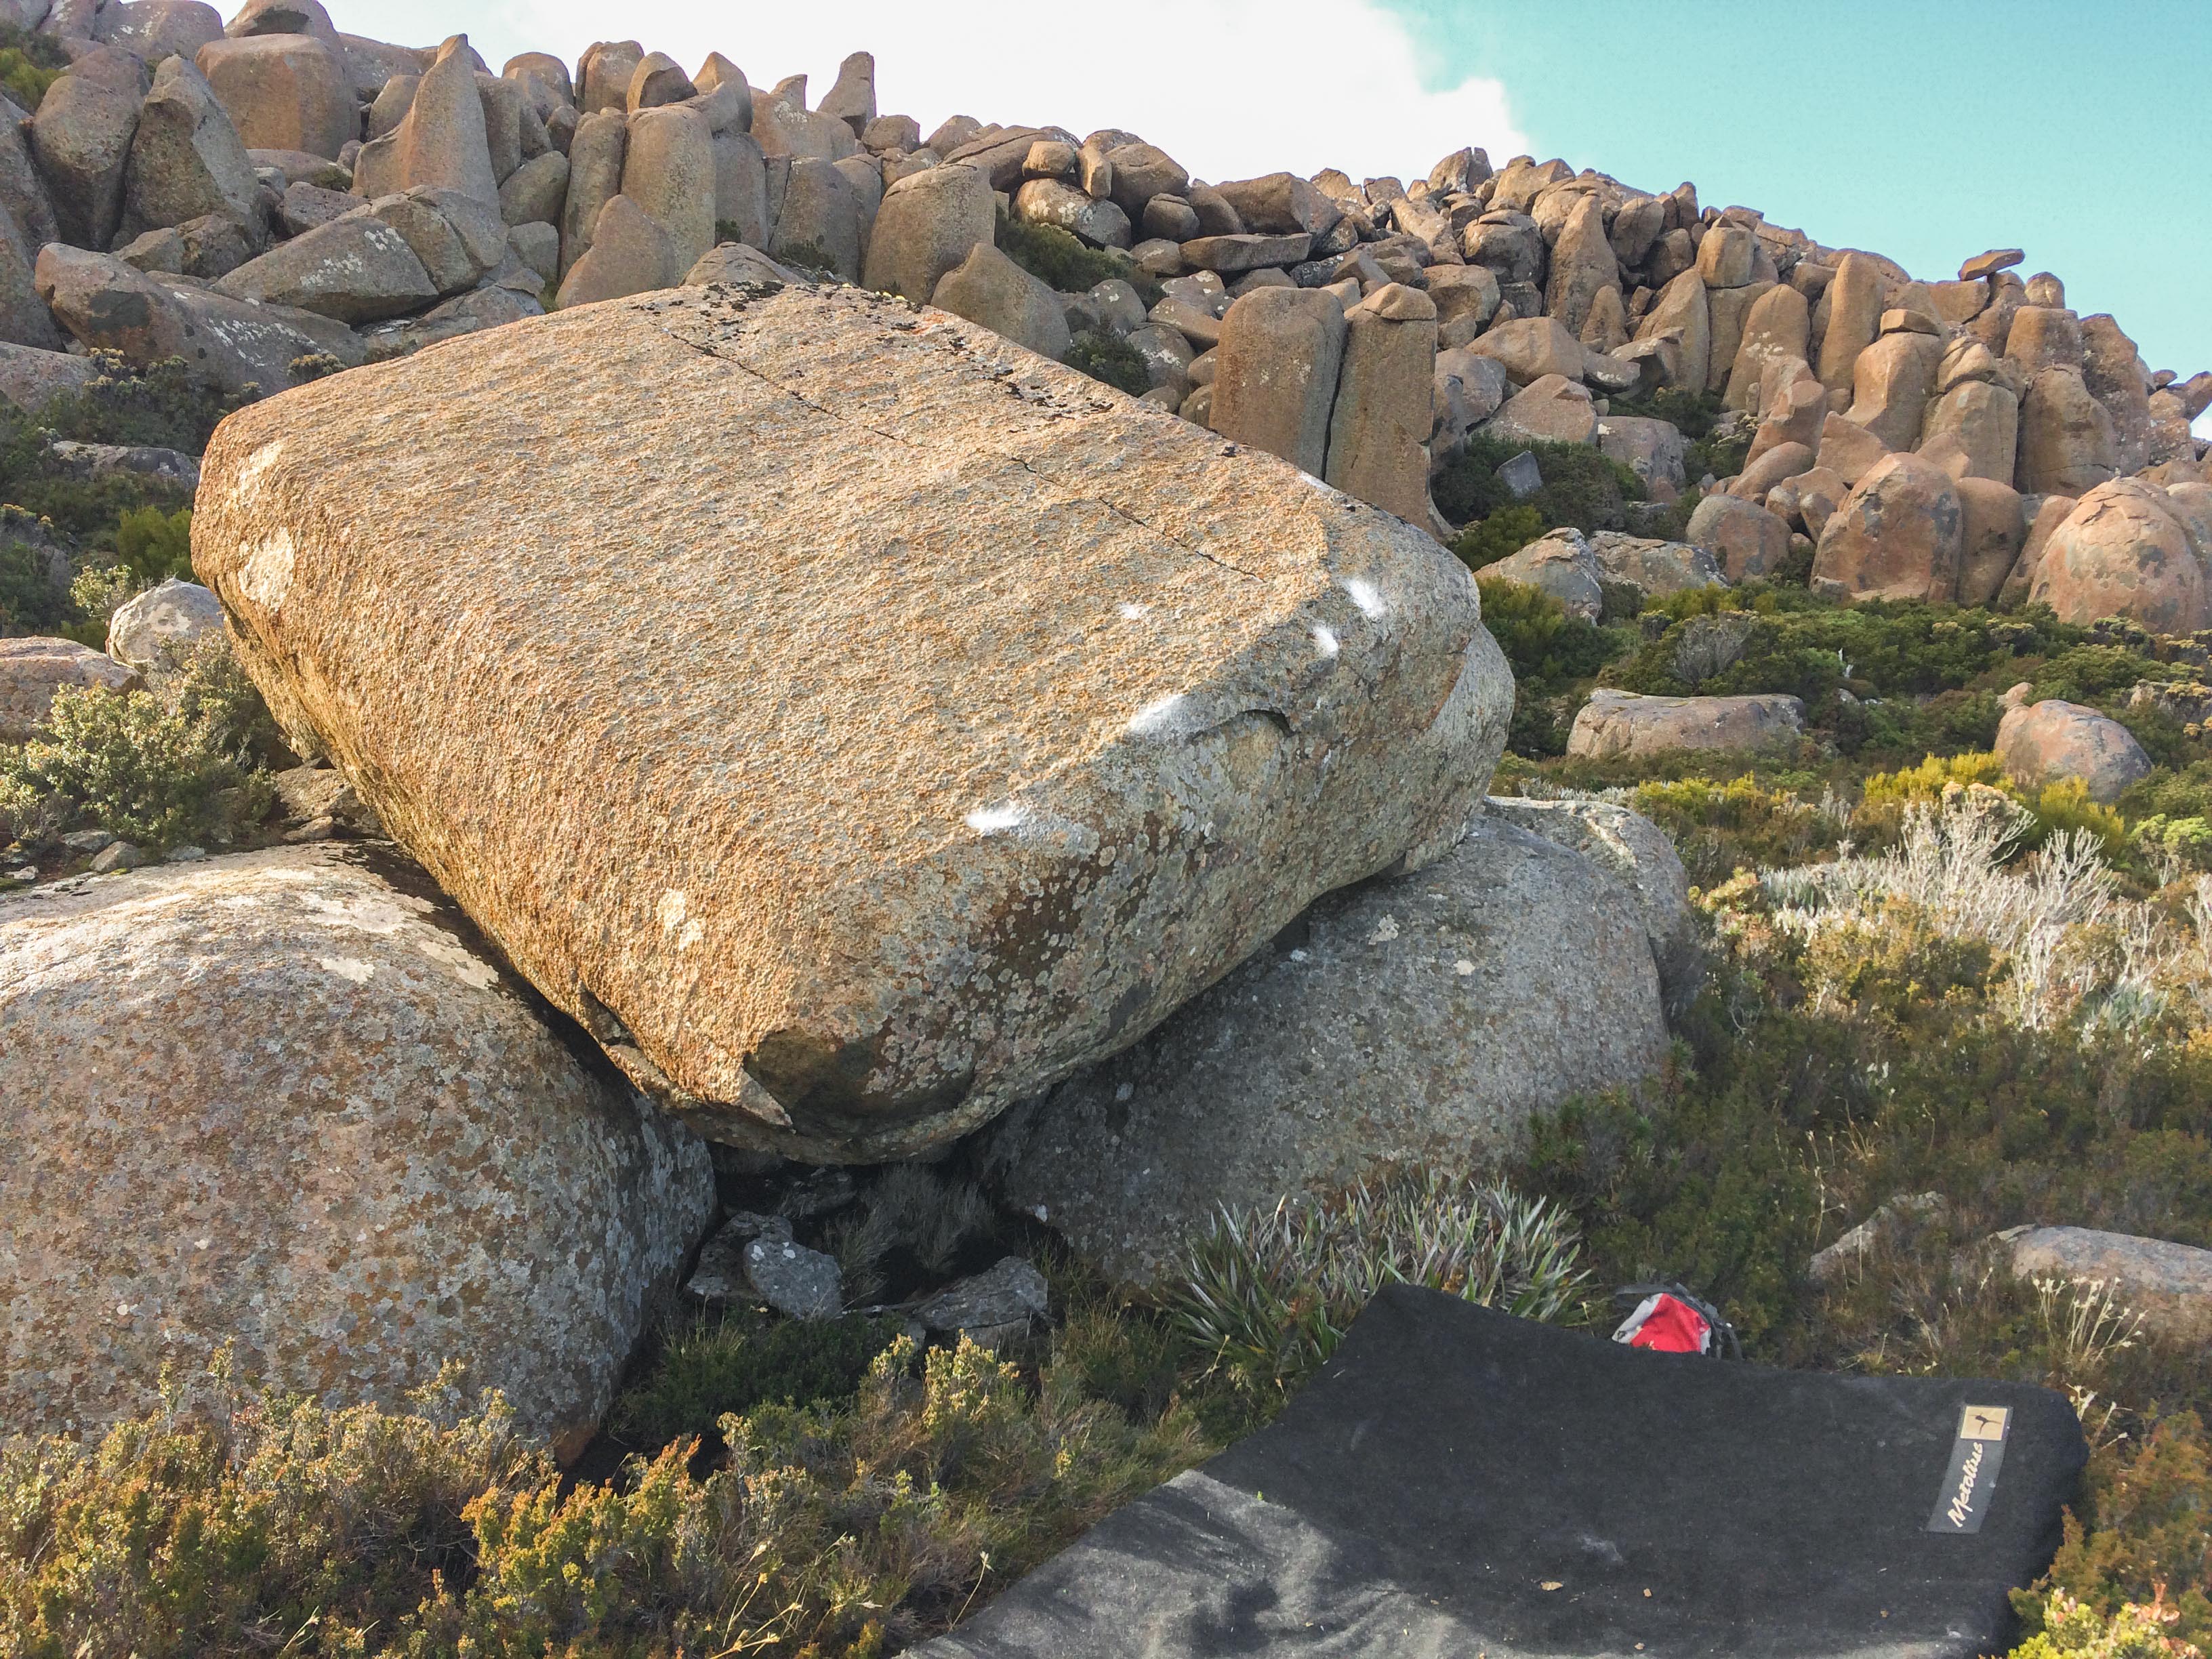
Frictional
Hang start on small rail. Mantle.
M Hitchcock 2017
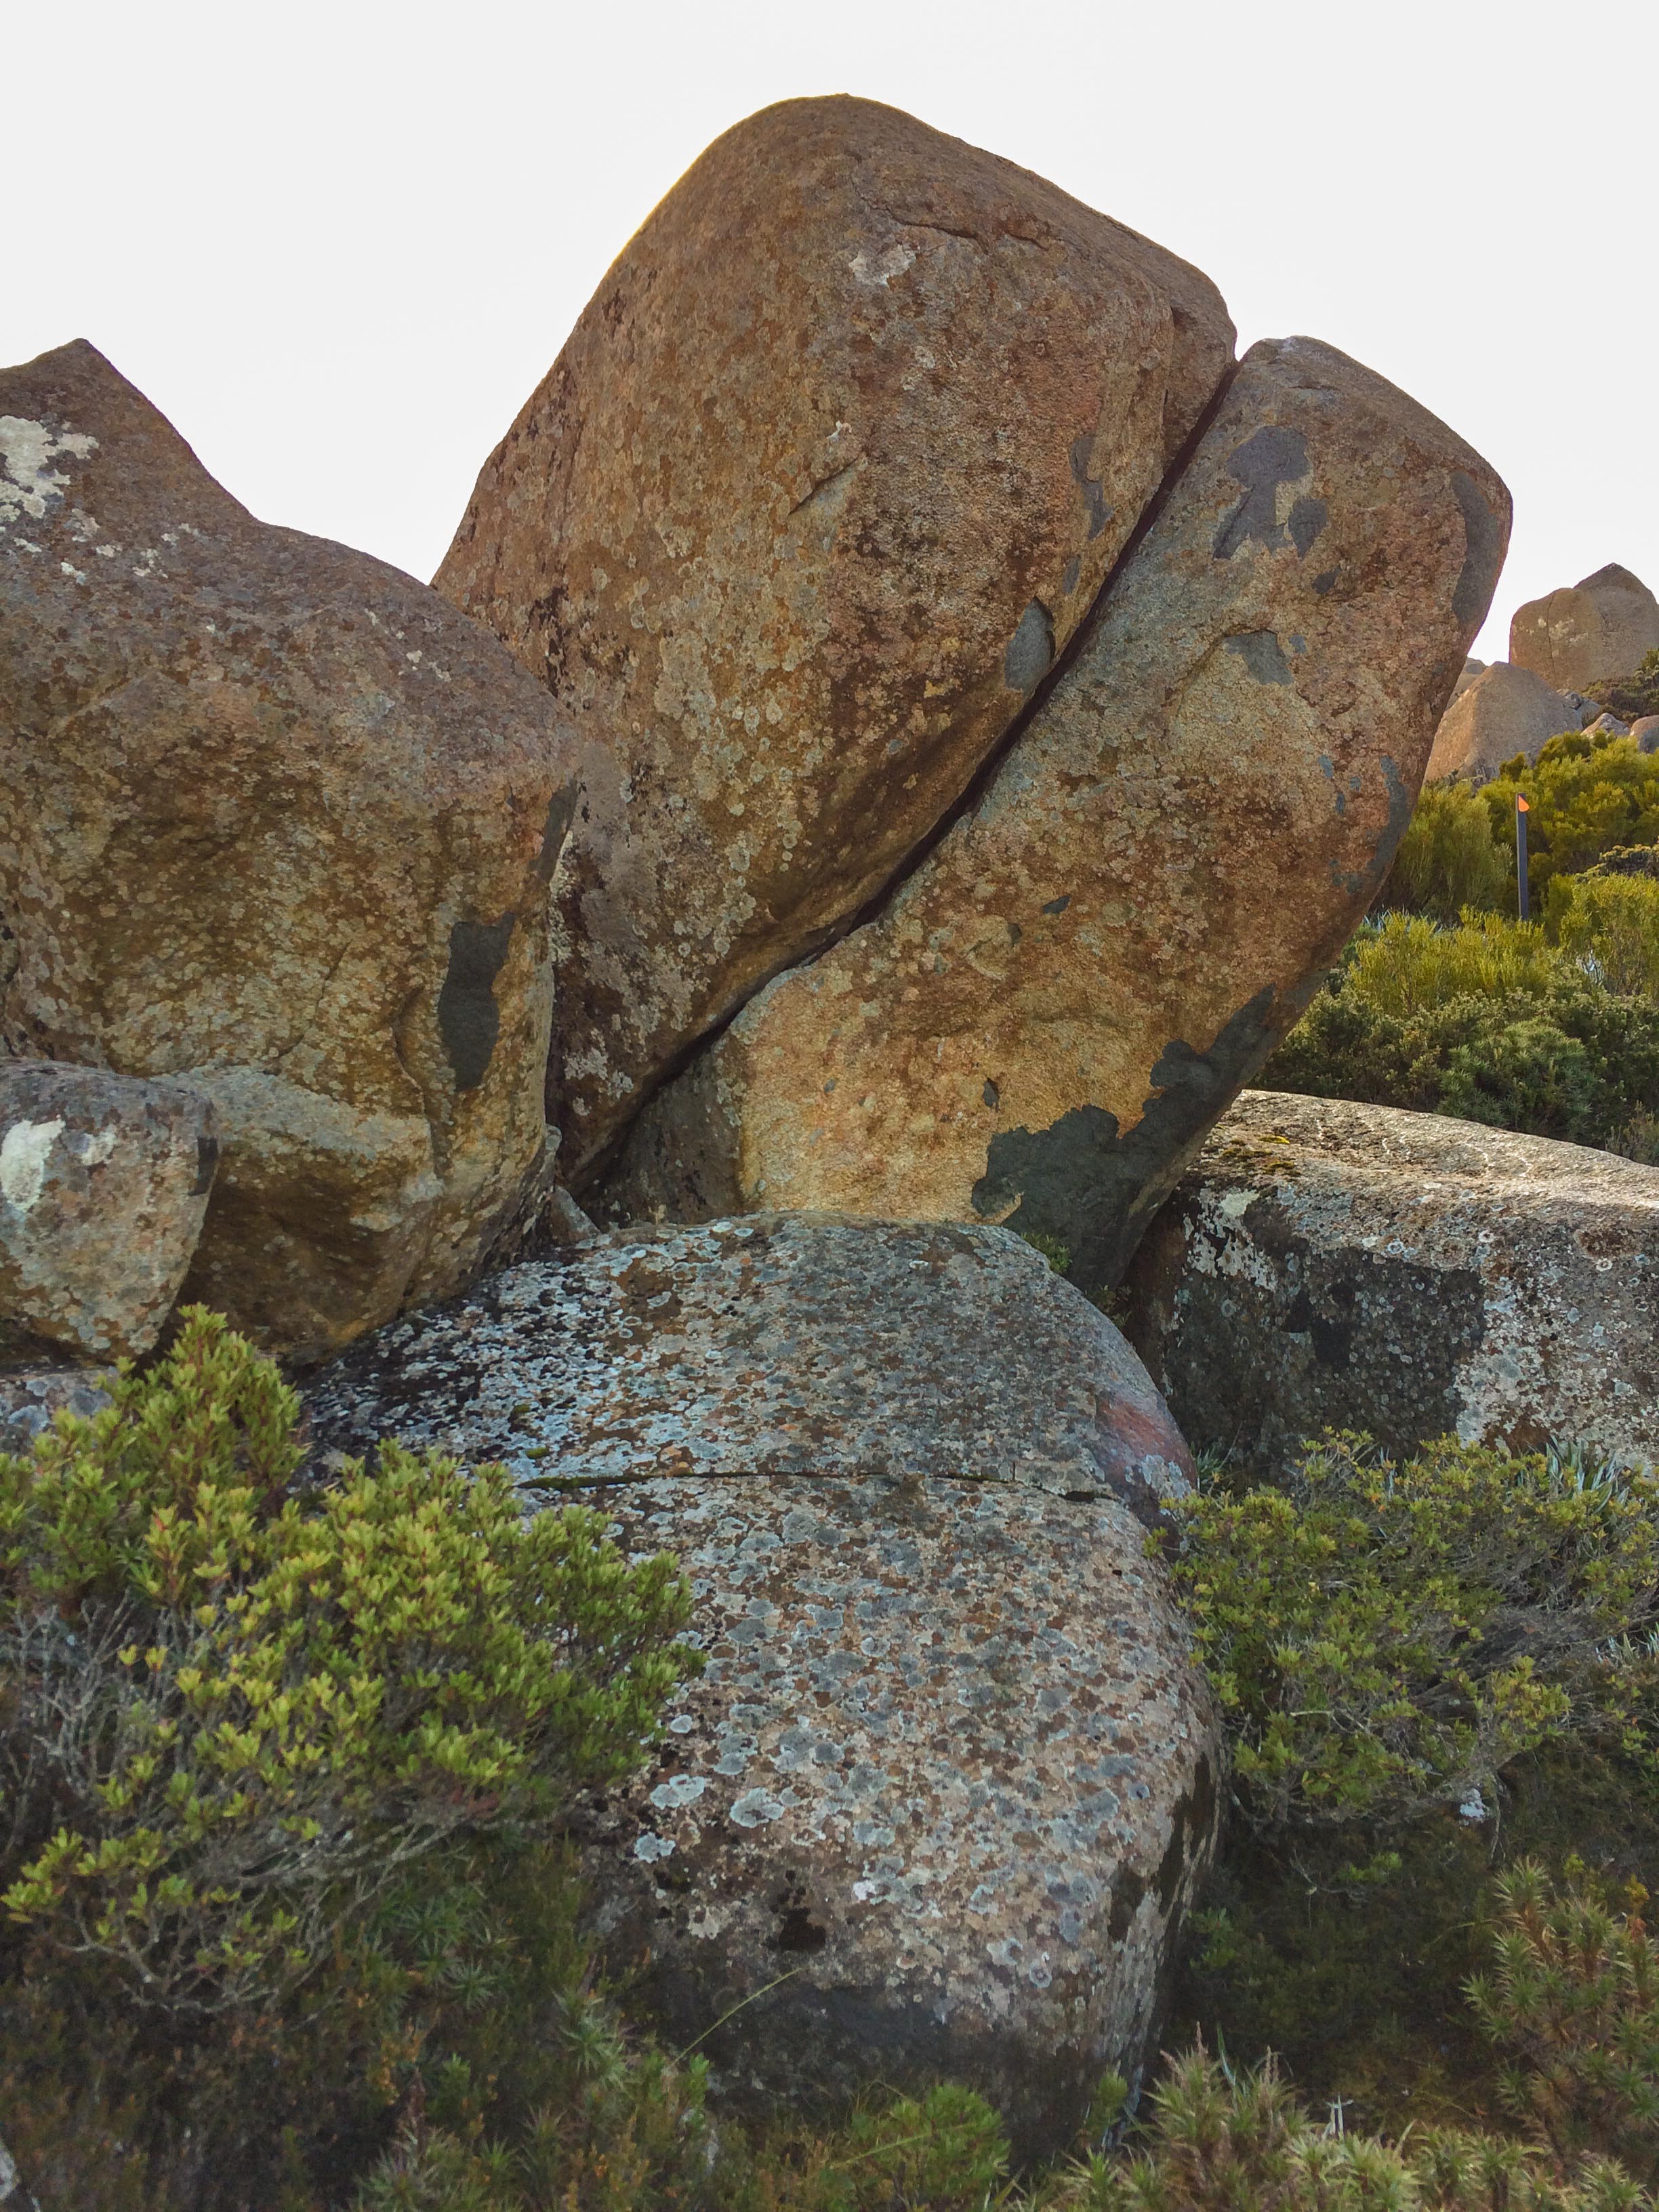
Ticktack Crack
Sit start with jug in the crack. Jam and layback up to an easy mantle. Good landing.
M Hitchcock 2017
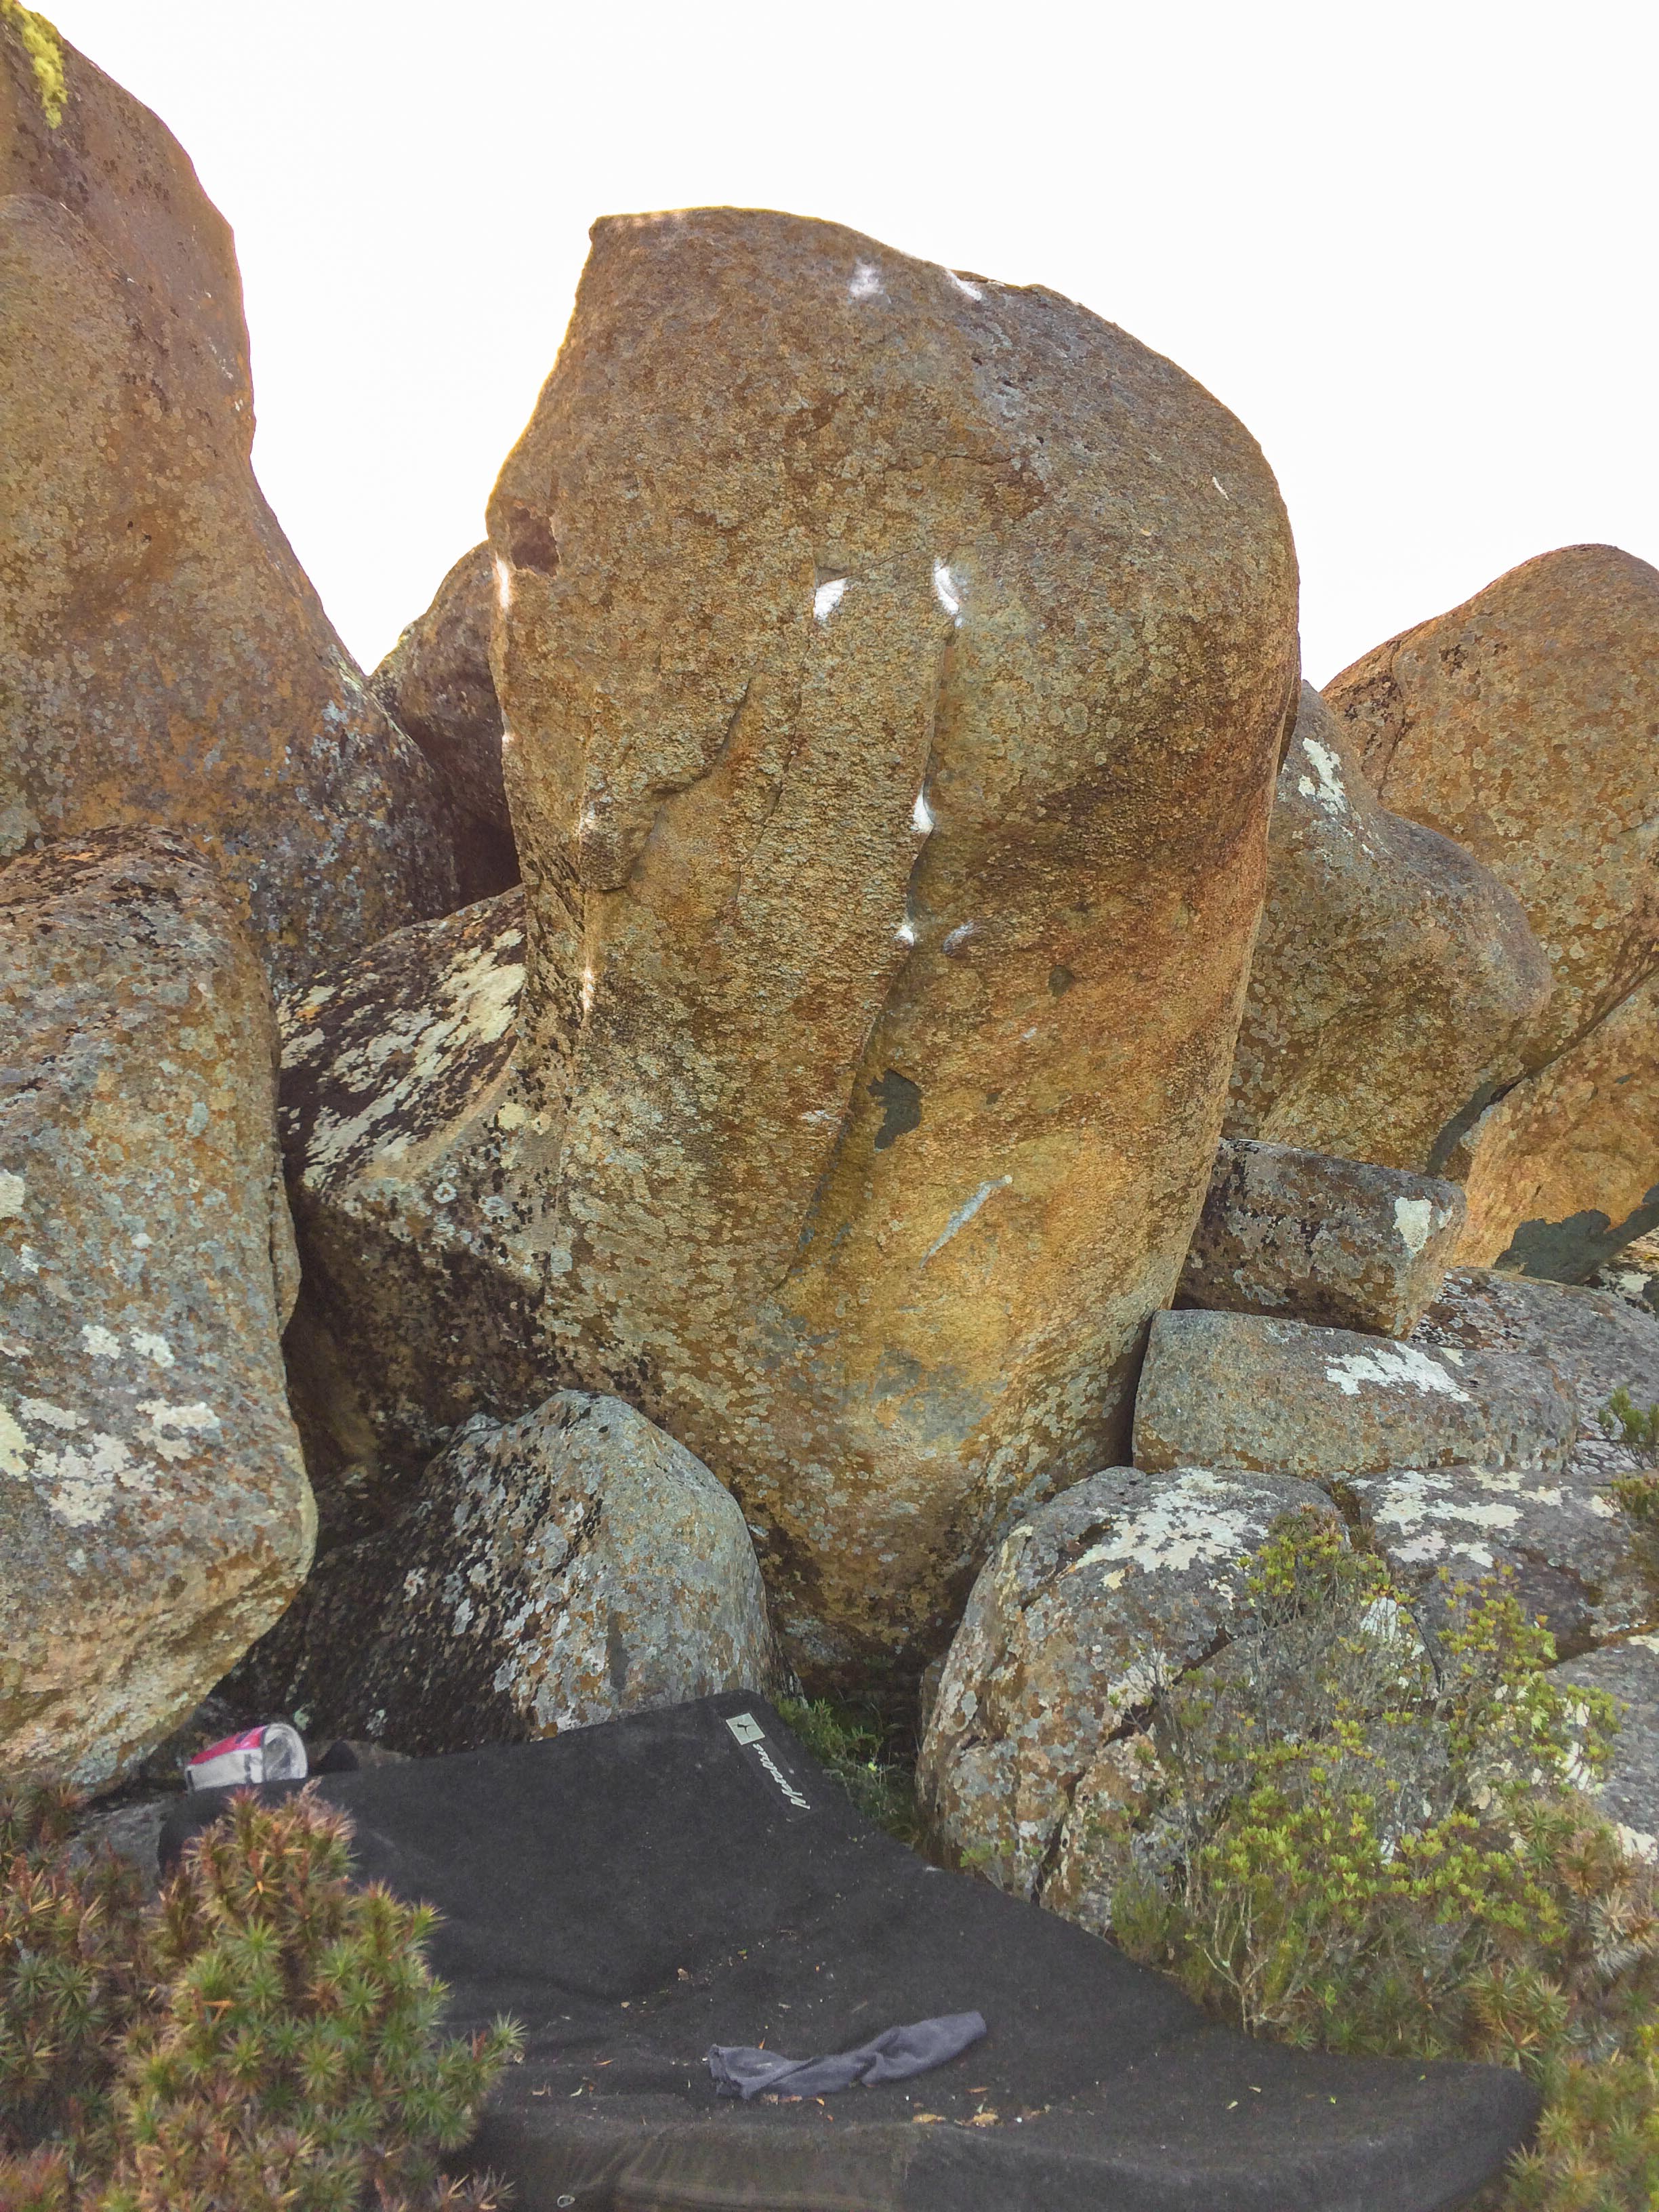
Namaste
Nice holds and movements. Stand start with opposing sidepulls. Sit start will go ~2 grades harder, but has yet to be done.
M Hitchcock 2017 (Stand start)