
Luckmans Hut Bouldering
 0min to 15min
 Mixed sun and shade
 Dolerite
Introduction
Mt Wellington offers some good opportunities for bouldering. Its a bit scattered, and dolerite is an acquired taste for bouldering. But there are lots of problems, particularly moderates with easy access for after work climbing.
Access
From the centre of Hobart drive up Davey Street, which becomes Huon Road, for 9.6km. Just before Fern Tree a well sign posted road (Pillinger Drive) leads off sharply to the right and winds up the mountain. Keep going up the road to reach the Summit.
Plenty of parking at the summit.
GPS
Luckman's Hut Area
The Luckman's area encompasses boulders from around Luckman's hut to above the Panorama track (within a couple of hundred metres of the summit).
Luckman's Hut
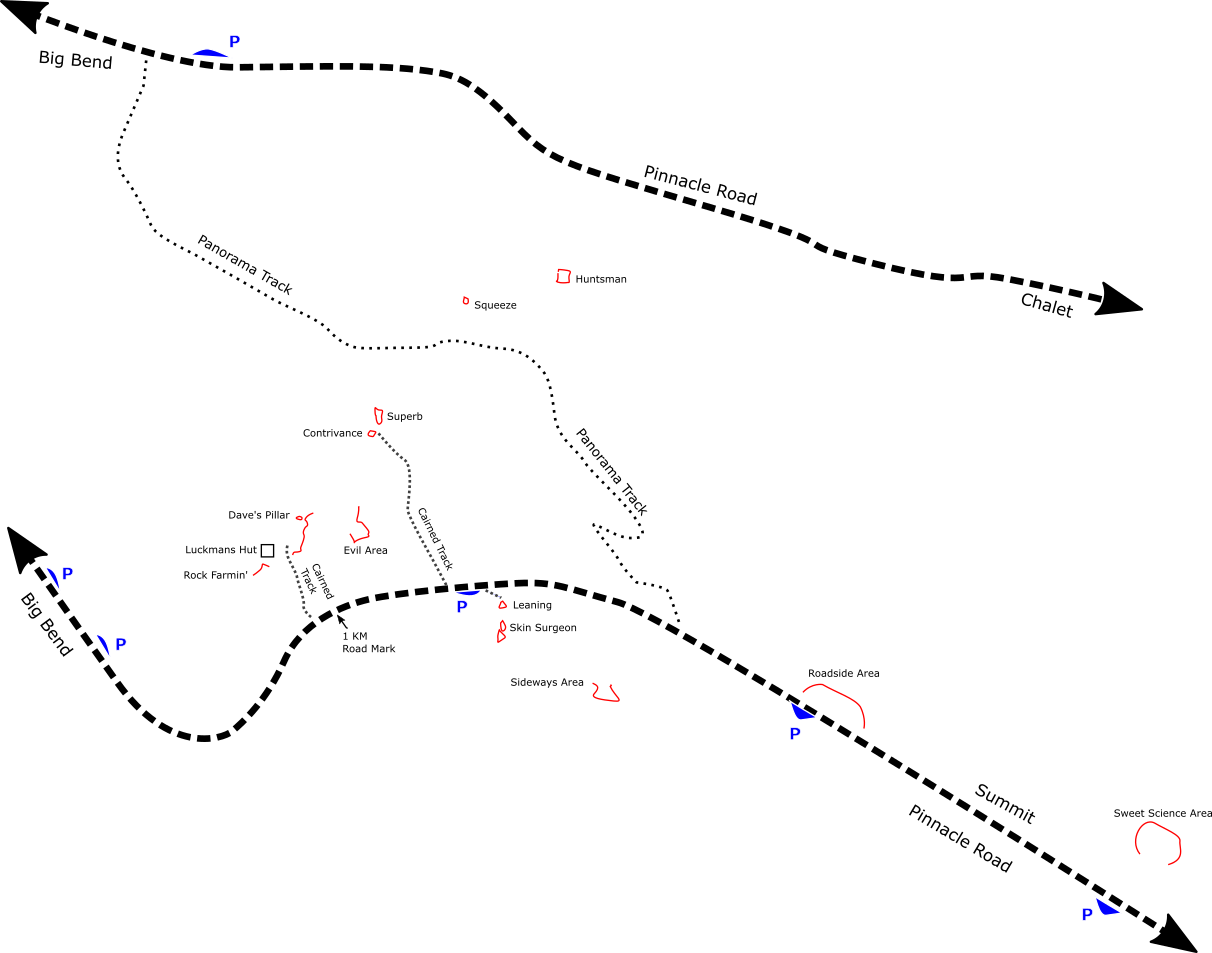
The Luckman's hut region contains a range of moderate problems. To get to this region pass the big carpark after Big Bend and keep going up the hill until you can pull over to a sealed car park on the right. The easiest access to the boulders around the hut, head done the road past the 1km road marking then look for a small cairn on the next scree slope.
The easiest access to the boulders at the eastern end is to head across from the carpark and look for a cairned path down the slope.
Hut Boulders
This boulder is just off the road.
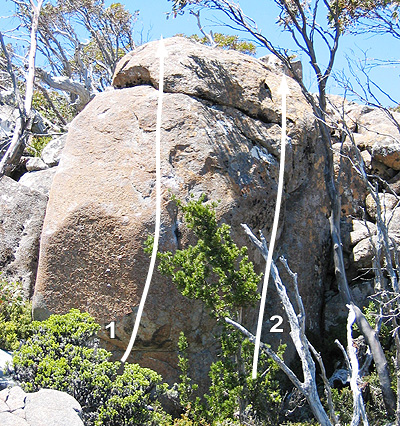
Sitstart and pull through bulge on side pulls
Crack
These nice high friction slabs are 10m South of the Hut.
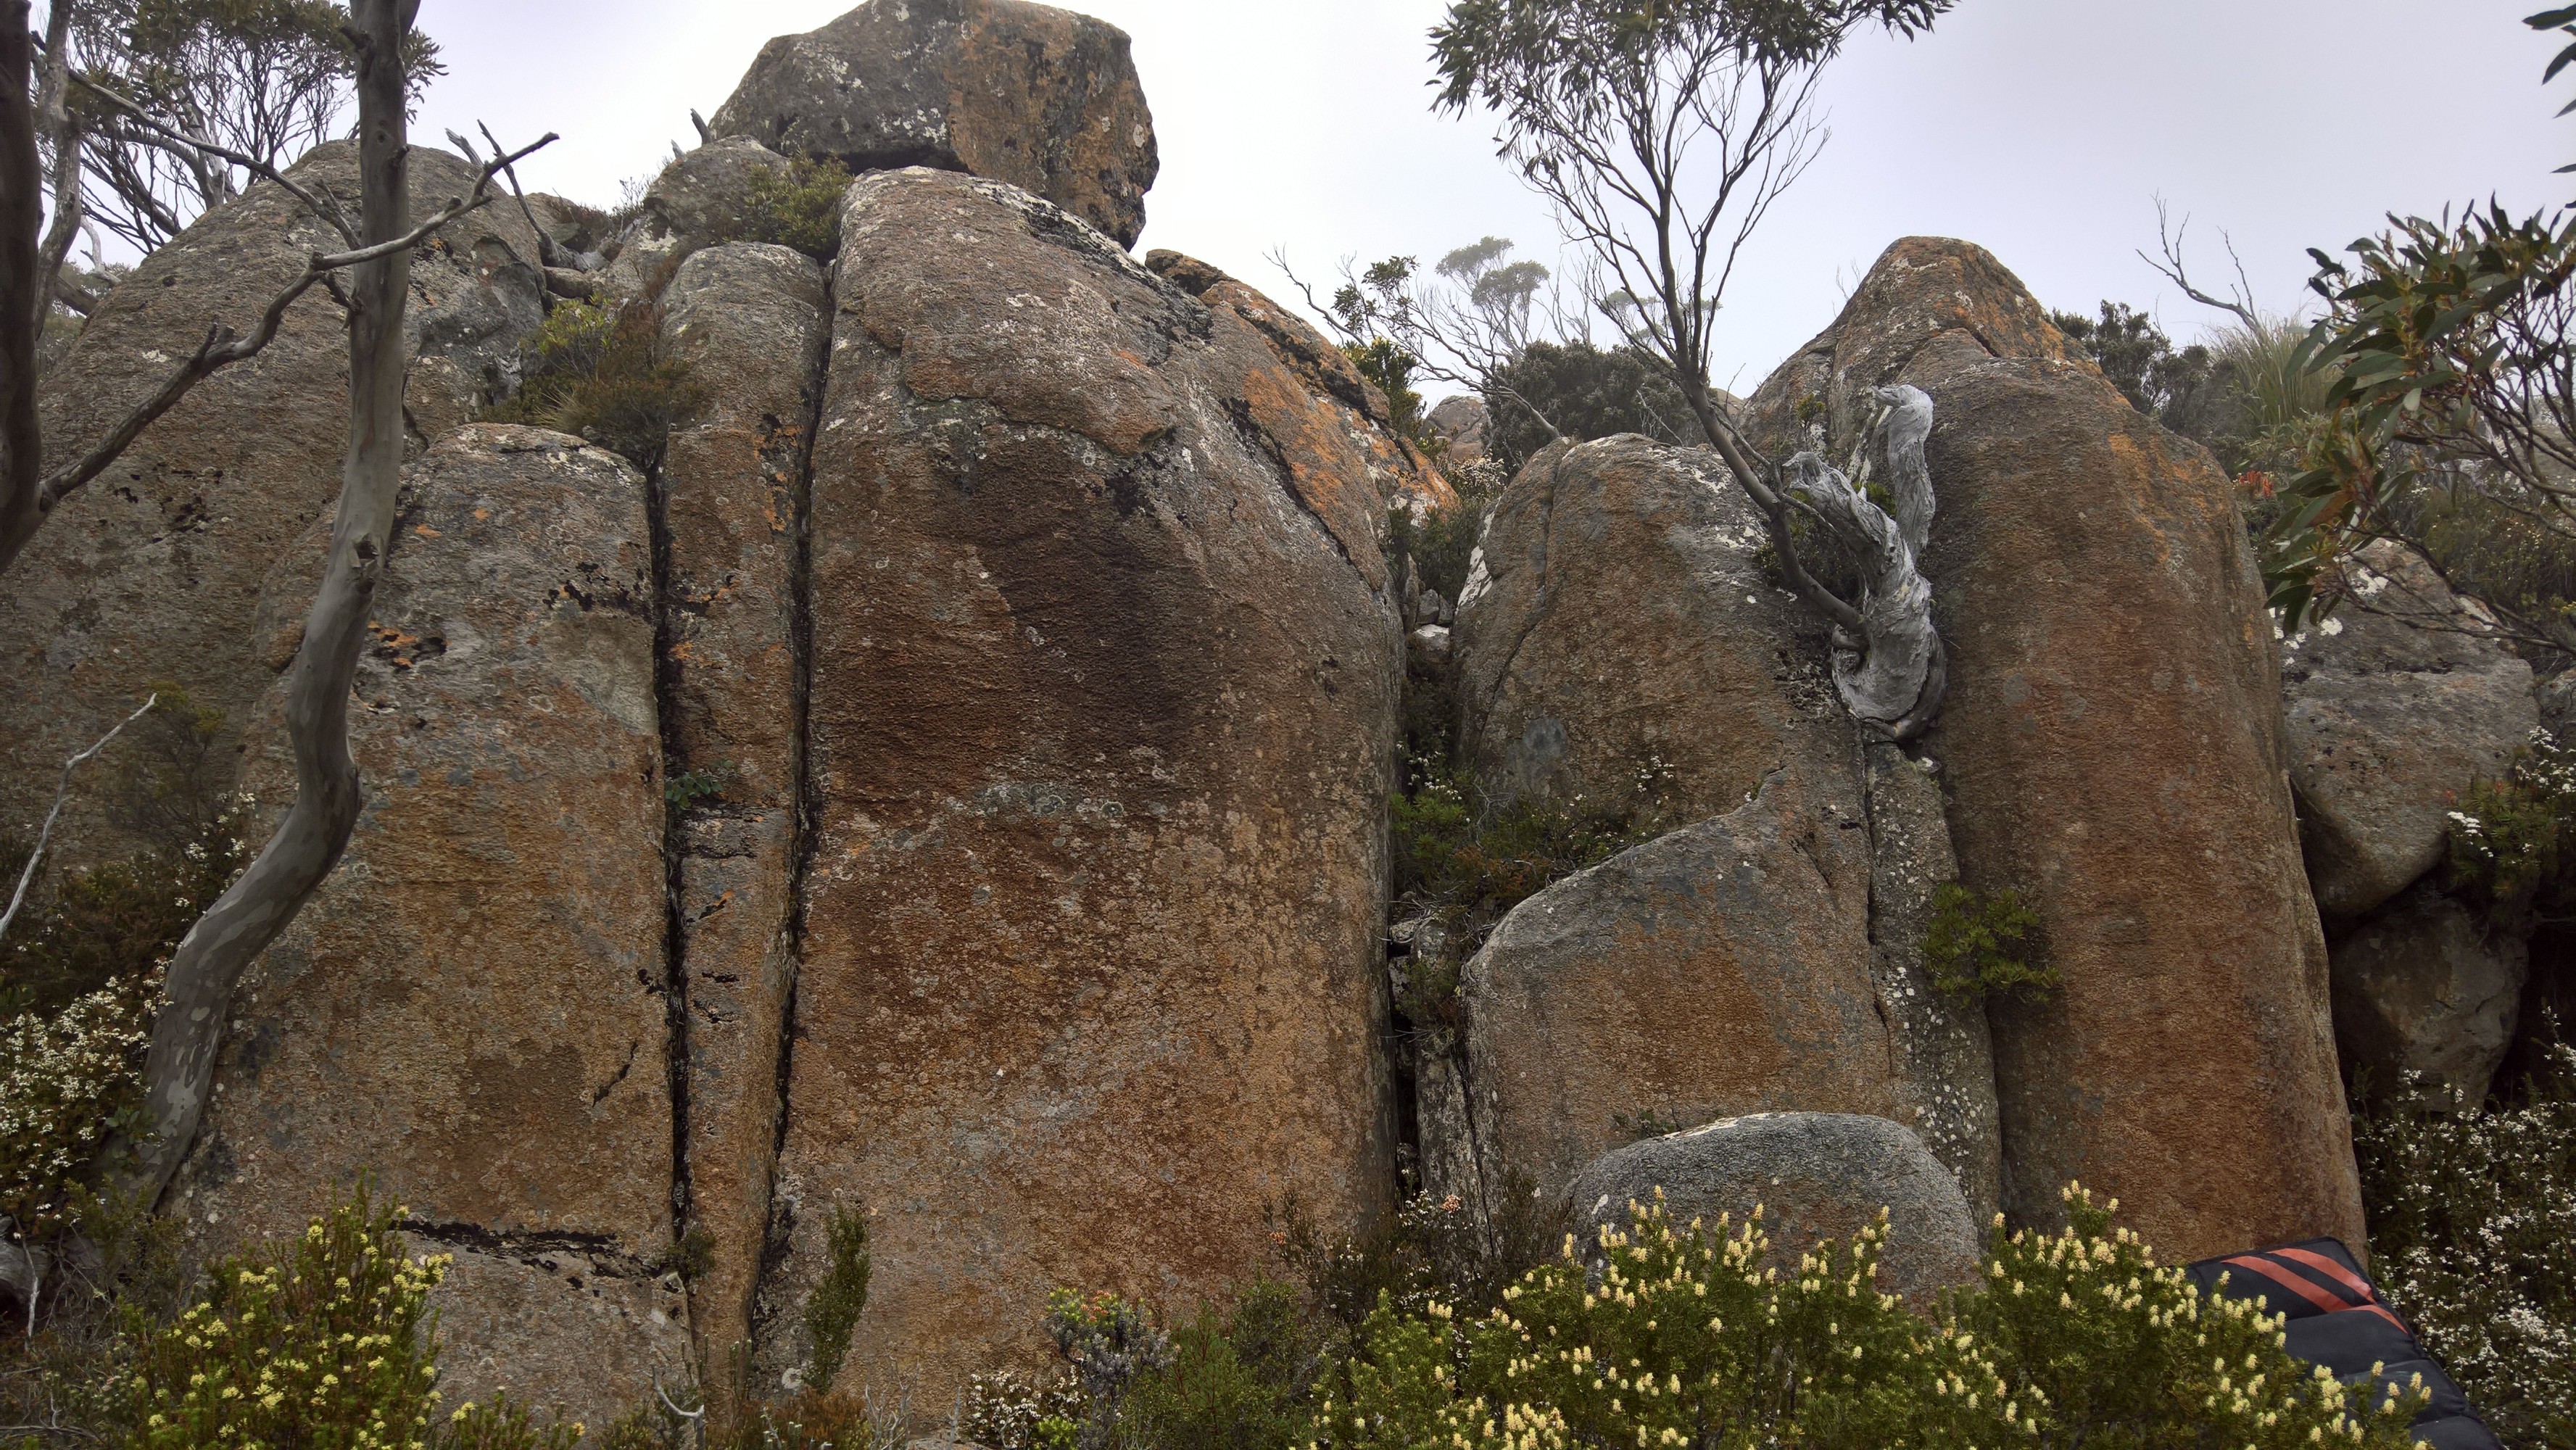
Easy crack
Nice friction slab up to flake. Don't use crack to the left.
Up pillar using friction and trying to avoid skin loss. Again you can make it easier or harder depending exactly which holds you use.
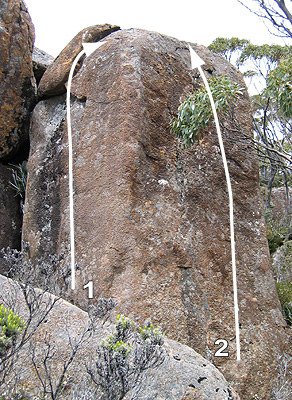
This is the obvious boulder 8 metres from the hut.
Easy face
Up the face using the right arete. There is also a variant using the left arete.
Mossy corner and arete around to the right of Traction.
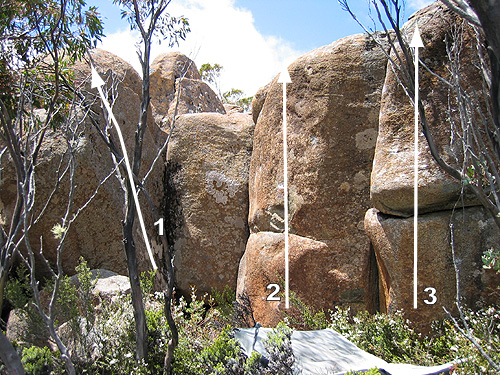
Around to the left of Traction are these boulders.
Slab and flake.
Sit start at break, up on edges.
Use break and crack, then head left and up to the rounded top.
Layback up arete. Sitstart is a project.
About 15m downhill is another group of boulders.
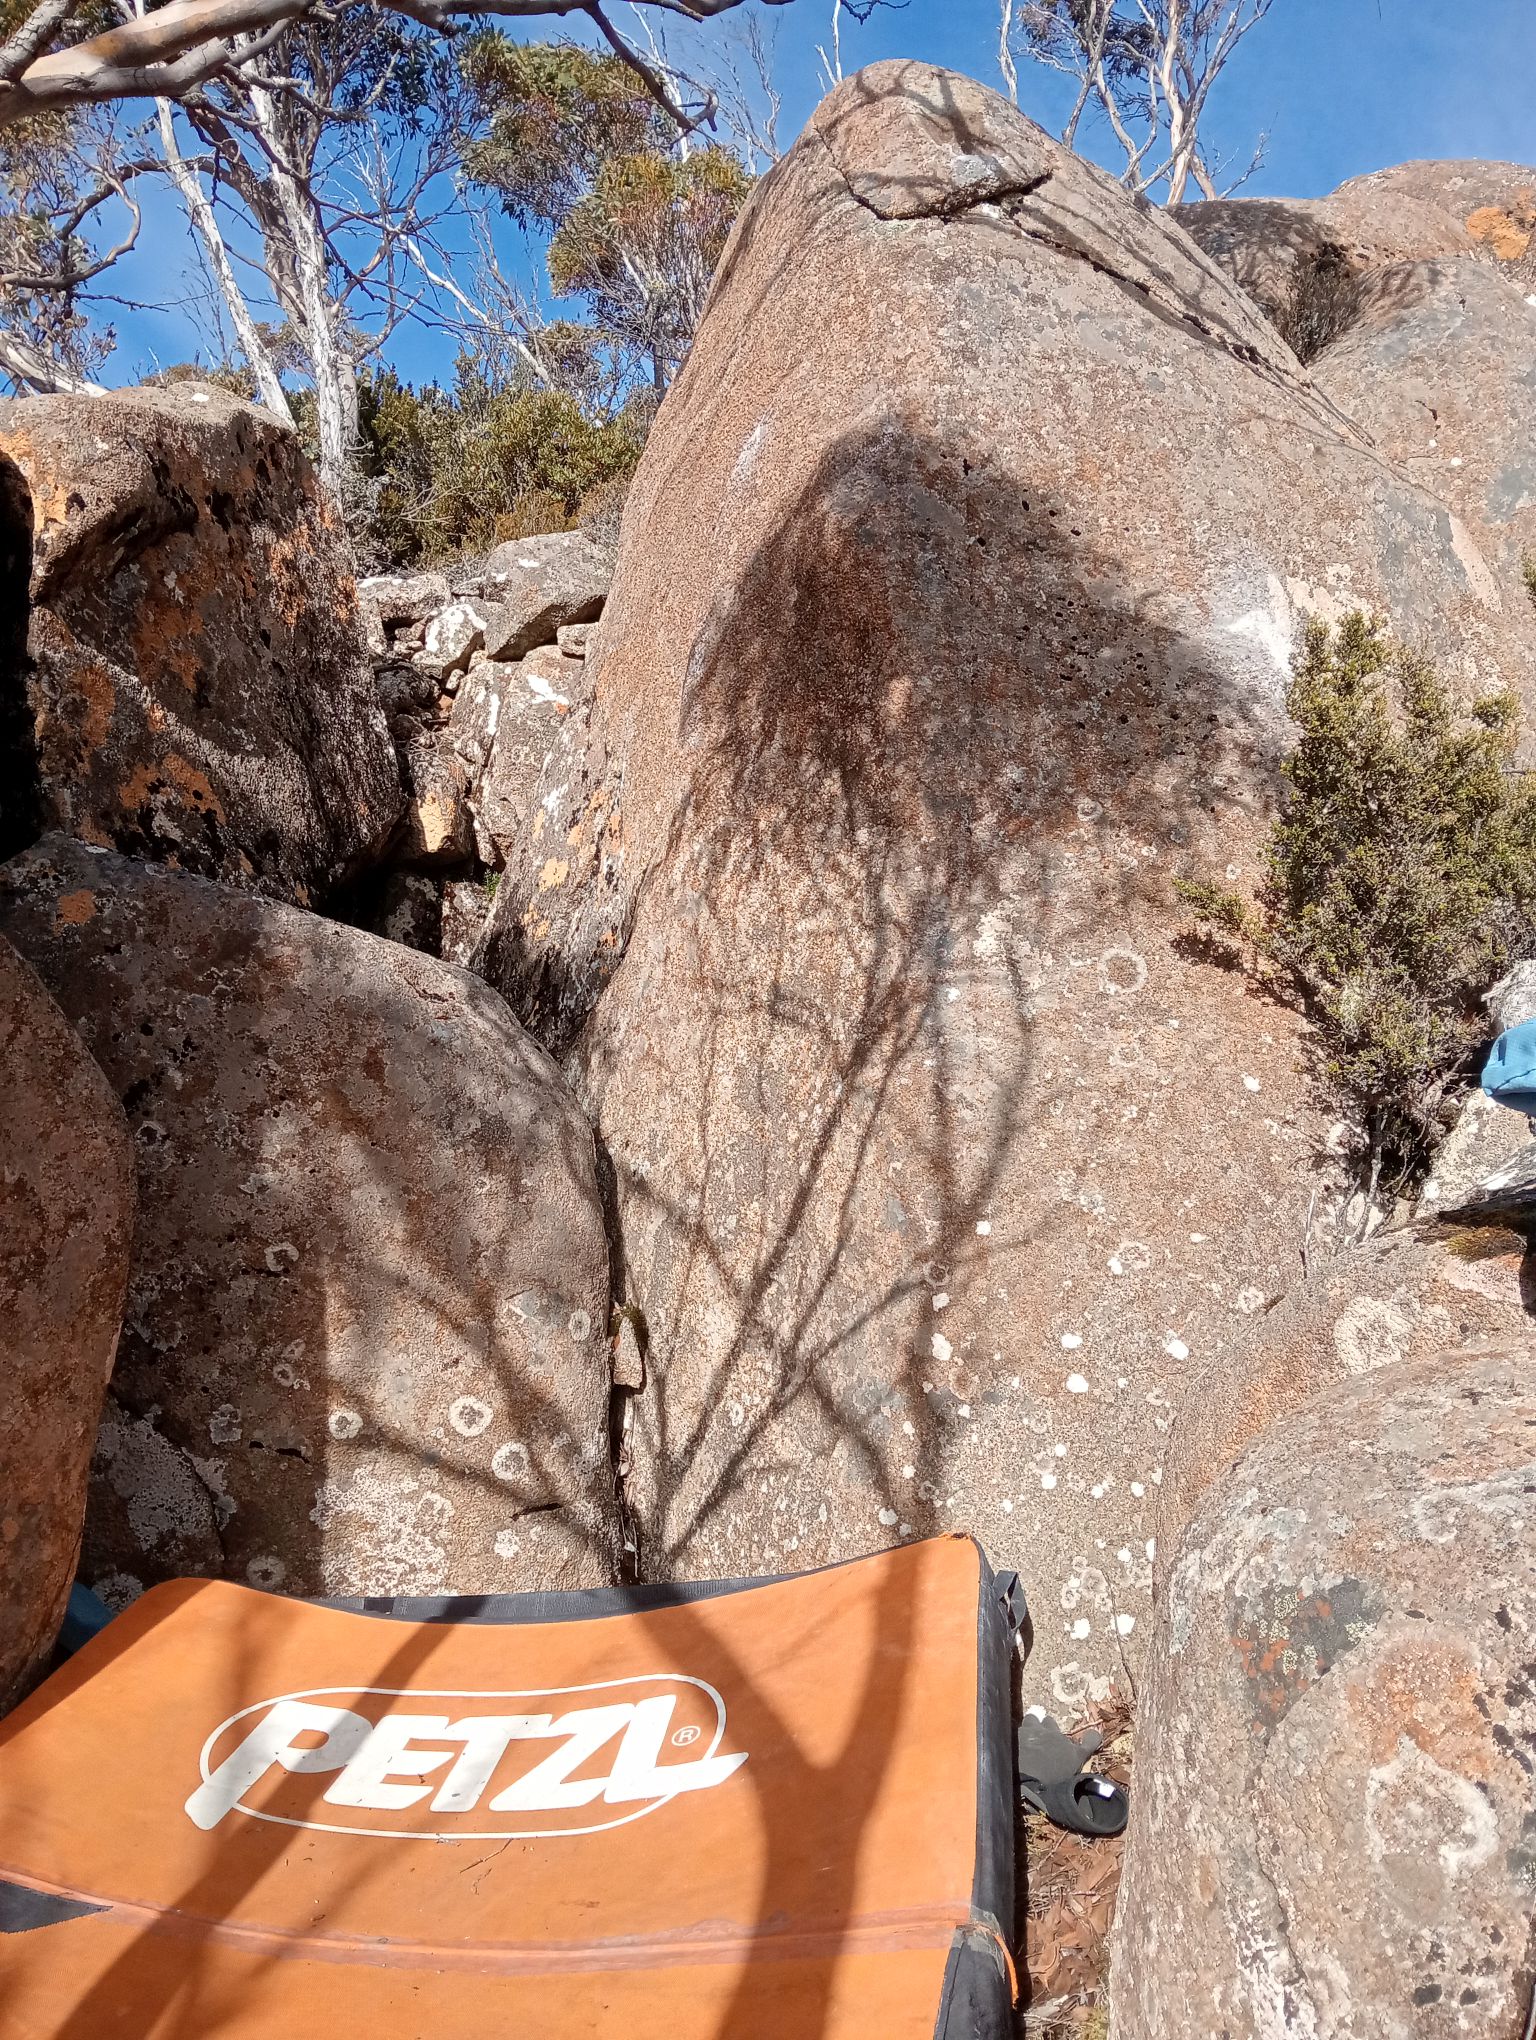
Start spanning the arete with slopey footer.
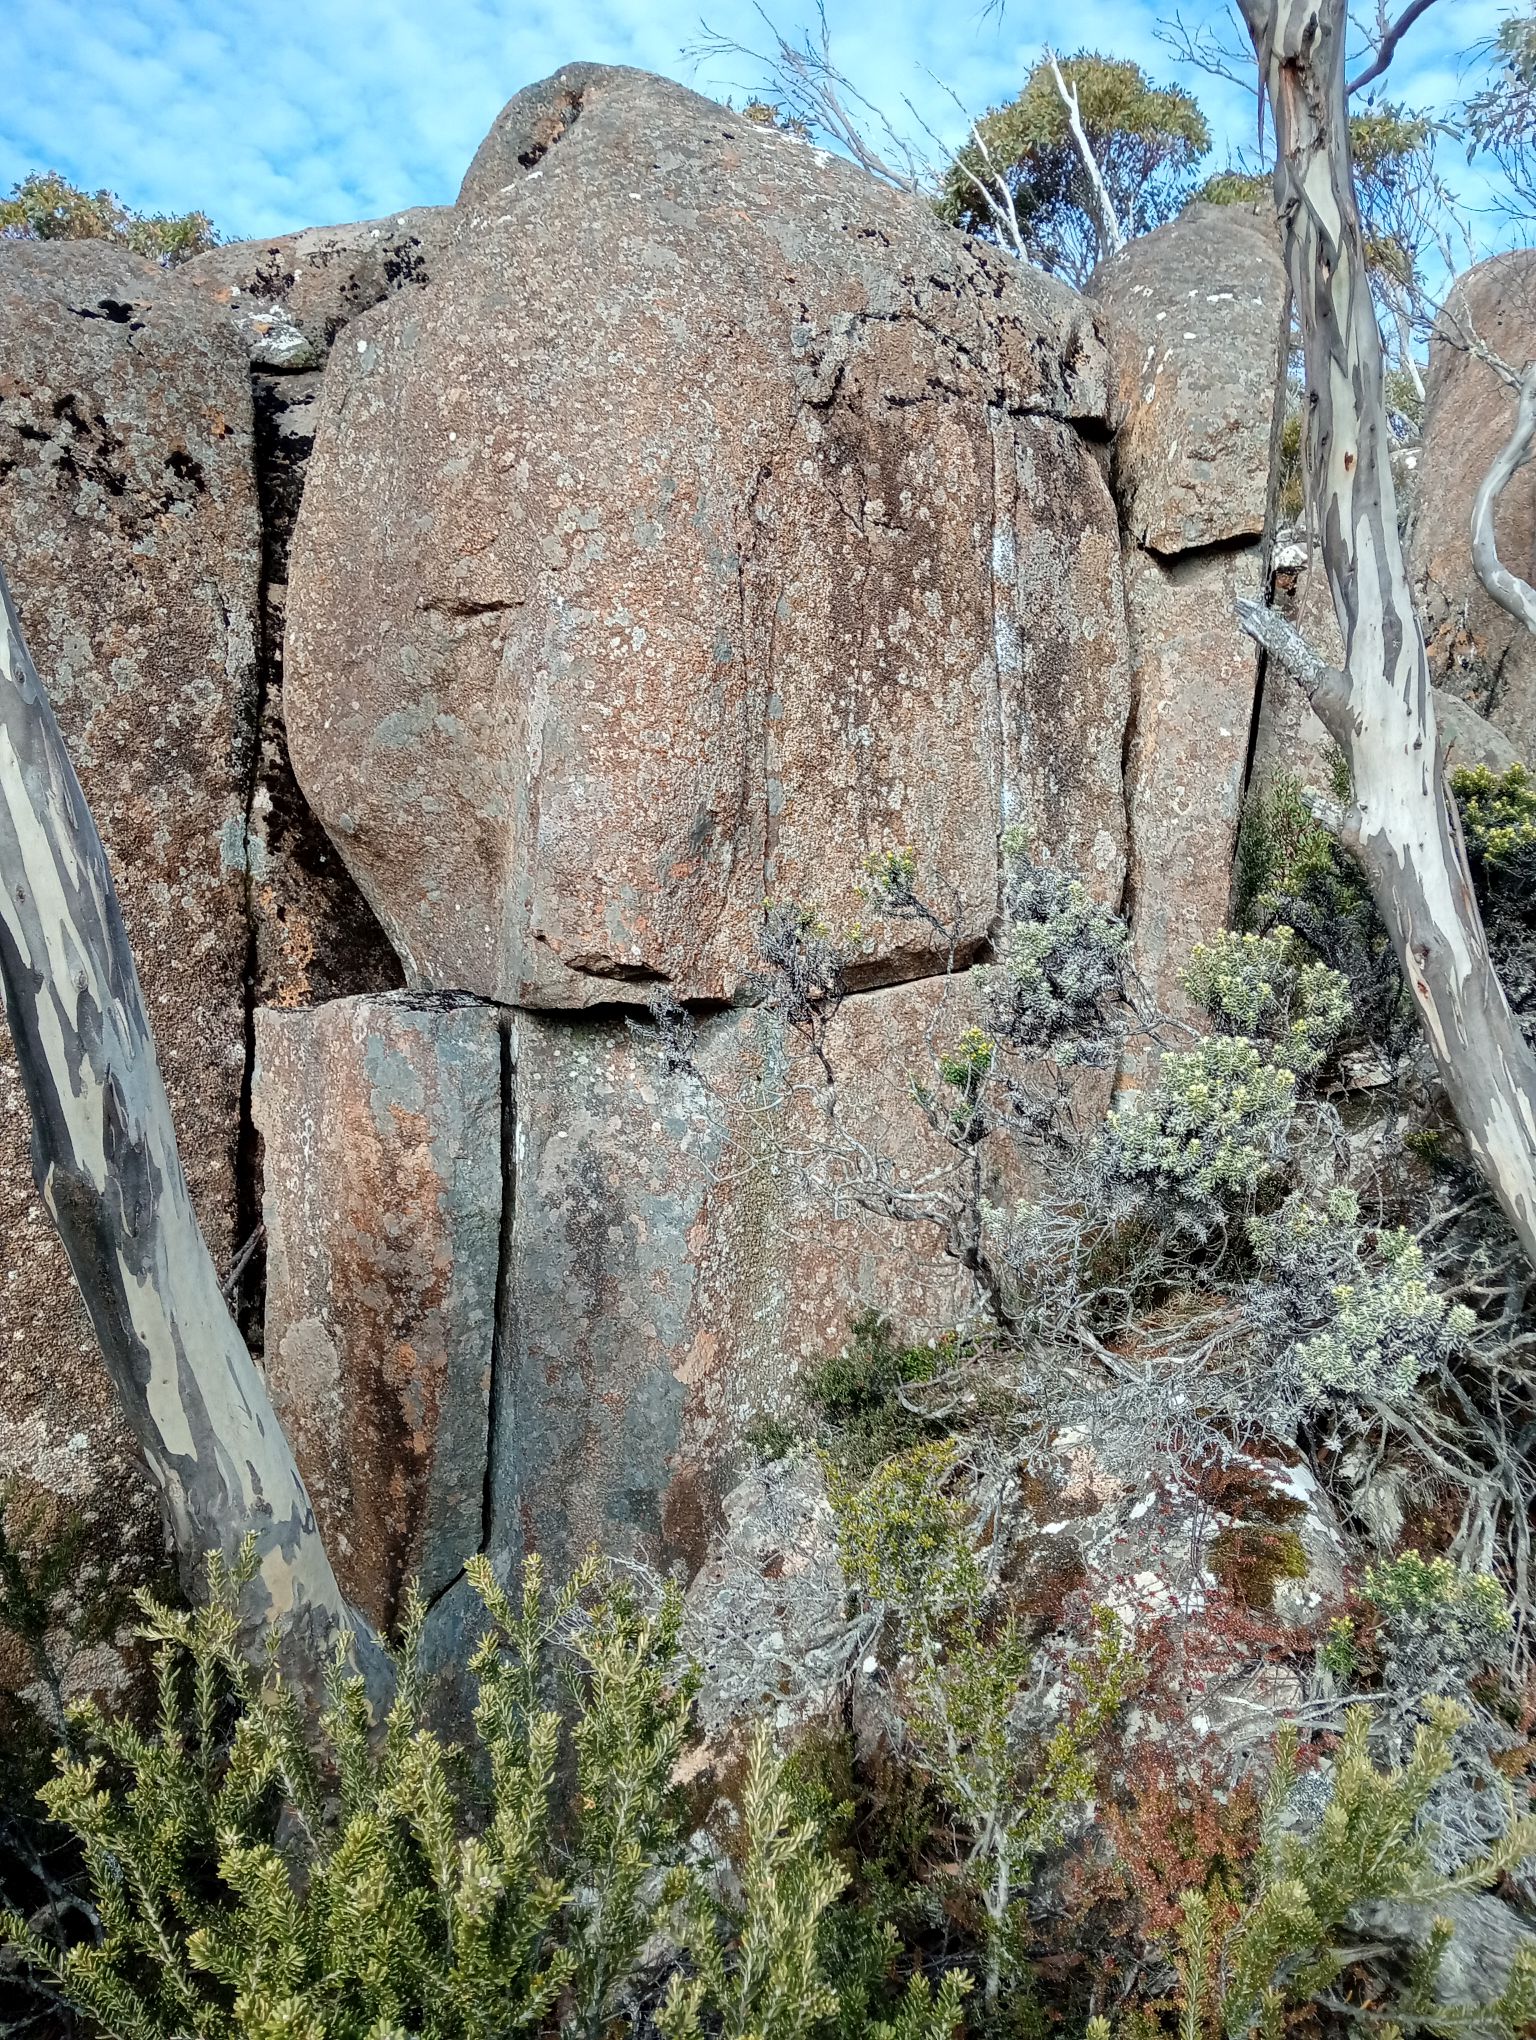
Layback the crack.
Span the arete to the crack to start.
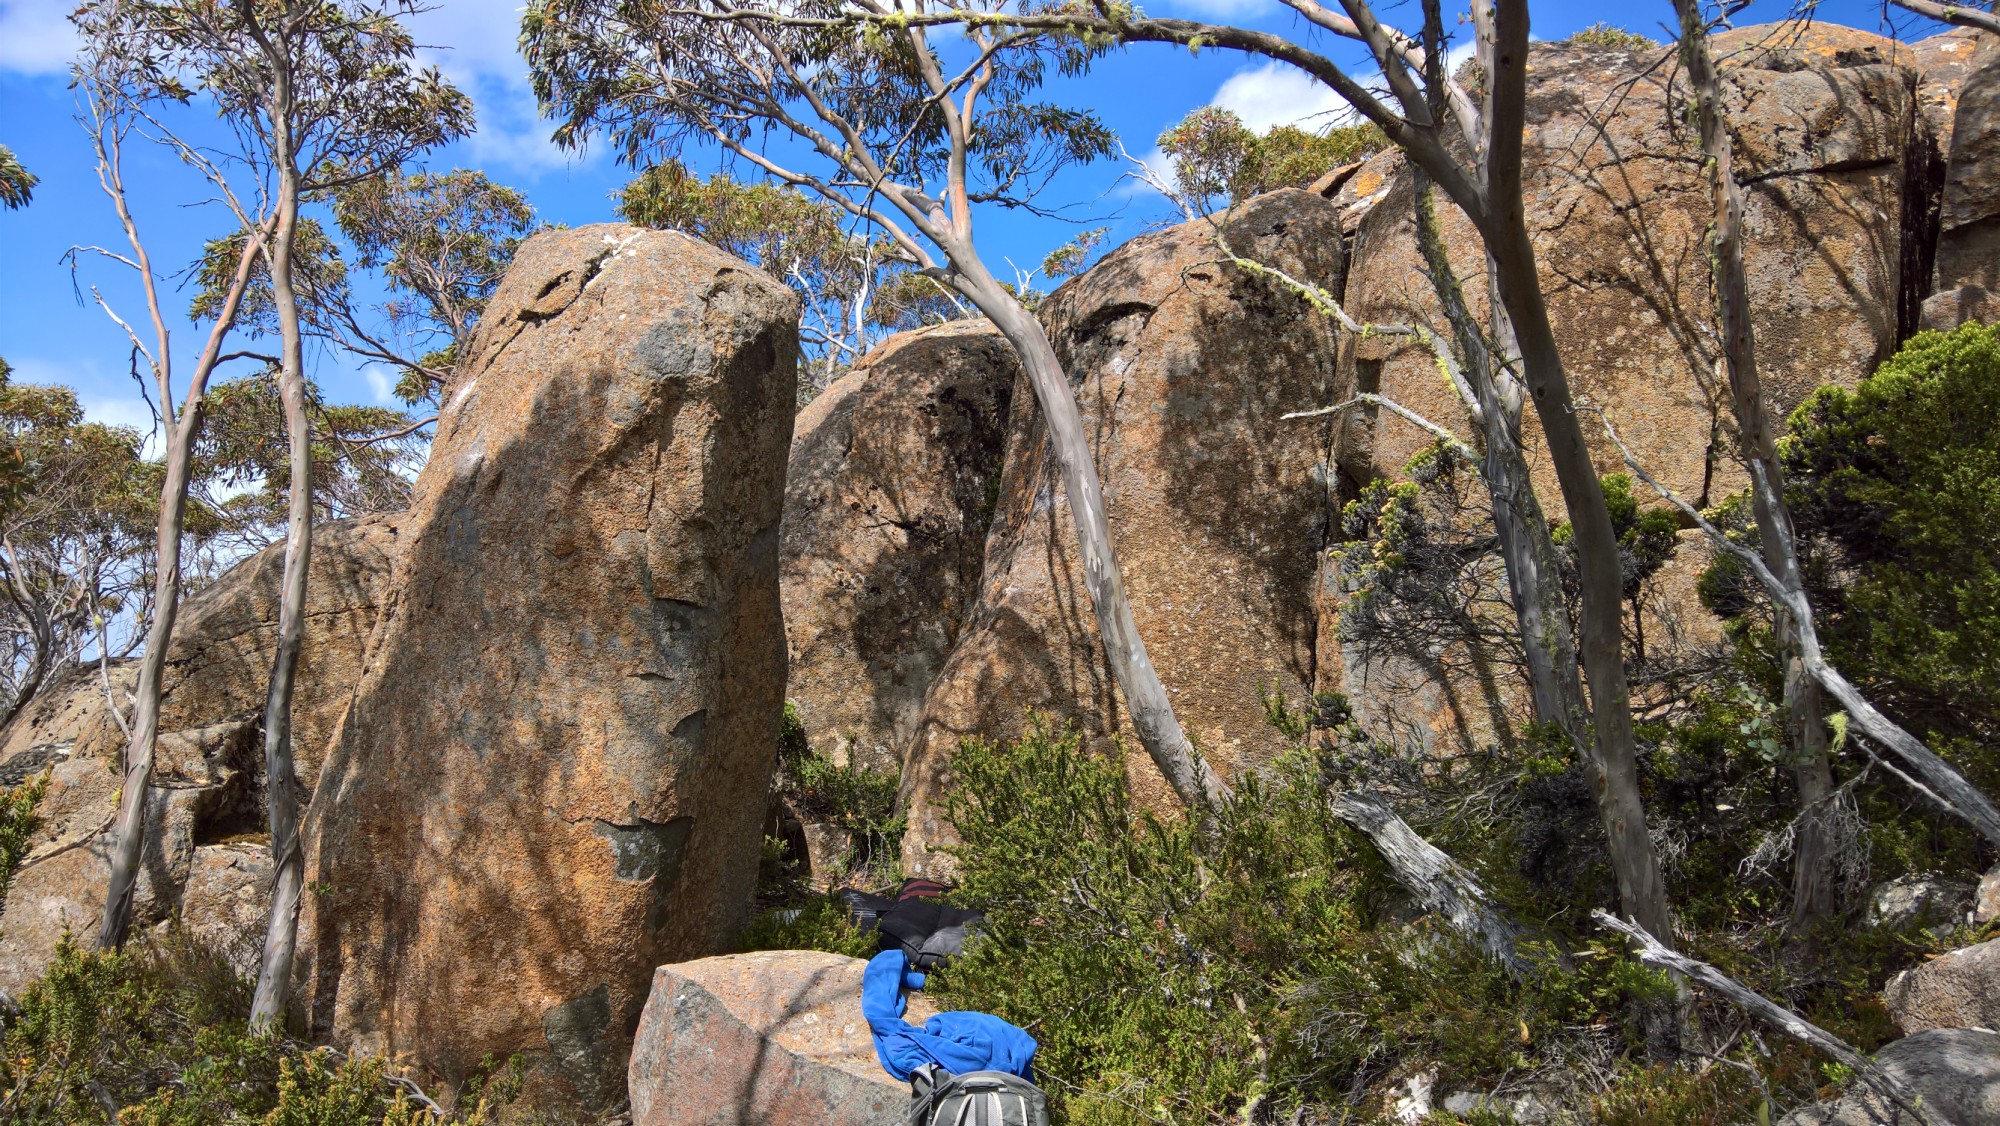
Up the crack.
Slabby arete
Start on the left arete with the large footer, then span the face.
The stand start is worthwhile and a grade easier.
Side of pillar
Back of pillar
Up front of Pillar.
Evil Area
From the Dave's Pillar area walk about 20m east and slightly uphill to the next area of boulders. Described right to left.
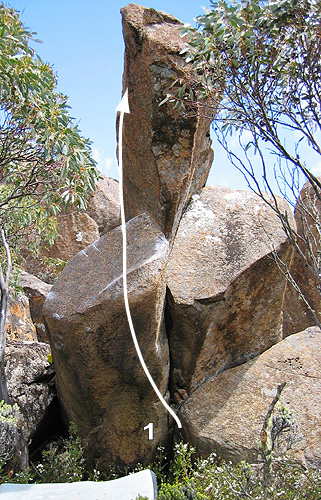
Start with a hand jam in the crack, then pull up left over pillar.
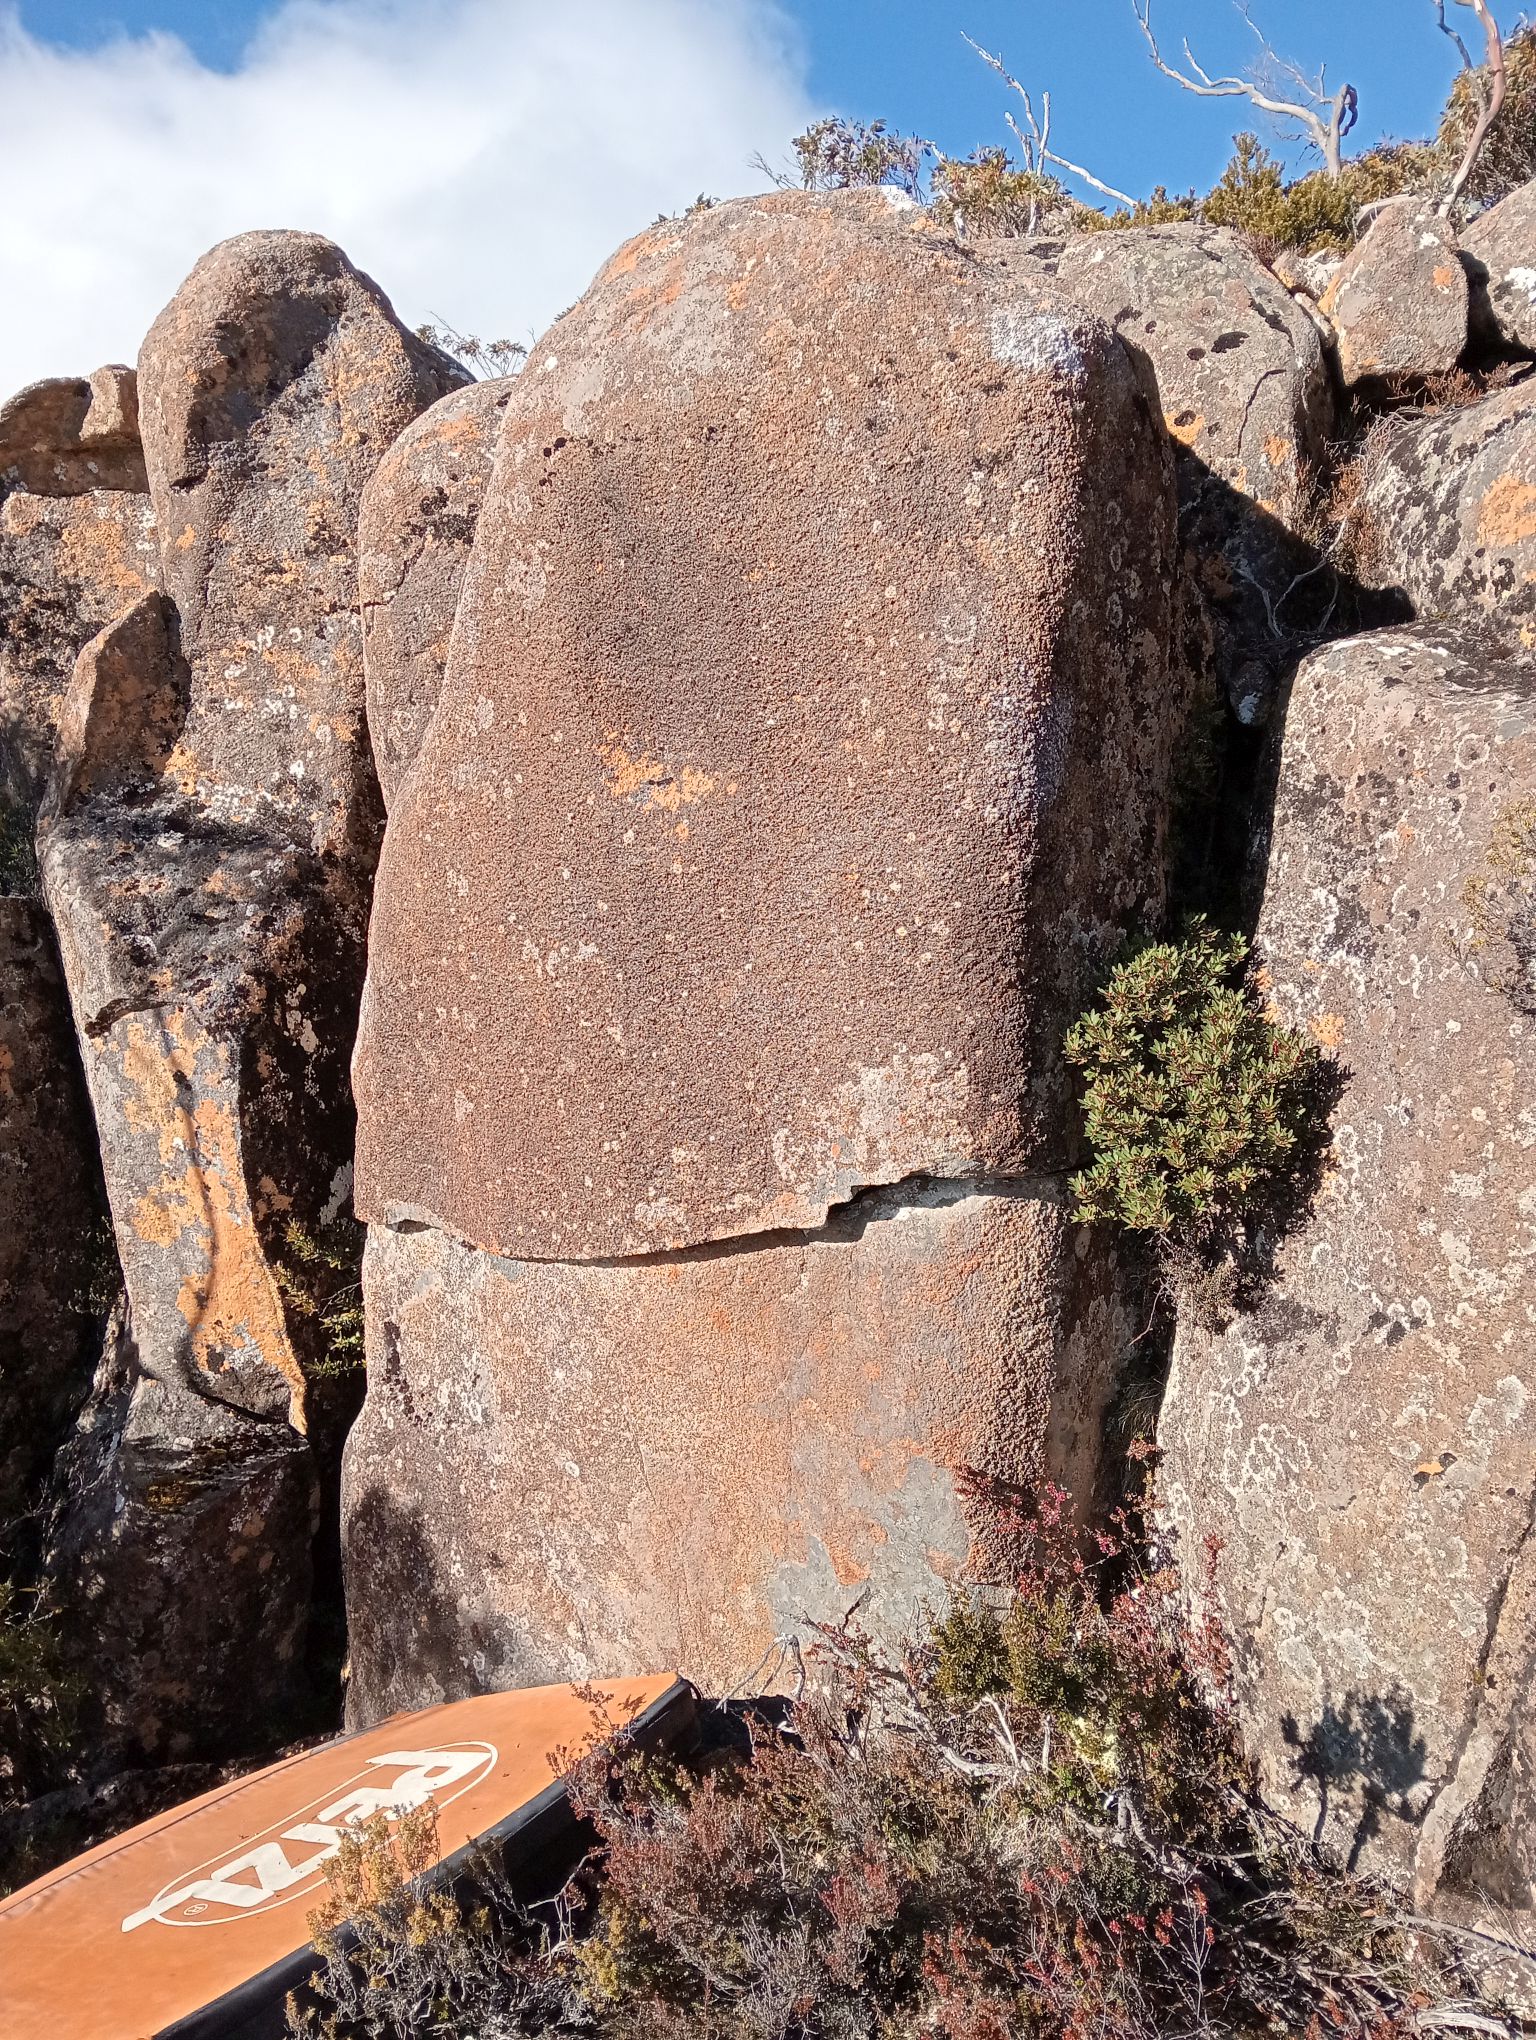
Hard move off the ground leads to interesting top out.
Start using the horizontal break.
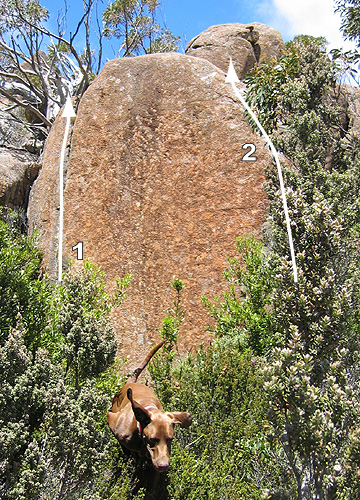
Seam on left of blank slab
Arete and slab
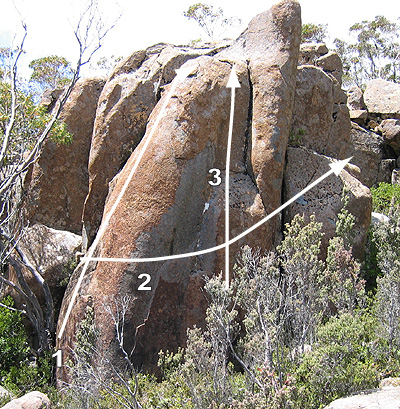
Slab left of arete
Project - traverse around the buttress
Nice crack and face.
The following boulders in the Luckman's Hut area are most easily reached by heading directly downhill from the carpark.
From the western end of the carpark head across the road and look for the cairned tracked to Contrivance and Superb.
From the eastern end of the carpark head down the scree to find Autumn Boulder.
Autumn Boulder
Head down the scree and look for a finger of rock. Autmun boulder is 10m to the left of this looking downhill. Autumn boulder is about 40m from the road.
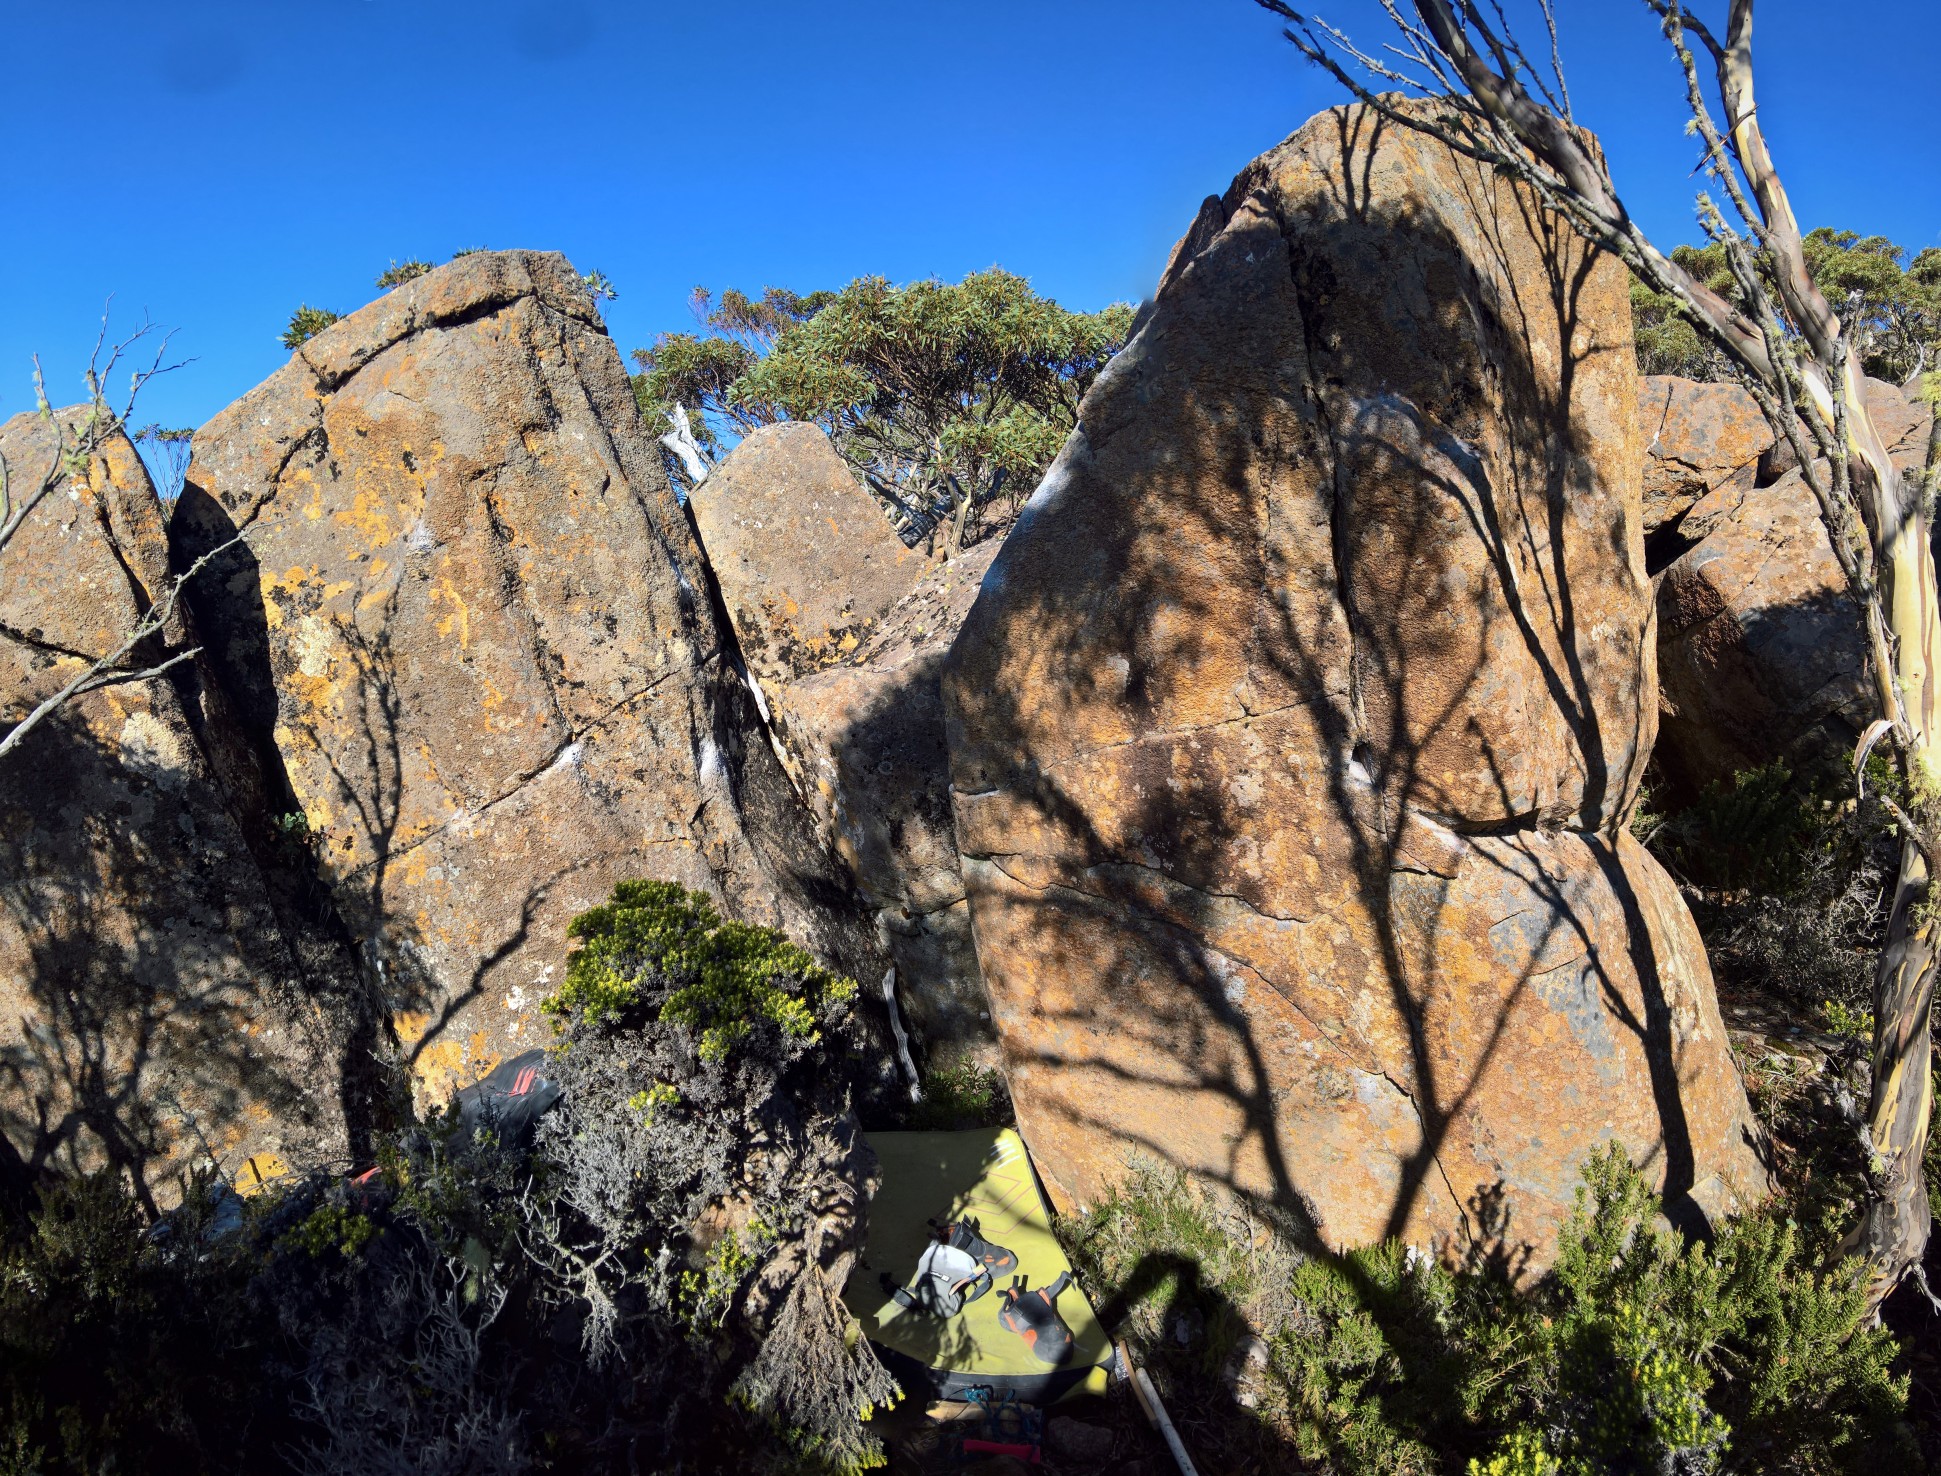
Awkward start straddling the rock.
Nice slab.
Start sitting on the rock, feet on the detached flake, head for the slopey rail.
Dave Humphries Mar 2019
Climbs the arete right of Honey Eater.
Climb the slab using LH edges.
Climb 1m right of previous using only slab technique.
Pimple Boulder
Pimple is 10m west of Autumn boulder and about 10m east of the cairned track to Superb boulder.
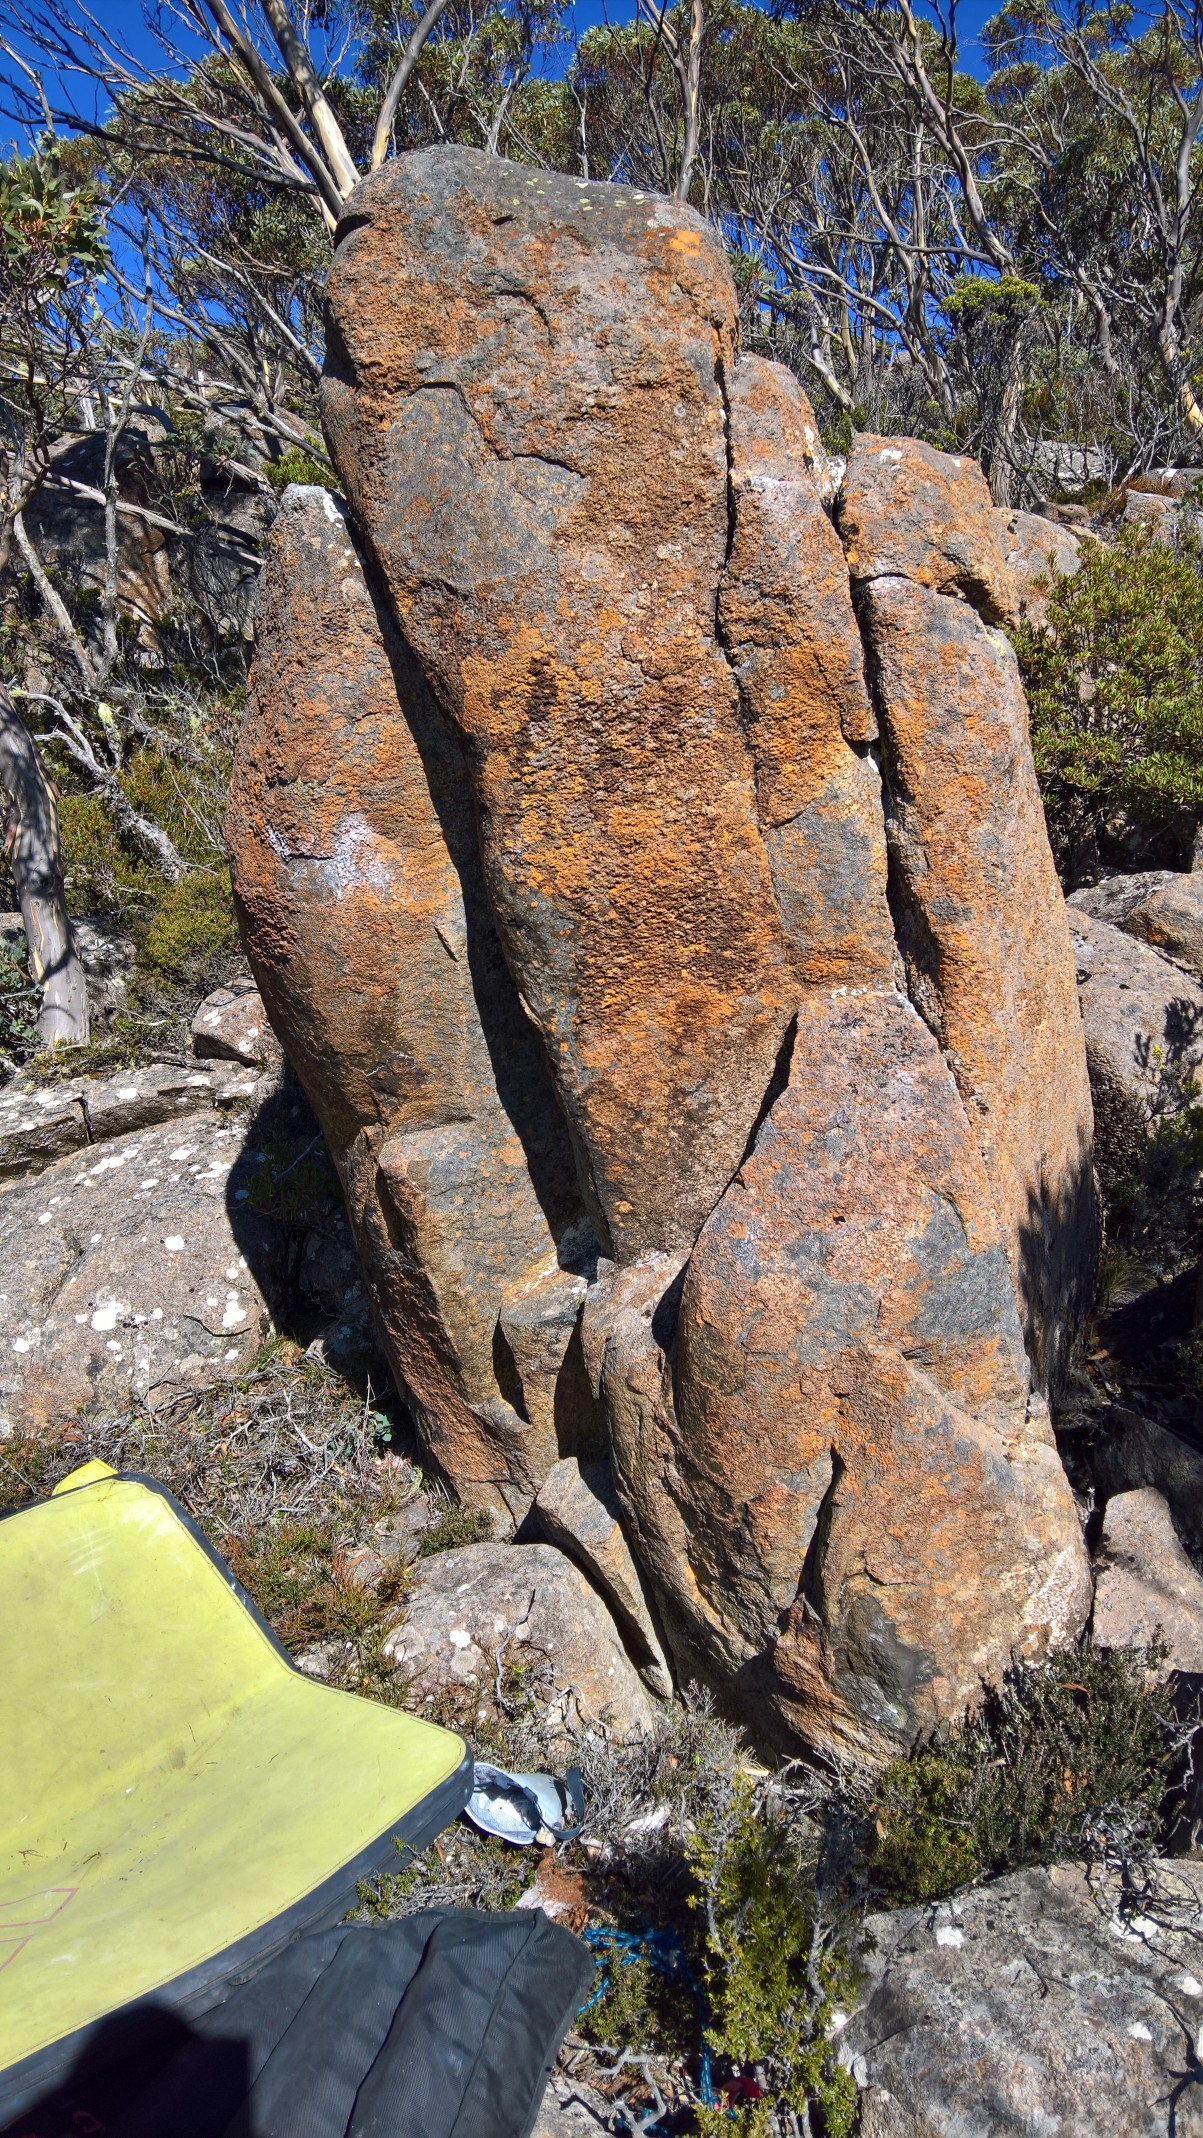
Start to the left of the crack/seam.
Start on the right arete.
Contrivance Boulder
This boulder is at the end of the cairned path below the carpark.
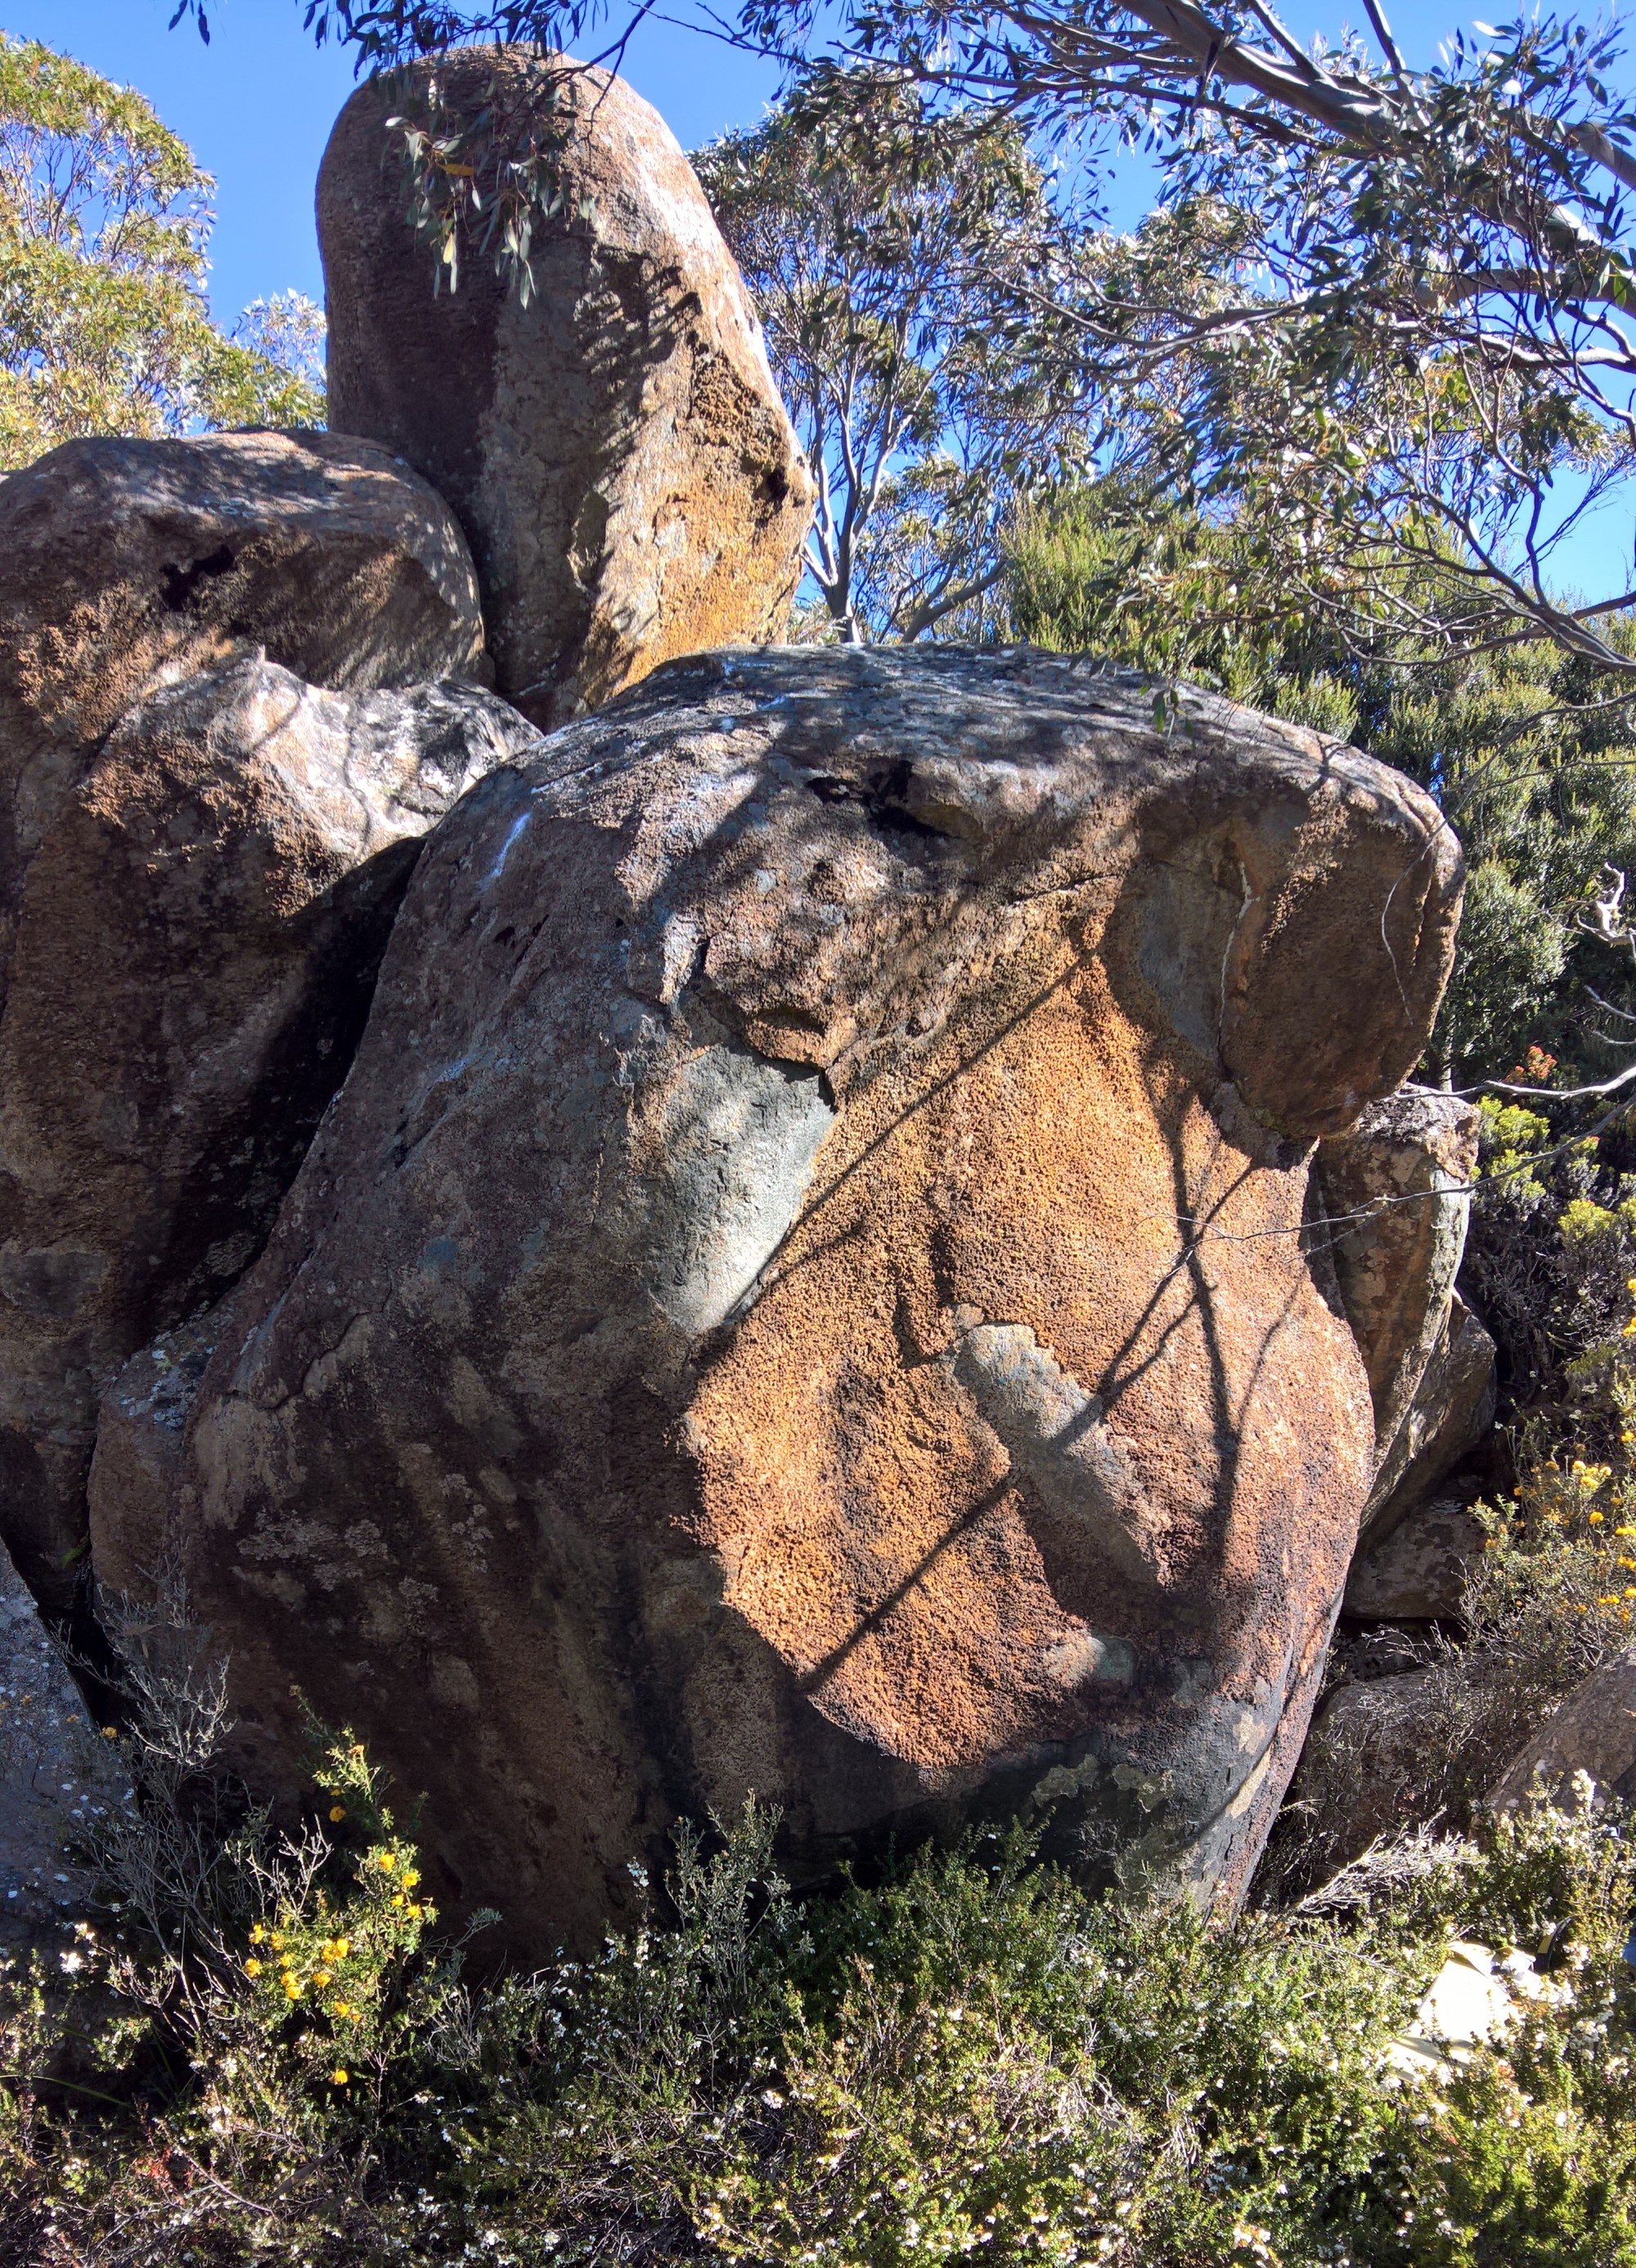
Use the holds to the left of the crack. Head left at the top.
Start on the sloping jug at head height with poor feet.
Superb Boulder
This boulder is at the end of the cairned track 10 metres below Contrivance boulder.
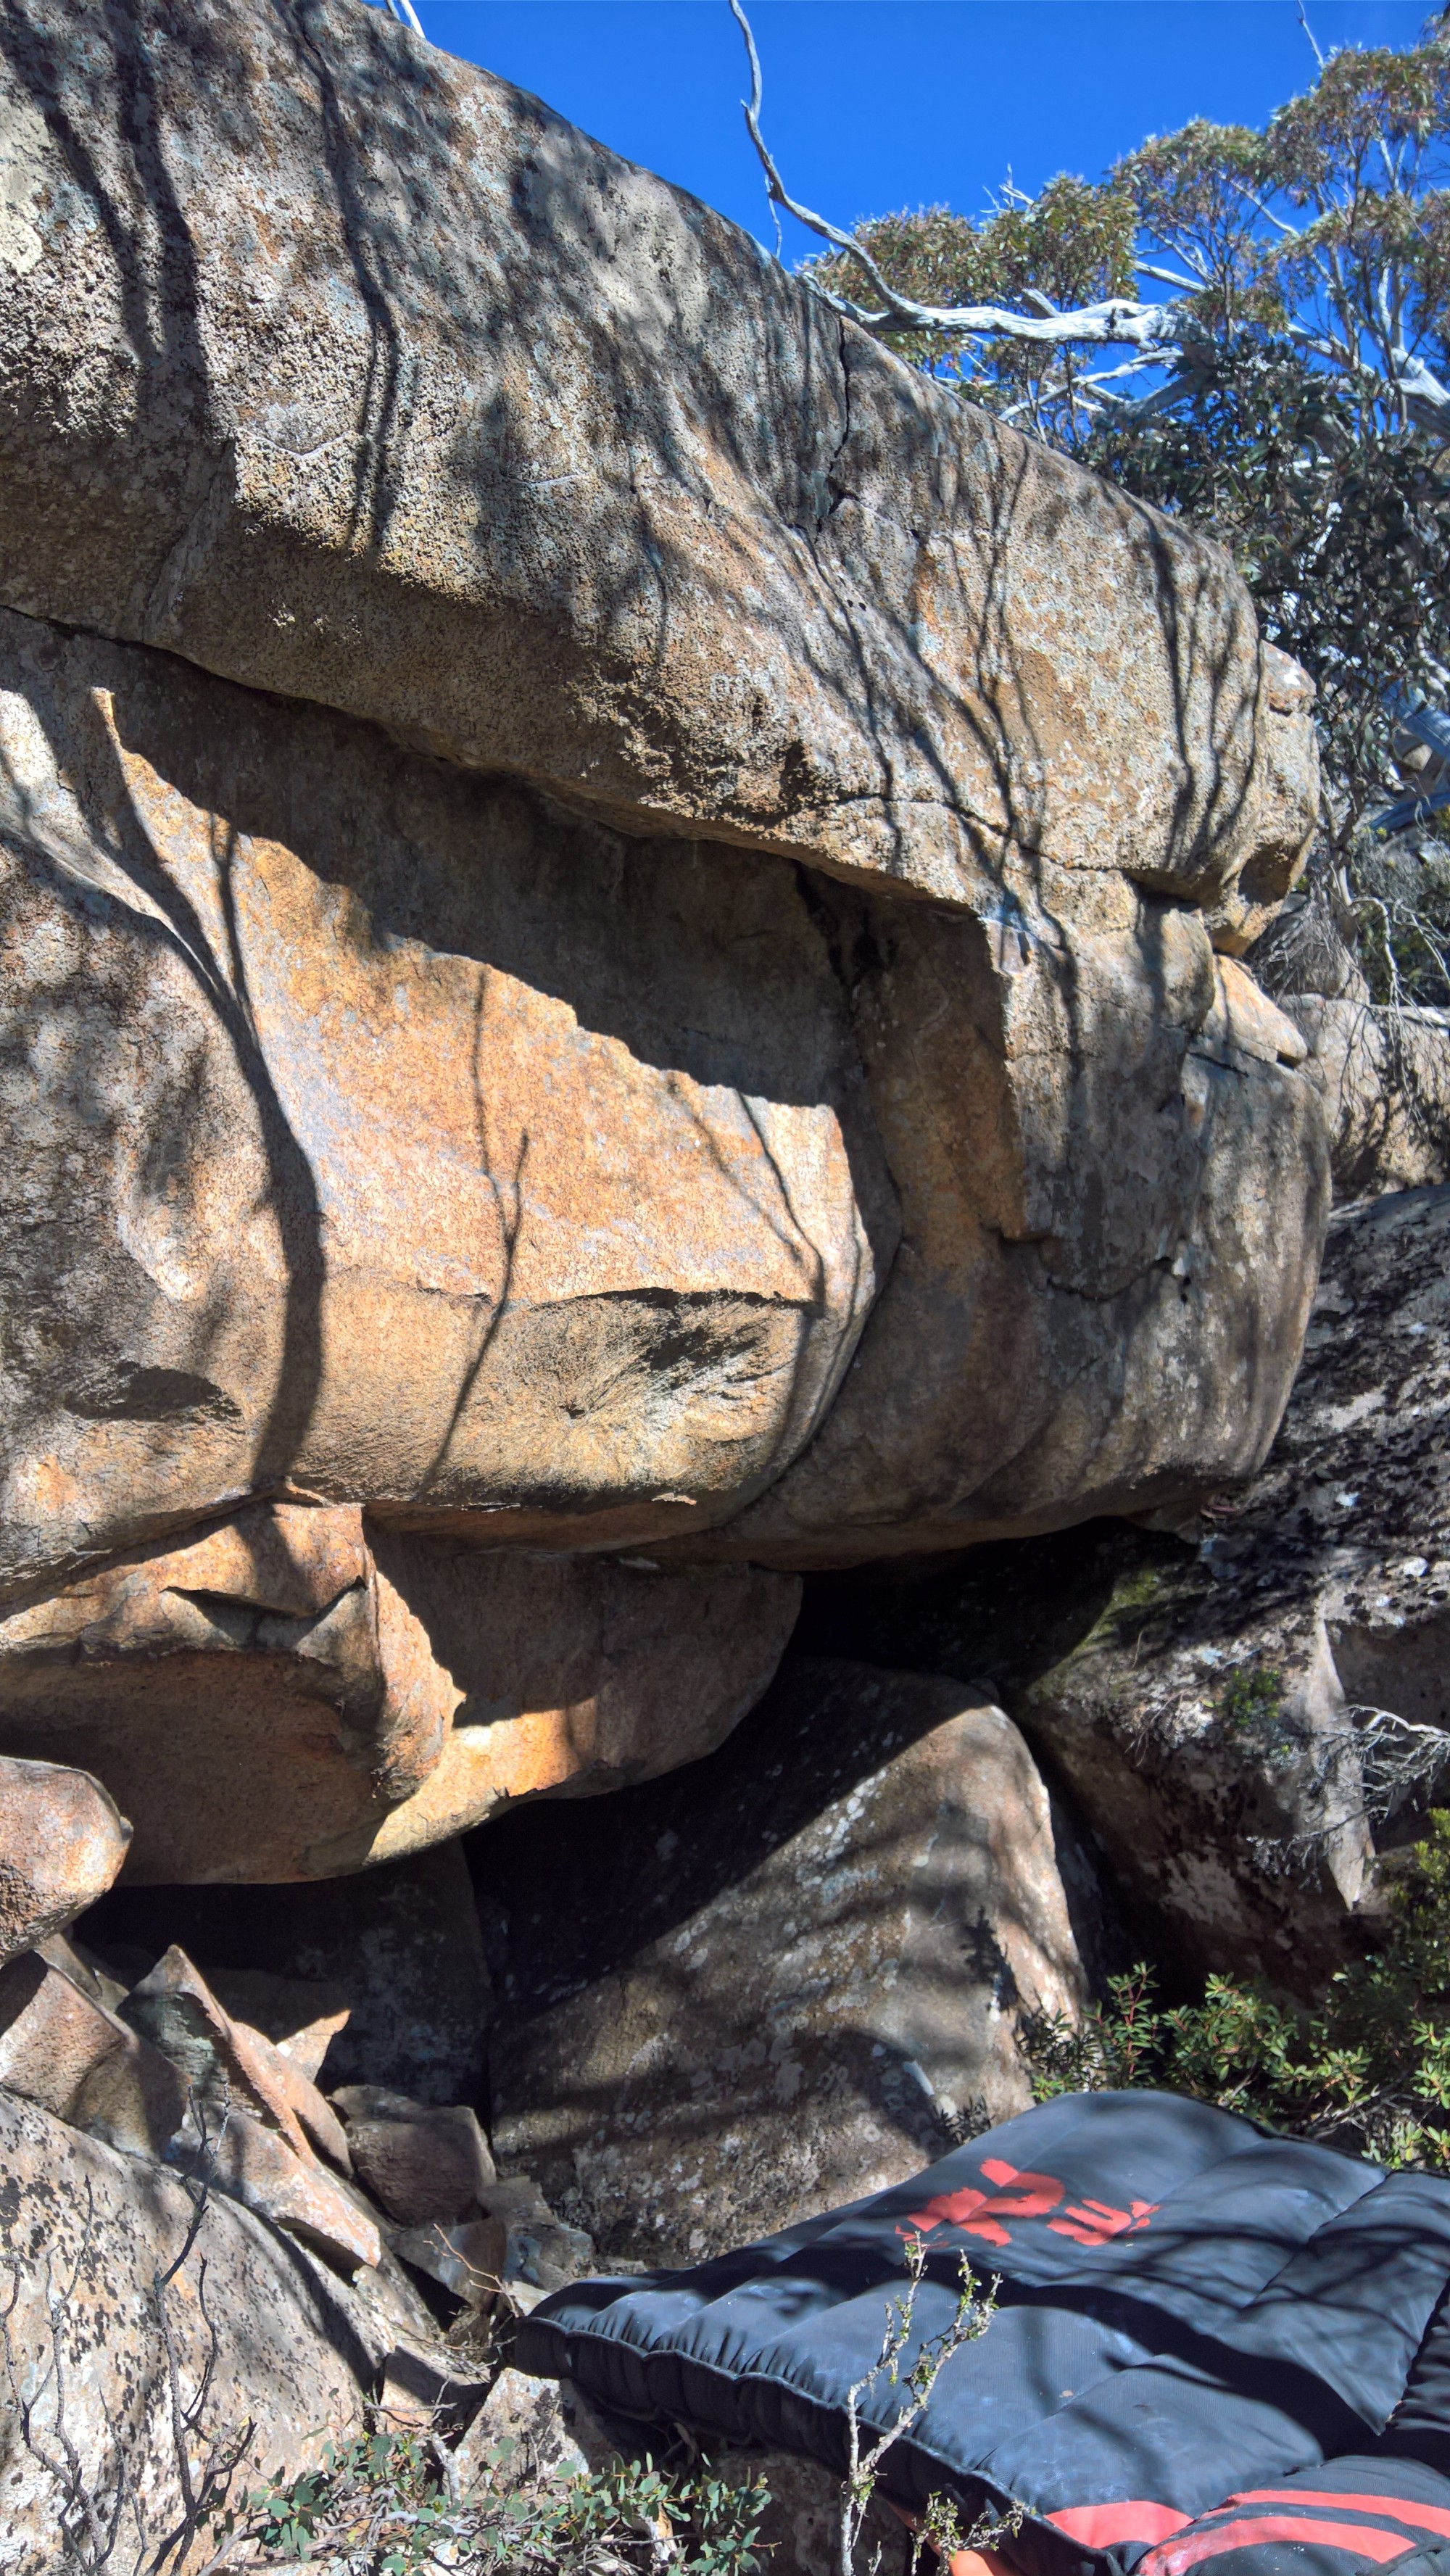
Start at the right hand end of the cutaway and head for the crack. Upgraded after hold broke.
Hang/sit should go.
Chin up on crimps then mantle on slopes. Tough looking sit.
Sub-Pinnacle
The Sub-Pinnacle is a small pinnacle above the road at Luckman's hut with a range of scattered boulders. The area can be accessed by parking above Luckman's Hut and heading south east or parking at the Panorama track and heading north west.
Warm up Area
The Warmup area is about 10m from the road directly up from the western end of the roadside pull in.
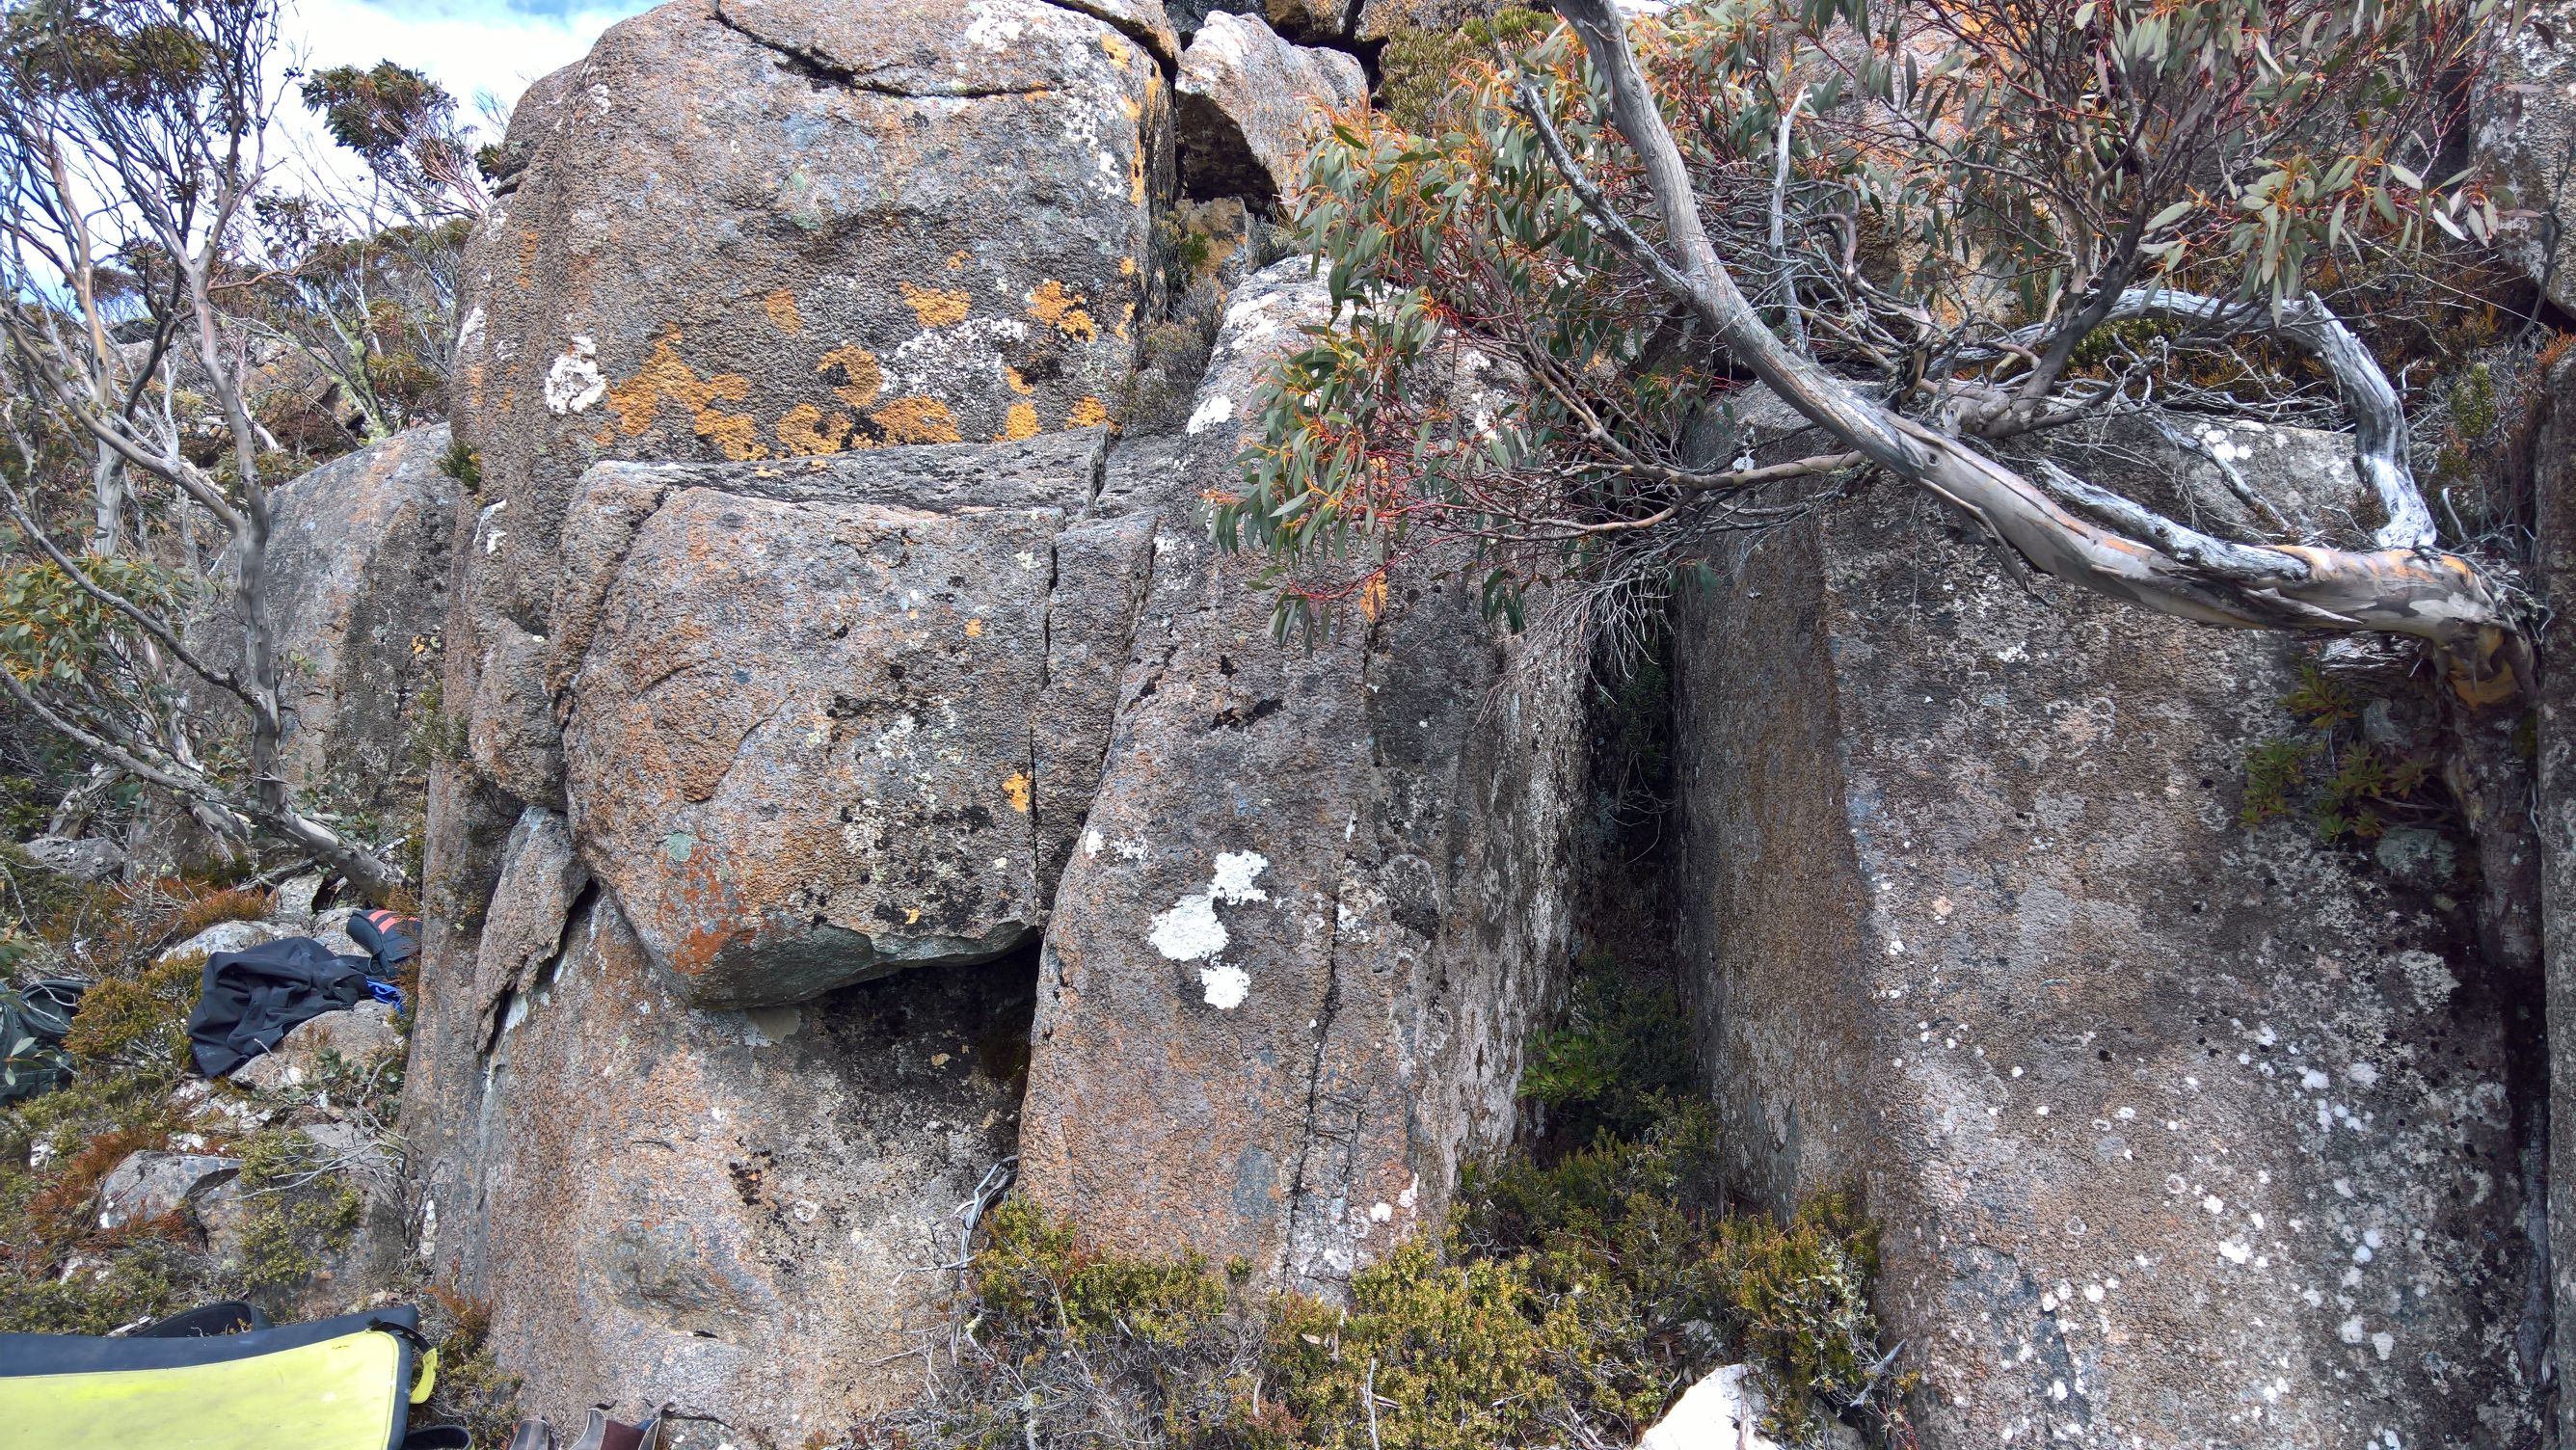
Fun in its own way. Start on the layaway, feet on the next block.
Start on the rounded undercling rock over and press out the mantle.
Layaway on the tallest of the dwarf boulders.
Leaning Boulder
Leaning boulder is about 10m from the roadside pull in. Scramble up the rocks at the Eastern end of the pull in, head across the blocks until you can step through the snow gums to Grunt.
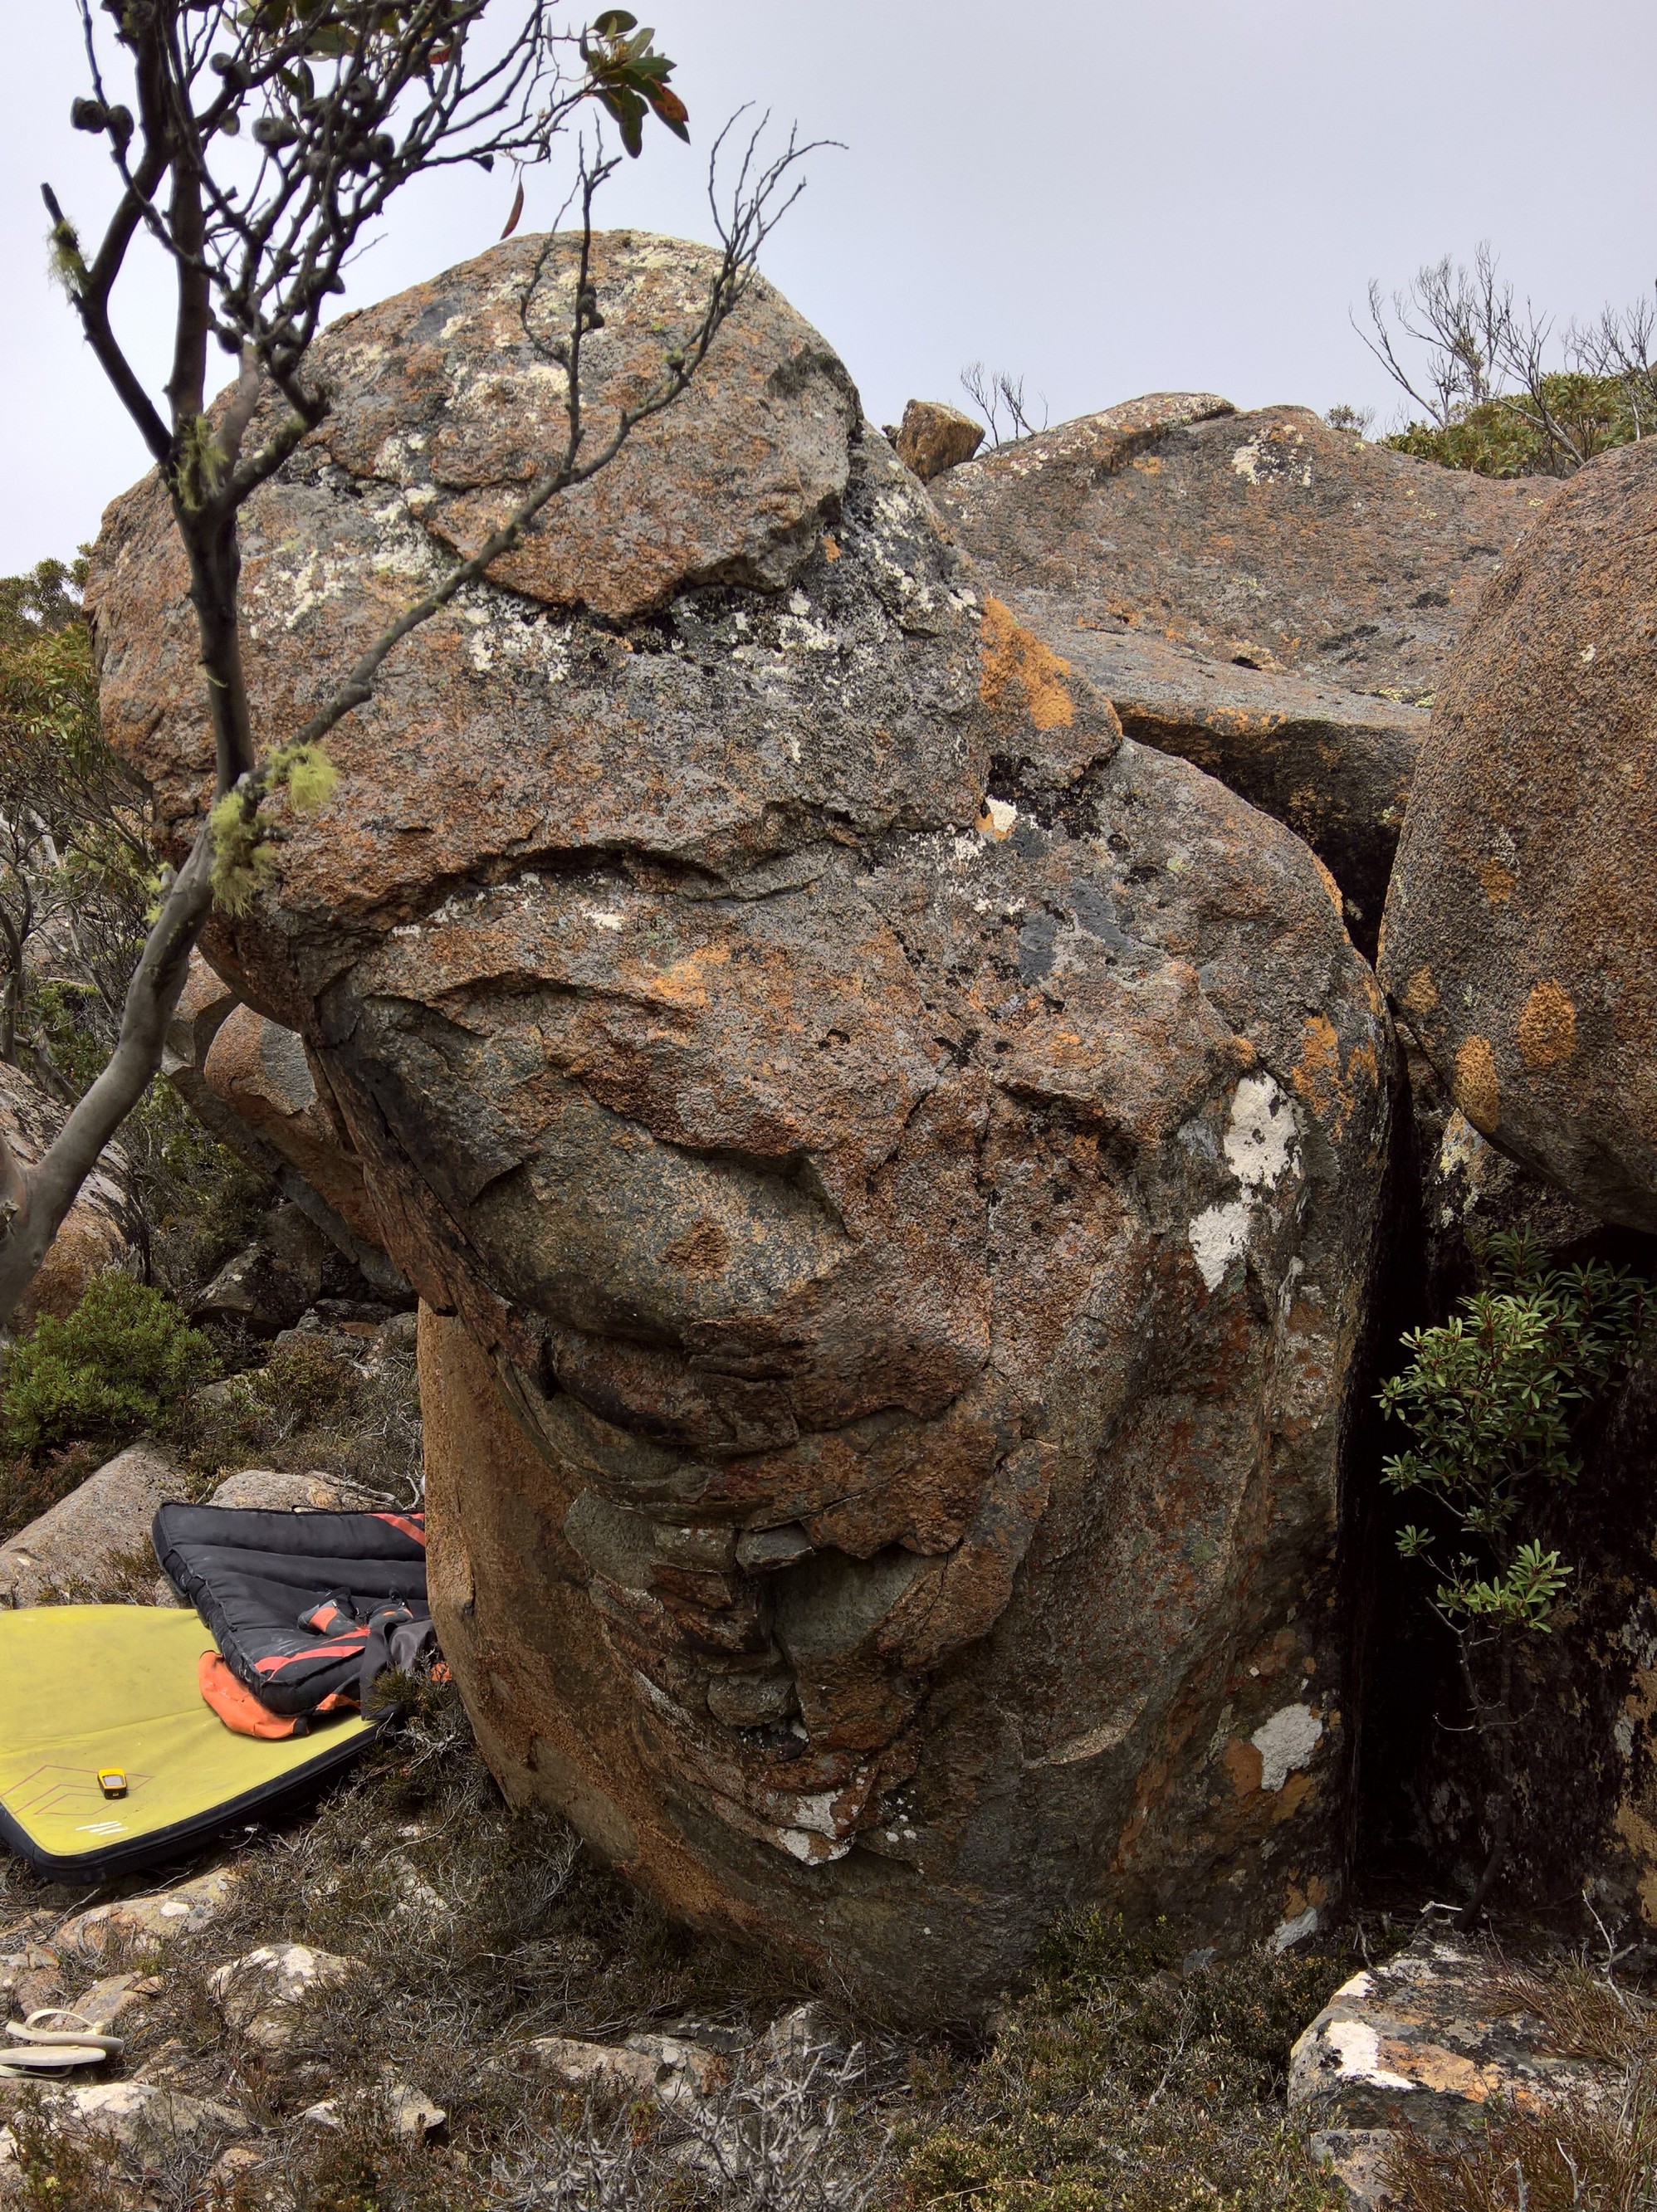
To the right of Grunt, follow the holds right.
Grab the pinch and head for the top. Harder if your short, easier if your tall.
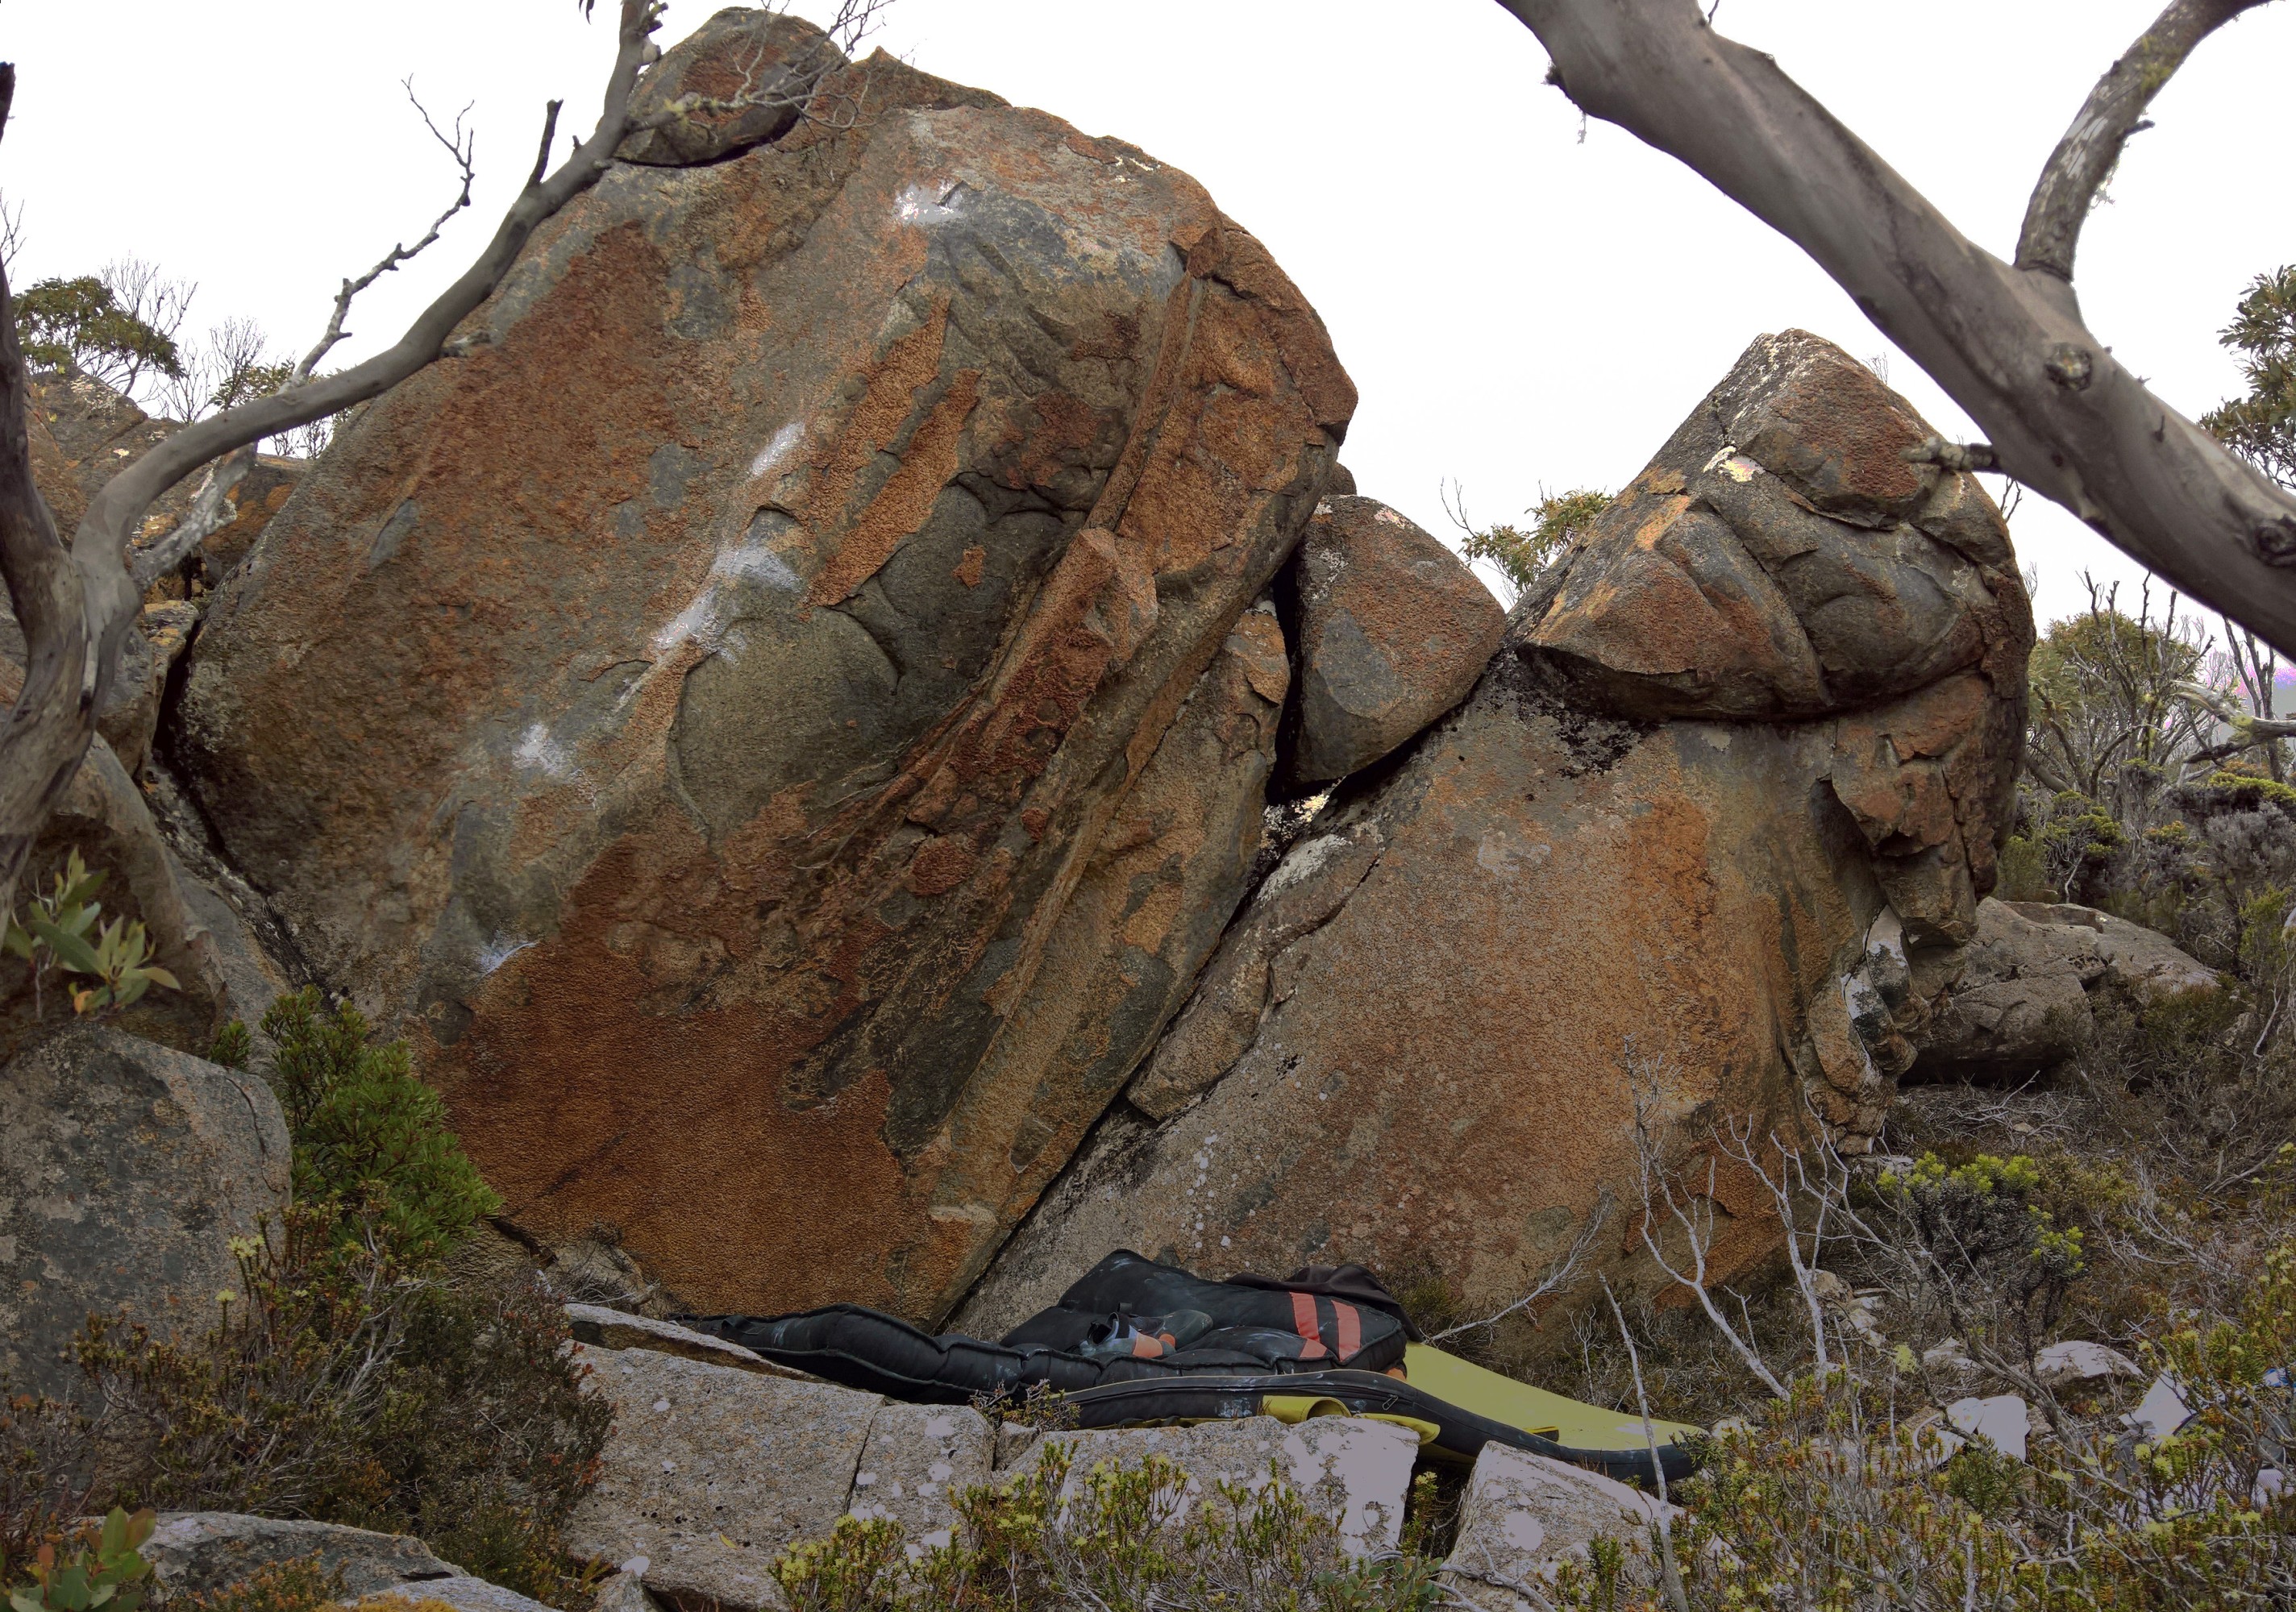
The leaning line 3m left of Grunt. Classic steep slope problem. Compression sit start with right hand on slopey side pull rail and left on the leftest lowest big side pull. Stand start is V3.
Skin Surgeon Area
The Skin Surgeon boulder is about 10m uphill from Leaning boulder and 5m East of the Warmup Area.
5m Right of Slopey Slide.Start in the hole and jug it to the top.
Climb the arete to the top.
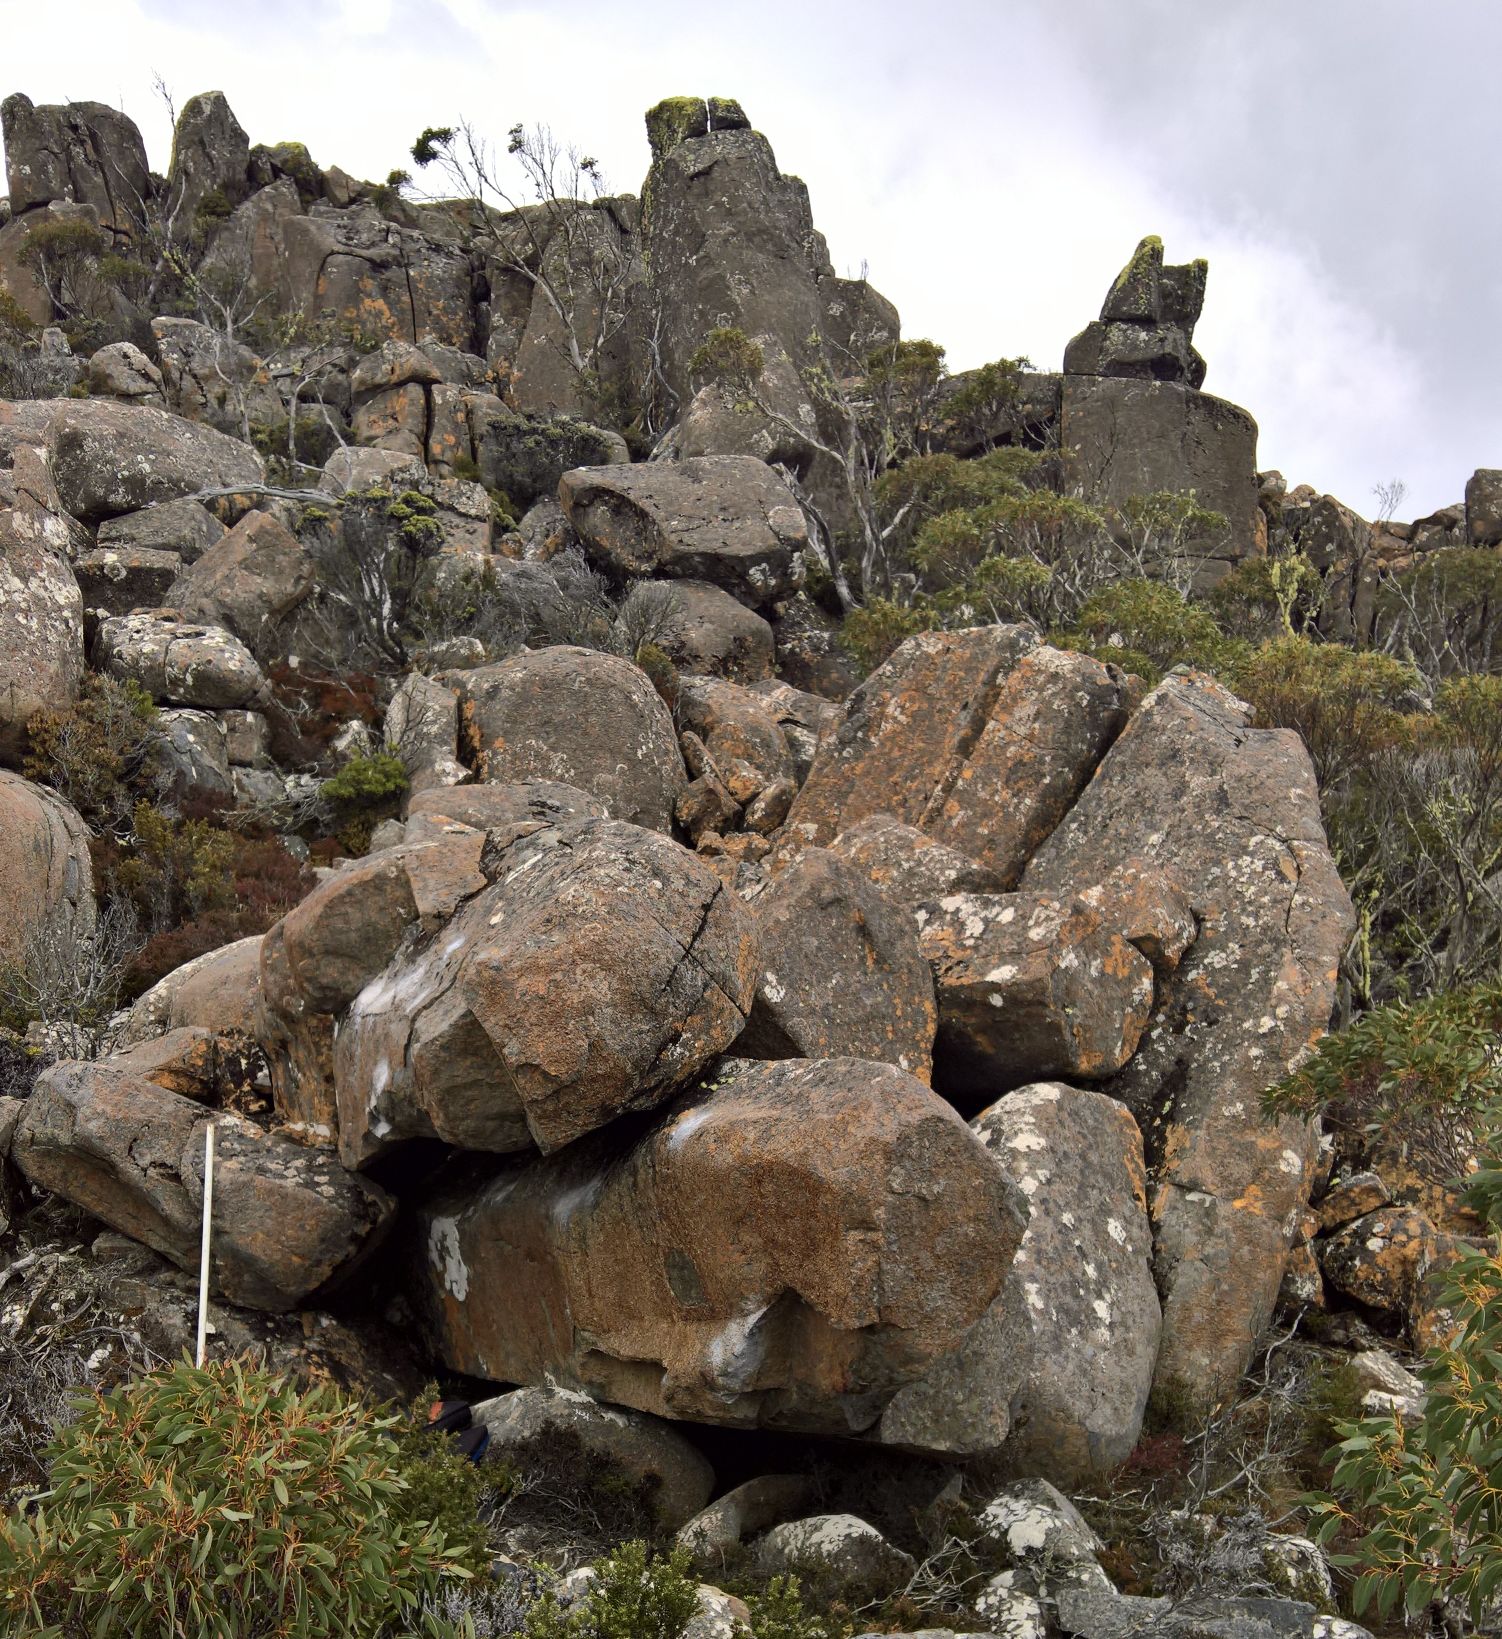
Start to the right of the nose. Climb up and around.
Start with both hands on rounded undercling. Finish on the slopey topout
Start with a hand on the good sidepull and one on the lip jug.
Highgarden Boulders
These boulders are directly uphill from the skin surgeon area and very prominent. Early days, but plenty of potential and unclimbed lines. Bring a few extra pads if looking at the tall blocks. The first few problems are to the far right of the viewed boulders.
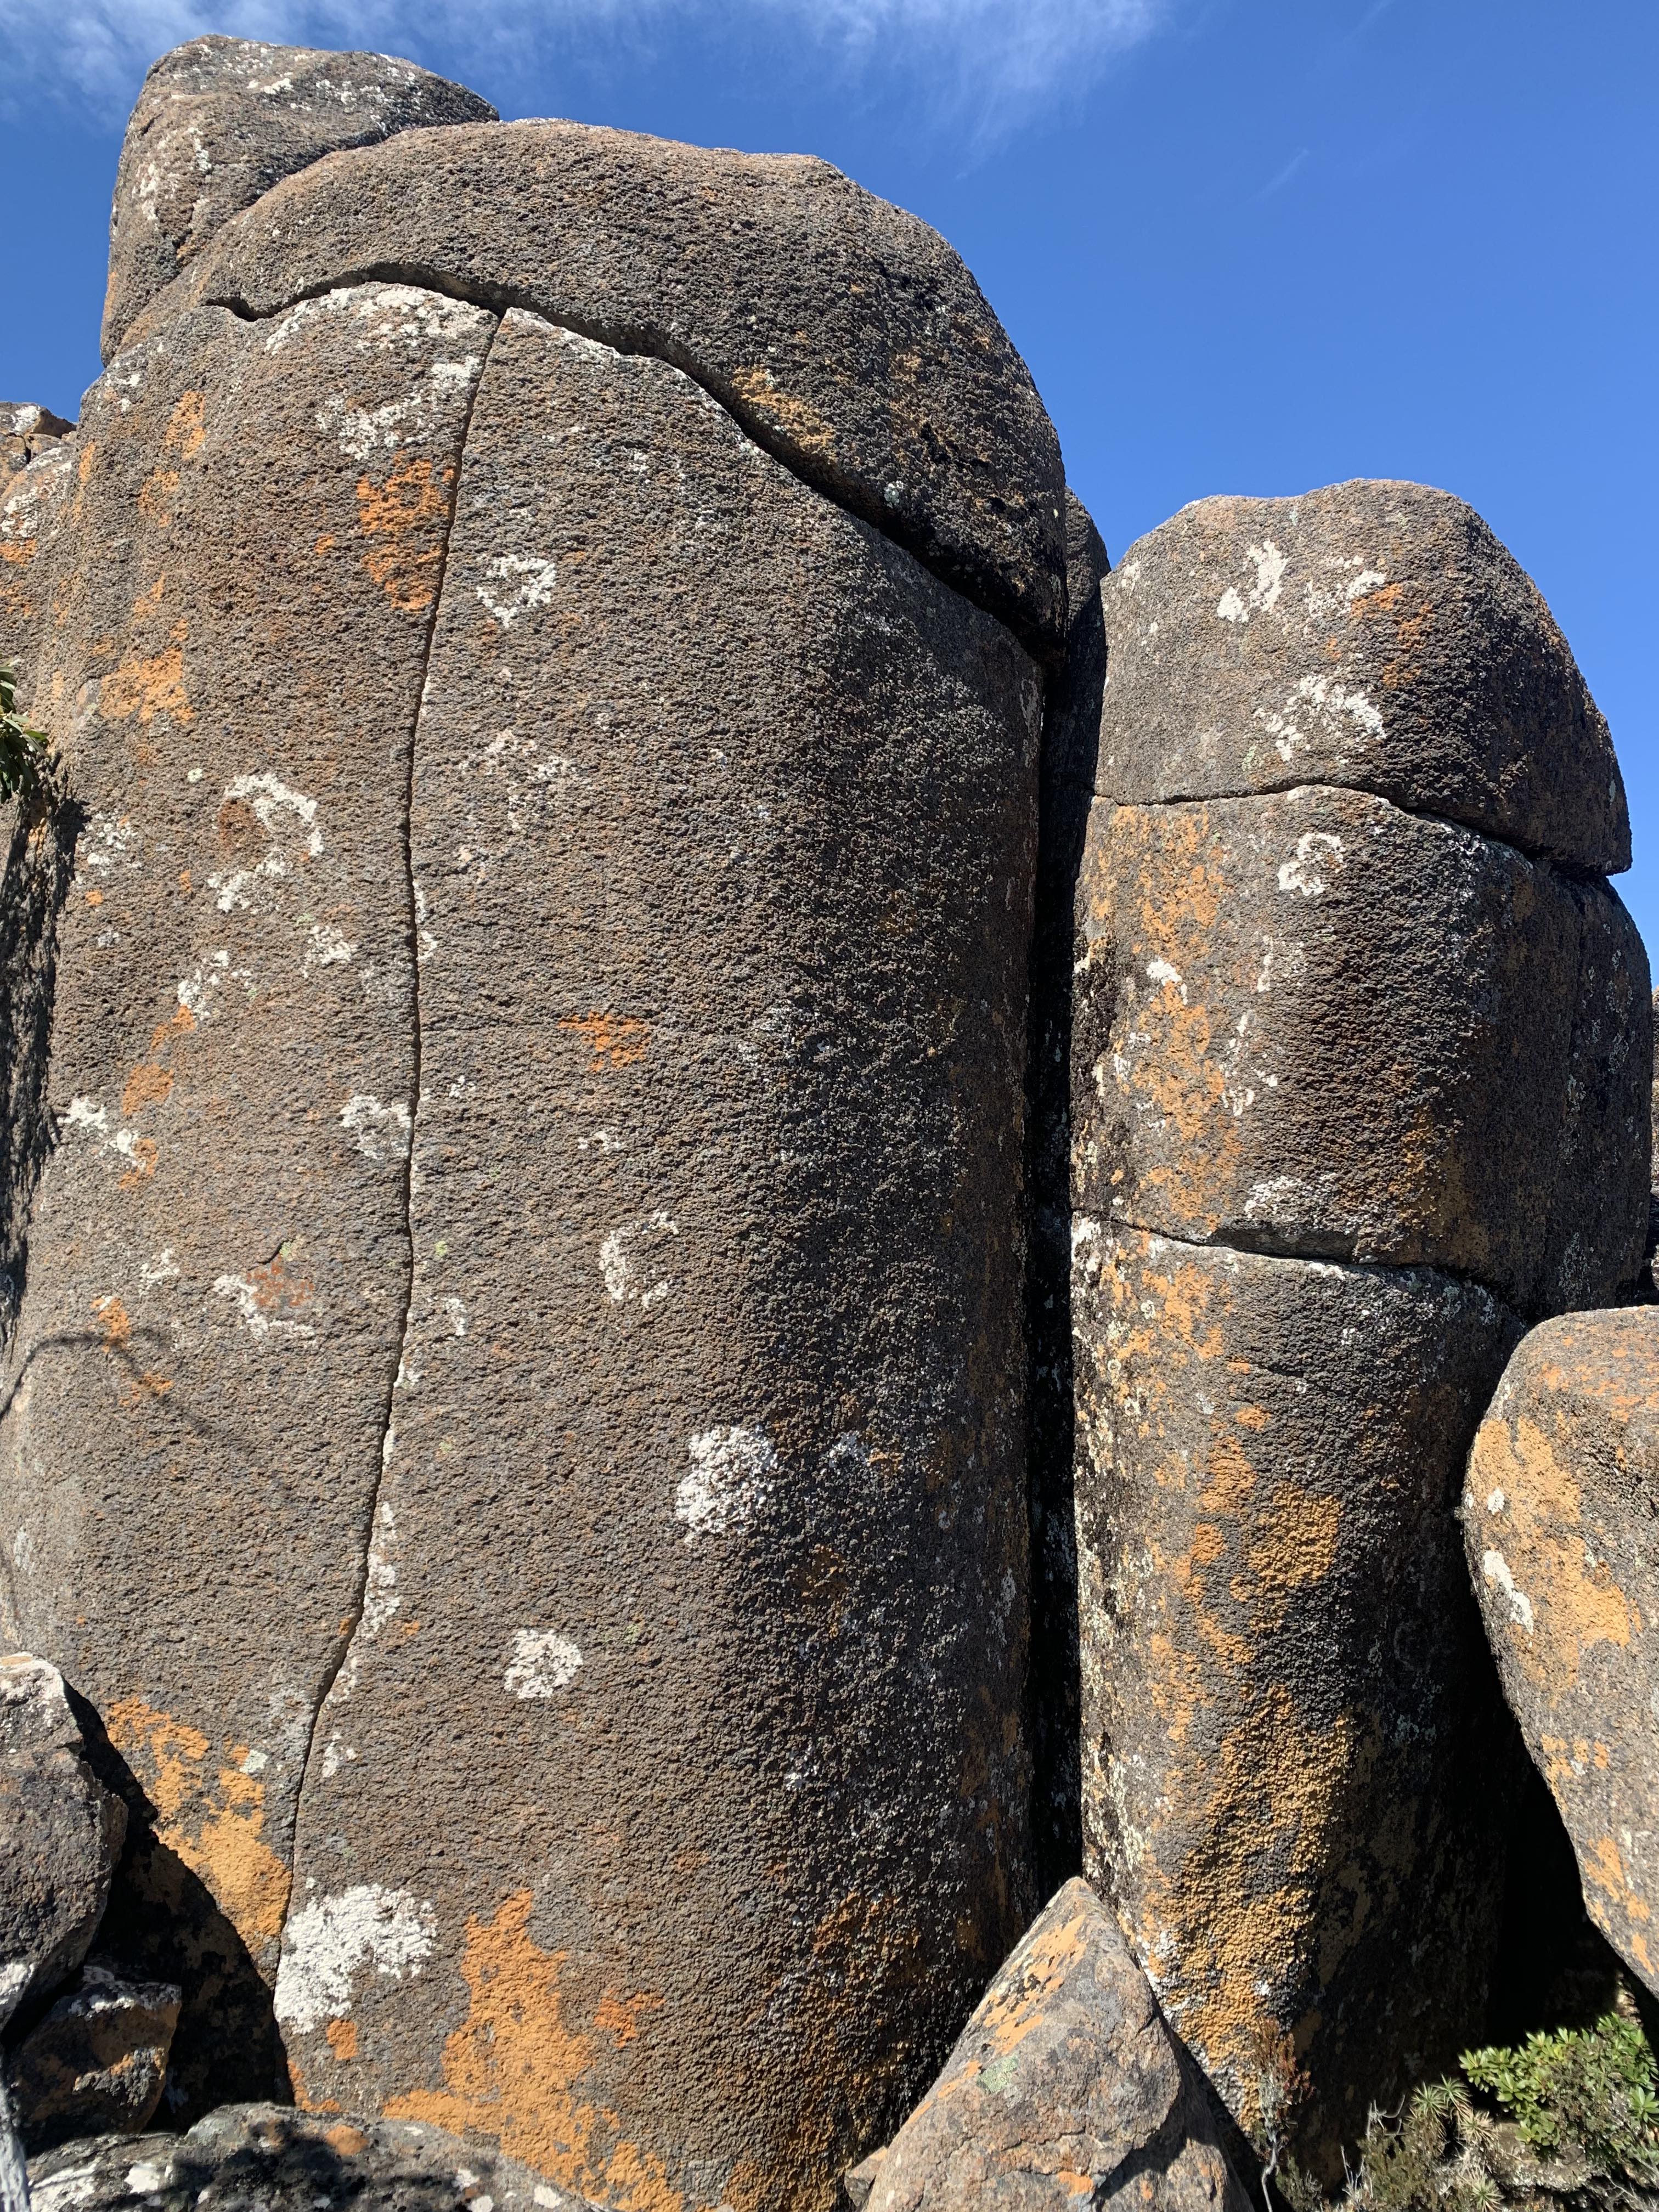
Sit start, layback to the left, and straight up.
M & C Reekie 2023
Hang start on the obvious jug, power up to precise crimps and then again to the top. Short and smooth.
C & M Reekie 2023.
Sideways Area
The Sideways area has a range of boulders from low to high and slab to steep. There are plenty of boulders with potential in this area.
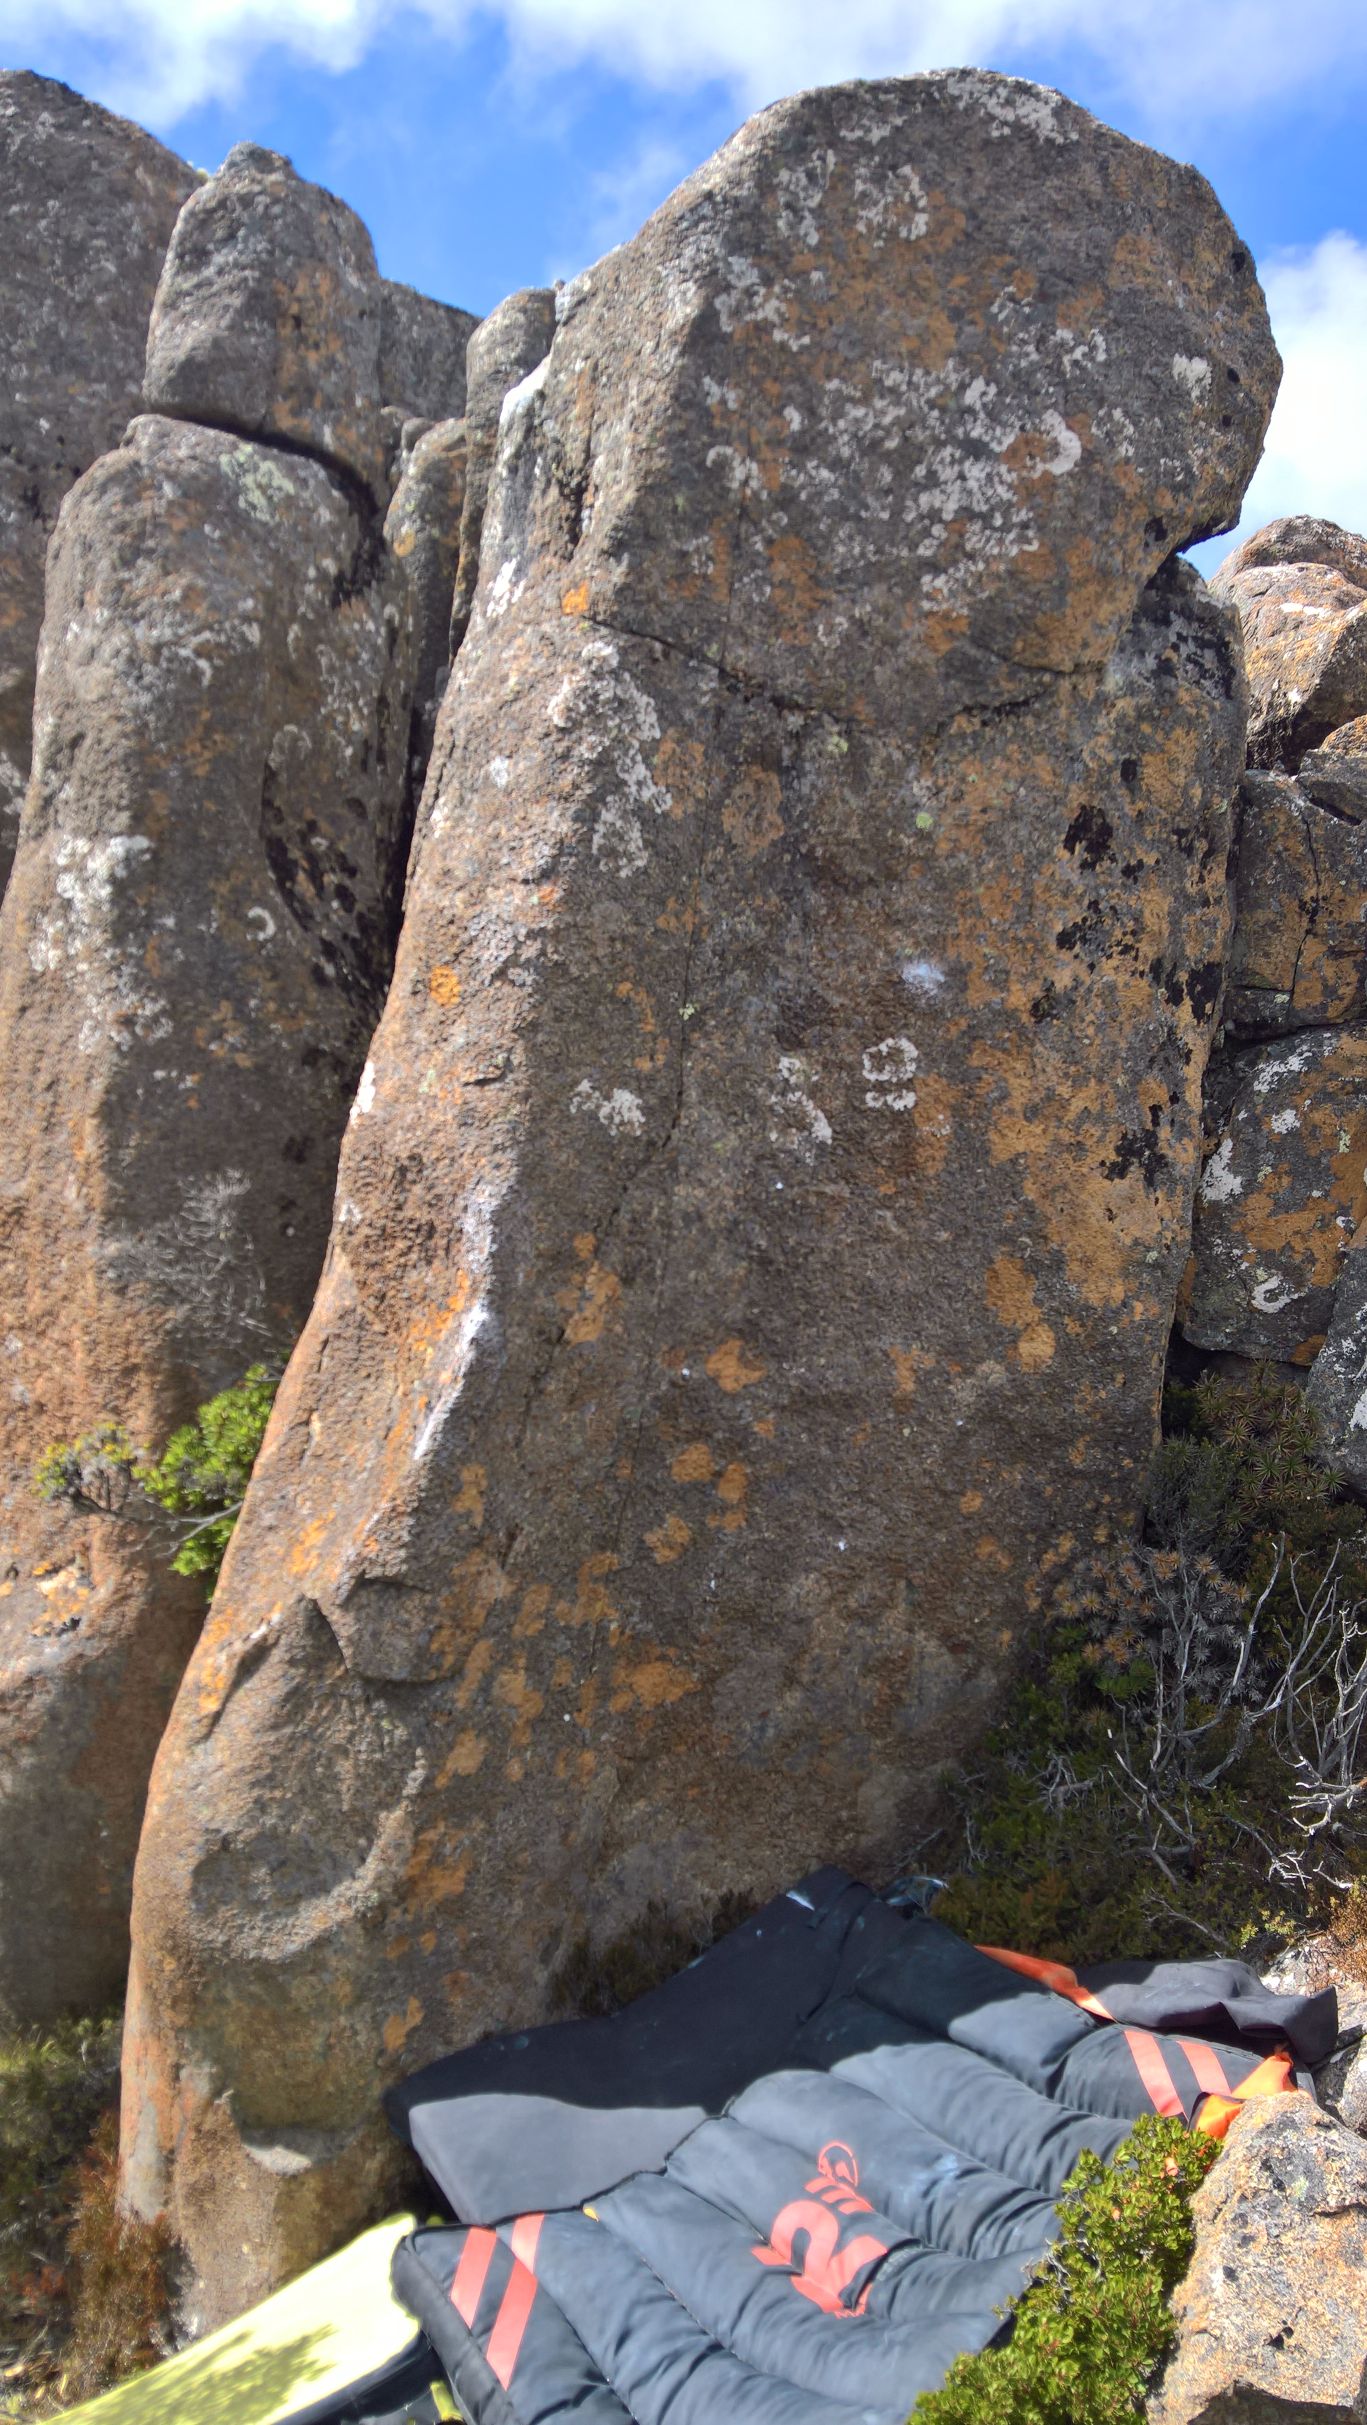
Climb the left arete of the face.
Enjoyable easy arete.
To the left is a range of high ball lines.
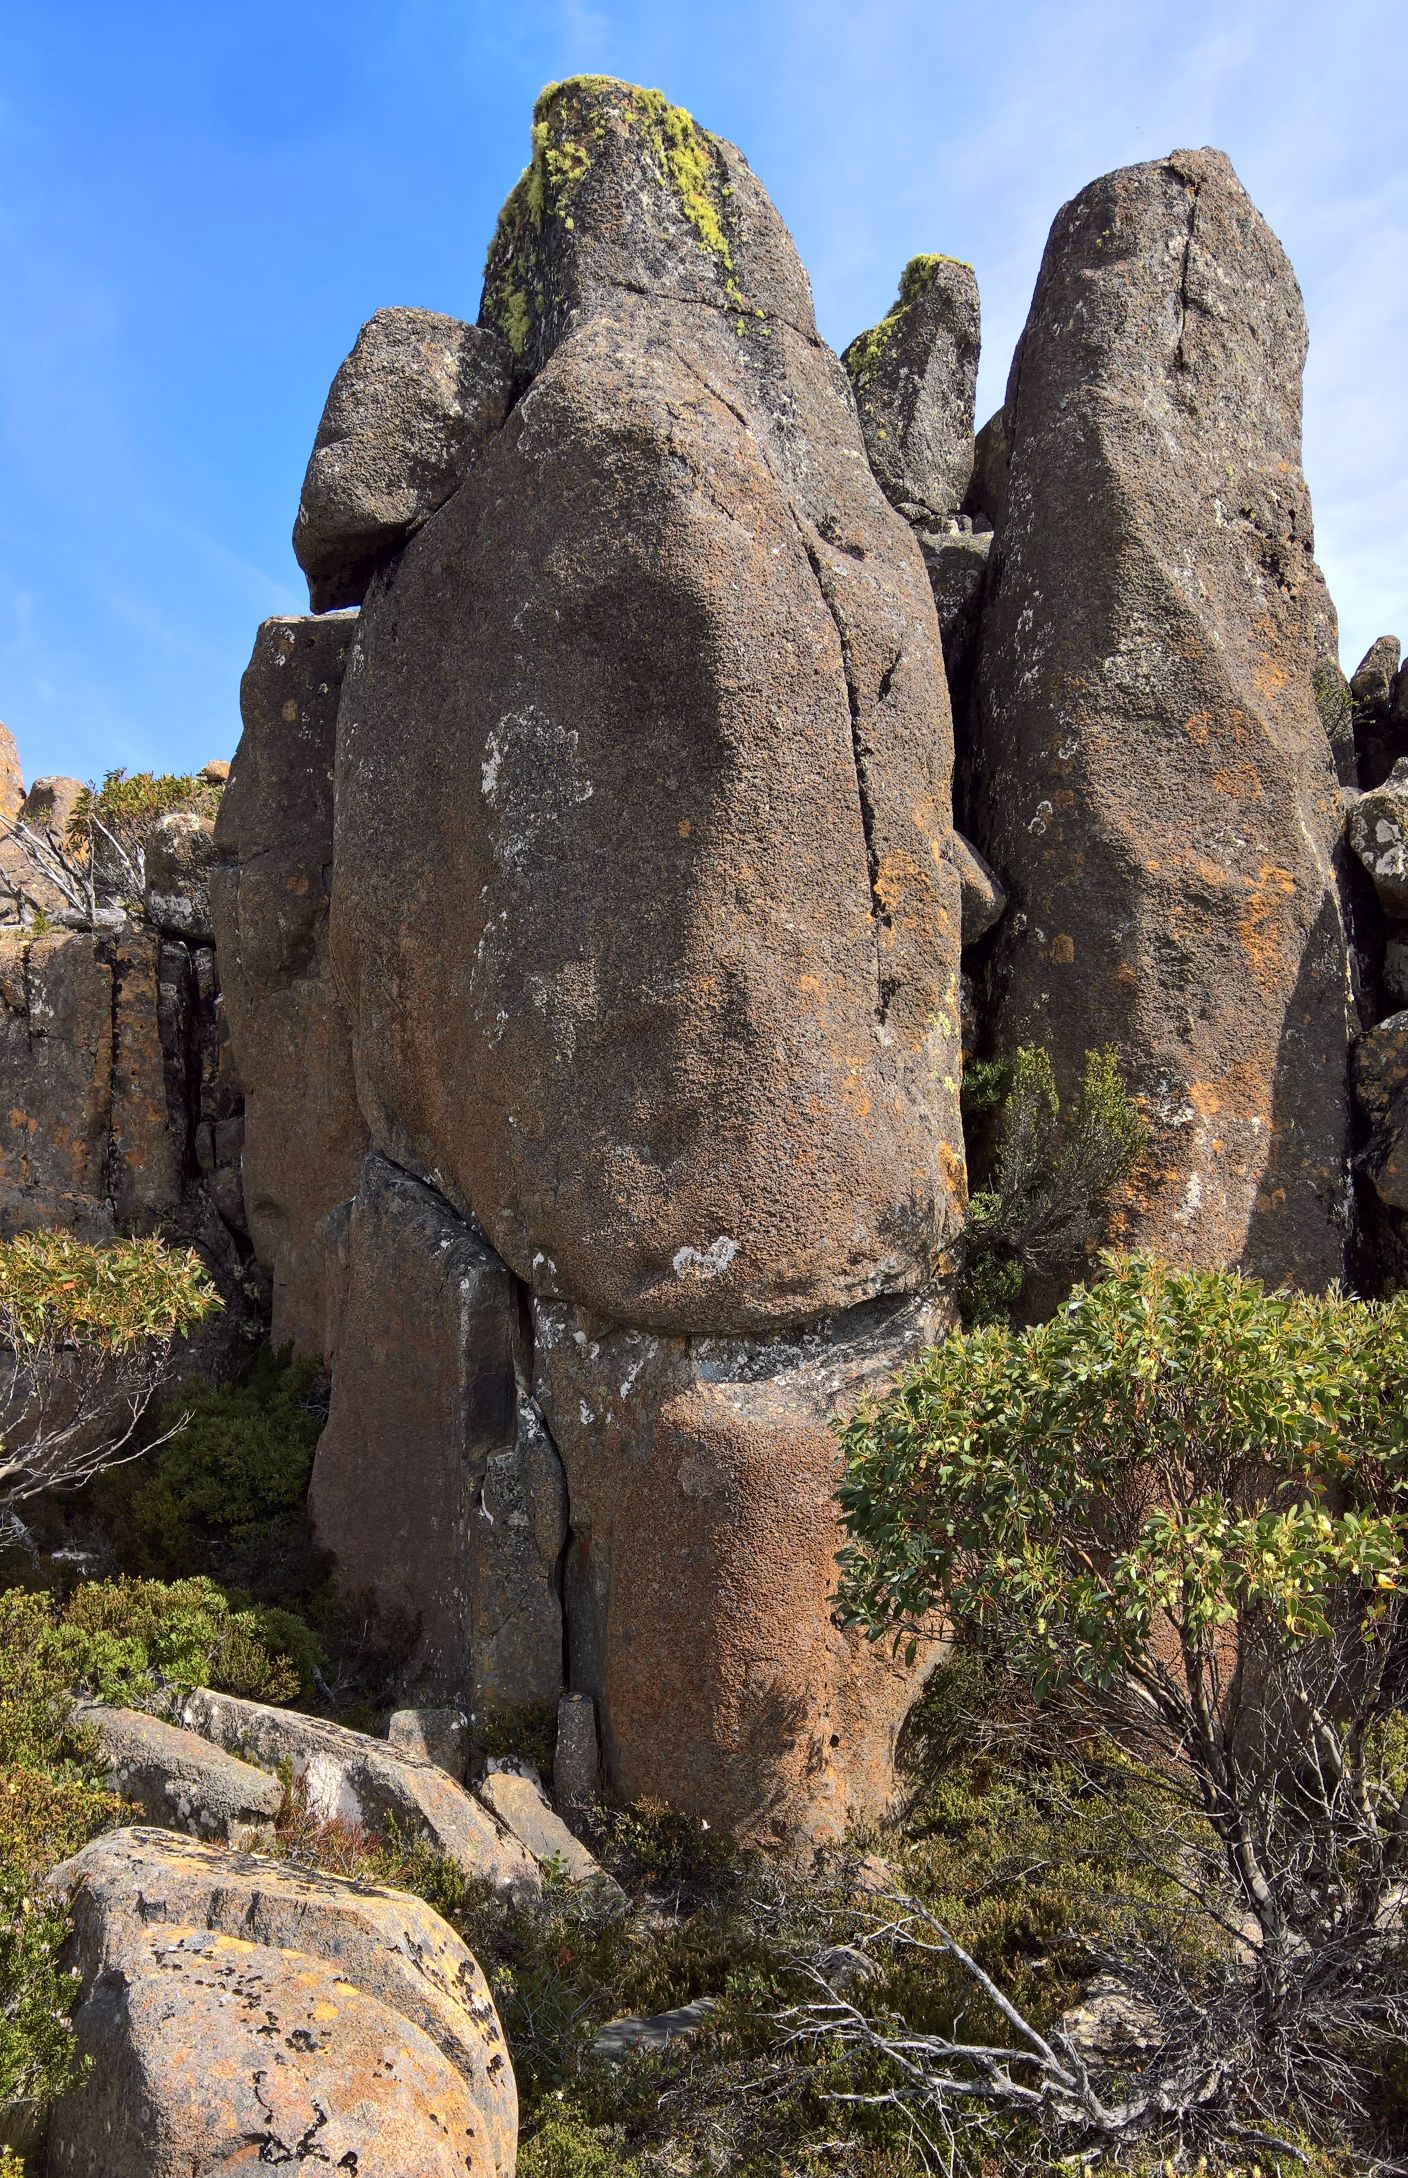
Unclimbed
Unclimbed
Unclimbed
Unclimbed
Three metres right of the unclimbed problems. Up over the block sitting on the block. Careful as the top block is large and moves slightly.
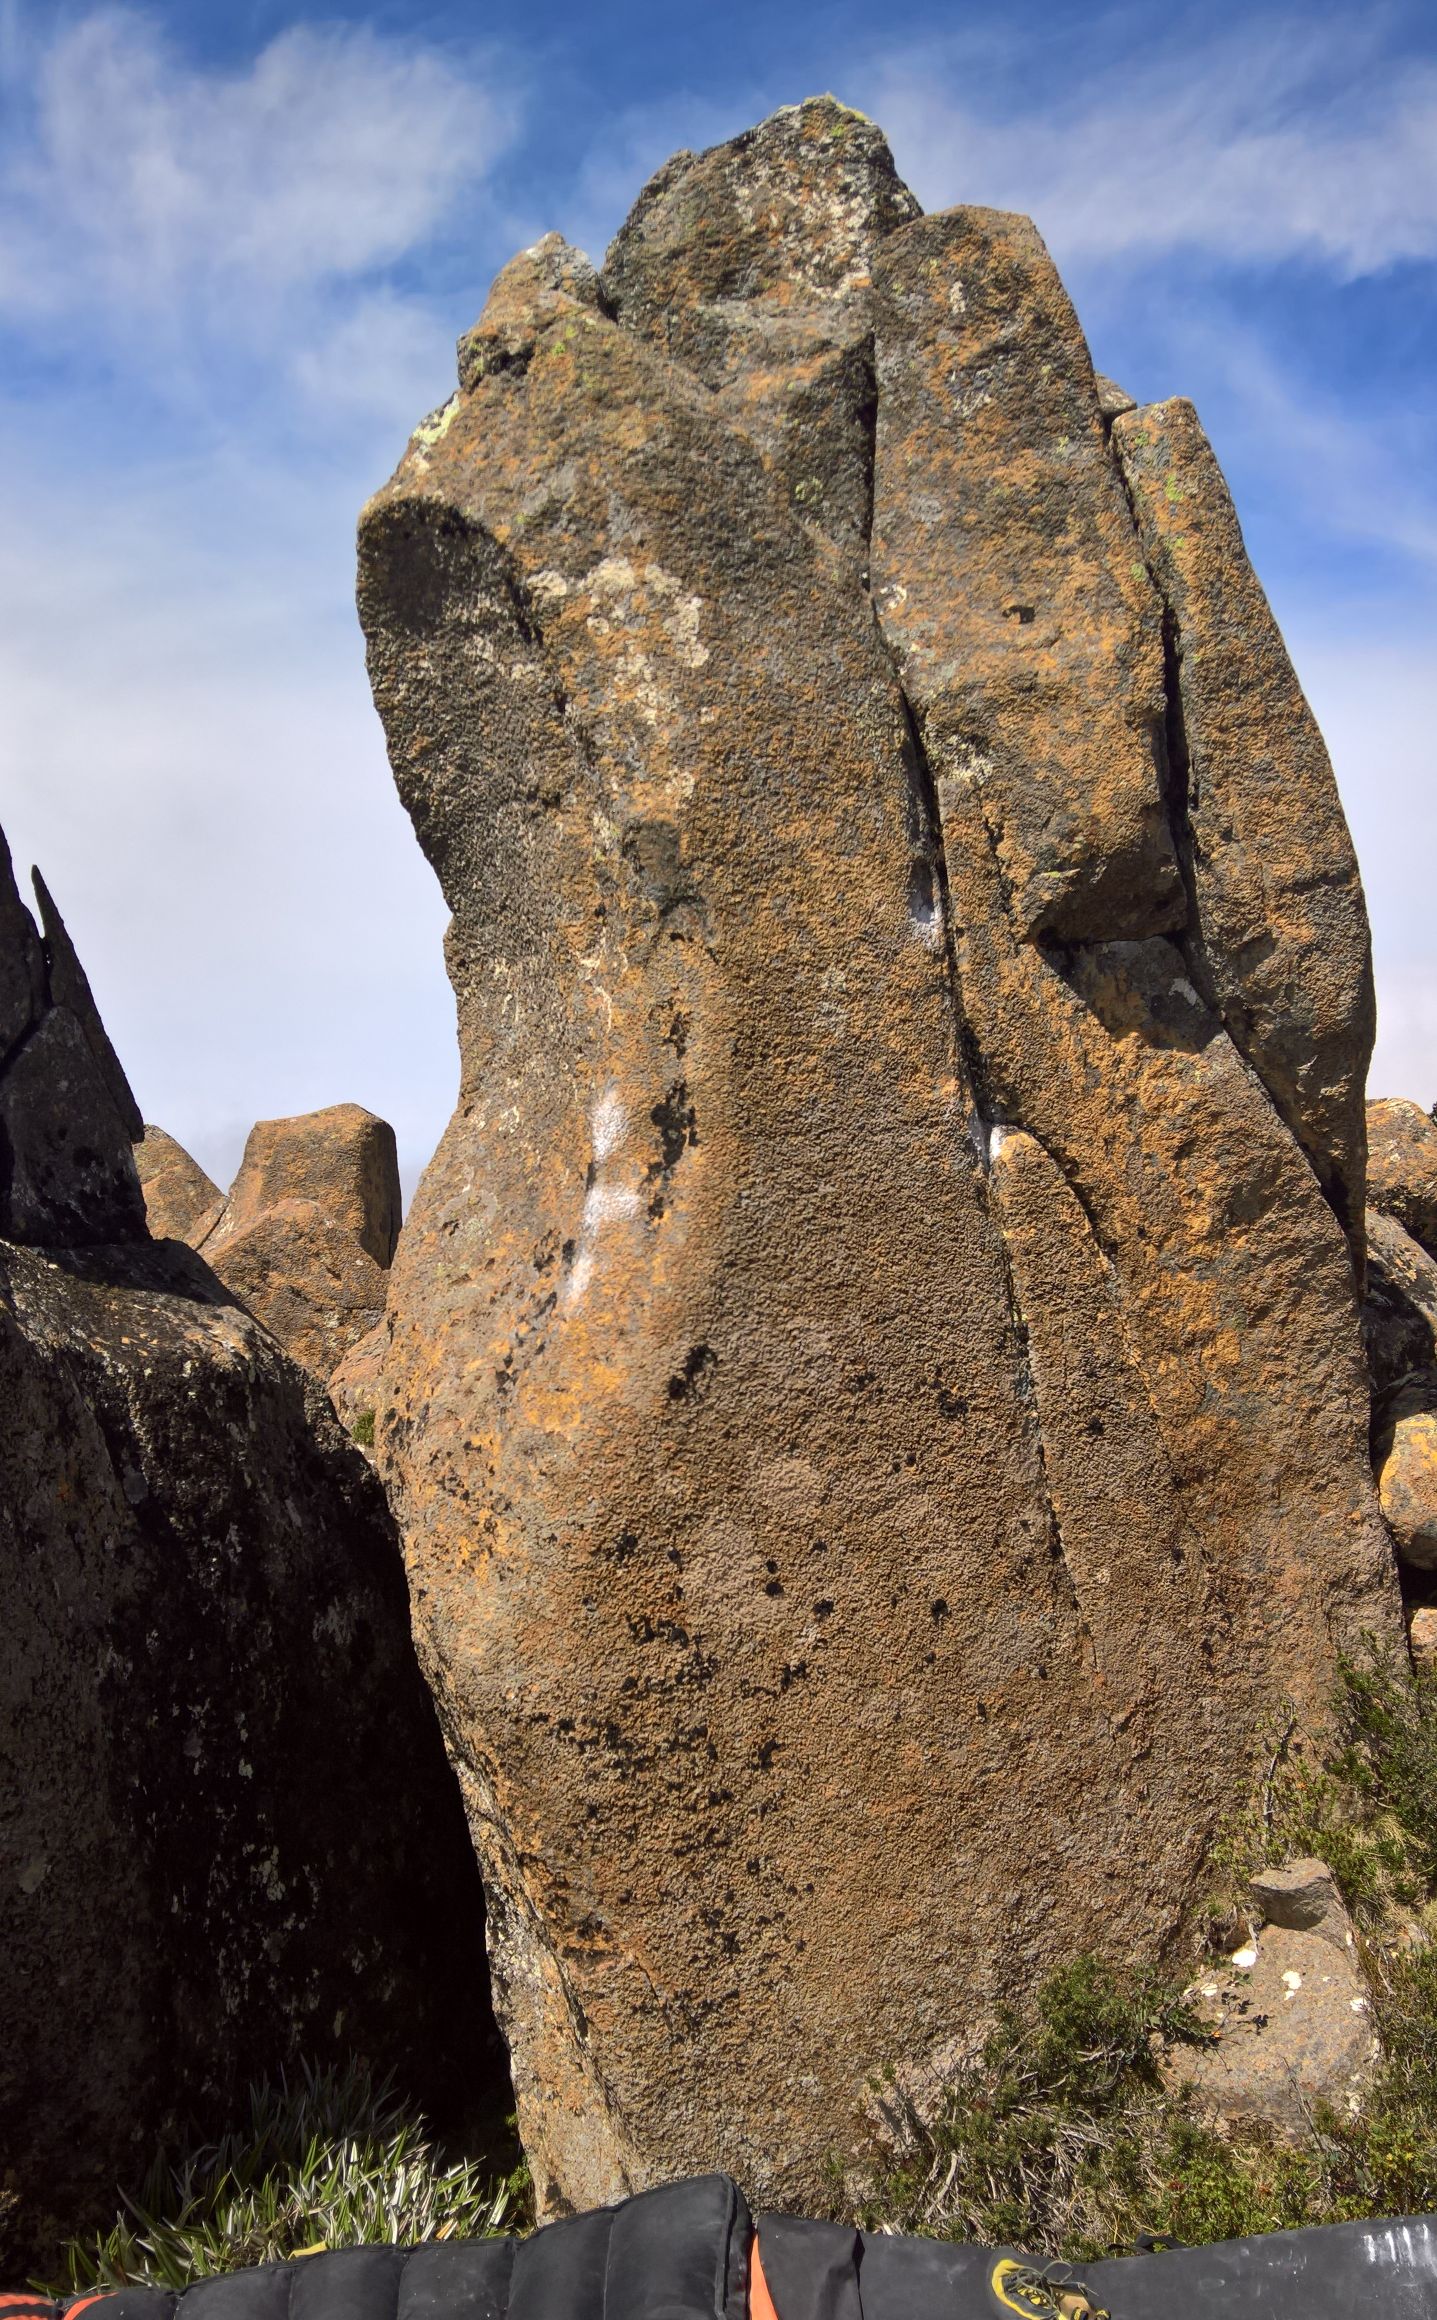
Follow crack to the top
Start using slopes and big foot hold. Rockover.
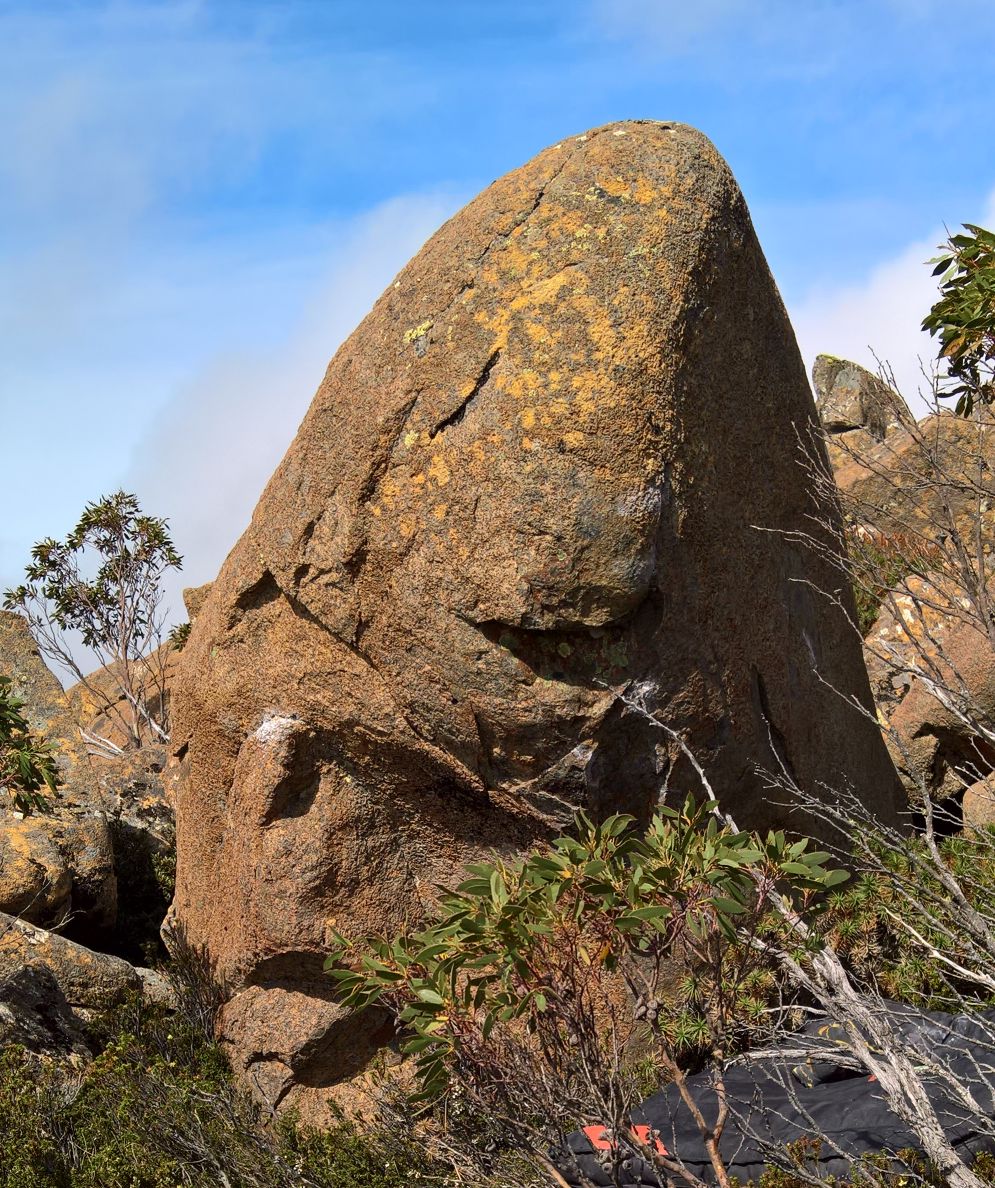
Start on pinch and crimp.
Use layaway and pinch finish left
10m to the east of the samosa block is the mantle block with some nice warm ups.
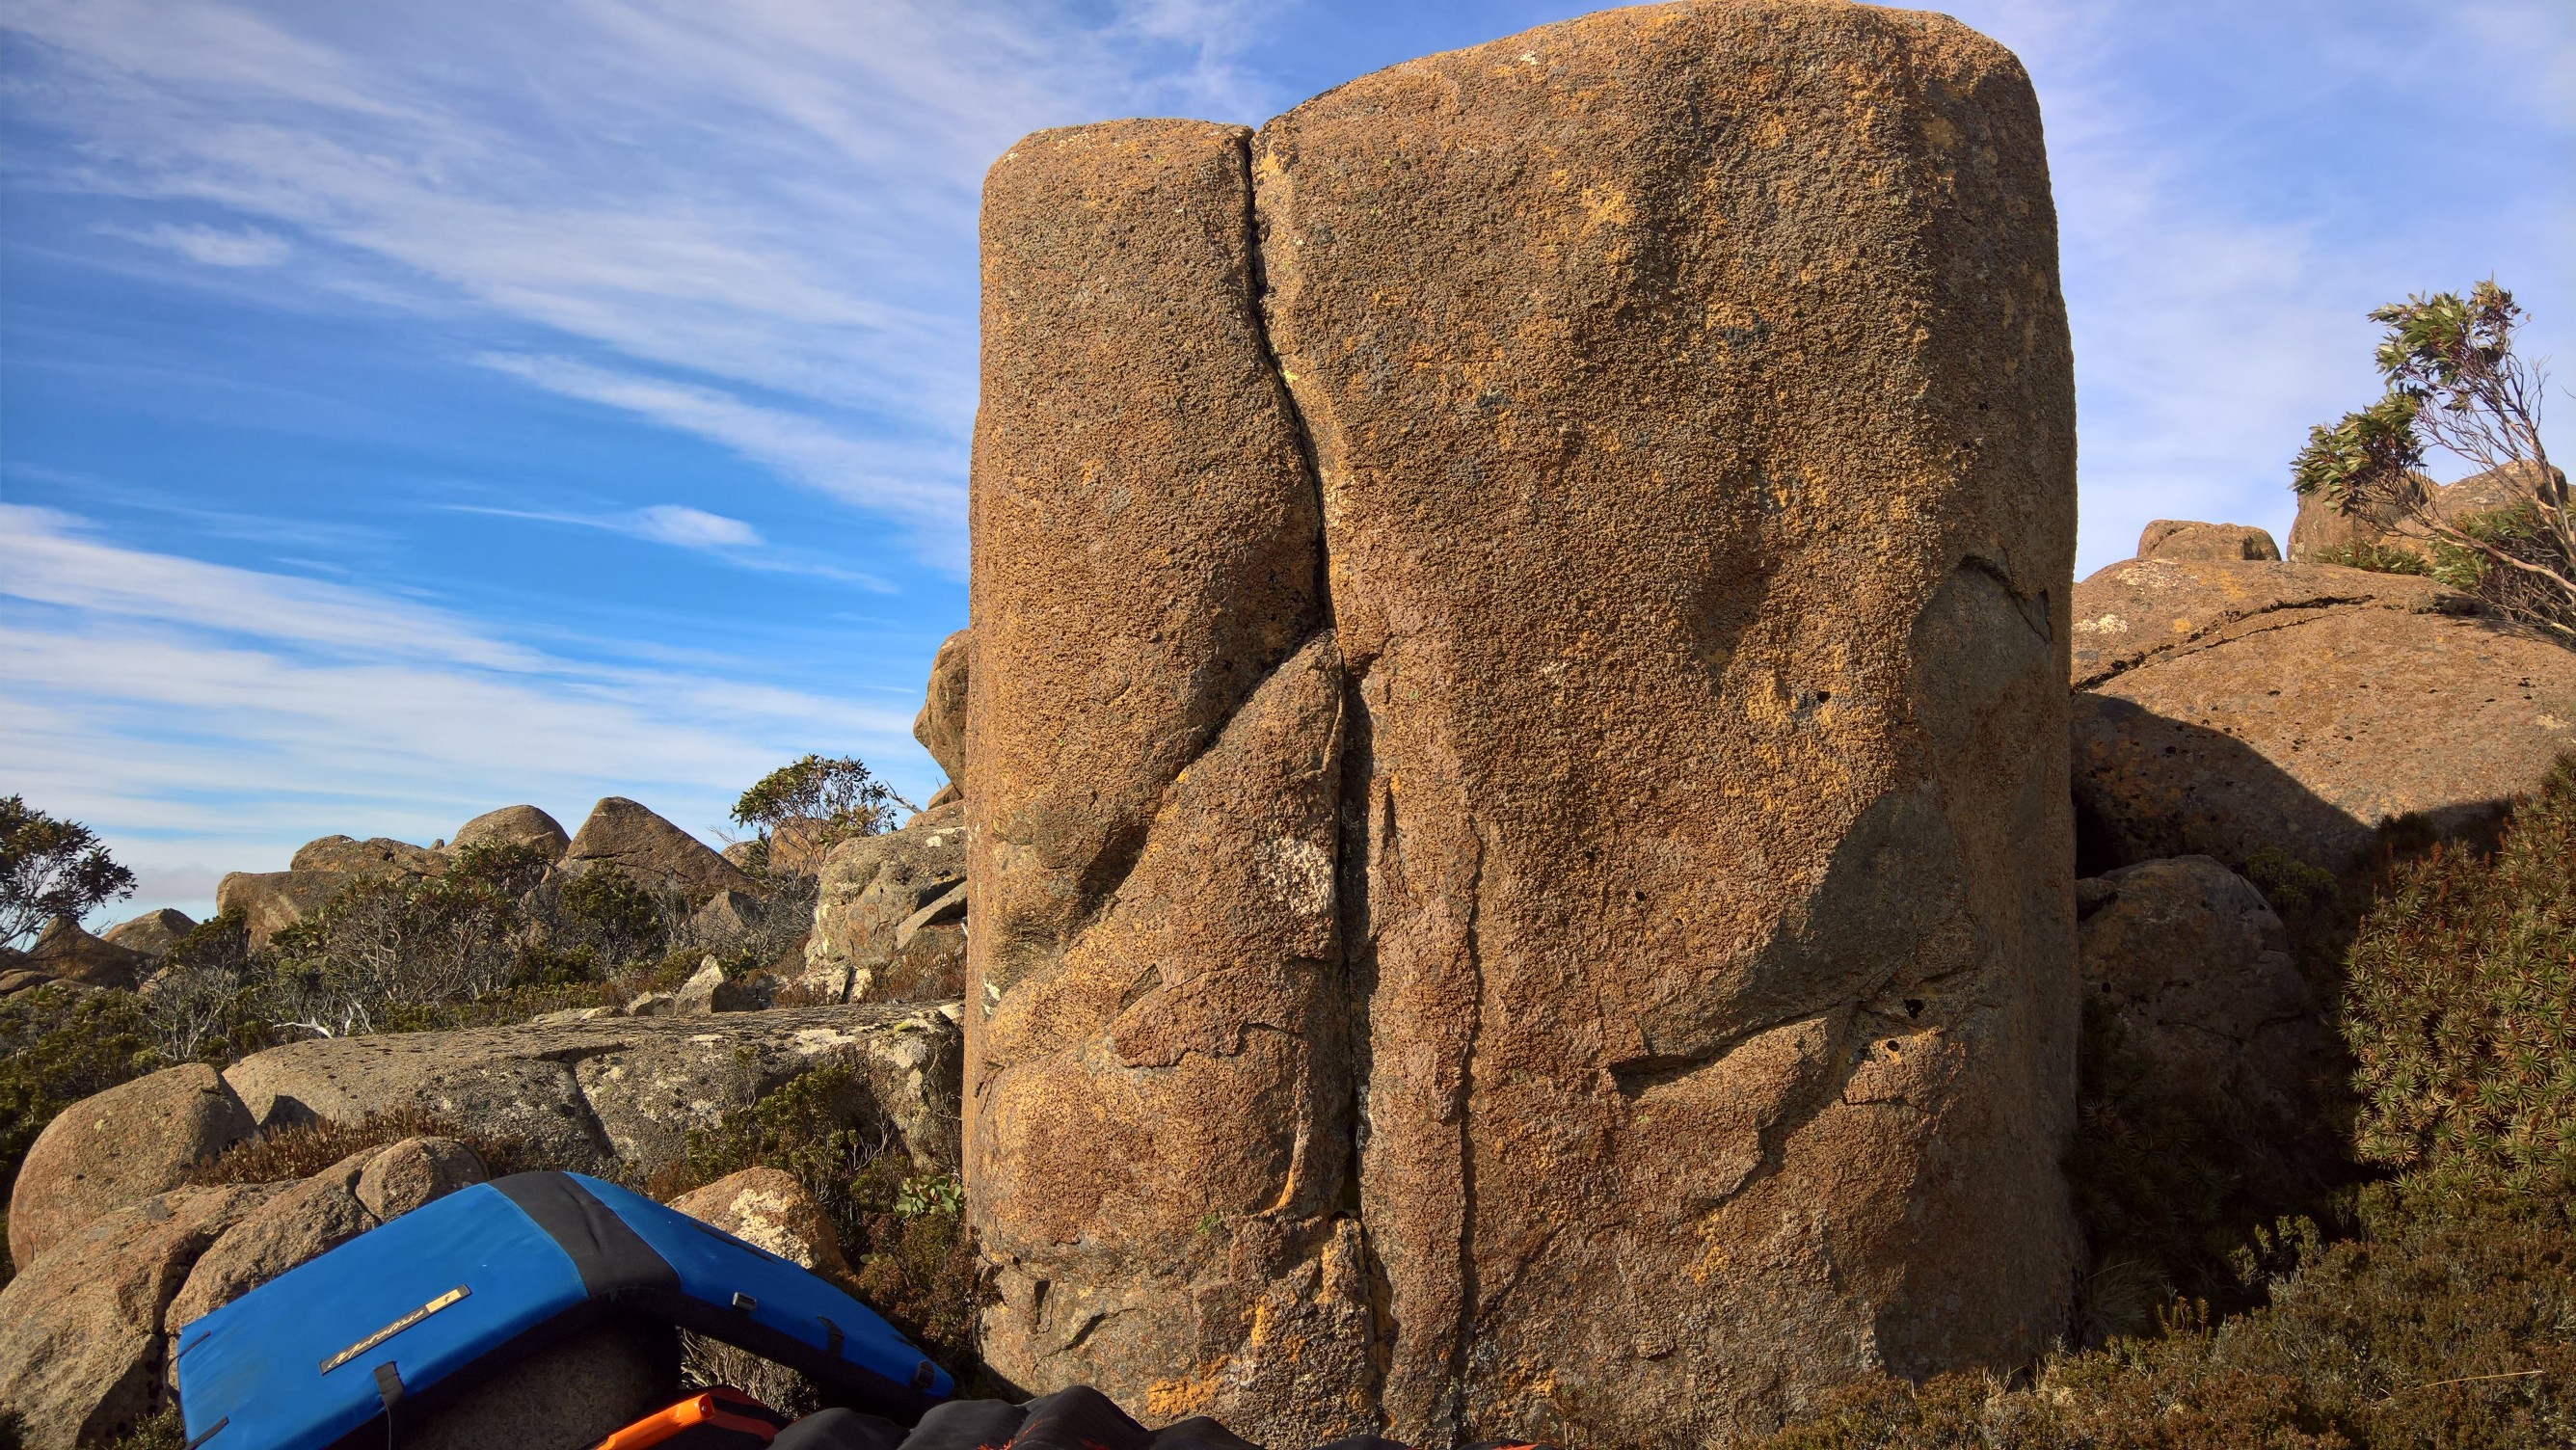
Use the diagonal.
Straight up the seam.
Step into the undercling.
Slab the wall right of the undercling. Jumping directly to the top is V0.
Forty meters east is a lowish boulder.
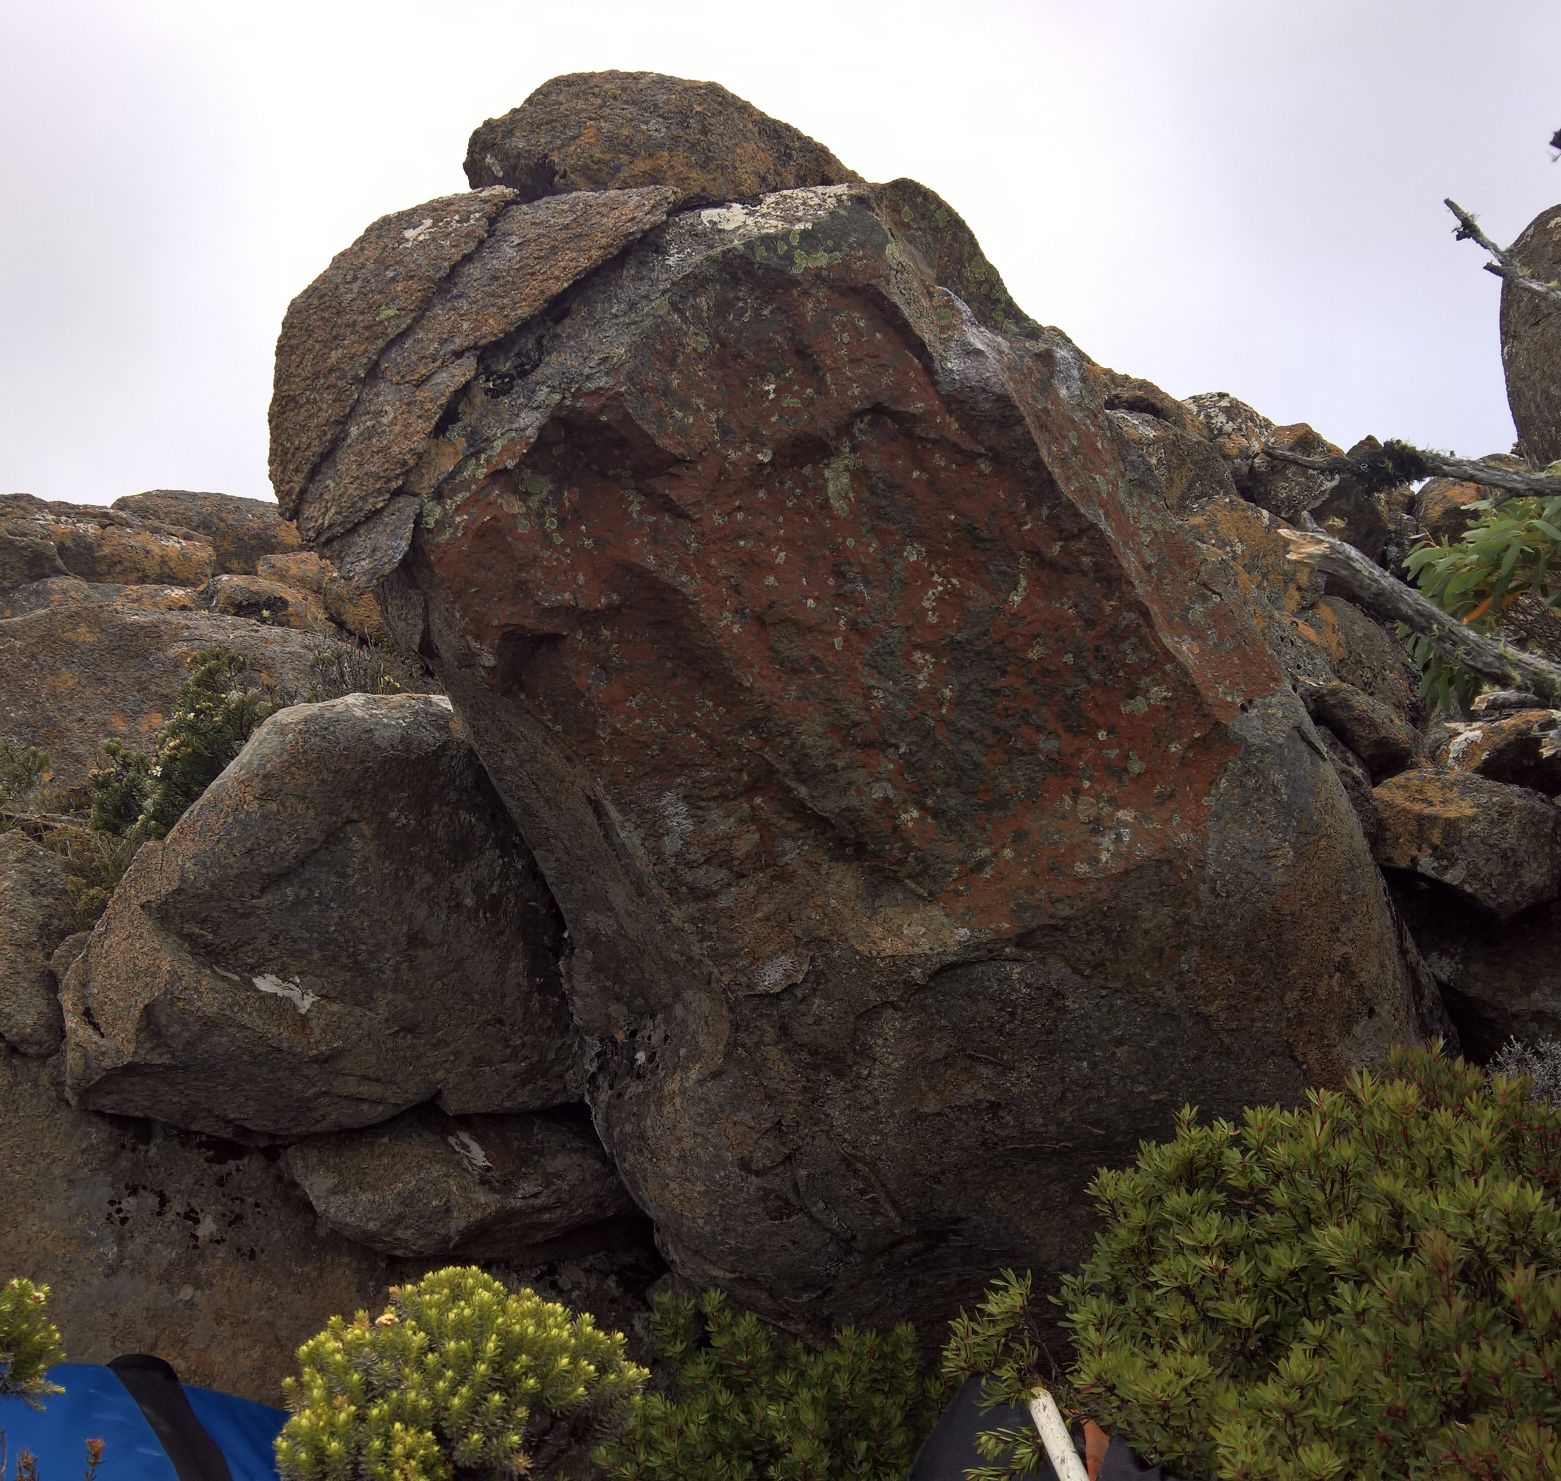
Span the boulder using right arete.
Lay off the rail using any feet.
Simple grab and yank.
10m from the previous boulder is a small alcove with a reasonable problem.
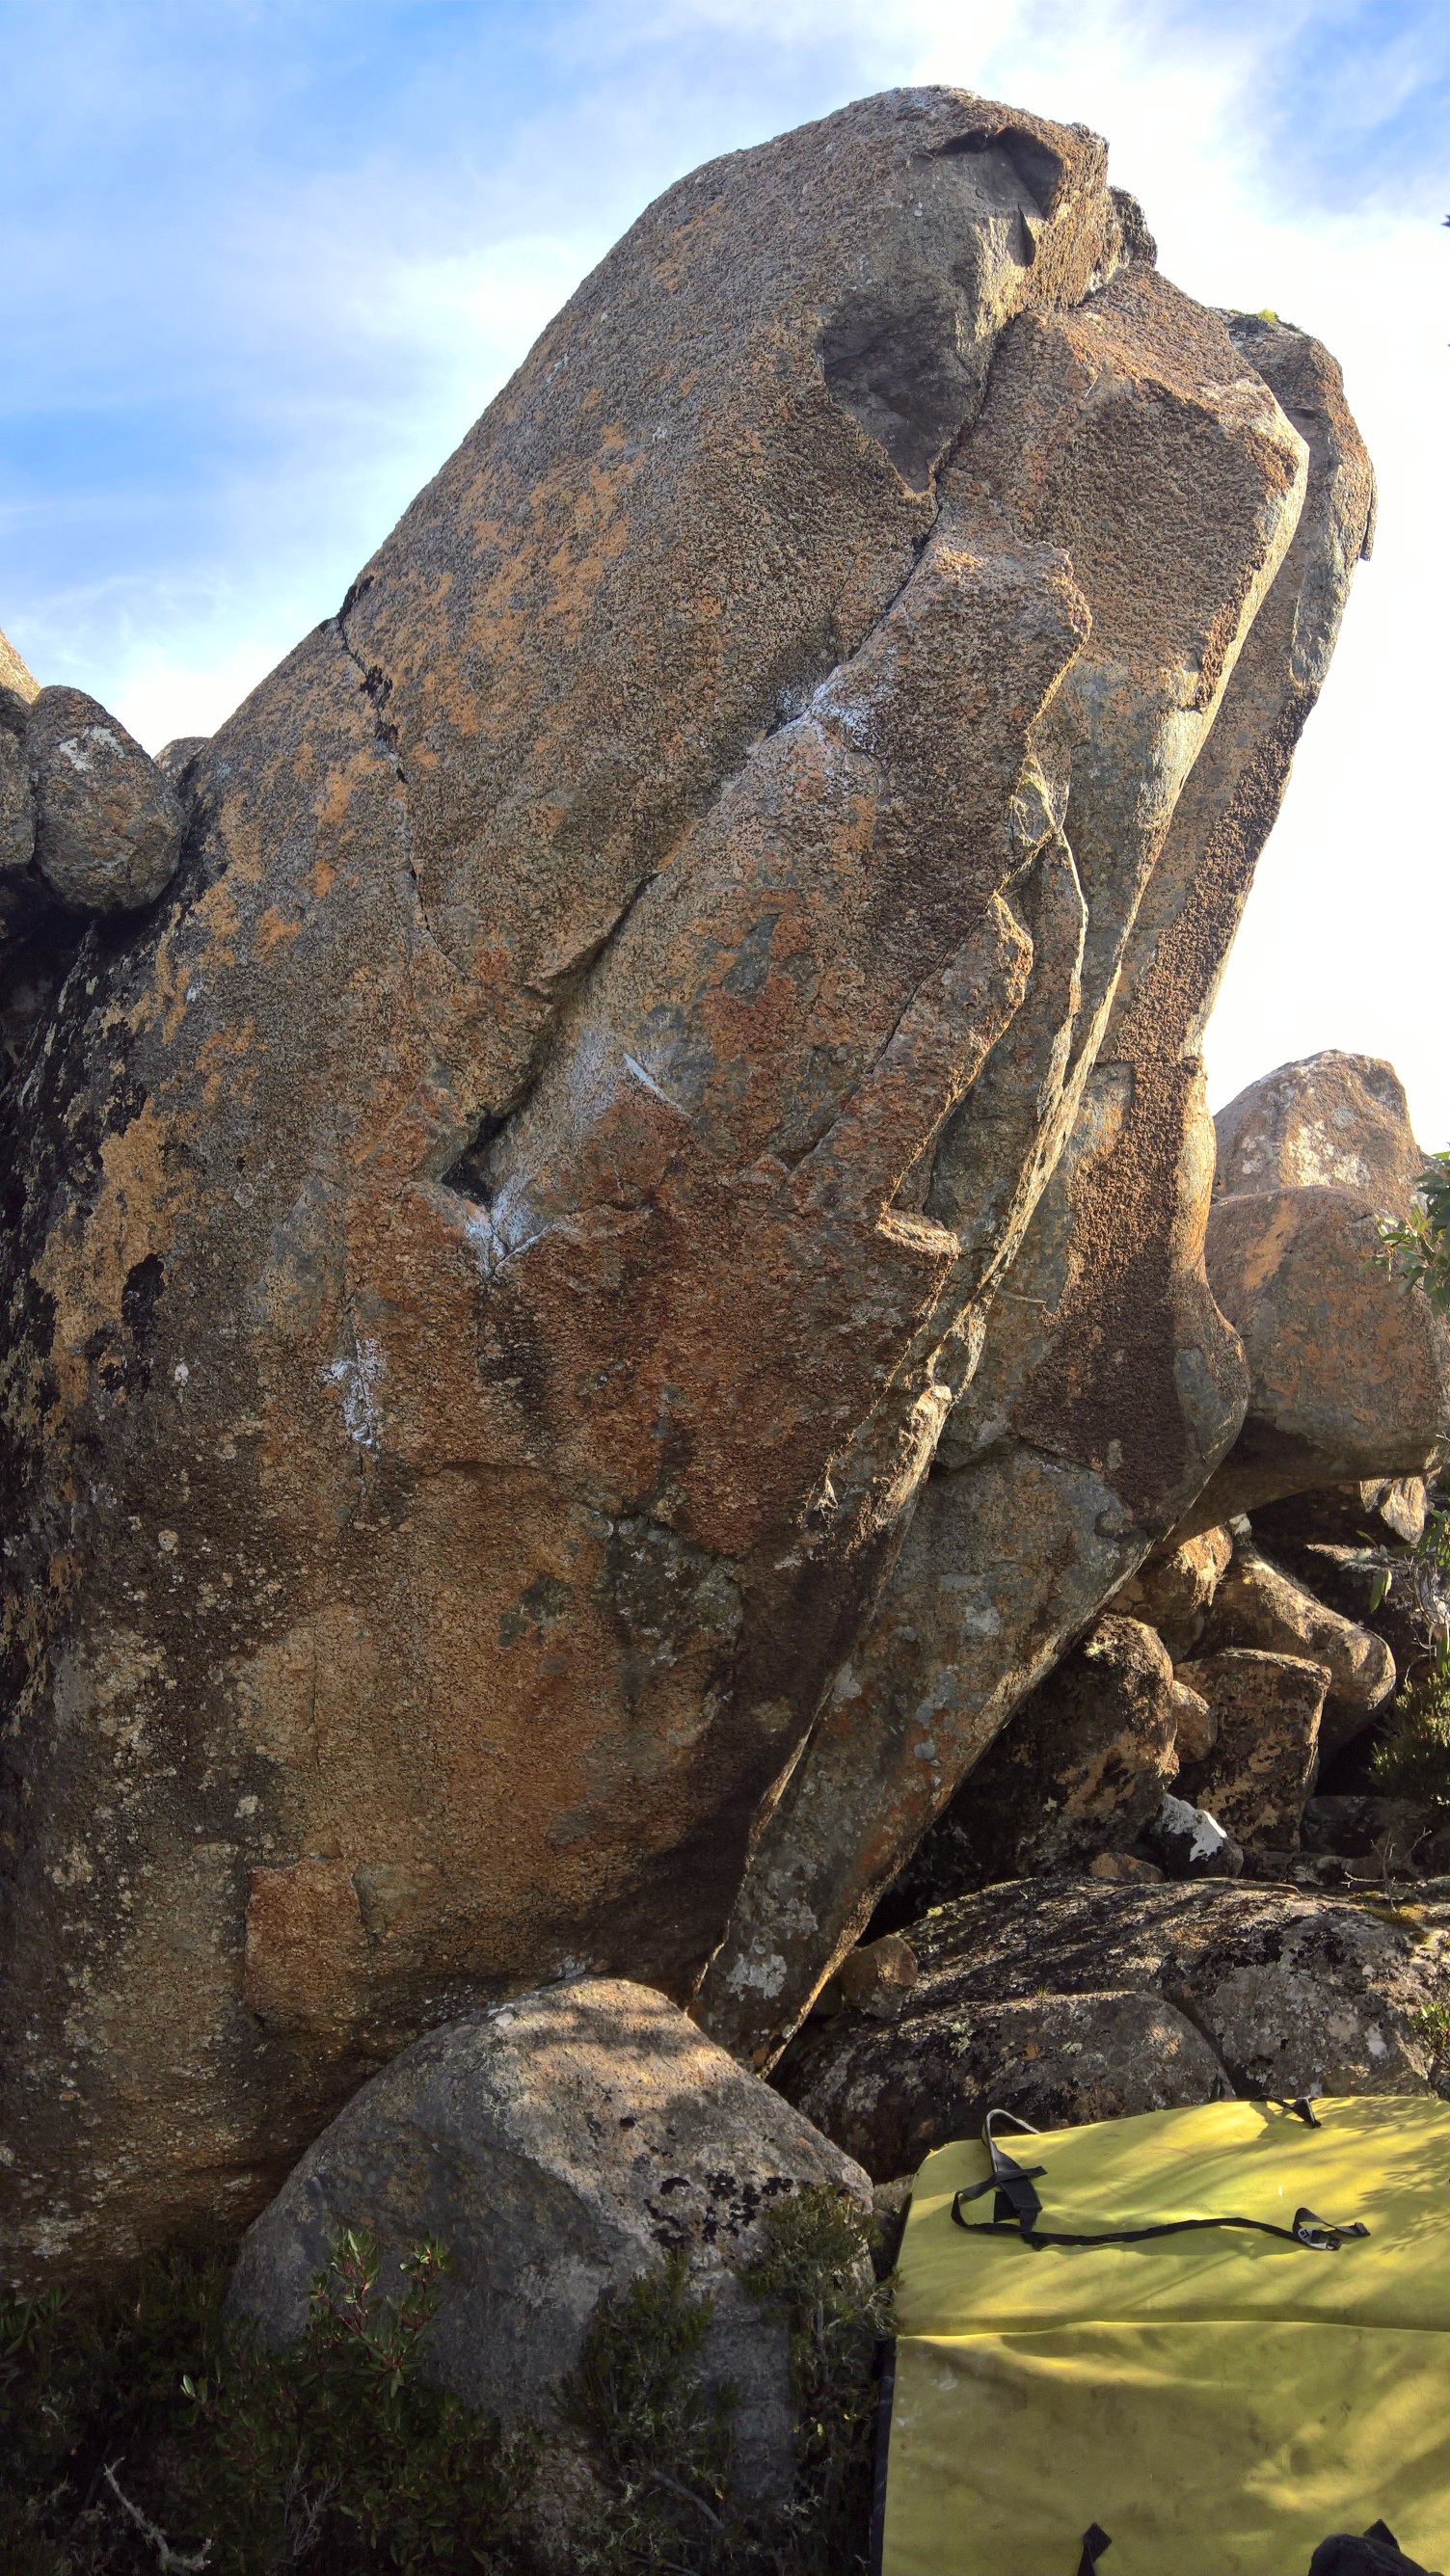
A nice compression problem. Sit with one cheek on the block and one hand in the crack. There are a range of variations possible including jamming the crack then finishing through the off-width.
Chunky Boulder
20 meters below and north west of Dubious Pleasure is a sheltered alcove with a sunny disposition.
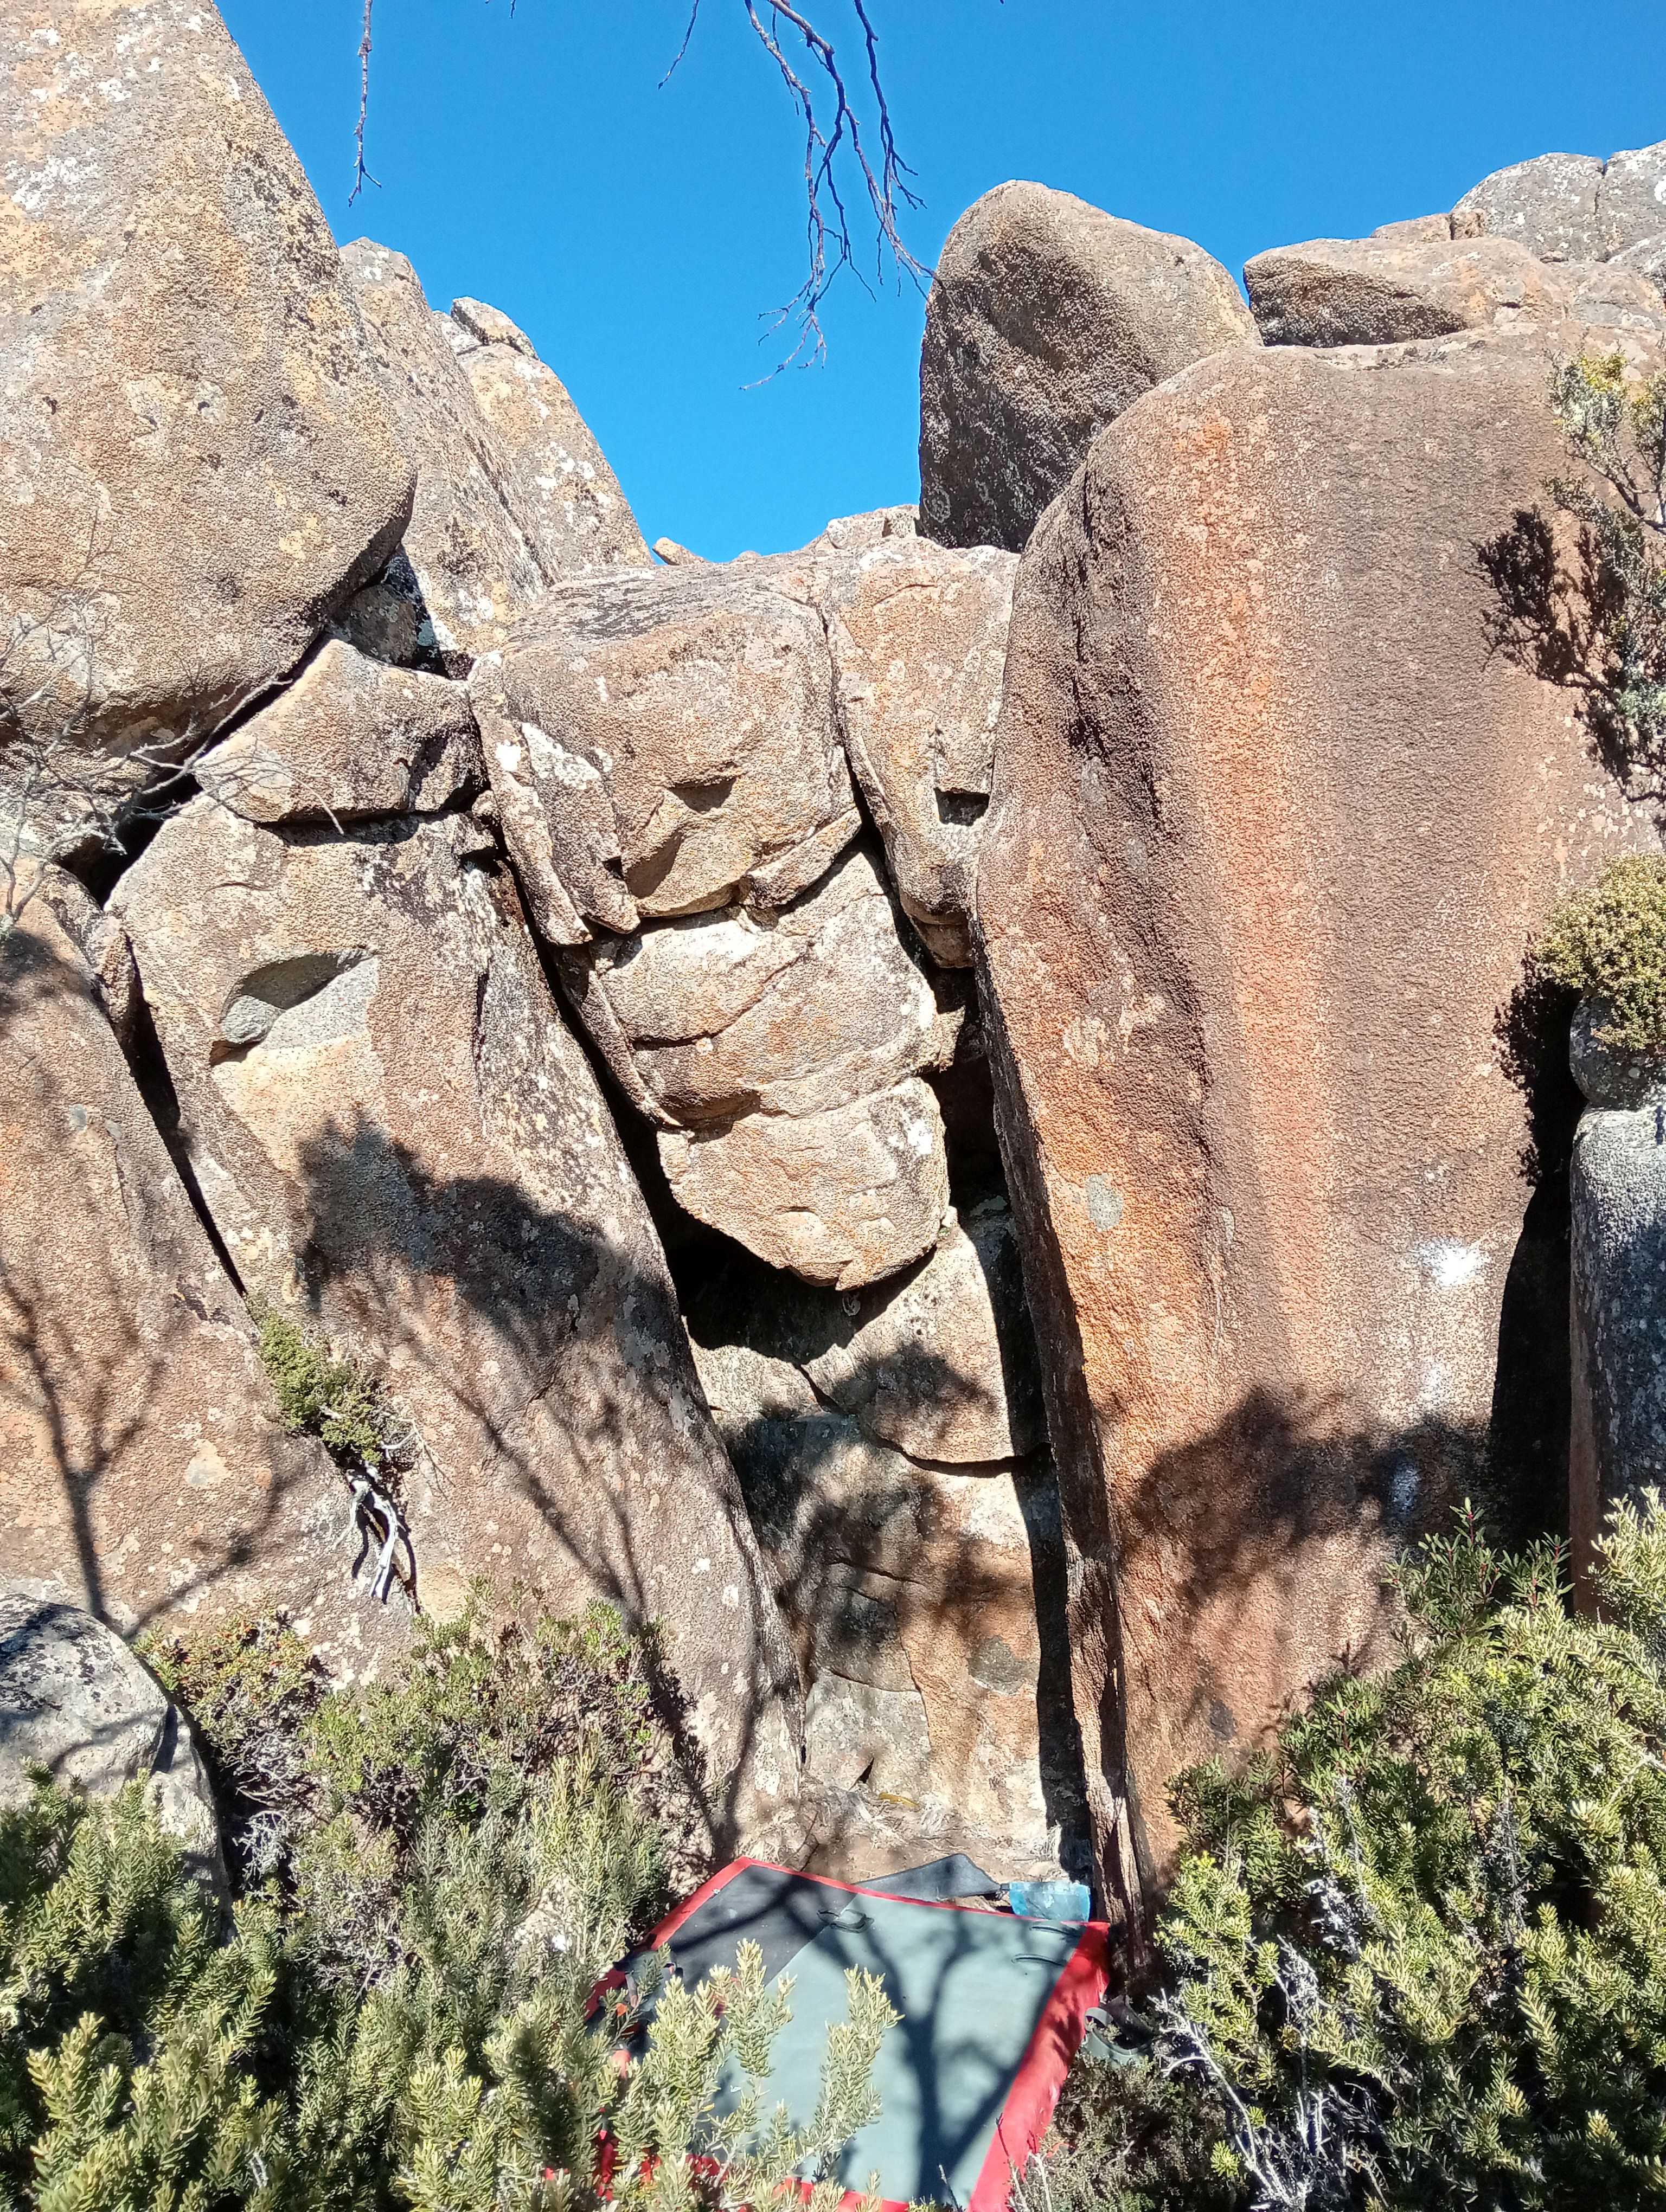
Start on the small chockstone and pinch. More like climbing than bouldering. Find the easiest way to the top.
Start on the undercling and sidepull in the corner. Only use the corner chunks to the top.
Lesser line in the corner up the right hand pillar.
Nicest line here, span until you run out of holds...
Panorama Track
Just up the road from Luckman's hut, the Panorama Track heads off down the hill. This area has some nice dolerite problems with easy access.
The first problems are above the track, less than a minute down the track.
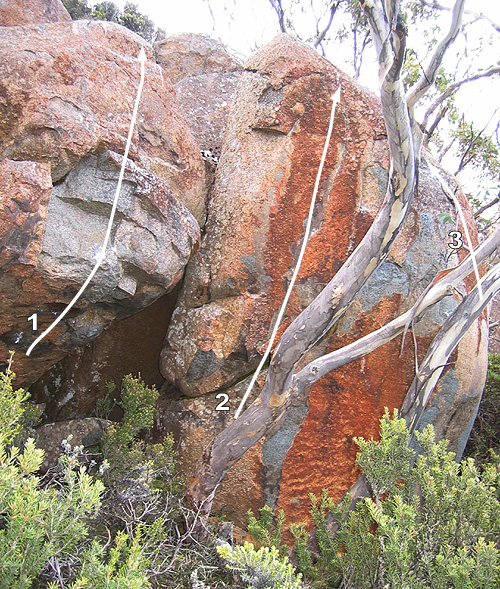
Up steeply on jugs
Crappy problem on loose face
Slap up rounded column. Could have a very hard sit start.
Just down the track is this obvious slab, right next to the track.
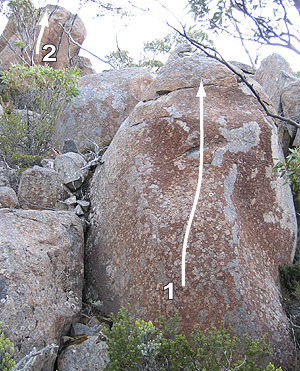
Nice slab.
Face on boulder 10m up the hill.
Huntsman Area
The Huntsman area comprises a range of boulders around the Panorama track and is halfway along. So it is about the same effort coming from the bottom or top. The easiest access to the area is to walk up or down the panorama track until you come to a dead tree that arches over the track and is too low to get under with a pad.
Head towards the road here downhill across the scree slope, trending right until you can see the tilting block that is Squeeze (about 30m).
To get to Huntsman, keep heading downhill, sticking to the left of the vegetation until you see a baurea 'flat', head to the scree visible downhill and to your right, head around the vegetation at the scree then walk to the obvious tilting pillars and blocks uphill that comprise the Huntsman area proper (about 35m from Squeeze).
There are more problems in this area but the boulders are dispersed.
Squeeze Boulder
Squeeze arete is about 20m below the track. Slightly above and to the left of the scree above Huntsman.
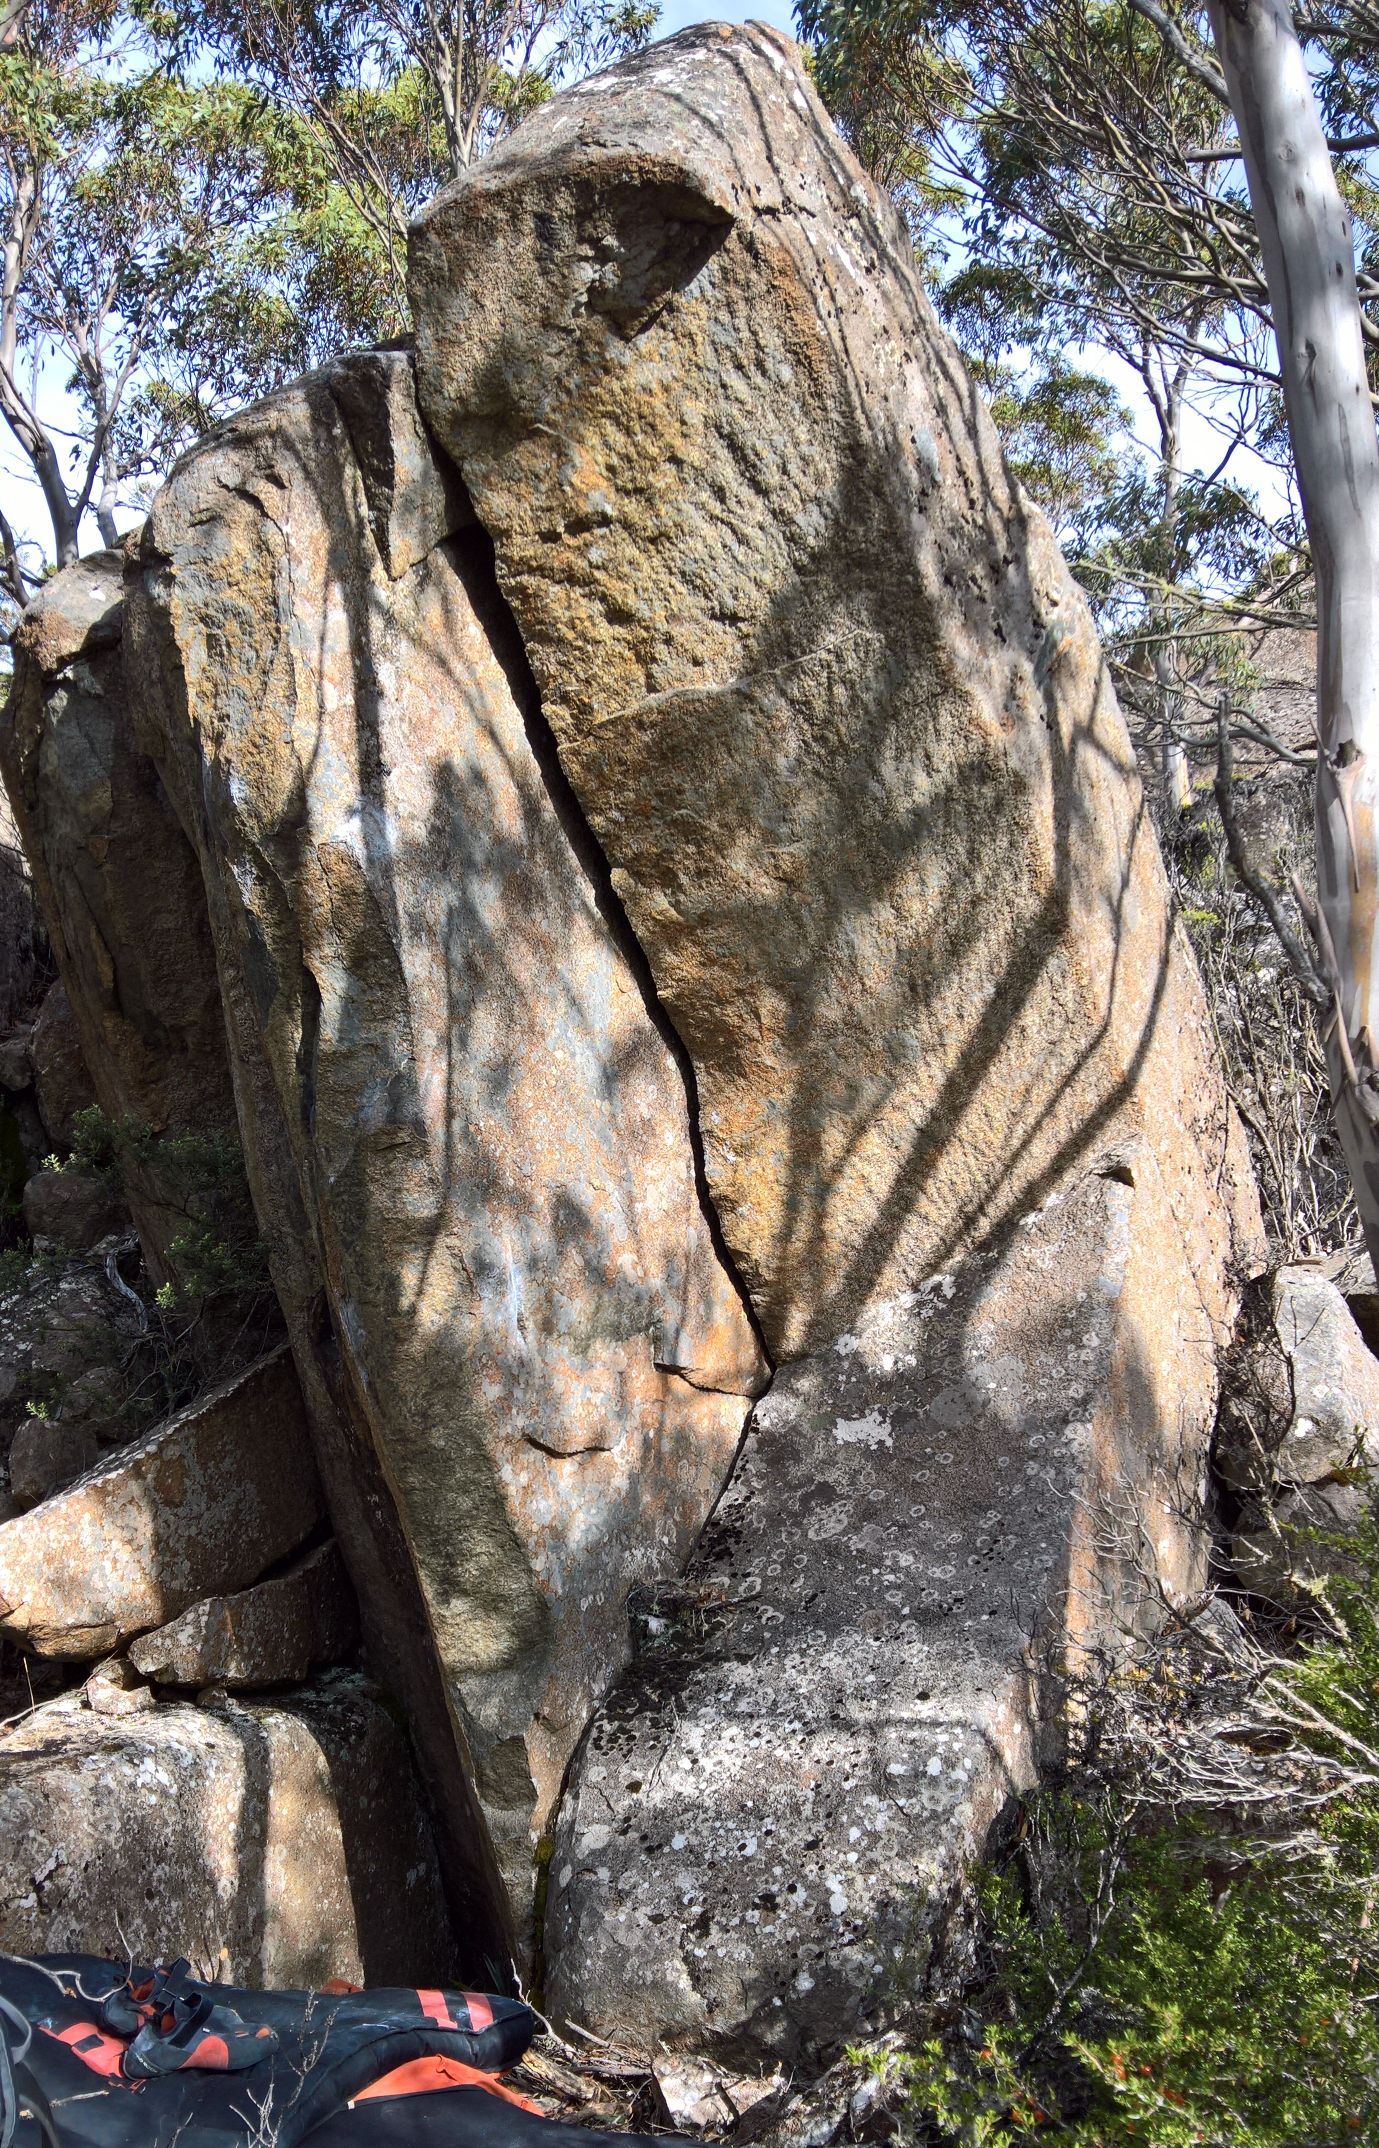
Traverse the top of the block
Start on the ramp and undercling the crack.
Squeeze and pinch your way to the top.
Dave Humphries 2018
On the scree field below Squeeze is the Free Treasure boulder. It is north facing and protected from the worst of the weather.
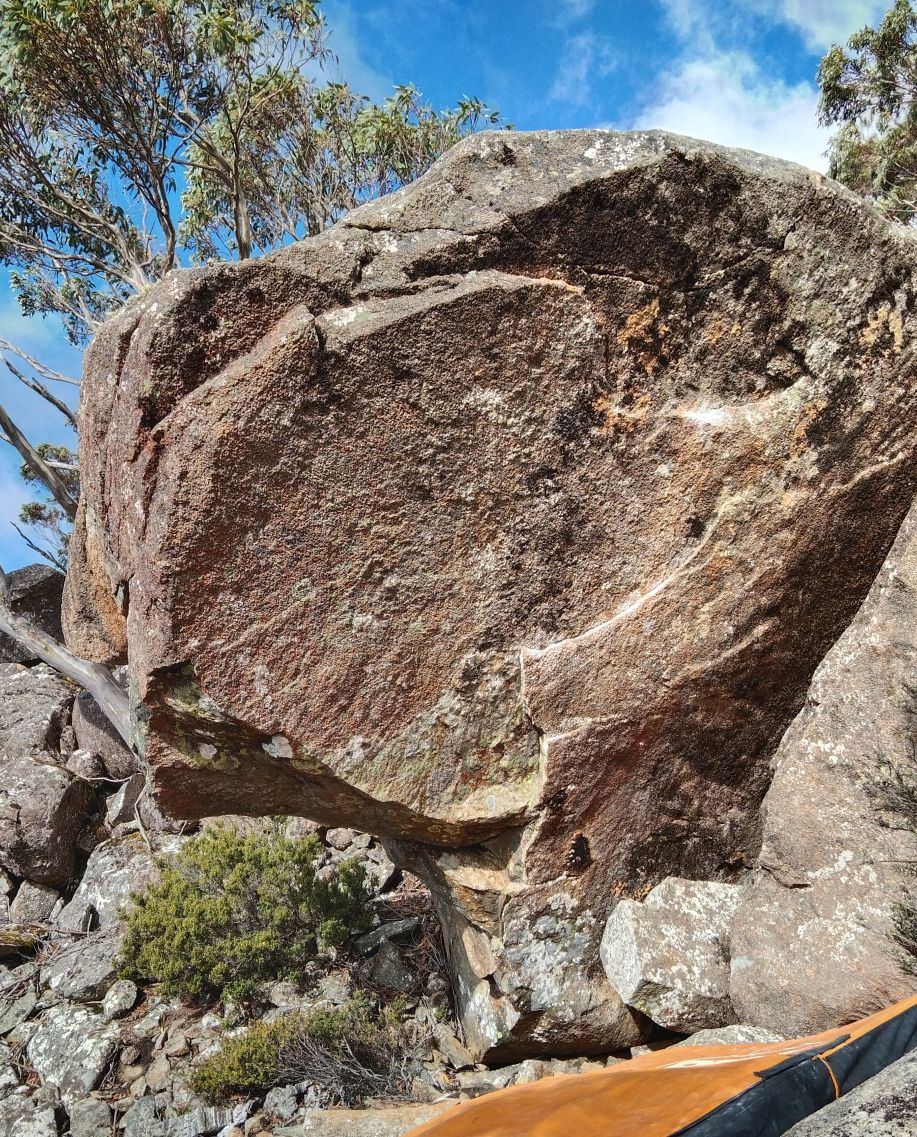
Climbs the prow from a sit start. Slightly exposed.
Joe Schwarz, 2025
Sit start under the prow, bust up to the curved rail then launch for the jug. One of the best on the mountain.
Raul Schwarz, 2024
Start as for Free Treasure but trend right on thin holds.
Lewis Traill, 2025
Huntsman Boulders
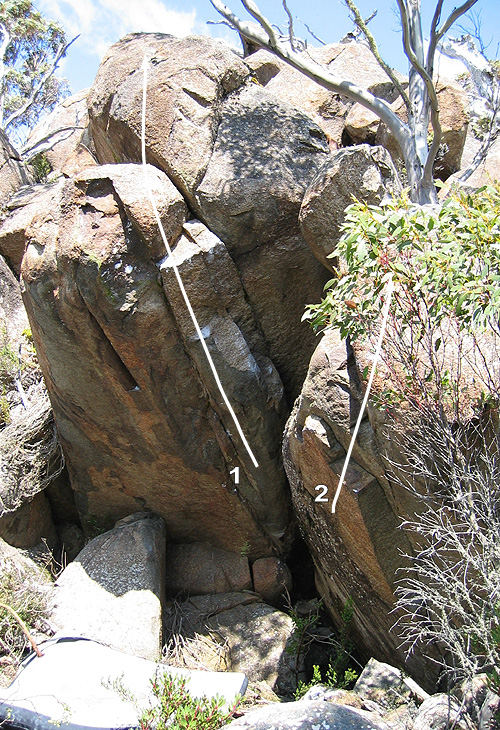
Hang start at back of column, climb out and up.
This is a fair bit harder since a scab of rock containing an important foothold fell off.
Small column to the right
This small boulder is directly above Huntsman.
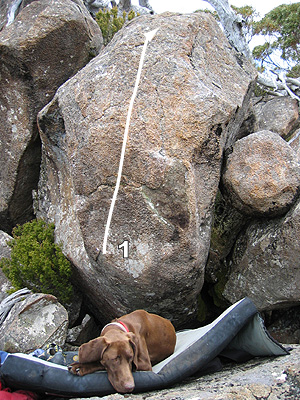
This boulder is about 10m to the right of Huntsman.
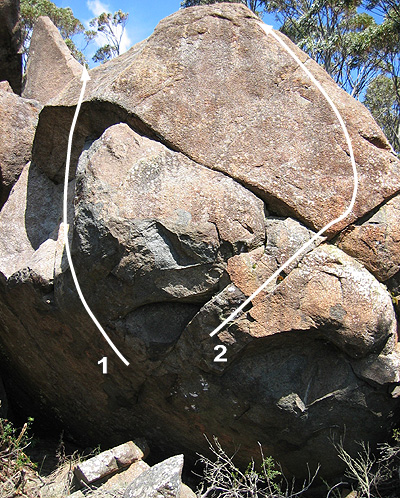
Start with lip sloper and the undercling sidepull thing down low.
Hard start to a balancy finish.
Up on jugs.
There is a variation that's a bit harder, heading left at the crack to the vertical edge then up.
The Bus Shelter
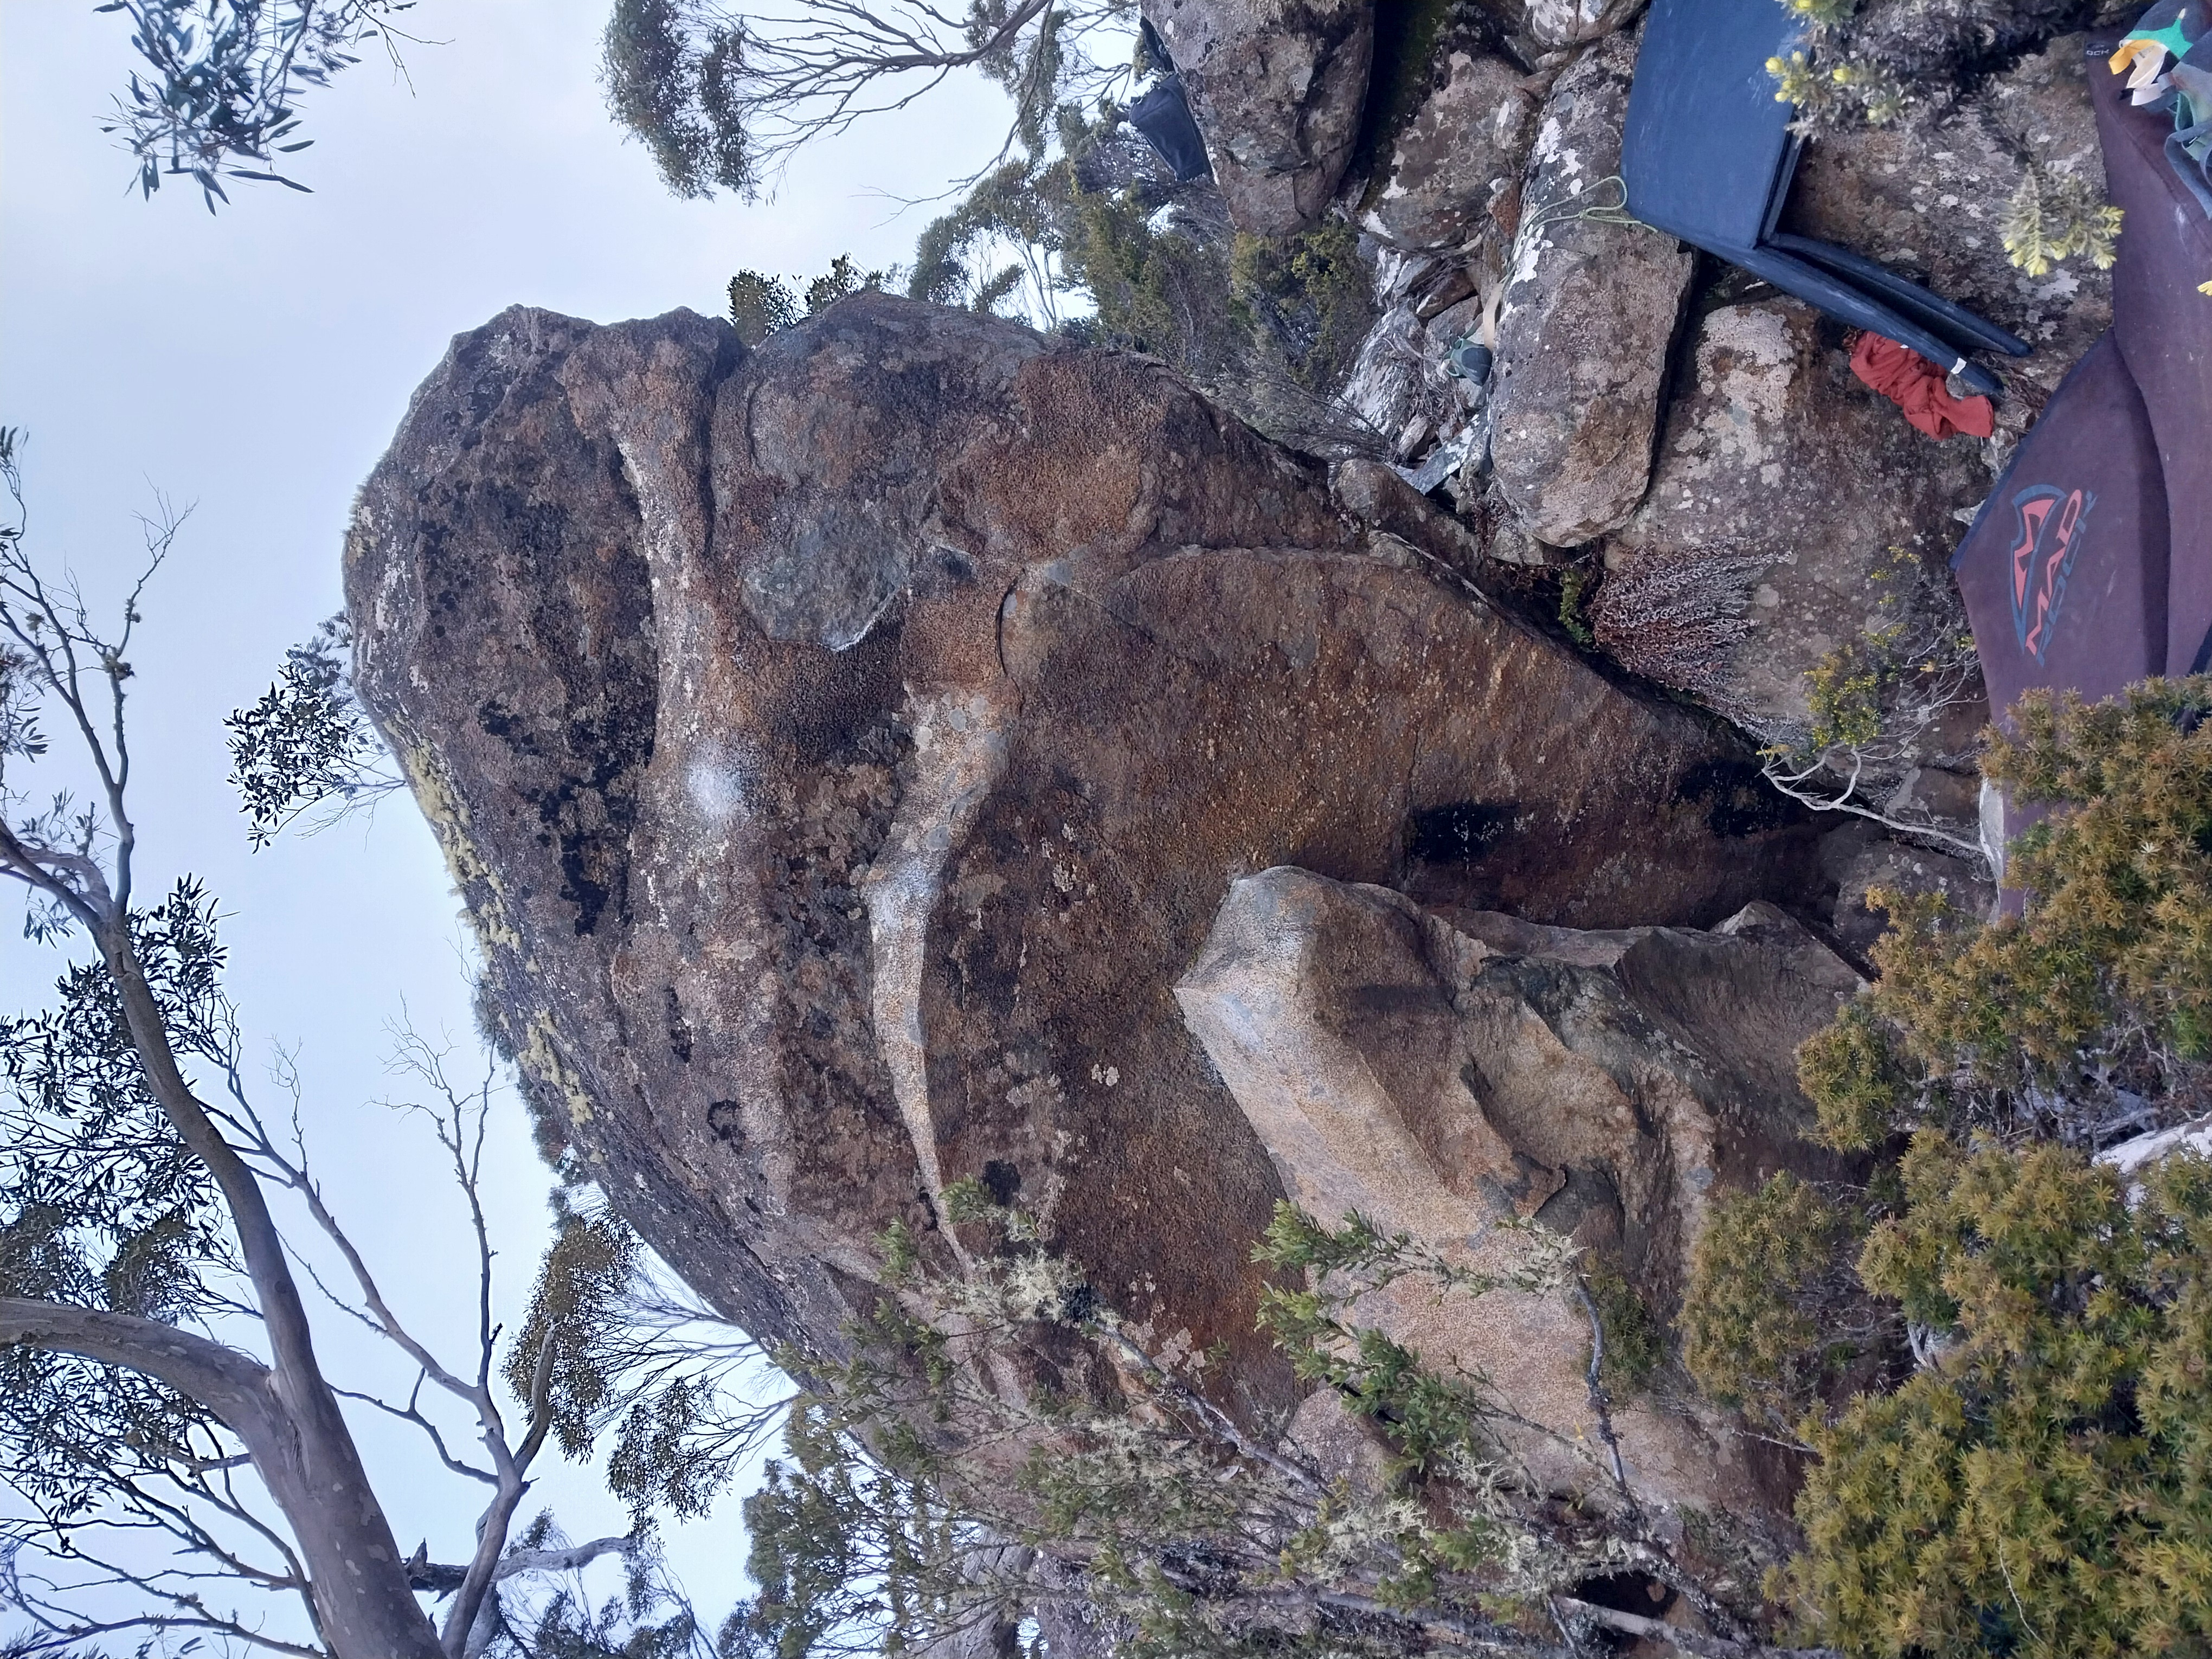
Start as for Control Freak but follow the break left.
Joe Schwarz, 2025
Climbs strait up the middle of the boulder.
Joe Schwarz, 2025
Climb Control Freak to the sloping pinch then throw right to the jugs.
Lewis Trail, 2025
Tangle Boulder
The easiest method to get to Tangle Boulder is up or down the Panorama track. Tangle is about 20m downhill from Superb boulder so can be accessed directly from Superb.
Head along the Panorama track to the low arching tree (you can't walk under this with a pad). Continue downhill for about 70m until the track reaches a small scree slope. Head up this trending right until you can see Superb then head right (West) to the tangle gully/alcove.
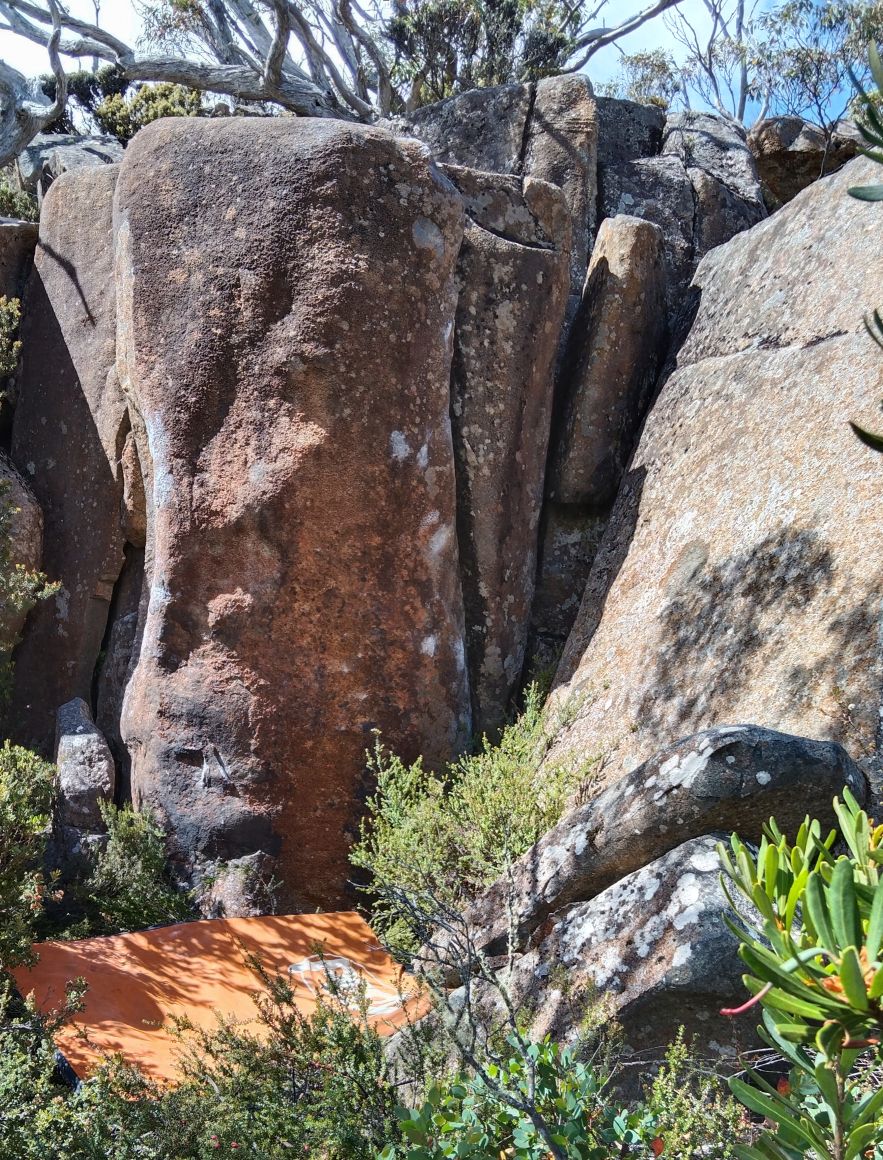
Great problem spanning the pillar.
Start on the pinch and low crack edge with poor feet.
The stand is worthwhile and a grade or two easier.
Step onto the slab and head straight to the top on the left side.
Step onto the slab and head right to the good edge.
Roadside Area
The Roadside area is between the Panorama track and the power lines.
Park in the largest pull over about 100m past the start of the Panorama track.
Tin Tacks Boulder
Head straight across the road from the car park. Follow the cairns down the hill for 50m until you come across a fallen pillar suspended off the ground.
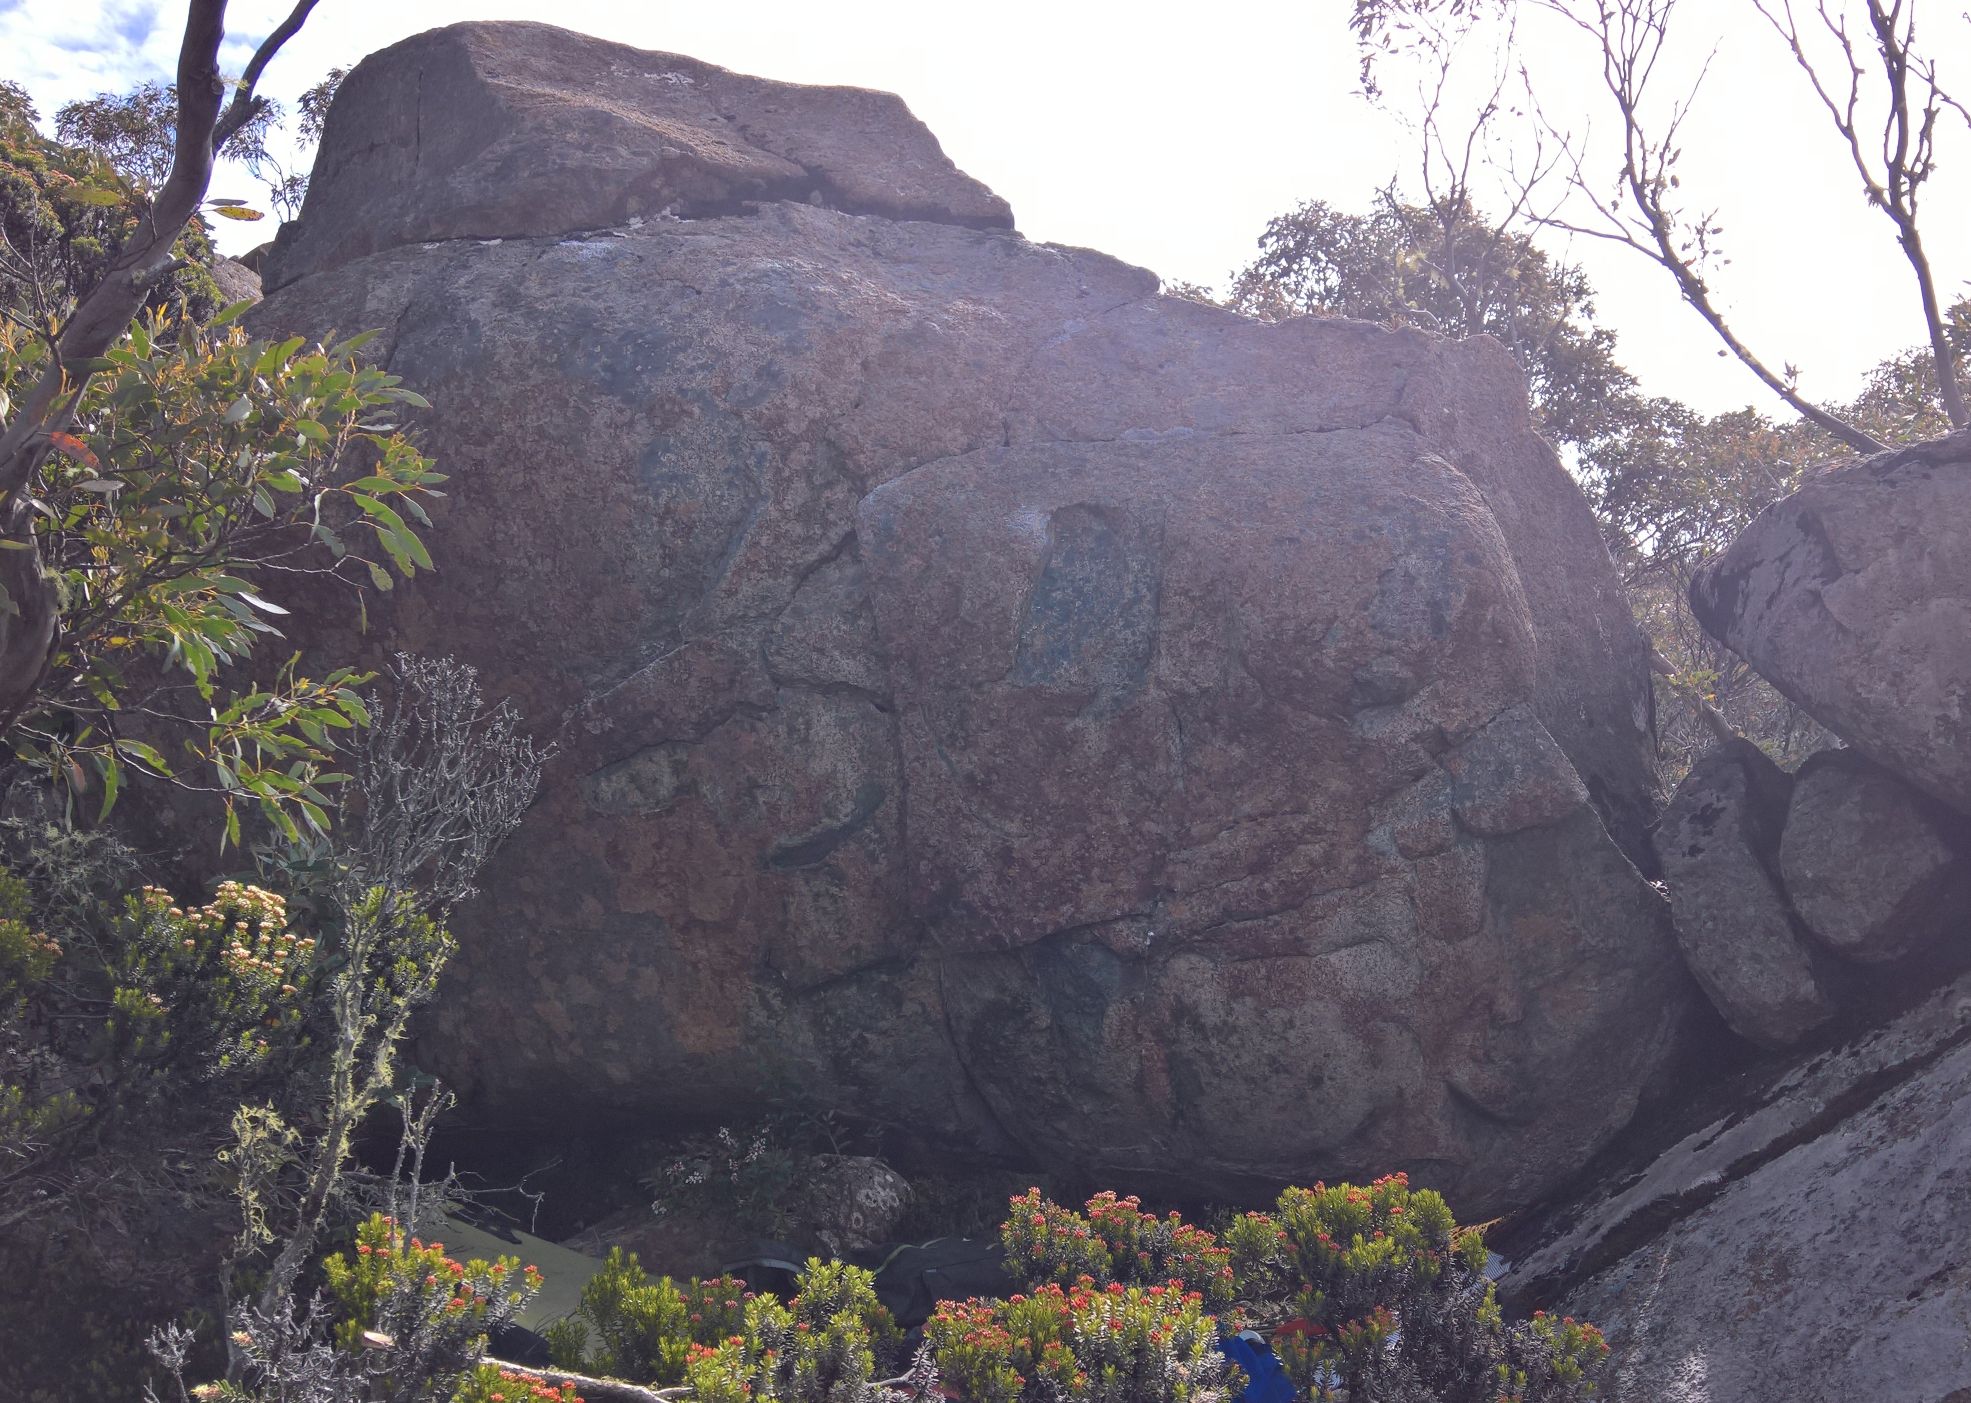
Low ball, with plenty of action.
Ambidextrous Boulder
Head up the road for 20m, to where the safety cable has been repaired. 10m downhill is the boulder.
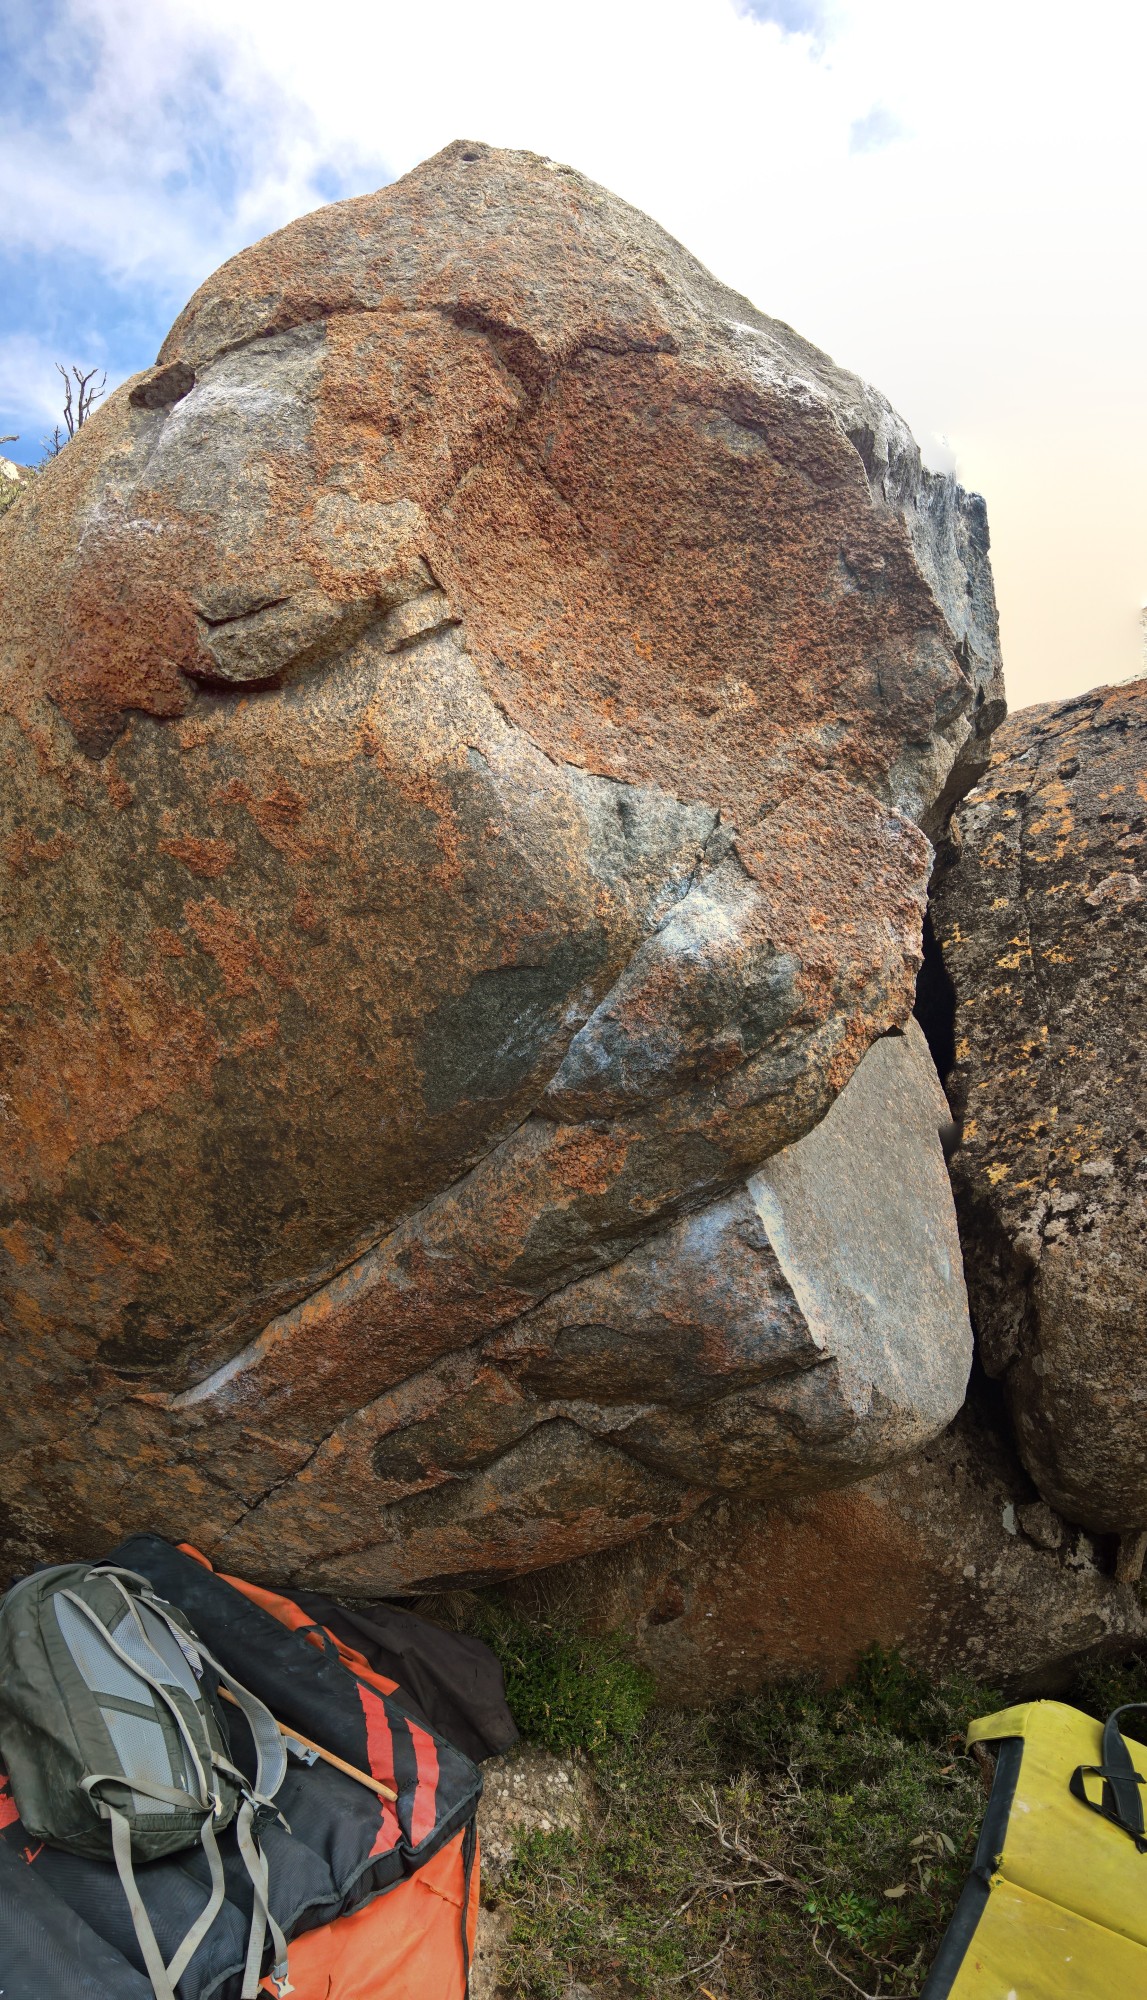
After the start their are two worthwhile alternatives at about the same grade with different styles.
Left: Start on the rail and slopey pinch with feet under, head for the high sidepull.
Right: Start on the rail and slopey pinch with feet under, head to the slopes out right.
Dave Humphries Mar 2019
3m right of Ambidextrous there is a low boulder with chockstone under.
Surprising for such an unassuming problem.
Start on the jug and spike protrusion from the crack straddling the chockstone. Head over the bulge.
Dave Humphries Mar 2019
New Kids on the Block Boulder
From the last sealed car park head down for 50m trending slightly left. Potential for a couple quality lines.
Anything been done?
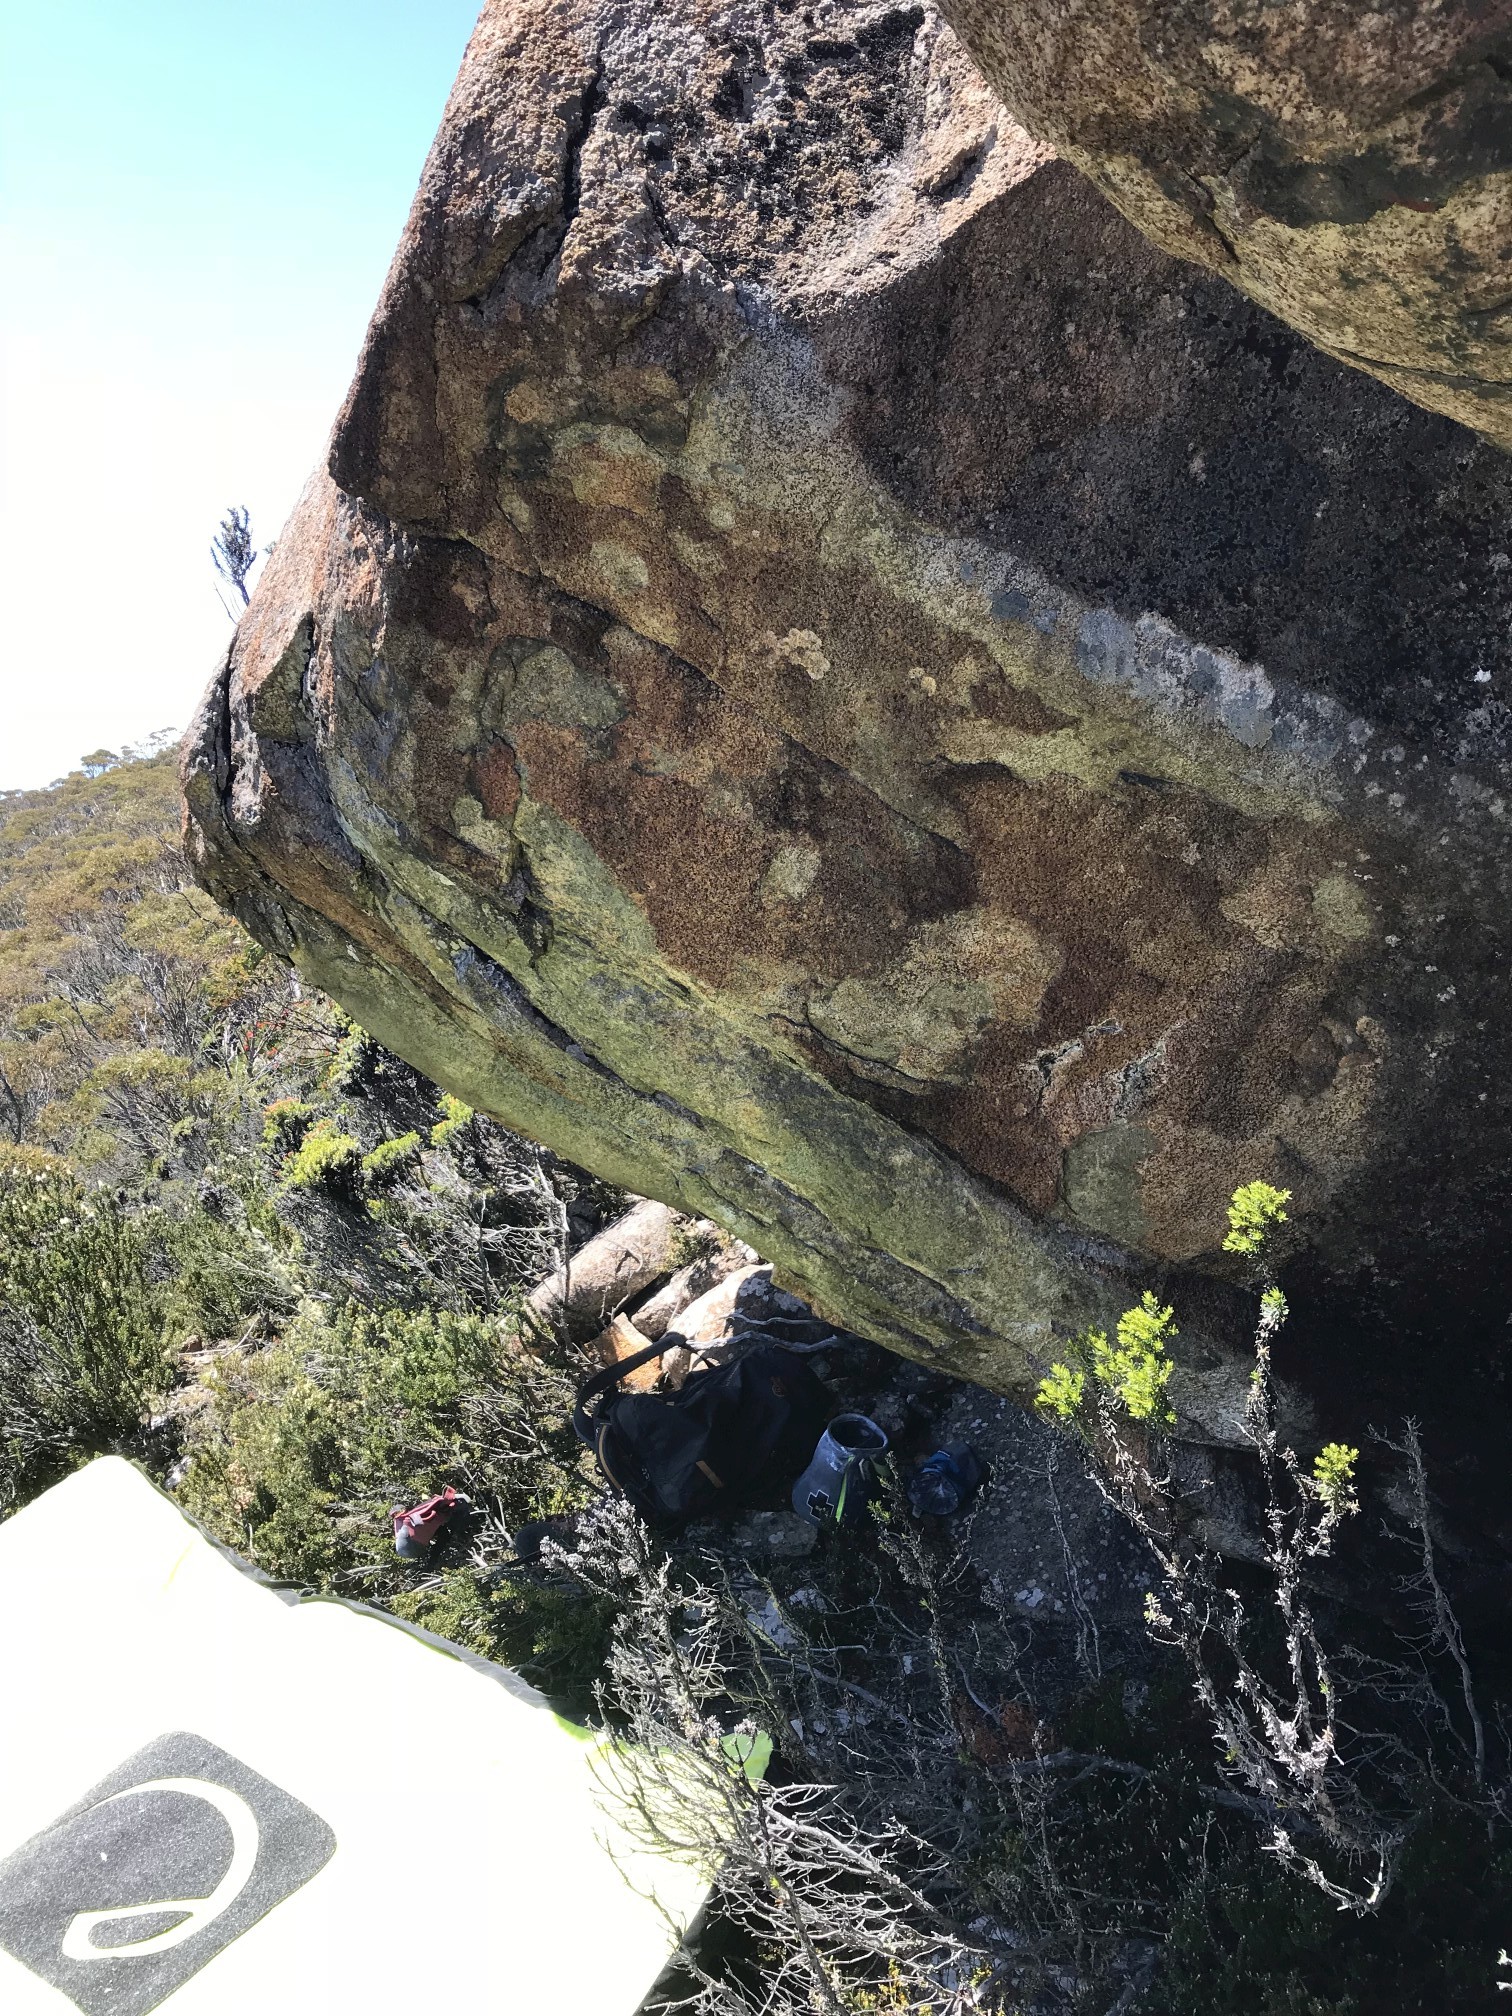
Sweet Science Area
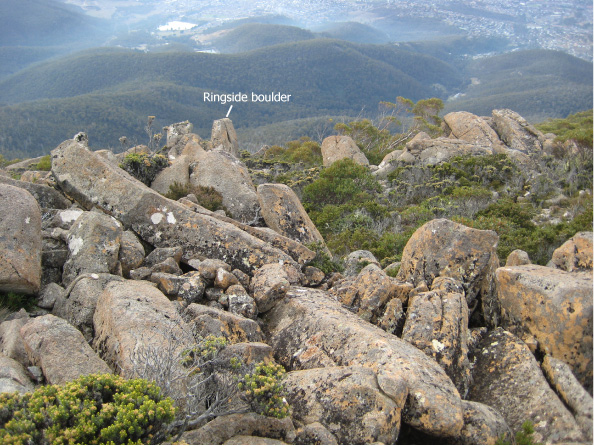
These boulders are 150-200m north of the Dildo Boulders, directly below the last sealed roadside carpark before the pinnacle carpark. Head down the hill from the carpark and trend slightly right. The majesty of many boulders in this area is difficult to see from above.
The first boulder with problems is Ringside and is about 50m from the road, and is on a relatively flat area. The boulder has a steep face down-hill with some white marks on a break on its eastern side.
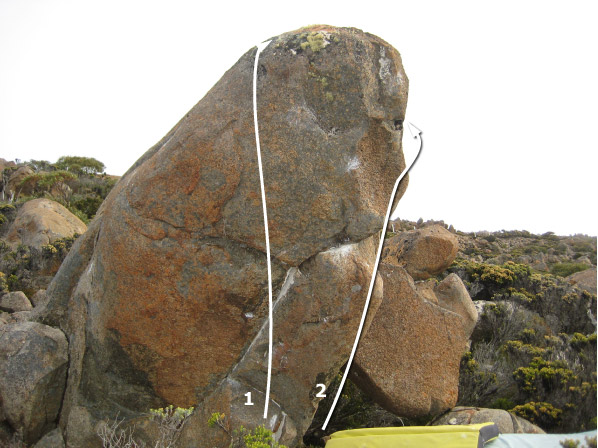
The stand start is a nice warmup. The sit start is a project.
Start with hands opposed on column and feet on holds either side.
Luv Yuz All boulder is 20m from Ringside, downish and to the (climber's) left and has a low roof and rail.
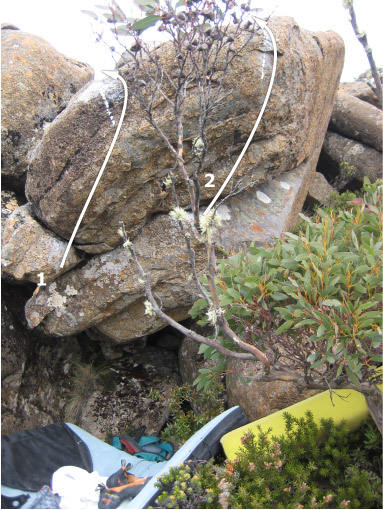
Start on the jug dyno to the lip then mantle over the top.
Start on the jug dyno to the right and mantle the top or move up the rail.
Body Blow boulder is about 10m North of Luv Yuz All and is the boulder with the tree immediately behind it. To get to Body Blow drop down on the Luv Yuz All side till you can walk around to the bottom of the boulder.
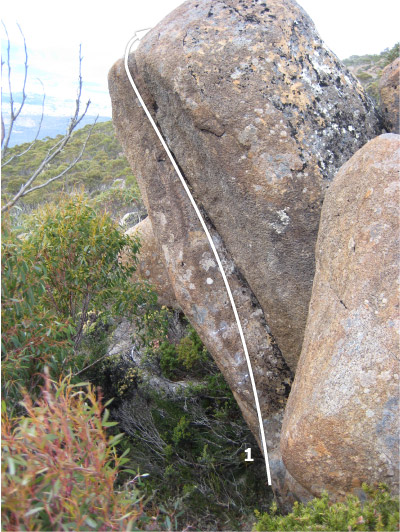
Up the slopey rail to the top. (Downgraded since a flake has been dislodged that makes it easier) Still a classic problem.
Climb the arete to the left of Body Blow. Unclimbed, but on superb rock and some interesting lines.
Resignation Boulders
A couple low-ball boulders with good landings. Half way between the Dildo and Sweet Science, at the same height.
You can't see them from above.
A couple easy lines have been done. Some room for harder ones in the vicinity.
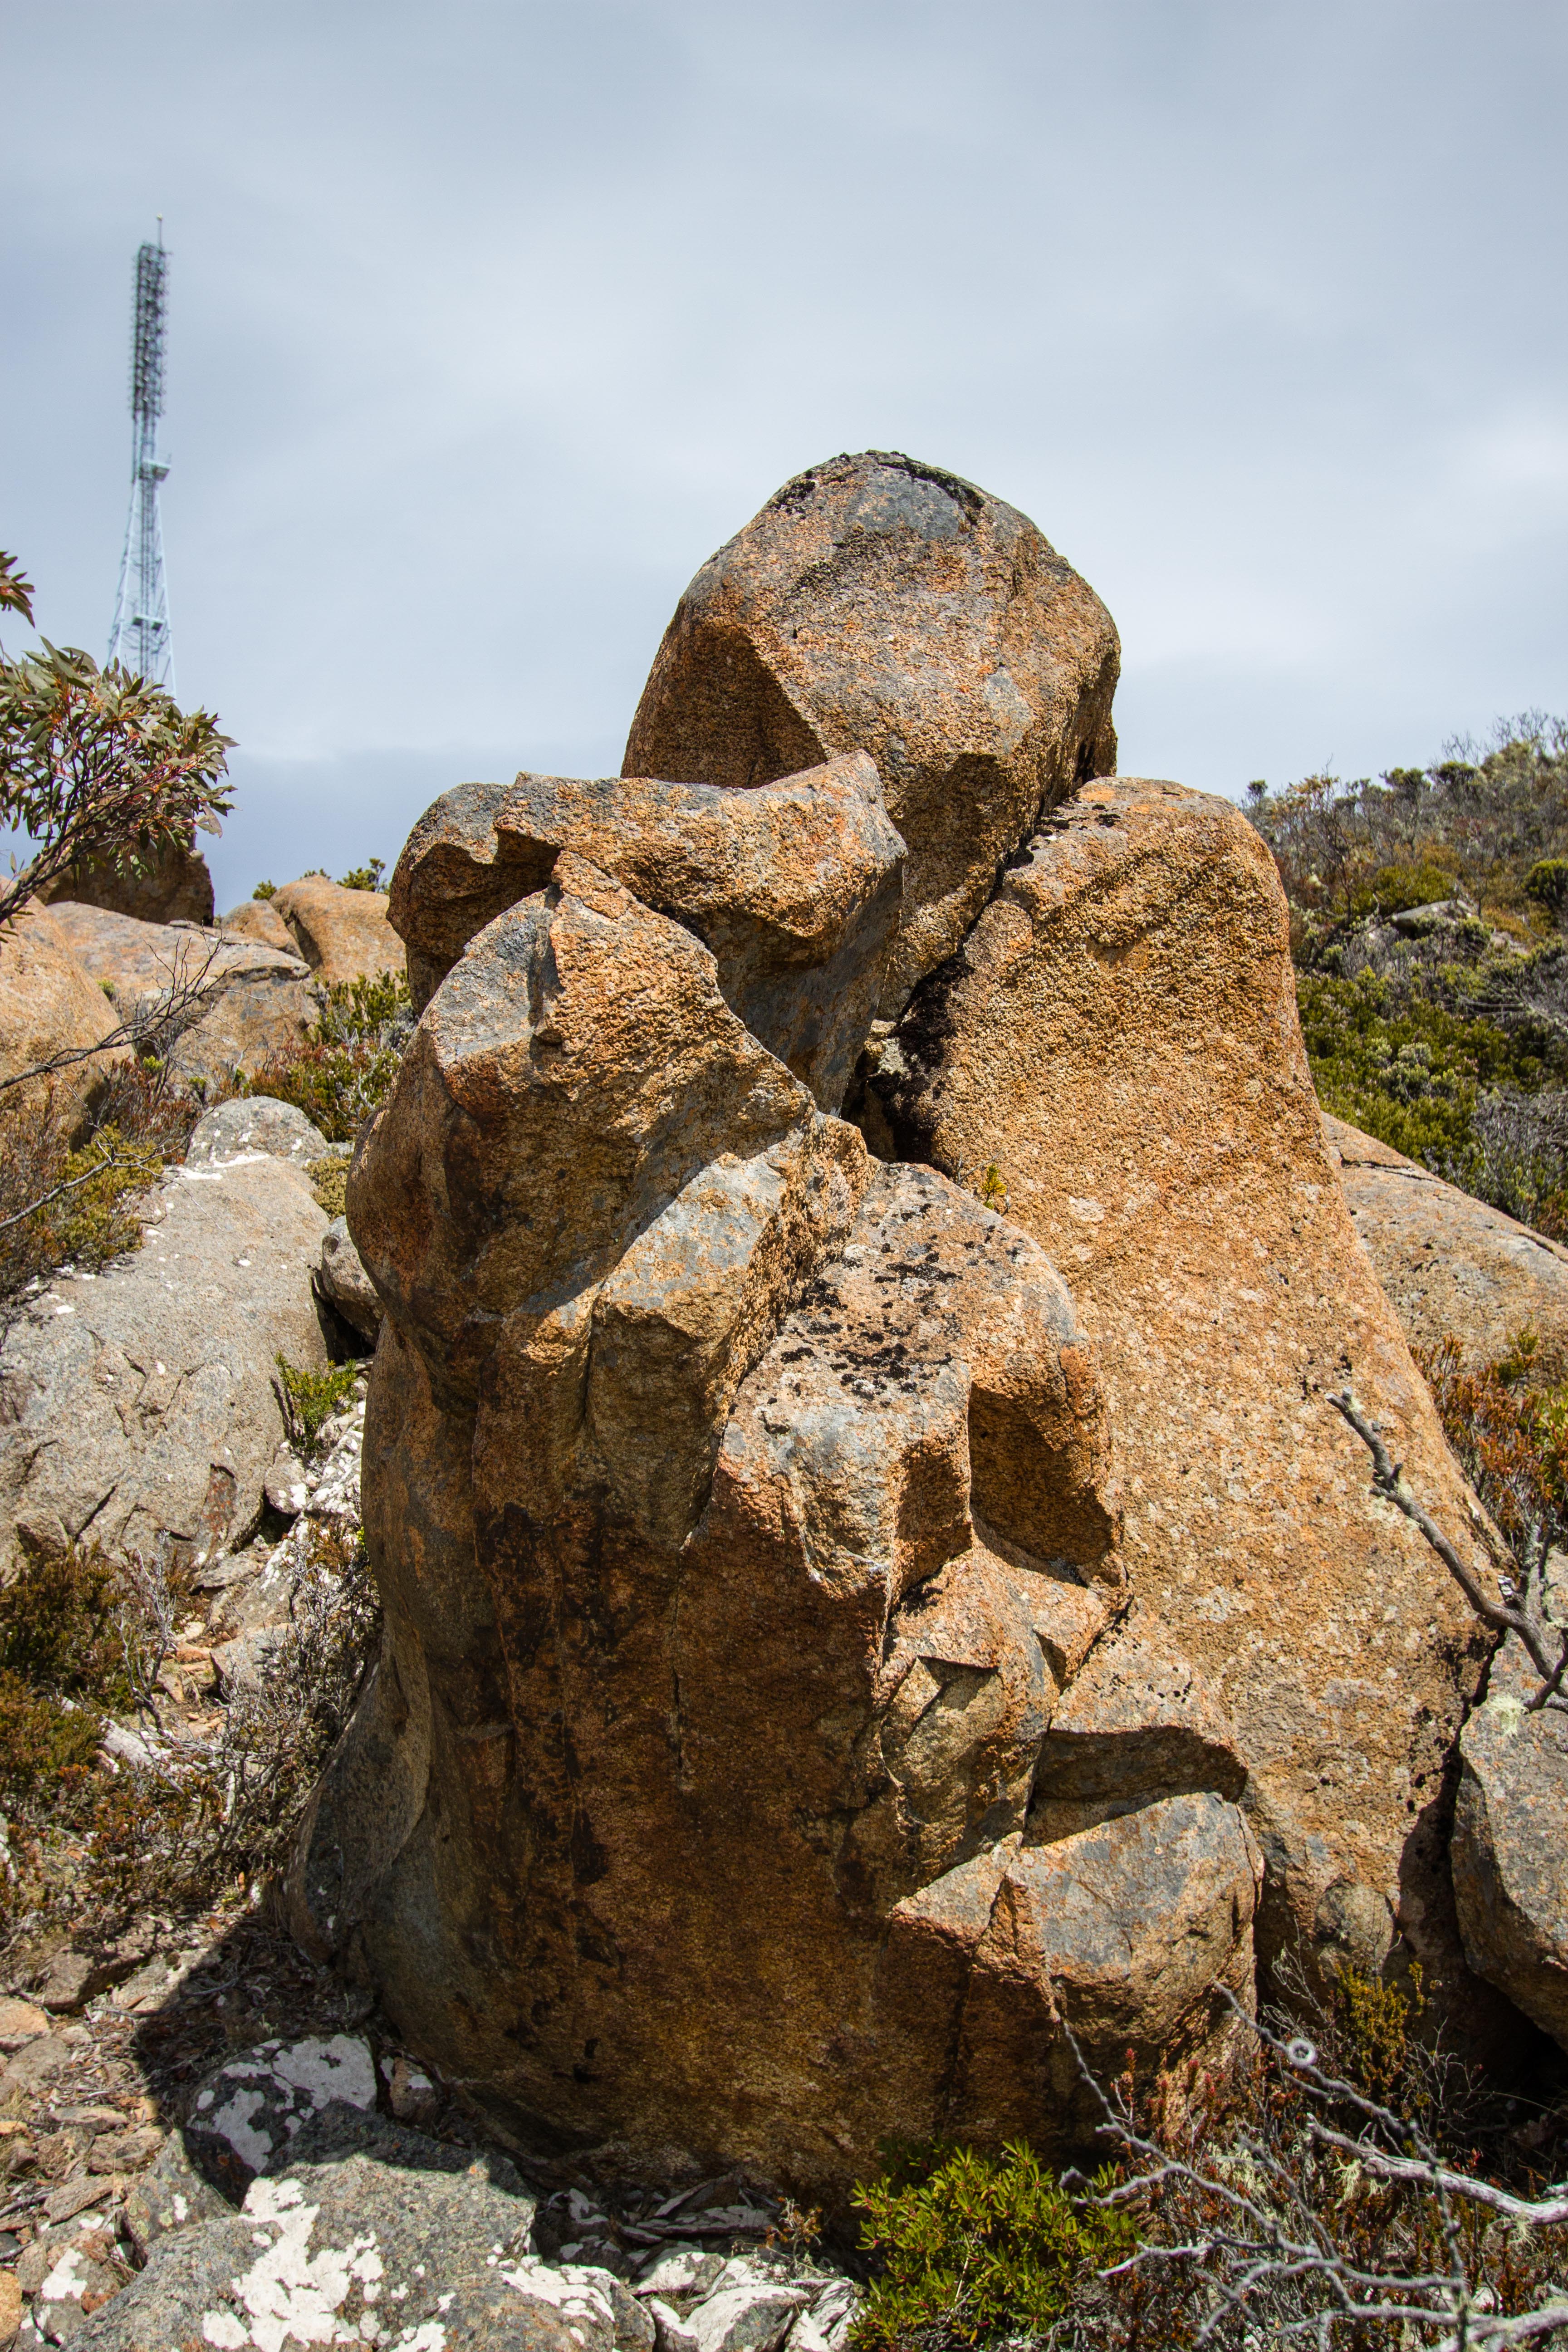
Sit start wit good holds. Up the down-hill side on even better holds. Top out on the best of holds.
M Hitchcock 2017
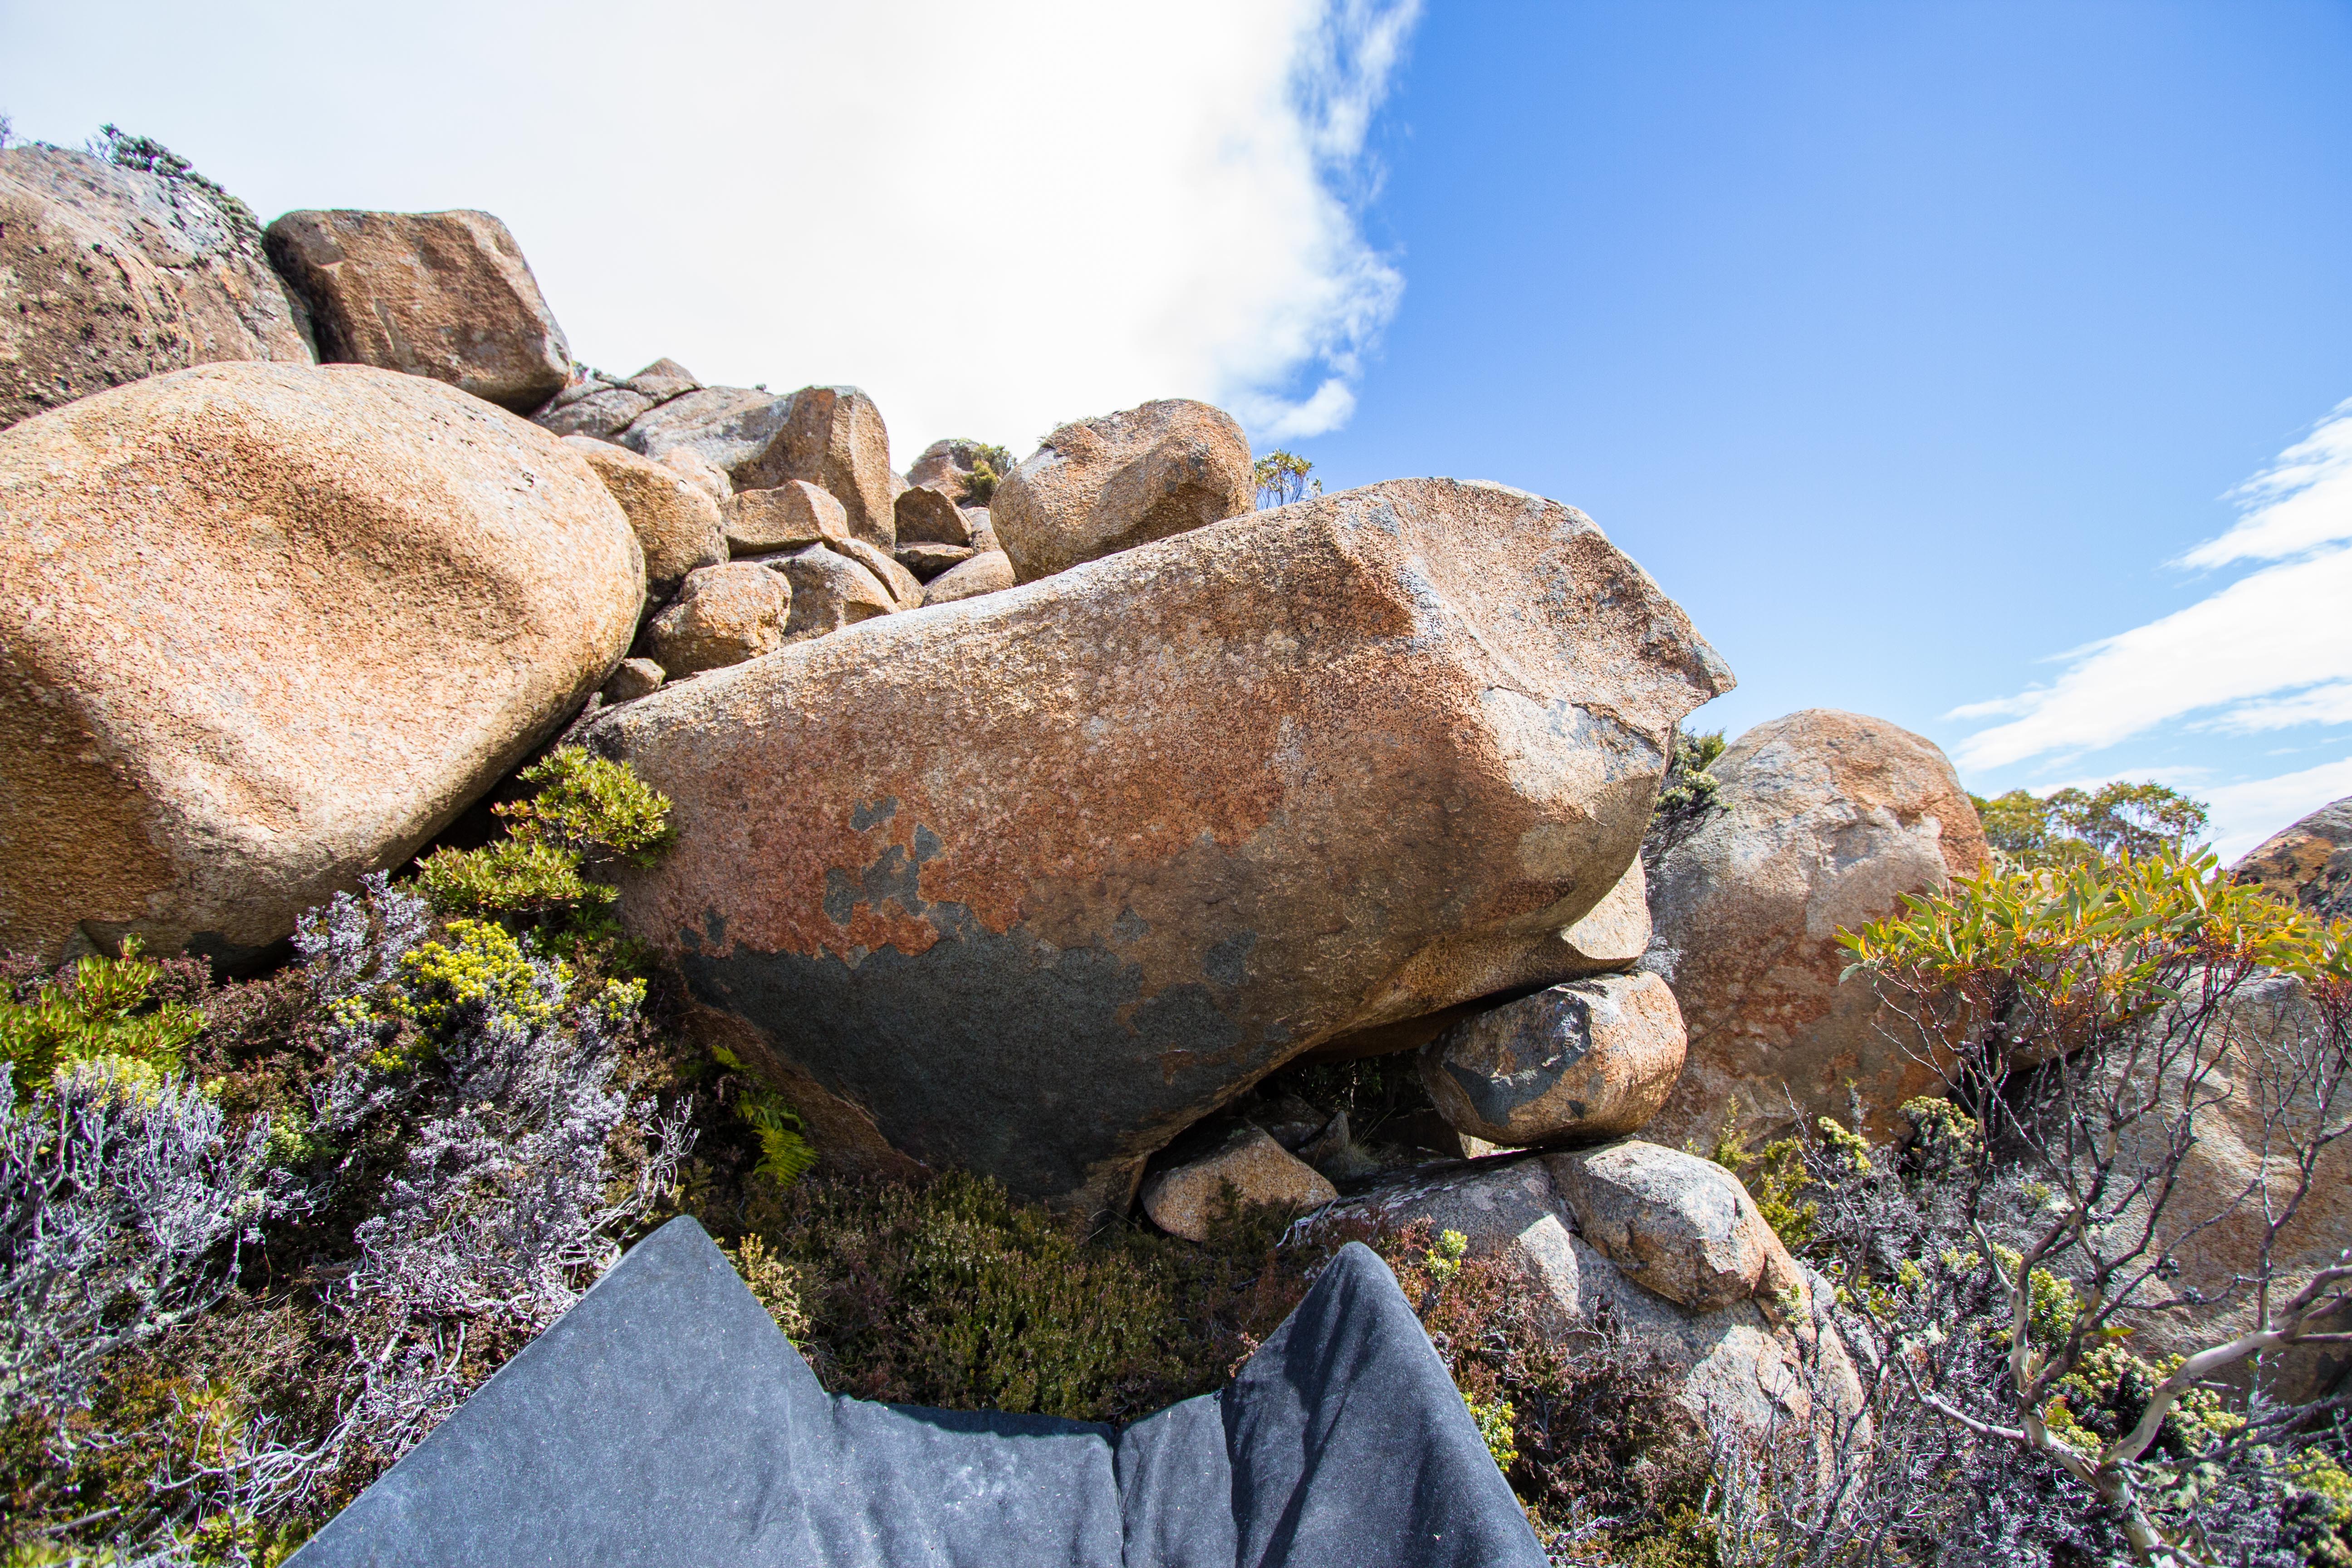
Mantle the blank bulge. The top rock is a little wobbly, but fine.
M Hitchcock 2017
To the right of "Off-boarding". Climb the easy bulge. More push than pull.
M Hitchcock 2017
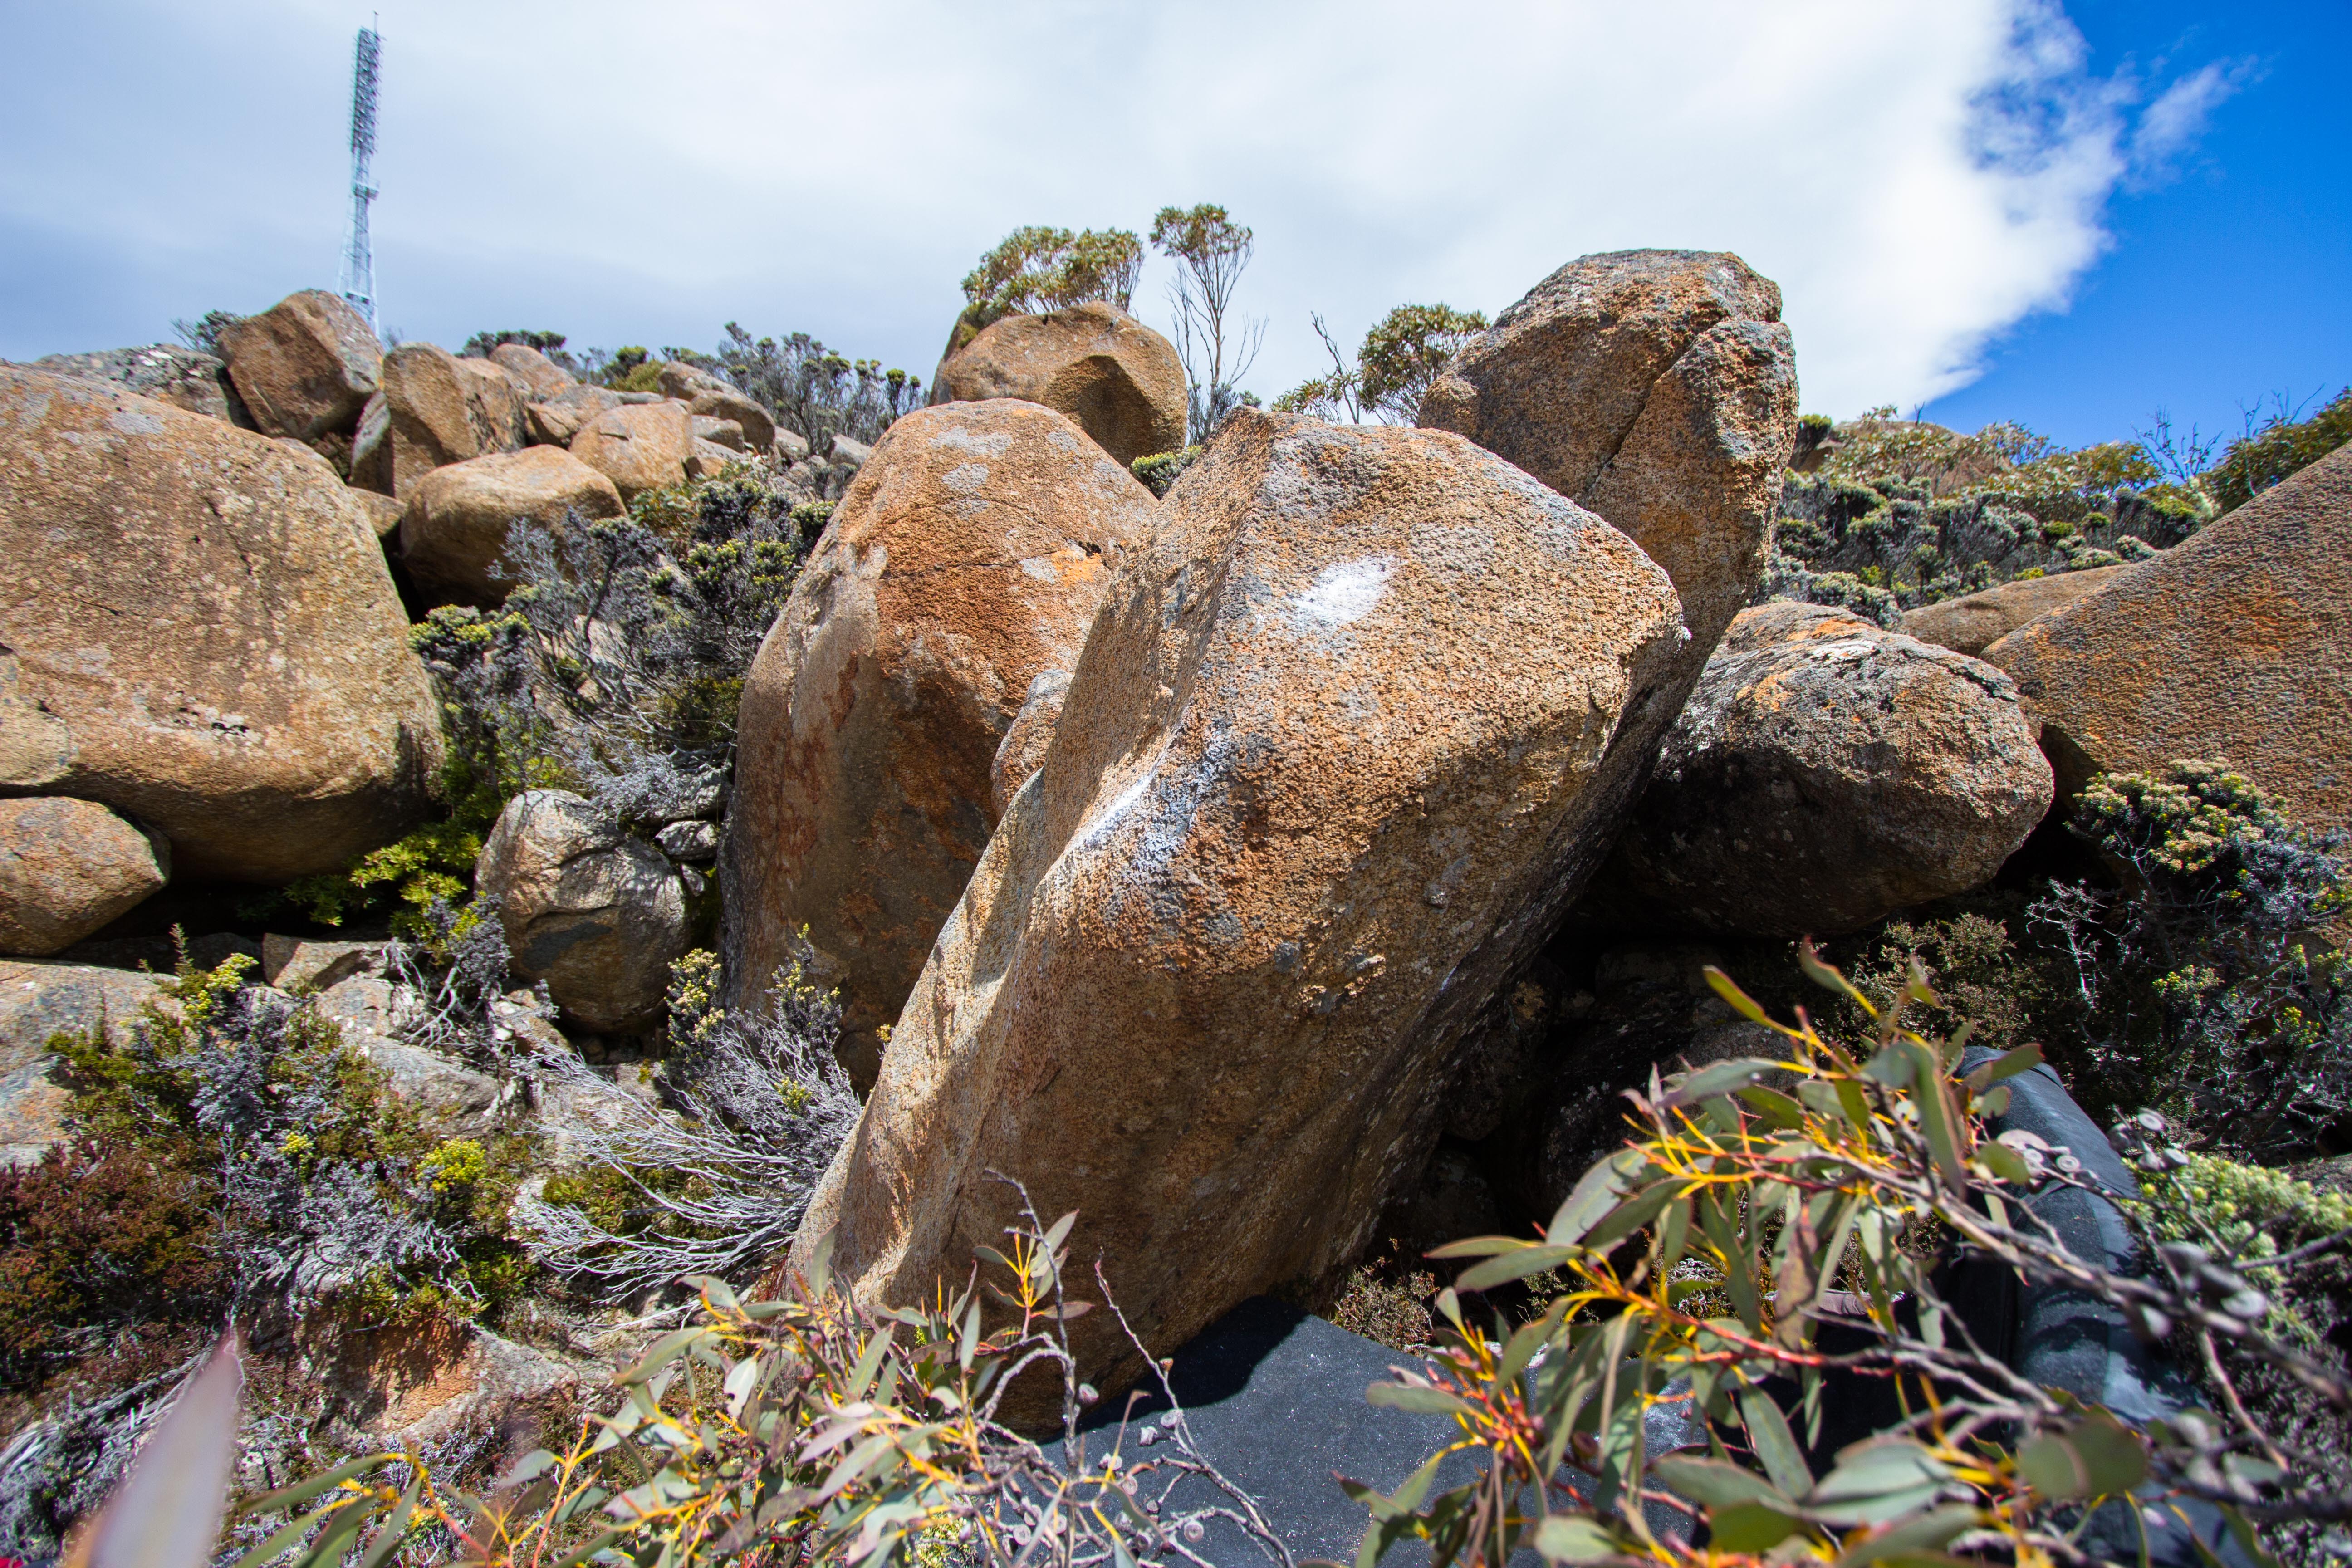
Sit start the short 45 overhang. RH on side pull and LH on arete. Easy up.
M Hitchcock 2017
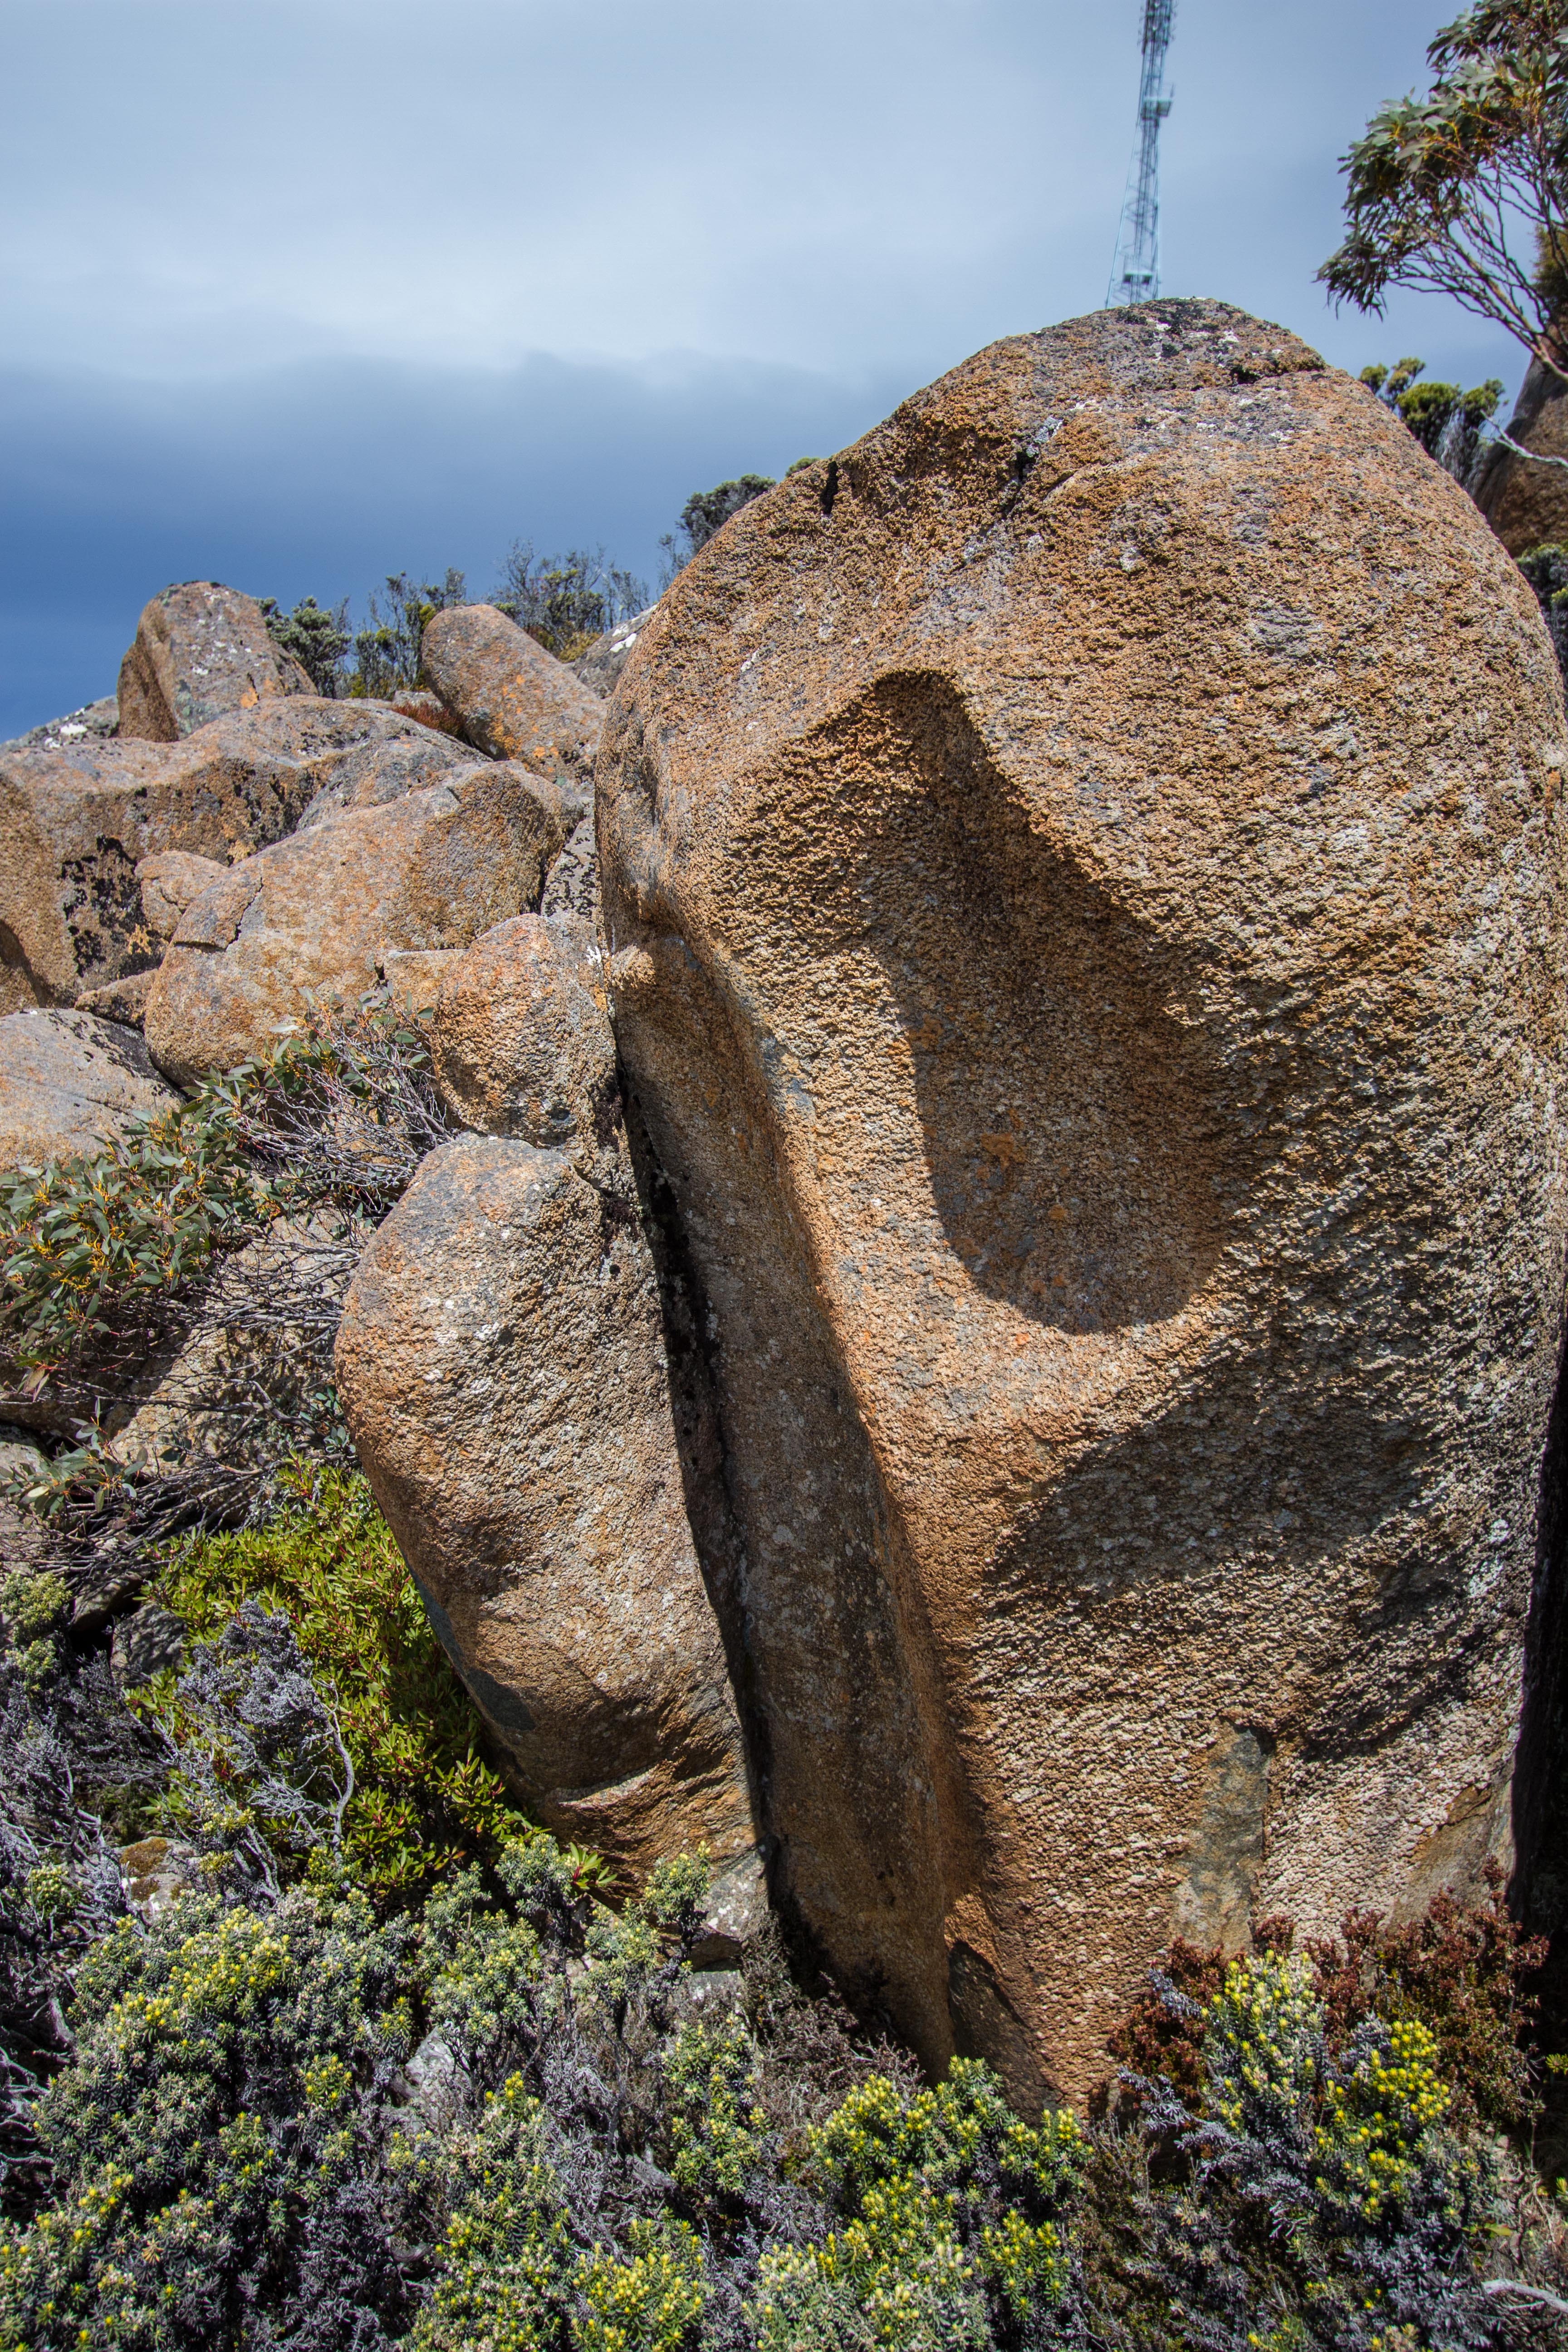
Sit start the scoop. Up and slightly left to top out.
M Hitchcock 2017
Chalet Boulders
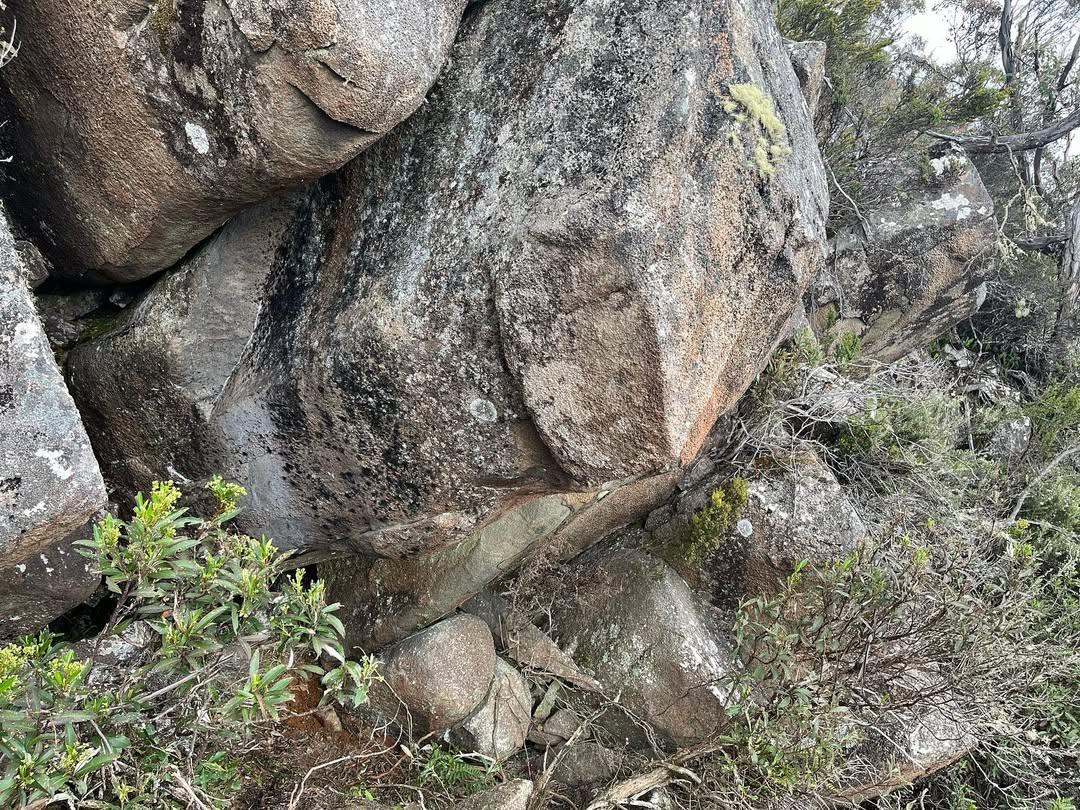
Sit start on the rail, lock in, ascend.
Lewis Traill & Joe Schwarz, 2025