
The Springs Bouldering area
 0min to 30min
 Mostly shade
 Sandstone
Introduction
This area contains the highest density of sandstone bouldering on Mount Wellington. Some good problems from vertical to steep.
Great sloper problems. Though, bring a brush because if they're sandy - add a few grades.
Access
From the centre of Hobart drive up Davey Street, which becomes Huon Road, for 9.6km. Just before Fern Tree a well sign posted road (Pillinger Drive) leads off sharply to the right and winds up the mountain. Follow this for 4.2km to reach the Springs.
There are a number of car parks here.
GPS
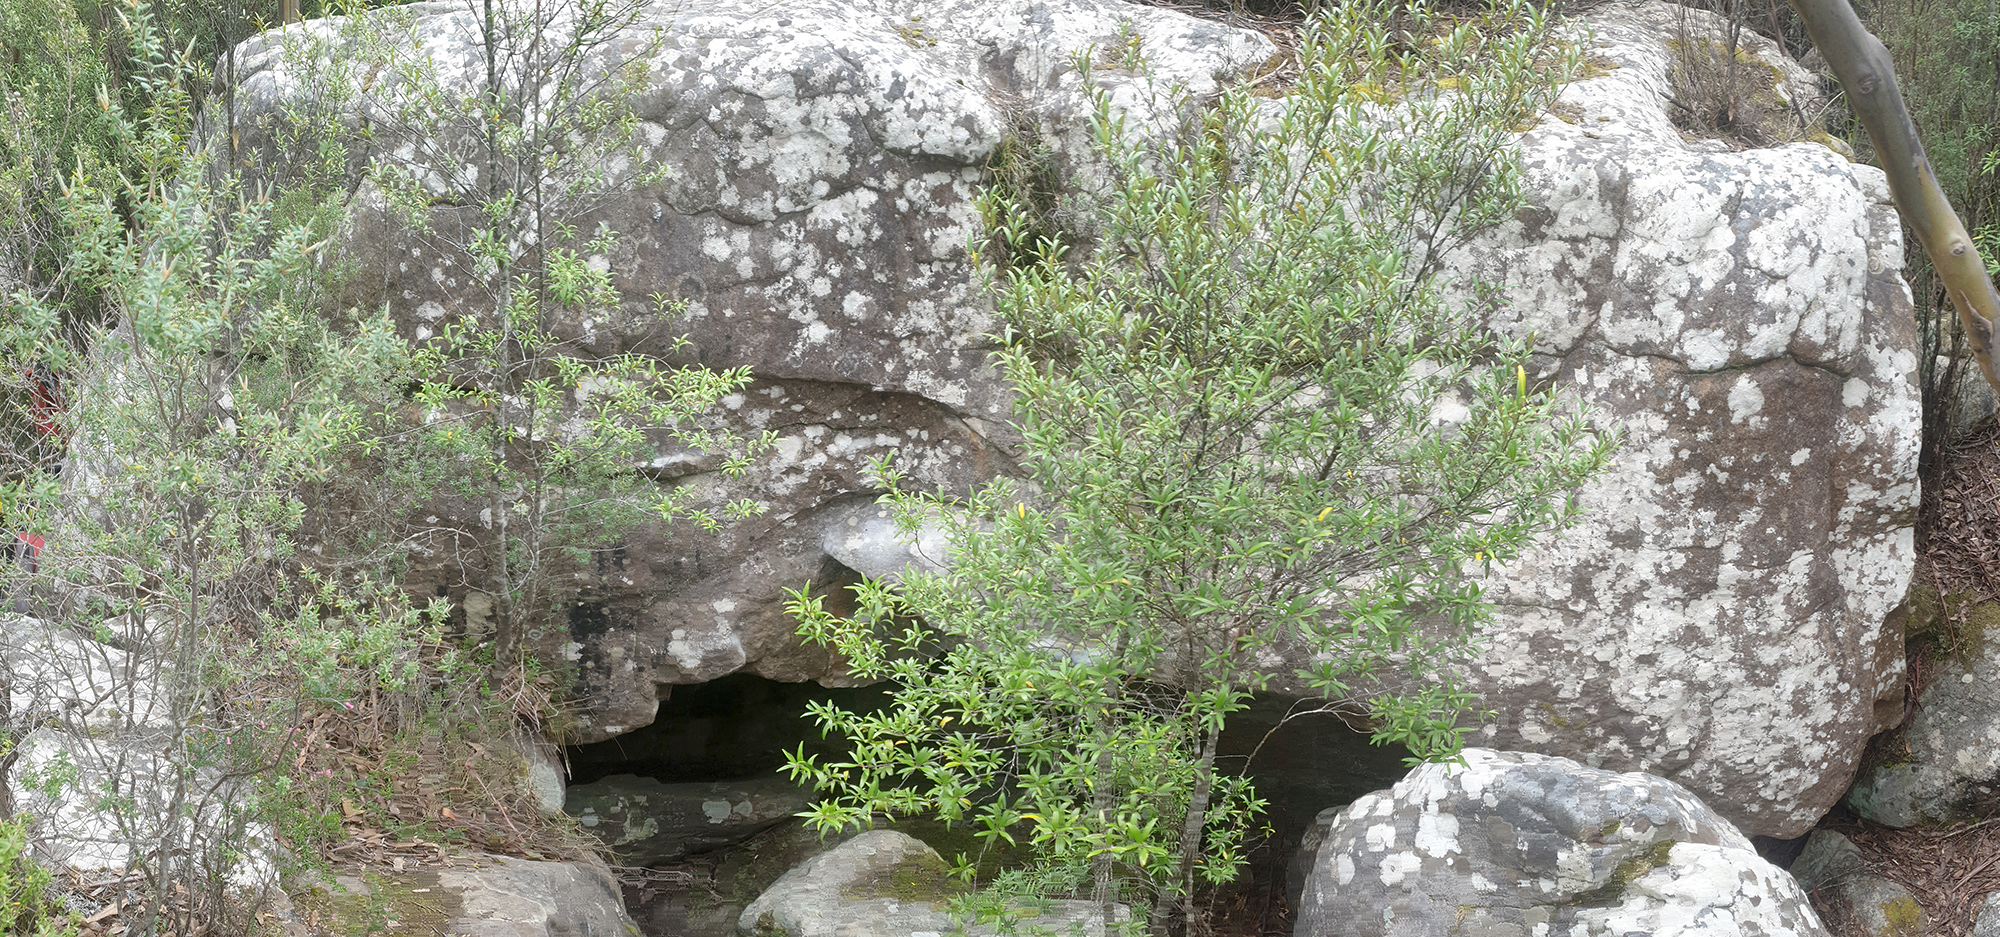
Rocky Whelan's Cave
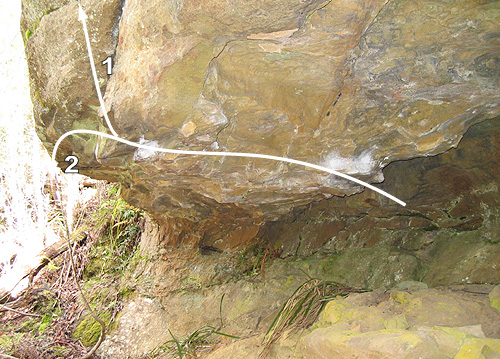
Rocky Whelan's Cave bouldering is steep and juggy which makes for fun.
The rock is generally compact with iron rich veins that makes edges strong enough to huck on. The problems here have been finished at prominent ‘send’ jugs below the top due to the major task of cleaning the top. There remain plenty of new problems, variations and eliminates, lip traverse anyone?
Climbs are sent by cutting feet loose while on the send jugs, it is suggested that you then down climb until you feel comfortable jumping off.
The cave faces North and remains dry in all but the worst of conditions.
The cave has ‘historical significance’ at least to one passer-by, who also mentioned the painted circles appeared after a documentary was filmed at the cave. So if you don’t mind bouldering at the haunt of a murderous bush ranger and more recently lovers, this is the place for you.
Drive up the pinnacle road approximately 2km. Park in the parking bay 10m past the end of the track. Walk up the track until you see the Rocky Whelan Cave sign, approx. 3 min.
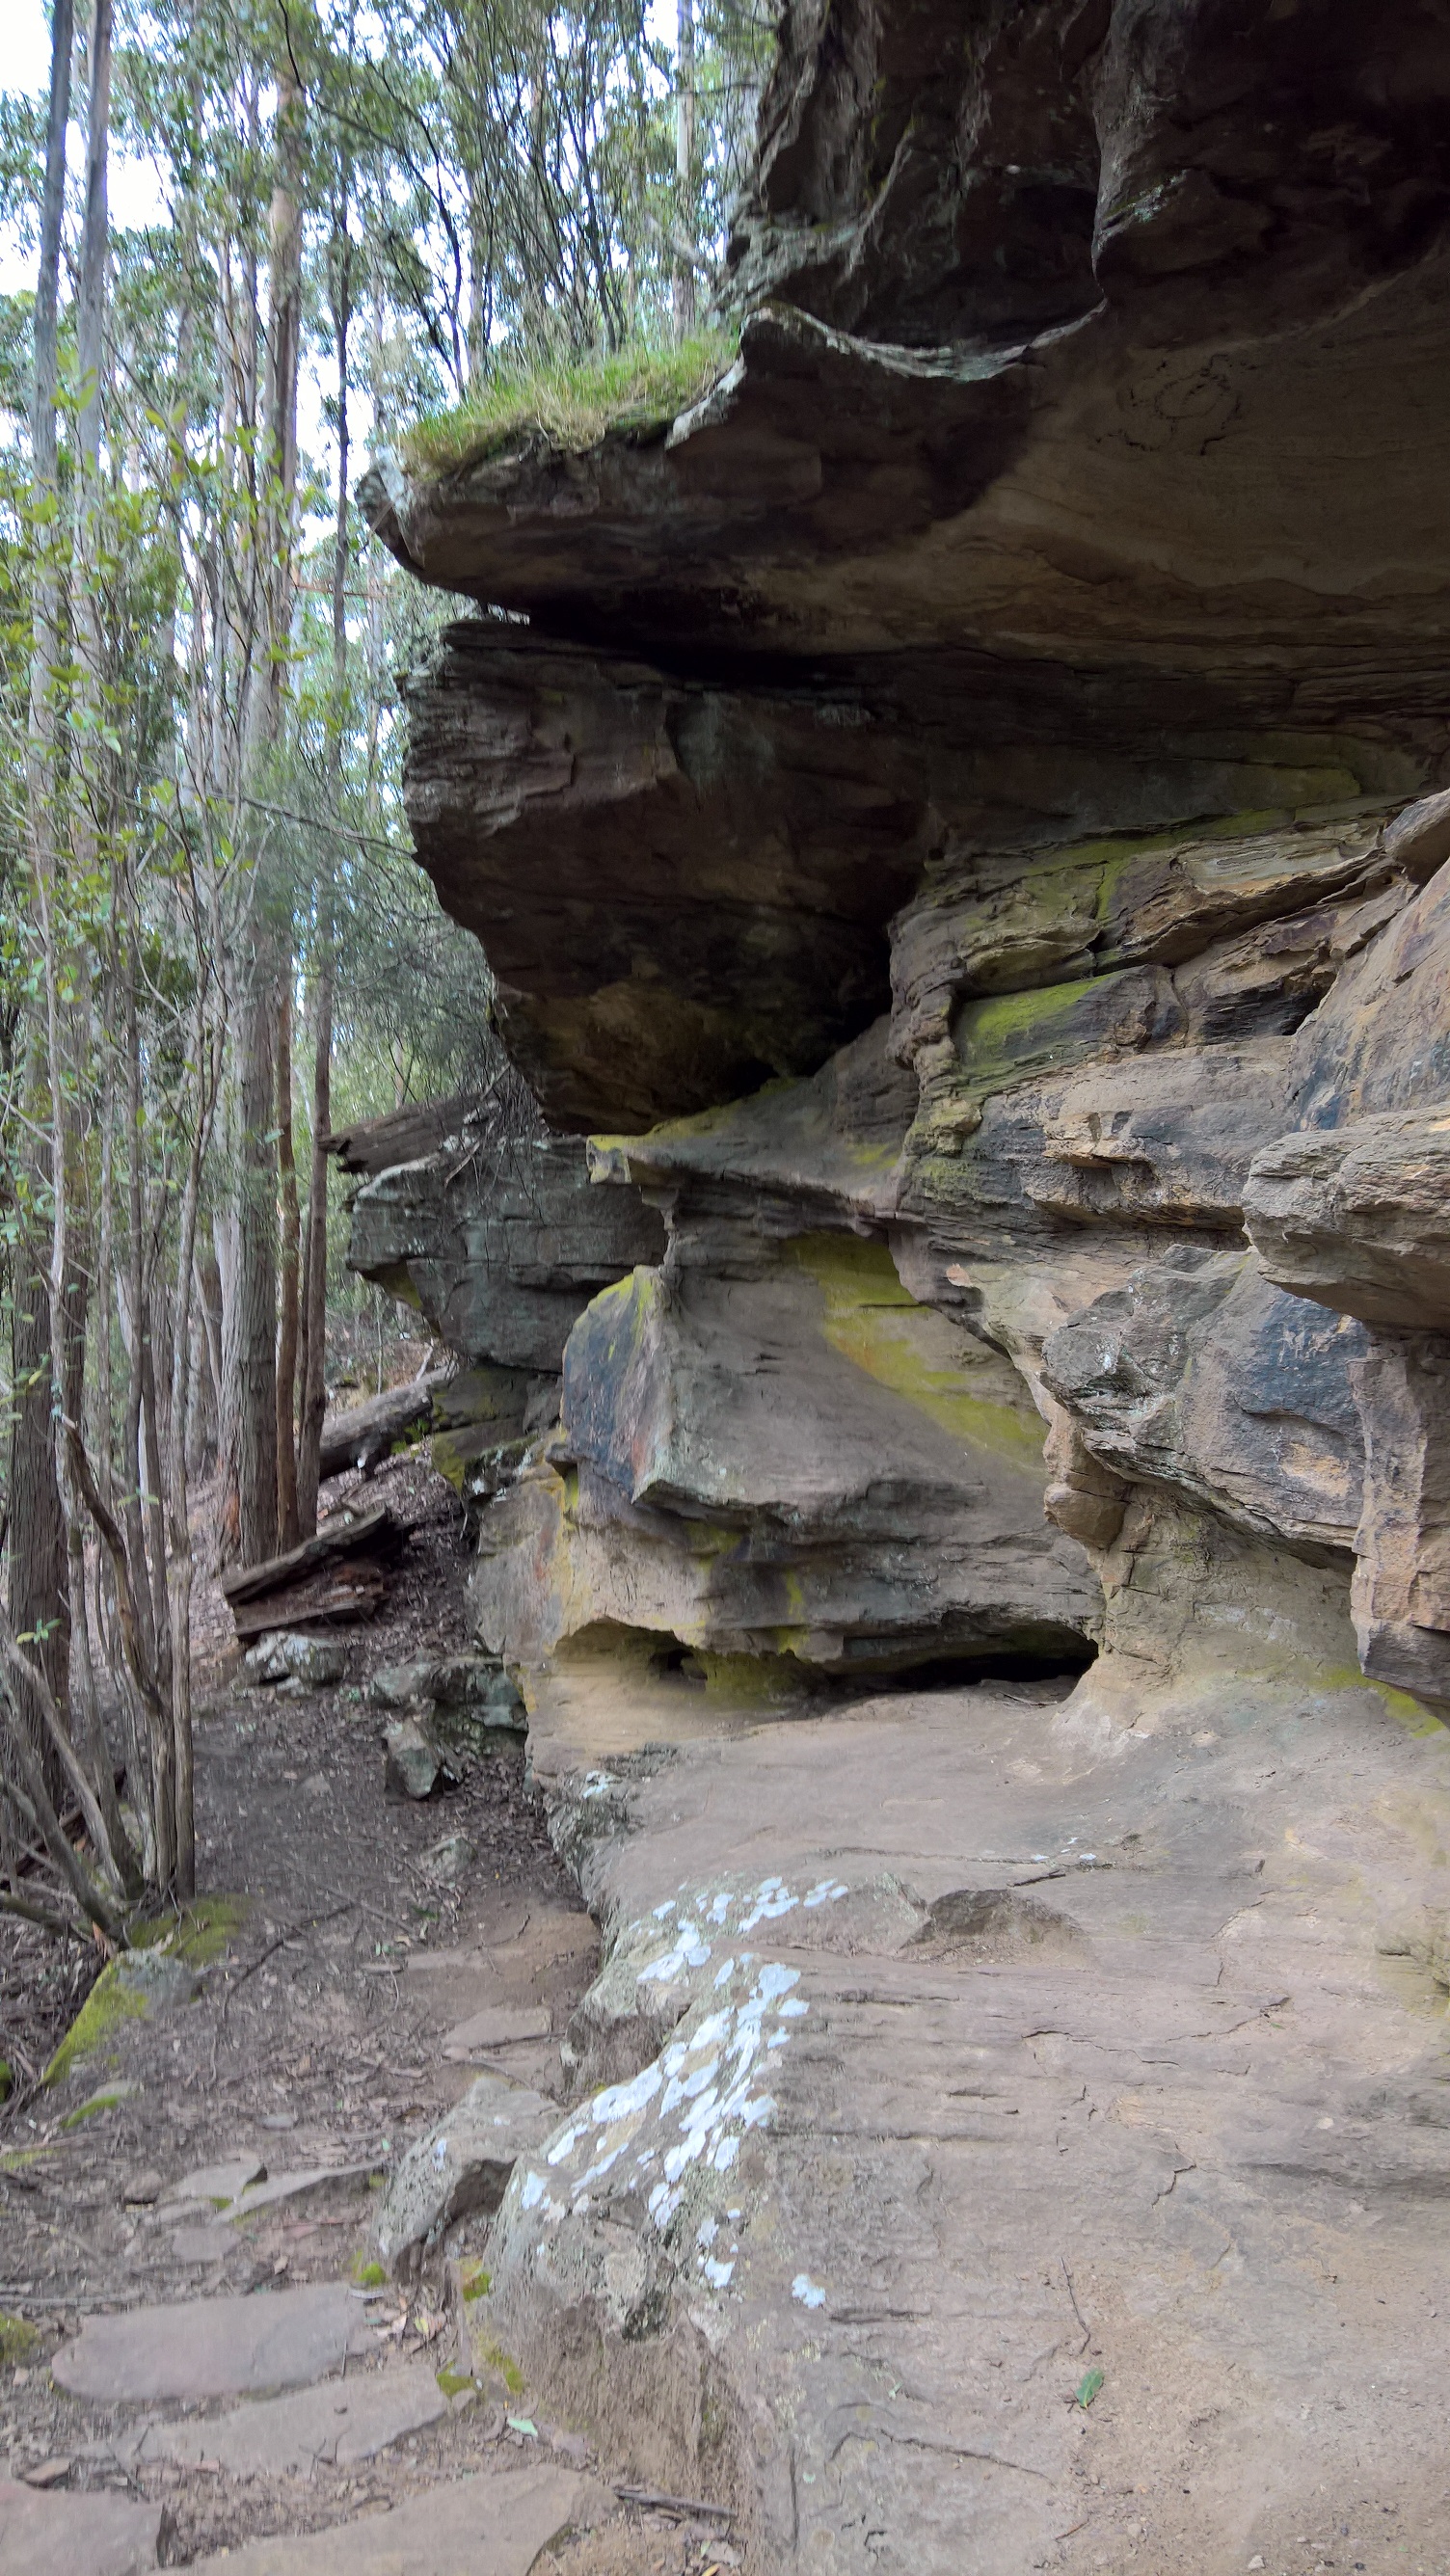
Start at the peace symbol. VE if you use the tree.
?
?
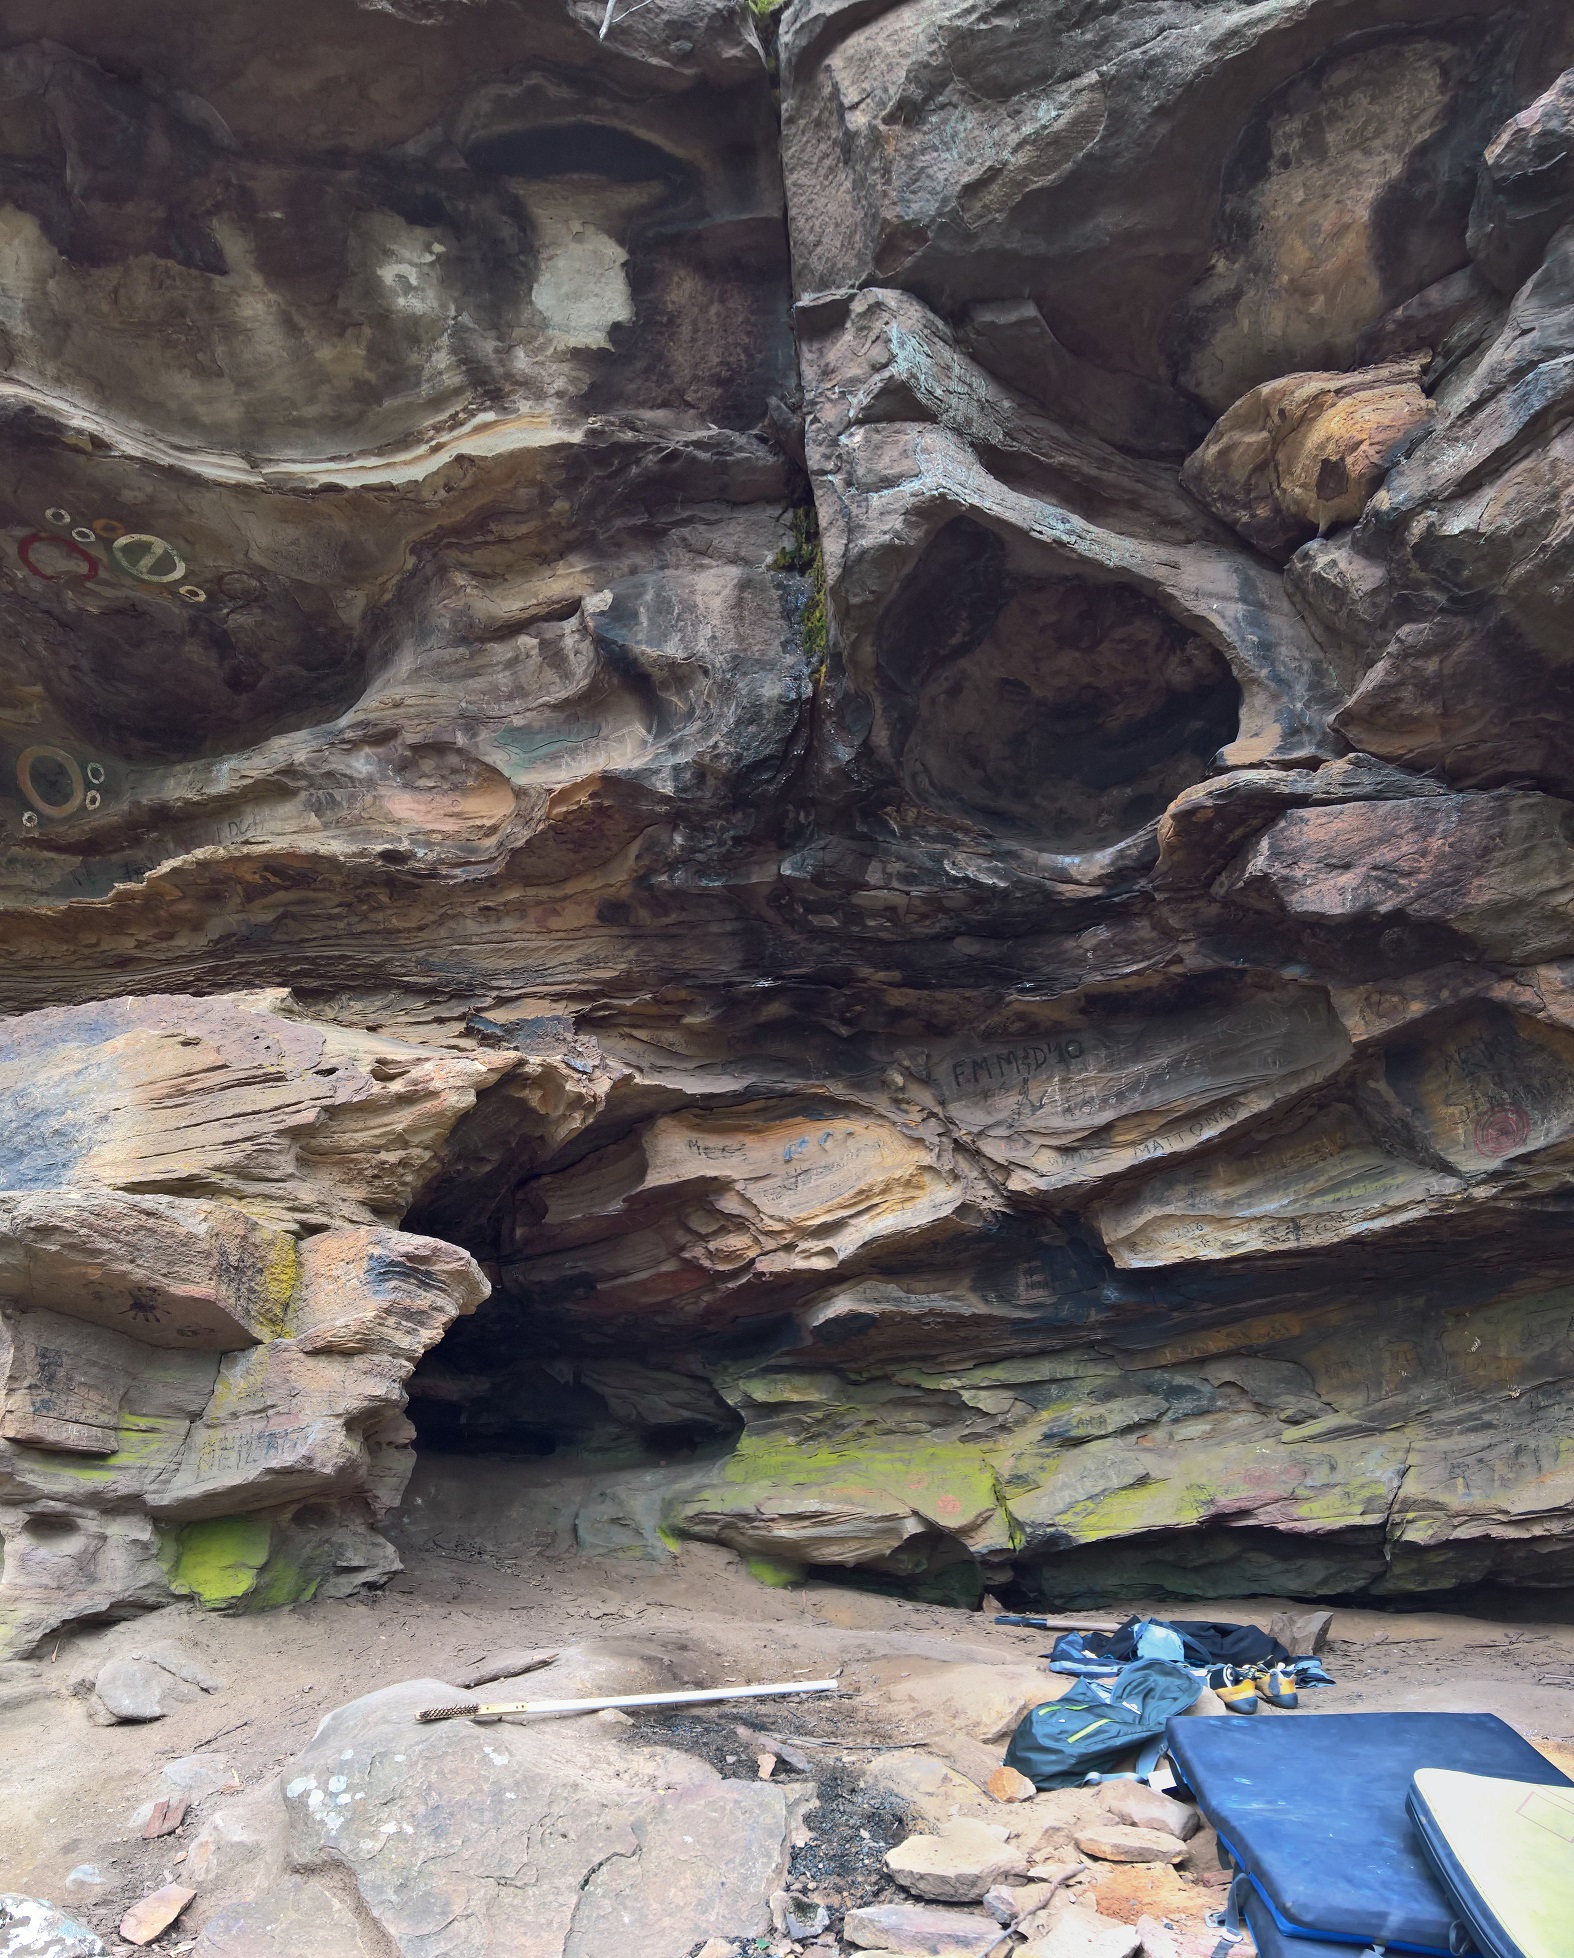
Start on the holds at the back of the little cave, with foot on the rail. Climb out and up on big holds to the send jug.
Start on the lower rail, climb to the hole then finish up PR.
Hang on the Matt loves Nat holds. Climb straight through the hole then finish on PR send jug. This has a great double handed dyno from the starting holds worth doing just for that.
Start as for Physical Romance and finish up Mat loves Nat (keep feet above the undercut, not as contrived as it sounds).
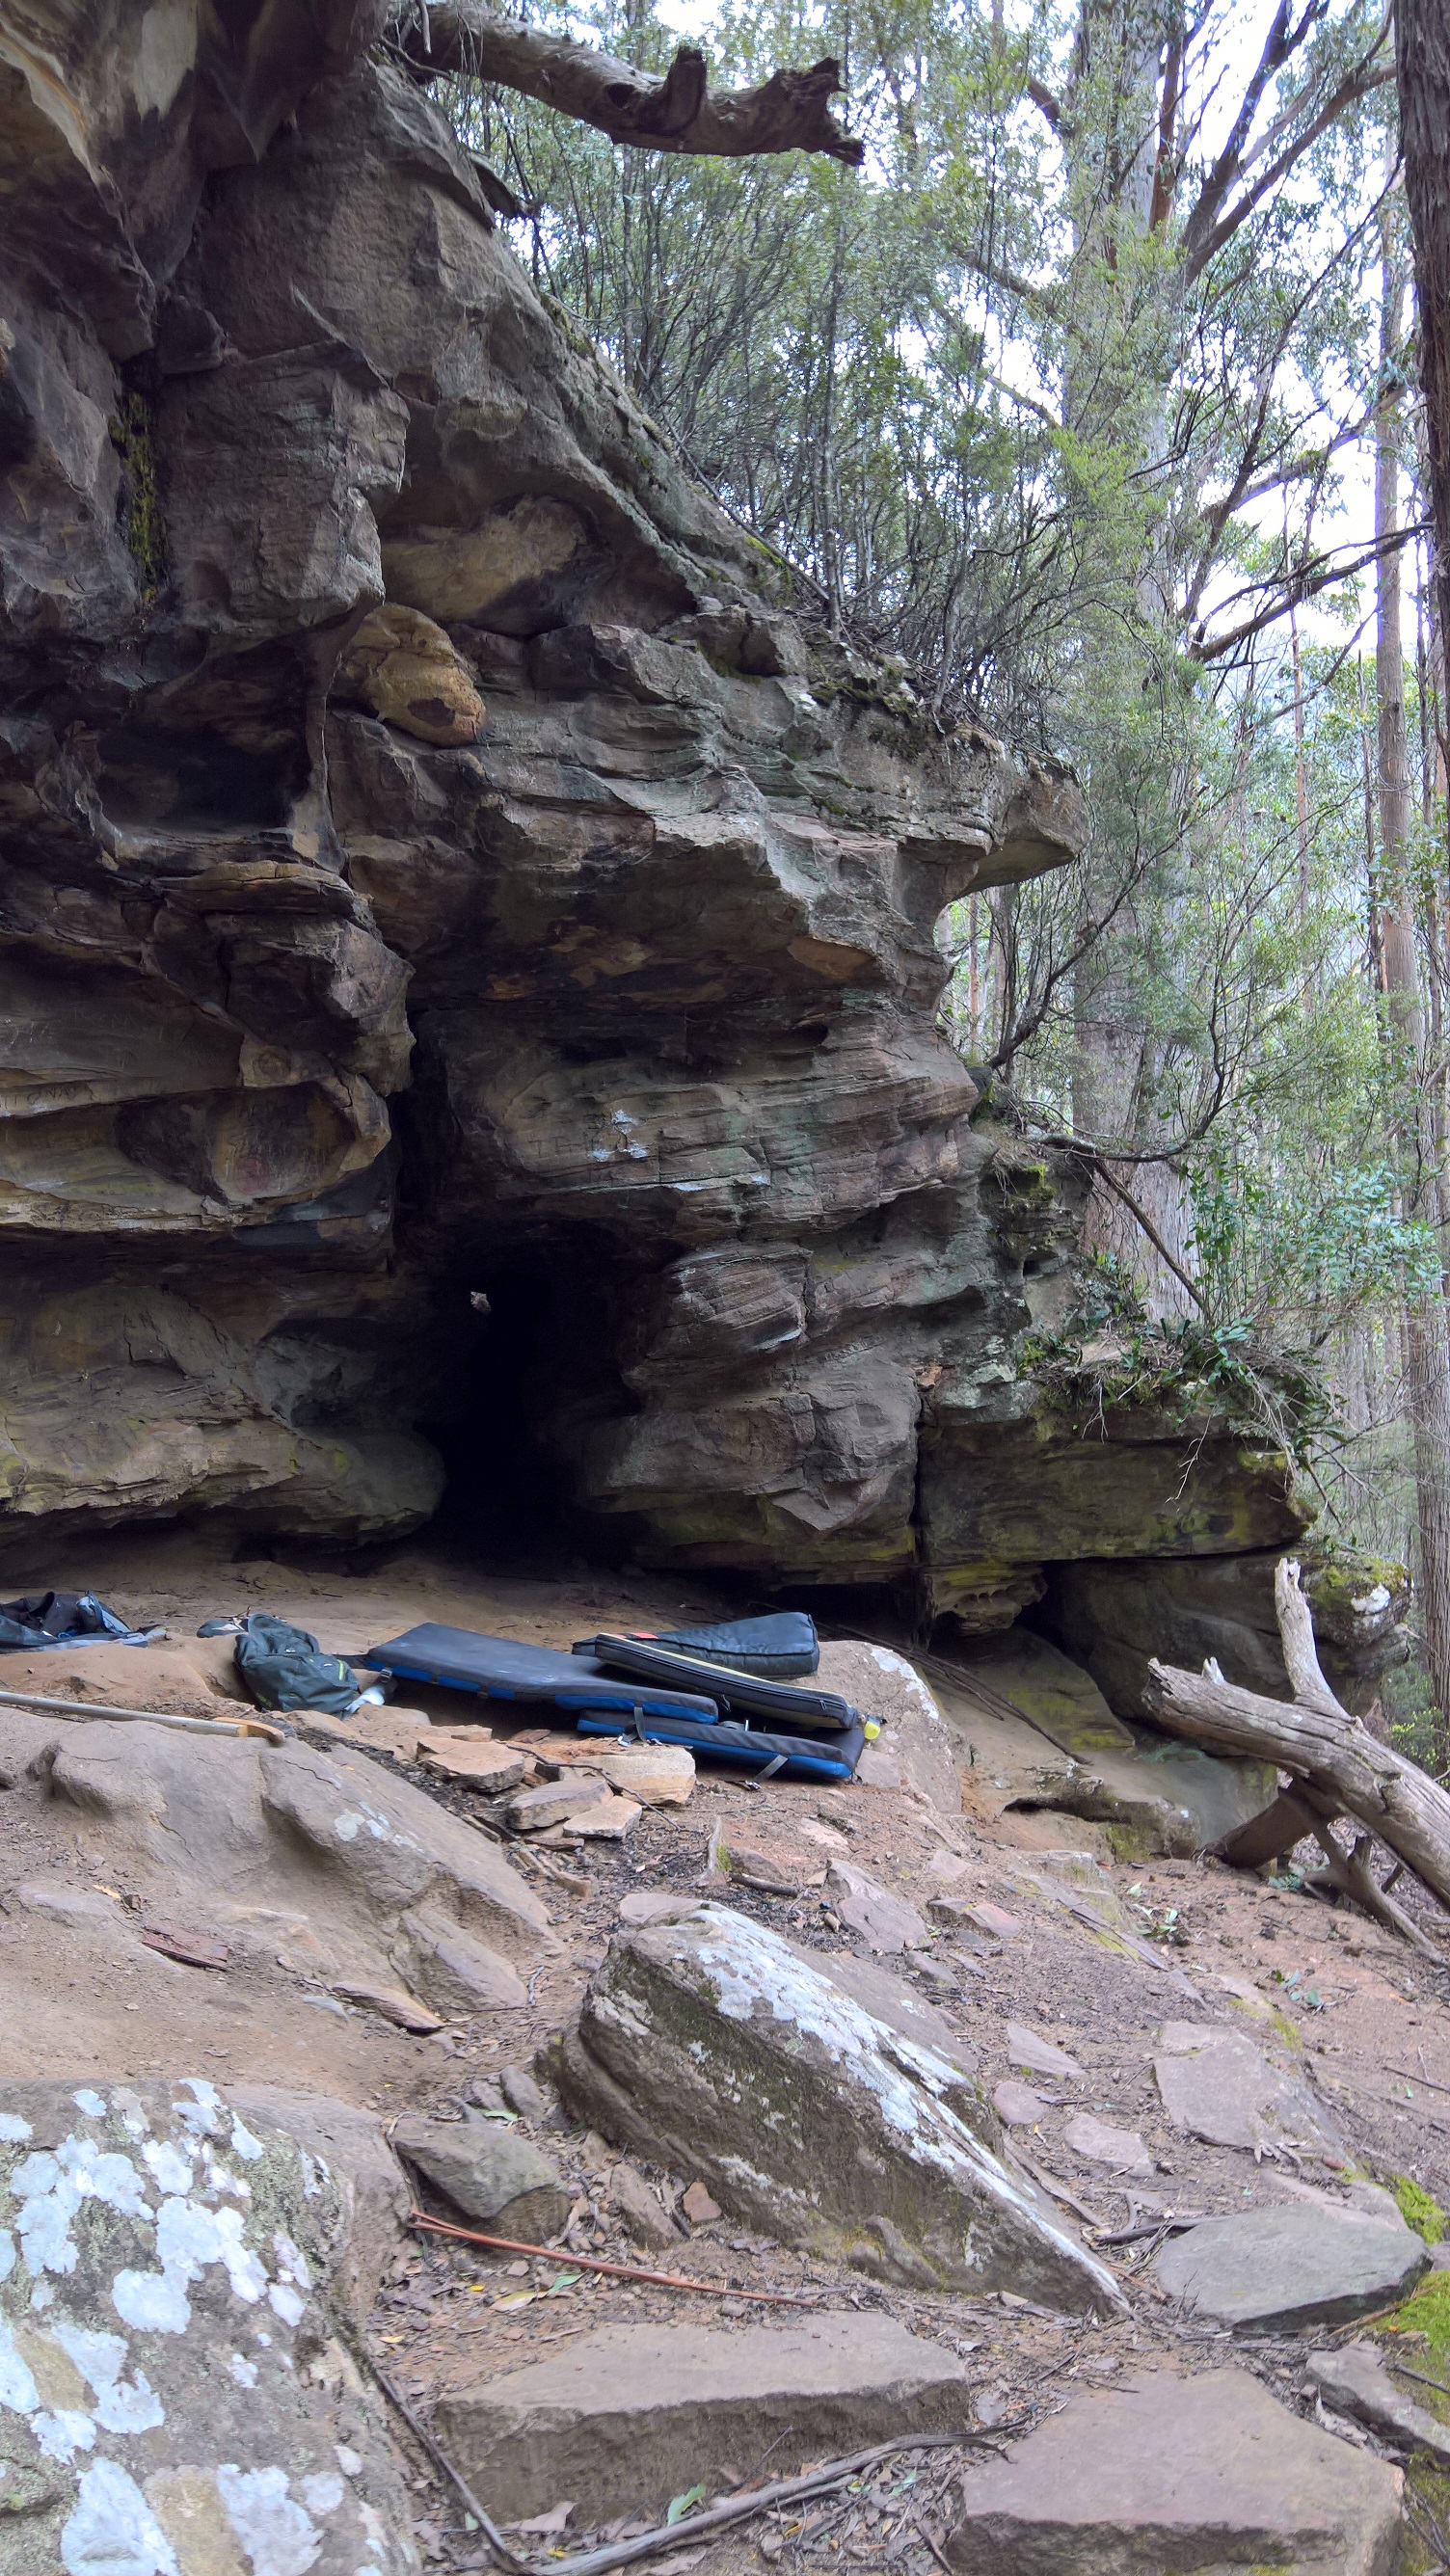
Hang from the holds on the lip under the big A. Head for the incut ledge and finish right.
Start with both hands on the low rail.
Start on the prominent jug.
?
The Springs
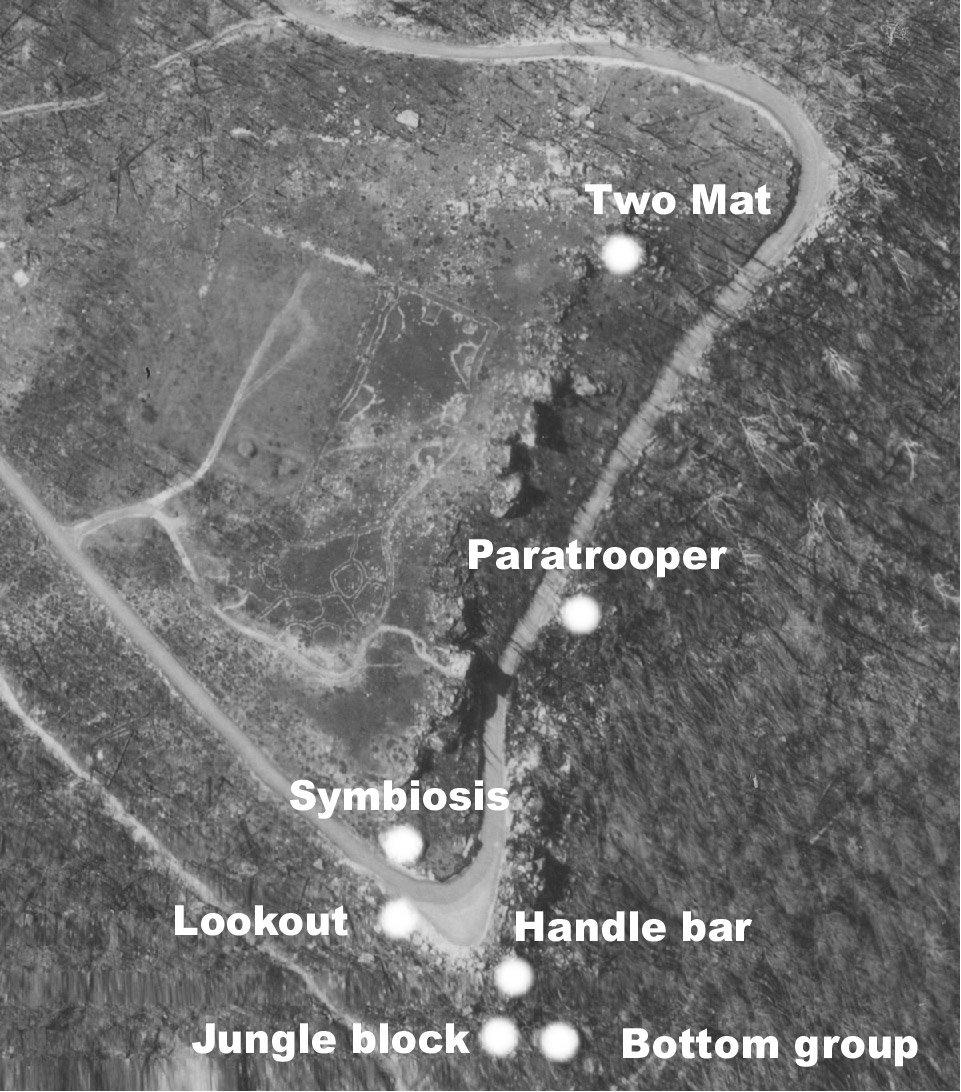
The Springs proper is the area of Sandstone escarpments and boulders around the Springs. The black and whit image below was taken immediately after the bushfires. There are a surprising number of buttresses in the area some of which lent themselves to beginner top roping back in the day, sadly most of the outcrops aren't much good for bouldering.
Fat Guy Security Boulder
Just after the fingerpost track crosses the road there is a yellow corner sign. Park just passed the sign where there is plenty of room.
The boulder is below the yellow sign.
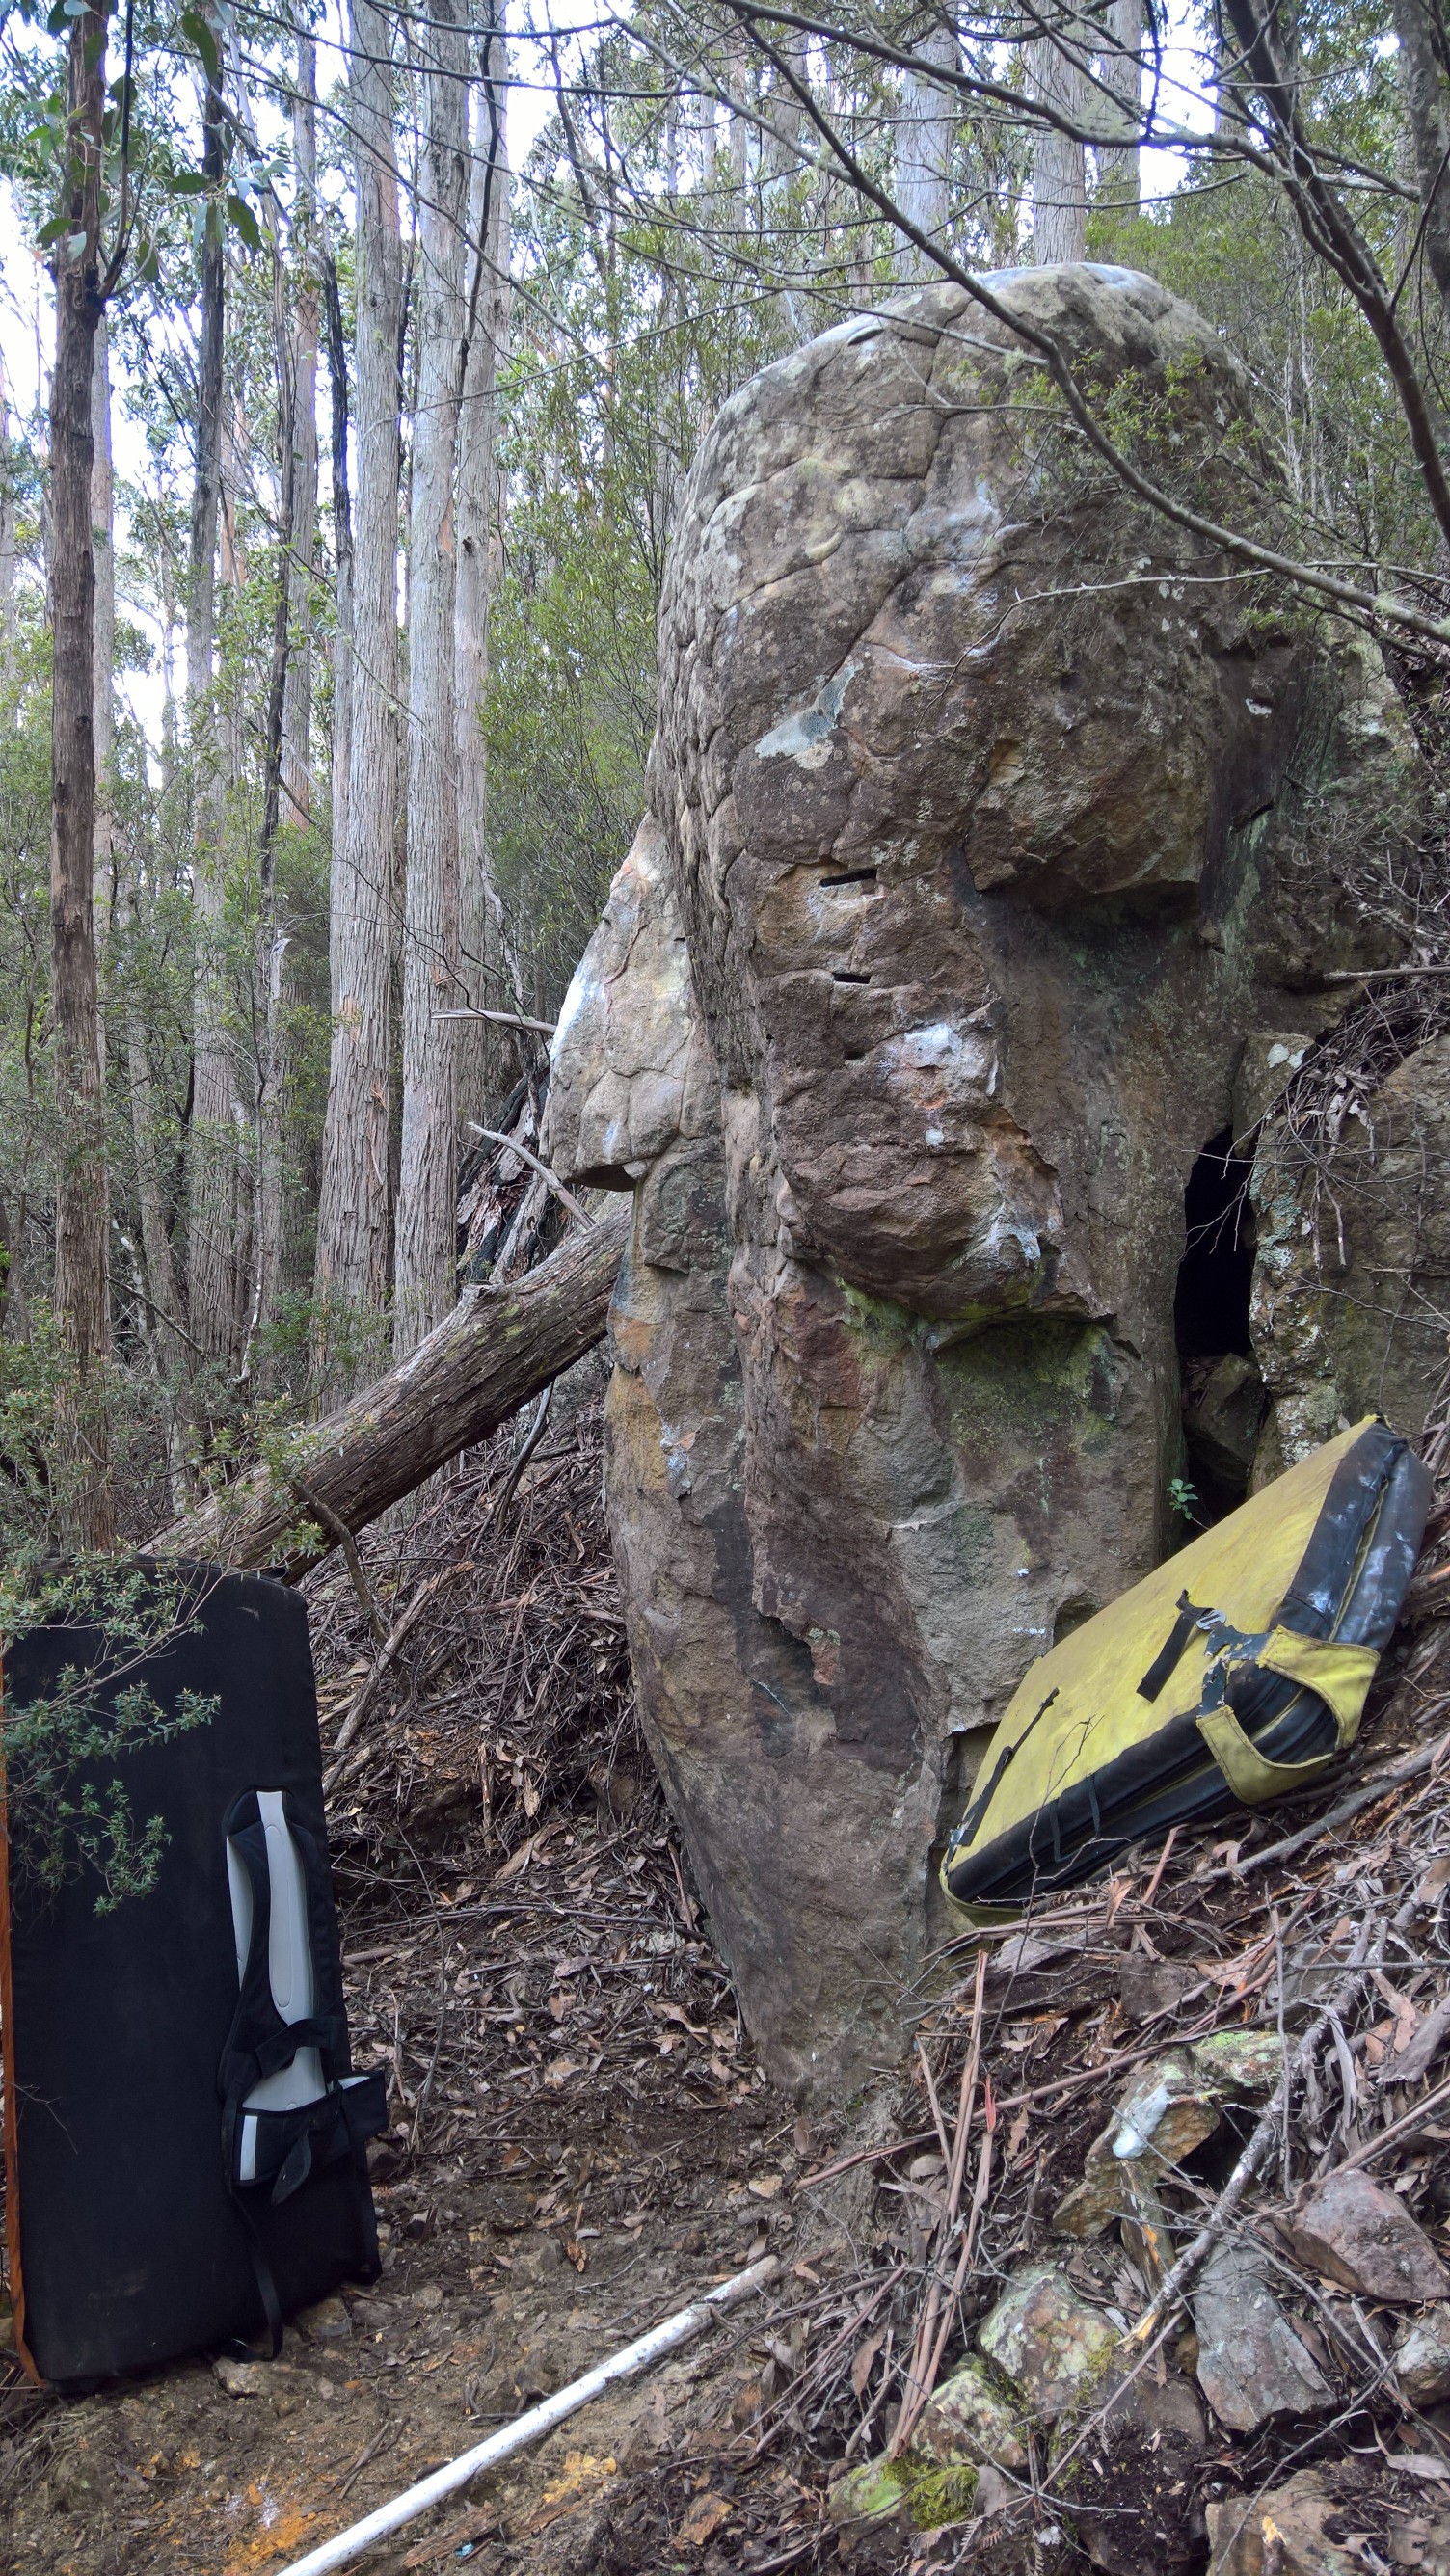
Left of Snow Forecast.
Varied climbing to an interesting top.
Lookout Boulders
Park at the lookout, about 100m before the Springs picnic area. The roadside boulder is visible on the left just past the parking area. The Karma boulder is 10m to the left and down the hill. Walk up the road for about 30m until you can see boulders in the trees to the right. Bash through the bush to find the furthest left boulder, this is the Symbiosis boulder.
The Karma boulder is 10m to the left of the obvious boulder at the end of the carpark.
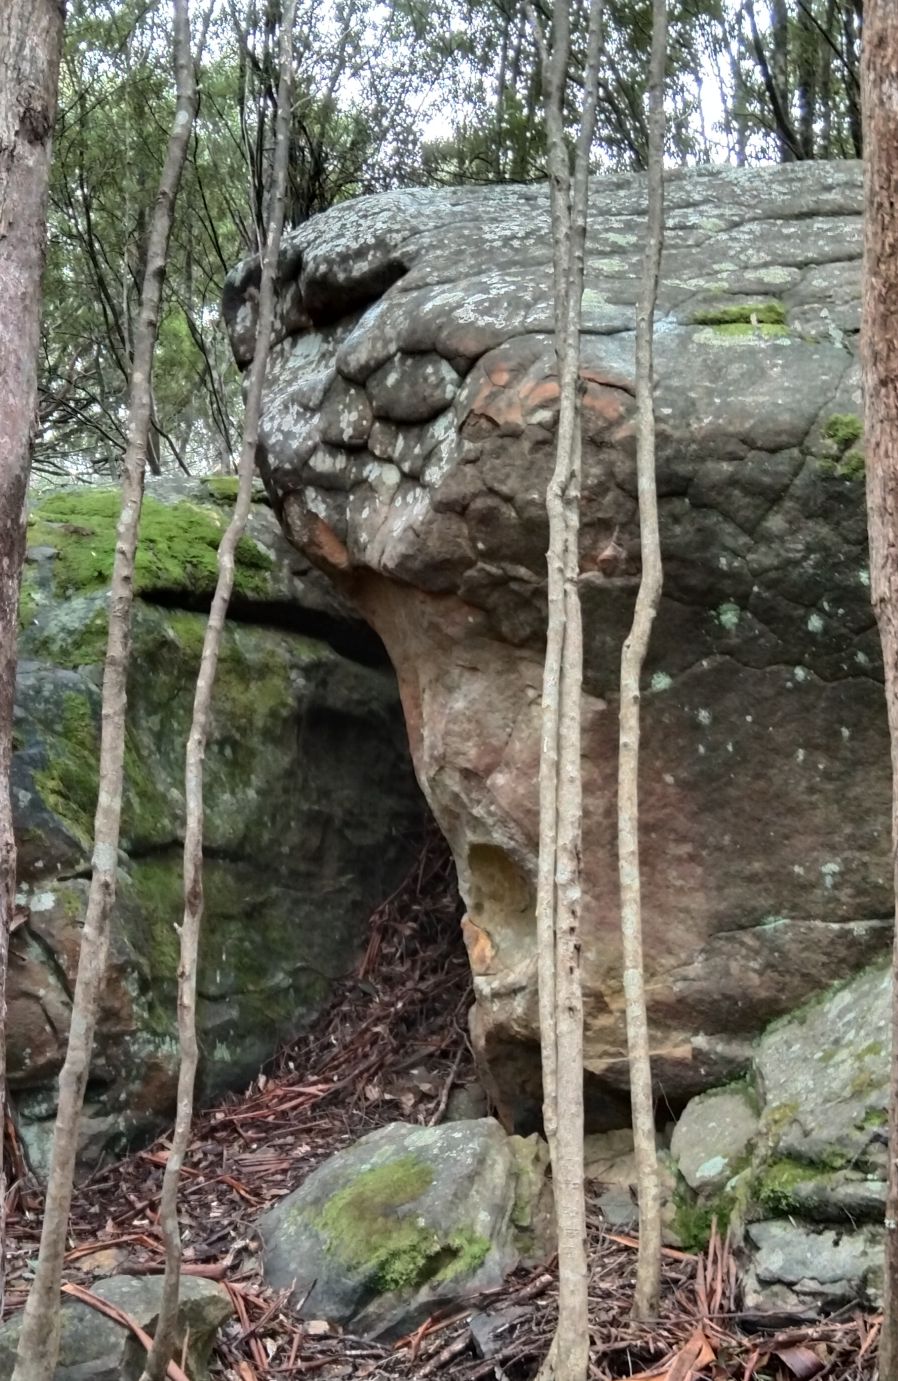
Unusual problem for the area, slabby foot up work.
The next problems are on the obvious boulder at the top end of the parking area
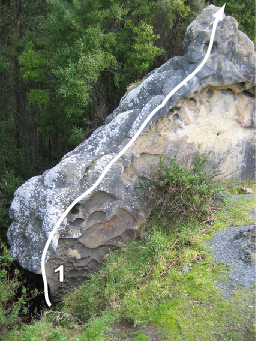
Sitstart at bottom of boulder and up and to the right
Sitstart on back of boulder
Sitstart further left. There are a few variations on the back of this boulder
30m down the hill from the Lookout Boulder is Choose Your Own Adventure Boulder.
Short dirty face left of tree.
The steep western side of the boulder. Starts on nice jugs which lead to a slopey topout.
Long slab on the bottom side of the boulder. In its natural state.
The next problem is on the bottom face of a boulder on about the same level as Choose Your Own Adventure, and another 20m across the hill.
Low hang start off arete, up to slopey top out.
Symbiosis Boulder
Walk up the road for about 50m past the parking area until you see some grey boulders in the bush to the right. The Symbiosis boulder is the furthest boulder to the left.
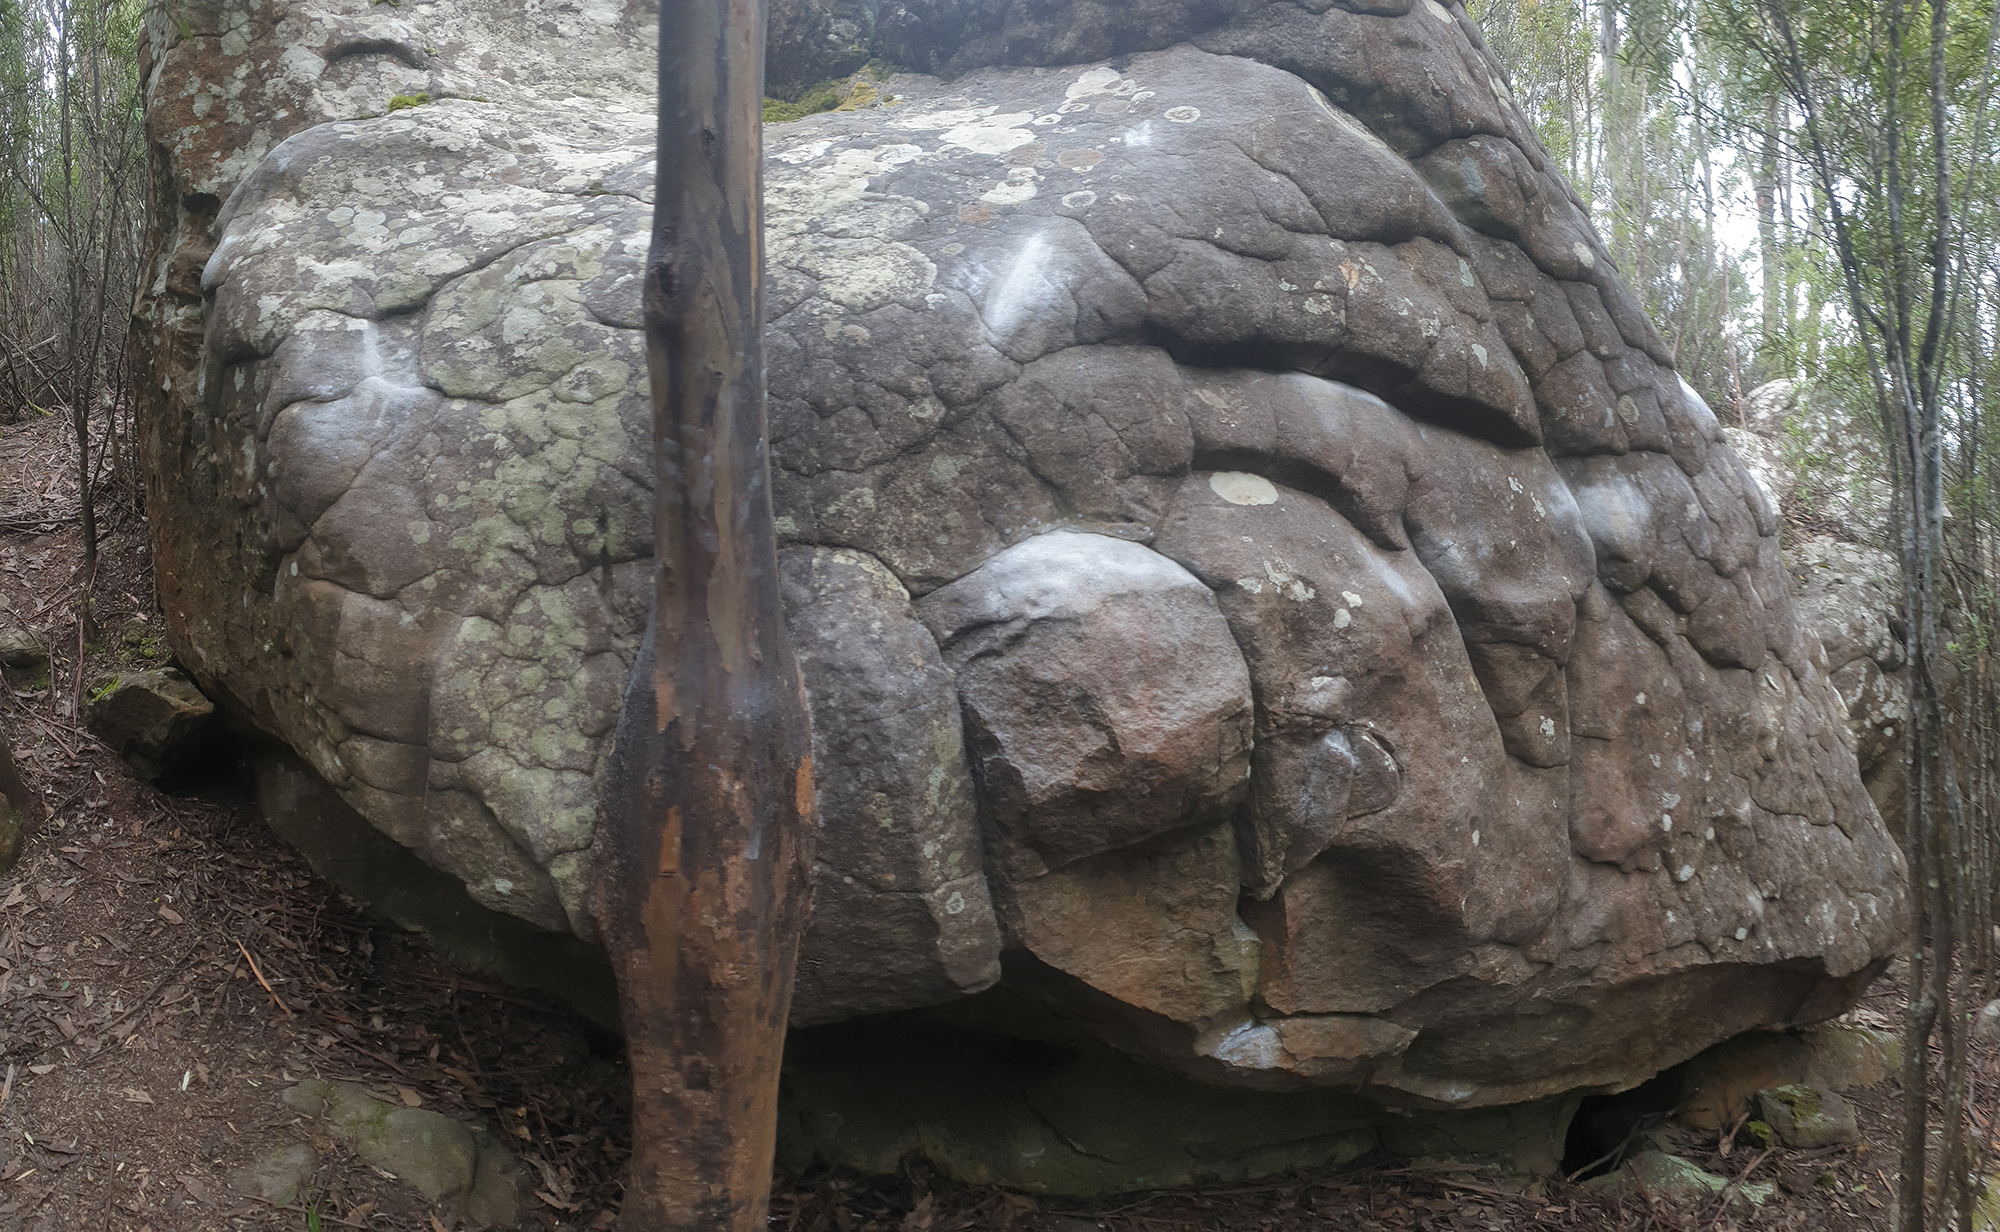
Cramped SDS under furthest lefthand 'wall'. Stays left of the crack, and the block footer lower left is out. Up wall, using left arete.
CW
Start just to the left of the ingrown tree with both hands below the bulge. Up and left through bulge. Easier (V3) if you start with one hand above bulge.
Sit start under the bulge of rock just to the right of the ingrown tree. Up on awesome slopes, a great problem.
A few variations have been done by linking Symbiosis to Chip Butty. The longest is Synonym (V5/6, FA: CW), which starts on Symbiosis and ends on Chip Butty. A variety of other combinations have been done as independent sections, but are all pretty much combined in same things as Synonym.
Start as for Monkey Puzzle, traverse left across face/slab, finish as for Symbiosis.
CW
Hard slab right of Symbosis and 1m left of arete. Mega high step onto slab, then delicately up. Having more than one mat down for the starting move is cheating. Technnical.
CW
Slabby arete 4m right of Symbiosis
The next problems are in the grotty cave
Start crouched, both hands on back wall of grotty cave. Undercling/jamb/layback/twist etc to come up and out of cave, across the gap, and finish up the right-hand wall.
CW
Start crouched as for Spider Pig, move left and up and out, staying on the left wall - everything on right side is off limits. Low-down, trickier than it looks.
CW
Start in back of cave on two flat sidepulls. Move up through small v-slot to a tricky mantle.
Named after the three-horned bird orchid's growing on the adjacent boulder.
Alex Hartshorne
Start with both hands on the good flat hold on right side of main cave, pull into and thrutch/grovel THROUGH the slot to finish up the V0 arete (to the right of Symbiosis). Feet can work along the back wall of the "grotty cave". Not the most pleasant experience, but kind of fun.
(Starting hold now broken off.)
CW
High step onto slab on right side of cave, just left of chockstone block. SDS is a project.
SDS at base of previous problem (as per The Undergate). Move right and chimney thrutch grovel onto top of chockstone block, finish up V3 on left. Old school.
CW
Start under V3 just left of chockstone block, traverse left to corner, finish up Spider Pig.
CW
Arete to the right.
Behind the chockstone block is a small 'cave'. SDS on right, move left and up and over slopey lip. Don't use either of the small boulders on the ground.
CW
On the next boulder just passed Mini Cave Wave, sit start with right hand on good hold (chest height), left on side-pull, left foot out wide on good footer, right around 'arete' on small edge (or smearing), up. Short but sweet.
CW
SDS under overhanging right side of Ugly Bug Ball, left hand on good hold as for UBB, right hand/foot out wide to right. Slap up onto 'nose', pull around to finish up UBB. An excellent problem!
CE
) On the furthest arete right of main boulder. SDS straddling arete, up arete.
CW
On the next block further right from the Symbiosis Boulder. On the far, highest face sitstart in middle of face and up and left to slopey topout.
Start with both hands on the right-hand edge of the o/hung 'nose' at the left end of the main face. Traverse right along good slopey rail and around arête to finish up Training for Font 1.
CW
SDS just left of right arete. Up via slopey holds, finish as for Training for Font 1.
CW
Right wall of the right arête. Straight up using good holds top left, pull through to dish (wet).
CW
Start as for Training for Font 1, traverse left along good rail, pull up and into the 'cave' formed by the nose on the arête. Through cave and left along low face, finish top out using obvious jugs. Don't use the big block under the arête.
CW
Start as for Training for Font 1, traverse left along good rail, pull up and go around outside of the nose on the arête (feet under). Finish as for previous problem. Don't use the big block under the arête.
CW
Just left of Fontanel directly under obvious finishing holds, SDS to finish up the Full Fontal variants.
CW
Start with both hands on the right-hand edge of the o/hung 'nose' at the left end of the main face. Traverse around outside of nose then straight up via match and mantle on edge of dish/bowl (often wet) .Don't use the big block under the arête.
CW
Start as for Training for Font 1, traverse left along good rail to finish as for Fontanel. Don't use the big block under the arête.
CW
Start with both hands on the finishing jugs for Full Fontal. Traverse right to finish up Fontanel.
CW
On the first part of the Fontal etc boulder you come to (furthest left), awkward SDS up the obvious slab. Harder than it looks - low footers, awkward balancey move using left arete to get left foot on slab proper, easier finish. Makes you think!
CA
The Shire
Next boulder directly left of Symbiosis Boulder.
SDS on right side of right arete/faux prow. Up via mantle, slopey topout. Any use of foliage or touching ground cheating.
CW
SDS just right of Sam Gamgee. Don’t use protrusion/block on left. Trends slightly right. Slopey topout. Any use of foliage or touching ground cheating.
CW
Lying down start directly under protruding block, both hands on obvious sidepull, both feet on right footer. Up on good holds, slopey topout. Any use of foliage or touching gtound cheating.
CW
SDS under obvious overhang just passed faux groove left of previous problem. Slopey topout on highest rounded bulge. Any use of foliage or touching ground cheating.
CW
Lying down start as per Sam Gamgee, traverse immediately left to finish up Underhill. A great series of moves...
CW
Jungle Block
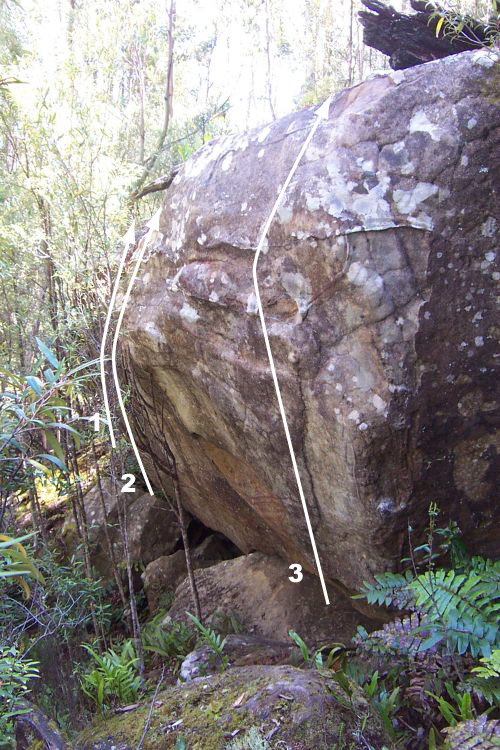
There are a lot of scattered boulders in the jungle below the road. To find this one stand at the look out, and look for some small blocks to south. Walk down to these, and follow the rough track down the hill for 20m or so. You should then be able to see the block down to the right.
Layback up the left arete.
Start as for Ferny and traverse rightwards around the whole boulder.
Sit start 1m left of the arete at mail slot. Up face.
Up arete
Easy face 2m right of arete
Big boulder
To get to this group of boulders head down the track to Jungle block, but instead of turning right, keep going down the hill for another 50m or so. The first of the reasonable boulders is Big boulder just below Big boulder is Ripper boulder.
The southern arete
The line of 'weakness' in the centre of the block.
Stand start from the jug, up the arete. Bad landing. The sit start should go, but its a bit awkward.
Ripper Boulder
Bottom boulder is a relatively clean boulder that contains a few traverse possibilities and good viewing/relaxation platform, just below Big boulder.
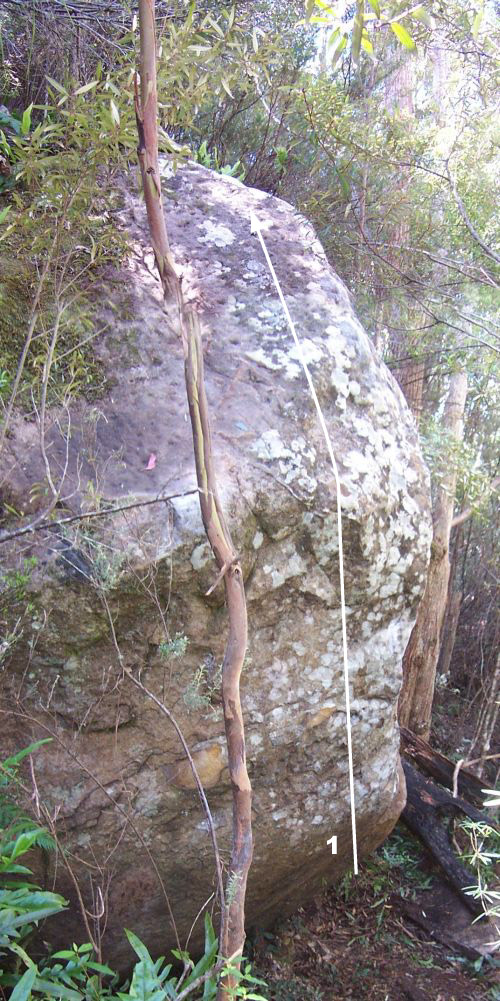
Left side of arete. Sit start is a project.
Sit start at arete, do a couple of move up, then pull on to right face.
Sit start and up slab 1m right of arete.
Moss Boulder
Go directly downhill from Ripper Boulder for another 10m to this boulder.
Left side of slab
Sit start on right side of face, follow ramp leftwards.
The bottom overhanging face of the boulder.
Handlebar Boulder
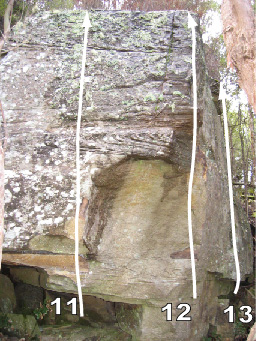
Below the road at the lookout is an extensive outcrop of sandstone. Handlebar boulder is the southern most boulder of this outcrop. Drop down hill at the end of the metal barrier then follow the base of the outcrop.
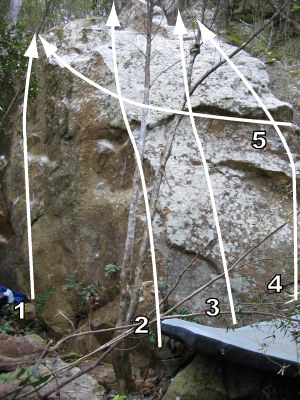
Up left hand side of face.
Up arete to slope and crimp then to top
Up the centre of the slab using neither arete.
Up right arete.
Traverse left to slope on Slip . Finish as for 1.
Paratrooper Boulder
This boulder/outcrop is shady and probably moist. Park at the lookout and walk back down the road for 150 metres.
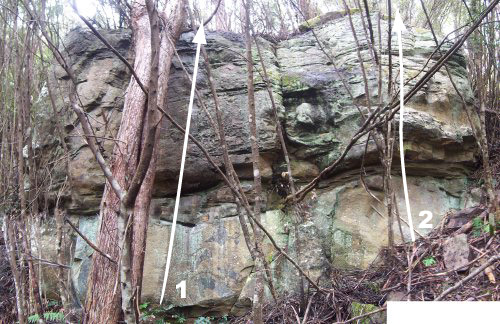
Move up on side pulls and crimps.
Start under bulge pull up to slope and top.
Friday Night Boulder
About ten minutes down the North South track is a large sandstone slab. This boulder is on the right.
Start on slopers in cave just left of tree. Right to topout. Shit but fun.
Start on good crimps in the middle of the overhanging face. Up right then move left to jug and top out.
Start on good sloper just left of arete. Traverse lip to finish up 2.
Reids Track Boulder
To find this nice boulder head down Radfords Track from the Springs, then down Reids Track for about 100m. Just a bit after you pass a chunk of sandstone on the right is a rough track through the bush on the right which leads to the boulder. GPS MWB480 helps!
Easy face around to the L
Left arete of front face
Juggy line R of arete from awkward sit start
Great line up steep thin face.
CW
The R arete starting off the block
Technical line up middle of right face, starting SDS just right of centre, moves slightly left.
CW
Far R arete
March Fly Slab
This little slab is about 50m in the scrub about 15m up from where you turn off for Reids Boulder, on the opposite side of the track. GPS MWB485.
Left arete
Up middle of slab
R side of slab
Two Mat Boulders
Park at the Springs gravel carpark head towards the lookout using the northern loop of the lookout track. Follow the newly made Exhibition Garden track for several hundred metres, when this track turns towards the mountain it branches. Take the branch and follow this to Lilo and Two mat boulders. These boulders are hard to see from the ridge track until you are within about 10 metres.
Lilo Boulder
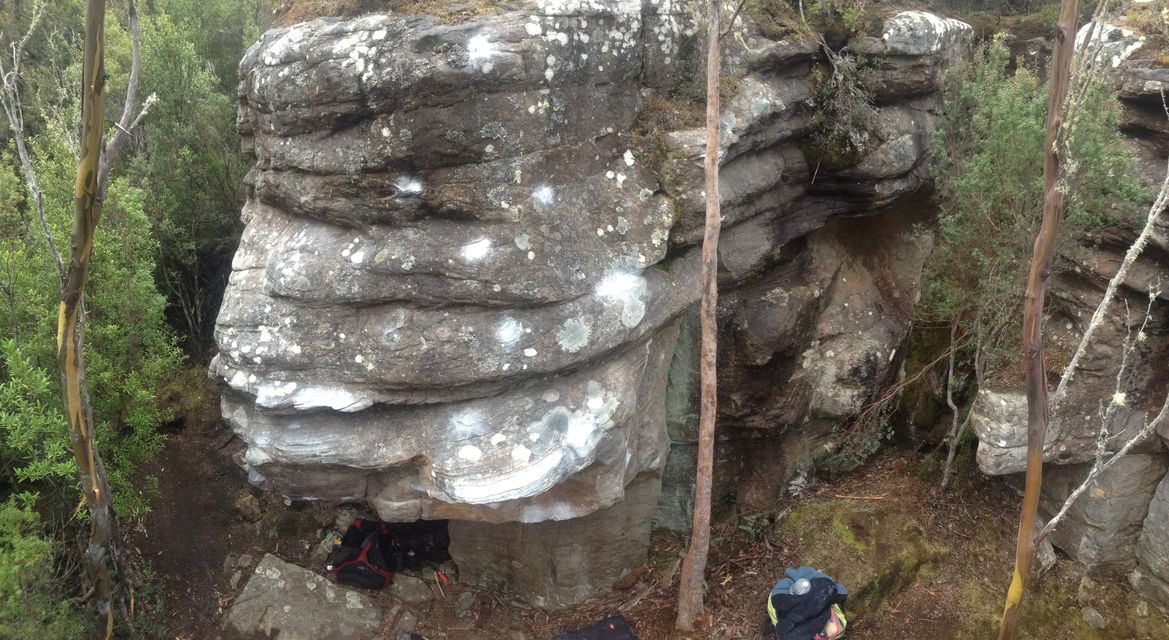
Start at the horizontal break move up to incut and slope on arete. Topout is less positive.
Start at 1. traverse all the way right to finish up Steps.
CW
CW
Start under cave on good jugs, right slap then to slopers, technical knee bar using nubbin on the right then directly up.
Just right of arete, and left of the tree, lunge from holds at bulge to good jug up right.
Start in the crack near the tree. Go straight up easy crack.
Start as for Dirty crack, traverse left to finish up 1.
CW
Start at Dirty crack, up via 'steps' on face to the right. Excellent w/up.
CW
Two Mat Boulder
An excellent boulder of easier boulder problems, a good warm up for Lilo.
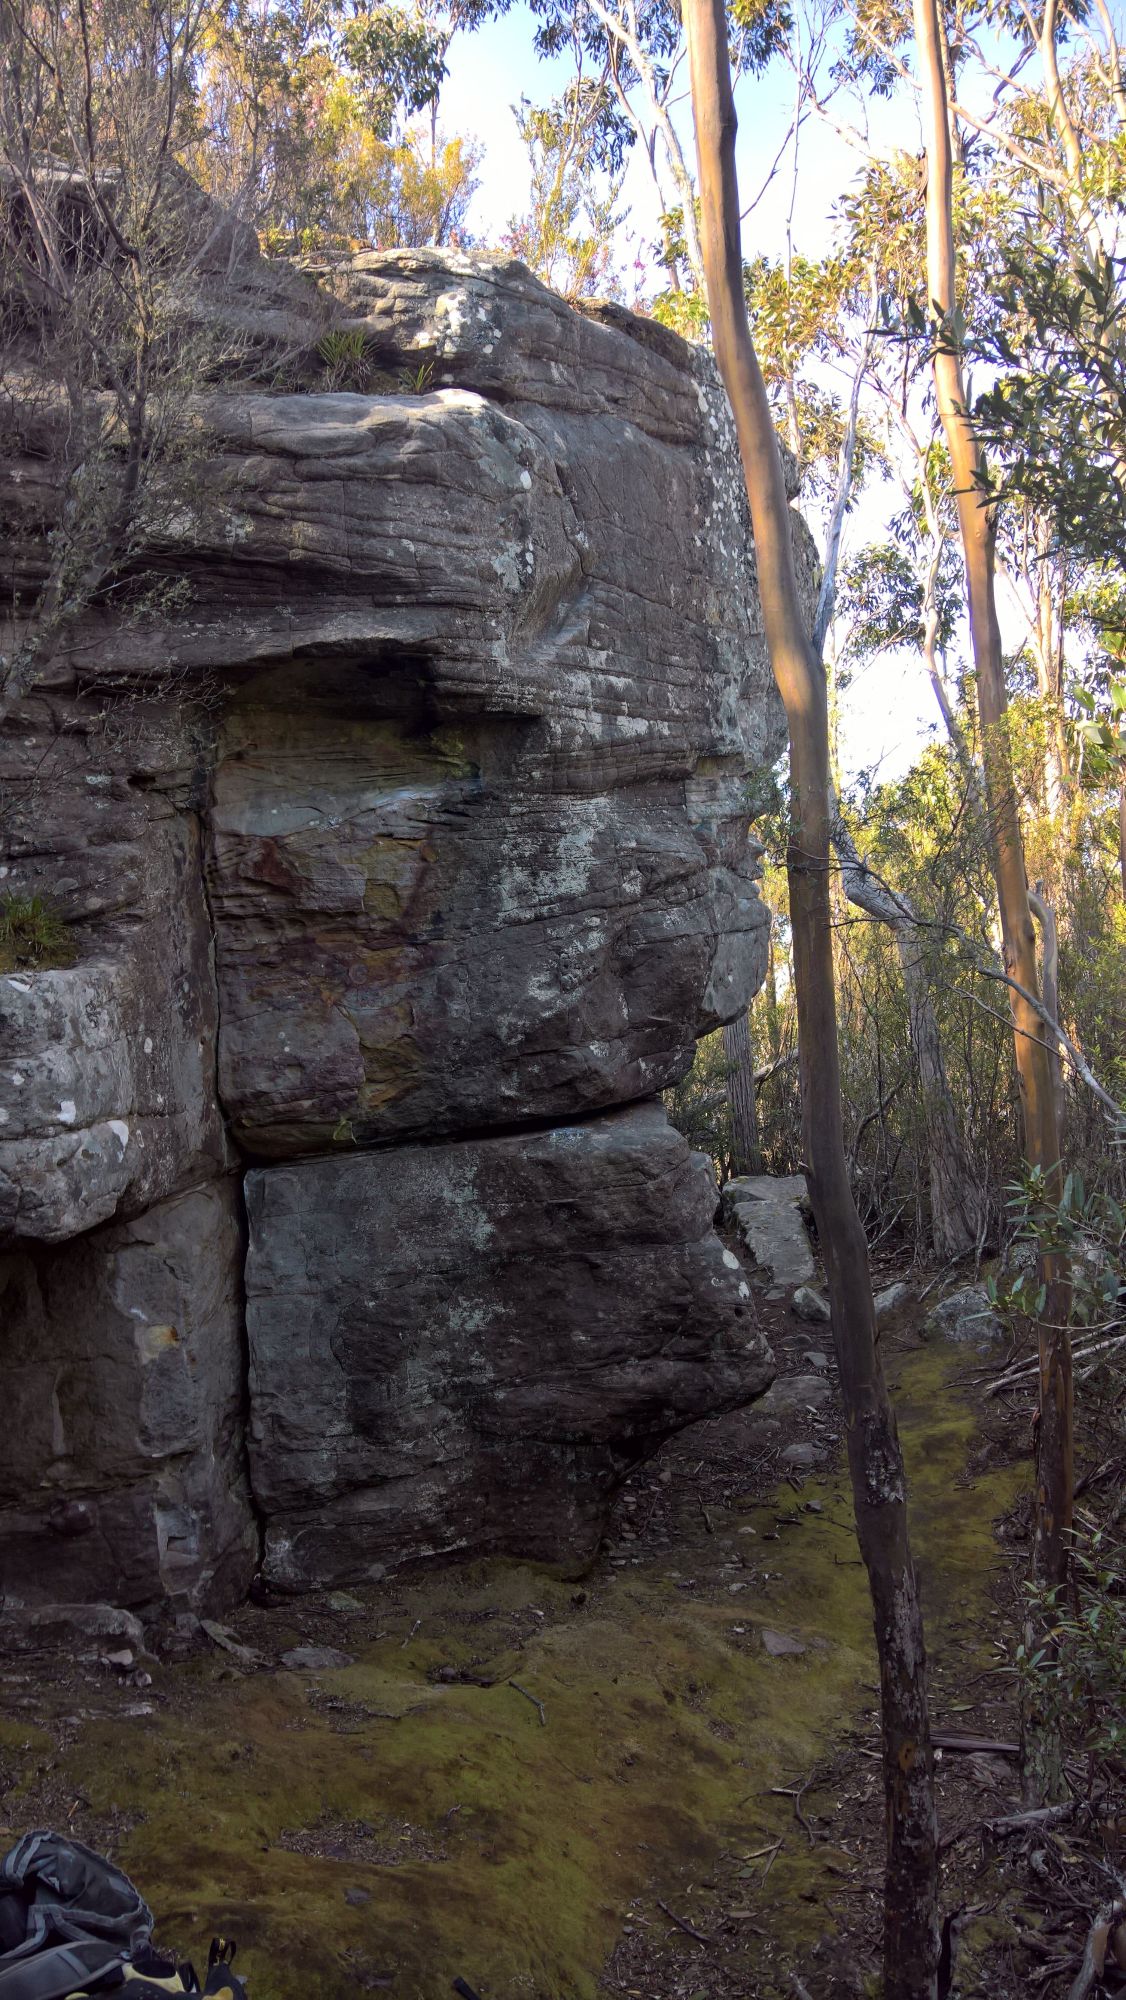
Start in the corner below the small cave. Head towards the cavelet and over on rounds.
Start on the pedestal head to the good diagonal then step up to the top round then reasonable top out holds.
Start at the pedestal head up for the left-hand end of the rounded slot.
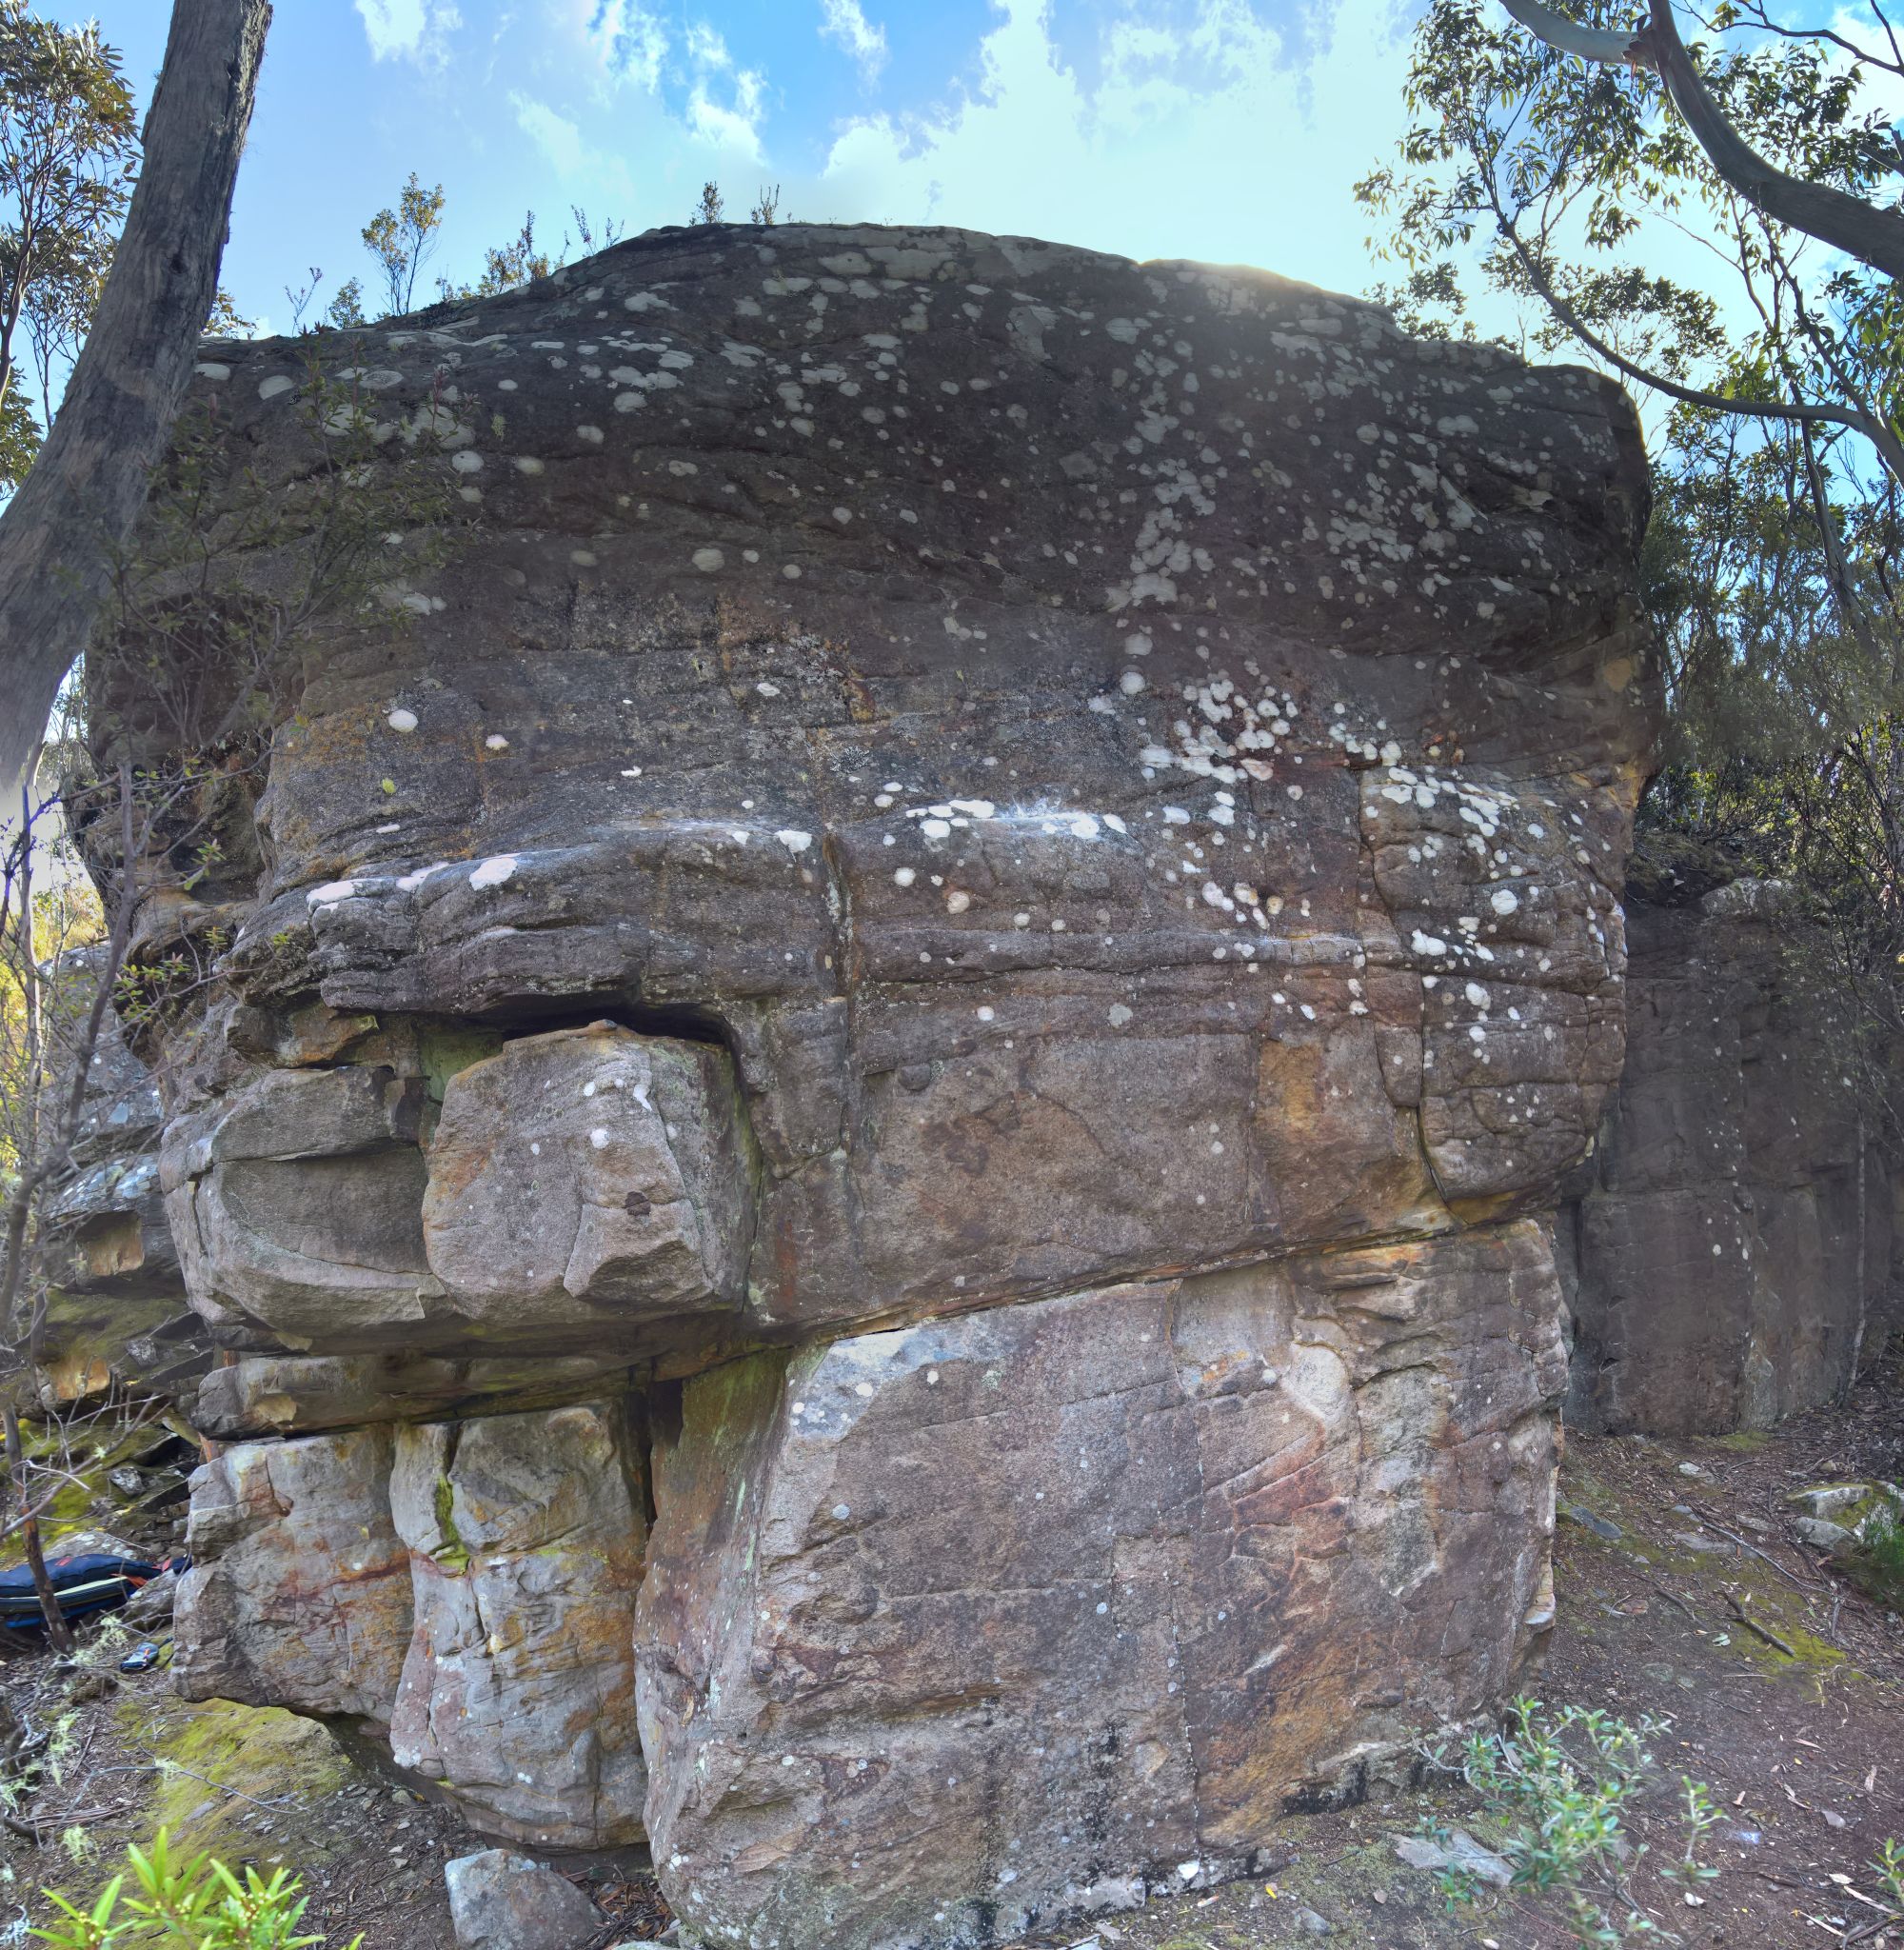
Start on jug under roof. Move up to lip jugs and left side of cavelet. Head for the obvious break then the top.
Start in the corner with the crack, then to lip jugs (add an extra star if you use the hand jam) then up to the right-hand end of the cavelet and up.
One metre to the right of Relic. Mantle up.
Straight up the middle of the face, using the left jug and a gaston.
One metre left of the arete. Start in the horizontal break head for the sloper then good edge to the good top out.
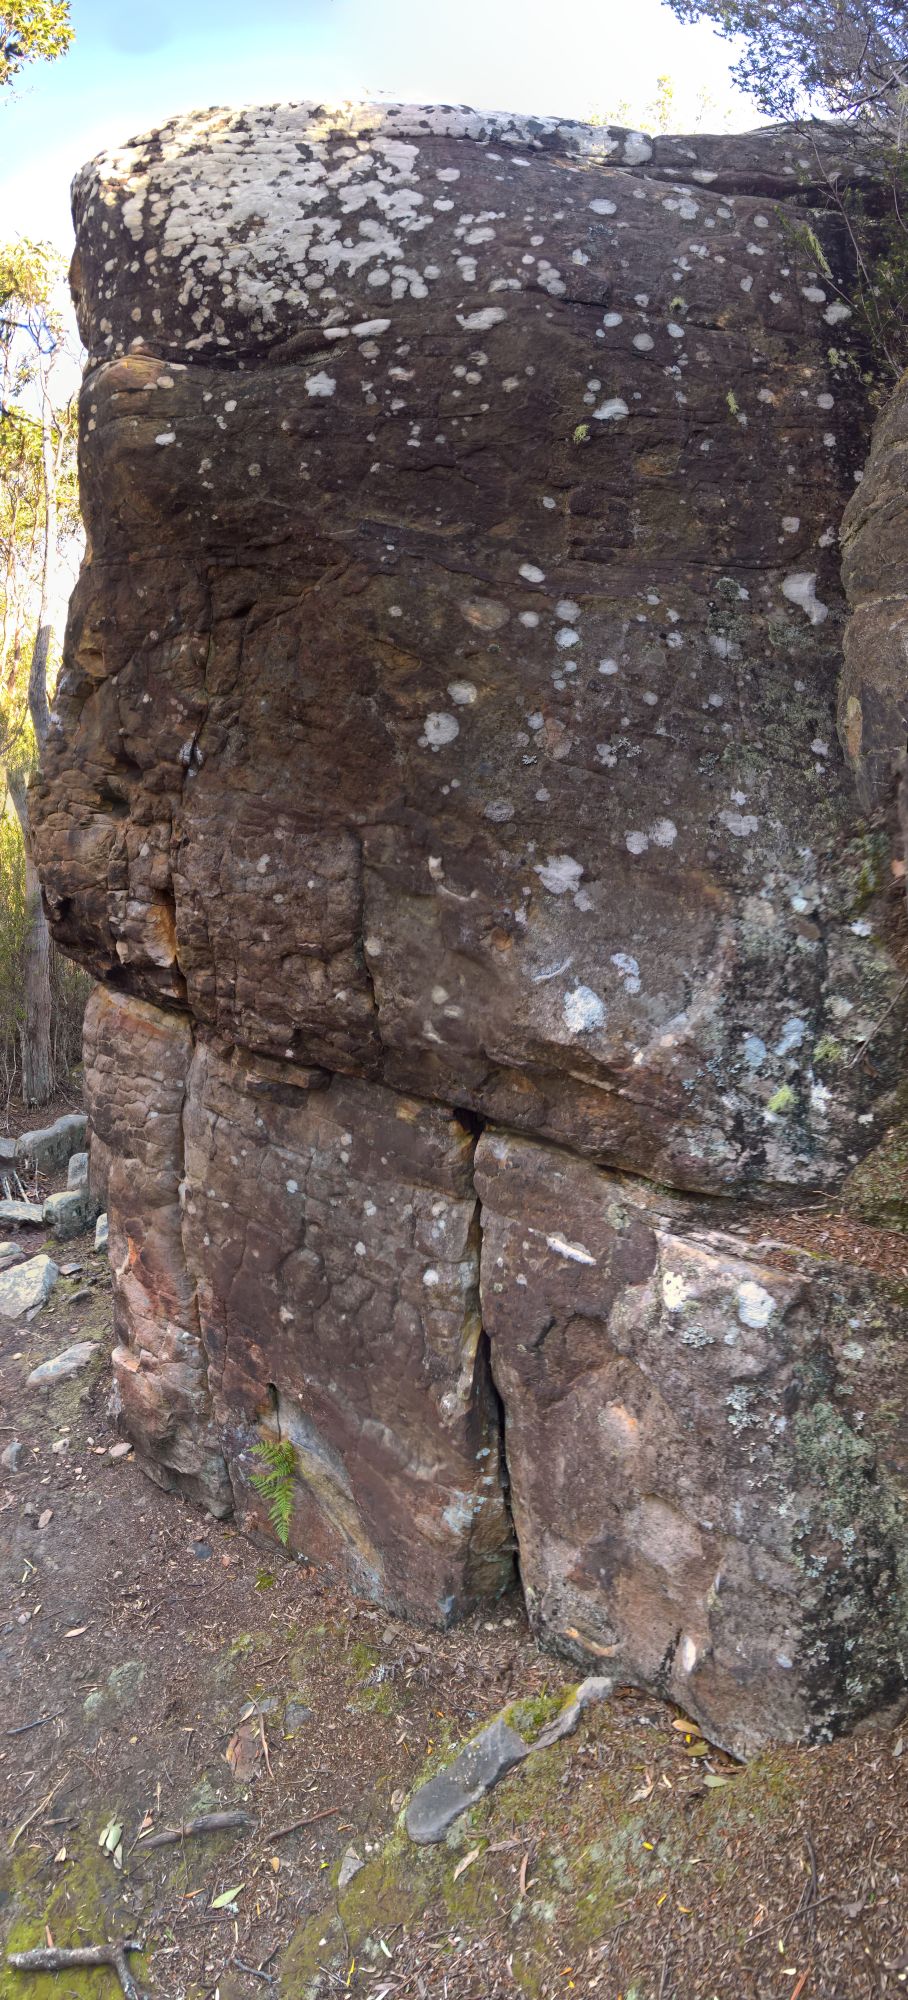
Start in the horizontal break. Move to a hold in the prominent bulge then head for the top rounds. Add a grade if you exit to the right.
Start in horizontal break and head up on crimps.
Start as for 1. Traverse right around both aretes and finish up Thoughtless. If you use the right hand finish add a grade.
Area 51
This escarpment is the third escarpment north(ish) of Gorby's Corner. Access either from the top (unmarked track to the right just past old well on the Two mat/Lilo track) or head towards Lilo, but where you'd turn off left just after the scramble down, head straight through the bush, trending right. Mega bush bash not for the fainthearted gets you to Cave Boulder, and a bit further right is the Neverland escarpment.
(Found a bolt on top, but no mention of any routes anywhere in any guides. ANY INFO APPRECIATED!)
Obvious wide crack on escarpment. Start off access ledge, pull up on right wall of crack, bridge/stem to glory. More like a route than a boulder.
CW
Mermaid's Lagoon
Other (west) side and bottom end of main Neverland escarpment.
On the left wall of the end of the escarpment, SDS just right of obvious big block. Straight up via block. Balancey.
CW
SDS just right of left arete, both hands on obvious protruding 'nose' hold. Big sloping block under foot to left is out. Out to good pocket on arete, decent move up to good hold/s, step up and follow arete to top (easier).
CW
Start as for previous problem but head out right and up middle of wall, staying left of the ring bolts. Pleasant.
CW
Cave Boulder
Start matched on good jug in the centre of the "doorway", left foot under on the "roof'" of the cave. Move right, mantle on lip, up. Don't use either "wall" of the cave.
CW
Same start as previous problem. Move left to good handle, tricky mantle on lip/arete, up. Don't use either "wall" of the cave.
CW
Up face just right of Home Under The Ground - Doorway. Pretty worthless.
CW
SDS with left foot down low to left. Up and over on good holds. Stand start is only VE.
CW
(Back of boulder, on the Neverland escarpment side.) Short but sweet. Pull up on small edges, throw to top (slightly loose).
CW
Boulder left/in front of previous problem. Crouch/SDS start on left, move right, mantle as elegantly as possible directly up prow. Short but fun.
CW
Organ Pipes Track
Awesome Boulder
This boulder is a new arrival - came down in the rains earlier this year (2016). To find it head up the Organ Pipes Track from the Springs top carpark to not far before where it intersects with the Zig Zag Track. Boulder is quite visible, off the track to the right - look for the obvious trail of destruction where it smashed its way across the path from L - R.
Easy line up the R arête. A good w/up.
CW
Shares same SDS start (first move only) as previous problem, but then moves L onto/up face under the painted pale blue dot.
CW
Up the obvious seam in the middle of the front face, from sitting - a nice sequence, kind-of technical-ish, over quickly (only 4 or 5 moves) but good value while it lasts!
CW
Up Easy Awesome, traverse lip all the way L, finish pulled onto slab.
CW
SDS with both feet under L end of boulder, hands on slopers. Heelhook with left, slap/move along slopes till can get R foot on and/or reach good edge that was the left edge used for Seams…, till you can reach/use the lip proper – finishes topout as for Easy Awesome. Suprisingly slightly tricky first few moves!
CW
On back of boulder. SDS on left, up to vertical edge then along lip to pinpoint of triangle, mantle. BRILLIANT! Stand start goes at V2/3, SDS V3/4.
CW
On back of boulder. Stand start on right, along lip to pinpoint of triangle, mantle. BRILLIANT!
CW
OP Boulder
This is a nice buttress of featured dolerite about 5mins past the turnoff to the zigzag track. There is a large boulder on the track to the left. The OP boulder is visible 20m further back. Sunshower is the righthand arete.
Beautiful moves up righthand arete
Joe Schwarz, 2019
Start on sloper in face to the left of Sunshower. Up on crimps and sidepulls. Lovely problem.
Joe Schwarz, 2019
Sphinx Rock
Sphinx rock has some nice sandstone problems.
Access is via the Lenah Valley Track, near the Springs. The quickest way is to park at the junction of the track and the road about 500m up the hill from the Springs on the R. As of 2021 there is only one quite narrow park on the road, and the best parking is to turn left at the Springs and park in the top car park, then walk up the road a couple of hundred metres to the track. If the top car park is full then park at the Springs overflow parking area and follow the track which leaves from just behind the toilet block to join up with the Lenah Valley track. After about 10-15 mins flat walk on the Lenah Valley track you come to the Sphinx Rock Lookout on the R, which is the top of the cliff. Head down to the base of the crag by turning R down the Sawmill Track a few metres further on from the lookout.
Sphinx Rock main cliff
There are a couple of scrappy problems along the base of the main cliff.
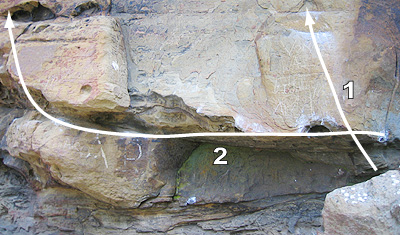
These problems are 10-15m along the cliff.
Start at a sidepull under a small roof, pull up and left to jugs and stand on lip.
Start as for previous then traverse leftwards for 6m and then up.
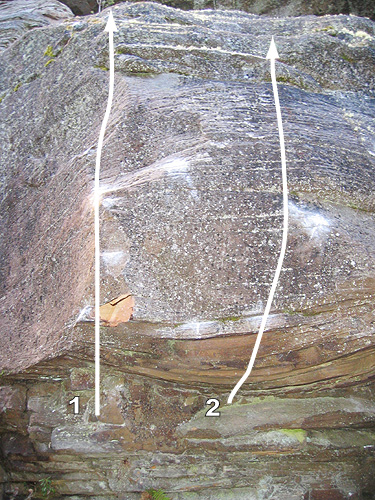
Further around the cliff, after you turn the corner, is a black slab with a couple of carrot bolts in it.
Arete a couple of metres left of tree
Project - Hard face right of arete
Black slab with carrot bolts, just right of tree
The next problem is in the cave underneath Short Sharp And Shit Hot.
Start on flat jug, head right past juggy pocket to some hard moves on crimps then campus up to rail to finish.
Tiger Snake Boulder
This boulder is in the bush about 20-30m diagonally off the climb Phoenix. MGA94 (GDA94): 55G 0520235mE 5249664mN
Mantle over bulge to the left.
Project - Start as for Tiger Snake, do a long hard move left
Sitstart below curving incut sidepull, pull up right.
Sphinx's Nose
From the black slab keep walking around past the Short, Sharp, Shithot area where there are a couple of scungy caves (where a few shitty problems have been done). Keep walking to the next buttress, which has a prominent arete. Follow a rough track down the hill to the bottom of a large boulder.
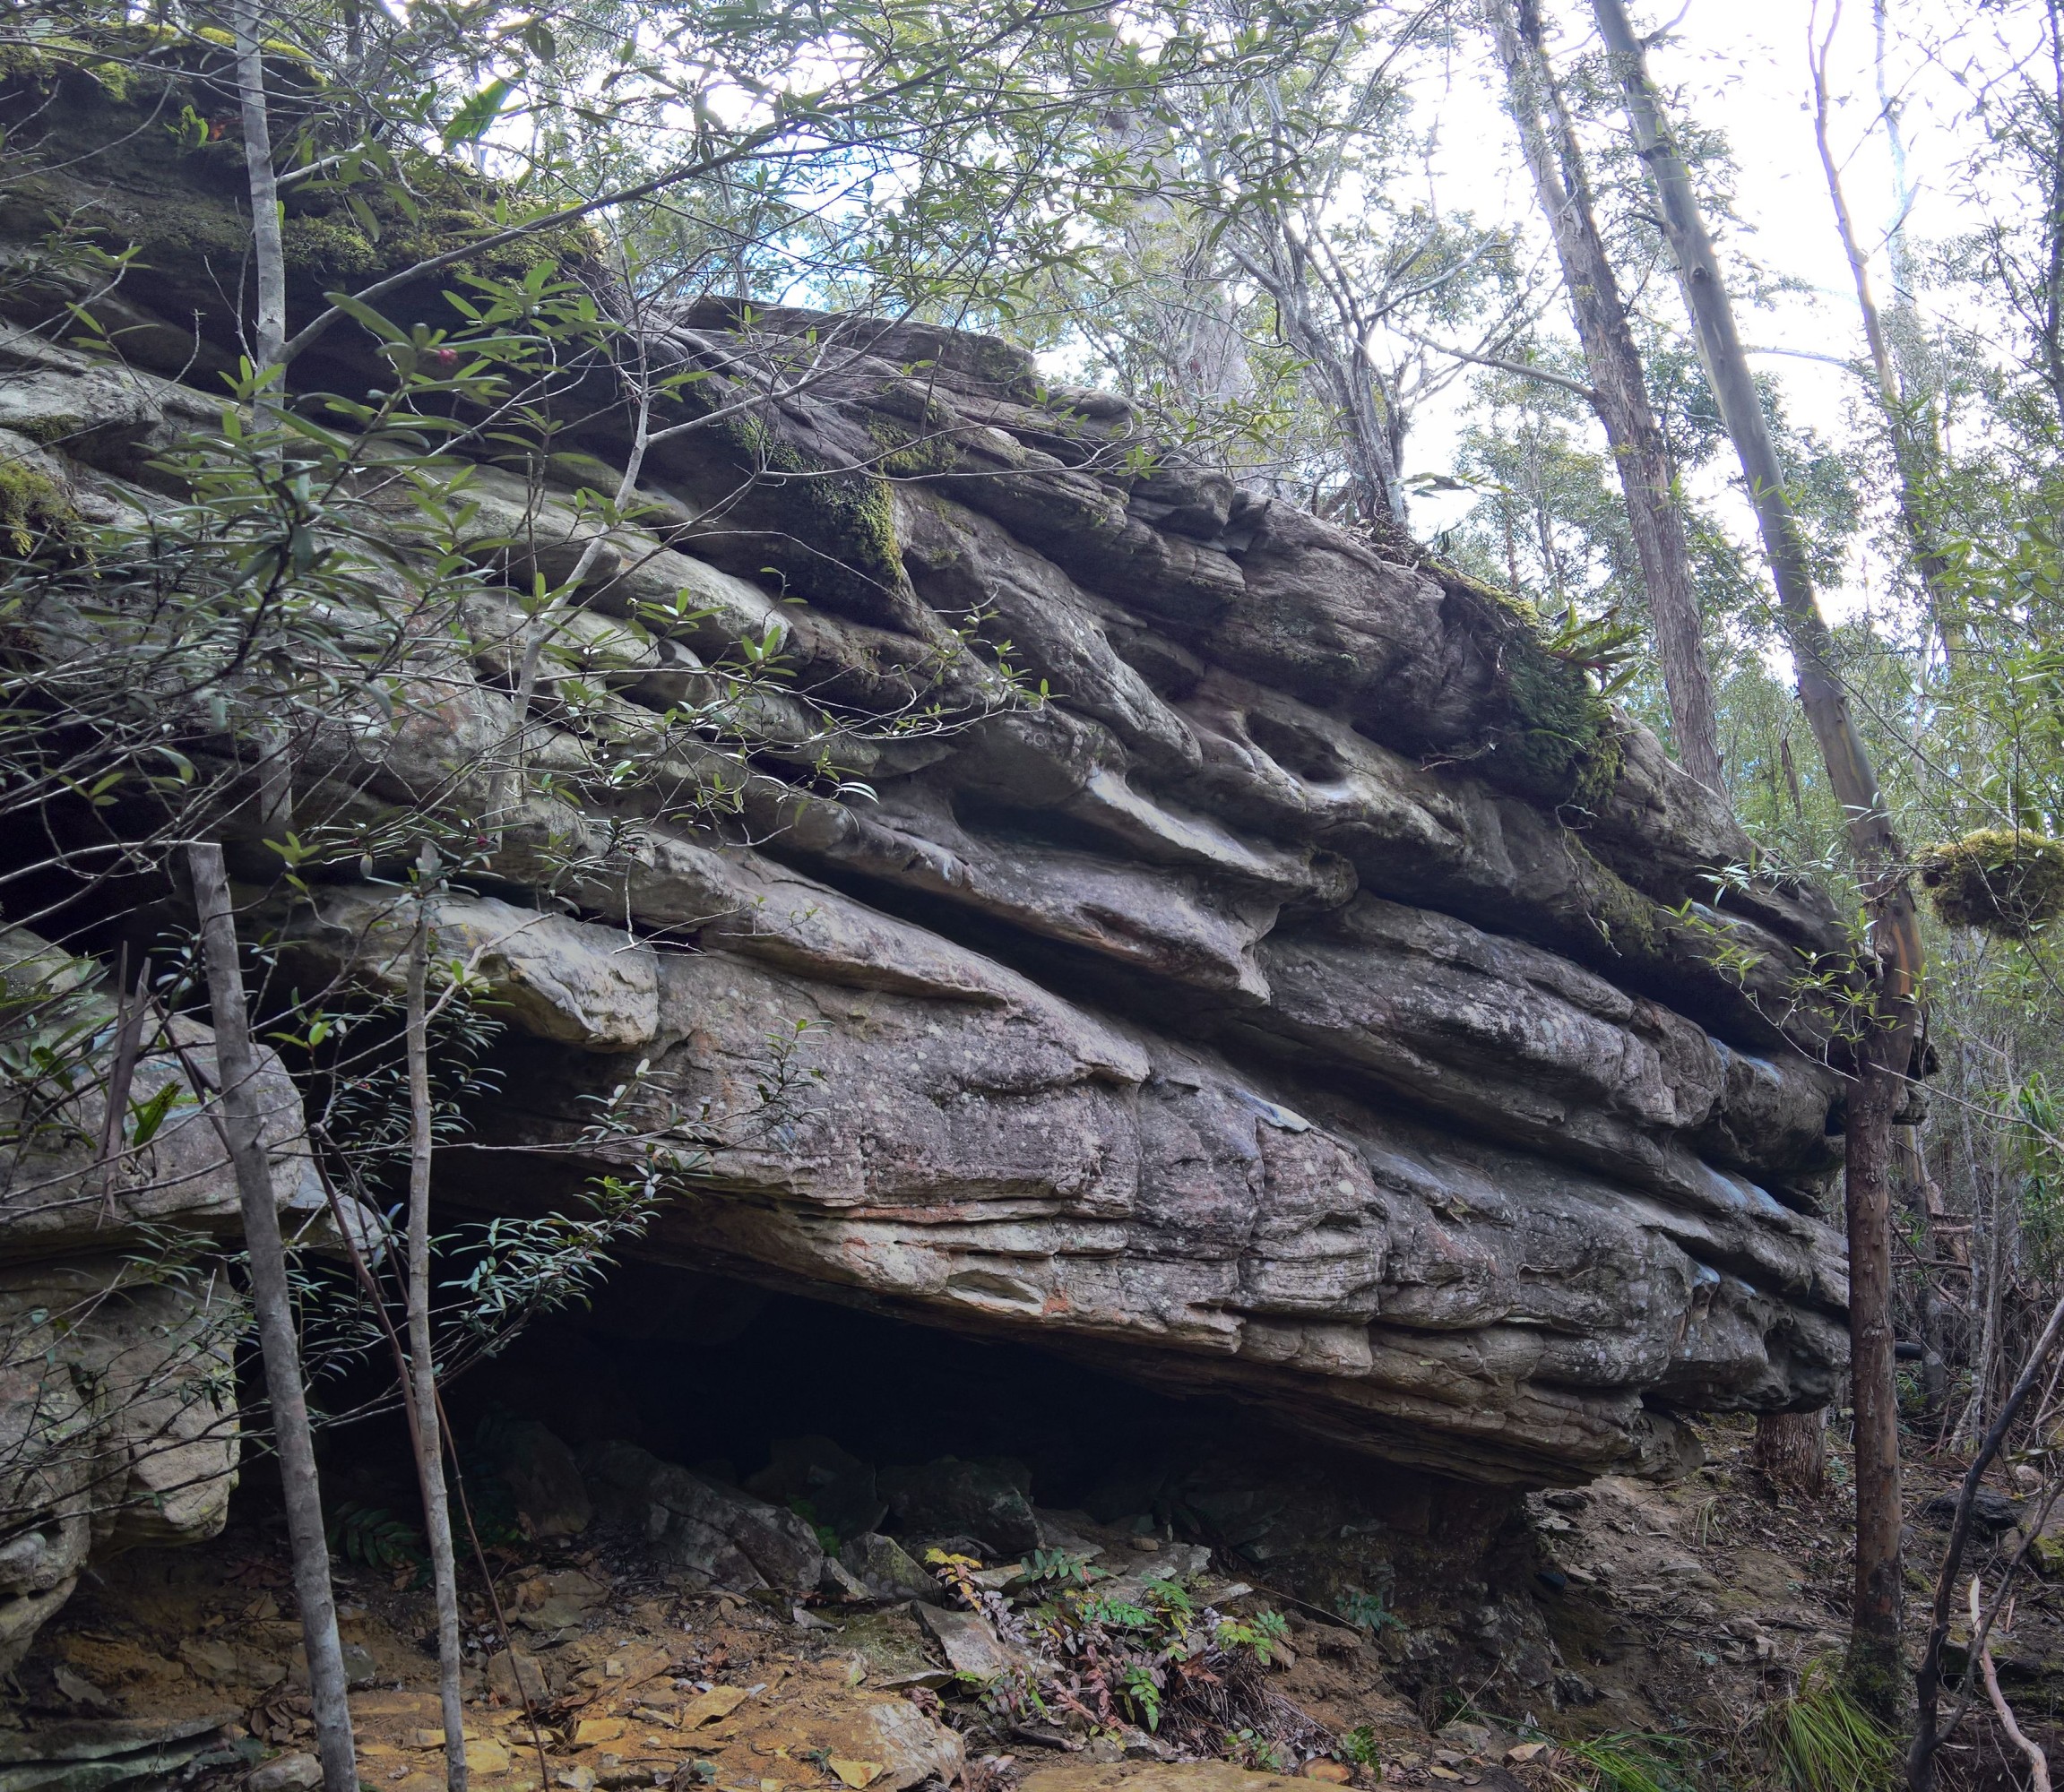
Start on jugs to the left of the cave. Nice jug hauling that needs a little commitment at the top.
Follow through the cave to the other side. It's possible to climb most of the way to the exit, you'll need to touch down to finish through the squeeze exit.
Chris Lang 2014
Start on slopey sidepull. Nice.
Start on the low rail with foot right, then slope it out. Trend left at the top.
Checking and cleaning the leaves off the top is worthwhile.
Dave Humphries May 2019
Start on the rail under the arete. Great climbing from bottom to top rockover. Stand is V2.
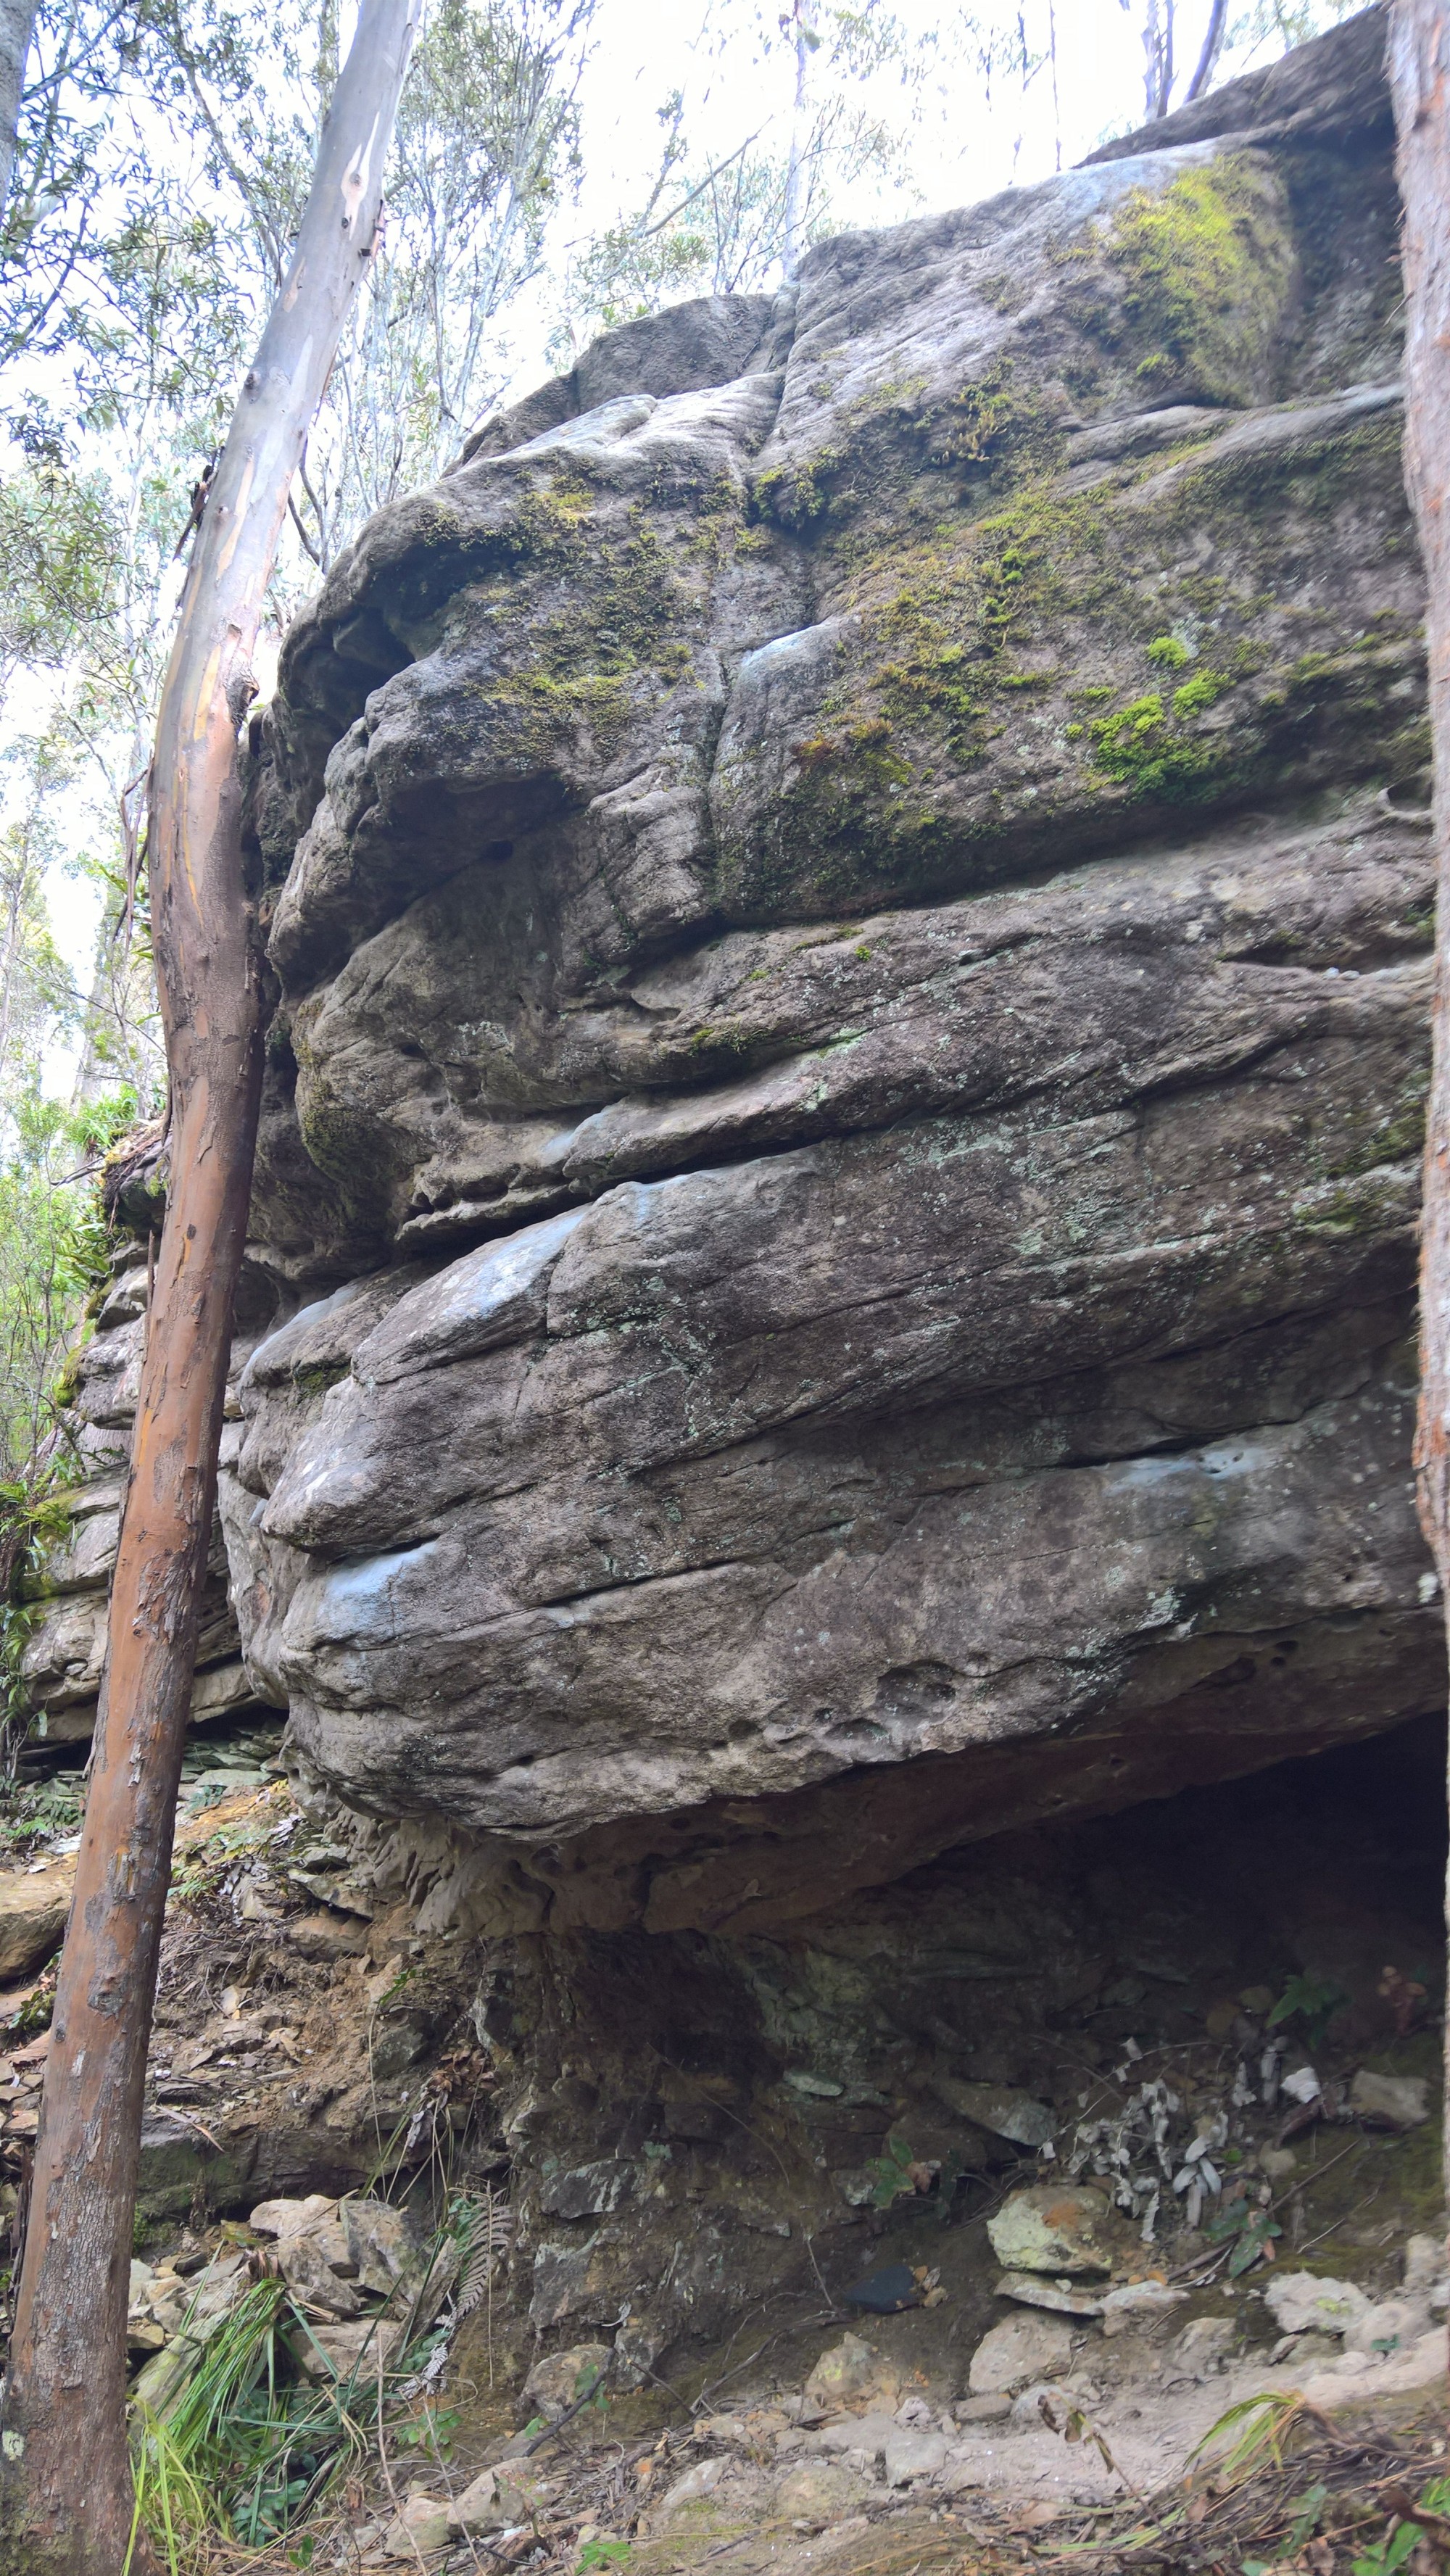
Can't remember too many details of this. It started at Unremembered or Crimpfest and continued to the top out right.
Al Williams mid 2000's
Start on pockets, pop to crimp and up. Main issue these days is not dabbing the tree.
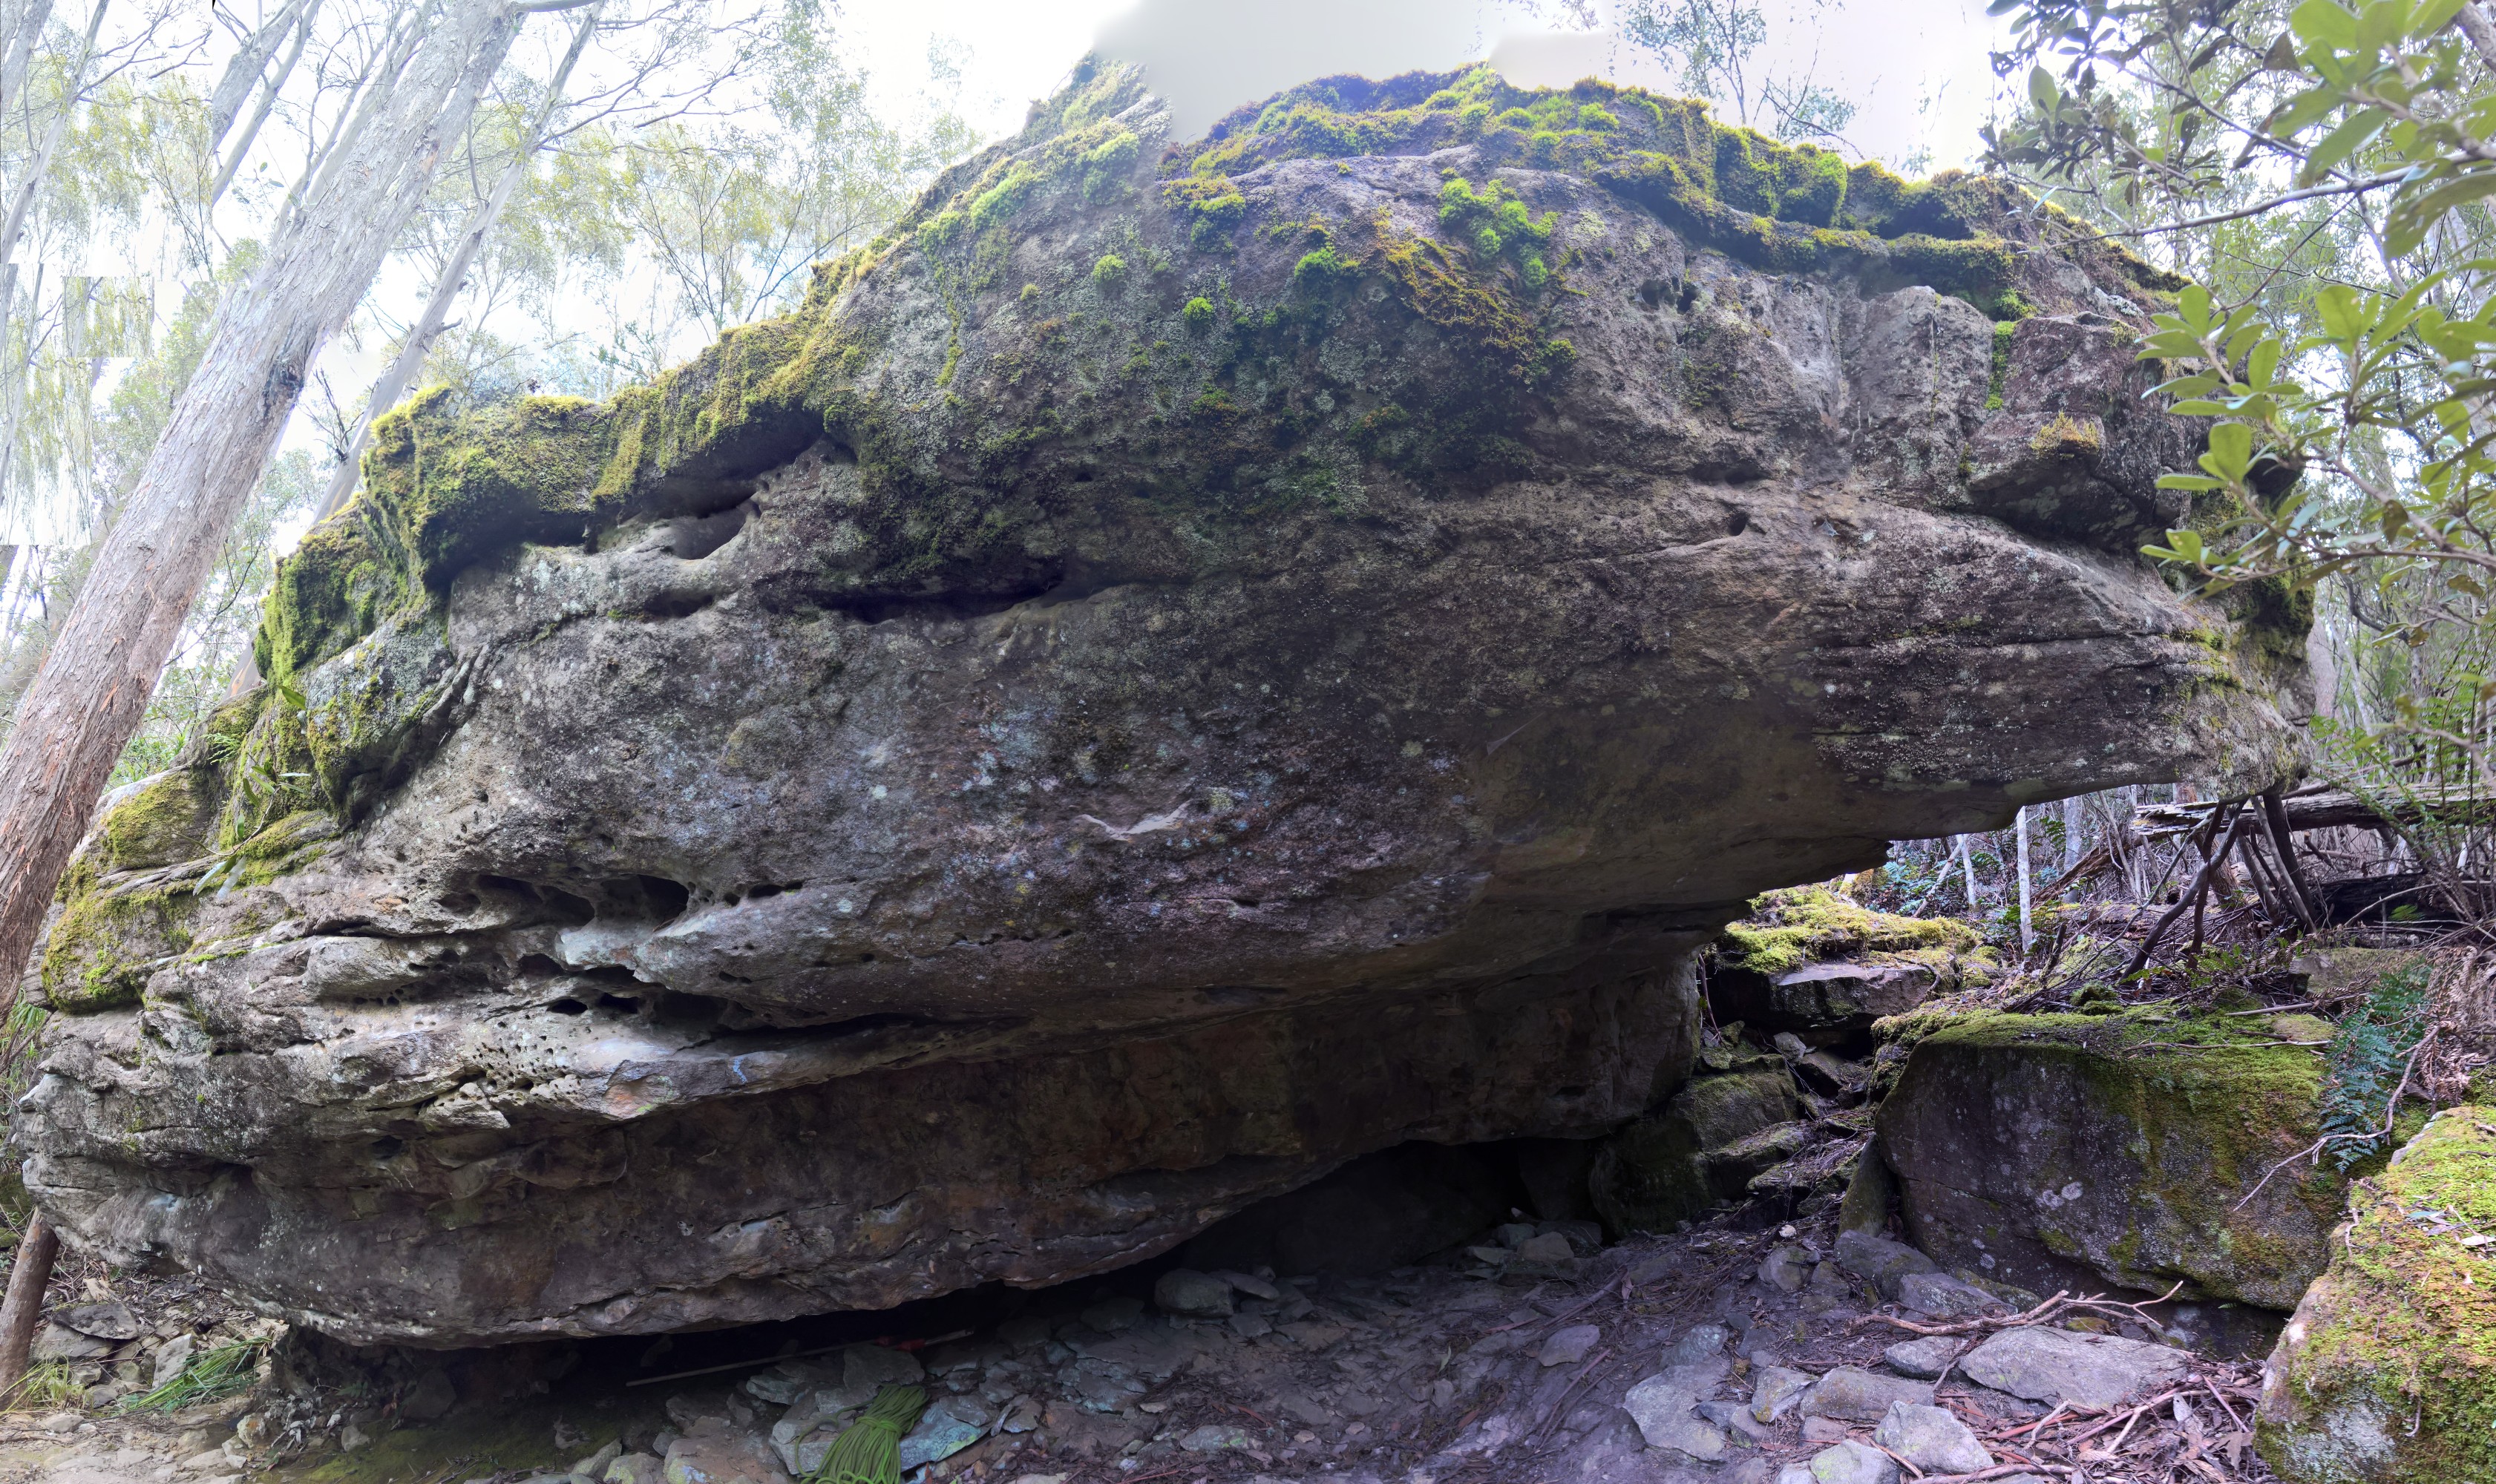
Start as for Crimpfest and hang low to finish up Ski Jump.
M Hitchcock 2019
The following three problems were originally topped out but it needs cleaning again.
Start on pockets to the right of the tree finish in the big pocket.
Start in the leftmost of three pockets. Finish as for The Duchess. Starting on the rightmost pocket is a grade easier and nicer.
Start on jugs at the back and head through bulge to finish as for The Duchess.
Simon Young 2014
Start on pockety jug and head up and around.
T. Krauss 2014
Nerm's Boulder
This freestanding boulder is one of the best on the mountain. From the main cliff keep going down the track for another 10-15 metres. Walk along the third stump on the left (marked with a 'N') into the jungle, and you should see the boulder up to the left, at the end of the fallen tree.
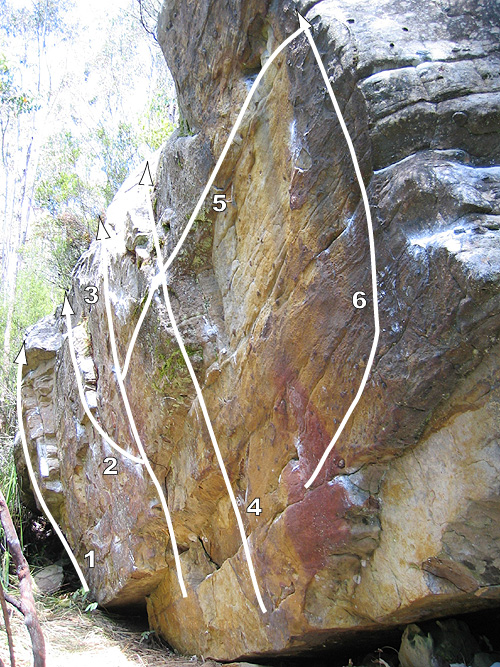
Pull up from the small cave on the left side of the boulder
Jon Nermut
Start as for Blood Stains, and traverse rightwards (fairly high) across the whole boulder to finish up the arete.
Do the first move of Blood Stains then head right into the V0 via some powerful moves.
J. Schwarz
A fun linkup. Start as for Blood Letting then reverse The Turd Burglar and finish up Yoshimi.
J. Schwarz
Up on big jugs.
Start as for Yoshimi and move left to sidepulls then up to jugs
Jon Nermut
Start on crimps just left of Yoshimi, crank up right to good edge then continue as for Turd Burglar.
J. Schwarz
Start off good jug just above left hand end of low rail. Straight up to pocket and sidepulls and over bulge
John Anderson
Sit start at right hand end of low rail, straight up. Watch the hollow sounding jugs at the top
Jon Nermut
Start as for Yoshimi, but go up right to double shallow pockets, then move right across the line of pockets to the arete and finish up Ganamatronix.
Jon Nermut
Start at sidepull 2m left of the arete. Move right to the arete and climb up the steep side of the arete, moving right at the top.
Morgen Hosking
Slab just right of arete
Slab 3m right of arete
Sphinx's Arsehole
From Sphinx Rock keep going down the Sawmill Track until you see some rock to the right. Walk along the base of the rock to find a bit of a grotty cave.
Start on left side of cave, move R along lip to jugs, then pull up to jug amidst moss.
As for previous problem, but keep traversing to join Cakehole.
Start in under left side of cave on smallish flakes. Pull out to lip and jugs, then up to jug in moss.
Climb out through roof, then straight up
Start as for no. 160, then traverse leftwards along lip to finish at the left hand end of the cave
Start 1m right from Snakepit, at a pocket. Follow jugs and pockets out to lip, then rightwards until the angle eases.
Steep jugs on right side of cave, finish off to the right.
Between the cave and the track is a bit of a bulgey wall. These problems are on it.
Left side of bulge, jugs to pocket to jugs then up right. Downclimb to left.
1m right of previous problem. Underclings up to high pocket then jugs.
Start on rail. Straight up on small slopey crimps.
J. Schwarz 2019
Crocodile Rock
Crocodile Rock has some nice problems on good rock and is warmer and dryer than Sphinx. However its a bit too far from the road to get many visitors. Park at the Chalet, and walk down Hunters Track. After 5 minutes take the right hand fork, and walk for another 20 minutes until you get to the cliff, which is straight above the track.
Traverse the bottom of main cliff L to R
J.Schwarz 2019
The following 2 problems are on the square cut face 20m up and left from the free standing boulder.
Left side of face
Right side of face.
The following problems are on the free standing boulder at the right end of the crag. There are a couple of obvious lines up the front of the boulder that are yet to be cleaned and climbed.
Project - the right arete of the boulder
Powerful move from sitstart, 1m right of arete