
The Summit Bouldering
 0min to 15min
 Mixed sun and shade
 Dolerite
Introduction
Mt Wellington offers some good opportunities for bouldering. Its a bit scattered, and dolerite is an acquired taste for bouldering. But there are lots of problems, particularly moderates with easy access for after work climbing.
Access
From the centre of Hobart drive up Davey Street, which becomes Huon Road, for 9.6km. Just before Fern Tree a well sign posted road (Pillinger Drive) leads off sharply to the right and winds up the mountain. Keep going up the road to reach the Summit.
Plenty of parking at the summit.
GPS
The Summit
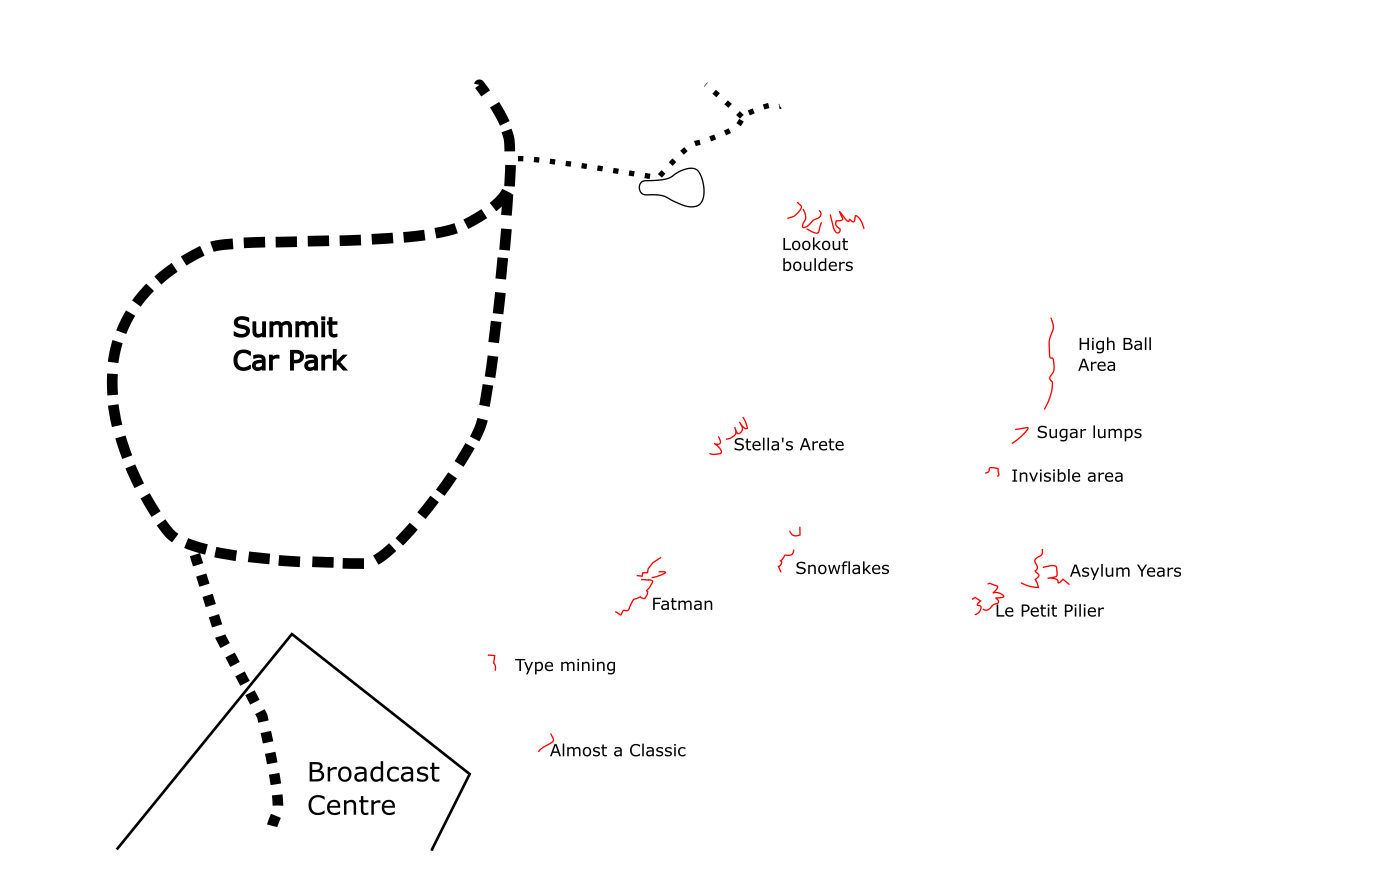
There is tons of rock scattered around the summit of Mt Wellington. Park at the summit car park. These areas are described roughly north to south.
Dildo Boulders
These boulders are about 50m north of the northern lookout, just a bit below the road. The Dildo is an obvious landmark.
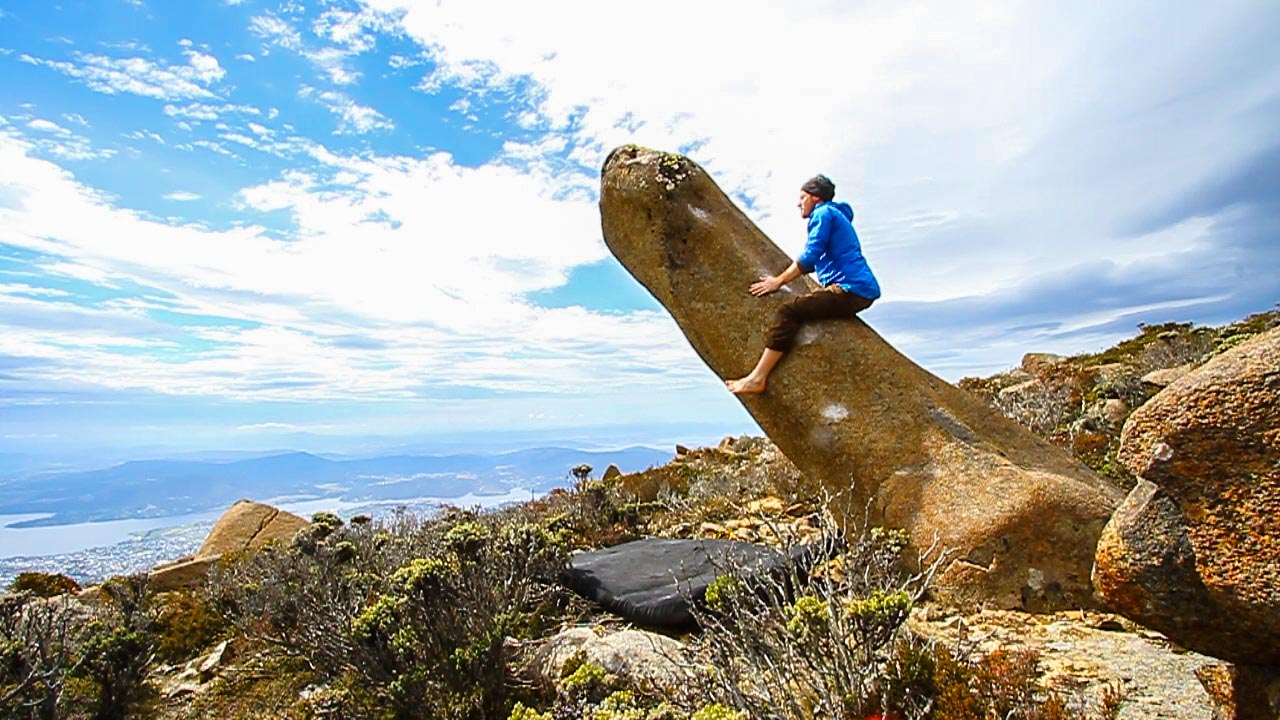
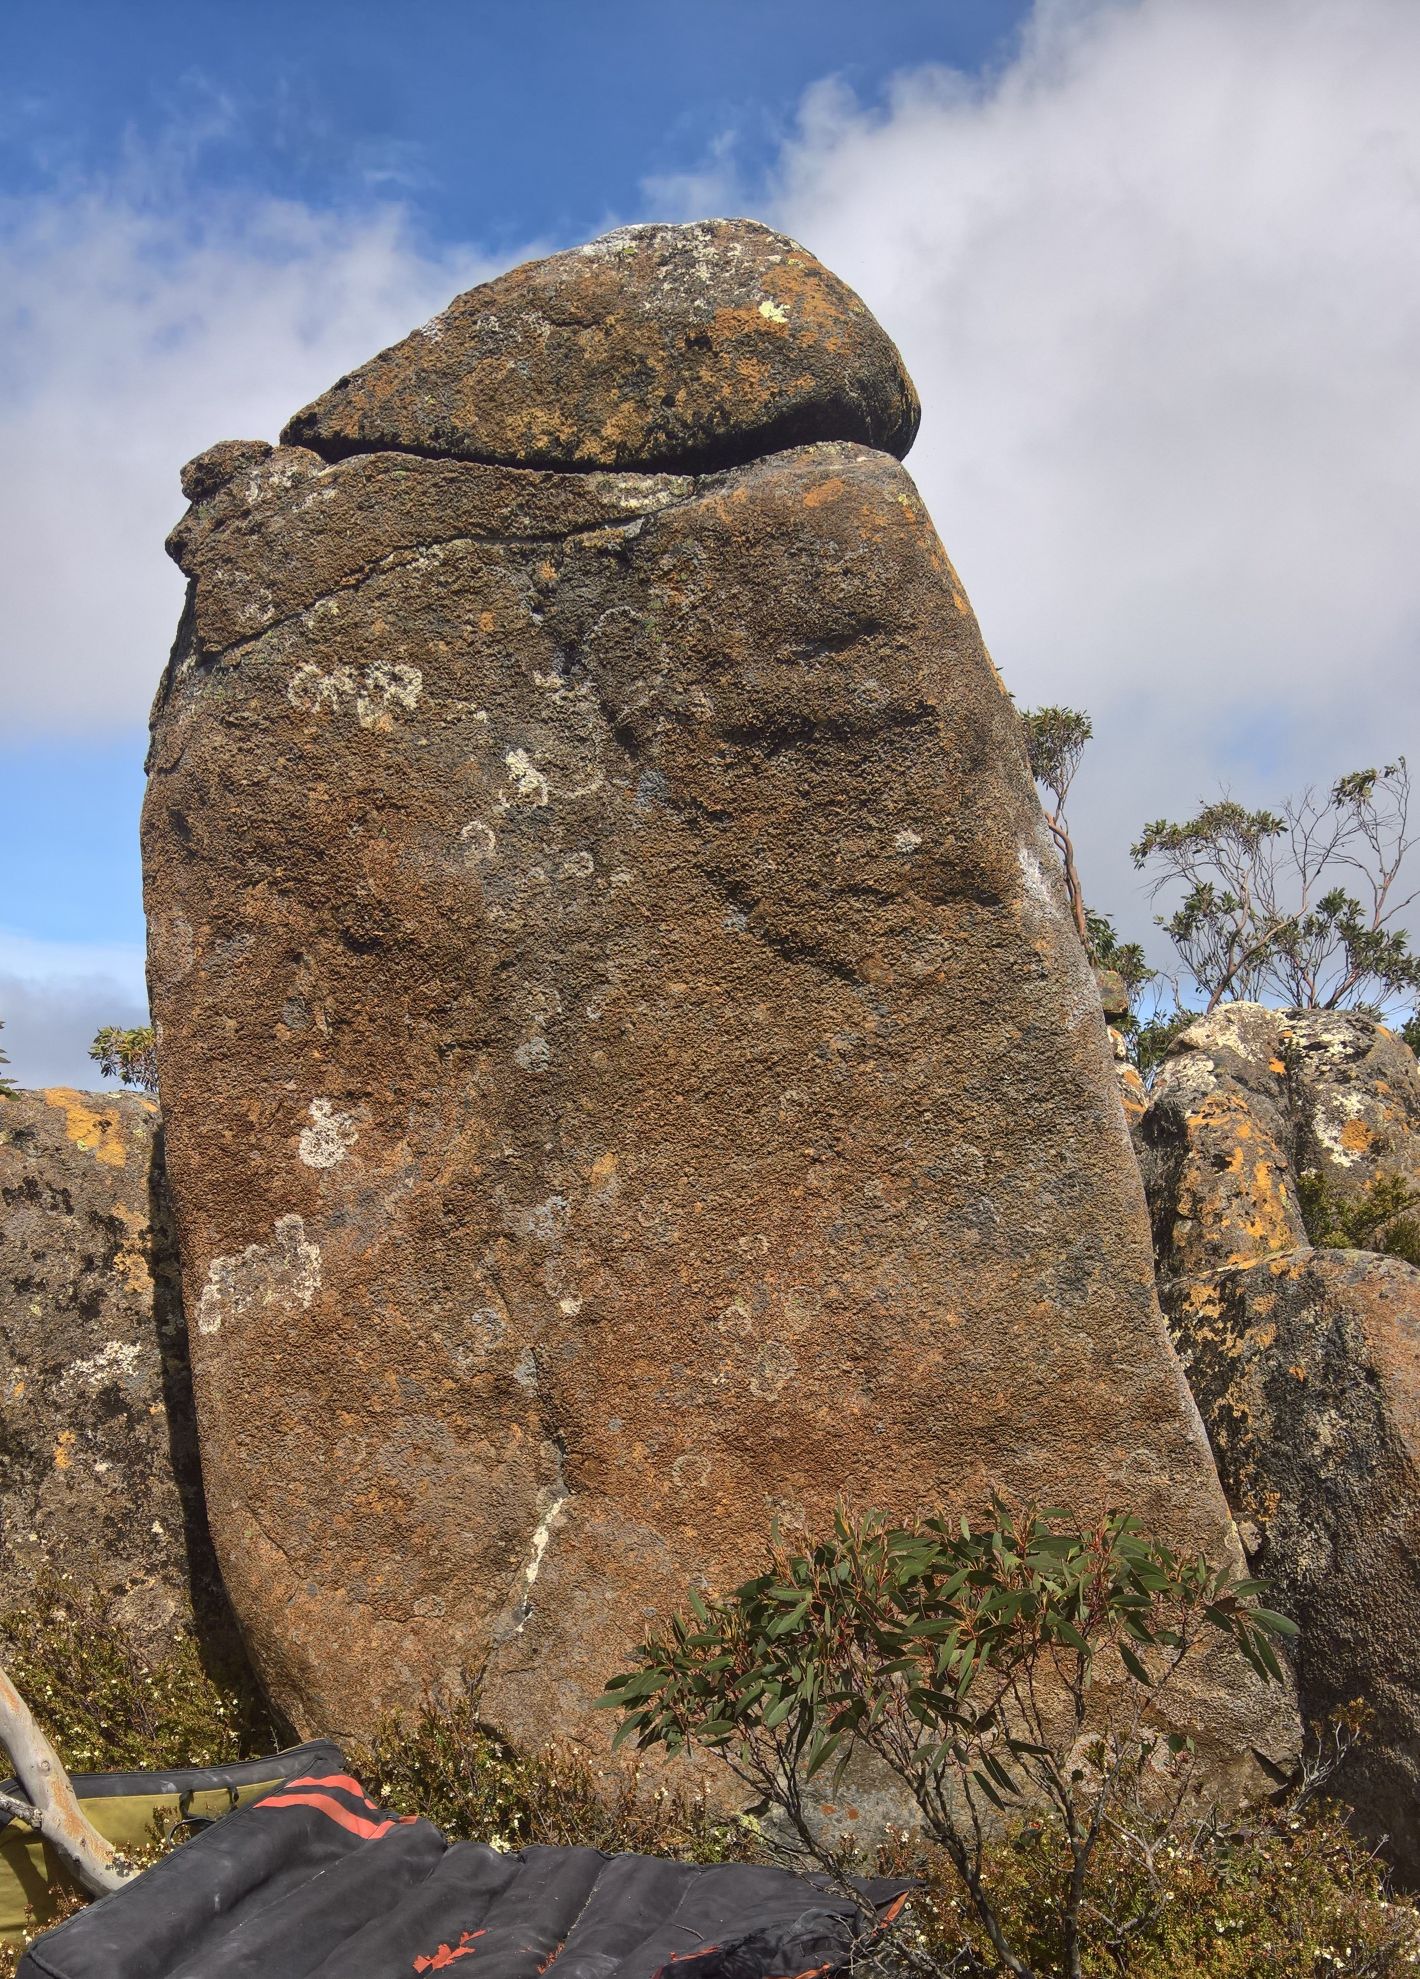
Up the 45 degree overhanging pinnacle. Frickin' awesome, but watch for the friction.
Up the pinnacle just across from the Dildo. A hard move off the ground (hard to grade), then nicer and easier.
Unnamed
V1(SDS)Sit start in the rock scar
Next boulders are a little way west-south-west
Up bulgy face on nice slopers.
Easy up pinnacle
Face around to left of Davros.
Unnamed
V1(SDS)The face on the next boulder left.
These problems are amongst the group of pinnacles up the hill, just below the road.
Easy face
Up bulge
Left arete
Face
Right arete
Left side of slab
Right side of slab, with amazing friction.
Up steep face. SDS is a project.
Tricky sit start to nice moves up pinnacle.
Back of pinnacle behind Imperial Dalek.
Nice crack.
Arete
Awkward bulge.
Fifty metres downhill and south of Dildo is Satisfaction. There are a couple of easy low ball warmups on the way.
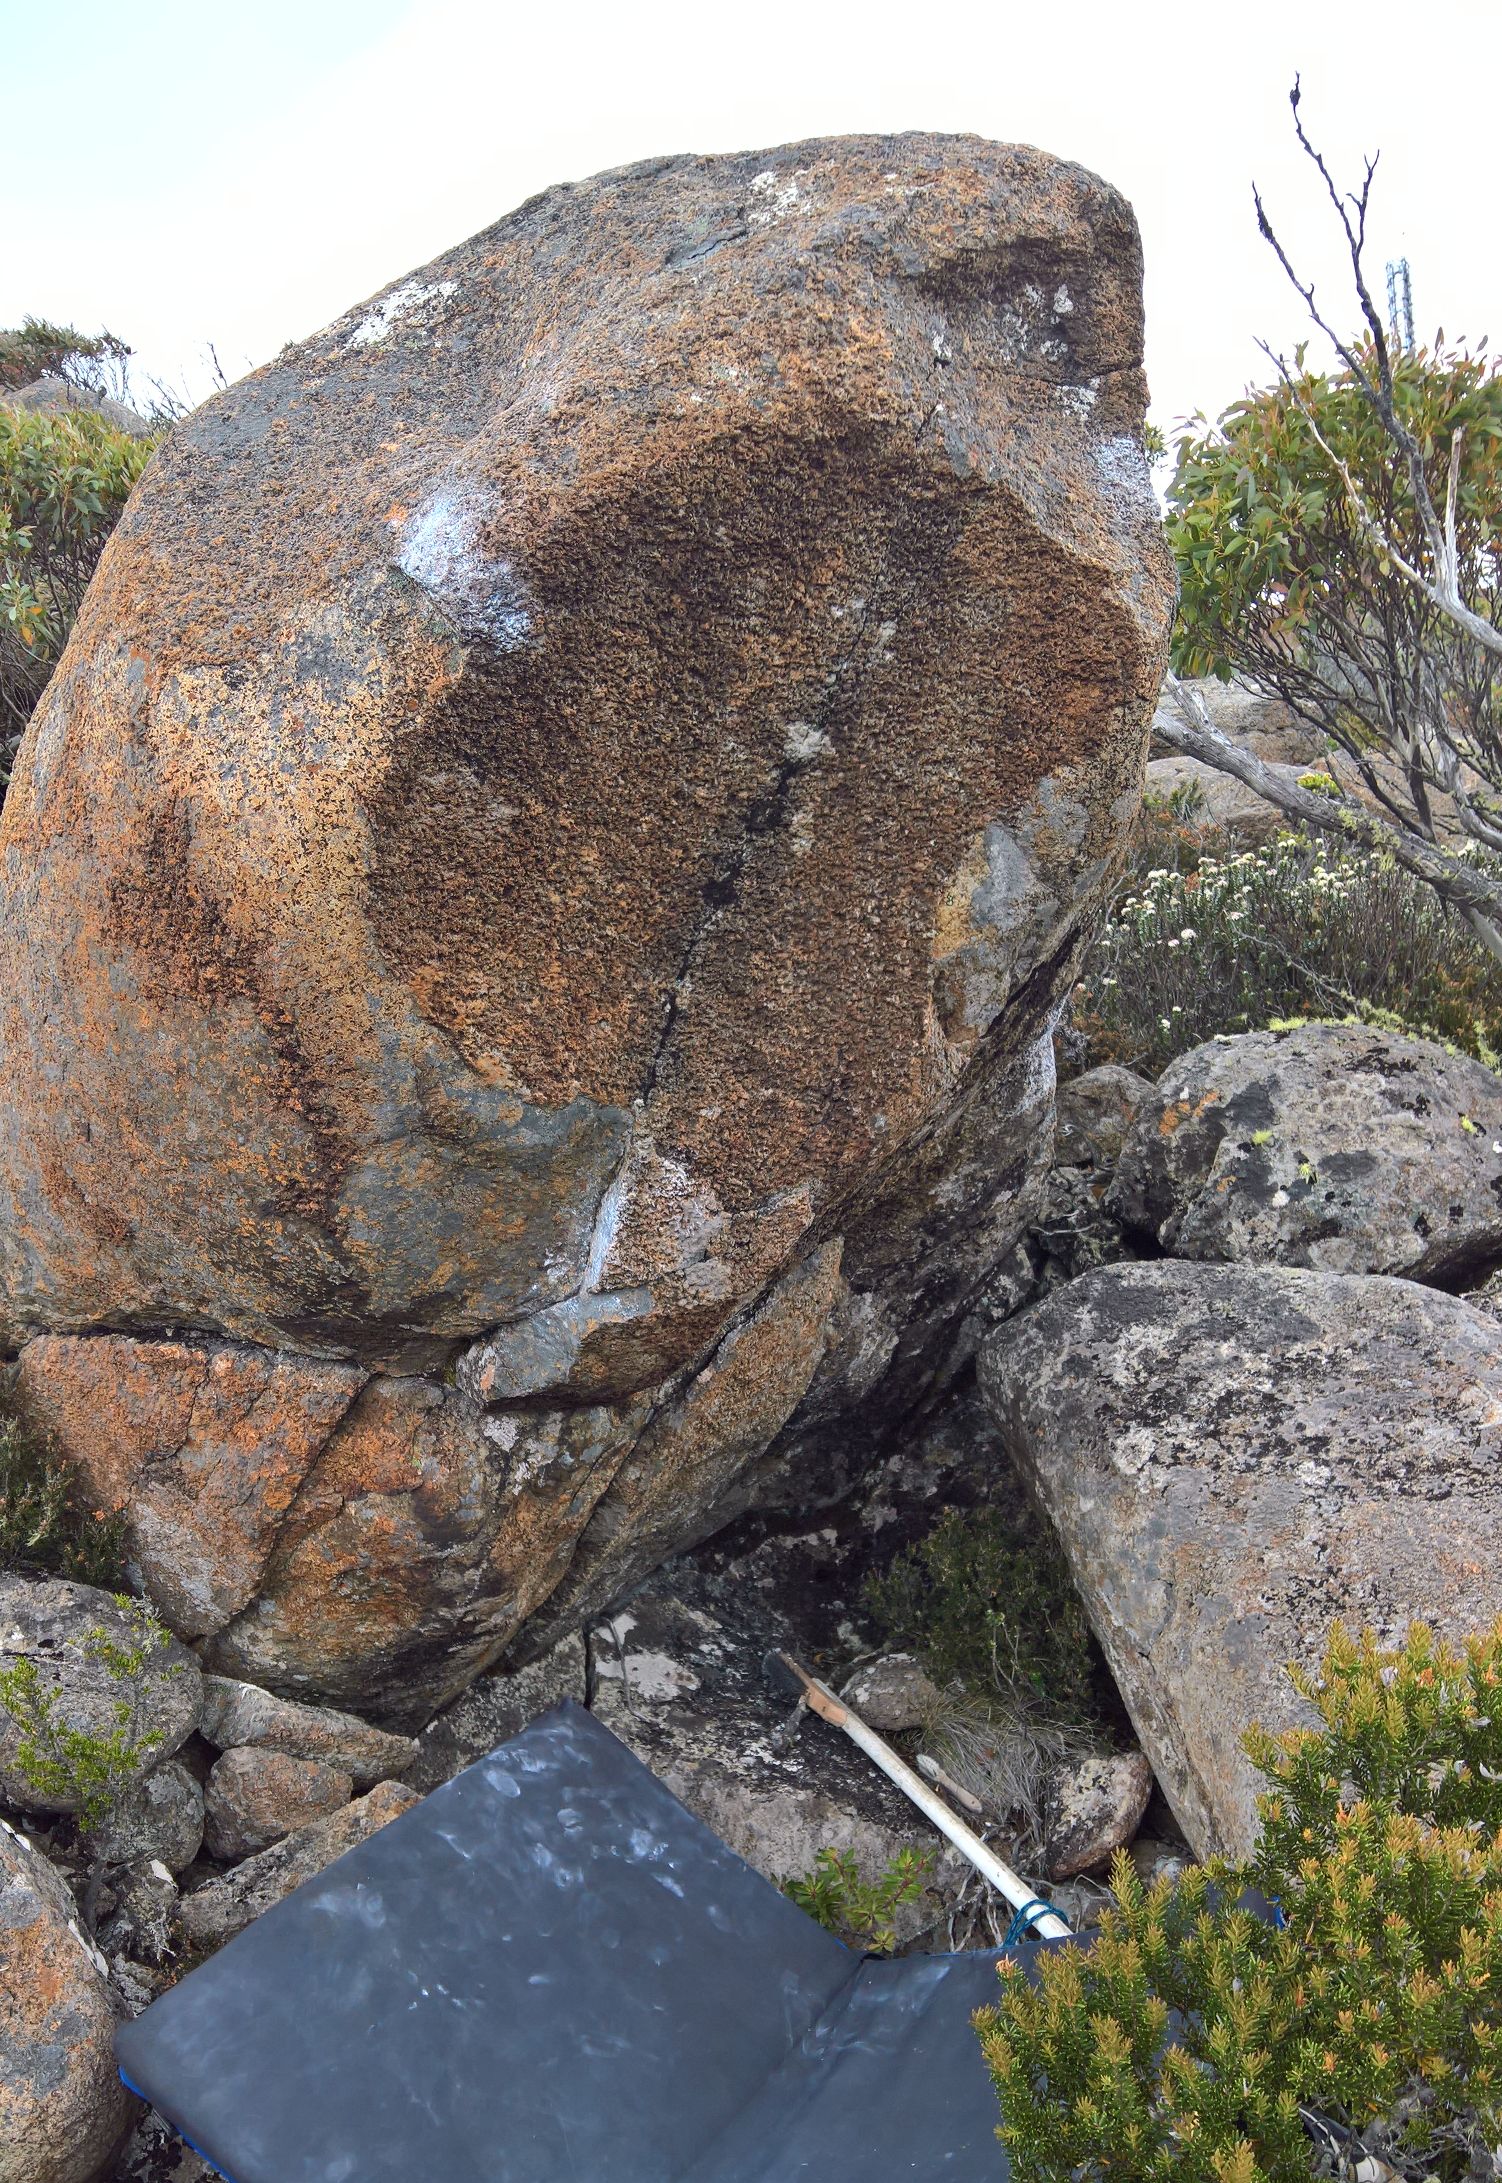
Nice problem with mantle top out.
Lookout Boulders
There are a range of boulders in the vicinity of the lookout. This area extends down and to the south of the Lookout. There look to be many possibilities in this area with landings varying from good to hospital visit.
Postcards
V0(Stand)Hand crack directly opposite the lookout. Probably best to avoid when there's tourists around.
These boulders are straight below the lookout building in the scree. The landings are pretty bad except when smoothed out by some spring snow.
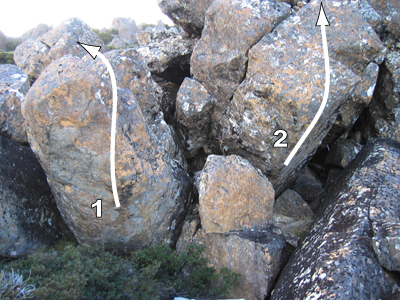
Start underneath small fallen column and climb out bulge.
Start under fallen column and after tricky initial move climb up through bulge.
This column is down the hill about 15m from the previous ones.
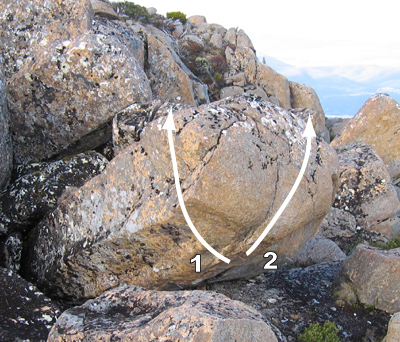
Project - start underneath and go left and up
Start on edges underneath column and use right heelhook to go up and right
The next boulder is just to the left on the climbers track after the initial descent (about 50m down the trail with the orange markers, starts adjacent to the lookout). A couple of good warm-up lowballs.
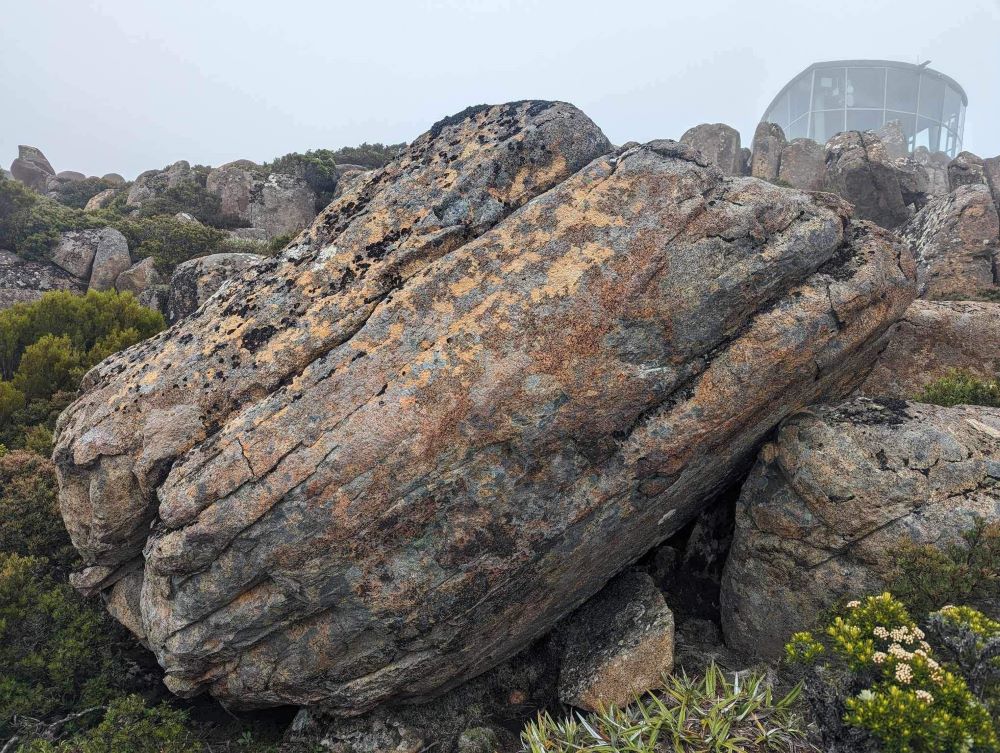
Sit start at the far left of the face, with a right hand gaston and left side pull. Work up the slopey rail and top out at the right end of the boulder. Stiff V2 with beta.
C Reekie & N Chin 2024 (suspect others in past)
Start on right side of the face, with left hand on crimp and right hand on sloper. Powerful move into a mantle top-out.
C Reekie 2024
The following boulders are on the right side of the climbers track, just opposite from antechinus, and can be seen from inside the lookout. From here Stella's Arete is 30-40m south.
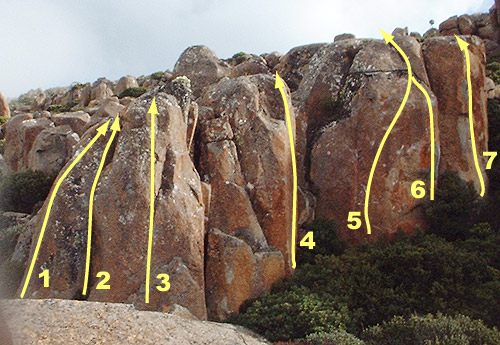
Thin seam up slab
Corner crack
Slab/face
Face using aretes
Nice face
Start 1m right of Red and up through bulge
Slab/face, start just right of corner
Stella's Arete Area
This is the main group of boulders and is ~50 metres south of the lookout, and 30-40m south of the track. Stella's Arete is a landmark, and a bunch of the other boulders are described from here.
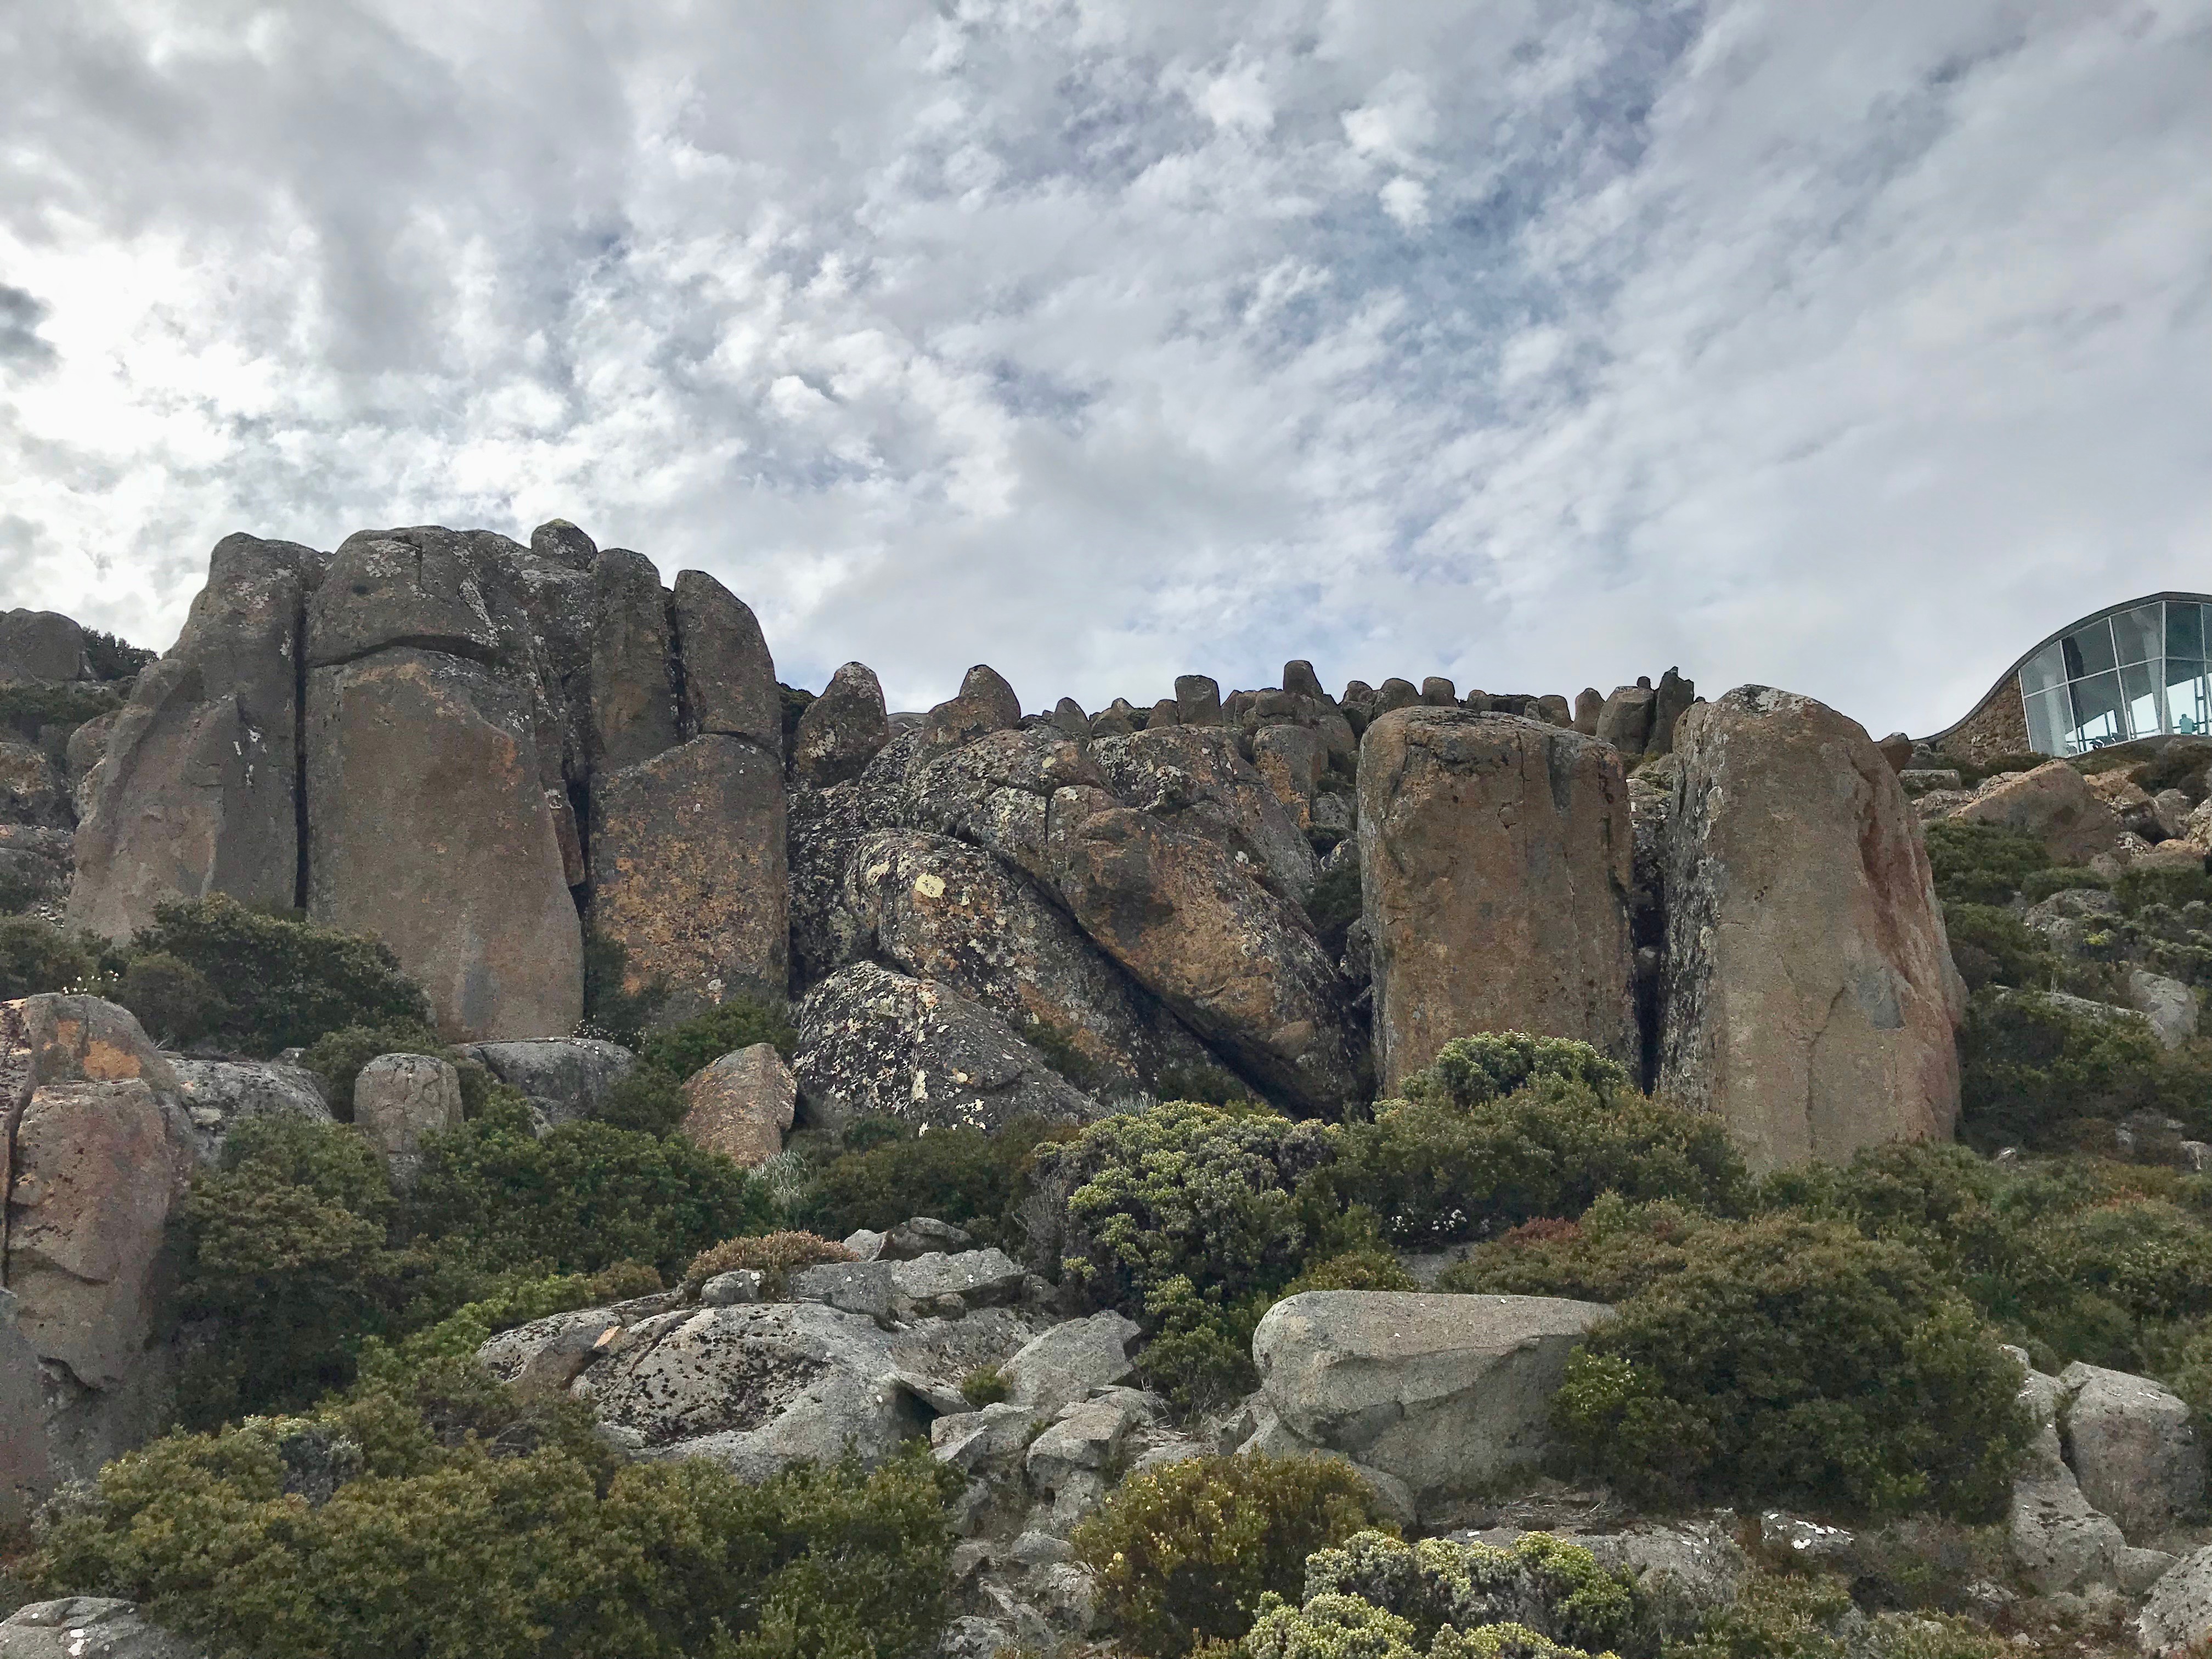
Up broken prow
Corner
Up slopey slab
Climb slab by spanning aretes
Slab and hand crack just around to right from This Big
Up steep prow on jugs
Start as for Grovel, traverse steeply left and finish through get up
R. Sklenica, 2017
Start off jug and thrutch straight up over bulge
Squirm til it's firm
★★UngradedSqueeze test. Peer under the start jug for the primus. See the dank hole? Breathe out, squeeze in, harden up.
Rye Stallard, Jan 2019
The face left of Stella's Arete
Steep and classy arete
Jon Nermut
Classic dolerite arete
Easy face
Easy corner
15m right of Nice Job is a short arete with an unusual number of big holds.
Fatman Boulders
This group of boulders is just south and down from Stella's Arete area.
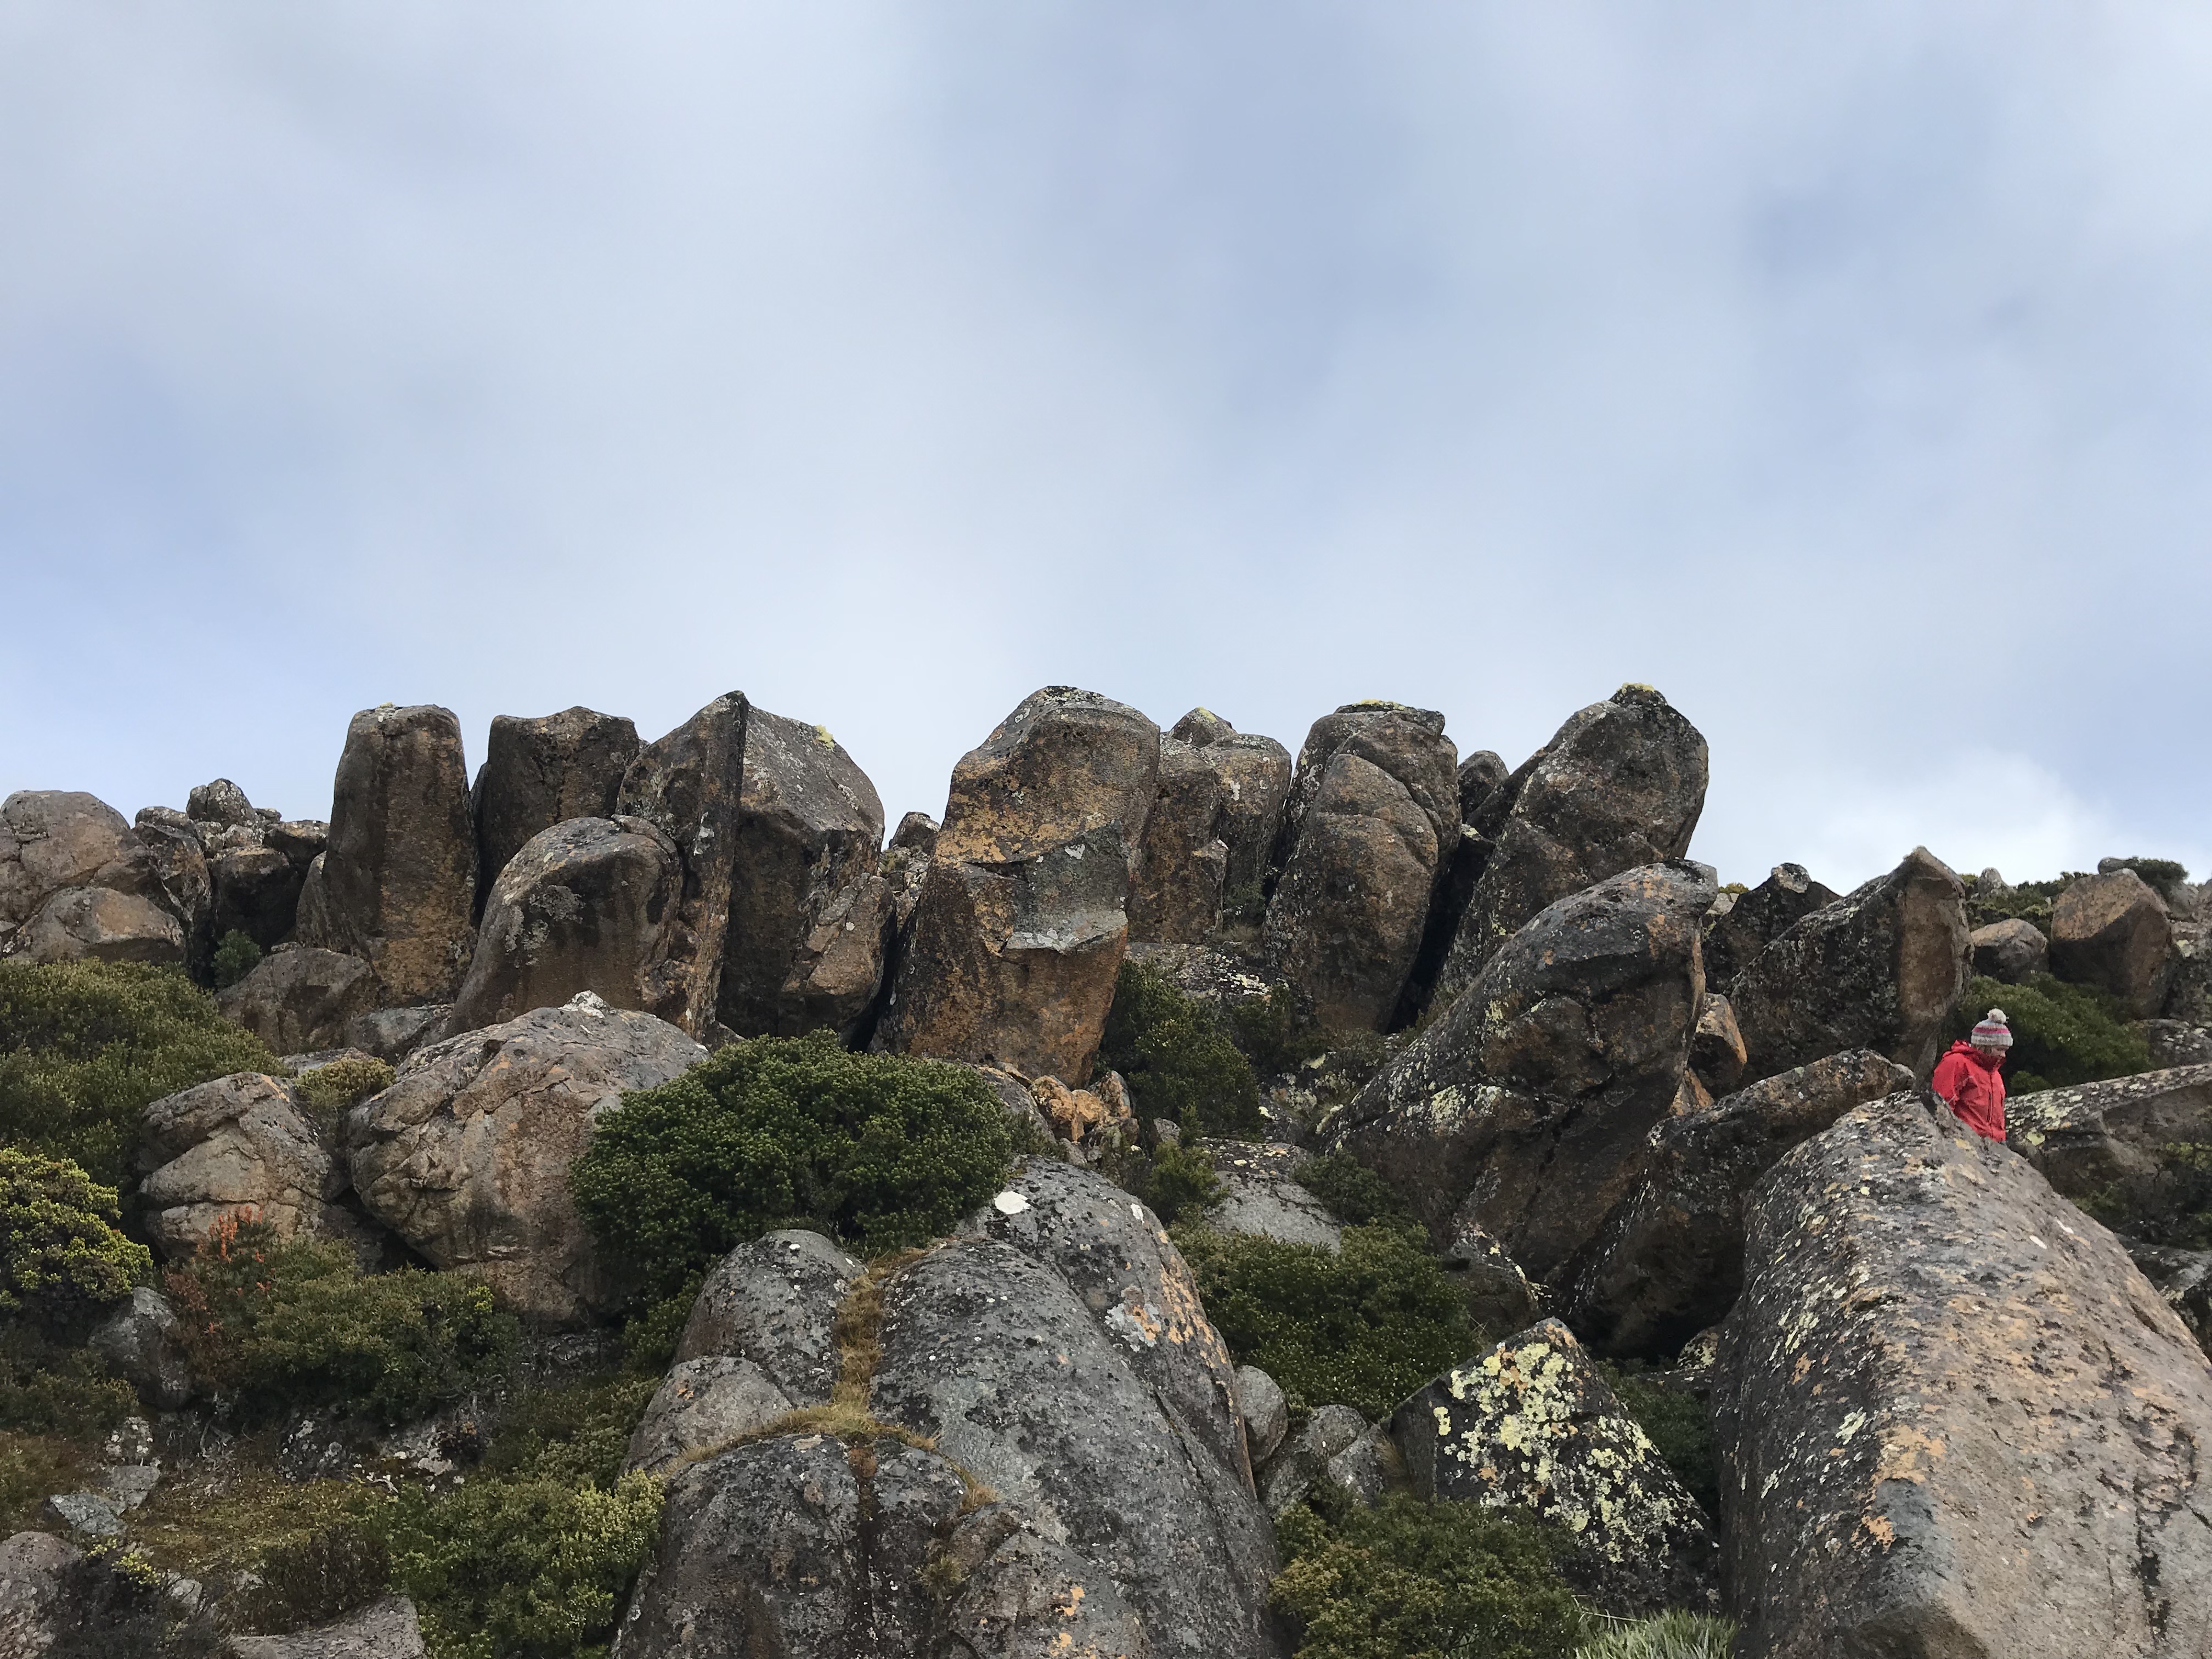
Elevated overhanging pillar to the left (south) of Fatman.
Mike Hitchcock June 2019
Start on flake in middle of block, move left and up to mantle via left arete and right sidepull above flake. Surprisingly good problem! Don't use holds to the right of left block. It goes about V3/4 if you use 'tall person beta'.
T. Krauss, 2014
Start on flake as for Fatman but move straight up. Don't back of block on right and mantle via Fatman block
T. Krauss, 2014
Start one move into F&R, use arete on back right to move up, mantle top.
M. Young, 2017
Eeasy slap to high finish.
T Krauss 2019
On the block to the left of Project 2, low sit start to easy top. Around v0?
Hang with left hand on broken crimp, right hand around arete on sideways crimp, slap for crimp rail up and right, mantle. V5+
Start with right hand in roof jug underneath, left hand on flat jug. Move up and left, mantle. brushed and ready to go. Around v2ish?
Start as for project 2, move right underneath or around nose, mantle right side of block. Around v4ish?
Around right of pillar, move left on slopers and mantle
Sit start hugging the underside of the pillar. Head towards the tip and mantle.
M Hitchcock 2019
Just a few meters to climber's right.
Easy overhanging finger crack
V1(SDS)Sit in the groove and climb the finger crack on the right to a mantle.
C Lang 2019
Unnamed
V2(SDS)Star on the bottom of the diving platform, up and around.
C Lang 2019
The next few climbs are downhill and south of the Fatman boulders.
This hasn't seen an ascent.
Sit start on the rail, and mantle up.
M Hitchcock 2019
Sit start the face, avoiding the crap to the left.
M Hitchcock 2019
Somewhere in the vicinity...
Unnamed
V0(SDS)Short round pillar.
A Lawson 2019
Unnamed
V1(SDS)Fist crack.
C Lang 2019
Unnamed
VE(SDS)Face between the cracks.
C Lang 2019
Unnamed
V1(SDS)Finger/hand crack.
C Lang 2019
Somewhere in the vicinity...
Unnamed
V1(SDS)Layback and hook up the flake.
C Lang 2019
Unnamed
VE(SDS)Up the crack
A Lawson 2019
Snowflakes Area
Another small group further down and to the south of Stella's Arete.
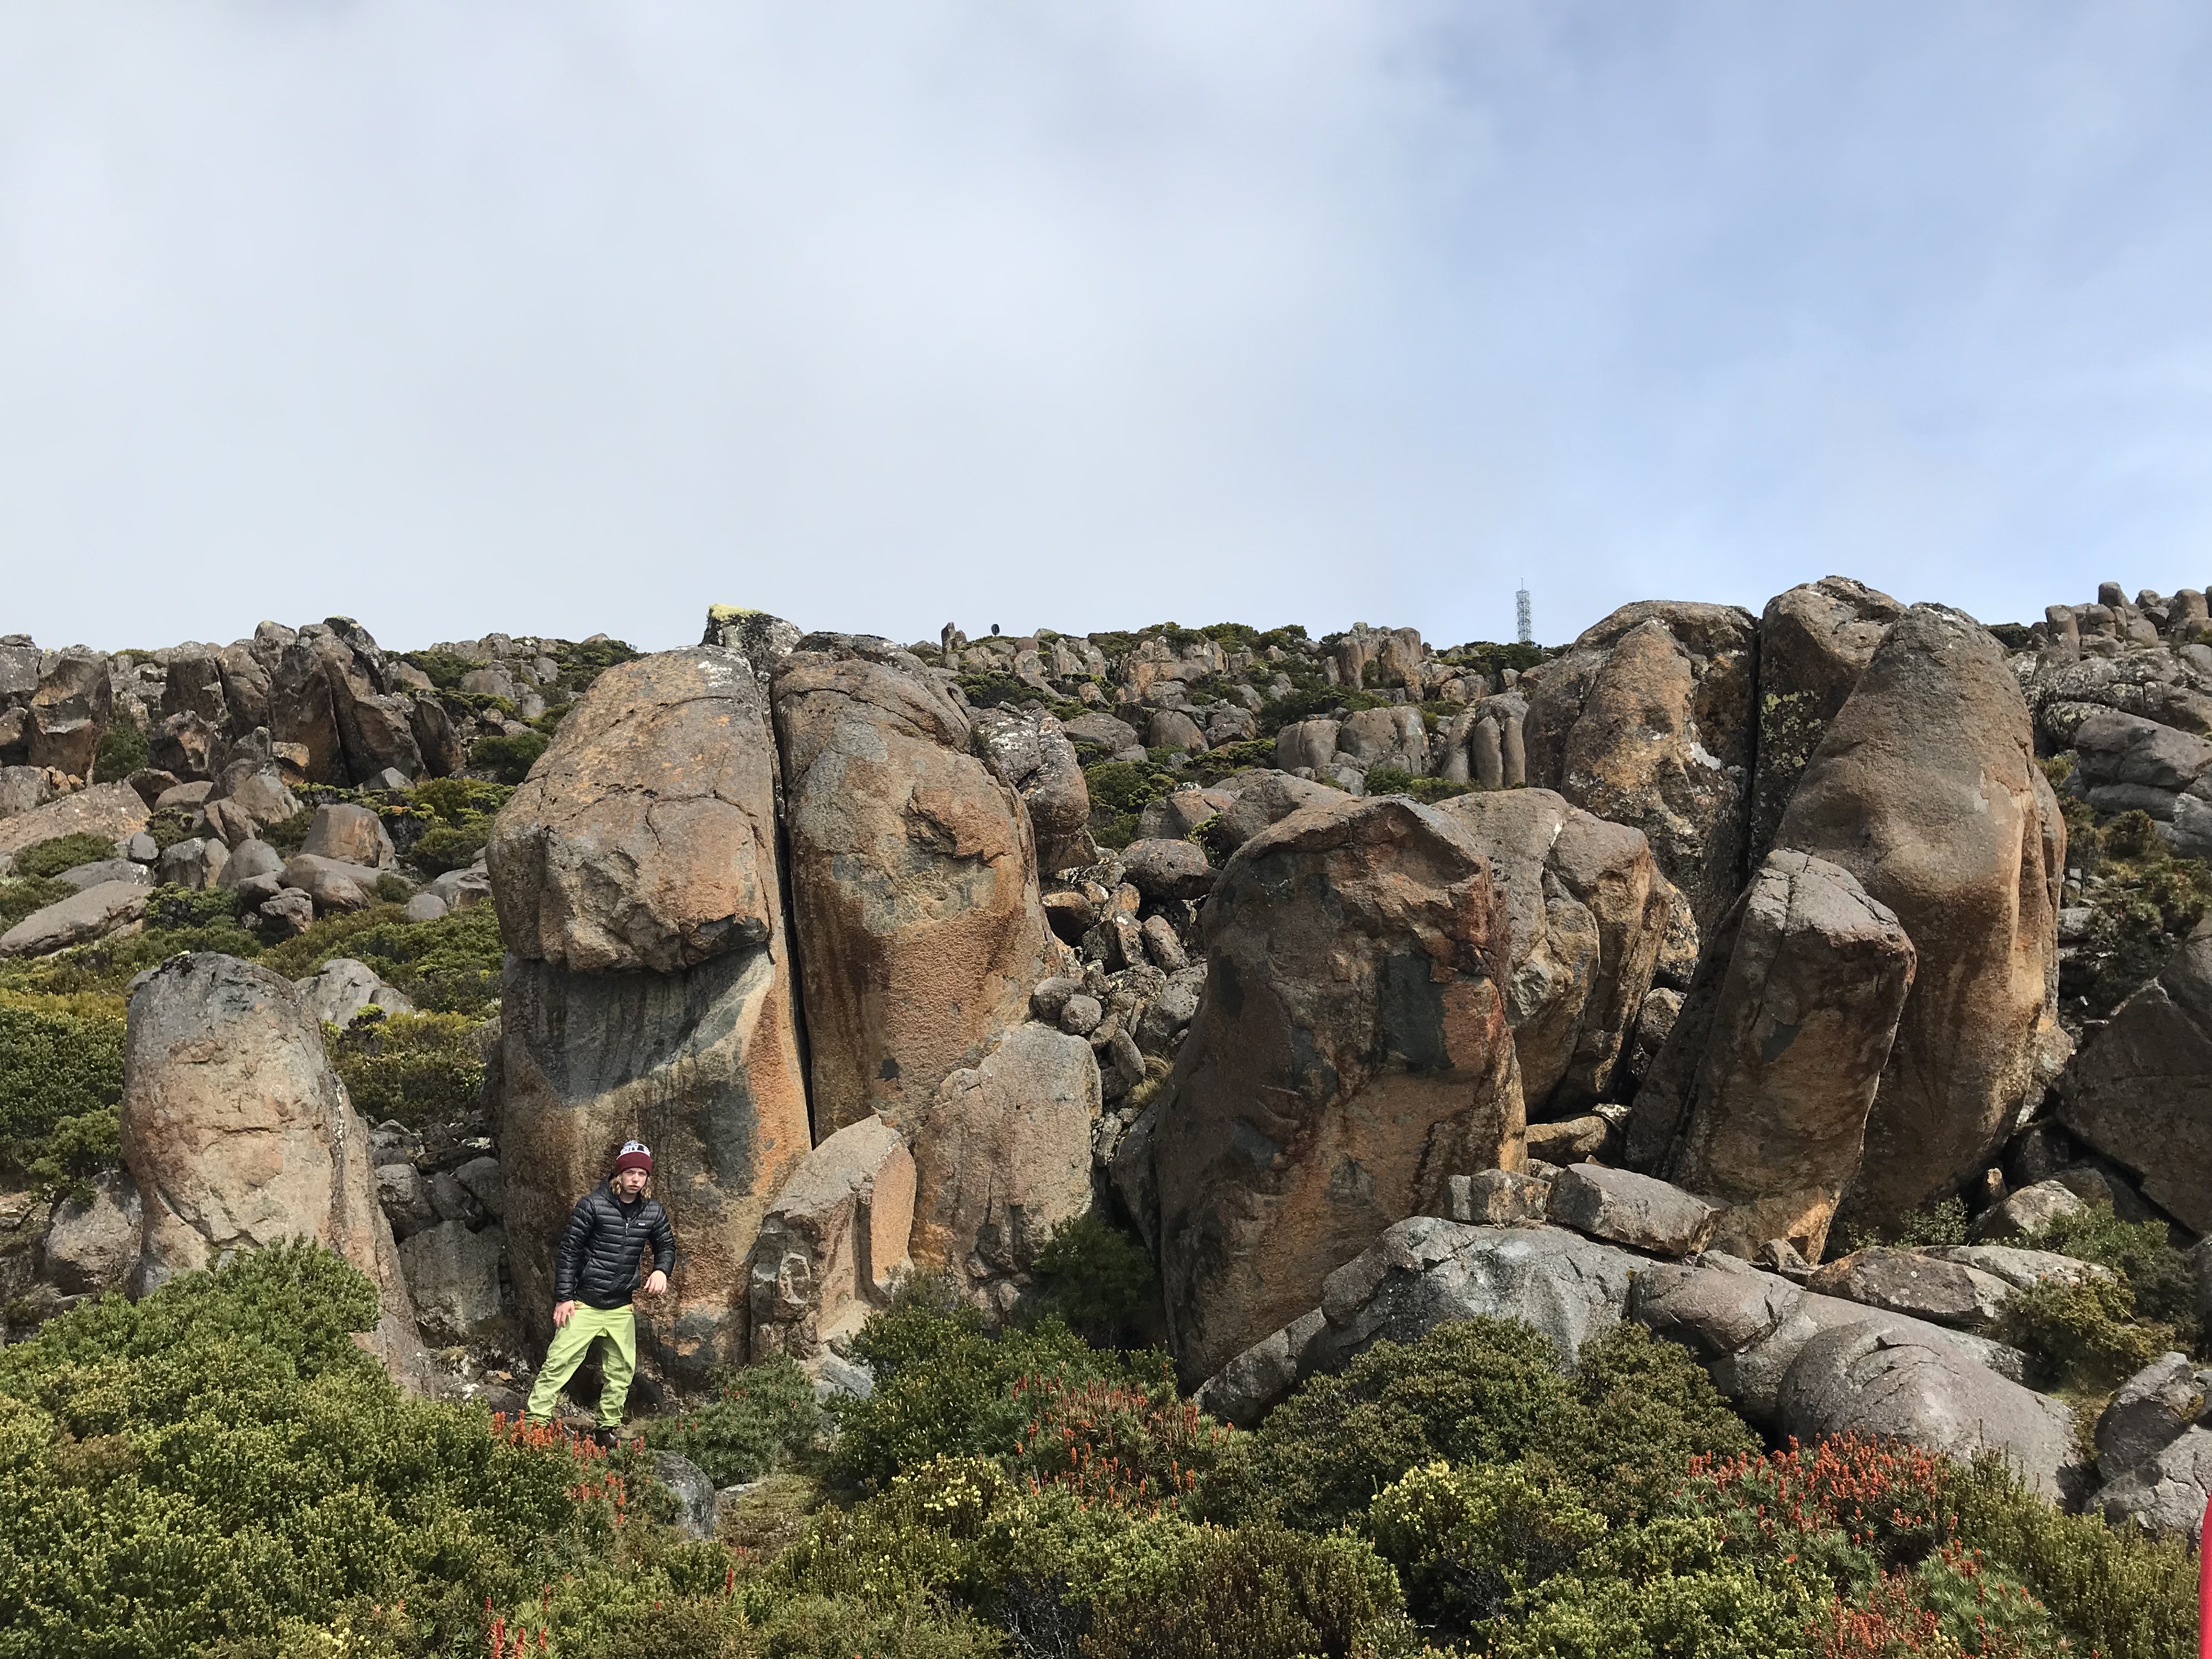
Stand start with left hand on good crimp, right hand on lowest part of sloper rail. Punch straight up and mantle over left hand arete of boulder
T. Krauss, 2017
Start as for Snowflakes but traverse the big undercling roof feature to the right and mantle the centre of the top slab.
T. Krauss, 2017
Start on middle of big sloper, punch straight up into roof and top out as for Pancakes
M Hitchcock 2019
Start on big detached boulder and climb wide crack feature to the right of Pancakes.
Low sit start with left layaway and right crimp. Up through the arete to top out.
D Tan 2019
Sit start the arete.
M Hitchcock 2019
Sit start as low under overhanging pillar as possible, feet on large slopey feature, slap your way to the top, mantle nose lip
T. Krauss, 2017
Up the front of the pillar. Somewhat independent of the Pessimistic Optimist, and very hard. Wait for winter conditions.
Stand start with feet in the scoop. Slap and crimp your way up to the top jugs.
R Schwarz 2019
Up the line behind the Optimist Project
T Krauss 2019
Sit start on the crimps and head up.
M Hitchcock 2019
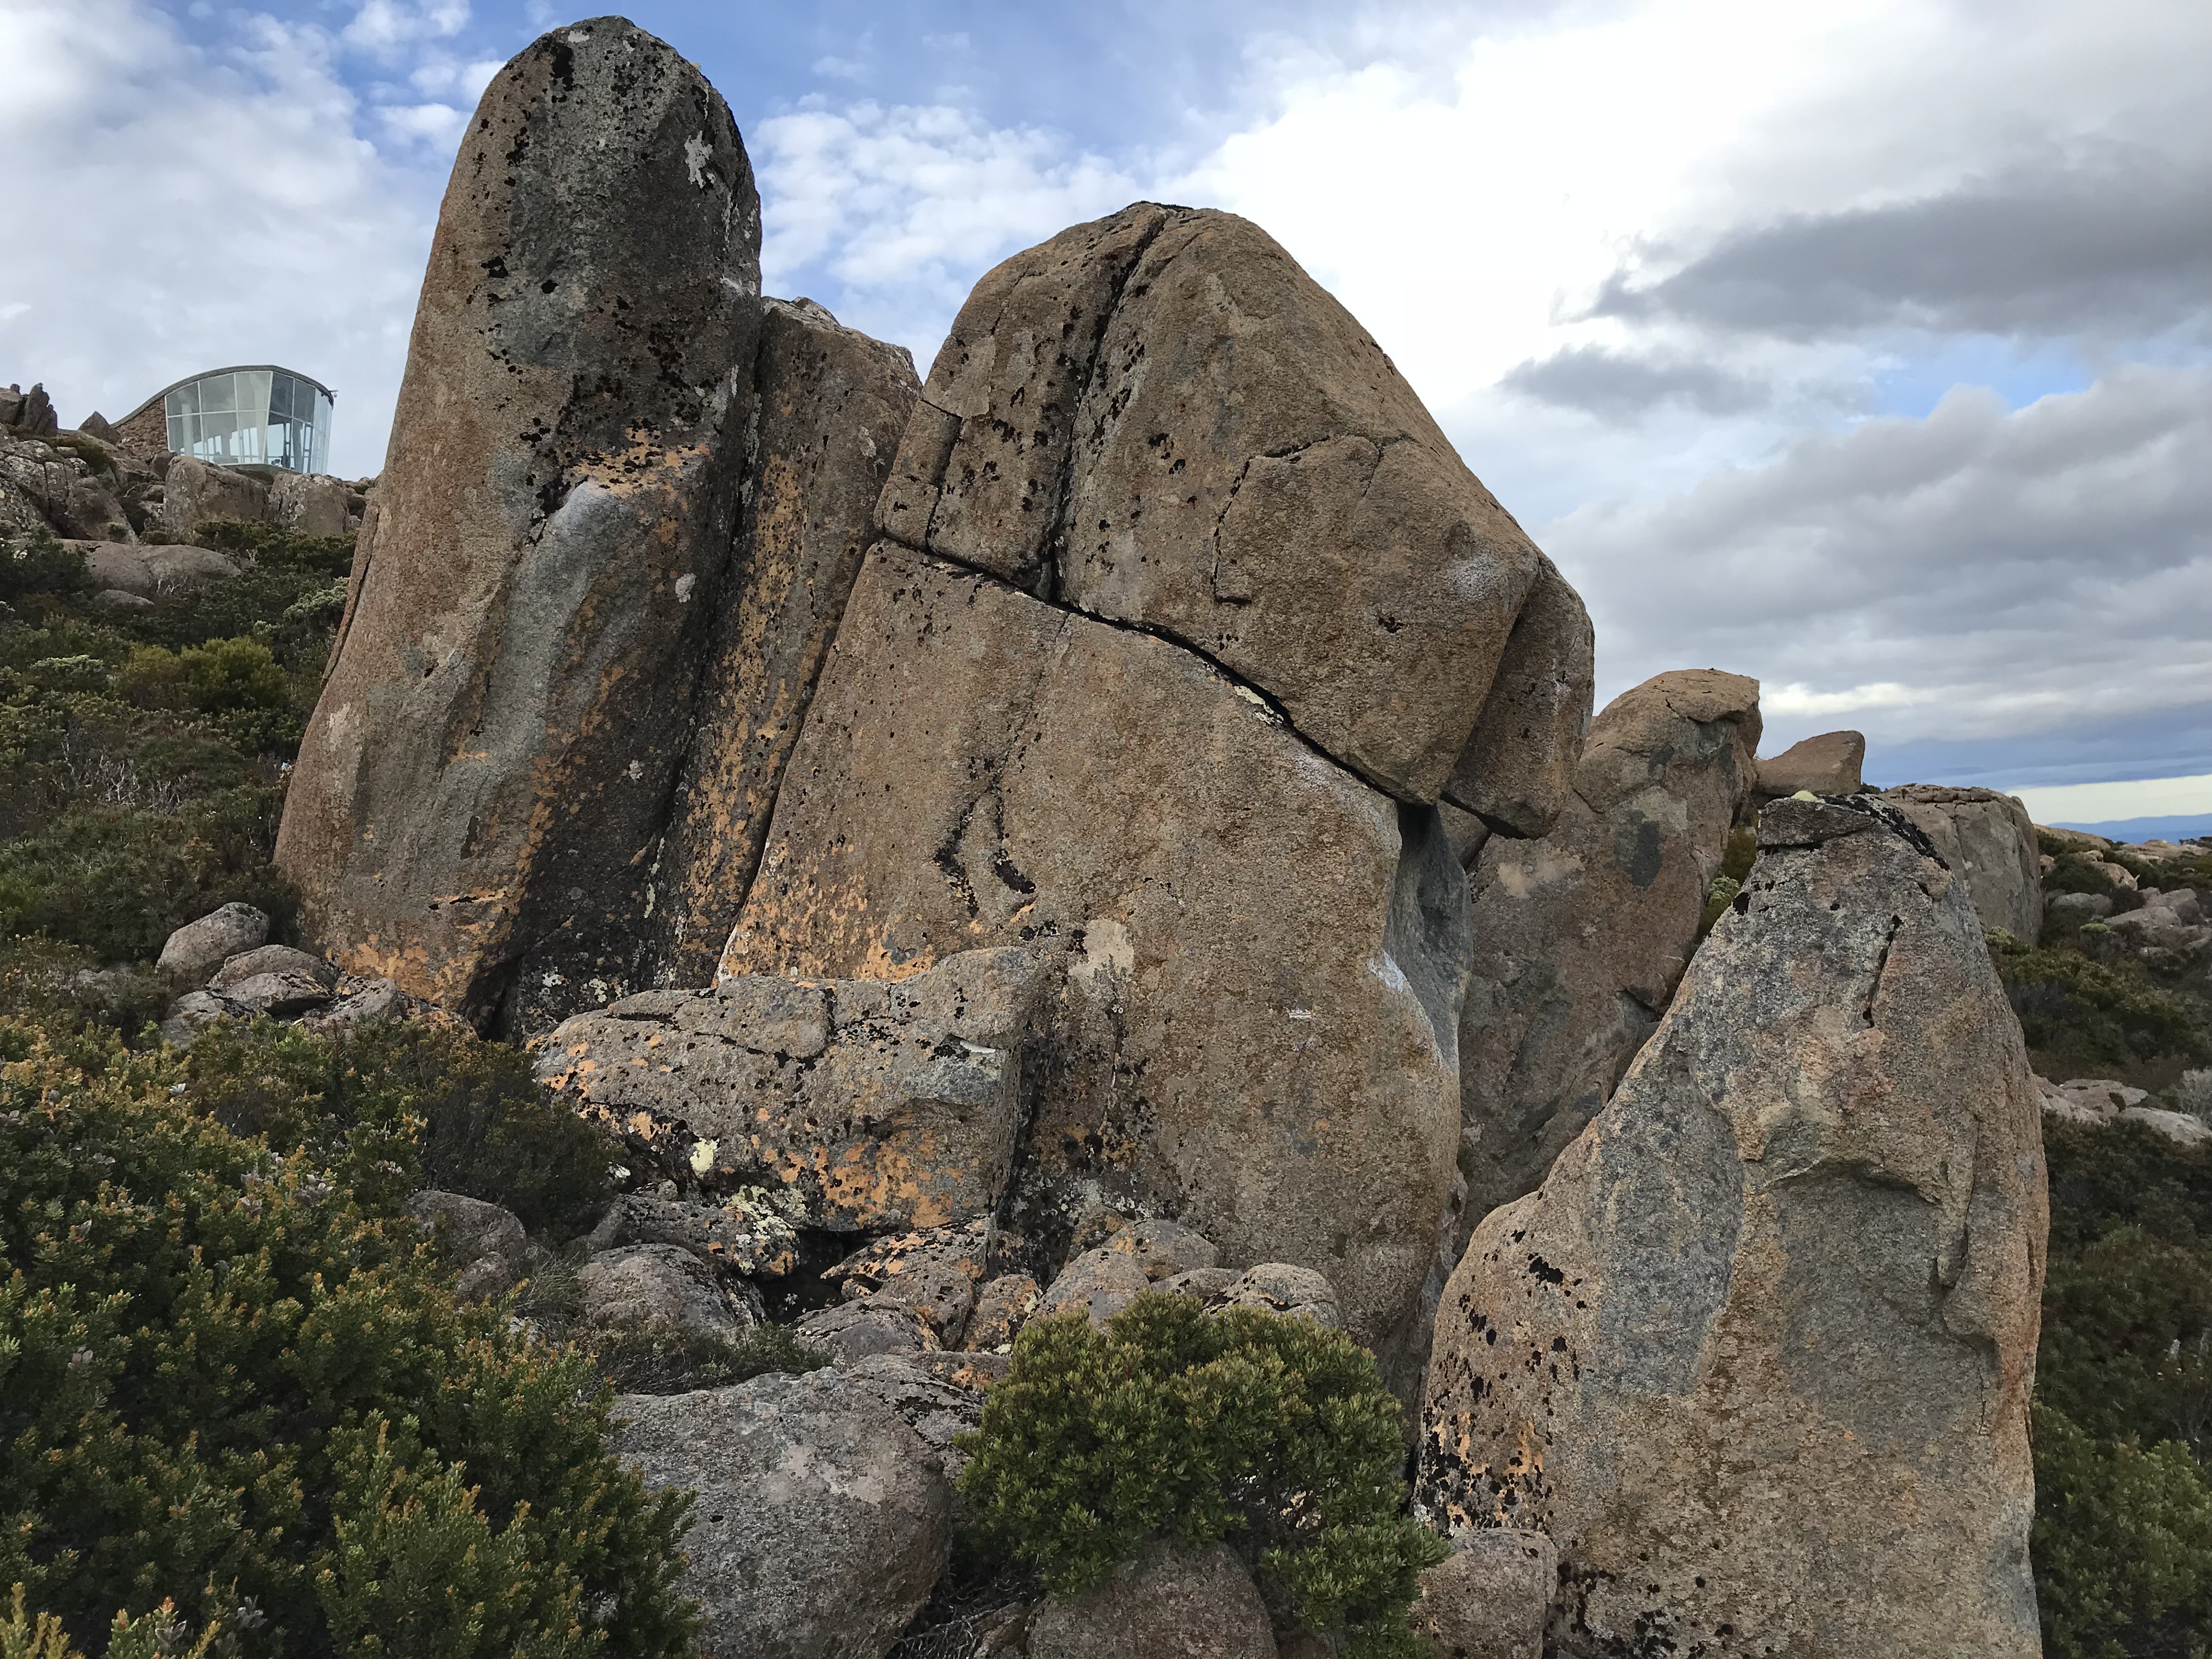
Classic for the grade. Stand start on good feet, reaching left to break, right around to slopers. Straight up and mantle via good holds up high.
T. Krauss, 2017
Stand start on left hand sloper, big moves up right, then straight up for top.
T. Krauss, 2017
South of the Snowflakes area you'll find the next handful of problems.
Climb the free hanging pillar from the underside.
M Hitchcock 2019
Sit start under the bulge left of Choker.
M Hitchcock 2019
The Asylum Years Scree
There are some serious boulder problems further down the hill from Stella's Arete. James Trainer worked this area around 2010.
These problems are actually in a quite small area, but the scree is a total maze, and its hard to describe. From Stella's Arete head straight down the hill past a lump of rock with no problems, and keep going to the scree. Once you've crested the wave of scree, try and find the Invisible boulder which is one of the first of the overhanging pillars, and is just a bit to the north. If you miss it to the south, and head further down the hill, you'll probably run into the Asylum Years.
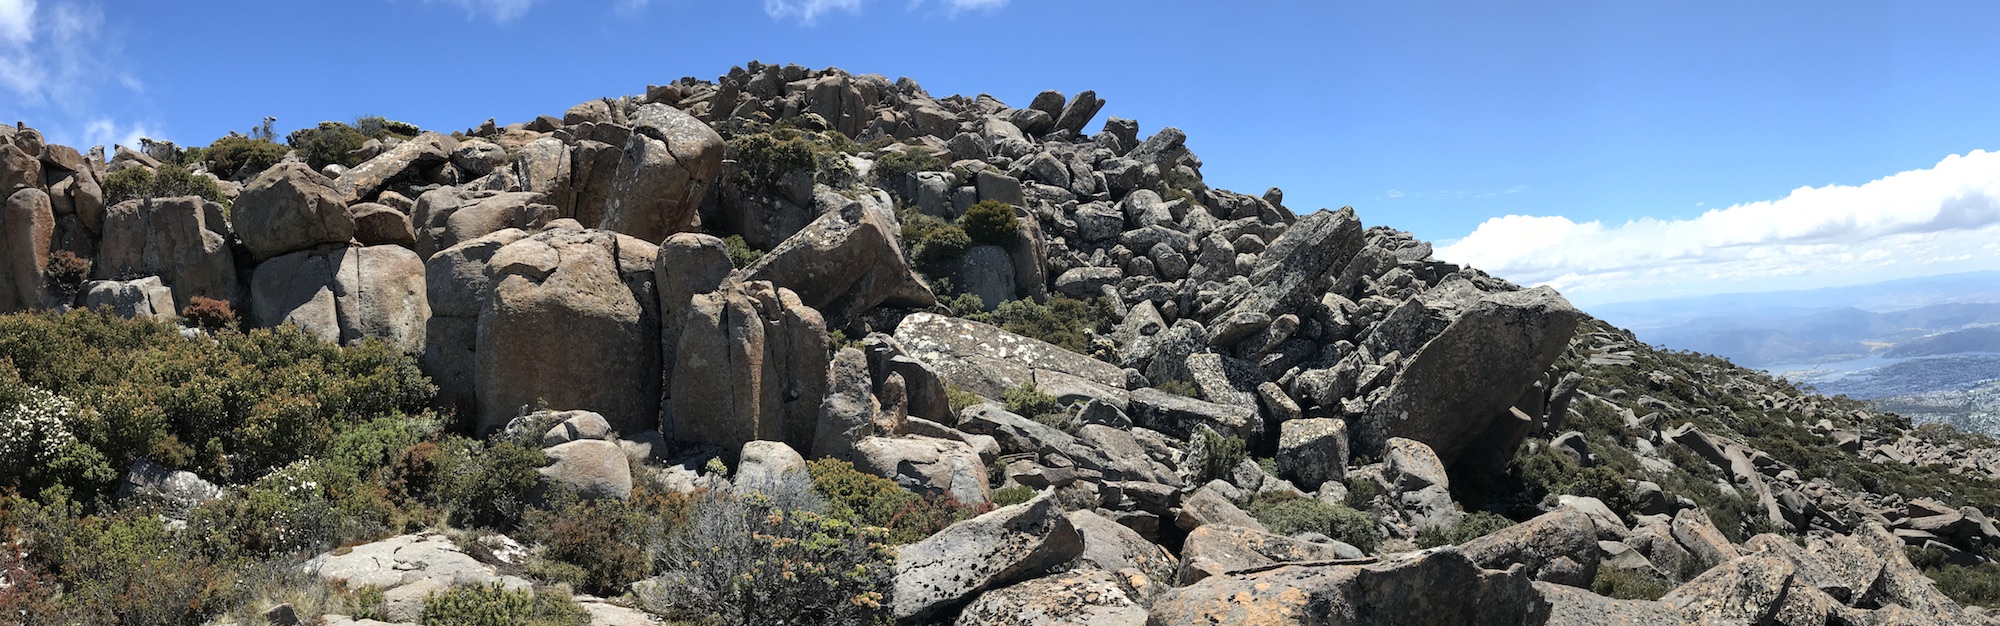
Invisible Area
This area is a landmark. It's pretty much down the hill from the lookout.
The ute mat was 'cleaned up' so Trinamic now has a serious landing.
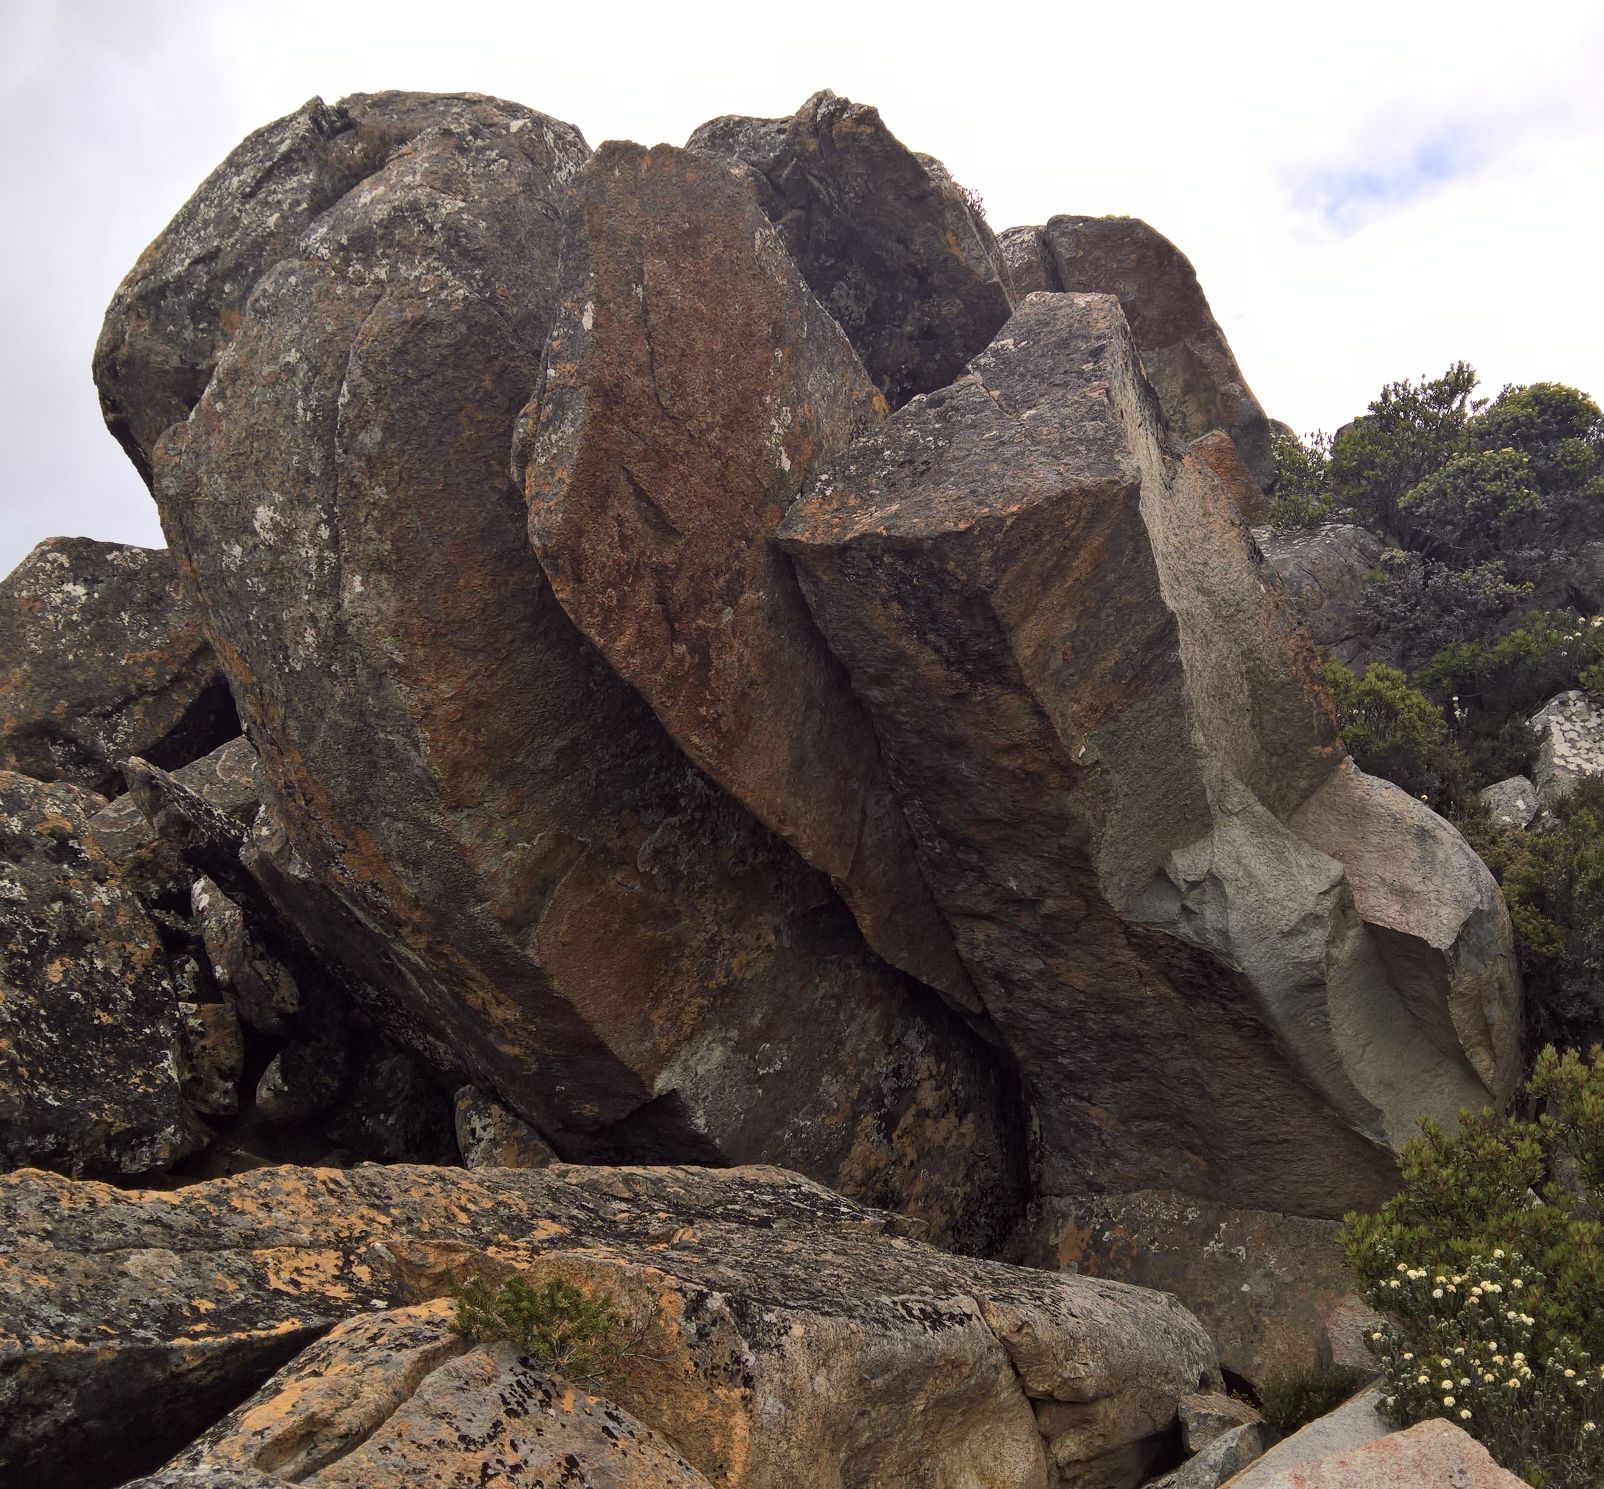
Sit start low on steep pillar with high heel toe cam. Was originally climbed without the heel toe cam at V11.
J. Trainer, 2010
A contrived but pleasant line. Sit start the double crack feature of the hanging sword, climb out and up using only the sword. If you layback/jam the crack to finish up the sword, it goes around V5.
A Donoghue 2010
Sit start with feet on ramp and left hand on low sidepulls, right hand on far right slopers. Climb straight out via compression following both opposing aretes. Finish by mantling over nose. Great steep problem!
T. Krauss, 2018
Start as for Trinamic, match on large exfoliated ledge on right hand side and move directly up to slopes before reaching over to top out jugs.
Marco D'Alessandro, April 2018
Next few problems are a few meters to the climbers left from invisible area.
Unnamed
V2/3(SDS)Up and around the diving platform from below.
M Hitchcock 2019
Unnamed
V?(SDS)Unclimbed line -- Overhanging finger crack with a no so good landing.
Unnamed
V1(SDS)Up and around the diving platform.
C Lang 2019
Sugarlumps Boulder
Head ~30m north from Invisible, then down a little bit. You can see the 'horn' at the top of the boulder from Invisible.
Fine dining
★V1(Stand)The face direcly behind Sugarlumps. Sit start is a V2.
This problem is as exposed as it looks. Well, you won't fall to Hobart, but there is a several metre drop onto some ugly rocks.
https://flic.kr/p/92pNXp
J. Trainer, 2010
Unnamed
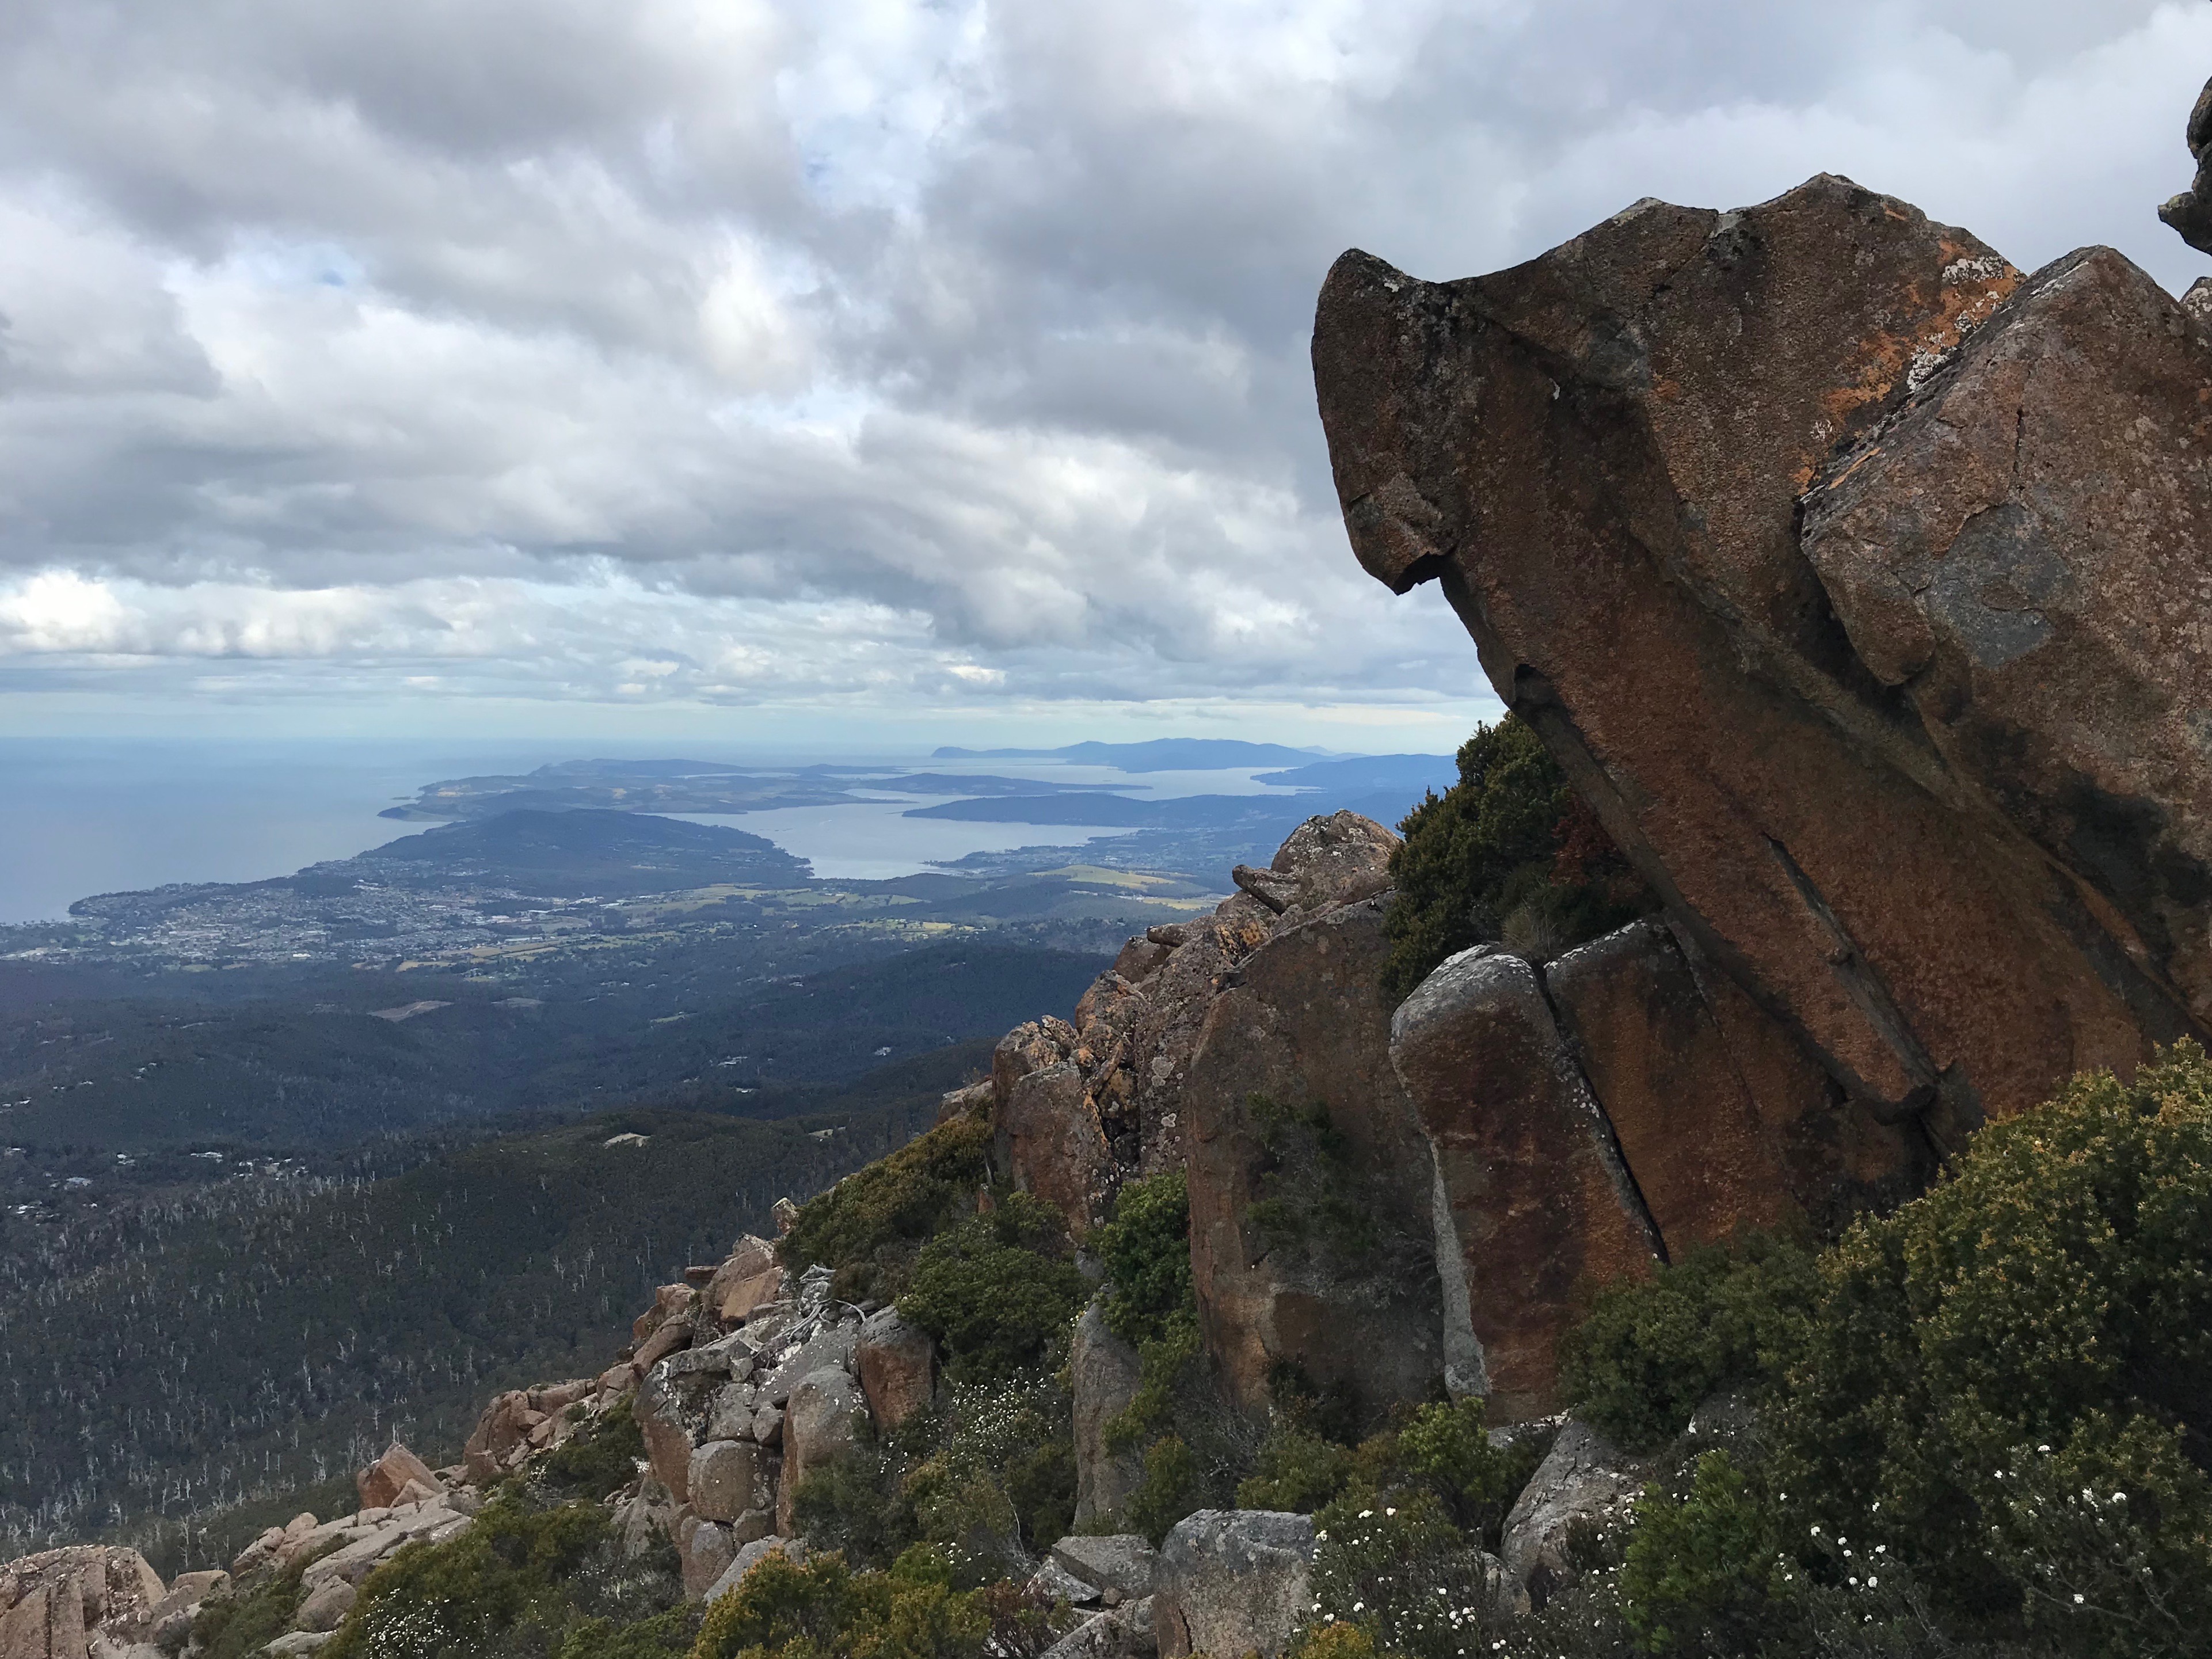
★★V6(SDS)On the north-facing wall 3m uphill from the Sugarlumps boulder. Unlikely moves and holds seem to all face the wrong way.
T Krauss 2019
Push the bush
V2(SDS)What did that bush ever do to you?! Same start as **V6, but head right to easy climbing.
M Lovell 2019
Next few problems are in the wall facing Sugarlumps.
Unnamed
V3(SDS)Up the face from low LH side pull.
T Krauss 2019
Unnamed
V1(SDS)Sit start and up the left edge.
M Hitchcock 2019
Unnamed
V?(SDS)Unclimbed line -- Up the RH edge.
Just around to the right...
Unnamed
VE(SDS)Left edge
T Krauss 2019
Unnamed
V0(SDS)Right edge
C Lang 2019
The Chode
V1(SDS)Crawl into the bush, wrap your arms around the pillar, open your mouth, and climb it.
C Lang 2019
What's that scrawl say?
VE(SDS)Climb the... hand crack or face climb? Fucked if I remember and fucked if we can read the notes...
M Hitchcock 2019
The next boulders are just around to the right and uphill.
Double mantle?!
VE(Stand)Everybody's favourite climb.
M Hitchcock 2019
Unnamed
VE(Stand)Easy face-arete thing.
T Krauss 2019
Unnamed
VE(SDS)Short and round.
M Hitchcock 2019
Slab
V2(Stand)Short slab (literally, if you're not short there is no slab) to mantle.
T Krauss 2019
Unnamed
★V1(Stand)Face like thing.
A Lawson 2019
Unnamed
VE(SDS)Crackity face.
M Hitchcock 2019
Unnamed
V1(SDS)Arete.
M Hitchcock 2019
Unnamed
VE(Stand)Face
C Lang 2019
Crack with bush
V0(SDS)Read name, climb. Nothing more to add.
C Lang 2019
Unnamed
VE(Stand)Short crack
M Hitchcock 2019
Asylum Years
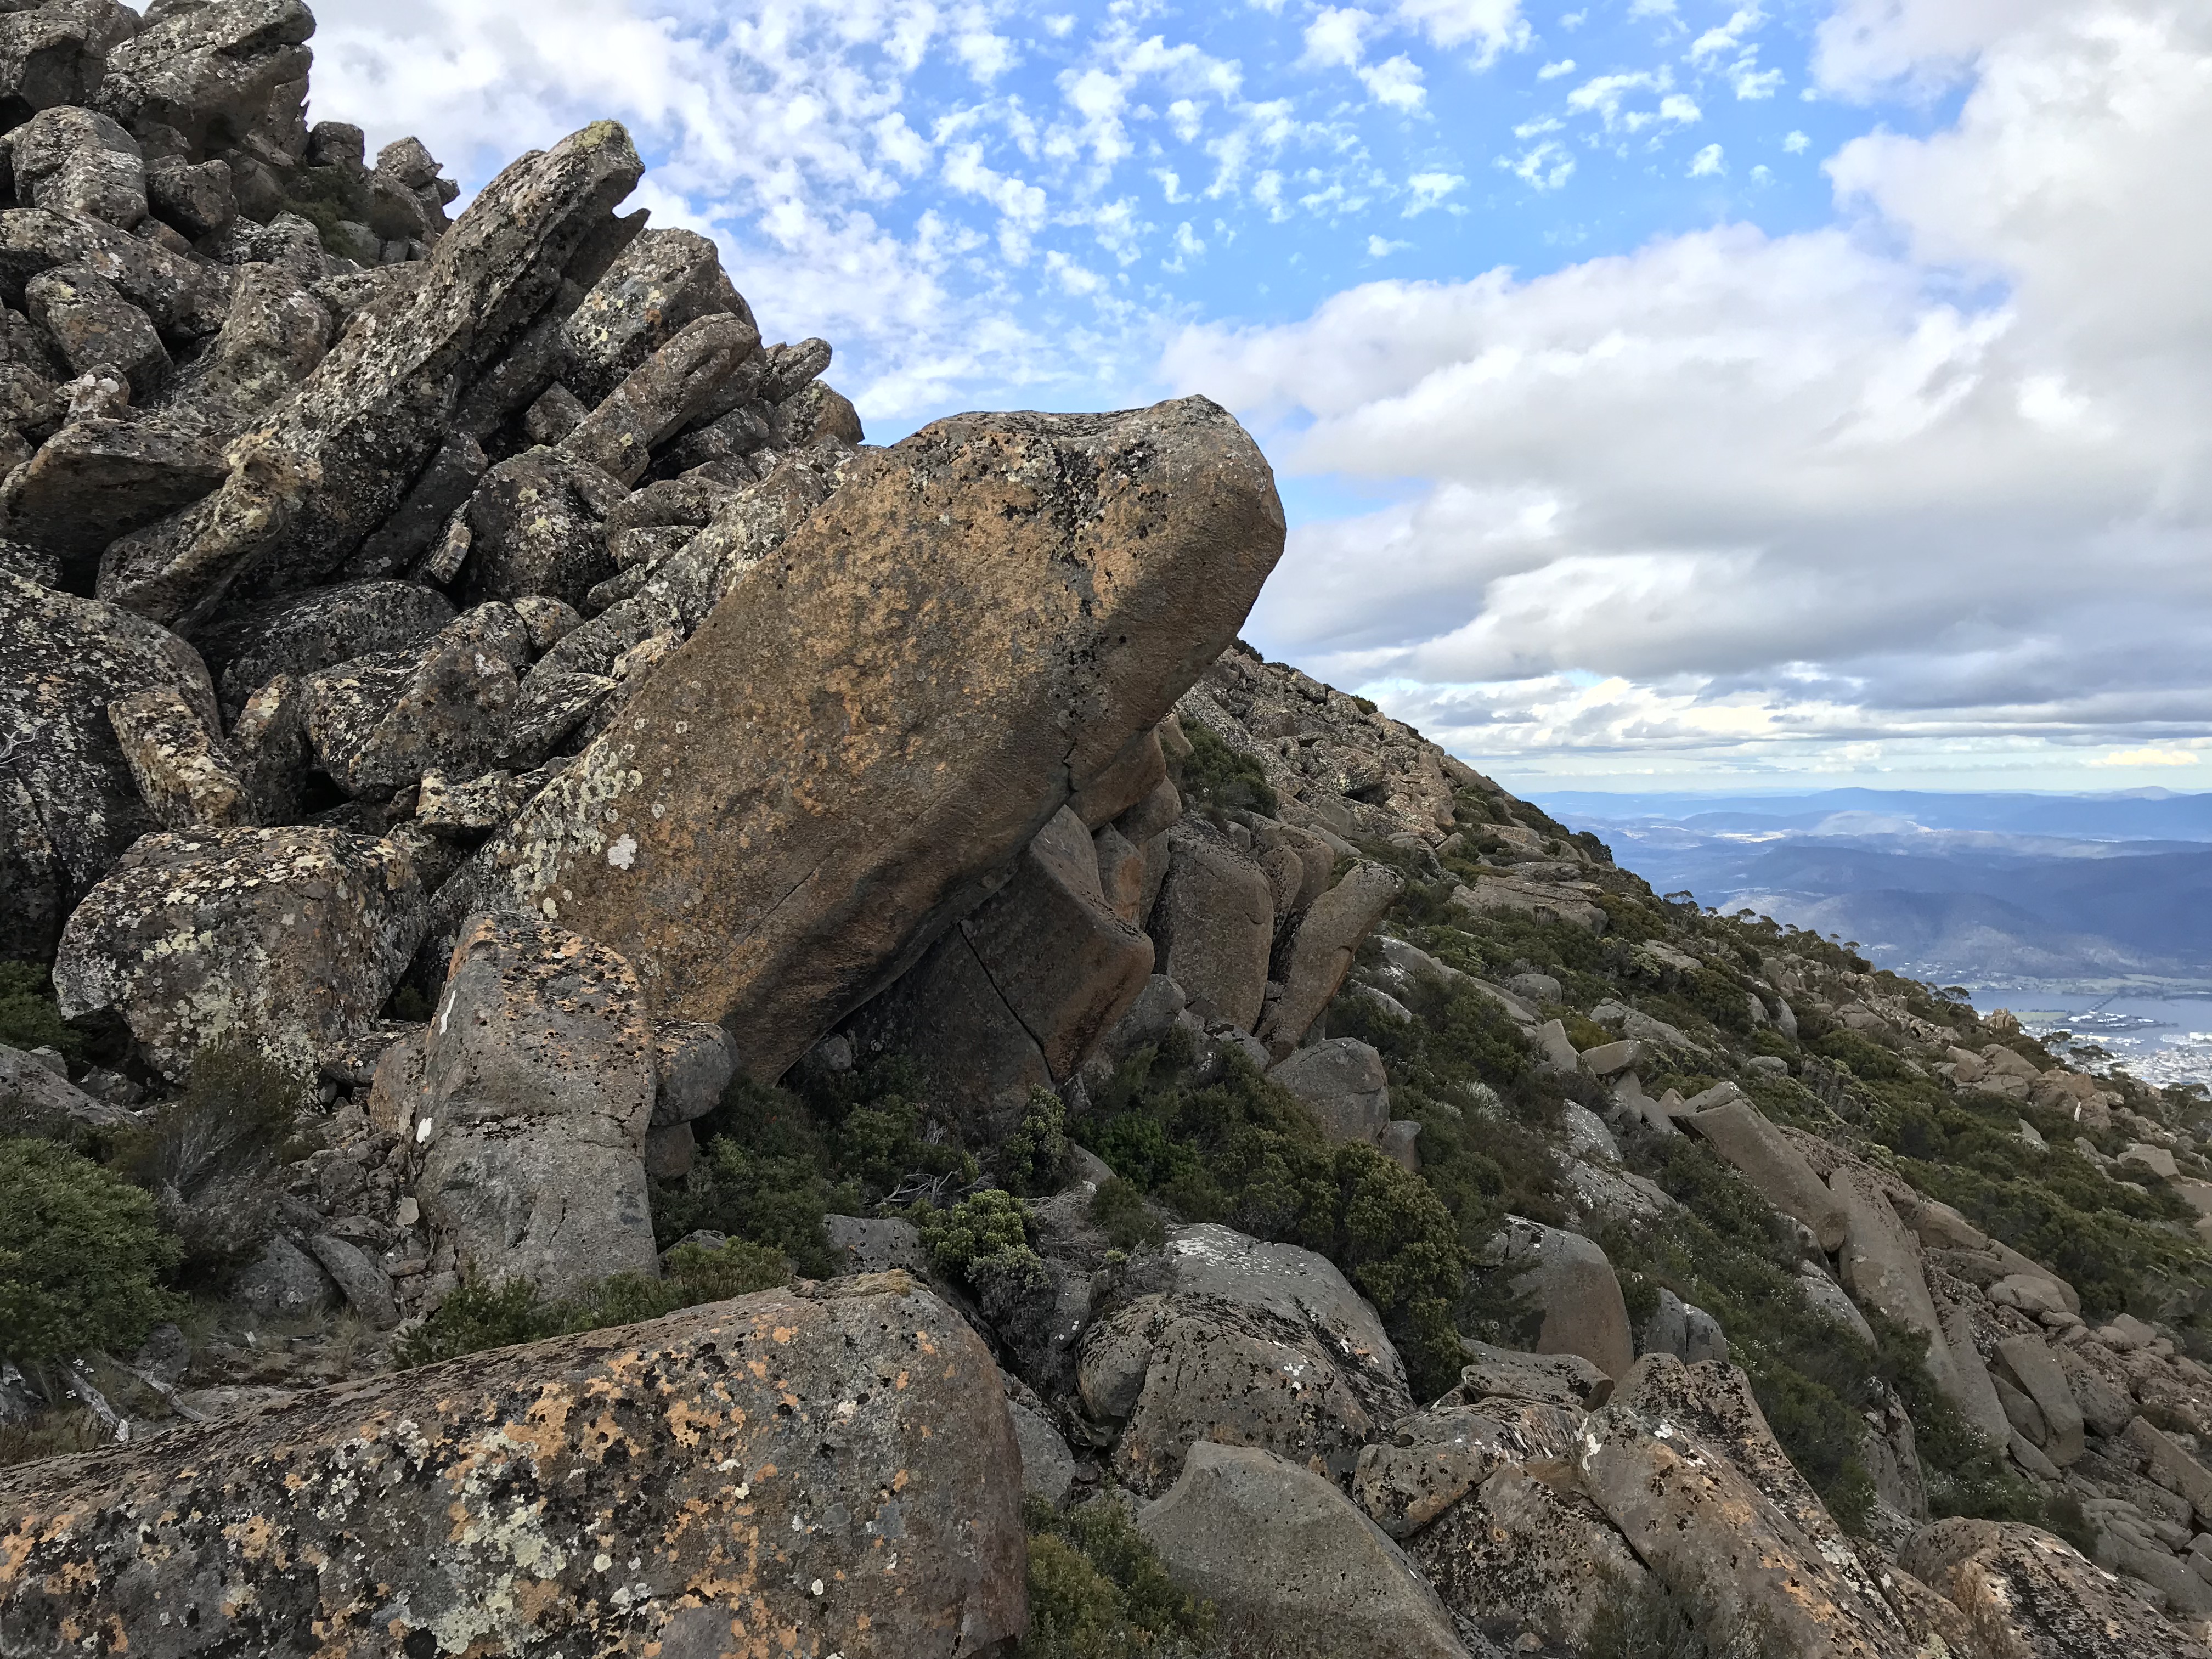
~50m at 45 degrees down and south from Invisible.
Rumoured to be Tassies hardest project. Tried by J. Trainer back in the day. Good landing for first couple of moves, the higher up the spicier it gets.
There are two very steep and gnarly cracks just to the right of The Asylum Years - they probably haven't been done (?).
Le Petit Pilier is south and up from Asylum Years, and south and down from Invisible.
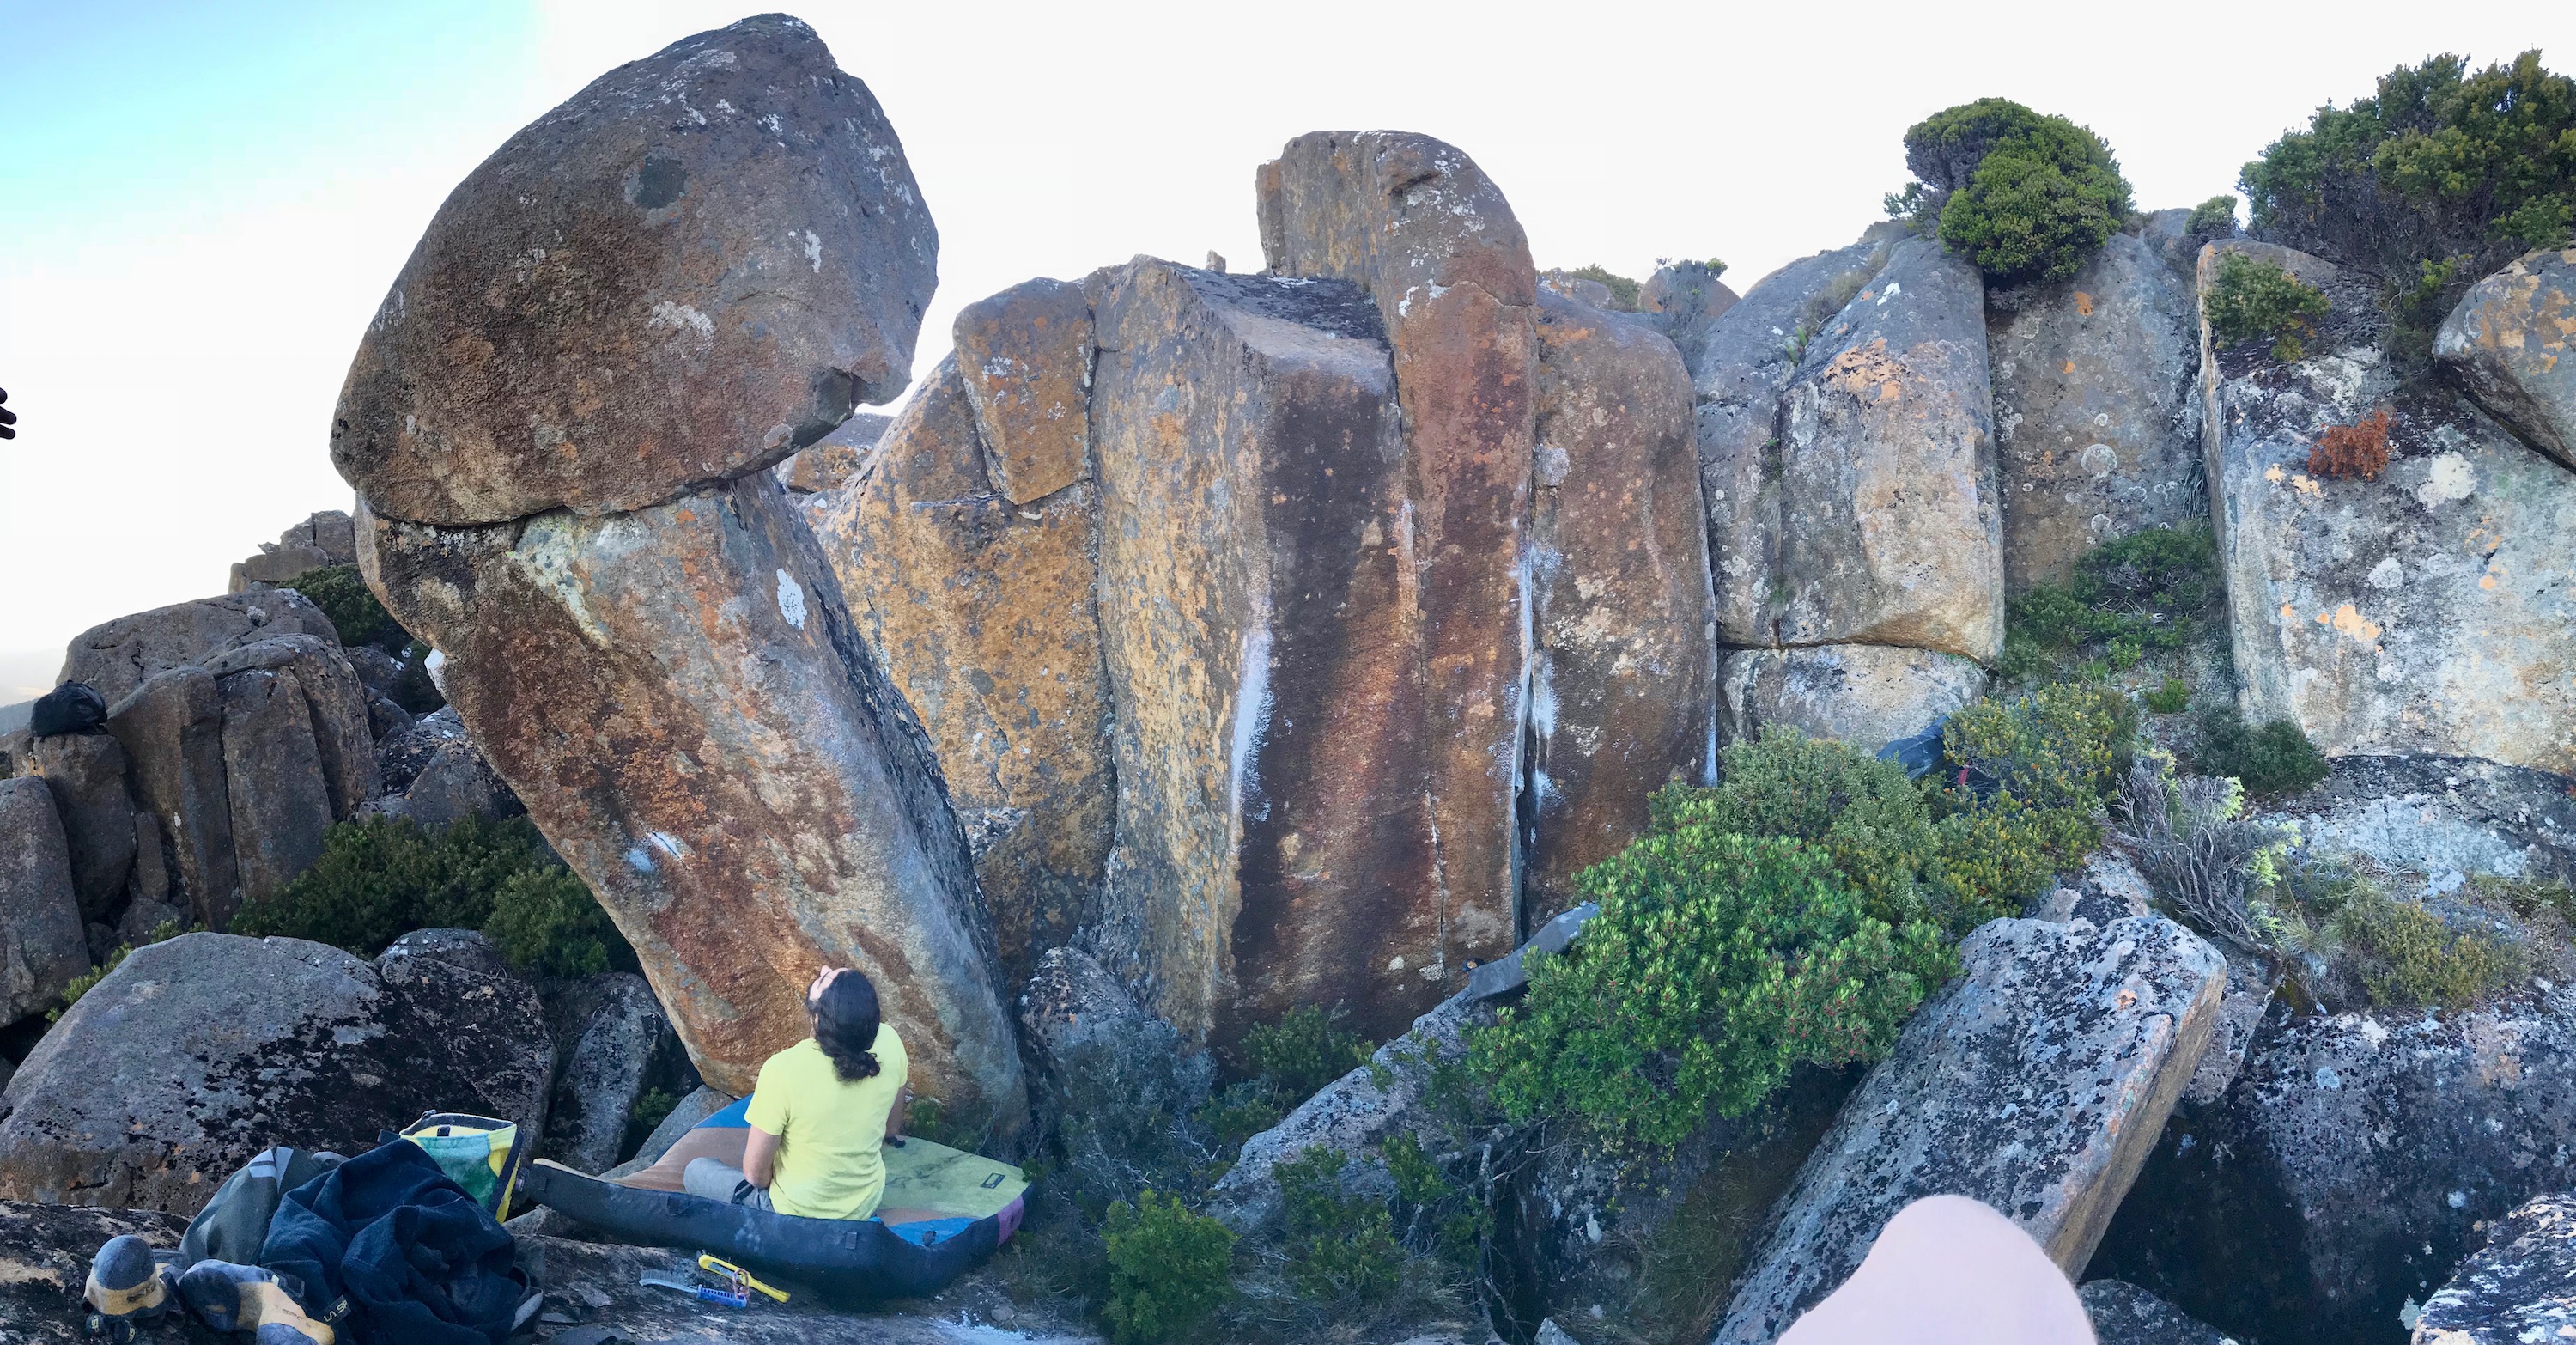
Compression moves to big sloper to top straight up.
J. Trainer, 2010
Sit start the right hand arete of the pillar, hard moves off ground follow arete to mantle top.
J. Trainer, 2010
SDS on the chockstone on the right. Using both aretes sidepull and toehook your way up to a climatic finish. Worth bringing an extra pad to stuff in the hole. Grade is very height dependent.
Fraser, 2021
5 metres to the right of Le Petit Pillier is a very nice compression line. Sit start with a hand on each arete and a good left foot, strenuous from there.
R. Sklenica, 2017
Stand start to Aimless Pillar, start with good sidepull on left at around half height and slopers on the right, top out straight up via mantle
T. Krauss, 2018
Sit start the pillar as low as possible.
Lewis Traill, 2026
Hang start of single hand slot in horizontal crack, move up and right to mentle the slab top.
T. Krauss, 2018
Twenty metres downhill from Le Petit Pillier this boulder faces northwards, or towards the Asylum Years Project.
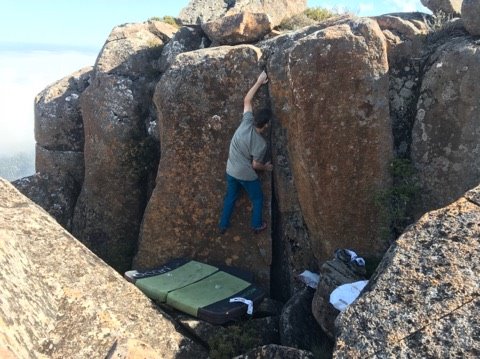
Sit start with a hand on each arete (if you can reach!) and feet on smears. This problem can either be done by moving to the right arete (which may be slightly easier) or by using both aretes the whole way and toe hooks to help.
Marco D'Alessandro 2017
The Vibe Theory
★★★V7(SDS)A rising traverse on slopers. Sit start low on the boulder (below the chock) with a decent right hand.
M Hitchcock 2020
Alcove Boulders
Follow the Organ Pipes track form the summit. About 50m from the top of the Organ Pipes there are a couple of groups of snow gums. The Alcove is the group to the right of the track and is best approached from the uphill side, heading south across the blocks until you can easily walk down.
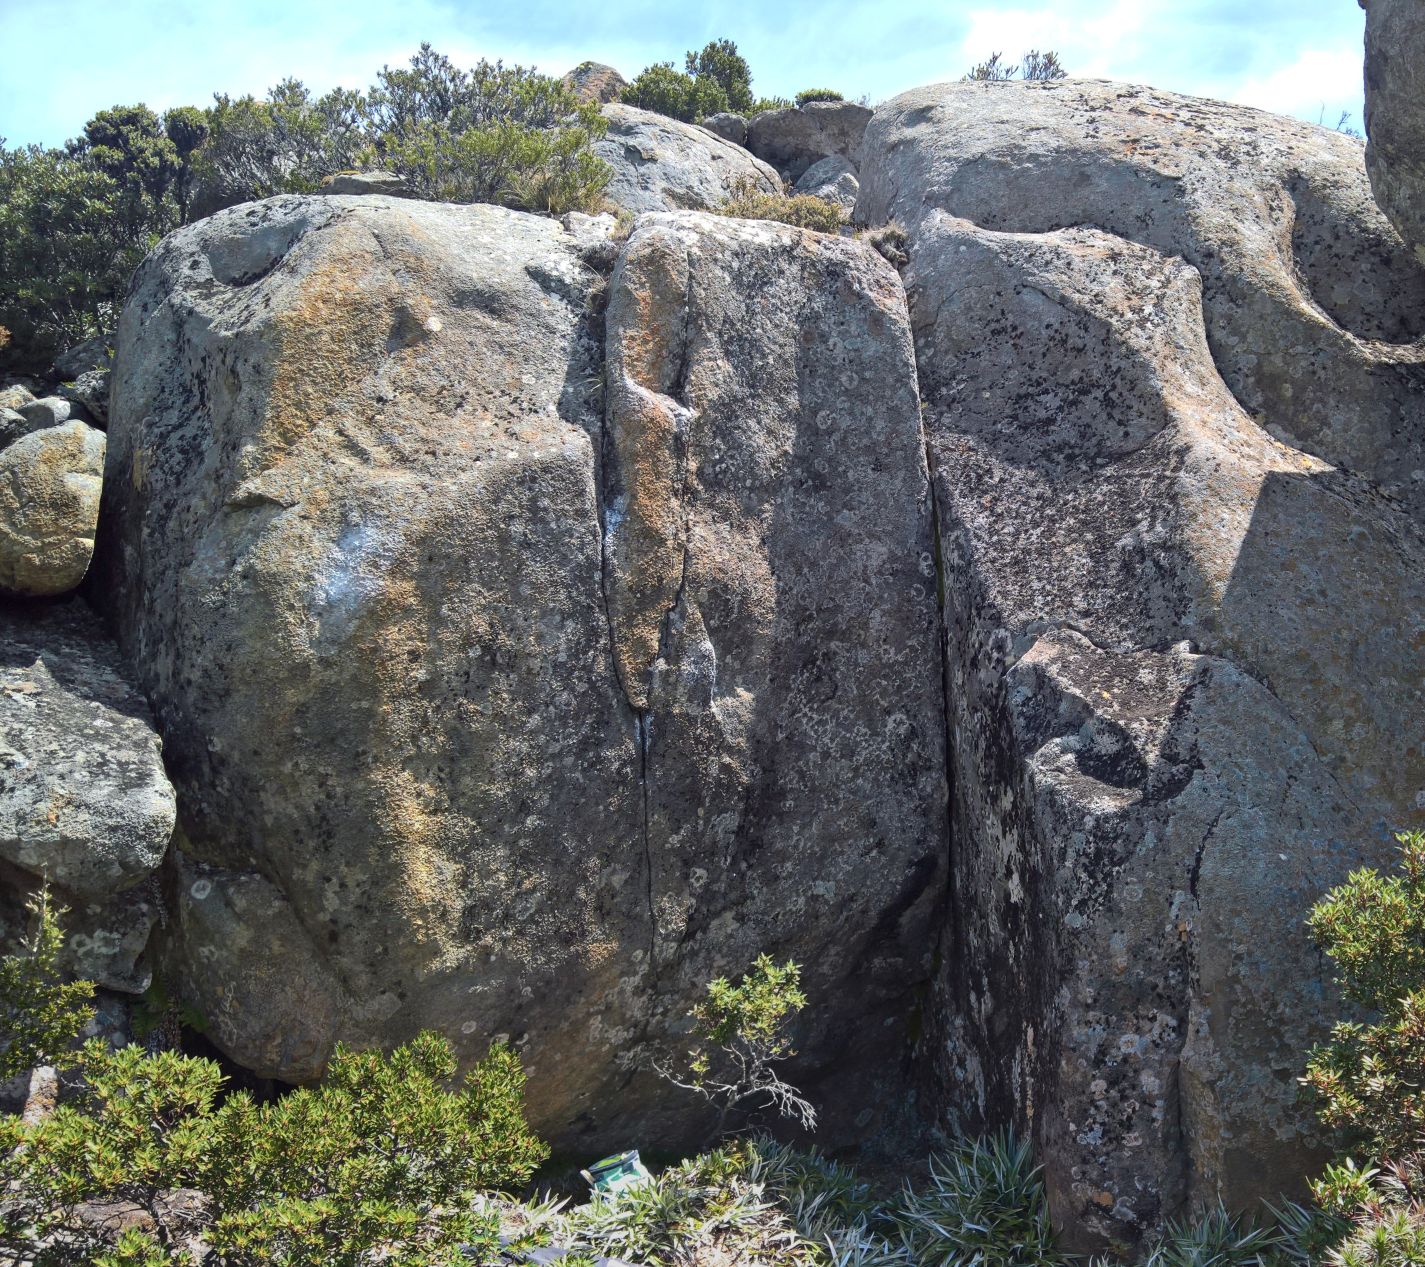
Start on the sidepull.
Classic slab.
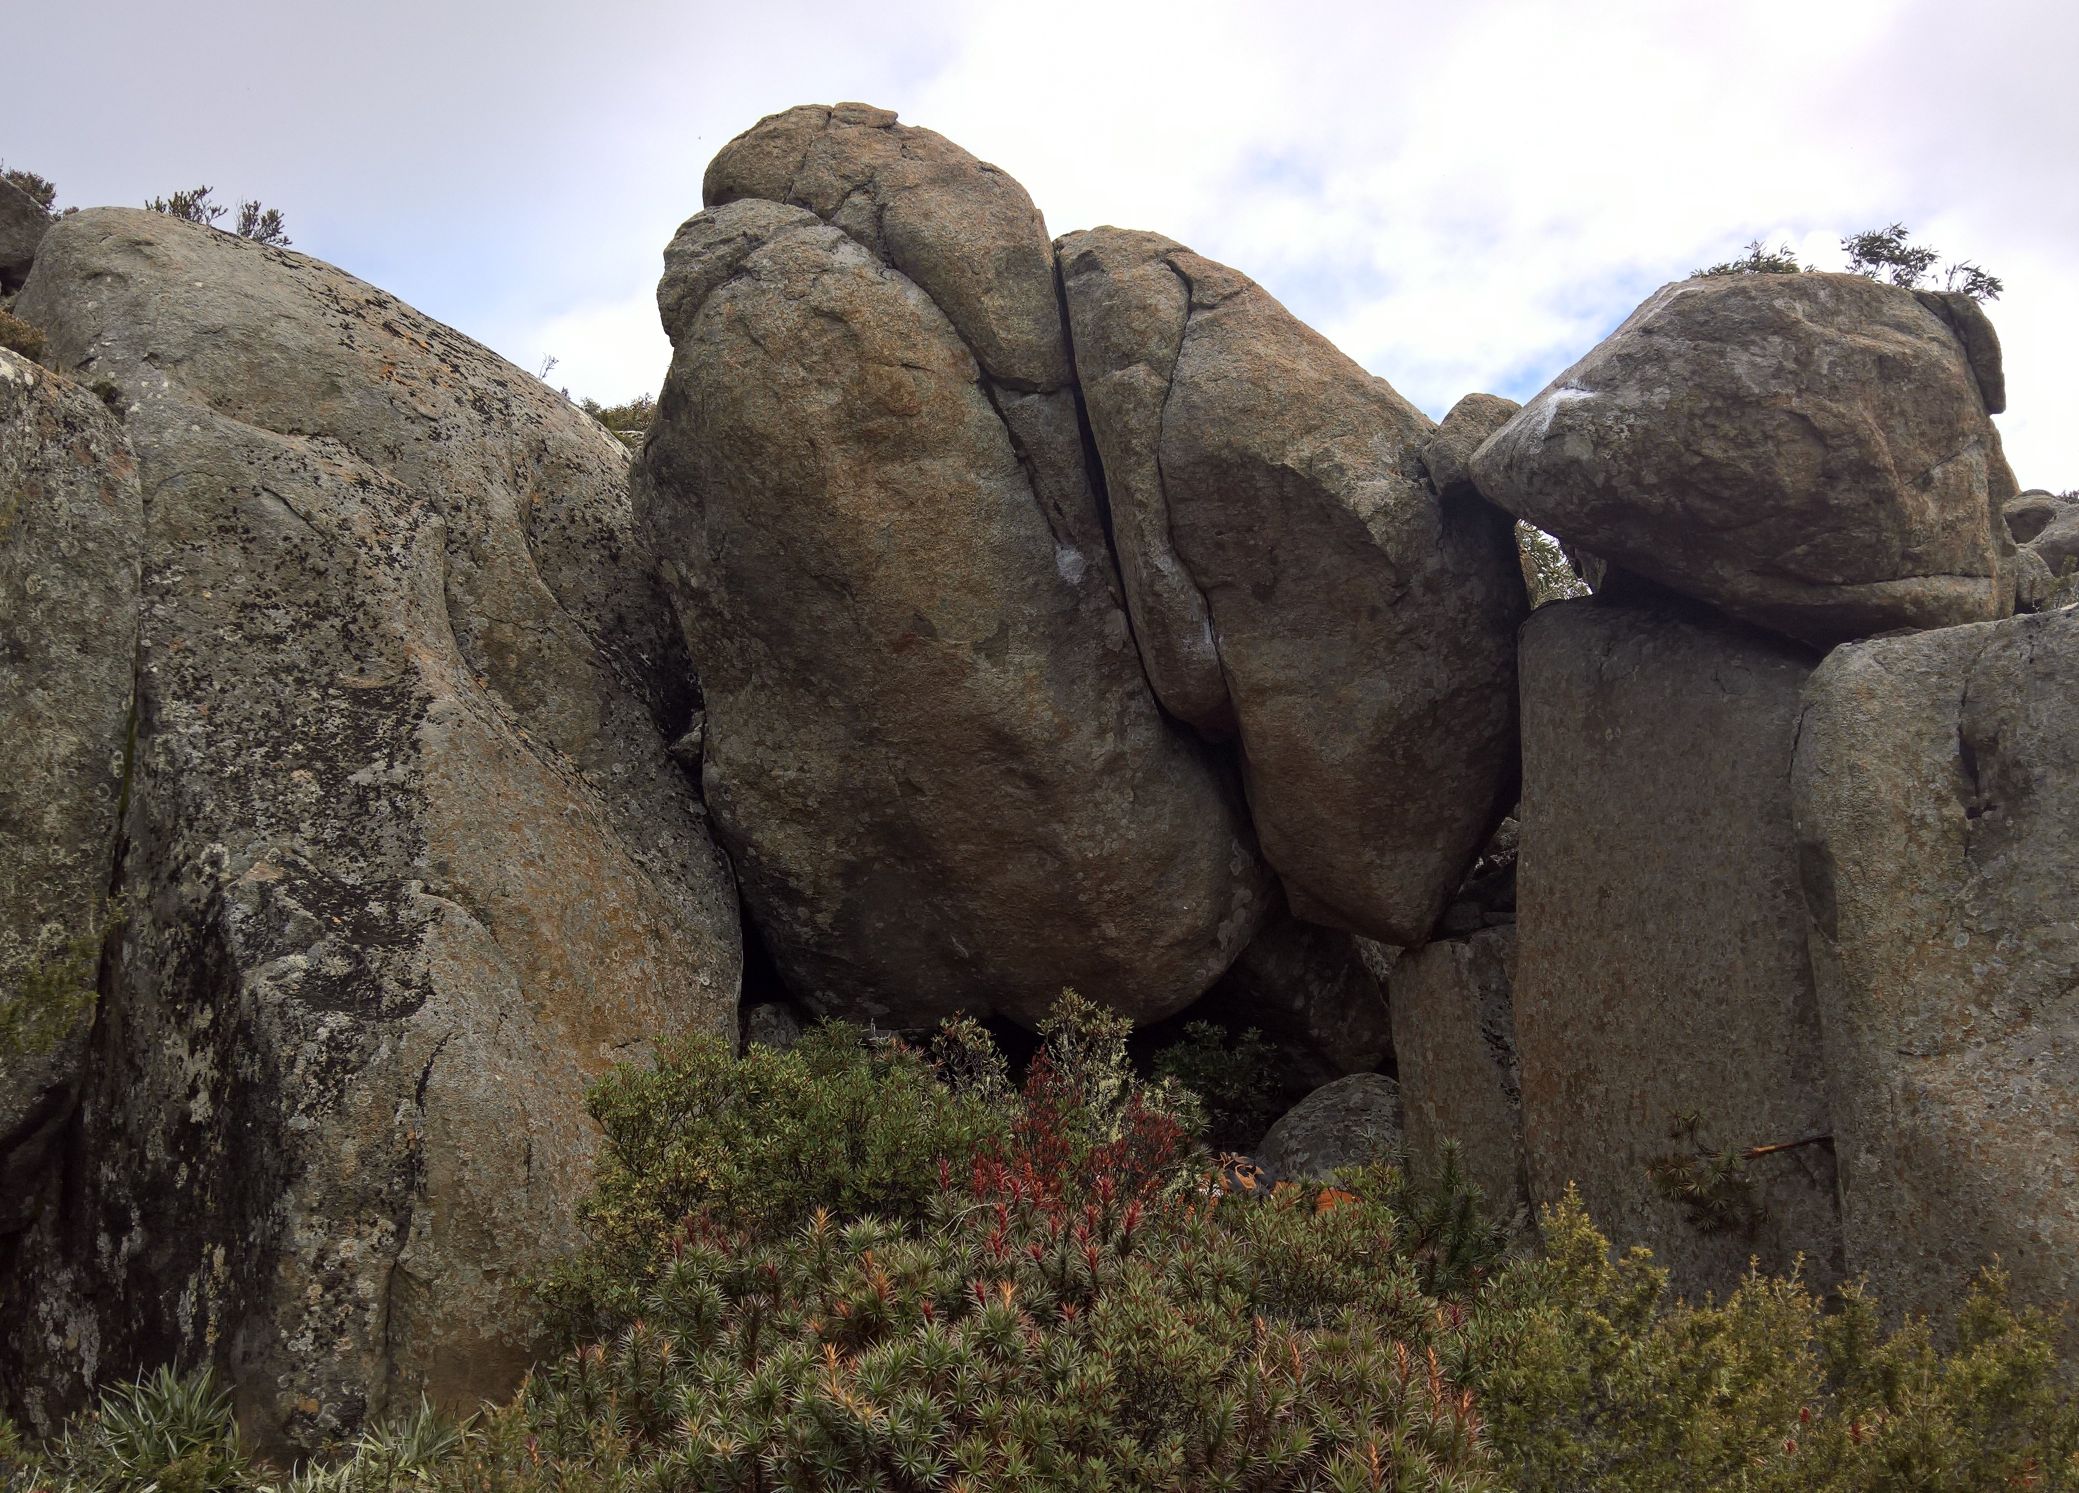
Ultimate power-compression project. Standstart with good RH and LH slope, go up the guts of the bulge.
Overhanging line with a couple of variants by the look.
Start up the wall or crack then top out over the Coping block.
Start in the hole behind 3. Climb the L arete starting off the rounded block.
Invisible Plus Boulders
The Invisible Plus area is the other area of snow gums across the track and is about 50m North and slightly uphill from the Alcove.
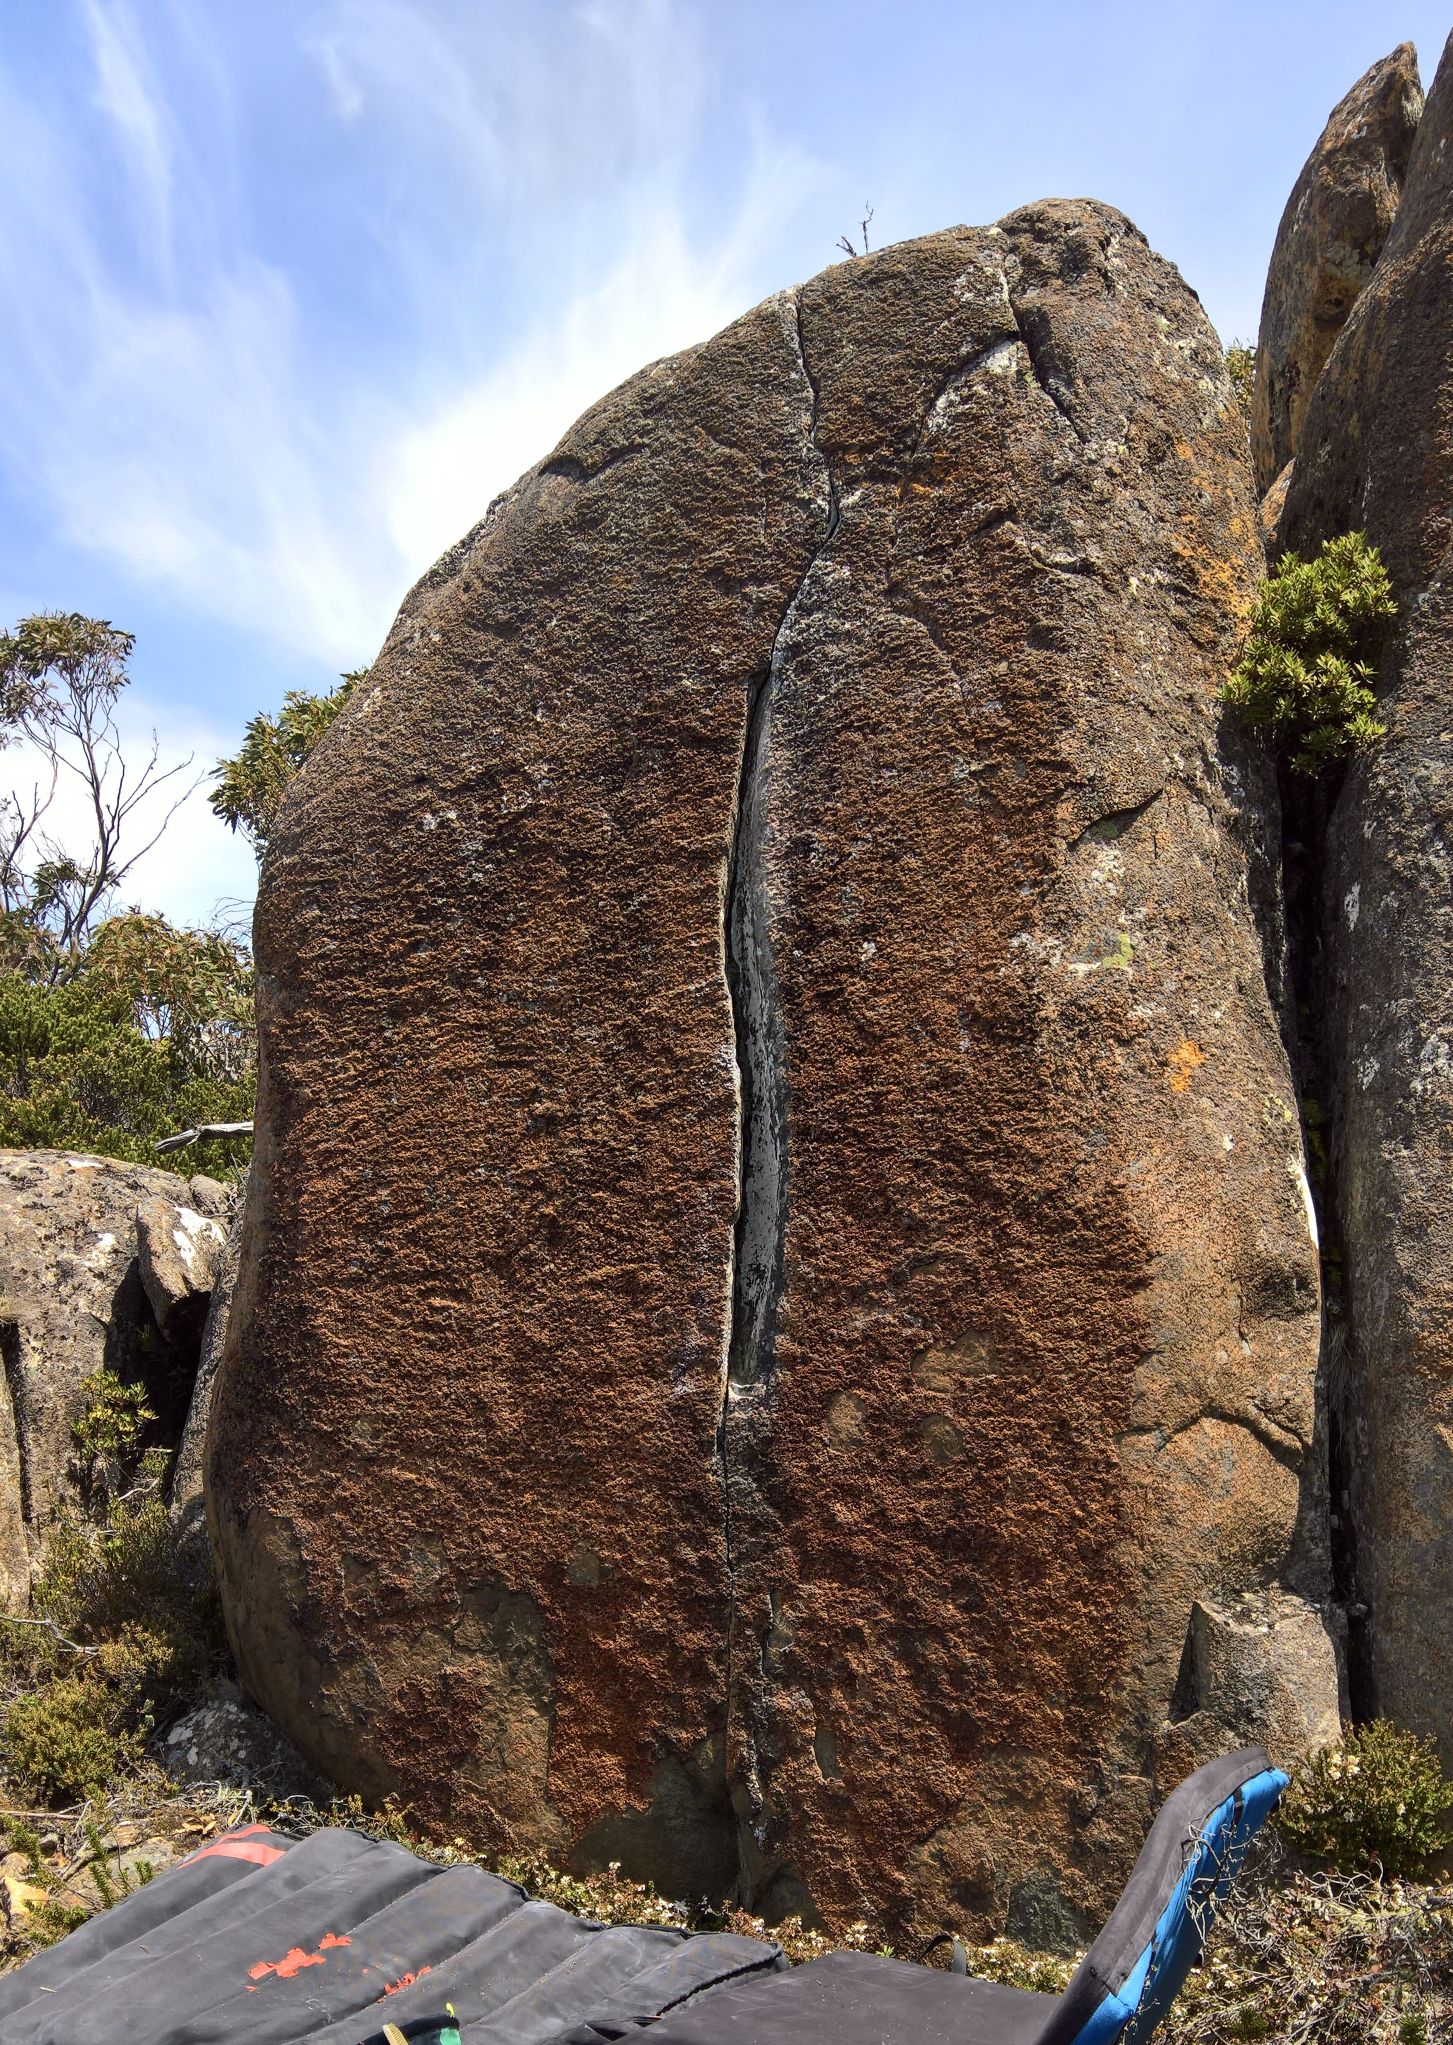
Slab up.
Straight up the layaway.
Crimp.
Fence Boulders
There are a couple of groups of small pinnacles in the vicinity of the mesh fence along side of the broadcast centre. The simplest method is to reach these boulders is to walk down the fence. If heading from Stella's arete area head towards the broadcast centre under the tower.
Sit start the arete
R Perry 2019
Sit start the broken face
M Hitchcock 2019
Sit start between Who what now? and the crack. Don't use either of the other lines.
T Krauss 2019
Crack
C Lang 2019
Sit start the blanker area right of the crack. Avoid the crack.
T Krauss 2019
Lay start under the platform. Mantle.
C Lang 2019
Sit start the short pillar, which has had a stone pulled off the top.
M Hitchcock 2019
Stand start the short rounded pillar. A hard sit start will go, but do you really want to spend more time here? Climbing this? Think that over.
M Hitchcock 2019
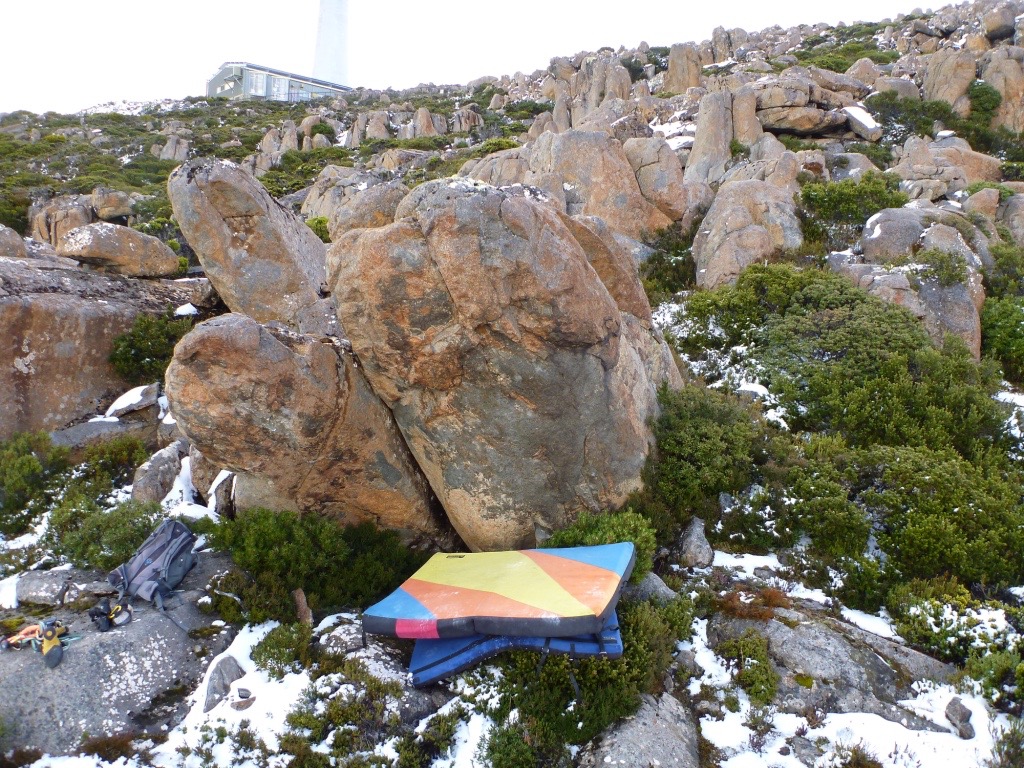
Hang/Sit start on edges, move up and mantle, short but sweet.
T. Krauss, 2012
Sit start on edges in middle and right of low face, make left trending moves and up via mantle.
2012
The next boulders are slightly downhill and close to the fence.
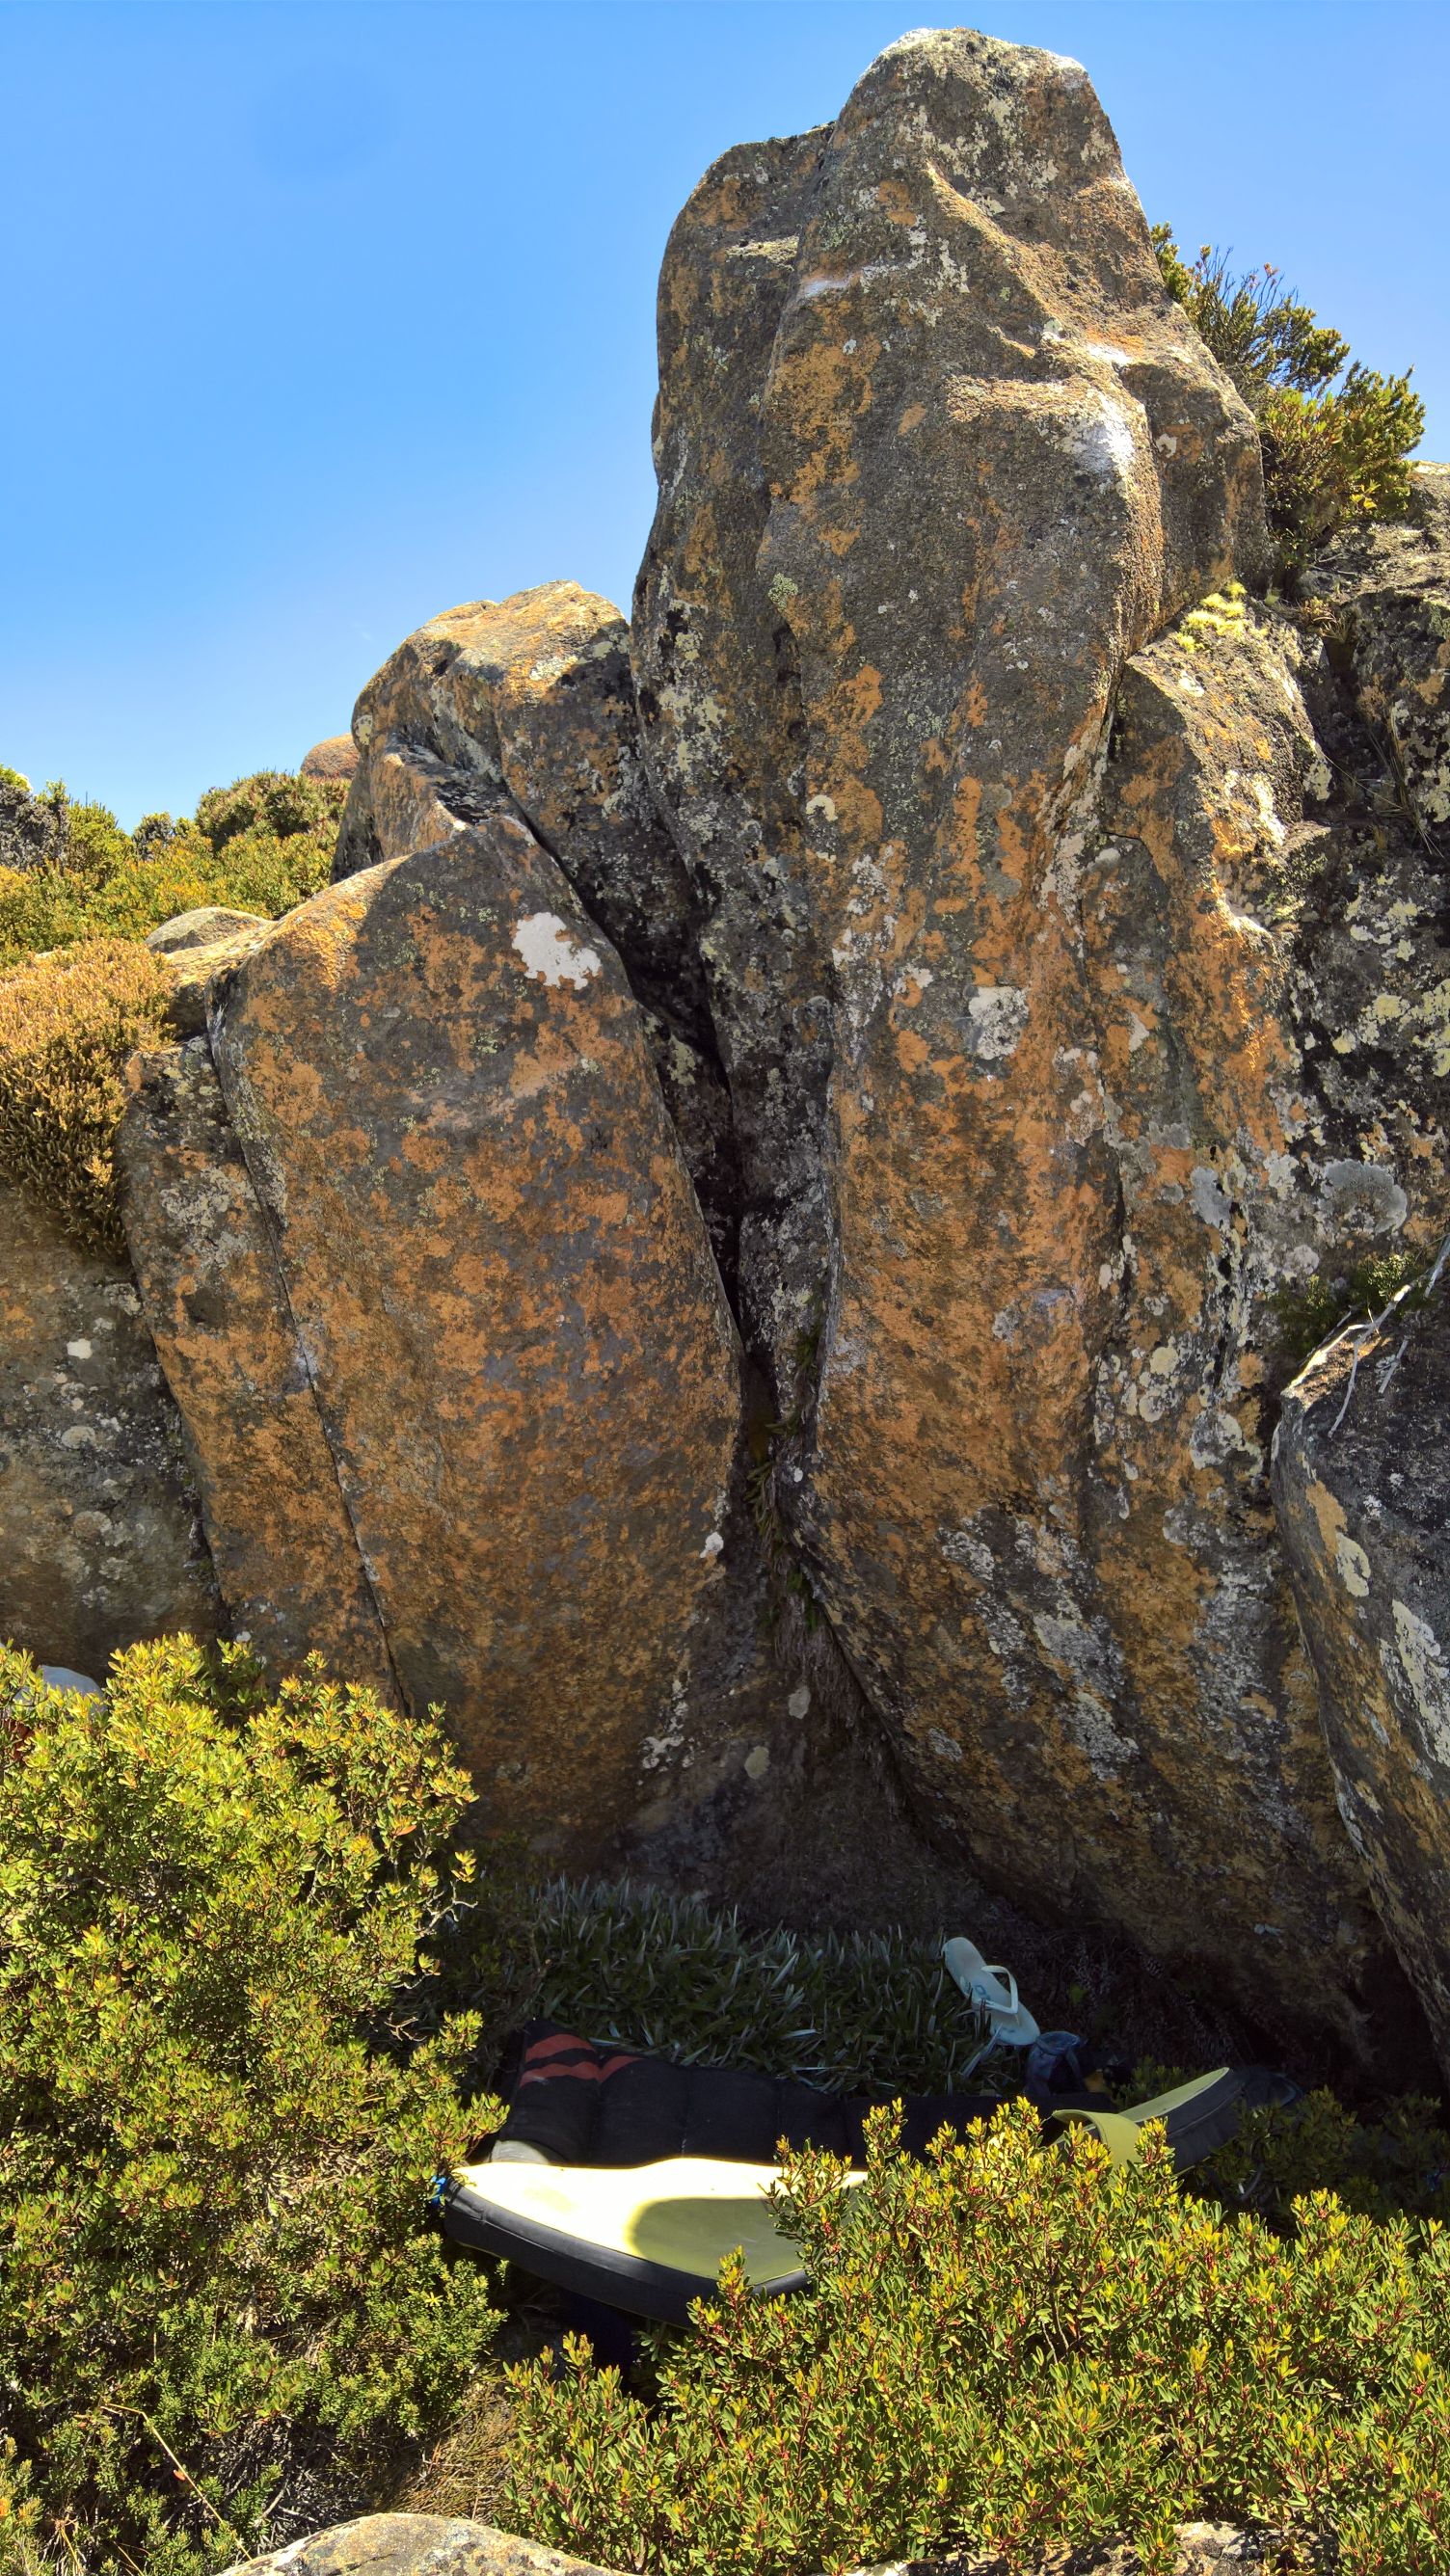
Start with a hand either side of bloc.
Great problem with a good landing, but a little easy to evade the tough questions.
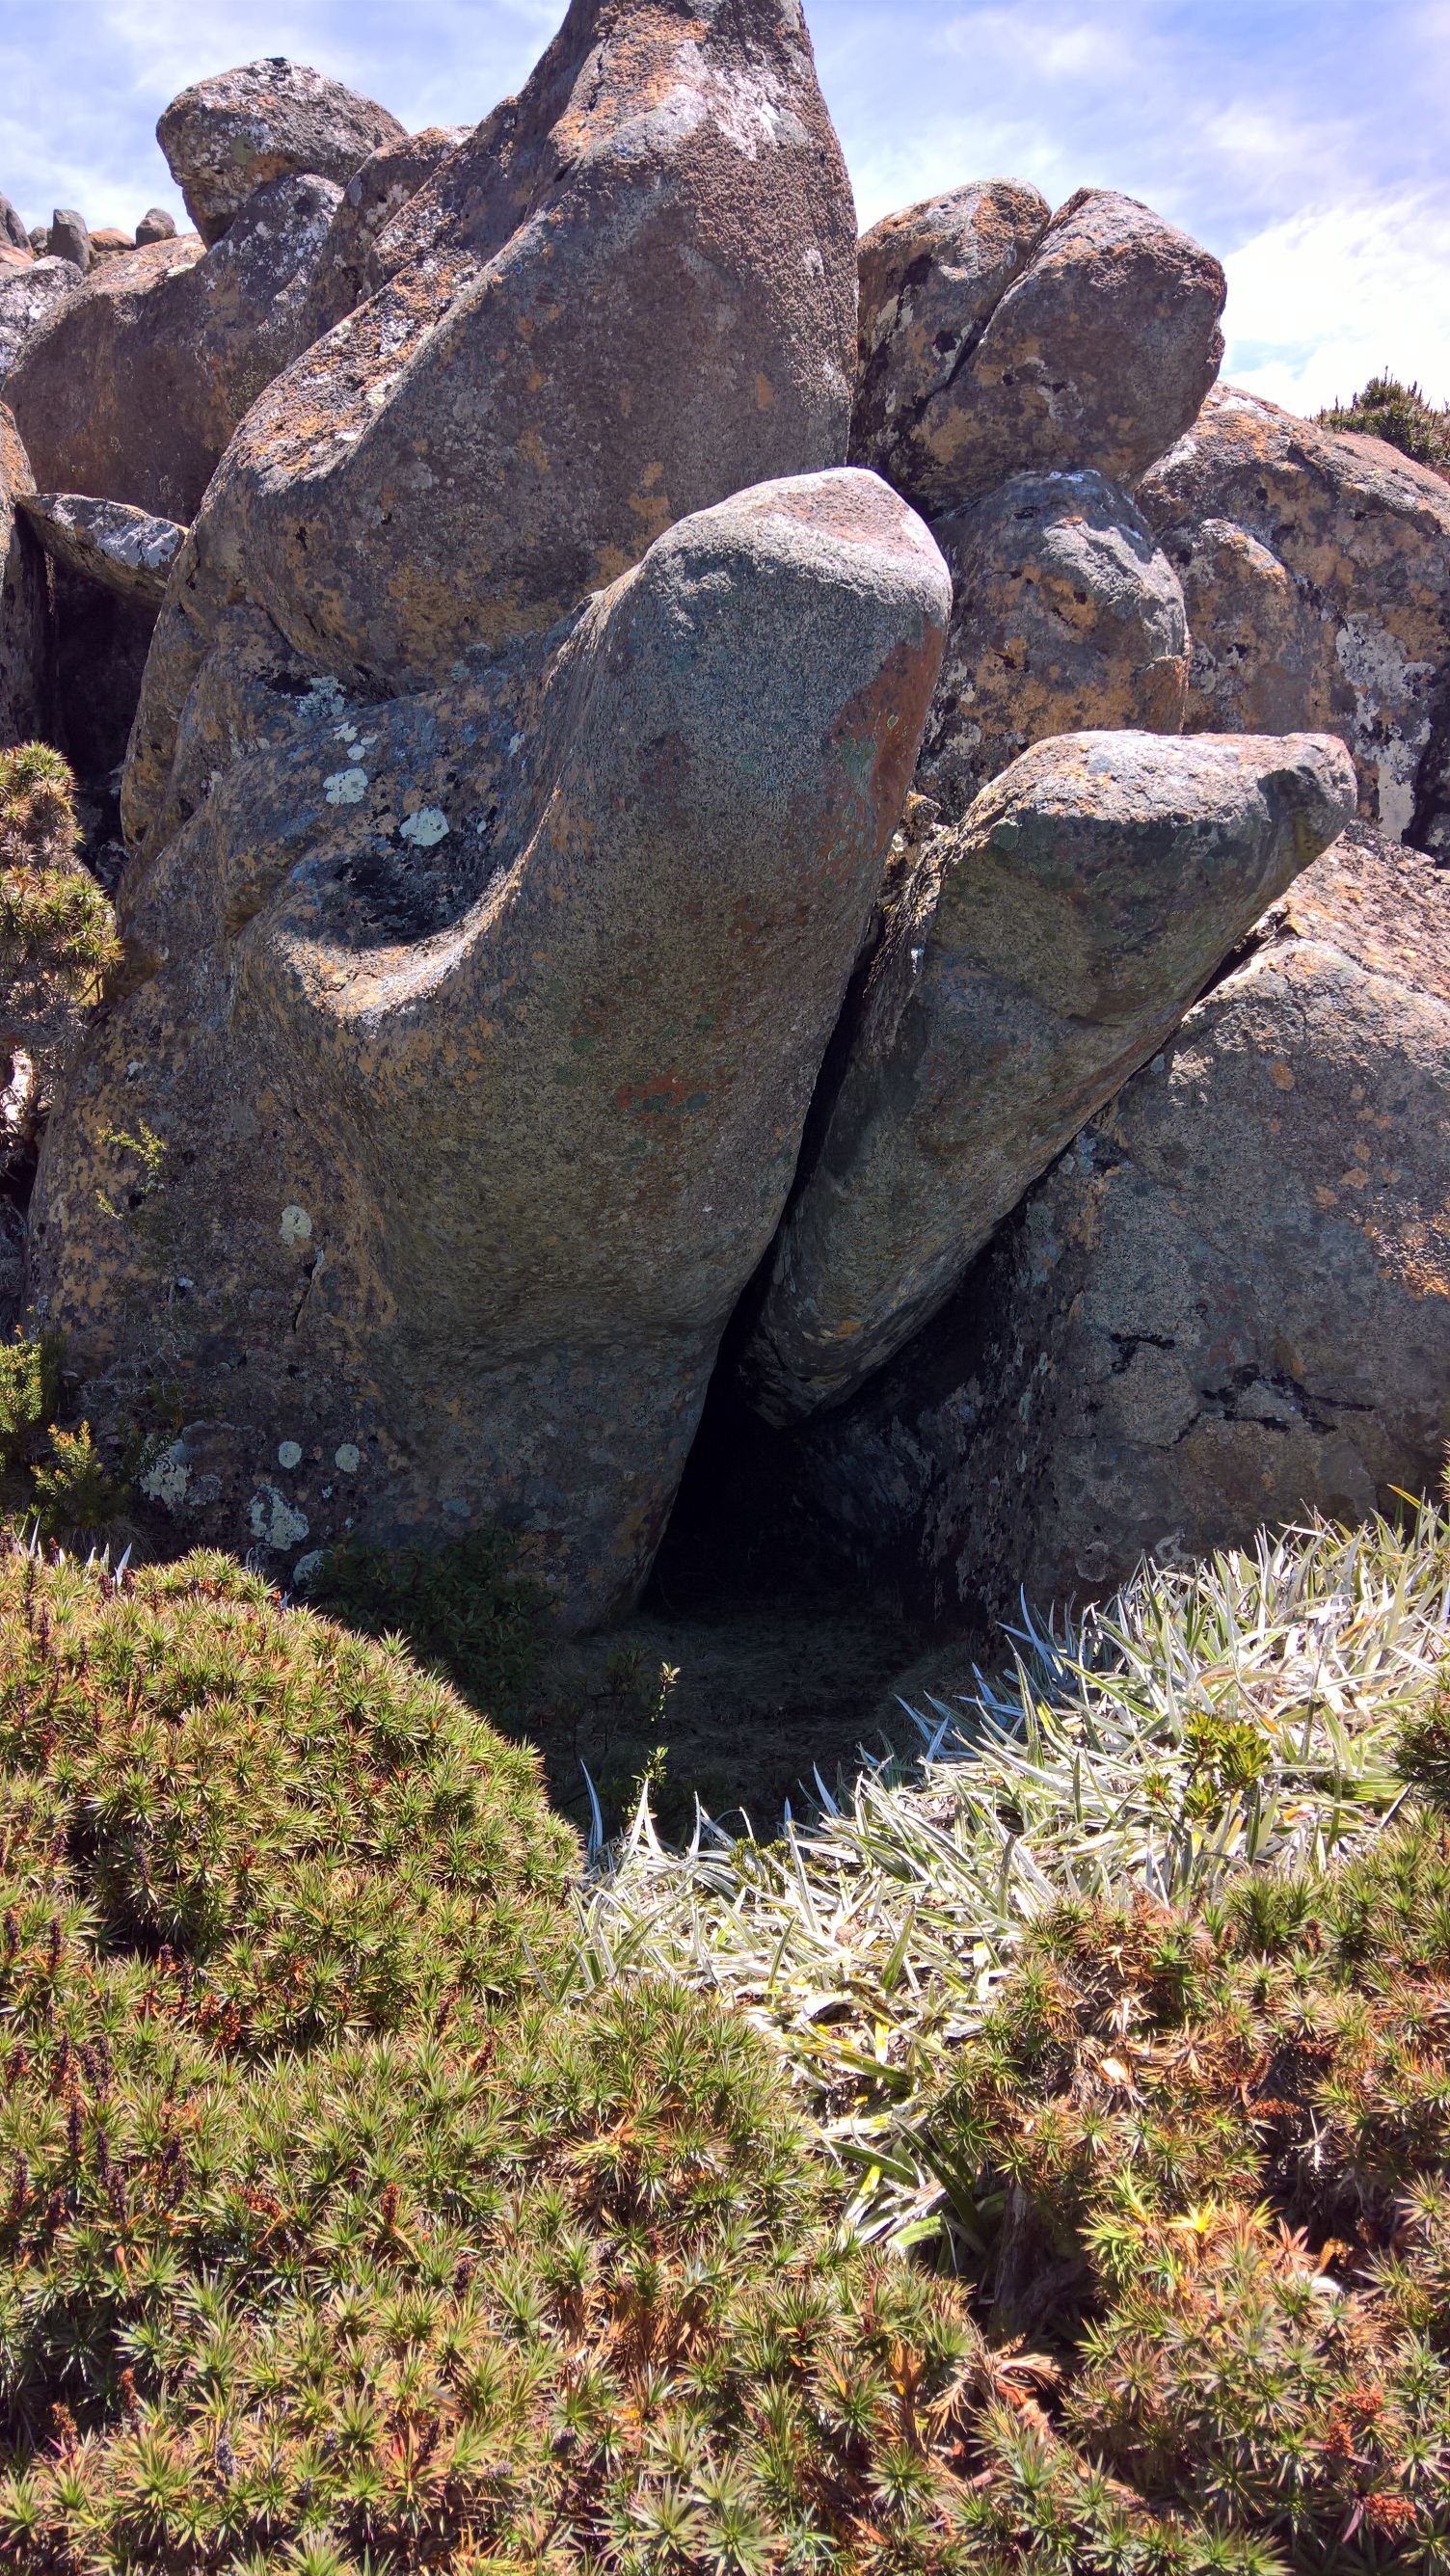
Start in scoop move right and mantle.
Start jamming crack as far back as possible. Mantle the top.
Almost directly below the Fence Boulders, you'll find the next problems.
Go up the slab and up the face above. Avoid the temptation to use the boulders on the left.
M Hitchcock 2019
Campus the underside of the boulder. Start on the lowest jug.
M Hitchcock 2019
Somewhere in the vicinity are the next two boulders.
Unnamed
V0(SDS)Short pinnacle.
C Lang 2019
Unnamed
V1(SDS)Slap up the larger pinnacle.
C Lang 2019
On the next tier below Alligator Dimples....
Up the left side.
M Lovell 2019
Up the crack.
M Hitchcock 2019
UP the right side.
M Lovell 2019
Stick City
There is an extensive area below and to the south of the fenced area. To access the boulders follow the orange markers down the close side of the fence, keep following the track until a flat area below some small buttresses then head right towards the next gully south. Cosmic Hero sits near the top of this gully.
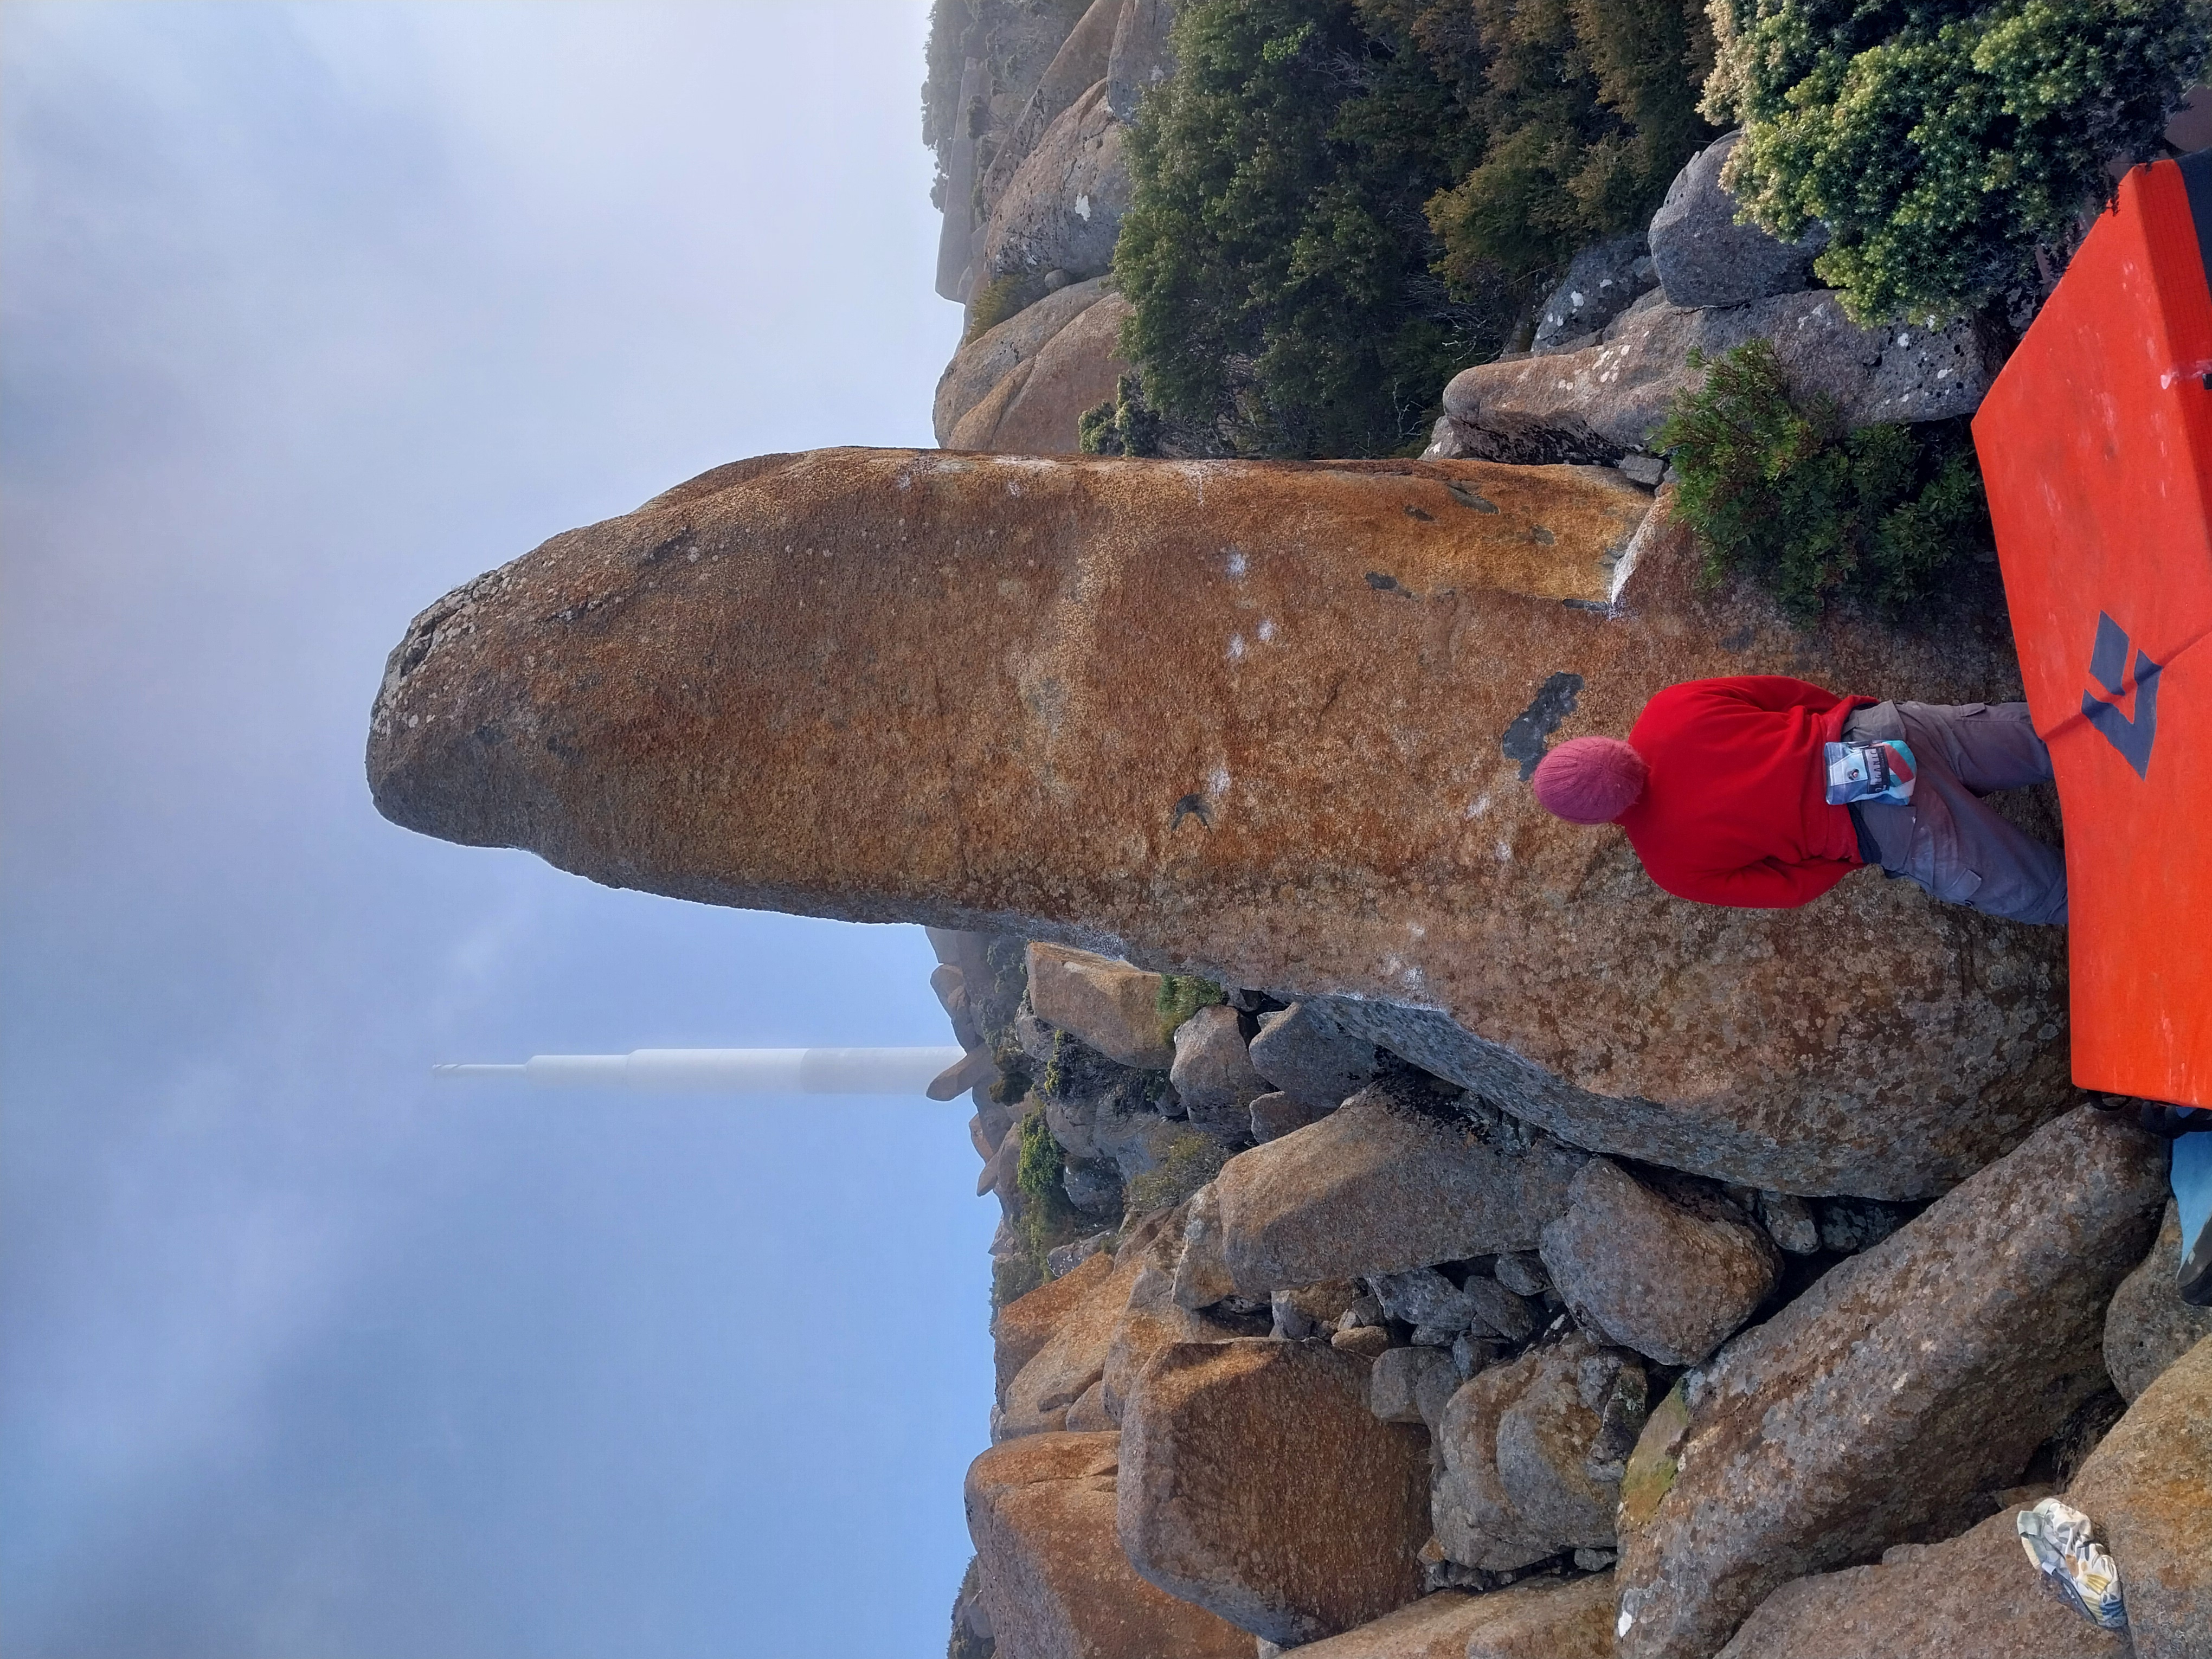
Joe Schwarz, 2025
The next boulder is about 10m south of Cosmic Hero
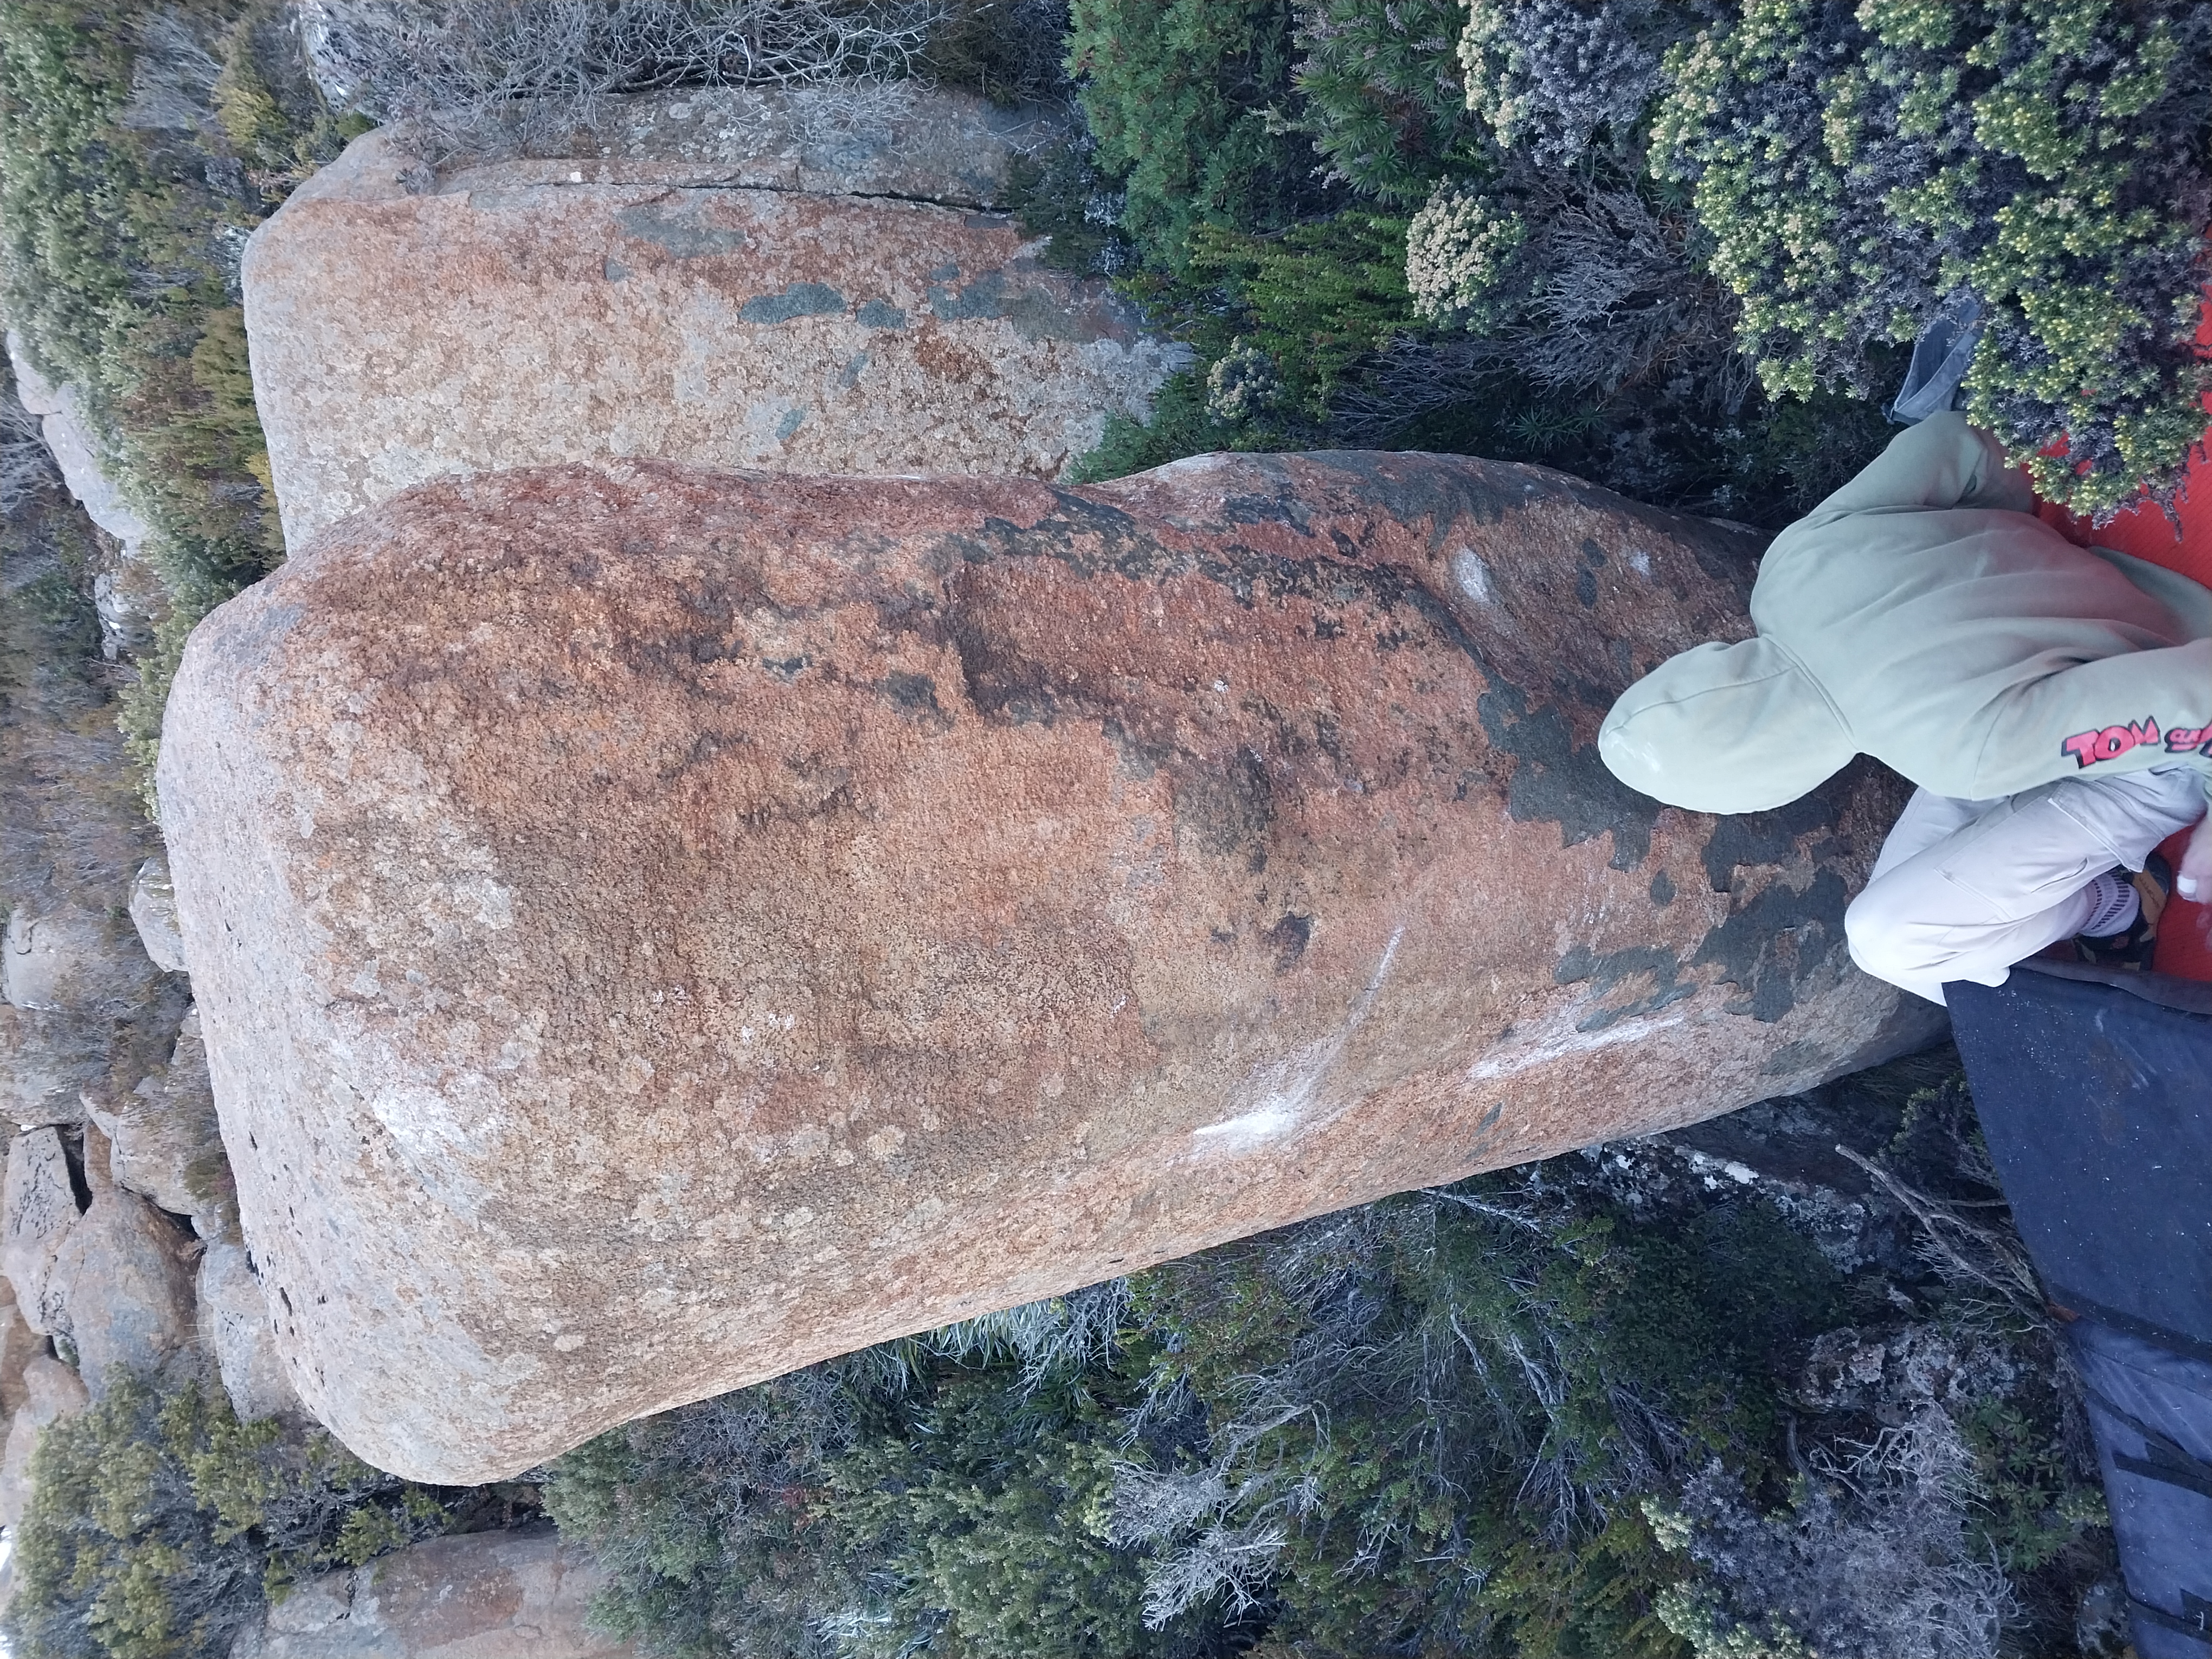
Sitstart at base of pillar. It's worth planning how to get down.
Lewis Trail, 2025
Sit start just left of Let It Hold You, climb up the left side of the pillar. Slight holds and wide compression.
Lewis Traill, 2025
A bit further south is a nice face
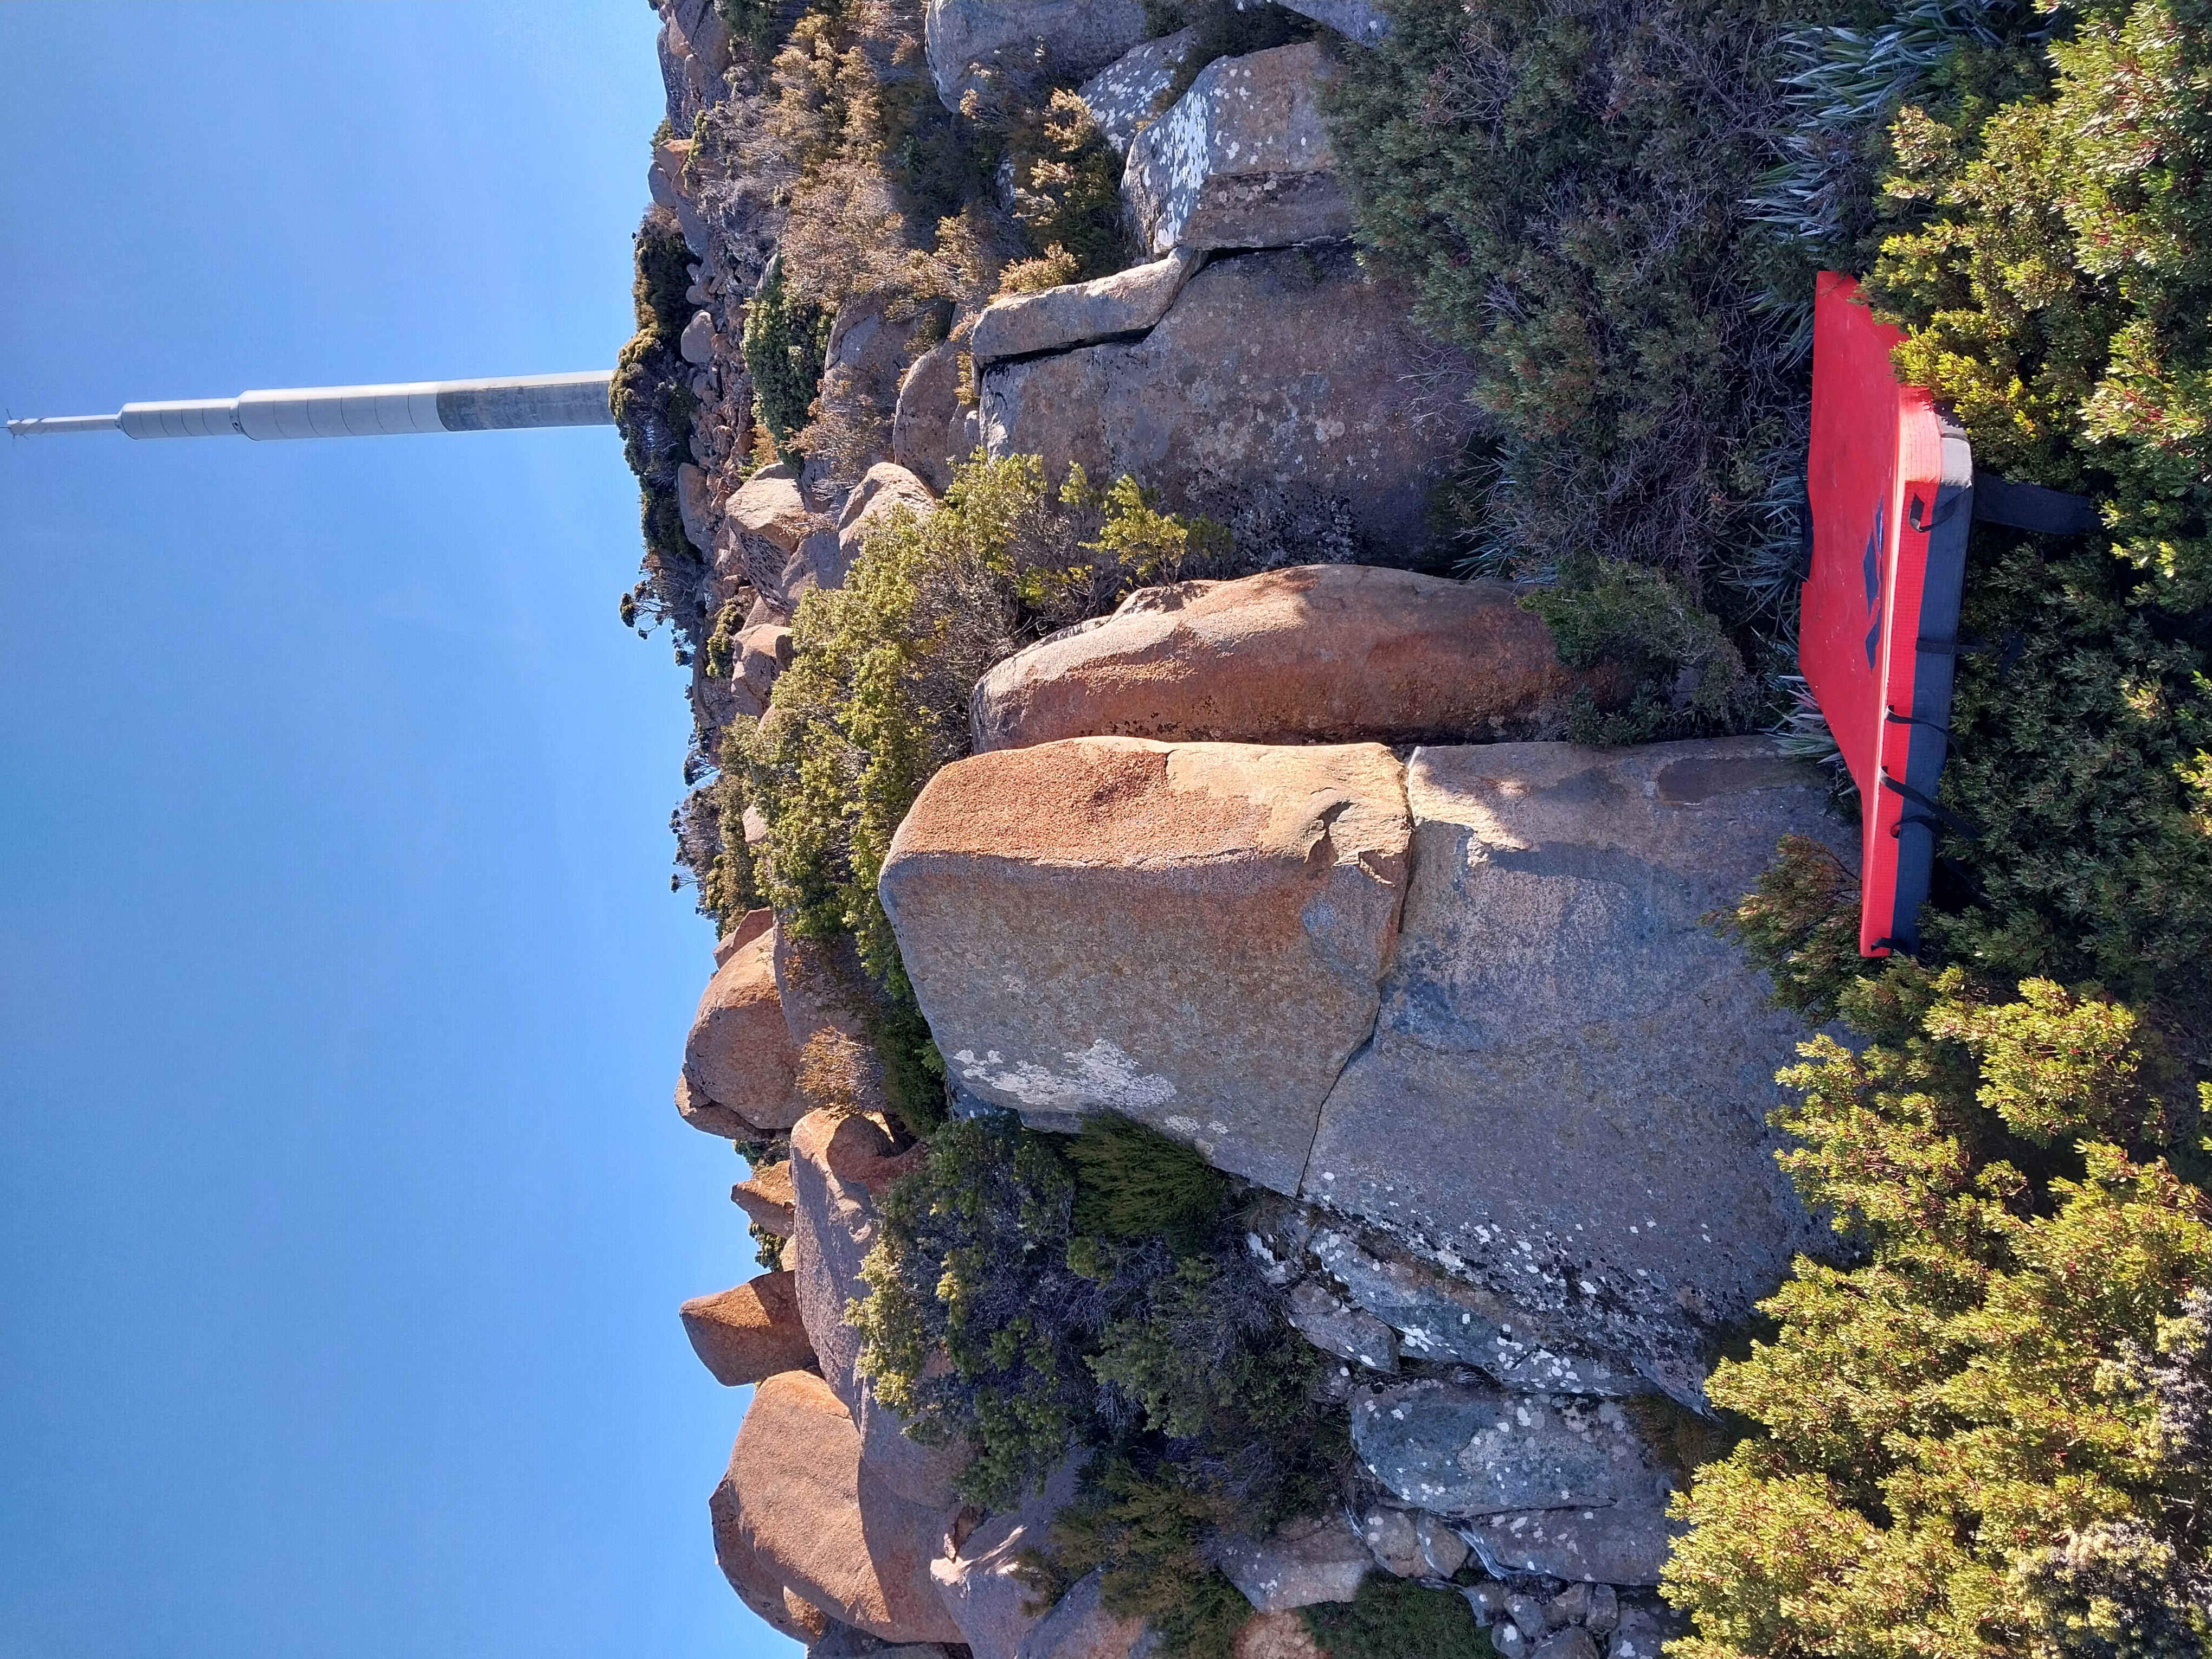
Climb the face using the left arete.
Tarn Hingston, 2025
Climb the face using the right arete
Joe Schwarz, 2025
Sit start on horizontal break.
Tarn Hingston, 2025
To the left of these is this little bolder
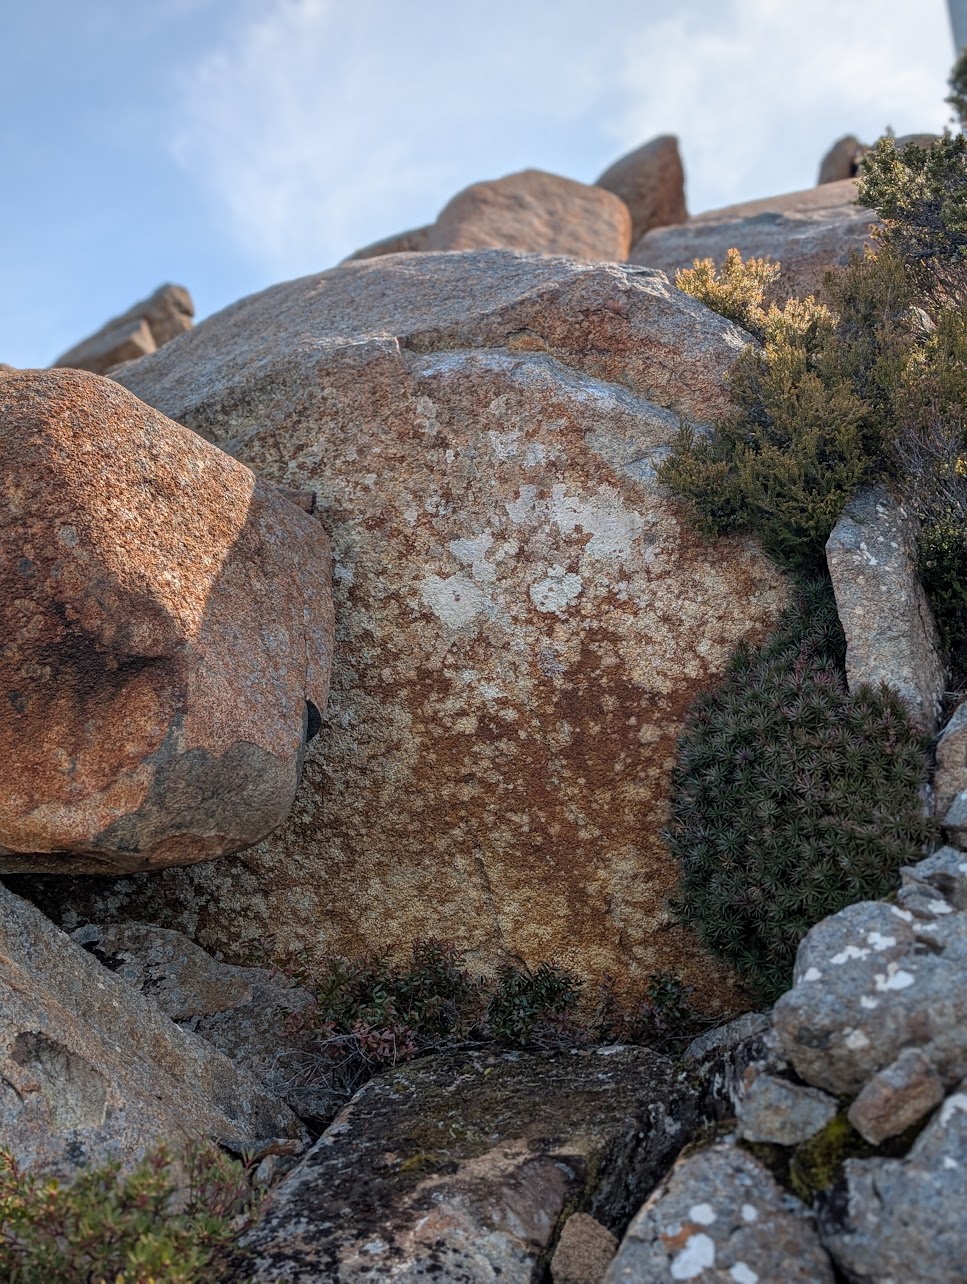
Start on slopers at lip, and then throw over the top. Watch out for loose jug to the left.
C Reekie and J O'Wheel
Stakeout Boulders
Just down the hill from Cosmic Hero is a featured wall
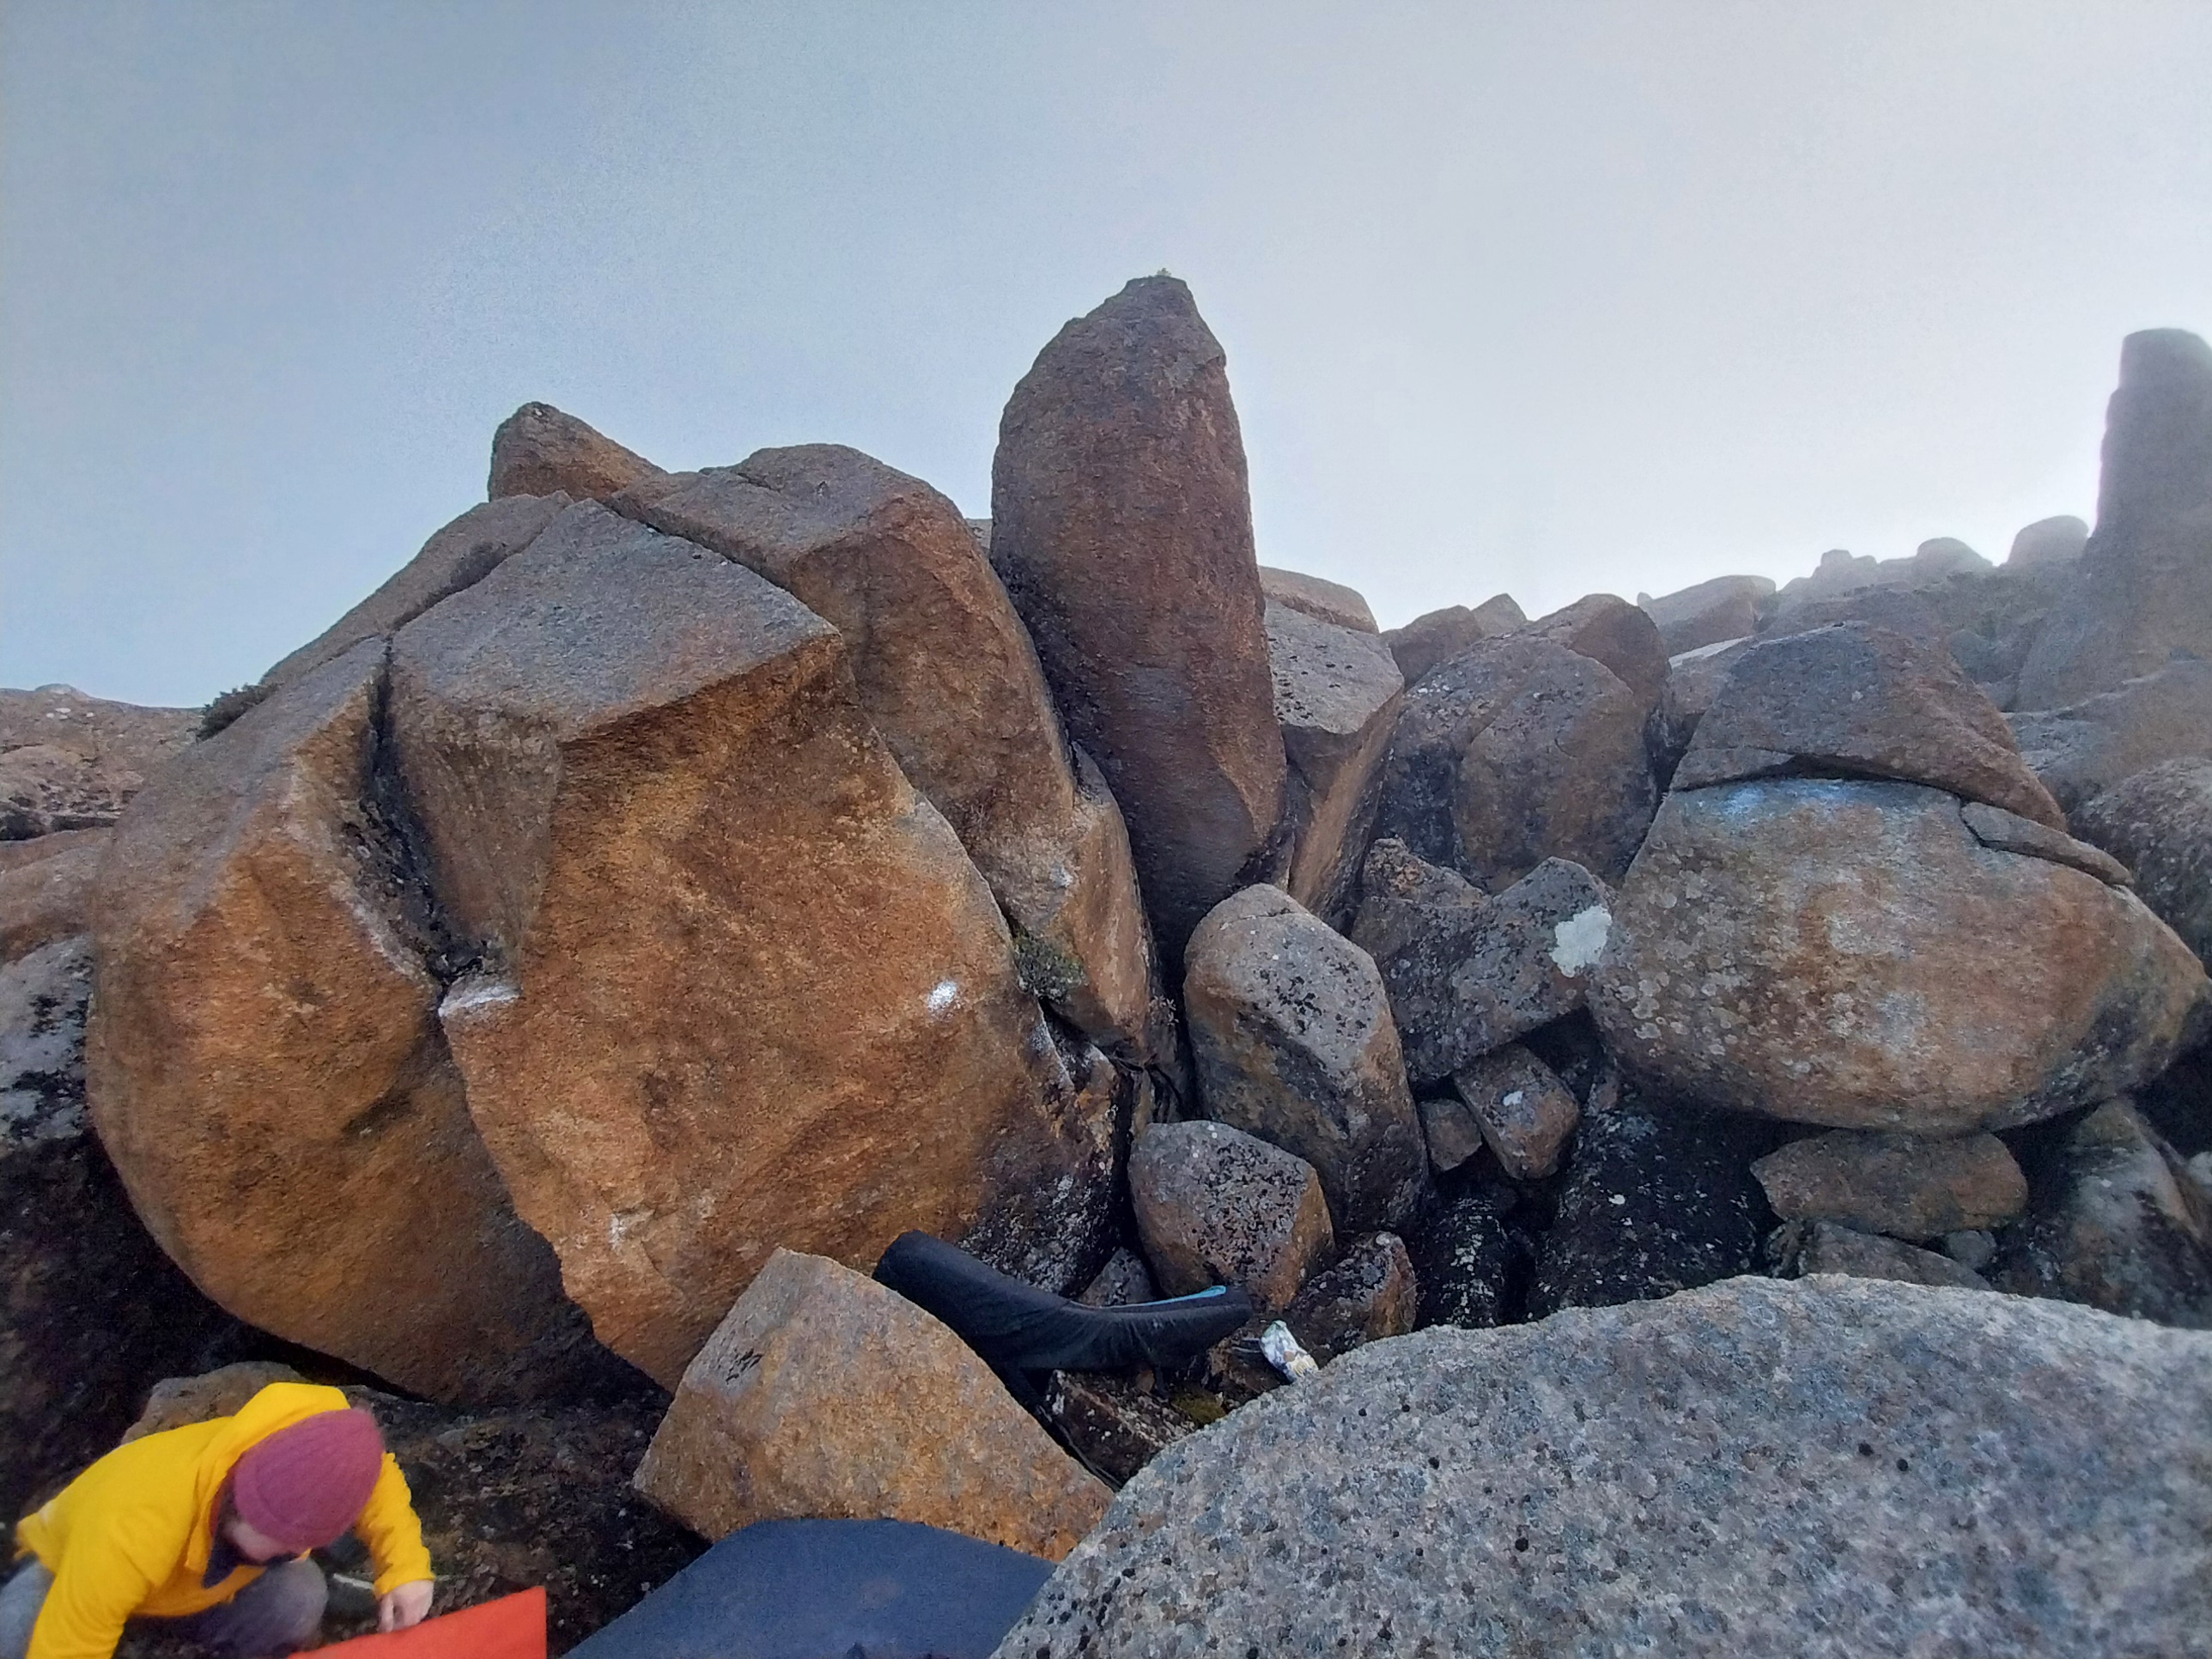
Start left hand on sloper right on sidepull.
Oliver Thomas, 2025
Start as for Fade Out but head right into Breakout.
Joe Schwarz, 2025
Start right hand on jug left on gaston rail. Follow the sloping break to the top.
Joe Schwarz, 2025
Start as for Breakout but head strait up then left to top out. Careful of the landing.
Joe Schwarz, 2025
Start on the sloper, campus to the top. Be careful of the loose flake on the right.
Joe Schwarz, 2025
In the gully below the Stakeout boulders is a nice block.
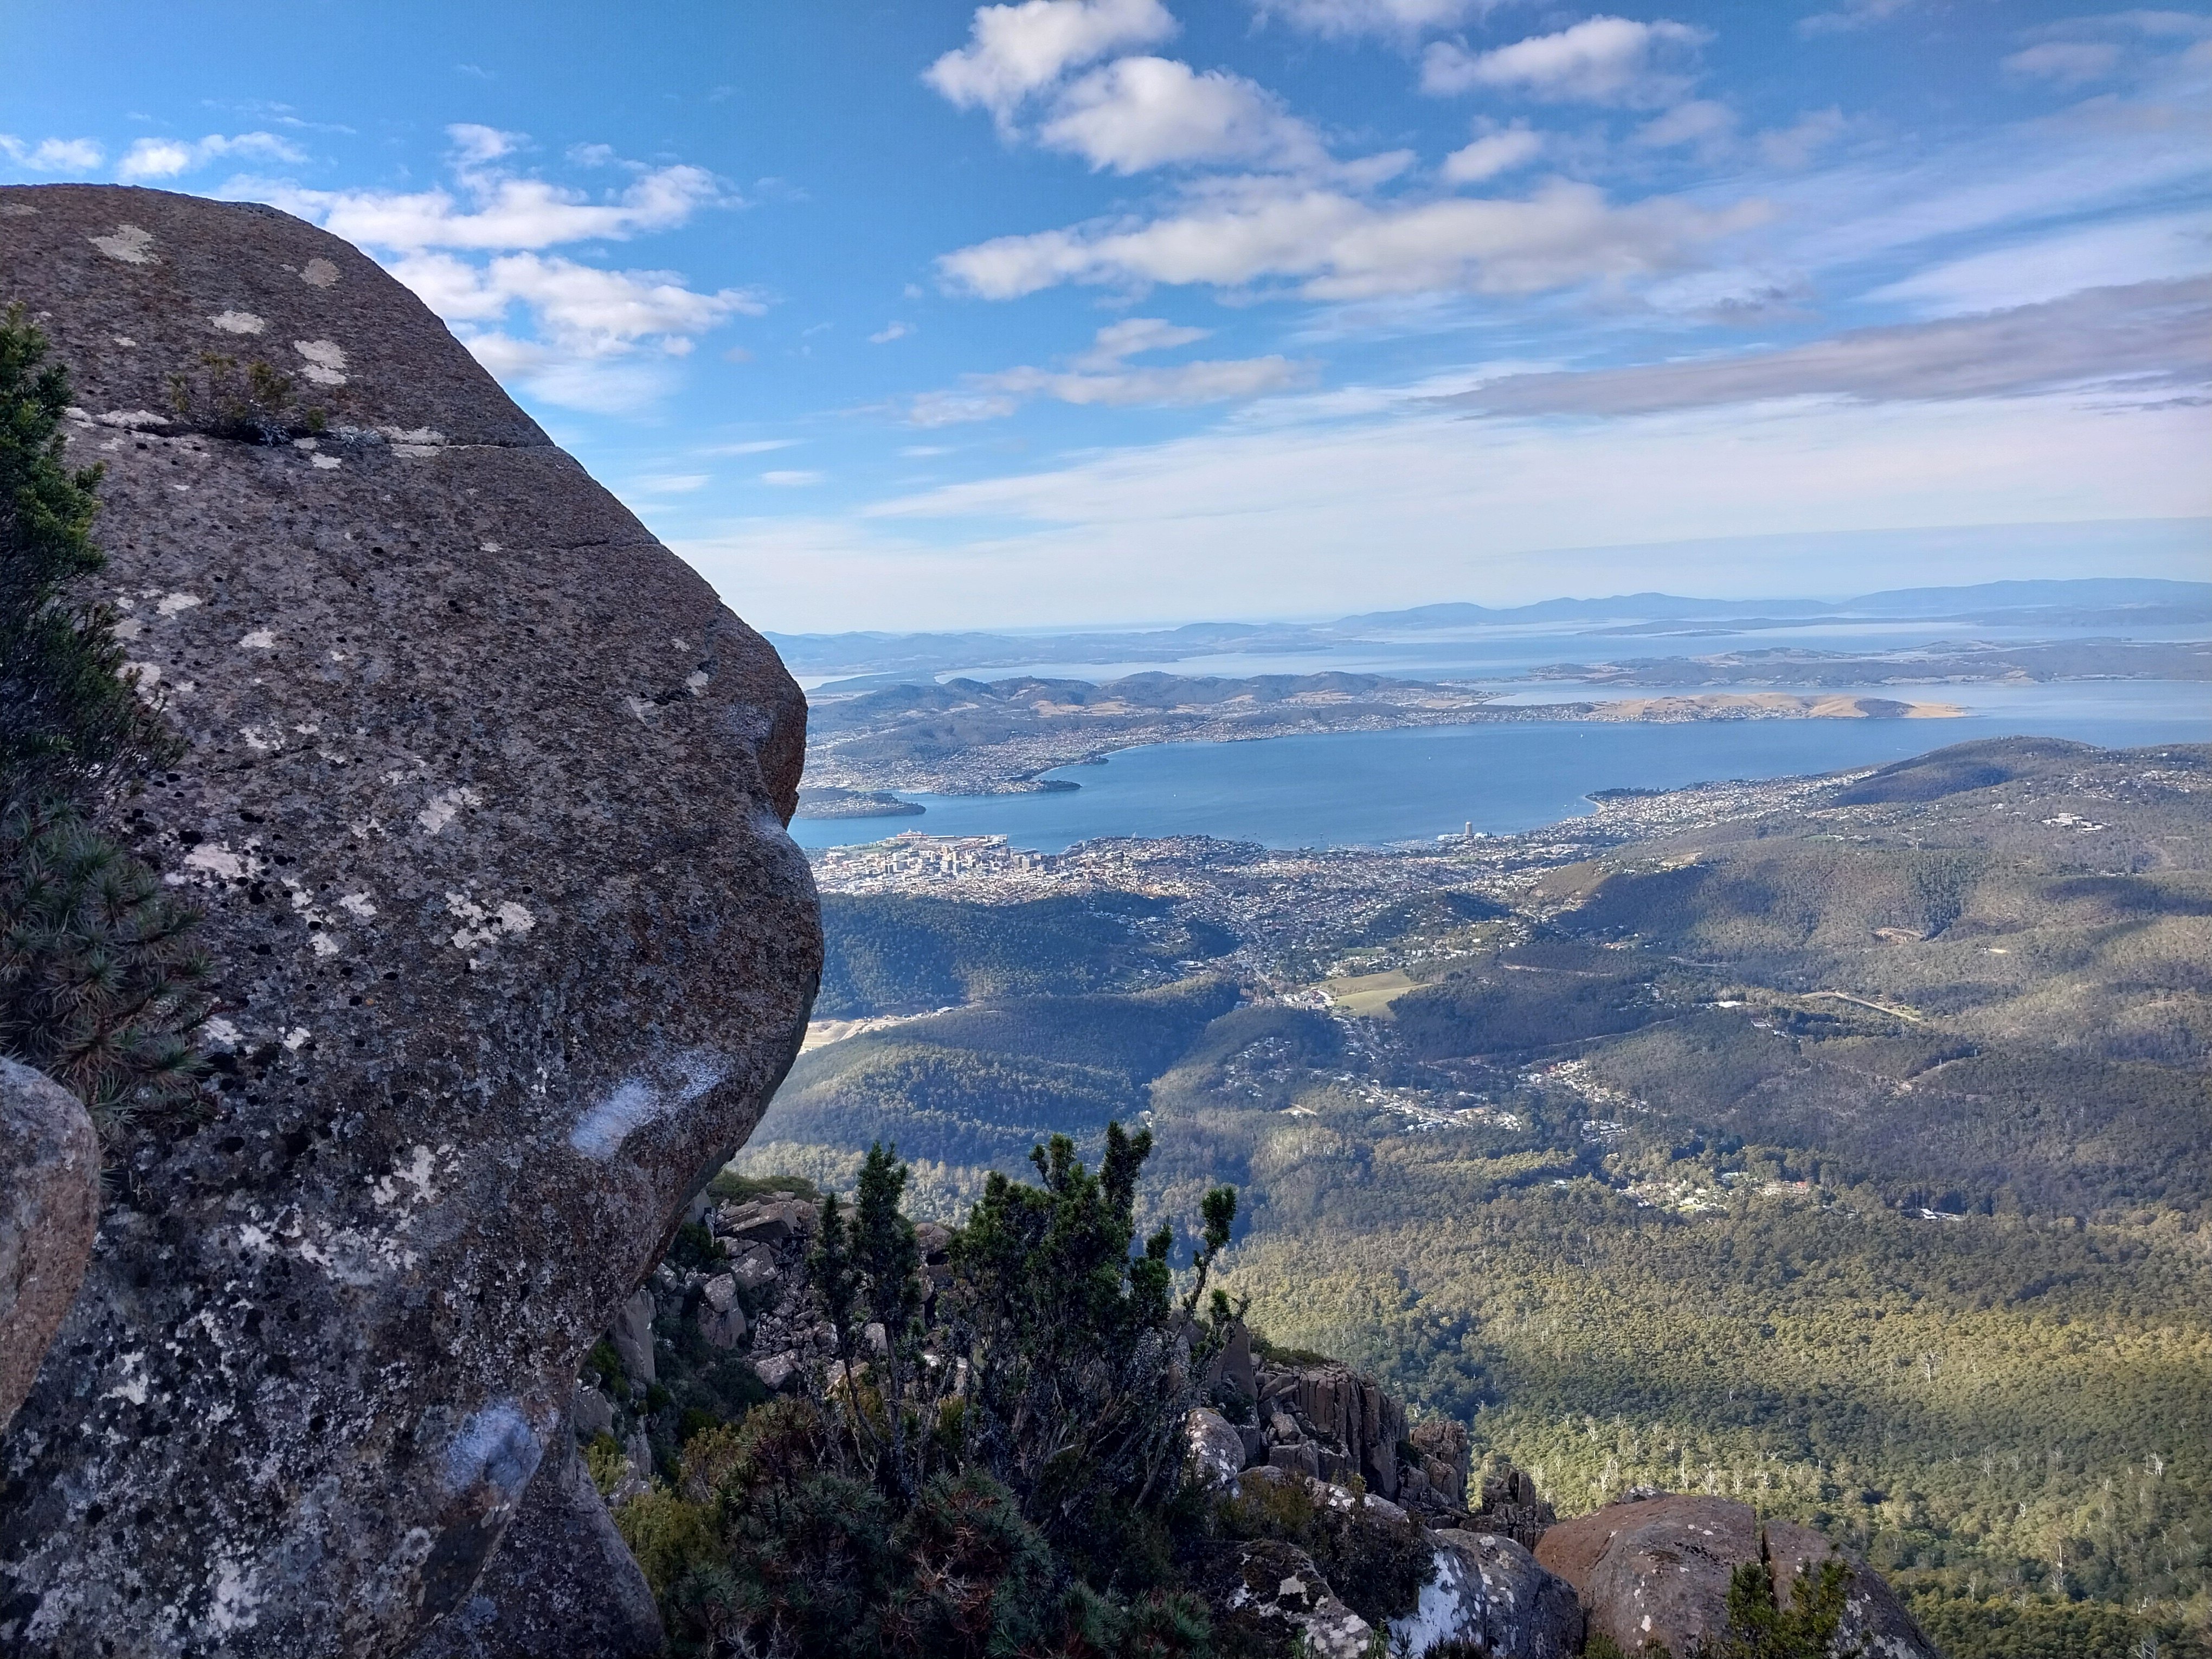
Start left hand on sloper rail right on sidepull.
Joe Schwarz, 2025
Inflorescence Area
Straight down the hill from Fade Out
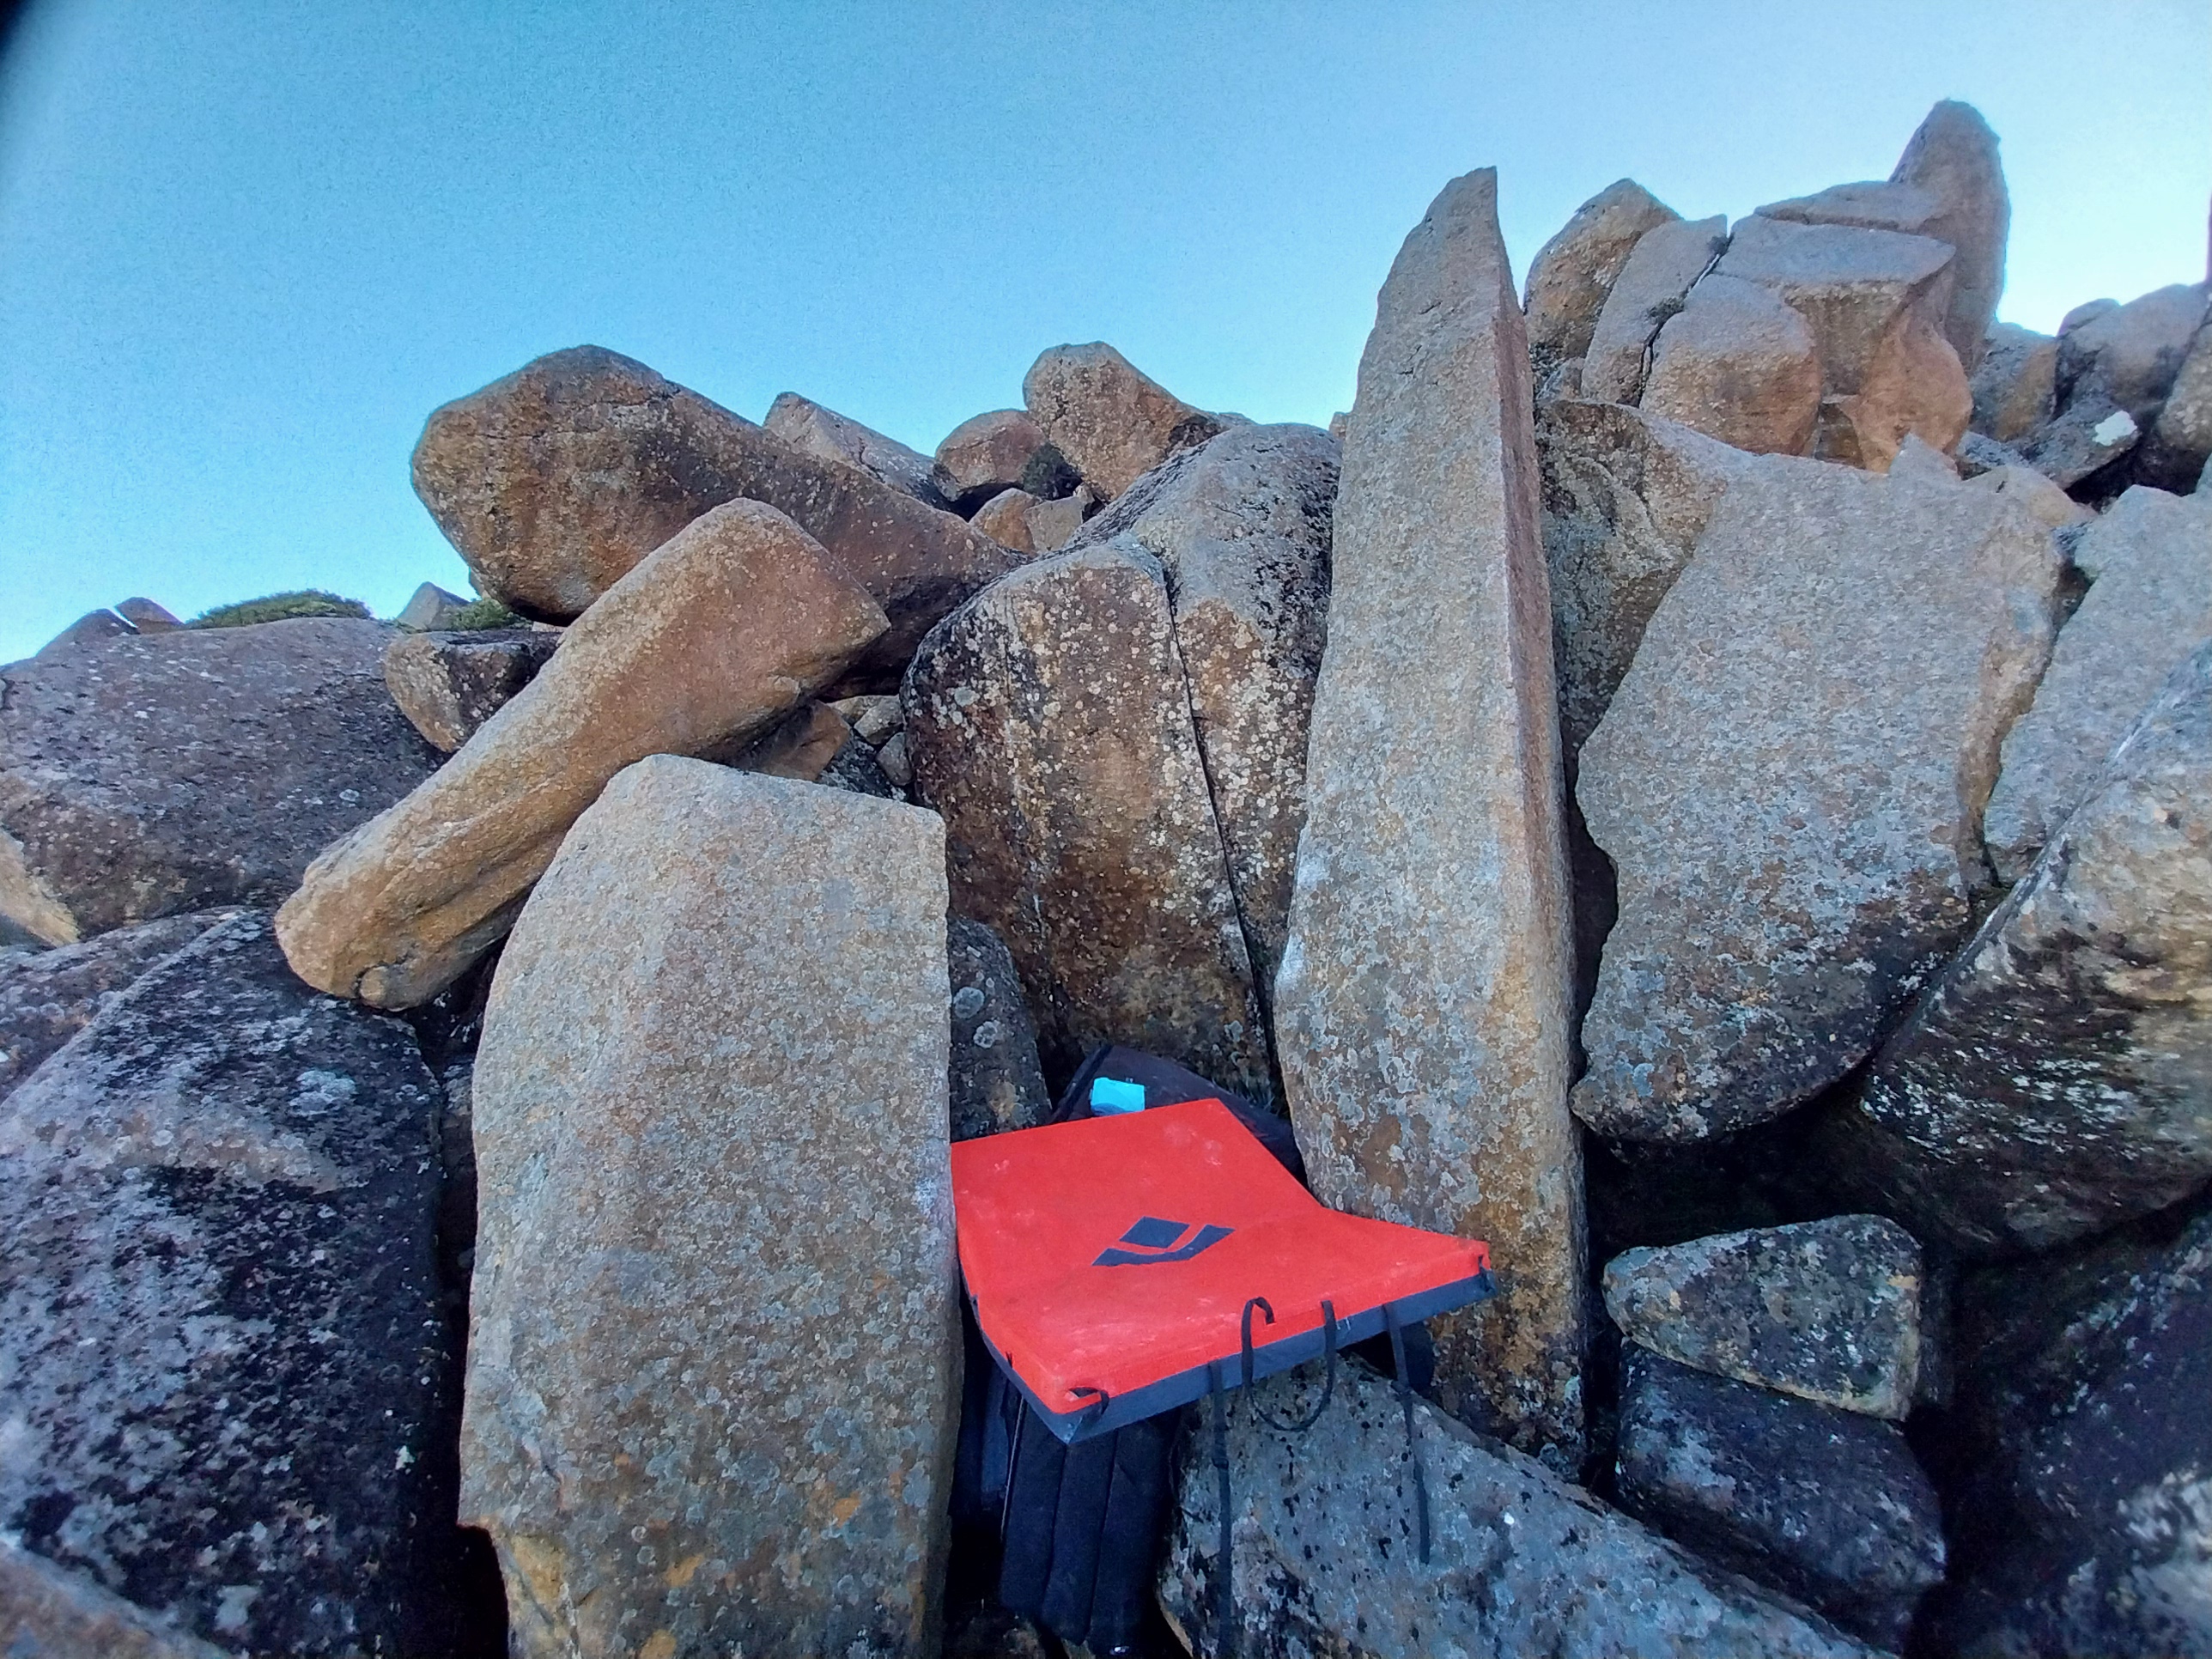
Joe Schwarz, 2025
Layback up the short arete
Joe Schwarz, 2025
Tricky laybacking and compression.
Joe Schwarz, 2025
Sitstart on sloper compression. A couple of tricky moves leads into The Inflorescence.
Joe Schwarz, 2025
Climb the narrow highball face using both aretes.
Joe Schwarz, 2025
Sitstart on right side of arete. Layback to glory.
Lewis Traill, 2025
Joe Schwarz, 2025
There are two more problems slightly towards the gully
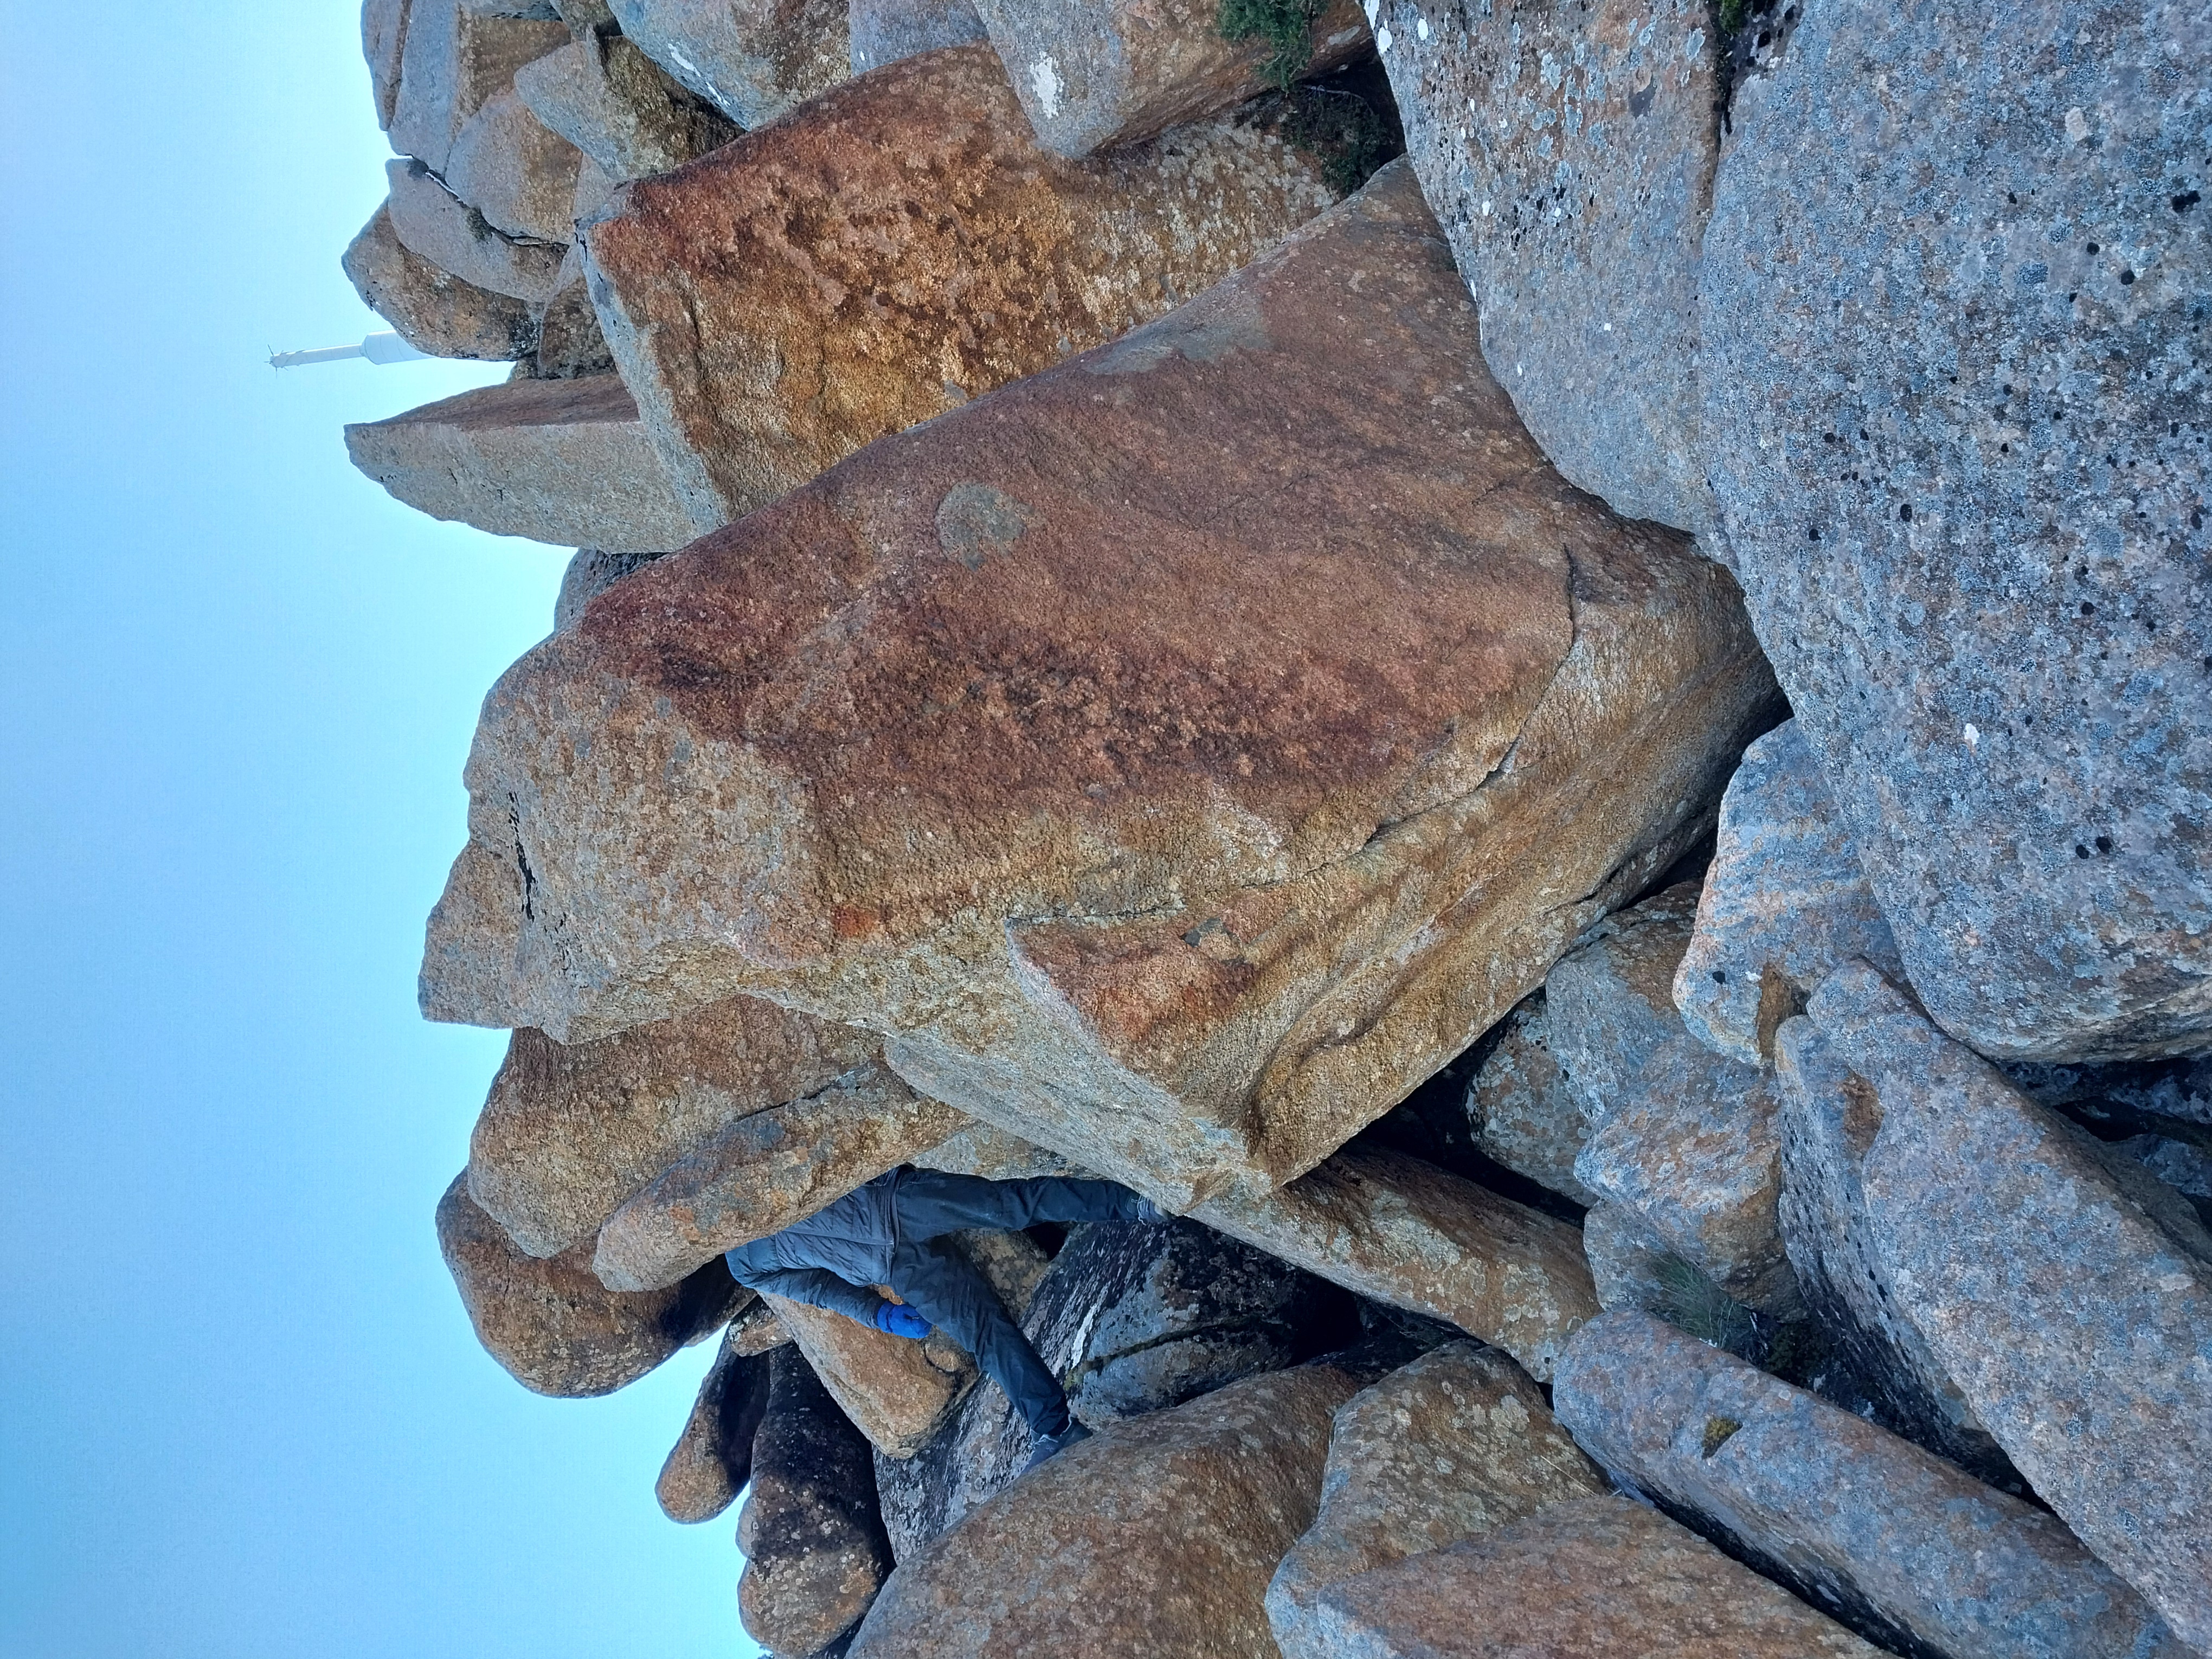
Lewis Traill, 2025
Joe Schwarz, 2025
there is a low pillar directly above the Science Friction Boulder.
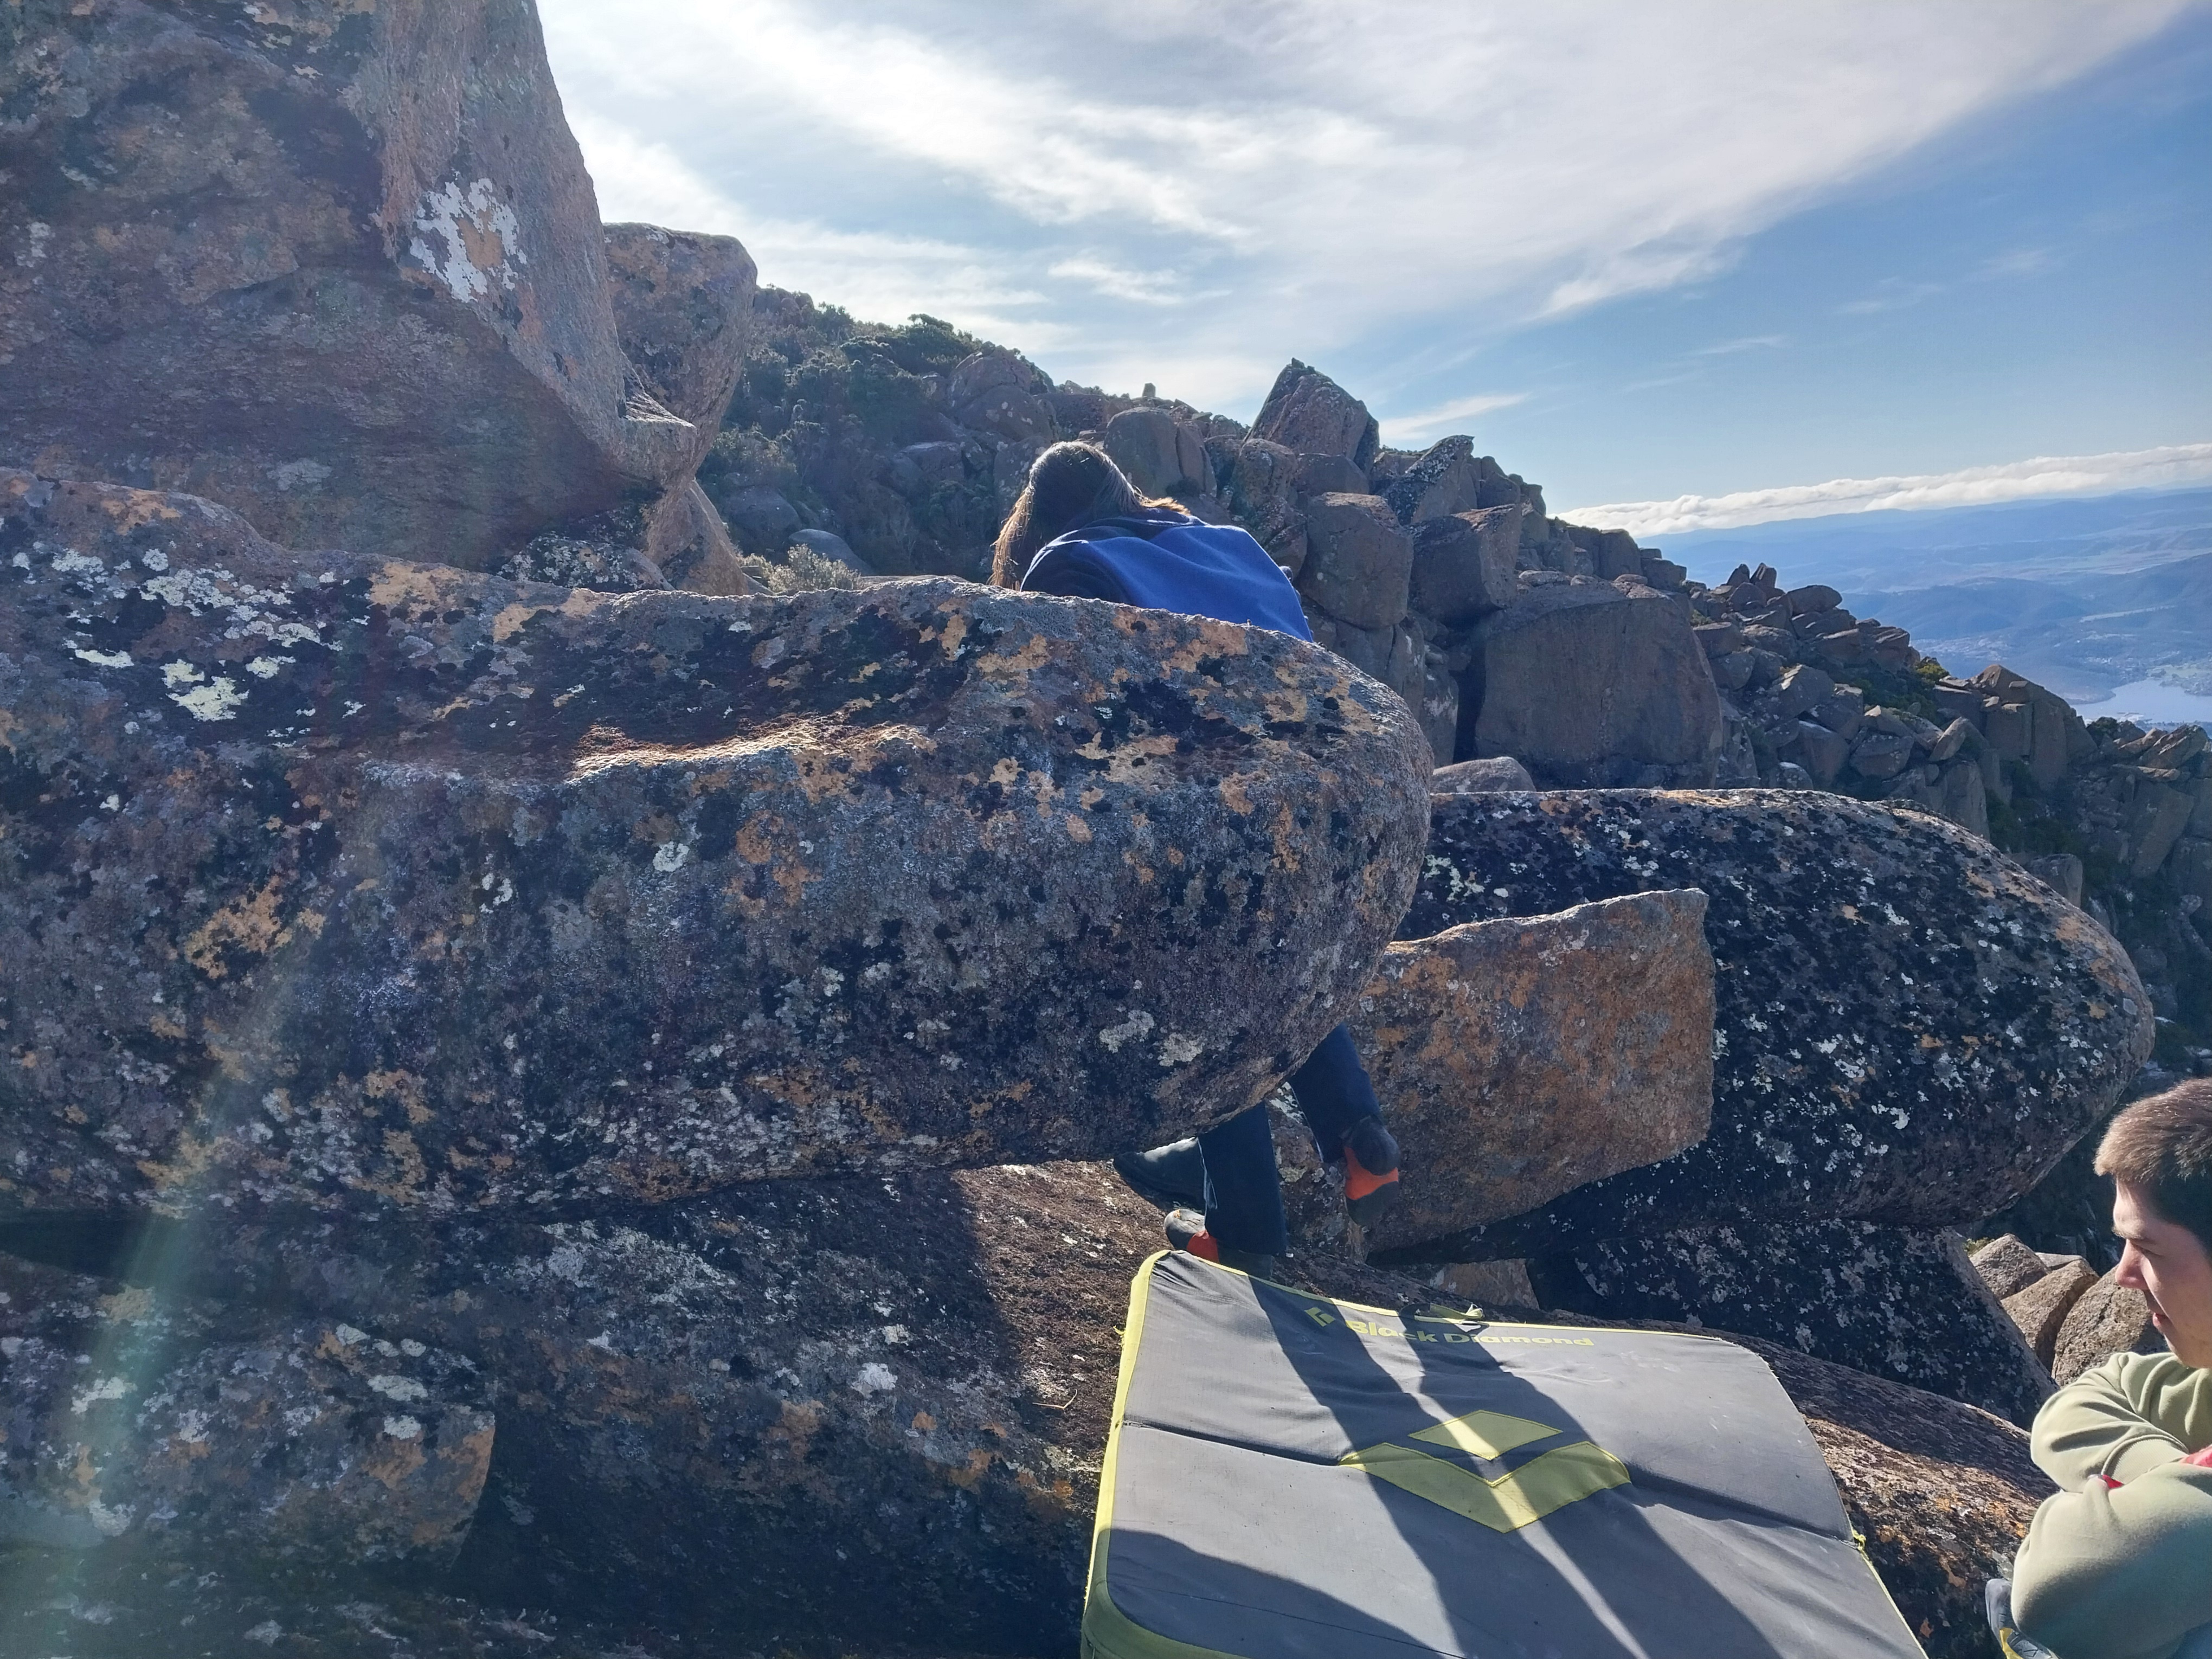
Start under the pillar with hands on the left side of the rail and toe hooks on the other side of the pillar.
Tarn Hingston, 2025
Science Friction Boulder
A bit further down the hill and slightly South
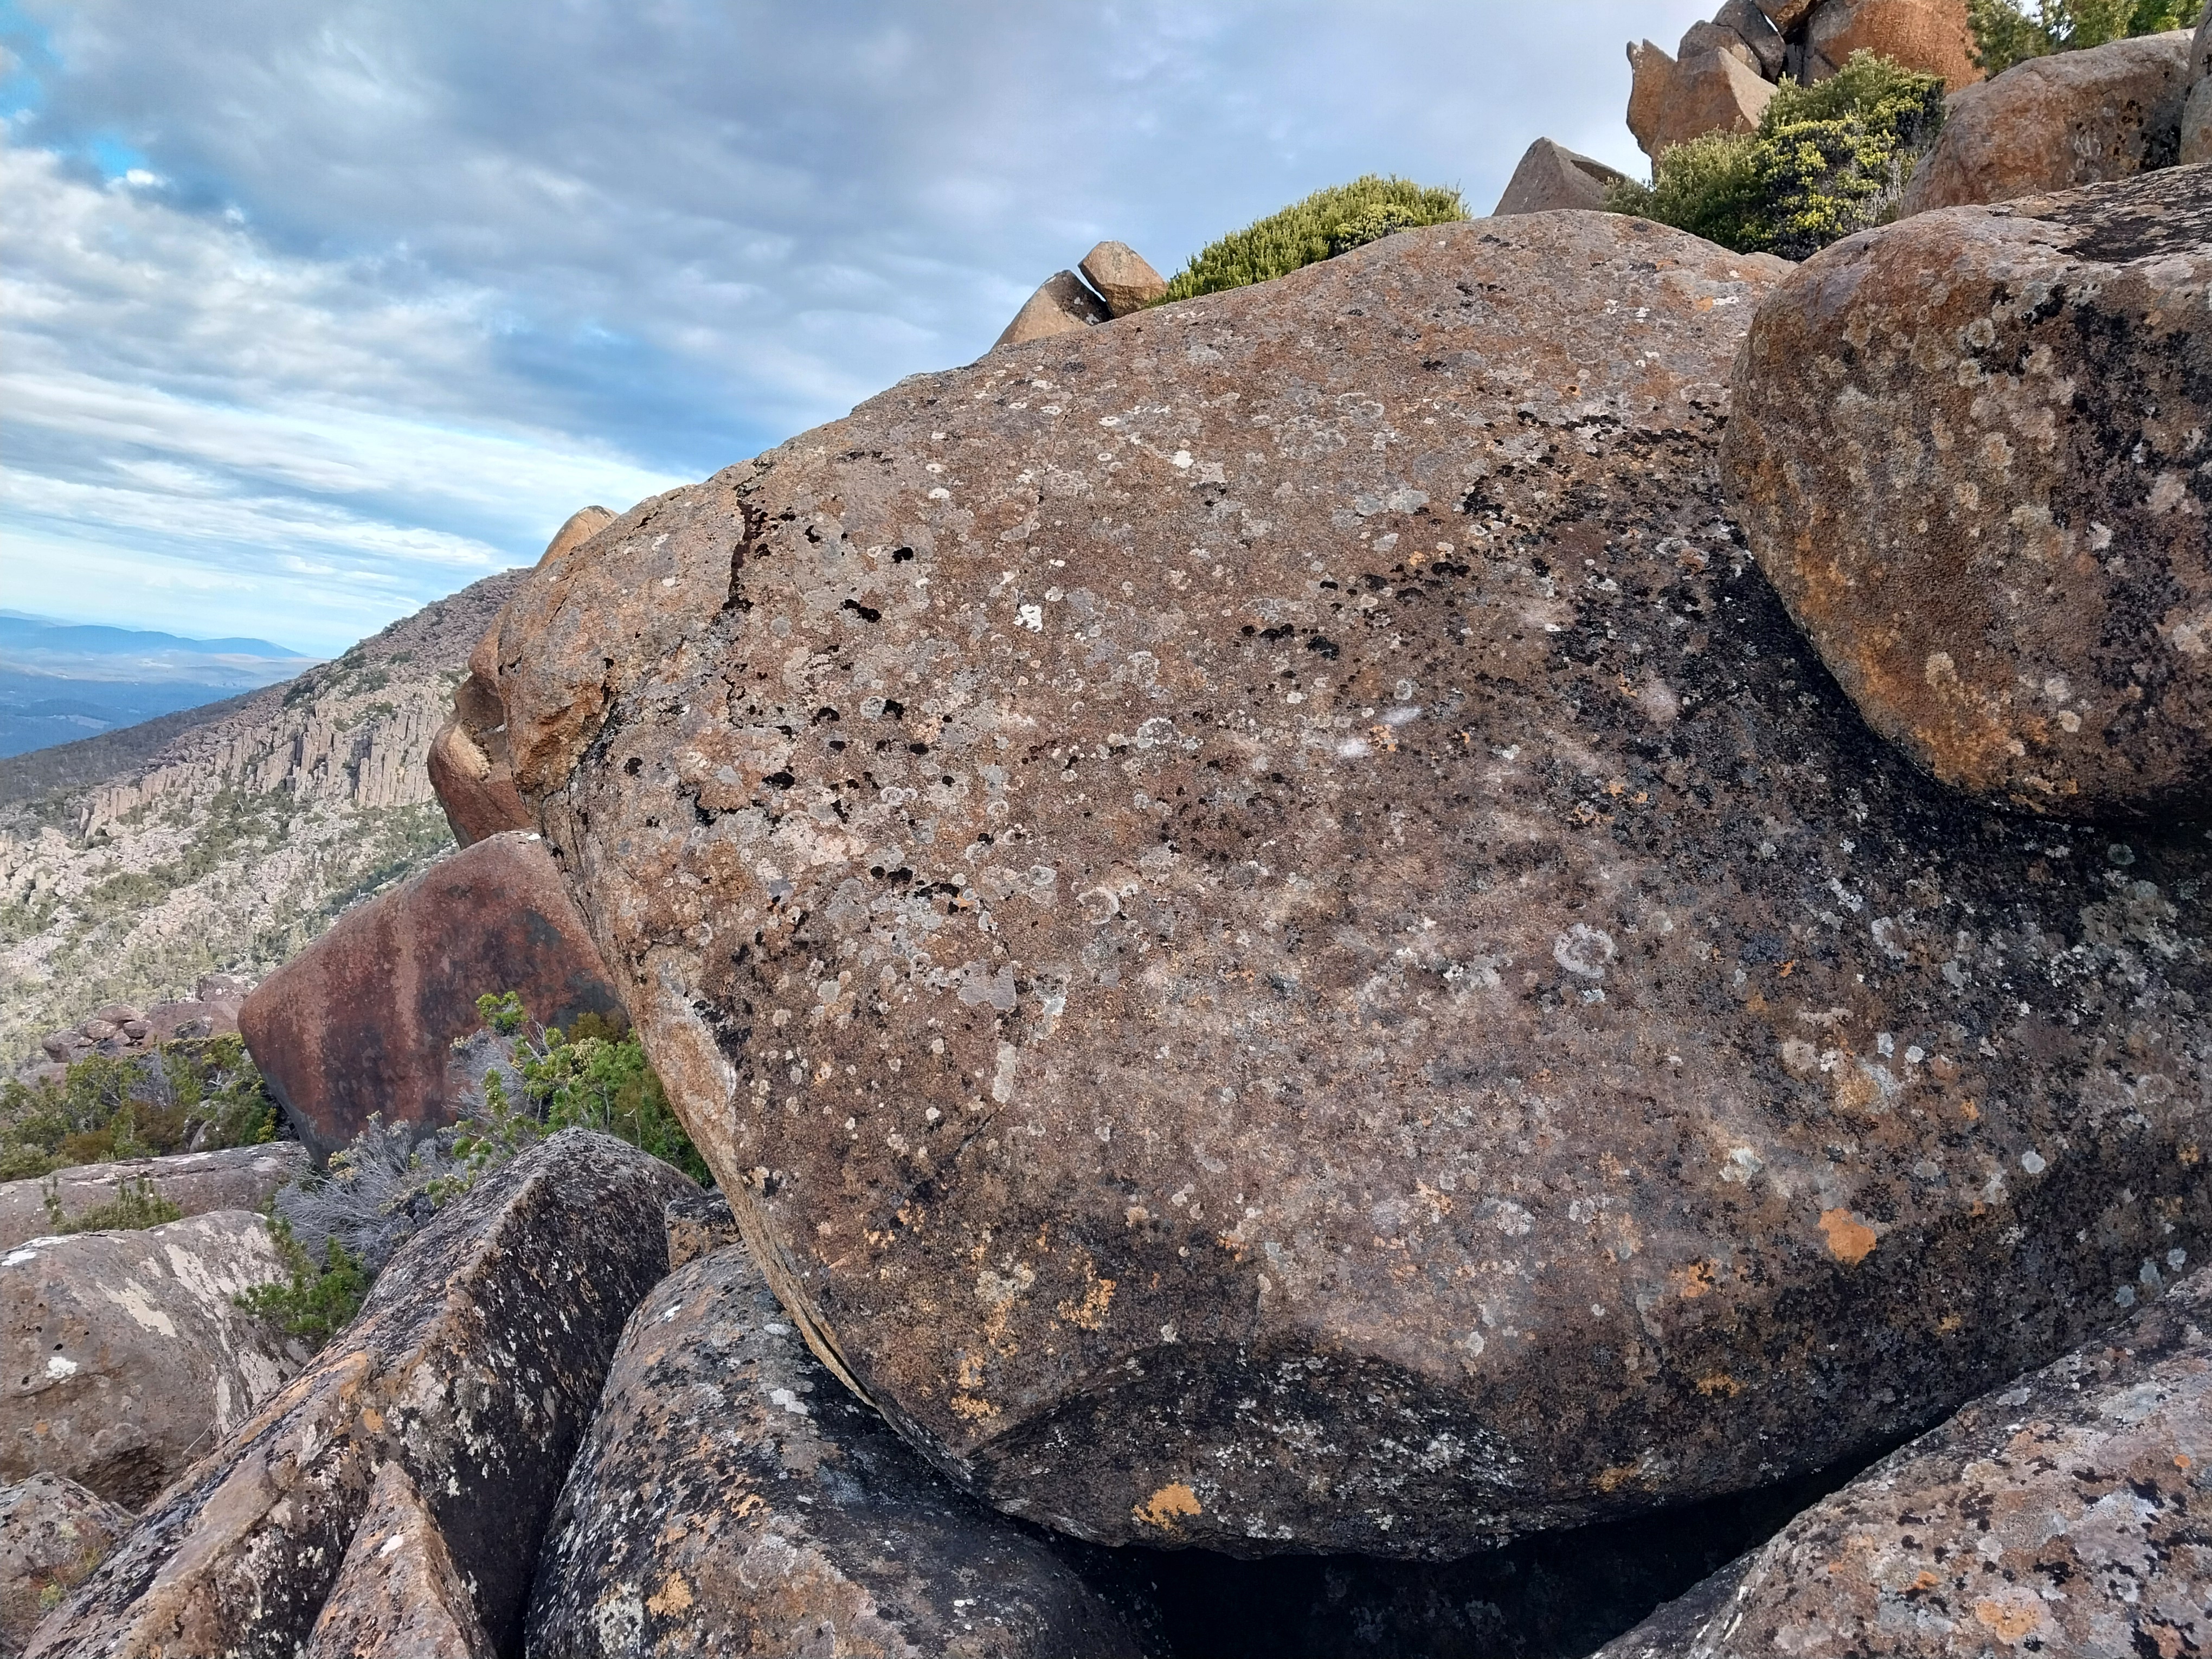
Start using the very small crimp.
Start on the foothold on right side of the slab
Joe Schwarz, 2025
On the back of the Science Friction boulder
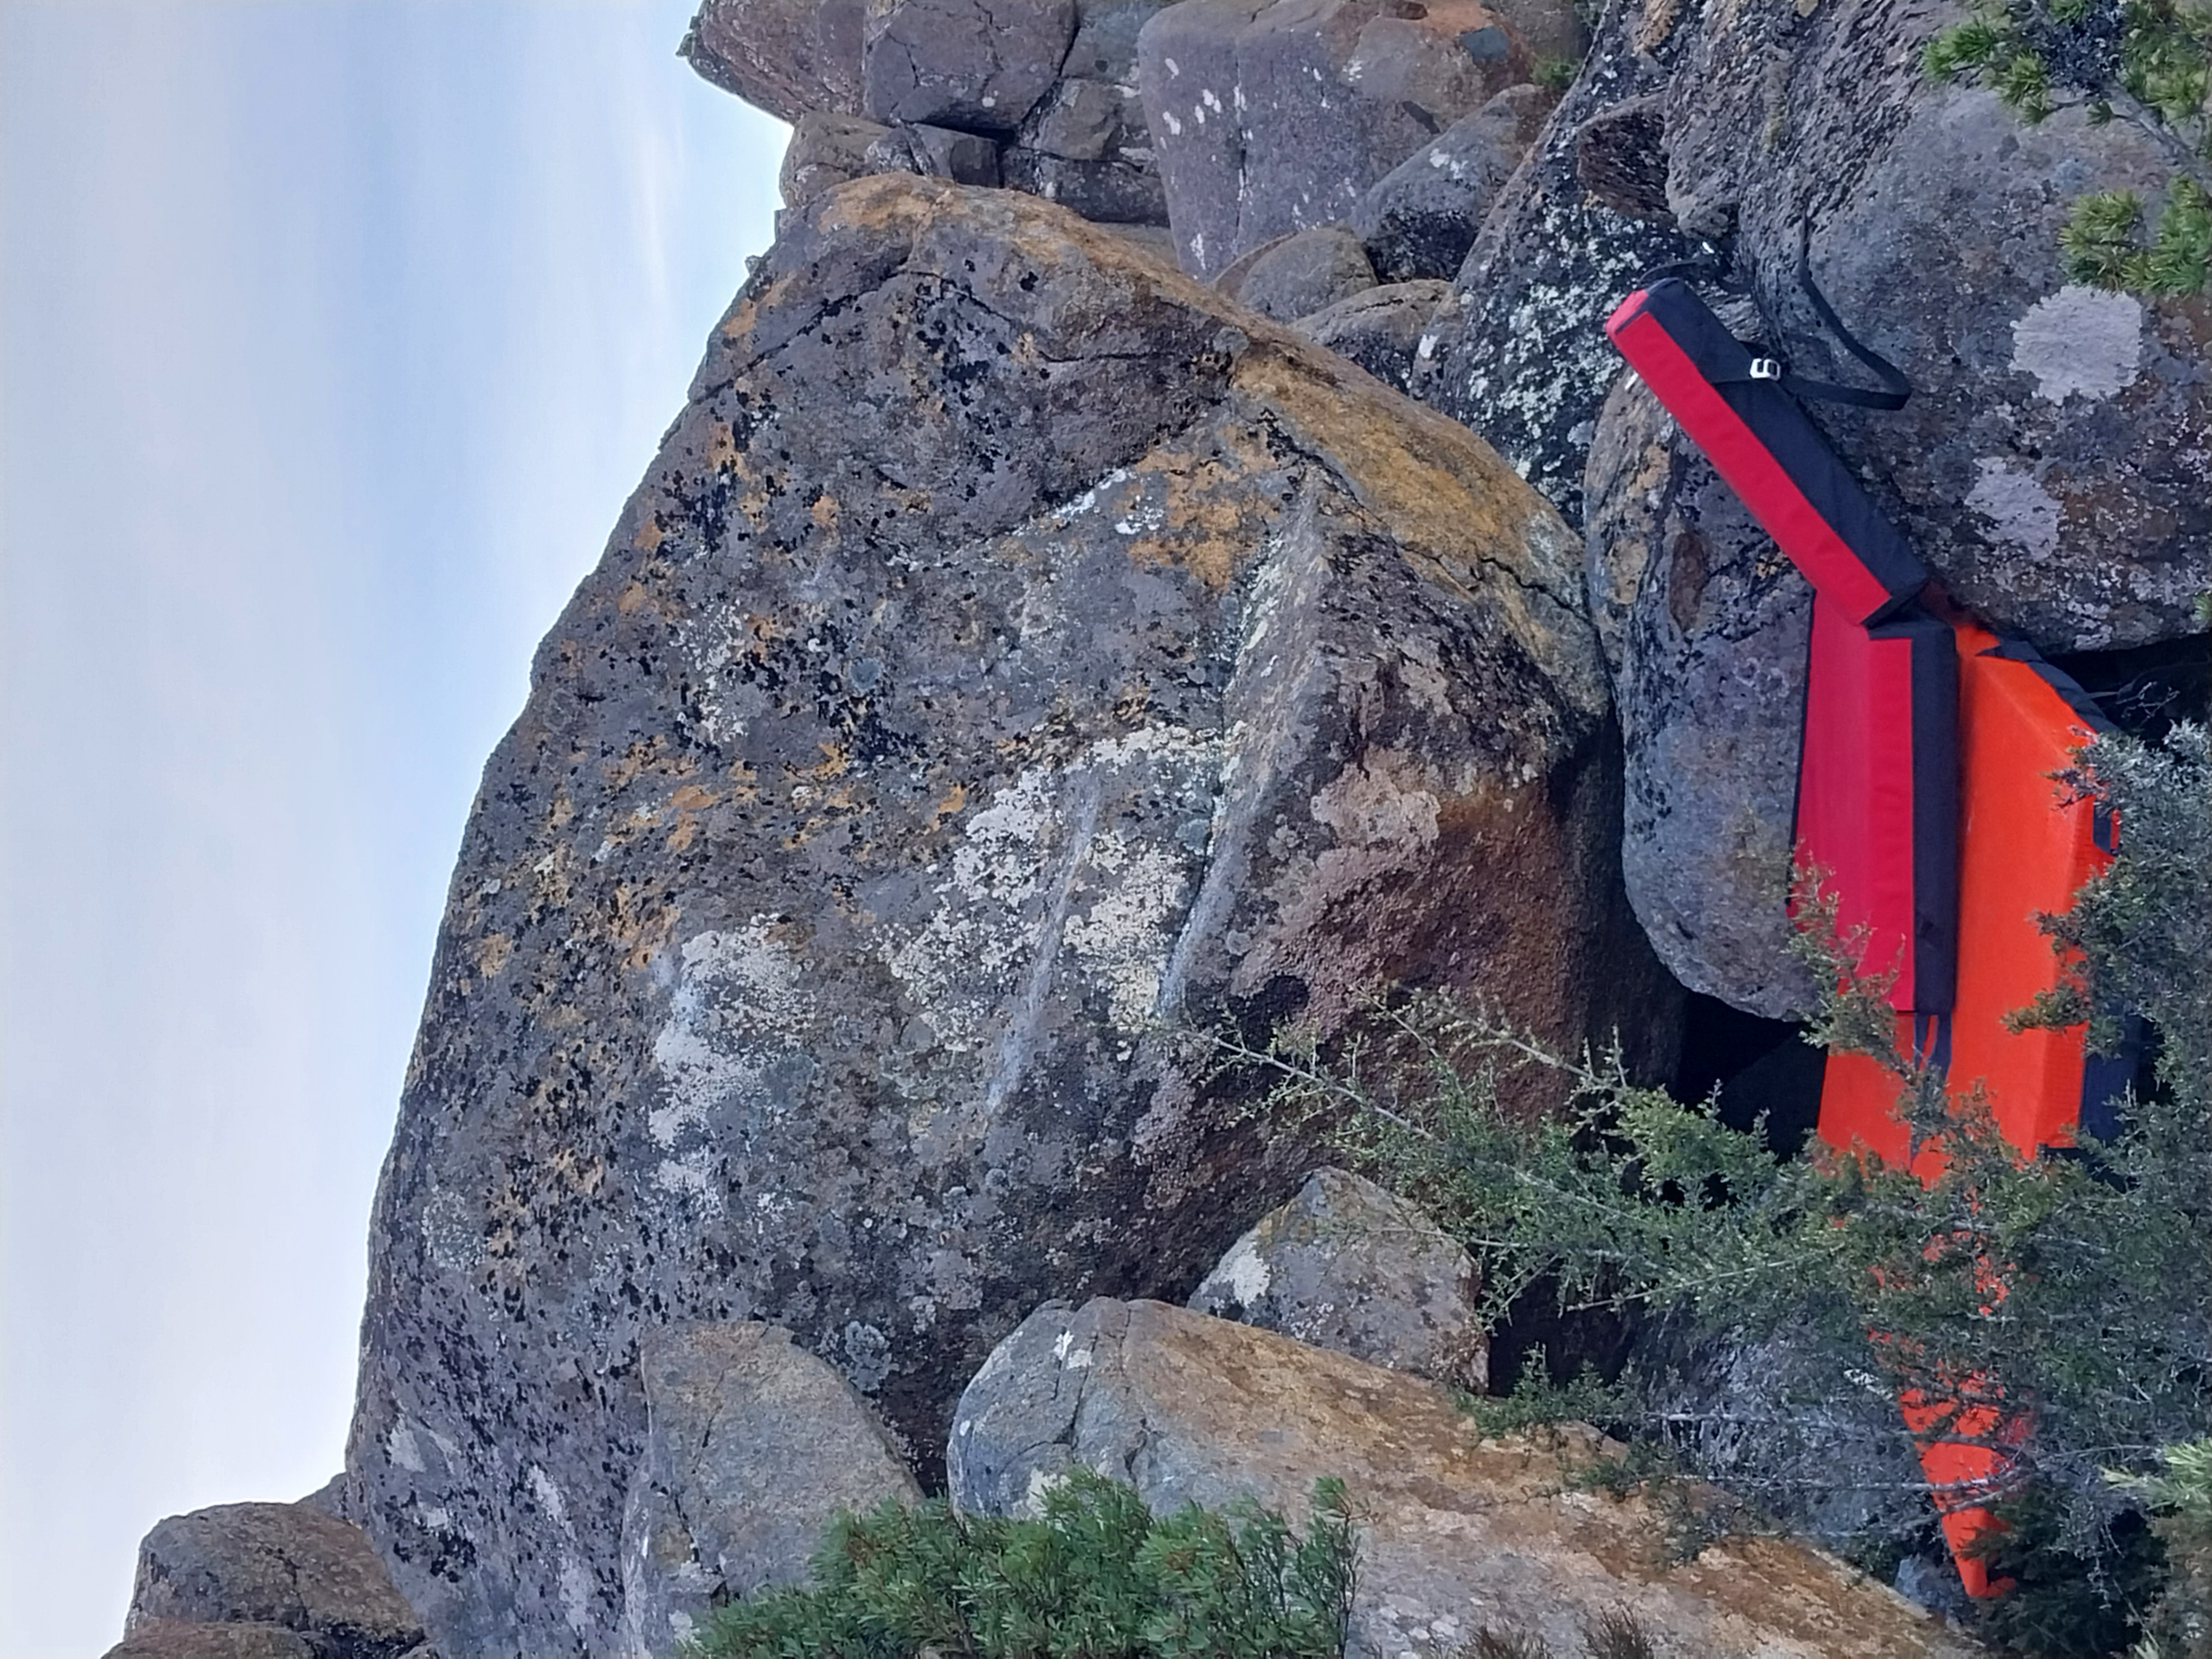
Start on the lowest sloper rail and mantle into the groove.
Taima Learmont, 2025
Comedy Club Boulders
These boulders are South and slightly up hill from Science Friction boulder.
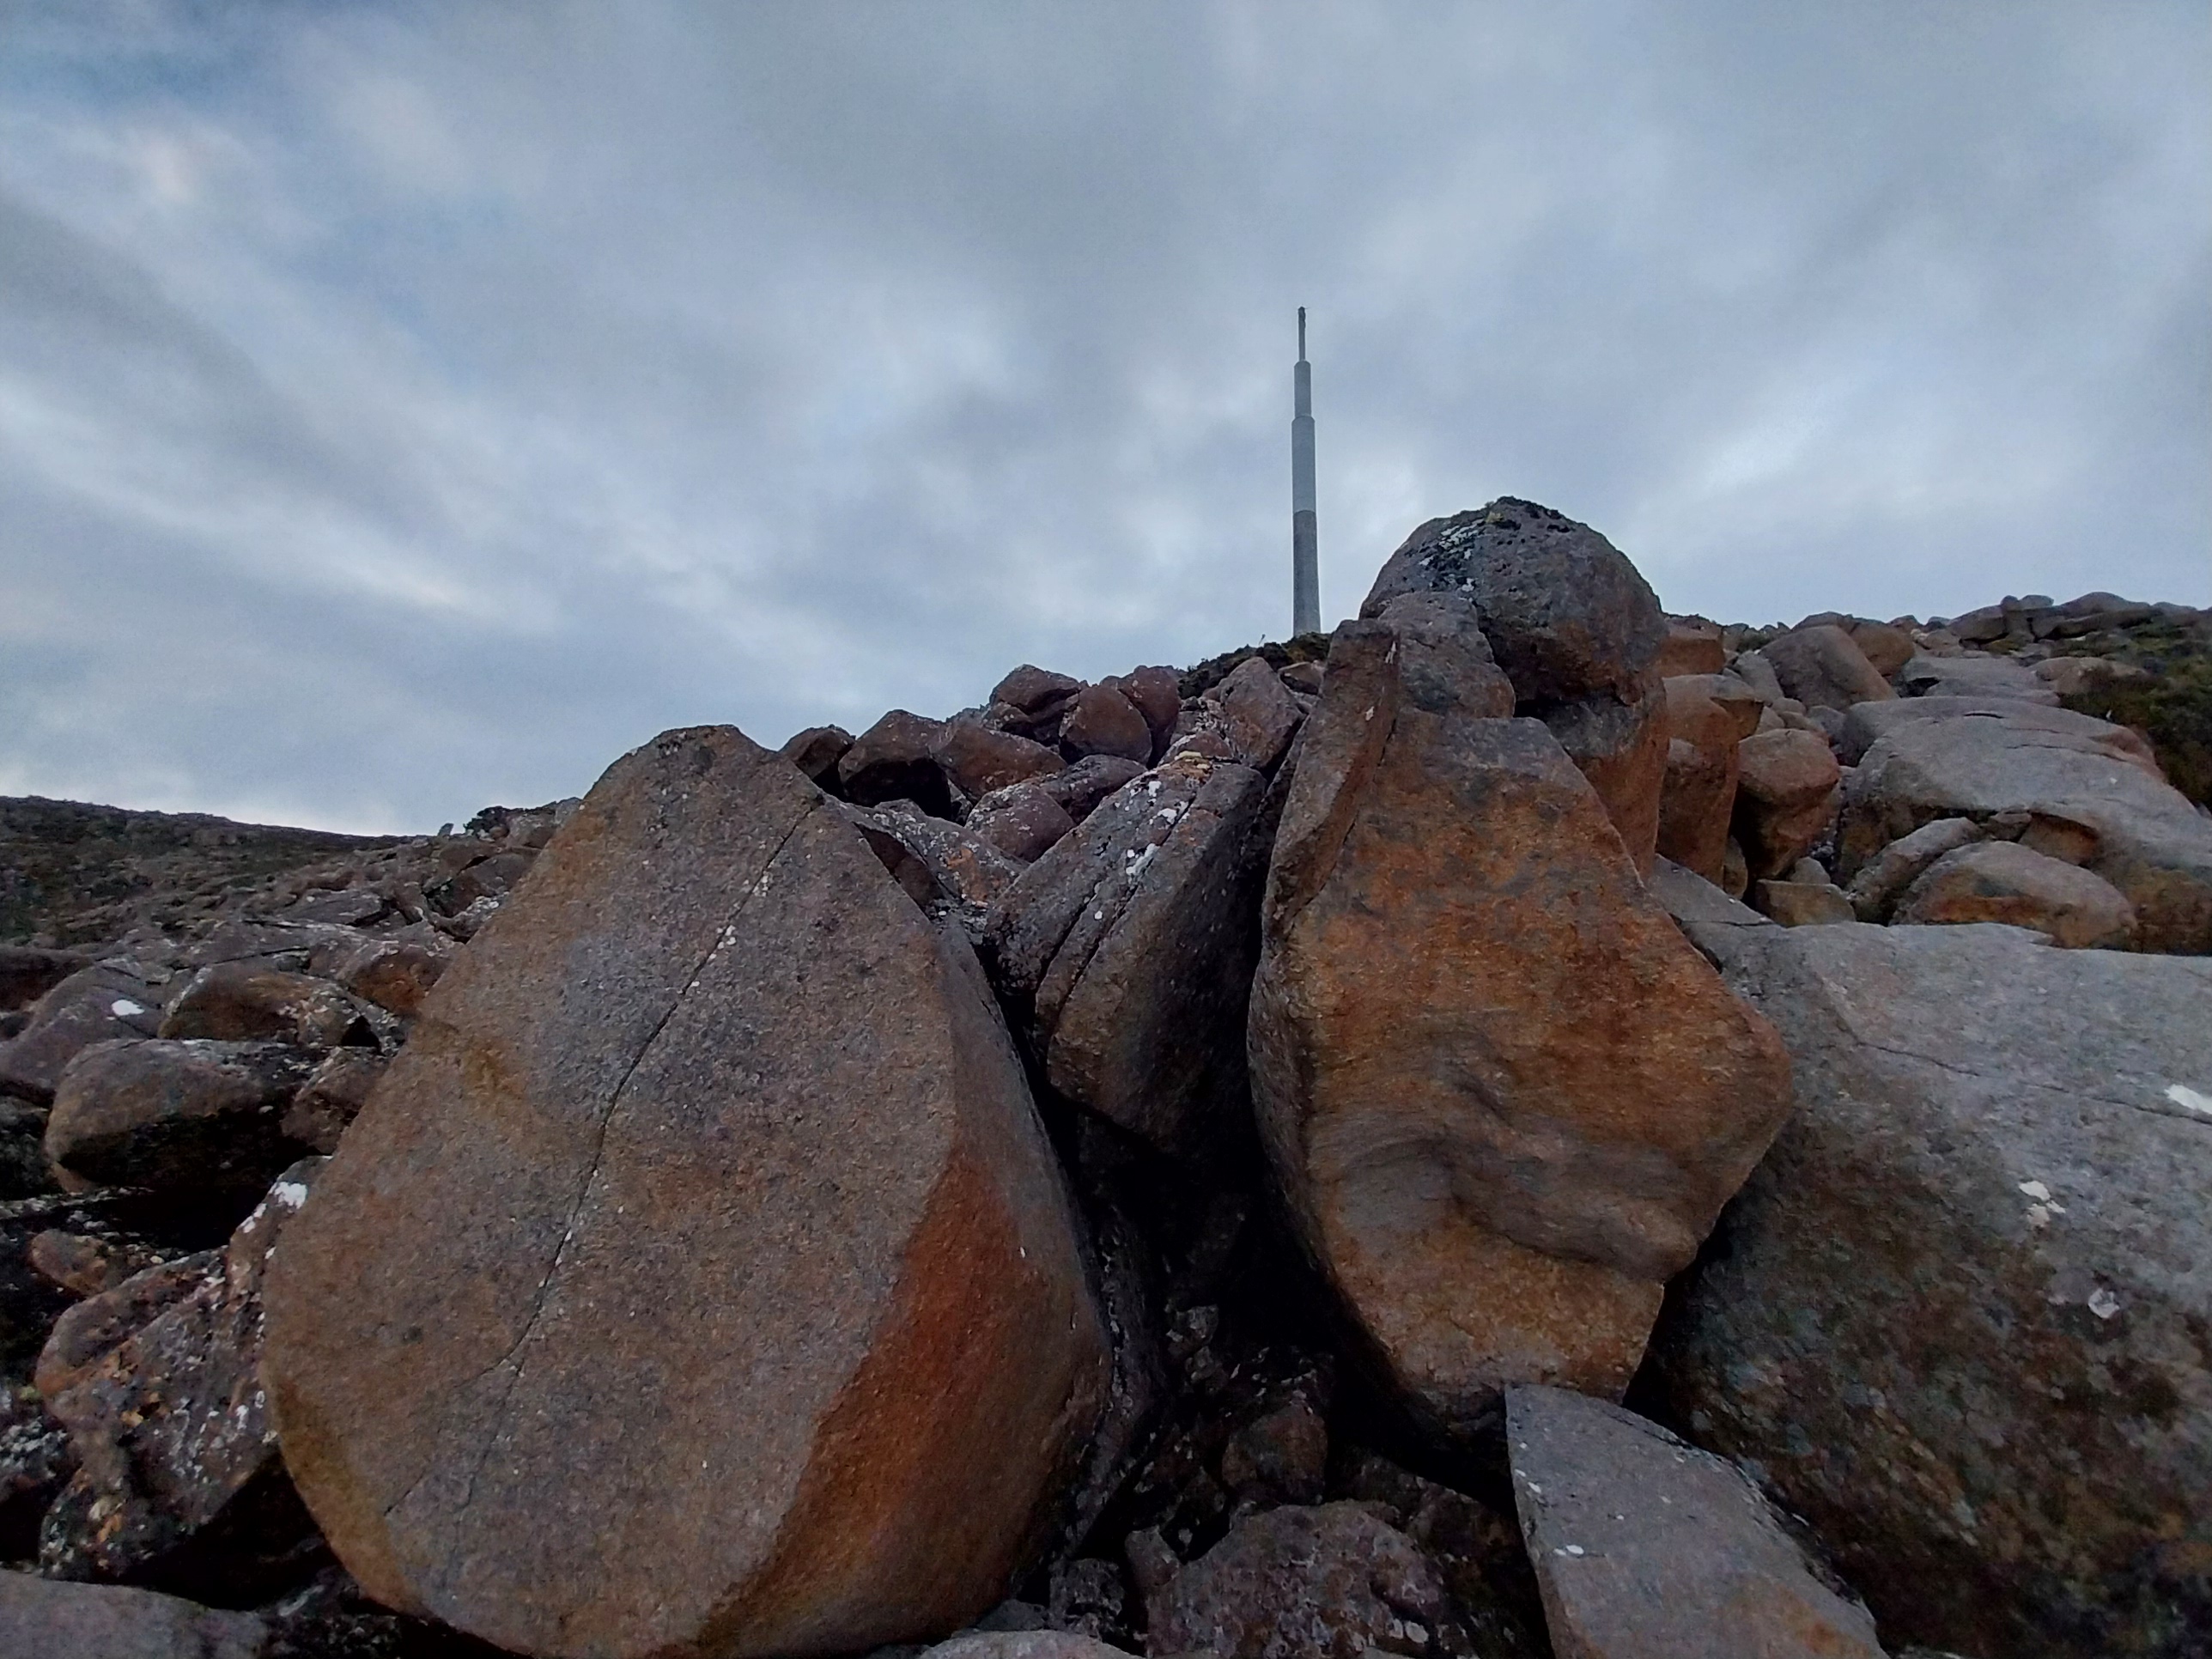
Start on left hand jug and right undercling crimp, big moves to the top.
Start on hold on the lip.
Larum Boulder
A large face down the hill from the Comedy Club boulders.
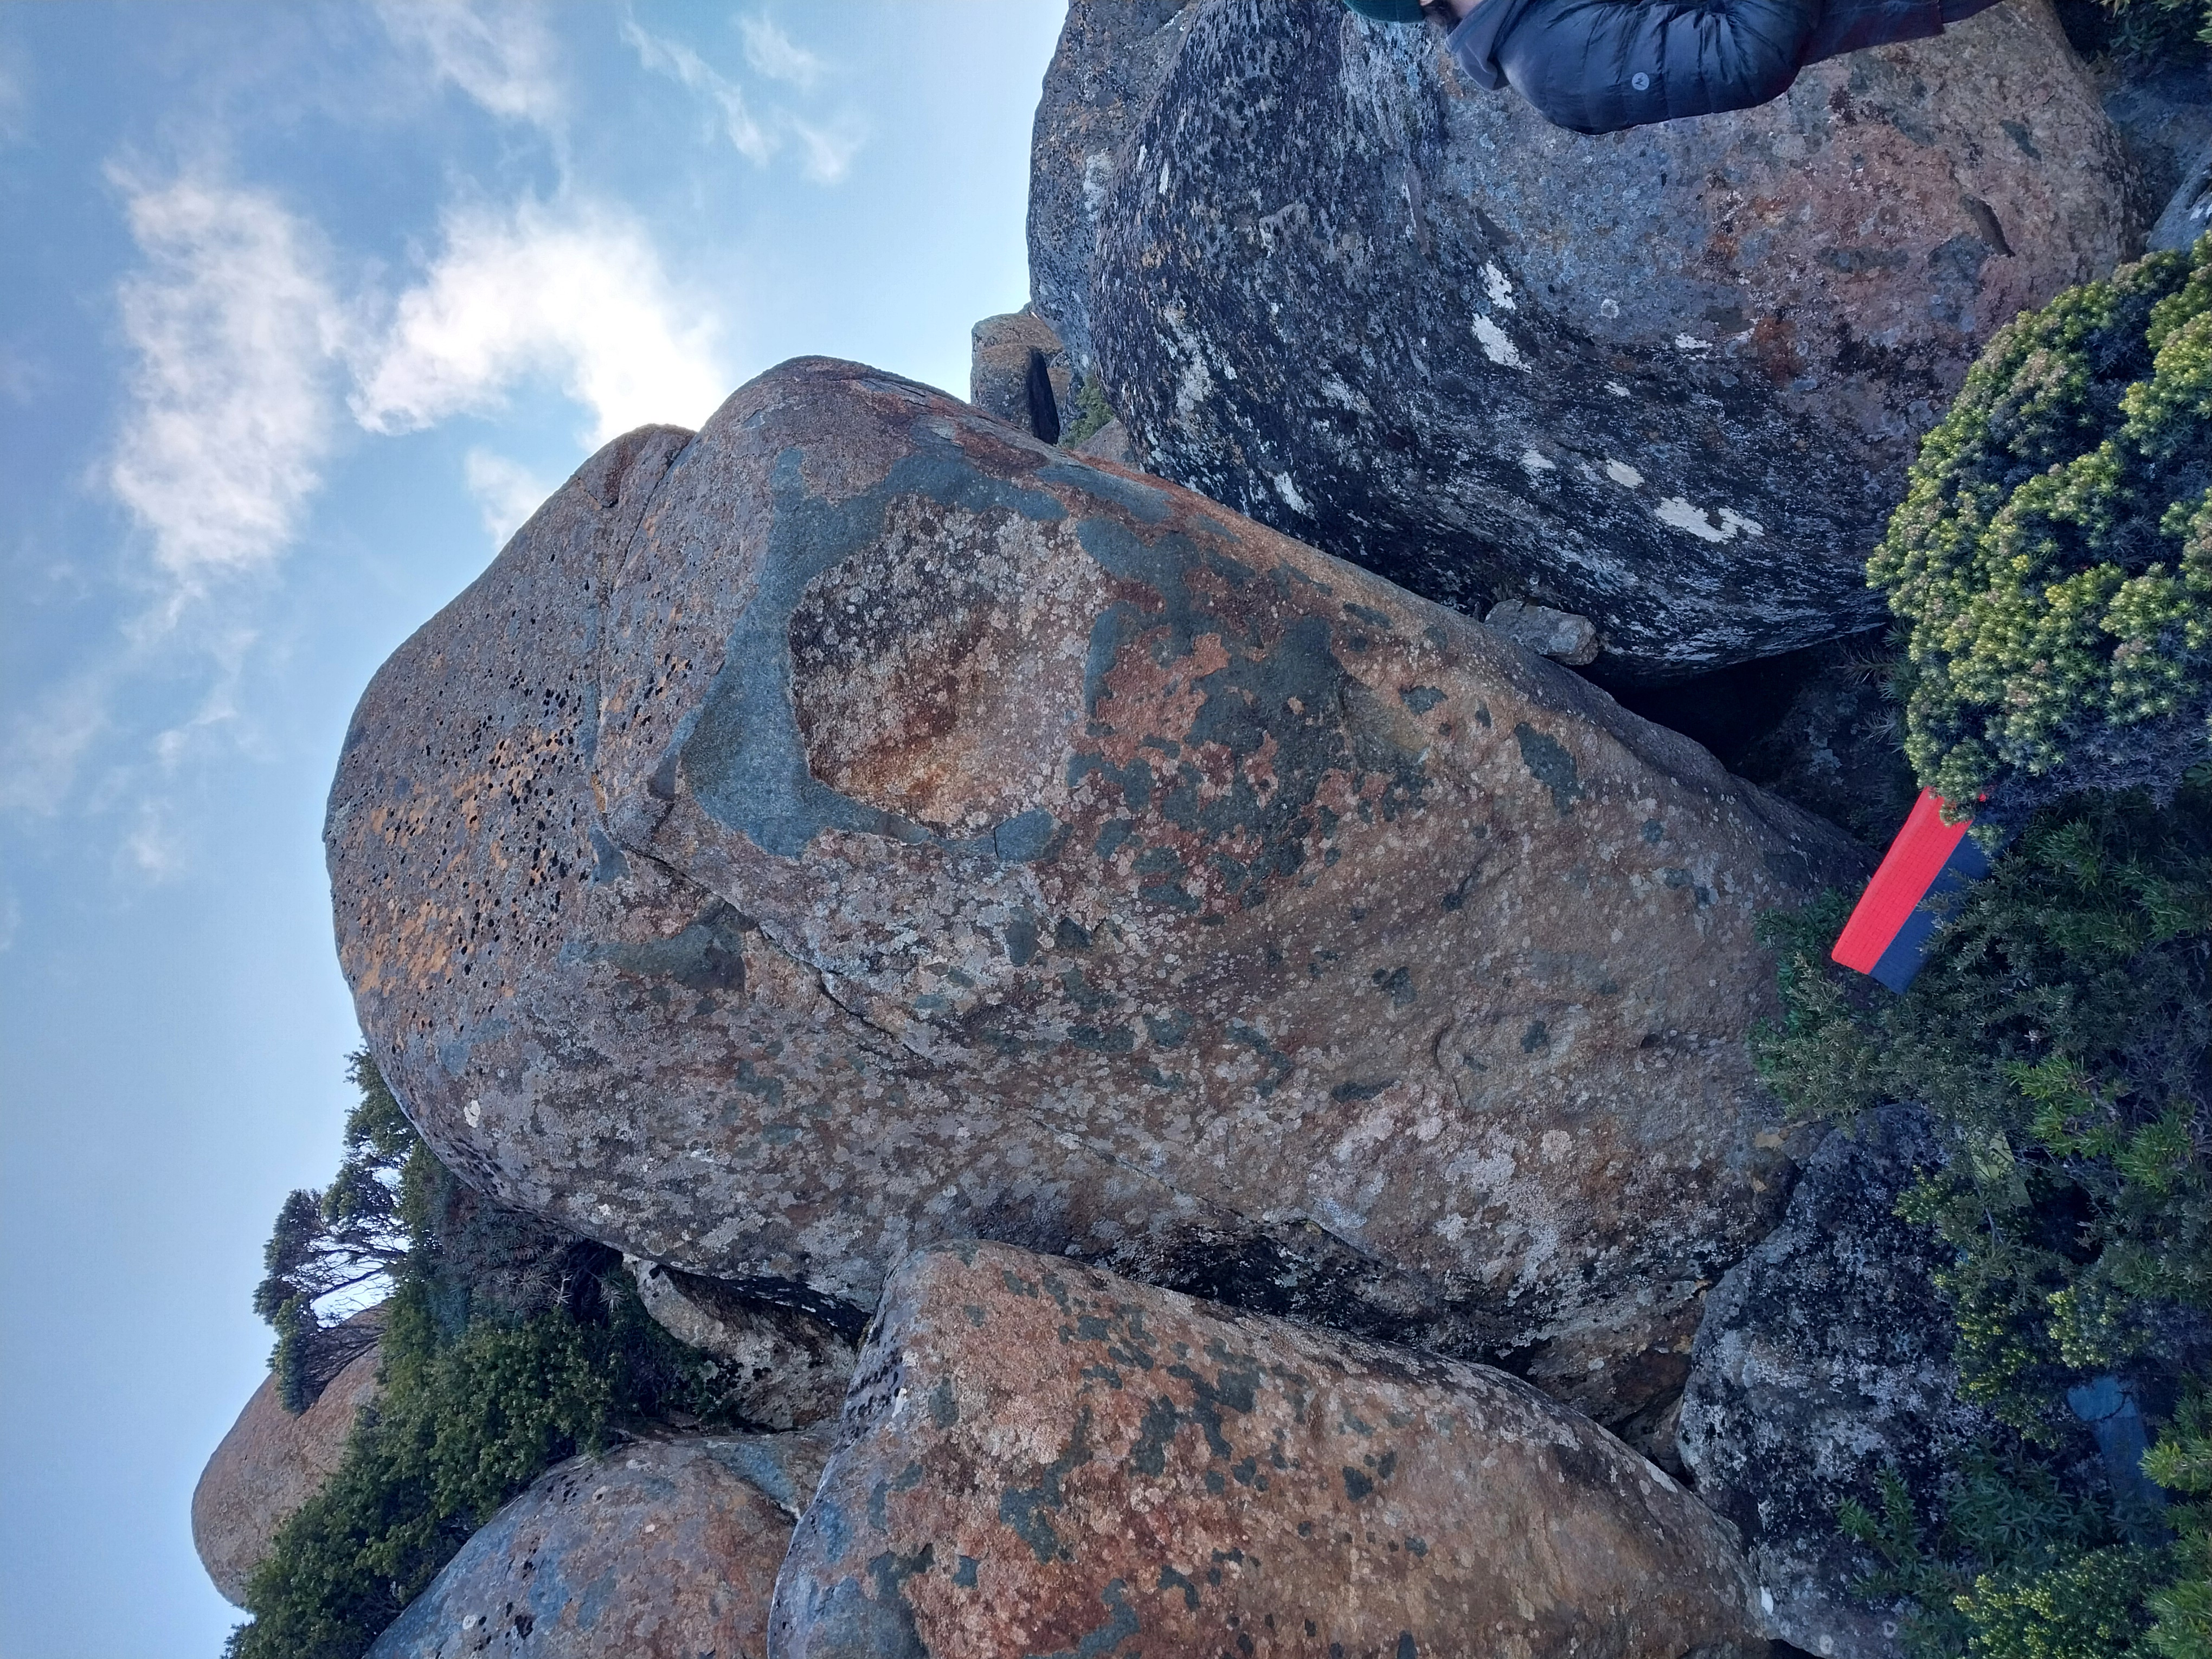
Dynamic moves up the seam to a high topout.
Joe Schwarz, 2025
Mantra Cave
This is best accessed by continuing down the gully on the North side of the scree field until you arrive at the boulder.
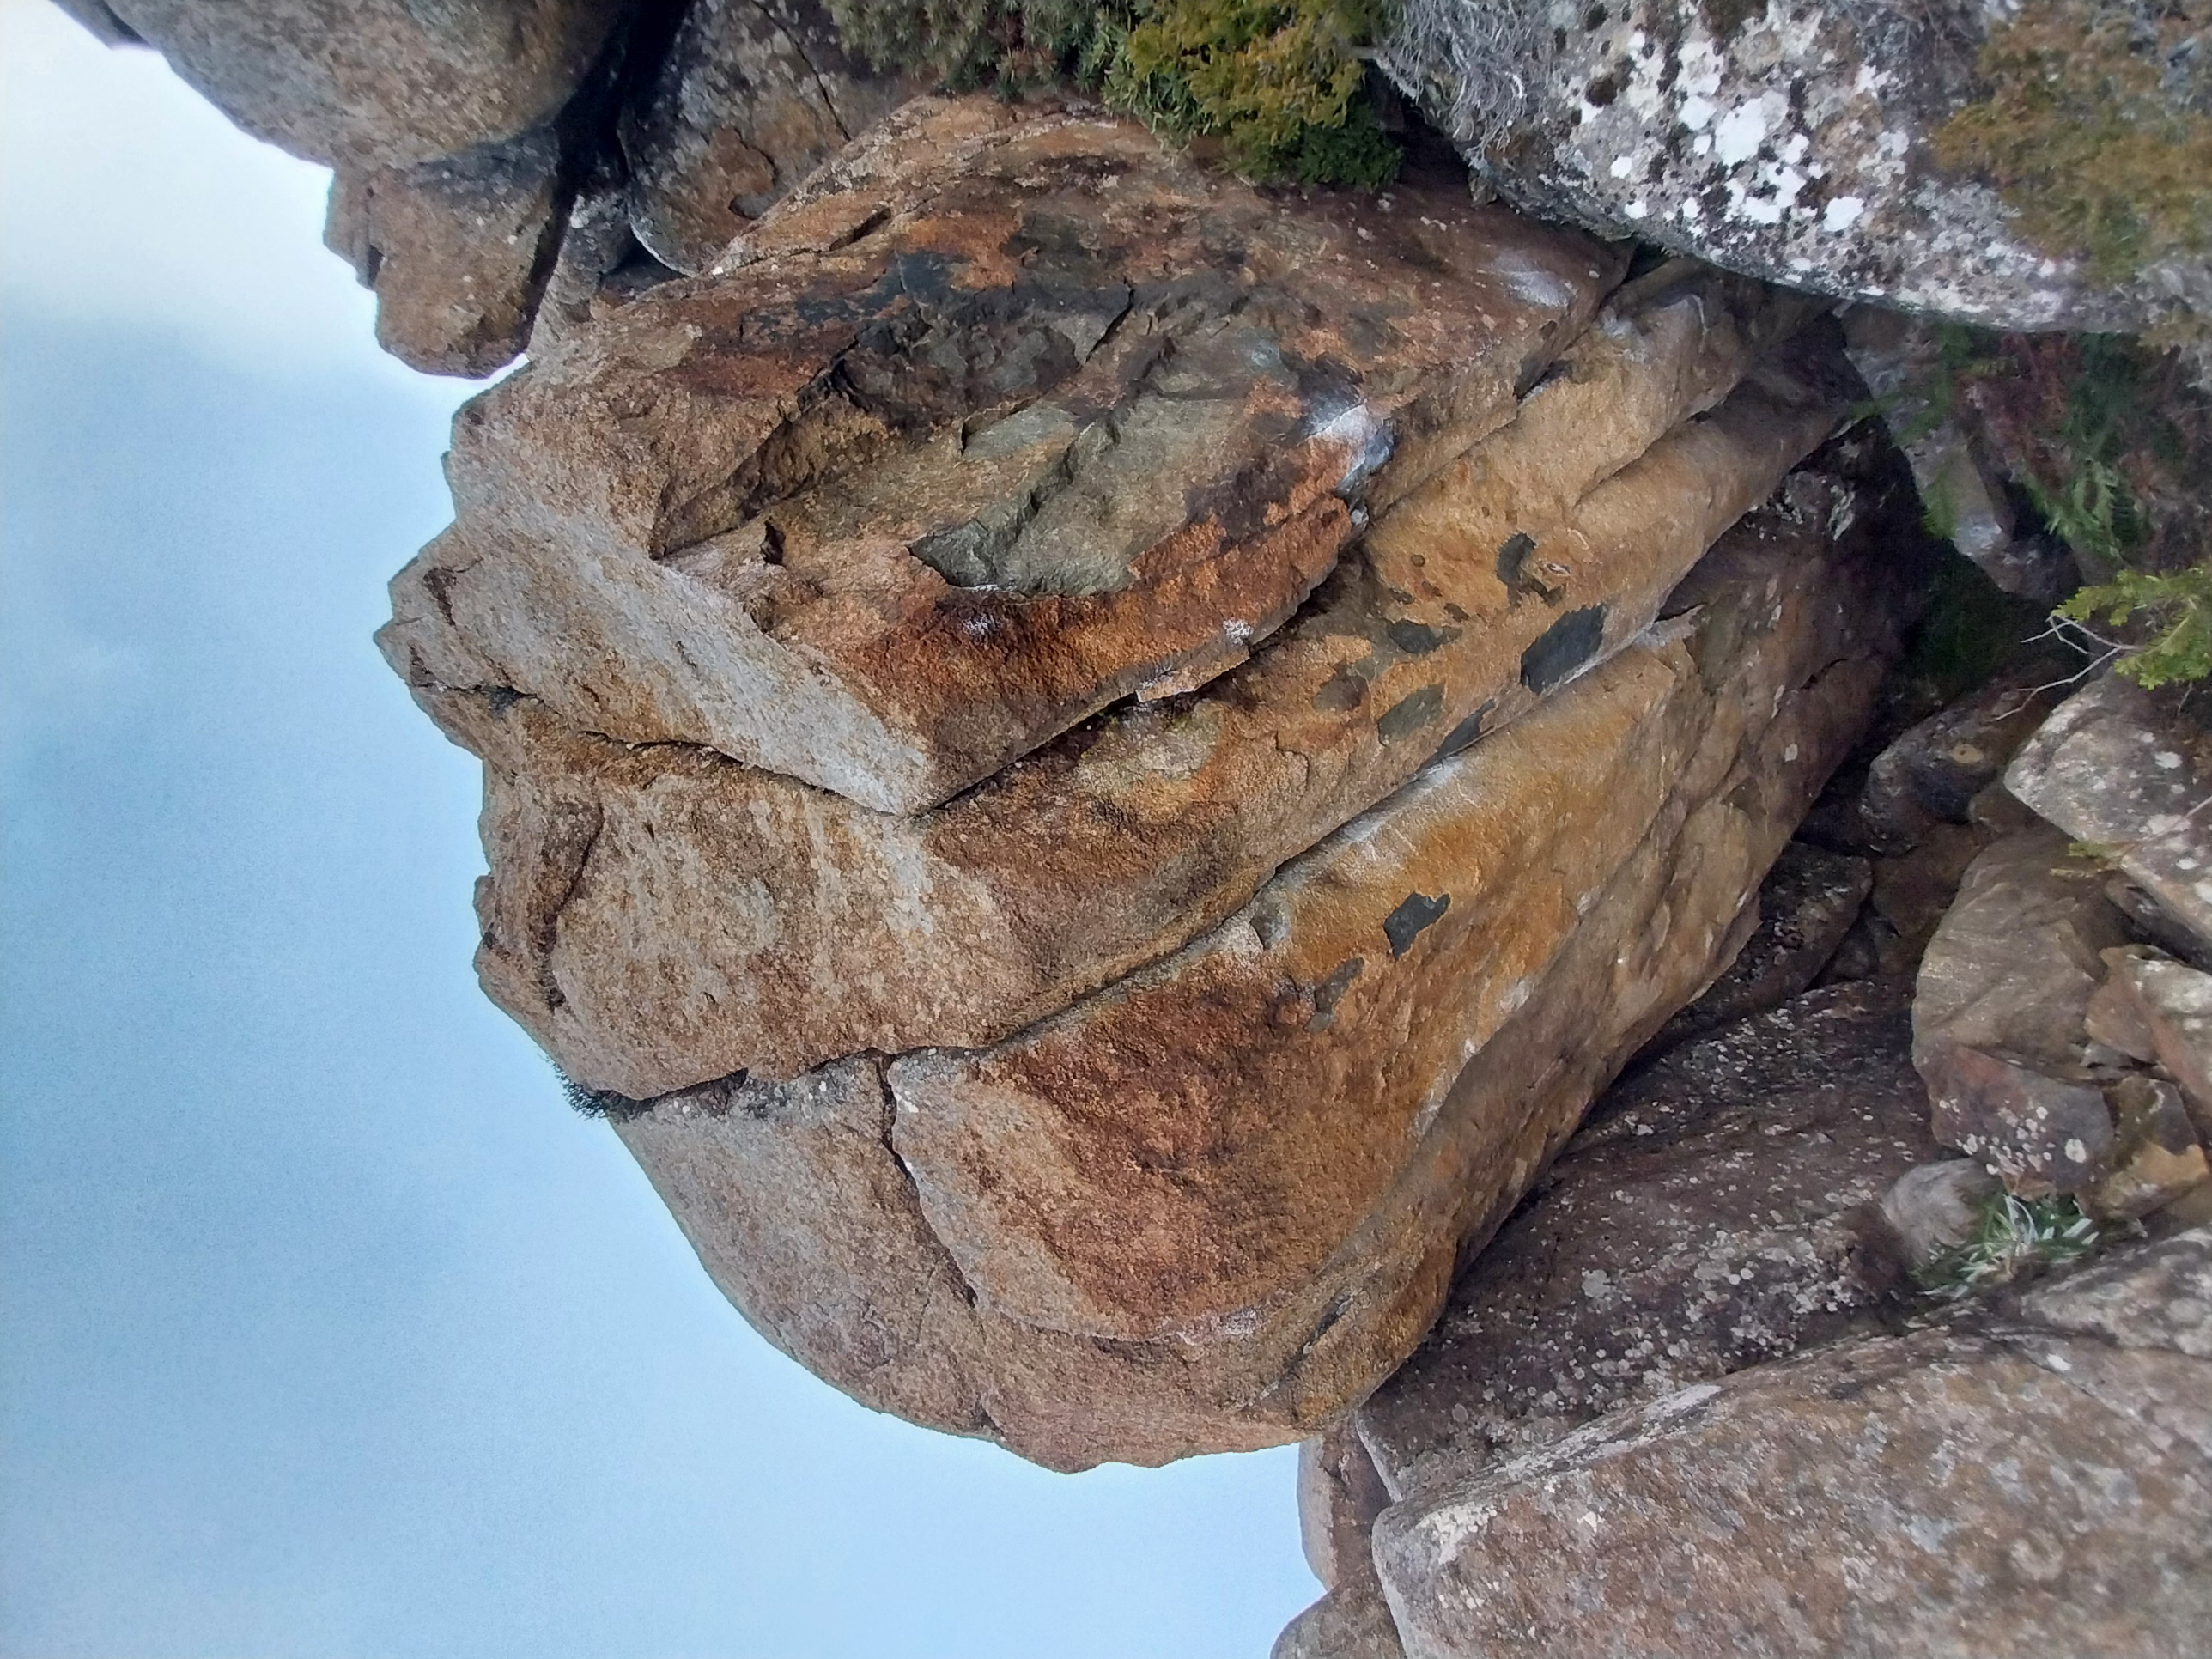
Clean compression line up the steep face.
Lewis Traill, 2025
Start on low compression. Powerful and precise.
Lewis Traill, 2025
Underworld Boulder
About 5 mins down the hill from Larum.
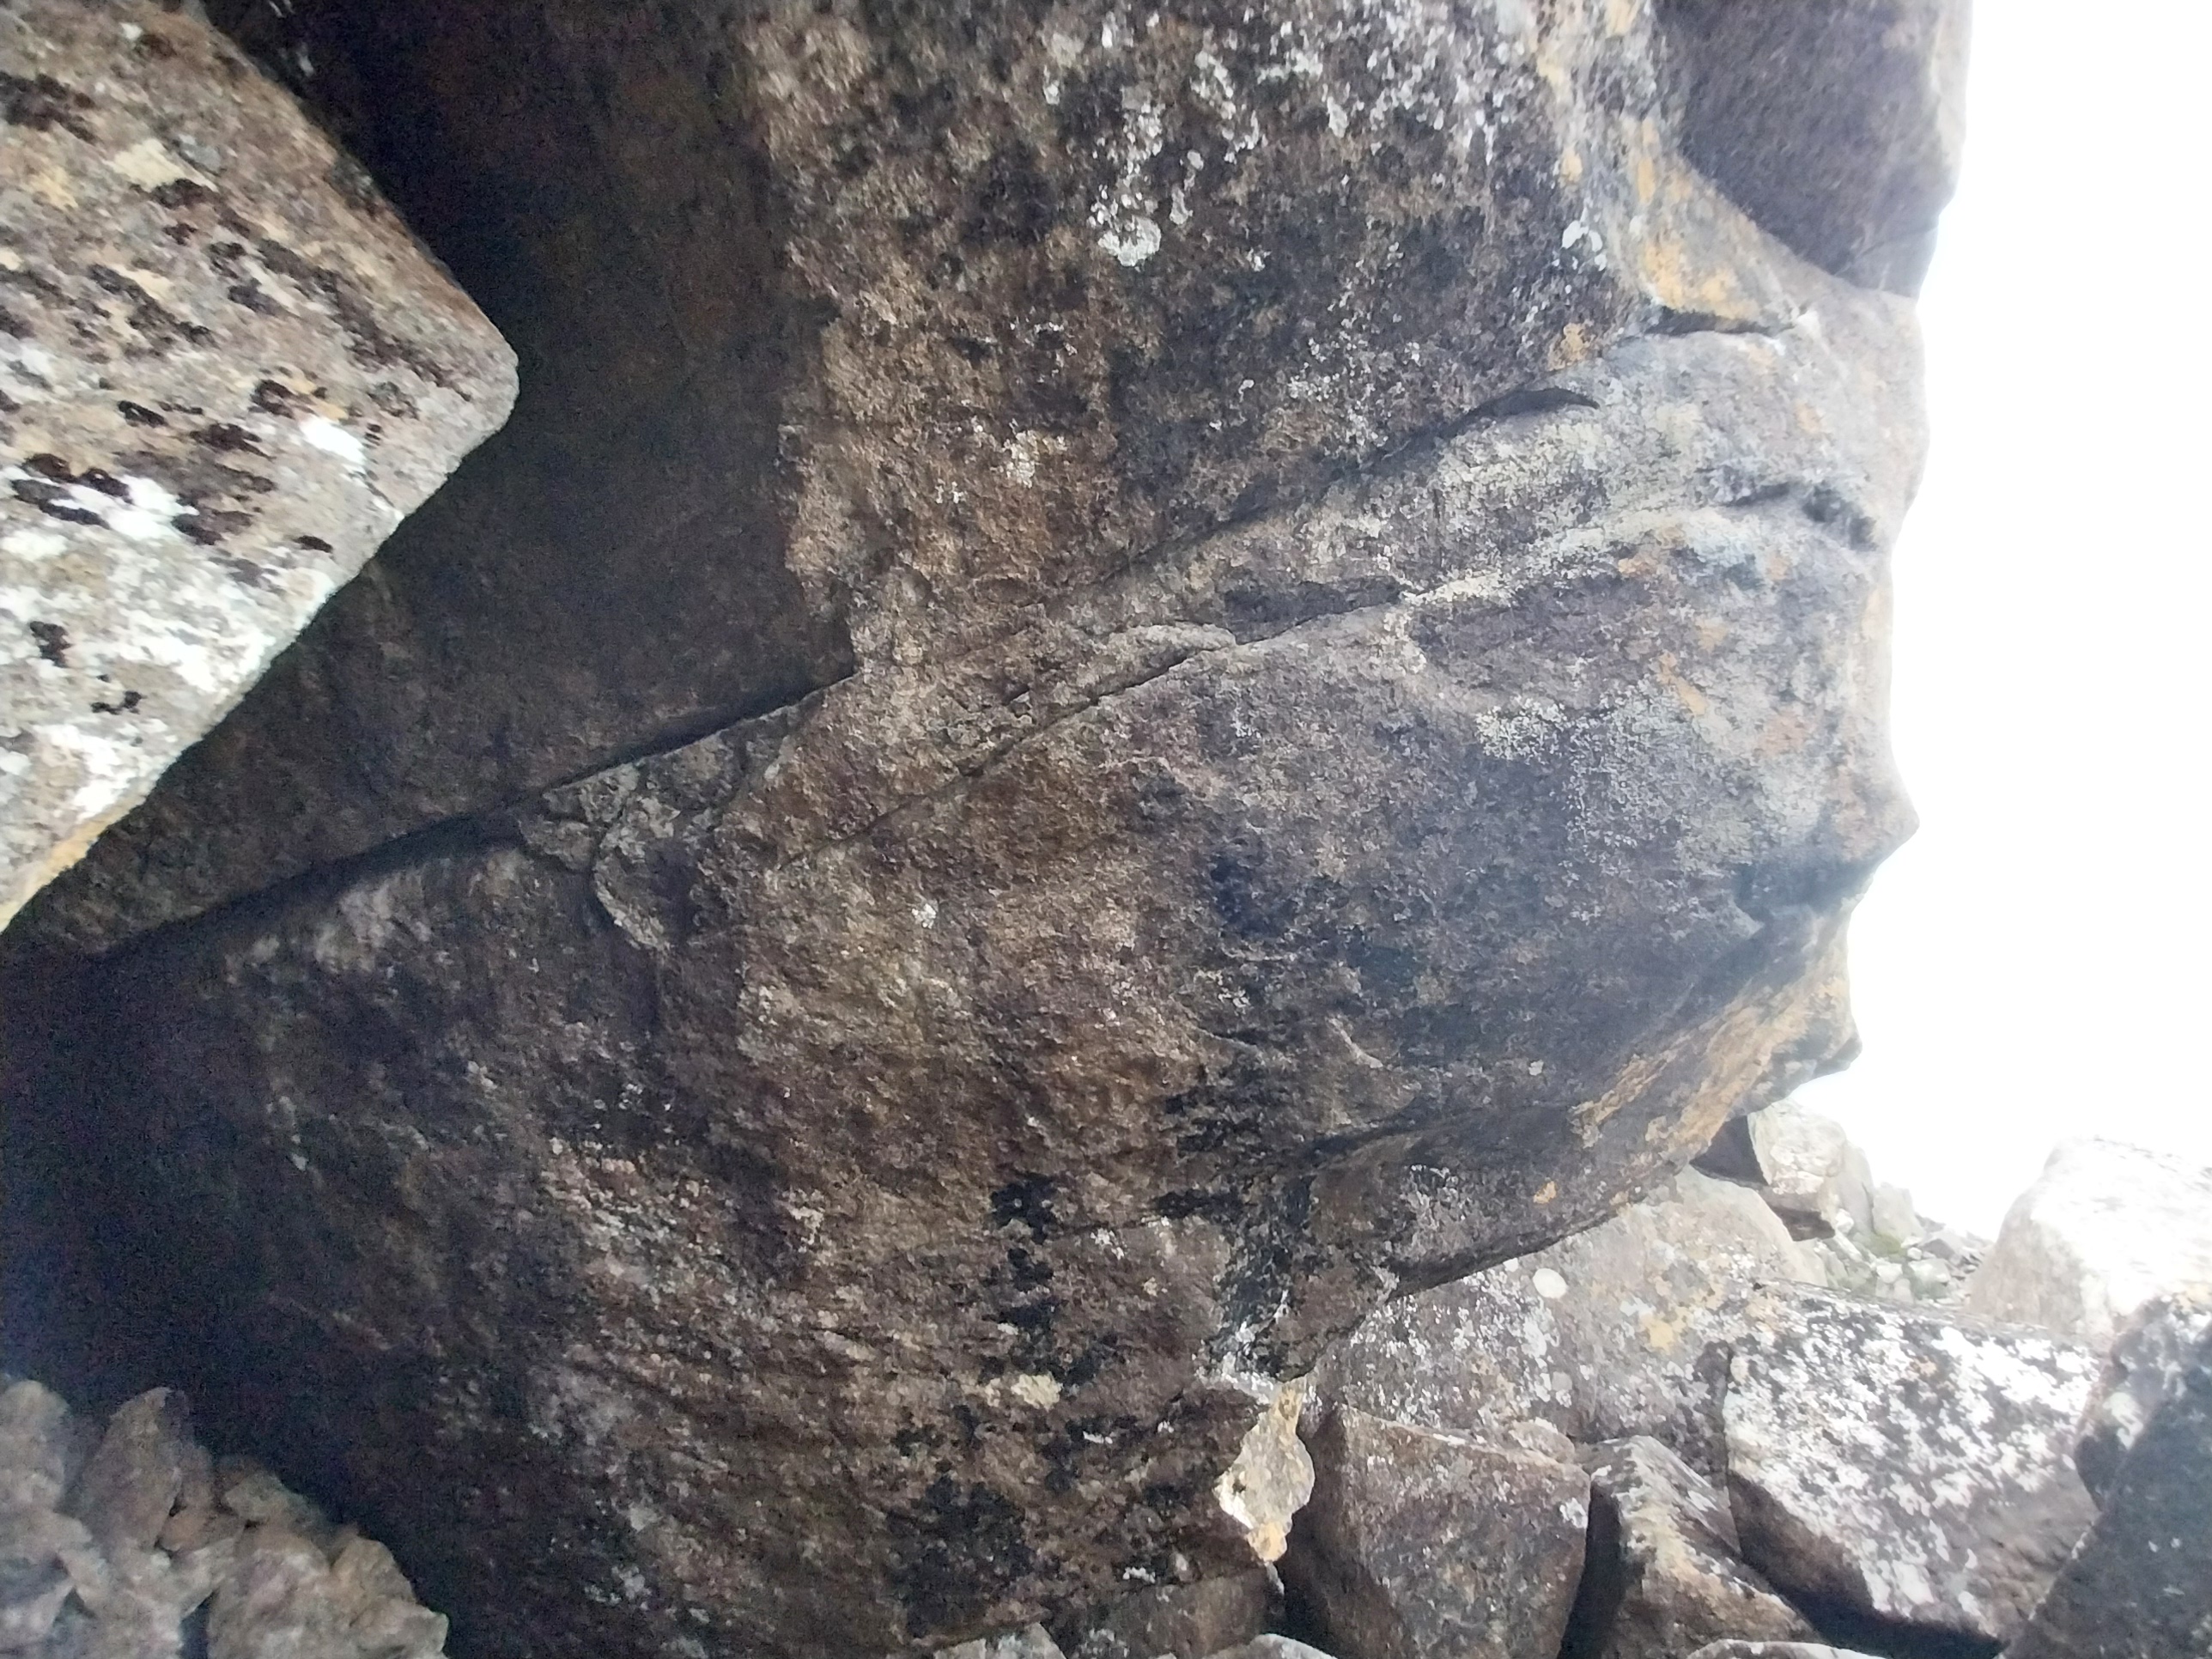
The many headed guardian of the underworld
Stick City South
This is a collection of boulders just to the south of Stick City. Access by continuing across the scree past the Comedy Club boulders or when coming down the main path to Stick City continue straight instead of turning left down the gully to Cosmic Hero.
The Cube Area
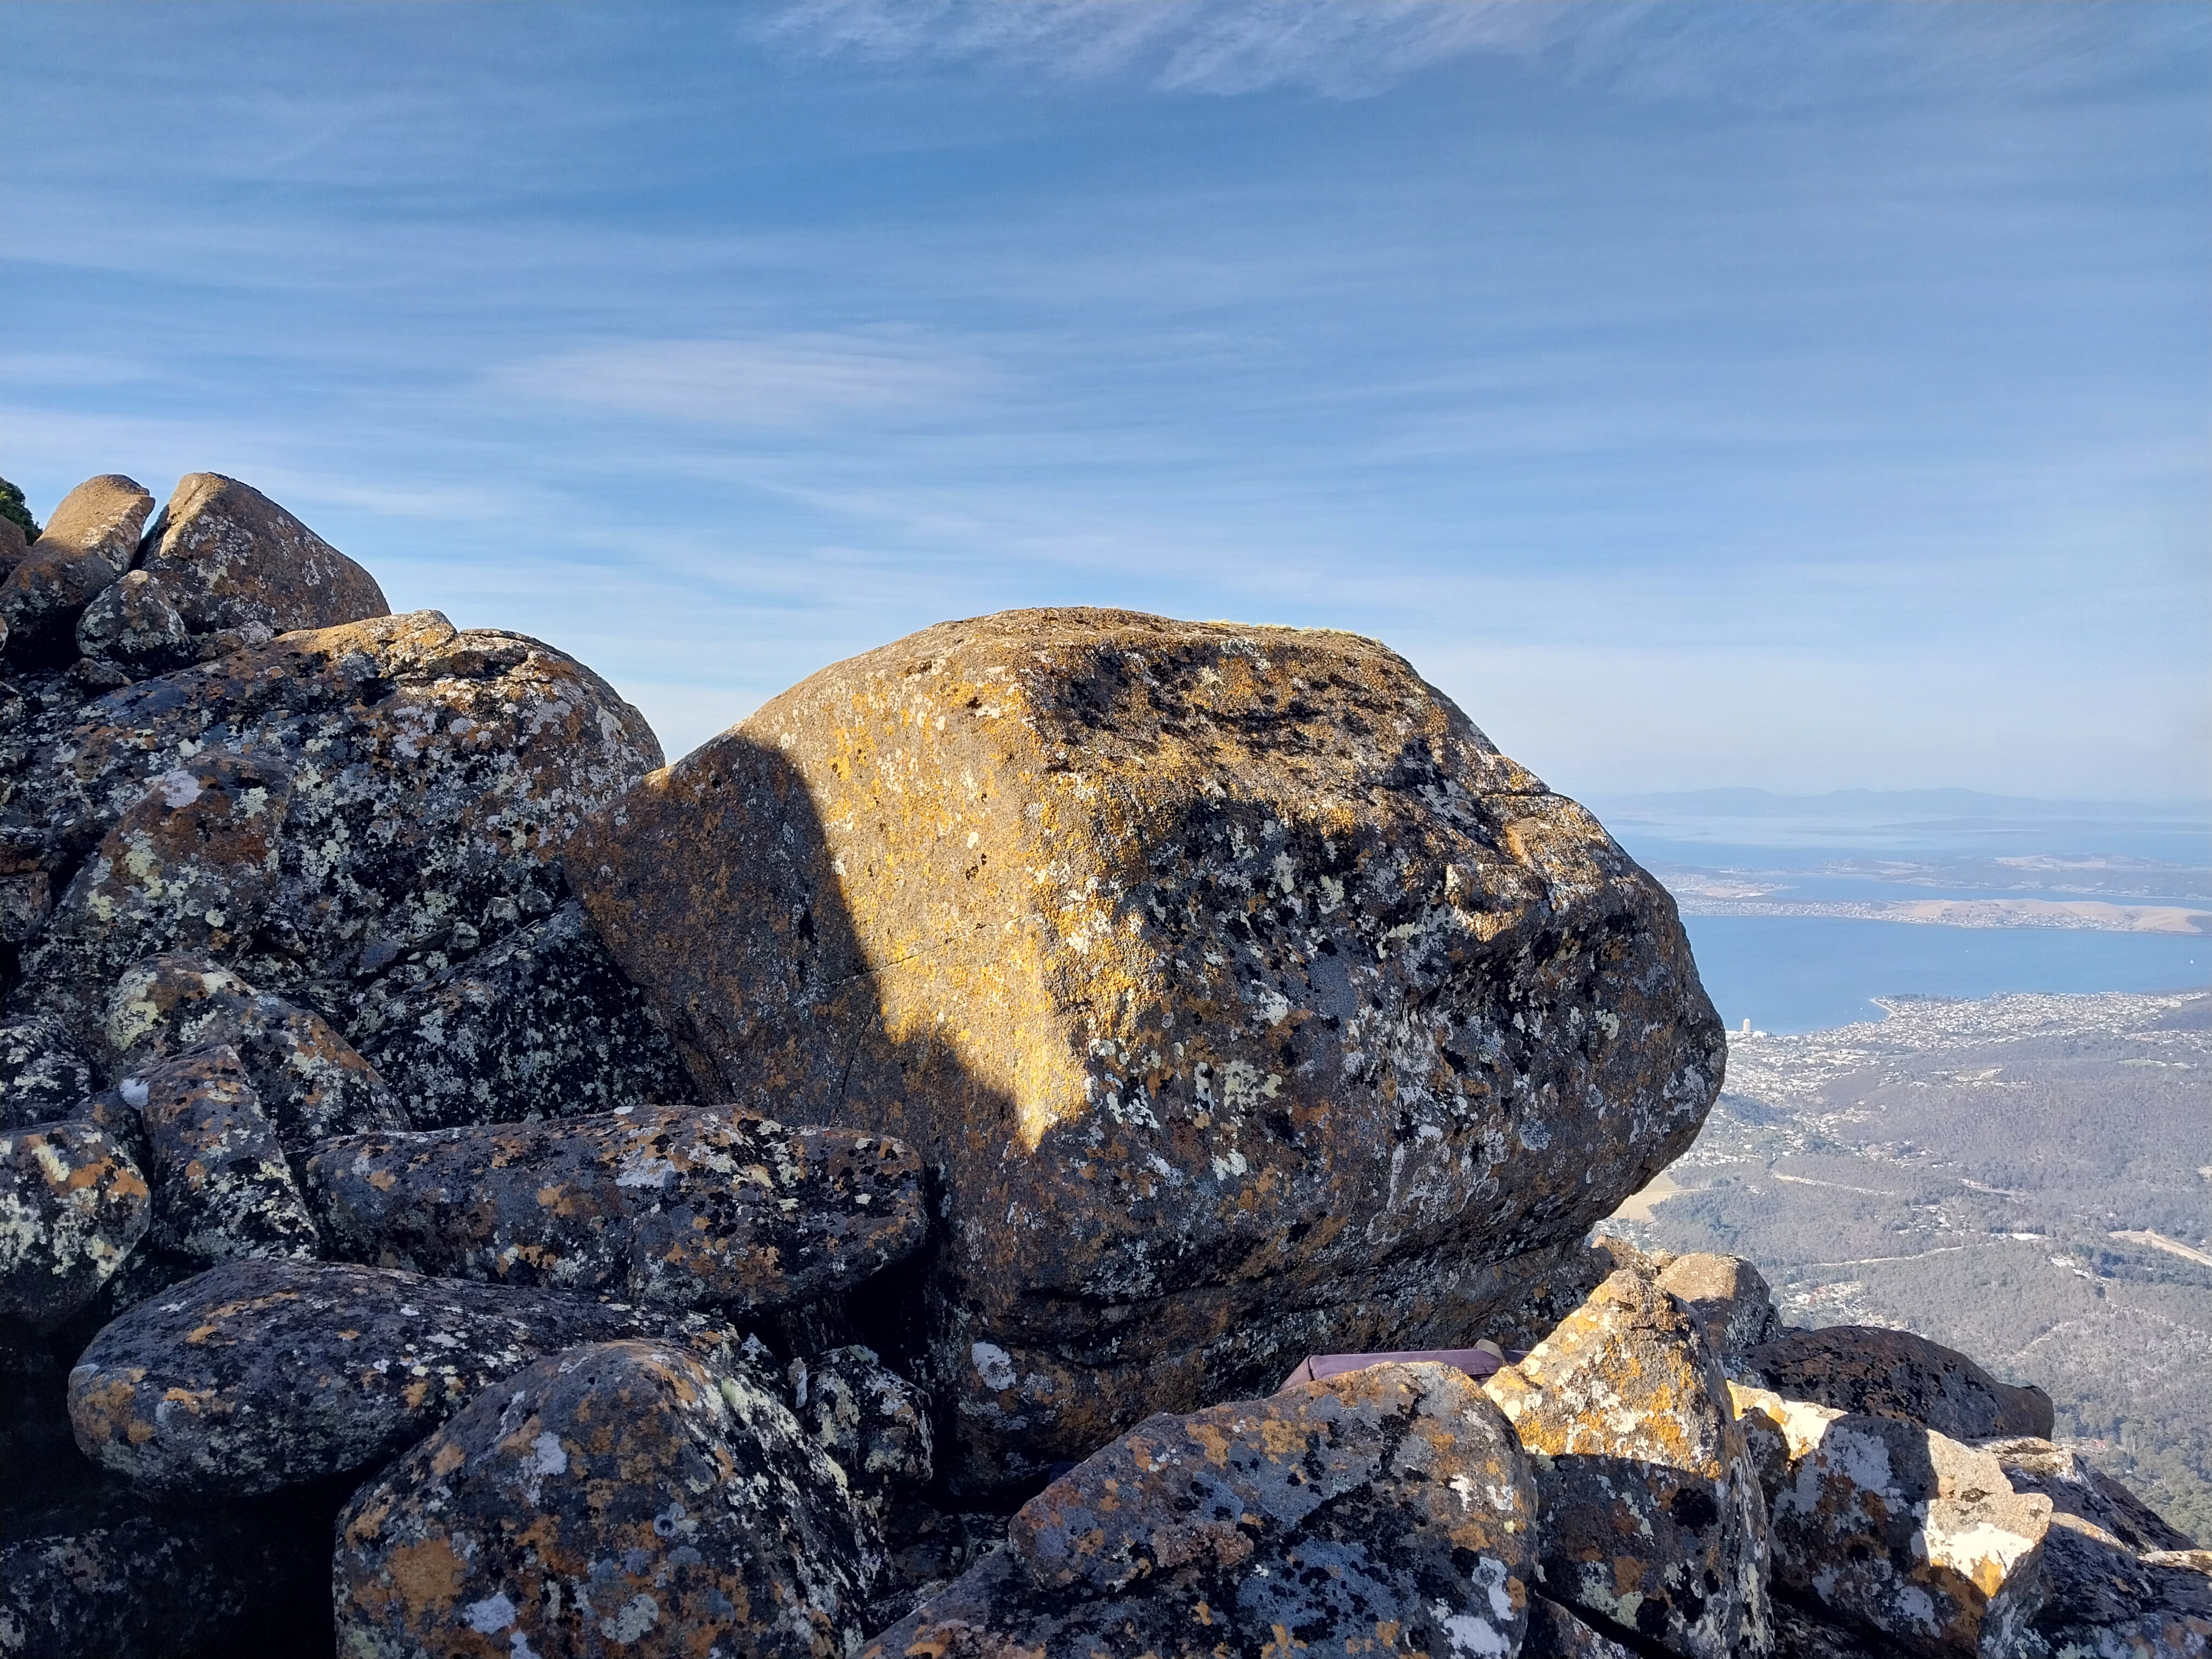
Start at left corner and head right to mantle.
Tarn Hingston, 2026
Start with left hand arete and right hand sidepull.
Joe Schwarz, 2026
Start with lefthand crimp and right hand low sidepull crimp.
Joe Schwarz, 2026
next arete right of Phytochrome.
Joe Schwarz, 2026
Contrived. Start in slot between Rhizome and Phototropin and mantle.
Lewis Traill, 2026
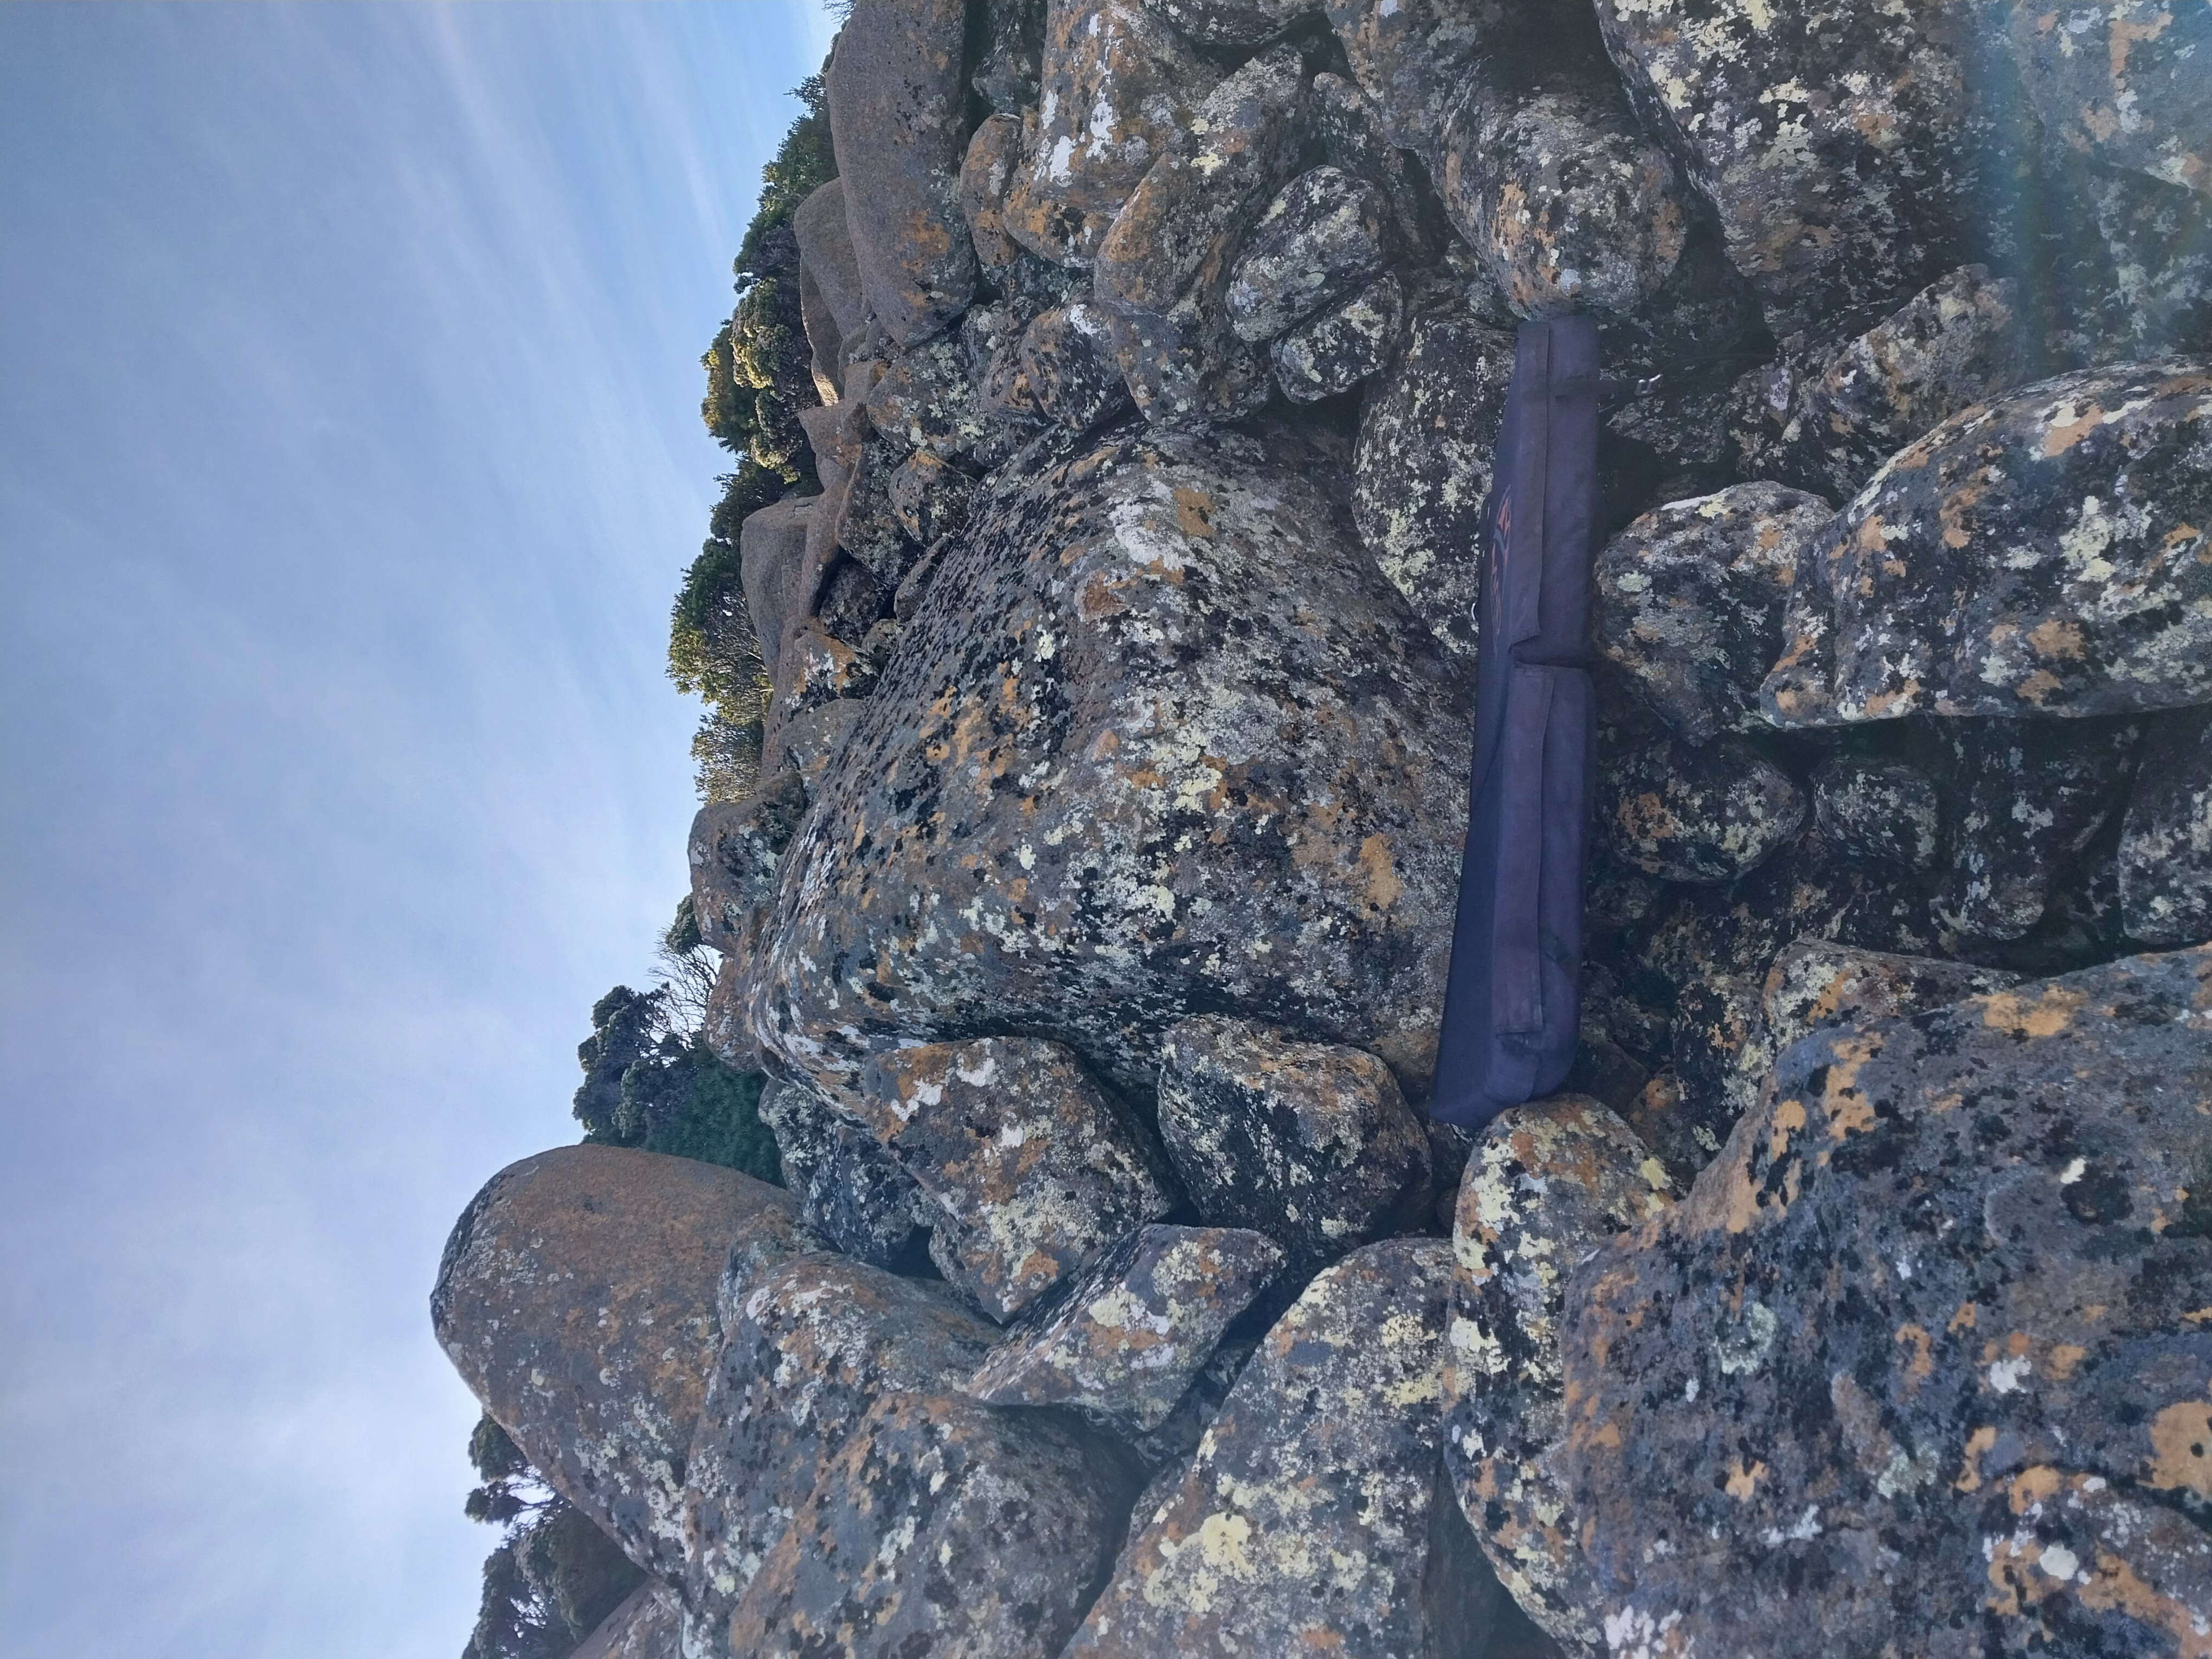
Sit start into a cryptic mantle.
Lewis Traill, 2026
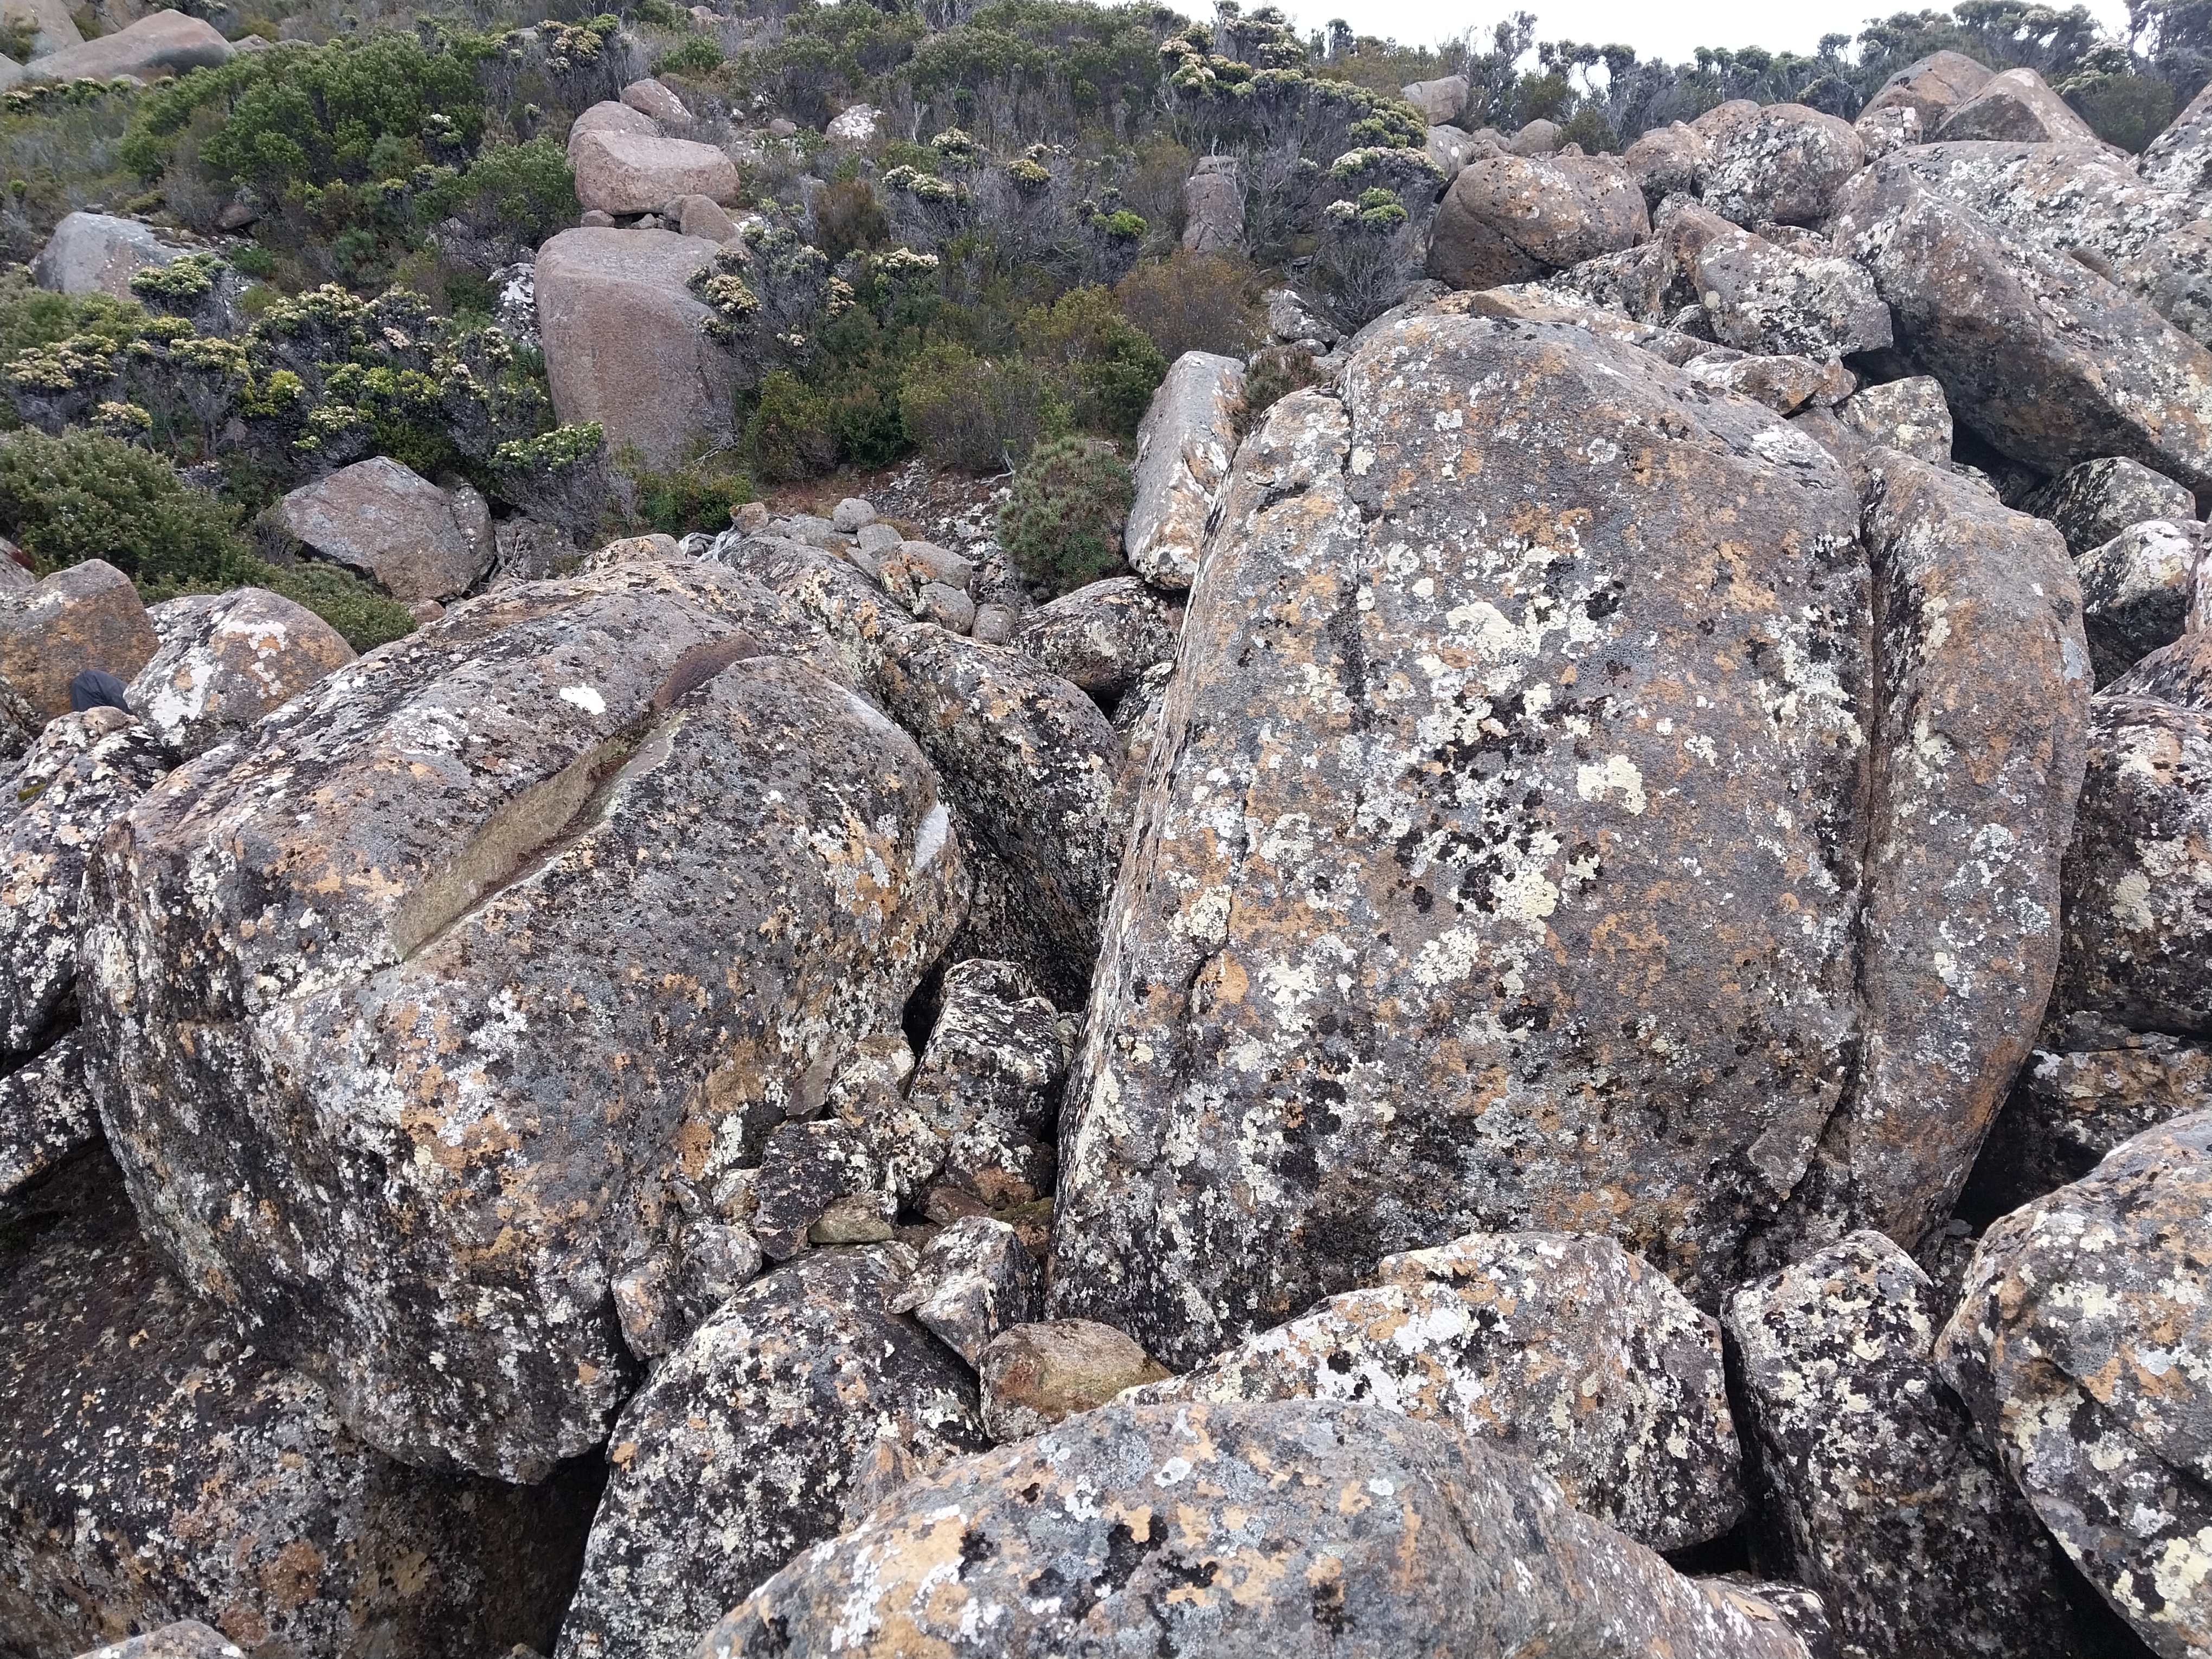
Start with left hand on high sloper, right hand on slopey crimp on arete.
Joe Schwarz, 2026
Start matched on the big sloper.
Lewis Traill, 2026
Kate Chappell, 2026
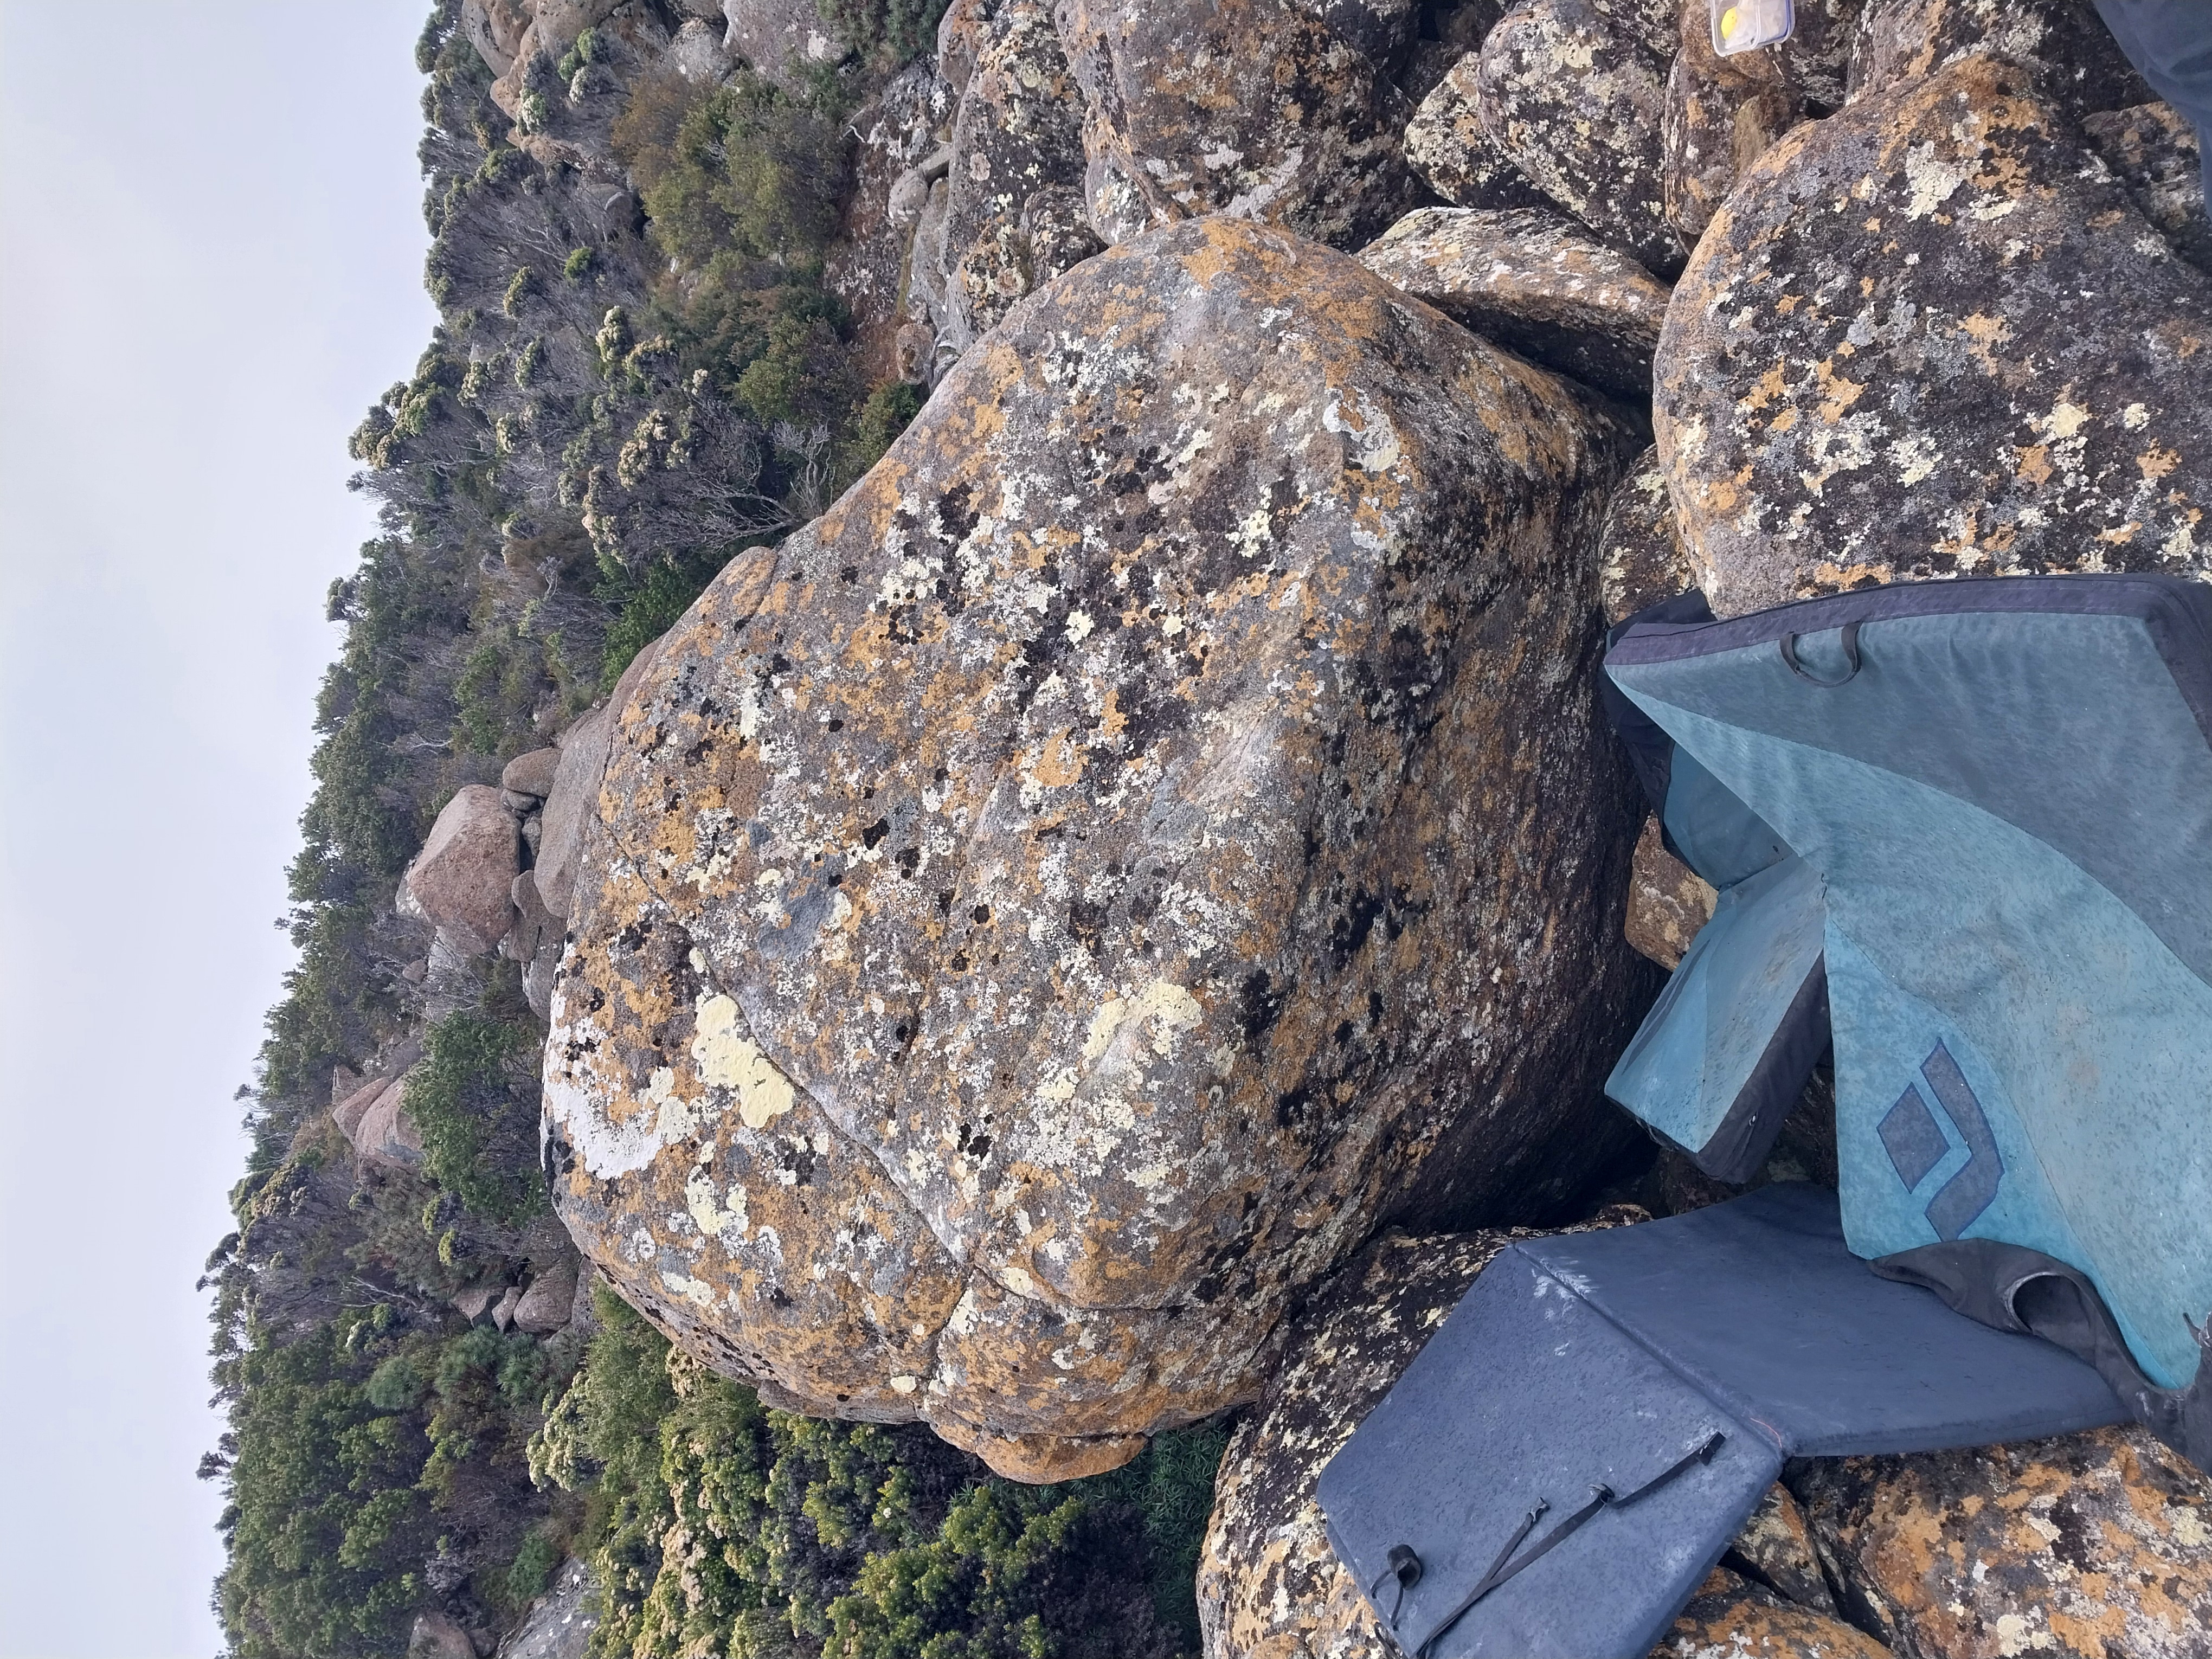
Left hand on sidepull in steep face, right hand on lip.
Lewis Traill, 2026
Start with slopers into a fun puzzle of a mantle.
Lewis Traill, 2026
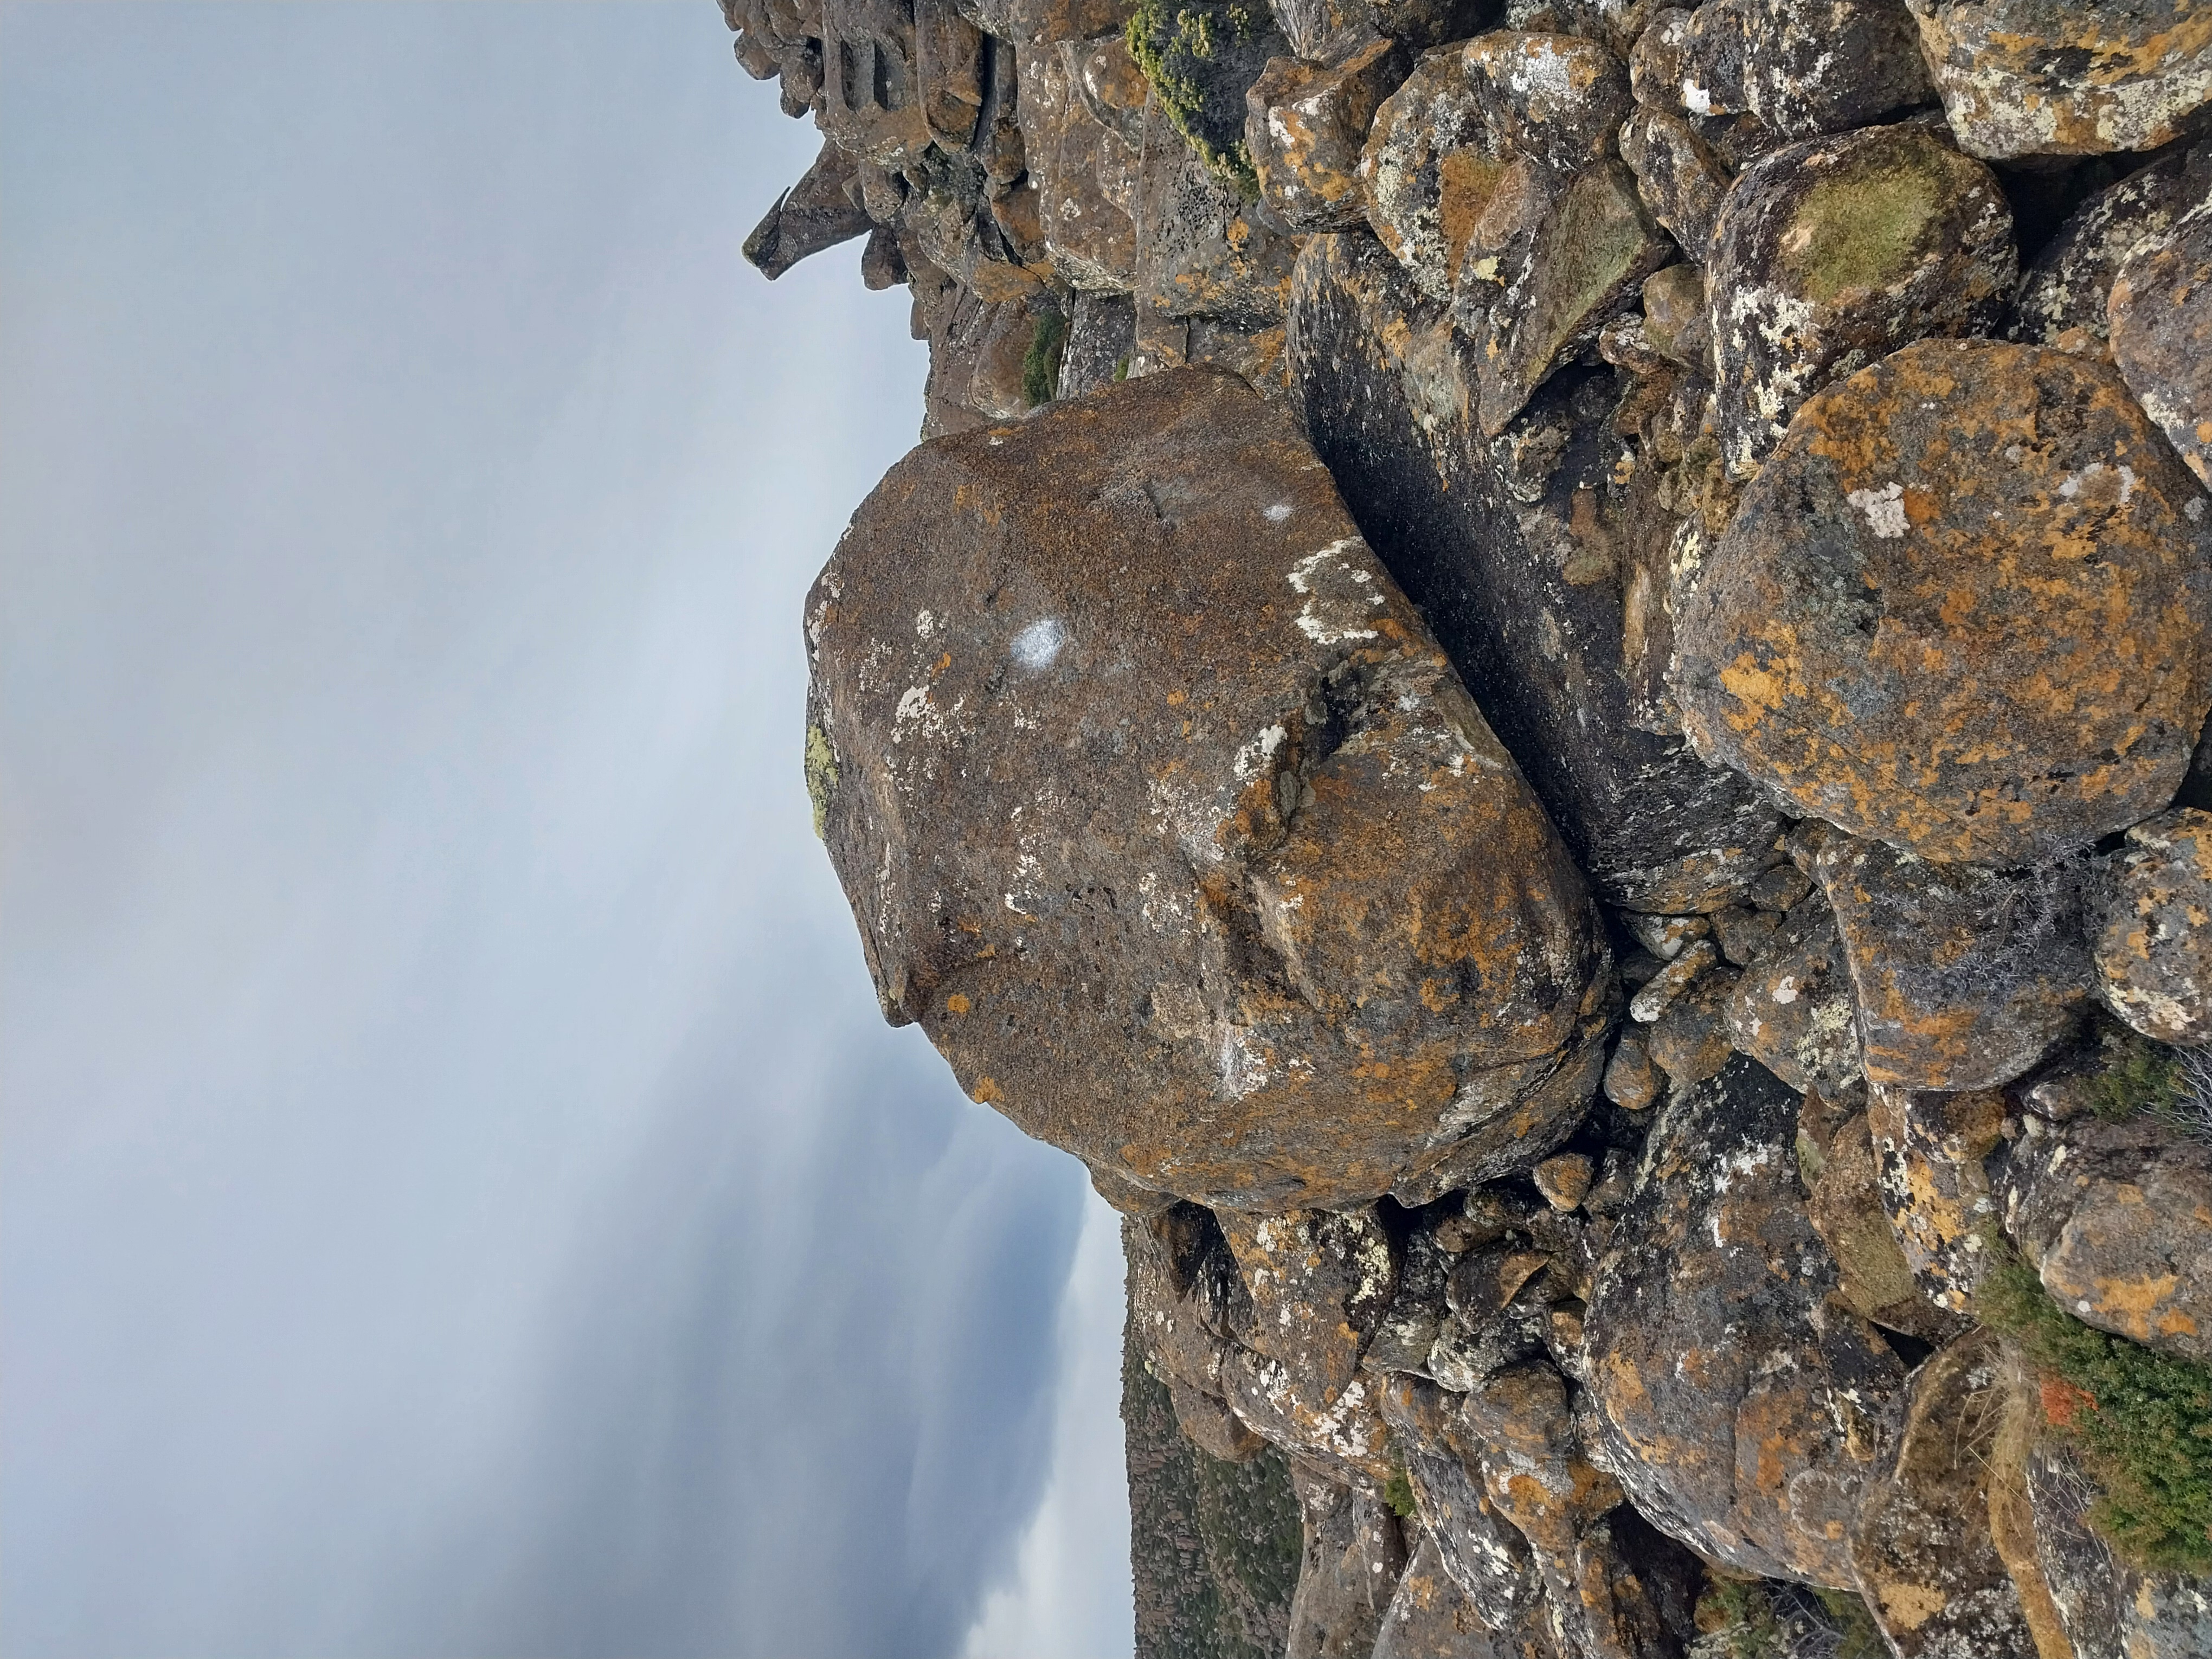
Greg Schwarz, 2026
Lower Tier
These boulders are directly below the cube area
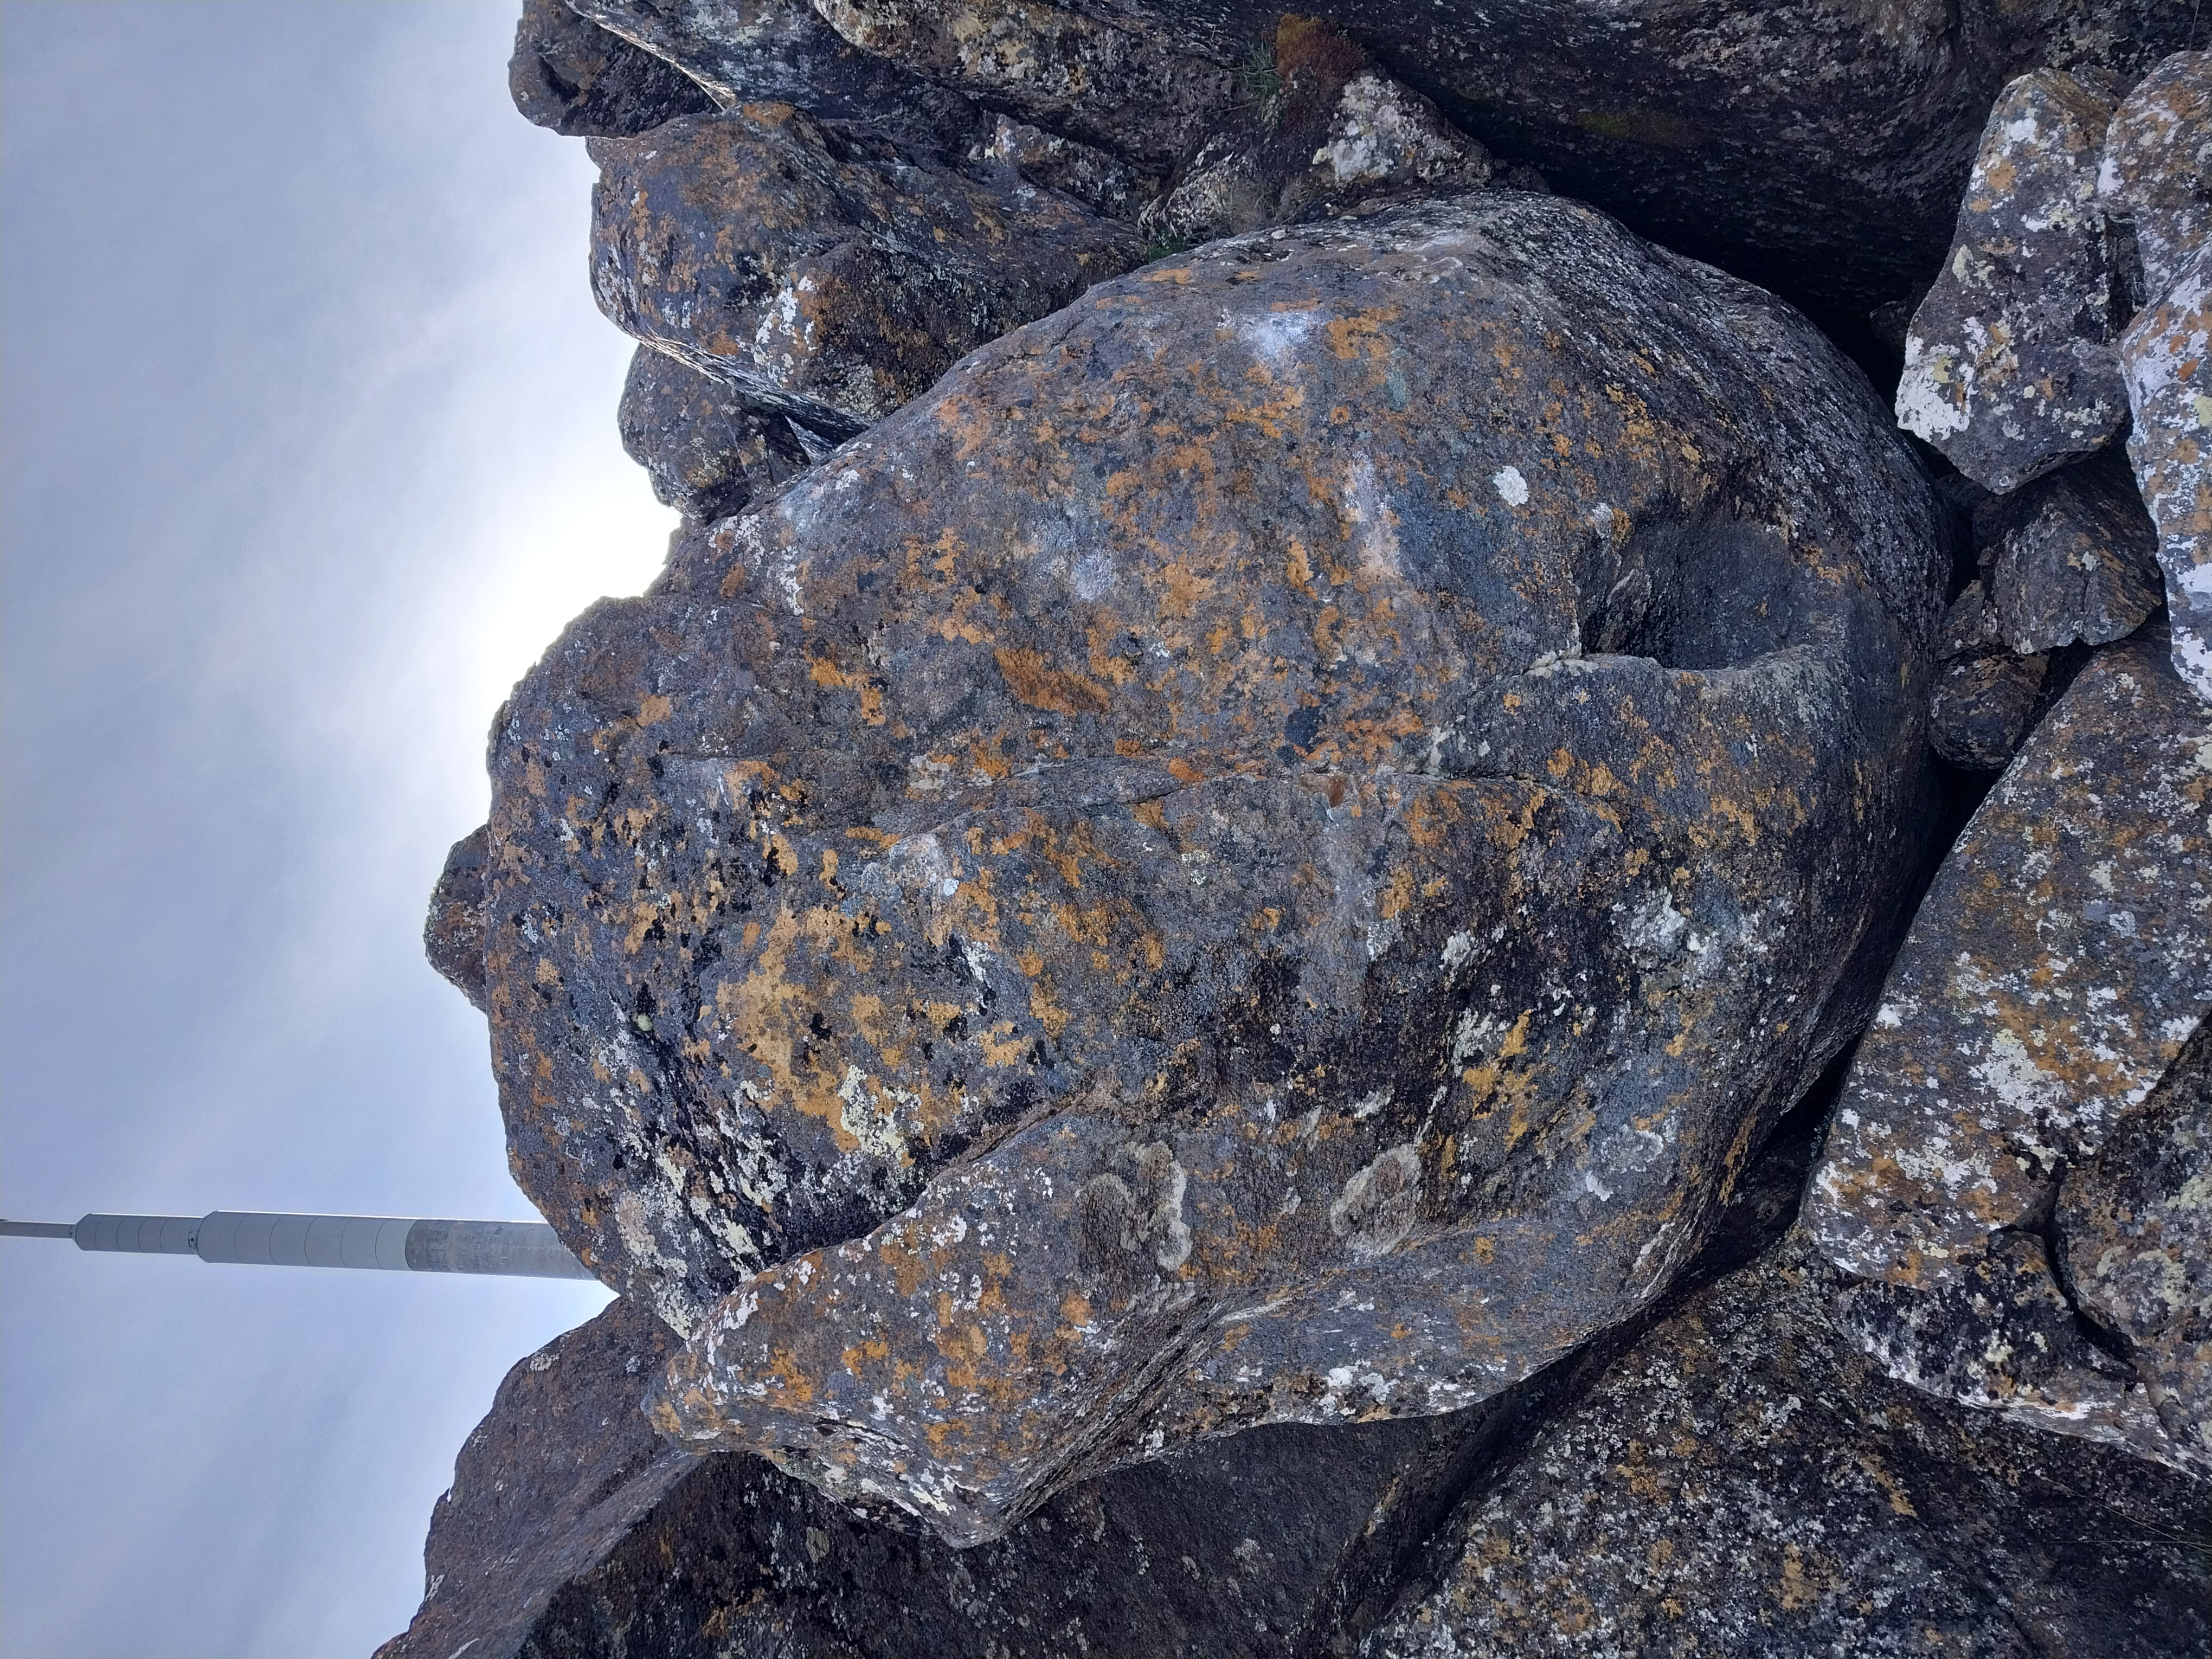
Low sit start with compression, climb up and out to the left.
Lewis Traill, 2026
Start on the left side of the rail, head straight up.
Joe Schwarz, 2026
From the start hold of Wild Type head right to sloping rail then back left at the top.
Joe Schwarz, 2026
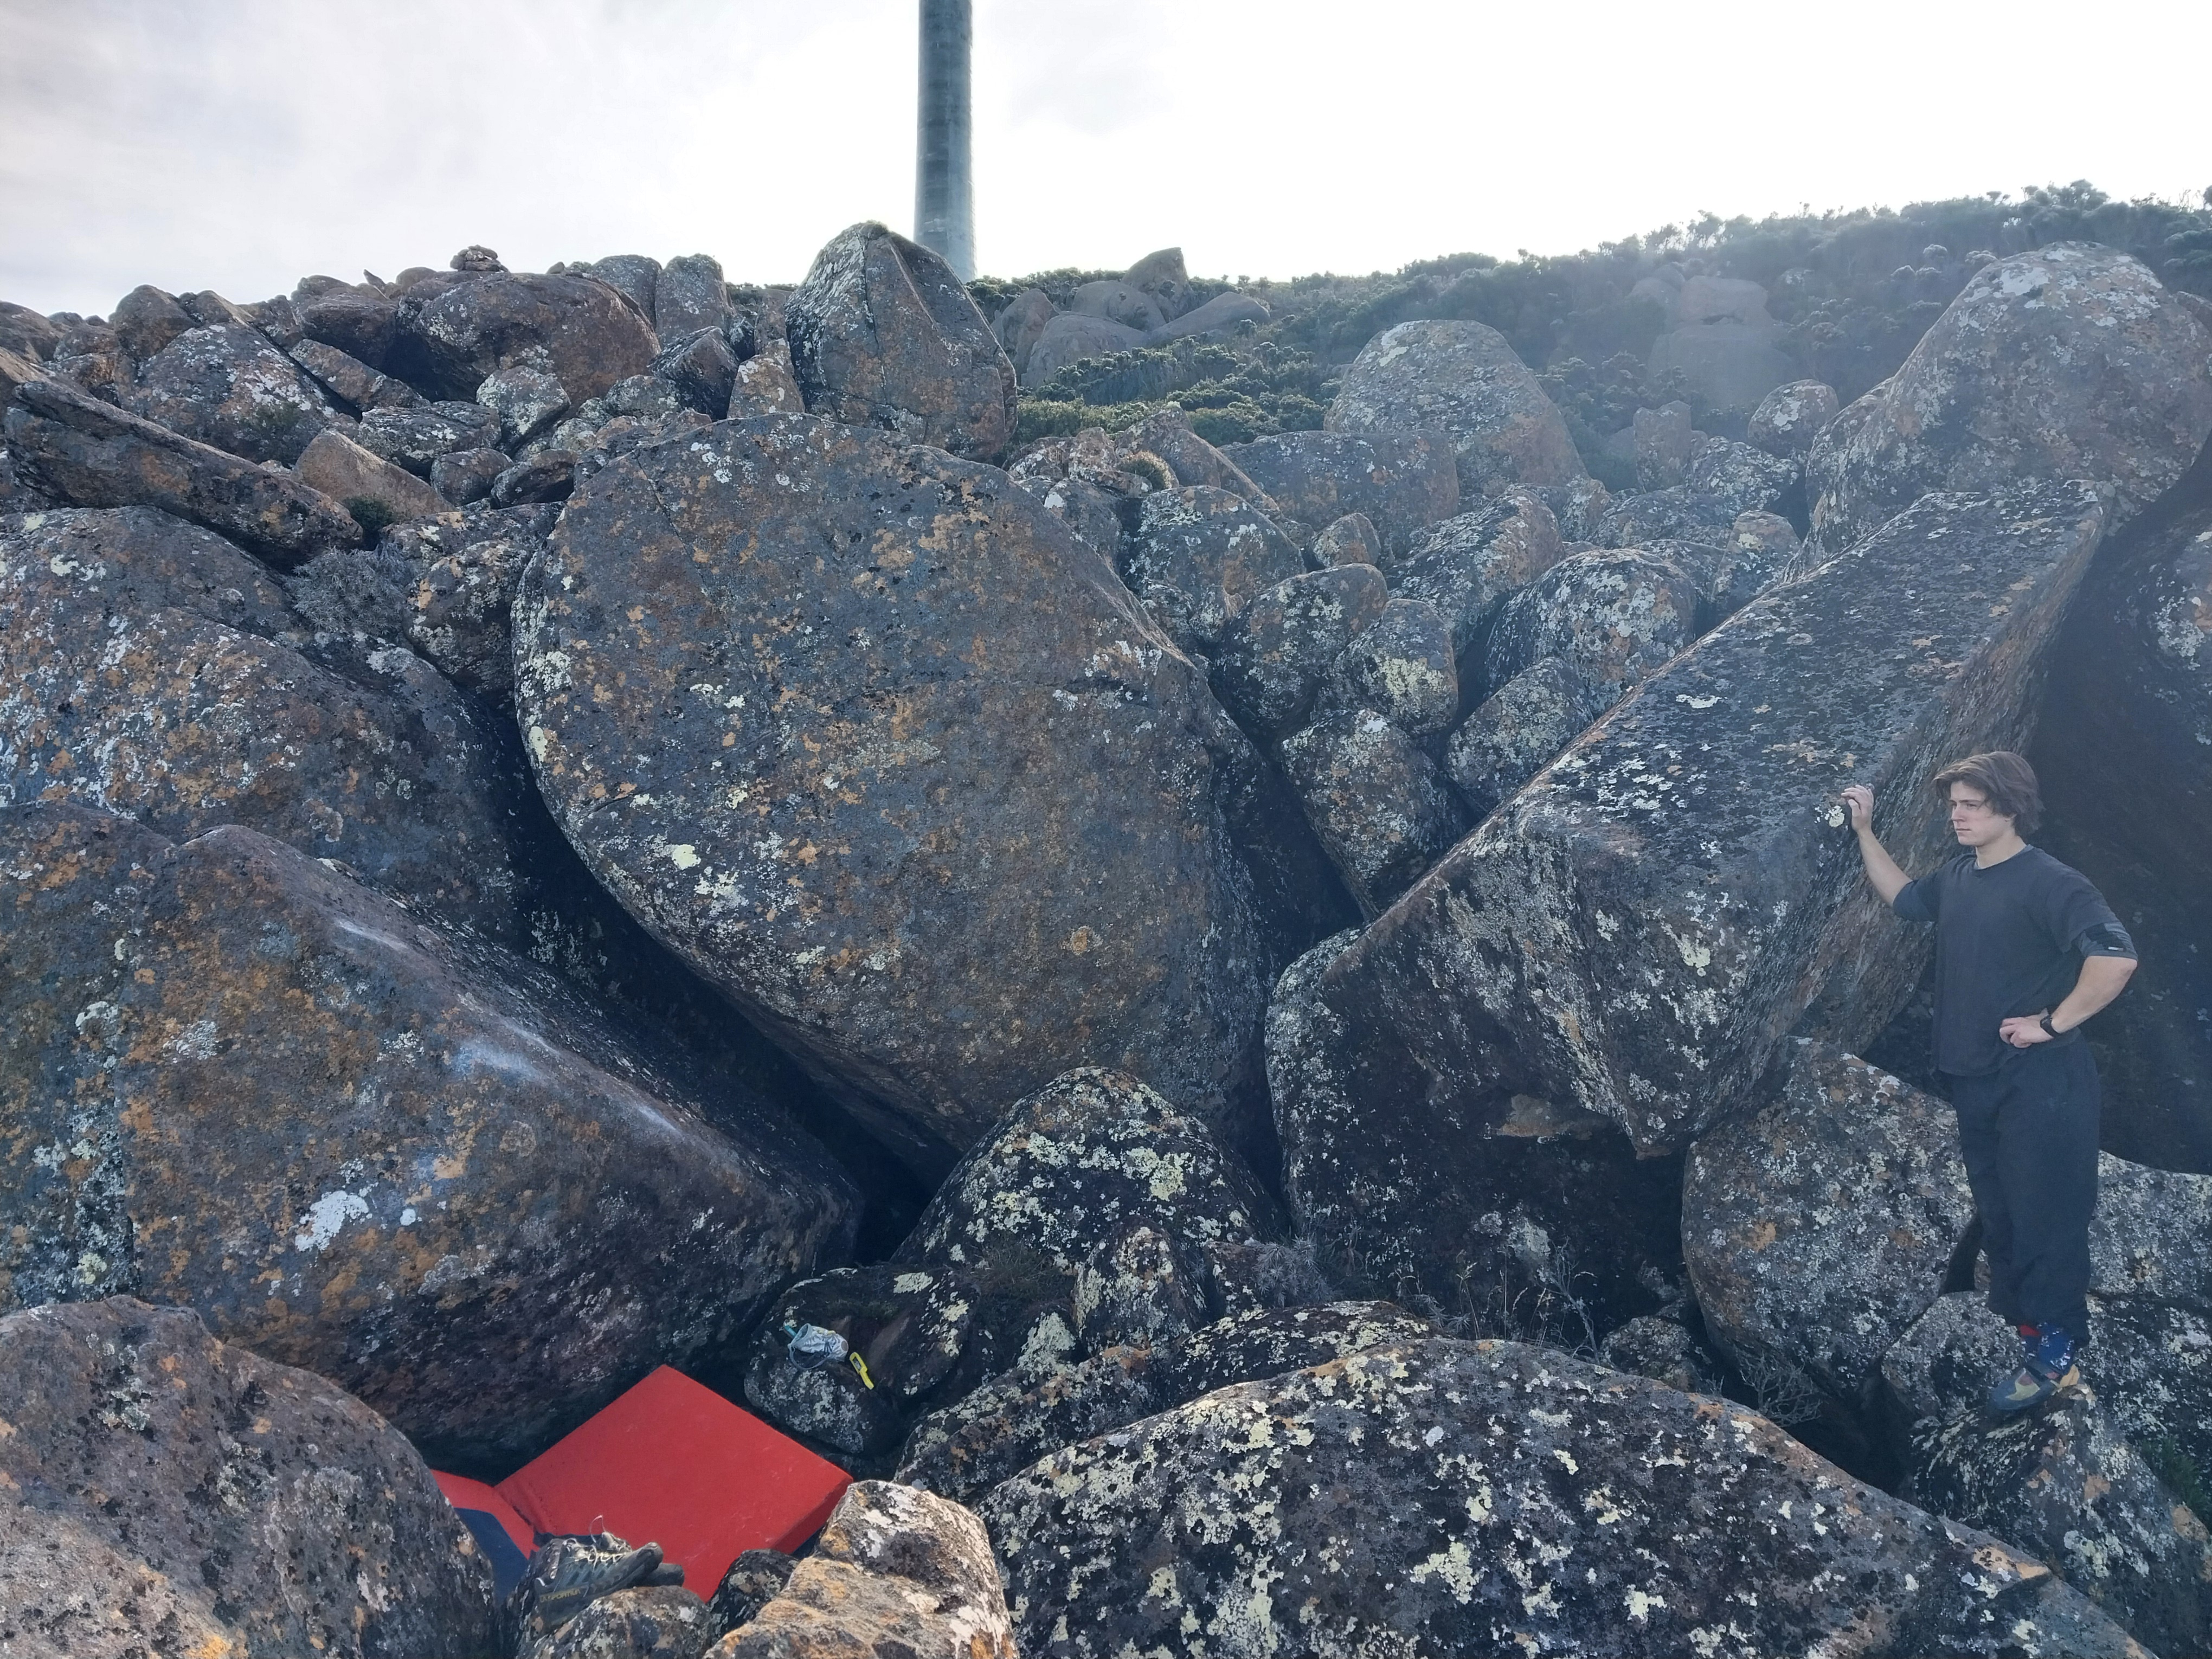
Start laybacking right side of crack with feet on the left side.
Joe Schwarz, 2026
Start with slopers on lip either side of nose.
Joe Schwarz, 2026
Stand start on crimps and follow slopers to the highest point of the boulder.
Joe Schwarz, 2026
Hang start all the way to the left, traverse right and mantle over the spine of the boulder.
Lewis Traill, 2026
Follow the sloping lip over a dubious landing.
Lewis Traill, 2026
Stand start with arete and left toe hook.
Joe Schwarz, 2026
Pull on with pinch on arete and holds on face.
Lewis Traill, 2026
10m south is the next boulder facing down hill.
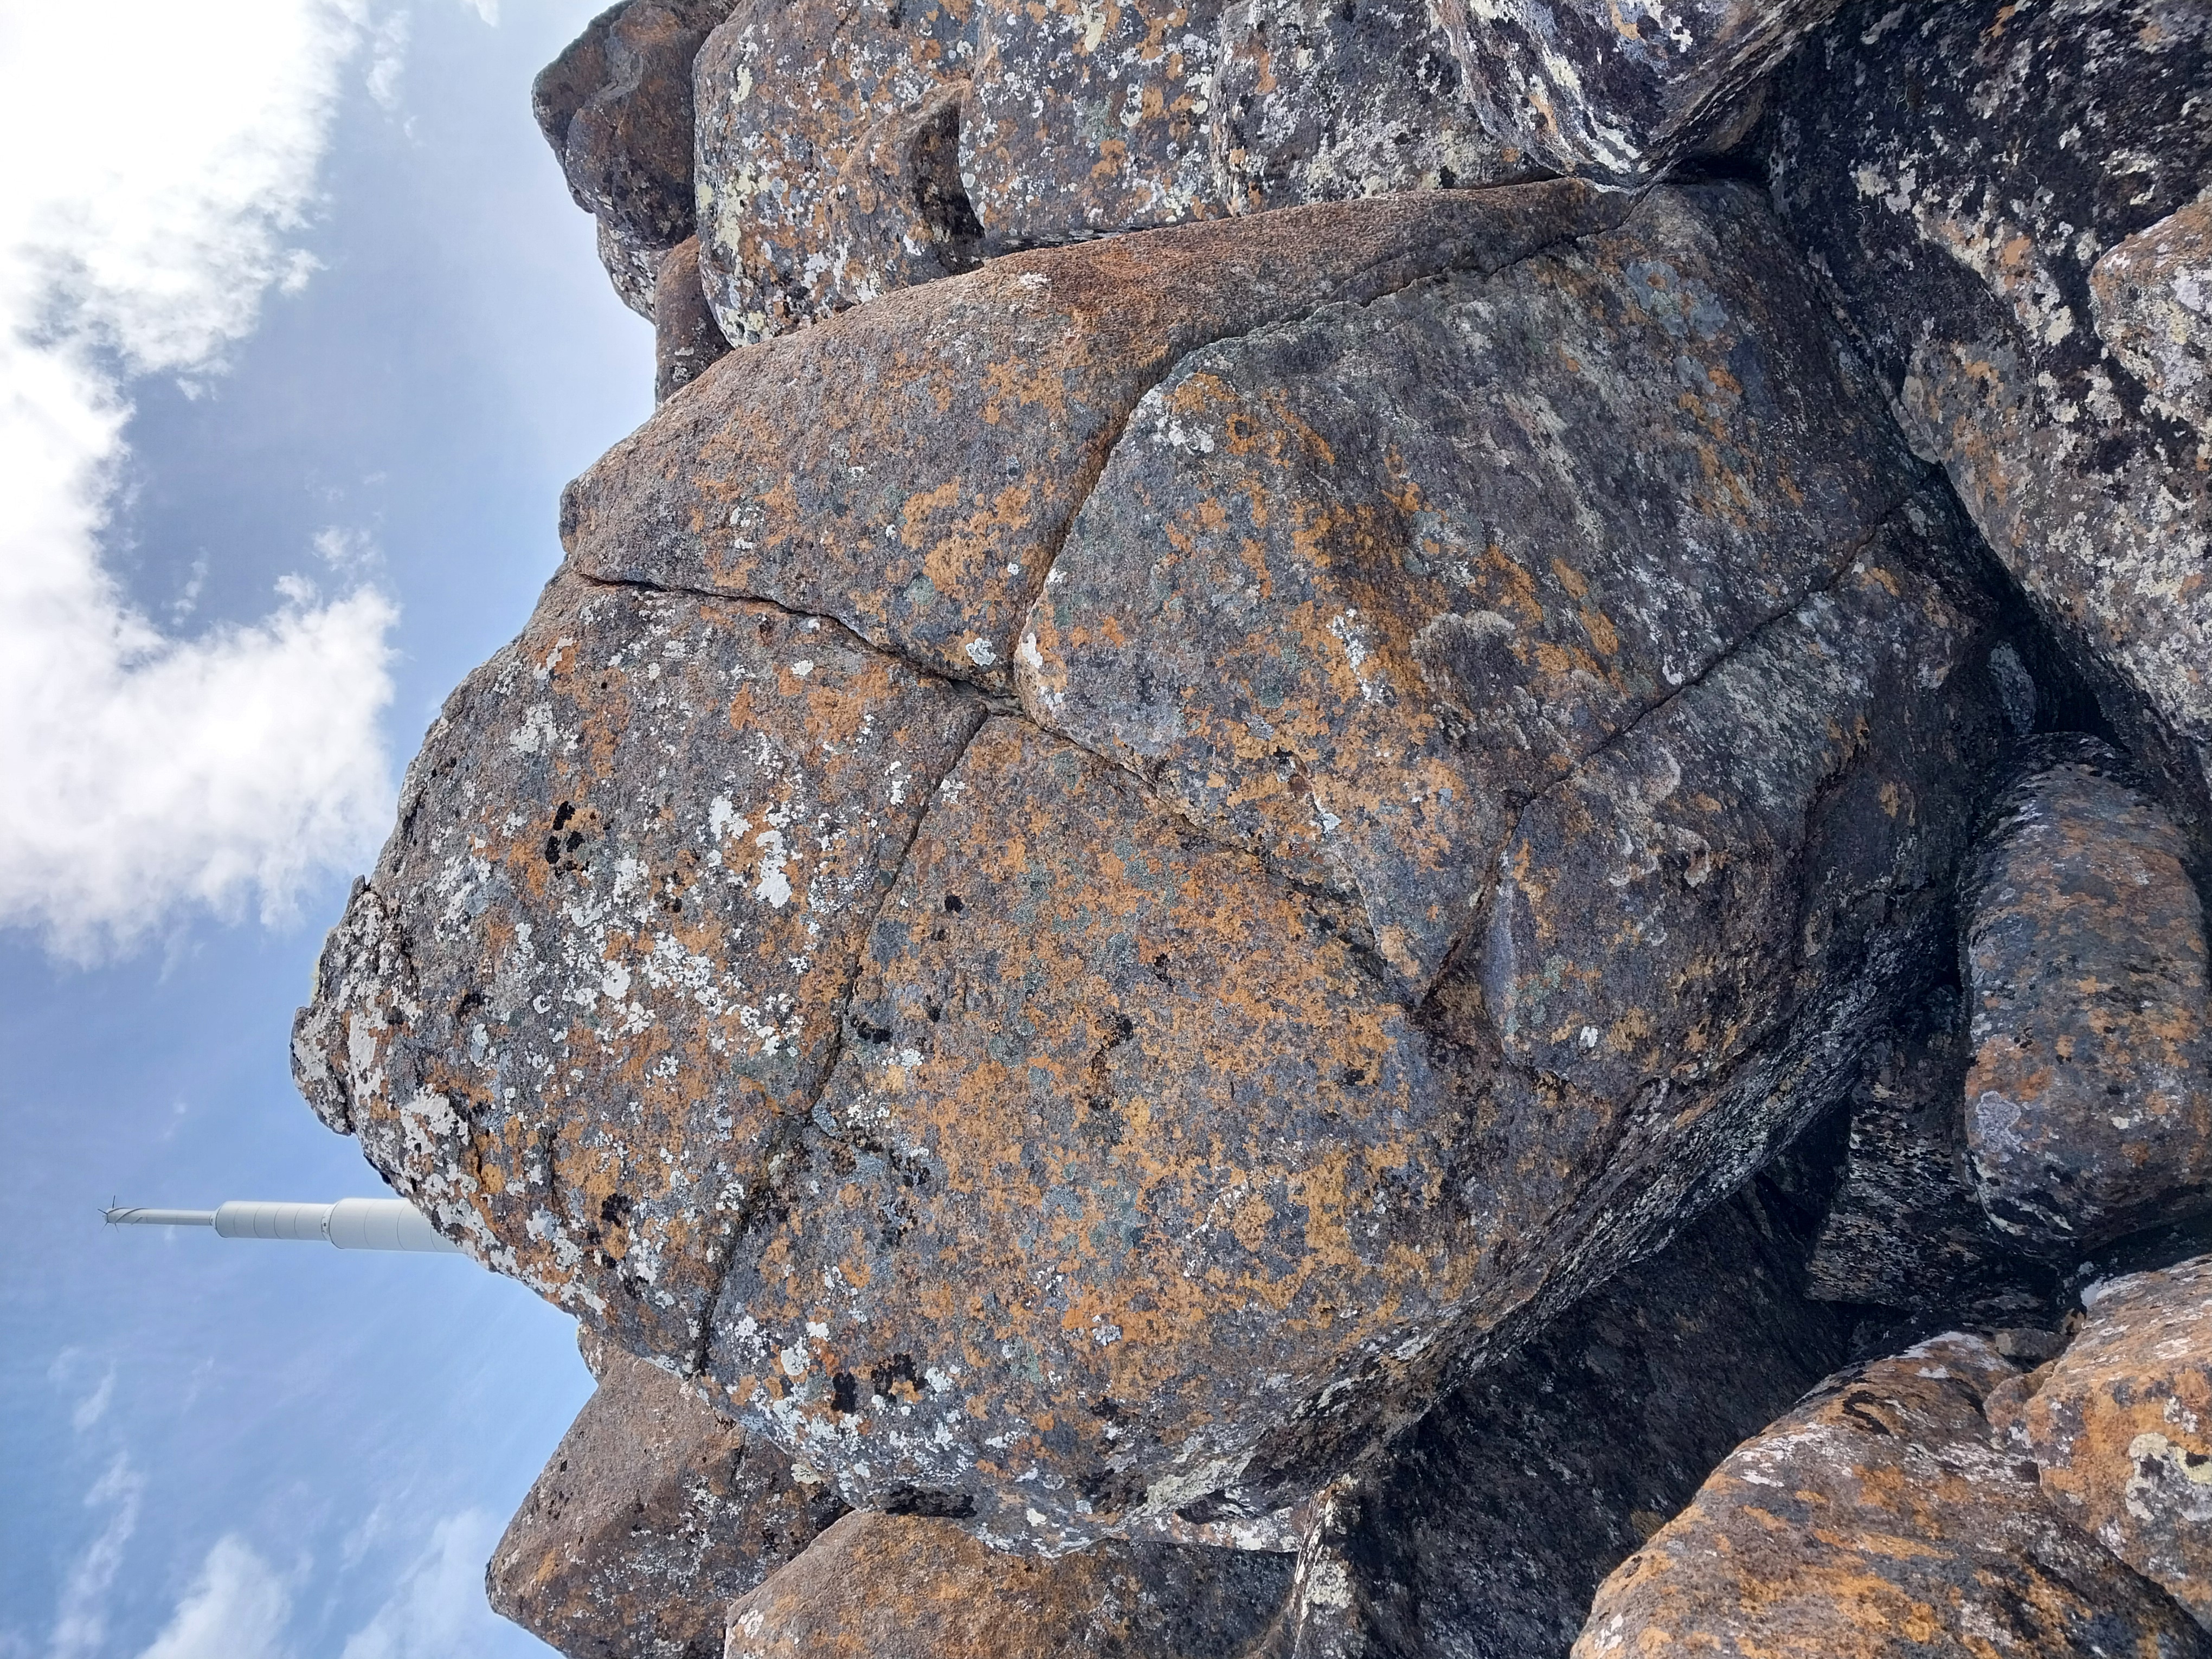
Joe Schwarz, 2026
Wahoo Boulder
Just past Noughts and Crossed
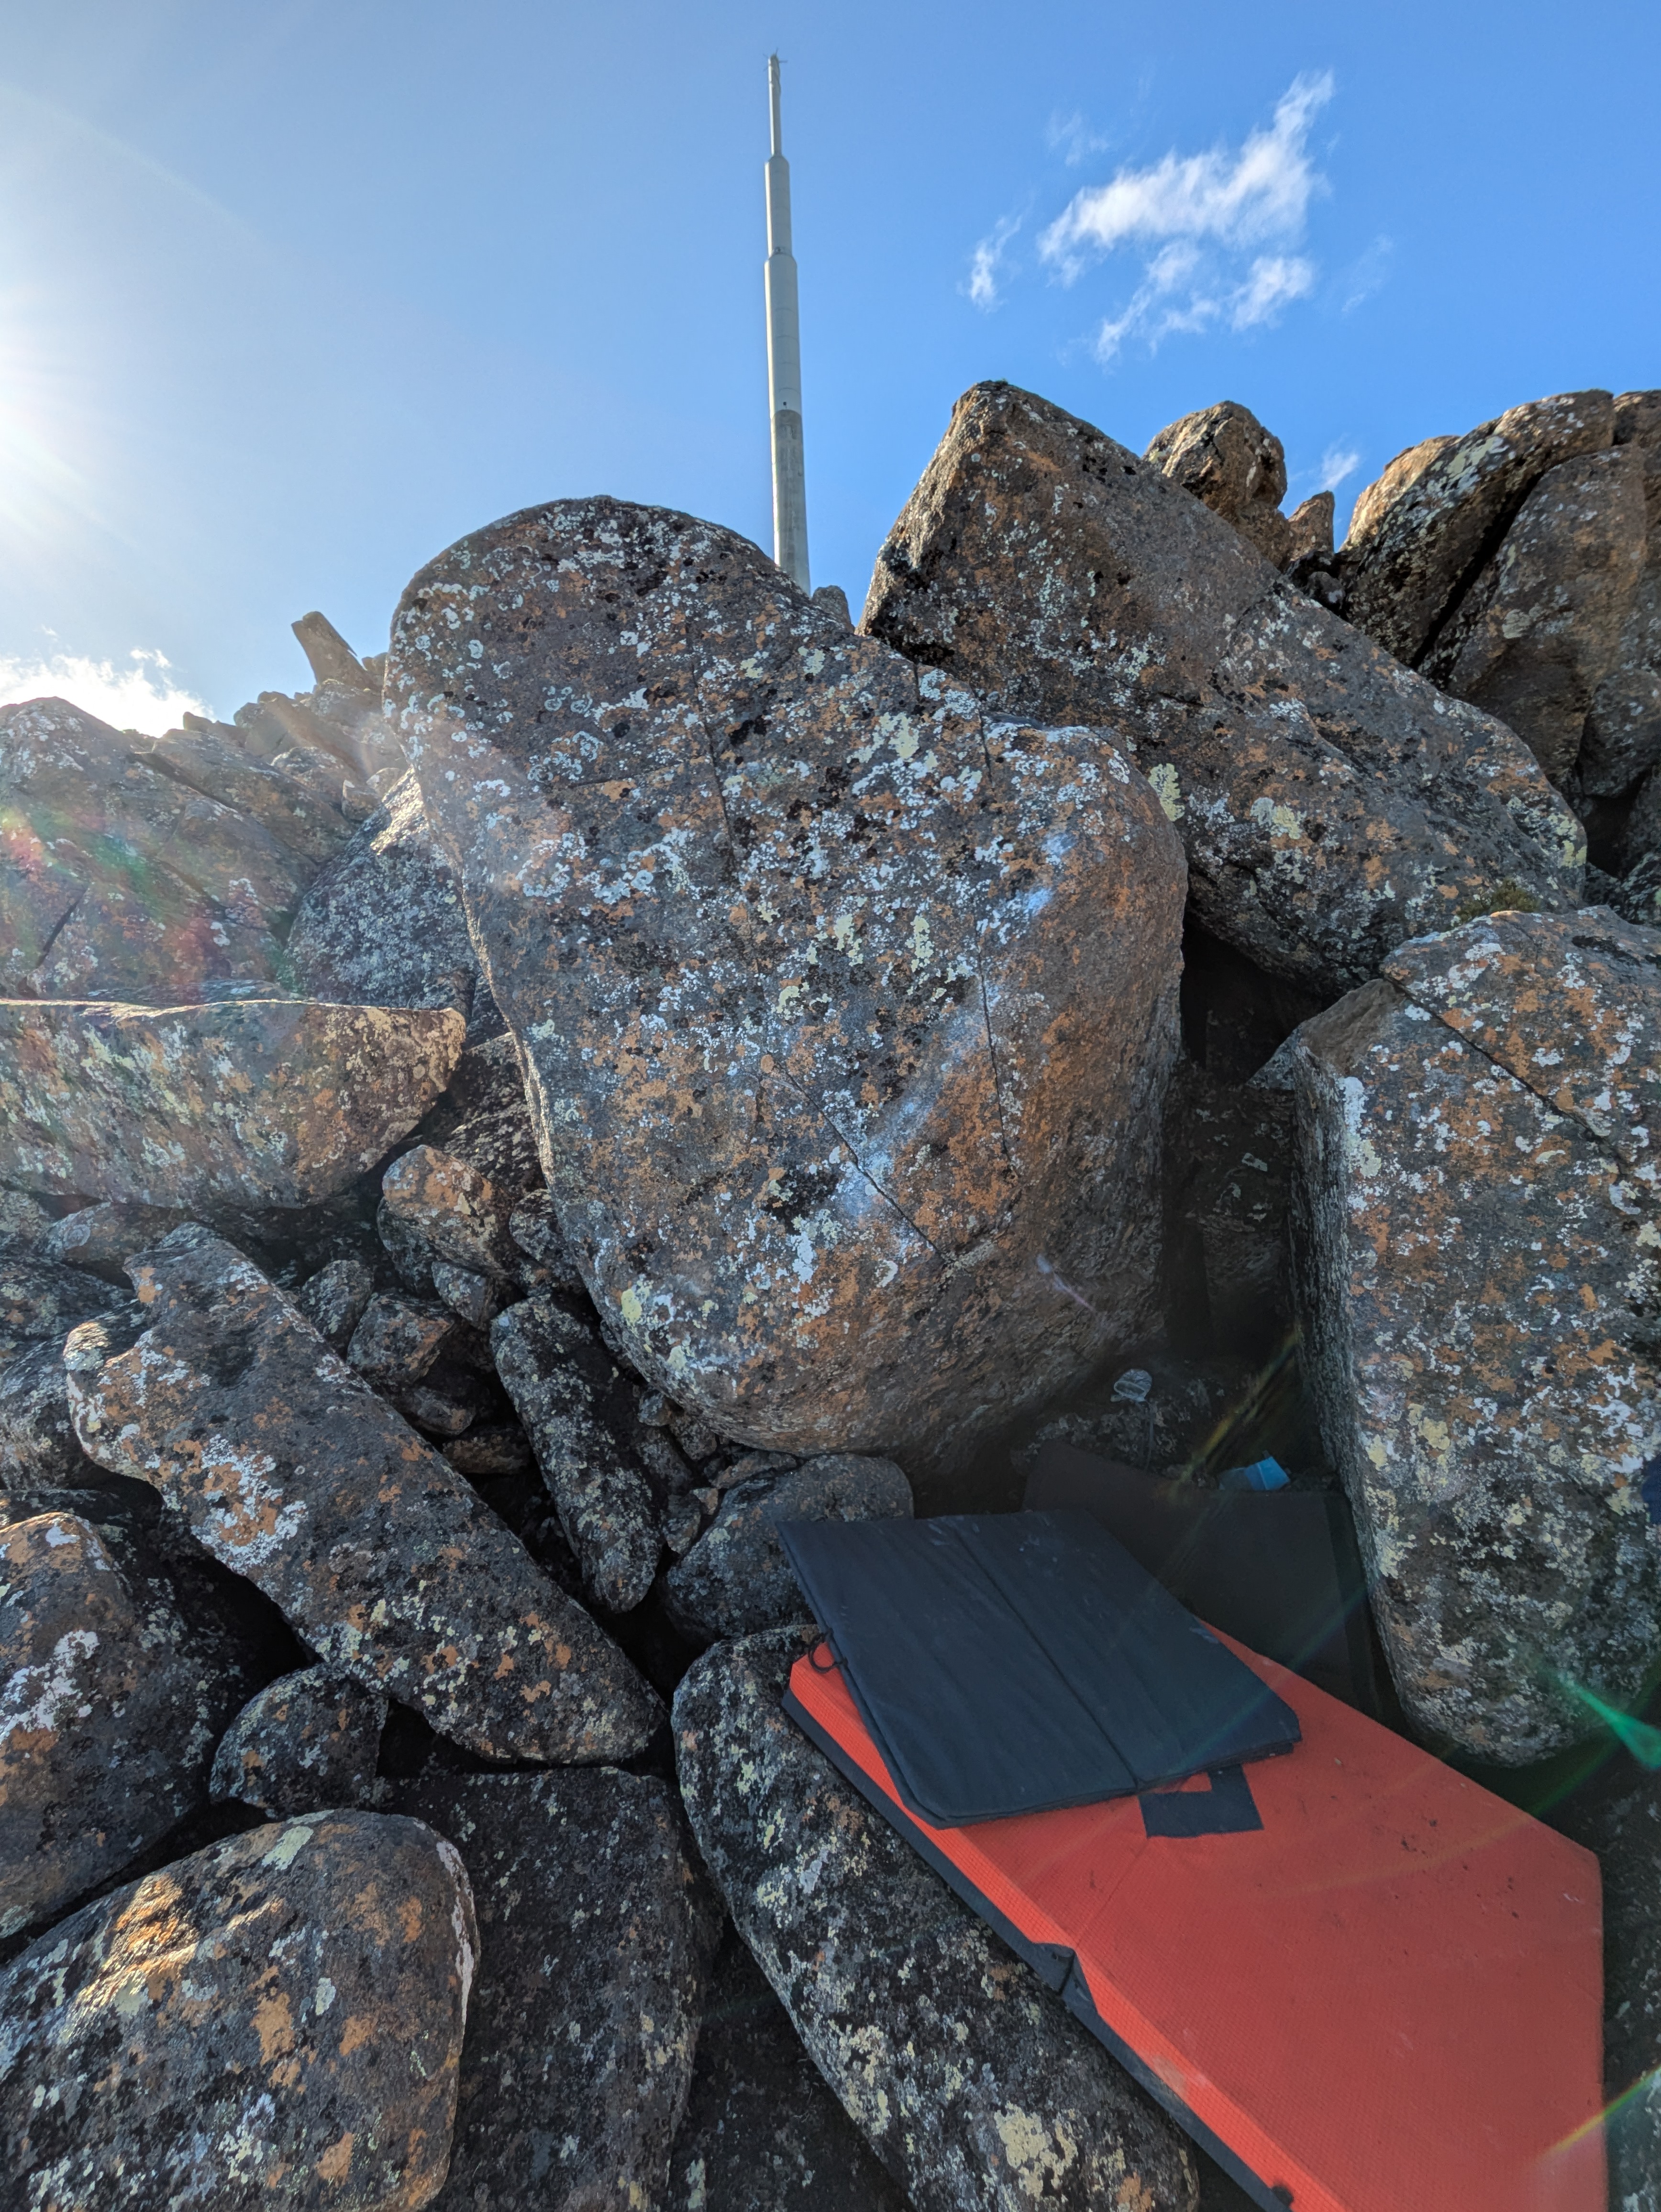
Sand start up tall slab.
Joe Schwarz, 2025
Start as for Slipstream but continue left to reach start holds of Electrodome.
Lewis Traill, 2025
Start on sloping rail. Climbs the overhanging face using the arete.
Lewis Traill, 2025
Arete
Joe Schwarz, 2025
Sucker Punch Area
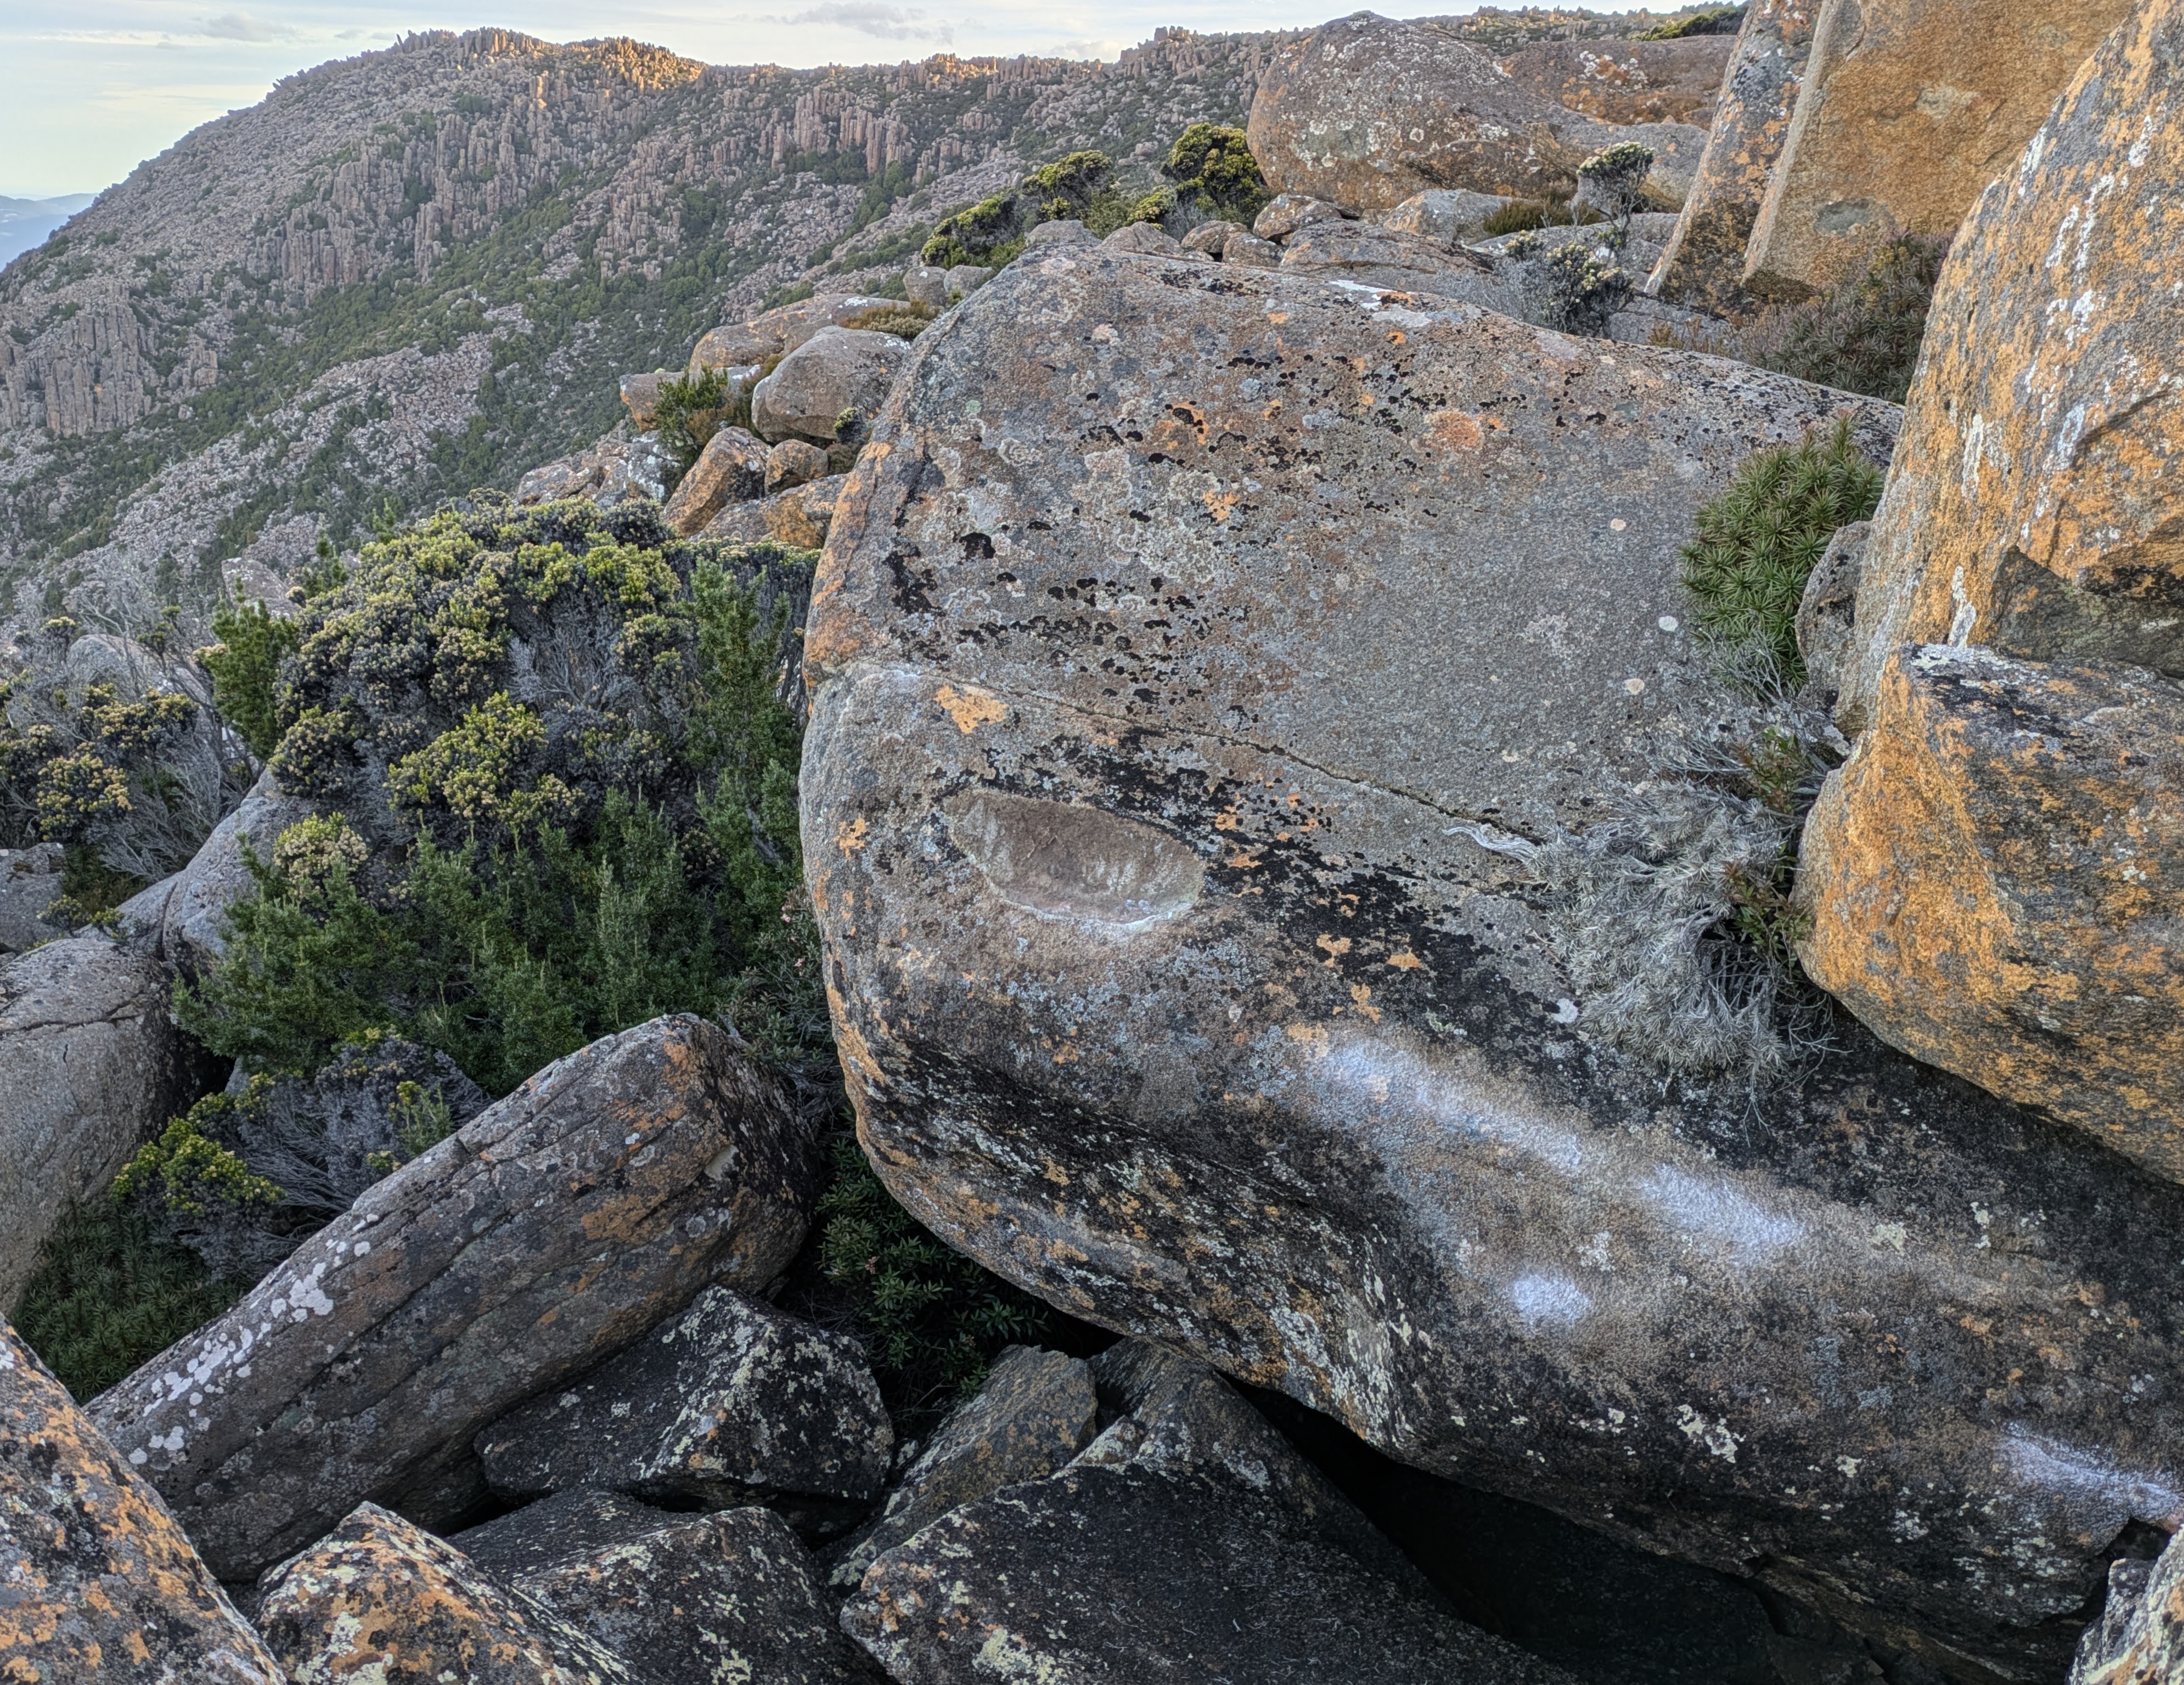
Joe Schwarz, 2026
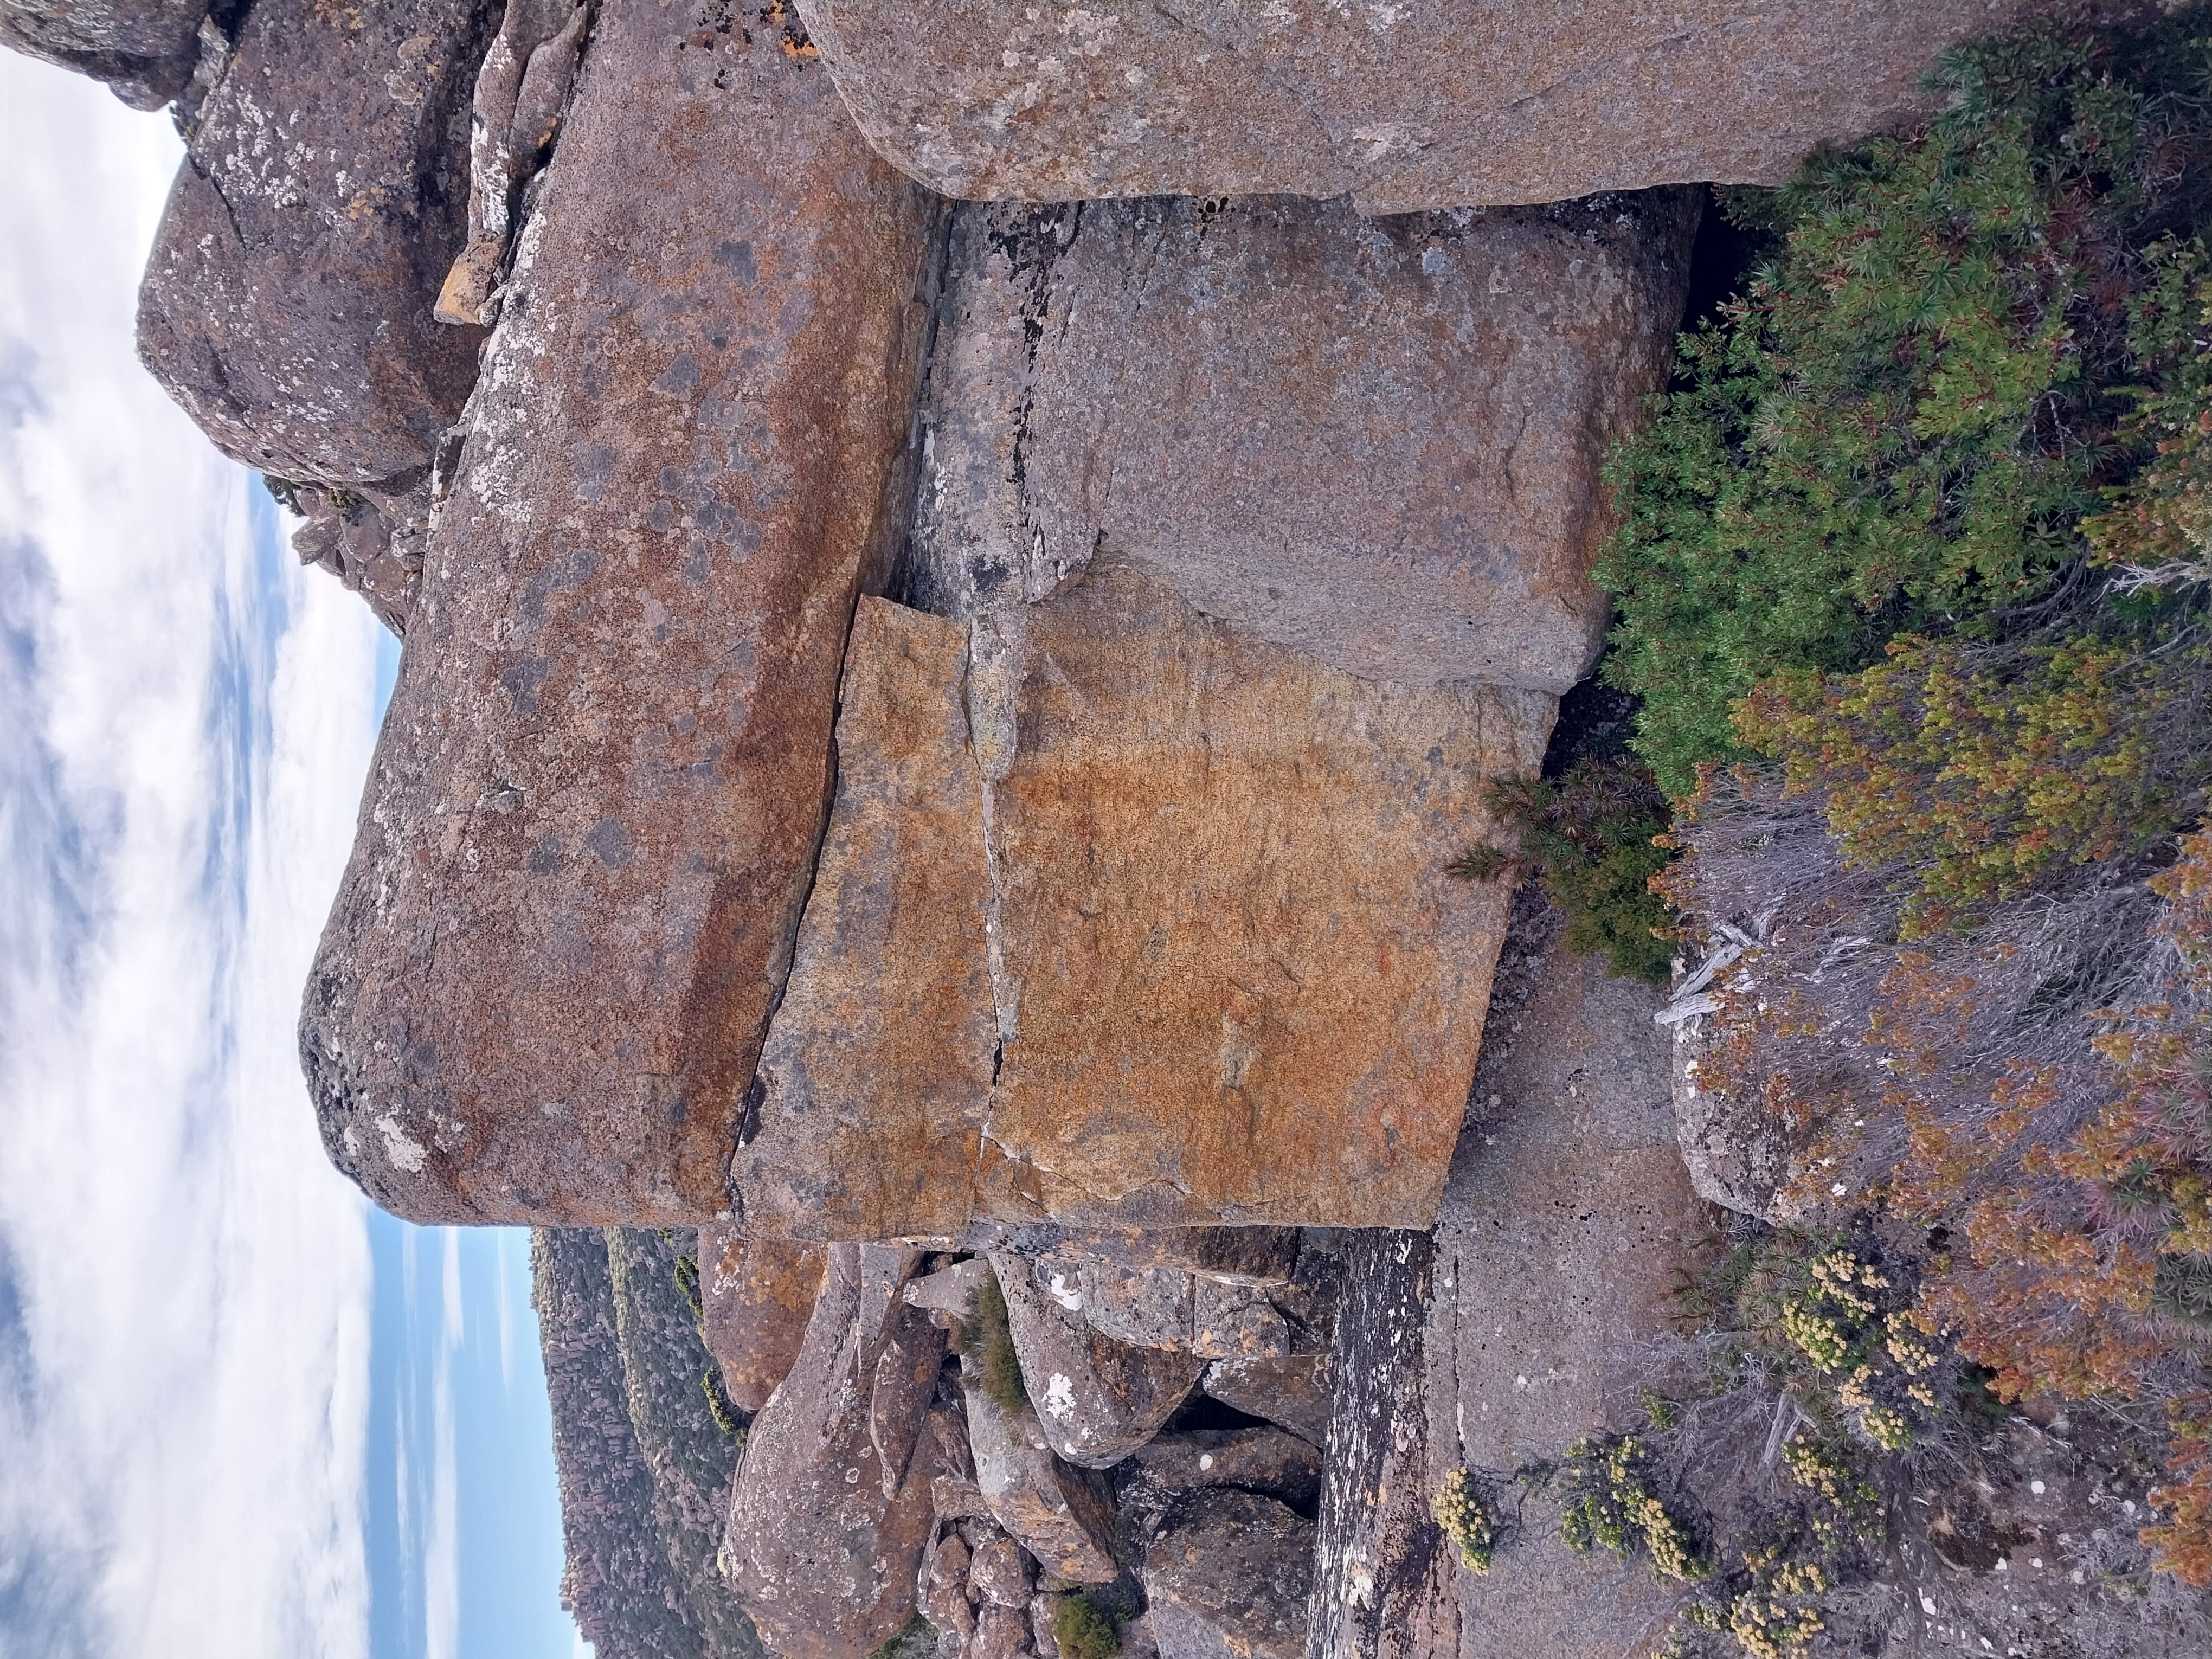
Sebastian Fearn, 2025
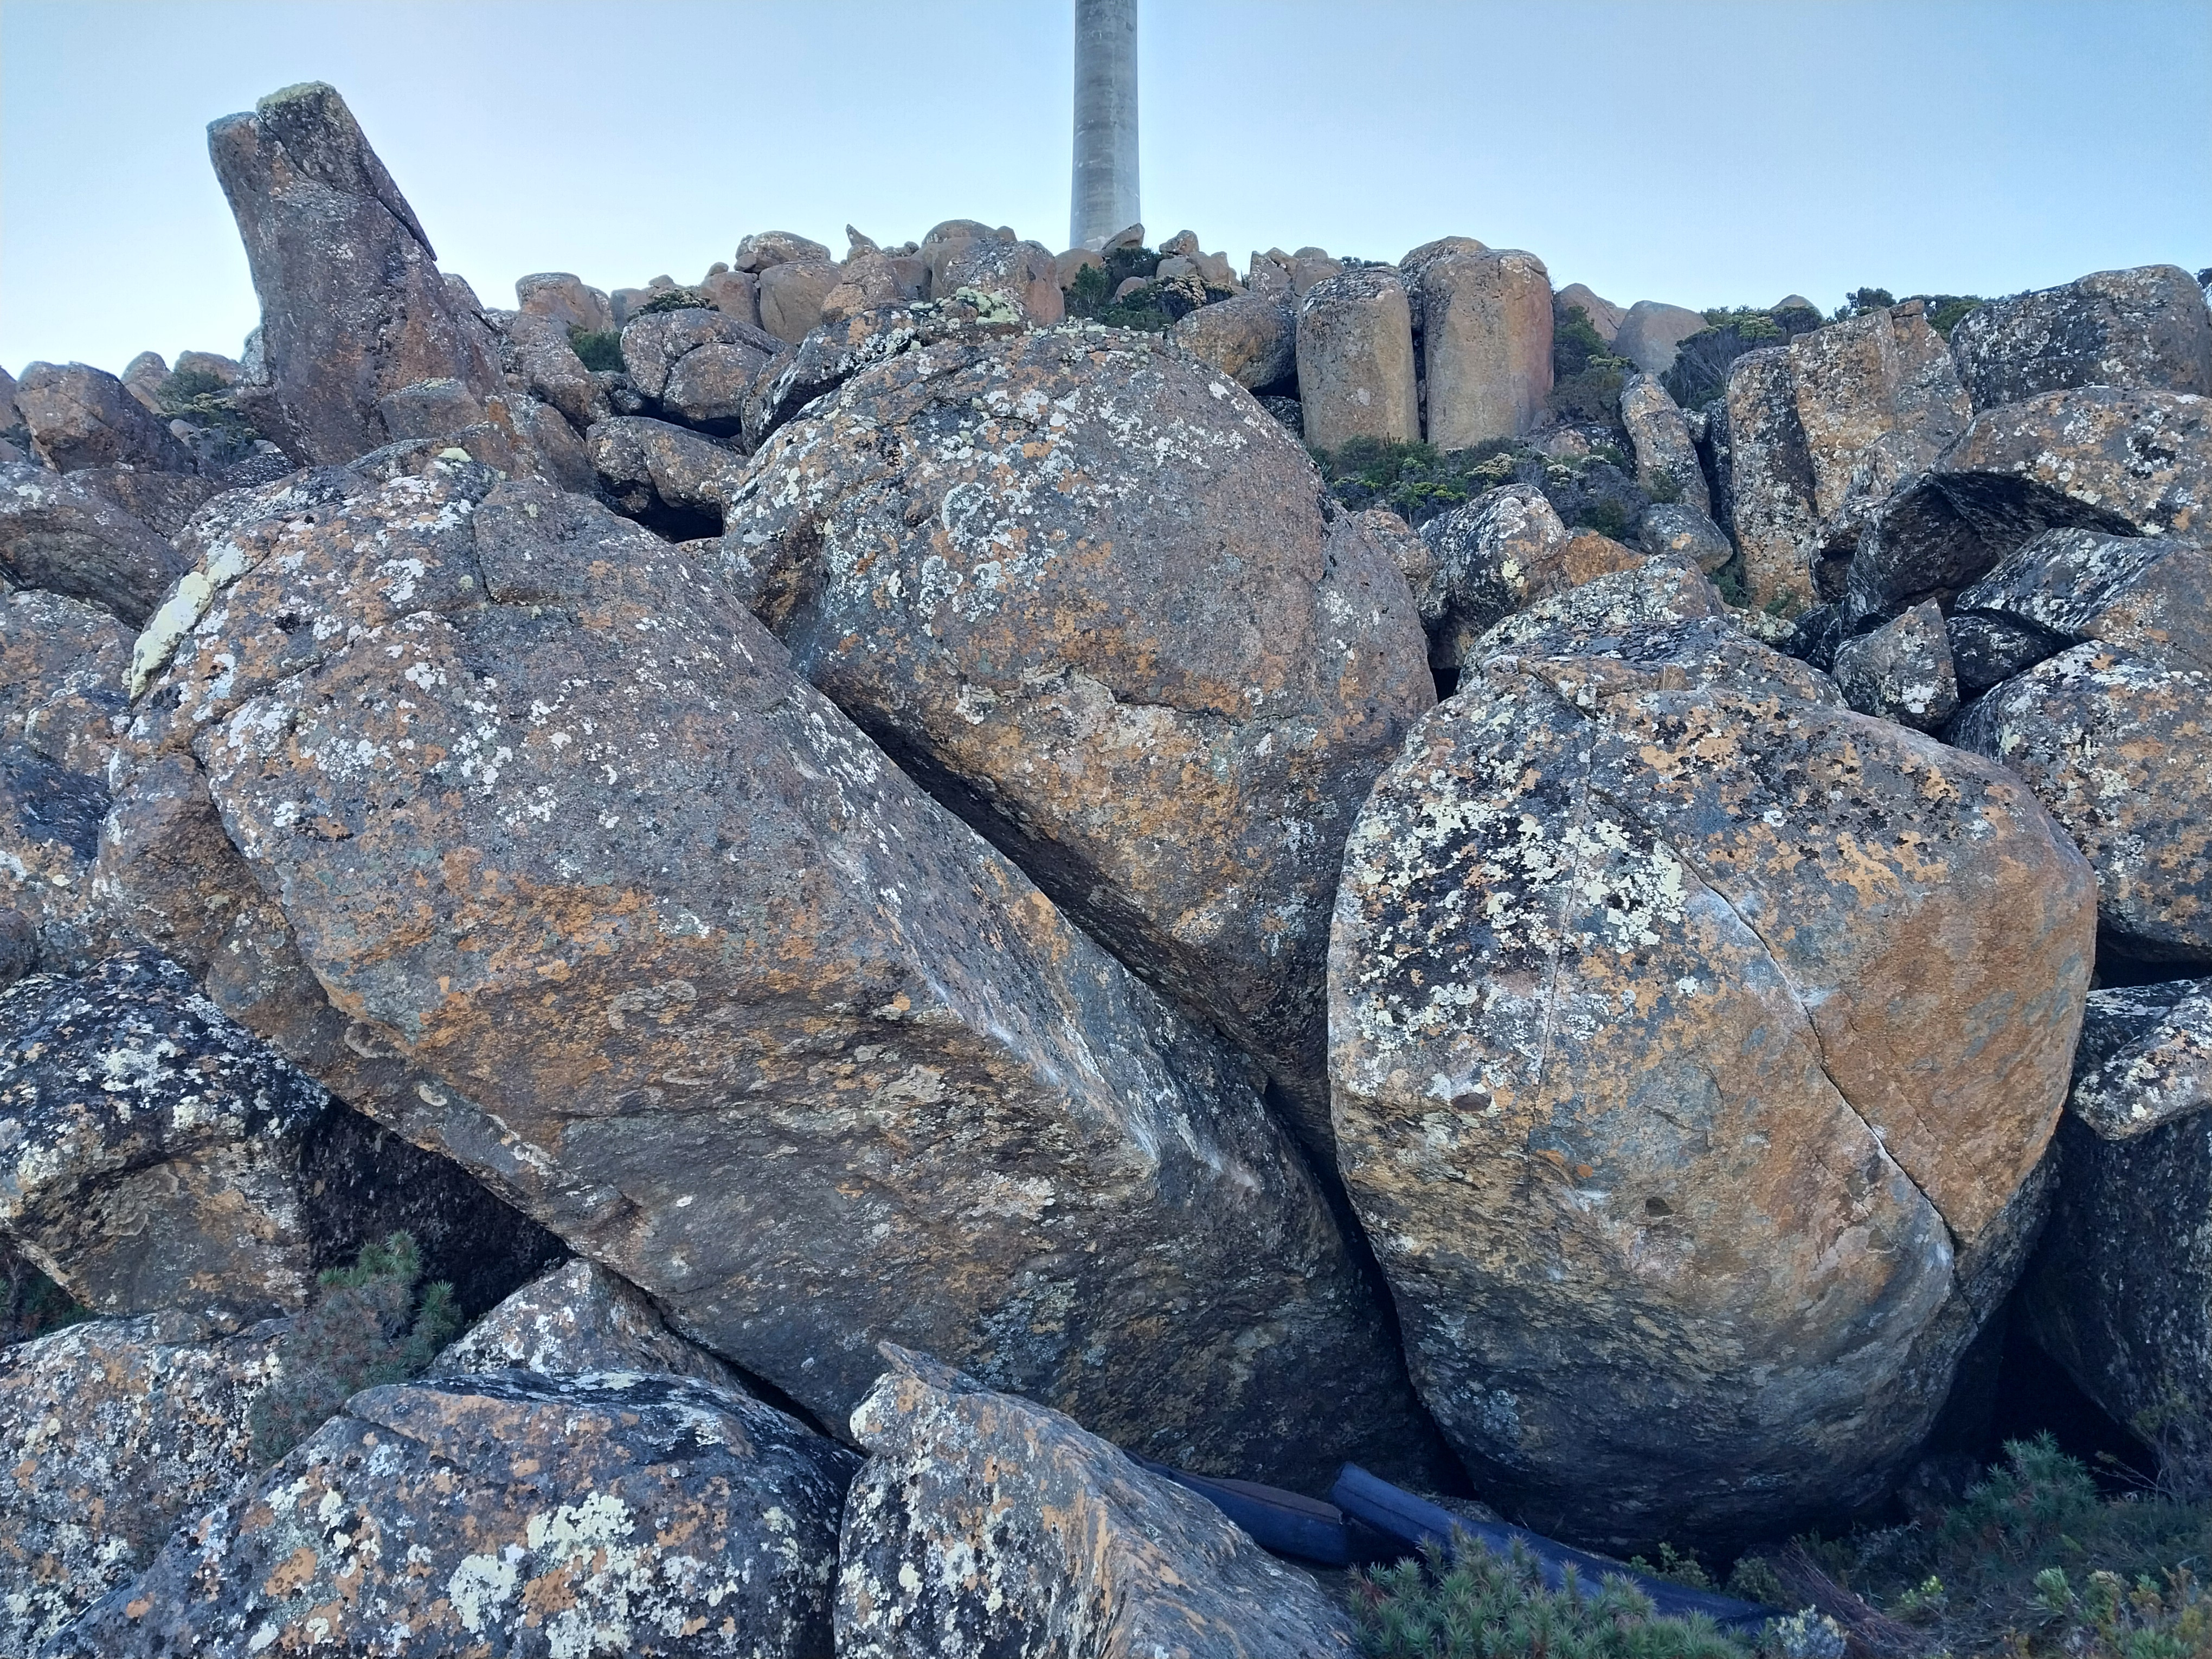
Compression line on left side of the boulder. Start on good sloper on left and slopey rail on right.
Lewis Trail, 2026
Start on good right hand edge and marginal sloper compression on left.
Lewis Traill, 2025