
Monkey's Bum
 20 min
 All day sun
 Short steep sandstone buttresses
Acknowledgement
by Matt Perchard, originally published in Craglets.
Introduction
There are only a few routes on this crag but they are real honeys. It is definitely worth at least one visit - the main buttress (composed of orange sandstone) overhangs on every side! A degree of uncertainty exists as to the historical accuracy of the route names and first ascentionists that are quoted here. Several routes from the sixties by the likes of Terry Costigan and John Moore have been omitted due to lack of knowledge. I’m sure this won’t detract from your climbing pleasure - hopefully the best of the routes here have been adequately described.
Access
The old access to the cliff is closed as it crosses private land. This original approach route went up Thirsty Gully from the intersection between East Derwent Hwy and Cassidys Rd. Currently, Monkey's Bum can be accessed in a similar way to the Mad Monkeys cliff using the Kandos Drive approach. Have a read of the Mad Monkeys section for other options.
Drive to the end of Kandos Drive (which is off East Derwent Hwy, about 3 km up river from the Bowen Bridge) and park at the end. From here walk about 80 m north and then turn right and follow a grassy vehicle access route for another 50 m. From here a 4WD track goes north. Follow it for about 700 m and then begin a rising diagonal up a paddock towards a spur. When then crest of the spur is reached (approximately -42.784086, 147.300746) turn down (northish) the spur towards Thirsty Gully. Monkey's Bum cliff is located at approximately -42.781173, 147.297520.
Crag Steward
Rock climbers please contact the Cliff Steward (hobartcraglets@climbersclubtas.org.au) if you have any queries or concerns regarding social or environmental impacts of rock climbing at this crag. Do not email regarding general travel, seasonal advice, or lost property - this is not the Steward’s role. If you have important safety information to communicate (e.g. risks due to recent and large rock falls) please also consider updates on thesarvo forum, facebook group and/or online guidebooks as appropriate. Please copy in cct@climbersclubtas.org.au if you feel you have a high level concern which may imminently impact the crag or climbing community.
Non-climbers, other users, land managers: please also contact cct@climbersclubtas.org.au if you have important climbing related queries at this location.
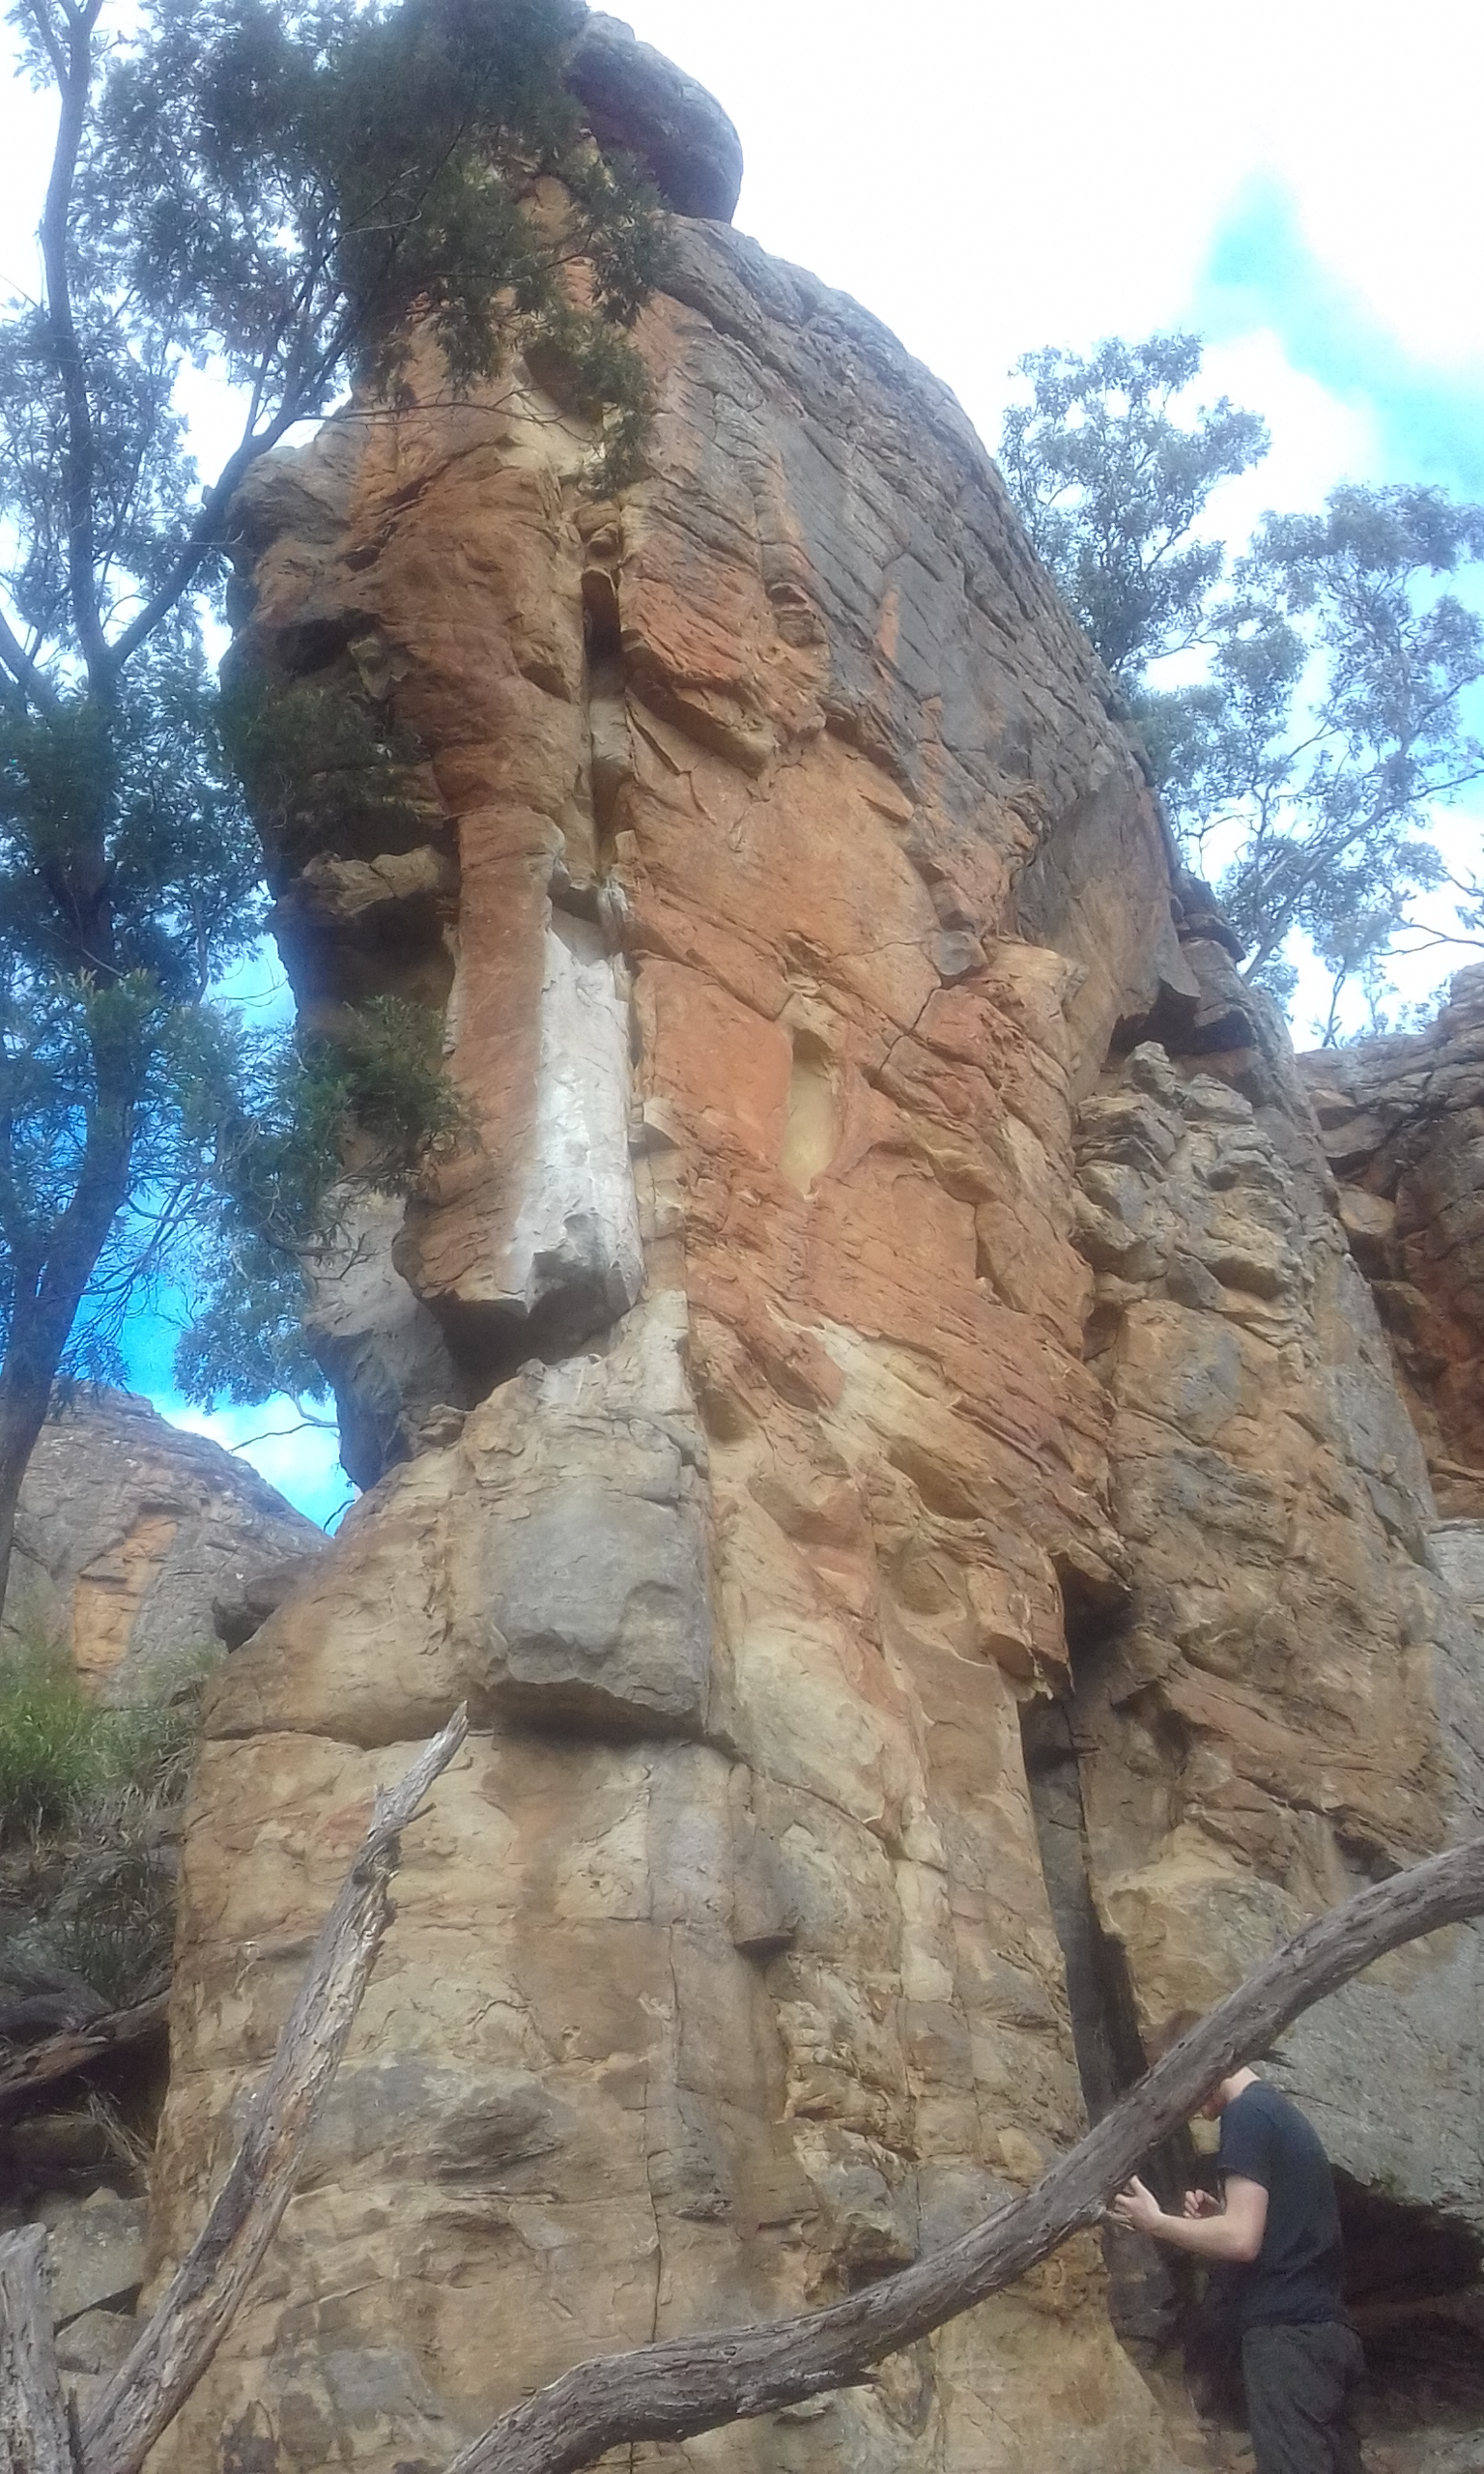
The following routes are on the main buttress - the only cliff of decent height in this area.
Gonard
15m20Wall L of the Snatch.
FTRA Richard Marshall, Richard Cockerill, Phil Schwan Dec 1994.
The Snatch
★15m17Climb the nose of the main buttress moving slightly left near the top. This is an excellent route to top rope but is not recommended as a lead.
Doug Fife, Oct 1980.
Poha
★★15m20Start on the right side of the nose of the buttress and climb to the thread on the arête. The climbing steepens from here. Near the top move to the face on the right then finish straight up. Gear exists for leading this route but it looks a tad bold to me.
Peter Jackson, May 1980 (used one piton on upper section, now gone).
Unknown
★15m24The steep wall 1-2m right of Poha with lovely rock at the top. A few variant starts are possible.
Nathan Duhig TR
About 20m right of the main buttress is a sub-buttress capped by a two metre roof.
Gasher
10m22The two metre roof. A small wire can supposedly be placed just under the roof. Probably another bold route if leading but definitely good fun on a top rope.
Gerry Narkowicz, Jun 1982.
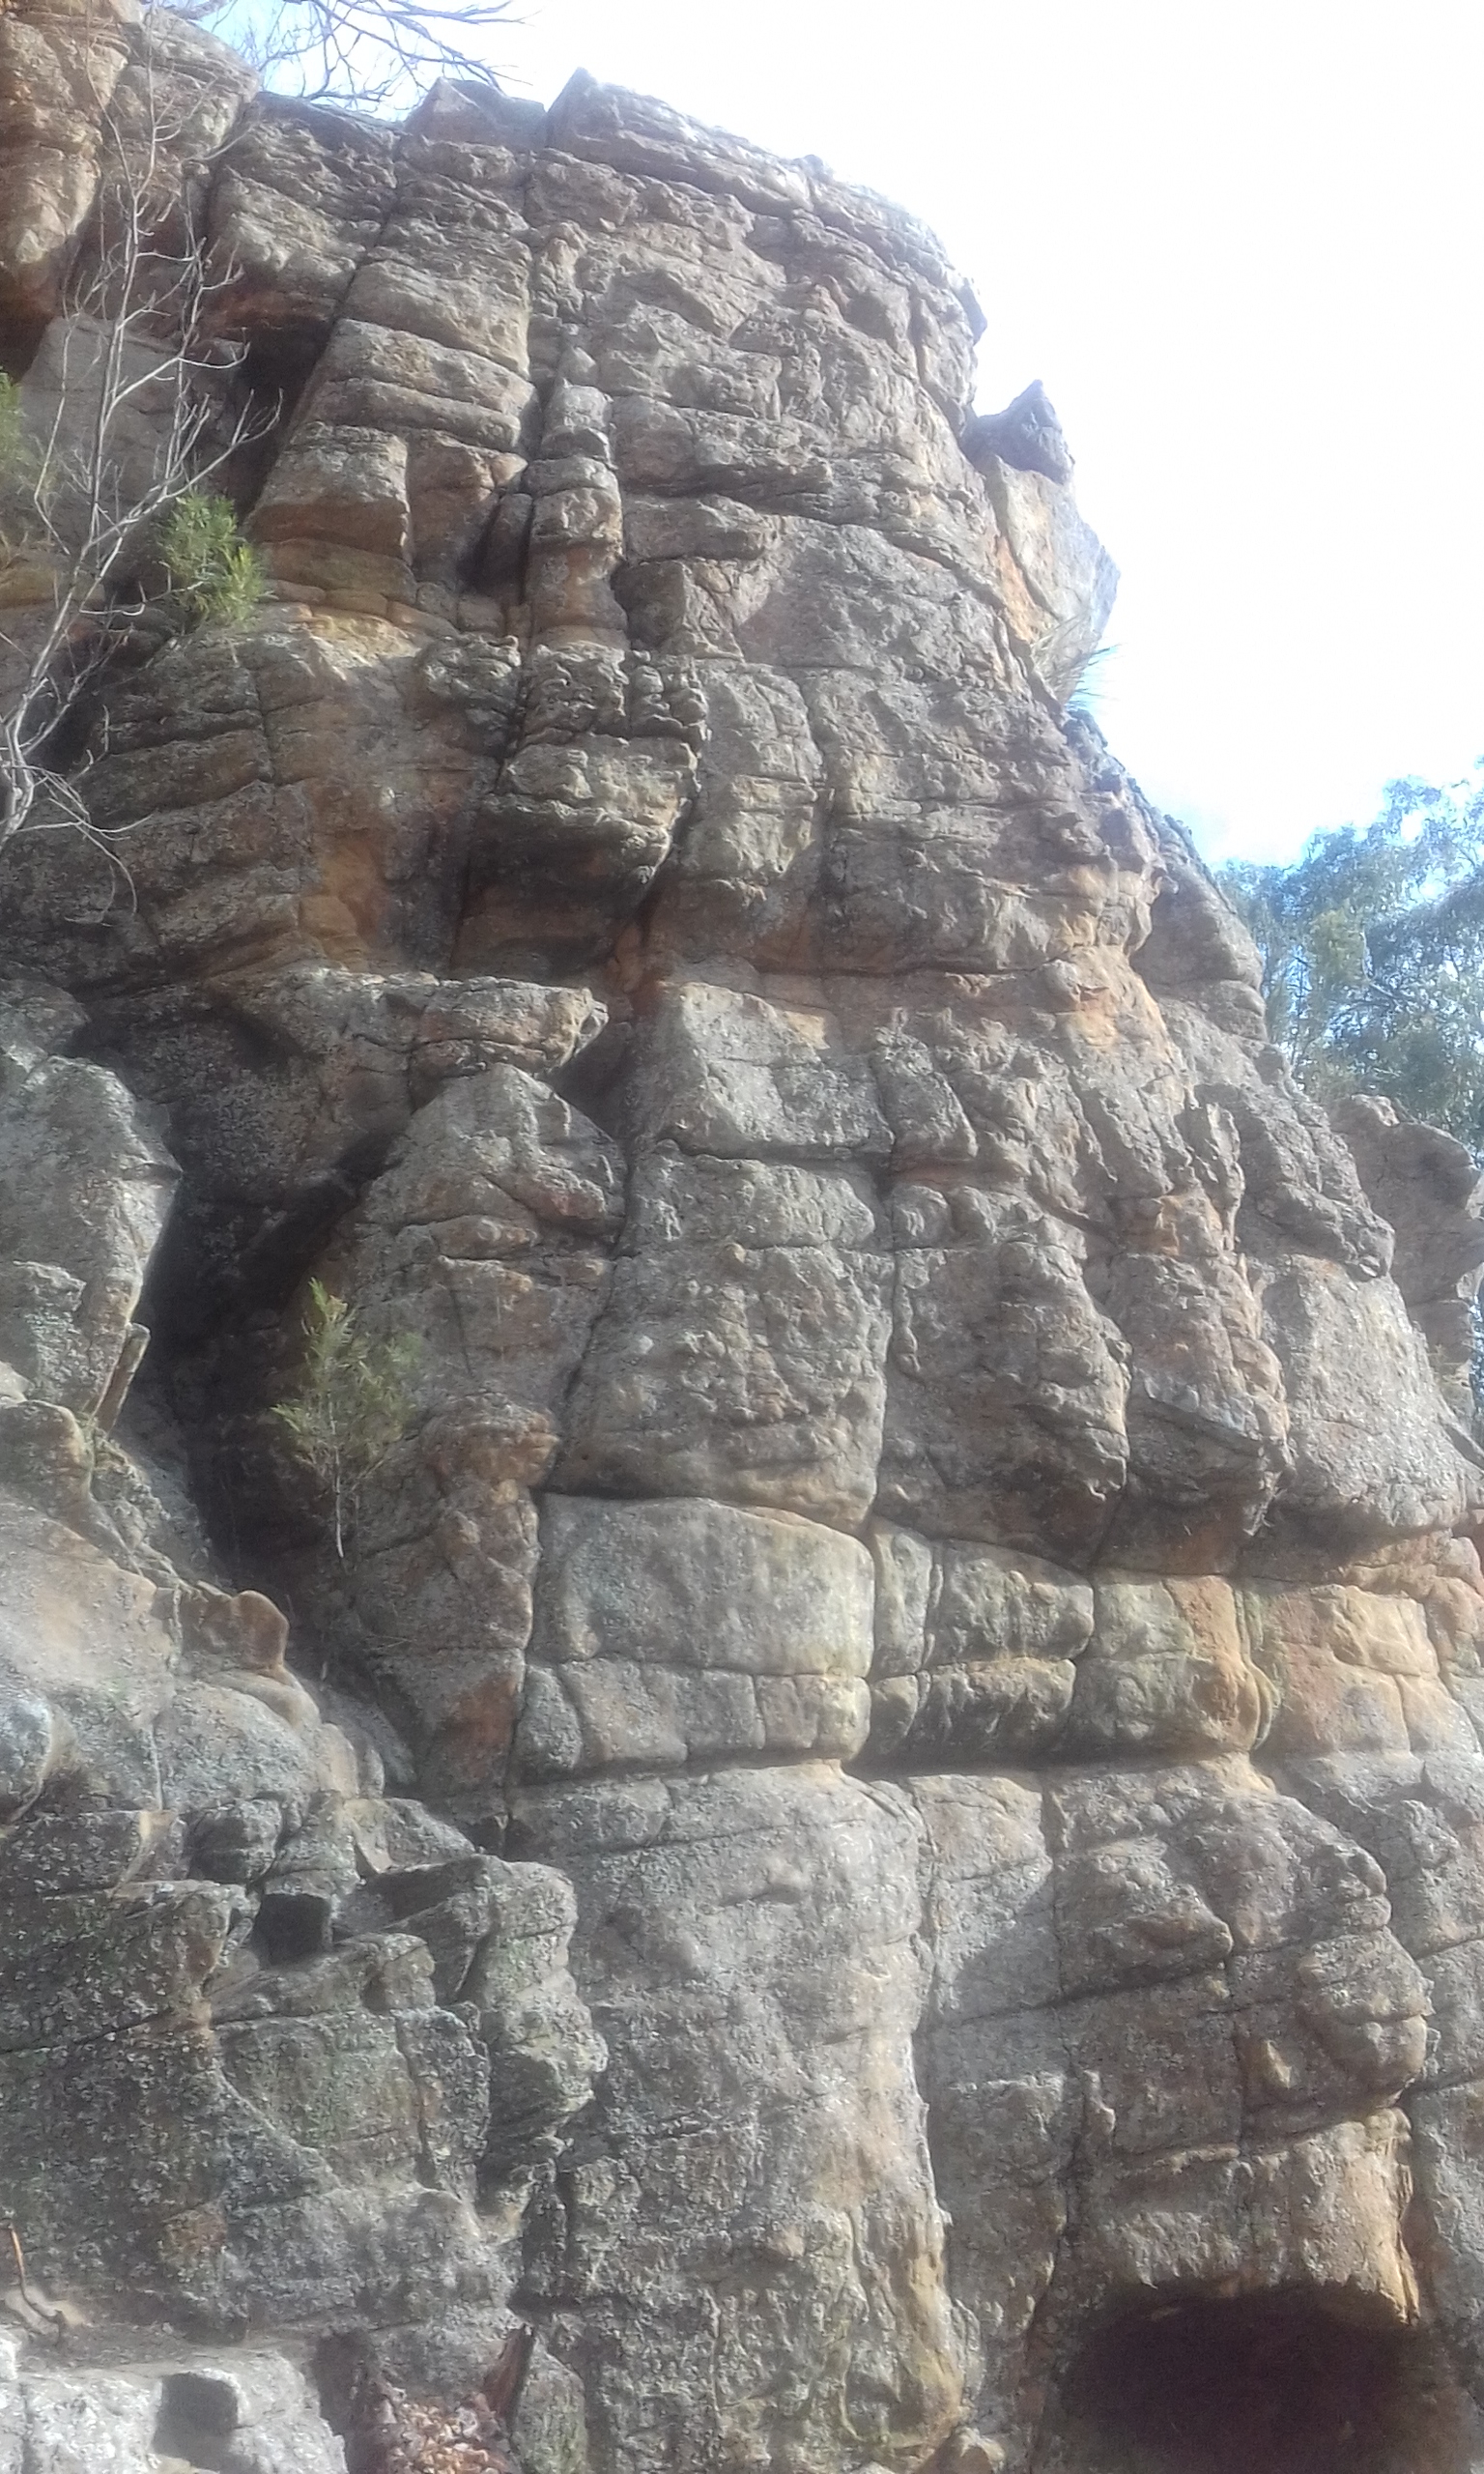
An easy line up the lichenous face
Rob Hardy solo June 2017
Another 100m right of the main buttress is another outcrop with some routes.
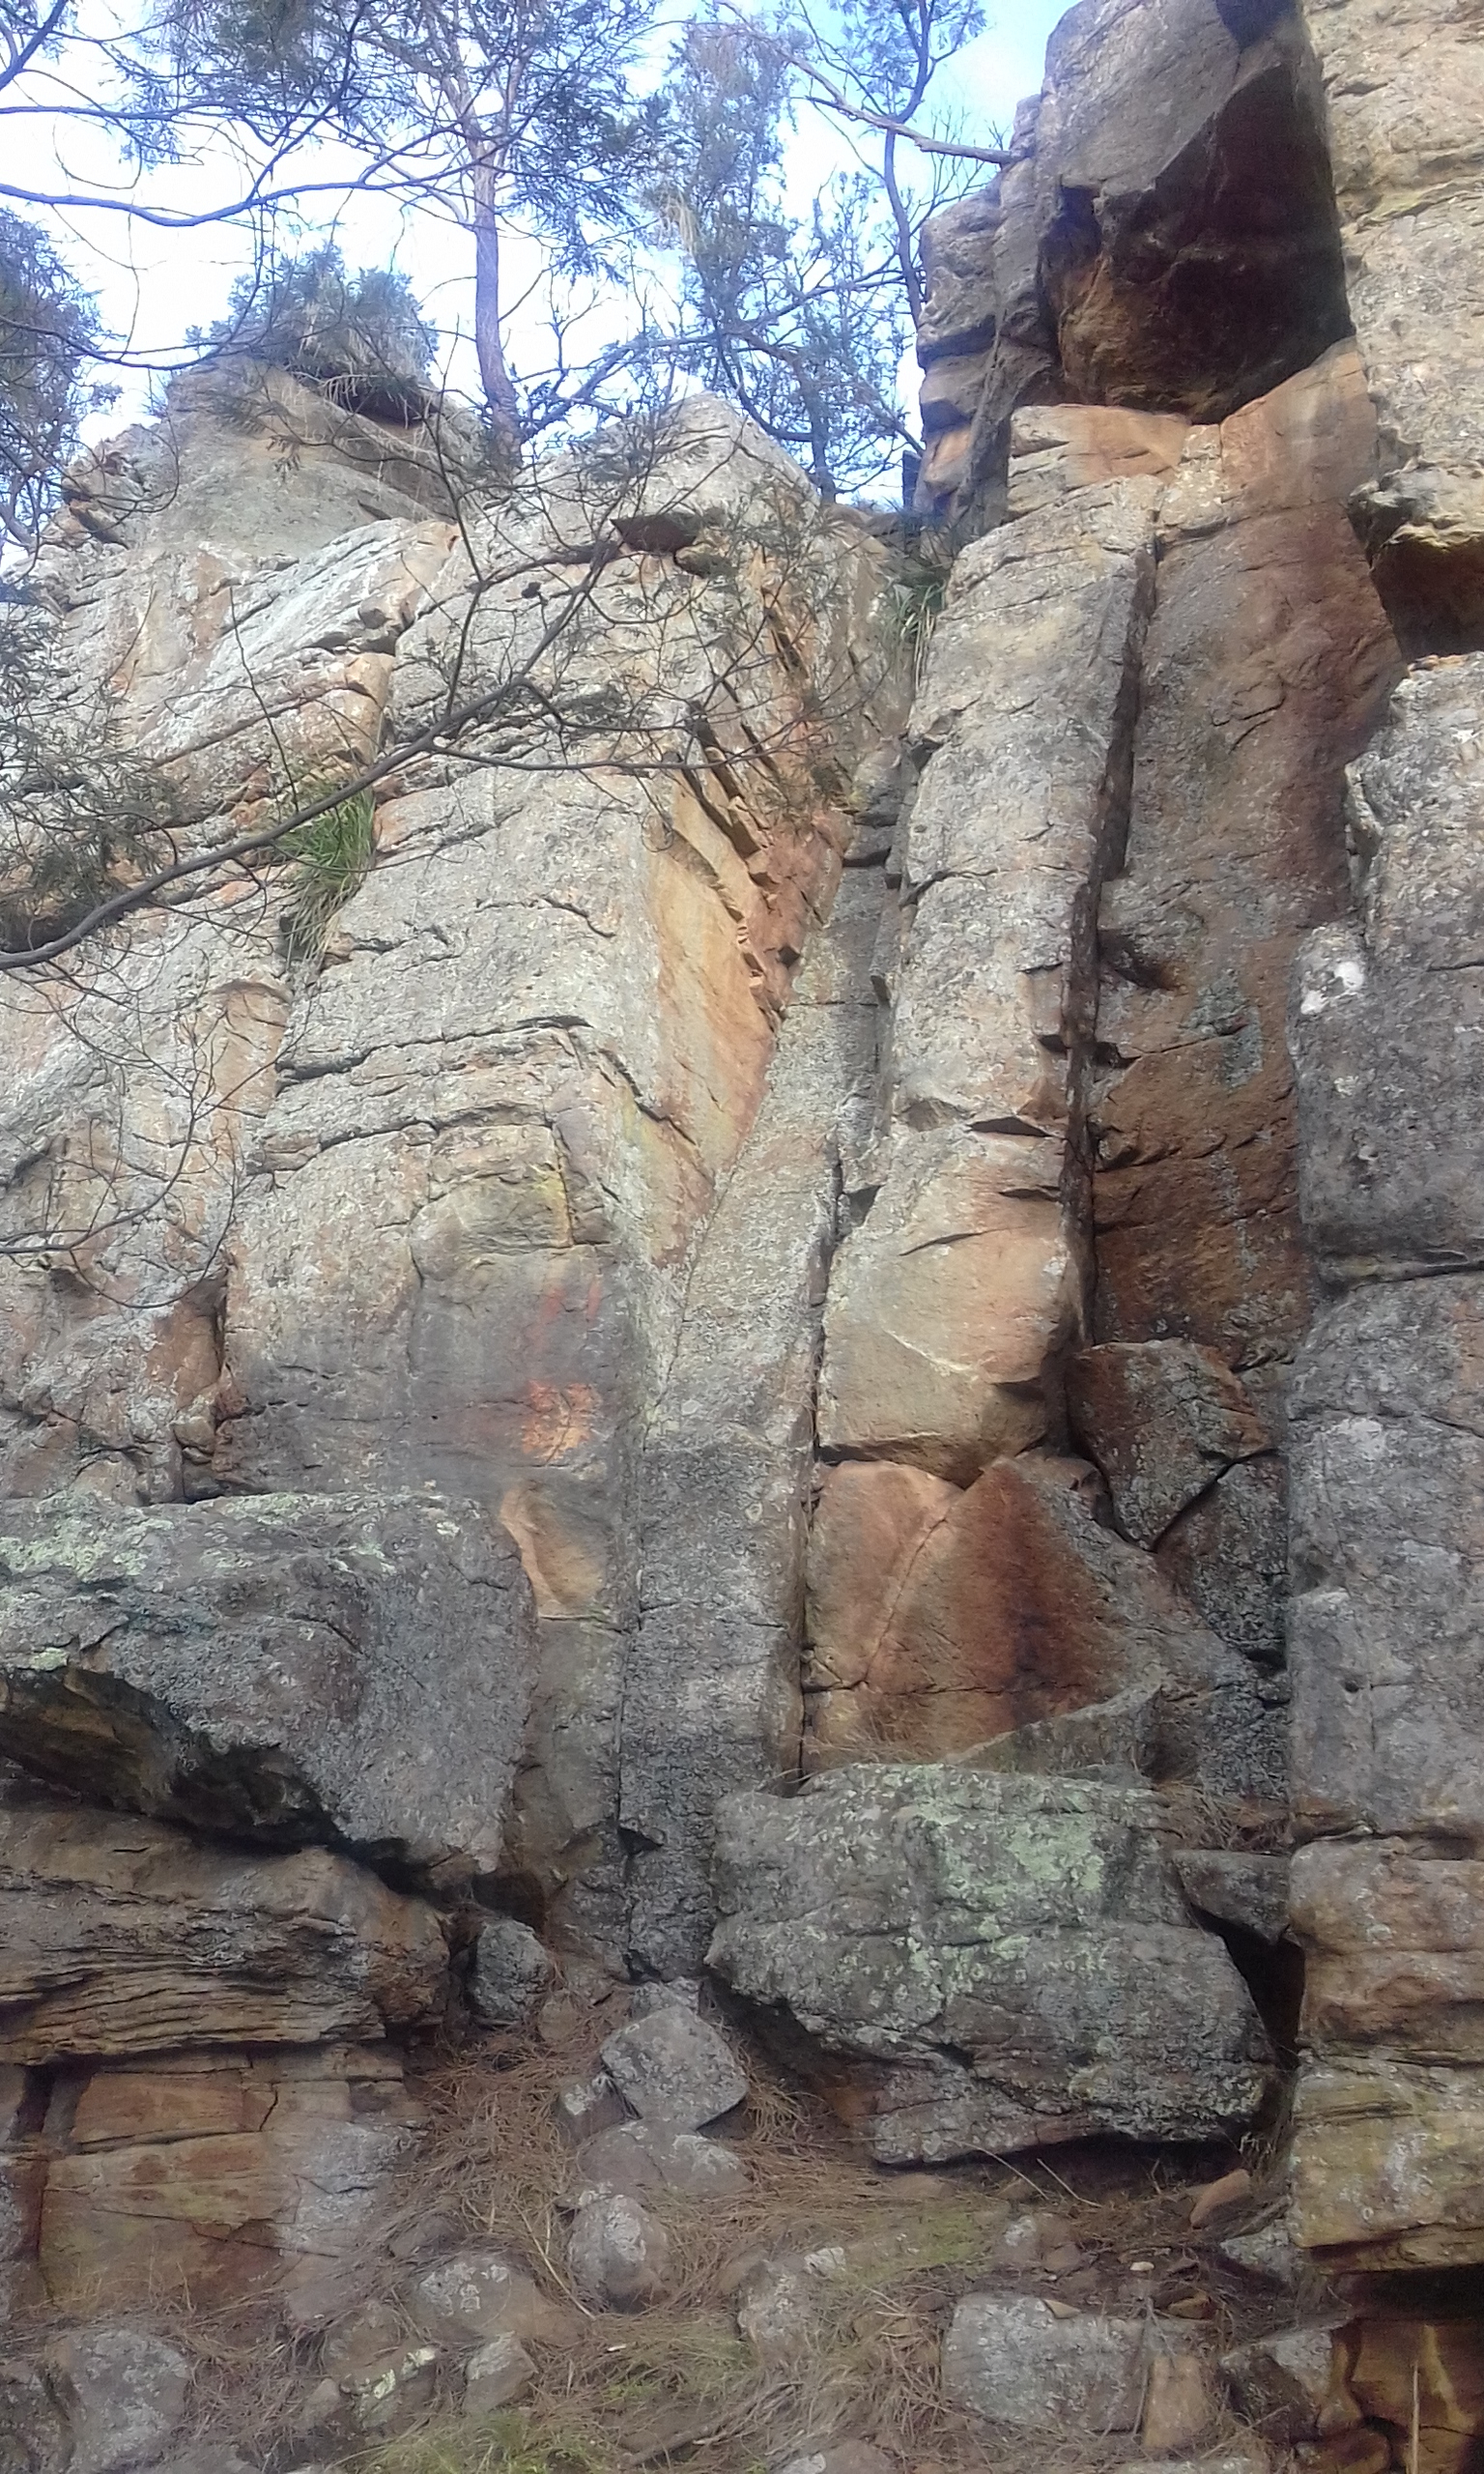
possibly the easiest line in Tassie...
Rob Hardy solo June 2017
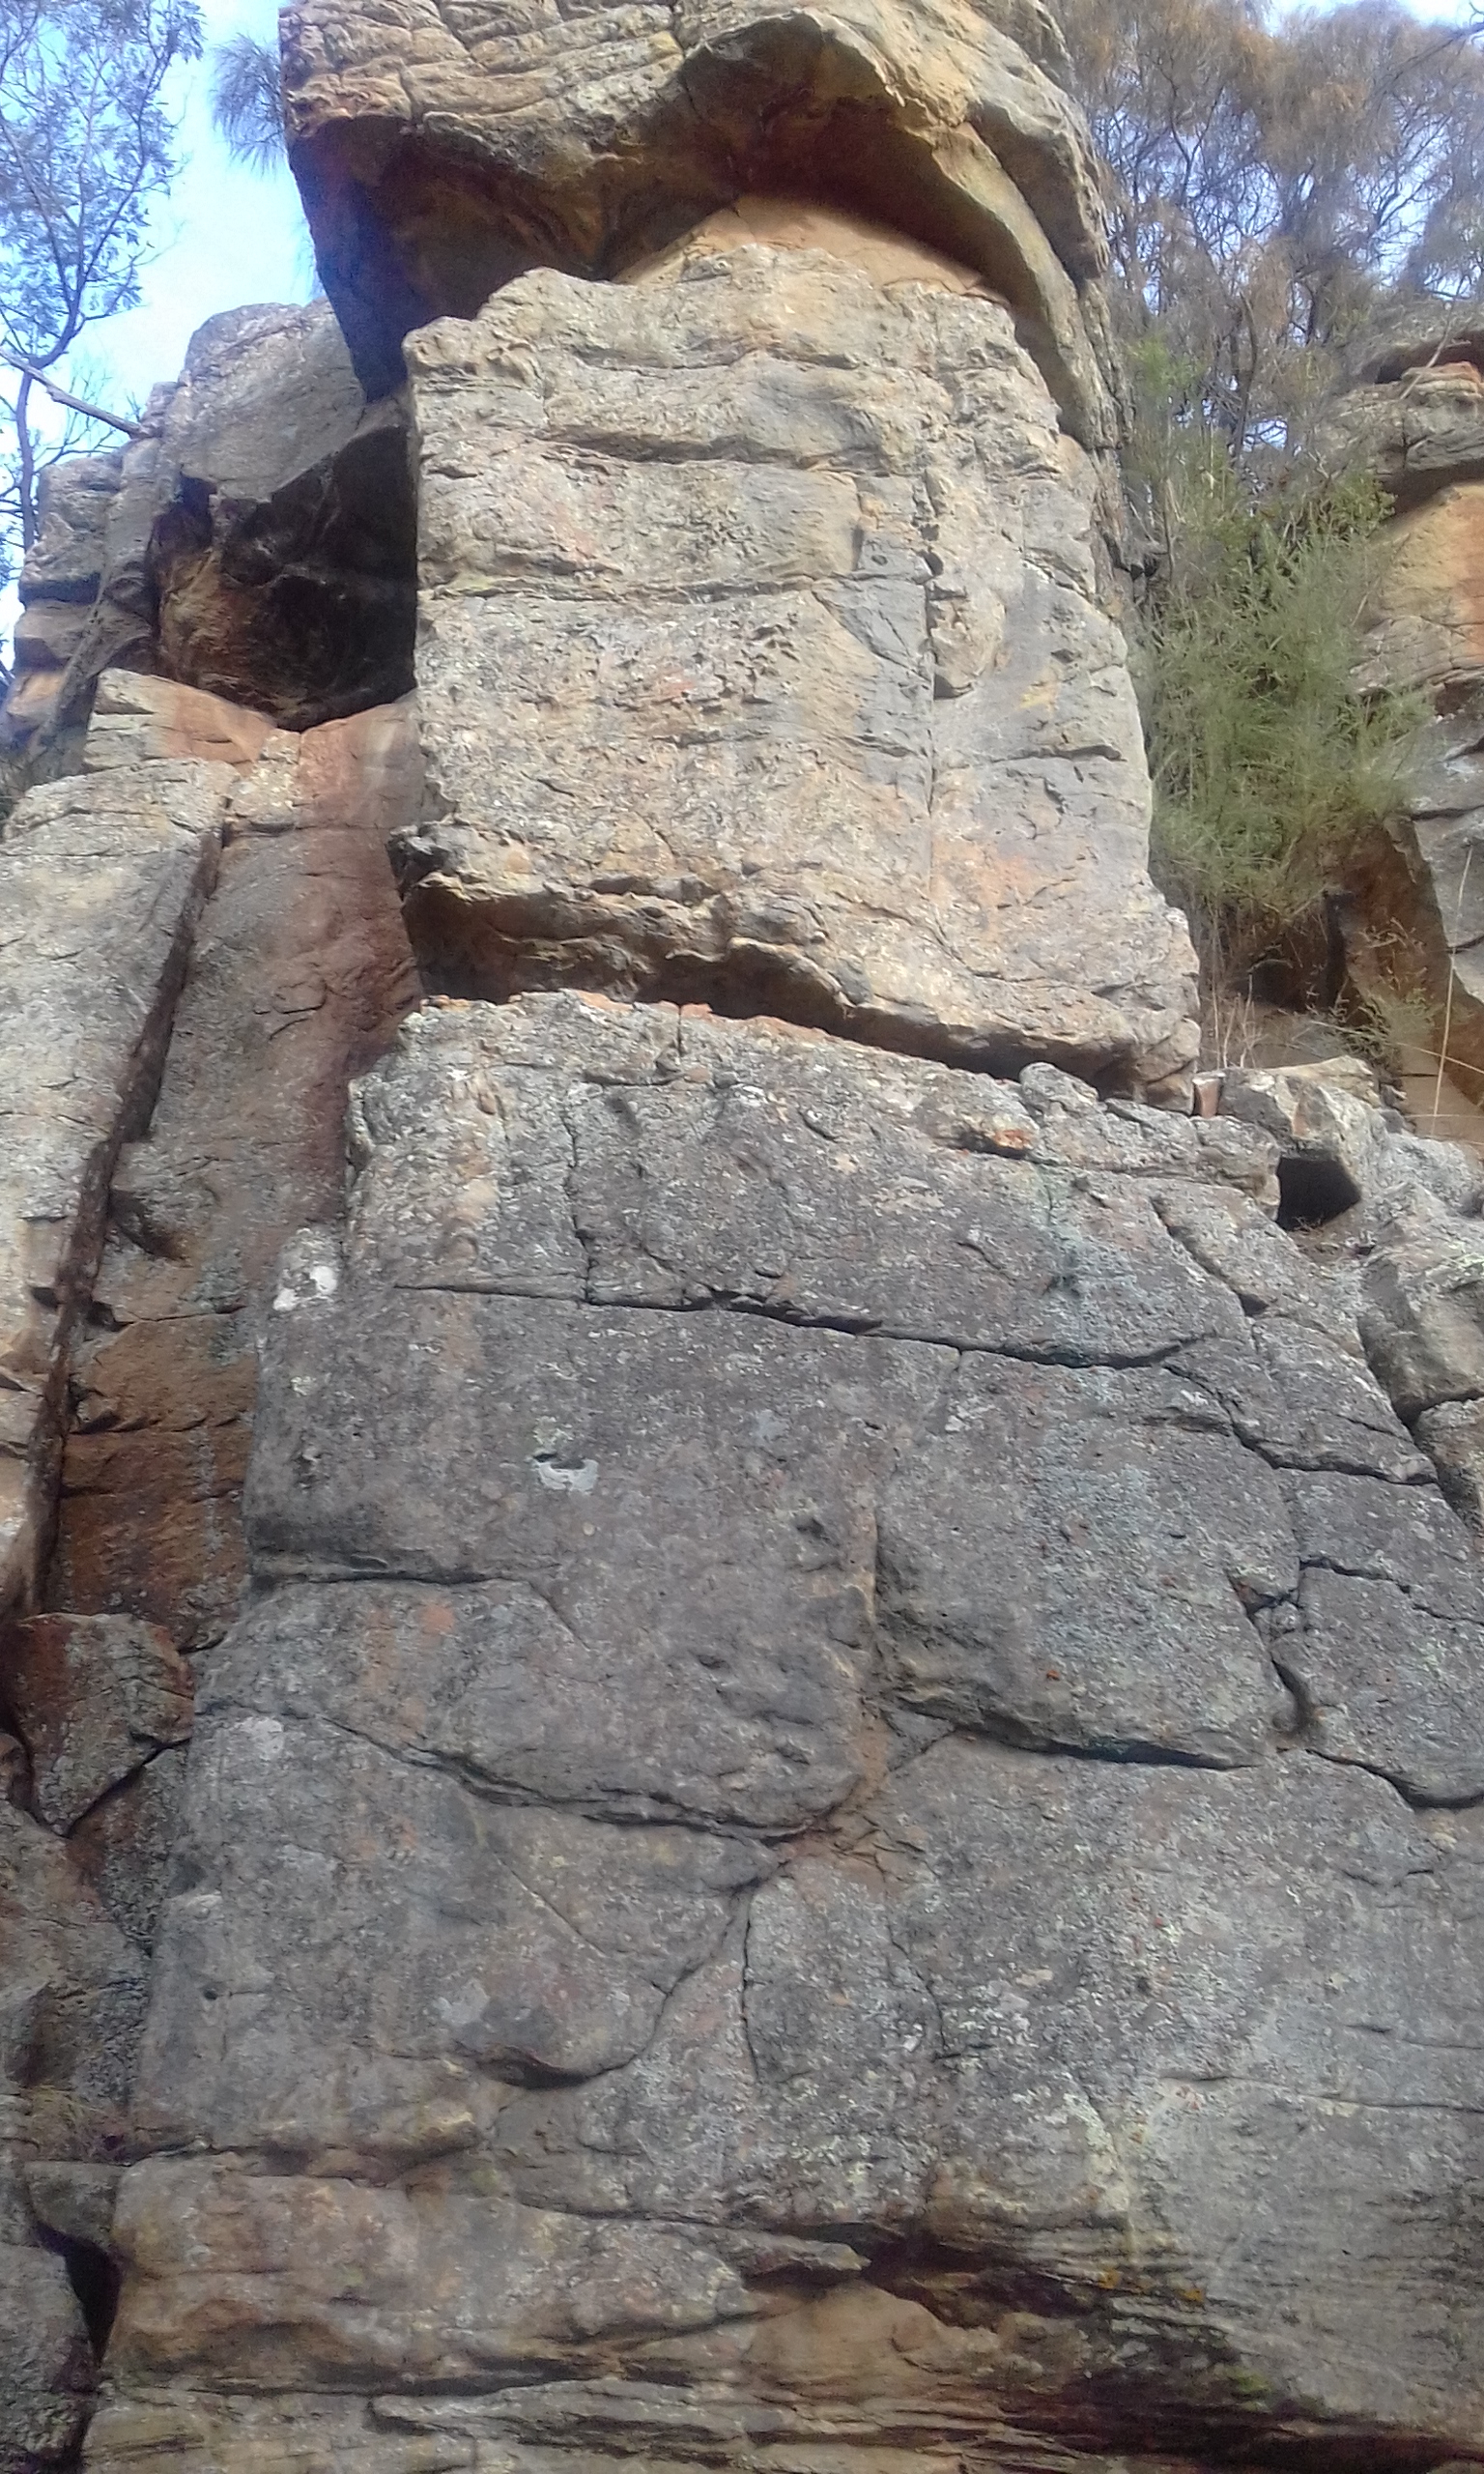
climb the easy line up the center of the face to finish at the larger break at 2/3 height just below the large roof. Escape right and down. Direct finish through the roof looks possible (its harder than 13) and feels rather bold without a rope. Two reasonable nut placements seem to exist.
Rob Hardy solo June 2017
Overhang
8m21Climb the crack ... yeah, right!
The B Got Another One
7m17Climb straight up until below the bulge on the left of the face. Clip the bolt, then ascend the arête.
Matt Perchard, Aug 1991.
Who Blunted Mr Squiggles Tool
7m23Start midway along the small face. Climb up to clip the bolt, then continue straight up the slab/face.
Matt Perchard, Aug 1991.
Miss Jane
7m18The right-hand arête of the face. Climb easily up to the ledge at one third height. Clip the bolt then continue up the arête (crux).
Owen Prall, 1991.